Periodic Minimal Surface Themed Desktop Wallpaper
by Chiefest in Design > Digital Graphics
95 Views, 1 Favorites, 0 Comments
Periodic Minimal Surface Themed Desktop Wallpaper
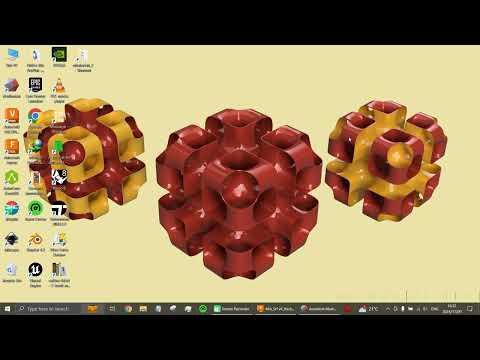
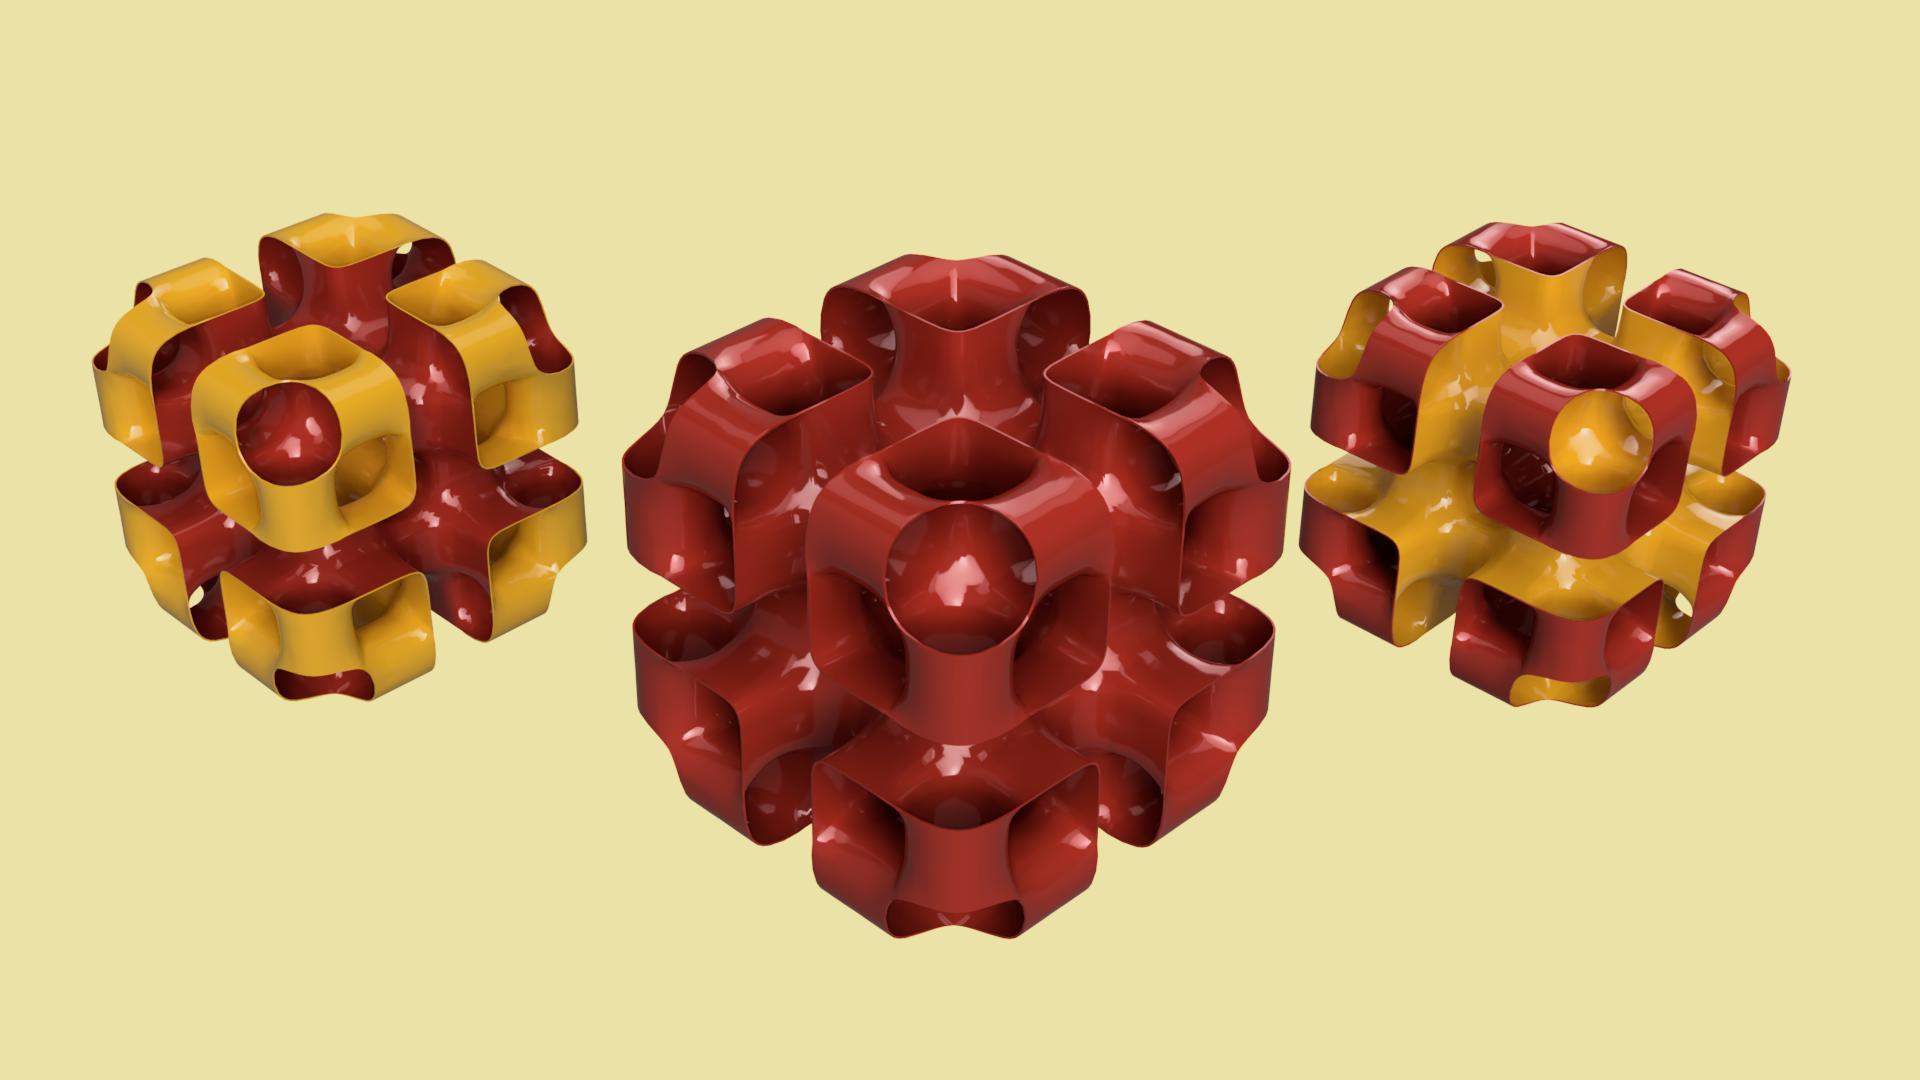
A Custom Desktop Wallpaper Featuring Minimal Surface Bocks Modelled And Rendered In Fusion 360. Period Minimal Surfaces Contain Unit Cells Repeated In Three Dimensions. Although These Can Be Easily Produced In Some Dedicated Software, I Challenged Myself To Model A Minimal Surface Via Fusion 360 From Scratch.
Supplies


Autodesk Fusion 360 and Meshmixer were used, the latter was optional.
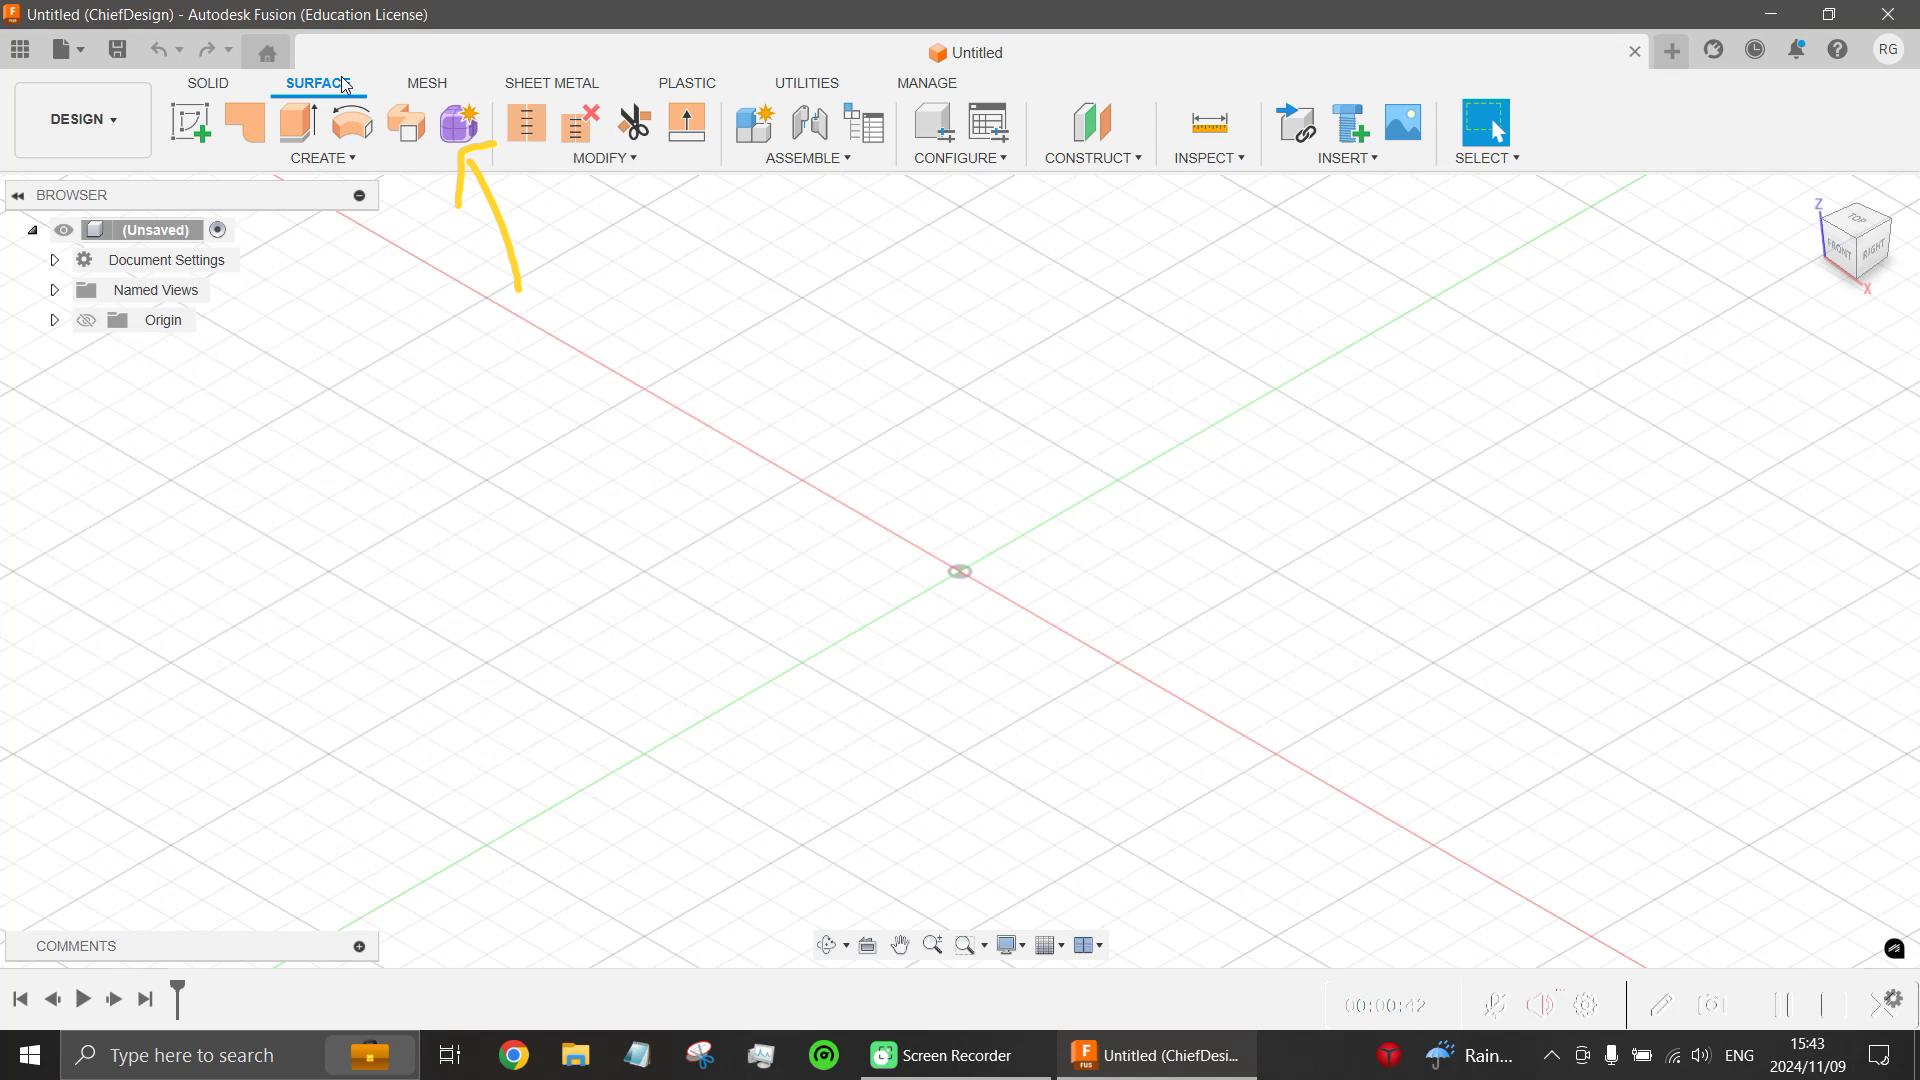
In fusion 360, under the surface or solid menu, start free-form modelling as highlighted on the above image.
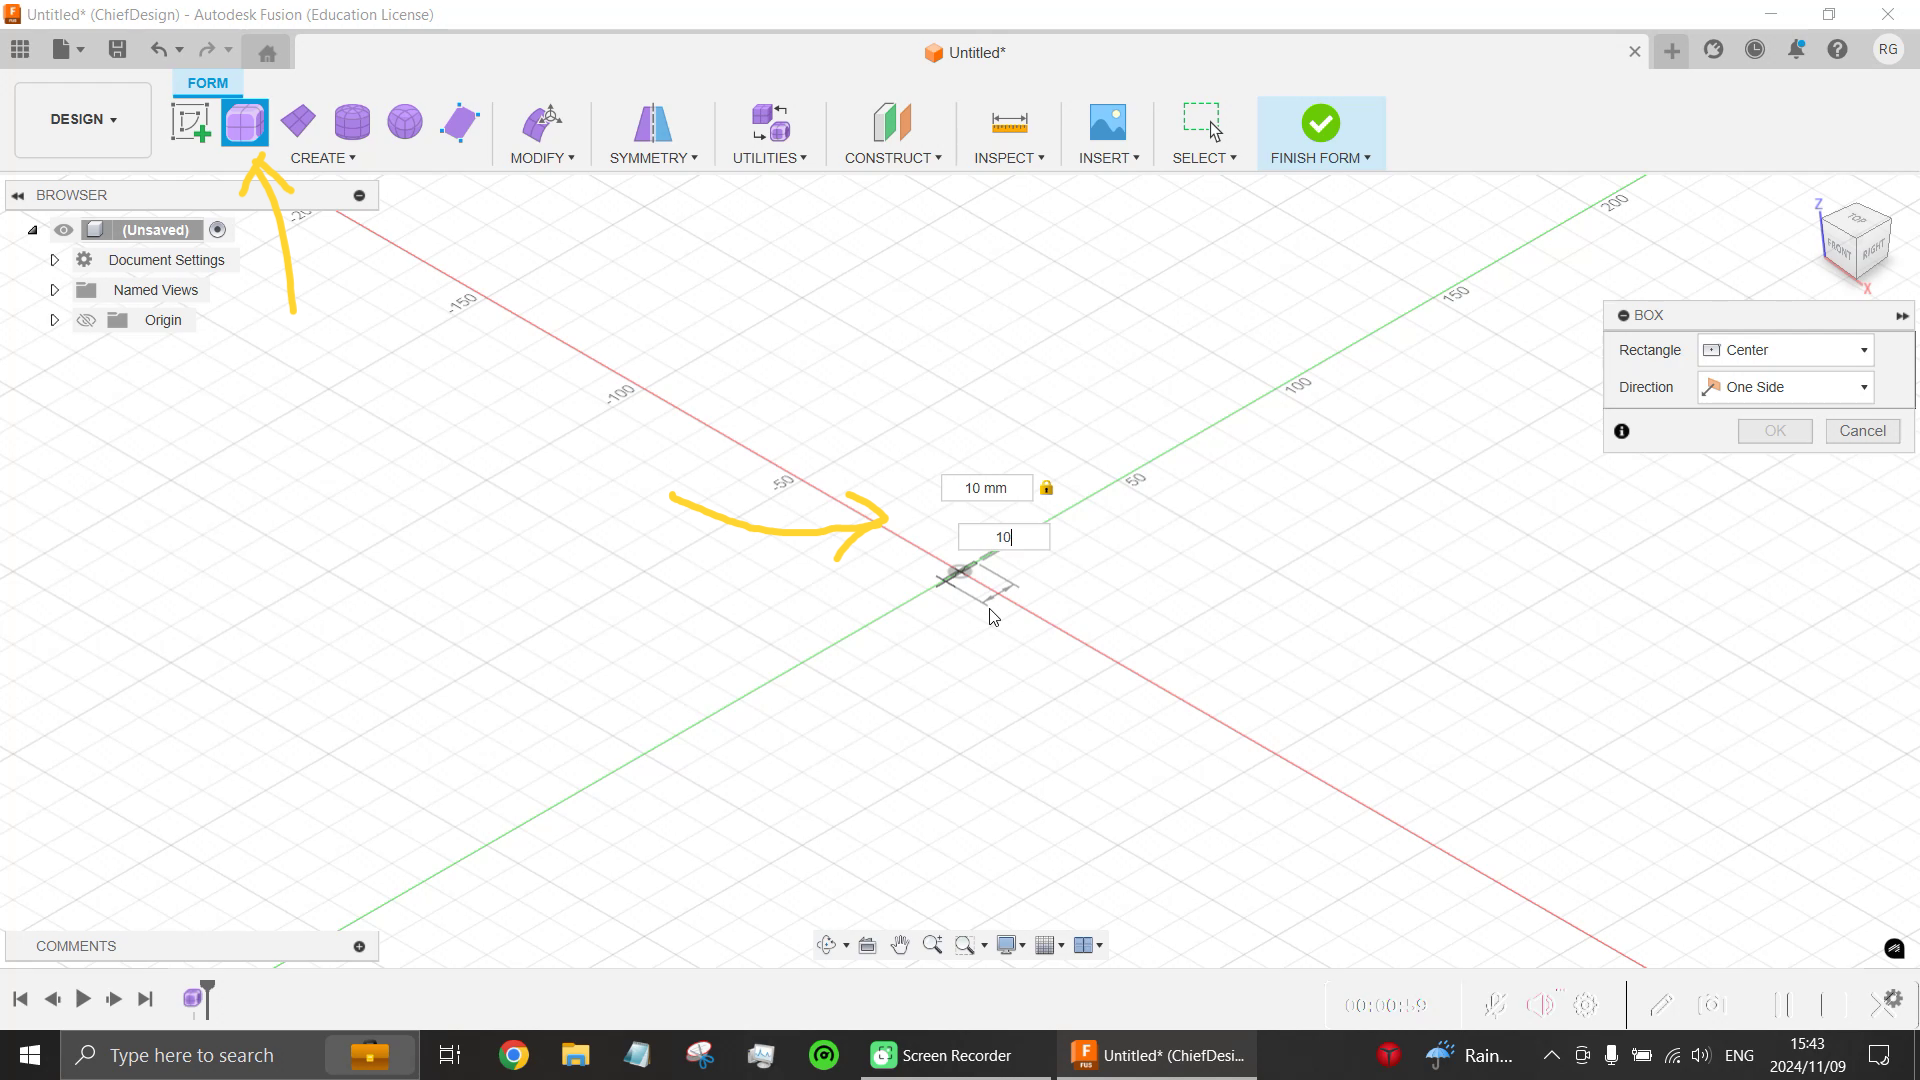
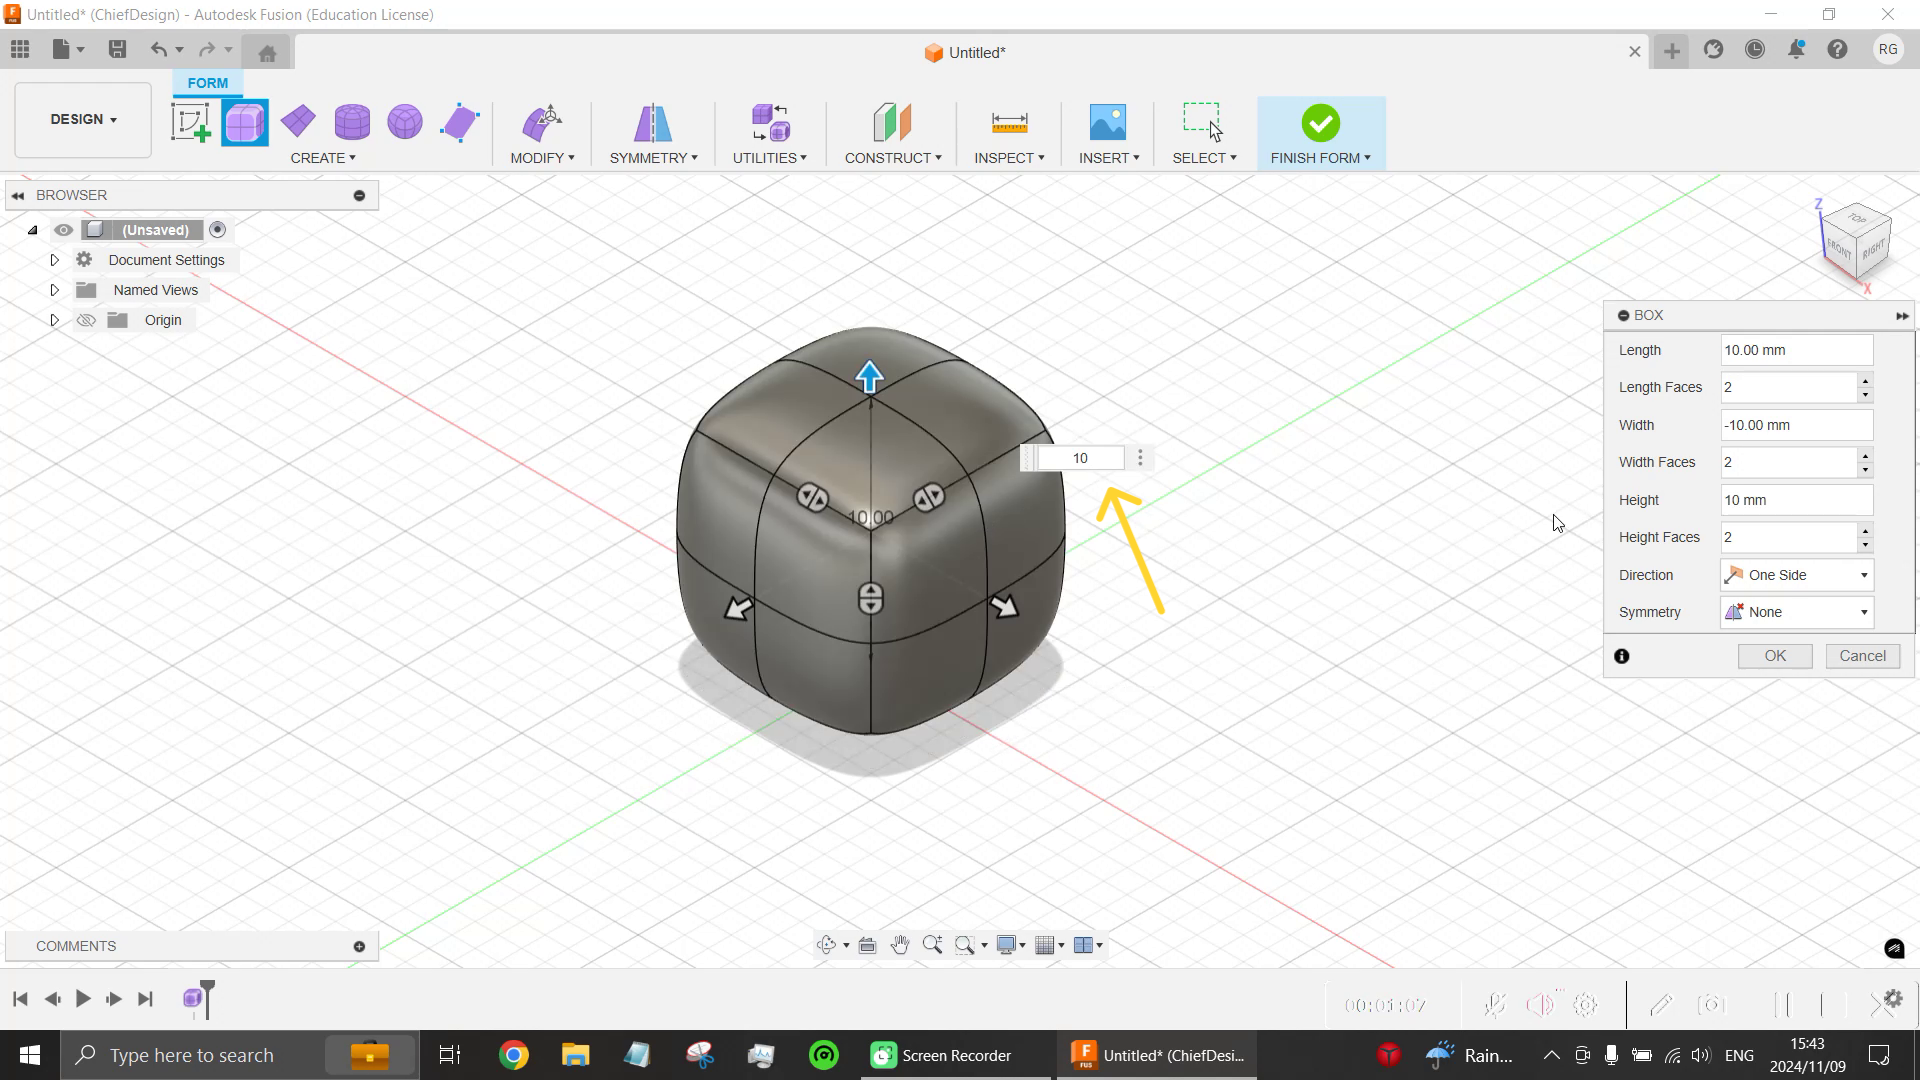
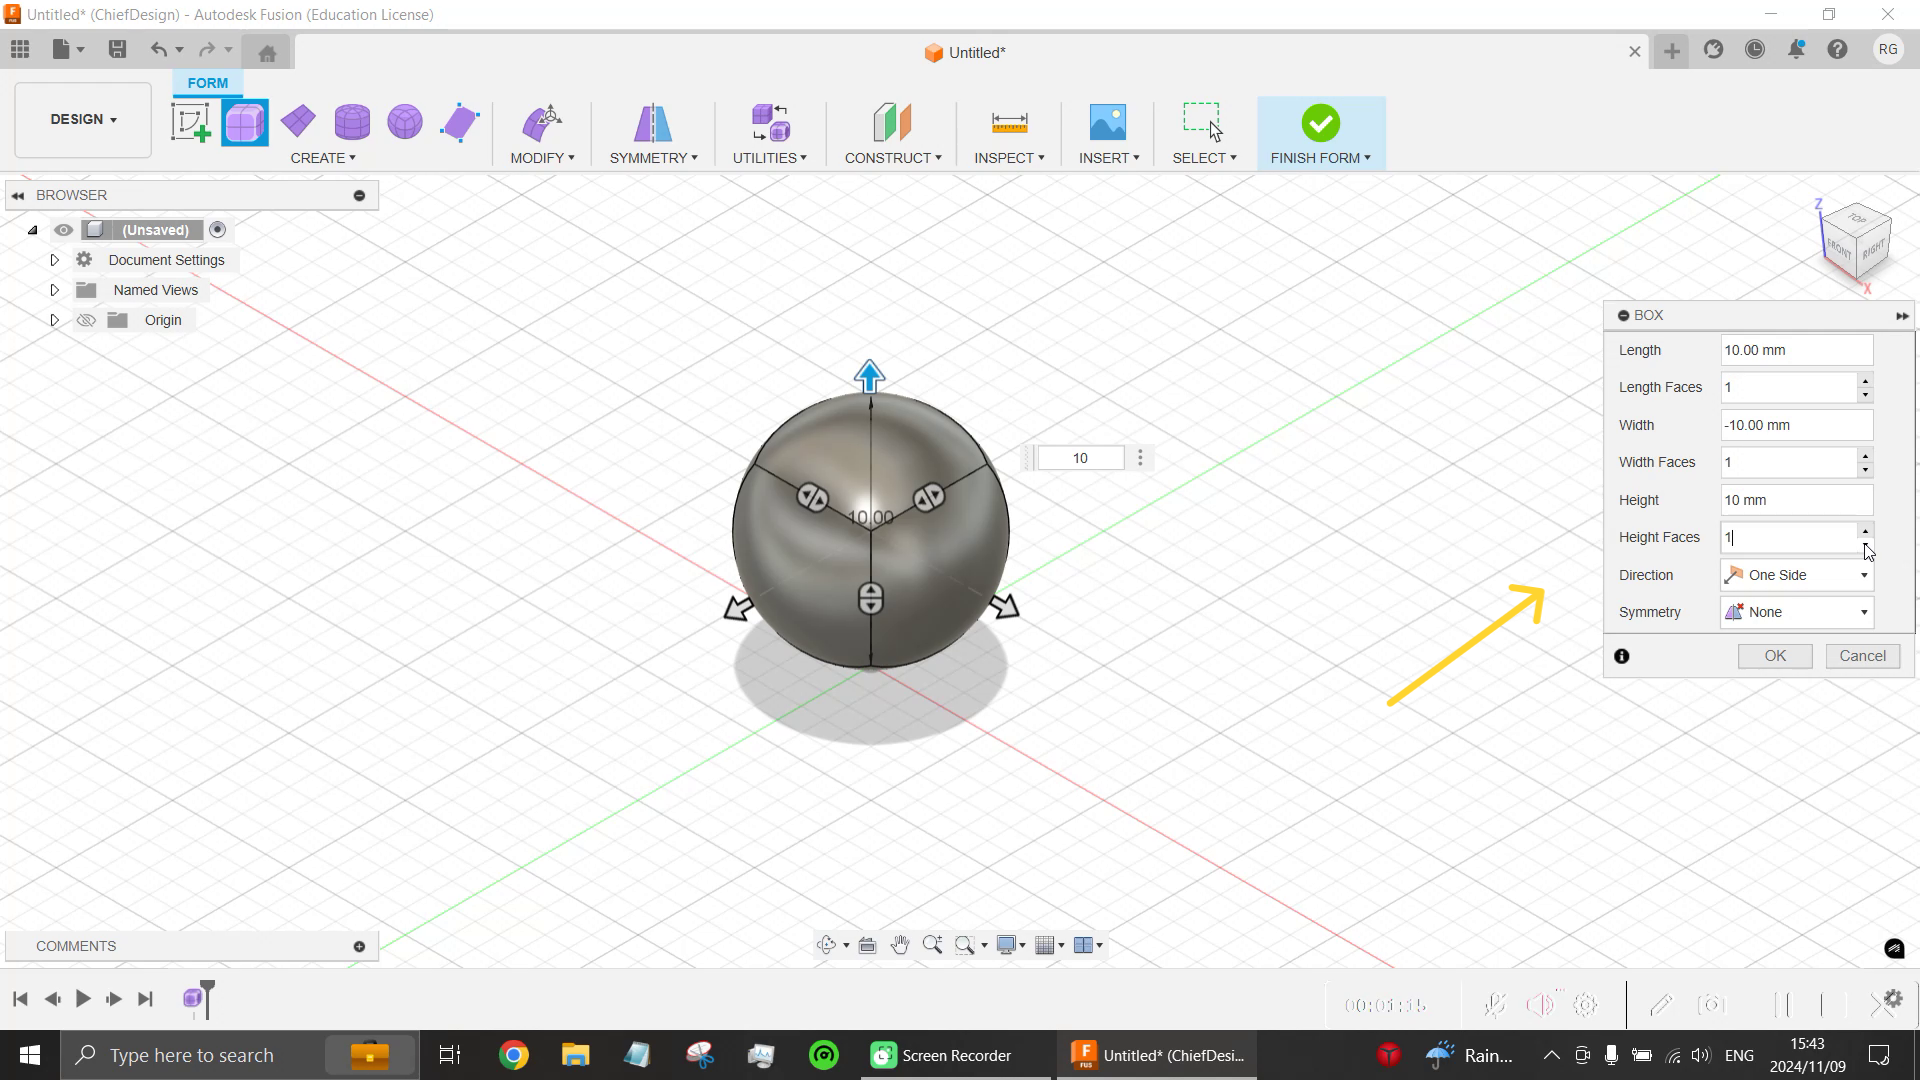
Select Box as type of free-form body followed by the plane which you wish to work on, select the starting point (origin) of the box, move the mouse and dimensions will appear, type 10 mm, TAB, then type 10 mm again (don't press enter), click the left mouse button and enter 10 mm for the box height.
On the dialogue box set the length faces, width faces and height faces to one and click ok.
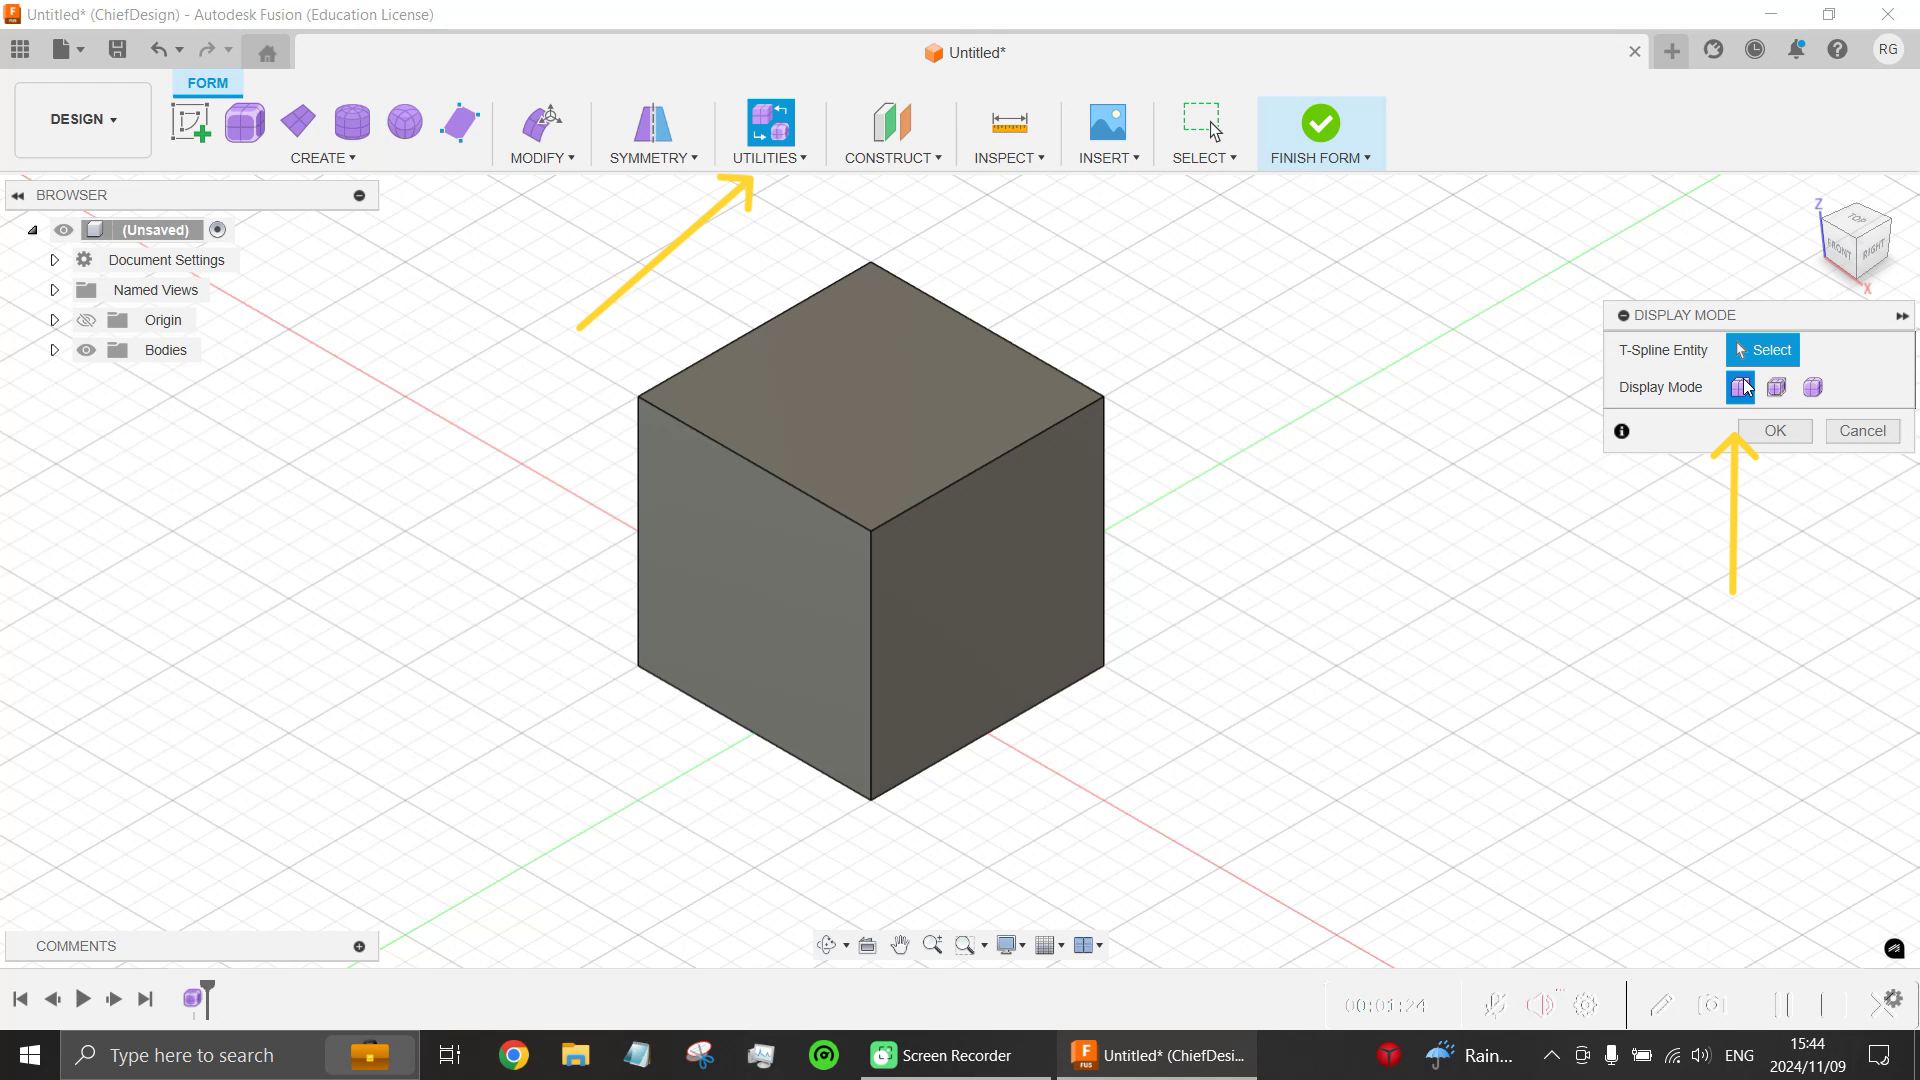
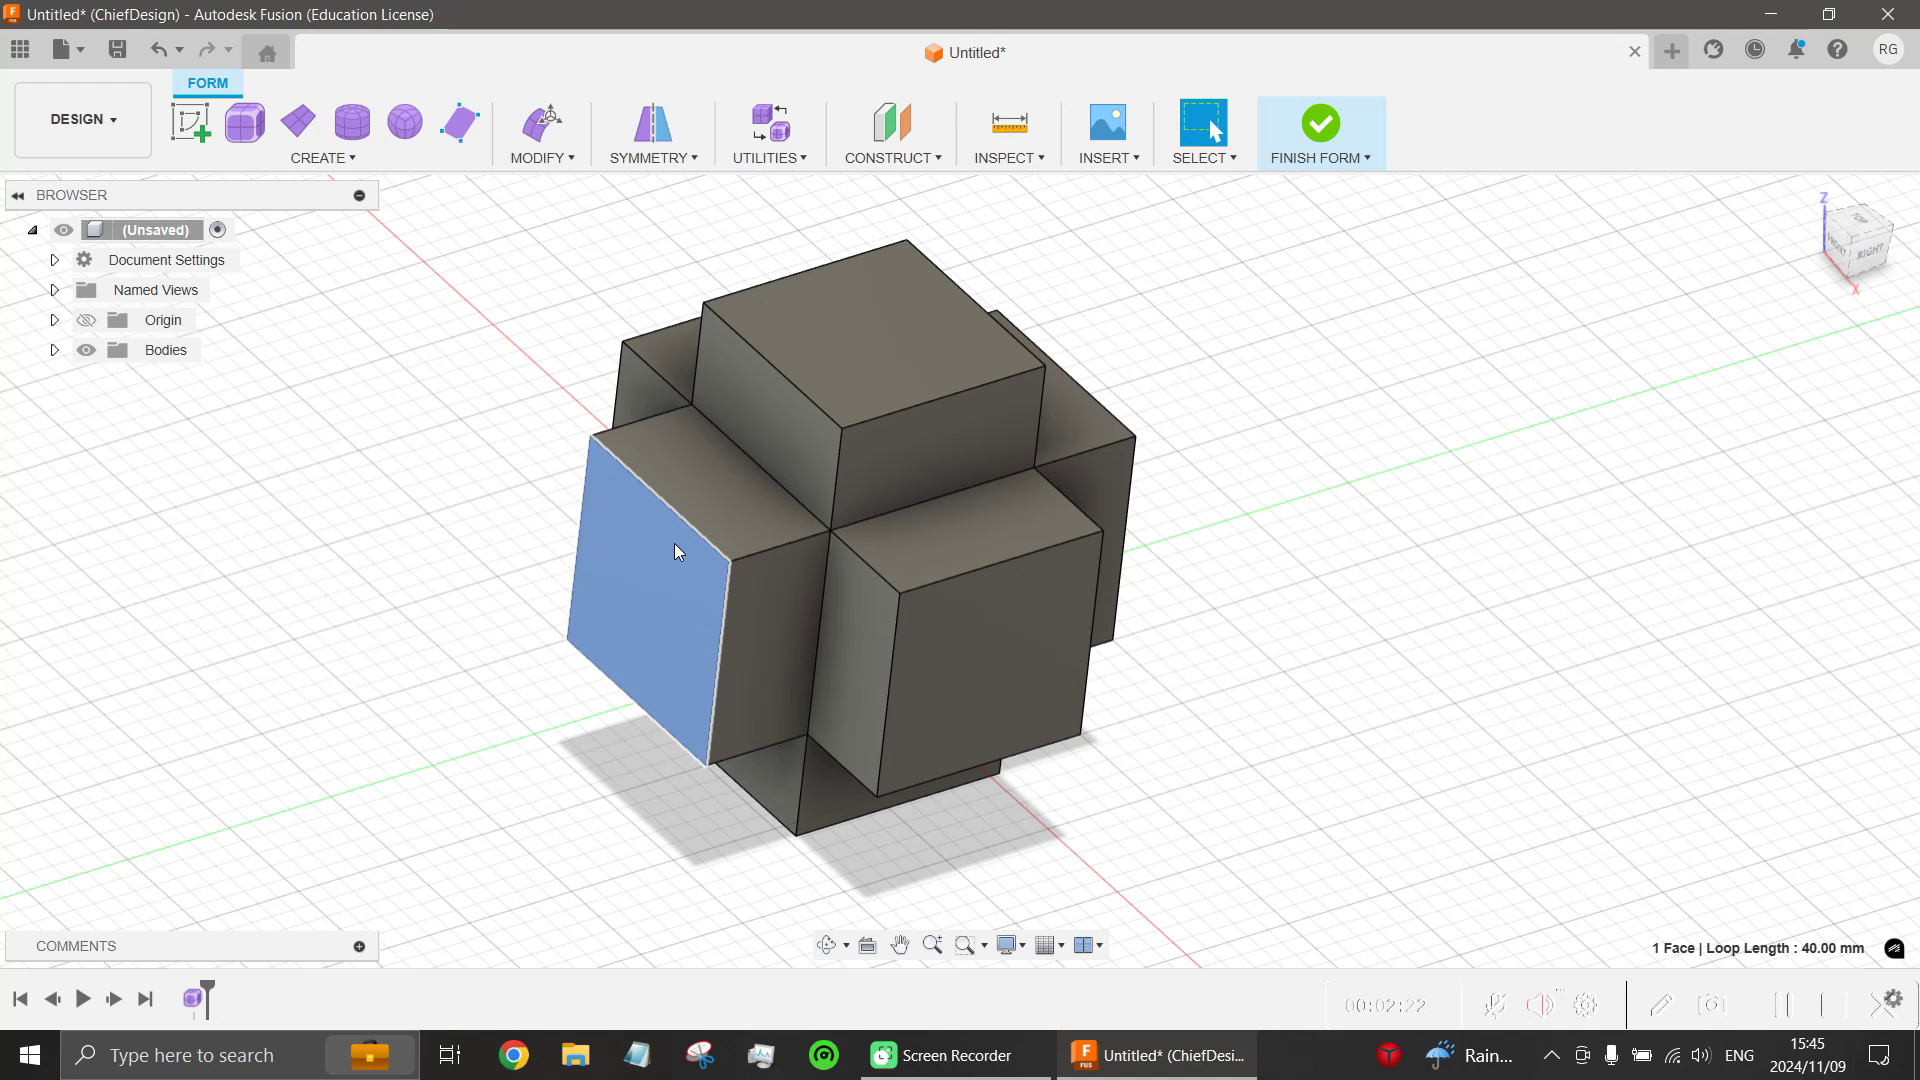
Although not necessary, change the display mode to box under utilities.
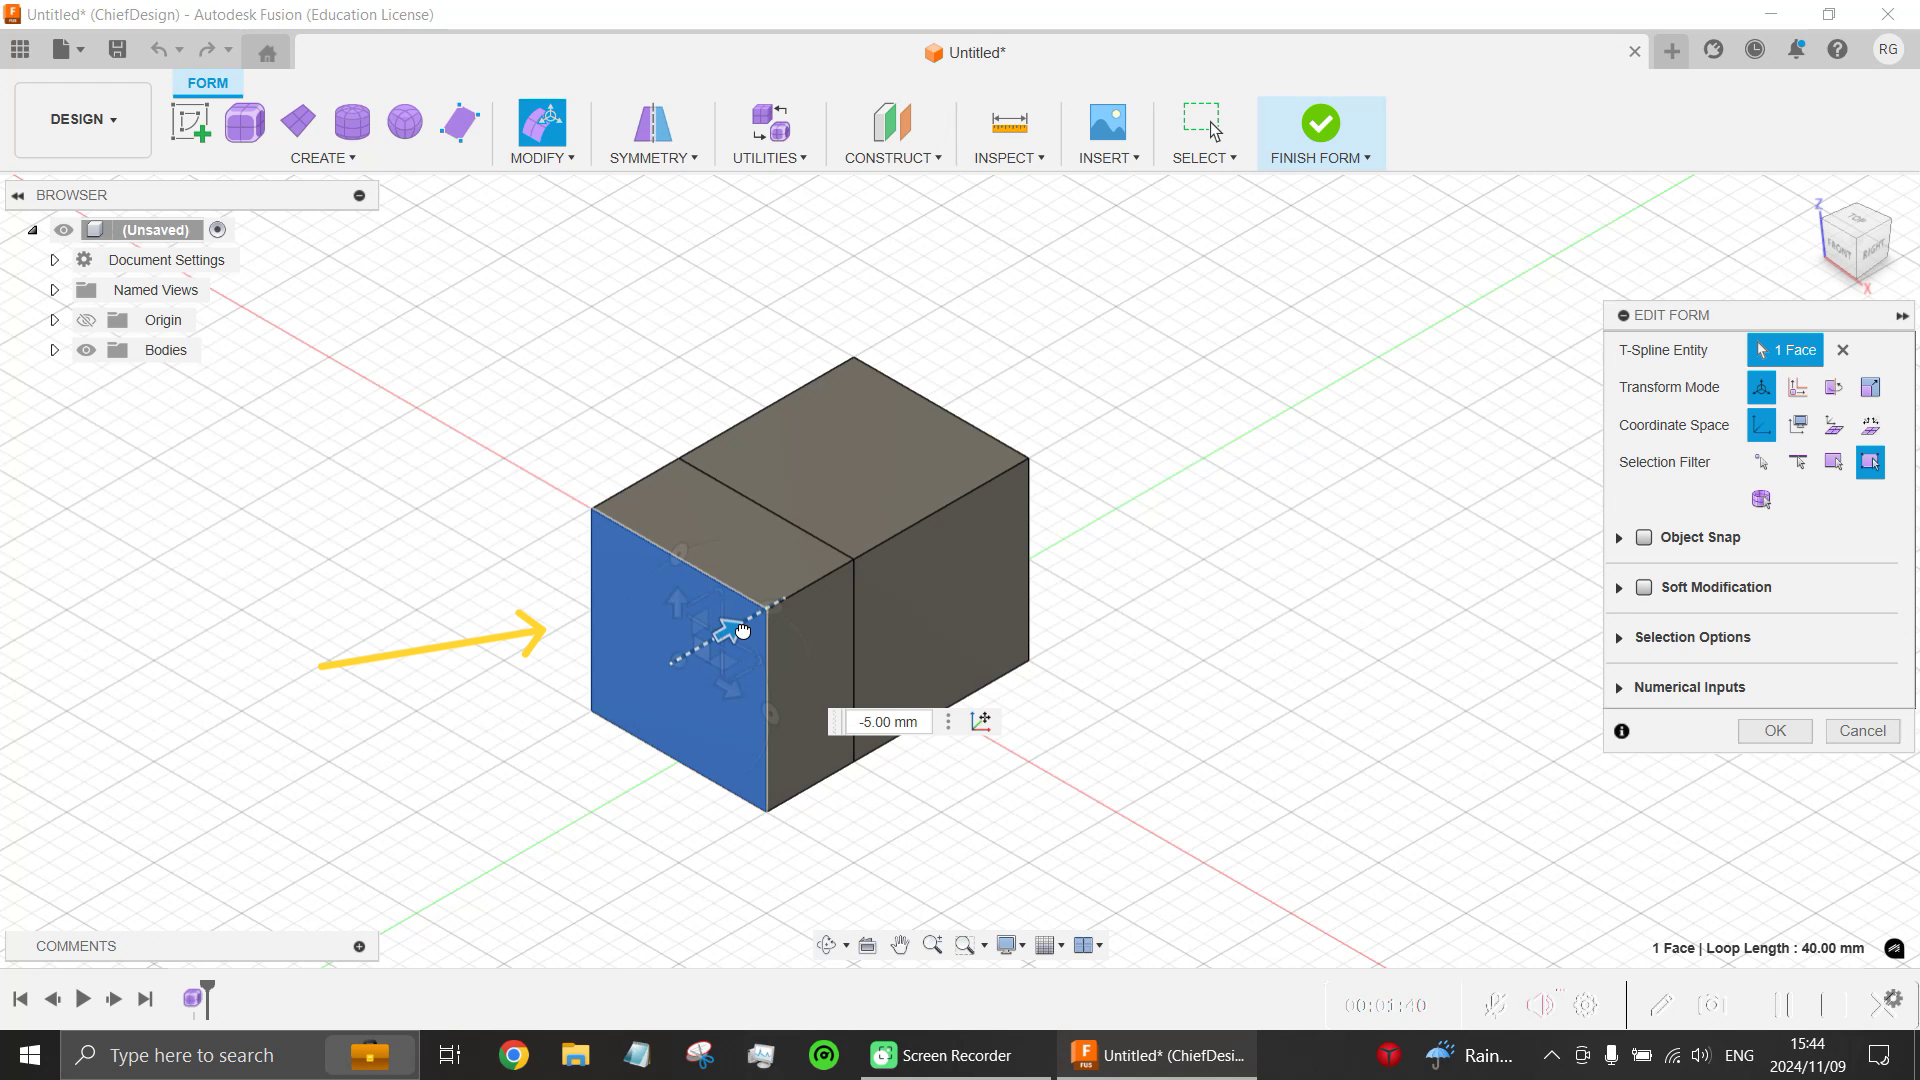
Next click each of the six faces, one at a time and apply a 5mm extrusion outward, this can be done by holding the alt-key and dragging out the arrow.
You should have something like the third image above.
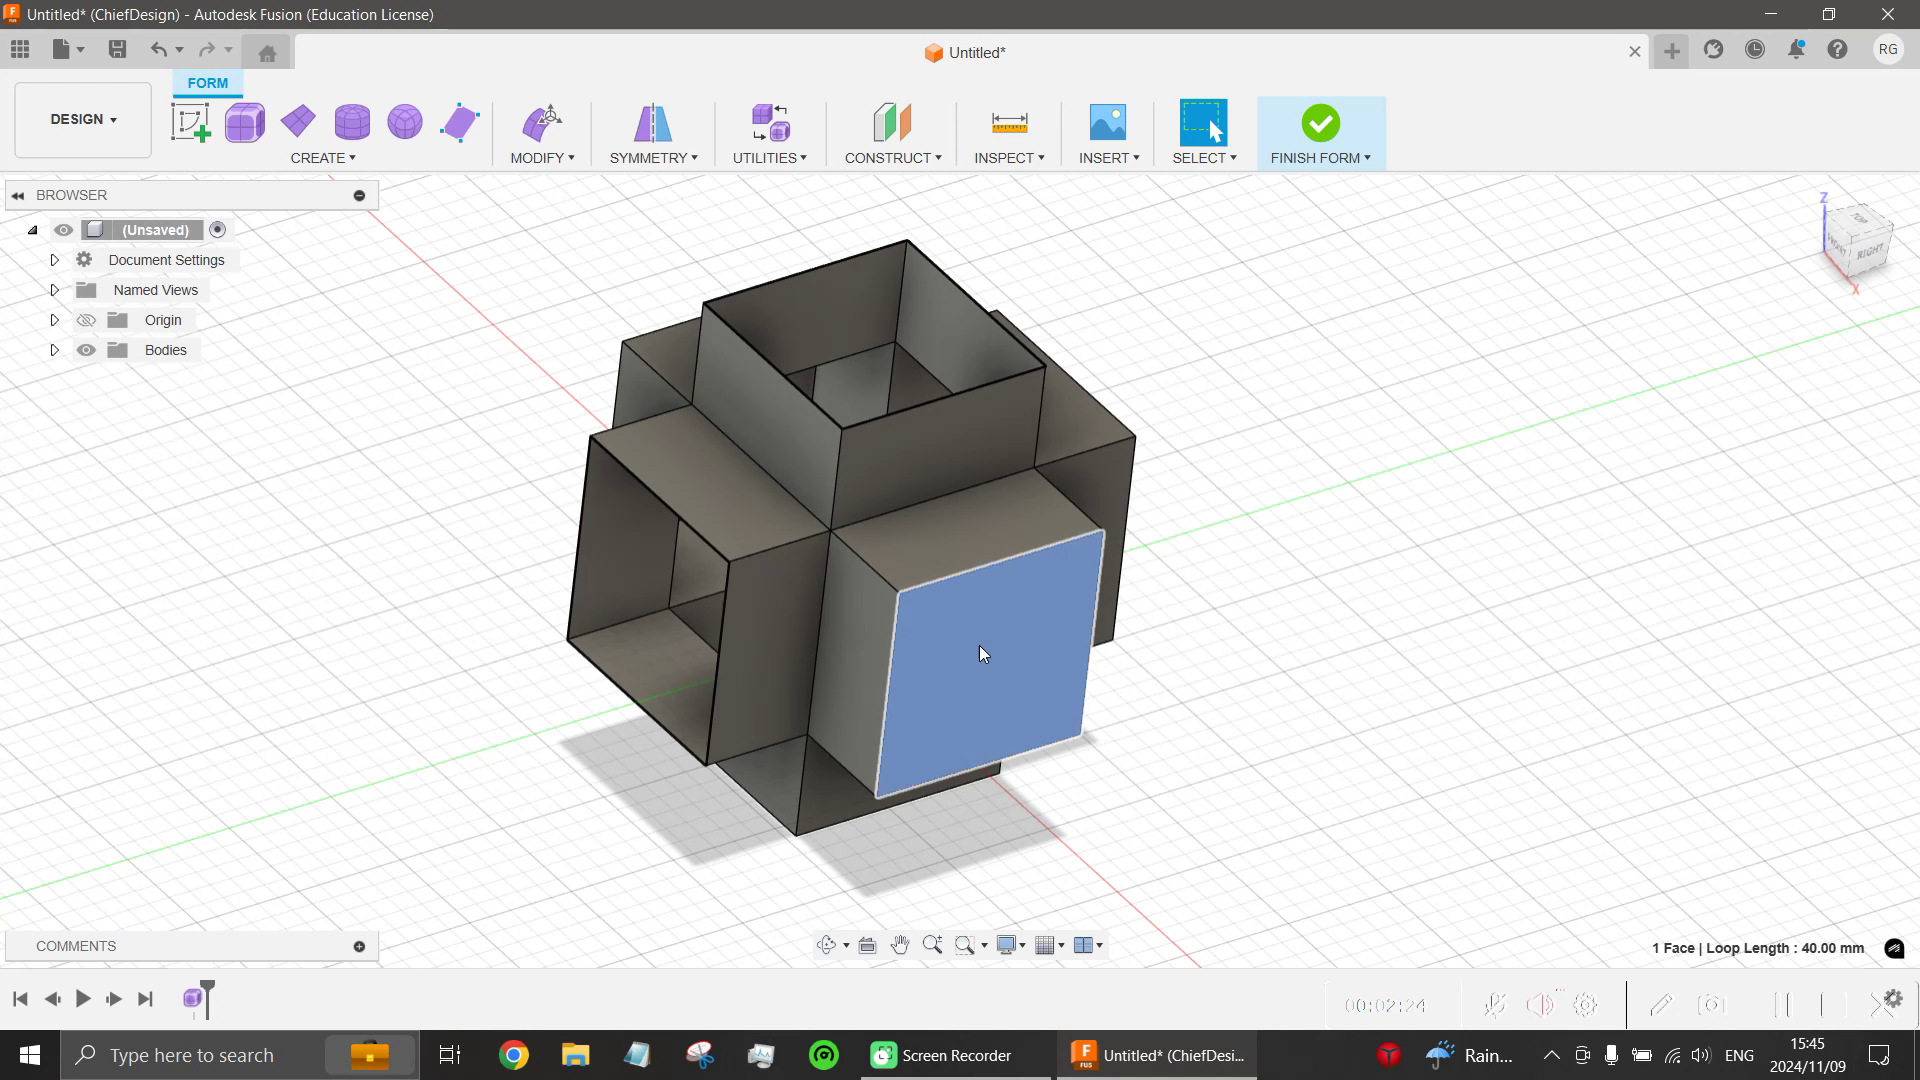
Next, delete each of the six faces by clicking and pressing backspace on the keyboard.
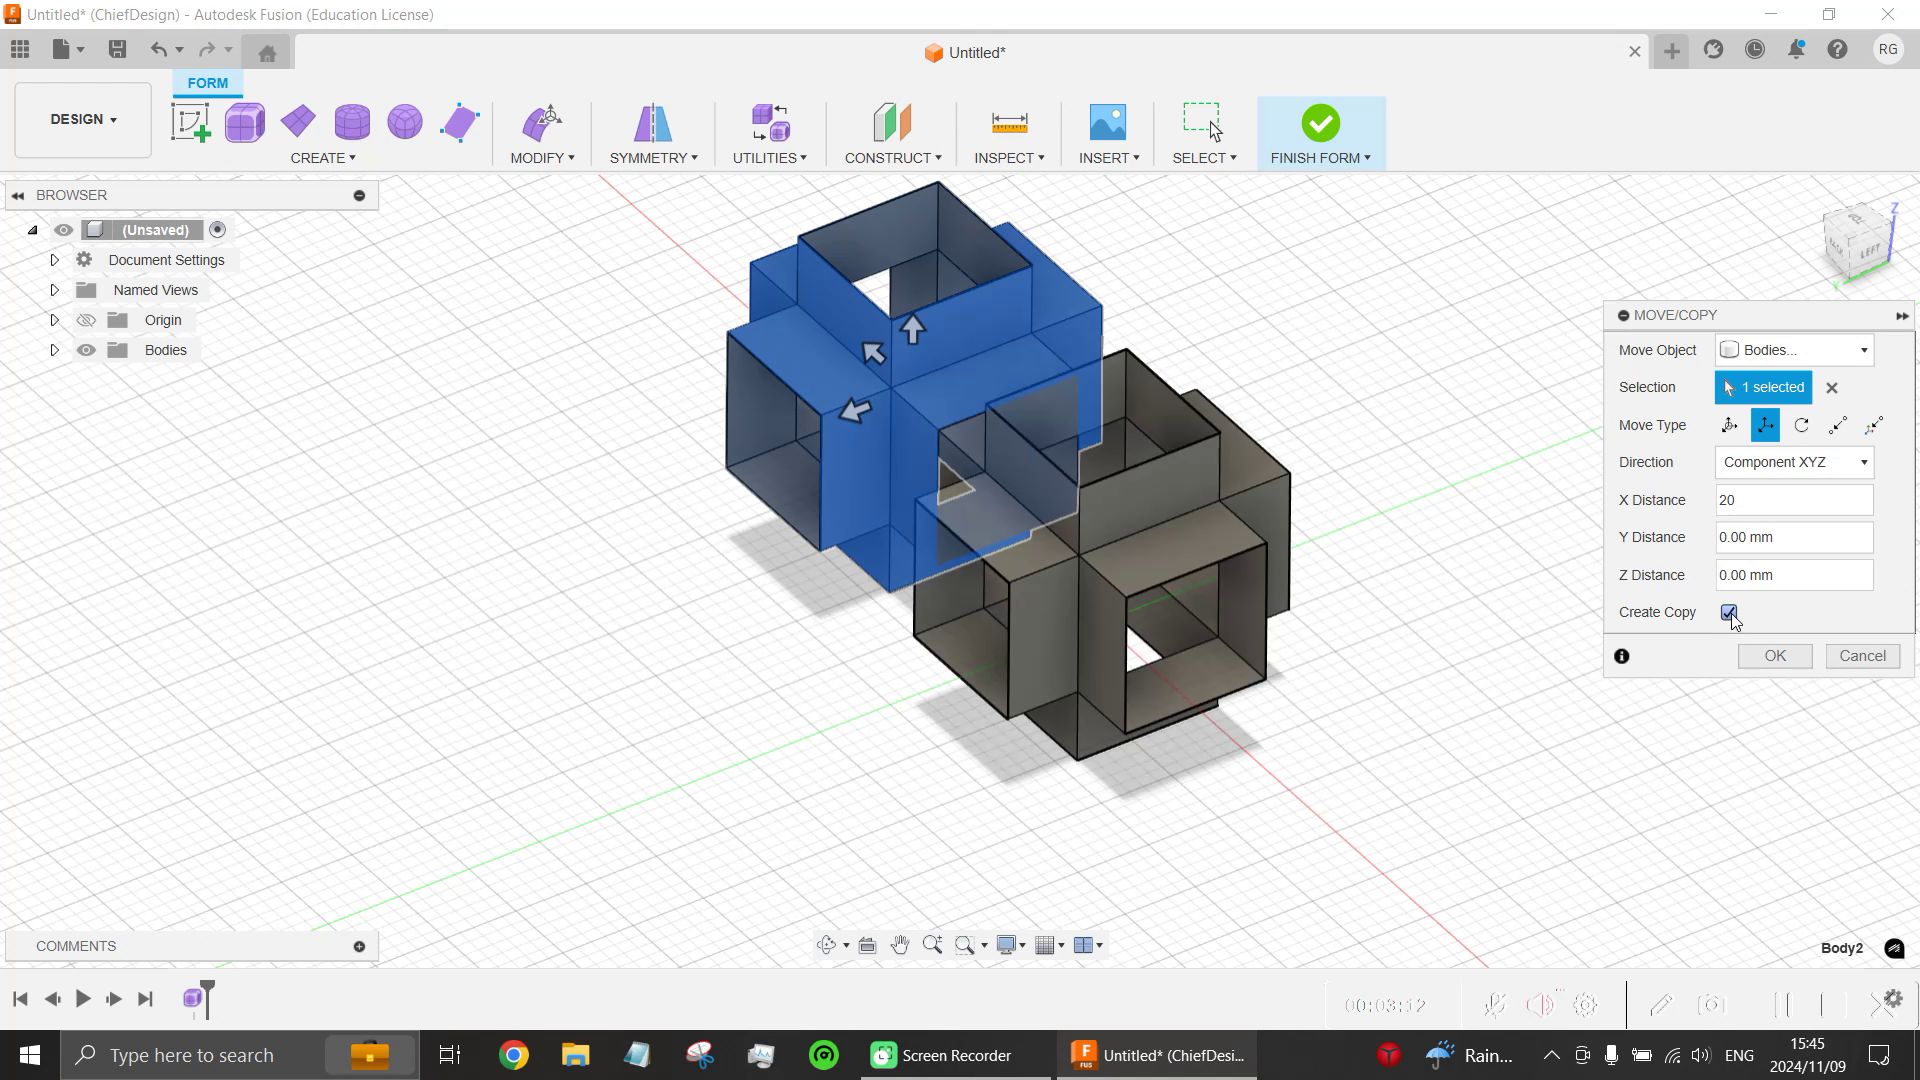
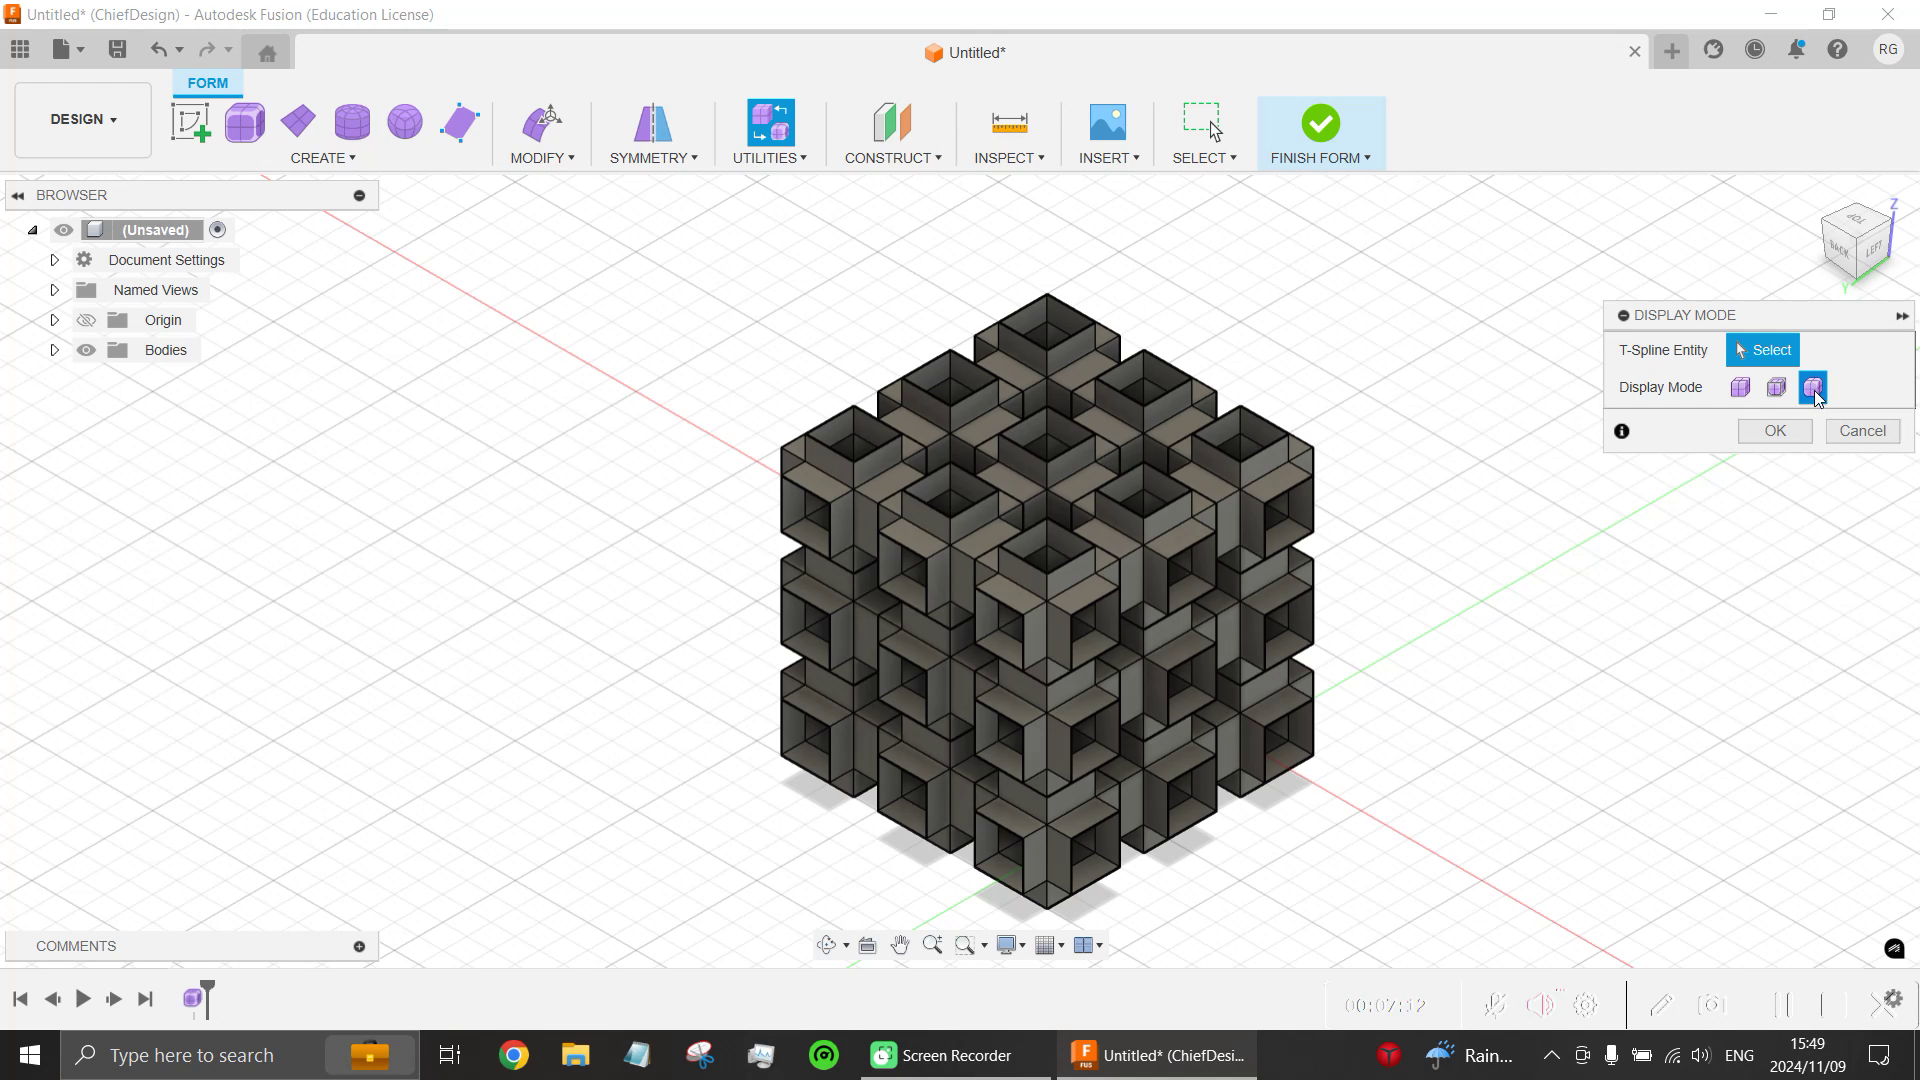
In this step we need to array the polysurfaces three times in the x, y and z directions, but the array feature does not exist/or i could not find it within free-form environment.
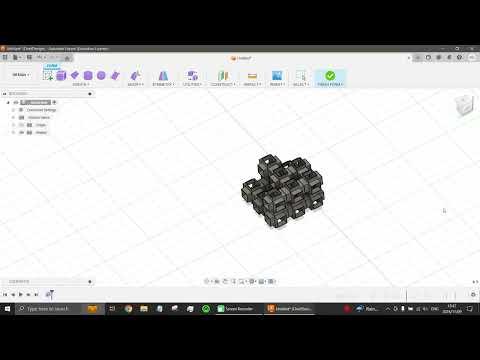
Using the move/copy feature, copy the polysurfaces three times in the x, y and z direction, set your distance to 20 mm every time. An issue you may encounter is that copying multiple parts does not work properly (some random deselection occurs), so be patient. I included a short clip of that situation.
The final product will be as in the third image above.
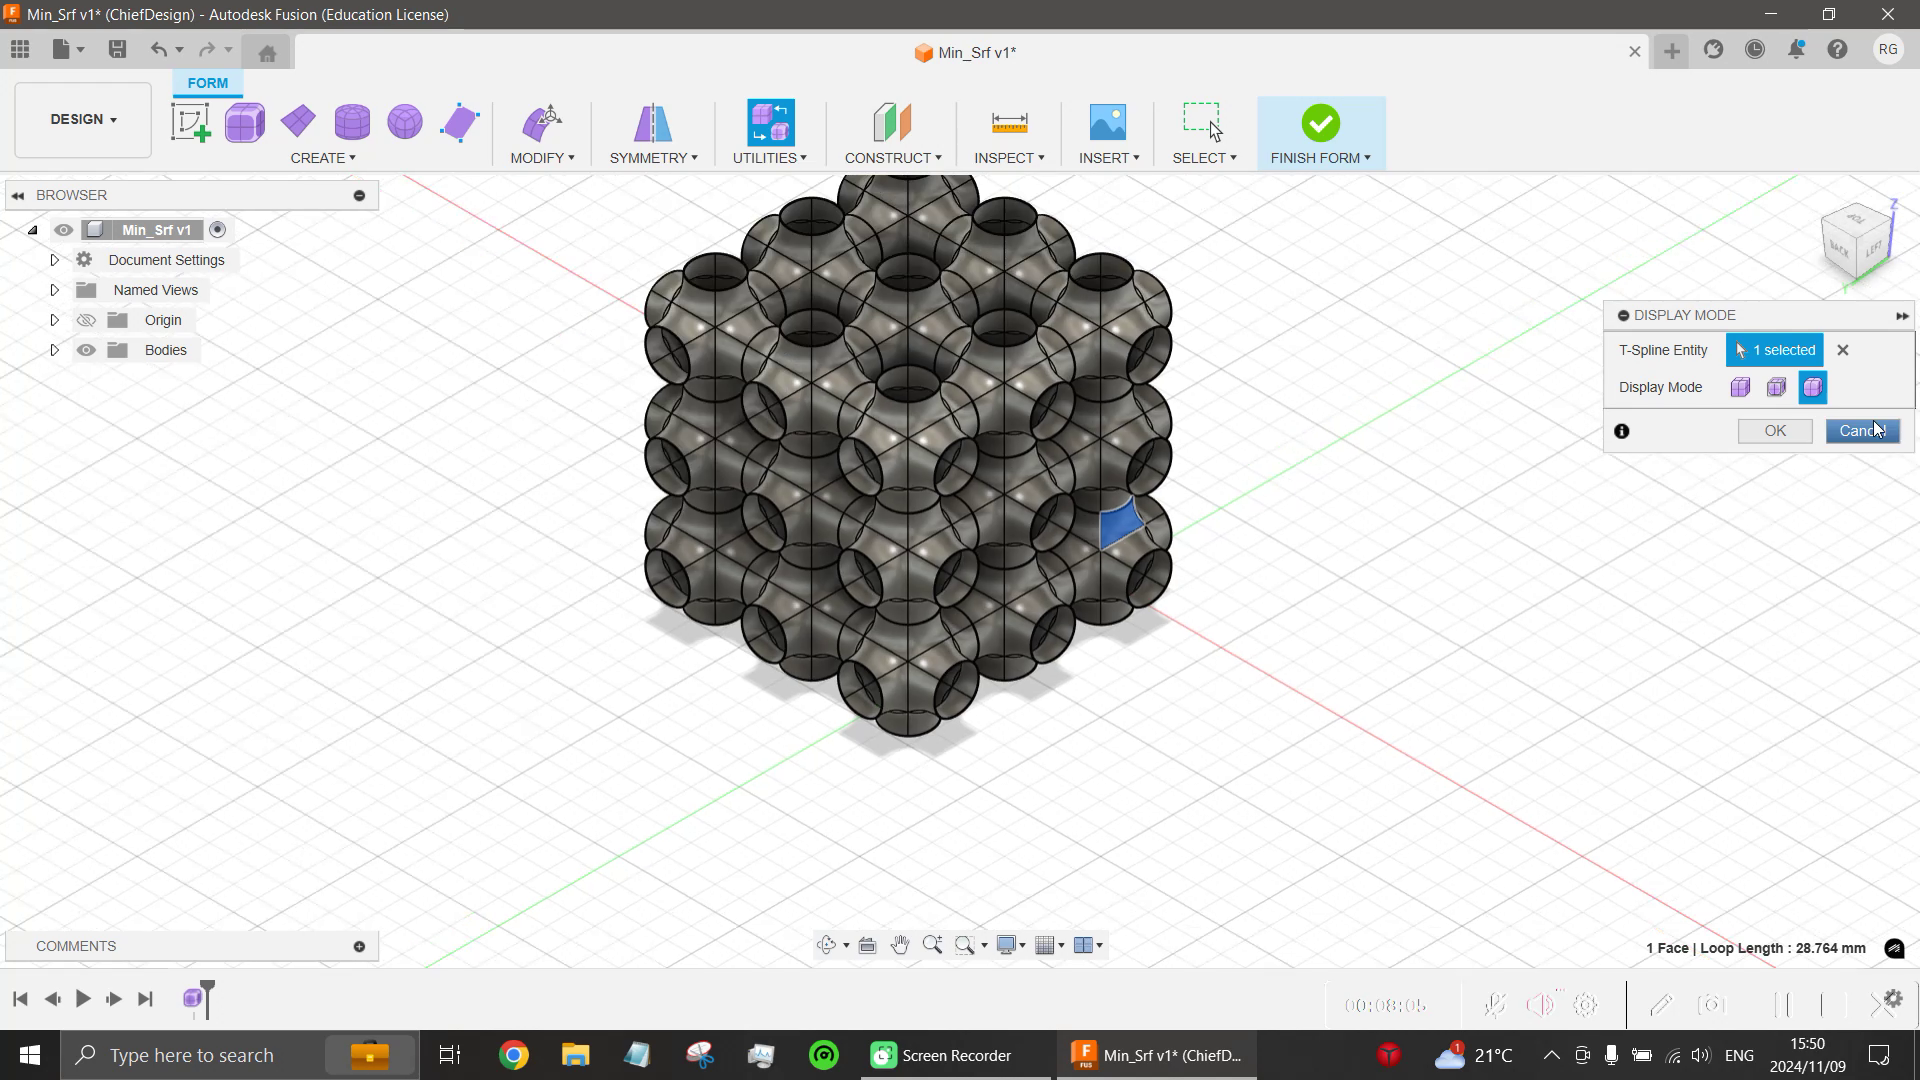
Under utilities, return display mode to smooth, if the view mode does not change, use "undo" several times and then "redo", that will fix the issue.
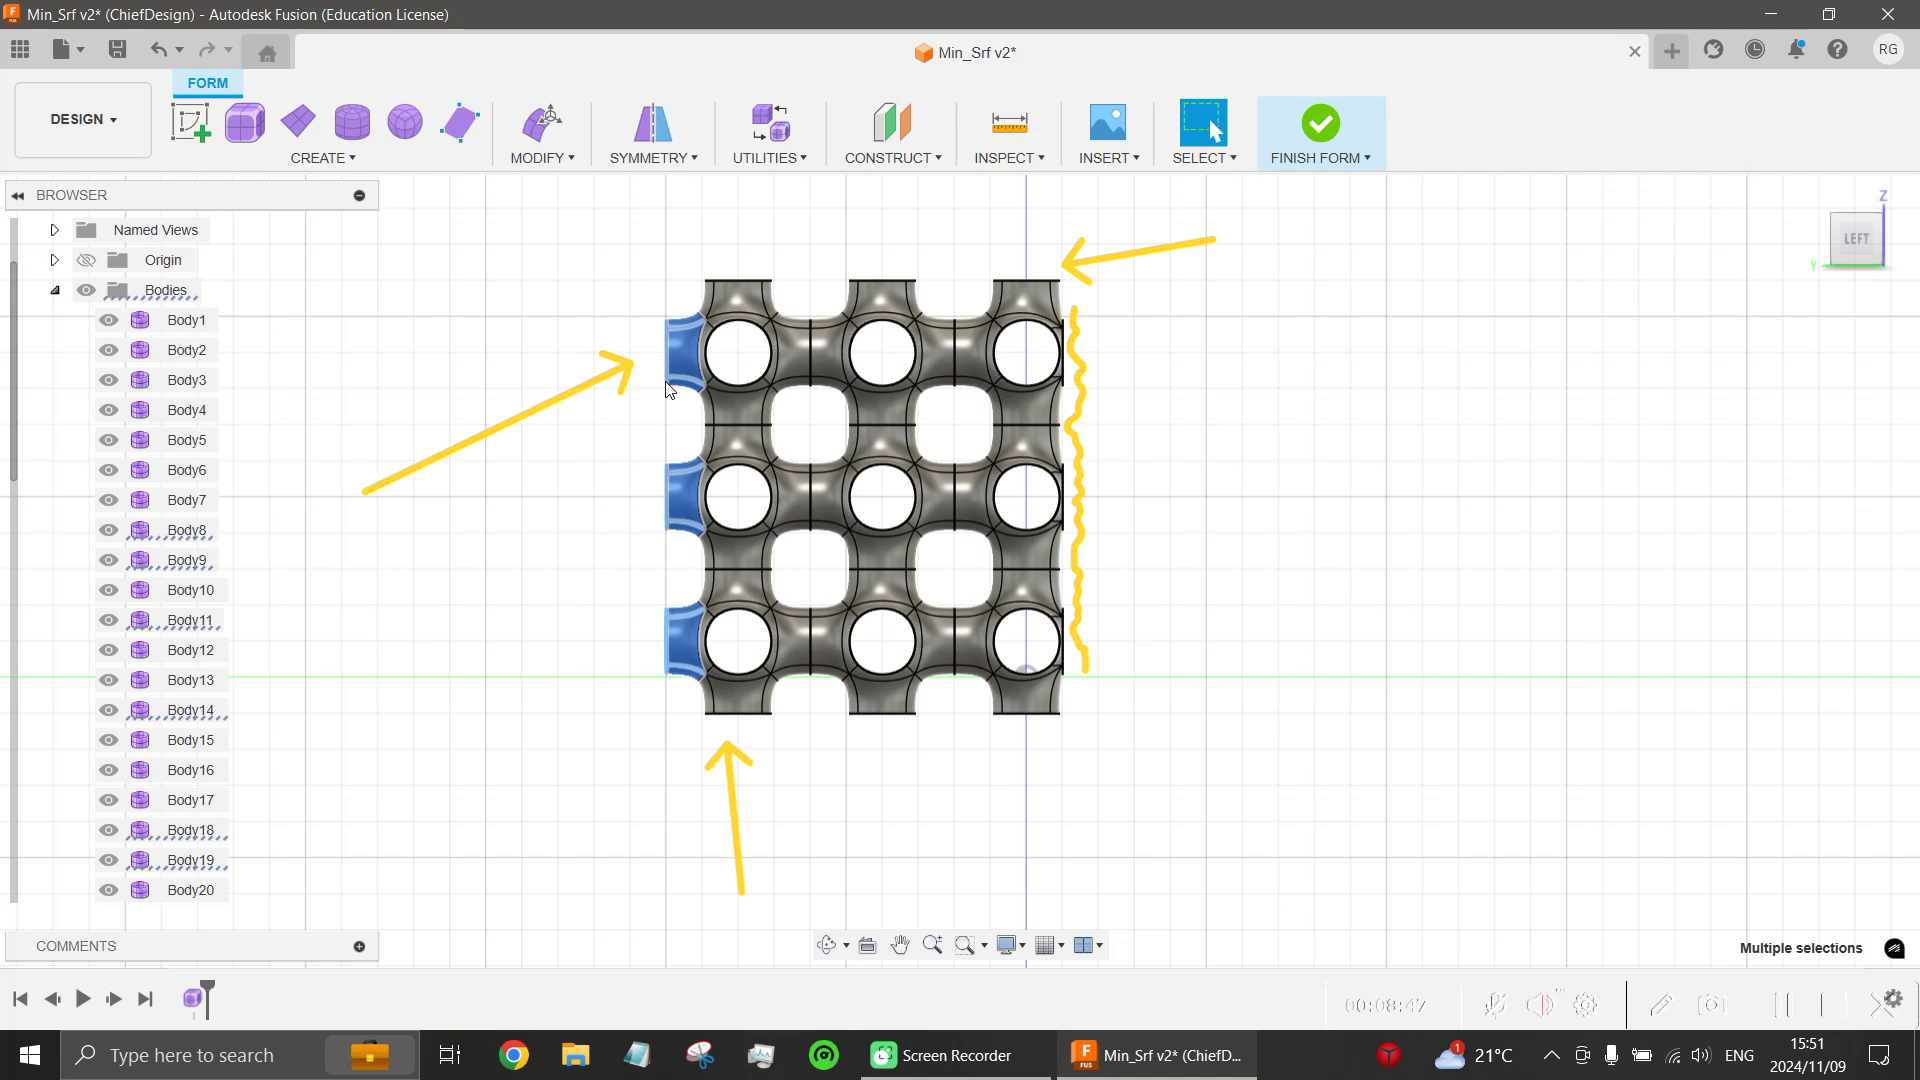
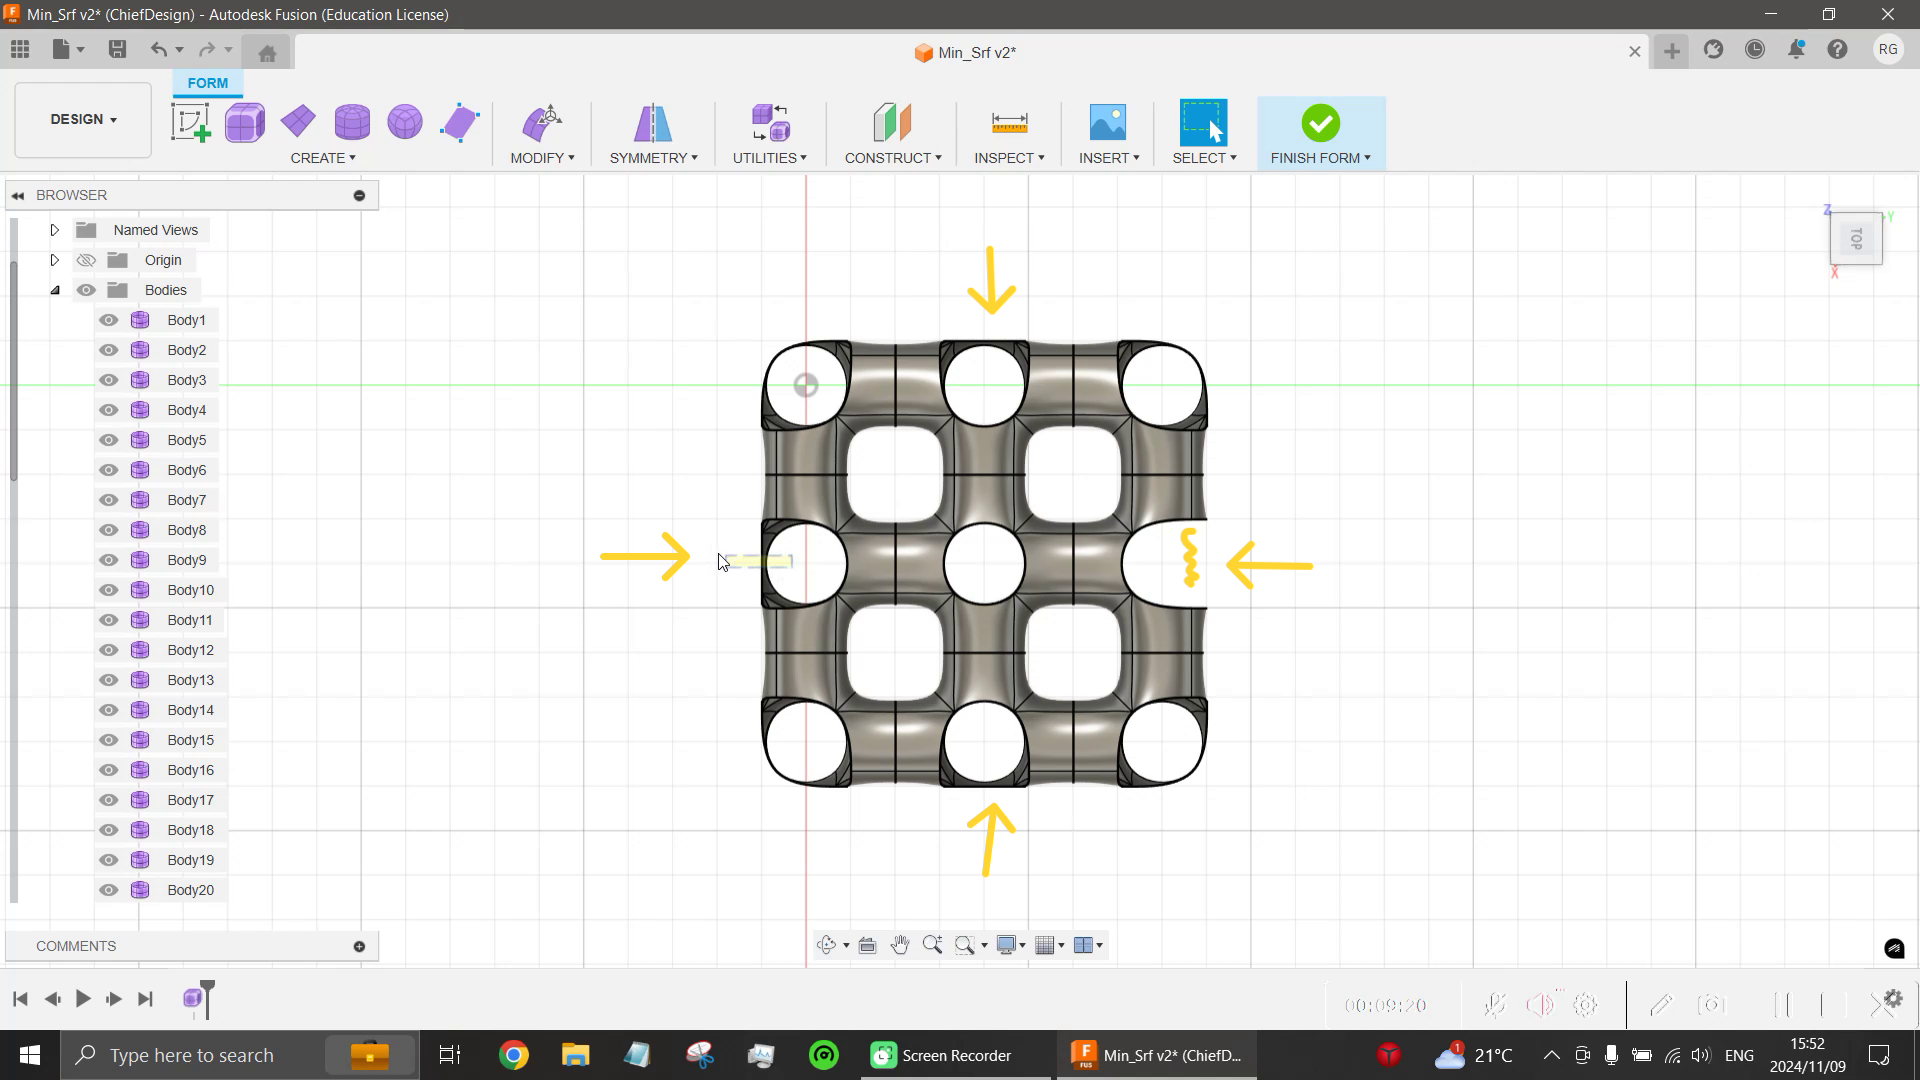
Now for every view ( Front, Top Right), highlight the outer faces and press backspace to delete, highlight from right to left.
Again, for every view, highlight and delete the portions, as shown in the third image above.
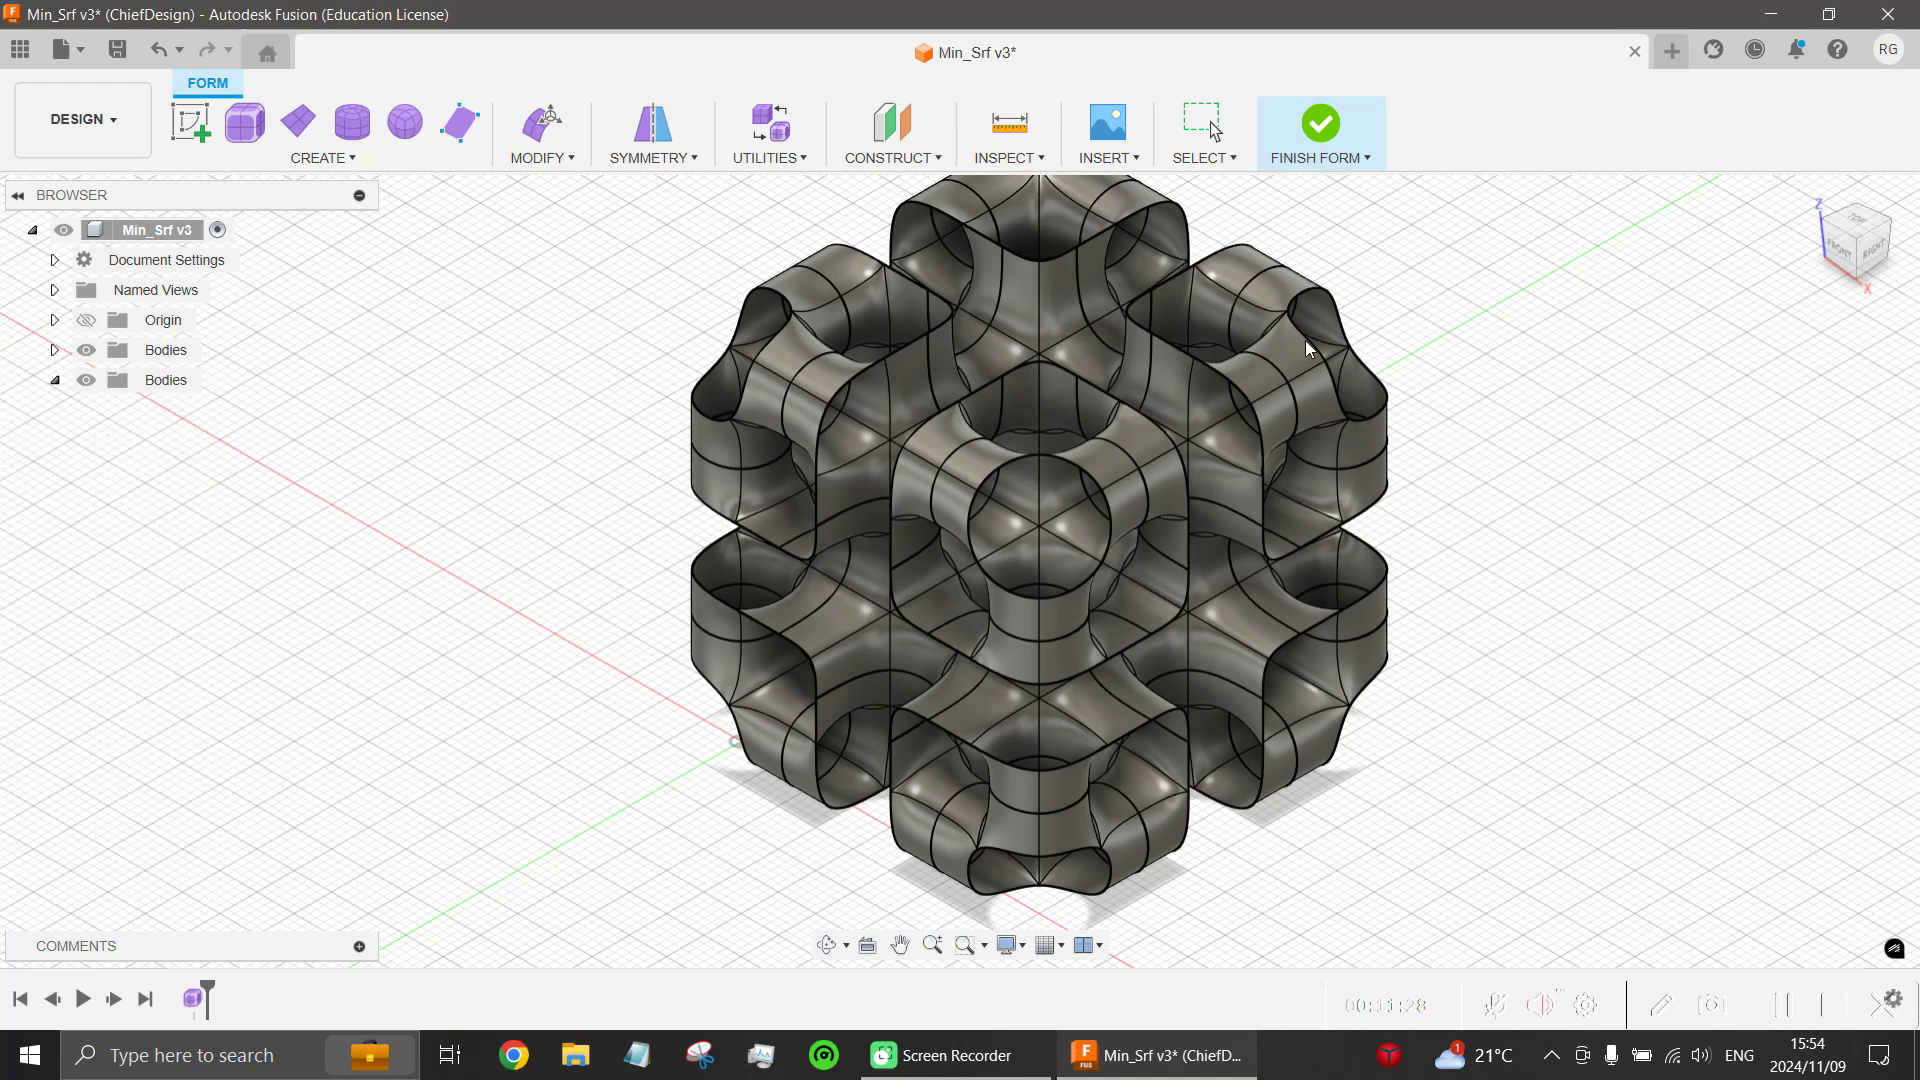
At this point we are done with the free-form environment, click finish on the top-right.
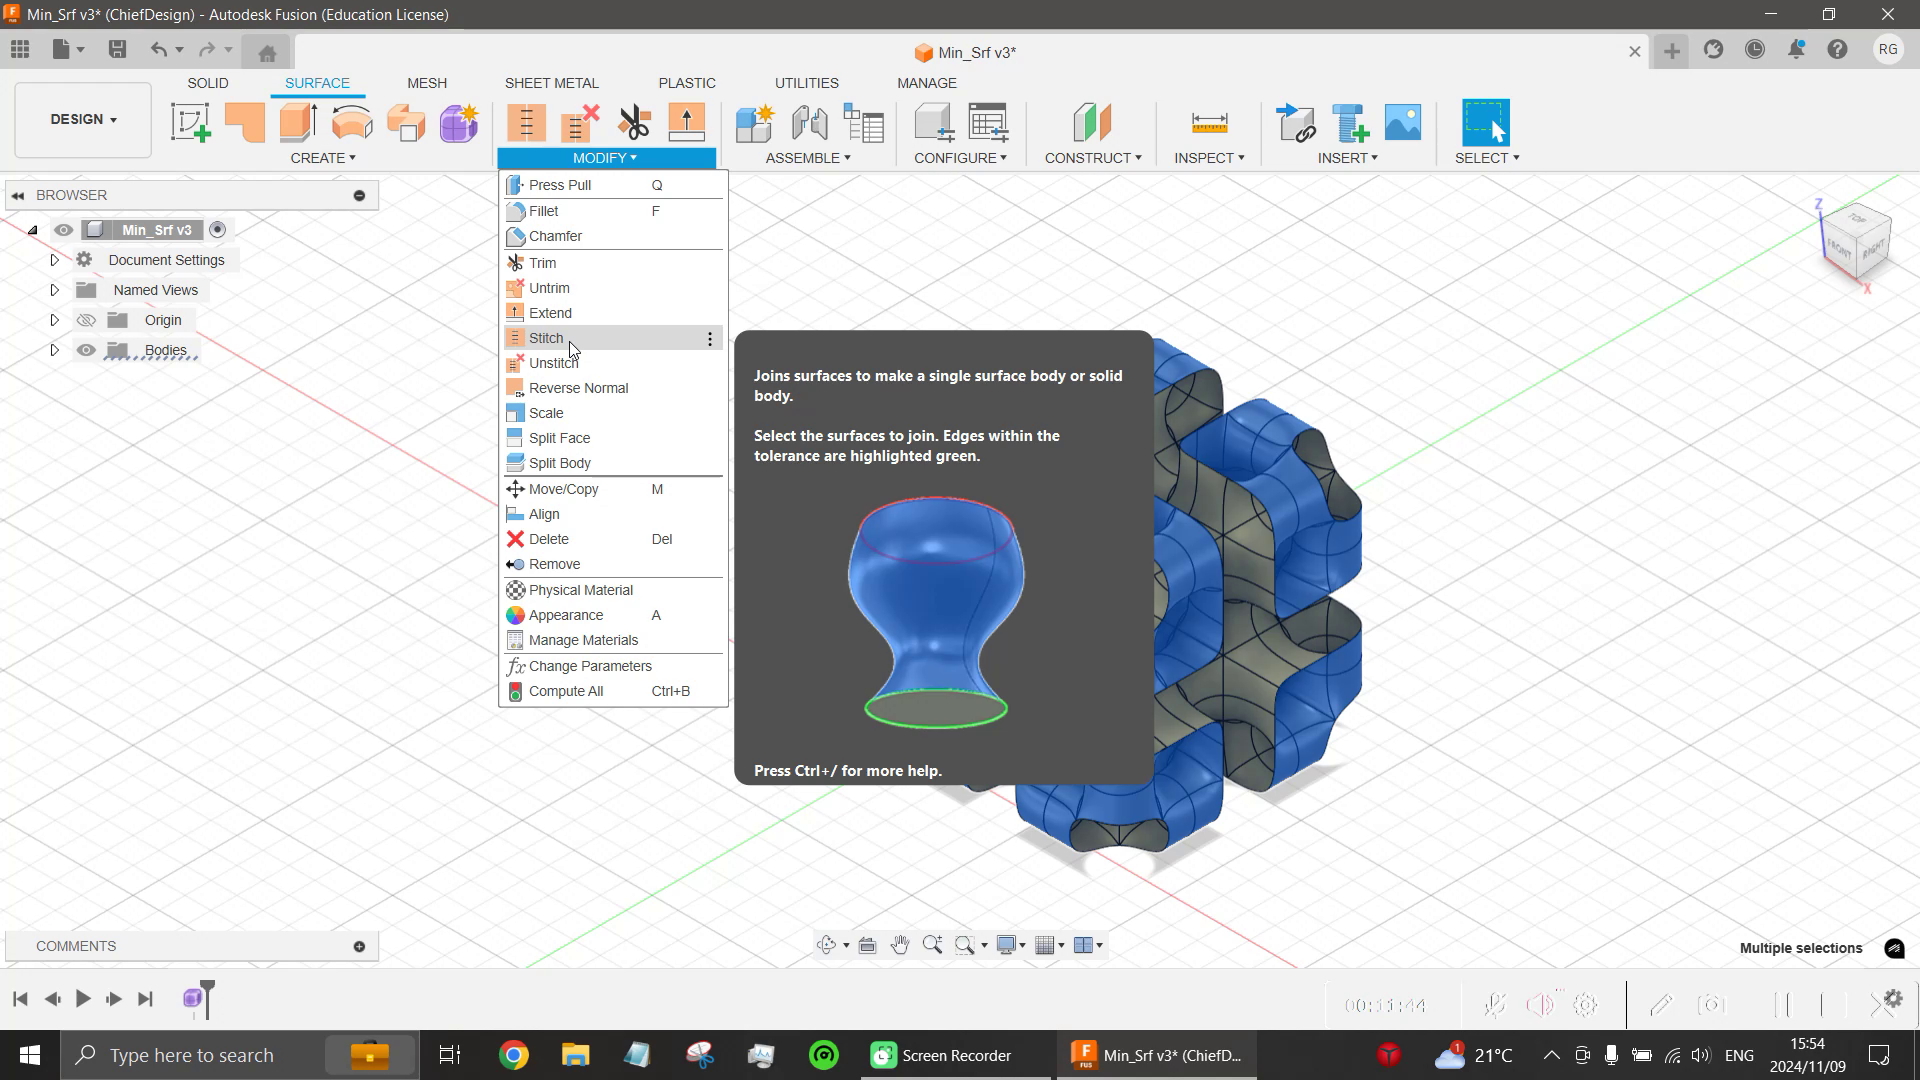
Highlight the polysurfaces then under the surface tab, go to modify, select stitch to combine all the faces into a single surface.
The next step is to add thickness to the rather complex minimal surface, and i could not pull that off with the "Thicken" option, can you pull it off?
To thicken the surface i used Meshmixer, but this is not necessary, and you may jump to step 9.
If you continue to Meshmixer (step 8), export the surface in .obj format inside Fusion 360.
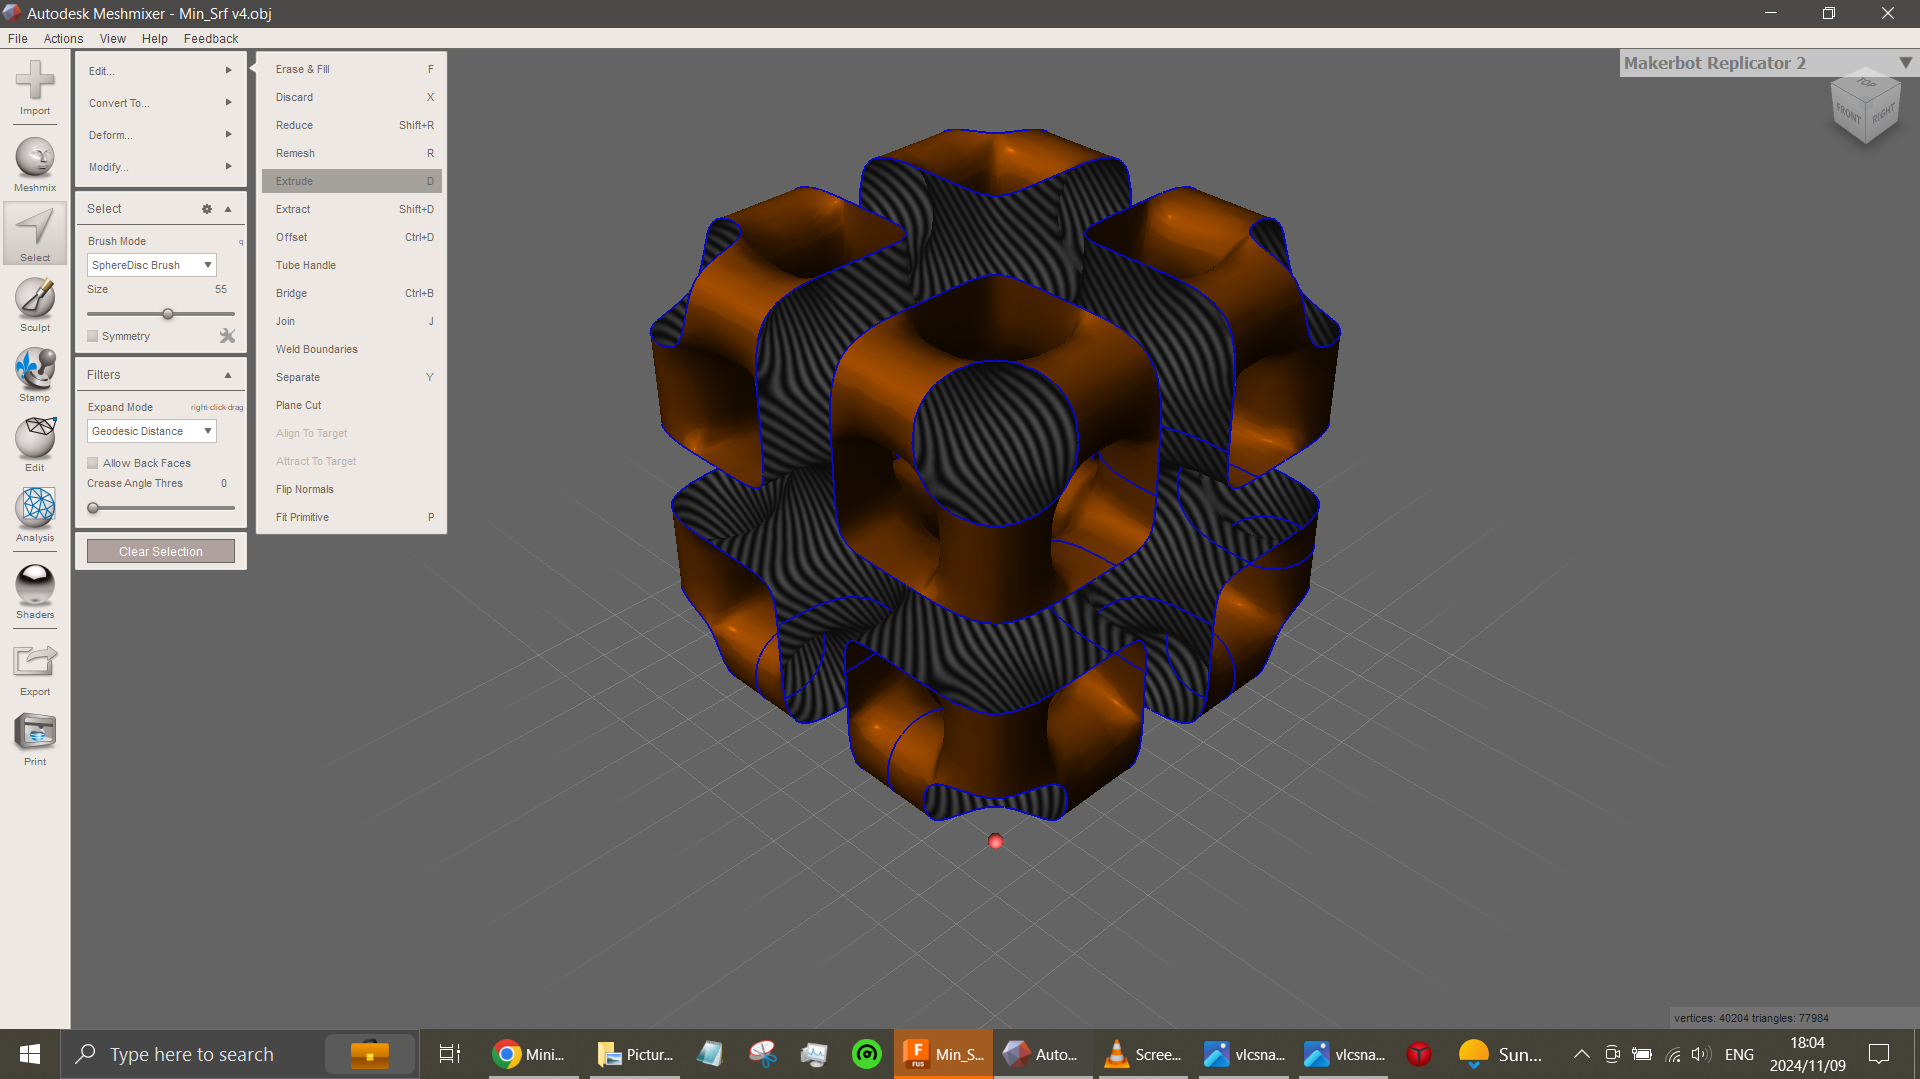
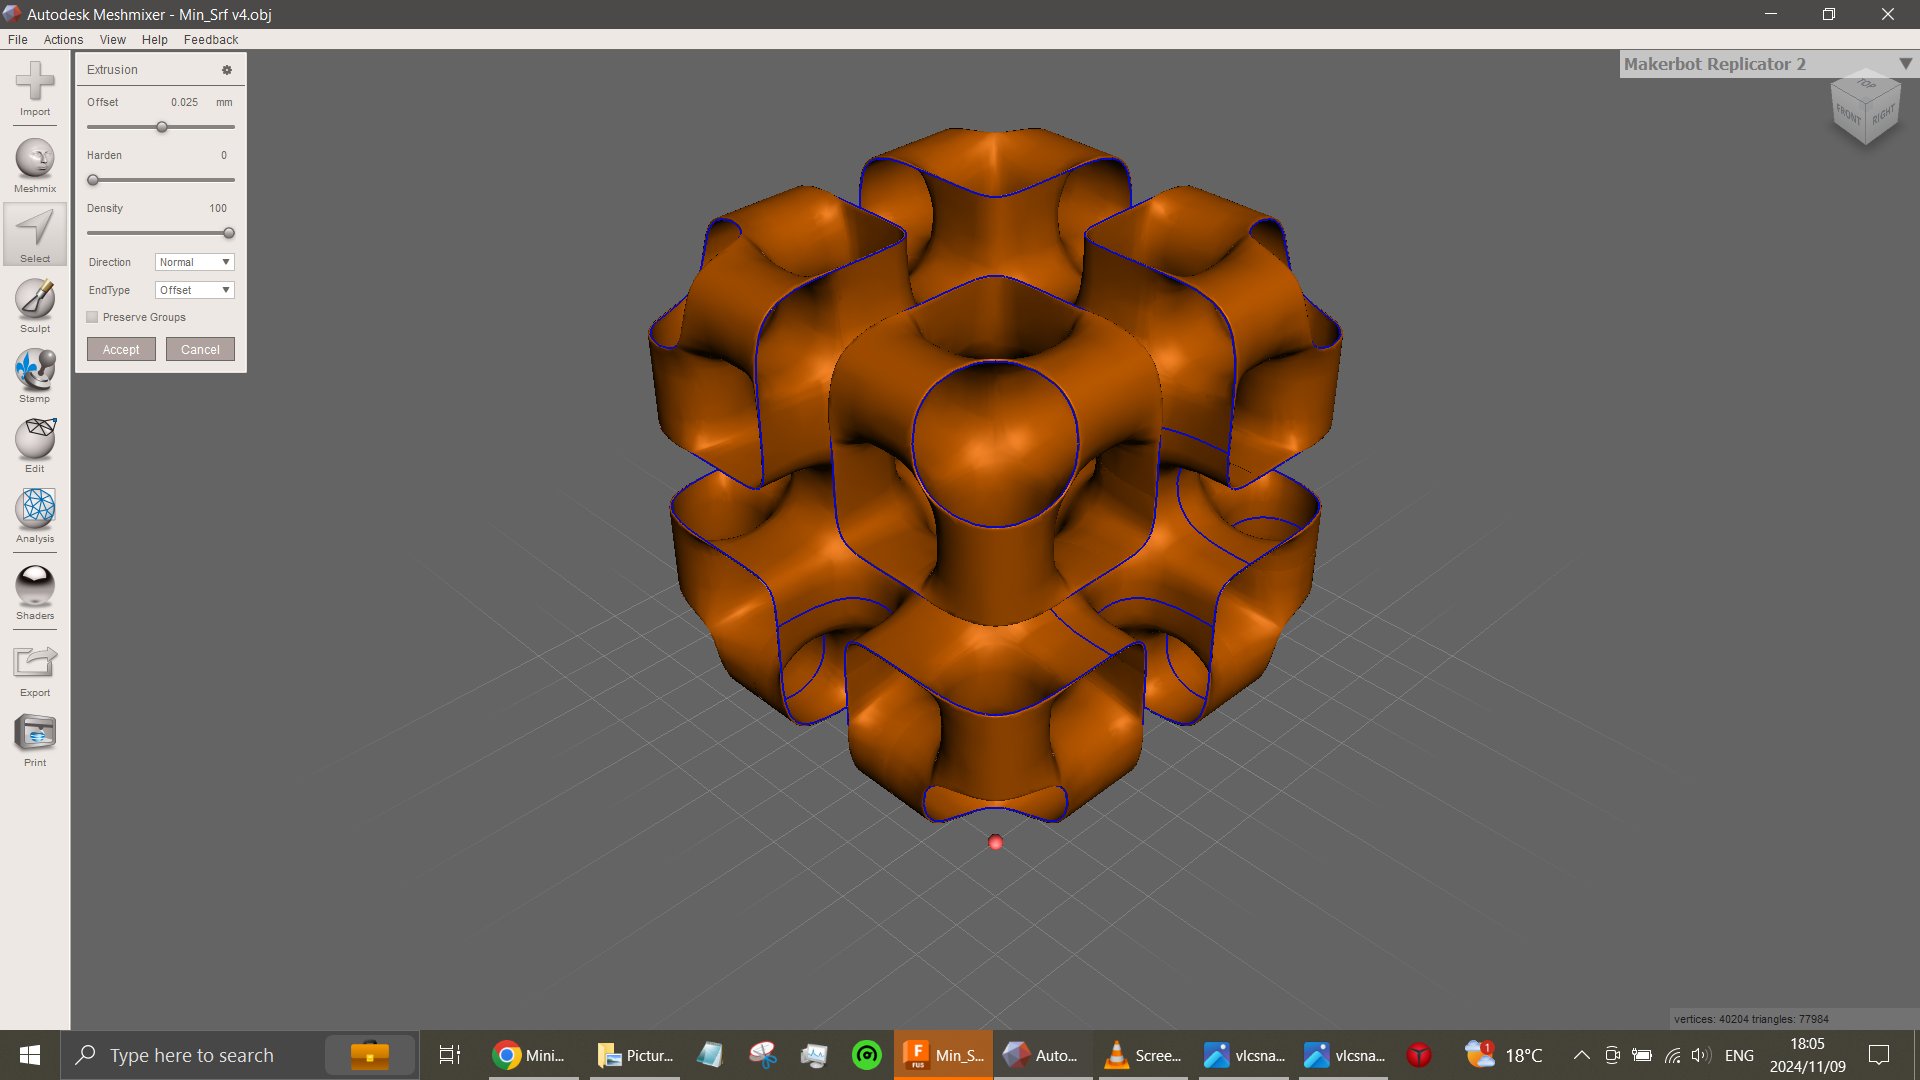
Open Meshmixer and import the minimal surface, click crtl+A to select the entire surface, go to select, edit and extrude function, i set my extrusion distance to 0.025 mm, it just looks fair in appearance, set the direction to normal, density to maximum and hardness to zero. Accept changes and export in .obj format.
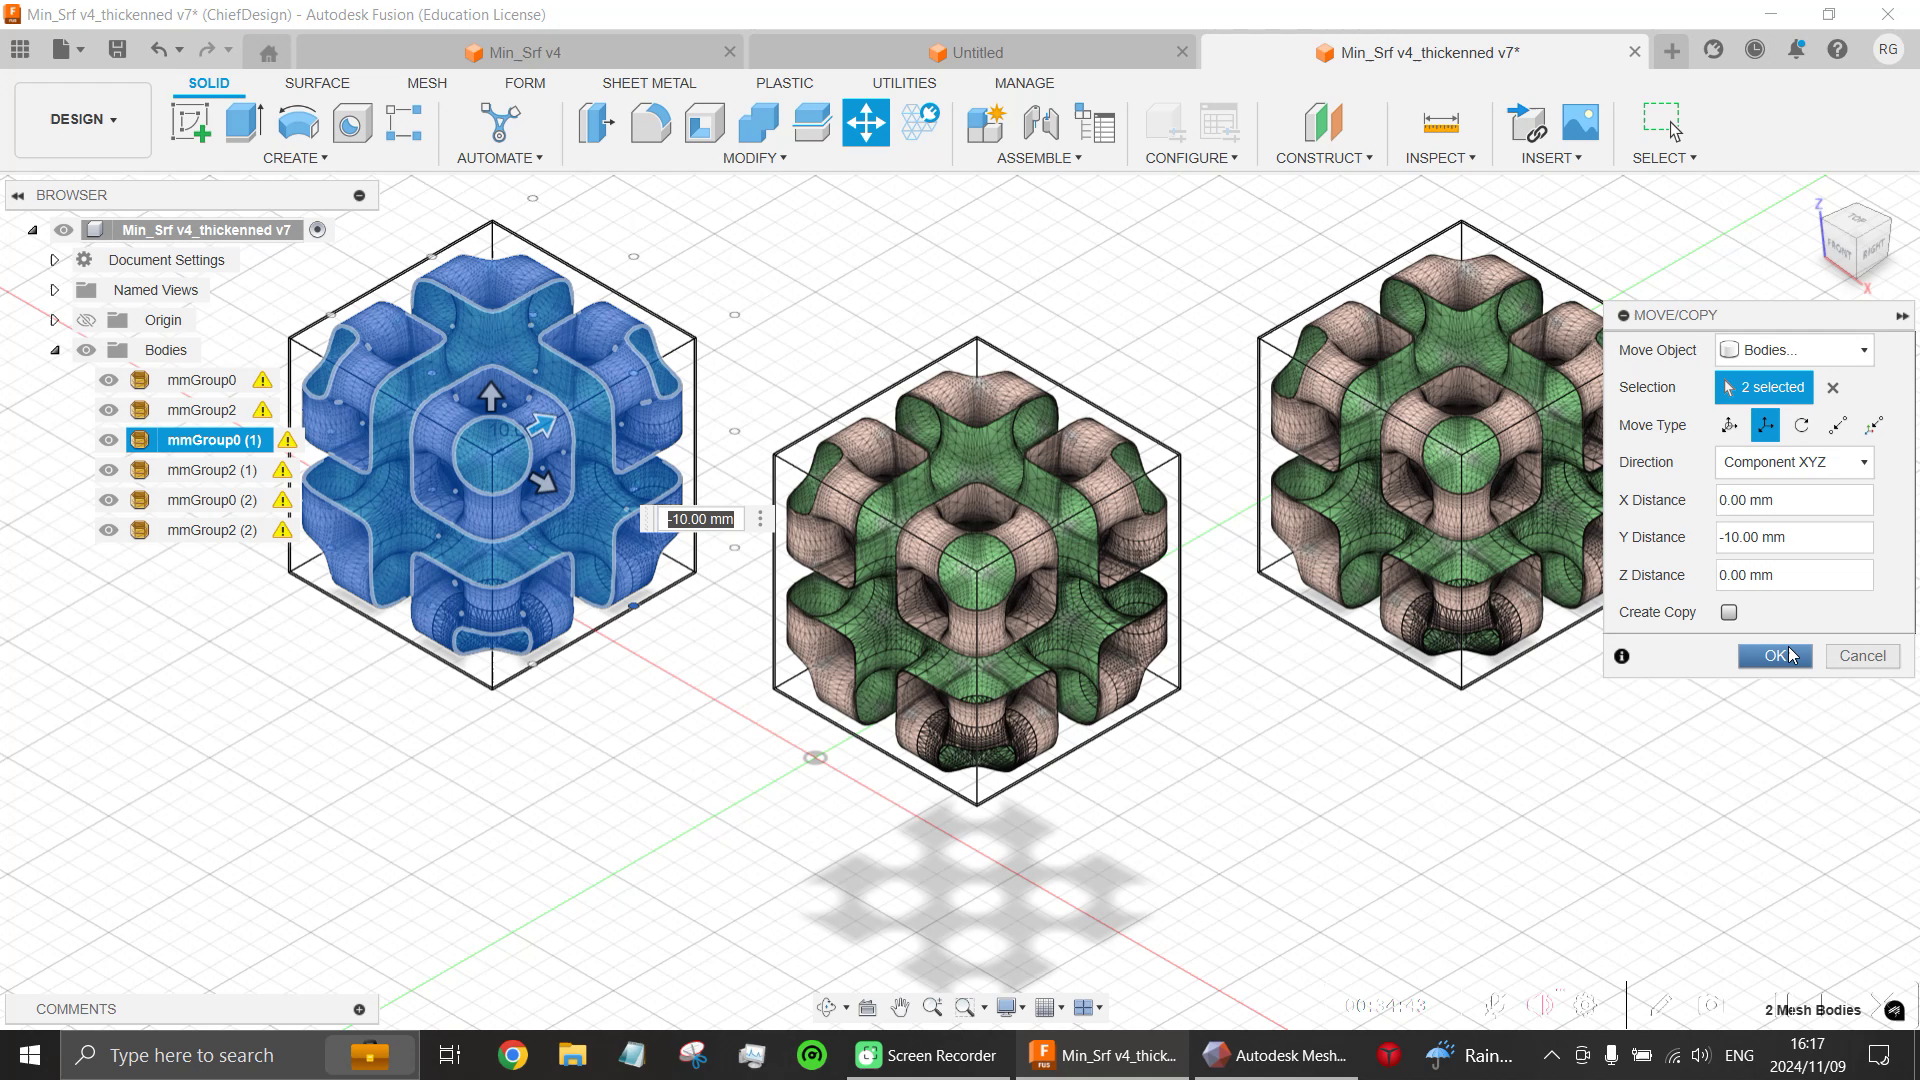
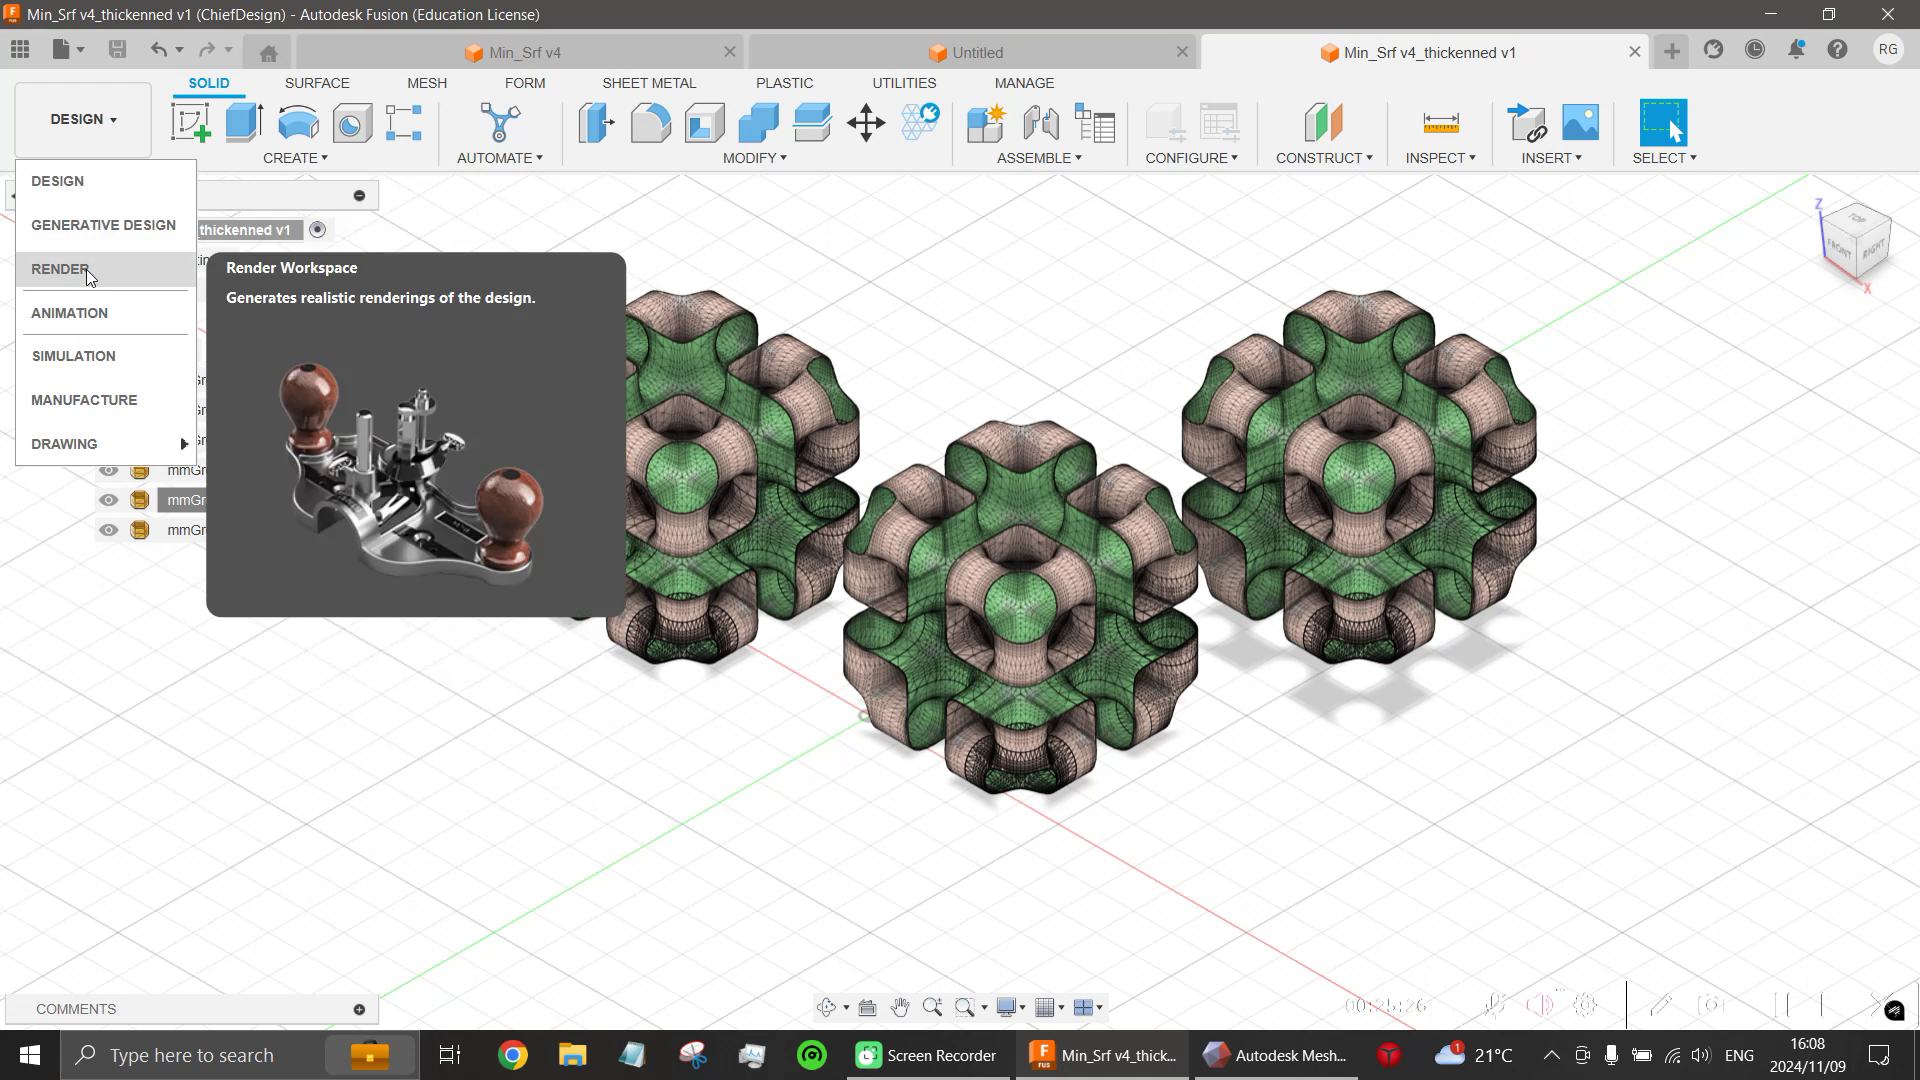
Load the thickened minimal surface, make a few instances of the model then set the workspace to render mode
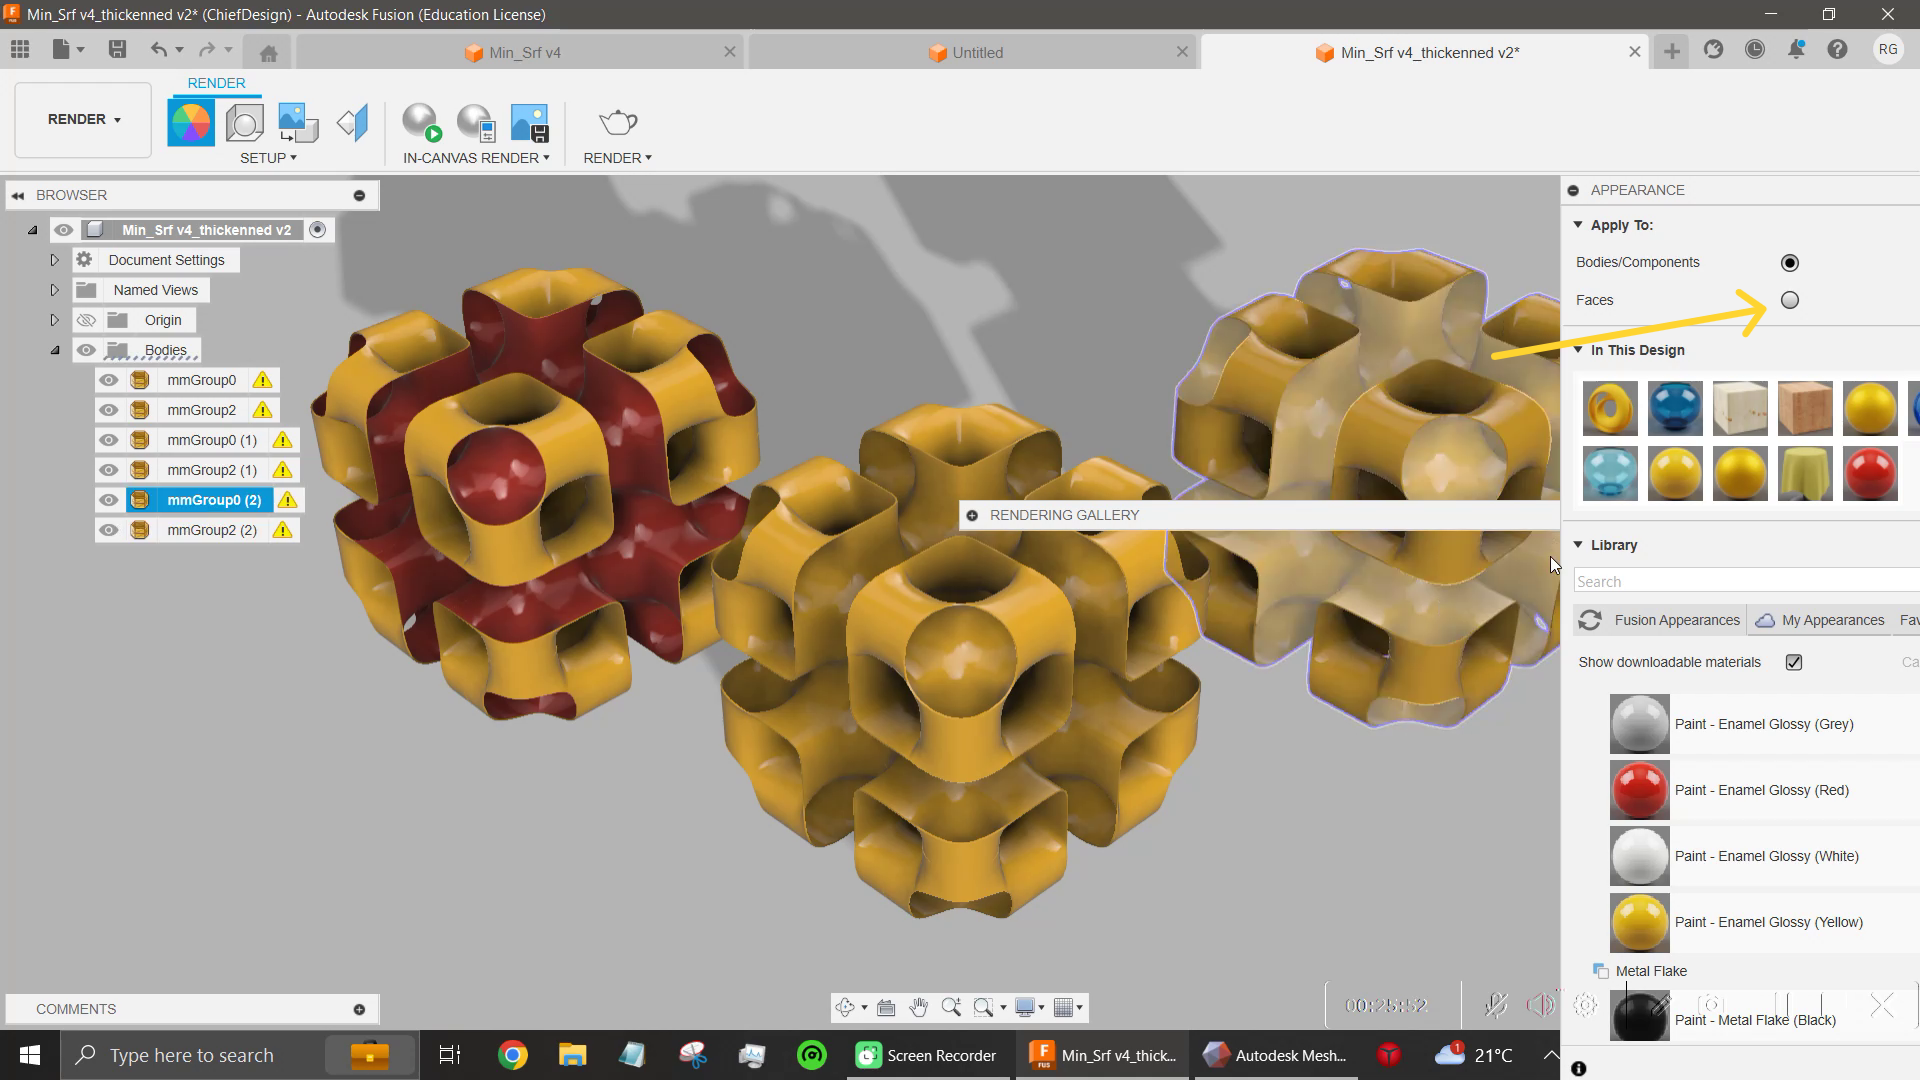
Press A to open the material library, set "Apply to" to faces and apply materials to your liking.
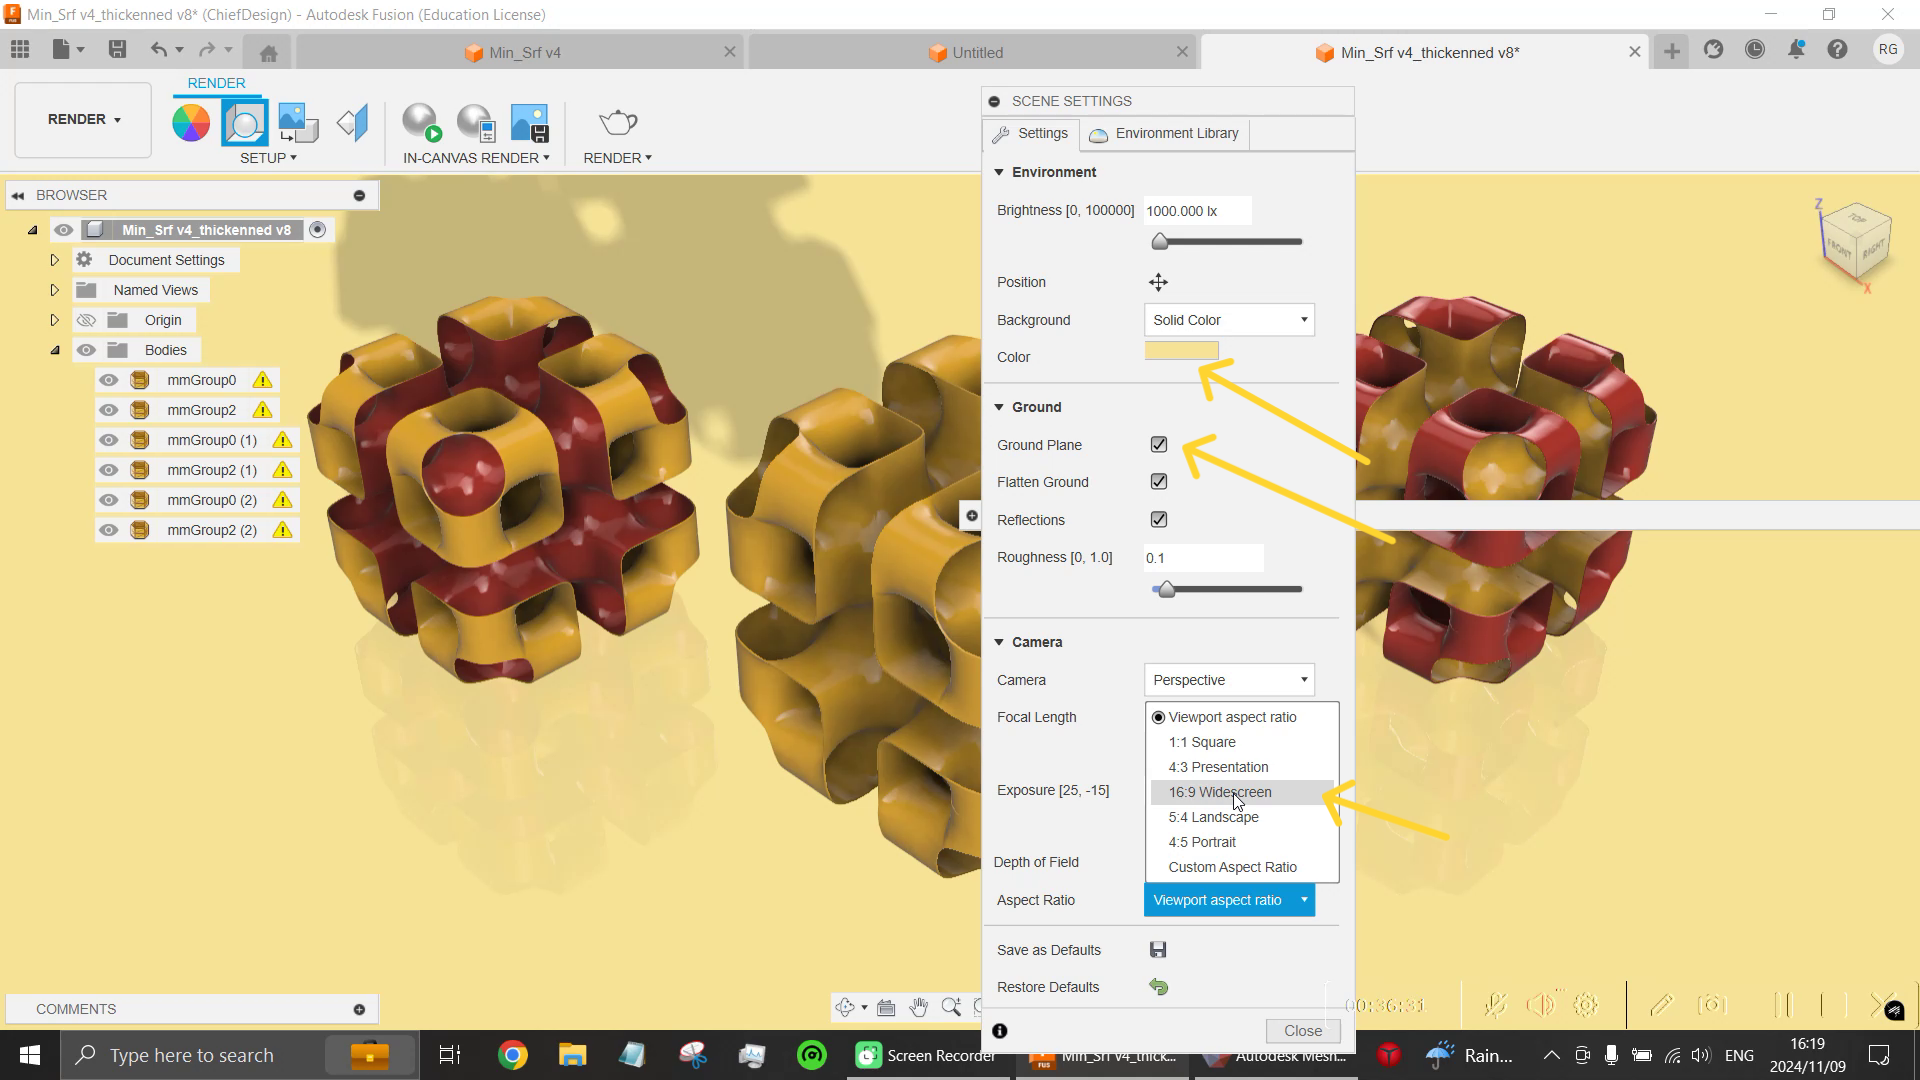
Under "Setup", "scene settings", select wide-screen resolution, apply a solid color, which ever you like and uncheck ground-plane to get rid of ground shadows if you wish. For the environment settings, i left it as the default "Sharp highlights".
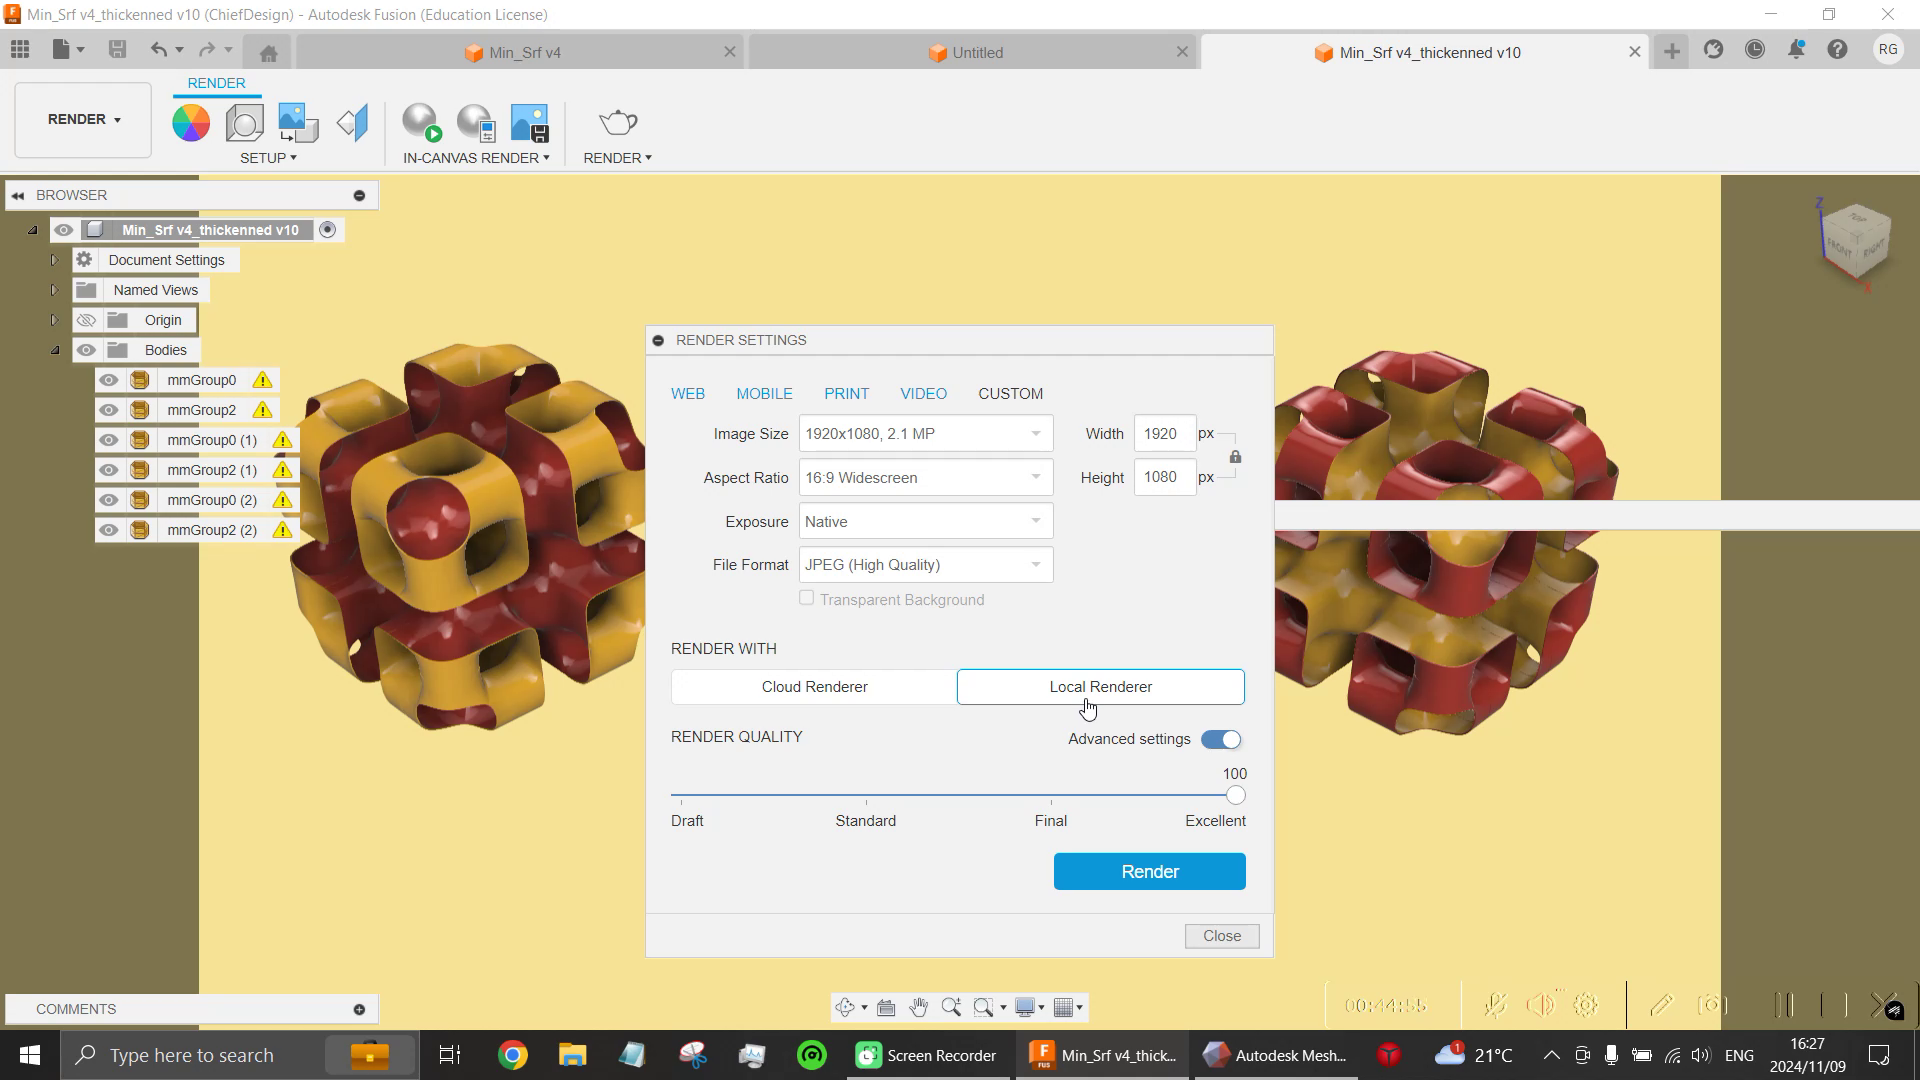
Time to render the image, click render and for the setting i set the image size to match my current screen resolution (1920 x 1080), set aspect ratio to wide-screen, image type as JPEG high quality and render as local with high render quality, can choose cloud render as an alternative.
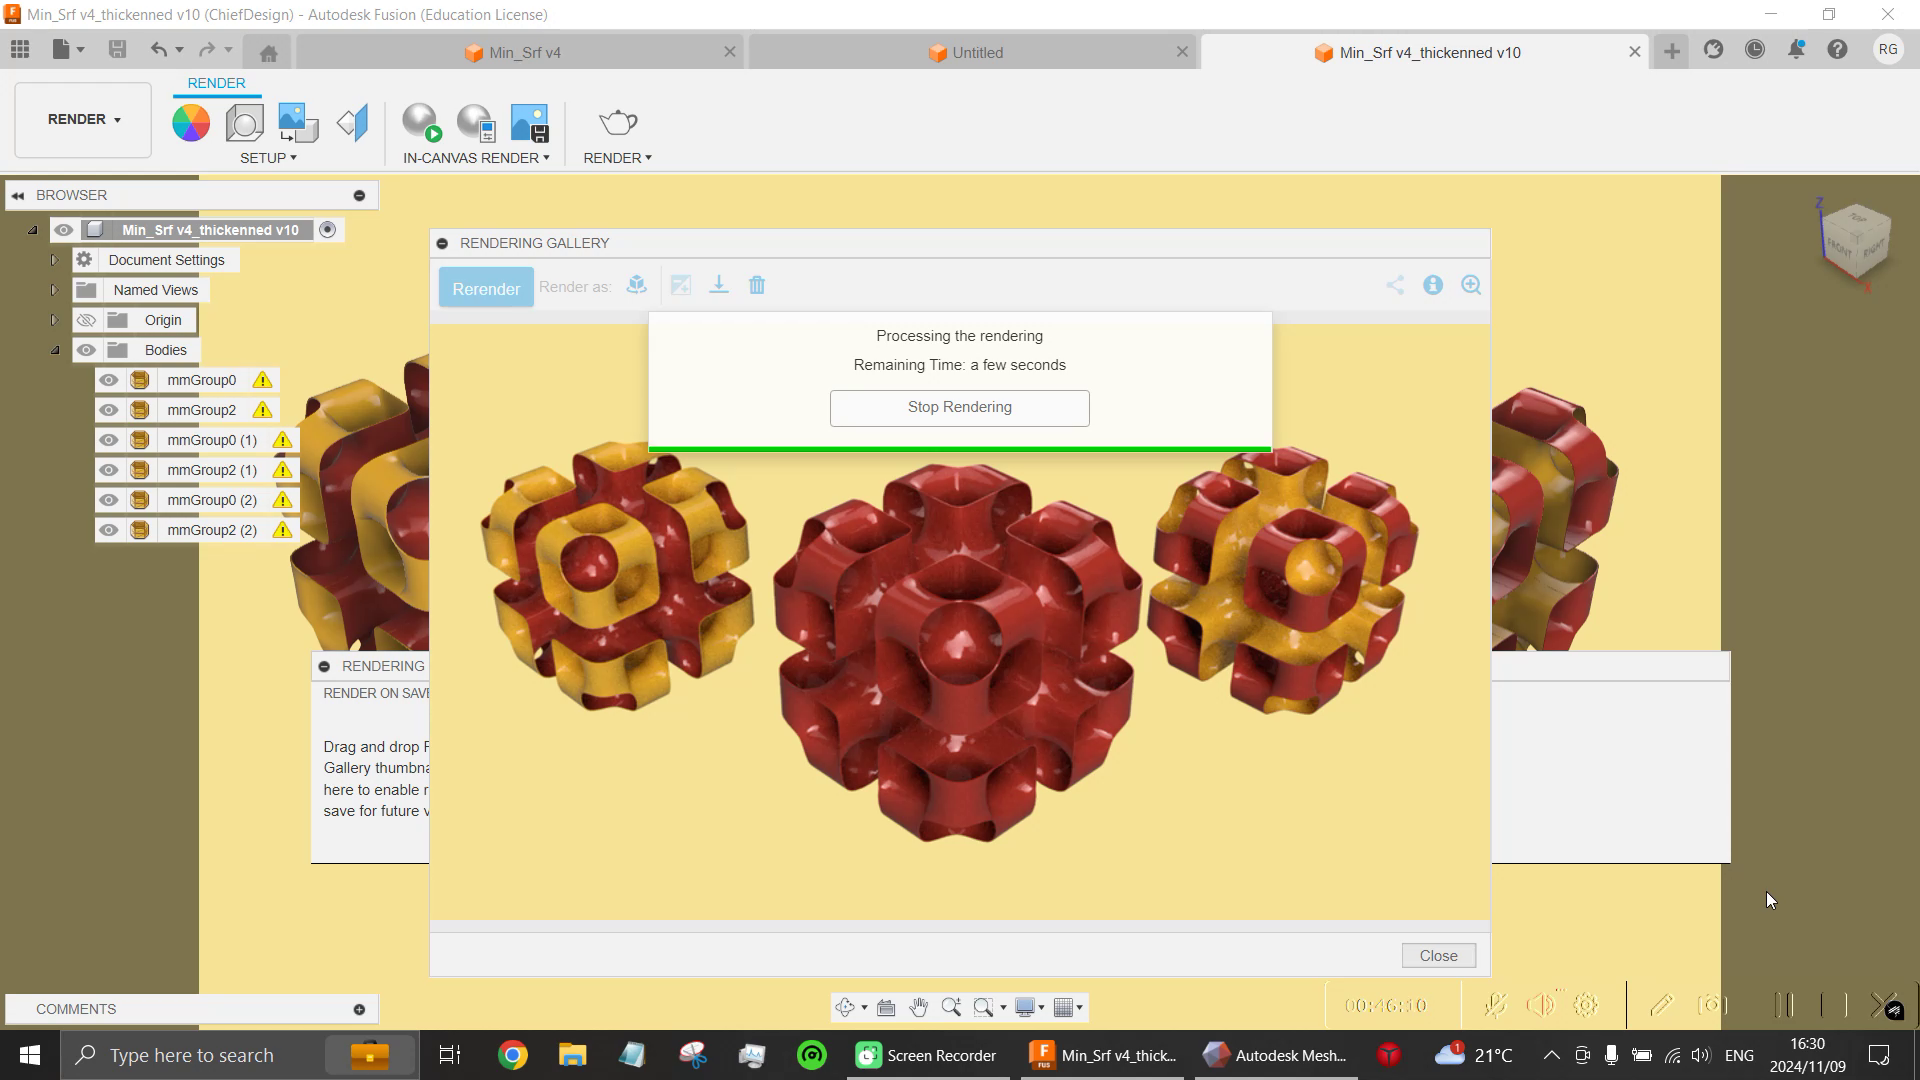
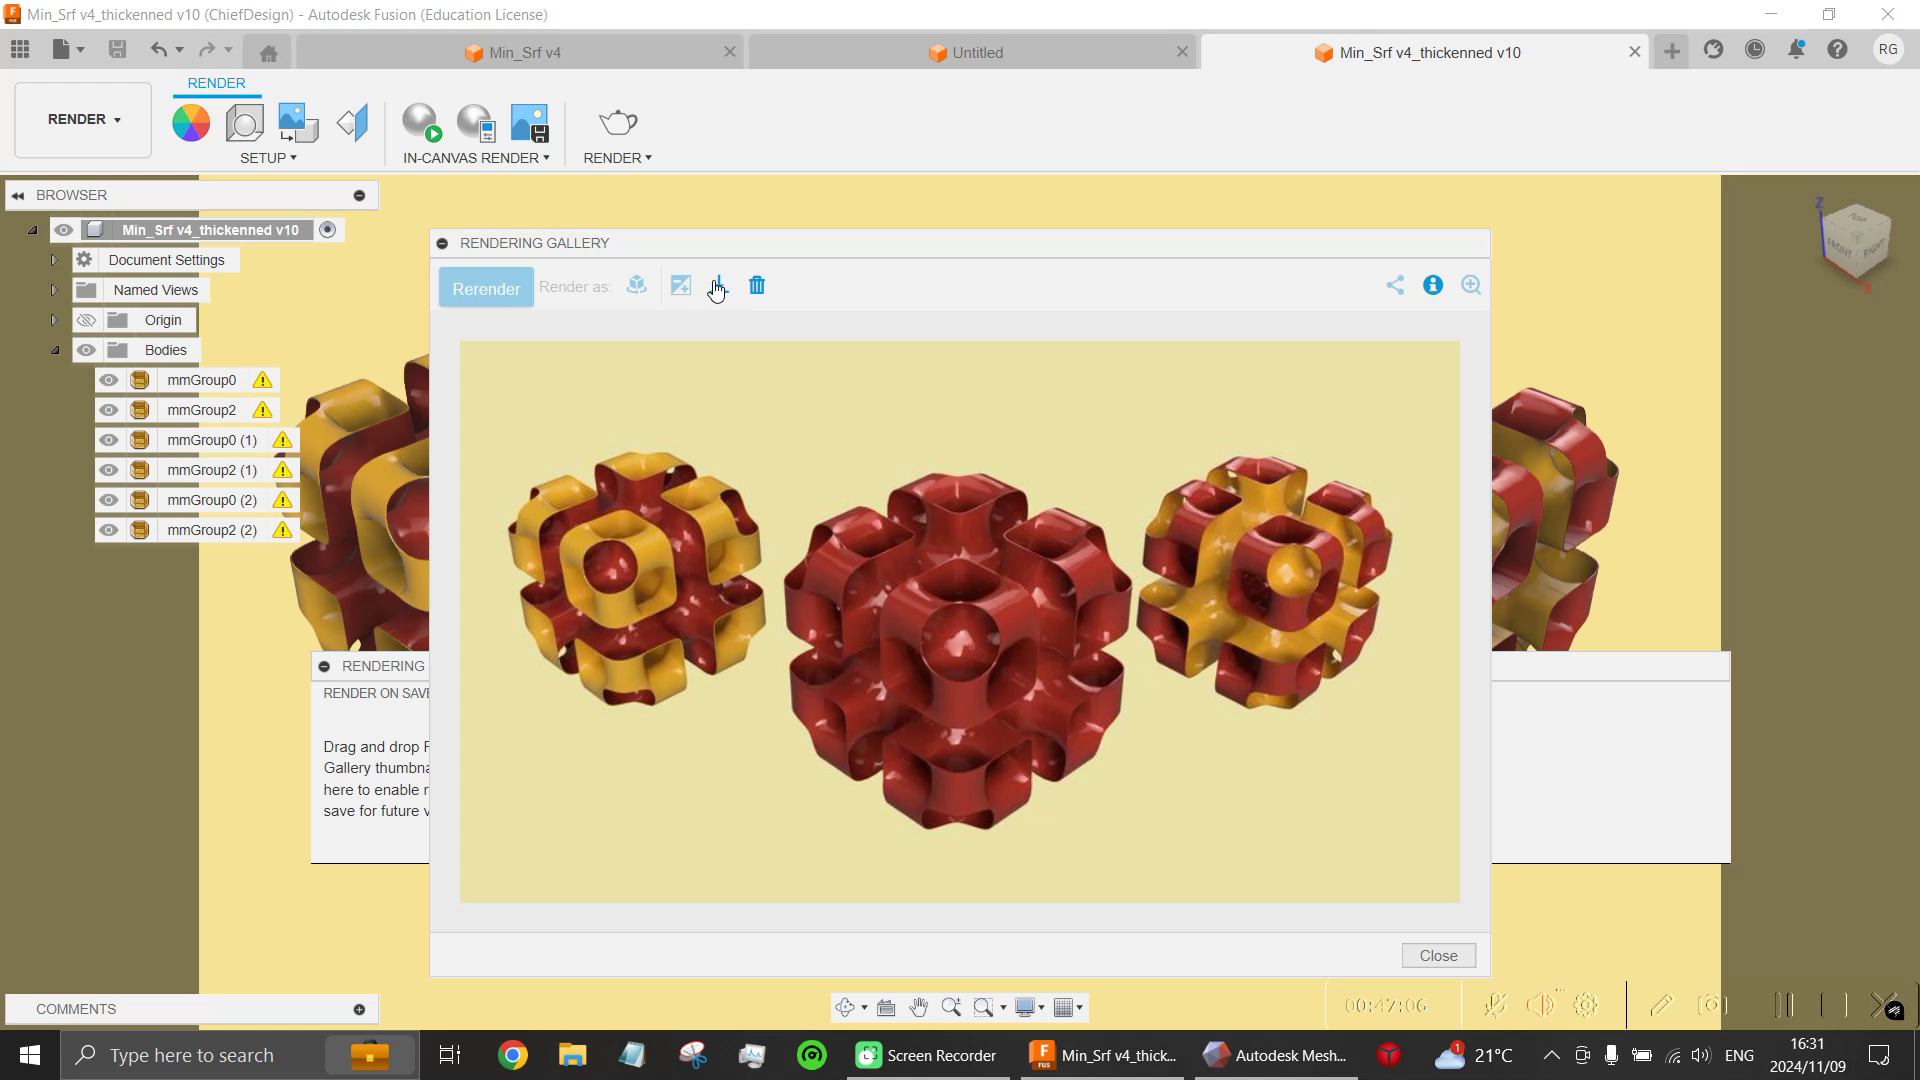
Click render and wait a few minutes to finish then download the image to your local drive.
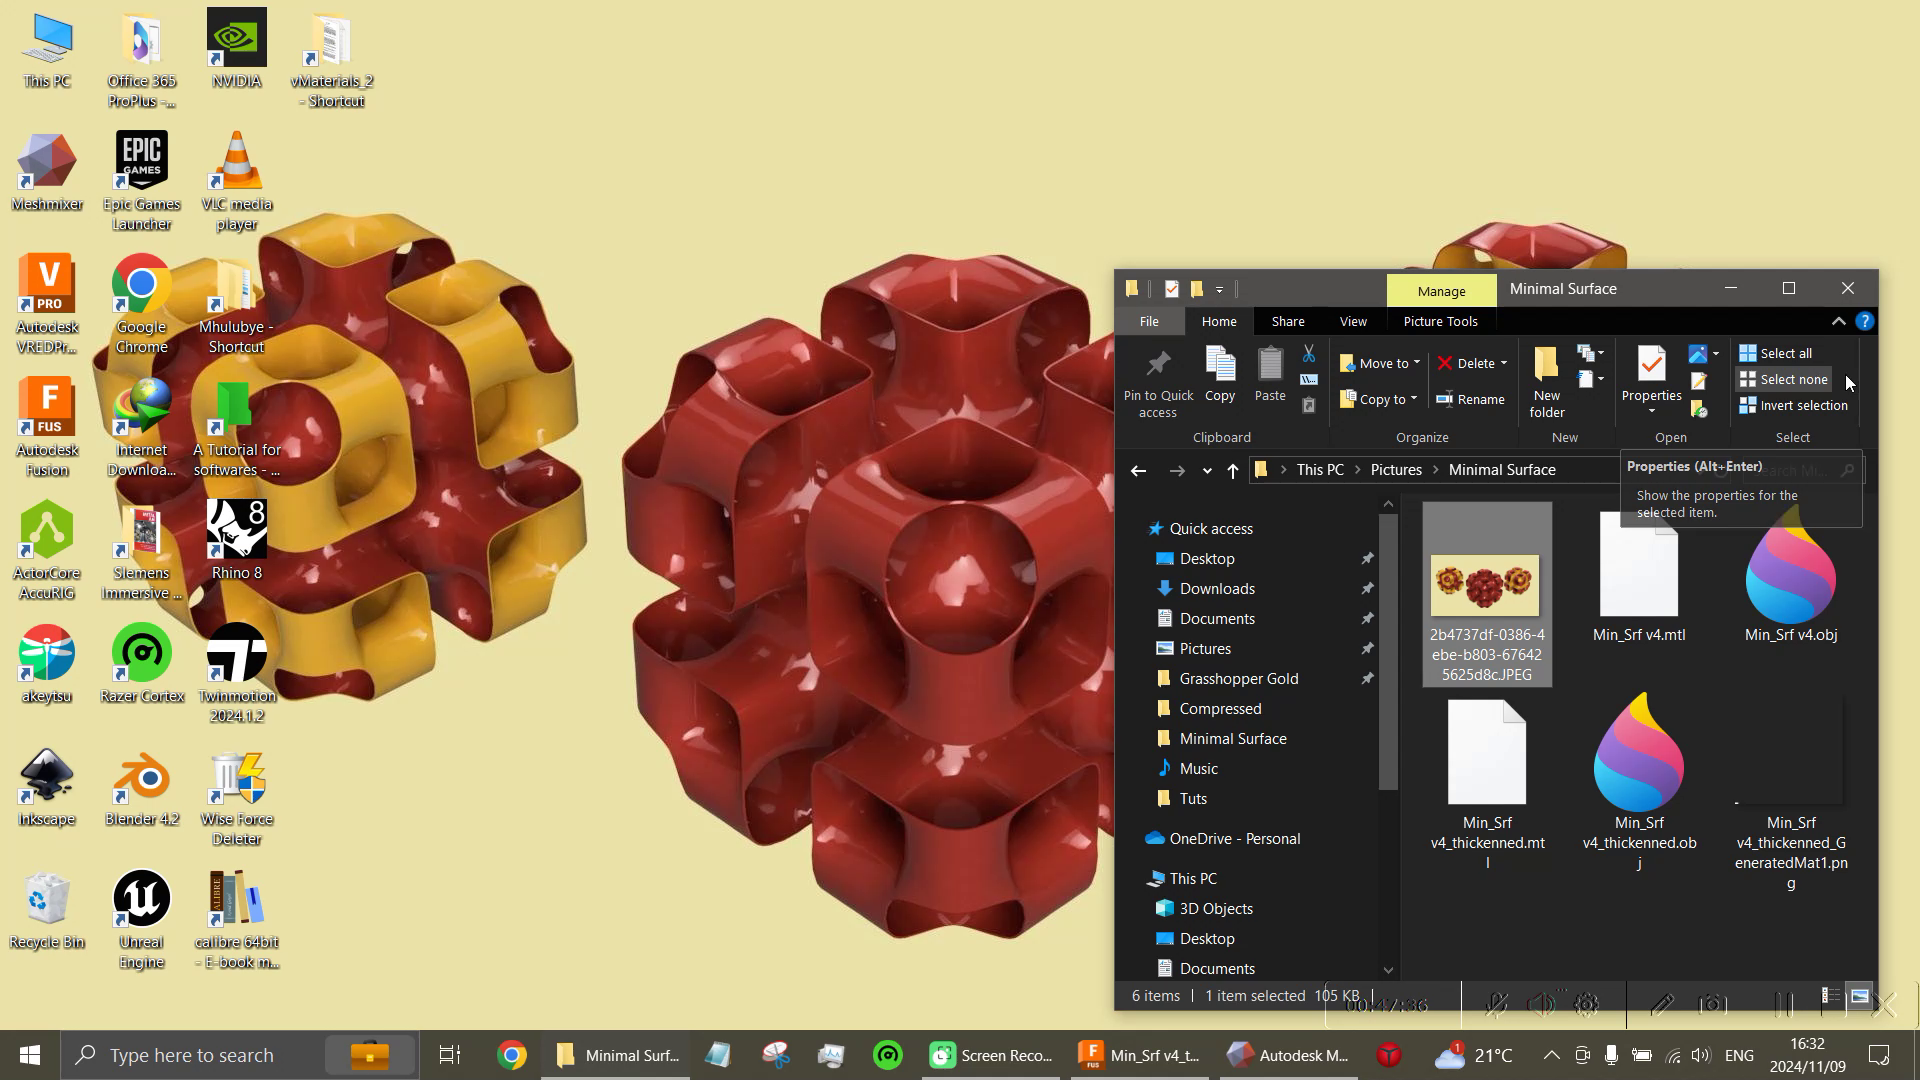
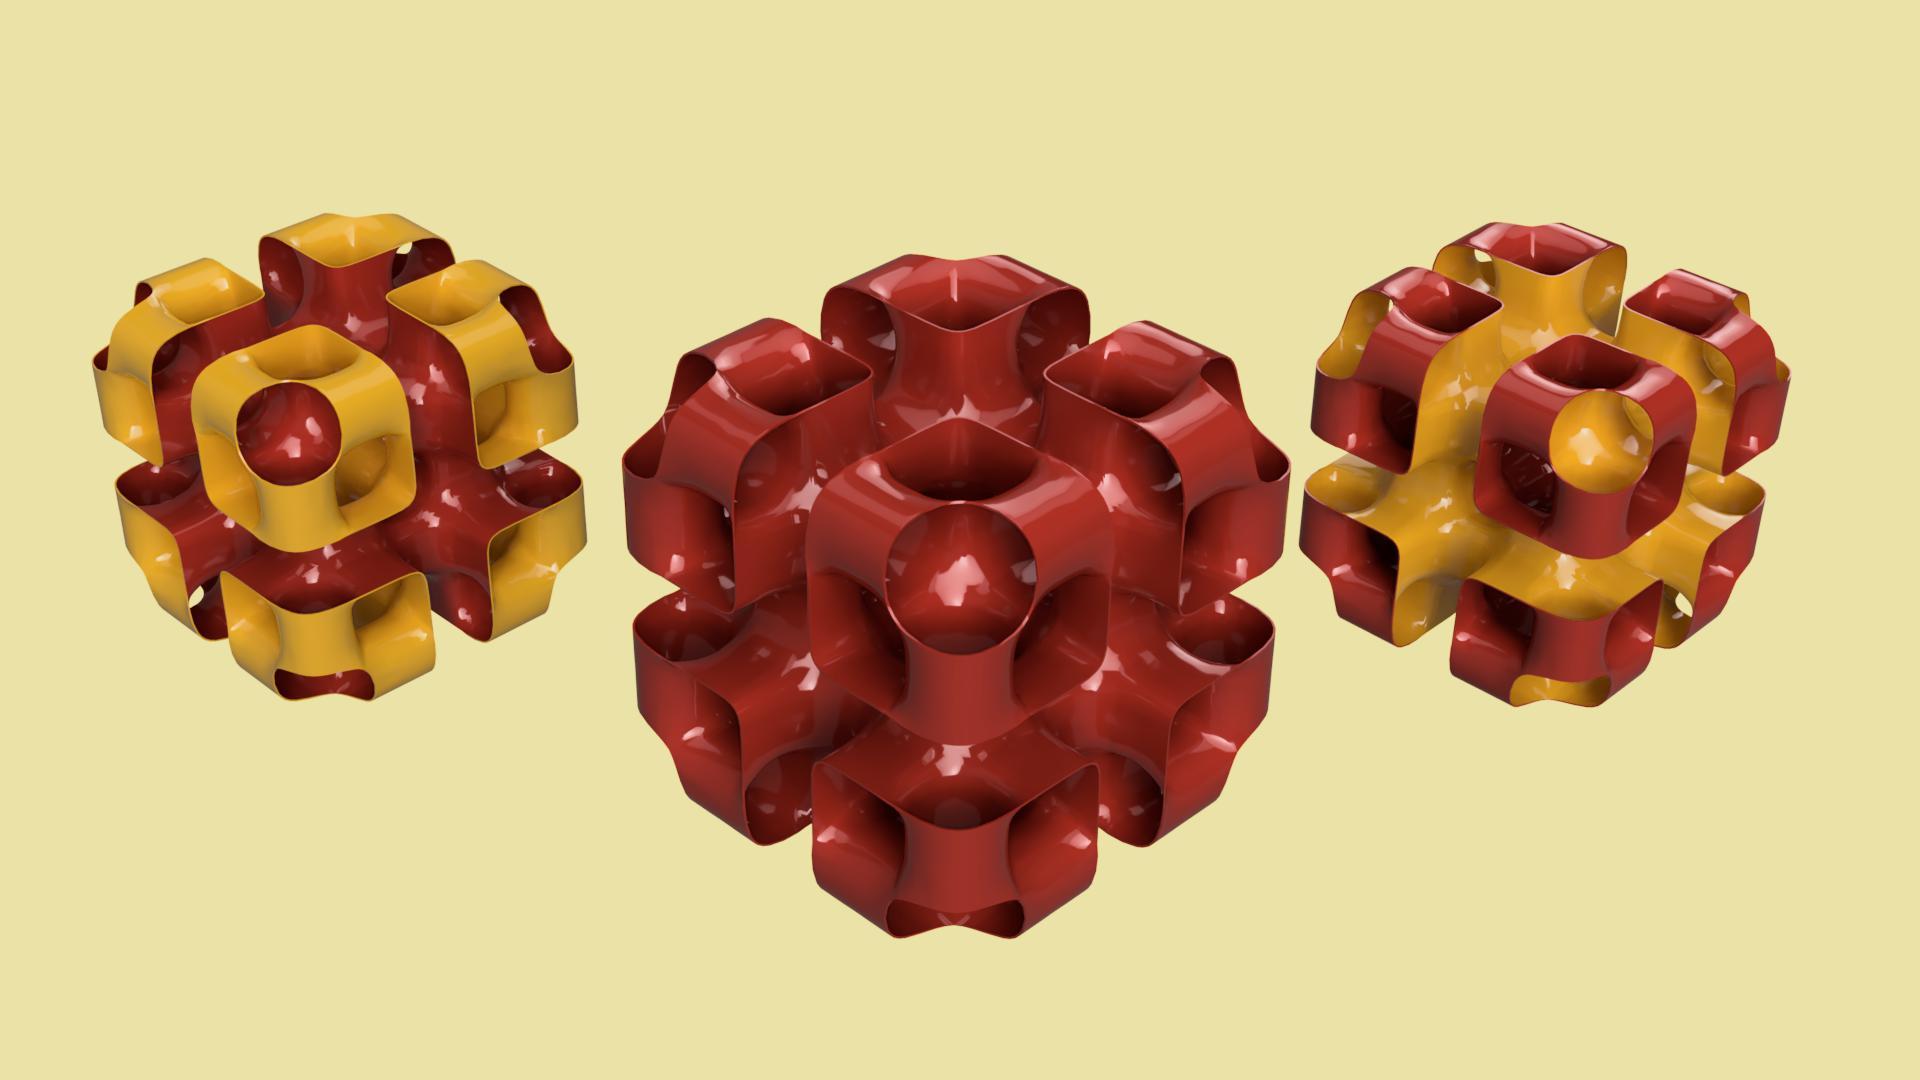
Finally, select downloaded image in your local drive, left-click and set as desktop background.
The Fusion 360 File is attached below (Educational Version)
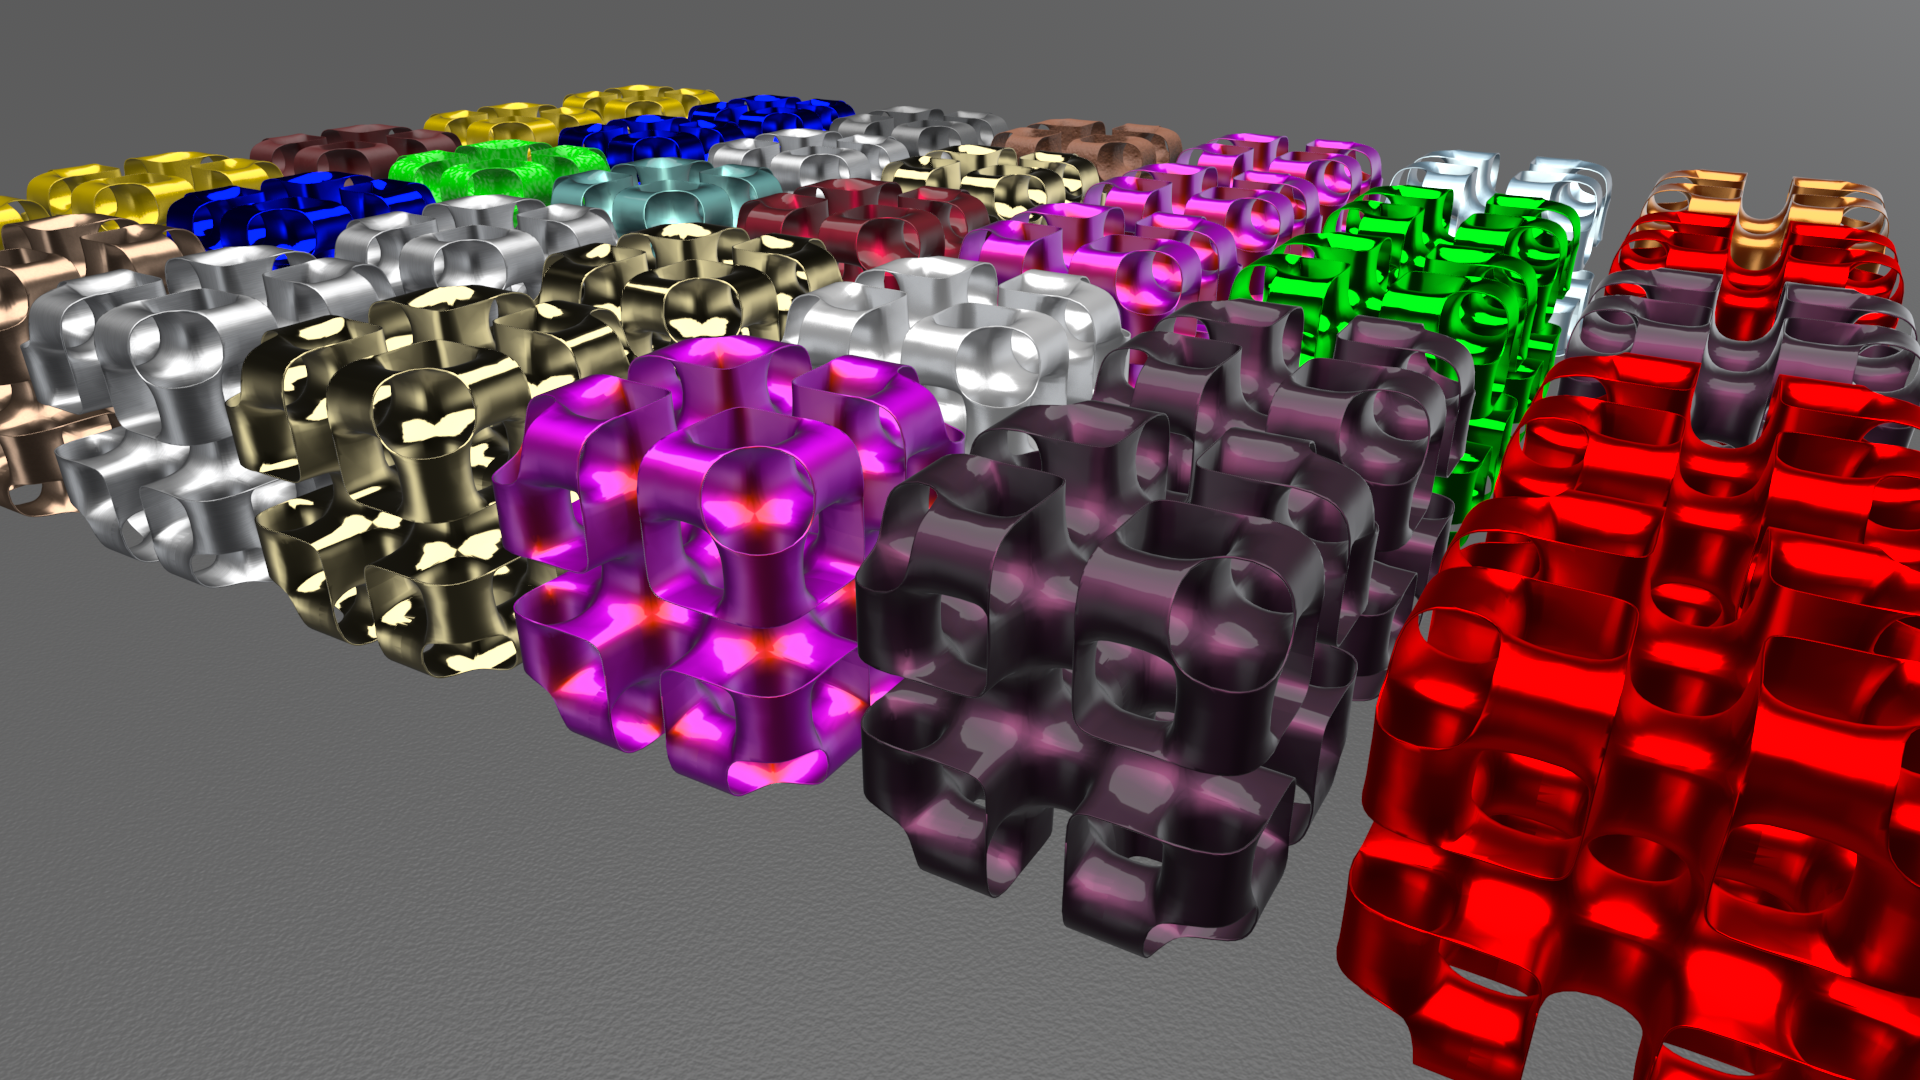
Extra Image added (Used Autodesk VRED 2025)
Cheers.