Customizable Pendant From Cardboard and Knitting Yarn
by 3Designer game in Craft > Jewelry
182 Views, 3 Favorites, 0 Comments
Customizable Pendant From Cardboard and Knitting Yarn

Hello,
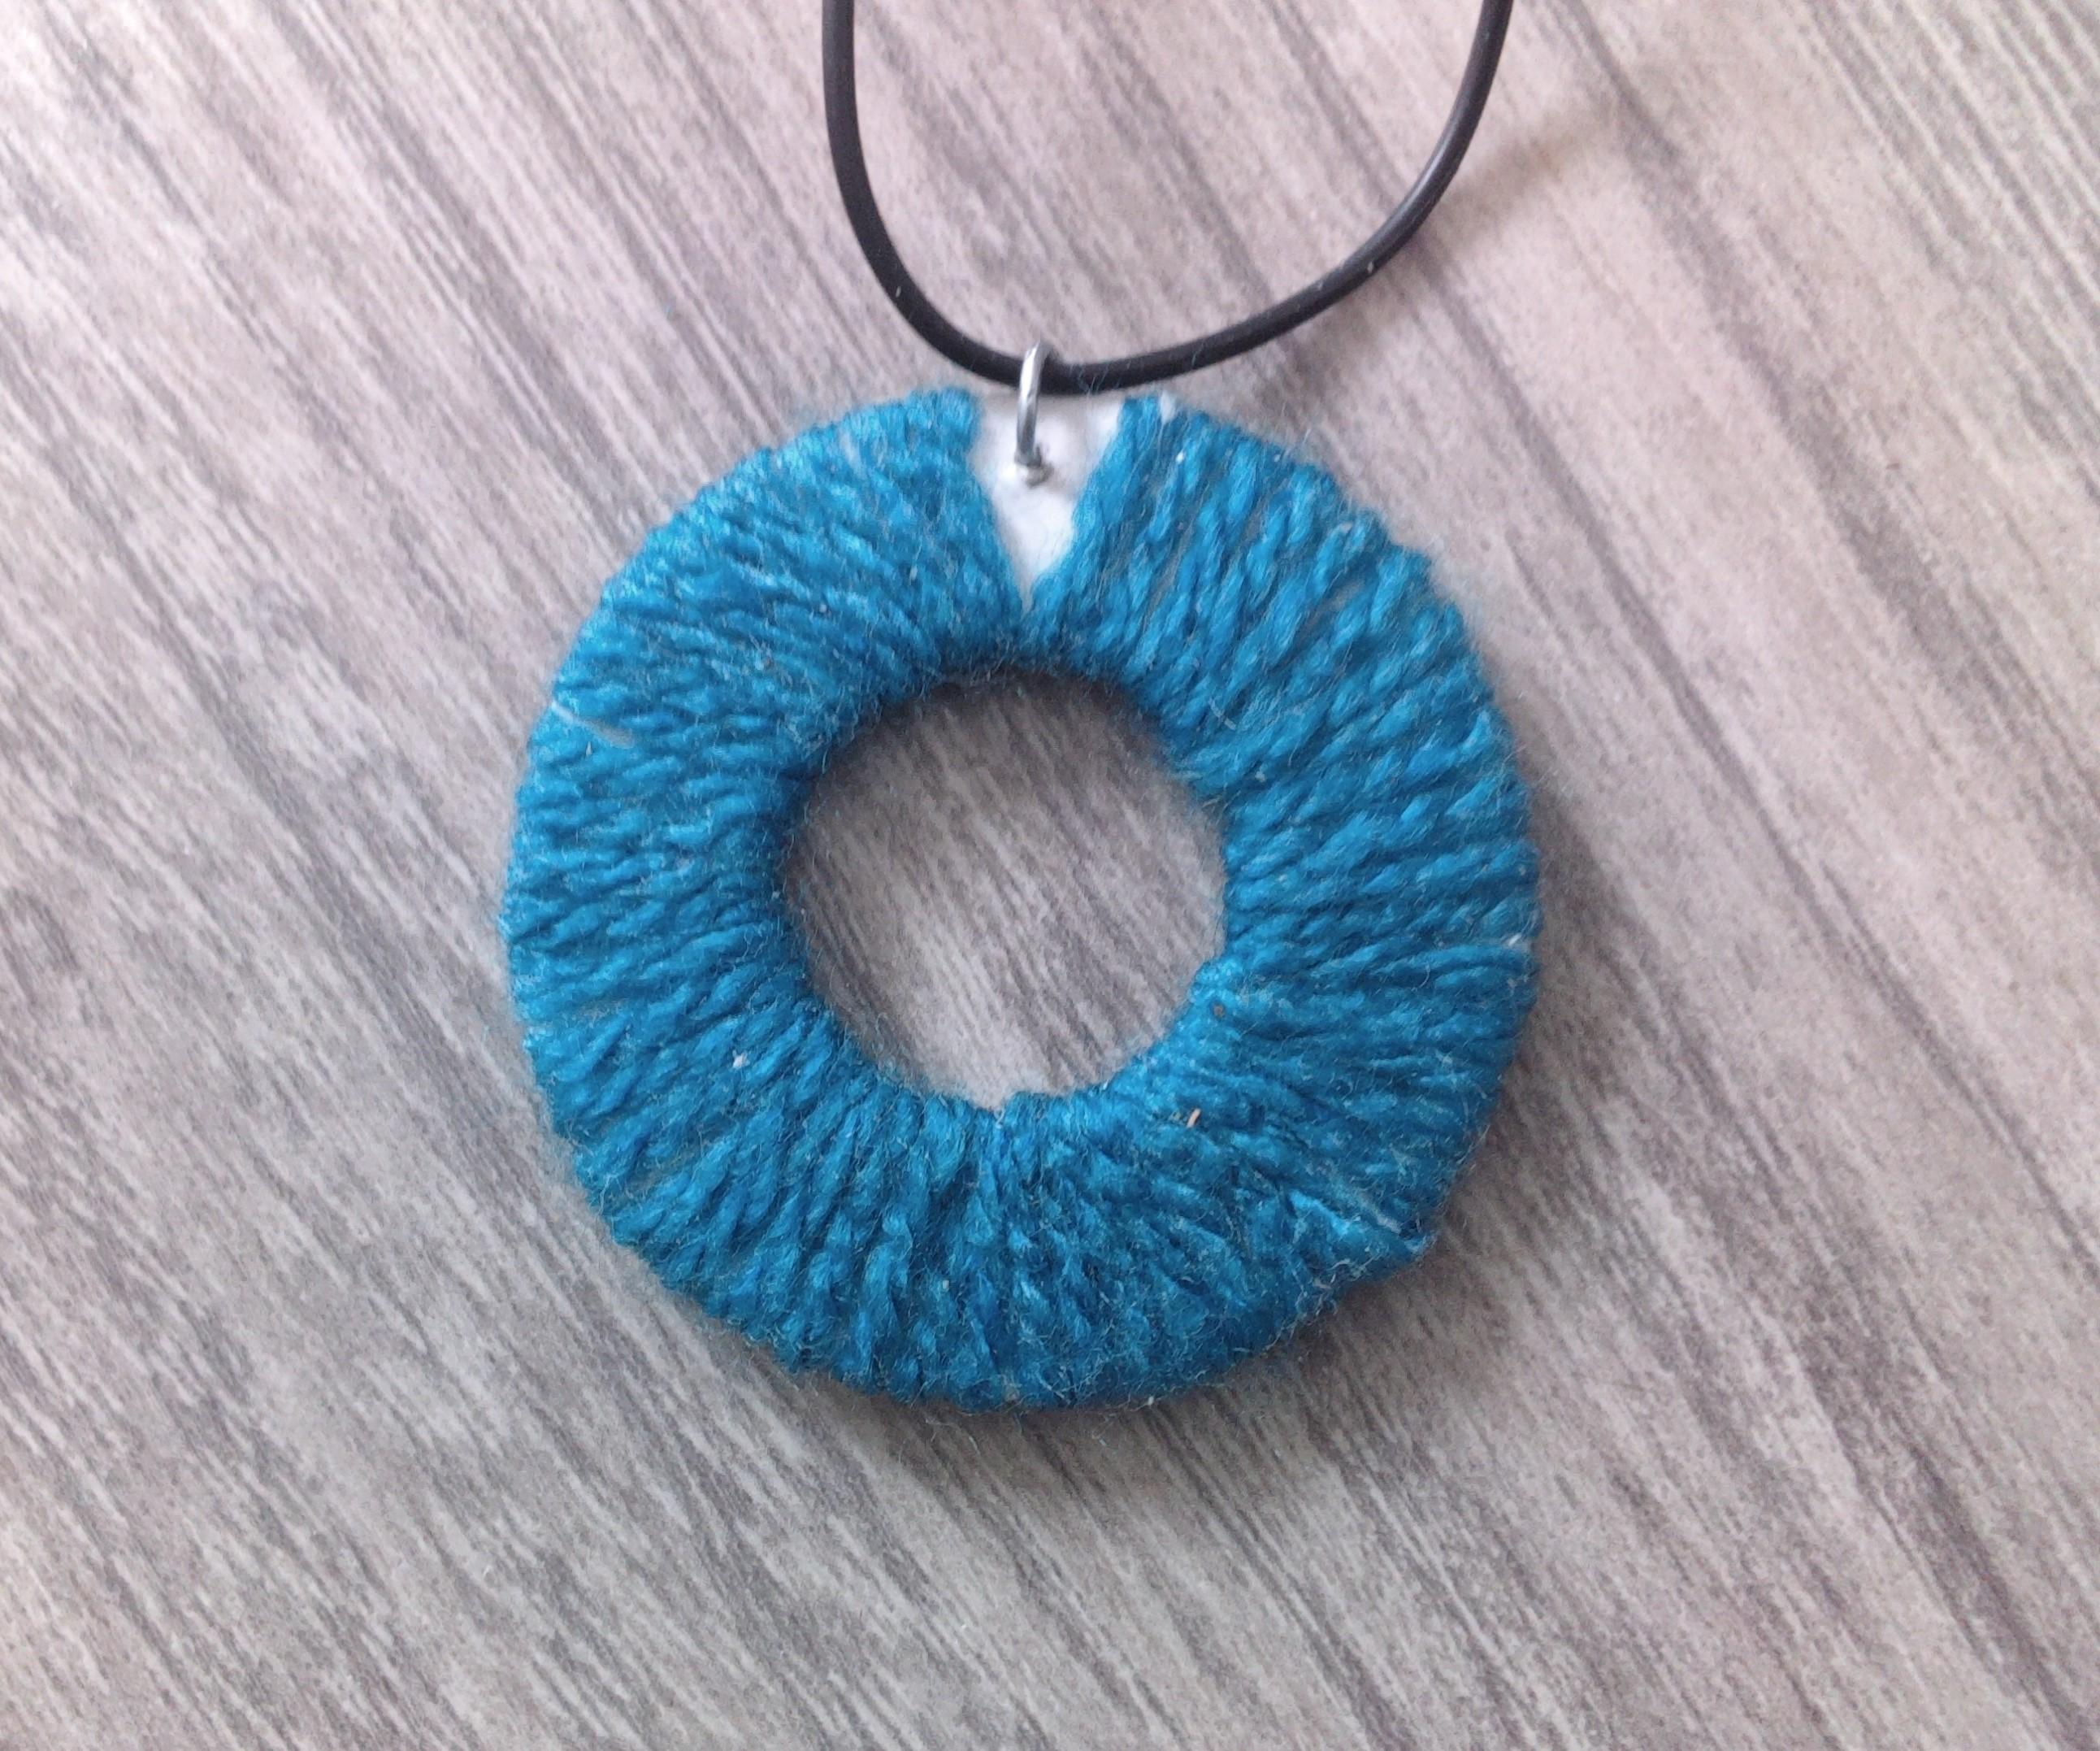
In this instructable, we are going to make a pendant from a cardboard and a knitting yarn. This will allow you to have a pendant that you made yourself and therefore a pendant to your taste since you have creative freedom.
Let's start, and good reading and watching.
Supplies


For this project, we need:
- cardbord
- knitting yarn
- ruler
- box cutter
- compass if the pendant is round
- pencil
- and glue
It is preferable to use white cardboard or cardboard paper if you have it since it brings out the color well.
Draw the Shapes


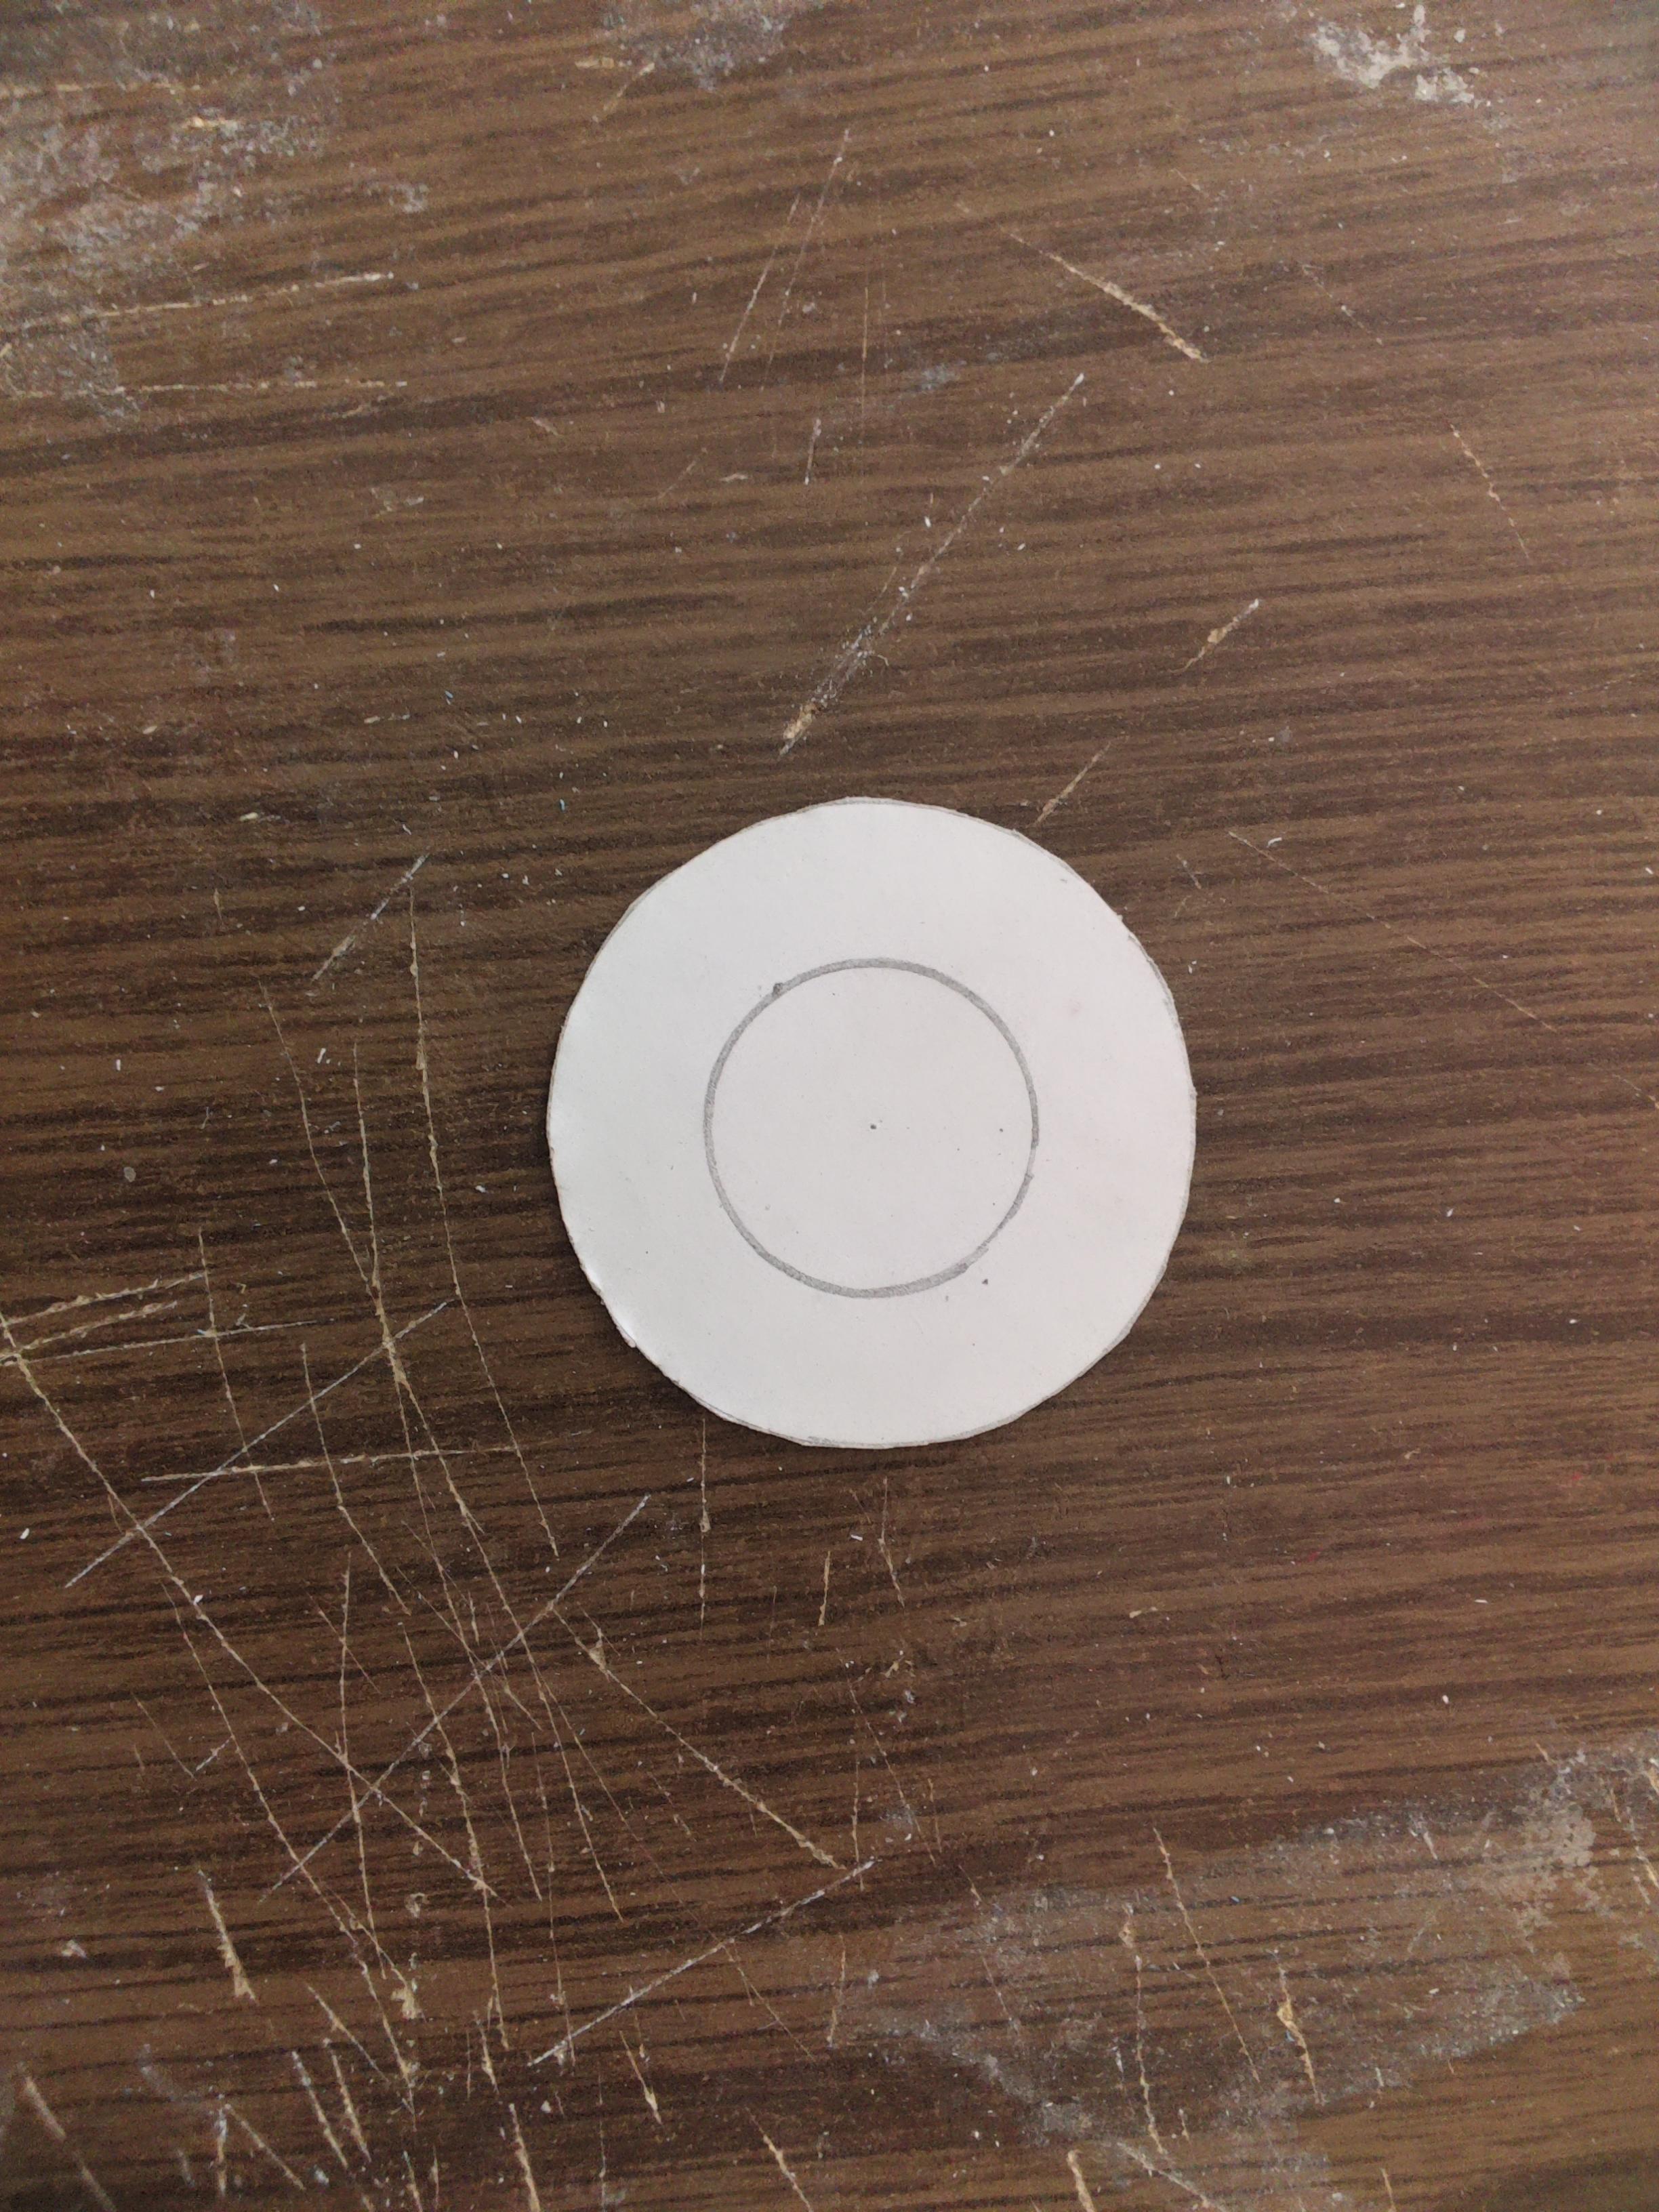
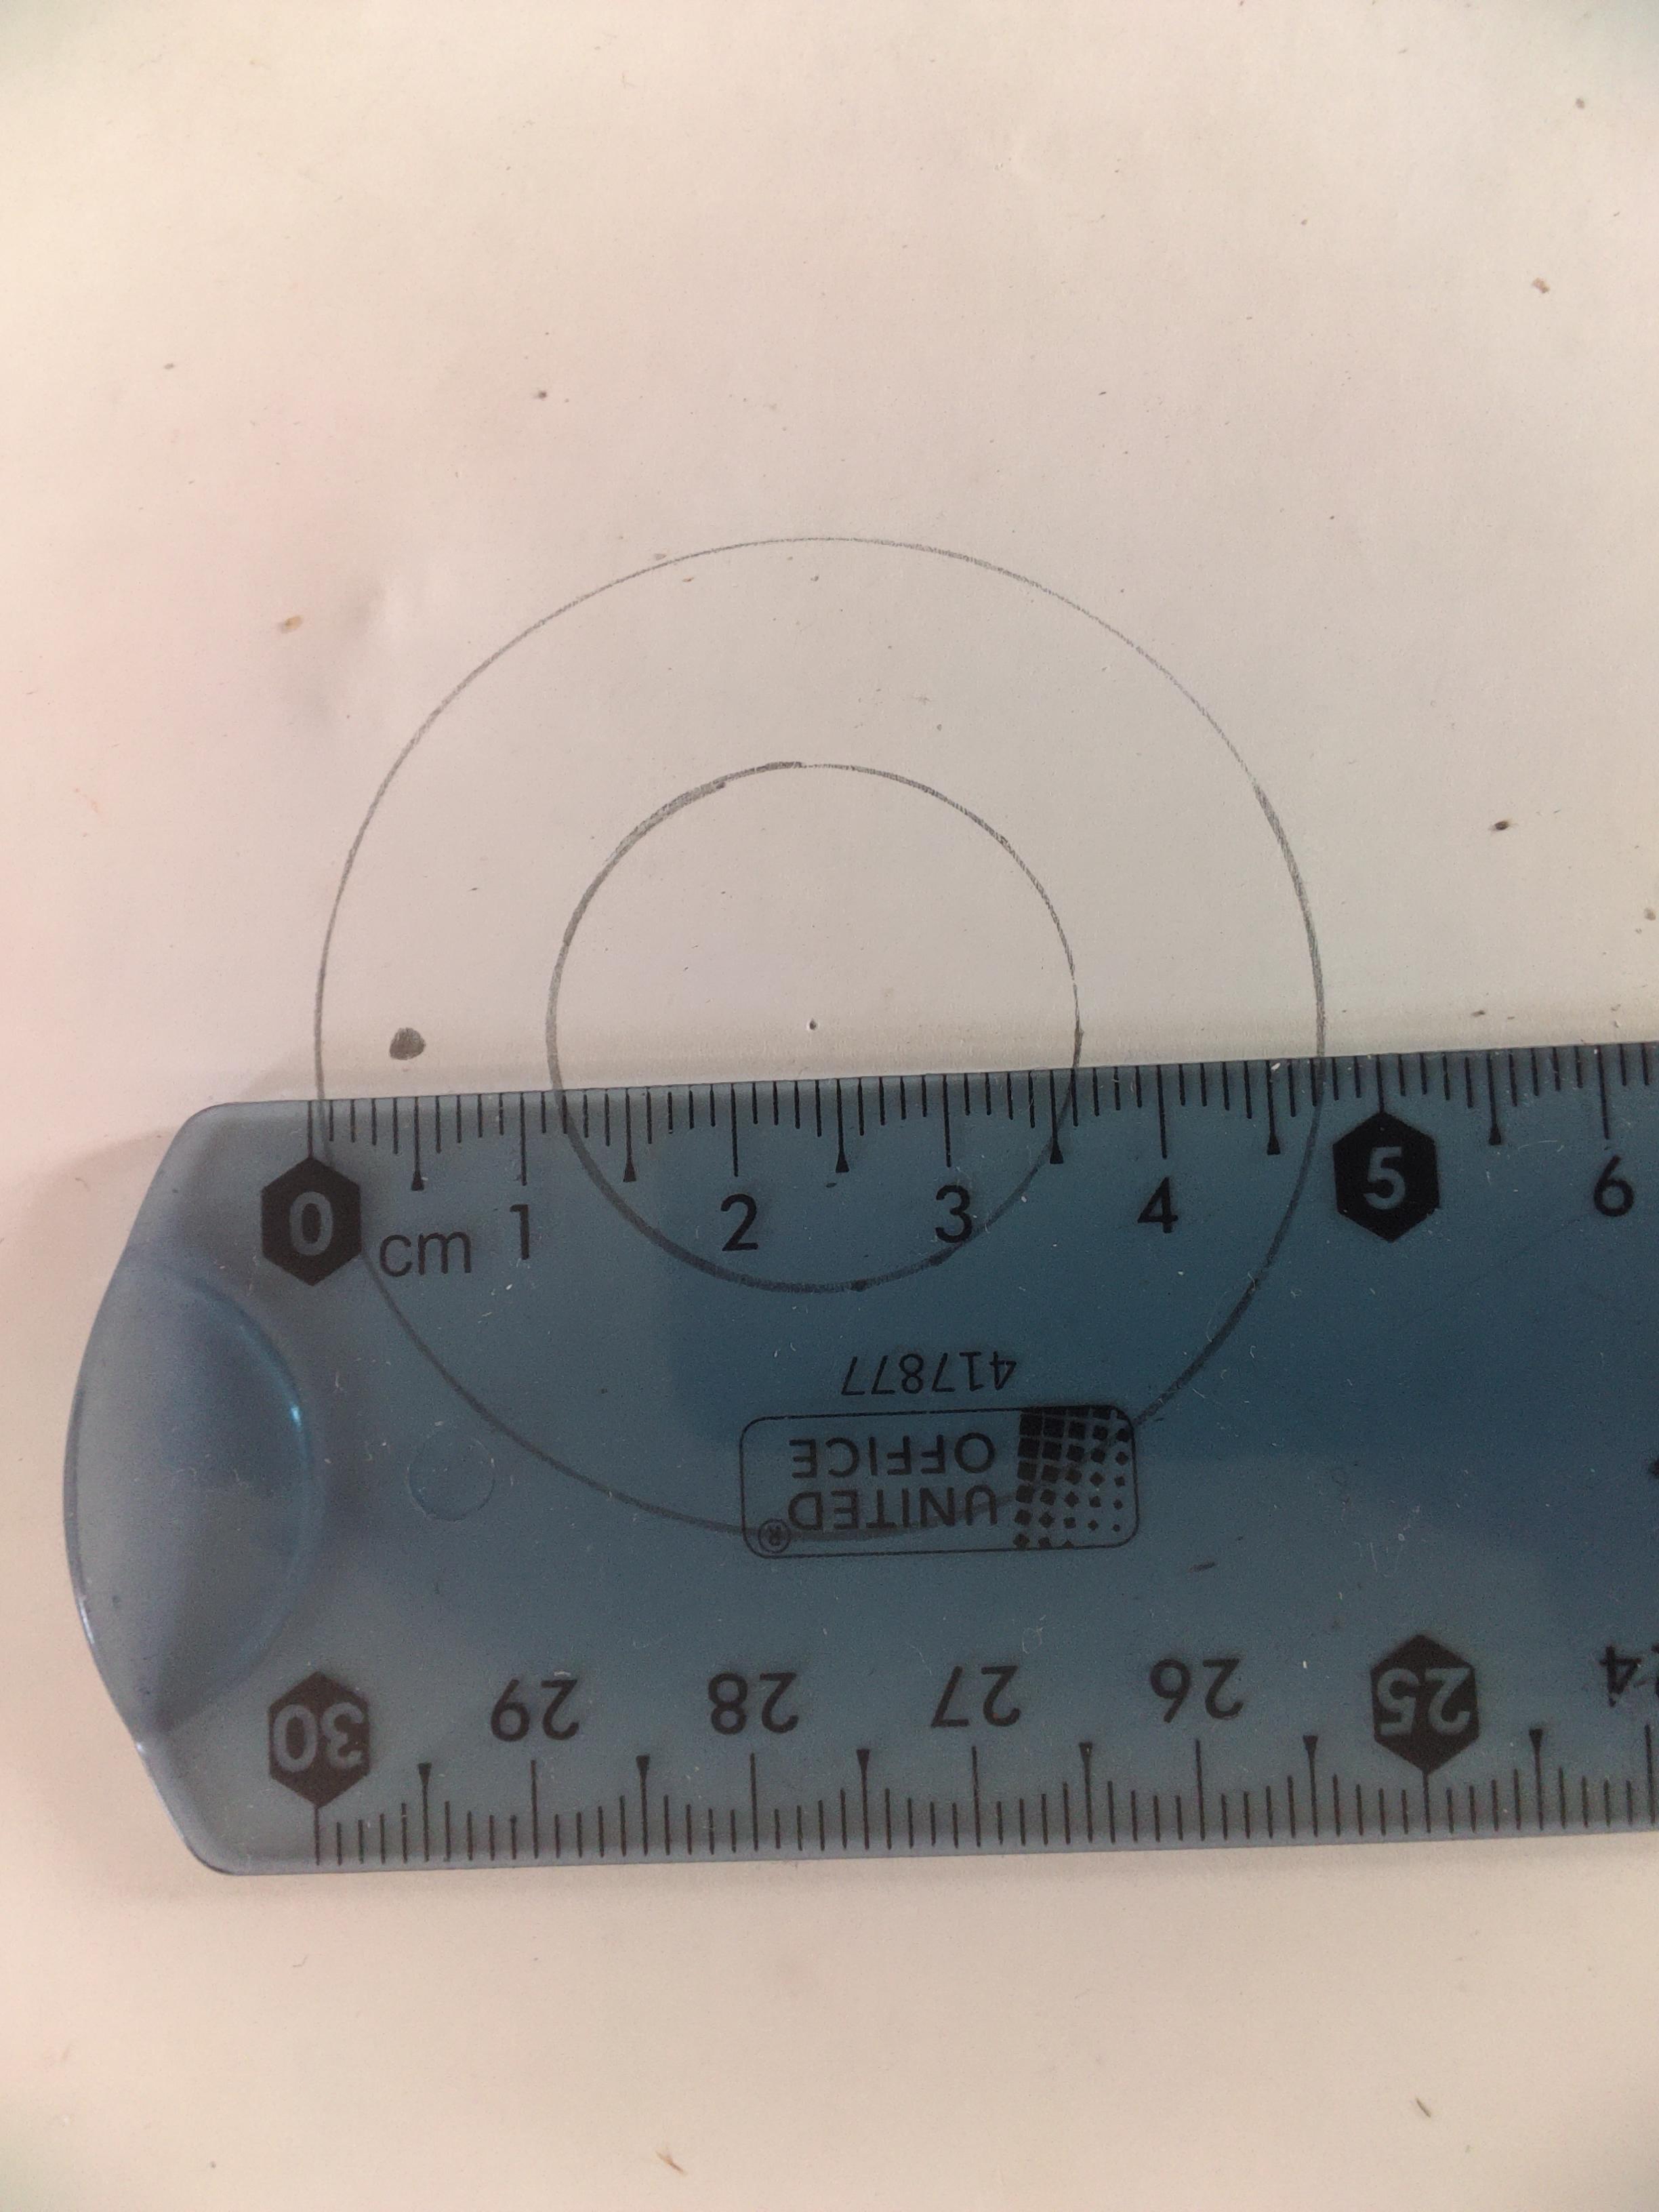
To start, take the cardboard and draw the shape of your pendant, It can be an easy shape like a circle or a square but can also be a more complicated flower, and also think carefully about the size, for my part, I took 5 cm on the side for the square and 5 cm in diameter for the circle..
And I advise you to round the peaks for the shapes with sides since it is more difficult to fill them with yarn, and even if you don't want to completely fill the shape, round it anyway since the peaks get damaged more easily.
Then draw the part in the middle that we are going to remove.
Cut the Shape

Then cut the shapes by removing it from the support and also removing the interior that we have traced.
I advise you to cut the outside of the shape with scissors since it is easier and for the inside with a cutter since you cannot do it with scissors.
Fill the Shape

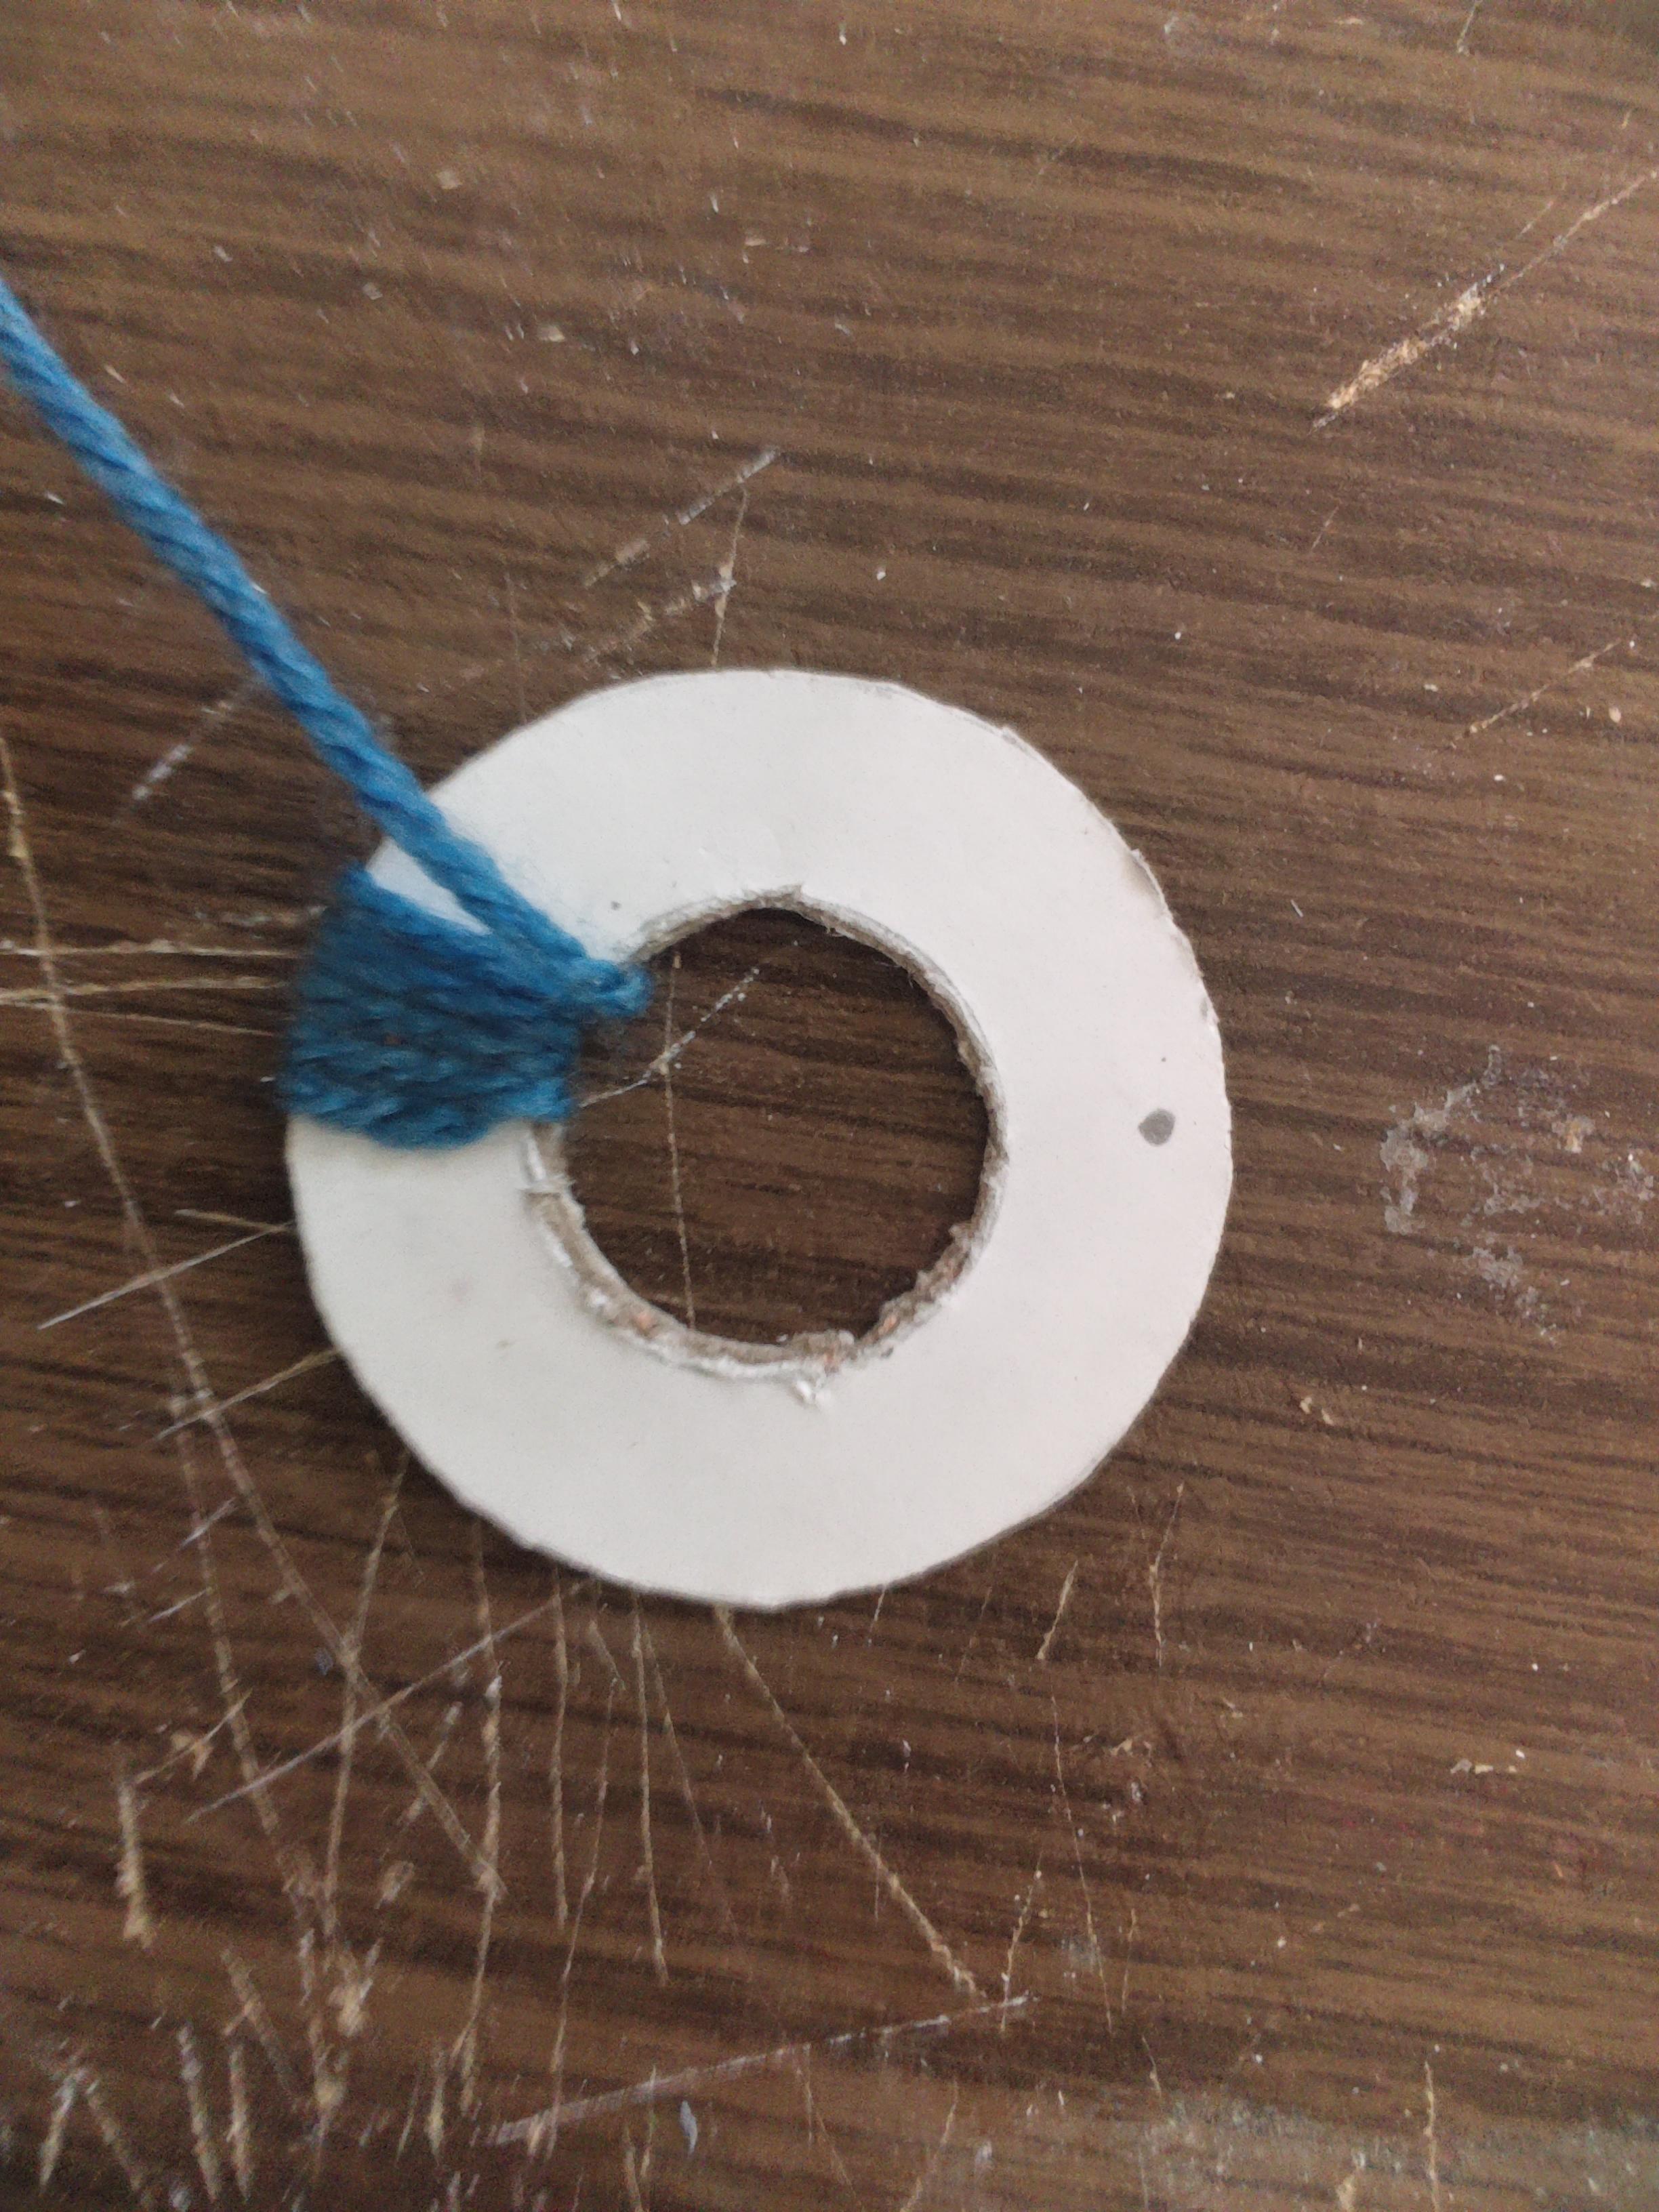
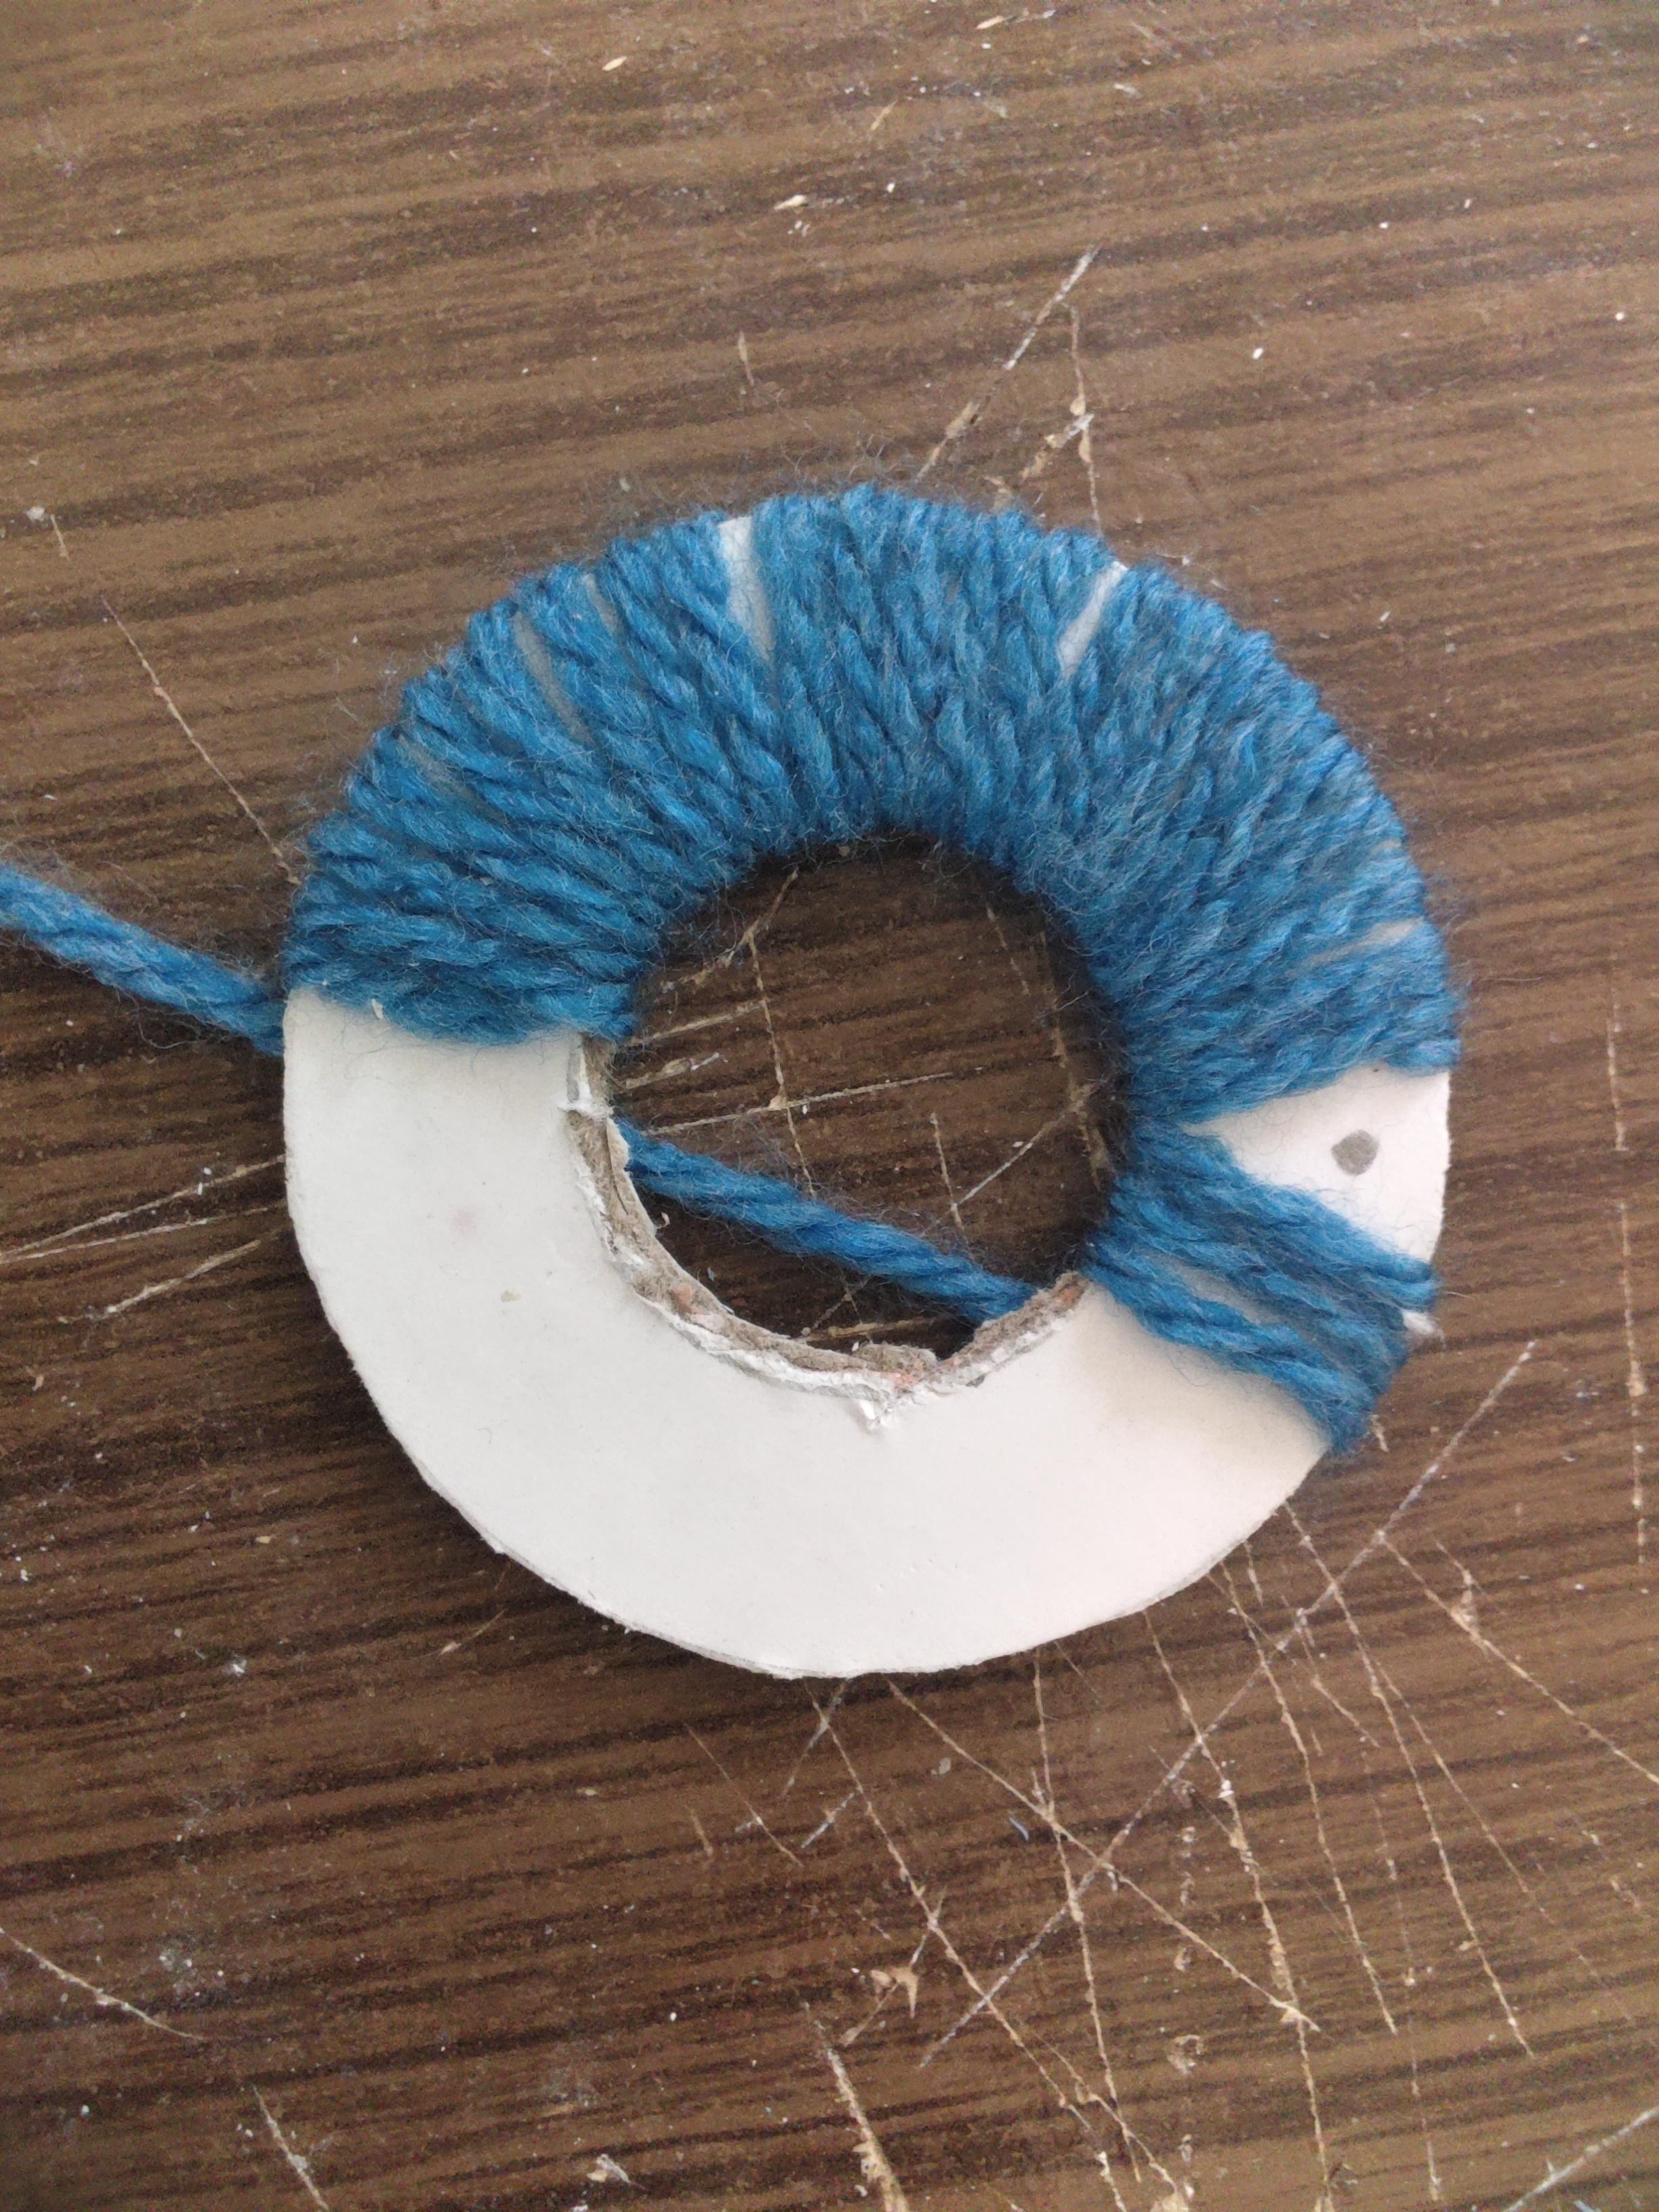
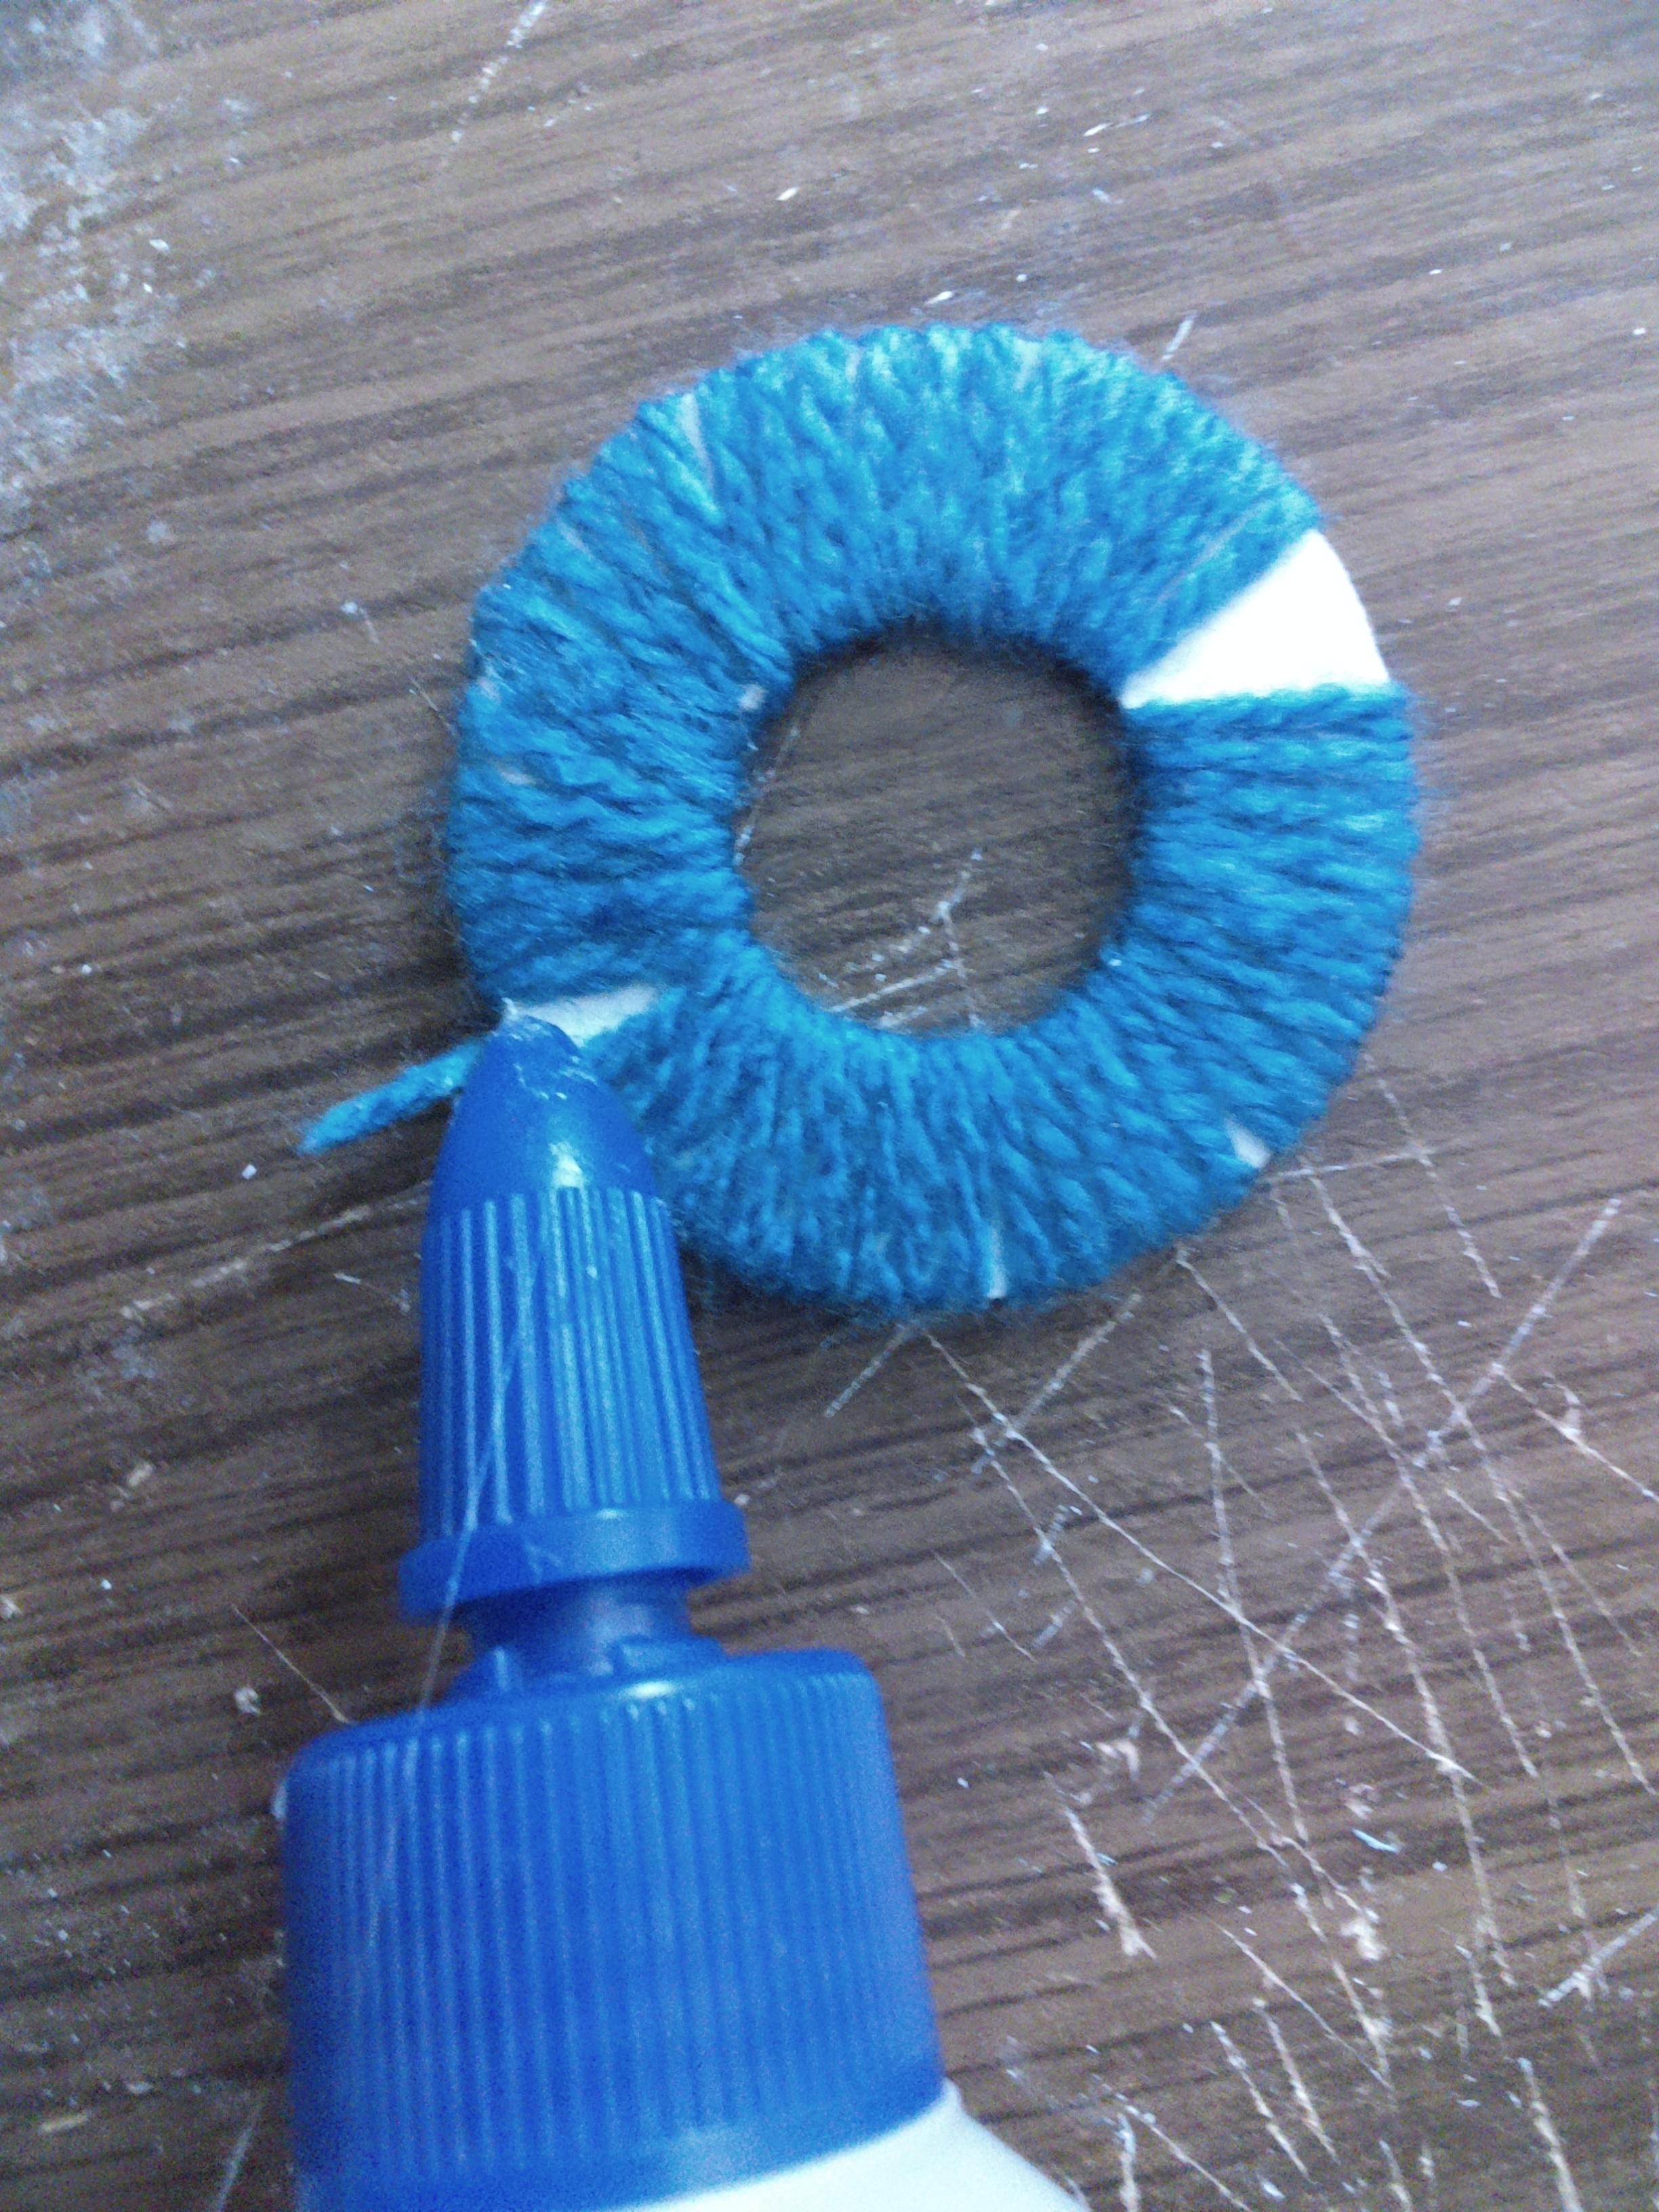

Now that we have the shapes finished, it's time to fill them in. But first mark a point about 0.4 cm from the edge so that the support can be attached to it.
So let's start by gluing the biginning of the yarn to the cardboard and then we can wrap the yarn all around. Make a hole where we put the point, and when you have finished filling the pendant, glue the end of the yarn well so that it does not unwind.
You can do this if you want to fill it completely and with the same color, but I will show you another ways to fill it.
Multicolor


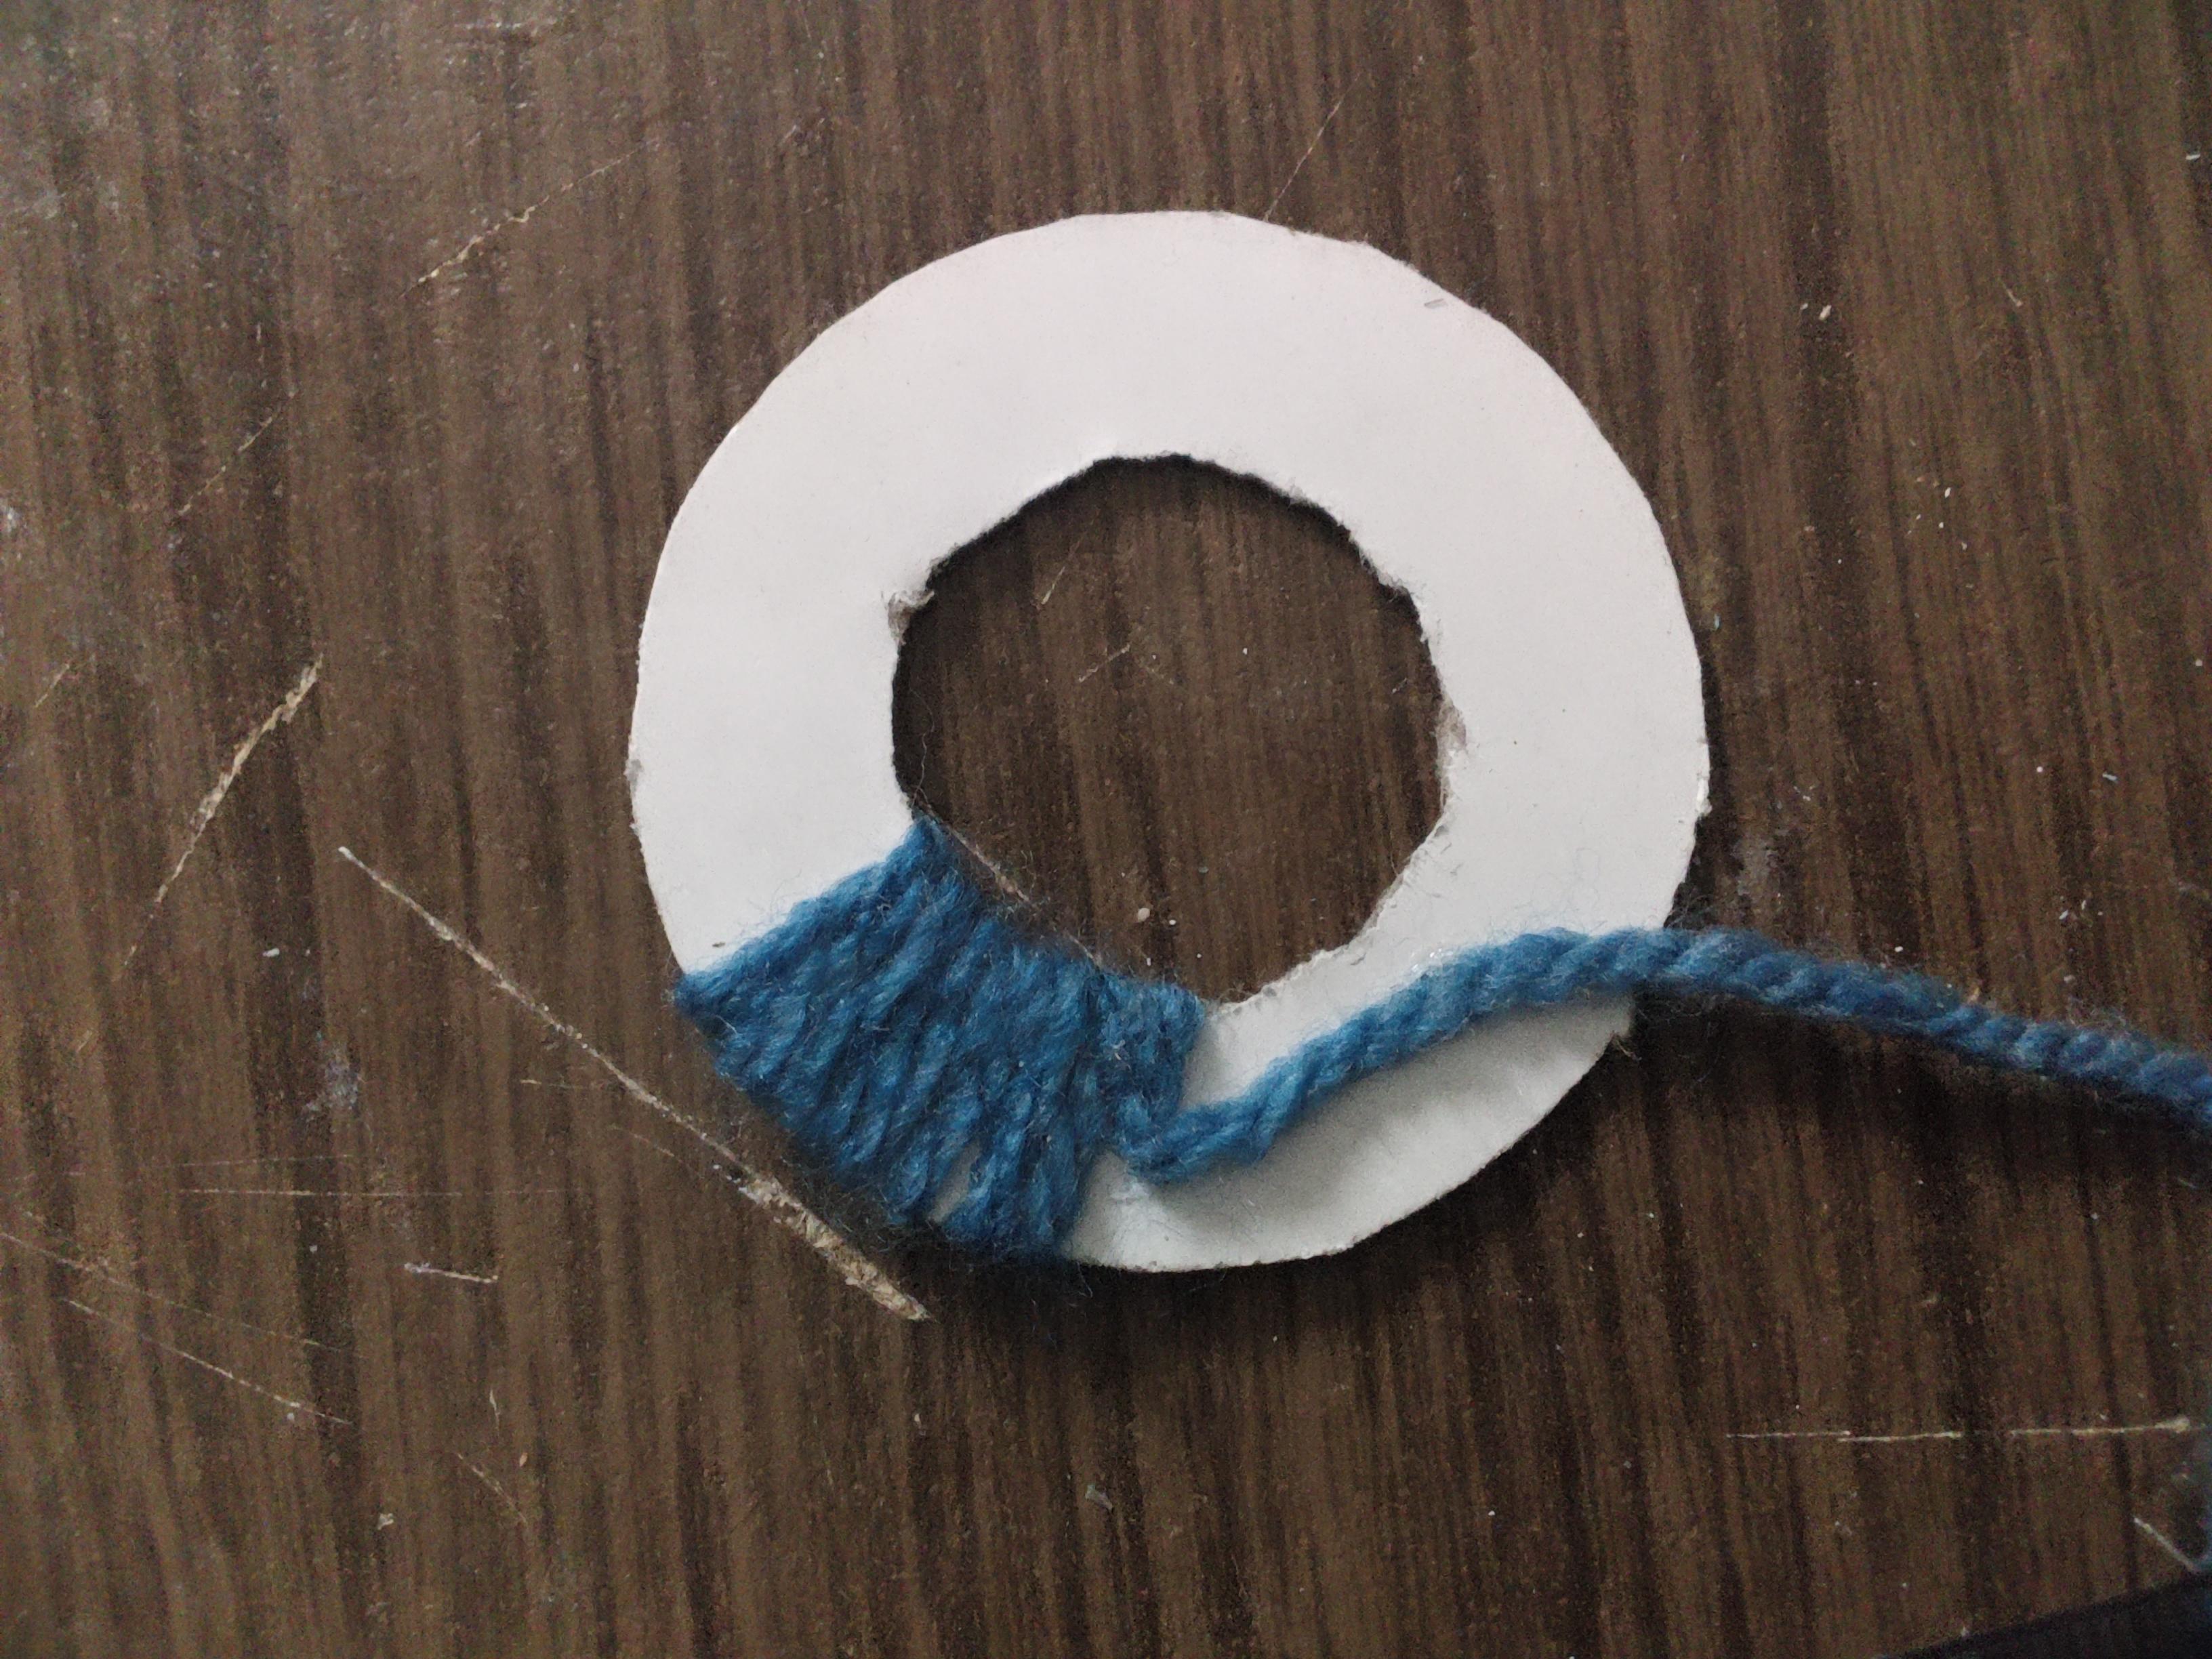


If you want to make a multi-color, start by spinning the first color to the desired length, then to avoid sticking and re-gluing at each color change, glue the yarn to the cardboard along the length where you are going to put the next color, then wrap the second color onto. Continue like this, being careful not to wrap the point for the attachment.
And if the gaps are too long, it is better to cut the rest of the yarn instead of putting it underneath so as not to waste them.
Shape With Sides


For the tops of the shapes with sides, the windings move easily so it is better to put glue on these places and to wind the yarn on the glue so that it does not move. You can also leave a hole in these places, it will also look good.
Other Styles


You can also add styles like holes in thought places or other things like in the photo of the triangle, it's up to you since you have the freedom of creation.
Drill the Attachment Point


And finally, punch a hole in the point to attach the pendant to a necklace or bracelet, a compass is enough to do this.
Finished!


And here we come to the end of this instructable, I hope you enjoyed this way of creating simple and customizable jewelry.
Thanks for watching and Bye!