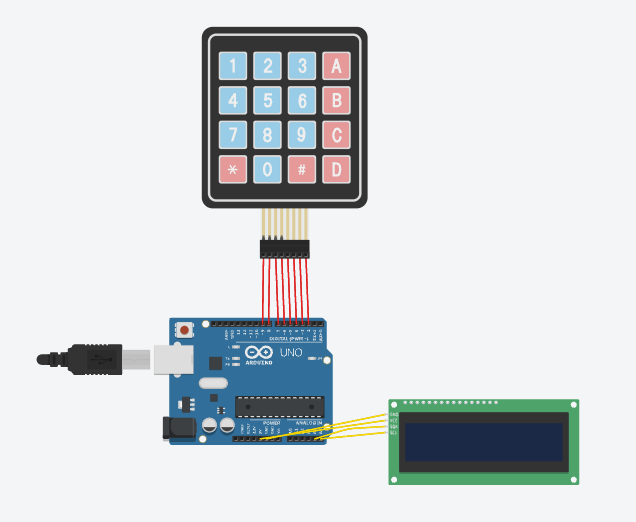
Password Protected LCD (Arduino)
by LoganPaxton in Circuits > Arduino
257 Views, 1 Favorites, 0 Comments
Password Protected LCD (Arduino)

Today, we will be making a password protected LCD. I will walk you through all of the code, and wiring.
Supplies
- Arduino (I'm using an Arduino UNO R3)
- x12 Jumper wires
- 4x4 Keypad (You can use a 3x4)
- I2C 16x2 LCD (This tutorial will not cover non-I2C LCDs)
Note: You can use something online like Tinkercad's circuit designer
Keypad

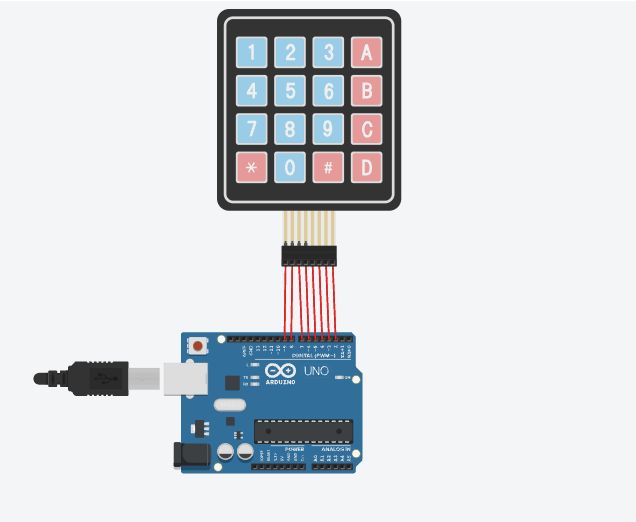
First, you want to wire up the keypad. Pretty much, you want to start at D9, and keep going until you run out of slots on the keypad.
LCD

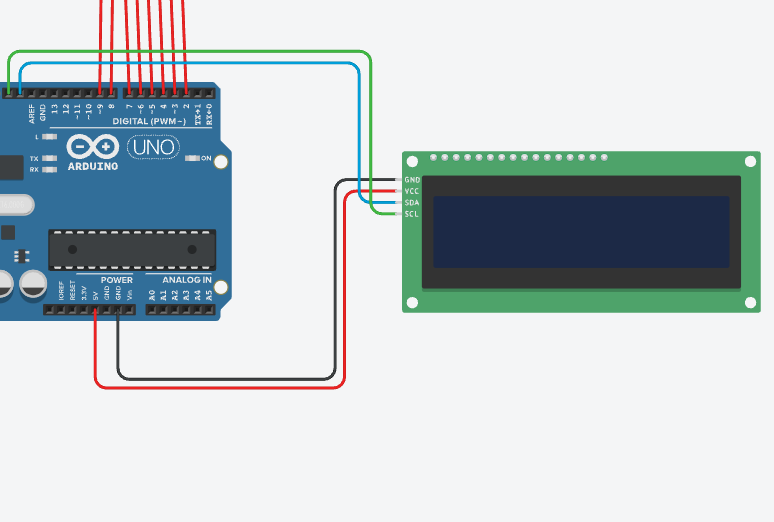
Now, we want to wire up our LCD. This is quite simple. Wire GND to the GND pin, VCC to the 5V Pin. Now, the SDA and the SCL pins don't have a label, but SCL is the closest to the reset button (on the R3), and SDA is right beside SCL.
Coding
Now, before we can code the keypad and LCD. We first need to find out what the LCD's address is, mine is 0x20 although it can vary between boards. To find out what your address is, you can get the code from https://playground.arduino.cc/Main/I2cScanner/, and run that. Now, we can get to coding.
Here is the code for the whole thing.
Finished!
And there you go, you can add the password protection logic if you want!