Passive Amplifier Phone Case for ANY Phone
by egbabc in Workshop > 3D Printing
612 Views, 3 Favorites, 0 Comments
Passive Amplifier Phone Case for ANY Phone
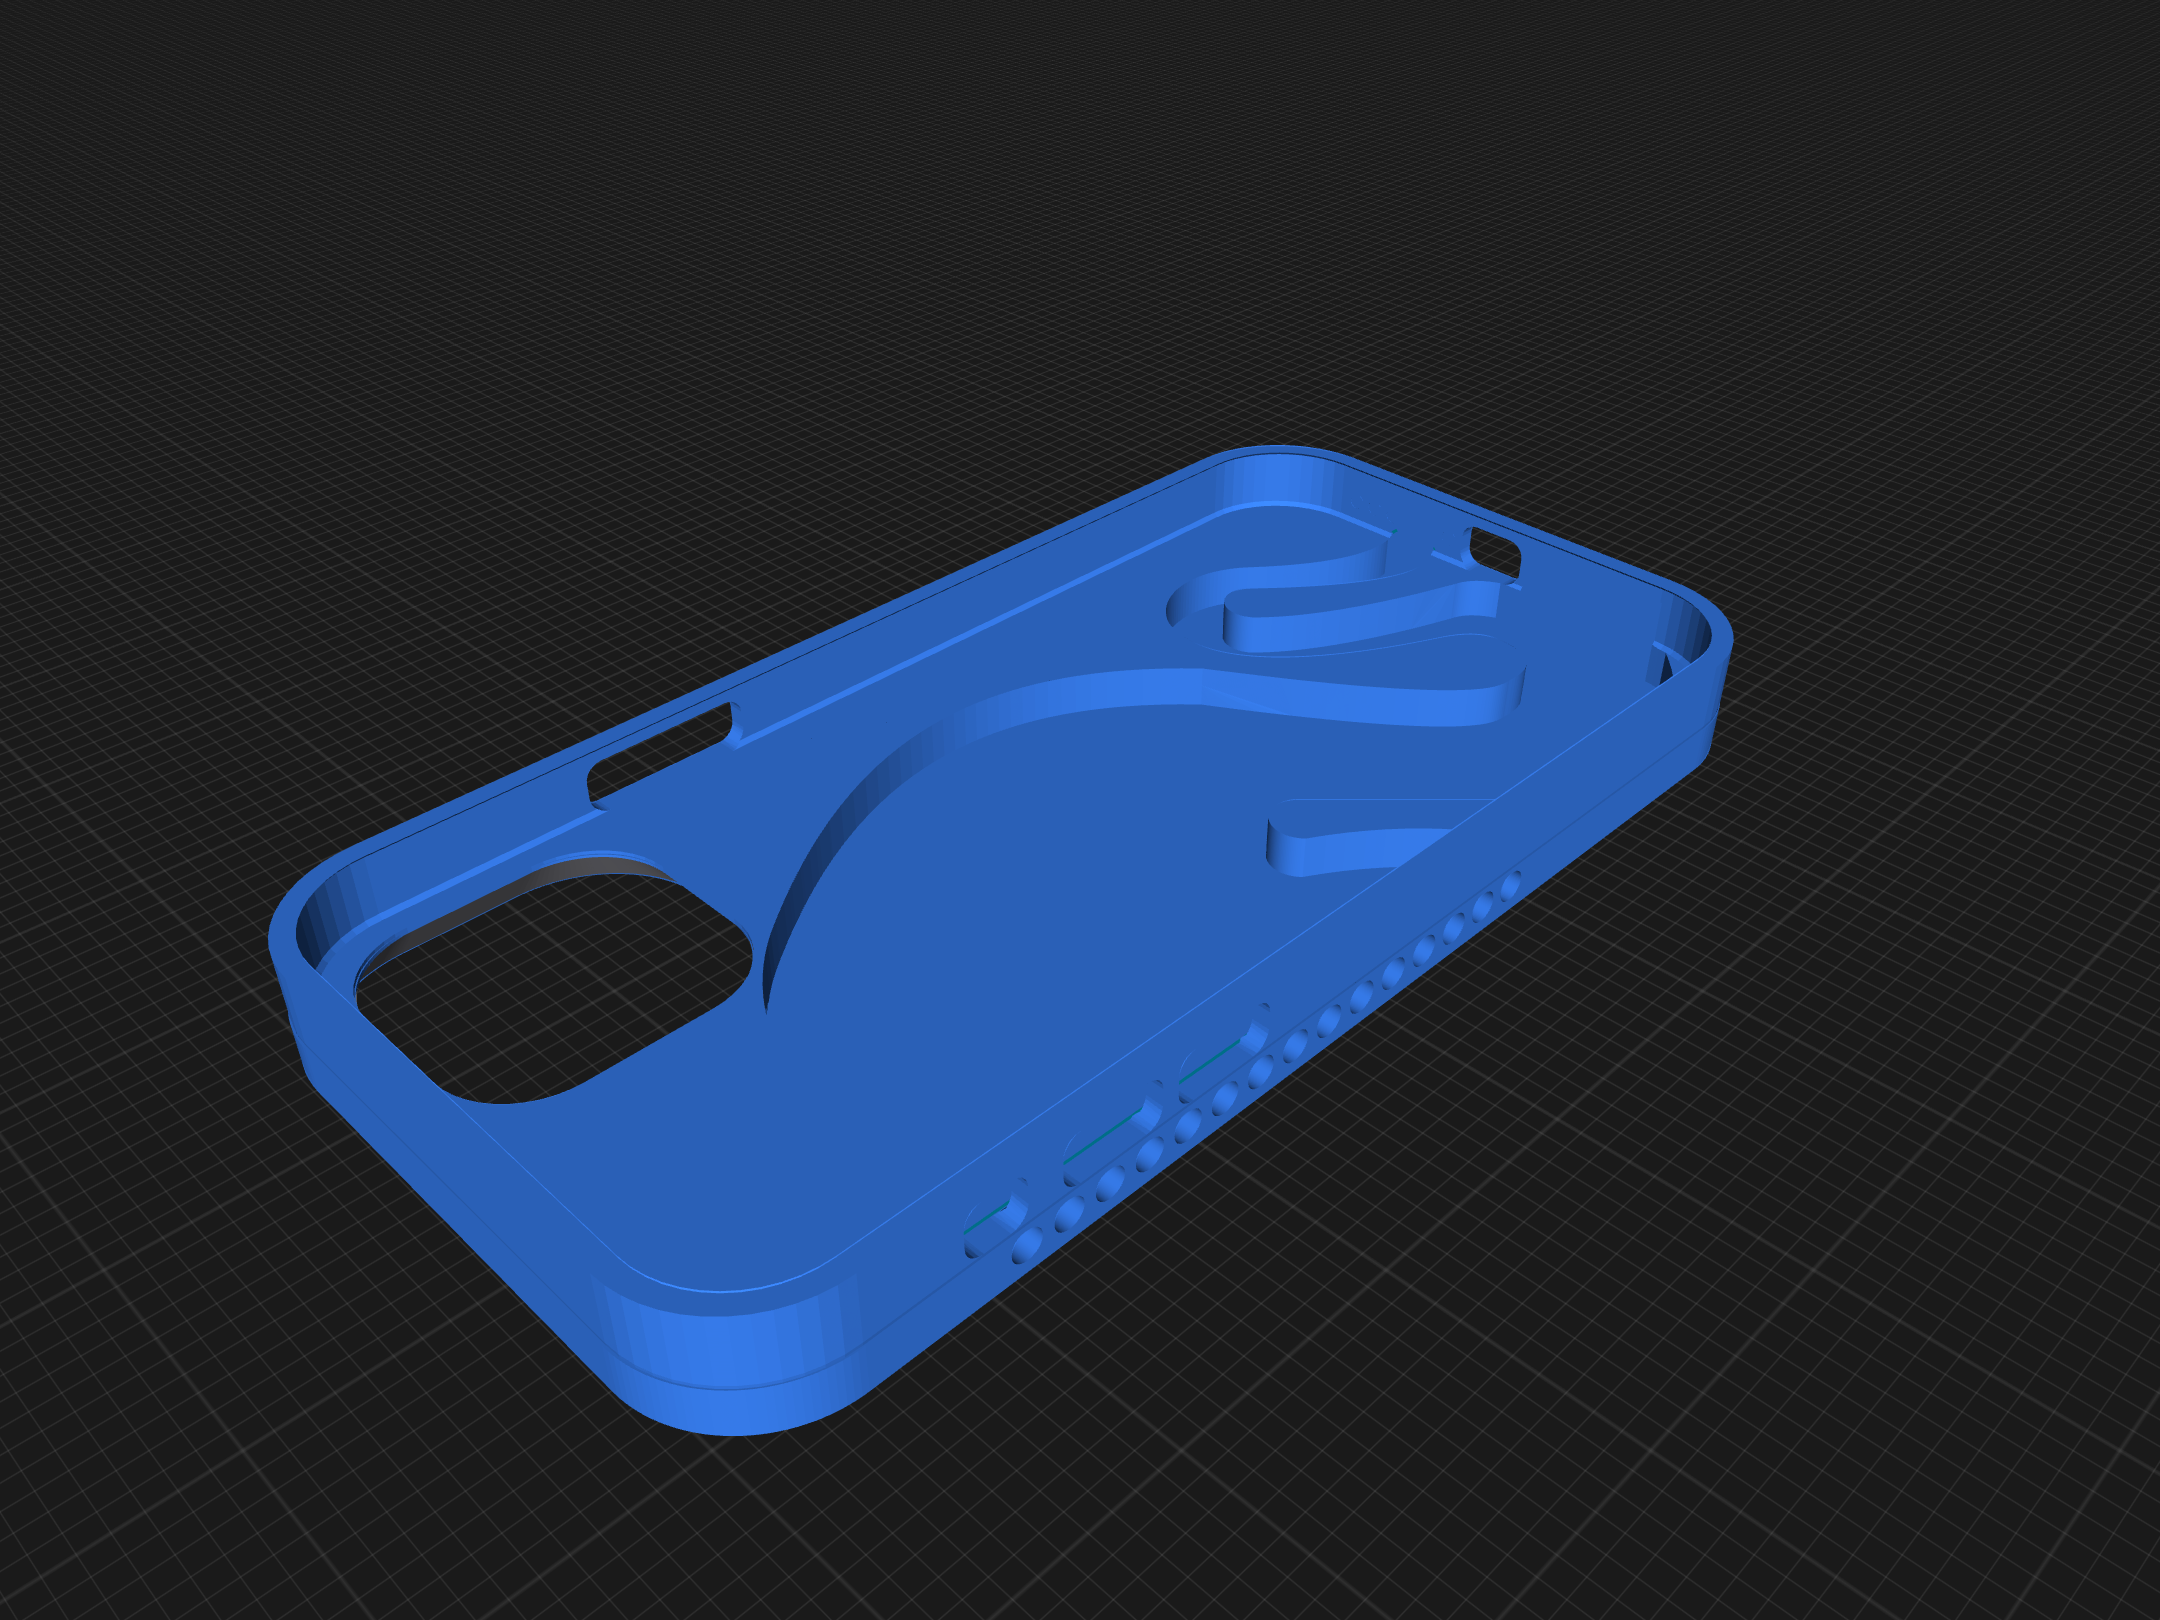
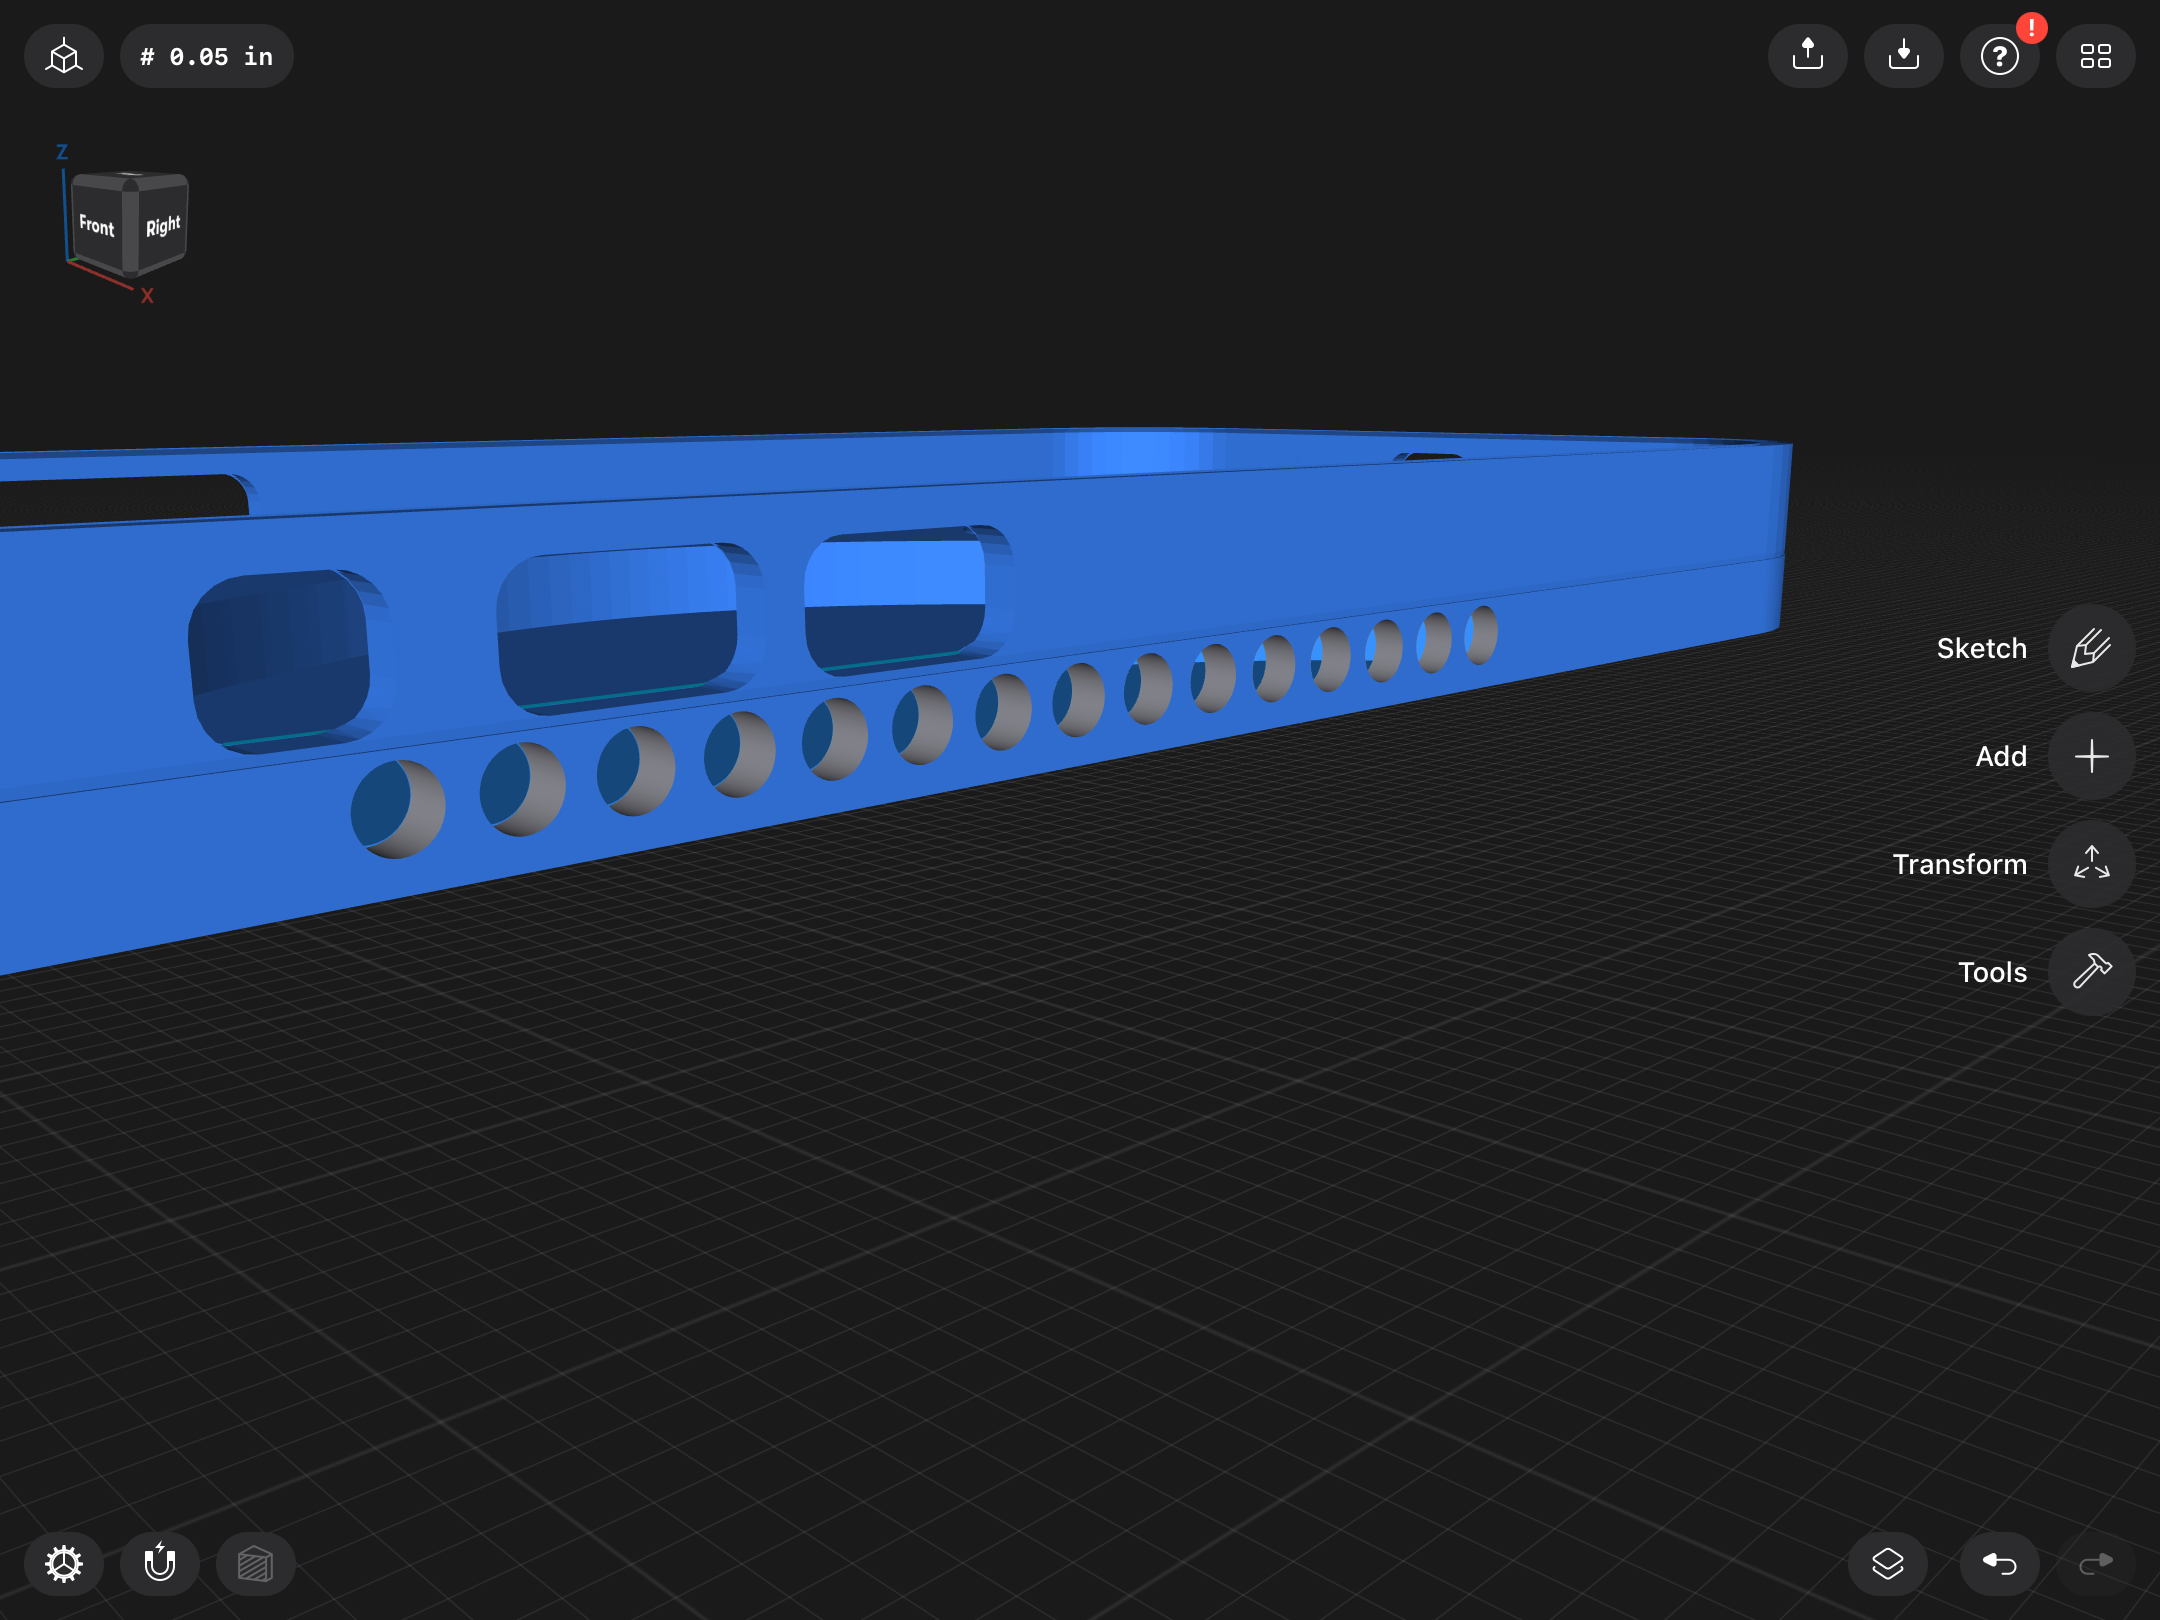
For this project I made a passive speaker case designer for IPhone 12, but this instructable shows you how to customize it to any phone!
I often feel that my phone, even when full volume, just isn’t loud enough, or doesn’t provide that “speaker” feel. I don’t want to go around carrying a speaker and connecting it to my phone every time I want to listen, I want something simpler. I don’t want to have to worry about battery or charging, I want it whatever I have on it to feel like it is truly part of my phone. My phone also has a horrible battery life, so charging a speaker through it would not be a good plan. While researching potential ways to get around this, I found the world of passive amplifiers. Passive amplifiers work like horns, or like cupping your hands in front of your mouth, by changing the way that the sound waves interact with the air.
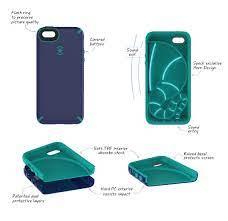
I looked far and wide for phone cases with this analog sound mechanism and found one that claimed to increase volume by 2x!… for the iPhone 5. After a while more searching while my hopes slowly drained away I realized that I was not going to find one. So I came up with a better solution, one that works with every type of phone, a custom designed, 3d printed case.
The file for mine is attached below. (Only print if you want the base model for an IPHONE 12.) Note that there are customization steps later on.)
Downloads
Supplies


- 3D Modeling software
- must be able to draw on surfaces - you’ll see why this is important later
- Photoshop
- any type works, must be able to remove backgrounds
- A phone case for your model of phone
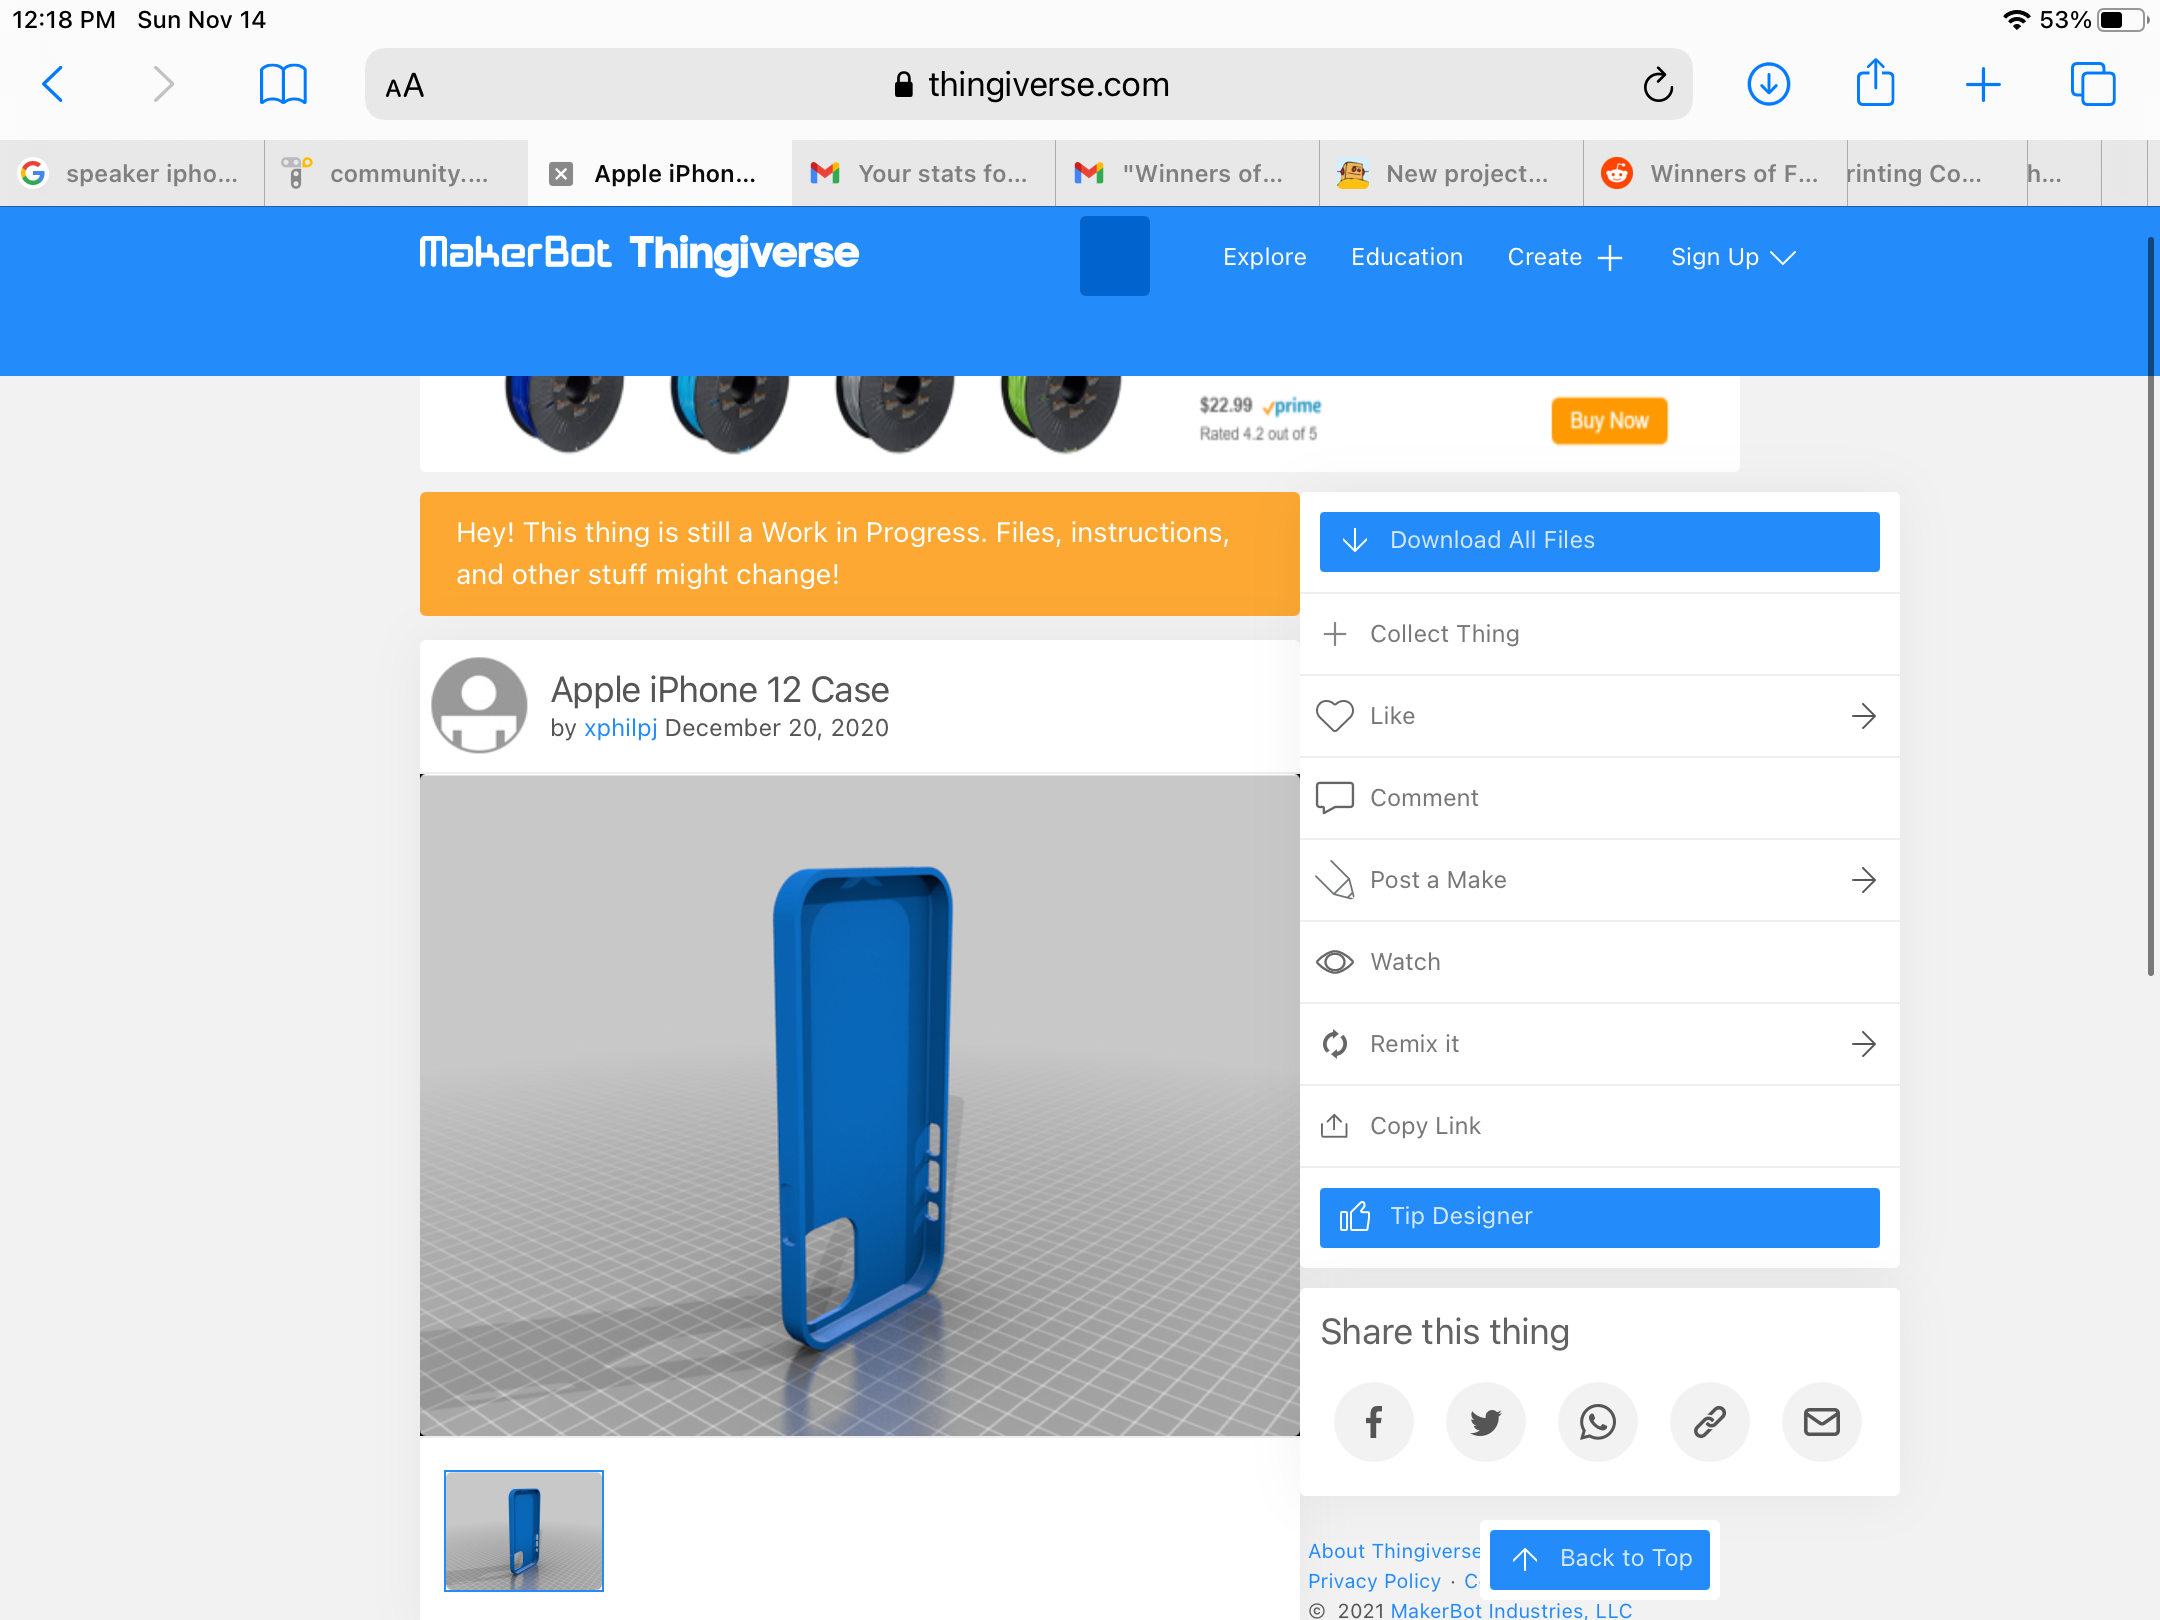
- get a free one off Thingiverse.
- A 3D printer or printing service
- print with whatever material it says to on the original case model.
*the images are the specific ones that I used, you do not have to use them. Credit to @xphilpj for his case design: https://www.thingiverse.com/thing:4690322
Choosing the Right Case
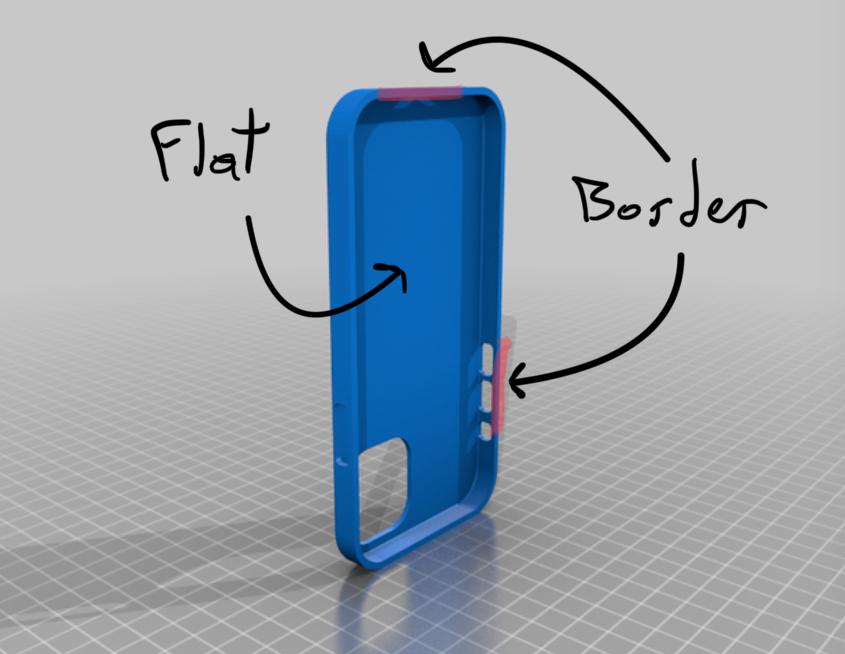
- Find out what model you have, this should be fairly easy. For my example I used a base iPhone 12.
- Find a case on a free website such as Thingiverse.com or Thangs.com (those were the two I used) that meets the following parameters as detailed in the image above
- Has enclosures for buttons. Open style cases DO NOT work as they cannot redirect the sound into the bottom of the case
- Has a flat, design less back. You will need to draw onto the surface of the back and extend it, so keep it a plain canvas.
- Once you have your model, download it and import to your favorite 3d modeling software. I used Shapr3D
Extend Your Case Downwards
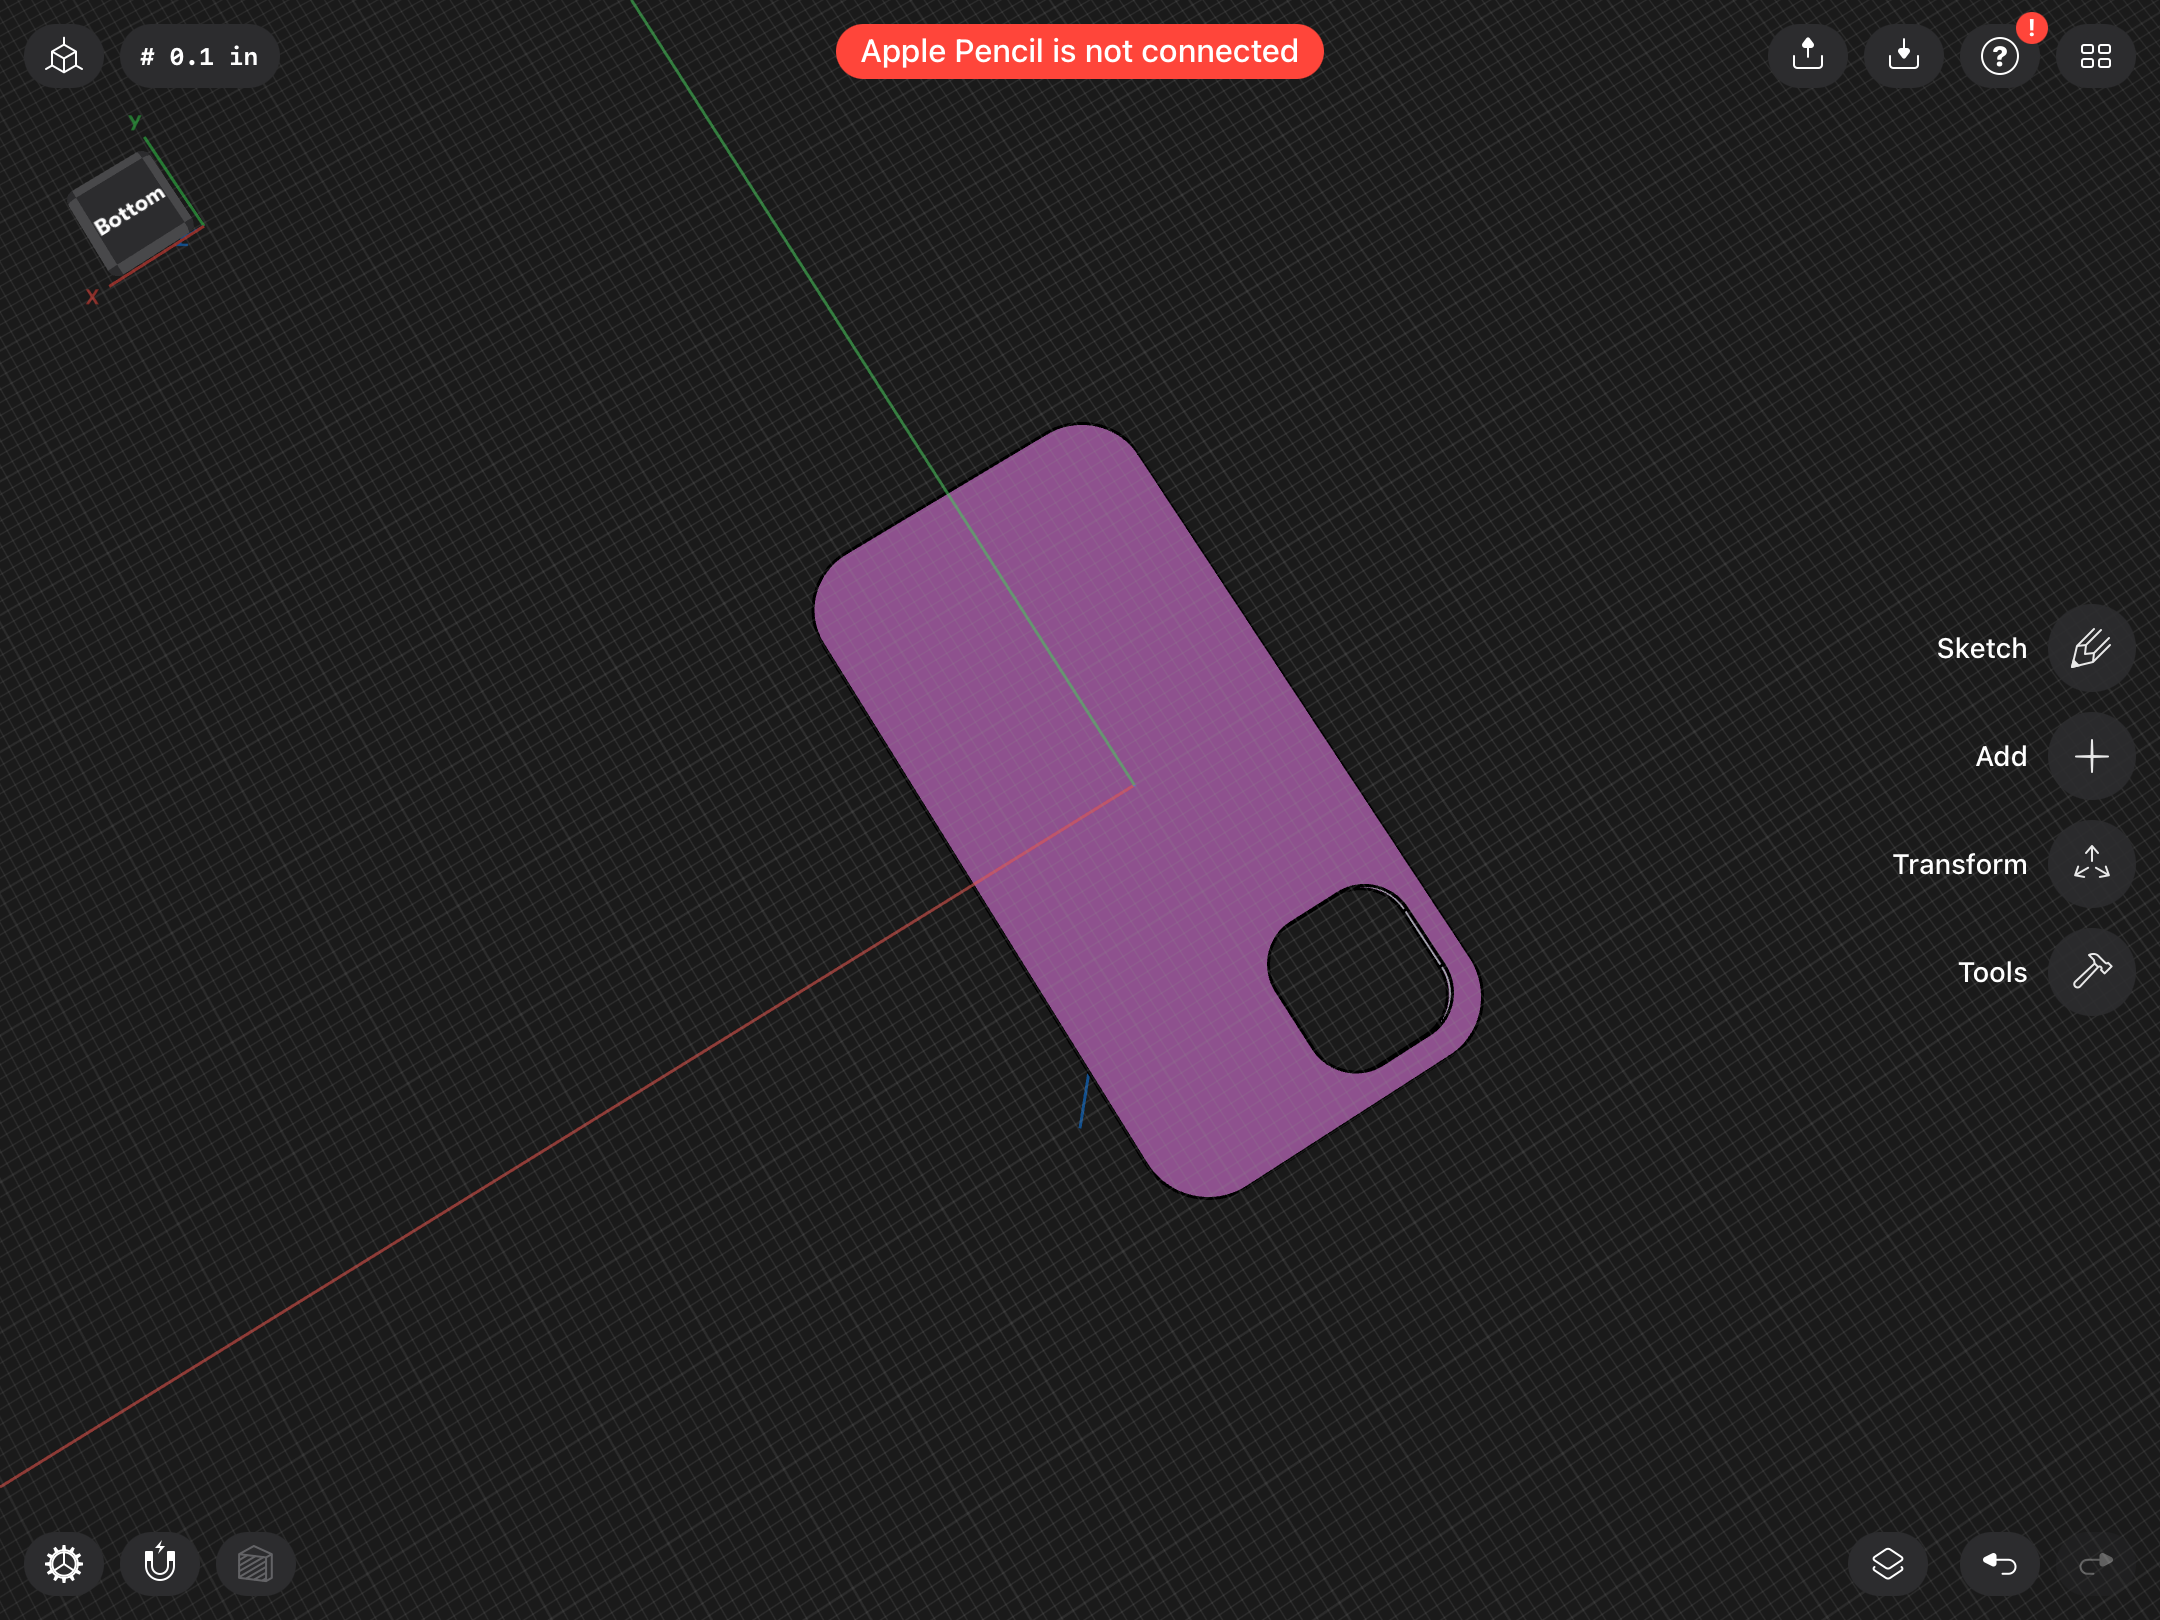
- Import your case and use the face as a drawing plane.
- you might have to trace over the back as your software (including mine) might not support directly editing imported objects.
- Extend the back of your case outwards around a half or a third of the thickness of the case.
Cut Out the Shape on Photoshop

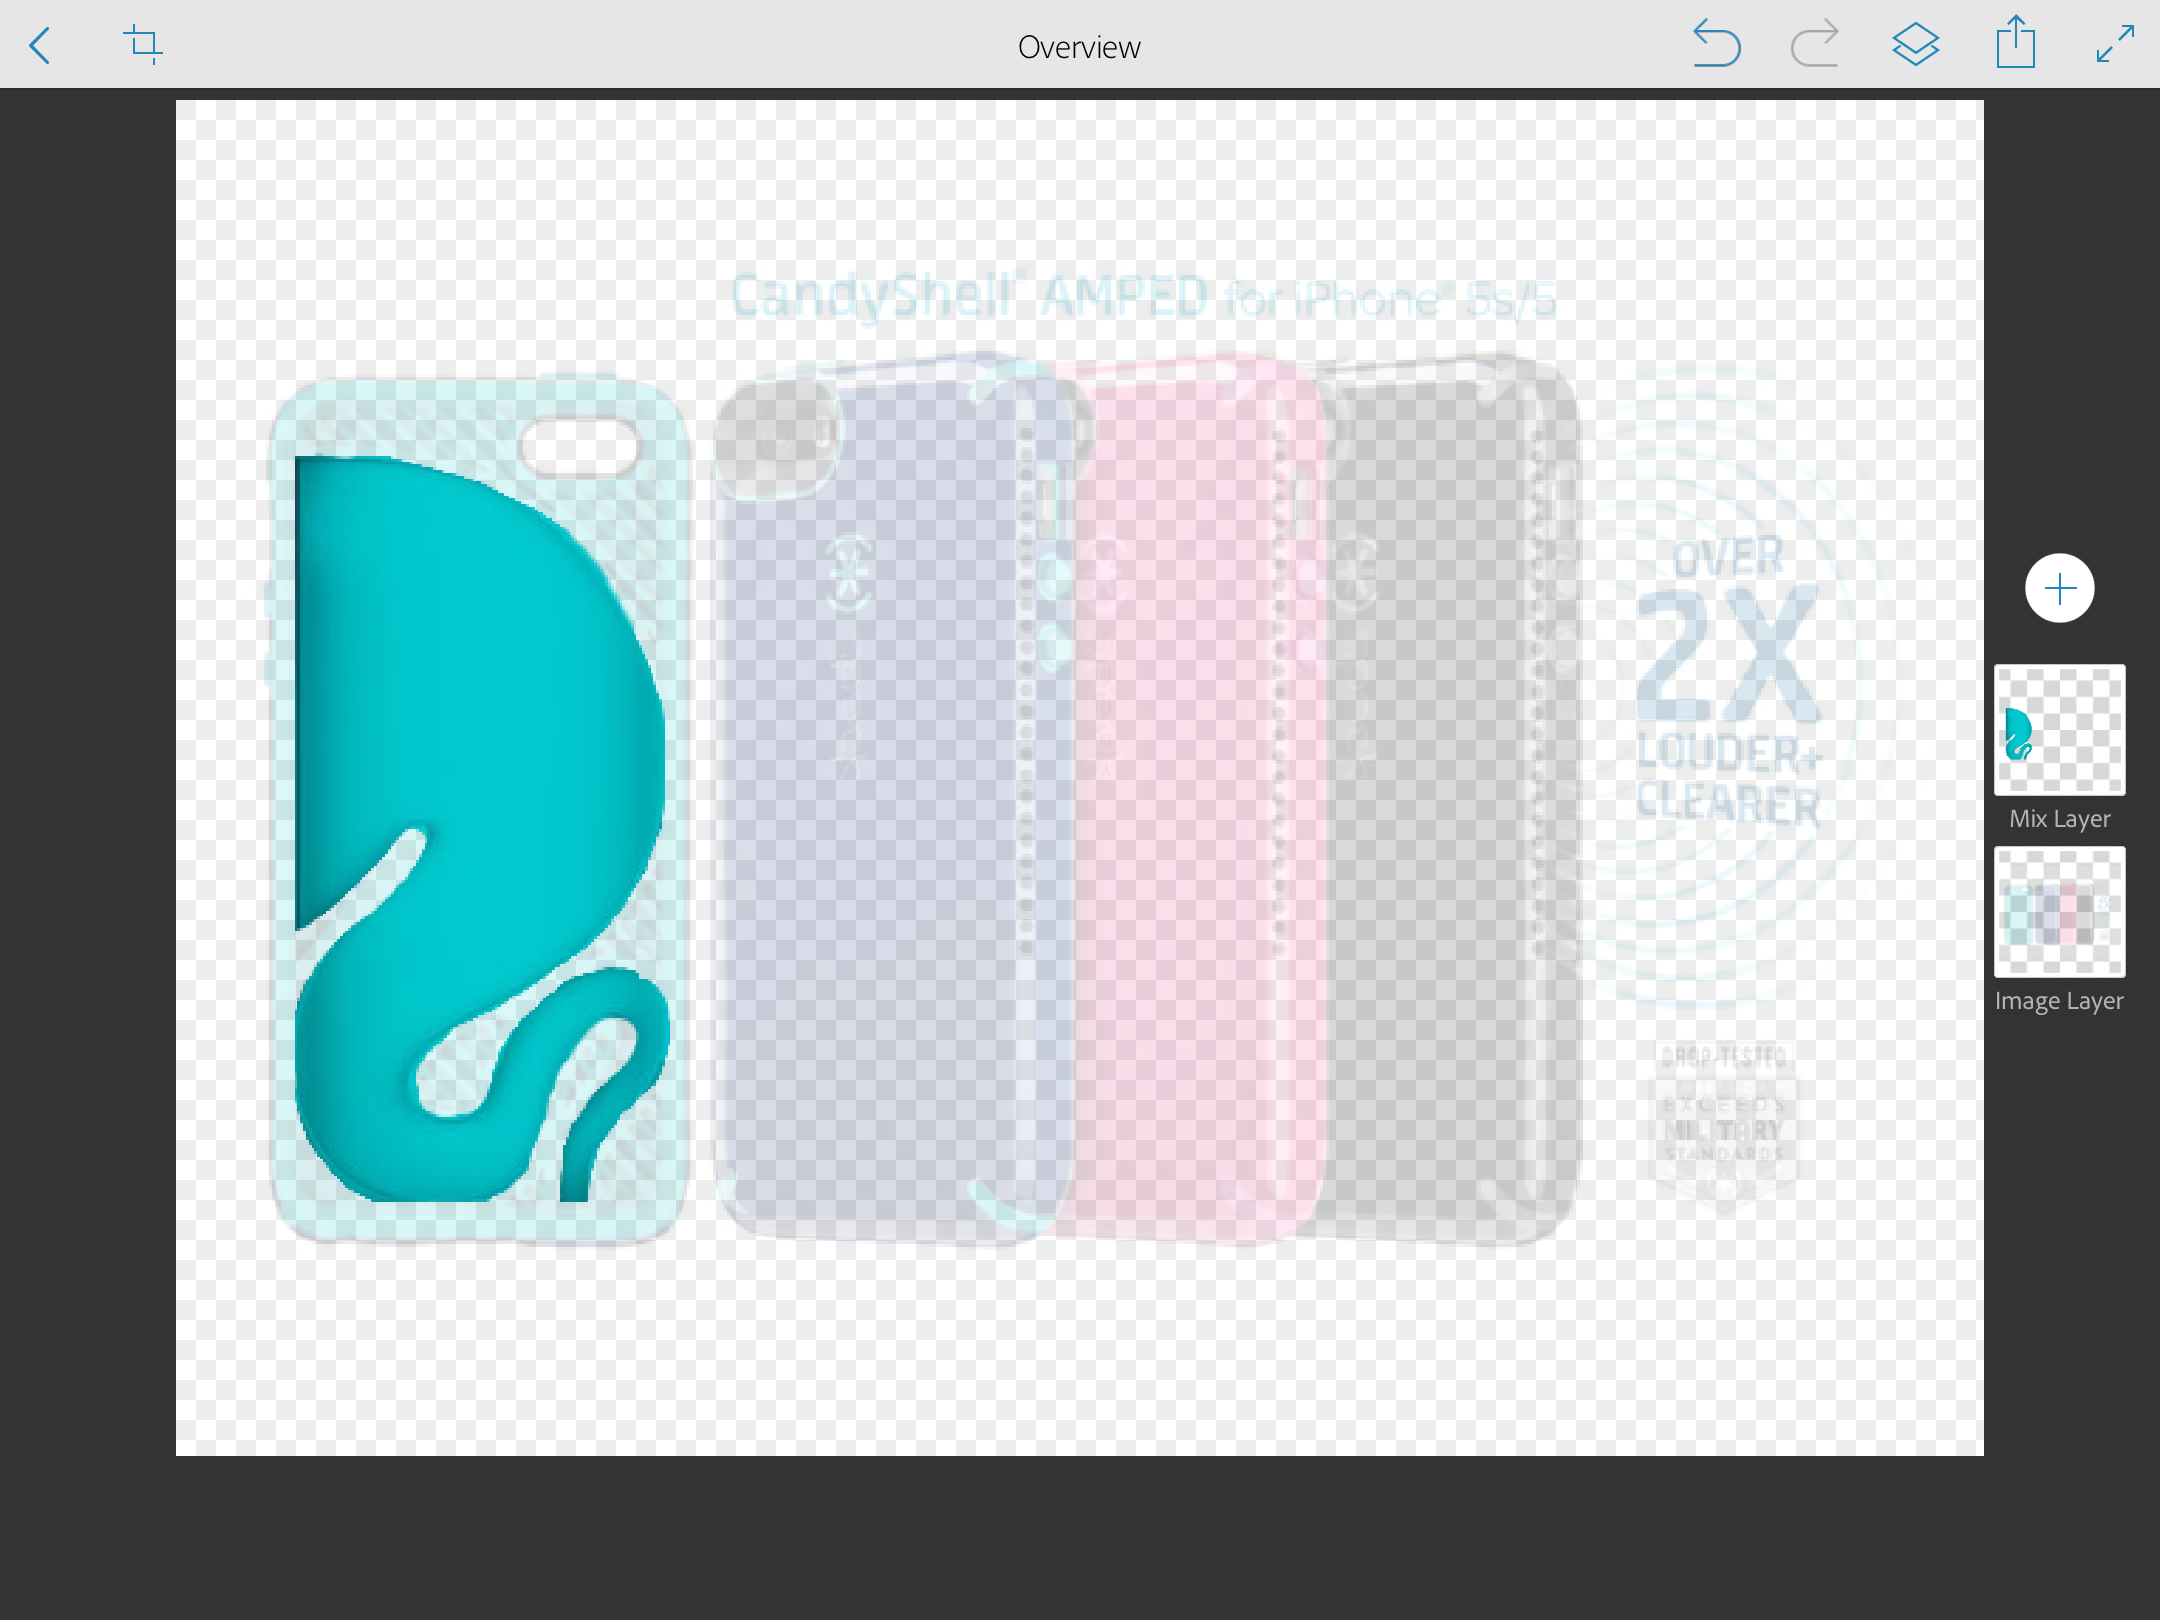

- Find an image of a case like this. The one I used is called the CandyShell Amped case.
- Import the image into a photoshop software
- isolate the curvature that makes up the base of the passive amplifying. It should look indented and curvy
- turn that shape into the color black. This is important for the next step.
Import the Shape Into Your Software
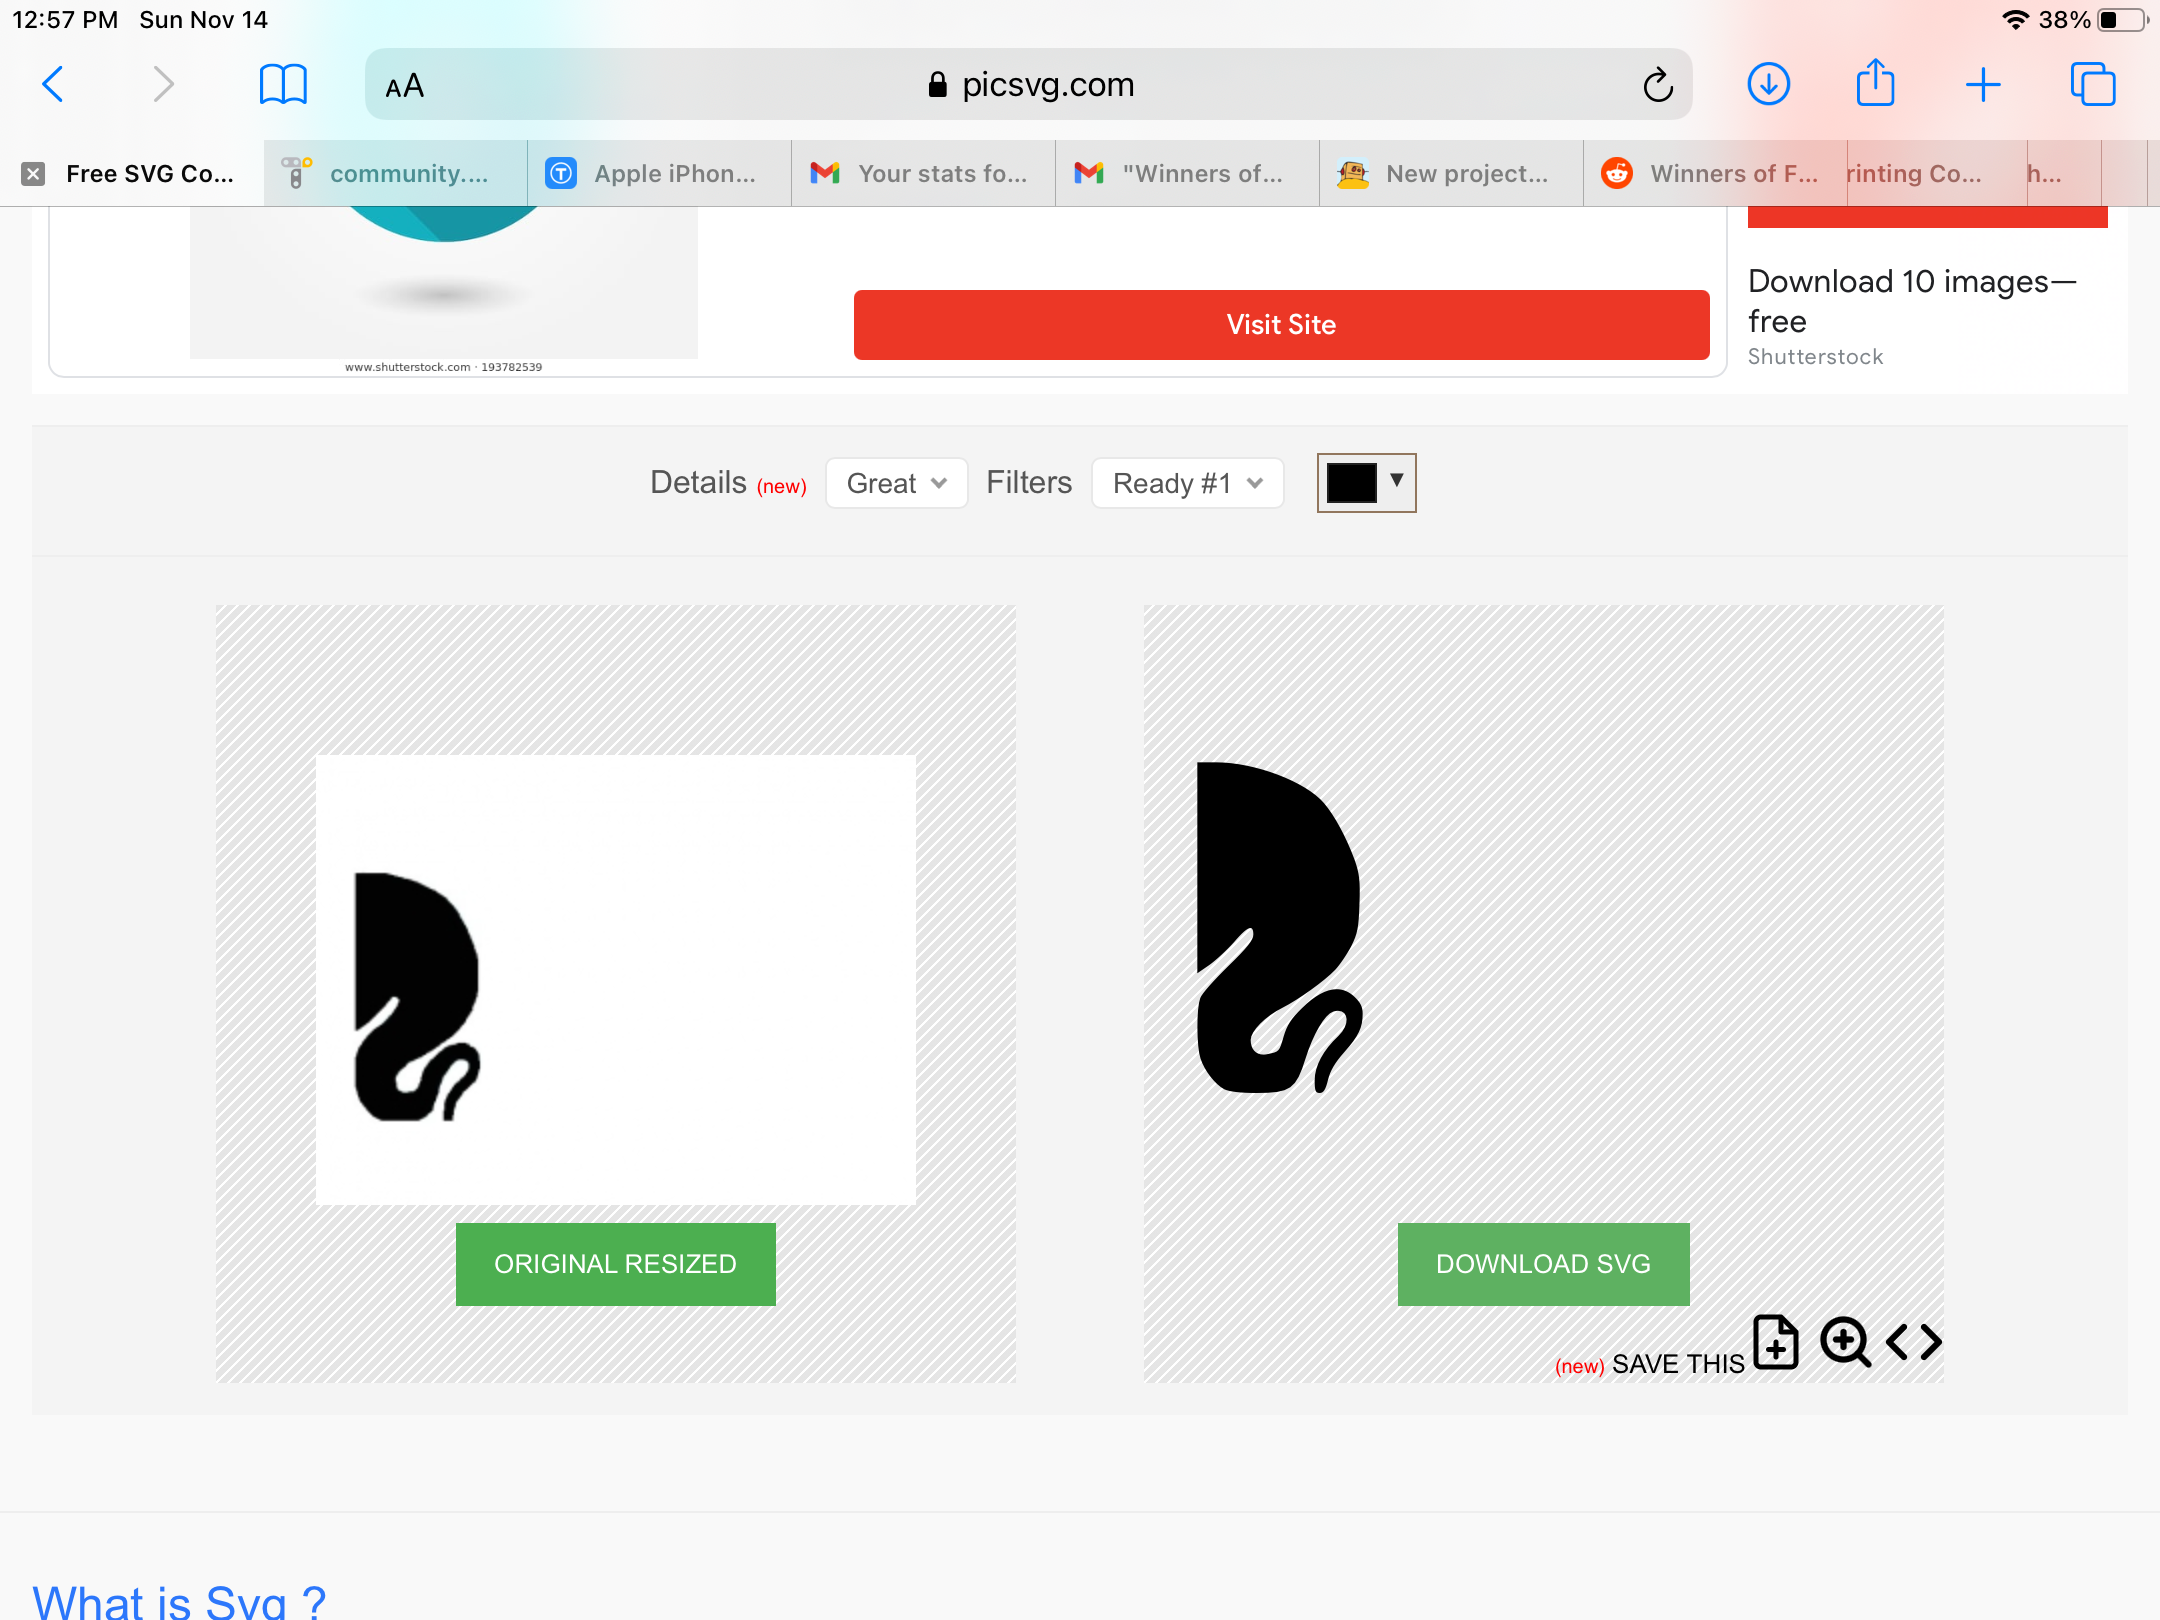
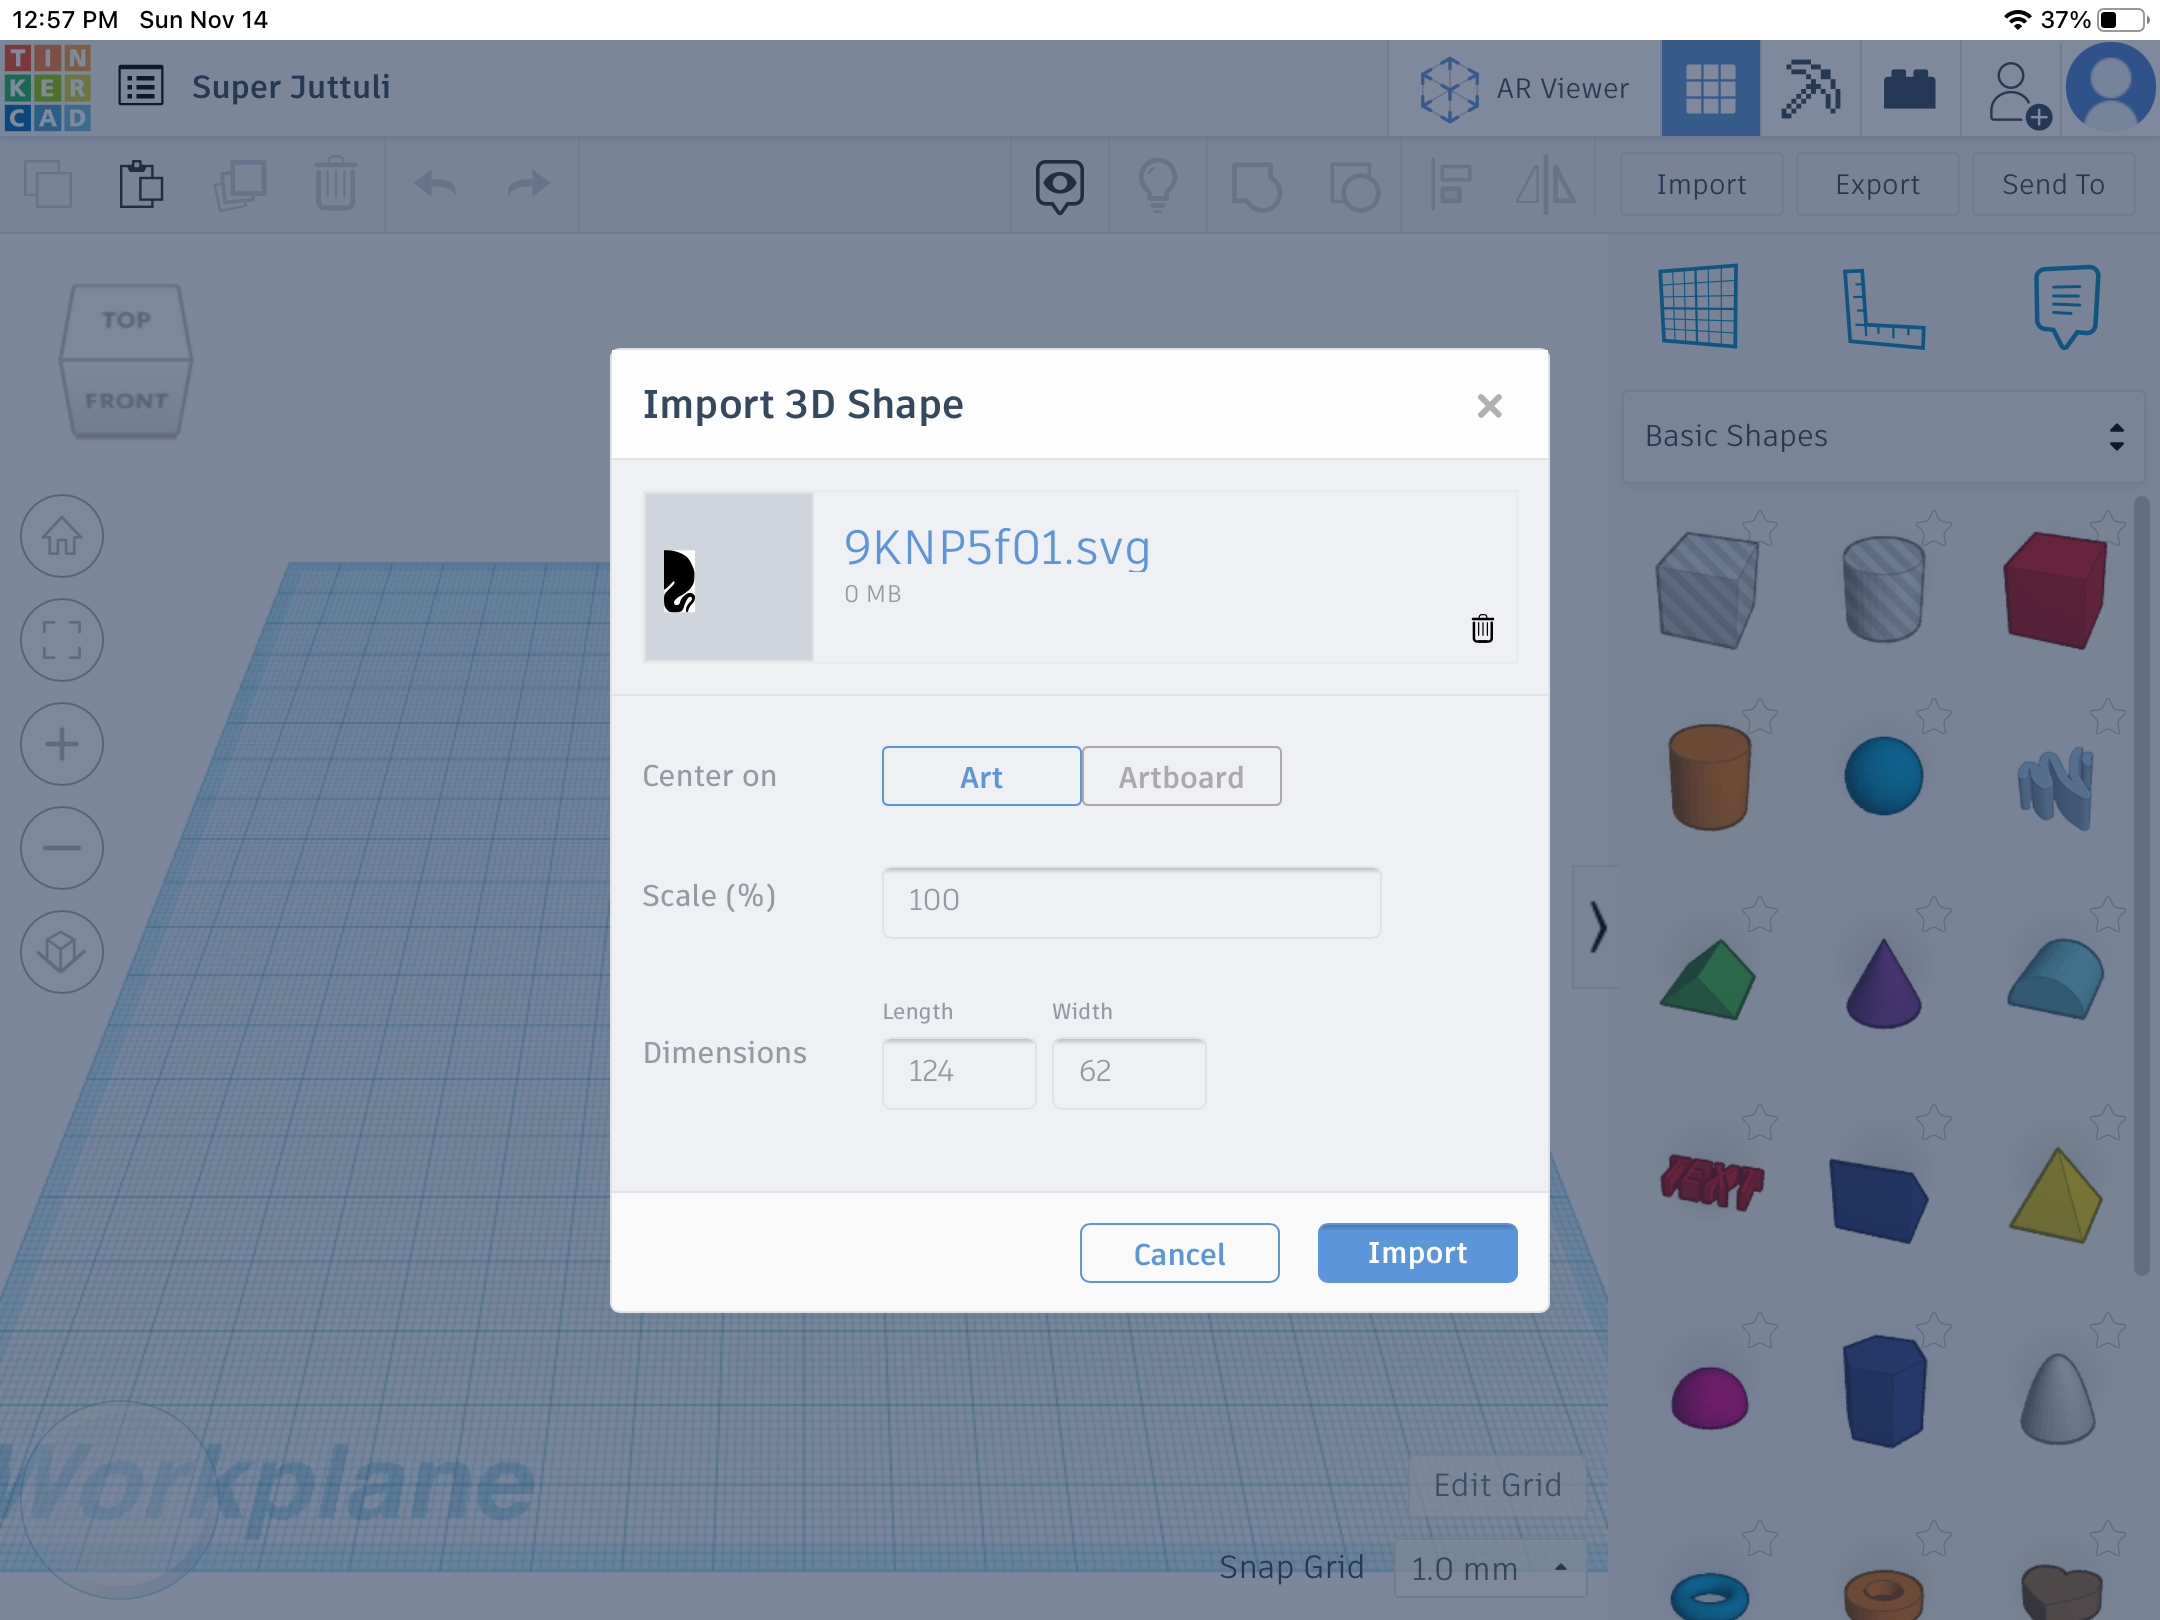
- Upload your black and white pattern into an svg converter and download the svg
- upload your svg into a software (such as tinkercad) that allows it, and turn it into a 3d shape
- export your model as an STL into the software you used for the rest of the project. You now have the base for your design.
Trace and Indent the Pattern
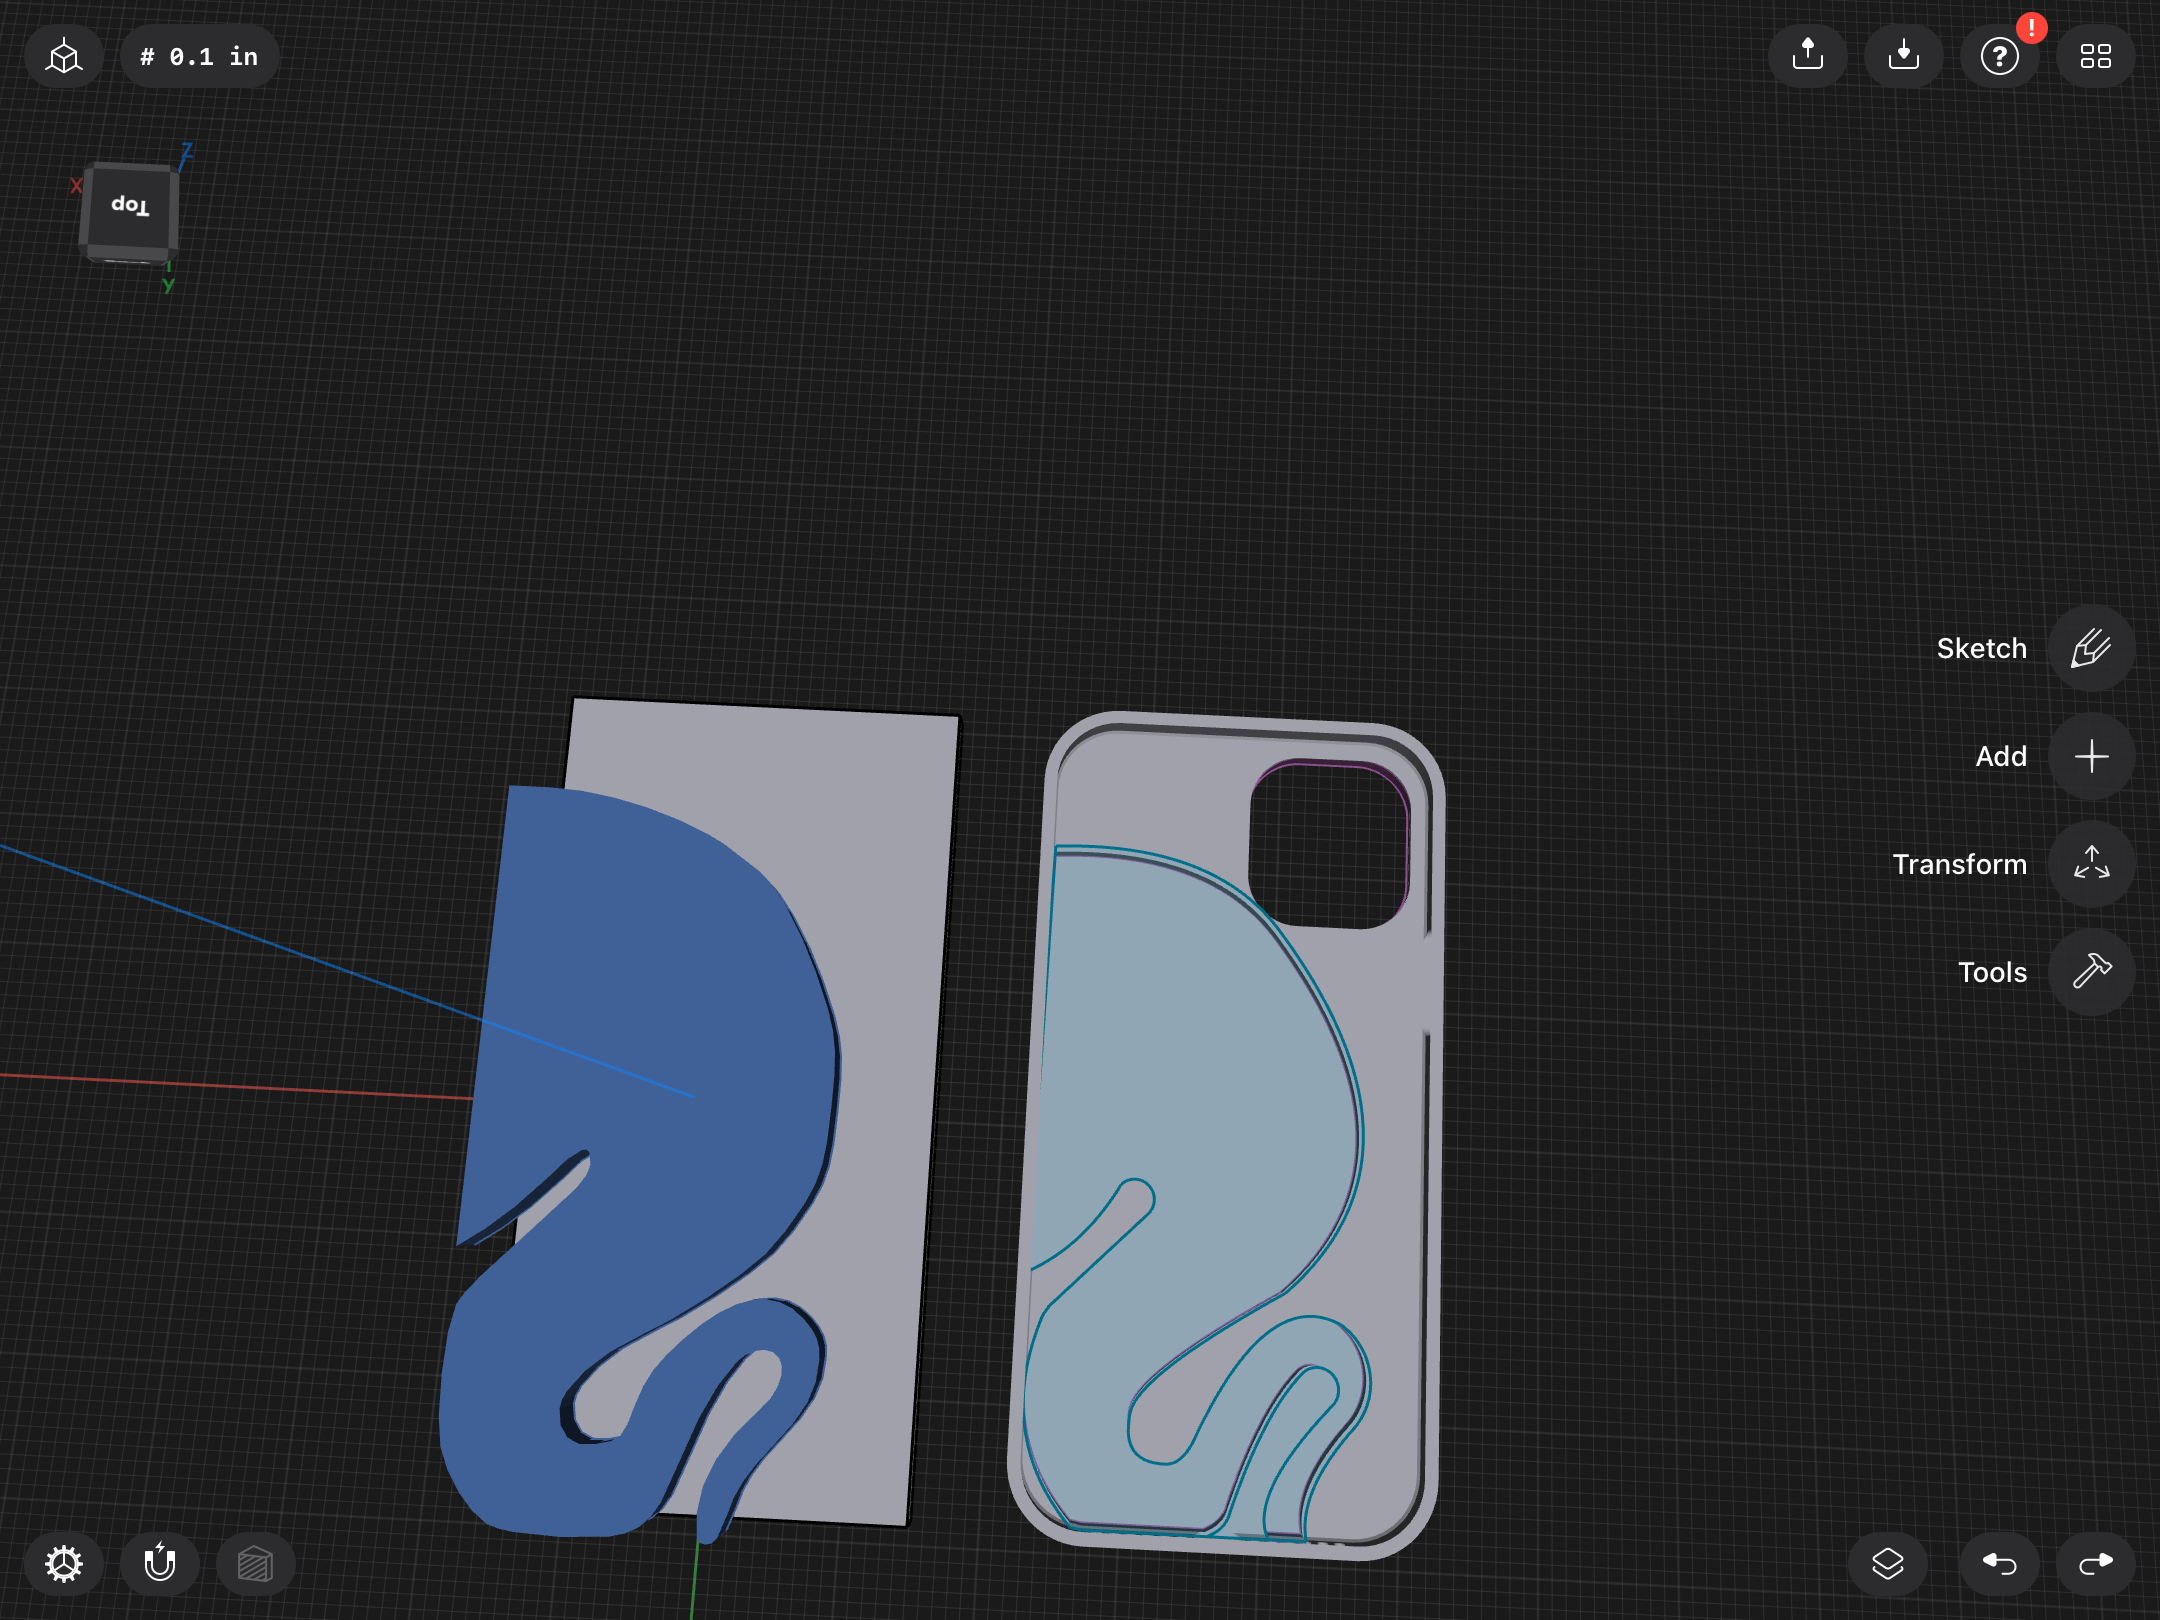
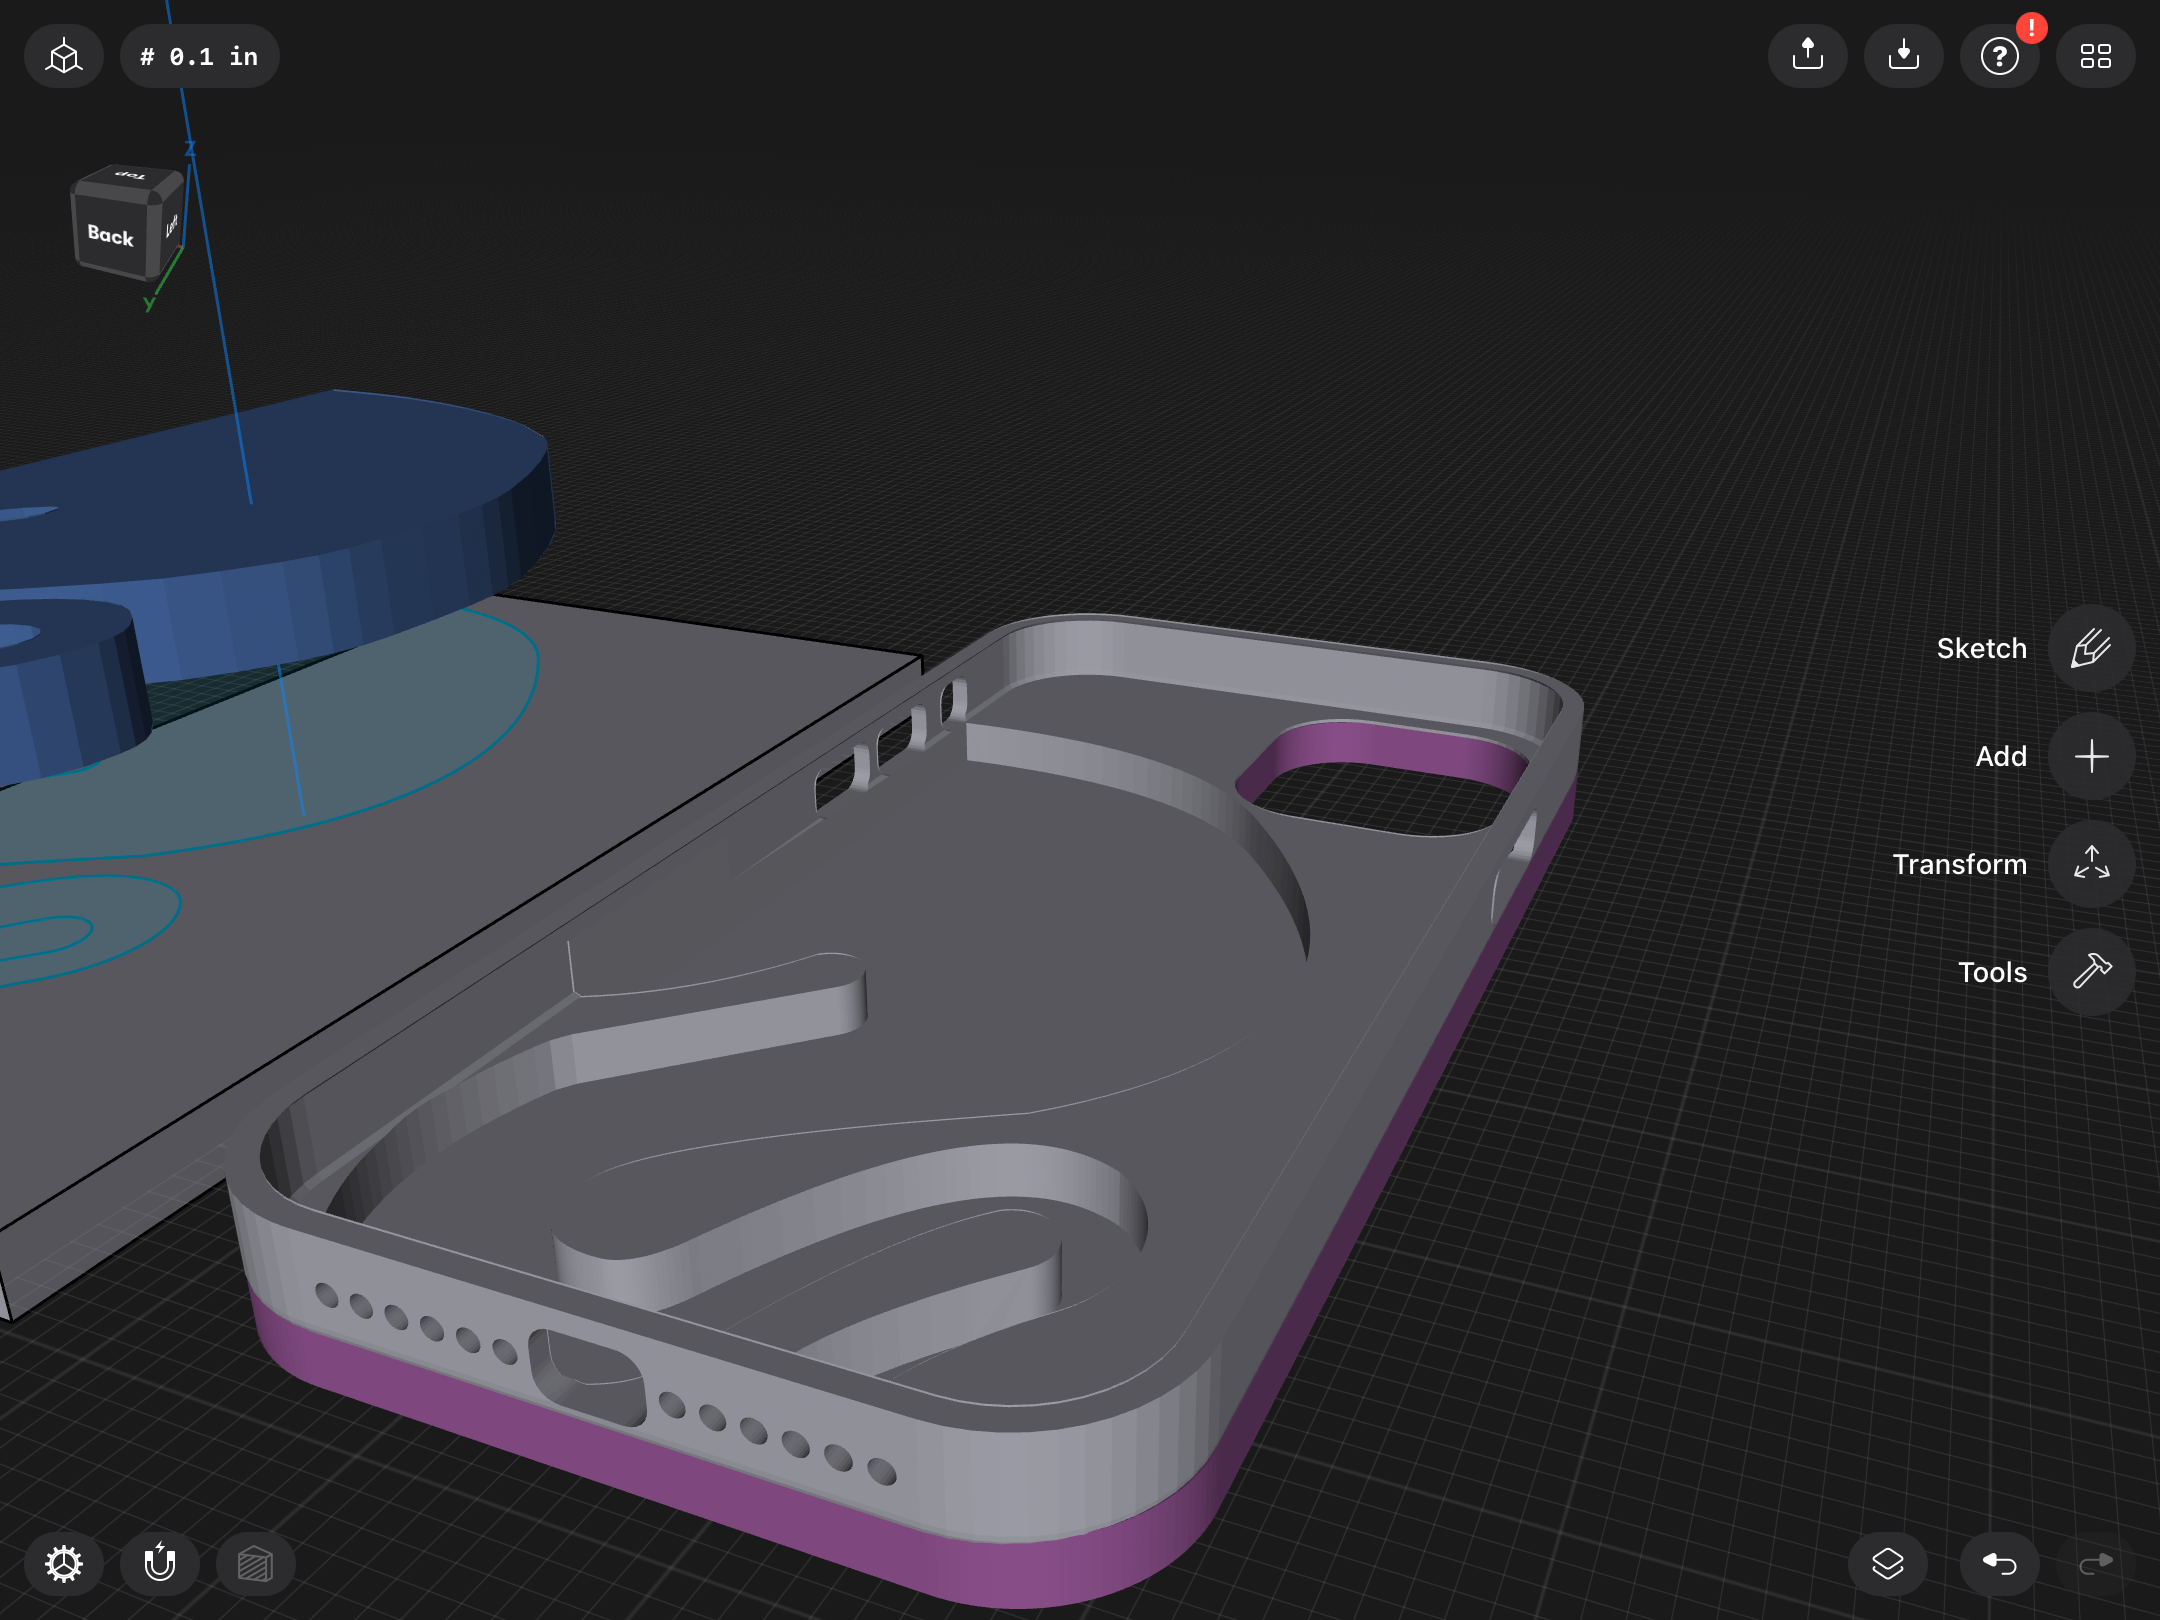
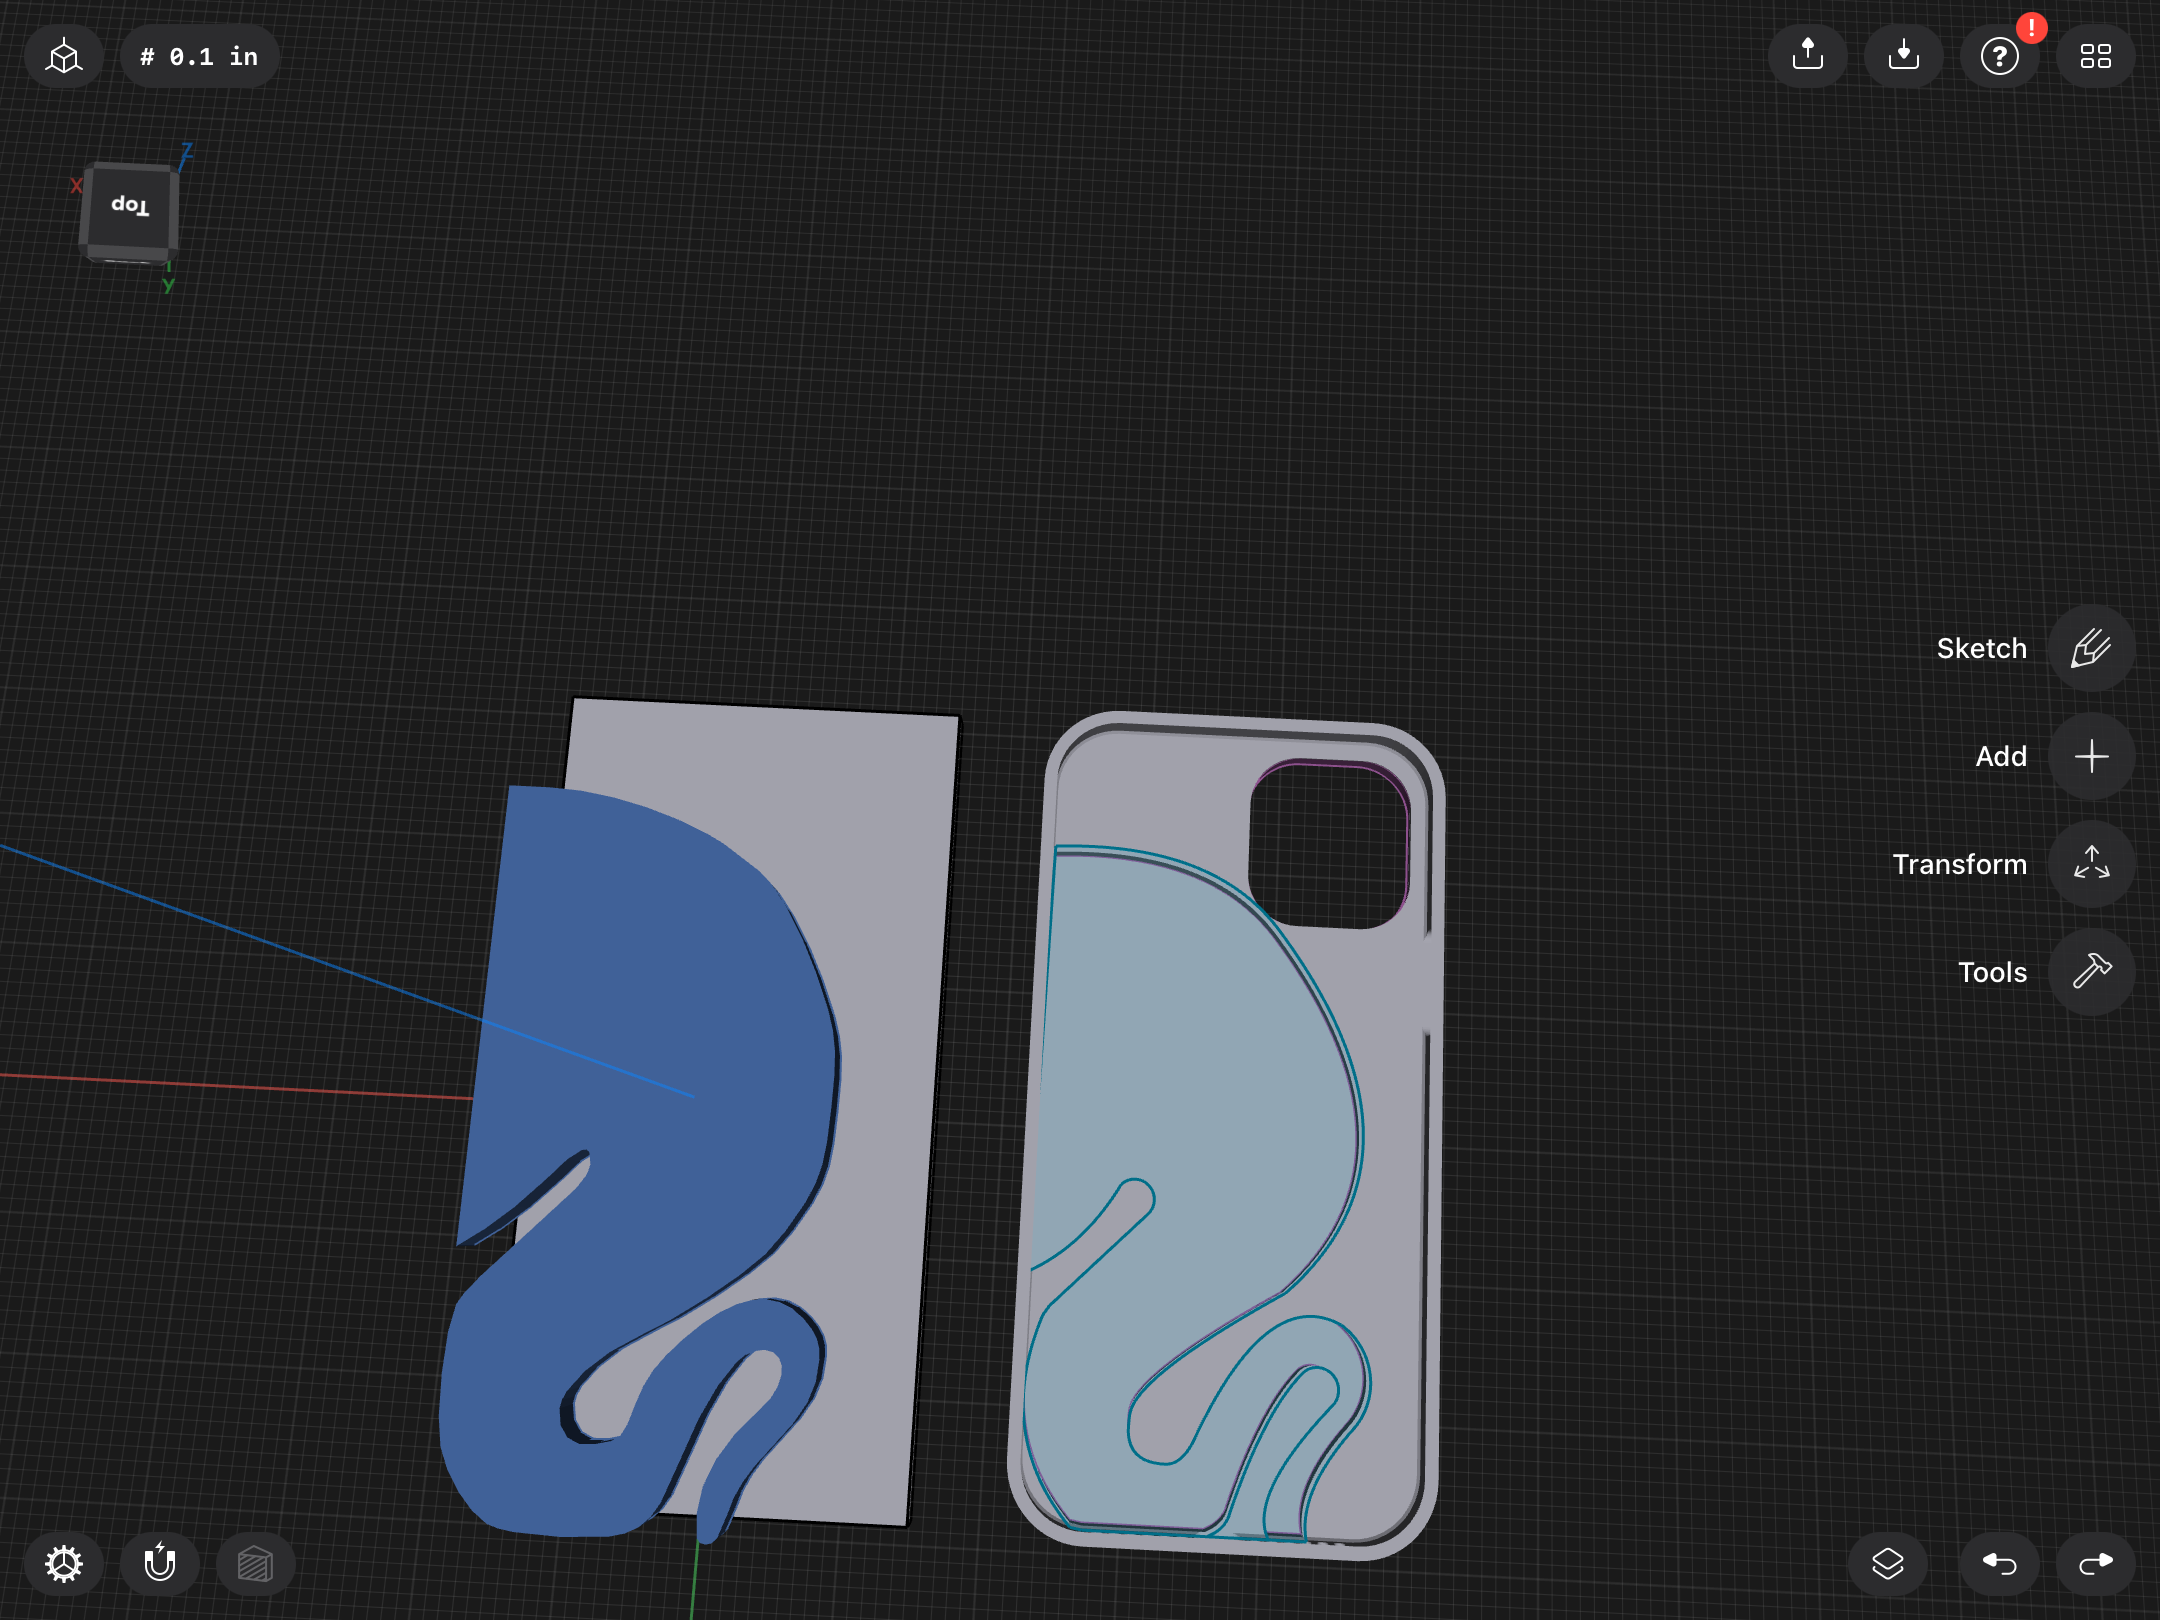
- I couldn’t combine two imported files in my software, so I traced the imported image directly onto the face of my case. This might not be necessary though.
- Indent the pattern into the bottom of your case as seen. Make sure to leave enough space for the case to still be strong at the bottom though! (Ie. Don’t make the bottom too thin)
Redirecting the Sound
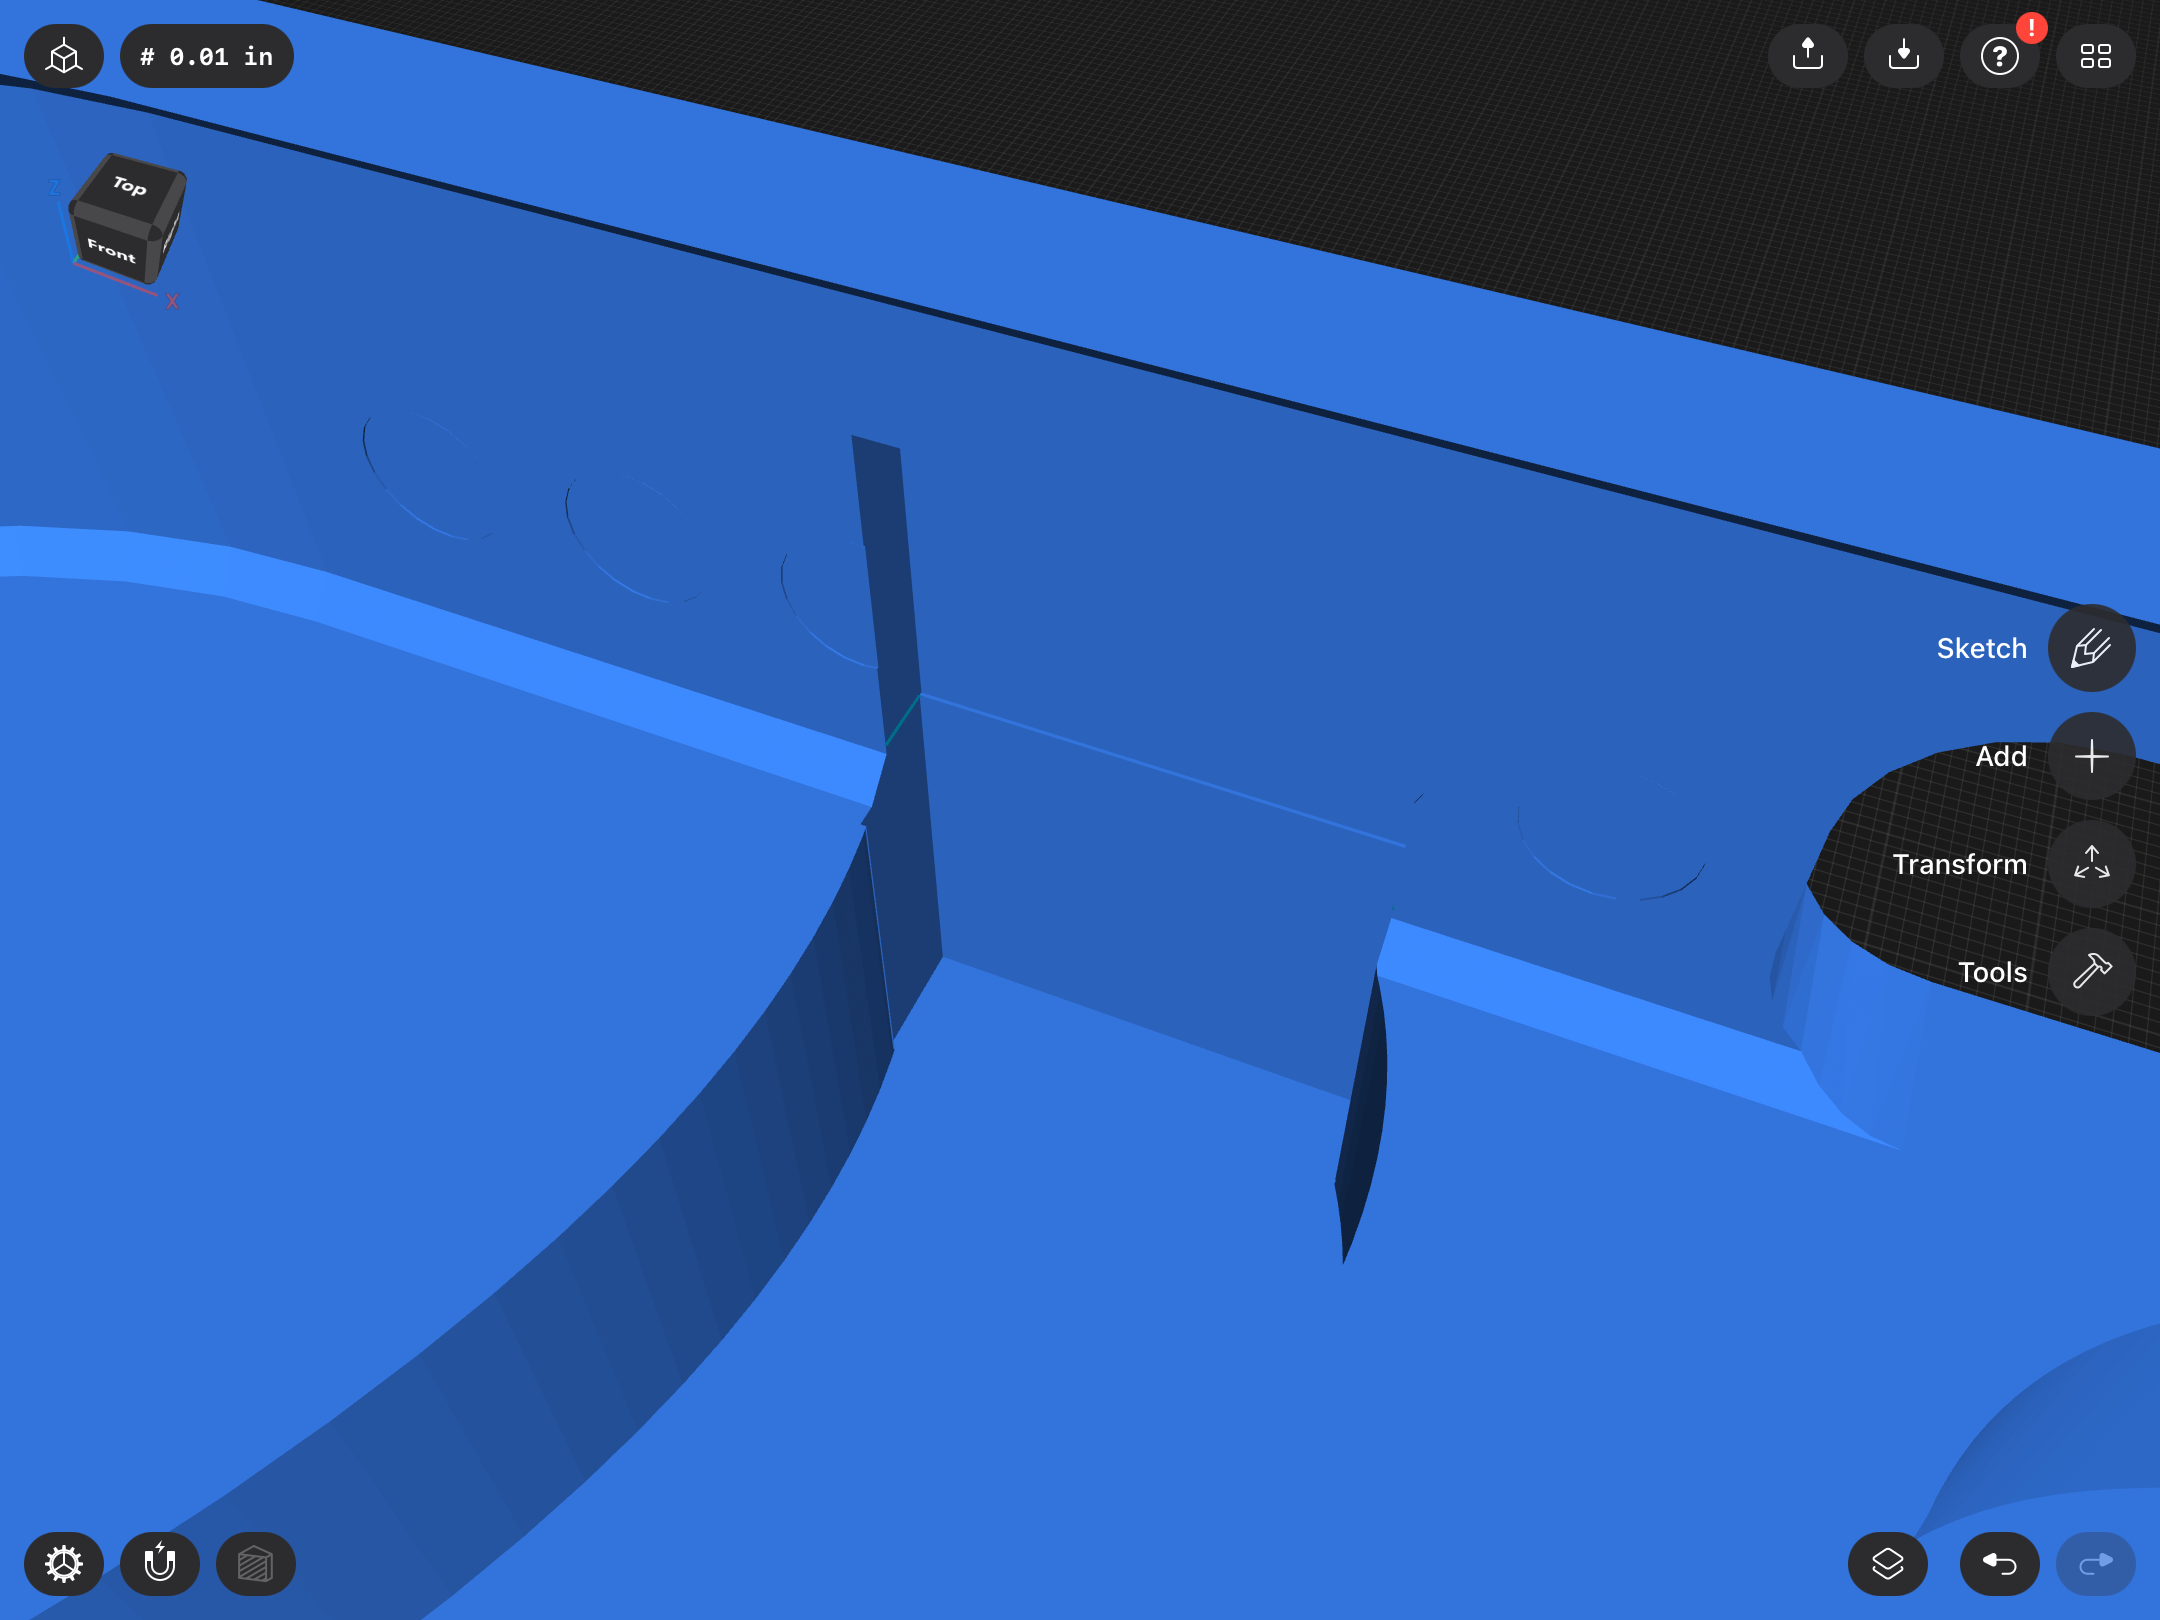
- Use holes to cover where the speaker holes are.
- Cut out a rectangle going PAST where the speaker holes go as seen in the picture. This allows the sound to travel and be redirected. Make sure to repeat this for both holes.
Adding the Speaker Holes
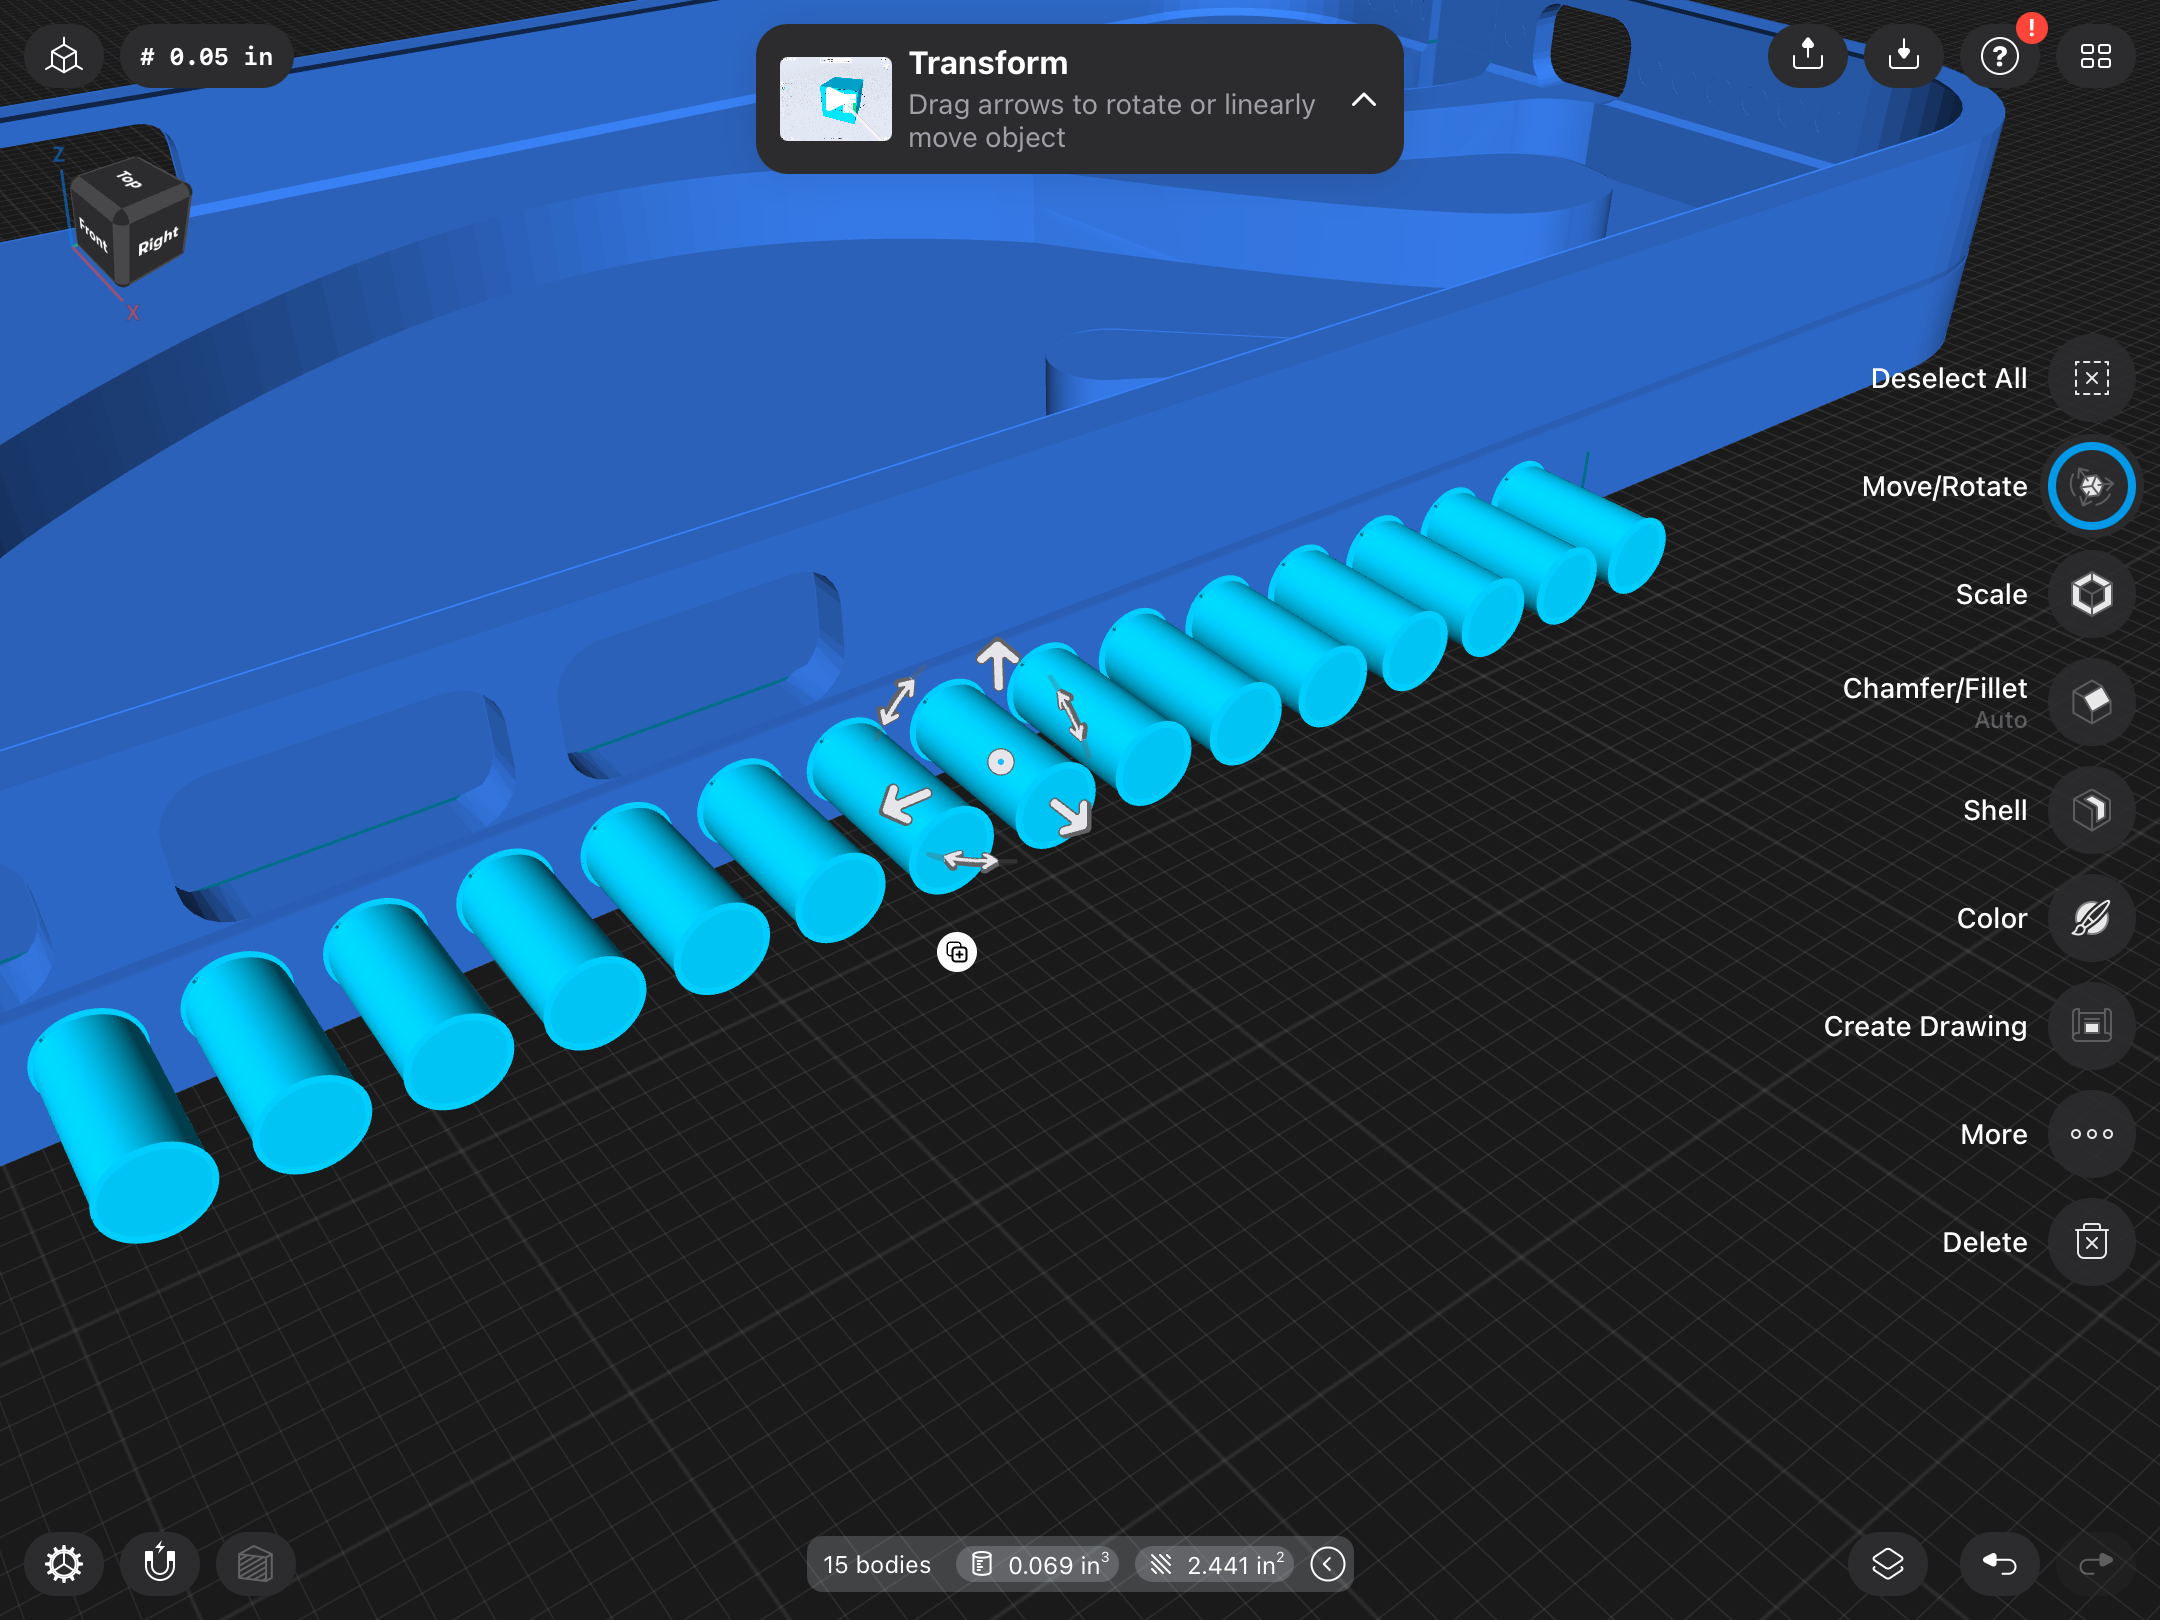
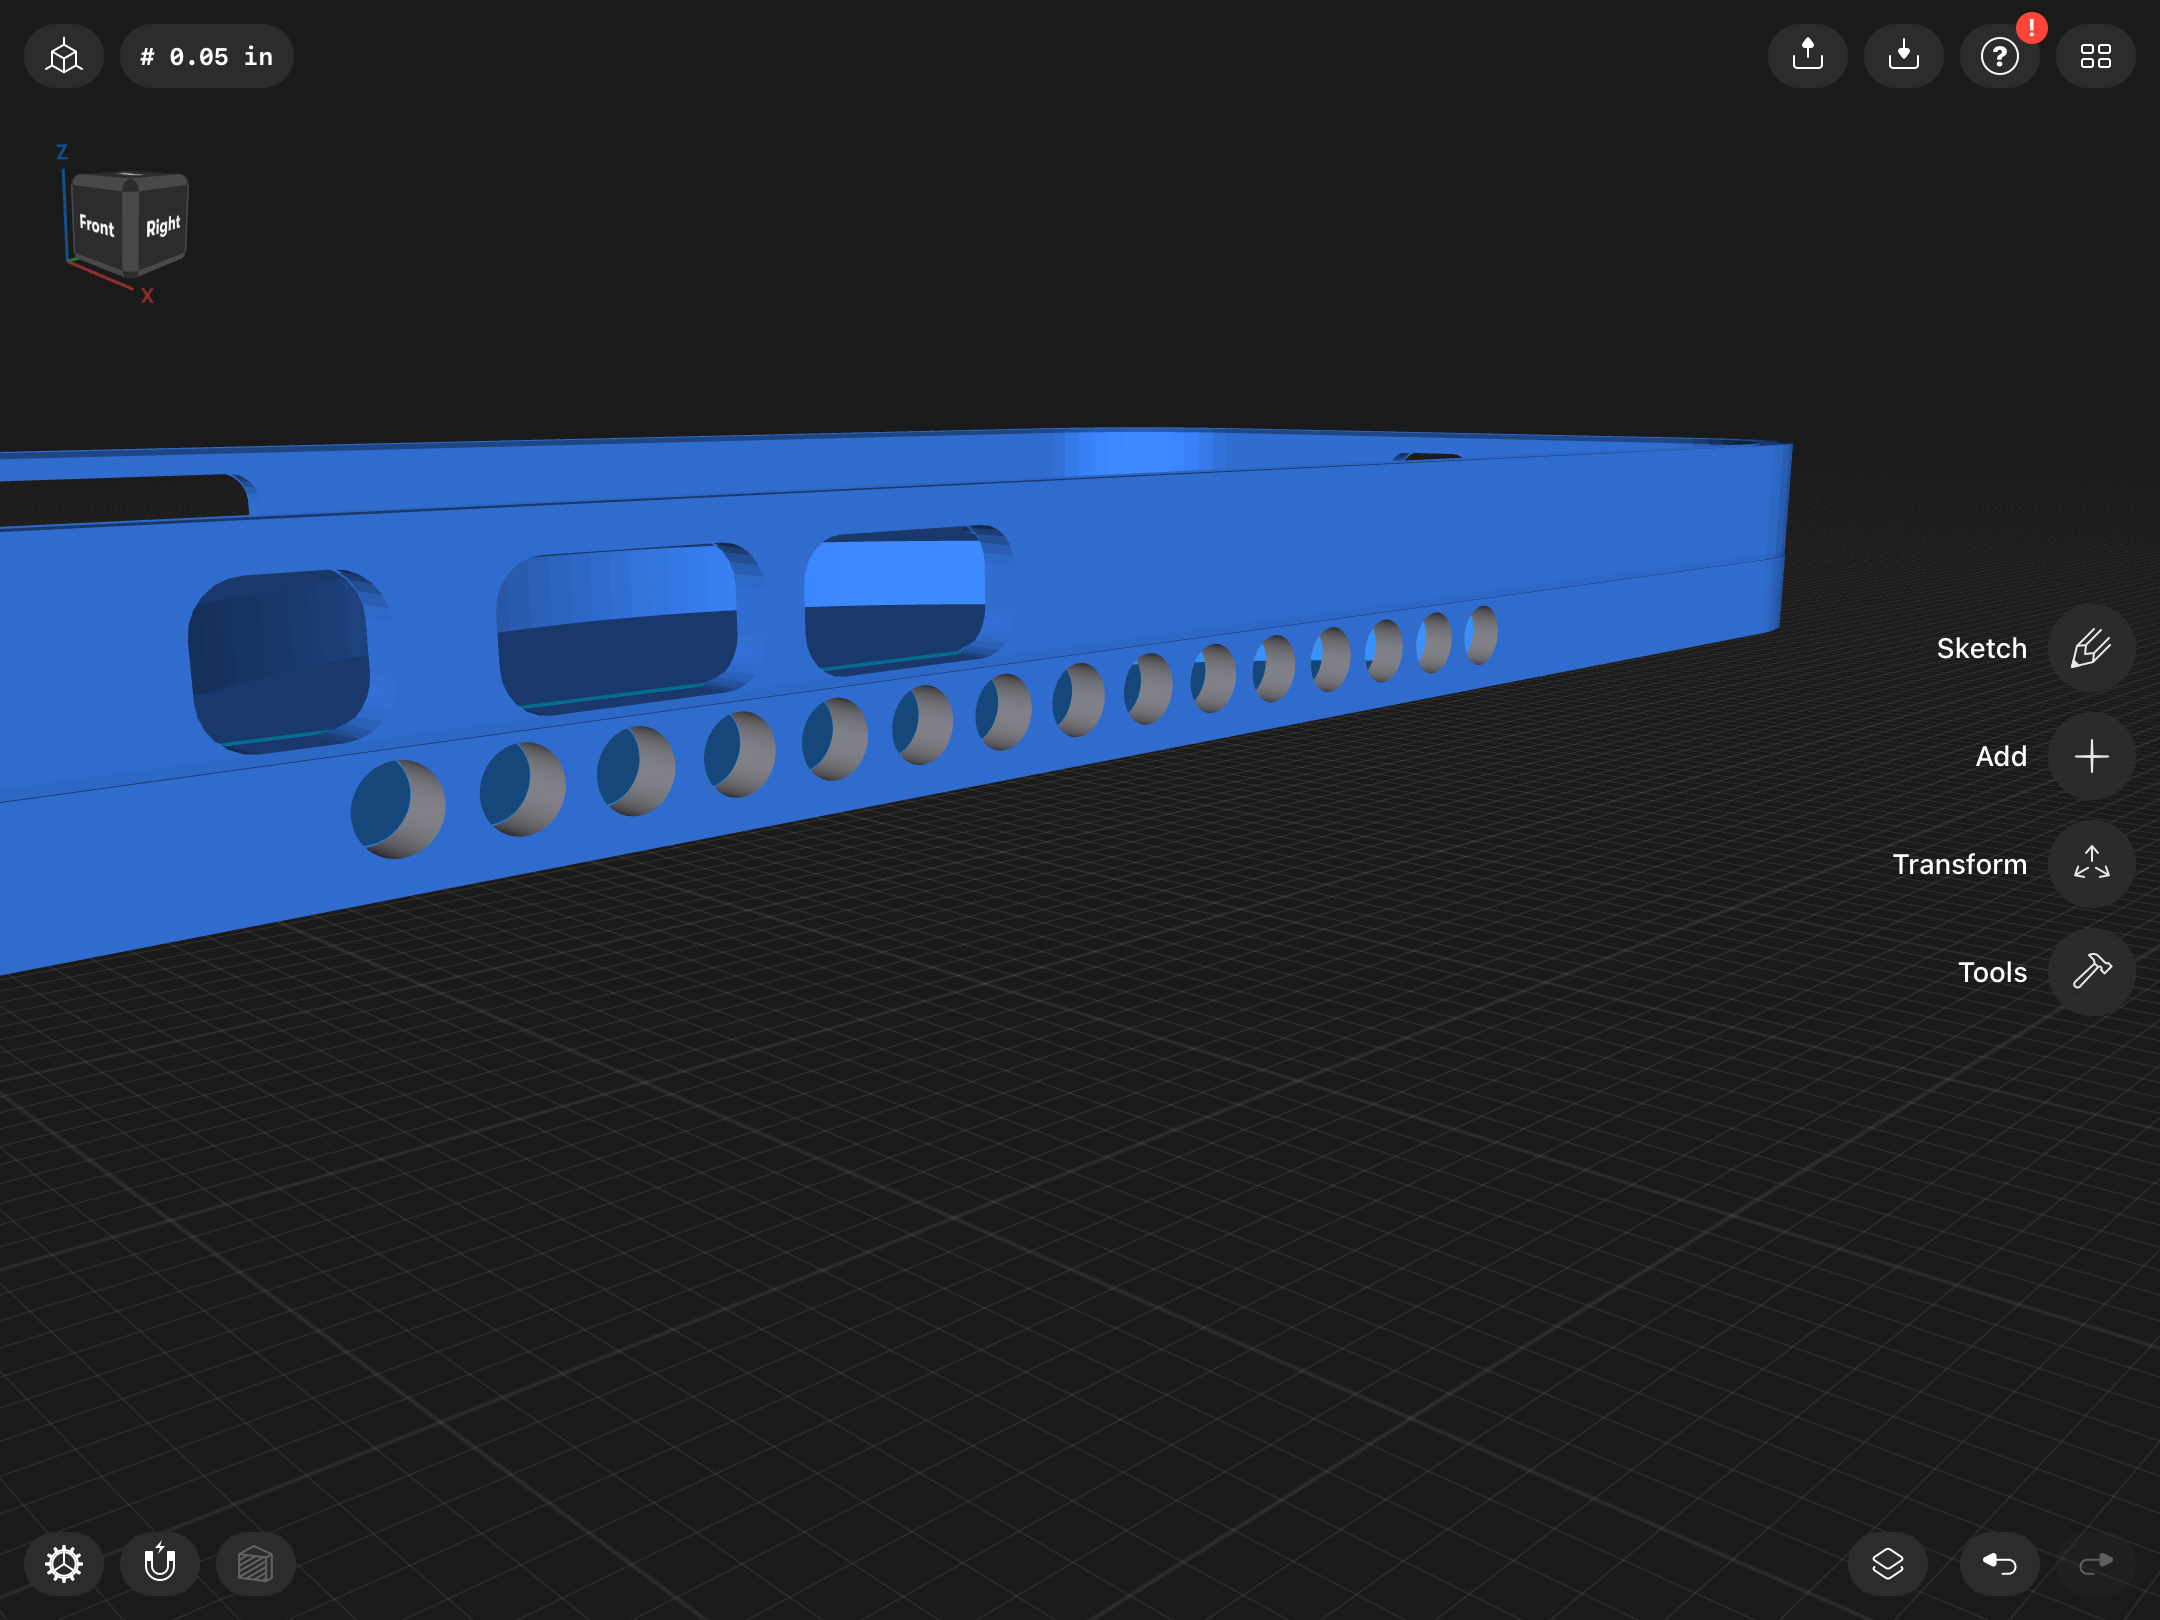
- Choose a section of the side of the case to be where the sound comes out. It should be in line with the wide part of your pattern.
- Cut out many holes from it, letting the sound travel out freely while preventing grime from getting in. Make sure the holes do not go above the line of the original case / volume buttons.
Cutting Out the Camera Hole
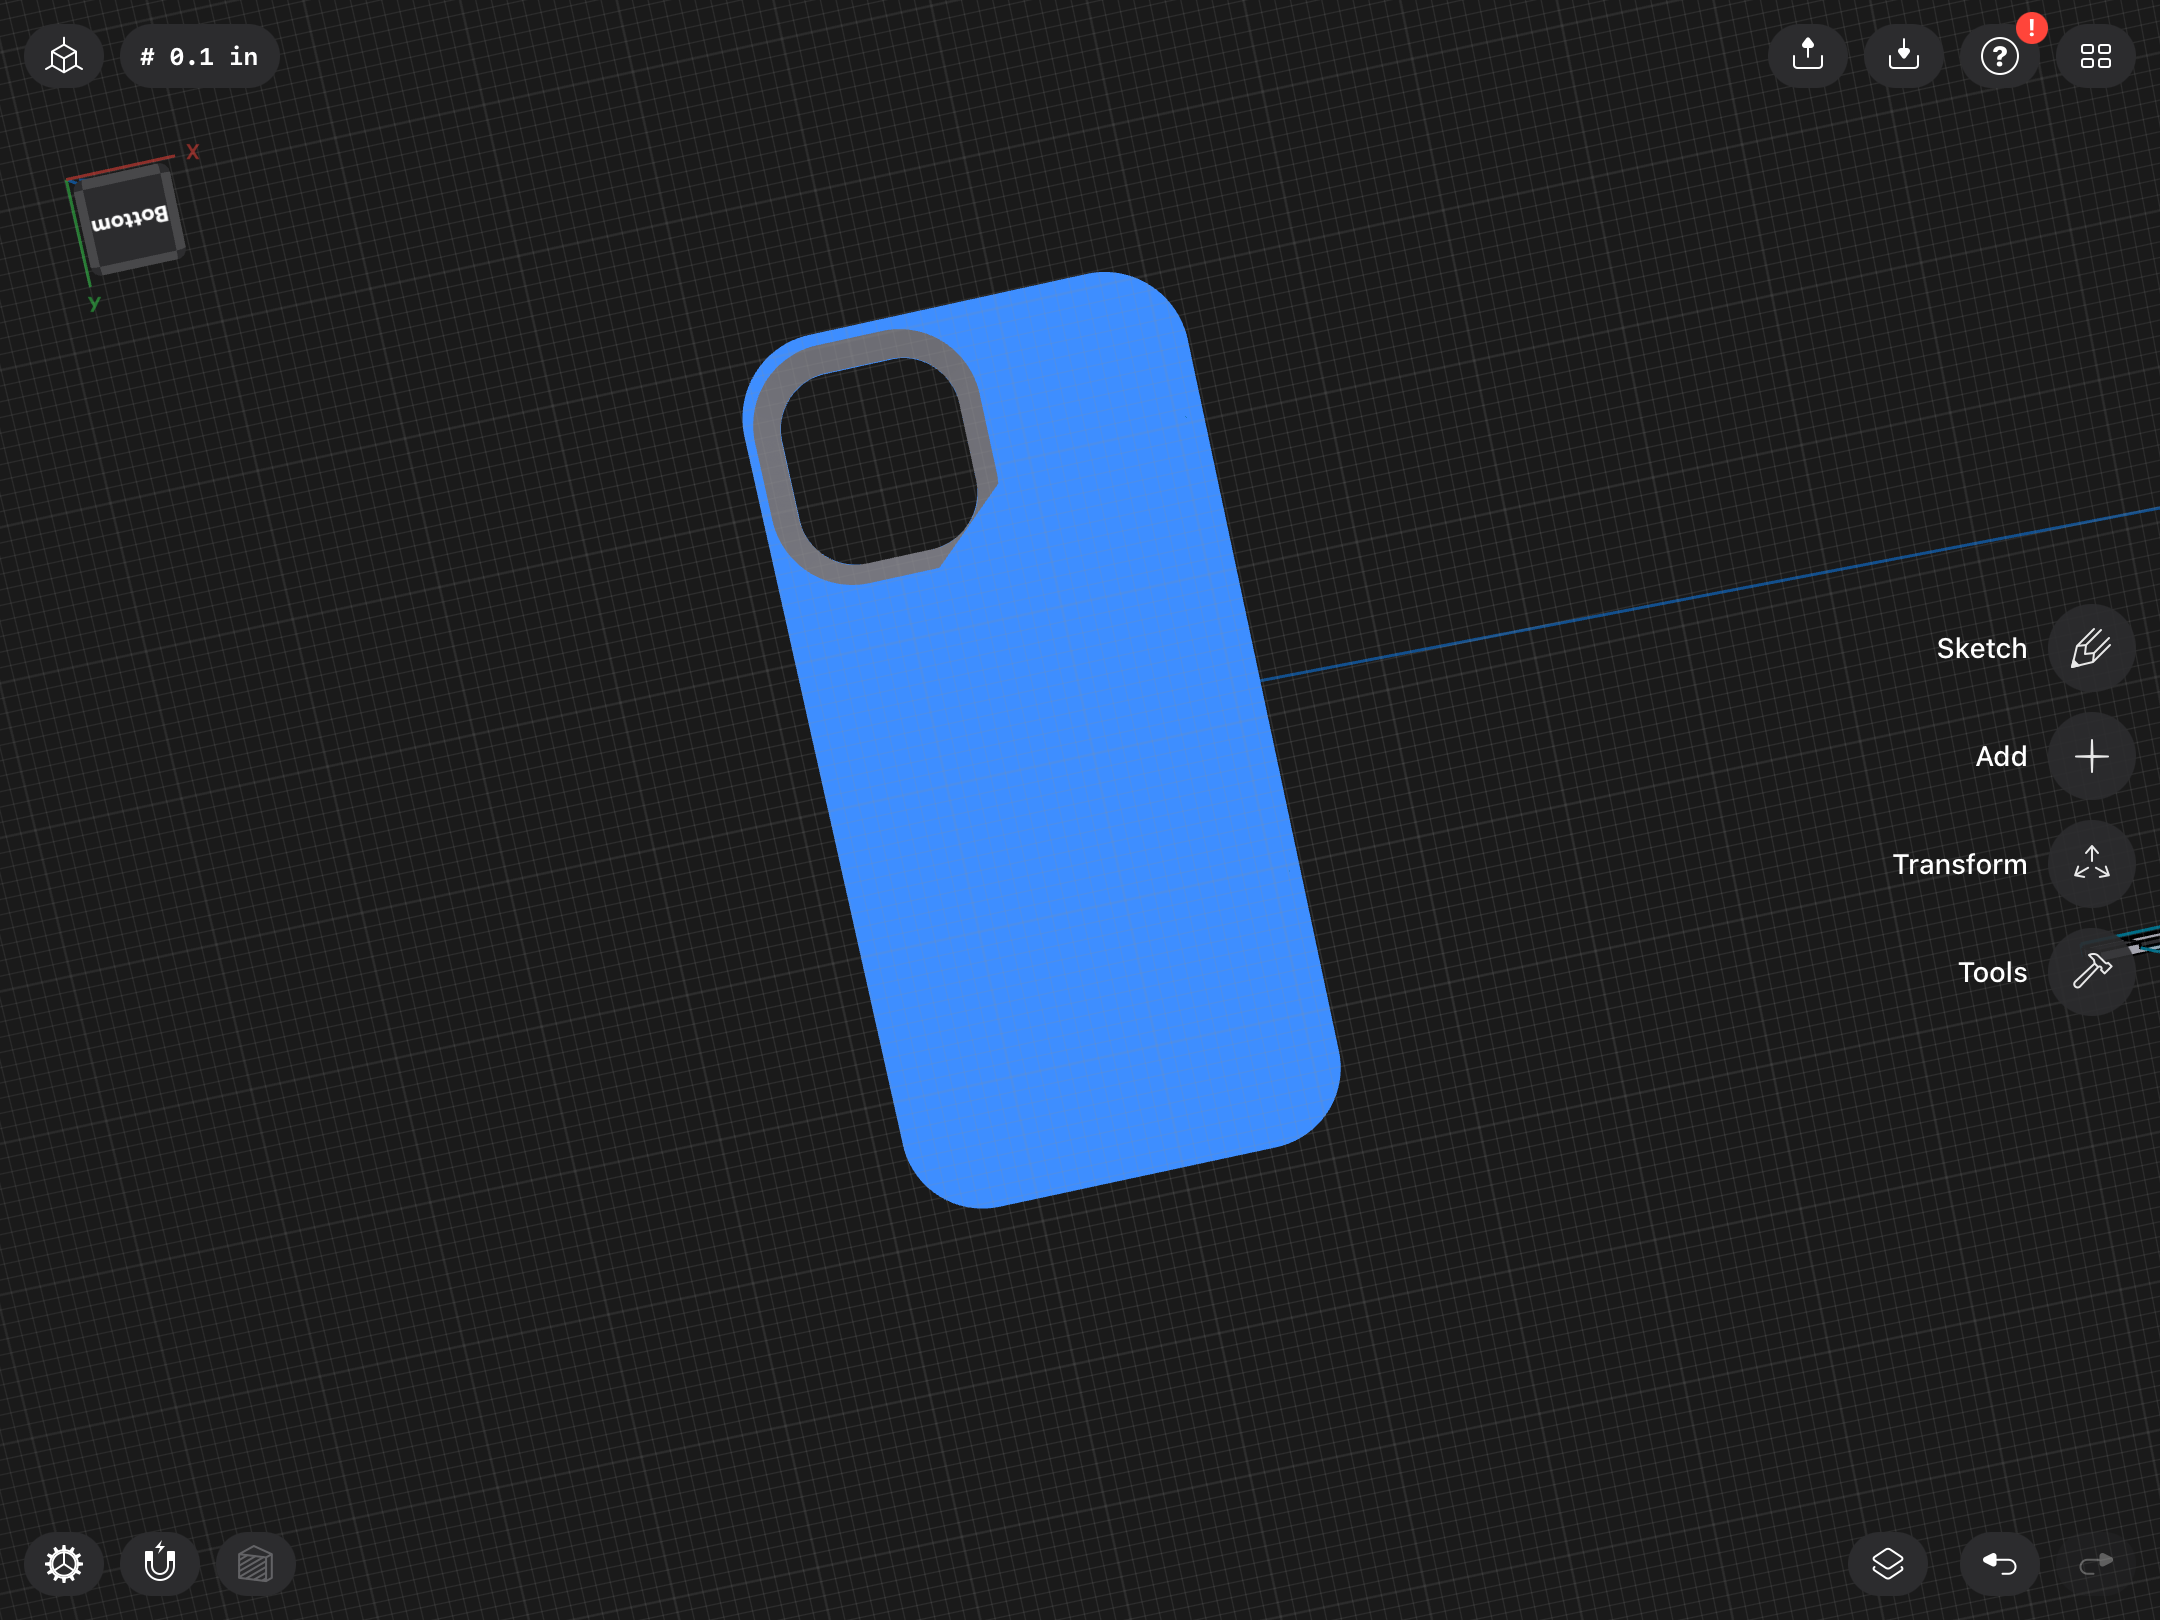
- Trace over the camera hole with a drawing on the inside of the case.
- Use that same drawing on the outside of the case, but at a slightly higher scale.
- connect the two and subtract them from the original case, creating a sloping effect around the camera for better picture taking.
- Patch up any holes created. I had a hole in the bottom right corner of the camera. I had to patch it by ungrouping, subtracting part of the piece that was removed from the case using a rectangle, and regrouping.
Customization/Time to Print
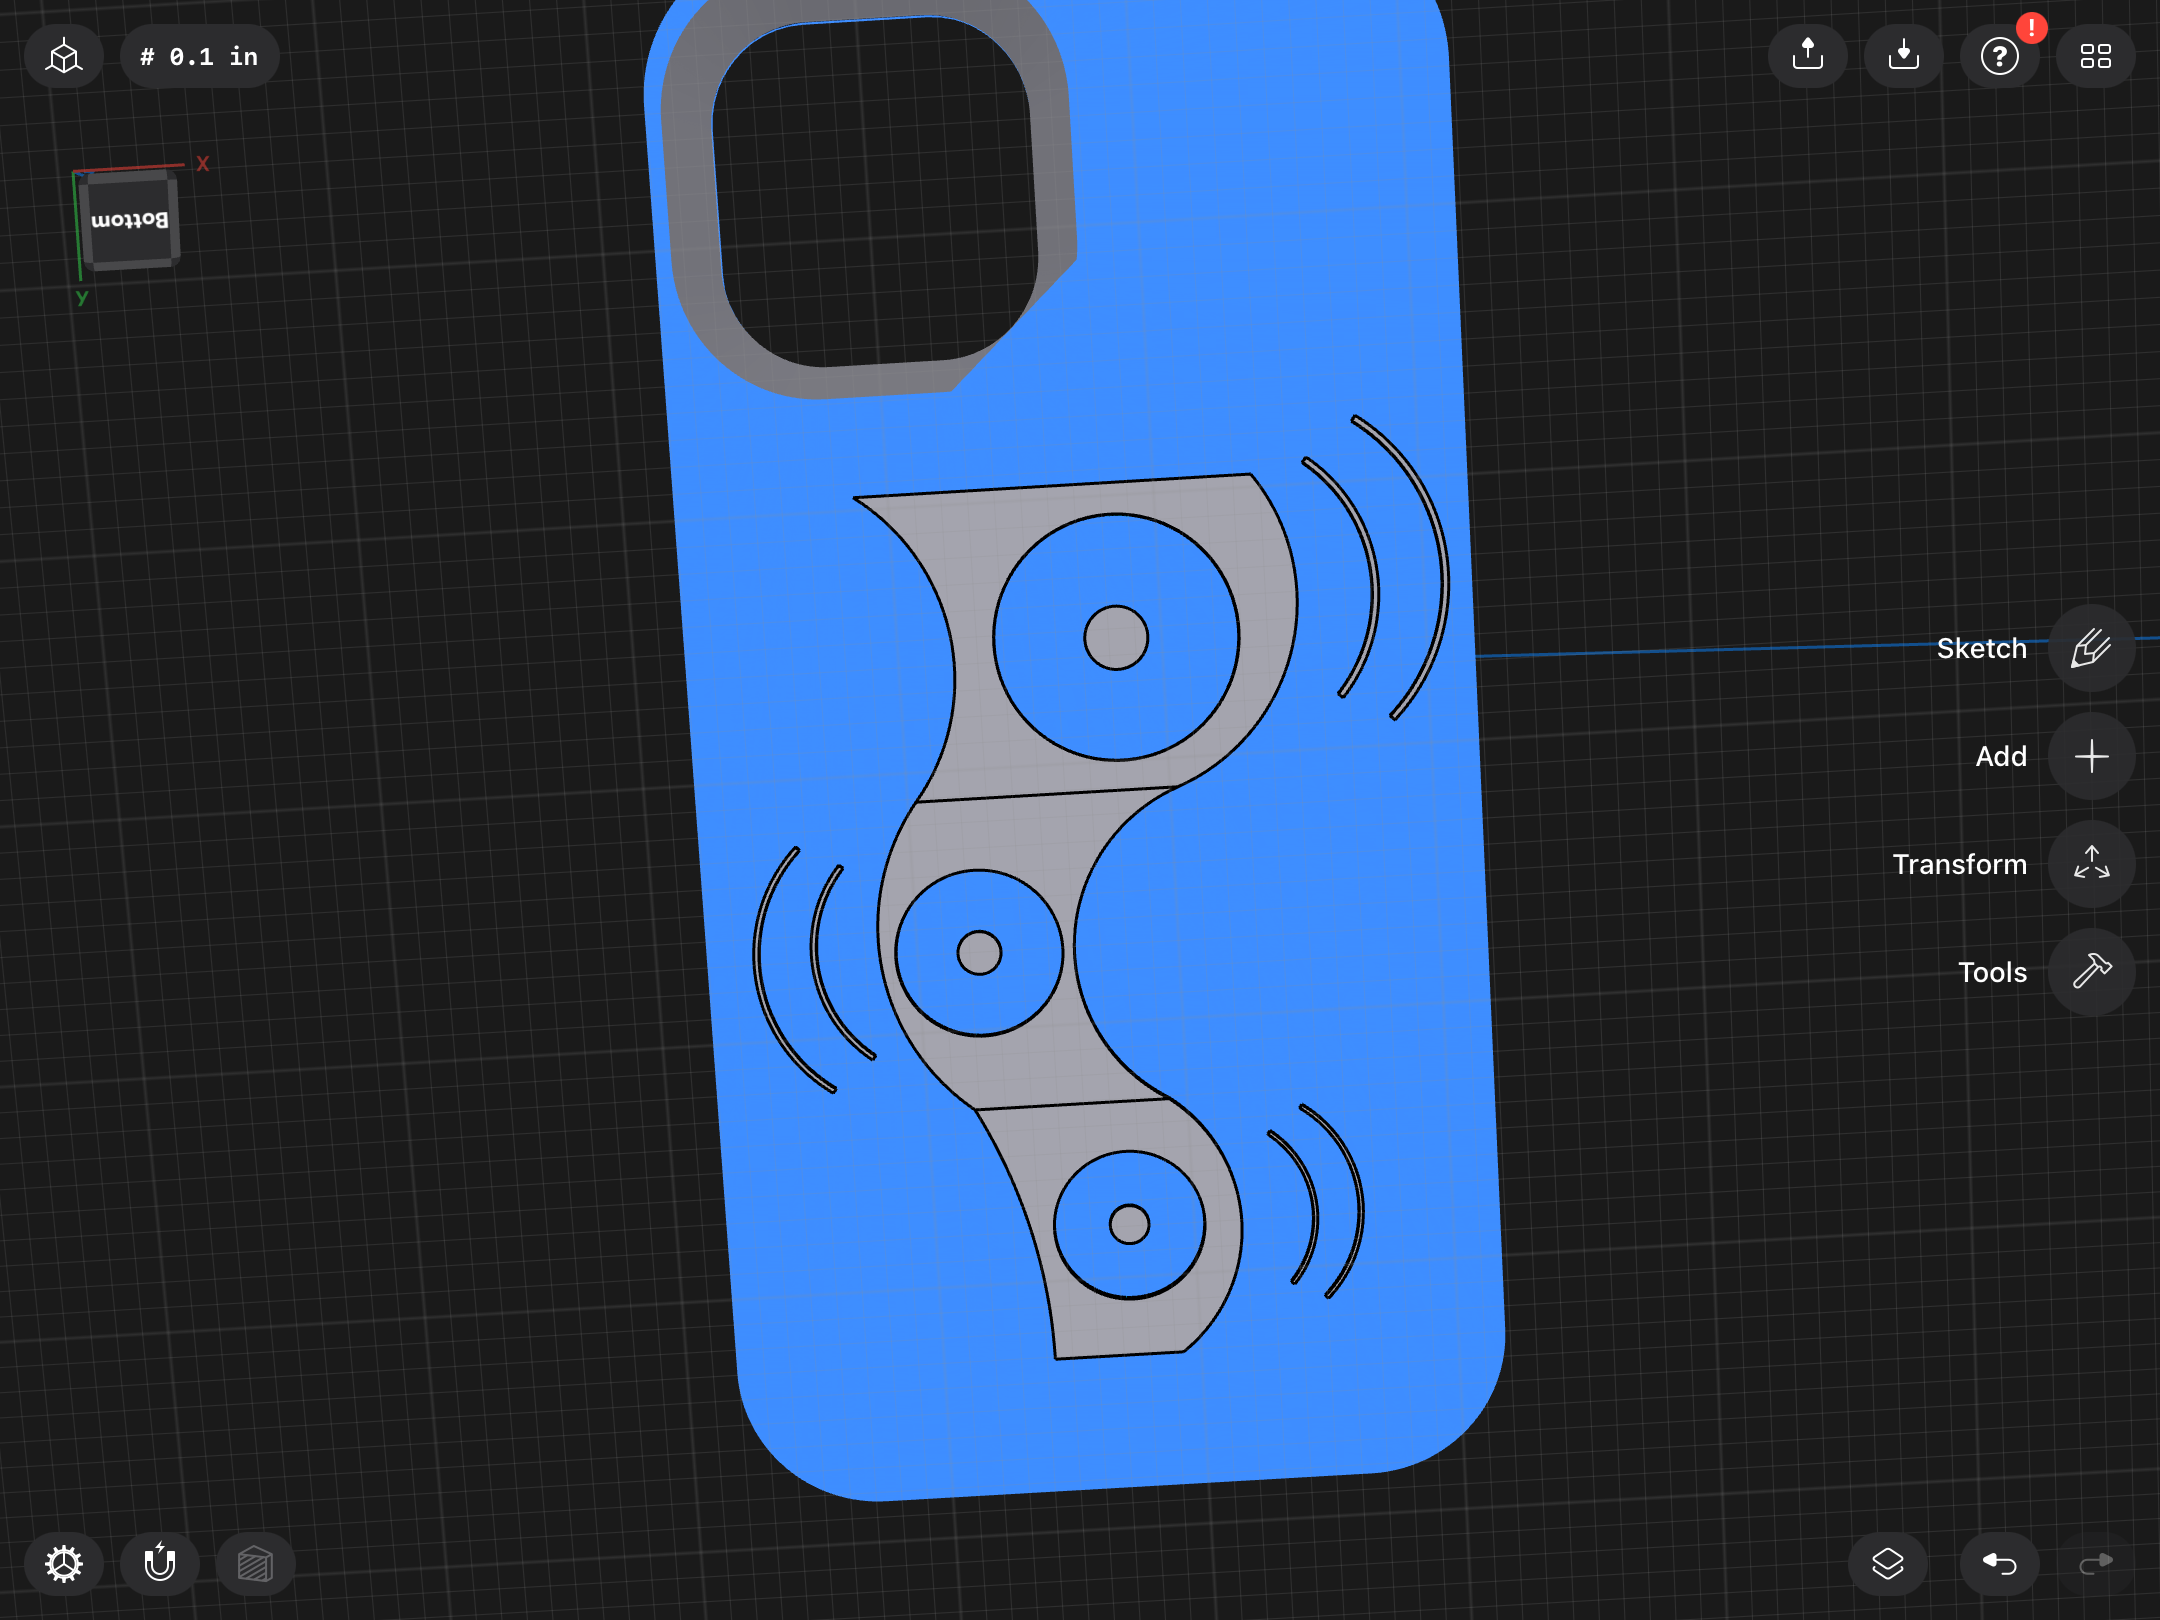
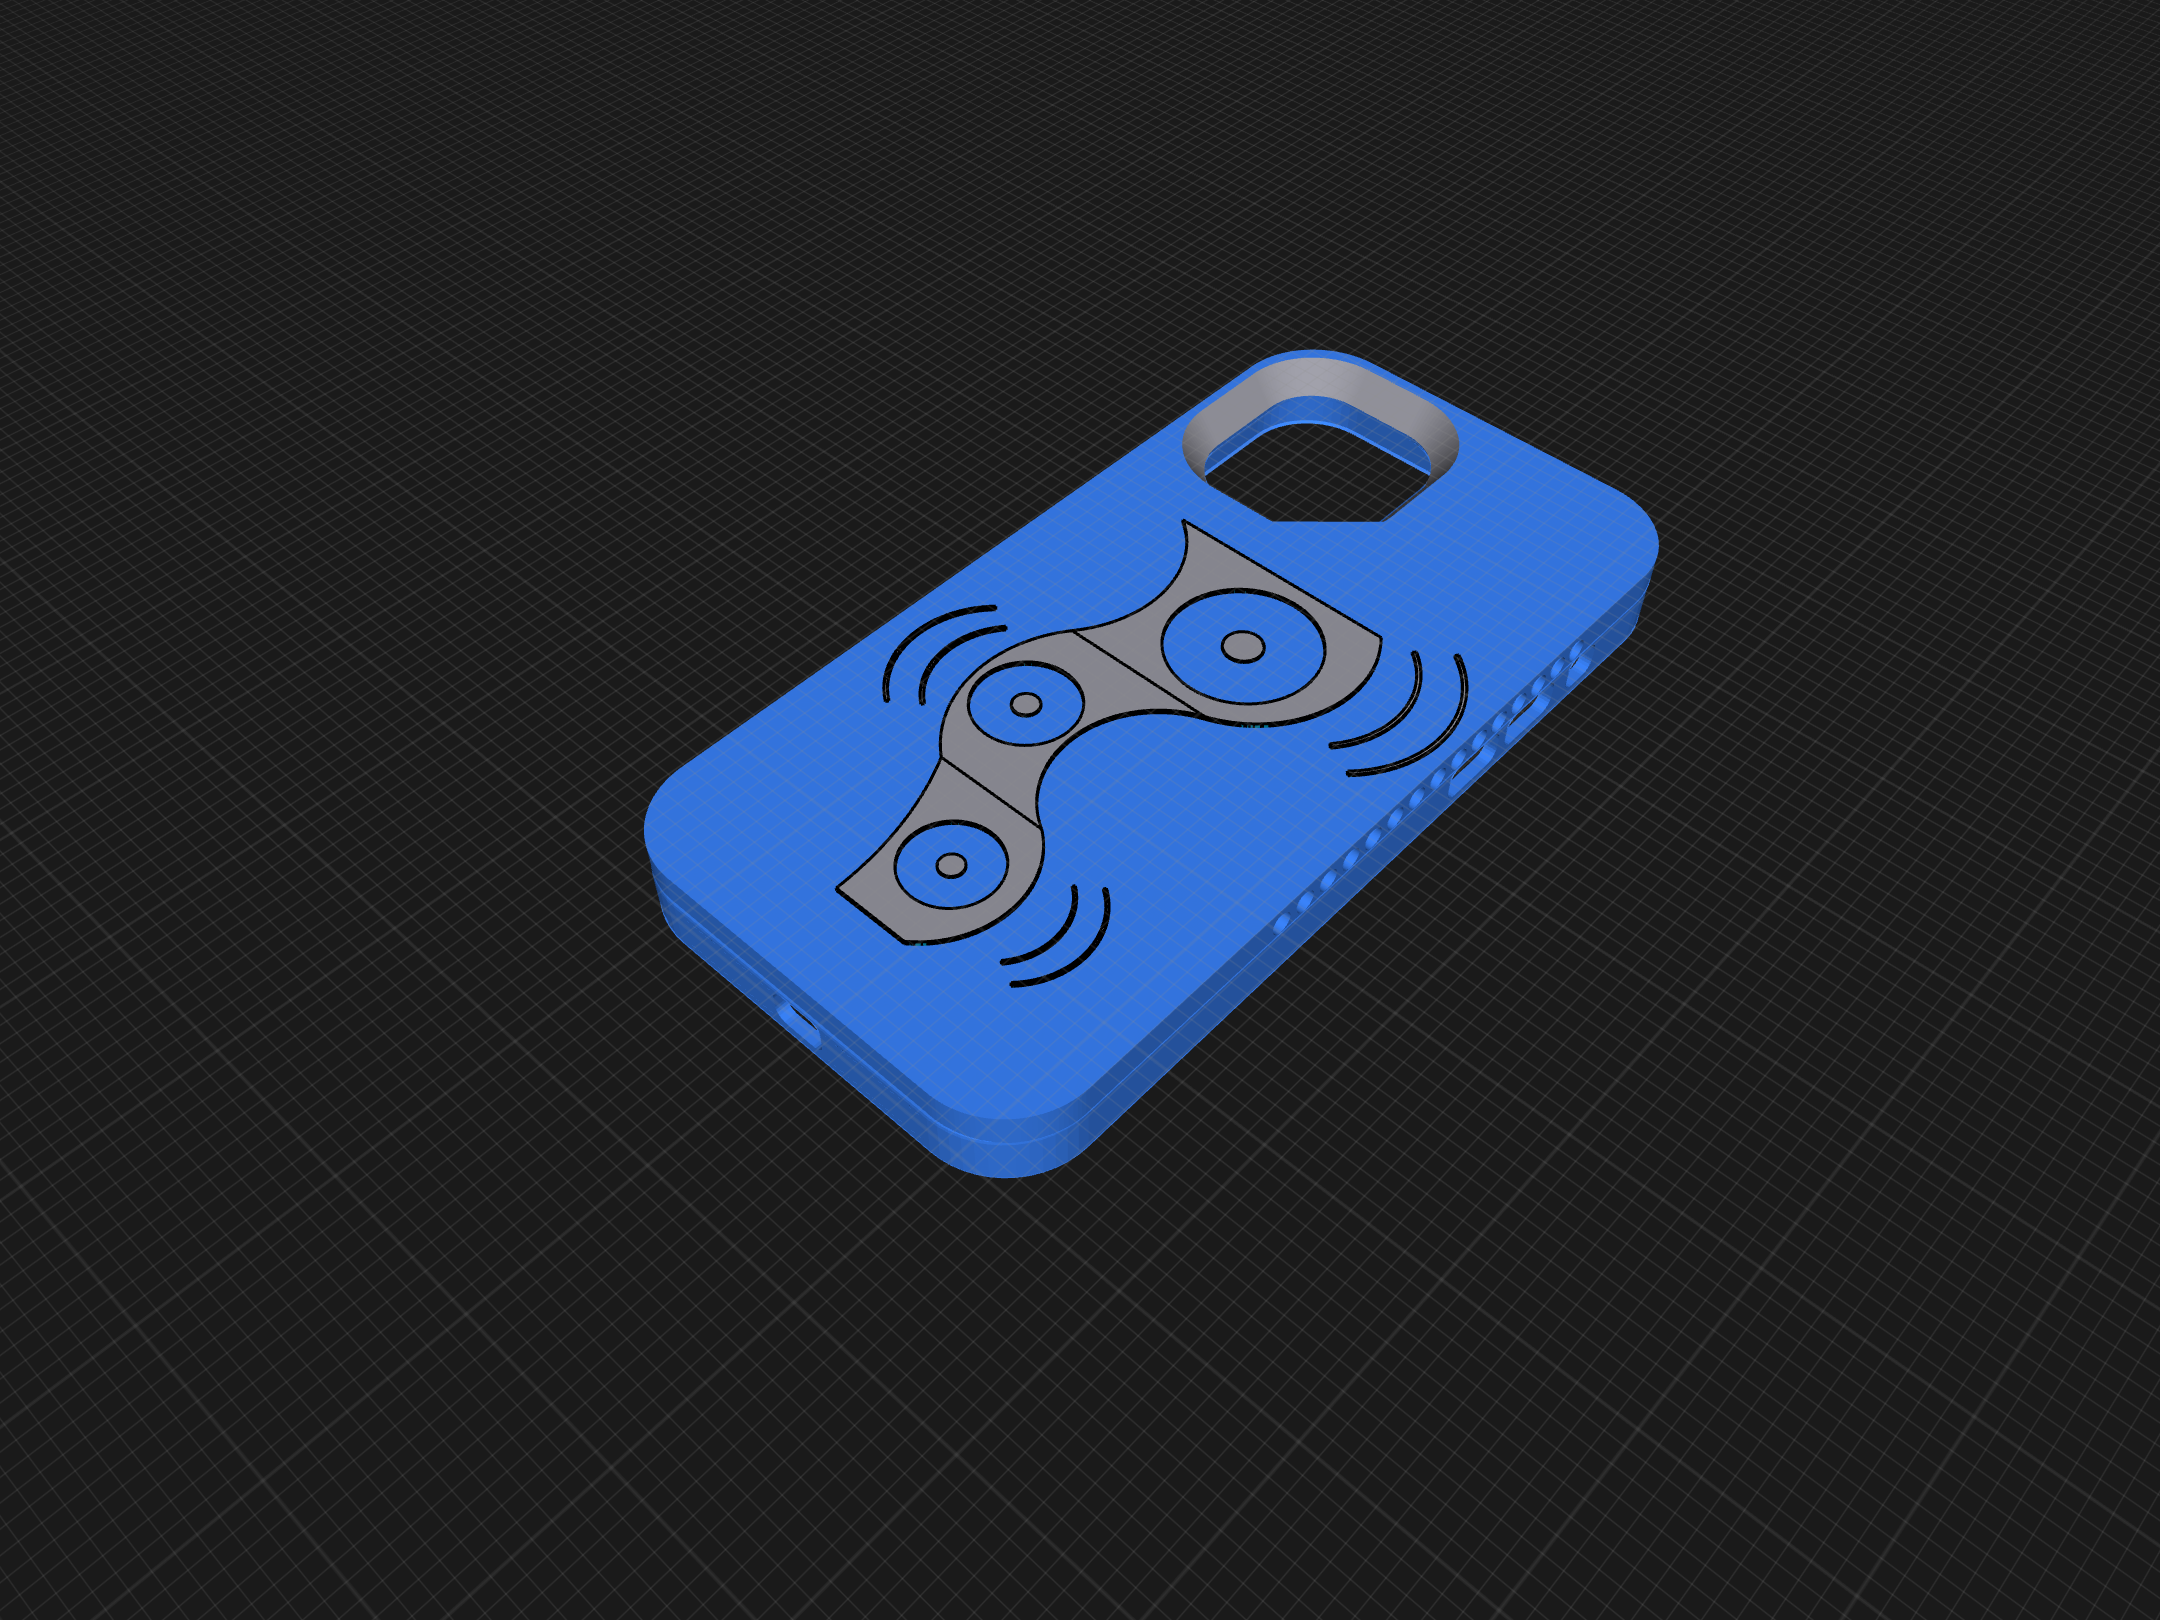
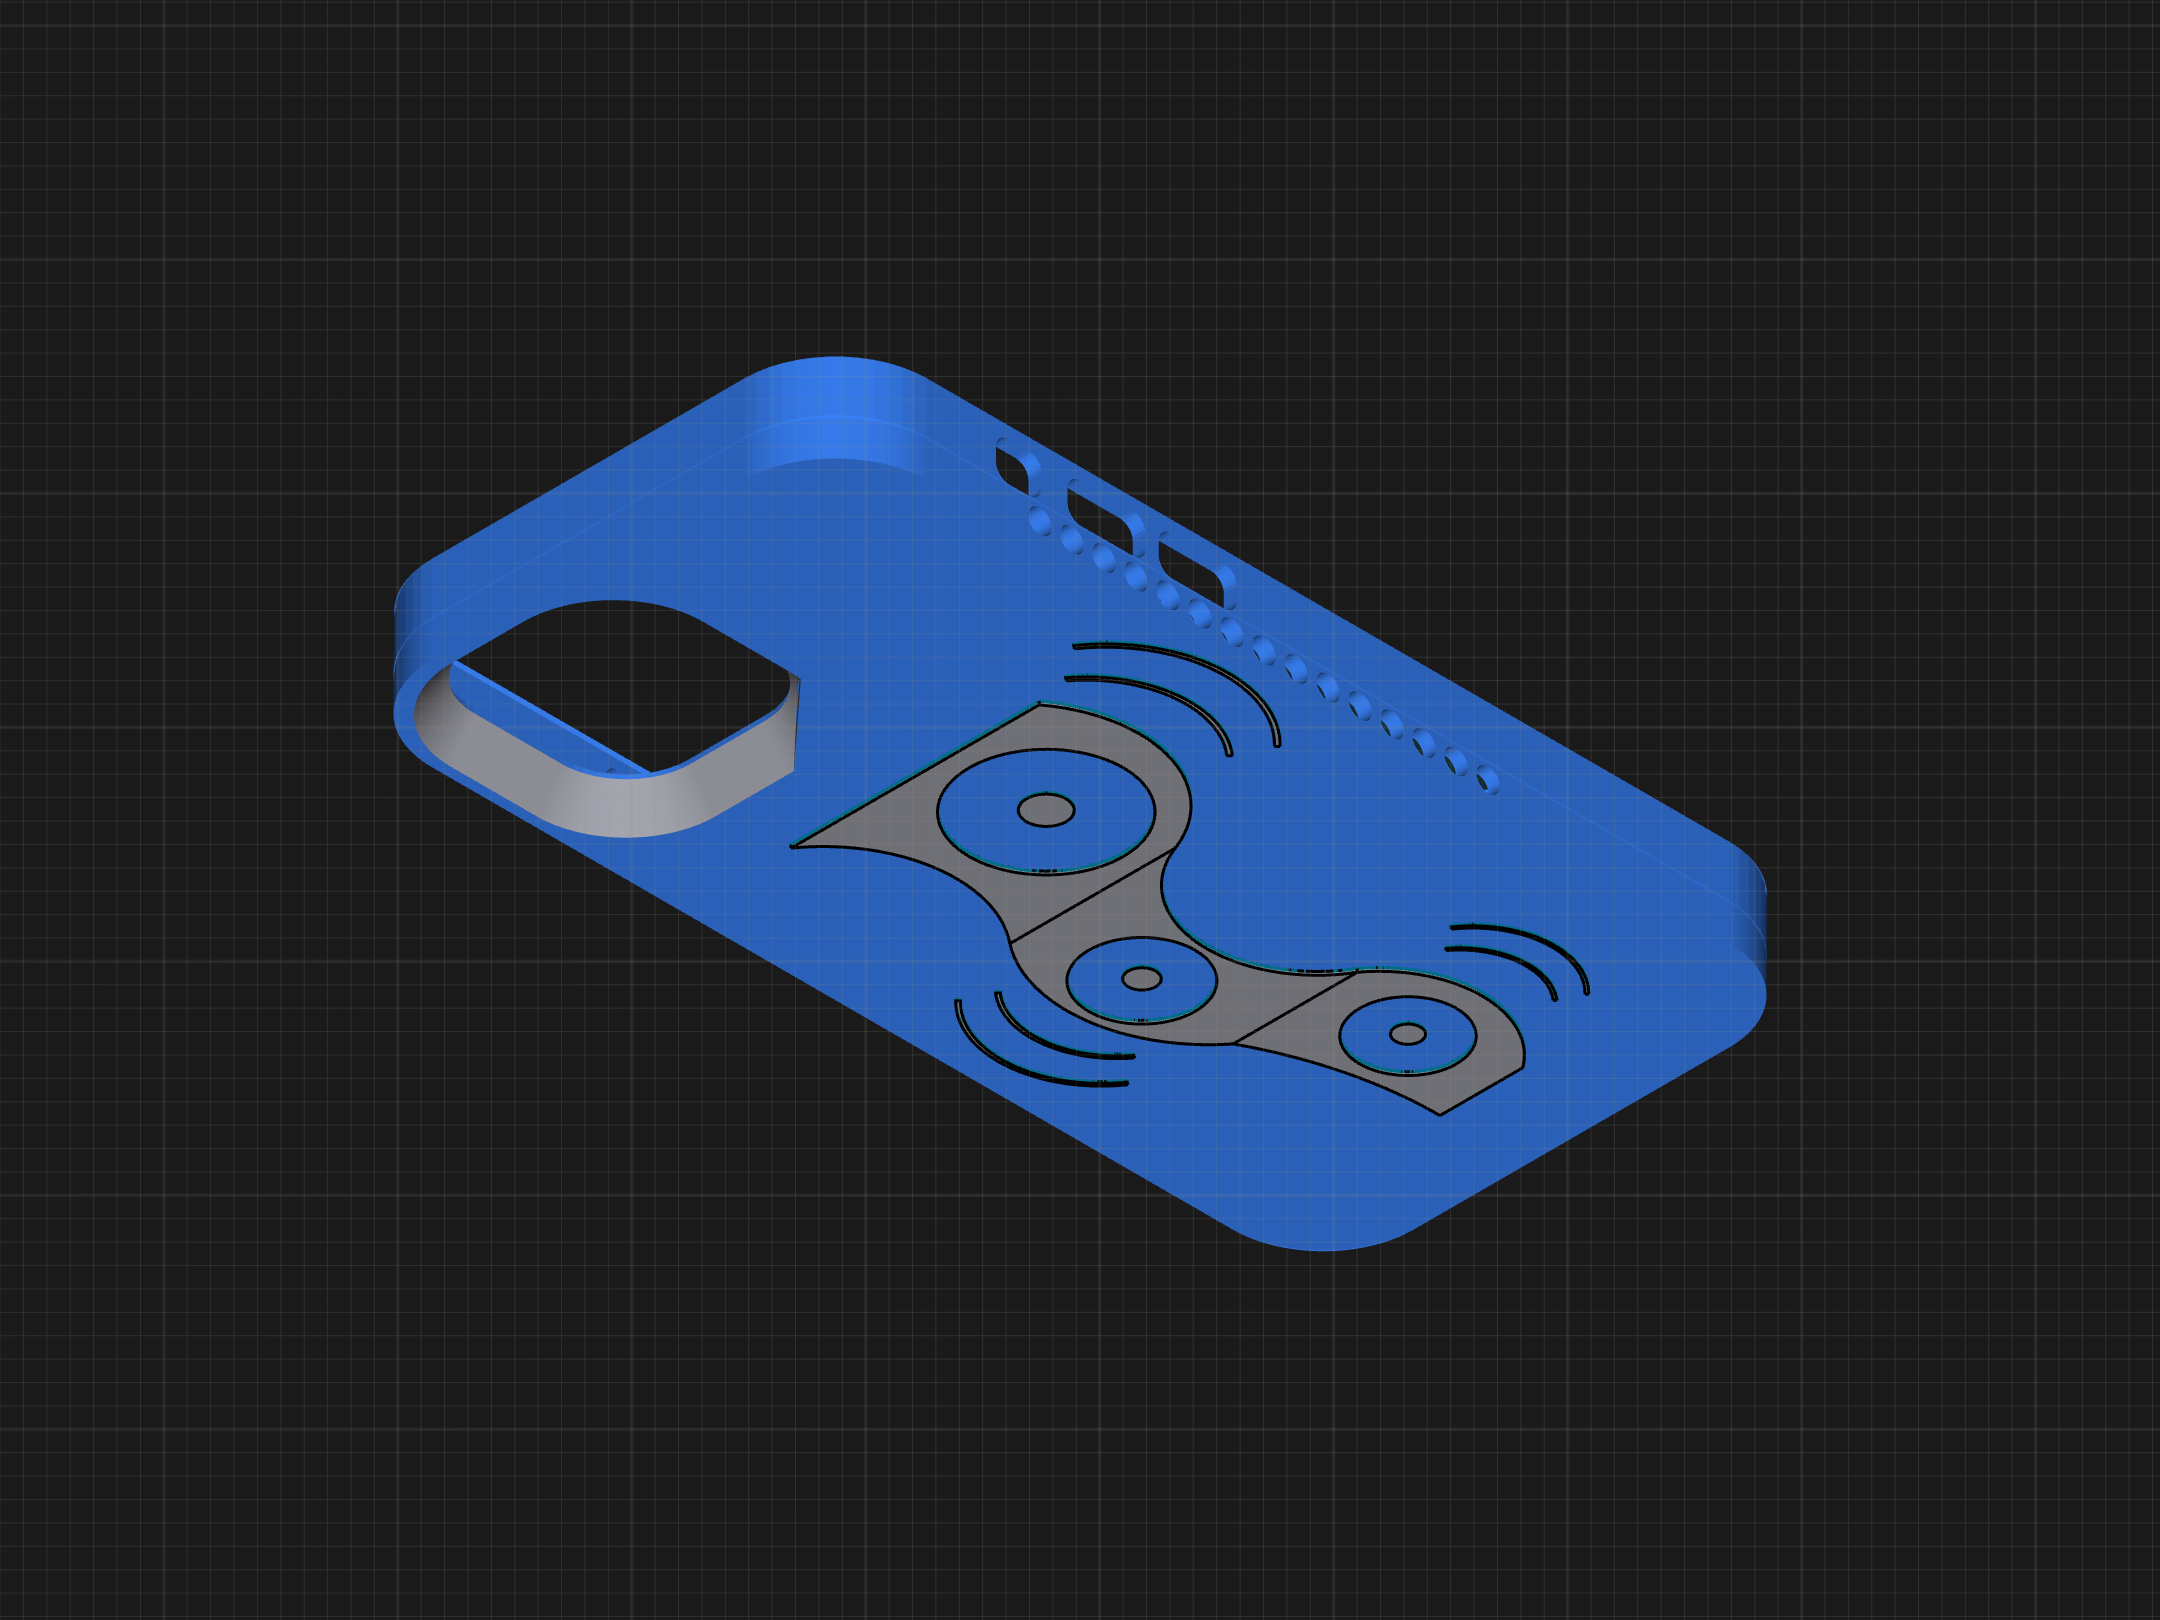
- If you want a plain and simple phone case, you’re done designing! If you want to customize yours, go right ahead and draw to your heart’s content on the back of the case. You could even stop at a certain layer height and change the filament color!
- Upload it into a slicer and print with whatever material/settings the original case design you downloaded says to. The final printing time should be around 3-4 hours.