Parts of an Animal Cell
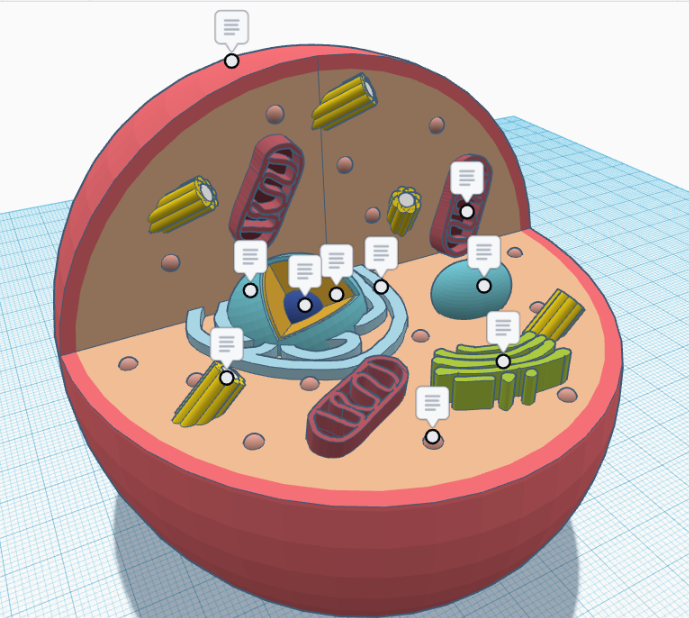
In Science class this year, my teacher gave us the assignment to make an animal cell in Tinkercad. I worked on it for a couple of weeks and my teacher was really impressed. She suggested I enter my design into the Tinkercad Student Design contest in Instructables.
Supplies

The supplies you will need for making an animal cell are your computer and Tinkercad. You will need a 3D printer and filament if you plan on printing this design.
Start Tinkering
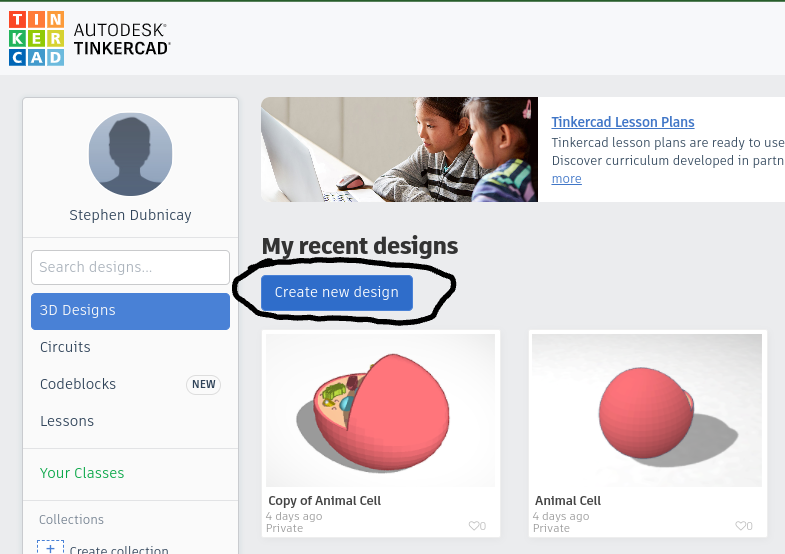
First, open your dashboard on Tinkercad, click on 3D Designs and create a new design.
Once you’re in the design, click on the edit grid button in the bottom right corner and change the units to inches.
IMPORTANT: To change the color of any shape, select the shape and click the solid button in the top right corner of the screen and pick your color. This is easier to do as you work.
The Body of the Cell
First, you have to drag and drop a sphere onto the build plate.
Then click on the corner square to show the dimensions of the sphere. Change the length to 11”, the width to 9”, and the height to 9”. You may also want to change the color, the color I used was, hex: ff747b. To enter this color click on the solid button in the top right corner then click on the custom section, then there should be a little box that says “hex” next to it type “ff747b” into the box.
Then, drag and drop another sphere onto the build plate. Change the length to 10.5”, the width to 8.5”, and the height to 8.5”. You may also want to change the color, the color I used was, hex: fbc59a. To enter this color click on the solid button in the top right corner then click on the custom section, then there should be a little box that says “hex” next to it type “fbc59a” into the box.
Next, try to center the smaller sphere inside of the larger sphere.
TIP: To center the two spheres, you can make the outer sphere a transparent color by clicking on the transparent option within the solid menu. Then try to align the center sphere by looking around the sides of the outer transparent sphere.
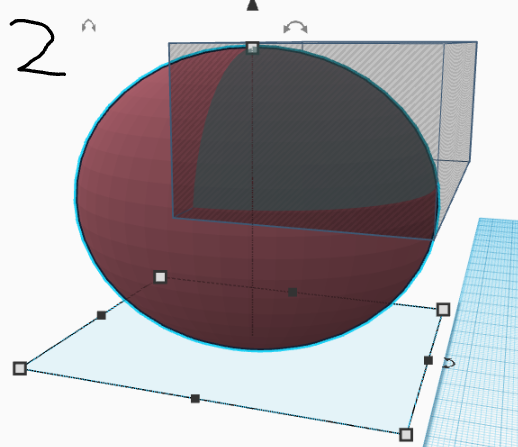
Once you have centered the smaller sphere inside of the larger sphere, drag and drop a box onto the grid, change the height to 4”, the width to 11” and the length to 6”. Then change the box to a “hole" box by selecting the hole button in the top right corner.
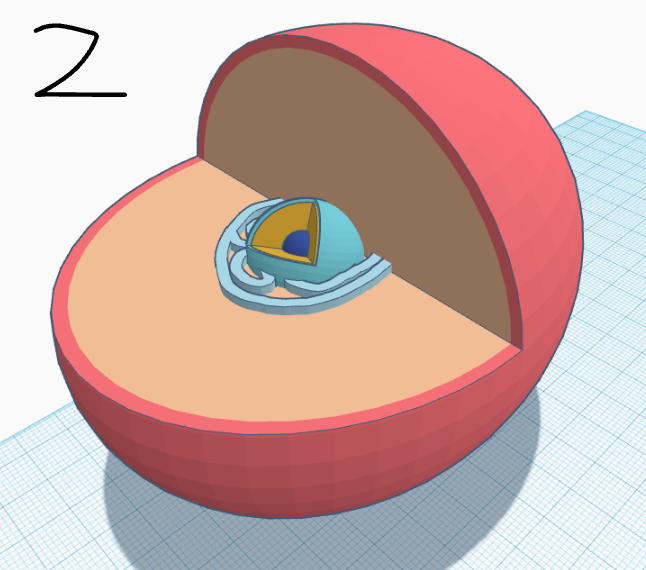
Next, align the box the same way as shown in photo 2.
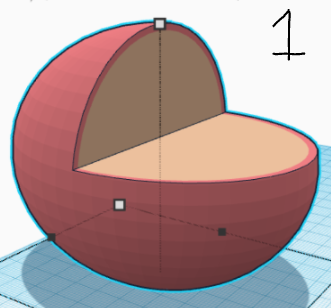
Finally select the small sphere, large sphere, and the box, then group them. Once you group them you have to select the multicolor option in the color selector.
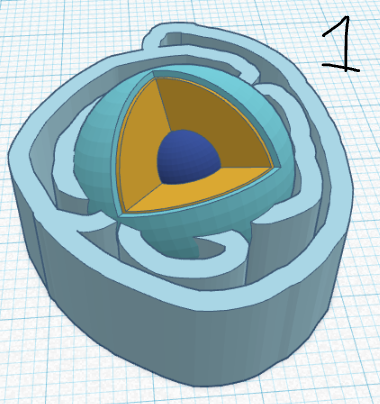
You should have something that looks like photo number 1.
The Nucleus
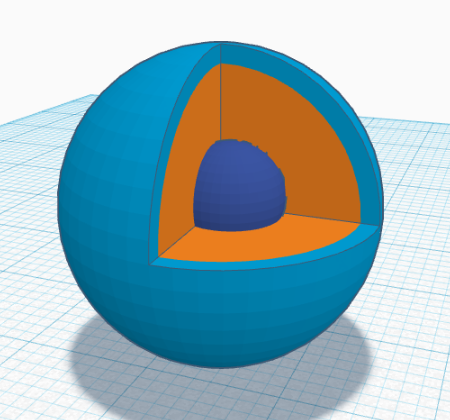
The Nucleus
First, drag and drop a sphere onto the build plate, change the height, width, and length to 2.25”.
Then drag and drop another sphere onto the build plate and change the height, width, and length to 2”.
Then try to center the smaller sphere inside of the larger sphere, once you have centered them, group the two together.
Finally, drag and drop another sphere onto the build plate and change the height, width, and length to 0.75” and put it somewhere inside of the other two circles, then group them.
The Endoplasmic Reticulum
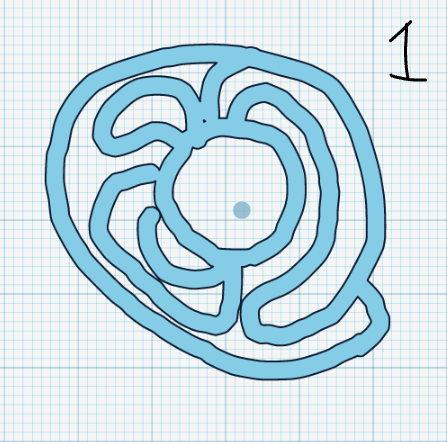
The Endoplasmic Reticulum
First, drag and drop a scribble onto the build plate and try to draw something that resembles photo 1.
You may also want to change the color, the color I used was, hex: fbc59a. To enter this color click on the solid button in the top right corner then click on the custom section, then there should be a little box that says “hex” next to it type “fbc59a” into the box.
The Mitochondria
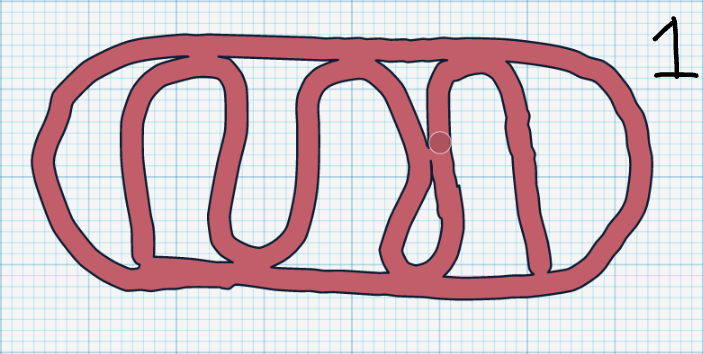
The Mitochondria
First, drag and drop a scribble onto the build plate and try to draw something that resembles photo 1.
You may also want to change the color, the color I used was, hex: c25e69. Then drag and drop a box onto the build plate and change the radius setting to 0.3 the height to 0.25”, the width to 0.719” and the length to 1.688”
You may also want to change the color, the color I used was, hex: fbc59a. To enter this color click on the solid button in the top right corner then click on the custom section, then there should be a little box that says “hex” next to it type “fbc59a” into the box. Then change the height to 0.5”, the width to 0.8”, and the length to 1.8”.
Finally, align the two so that the box is inside of the scribble and group.
Vacuole
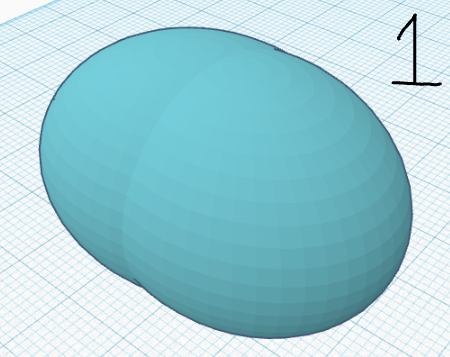
First, drag and drop two spheres onto the build plate and change the width of both to 1” and the length to 1.2”.
Then shove the two together it doesn't really matter where, it should just generally look like a bent oval.
Finally, group the two spheres together and you should have something that looks like photo 1.
Golgi Apparatus
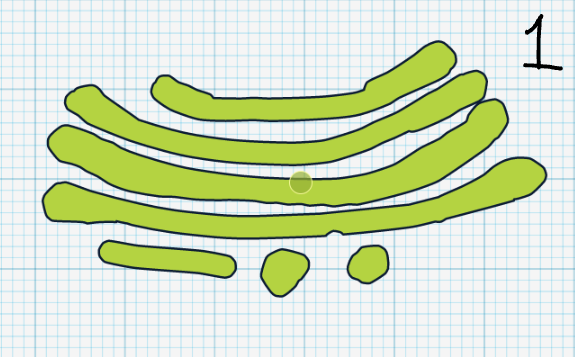
First, drag and drop a scribble onto the build plate and try to draw something that resembles photo 1.
You may want to change the color, the color I recommend is b4d341.
Centrosome
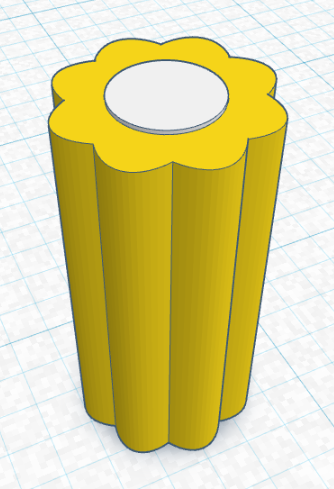
First, drag and drop a cylinder onto the build plate and change the height to 1.02”, and the width and length to 0.250”. You may also want to change the color. The color I recommend is fafafa.
Then drag and drop a round roof onto the build plate and change the height to 1” and the width and length to 0.250”.
You may also want to change the color. The color I recommend is ffdd1a.
Then raise the round roof of the ground by dragging the black arrow above the shape and dragging it 0.01 above the build plate.
Then align the round roof inside of the cylinder as shown below:
Then copy the round roof, rotate it 90 degrees, and align it opposite from the other round roof.
Then select both round roofs, copy them and rotate 90 degrees.
Then select all four round roofs, copy them and rotate 45 degrees.
Finally, group all the round roofs and the cylinder together.
Lysosome

First, drag a sphere onto the build plate and change the width, height, and length to 0.250”.
You may also want to change the color. The color I recommend is ecaa9b.
Finally copy the sphere about 15 times and leave them there for now.
Putting the Parts Together
The Nucleus
First, drag the endoplasmic reticulum around the nucleus as shown in photo 1.
Next group the endoplasmic reticulum and the nucleus together and put the nucleus close to the center of the body of the cell as shown in photo 2.
Then group the body of the cell, the endoplasmic reticulum, and the nucleus together.
The Mitochondria and the Rest of the Parts
First copy the mitochondria about 2 times and put them somewhere random inside of the cell’s body. It doesn't matter where because in a real cell they move around inside.
Then put the vacuole somewhere inside of the cell’s body. It doesn't matter where because in a real cell they move around inside.
Then put the Golgi apparatus somewhere inside of the cell’s body. It doesn't matter where because in a real cell they move around inside.
Next copy the centrosome about 5 times and put them somewhere random inside of the cell’s body. It doesn't matter where because in a real cell they move around inside.
Finally, put all of the lysosomes randomly spread out inside of the cell’s body. It doesn't matter where because in a real cell they move around inside.
How to 3D Print the Cell
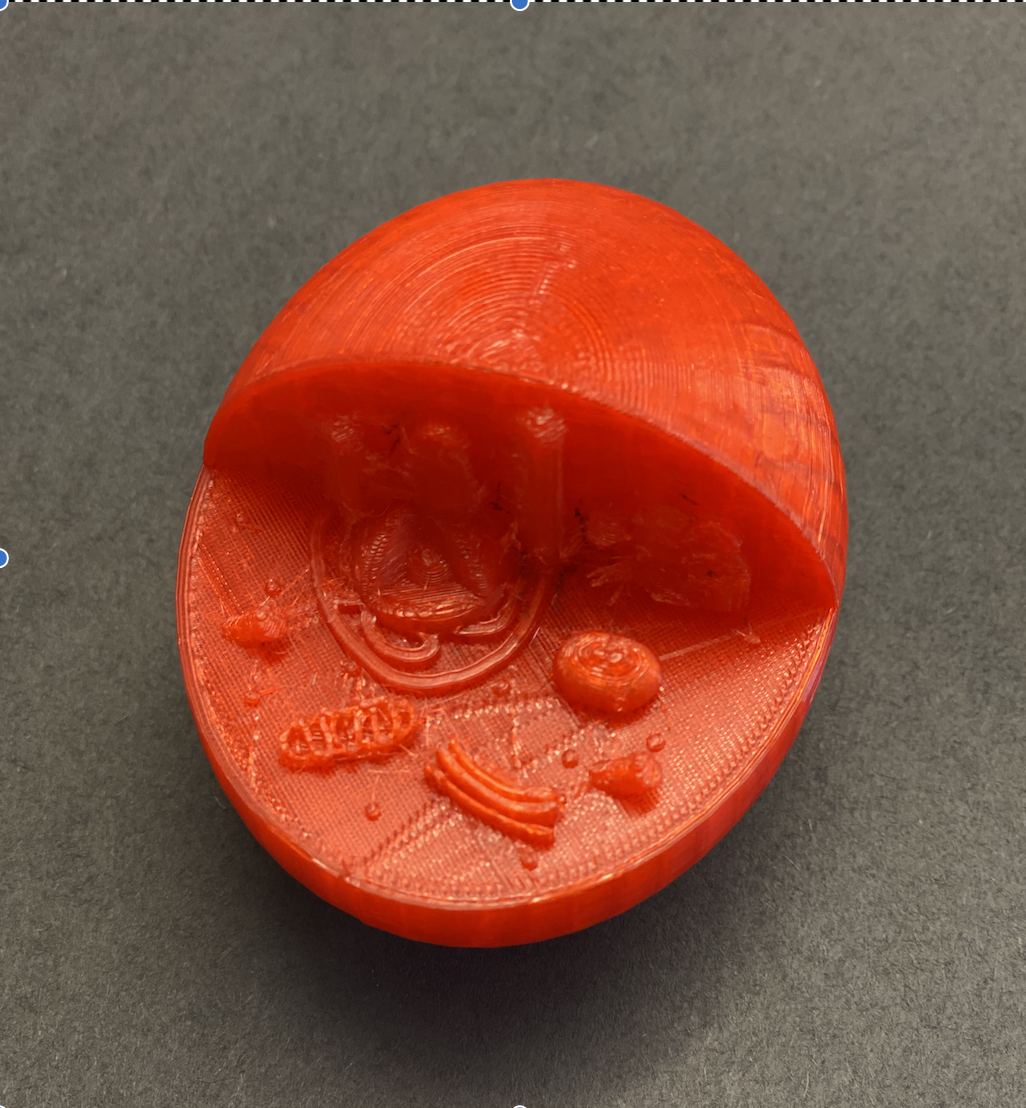
First, you will need a 3D printer, computer, and 3D printer filament if you want to 3D print the Cell.
Then download the animal cell you just made and put it into a slicer, the slicer I recommend is Cura https://ultimaker.com/software/ultimaker-cura.
Finally, download the file onto a USB and plug it into the 3D printer.