Particle Core / Photon - Gmail Notifier
by ThisIsSteve in Circuits > Microcontrollers
1944 Views, 20 Favorites, 0 Comments
Particle Core / Photon - Gmail Notifier
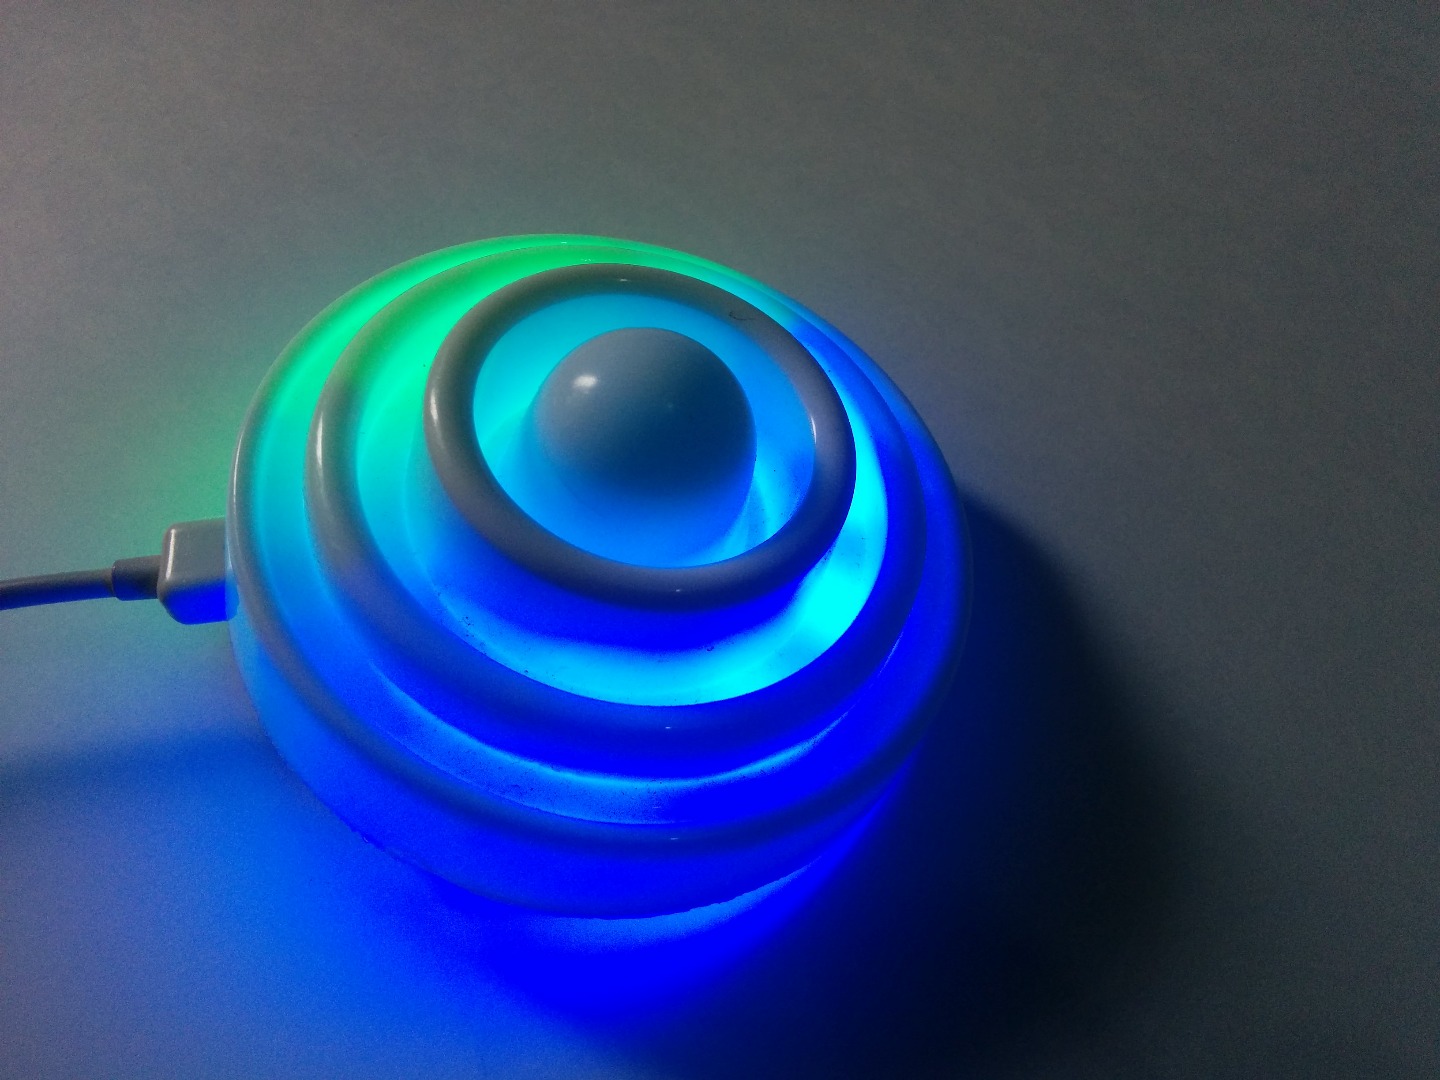
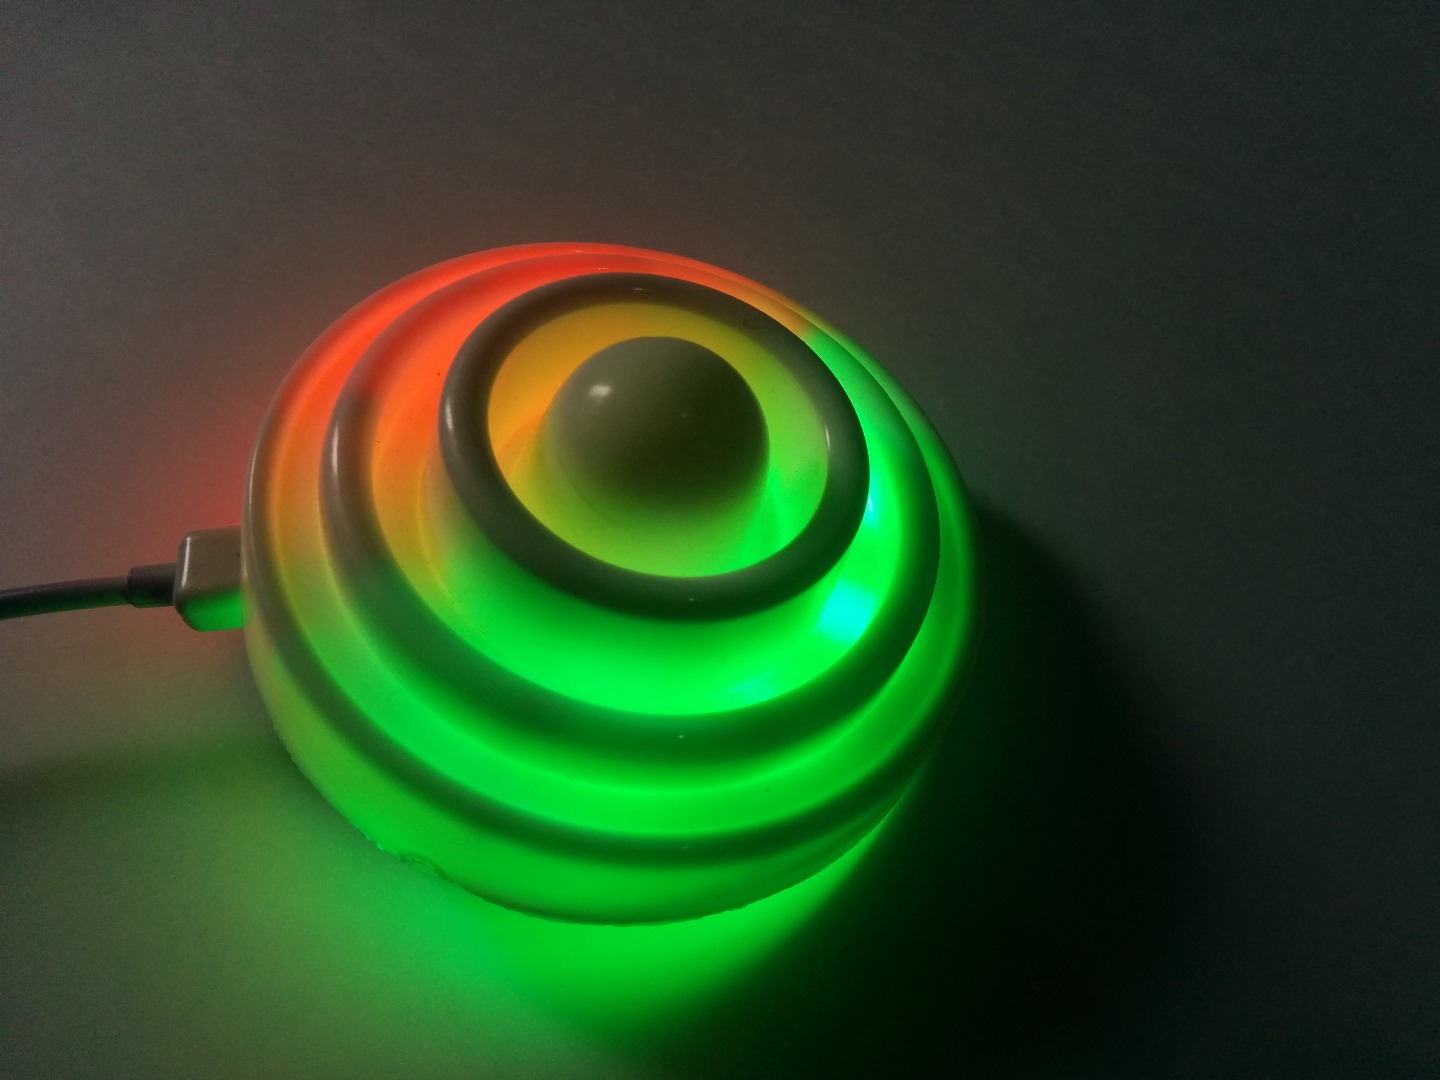
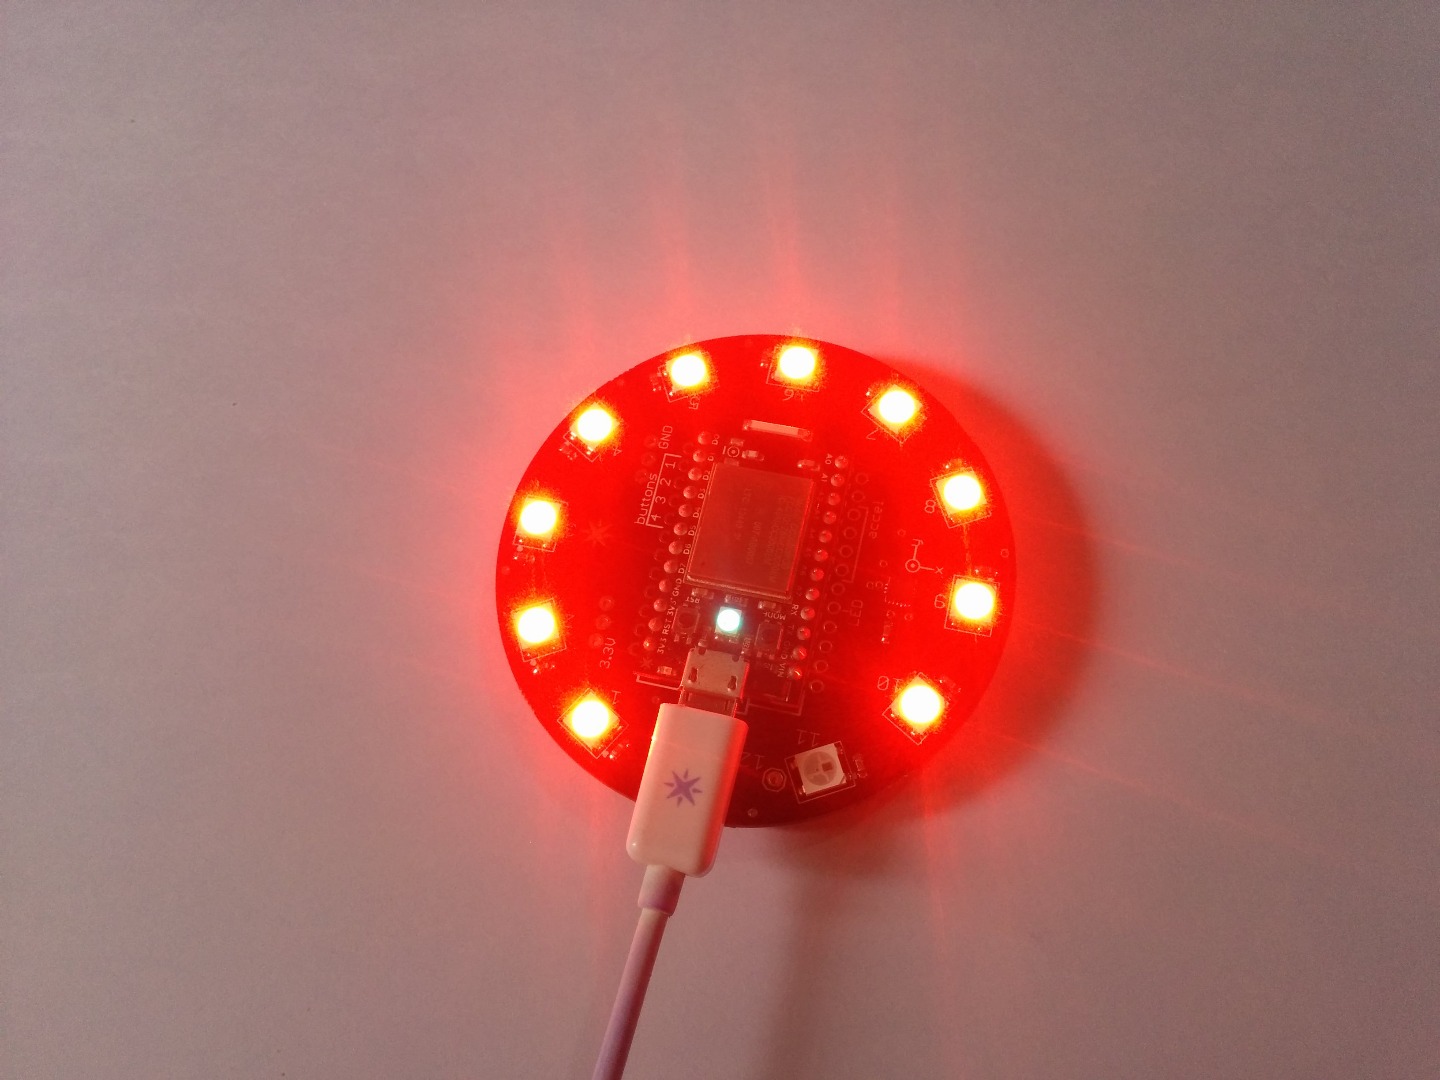
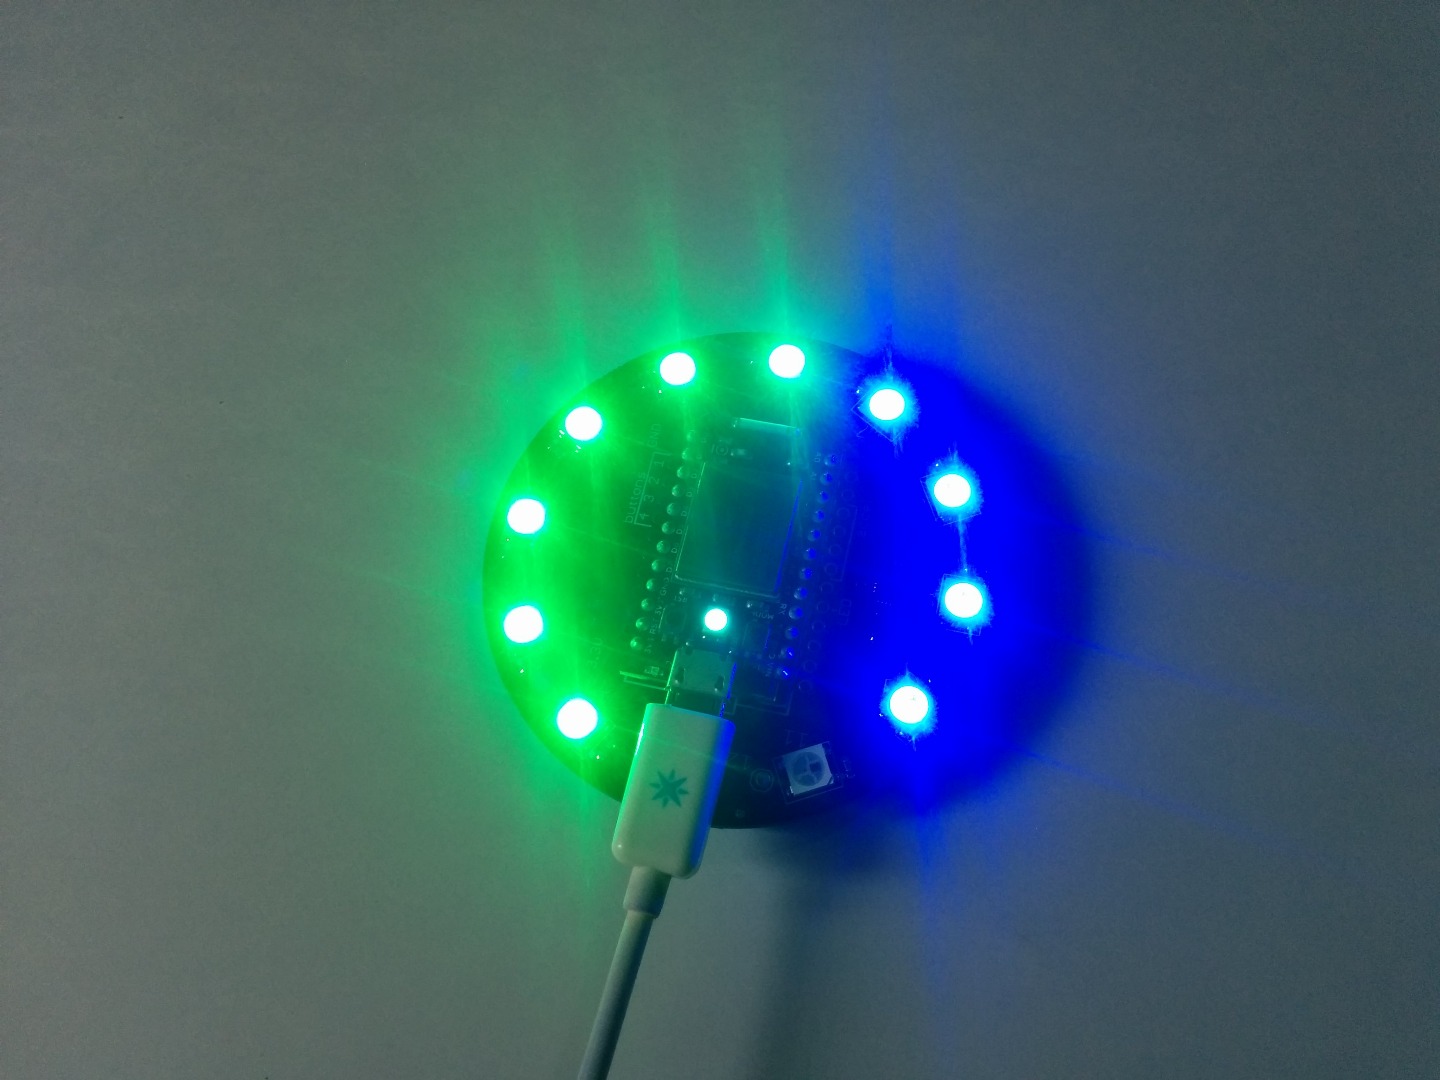
In the last tutorial I showed you how to patterns using the Particle Core and now its time to put that into use in this tutorial I'm going to show you how to build a Gmail notifier using the internet button. The internet button displays the pattern that you created earlier, once you get an email.
You may need to read my previous instructables before diving into this one.
So lets get started.....
Tools and Components
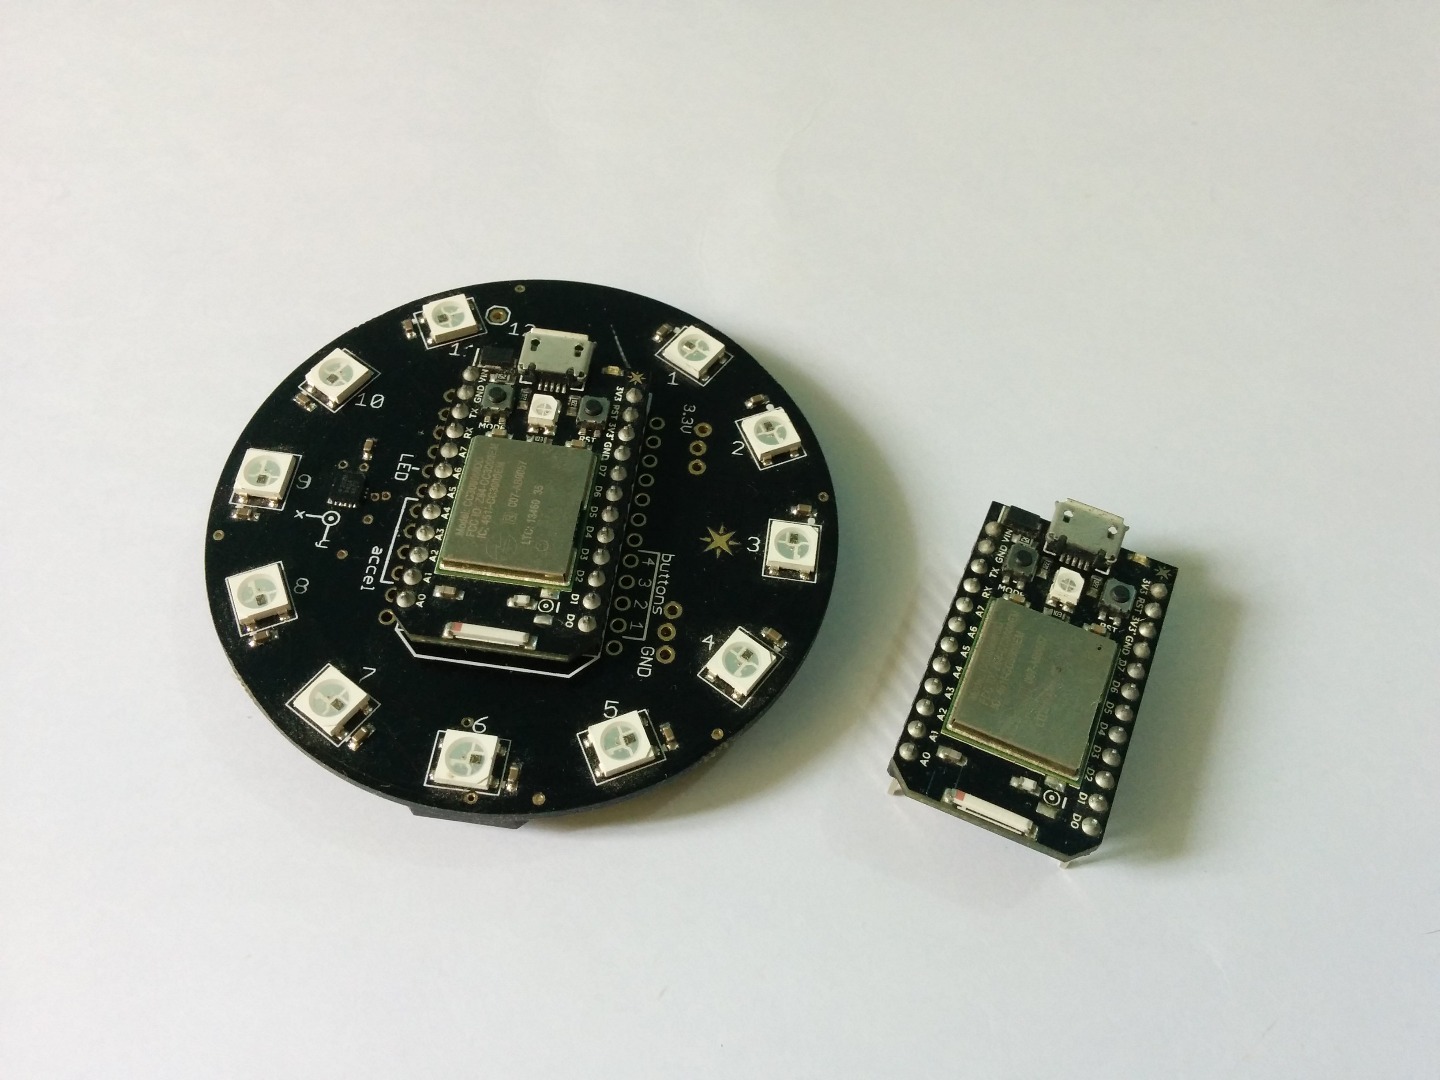
All that you need for this instructable is -
- Particle Core
- Internet Button
You can also get a photon which is cheaper than the particle core.
Note: The internet button comes with a photon, so you don't have to buy a separate one.
IFTTT

To get started with this instructable you need an IFTTT account, so you can sign up for a free account and then activate the Particle channel. Every time you get an email IFTTT calls a functions which, display a pattern on the particle internet button.
This can be upgraded to make an even better project which I will show you in a future tutorial.
Code
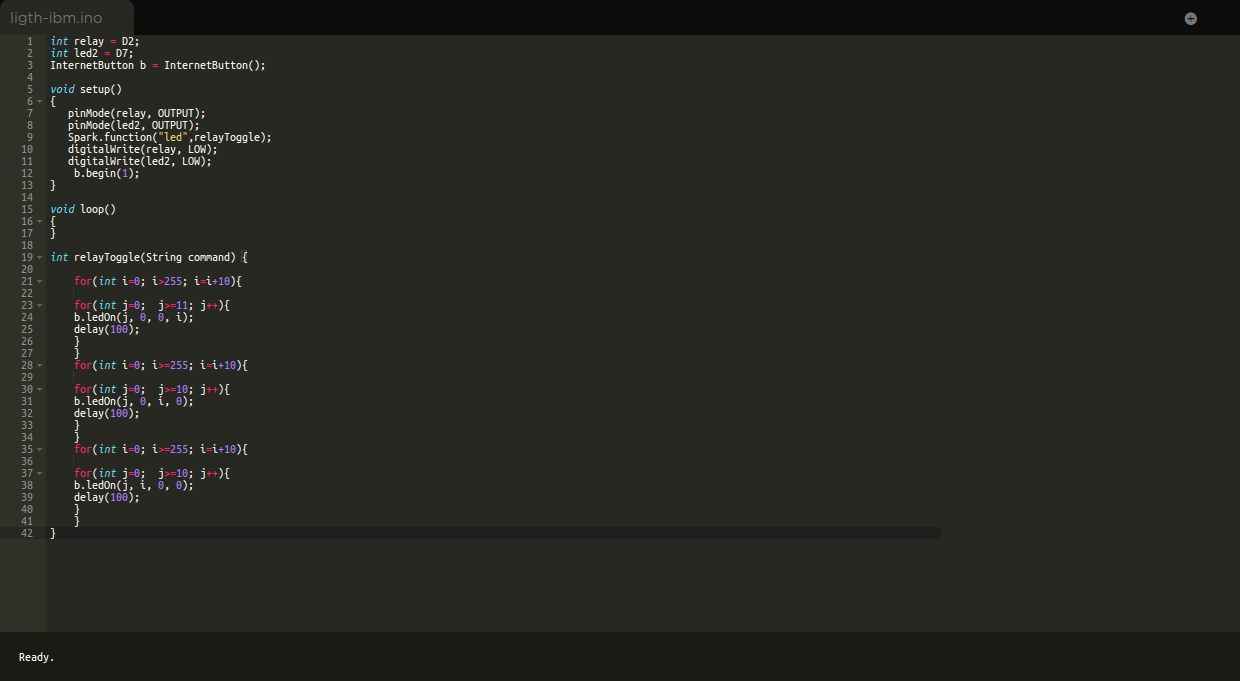
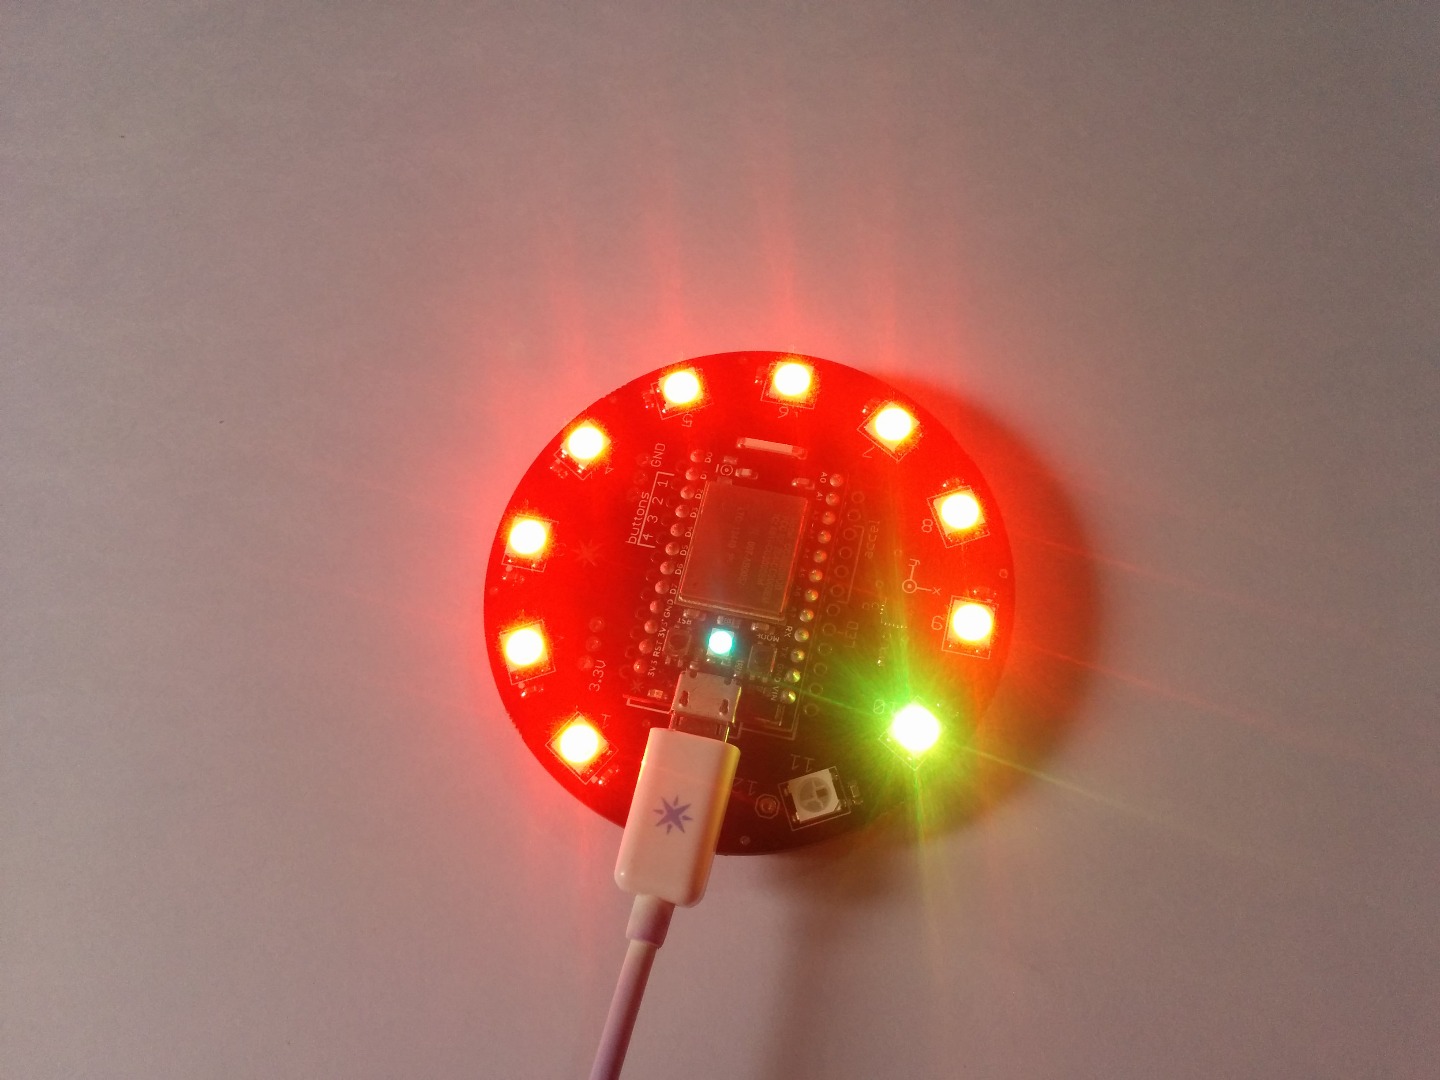
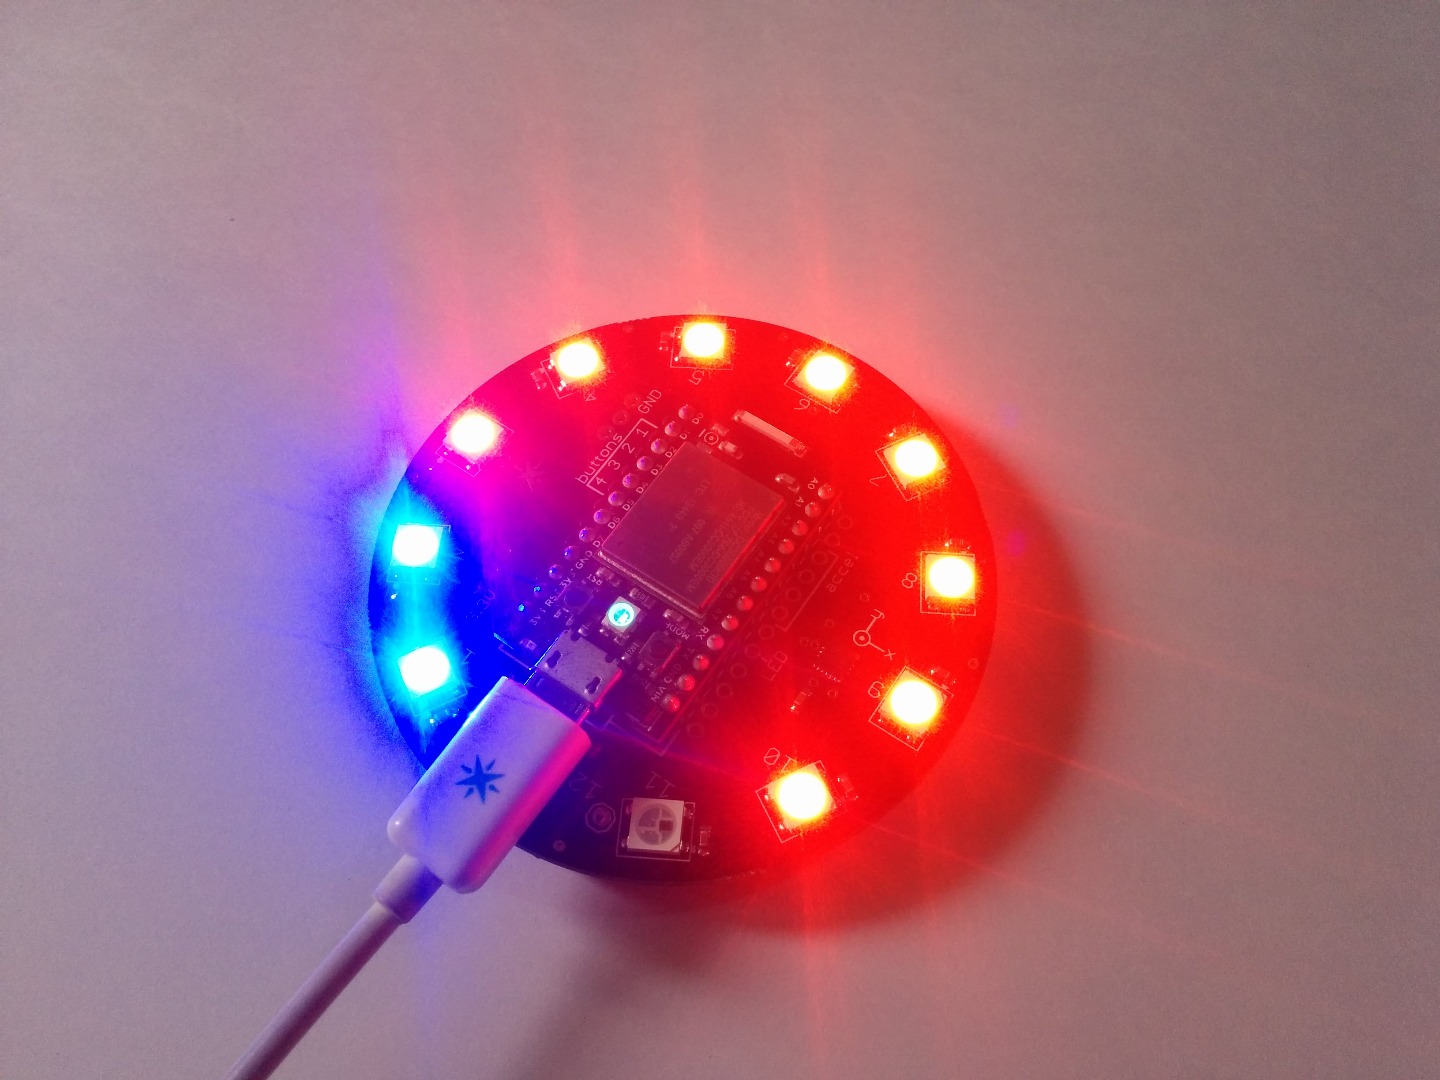
The code for this tutorial is really quite simple in fact it is almost same as the previous one, but has all the code raped up in a different function which is called each time you get an email.
Create a recipe in IFTTT to trigger the function every time you get an email and then you are done.
int relay = D2;
int led2 = D7; InternetButton b = InternetButton();void setup() { pinMode(relay, OUTPUT); pinMode(led2, OUTPUT); Spark.function("led",relayToggle); digitalWrite(relay, LOW); digitalWrite(led2, LOW); b.begin(1); }
void loop() { }
int relayToggle(String command) { for(int i=0; i>255; i=i+10){ for(int j=0; j>=11; j++){ b.ledOn(j, 0, 0, i); delay(100); } } for(int i=0; i>=255; i=i+10){ for(int j=0; j>=10; j++){ b.ledOn(j, 0, i, 0); delay(100); } } for(int i=0; i>=255; i=i+10){ for(int j=0; j>=10; j++){ b.ledOn(j, i, 0, 0); delay(100); } } }