Parametric Water Pump: Turn Any Small Motor Into a Custom Pump
by tootarU in Workshop > Tools
568 Views, 8 Favorites, 0 Comments
Parametric Water Pump: Turn Any Small Motor Into a Custom Pump
Ever needed a water pump but found commercial options either too expensive or not quite right for your project? This customizable 3D-printed water pump design is your solution. By leveraging parametric design, this pump adapts to work with virtually any small electromotor you have on hand.
Supplies
Here's what you'll need:
- A 3D printer
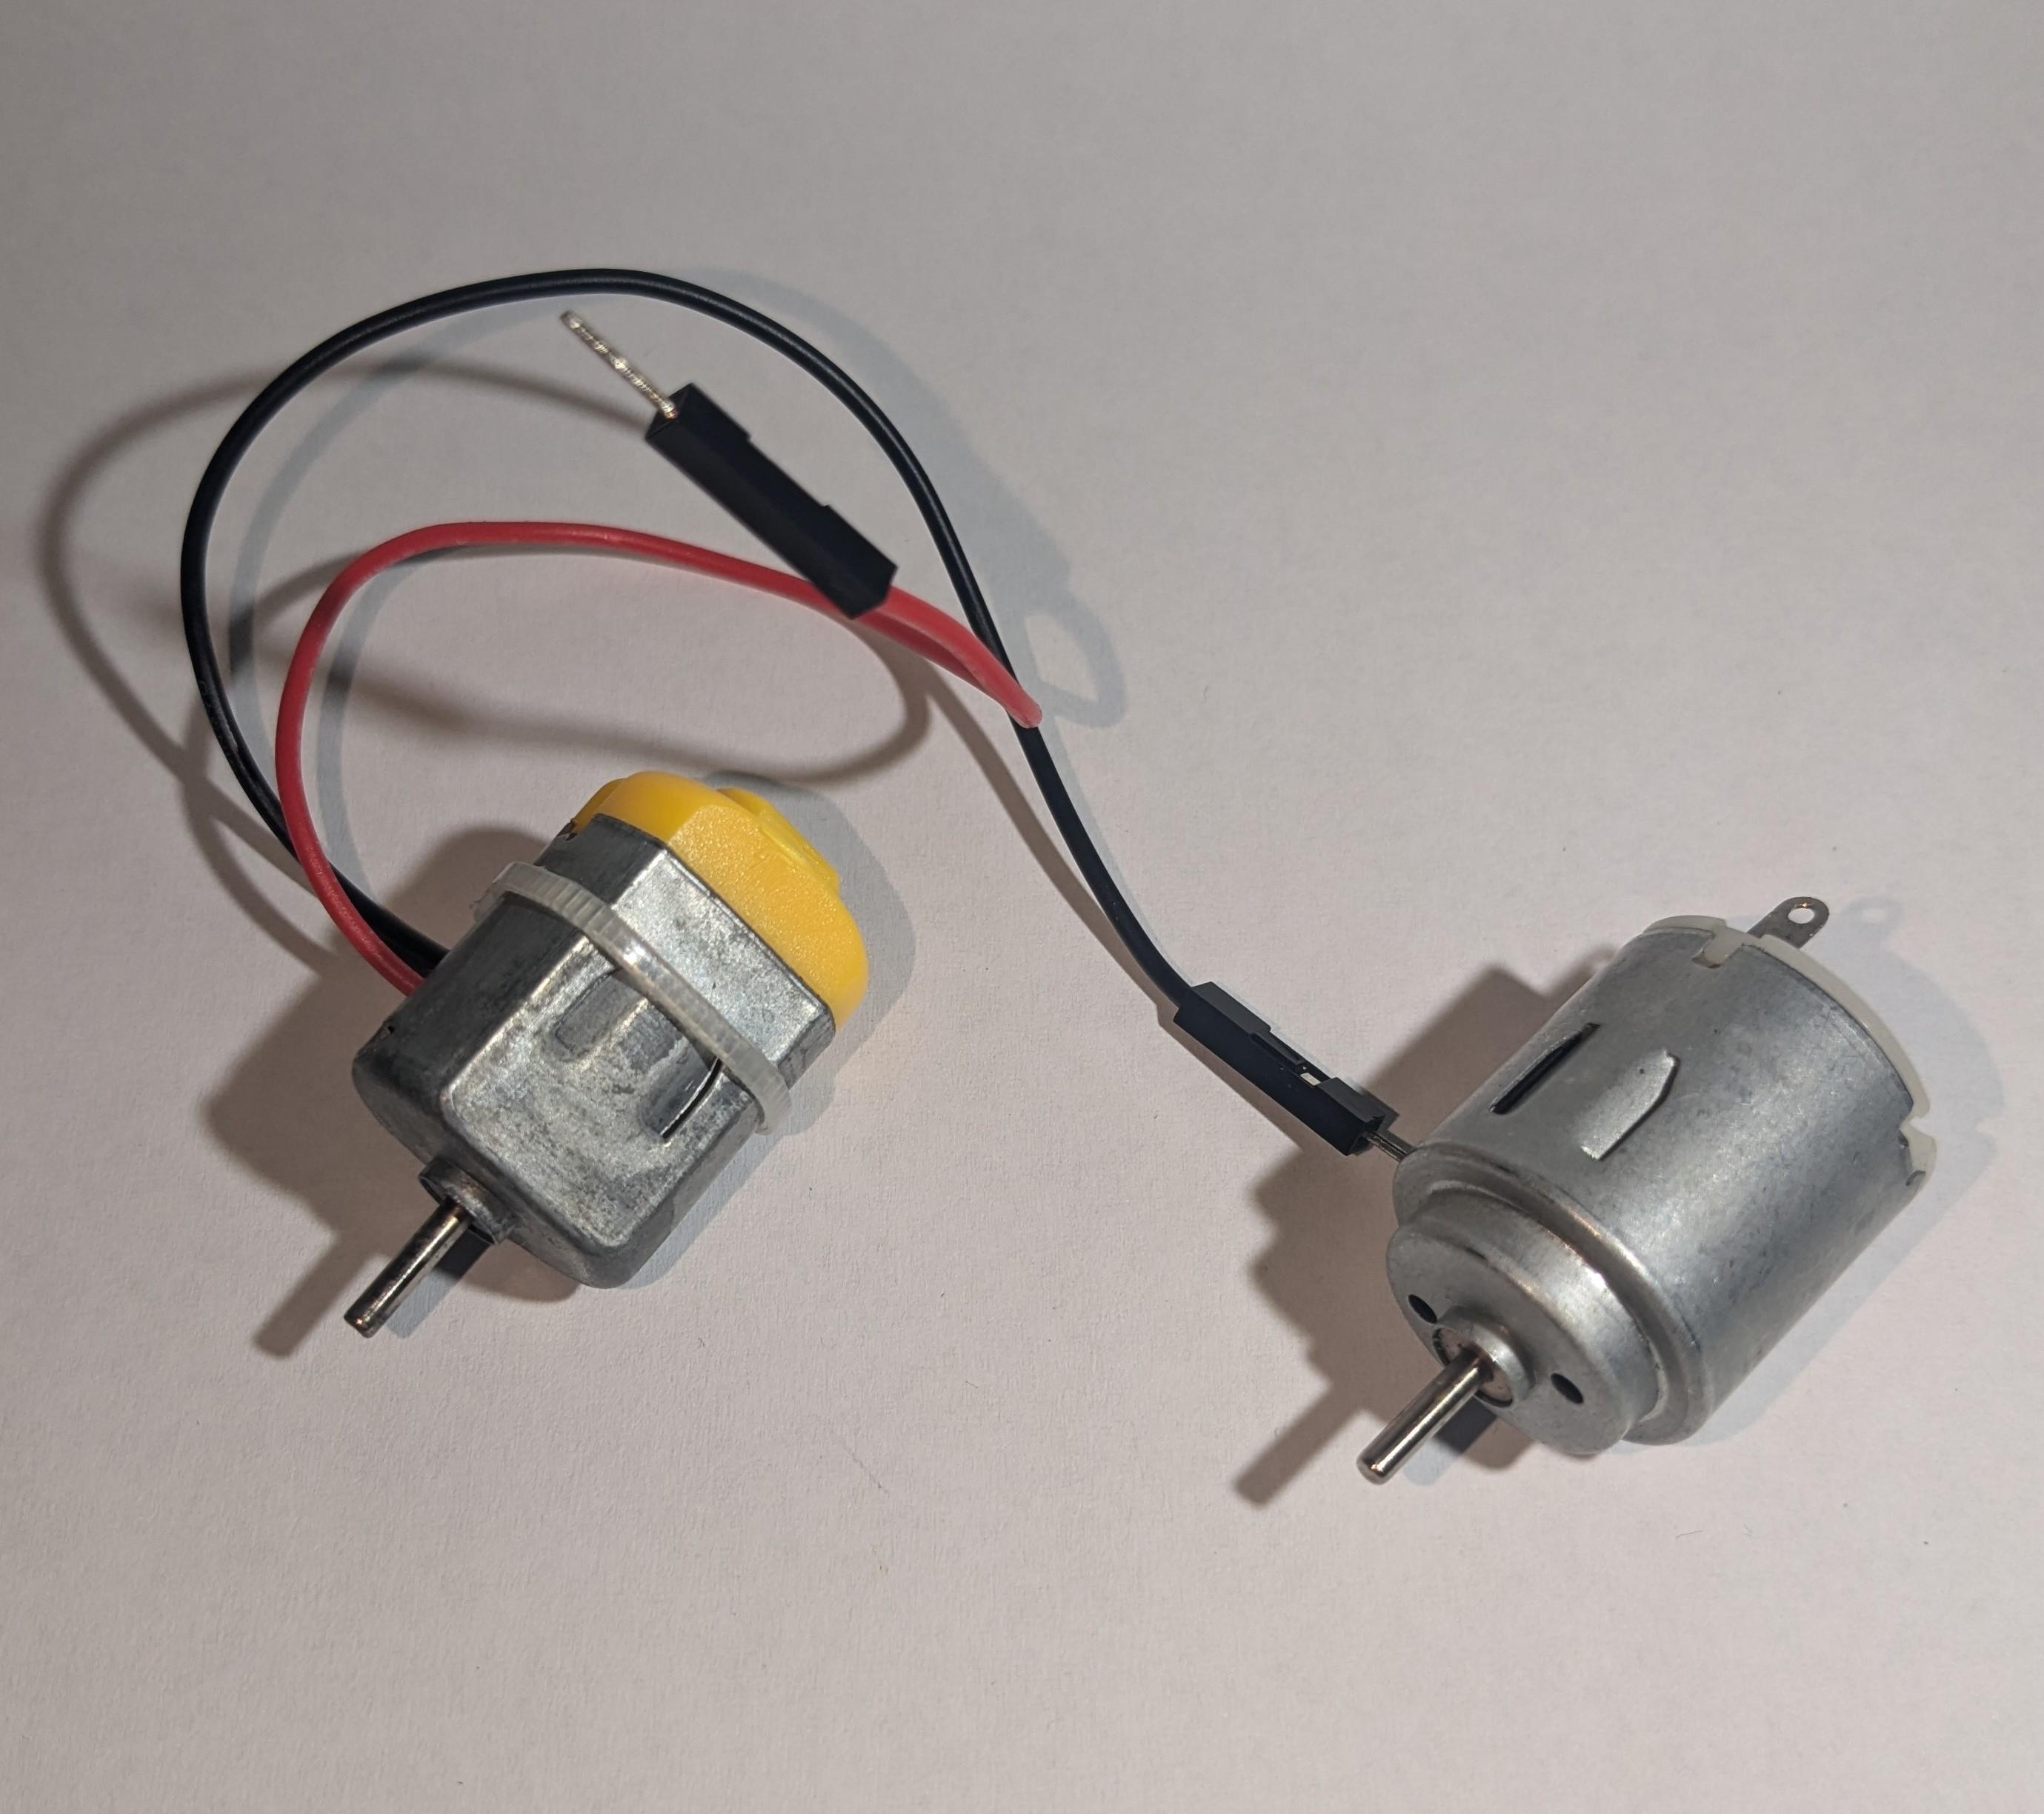
- 1 electromotor
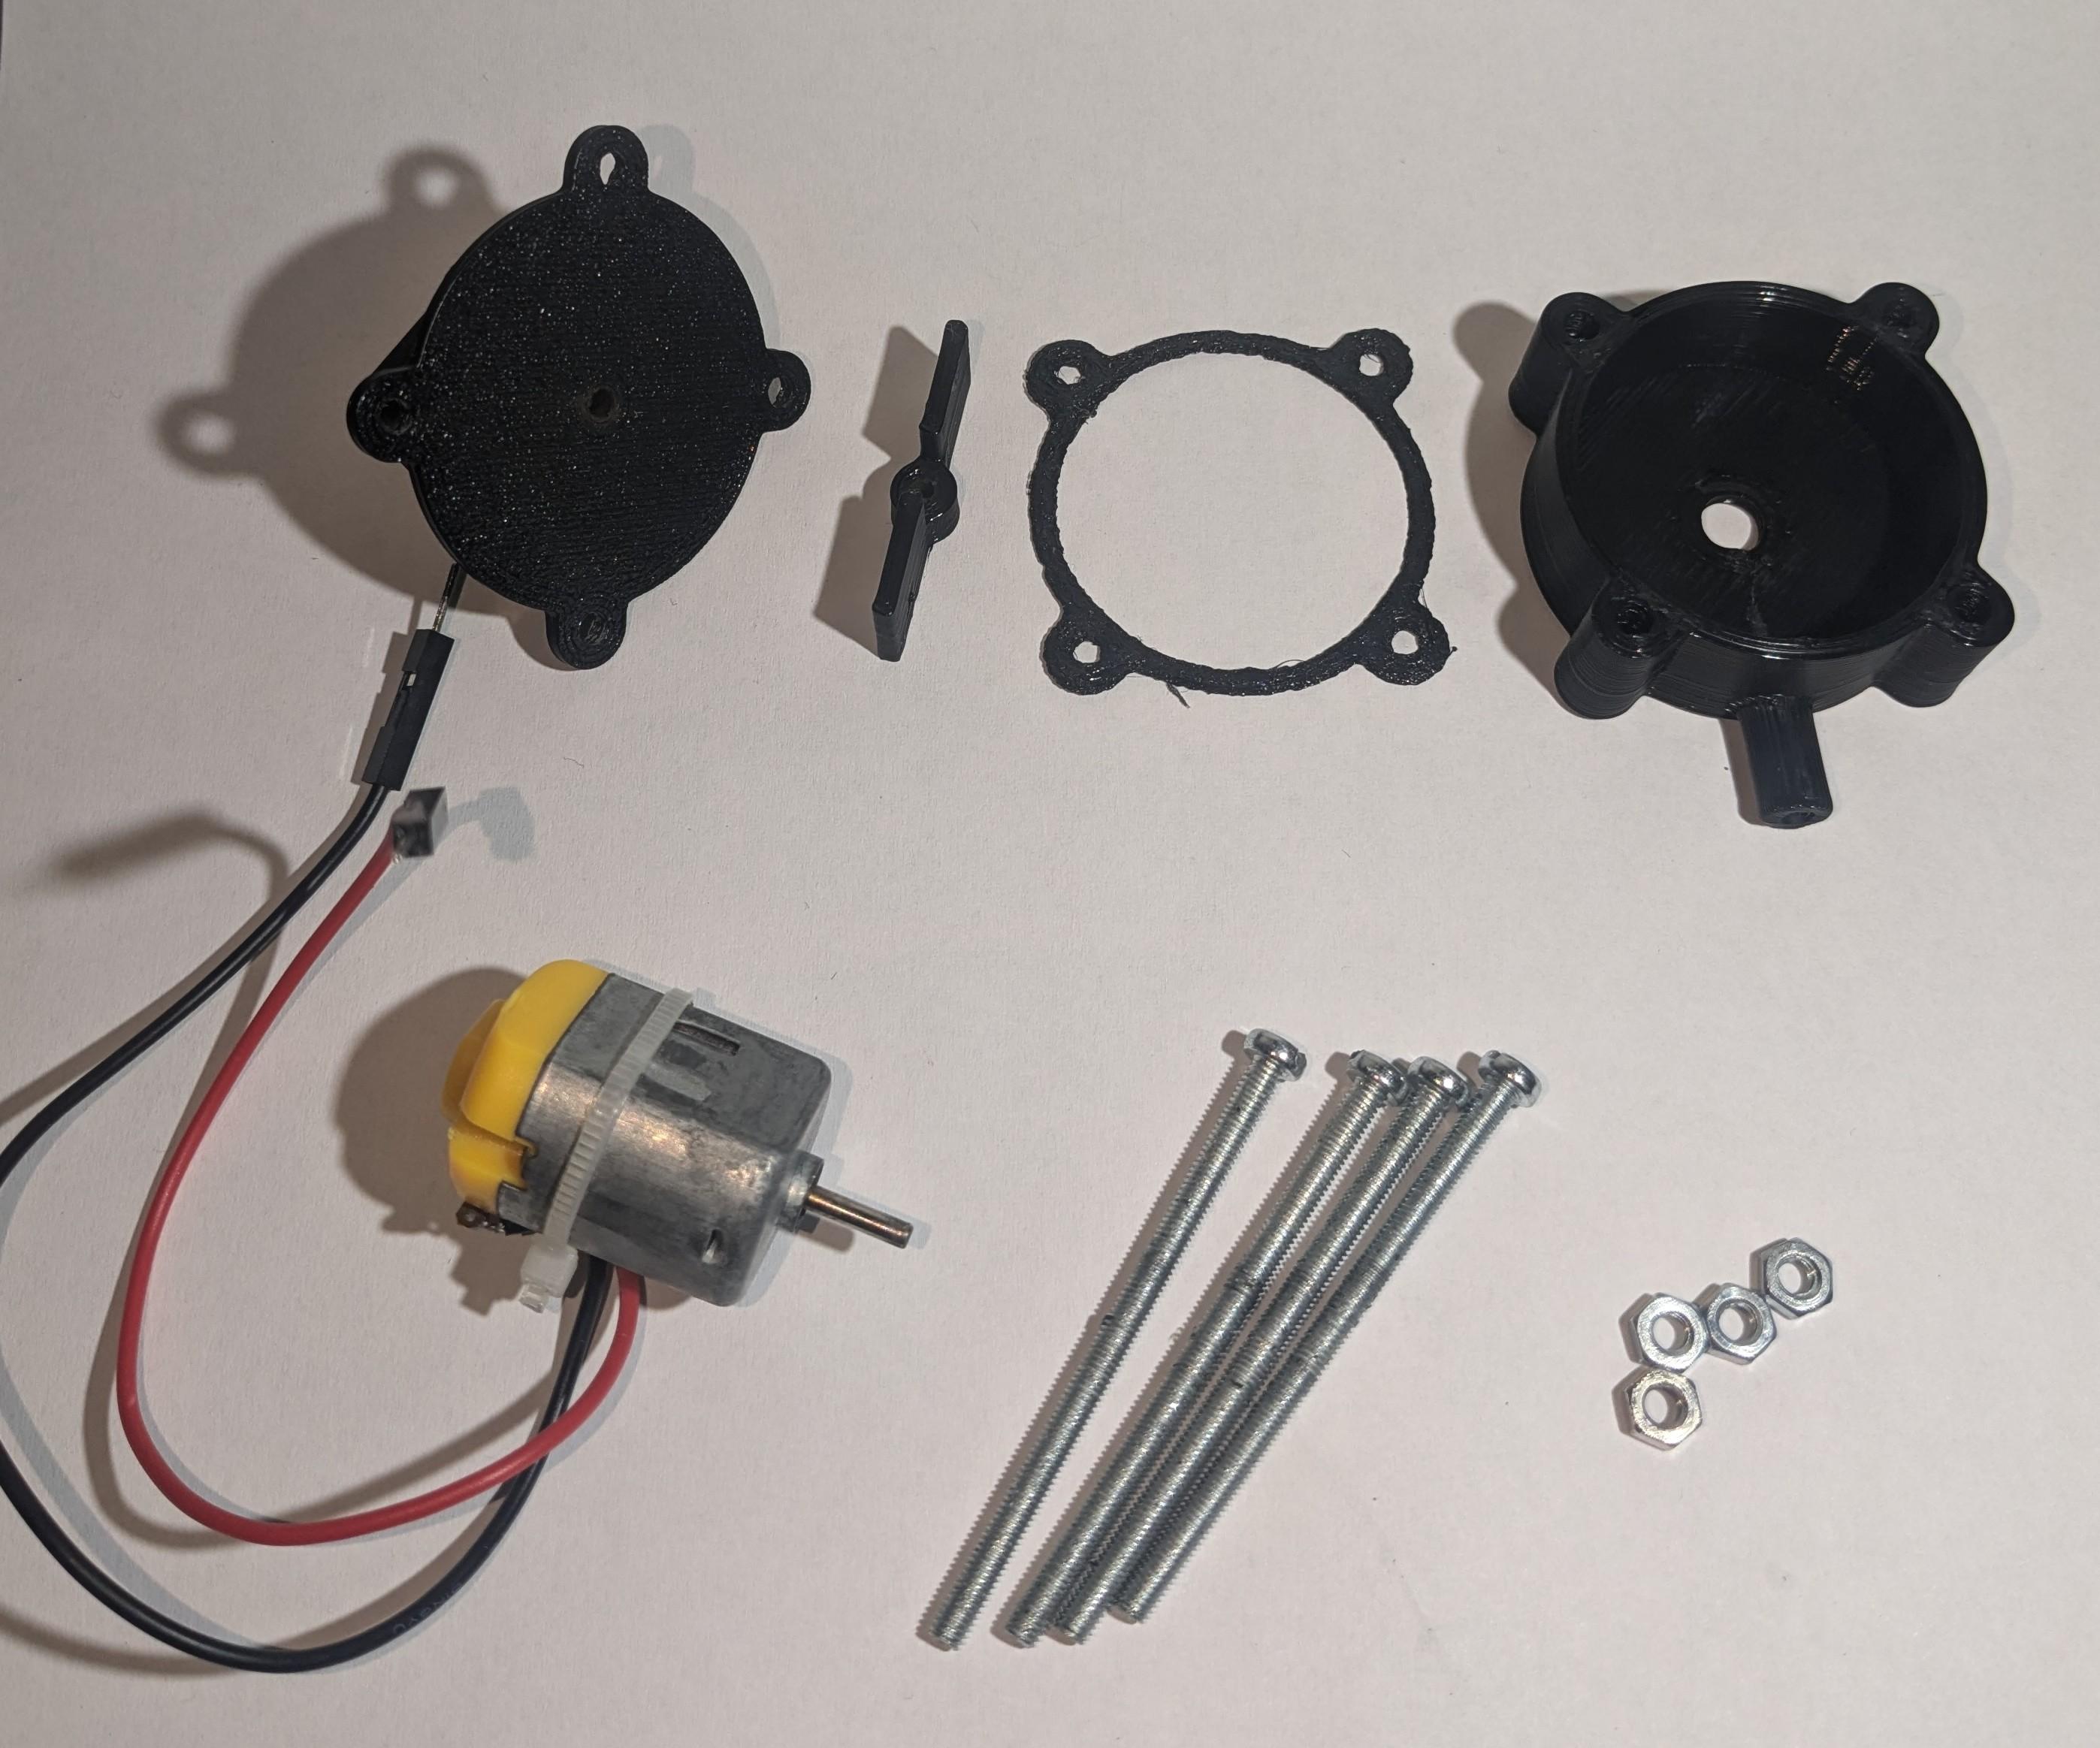
- 4 screws
You will need a f3d file for adjusting the pump.
I also attached stl files for the pump used in pictures.
Measuring Your Motor and Hardware
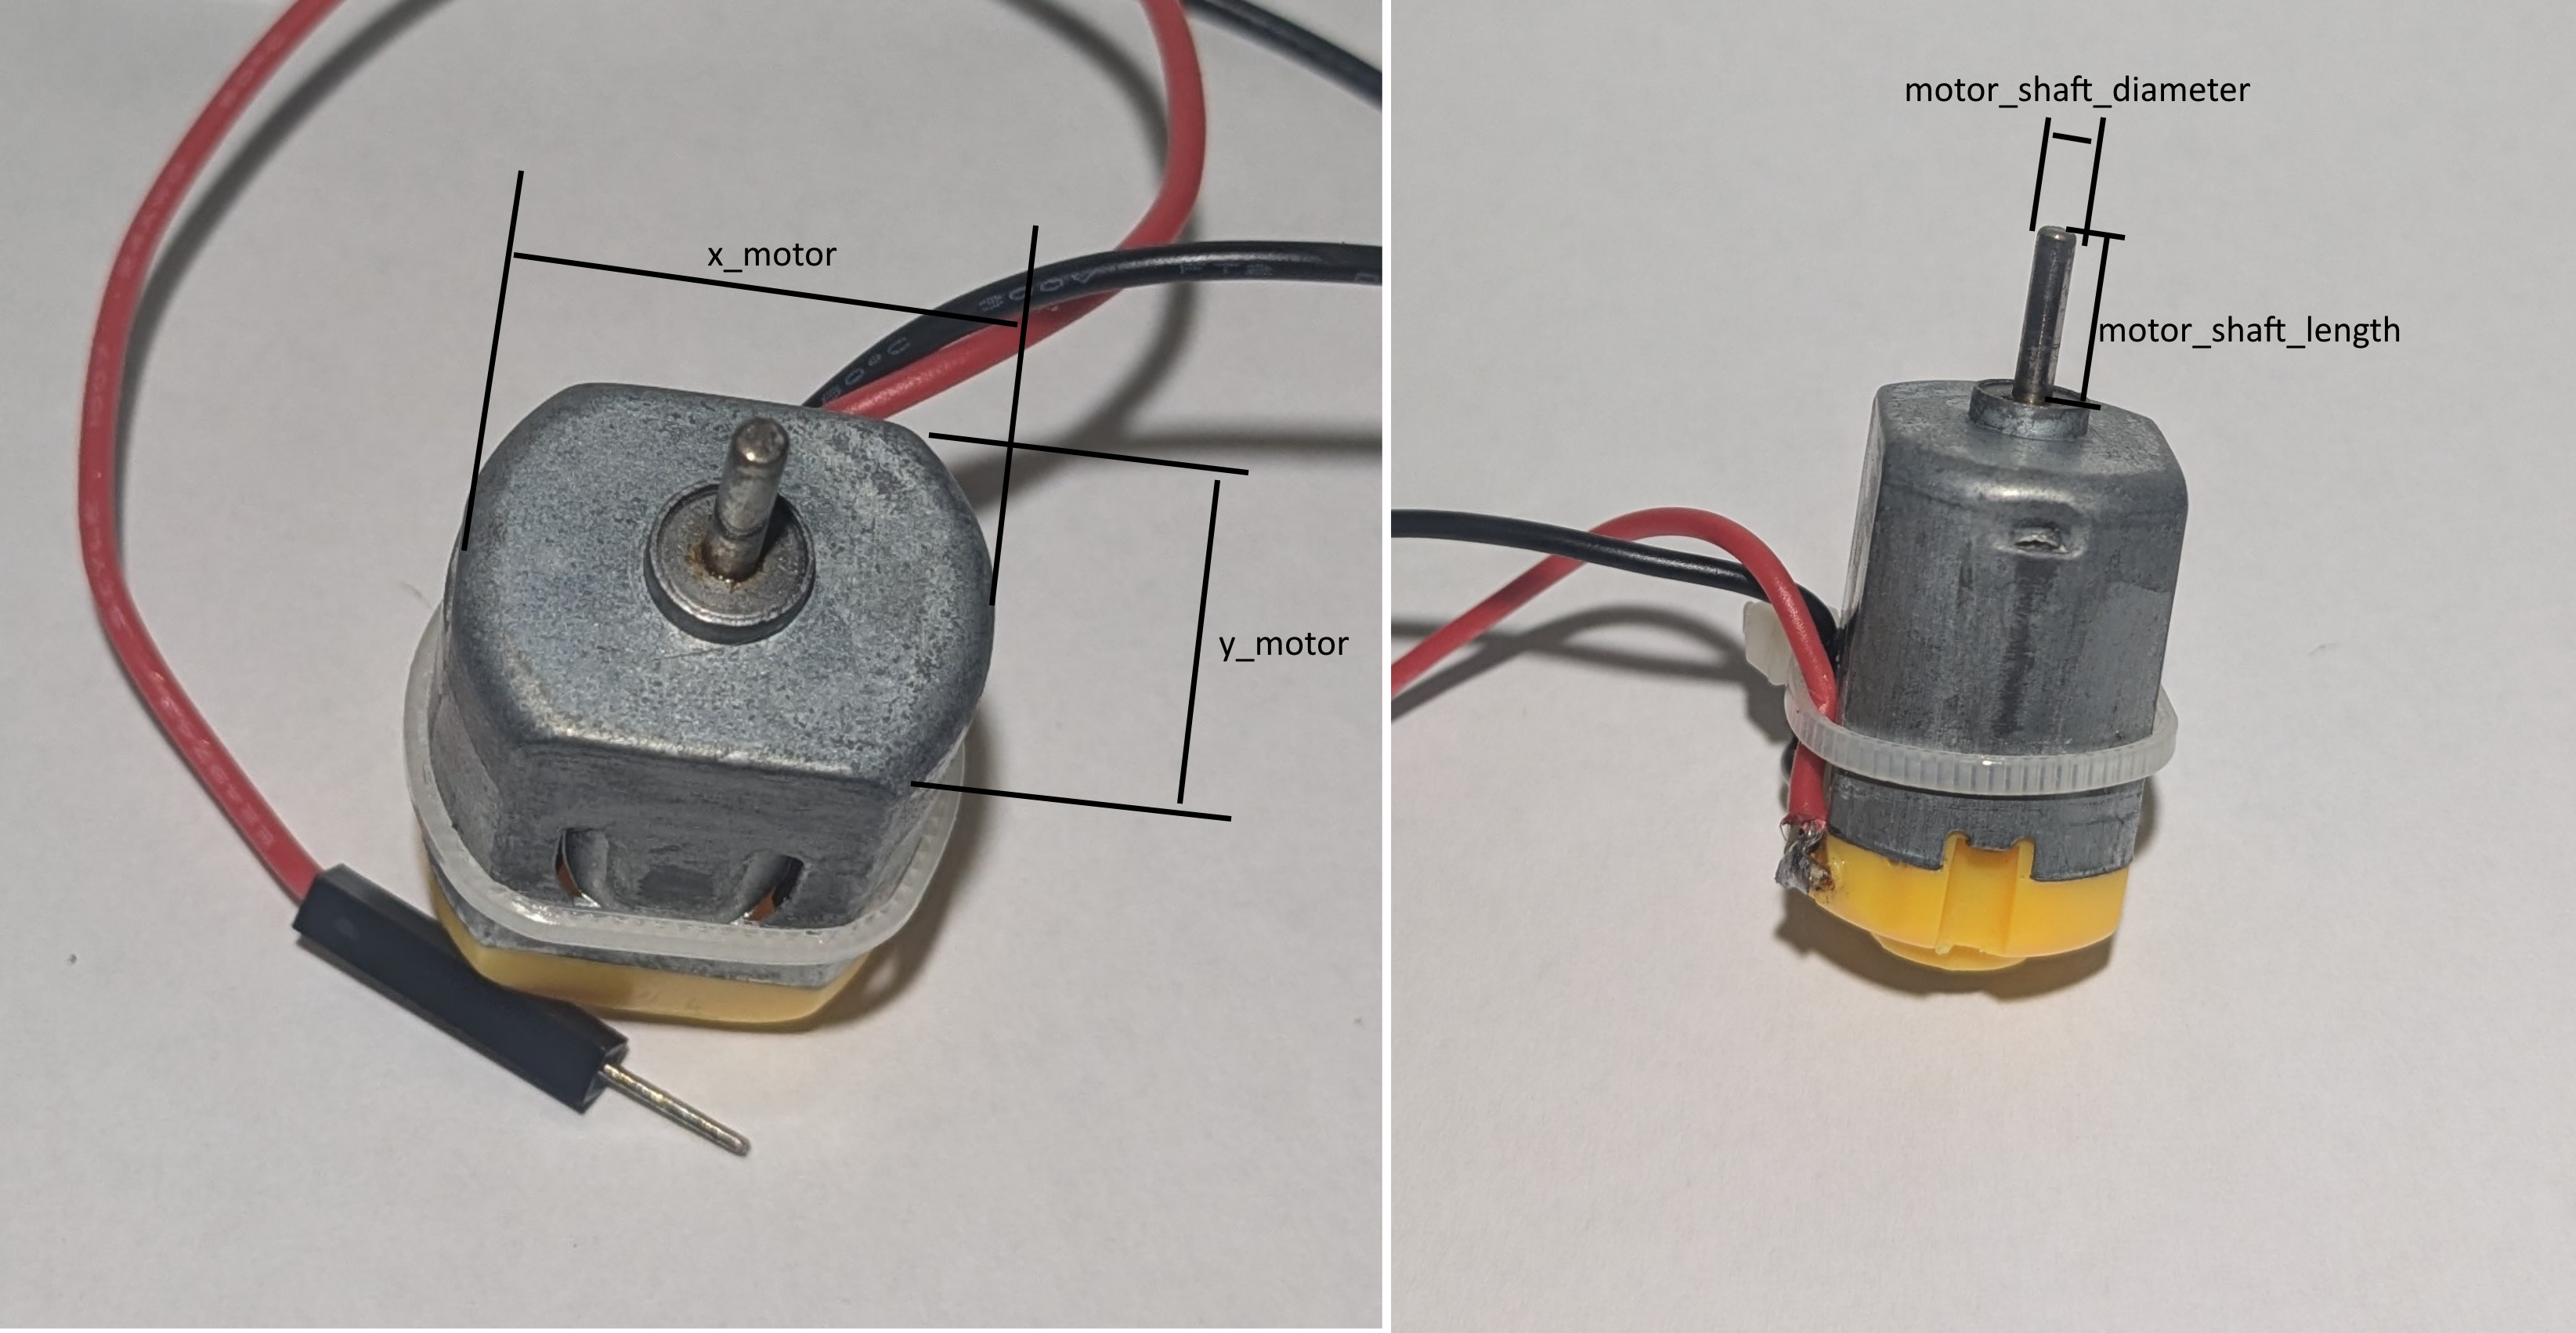
Before we can customize the pump design, we need accurate measurements of your motor and mounting hardware. Grab a caliper or ruler - precision is key for a proper fit!
Customizing Parameters in Fusion 360
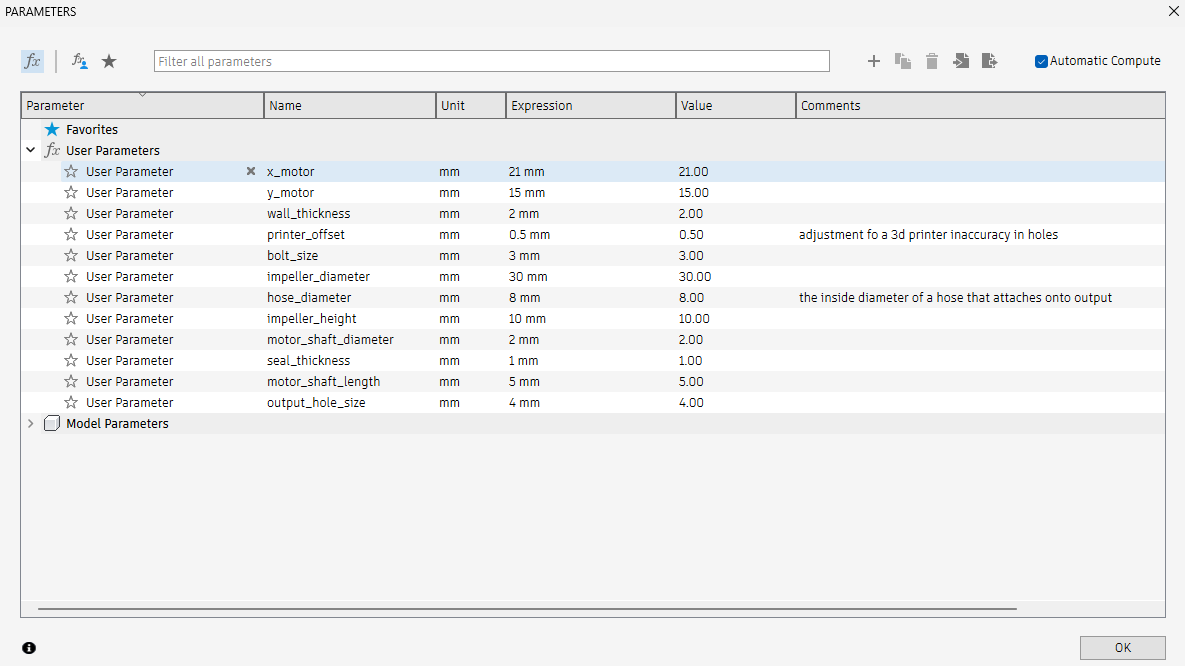
Now that you have your measurements, let's customize the pump design in Fusion 360. We'll adjust the parameters to match your specific motor and requirements.
- Open the water pump design in Fusion 360
- Click on "Modify" in the toolbar
- Select "Change Parameters"
- Adjust the parameters to fit your needs
- Export the modified parts as STL files for 3D printing
3D Printing and Post-Processing
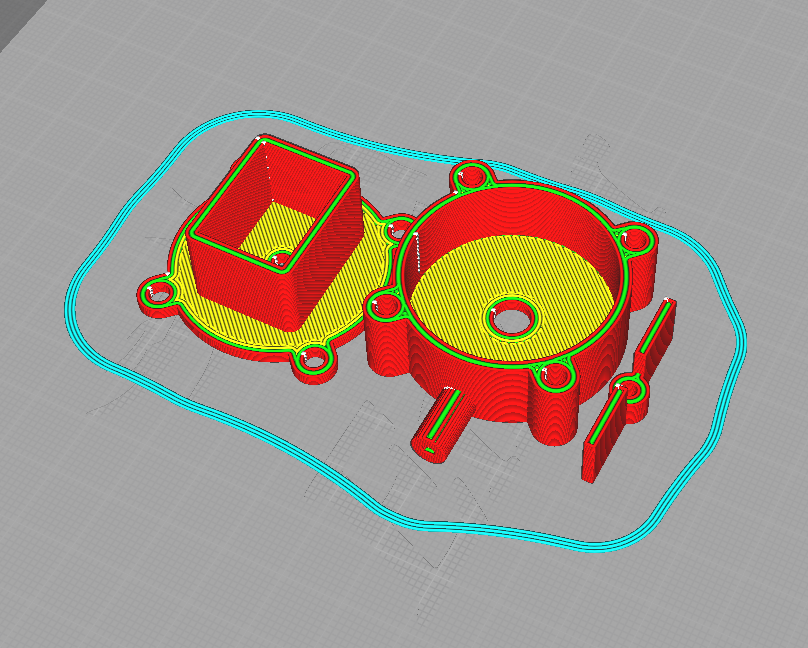
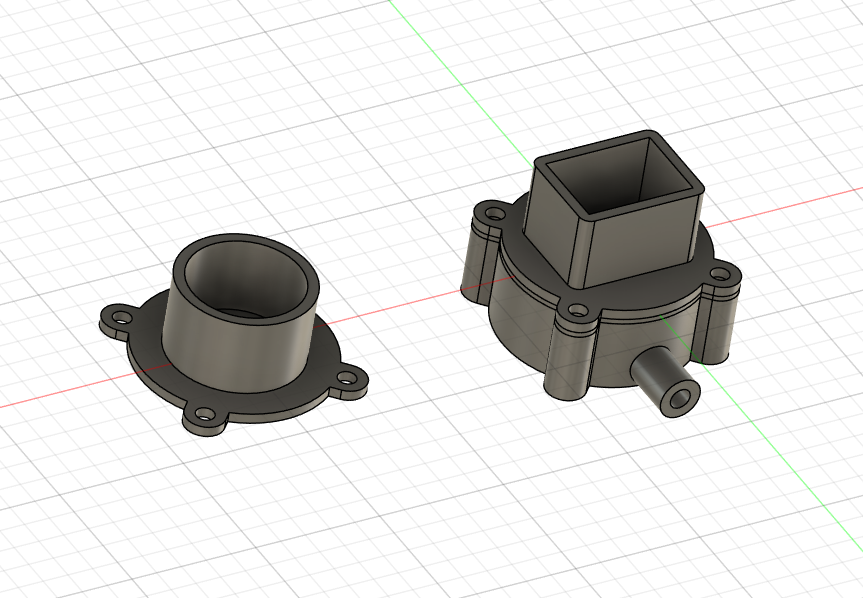
Parts to Print
- Pump housing
- Impeller
- Motor mount
- Seal (optional, TPU material) - Can be replaced with electrical tape or similar flexible material
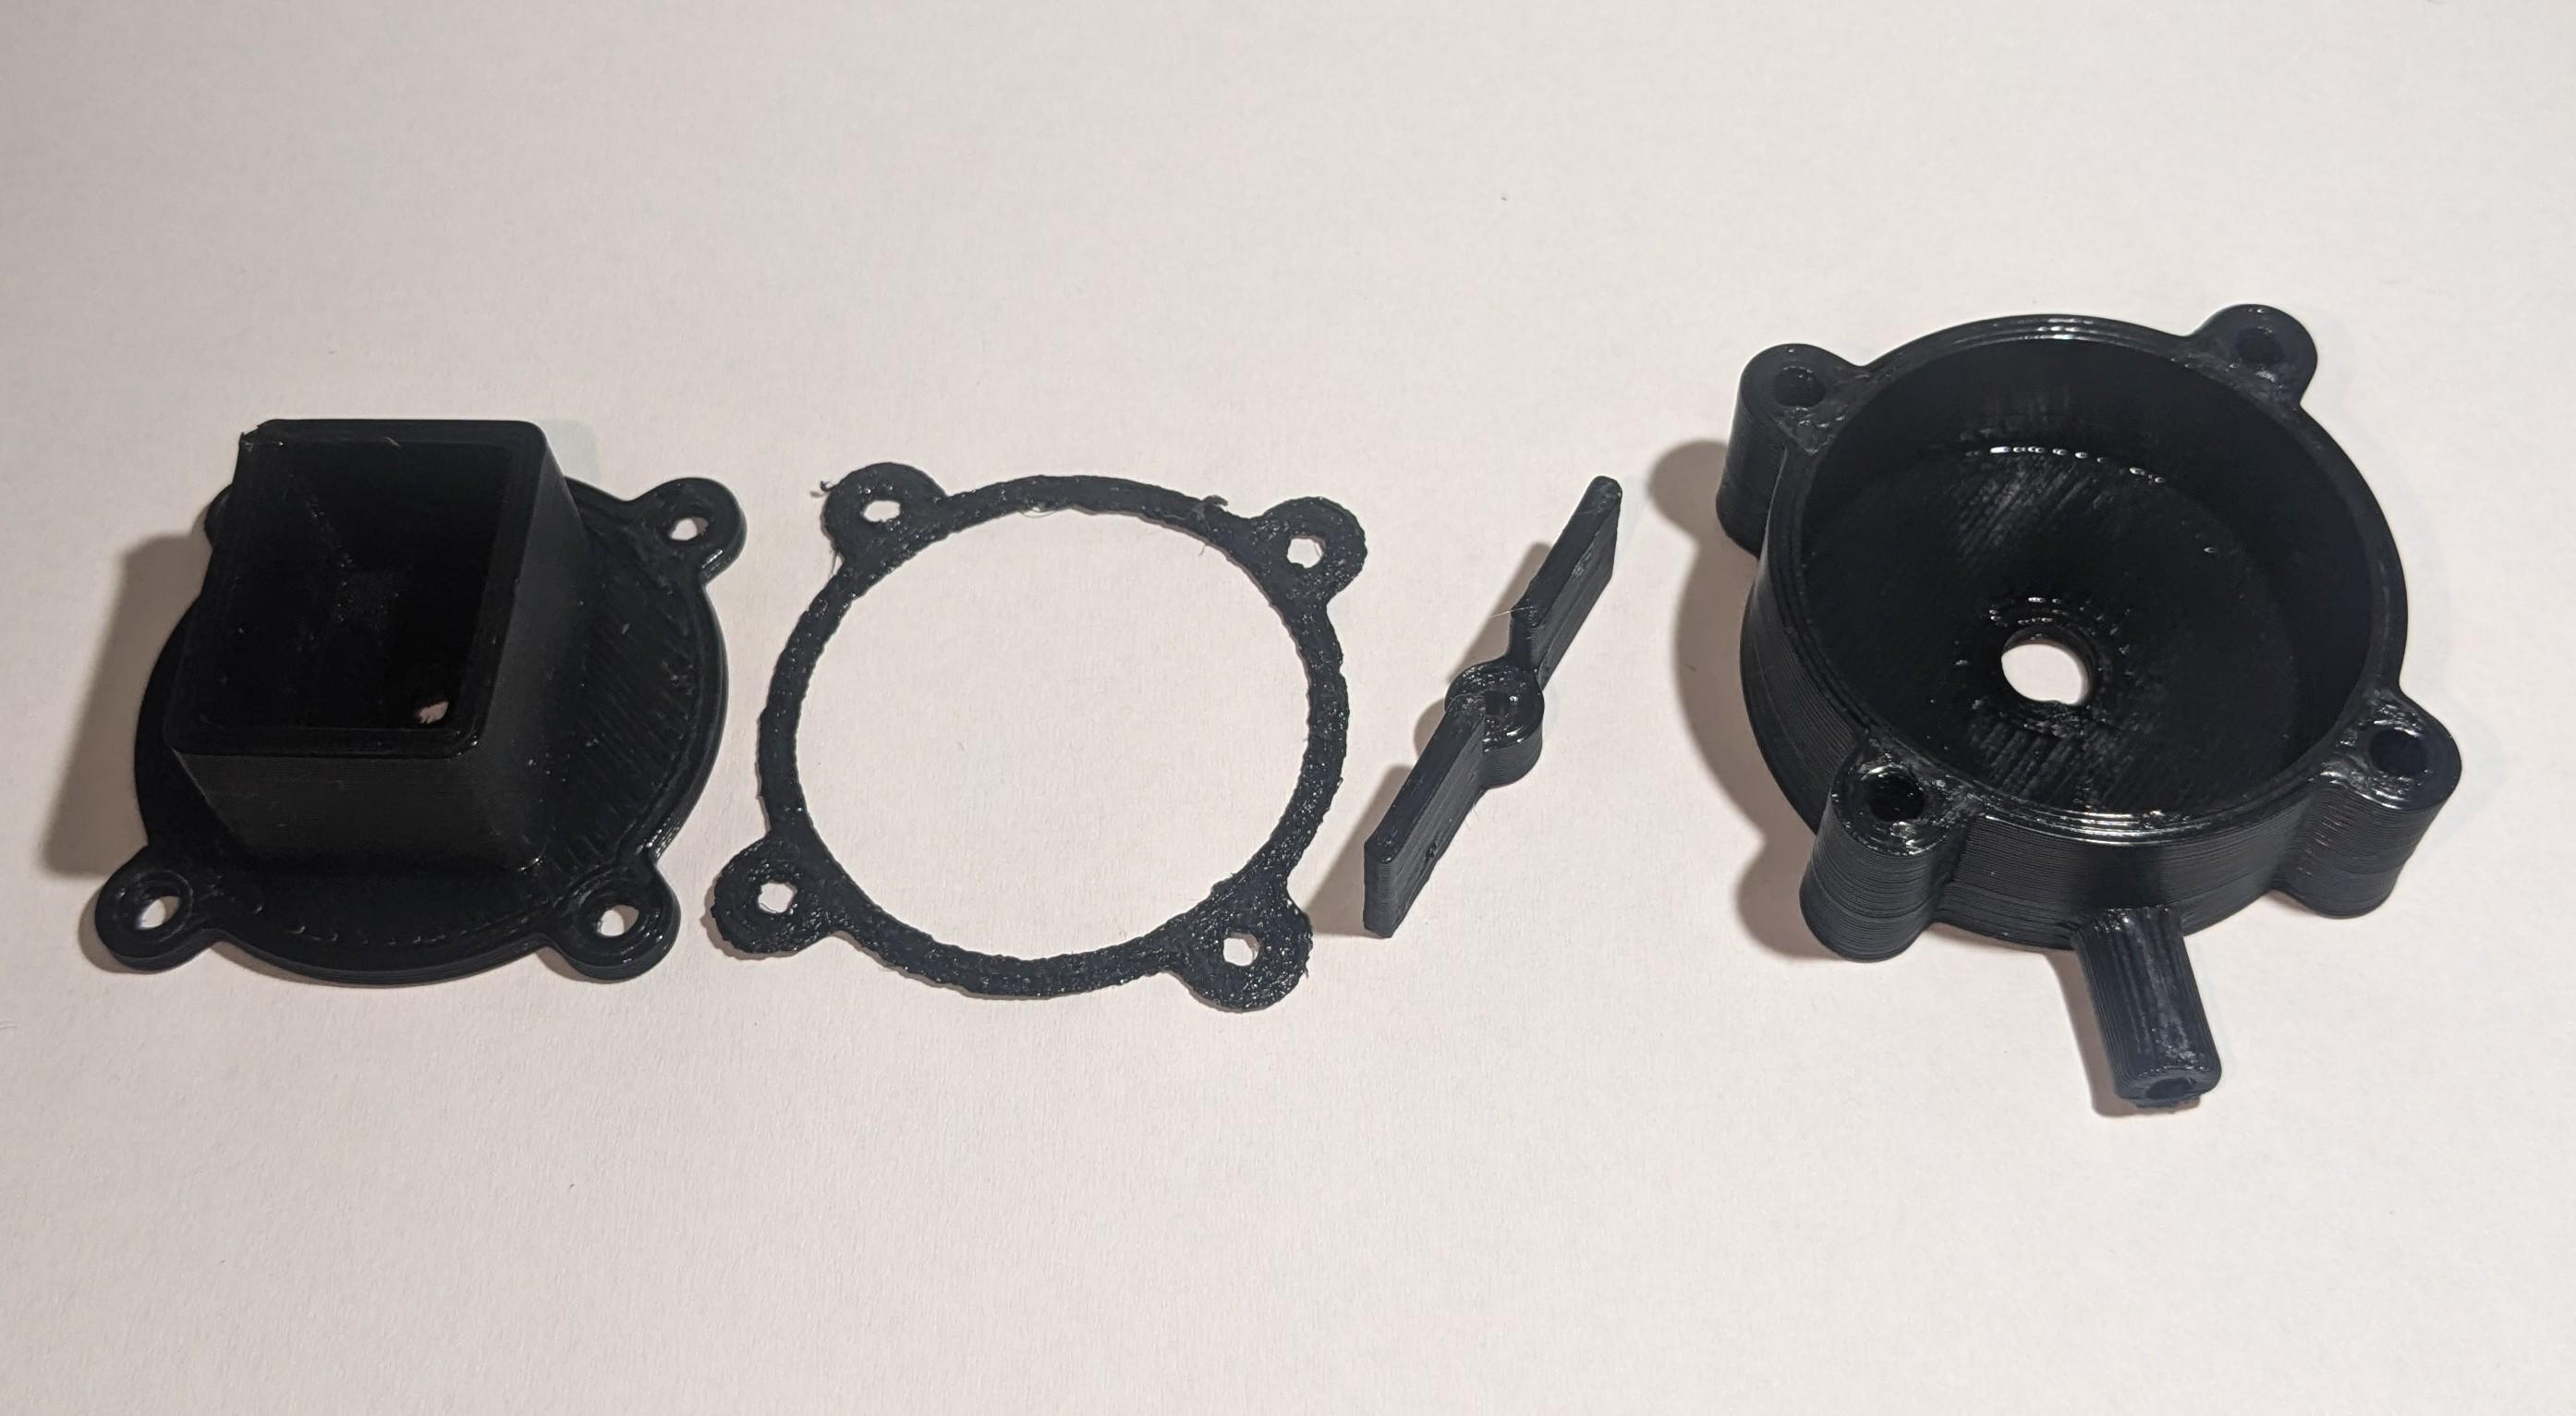
Post-Processing
Important: Some holes may need to be drilled out to fit your specific motor and hardware. This is normal and ensures a tight fit.
- Motor shaft holes
- Screw holes
Assembly and Testing
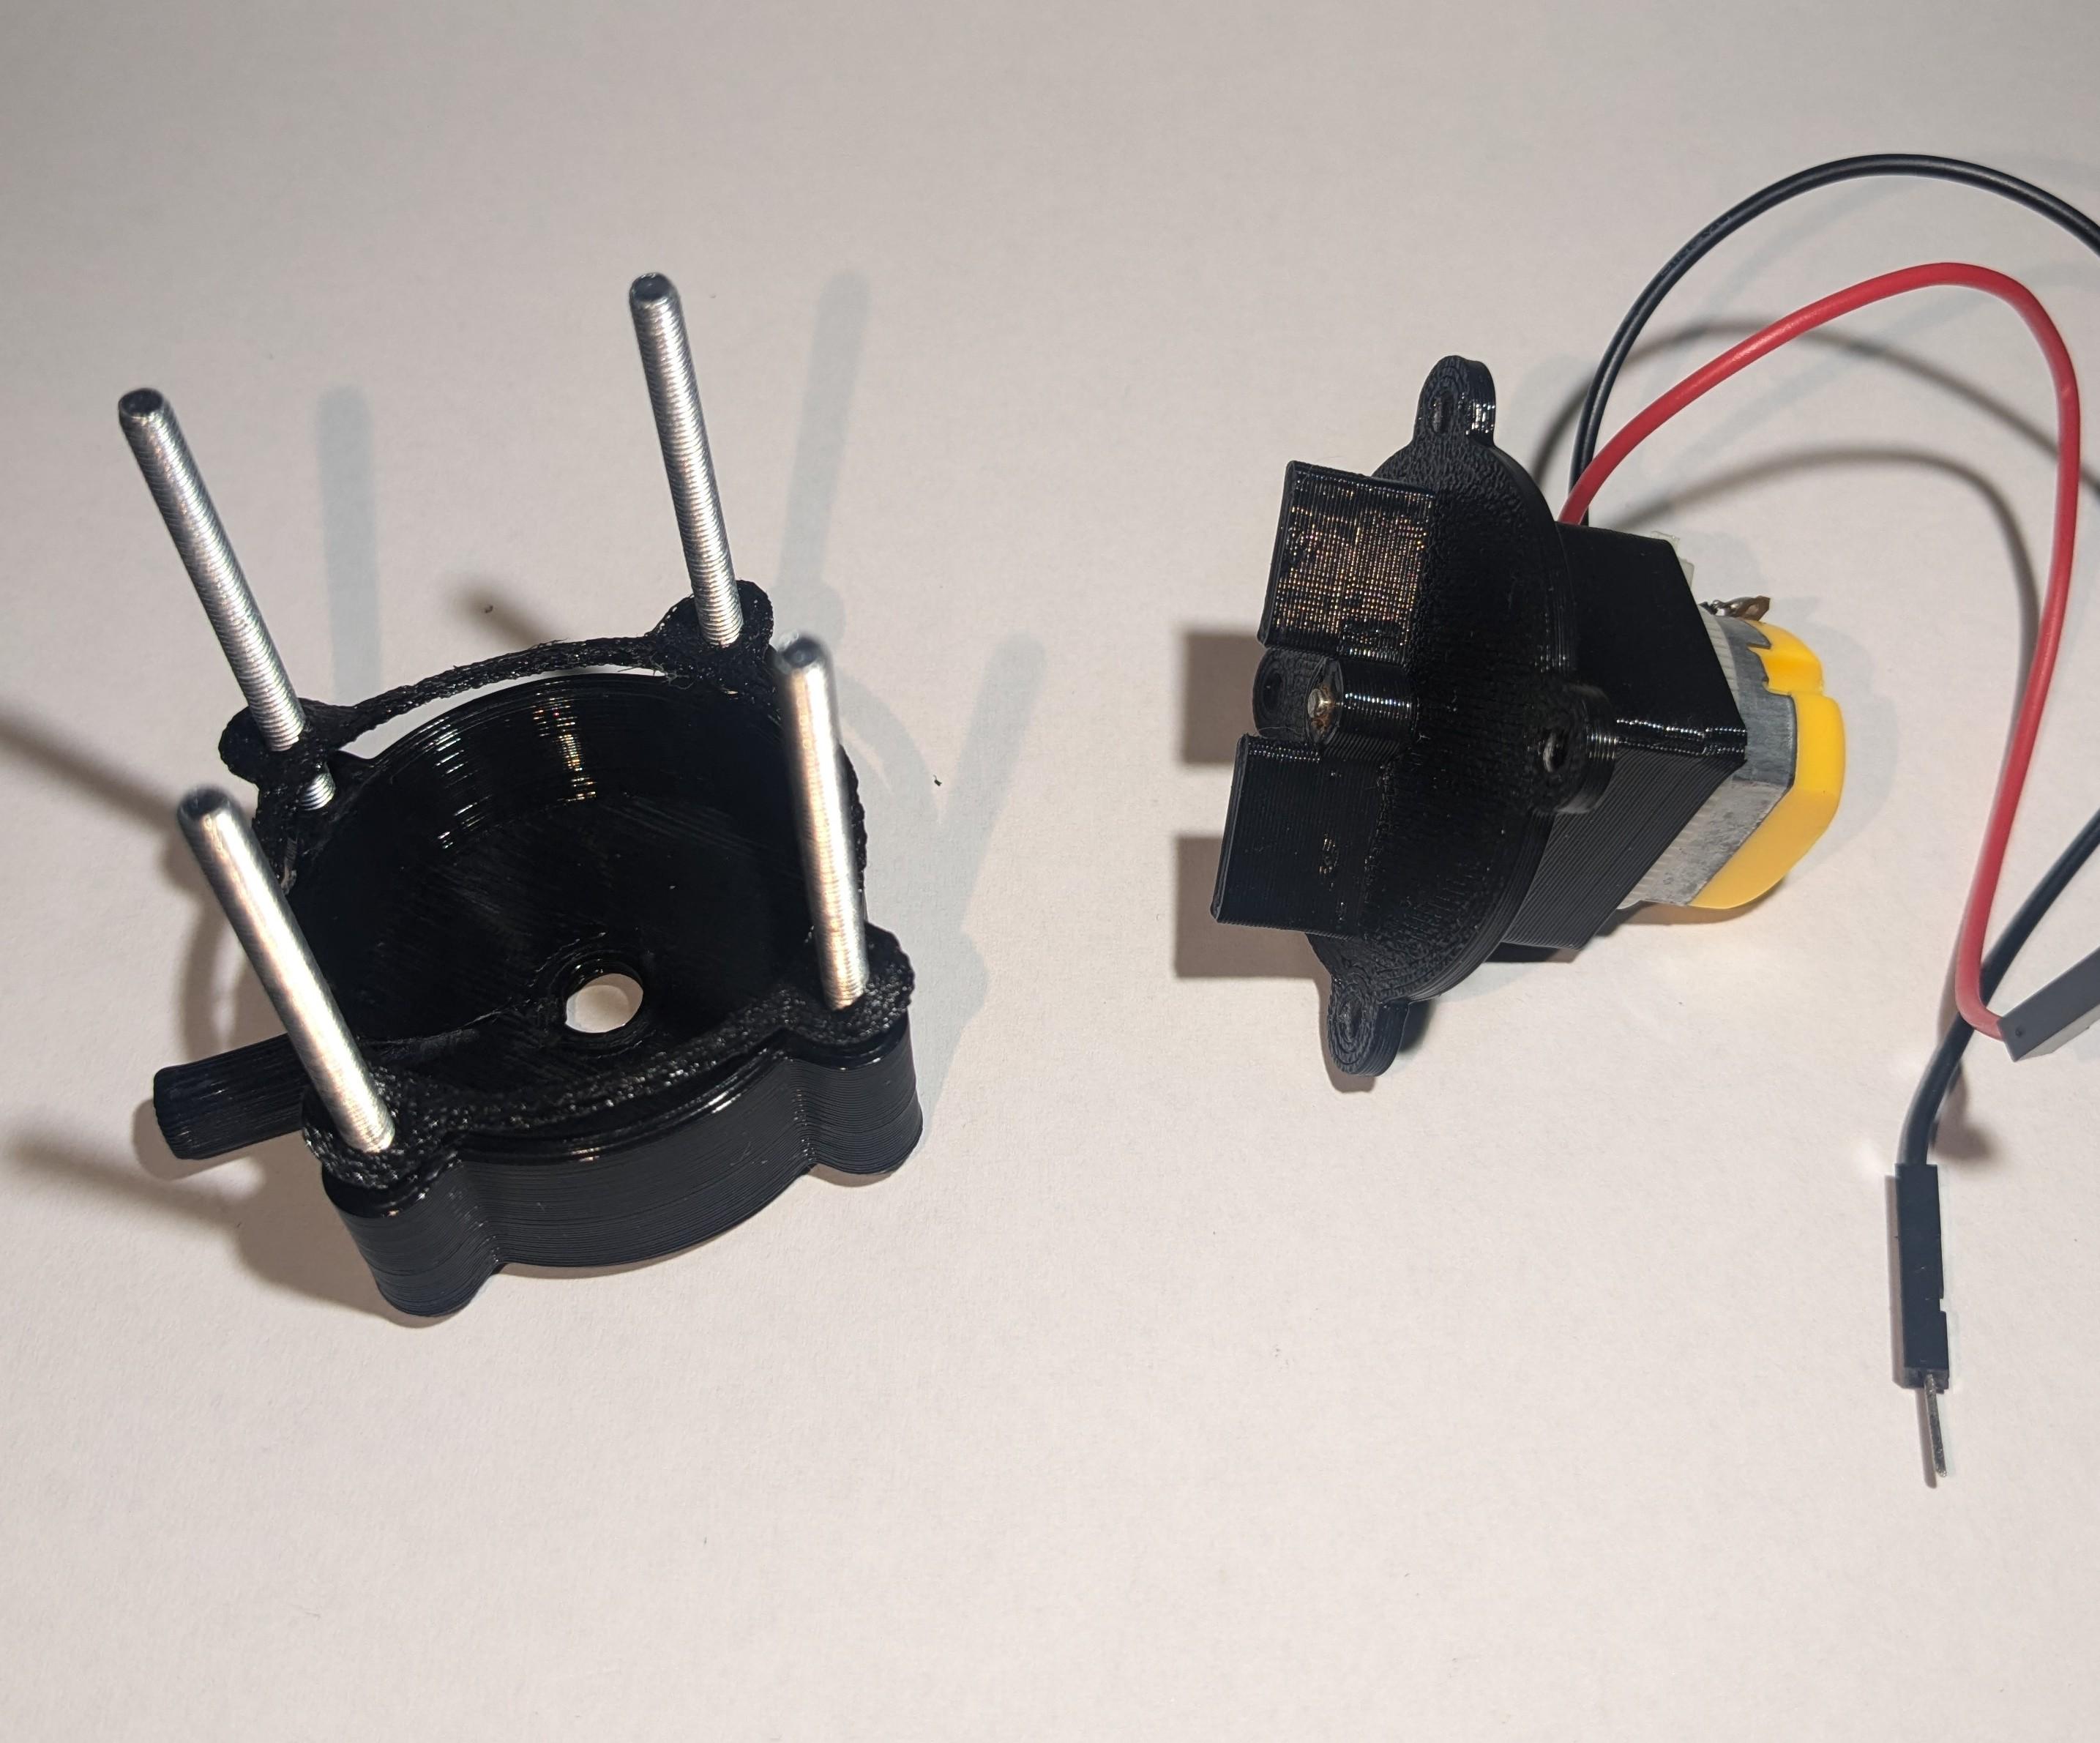

Assembly
- Friction fit your motor to the base
- Slide impeller onto motor shaft
- Leave small gap between impeller and housing
- Add seal around motor mount
- Attach housing to motor mount
Quick Testing
- Dry test:
- Spin impeller by hand
- Check for rubbing
- Water test:
- Submerge pump
- Power up at low speed
- Check flow
If impeller rubs, add slight. If leaking, adjust seal or tape.
The pump might have to be "primed" by sucking some water through it.
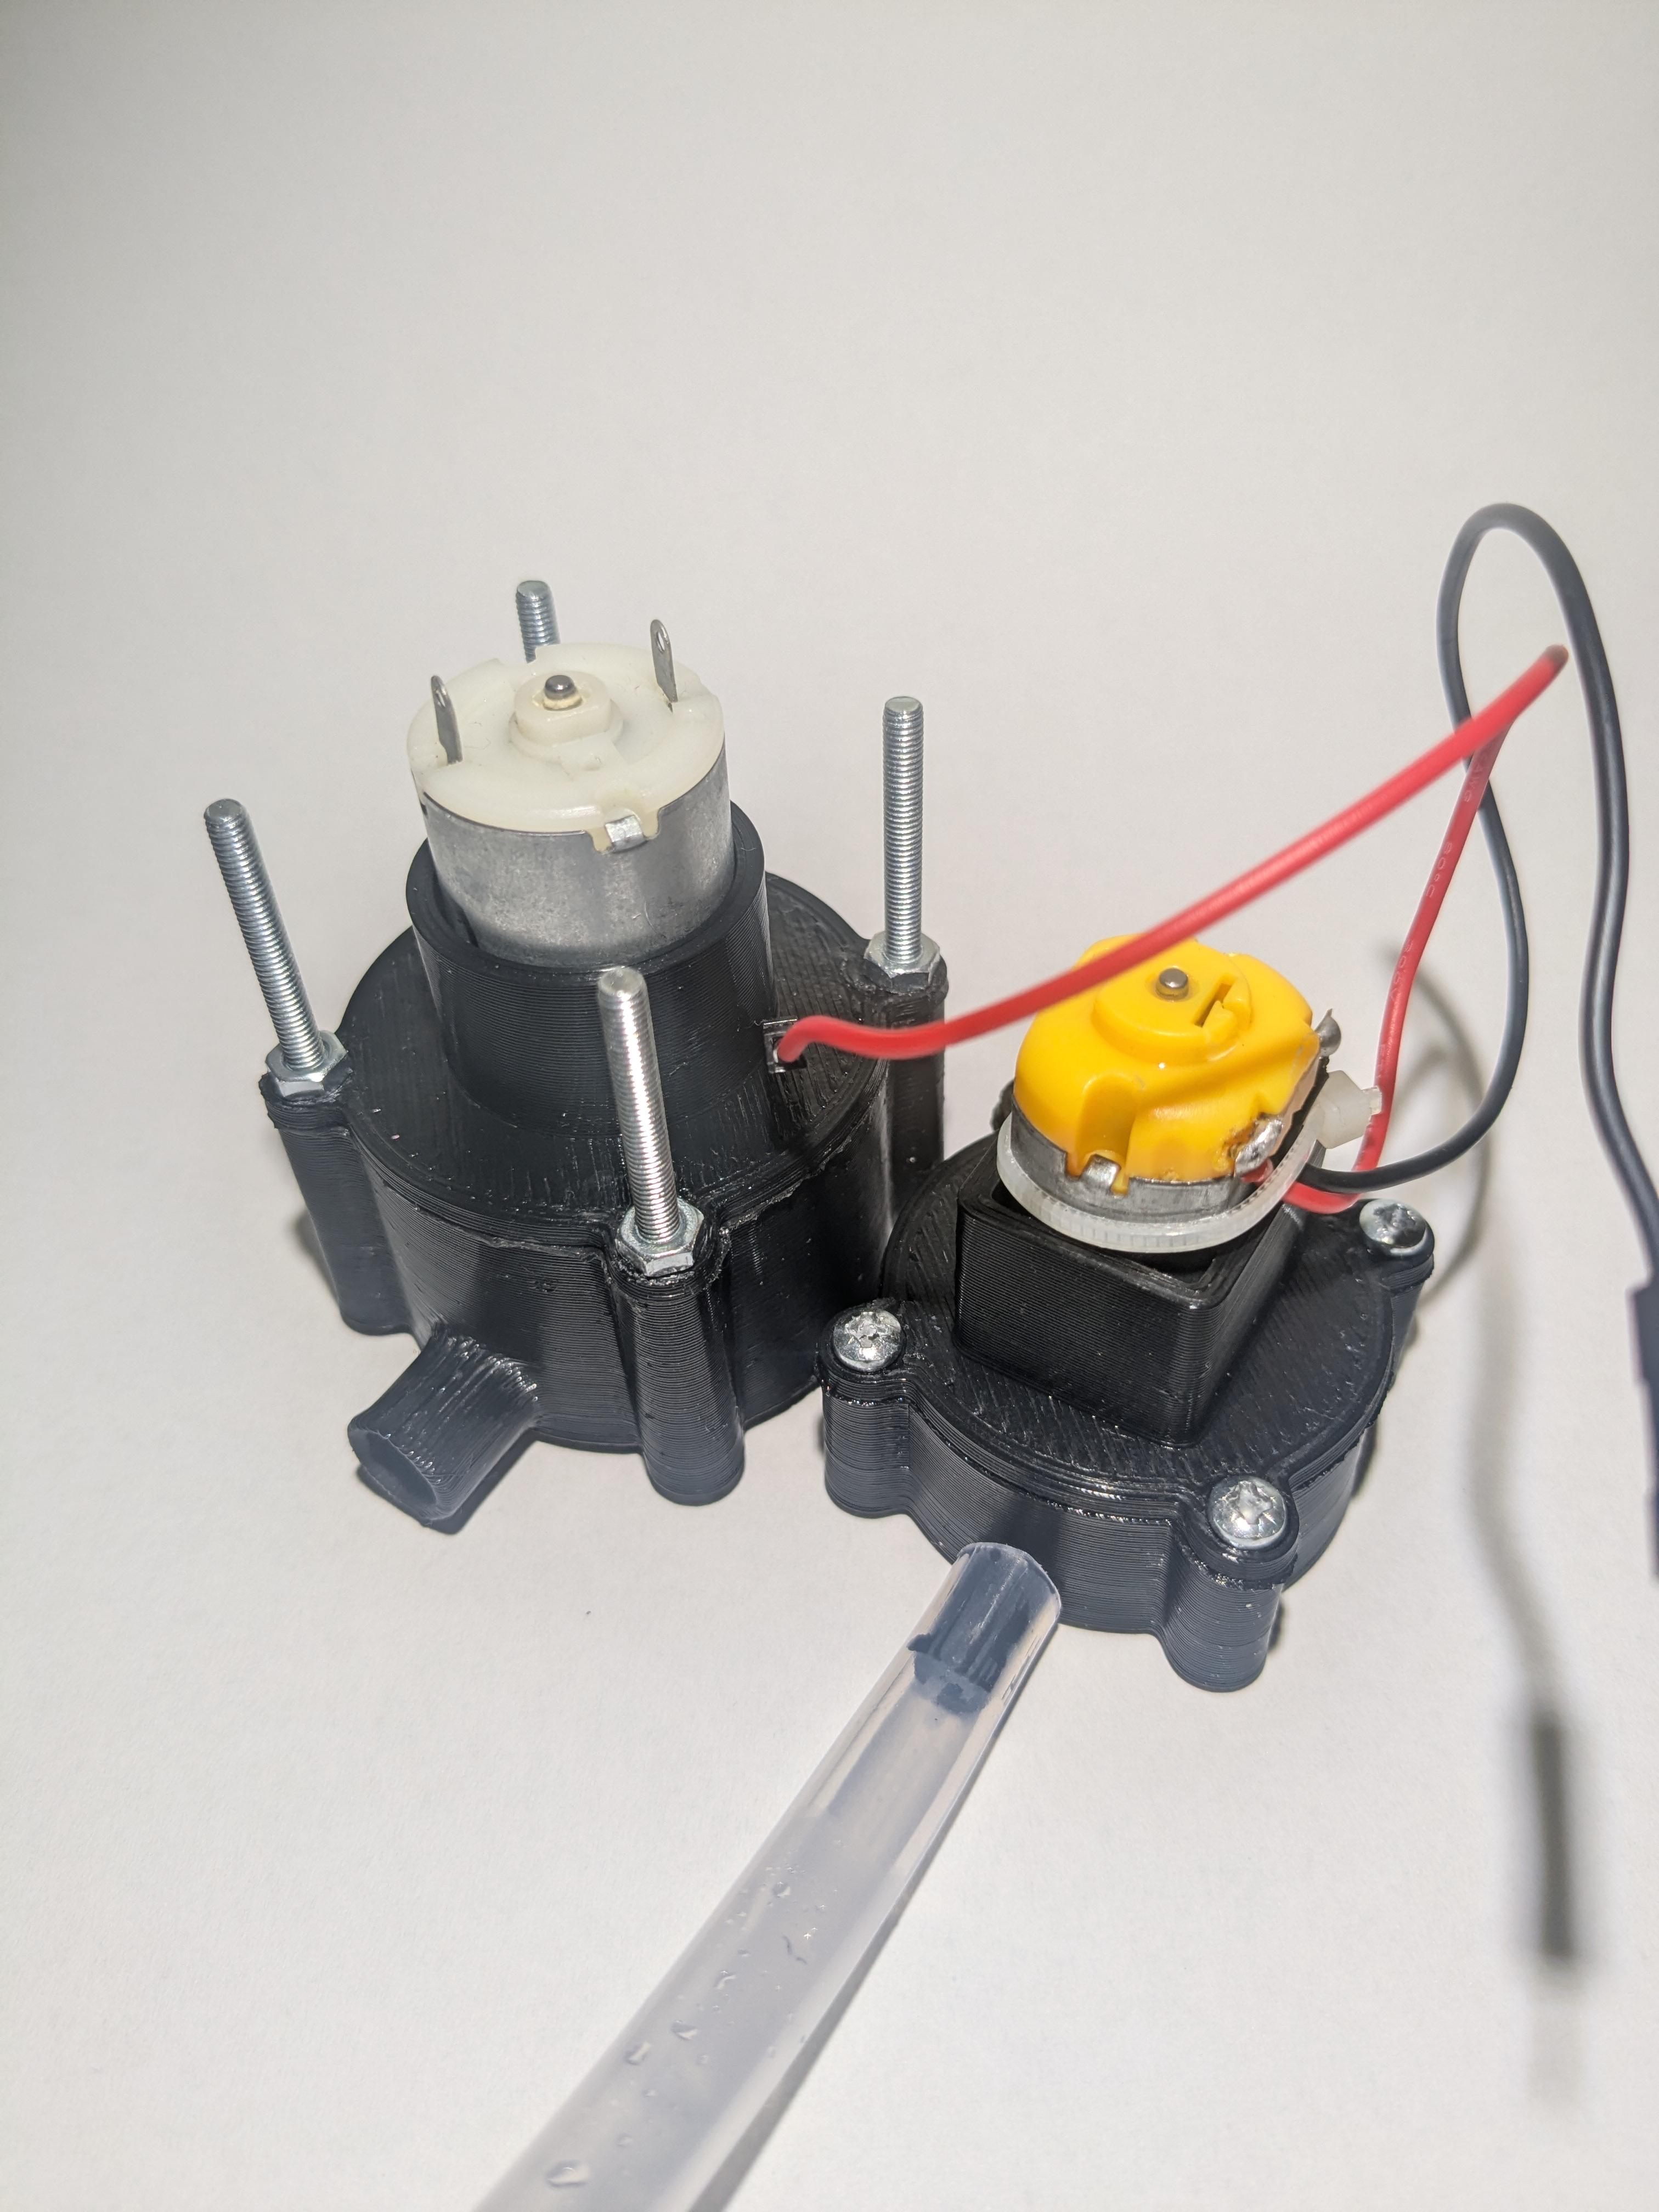
That's it - your custom water pump is ready for use!