Parametric Earrings Design
by adelvalle1 in Workshop > 3D Printing
755 Views, 5 Favorites, 0 Comments
Parametric Earrings Design
.jpeg)
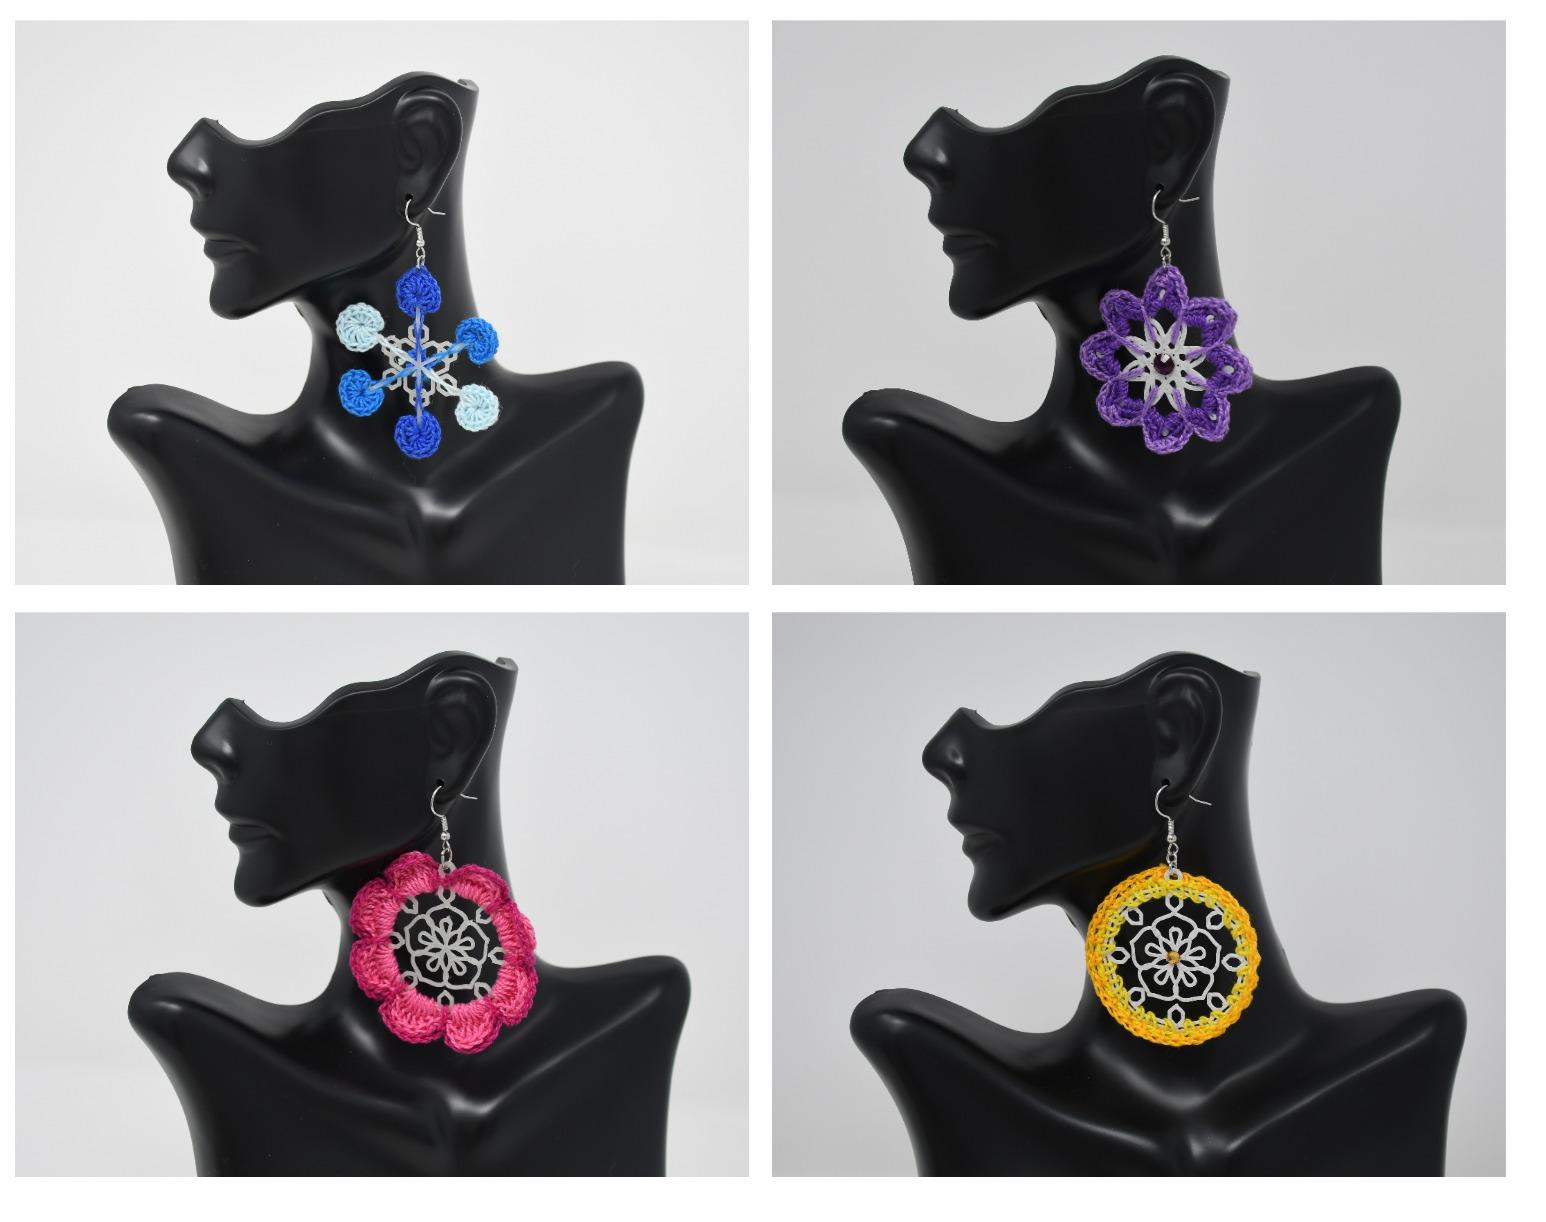
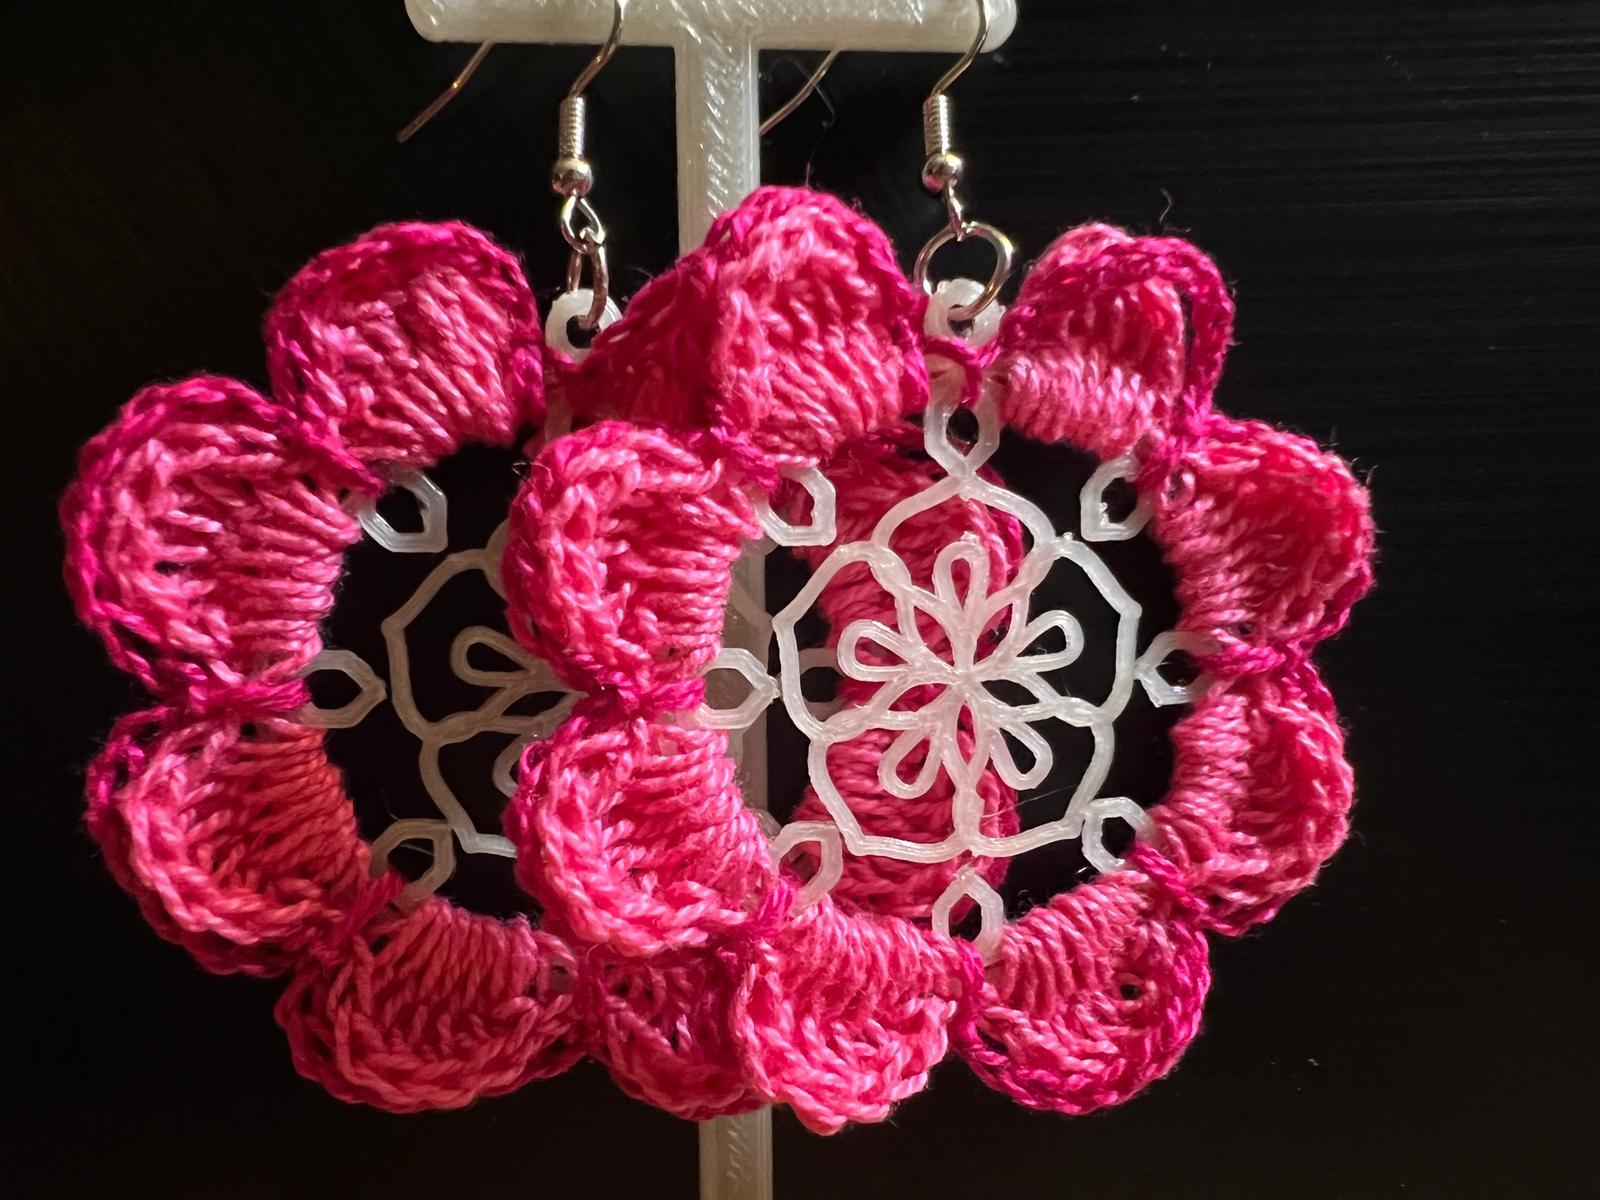
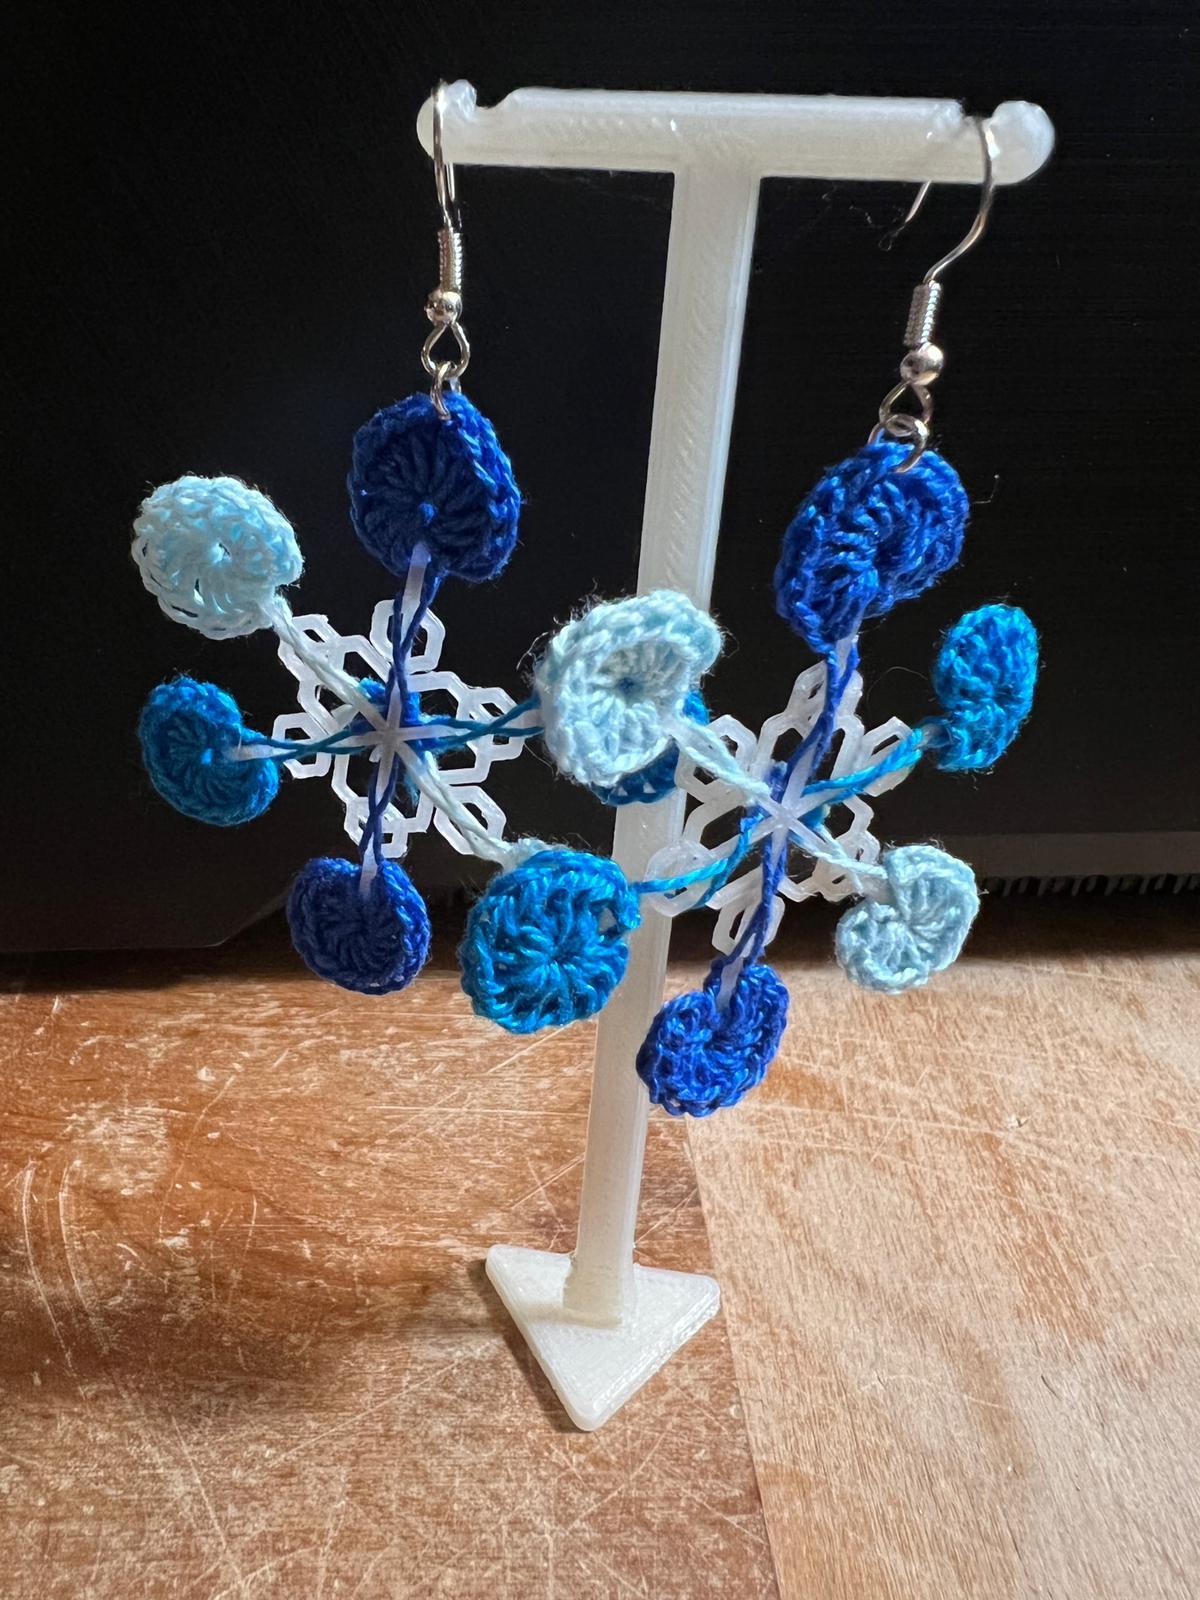
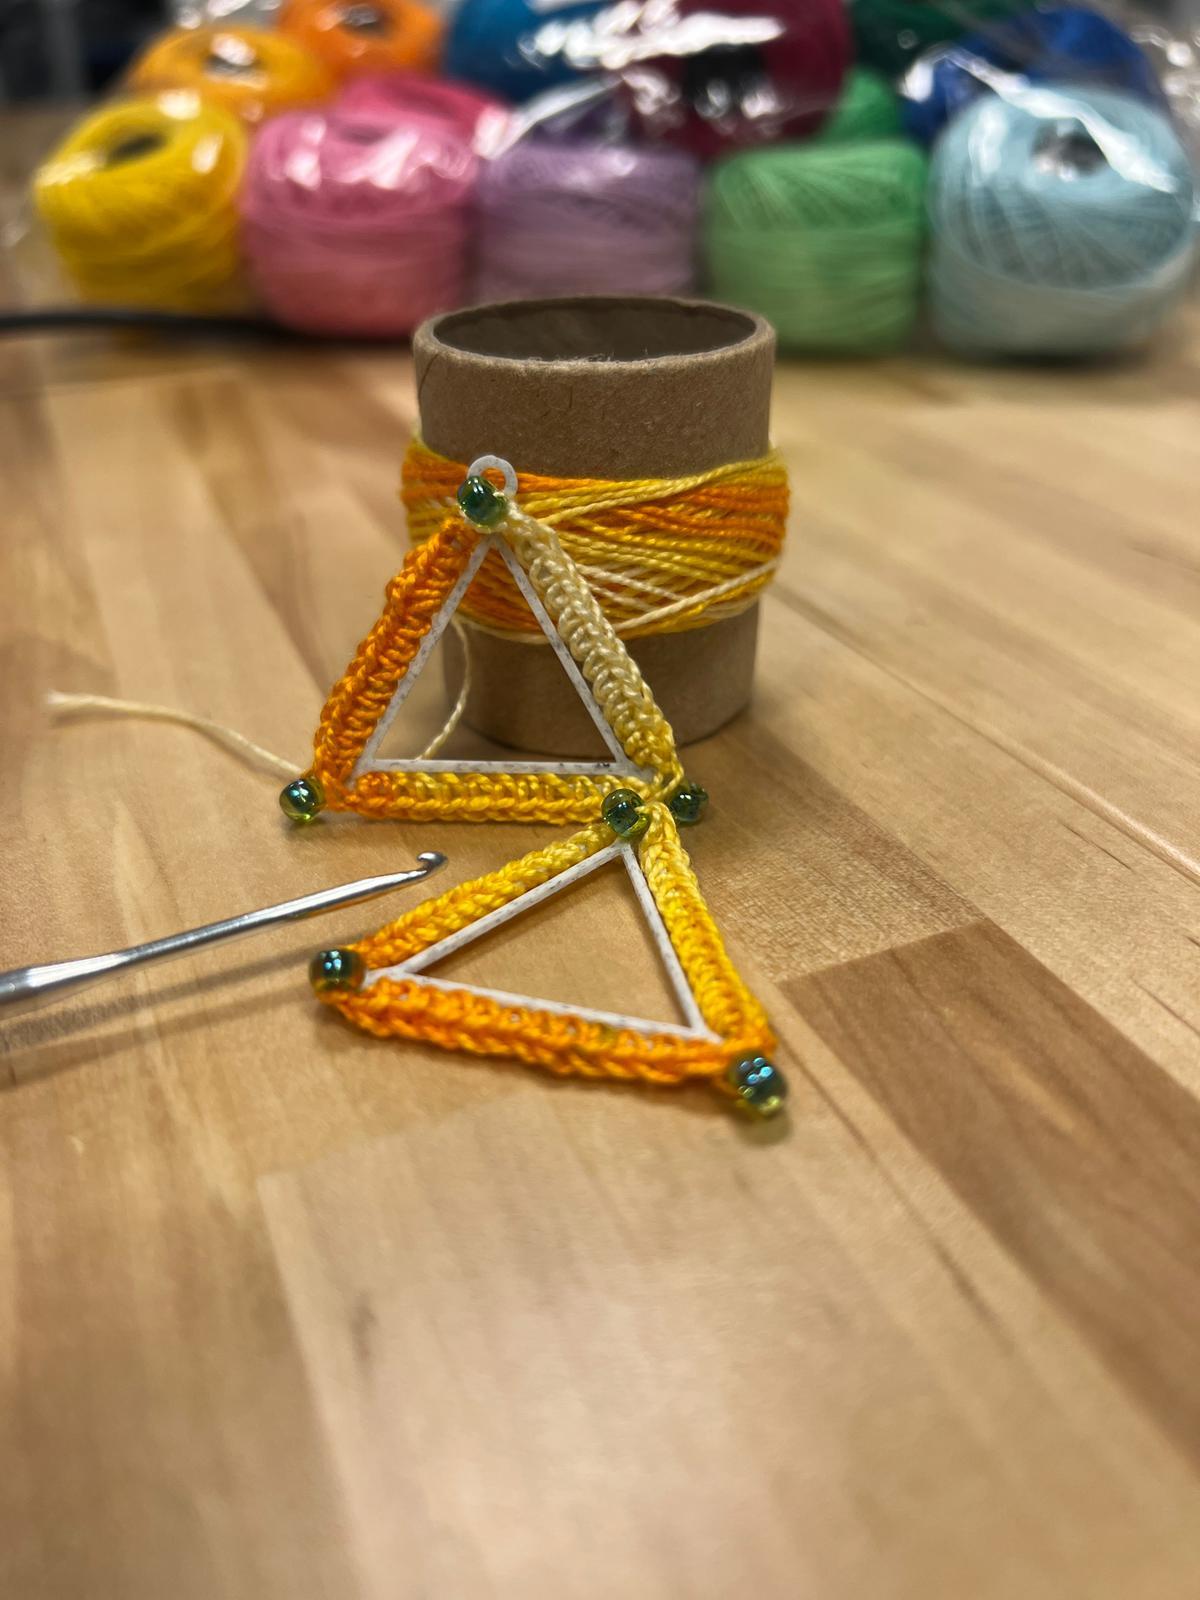
This project aims to explore the integration of parametric design with crochet. Using Rhino 6 and Grasshopper, I created a parametric tool that will generate designs based on a particular curve created by the crafter. This tool enables the crafter to swiftly iterate on designs to make them appropriate for both 3D printing and crochet.
This project builds on previous work: Lace-inspired earring designs.
Supplies
- rhino 6
- grasshopper
- Cura slicer
- Ender 3D printer
- PLA filament
- cotton yarn
- crochet hook
- jewelry kit
- pliers
*Download files here
Draw a Curve in Rhino
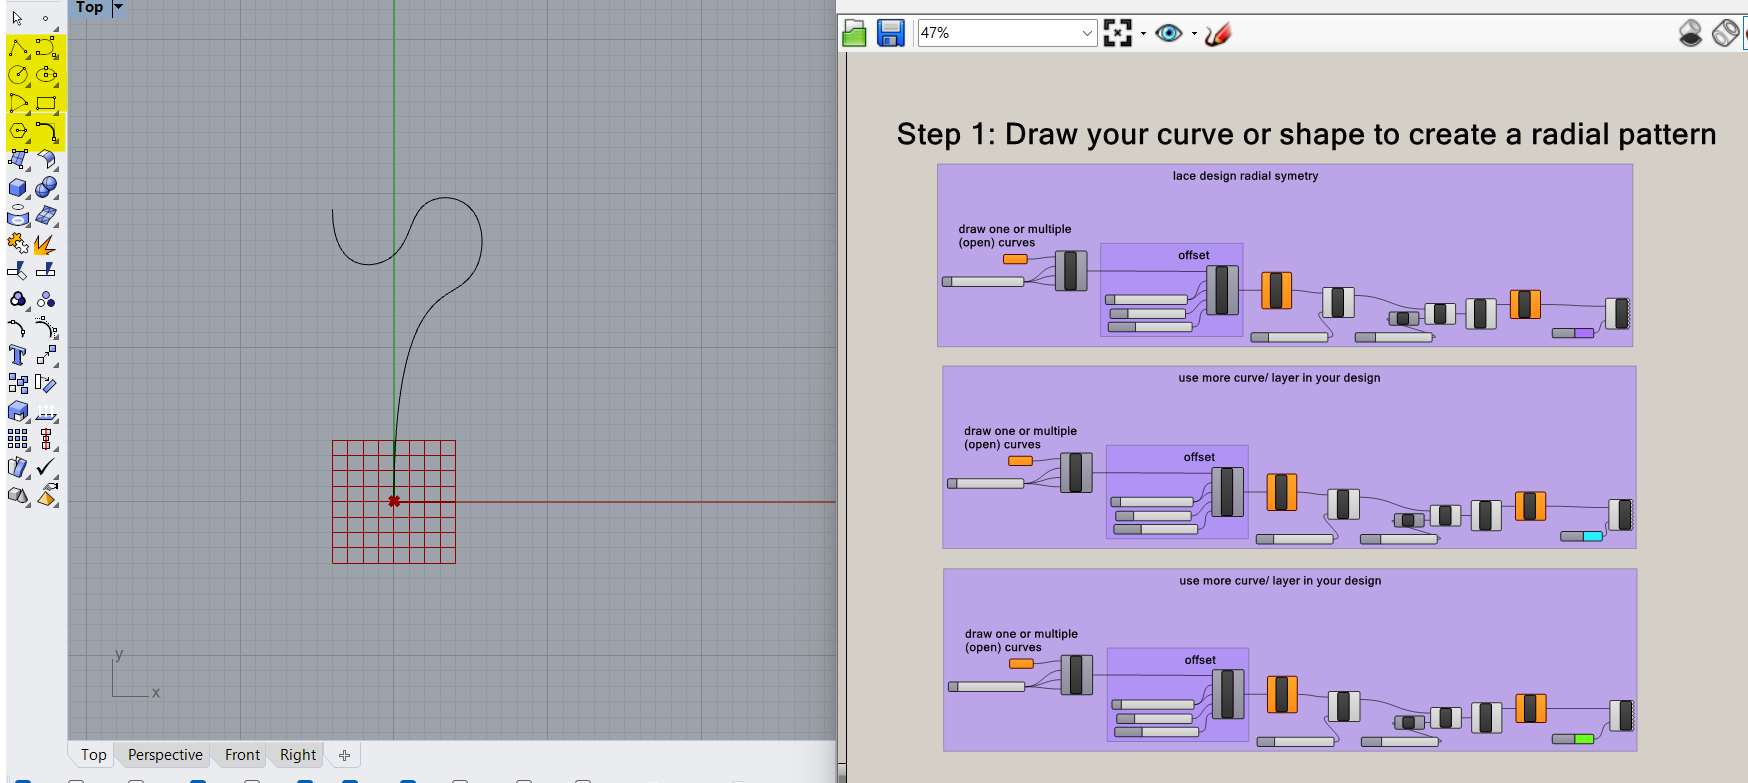
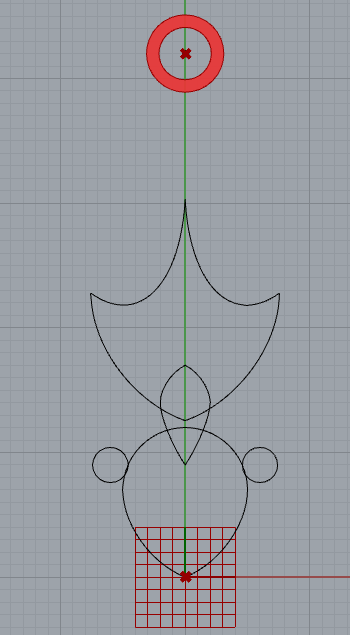
Choose any of the elements in rhino and create a line or a shape.
Assign the Curve in Grasshopper

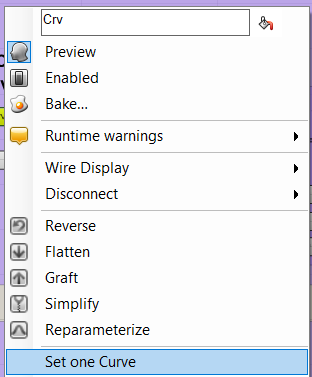
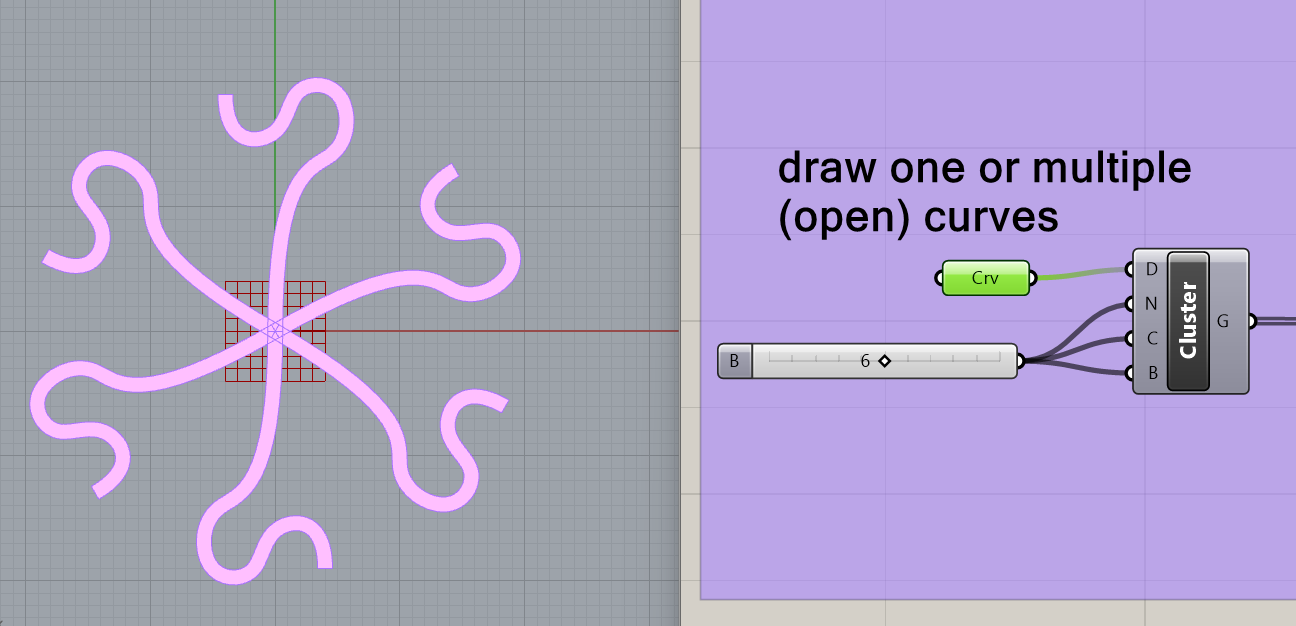
After drawing a curve, right-click on the curve element in grasshopper and select the curve in rhino. The curve element in grasshopper should turn green when the curve is selected. You should see the element repeated in rhino as well. Make sure the elements are enabled since I have disabled most to keep the program from crashing.
Error When Selecting Multiples Curves
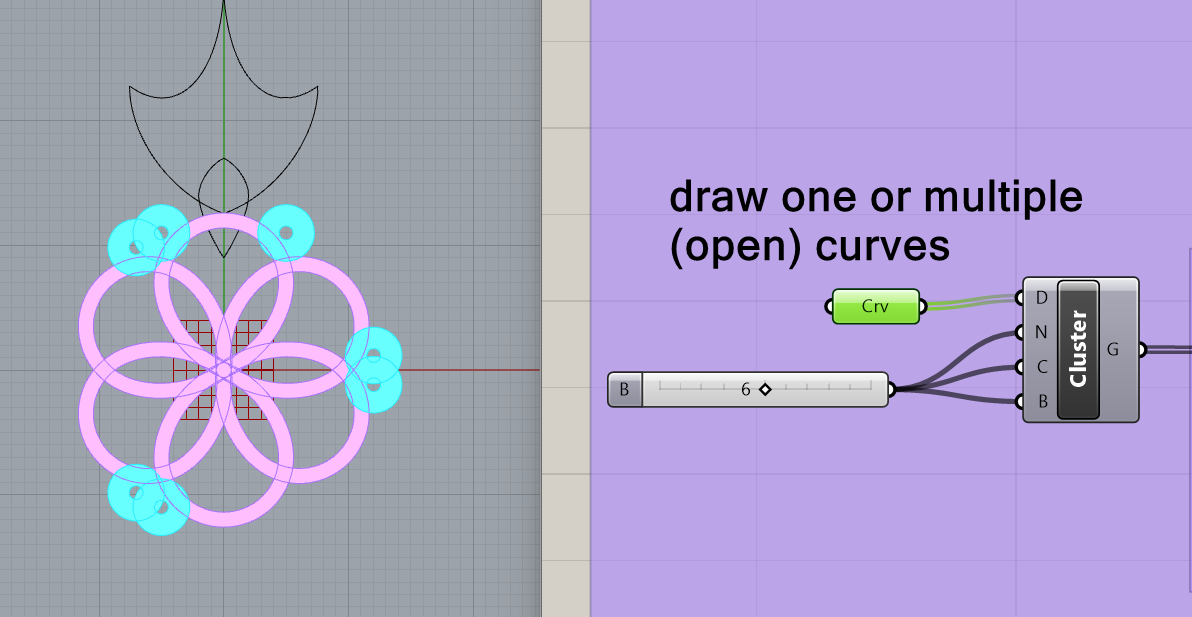
At the moment I have an error when selecting multiple curves in grasshopper. When I select multiple curves the symmetry is not working properly on the second curve selected. At the moment, you should select one one curve for each curve element.
Designing in "layers"
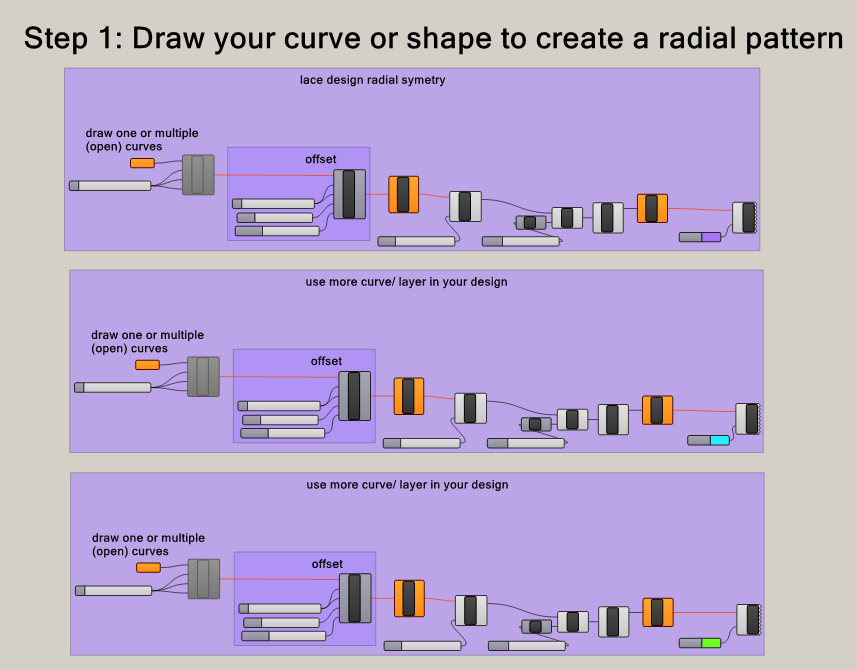
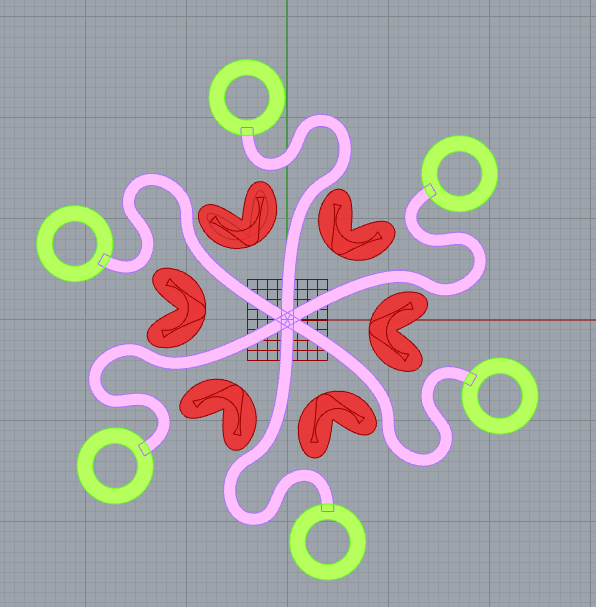
You can duplicate the radial design sections to parametrically control multiple curves at once, this way you increase or decrease the amount each curve is repeated. In this example, I have assigned a color for each different layer or curve.
Outer Design
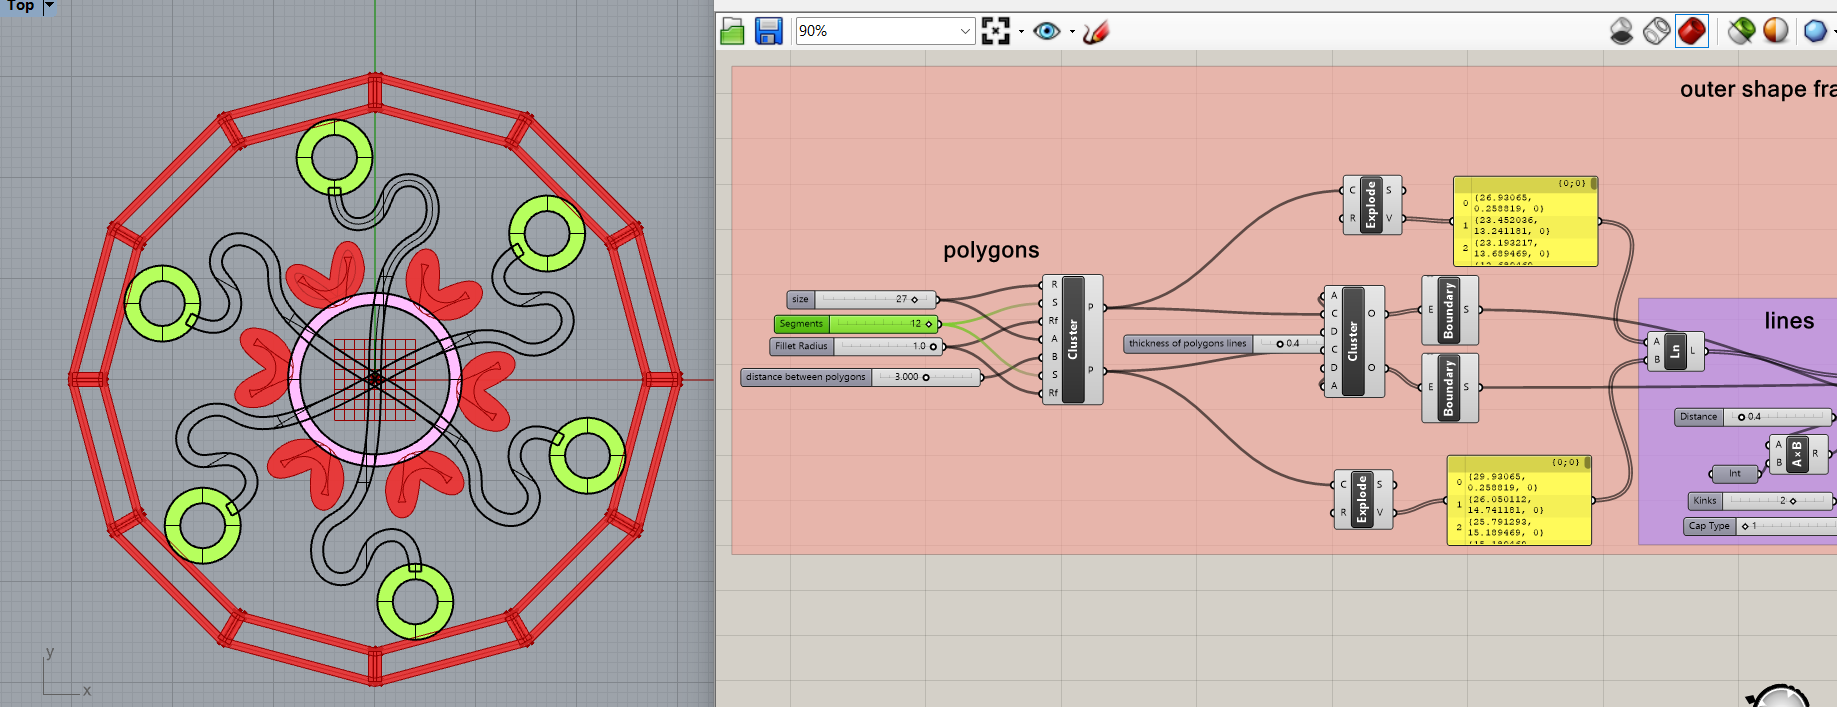
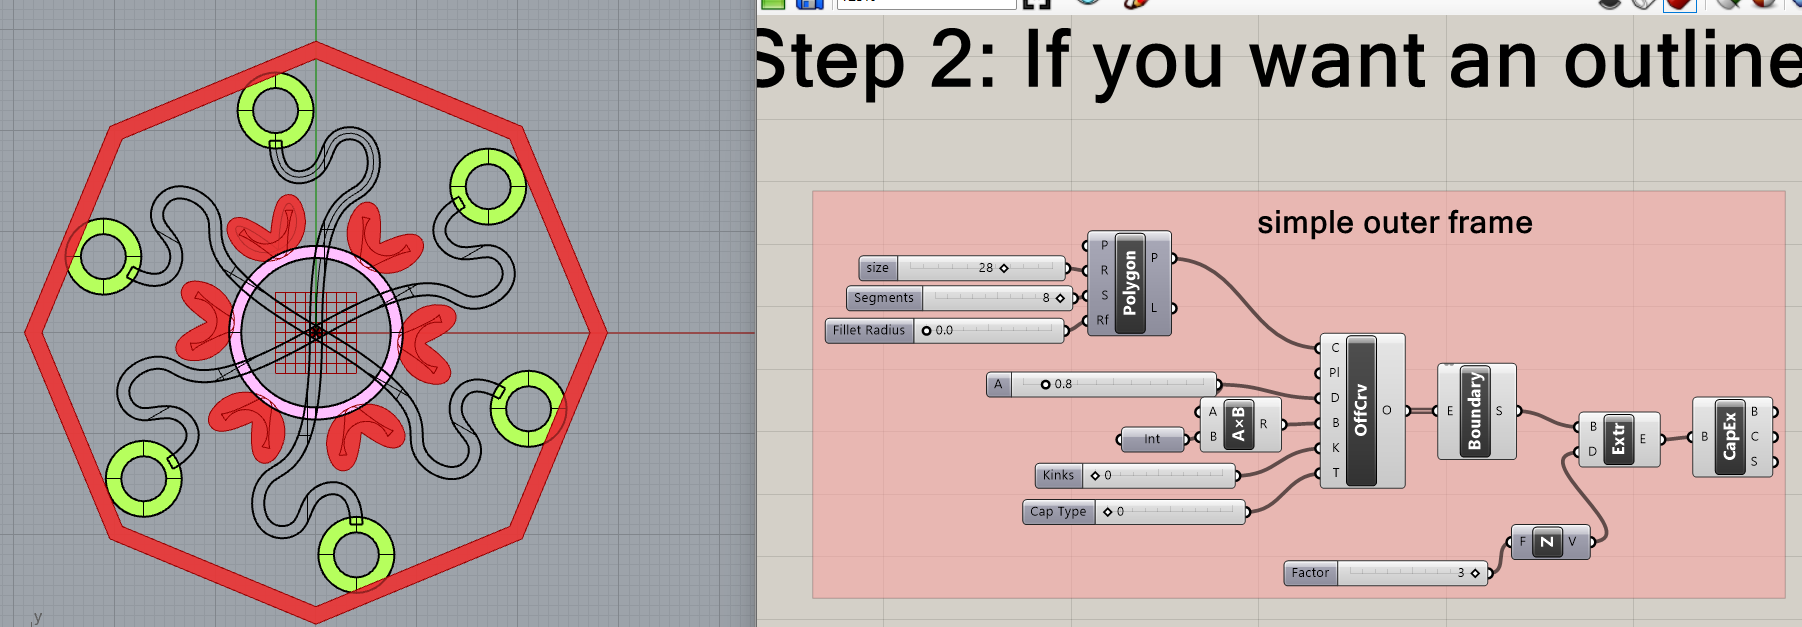
Once you have created an inner design in step 1, you can choose to have your design encapsulated by a polygon. In this step, you can choose a simple outer design which is just a simple polygon shape that can help to support your inner design. You can also choose an outer shape with a slits design to crochet in between, however, you may choose this design if you like the aesthetics.
Earring Loop

The last step is deciding if you want to add a loop to make your design into a necklace, earring, or even a keychain.
Bake, Union and Export
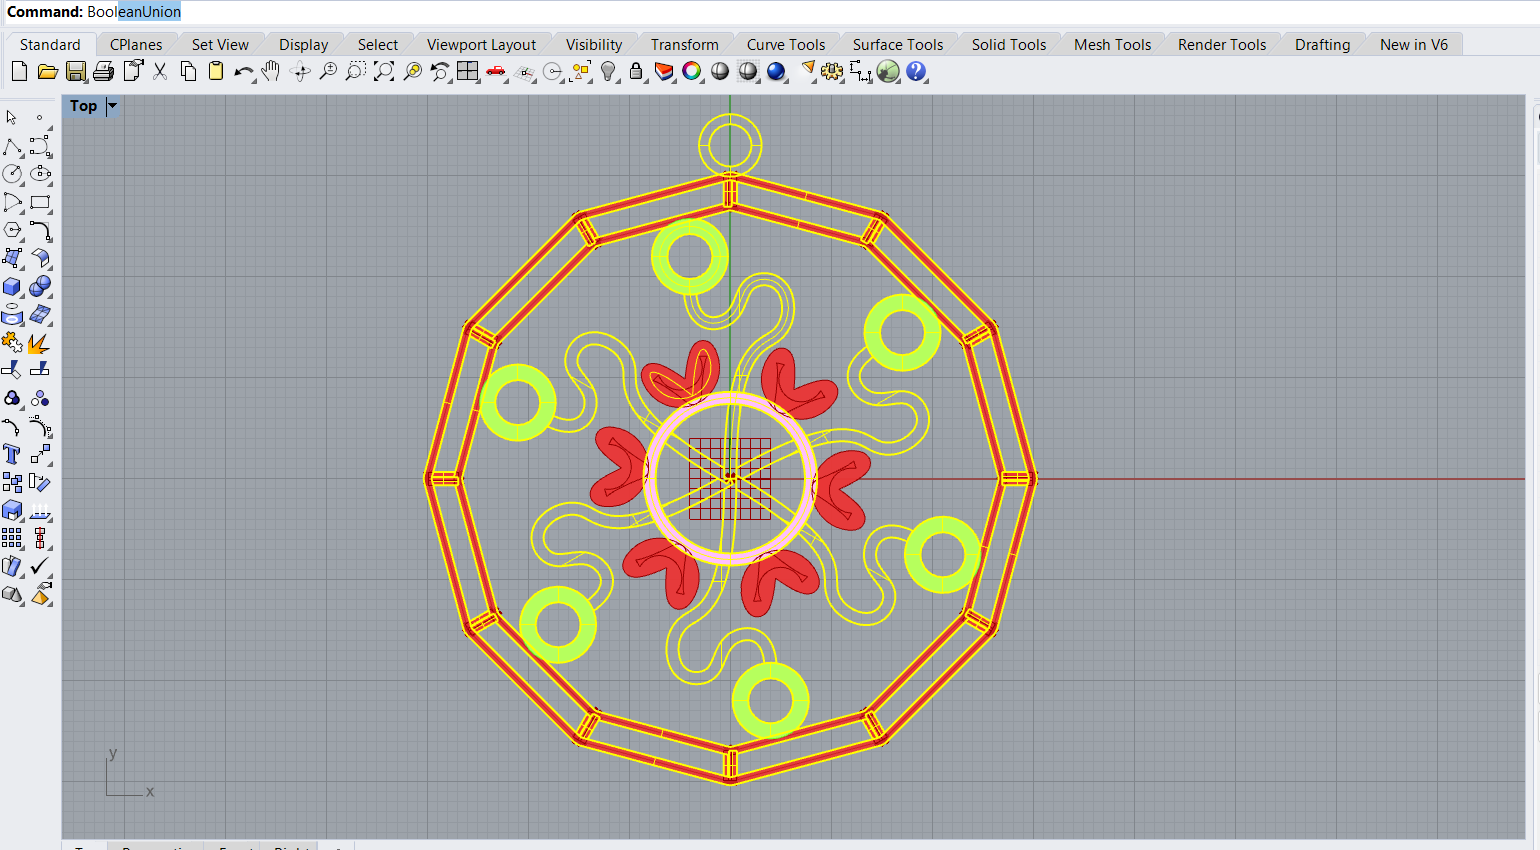
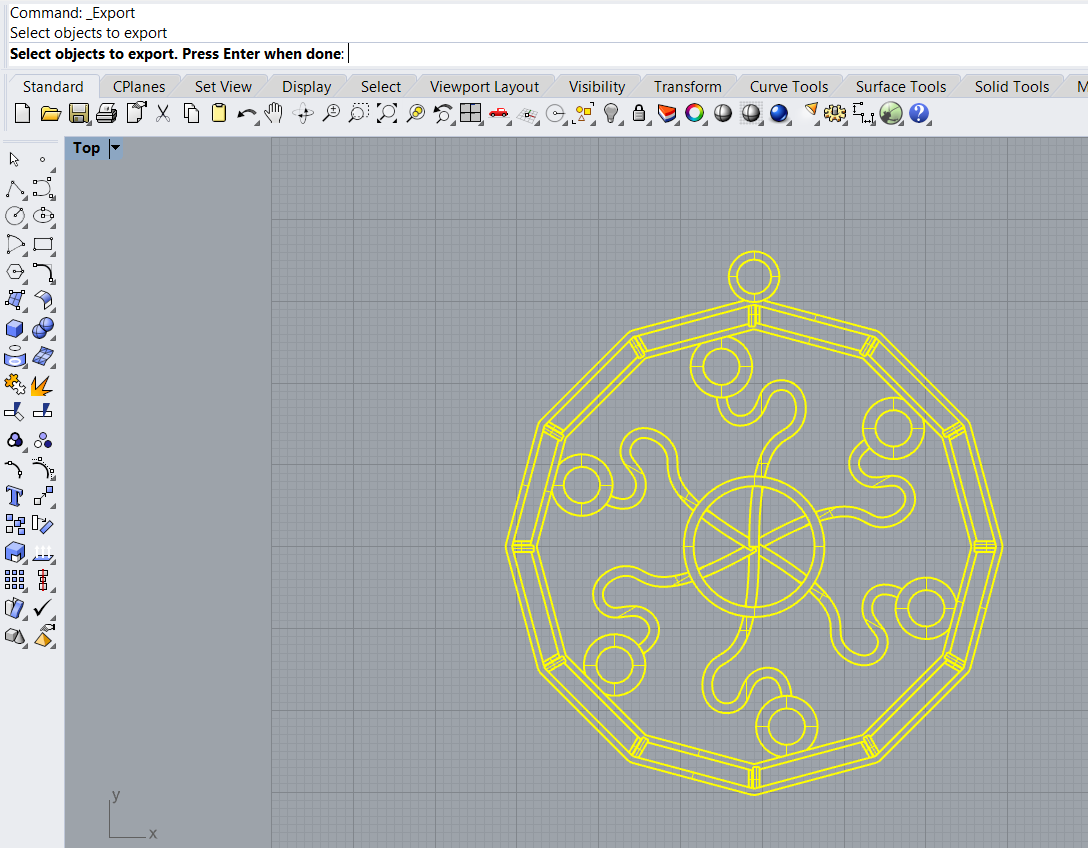
After you are happy with your design, remember to bake each curve individually, the outer polygon, and the loop. After baking your curves, perform a Boolean Union between all the elements.
Slice in Cura
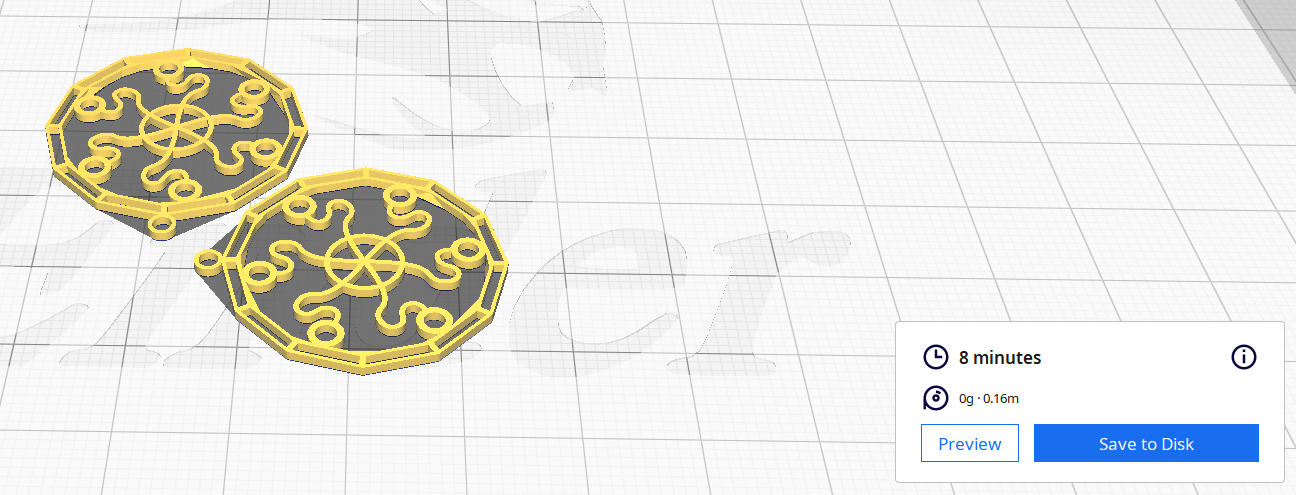
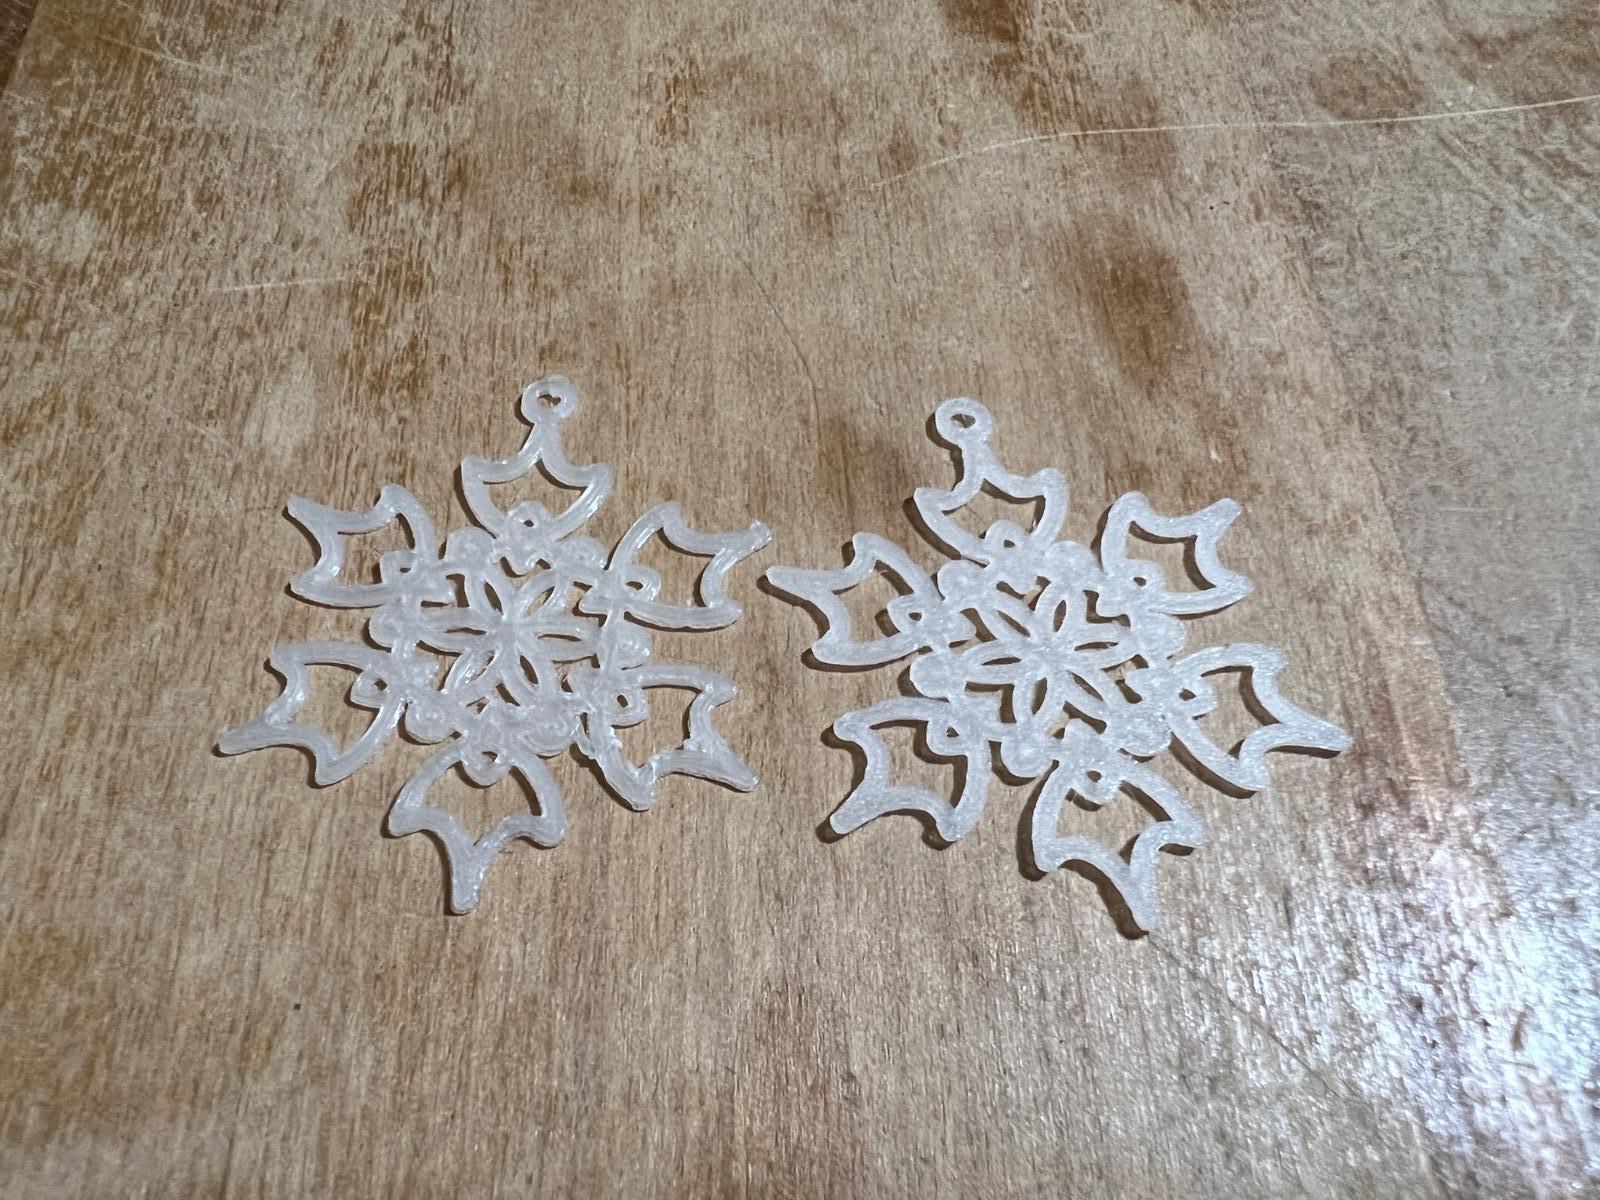
Arrange your design as desired. In my case, I scale it down to fit my desired earring size. Make sure that the height of the piece is above 0.8 mm. If your design has thin lines you should keep your design above 1mm.
Downloads
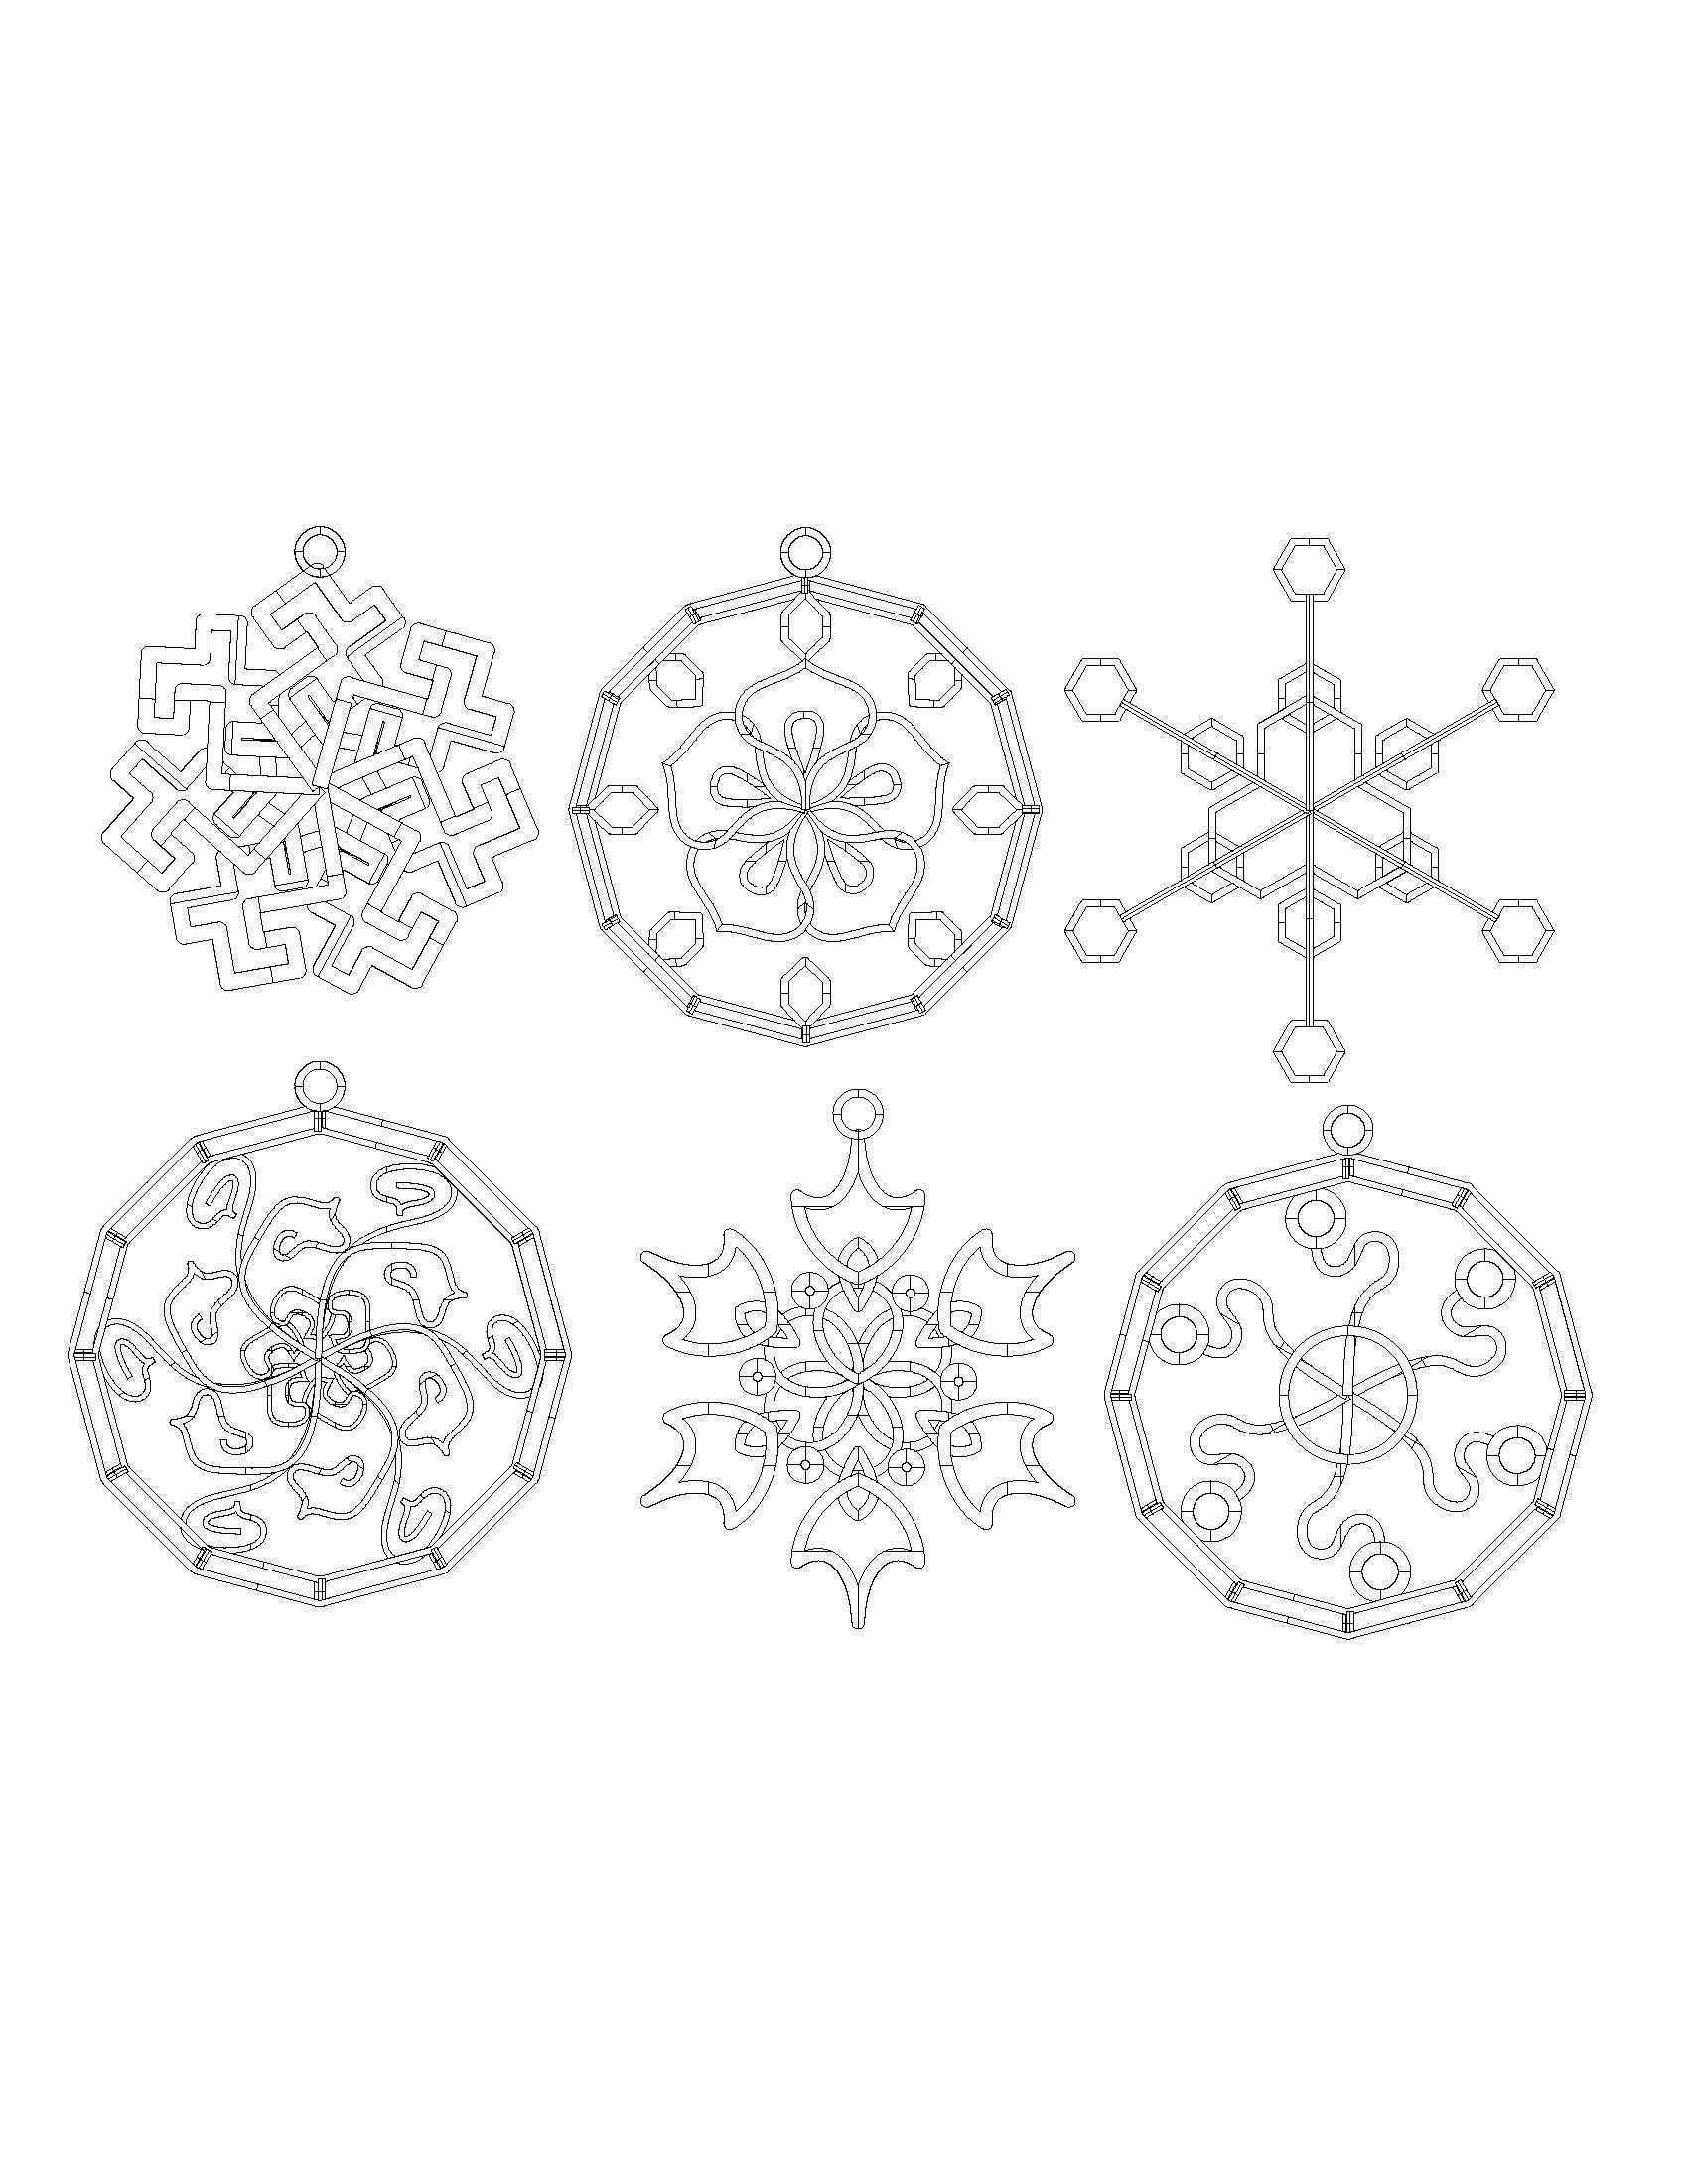
Additional Design Ideas
.jpeg)
.jpeg)
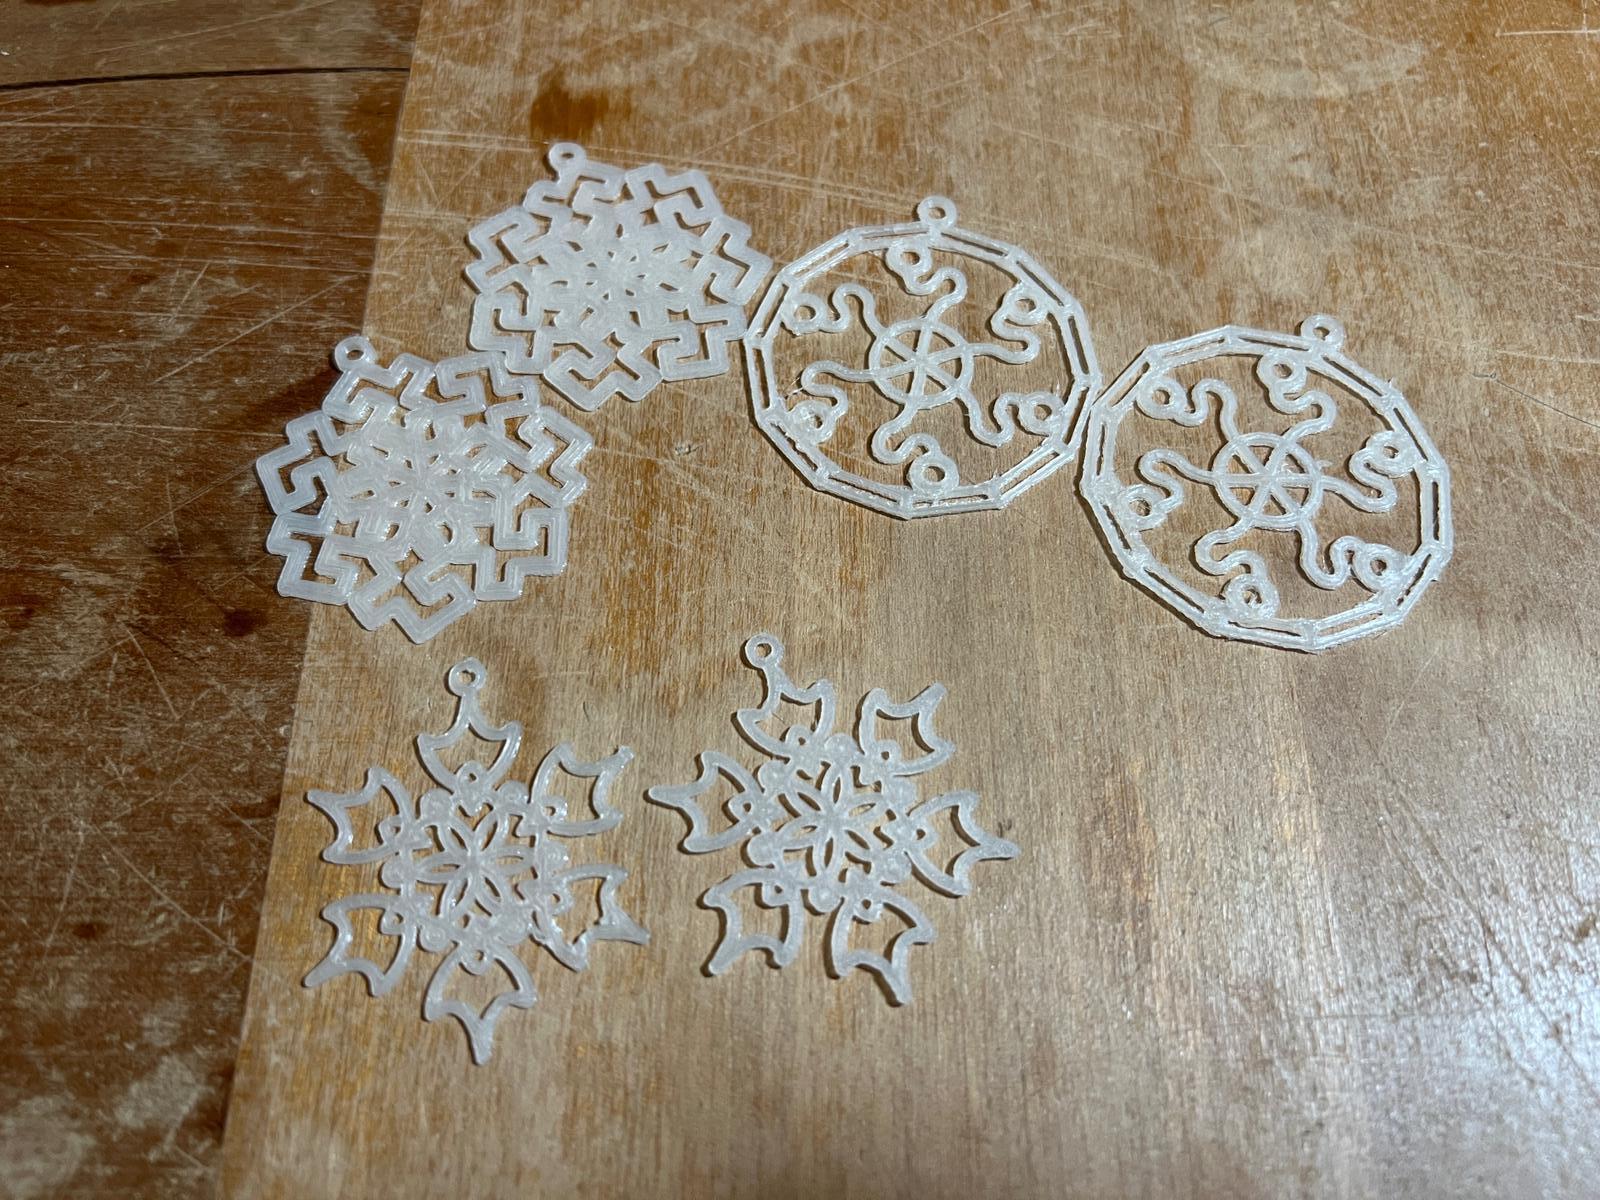
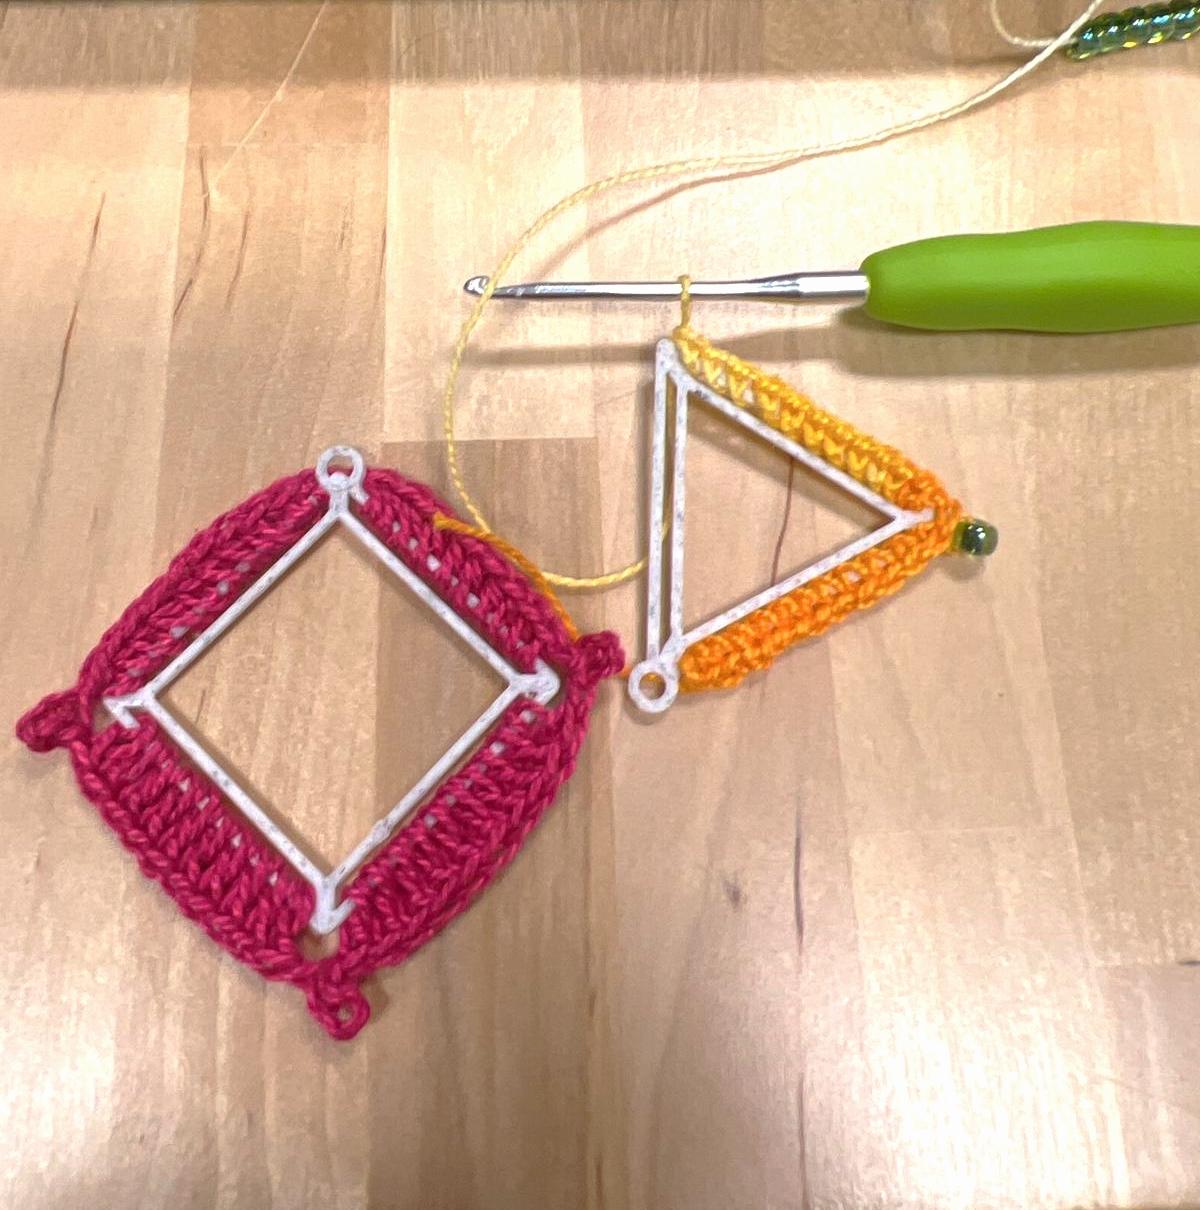
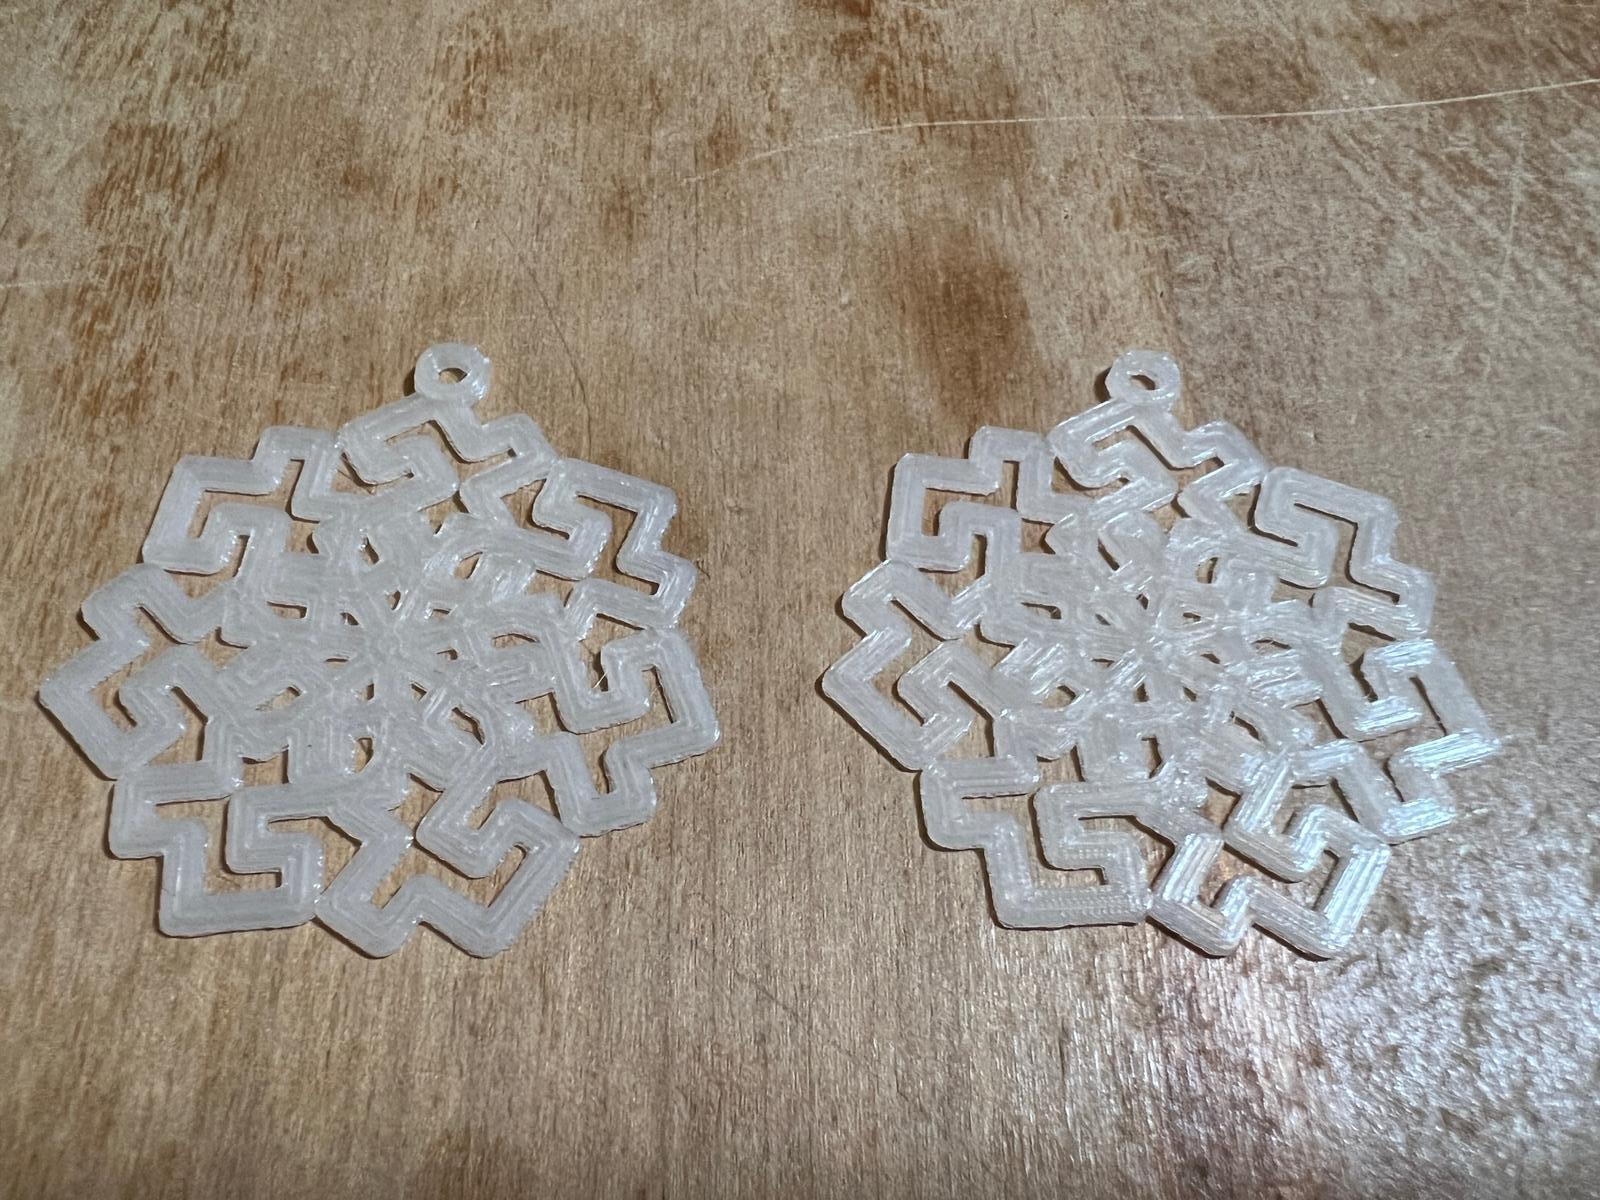
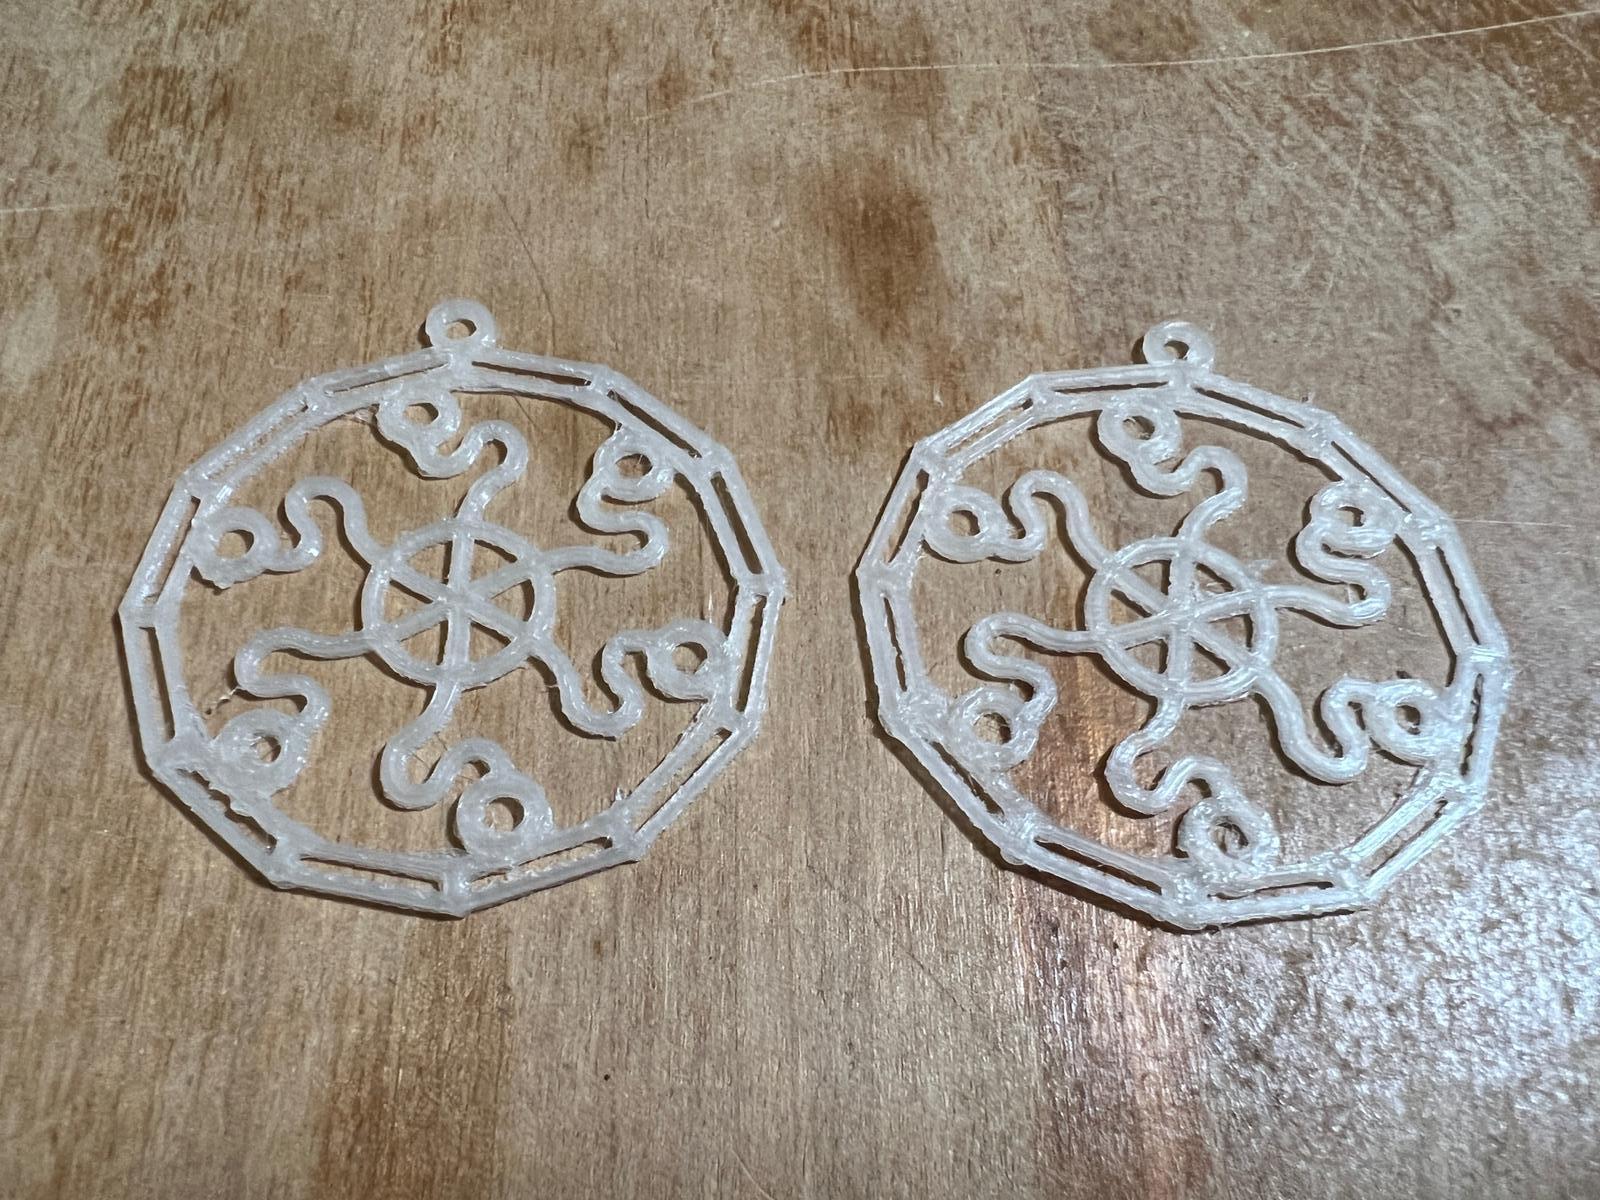
This program allows you to experiment with designing parametric earrings. You can choose to use the program to design only using the polygon outer shapes. Remember to adjust the scale and height to fit your specific project goals.
Final Earrings
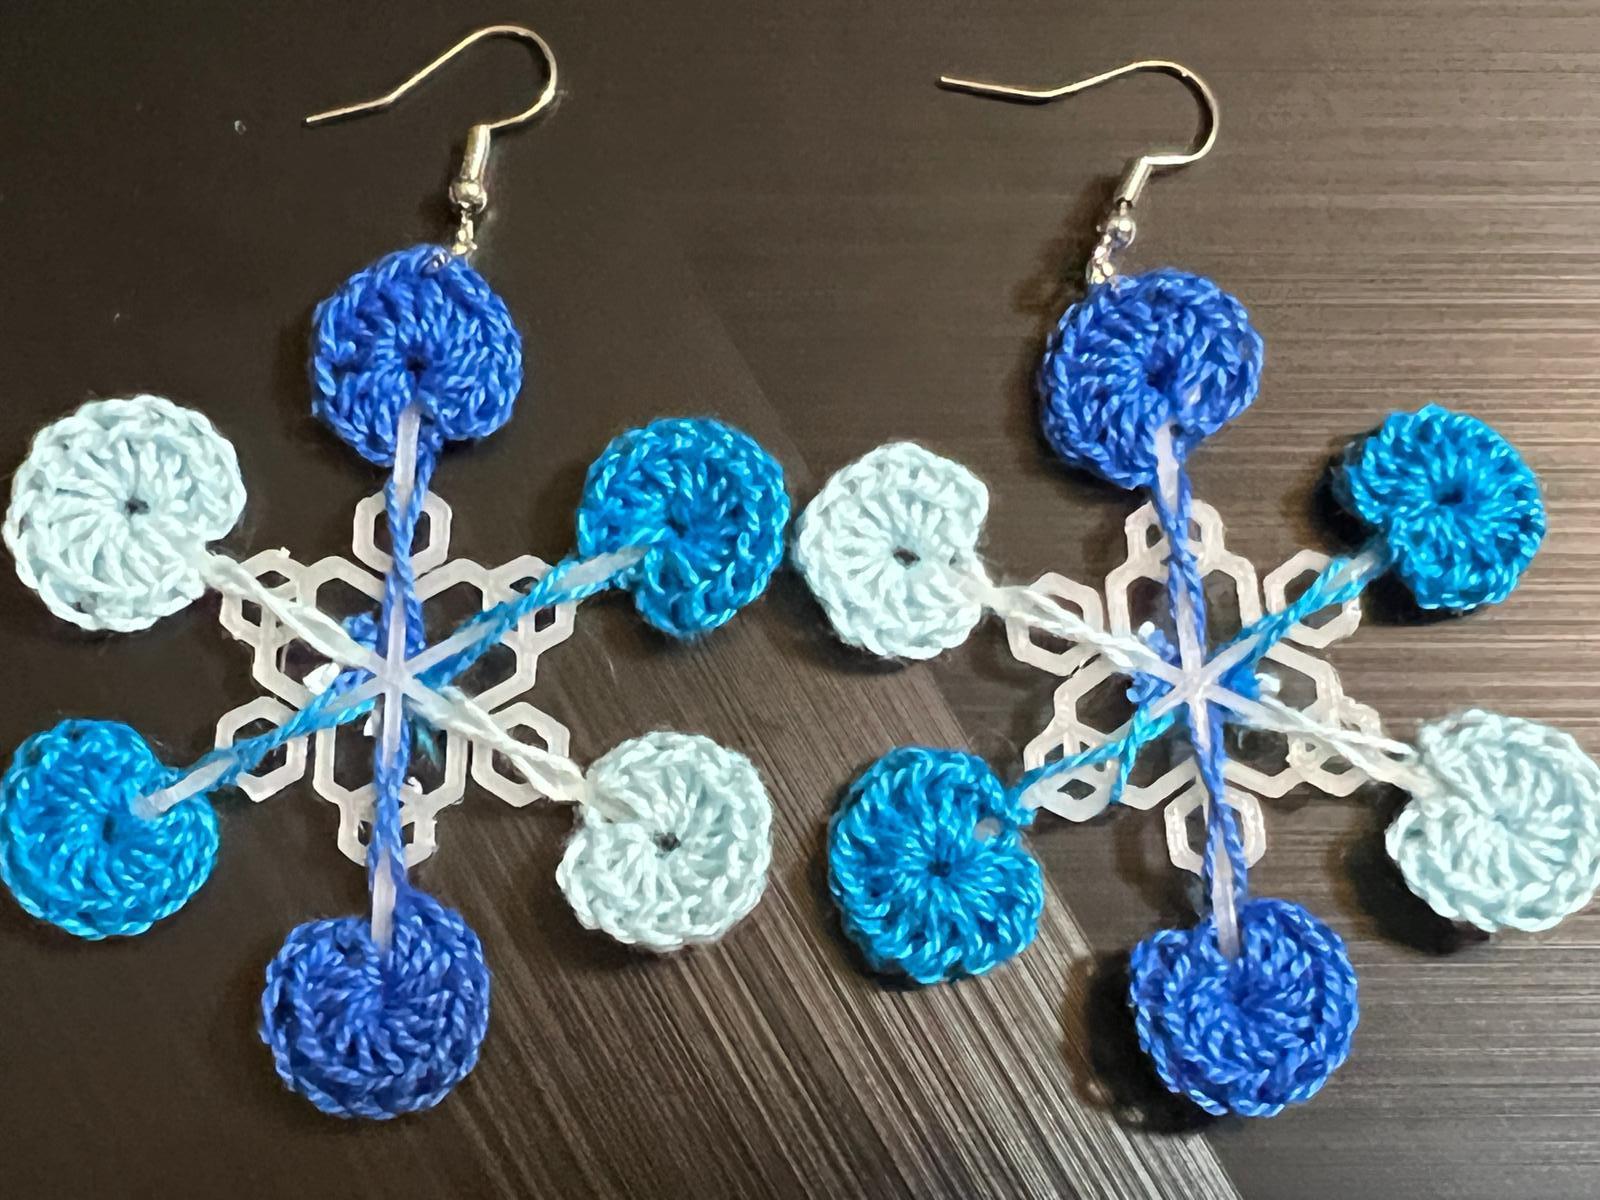
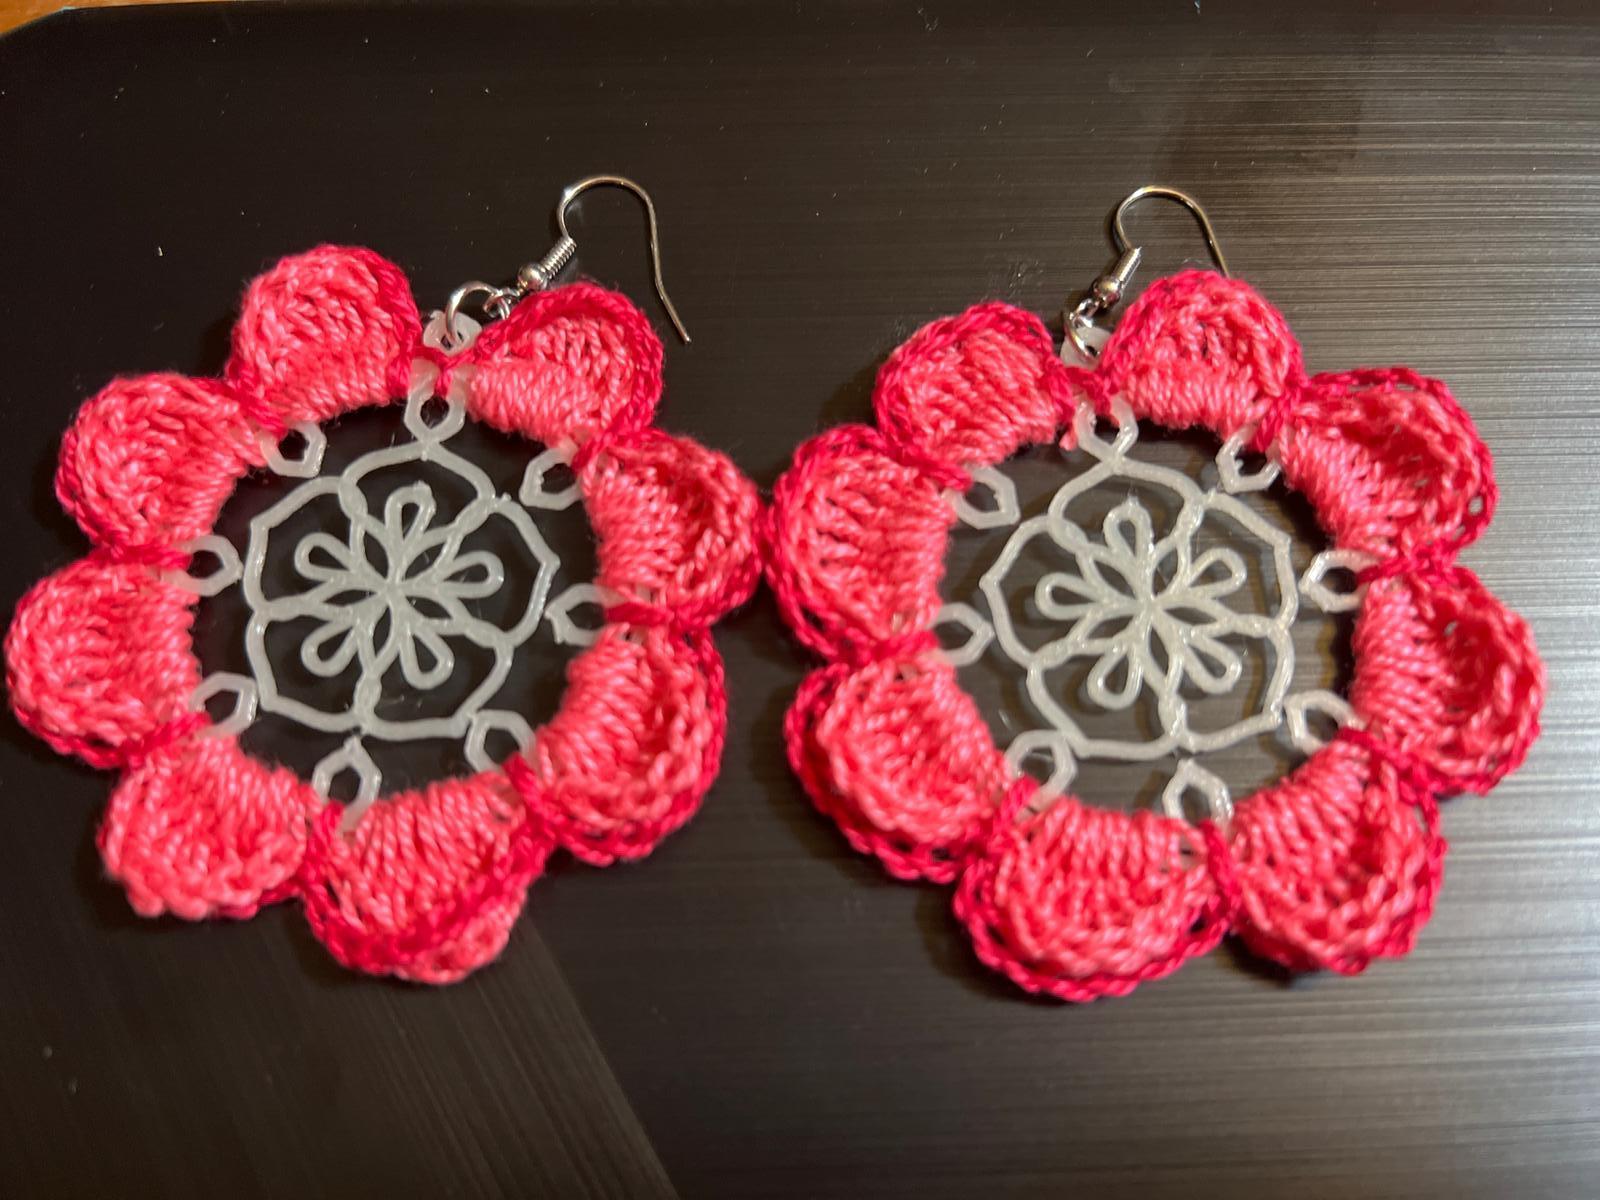.jpeg)