Paper Mache Vase With Paper Flowers
by 3Designer game in Craft > Cardboard
2373 Views, 17 Favorites, 0 Comments
Paper Mache Vase With Paper Flowers

This project is easy to do but takes time especially for the drying of the objects.
Let's get to work right away.
Supplies
You will need:
- paper or cardboard
- basin
- sieve
- glass bottle
- blender
- several colored paper A4
- ruler
- pen or pencil
- scissors or cutter
- paint
- paint brush
- palette
- knitting needle or thin sticks
- glue
- and Scotch
Paper Mache


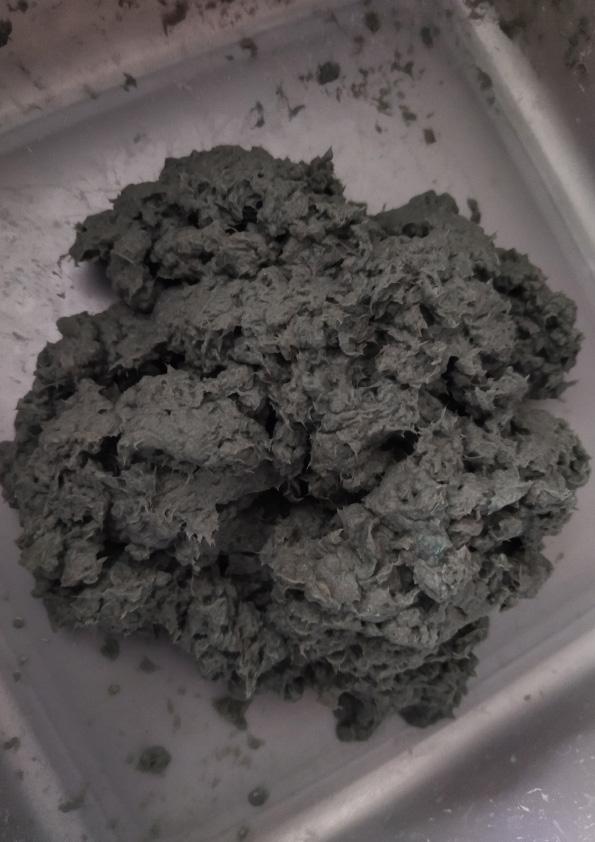
To start, cut the cardboard and paper into small pieces, add water and wait for 2 hours so that the water goes well into the paper. You can also leave it overnight, mixing it will be even easier.
Then mix it all together with the blender until there are no large chunks left. And all you have to do is remove the water with the sieve. As you pass it through a sieve, be careful not to make large pieces of paper since large pieces won't stick very well to the glass bottle.
Stick It Around the Bottle


The paper mache naturally sticks to the glass bottle as long as it is not yet dry.
First take a support to put the bottle and to dry it afterwards since removing it from its support will not be easy as long as it is not yet dry and it may even to break.
Start by putting paper mache on the support and put the bottle on it and then gradually put paper mache around the bottle, making layers that are neither too thin nor too thick. Don't hesitate to use a sponge to suck up the water that runs from the paper maché.
Then you have to dry it. it takes an average of 3 days but it will go faster in summer and it can take more than 6 days in winter.
Color


When the paper mache vase is dry, it can be colored. And the color won't take long to dry.
Make the Stem of the Flower


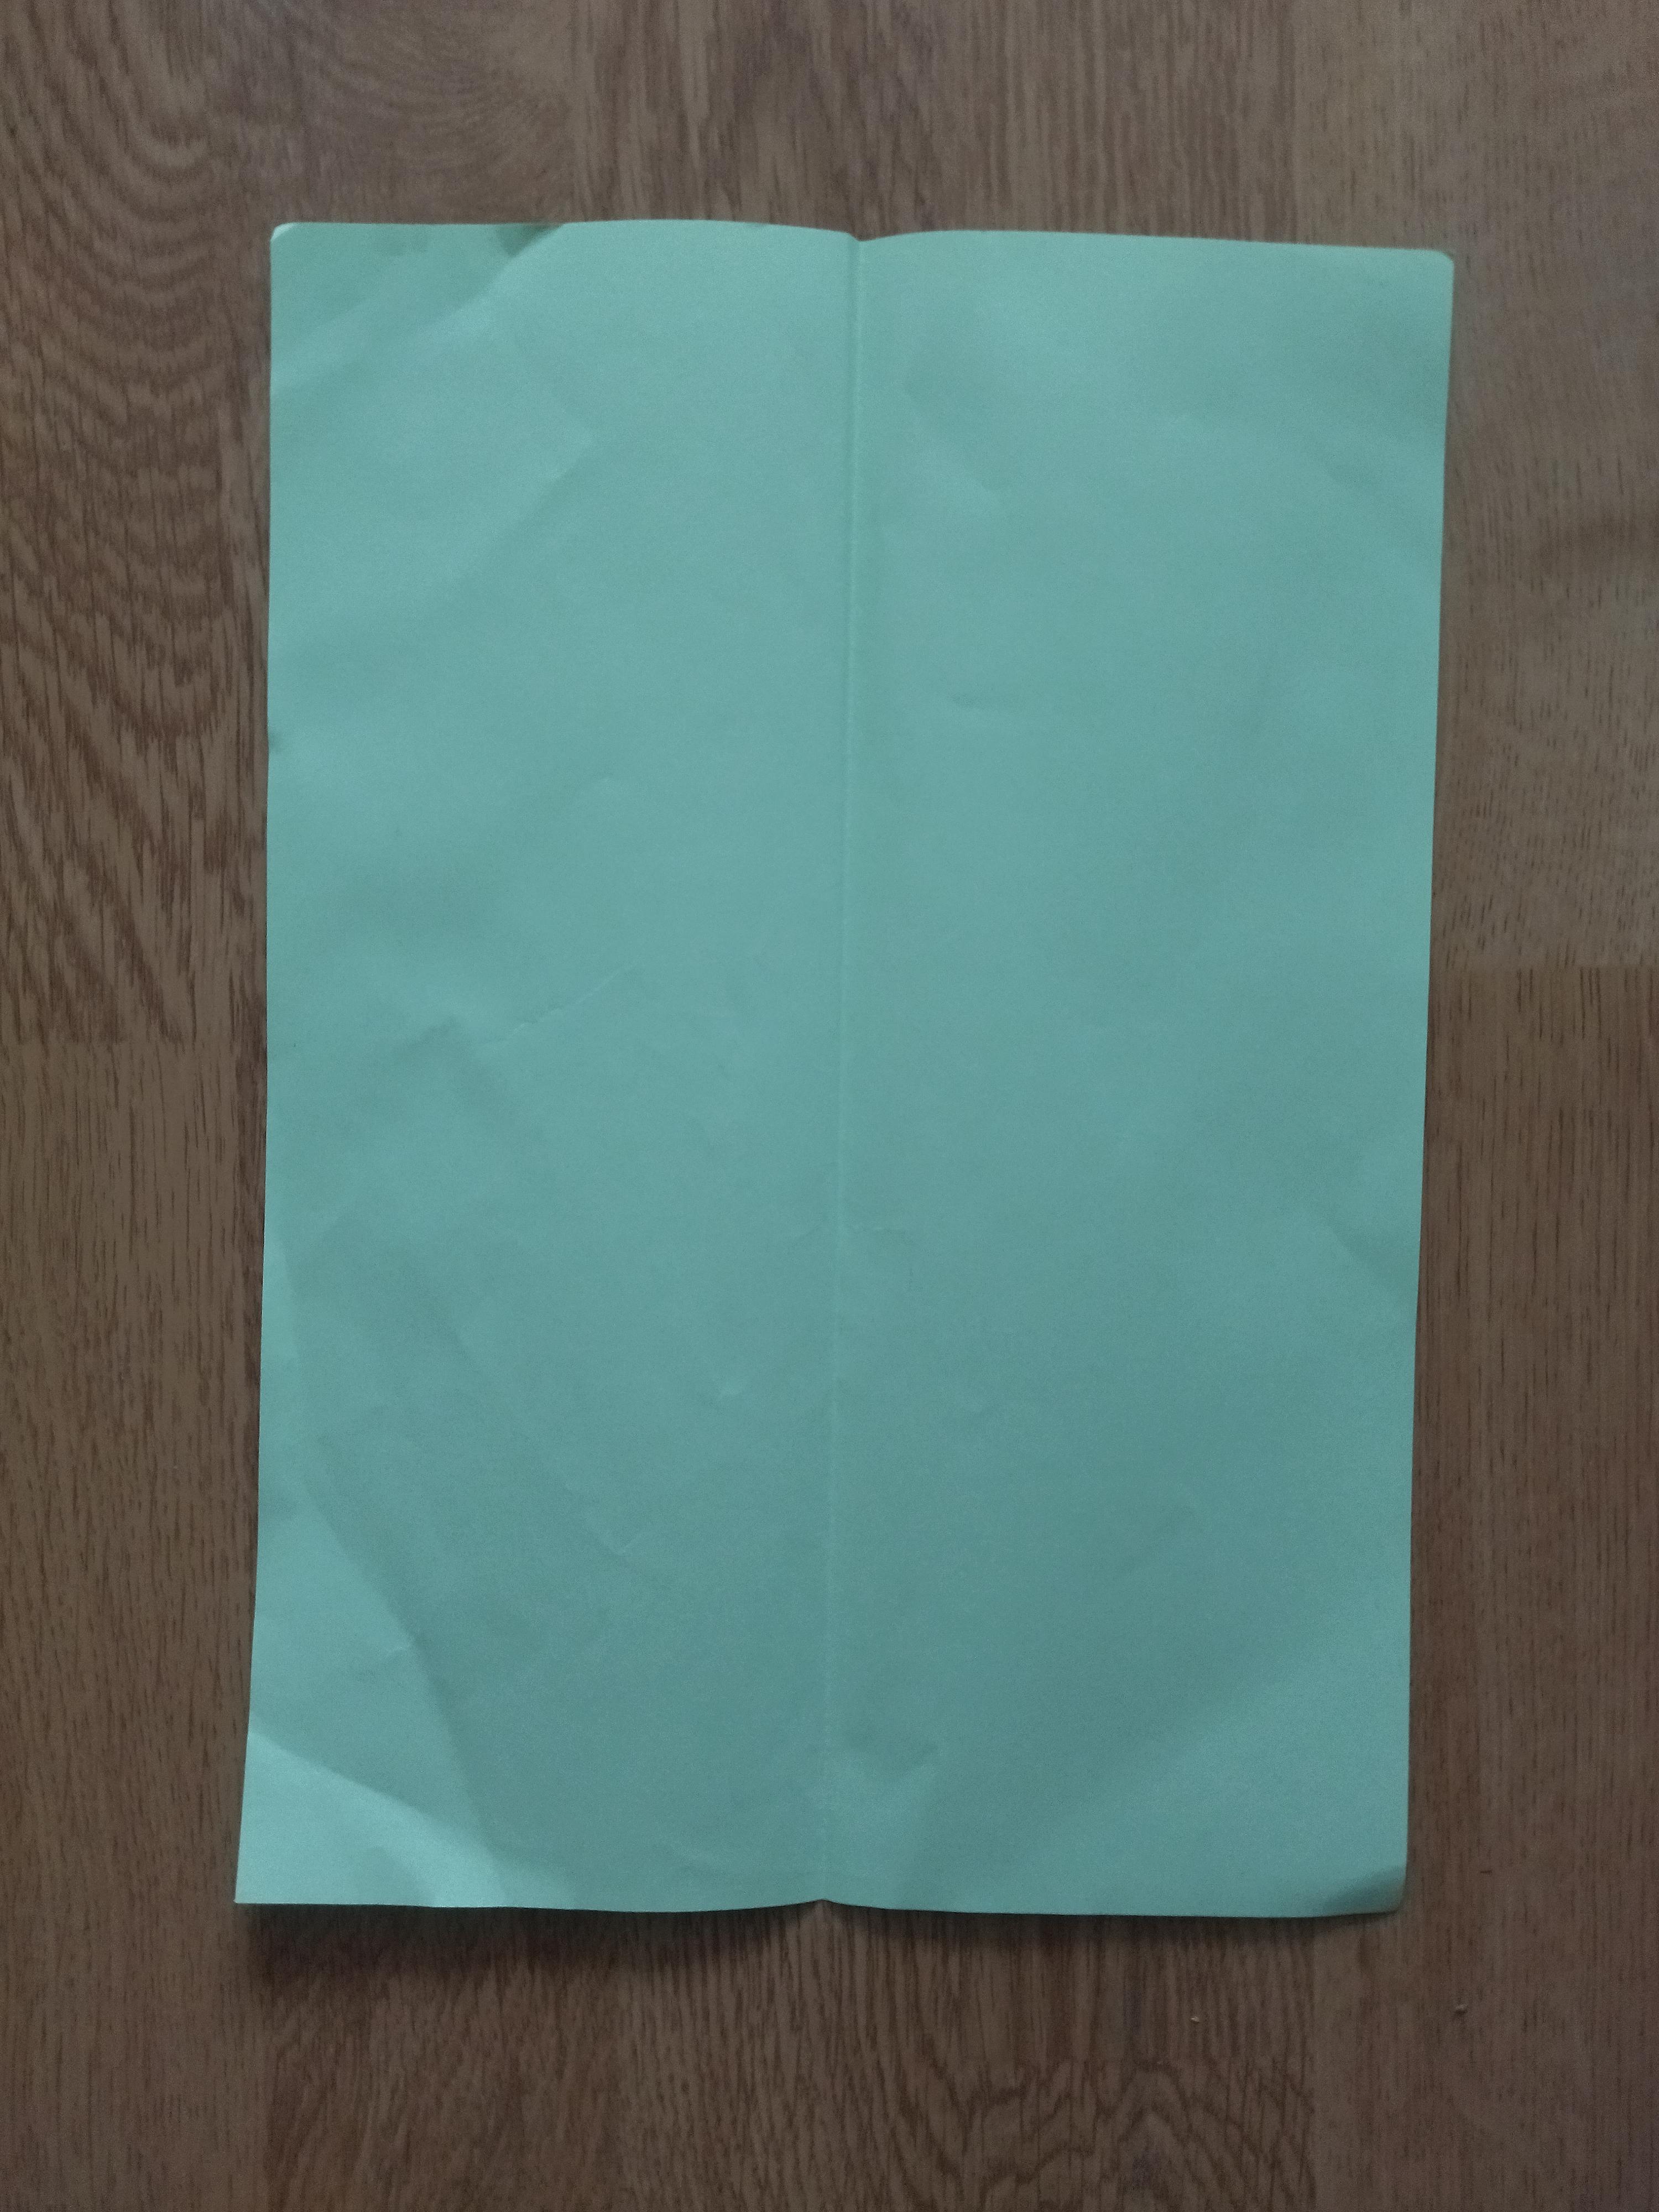
Now let's move on to the flower. To make the stem, take a colored or uncolored sheet since you can always color it afterwards, wrap the paper around the stick, for my part I used a knitting needle but it will give the same result. You can cut the rest of the paper if you find that what you have rolled up is already strong enough, then tape it down so that the paper does not unroll.
Color


If you used uncolored paper then it's time to color them green. if you're like me, you use the three primary colors, mix blue and yellow to make green. all you have to do is color it. Then dry them.
Flower

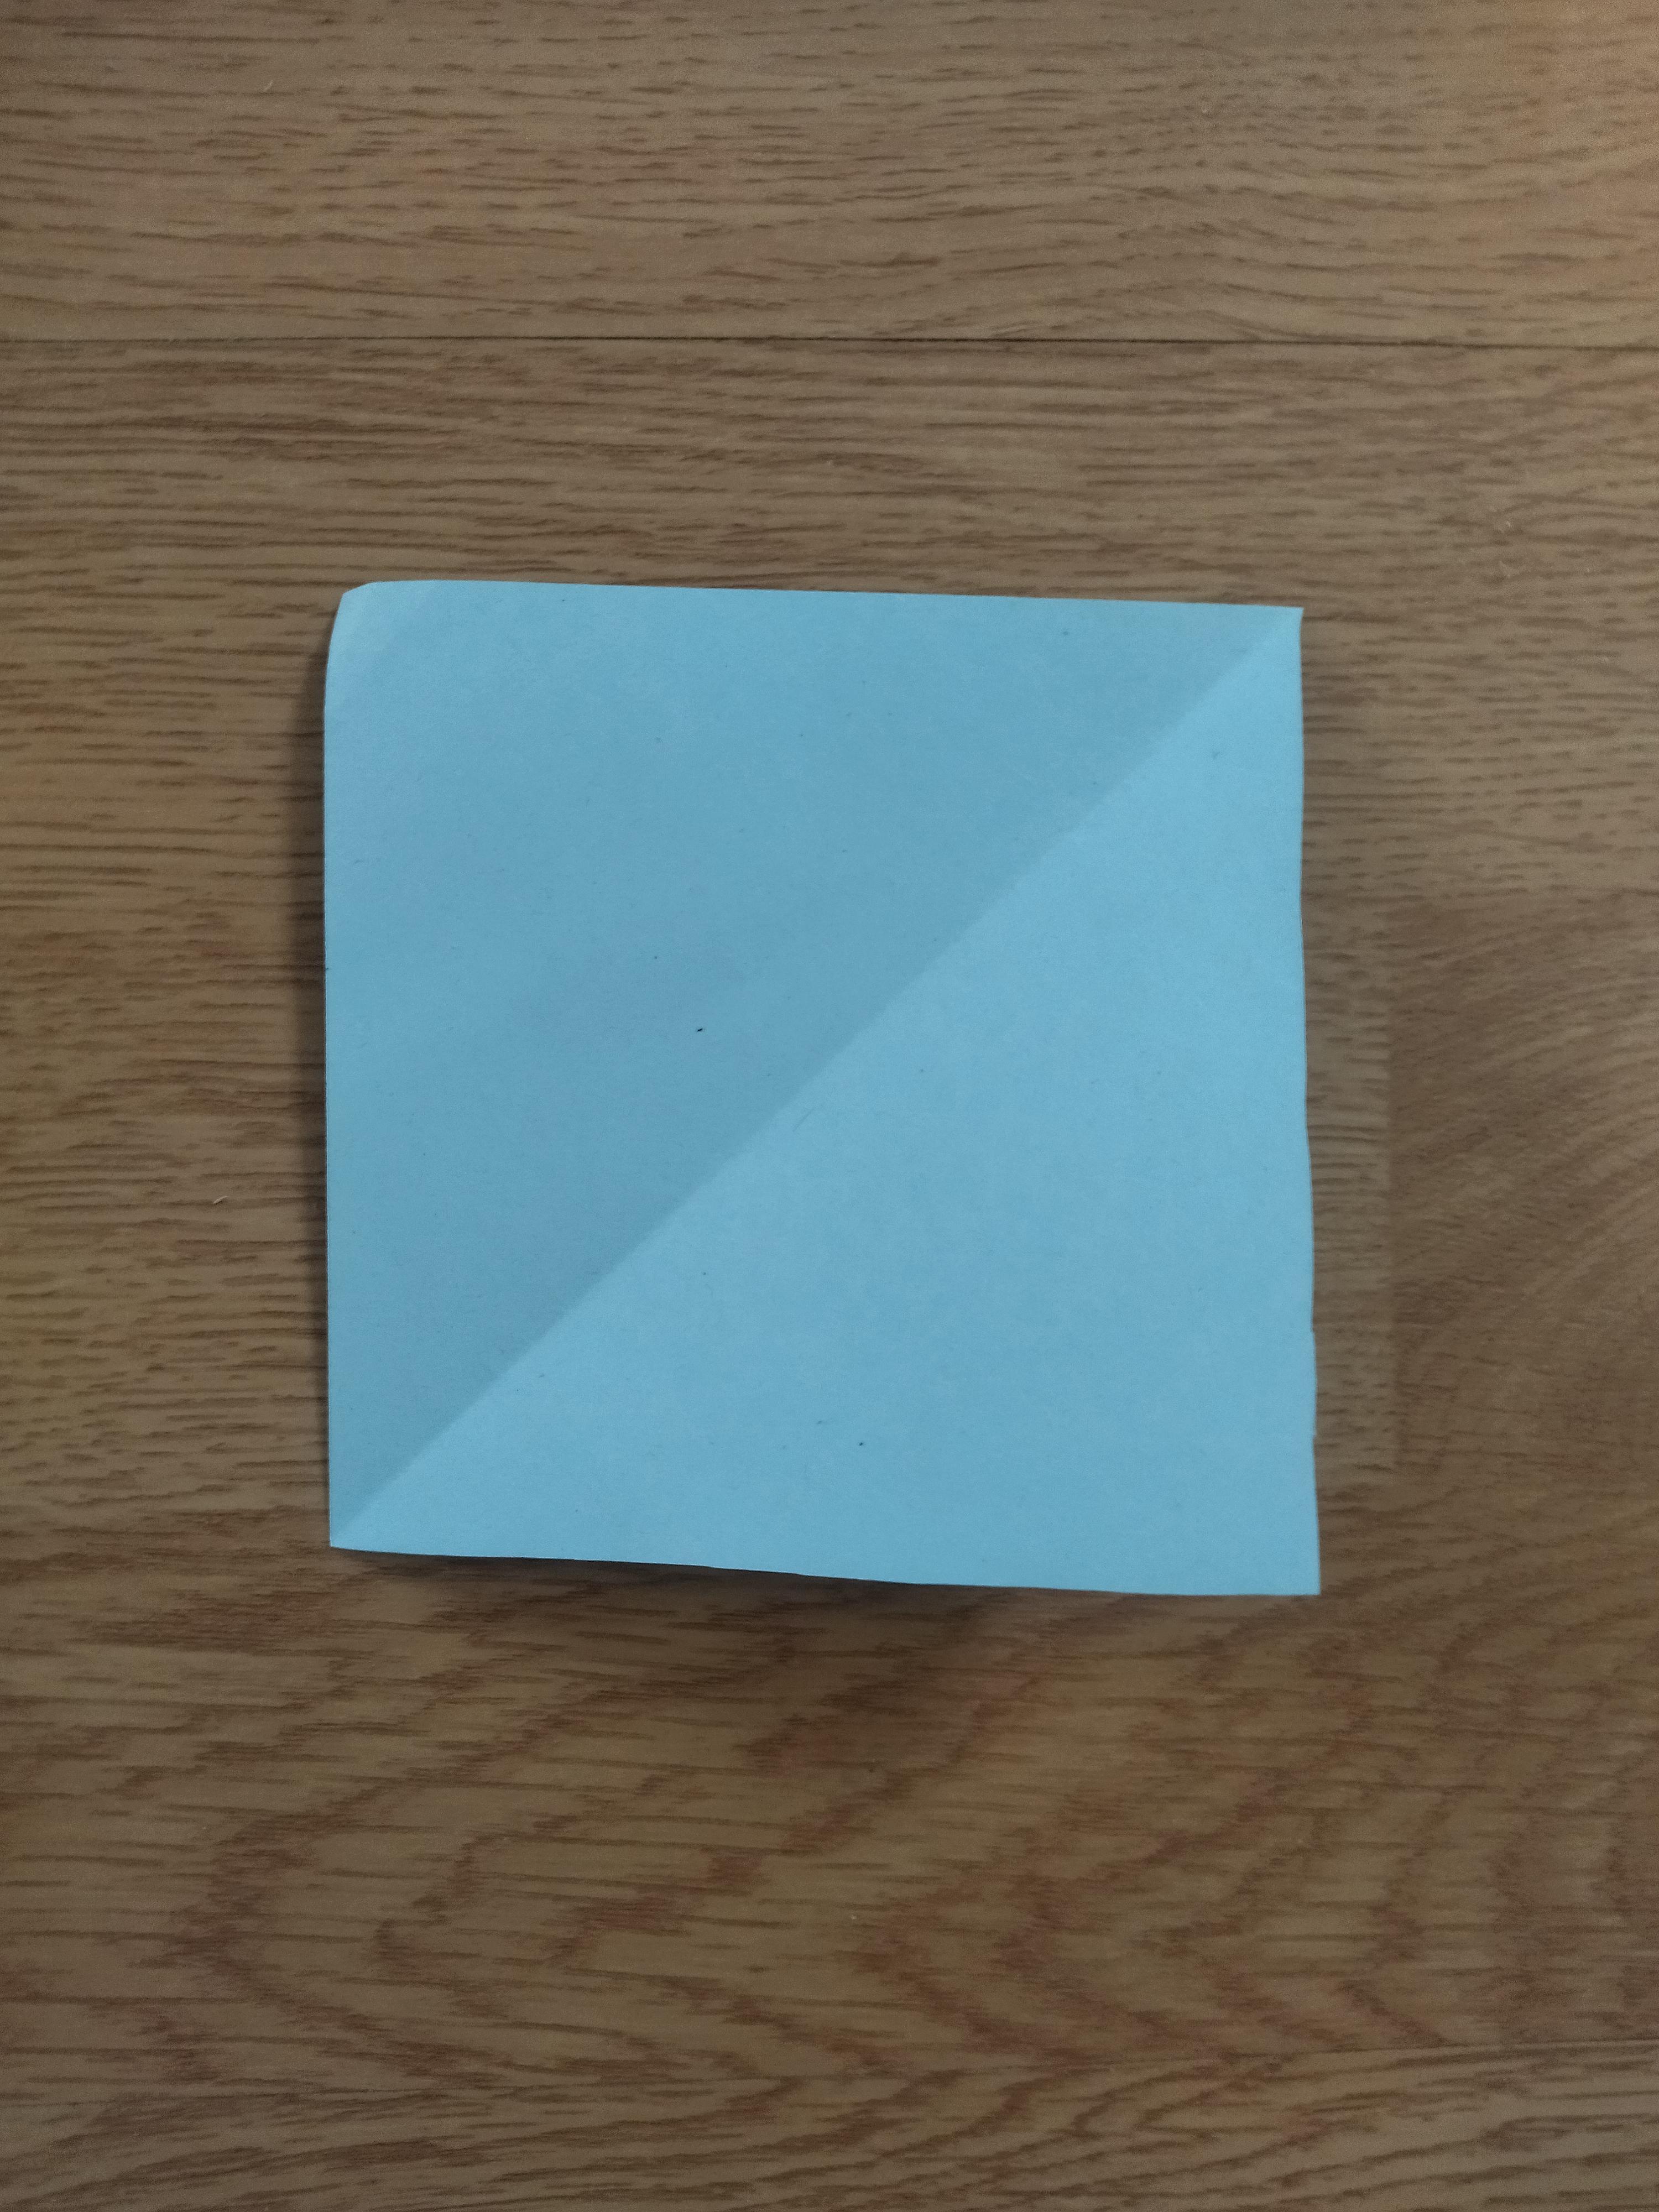


To start this step take a colored A4 sheet and cut it into 4 parts, make squares with each of them and fold it diagonally three times. Then cut a piece of the bottom tip and give a rounded shape at the top as in the photo.
Then open the sheet and cut them each as in the last photo.


We will only use the sheets that are on the first photo and therefore we will not use half of the four-ply sheet which is also a 4-ply sheet. Roll up the sheets each by gluing two folds together, for the one with two folds and the one with a single fold, you just have to roll them up and glue one end so that they hold and do not unroll.
Then glue the petals together by putting the small ones in the big ones and so on. Do not forget to put glue between the layers.
Then wrap the end of each petal with a stick.
Leaves


Now take a green leaf and bend it vertically. Then draw leaves on the edge where there is the fold and then cut out the leaves.
Assembly


Now assemble the flower with the stem by putting the flower in the stem and put tape so that the flower does not come off.
Also glue the leaves to the stems.
Install


All you have to do is put the flowers one by one into the vase and decorate your house with them.
And now, if you have done everything correctly, the vase is ready to stay there for several years, and with the flowers in it of course.
And we come to the end. Thanks for looking at this project and feel free to look at my other instructables!
Bye!