Paper Label With a Cricut!
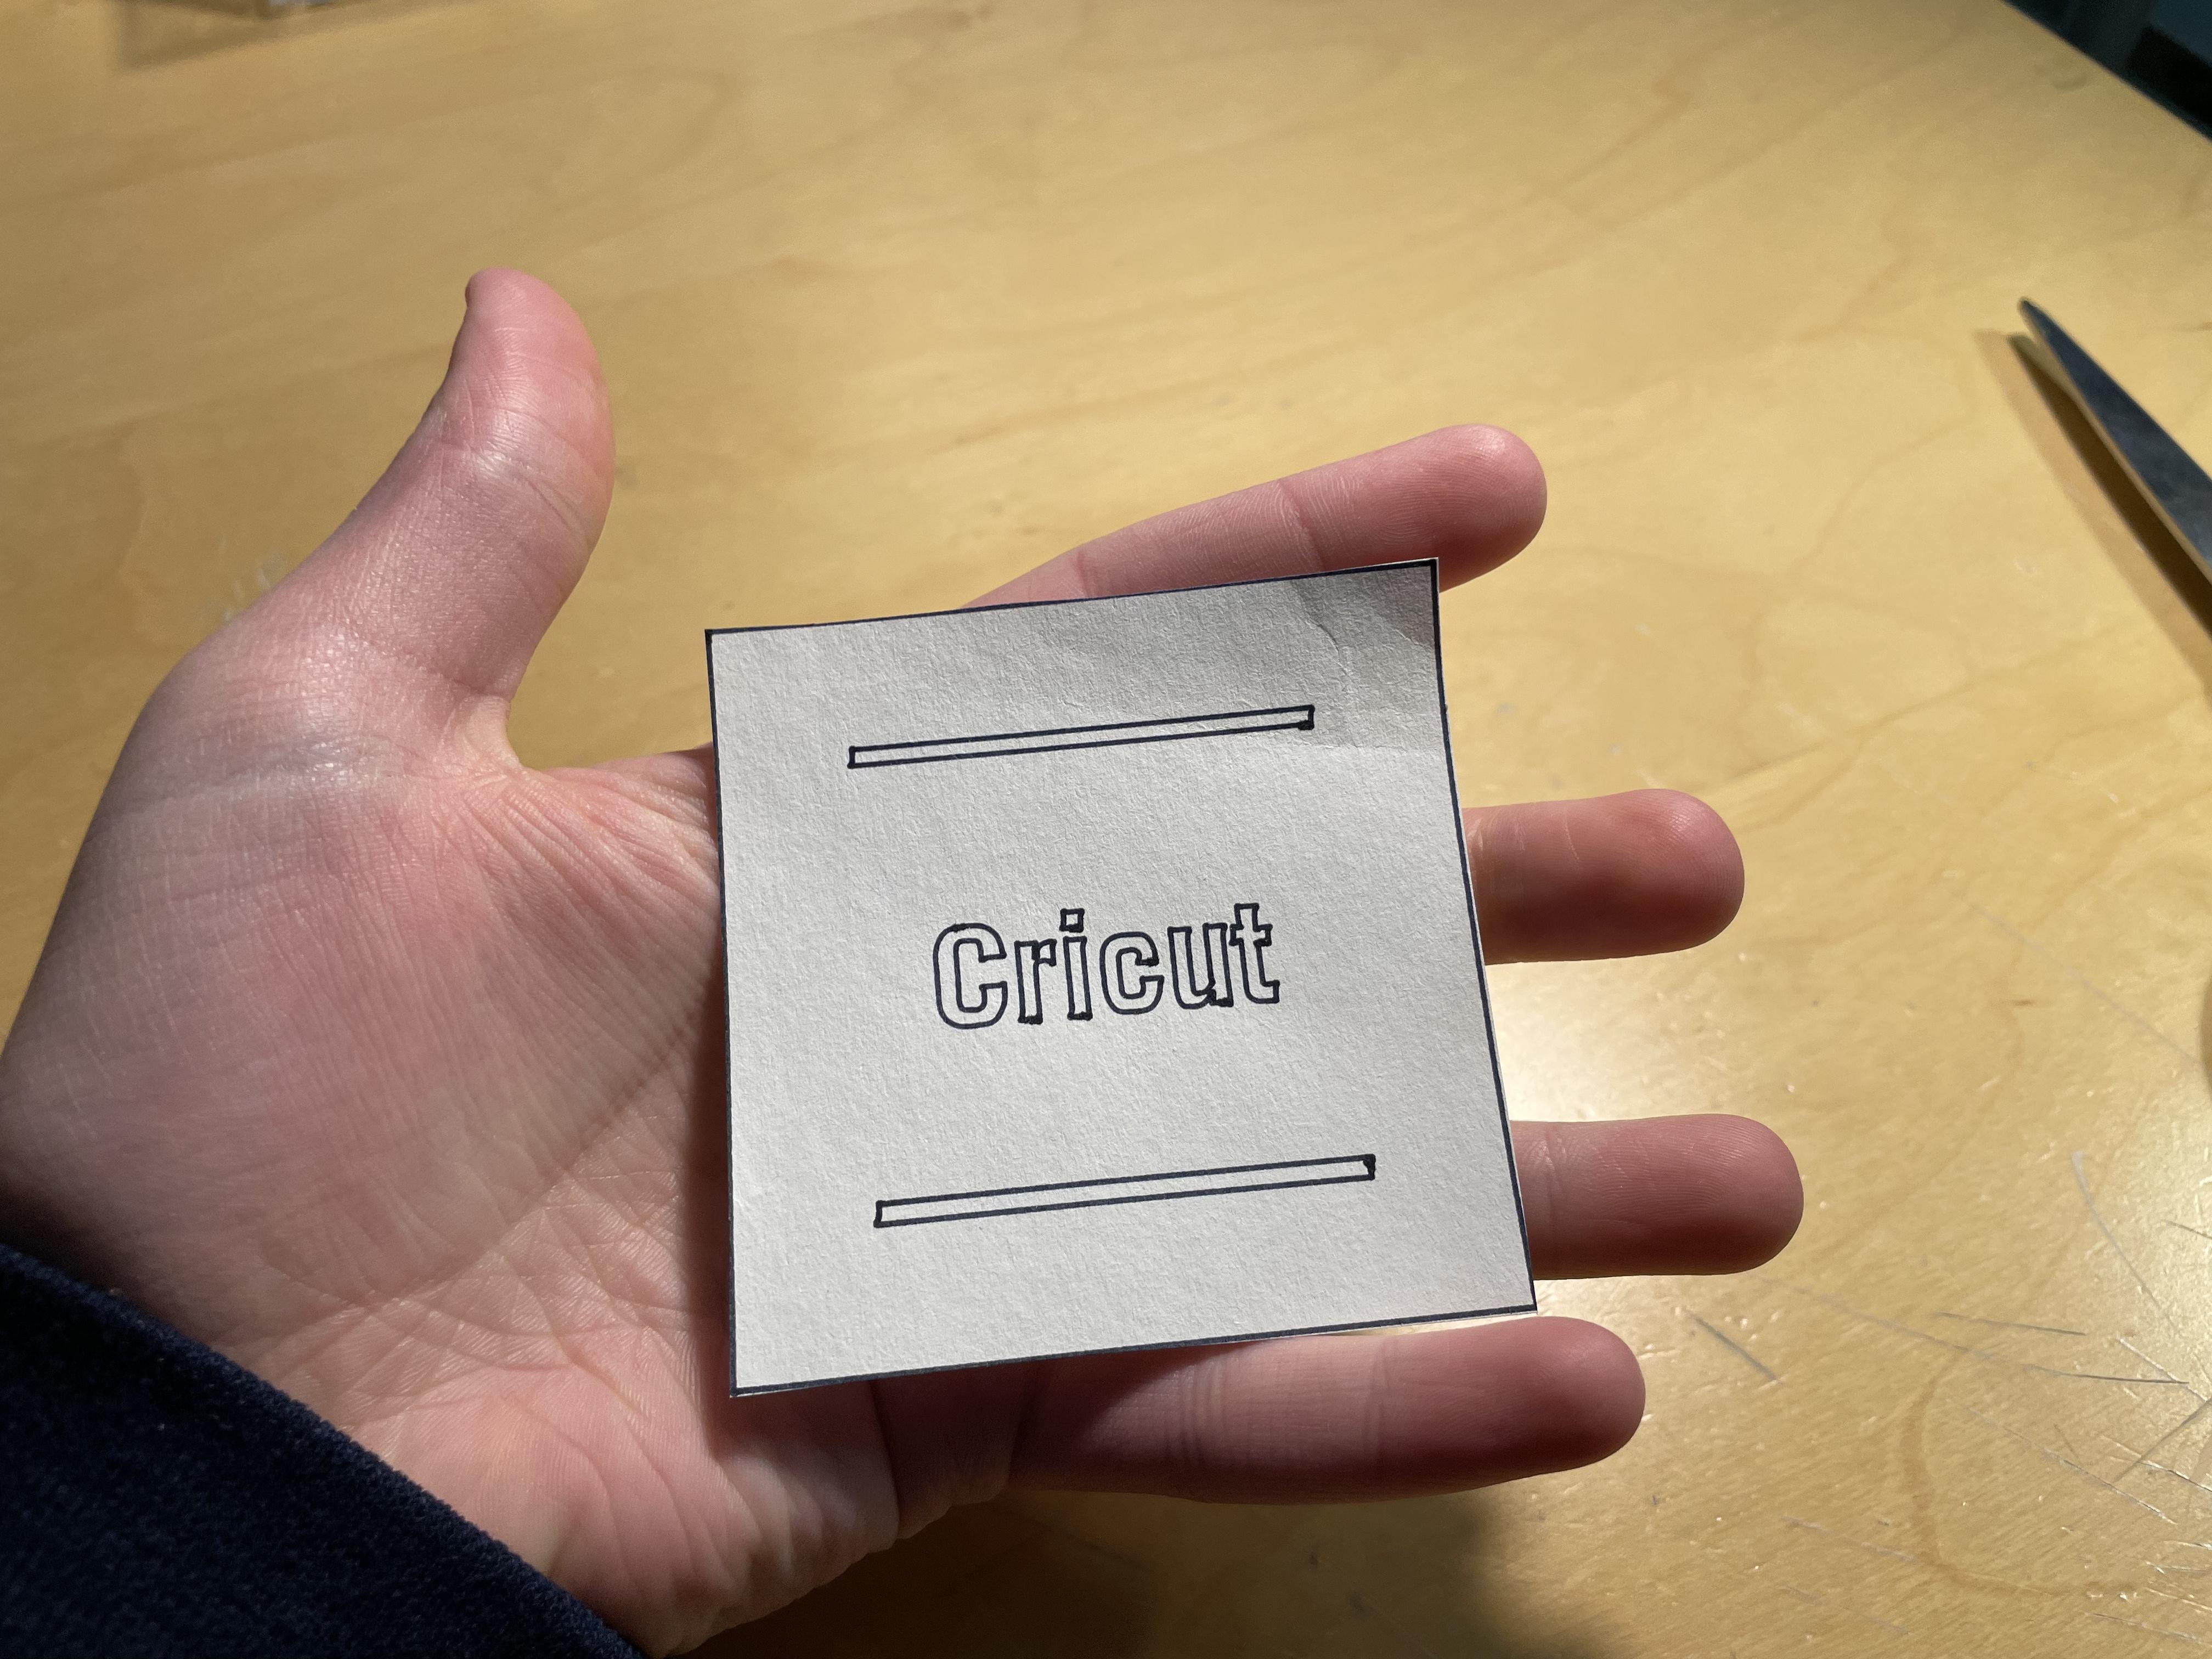
Make a really cool paper sign on your Cricut machine! I have a Cricut Joy and I used the Cricut Joy app for this project, but you can certainly use any other Cricut machine and the Design Space app as well. This sign looked really good, and I’m really happy how it worked out!
Supplies
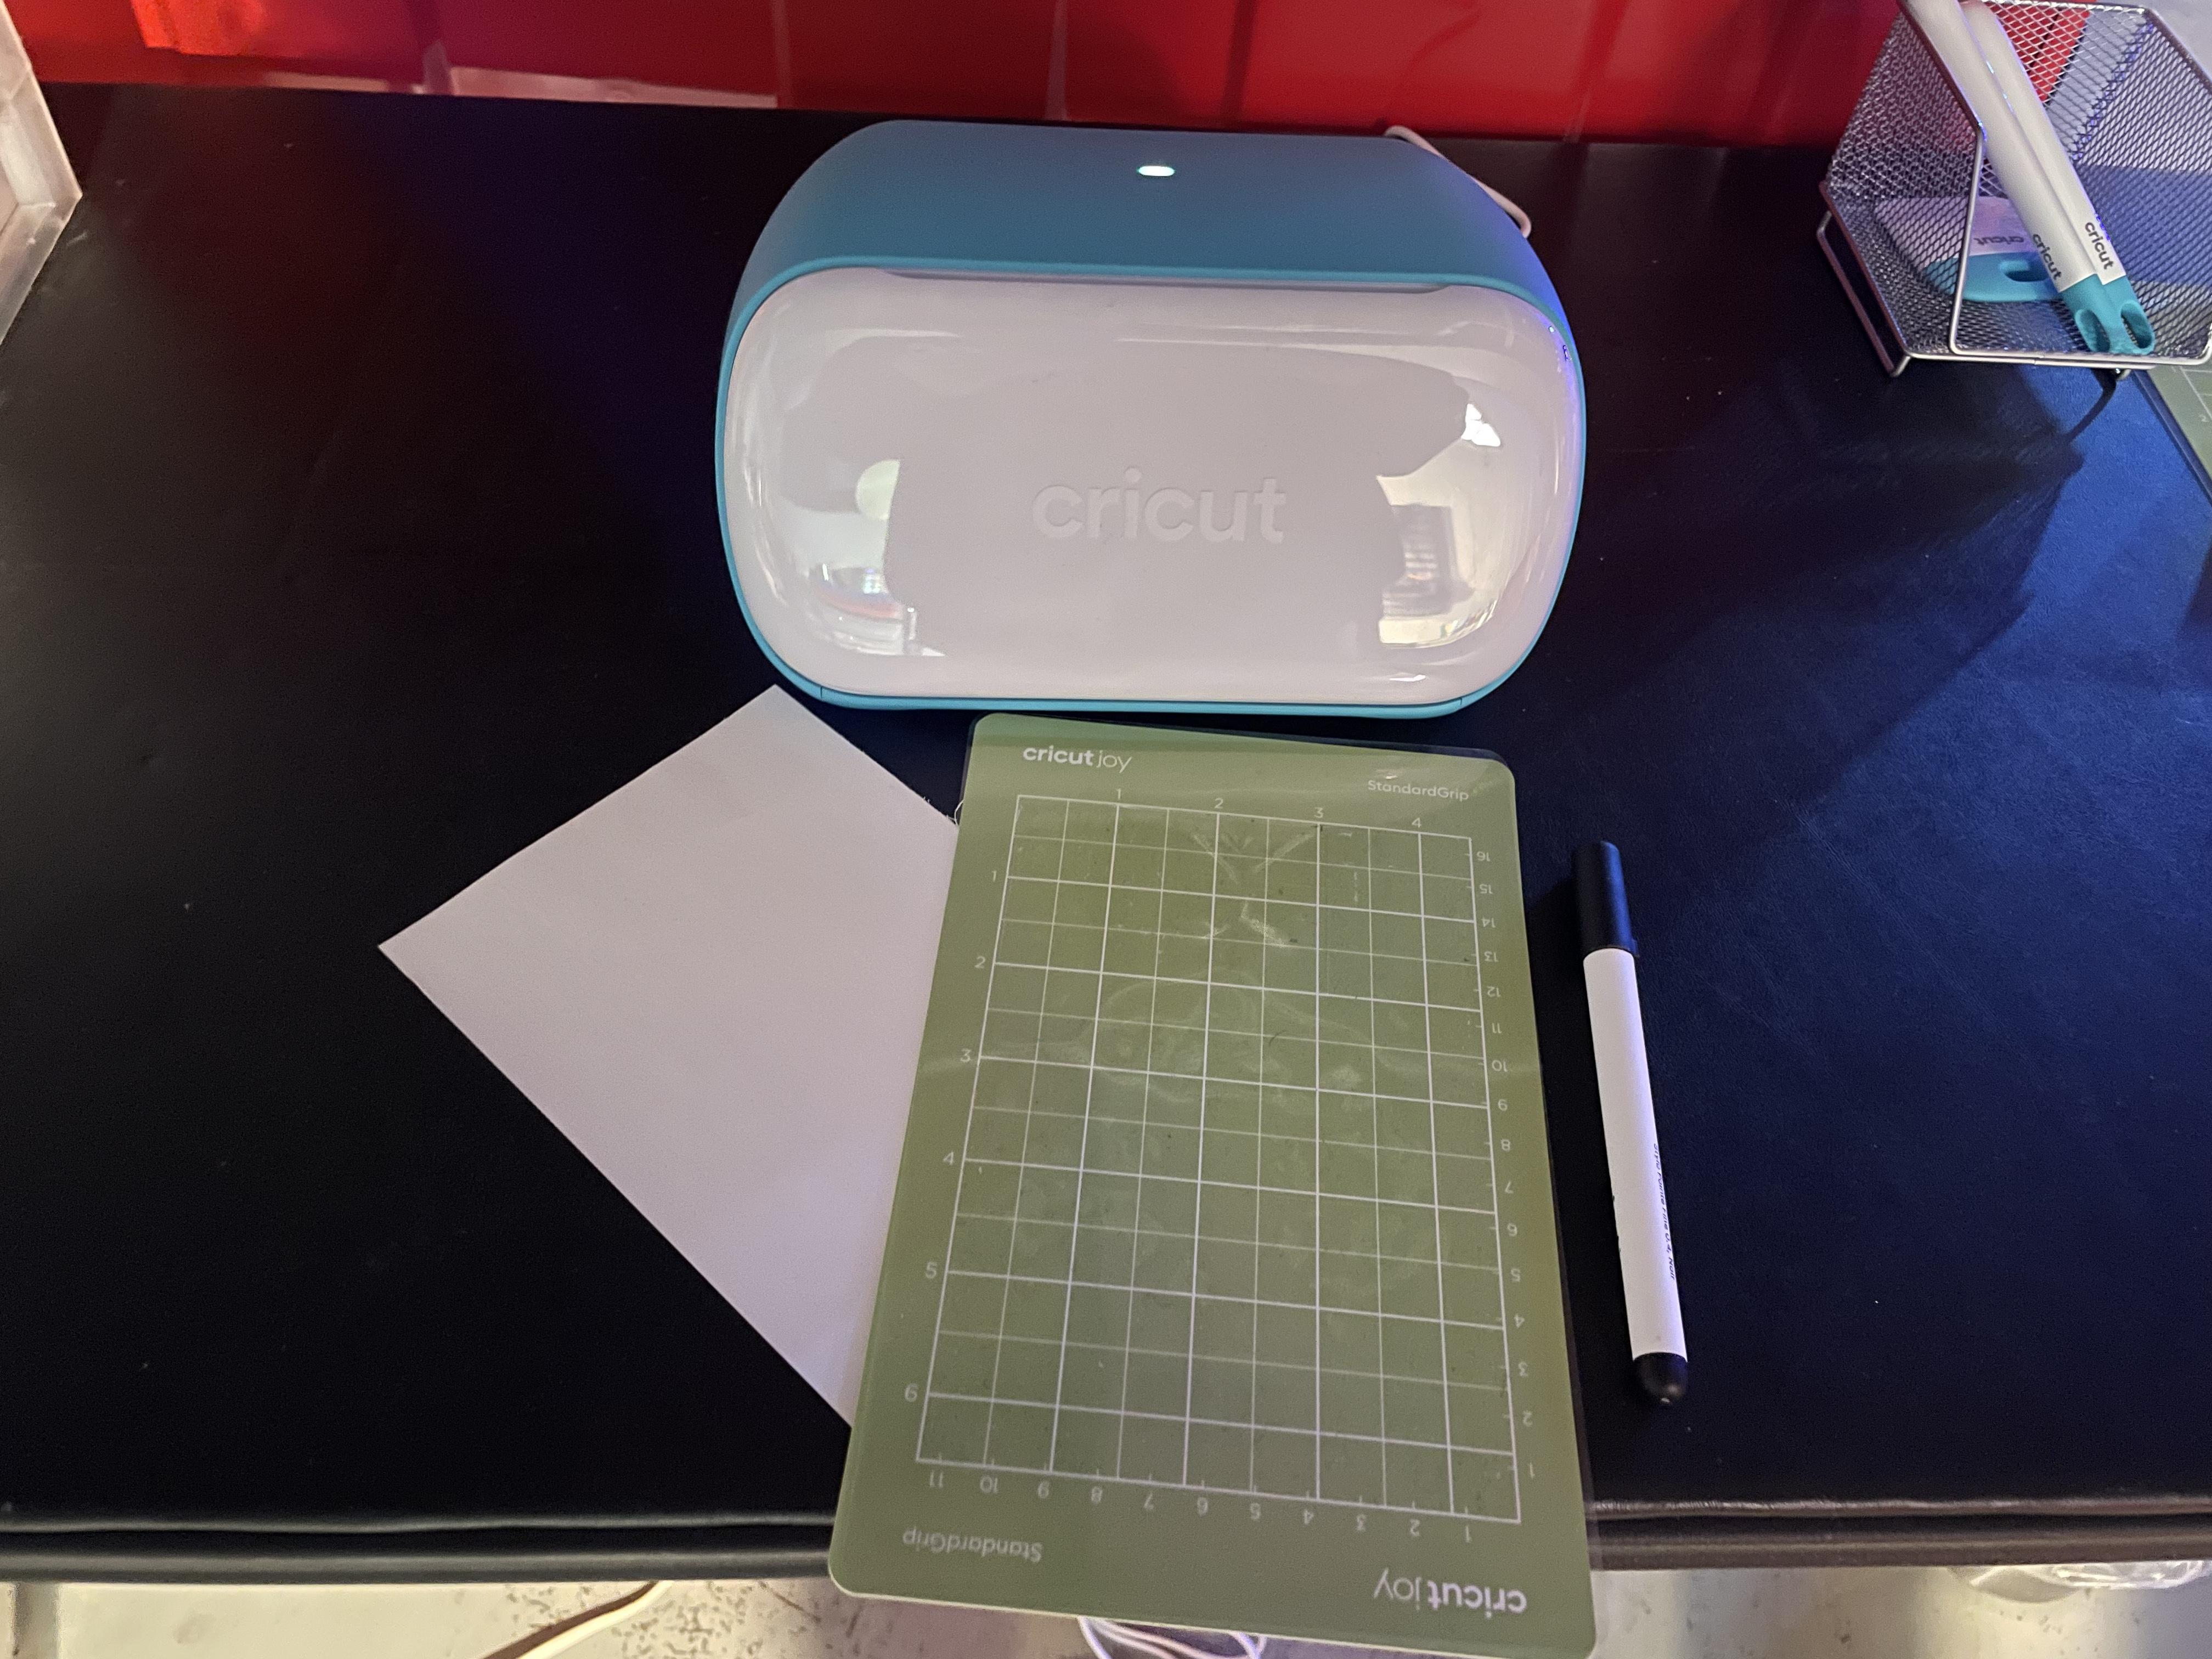
You will need:
-A Cricut cutting machine
-A piece of printer paper
-A Cricut cutting mat
-Any color Cricut pen
-Scissors
Prep Your Paper
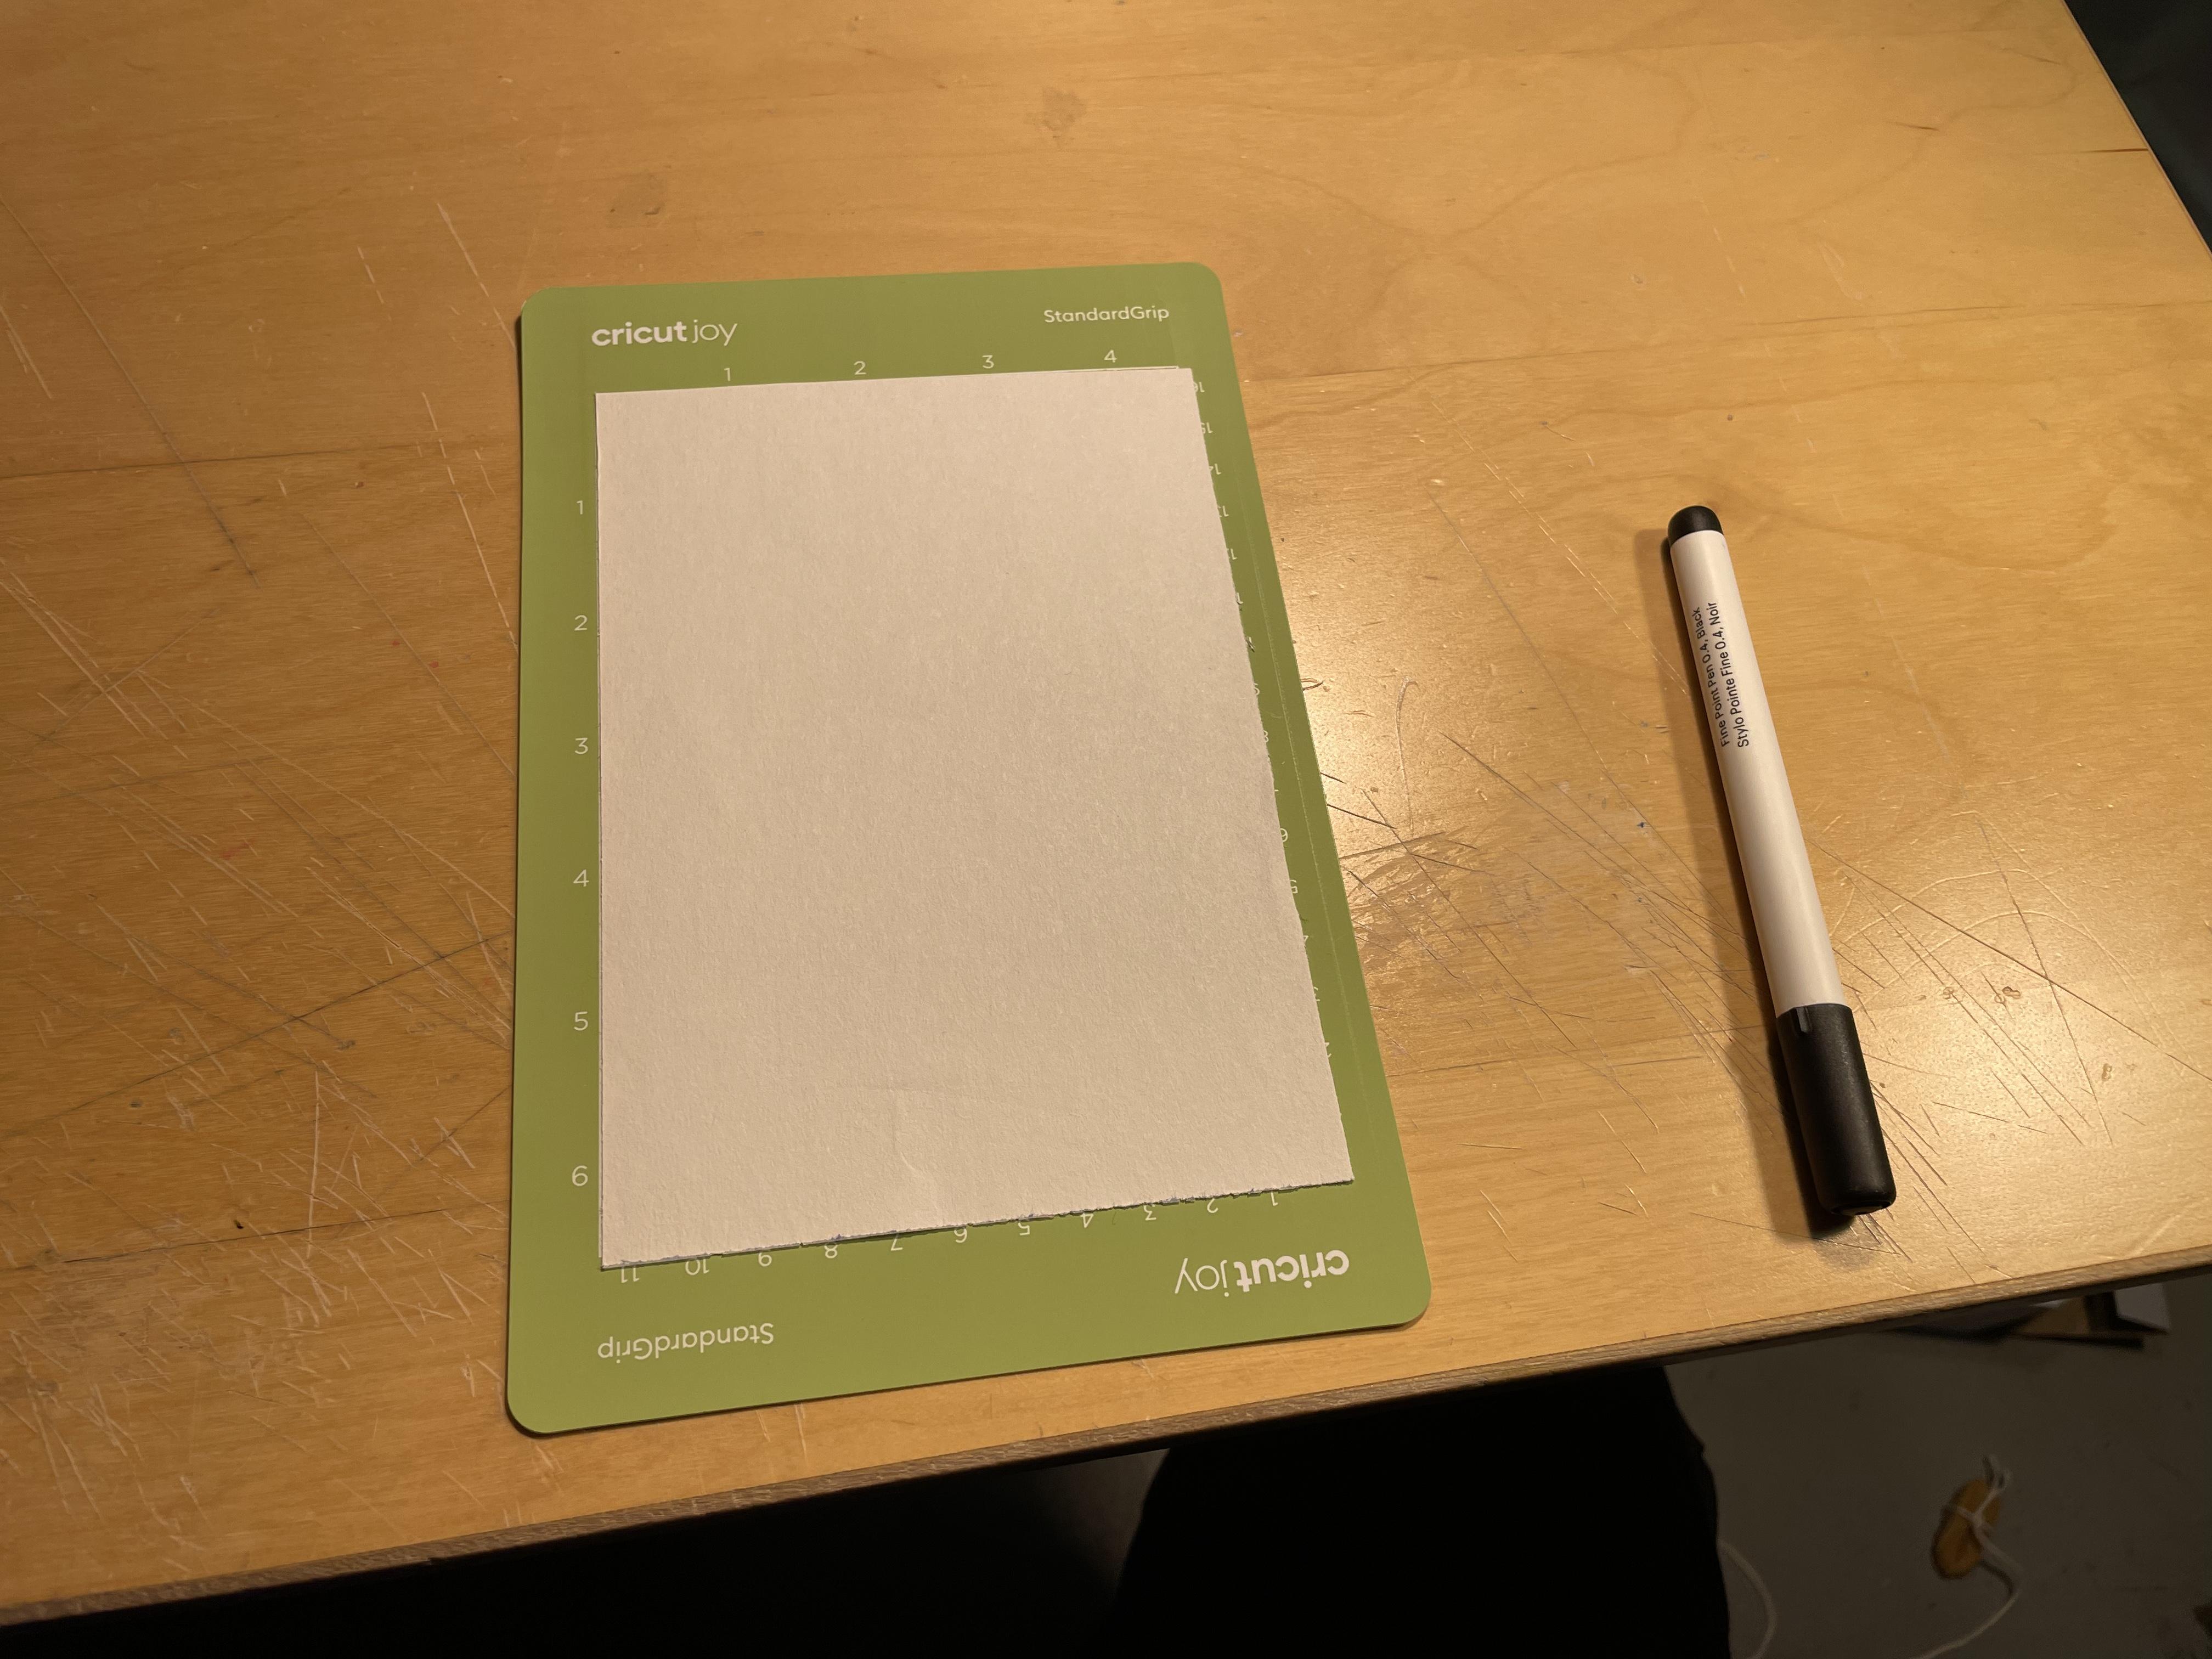
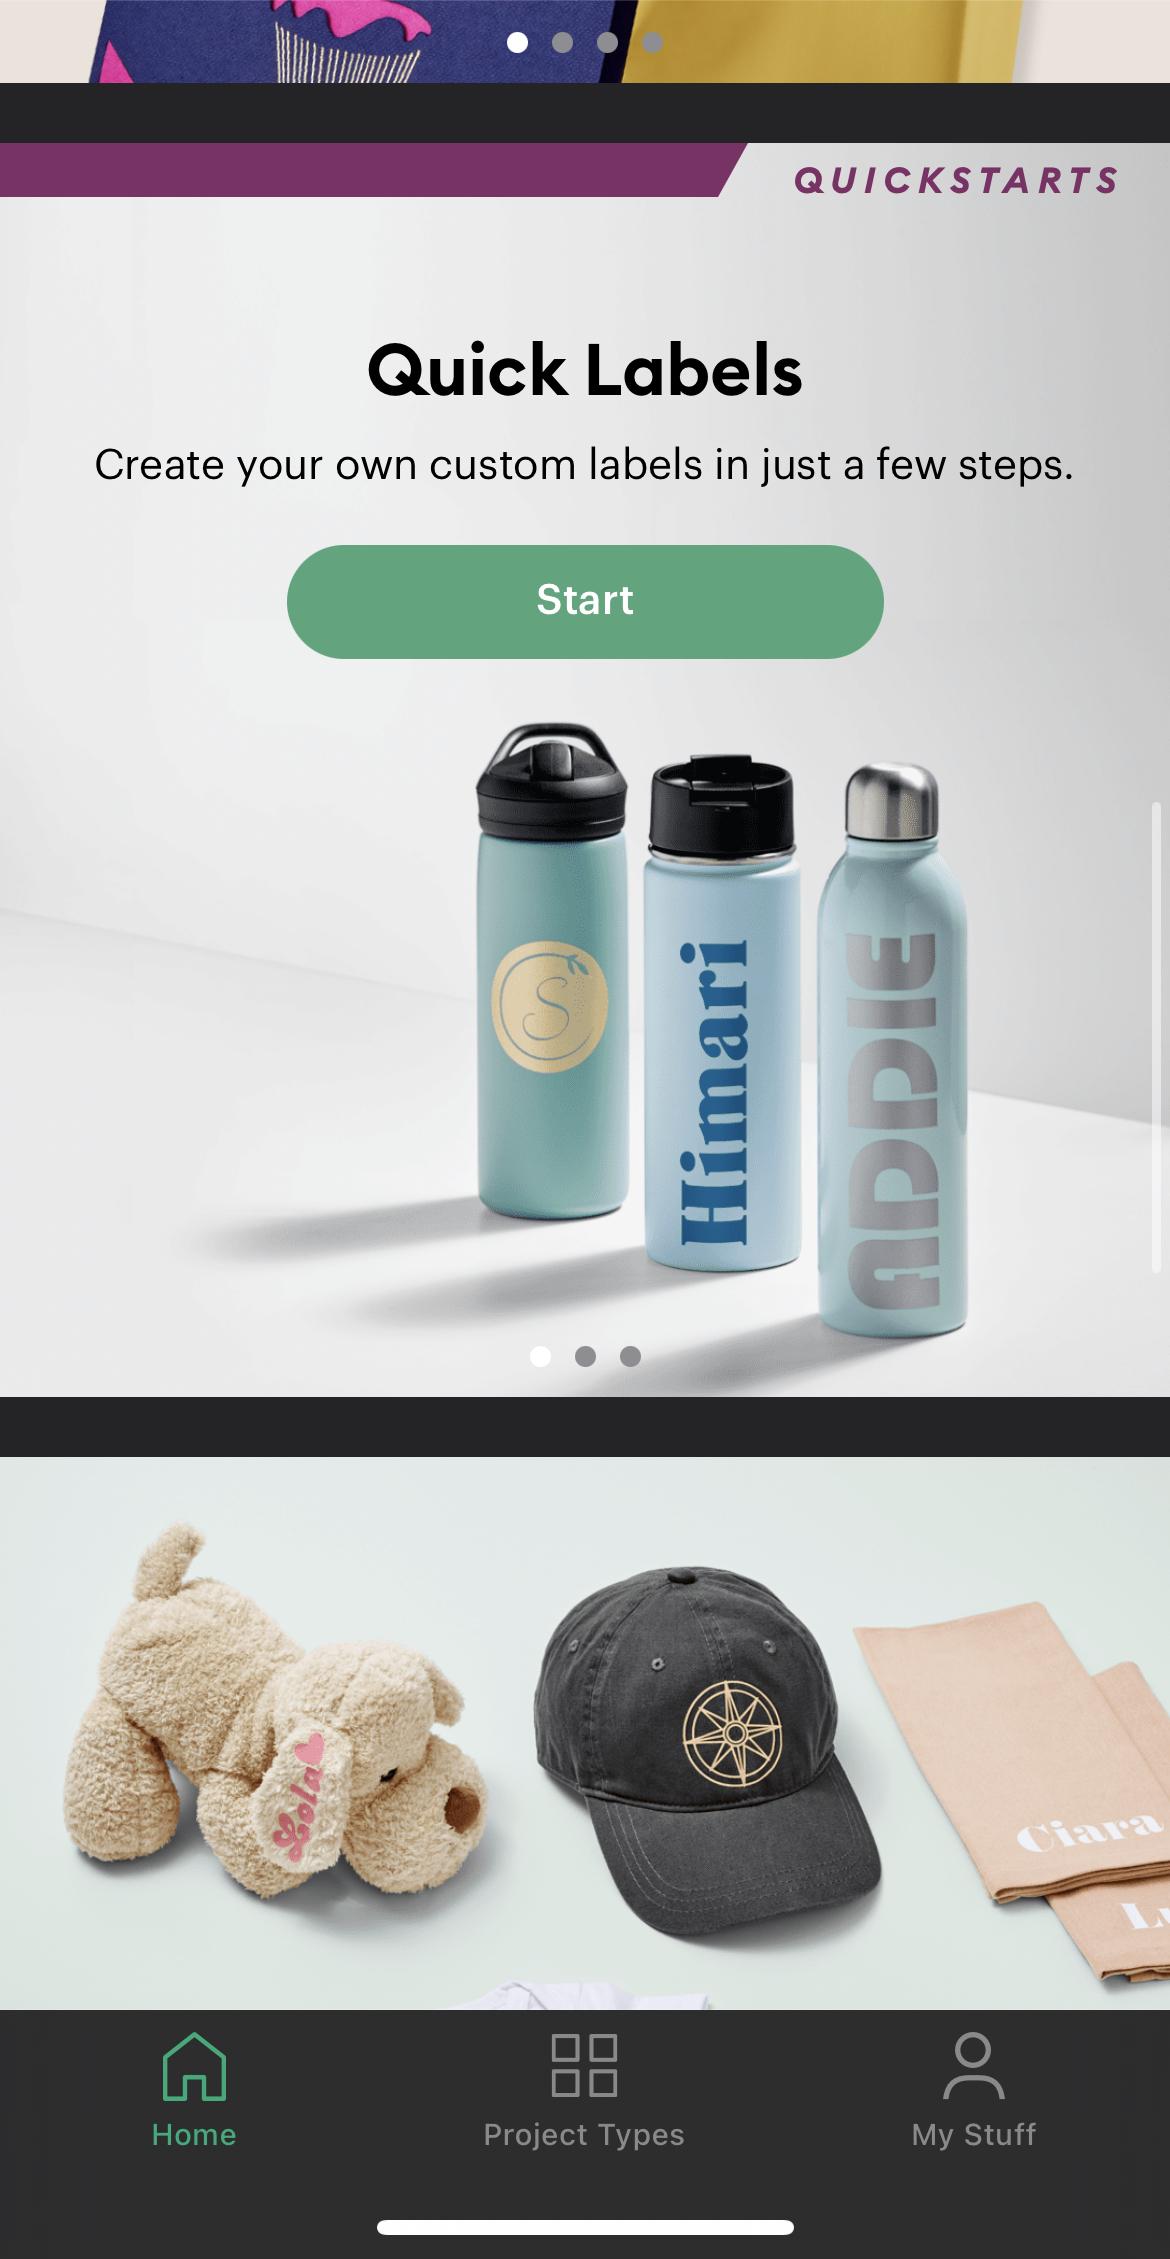
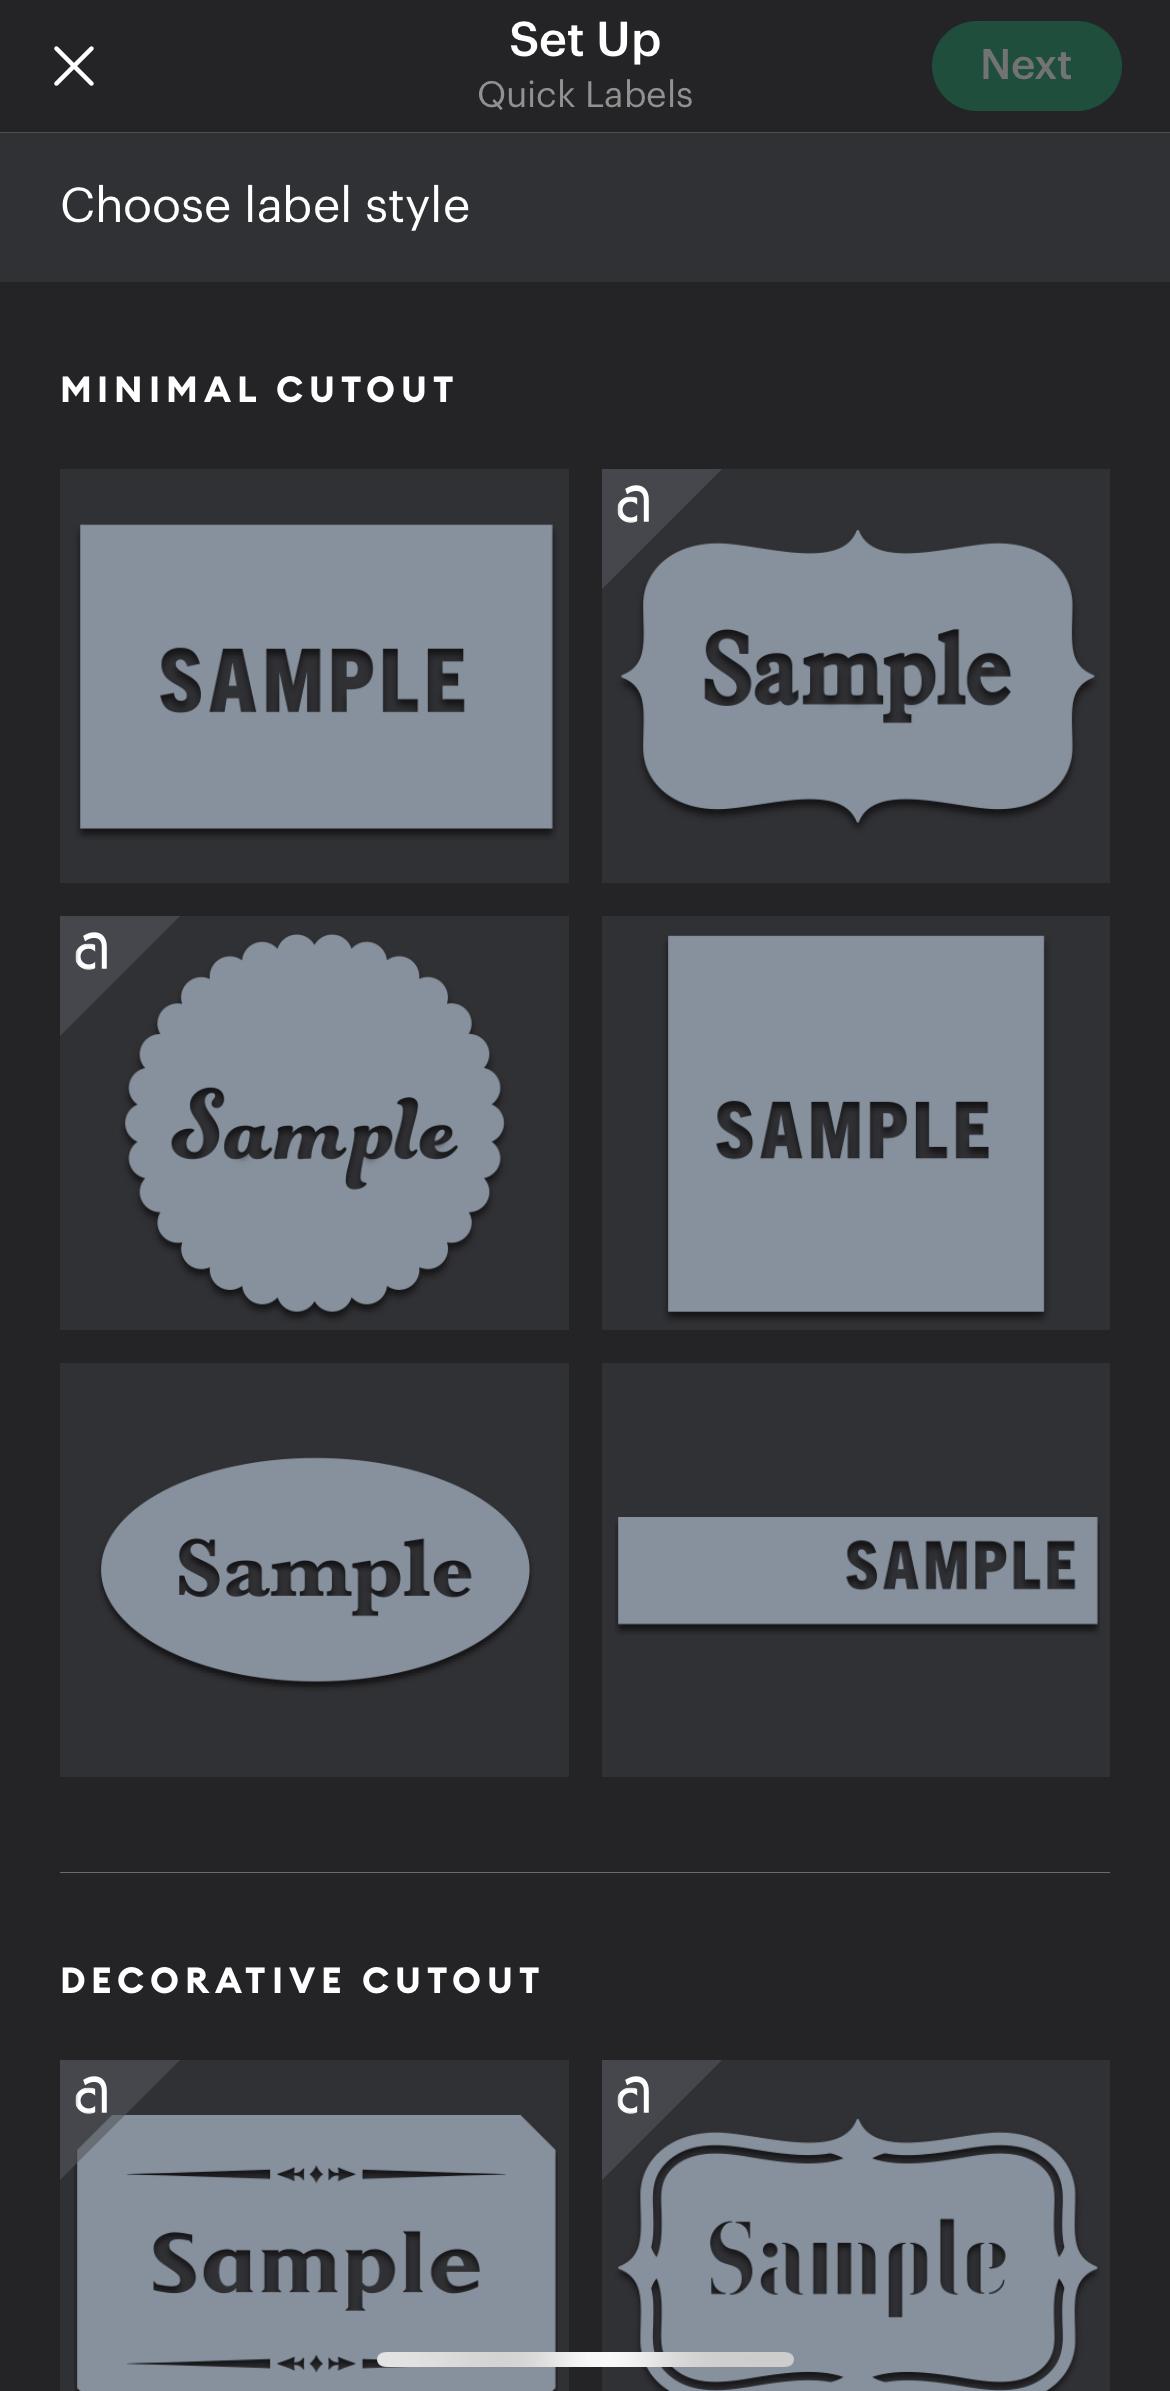
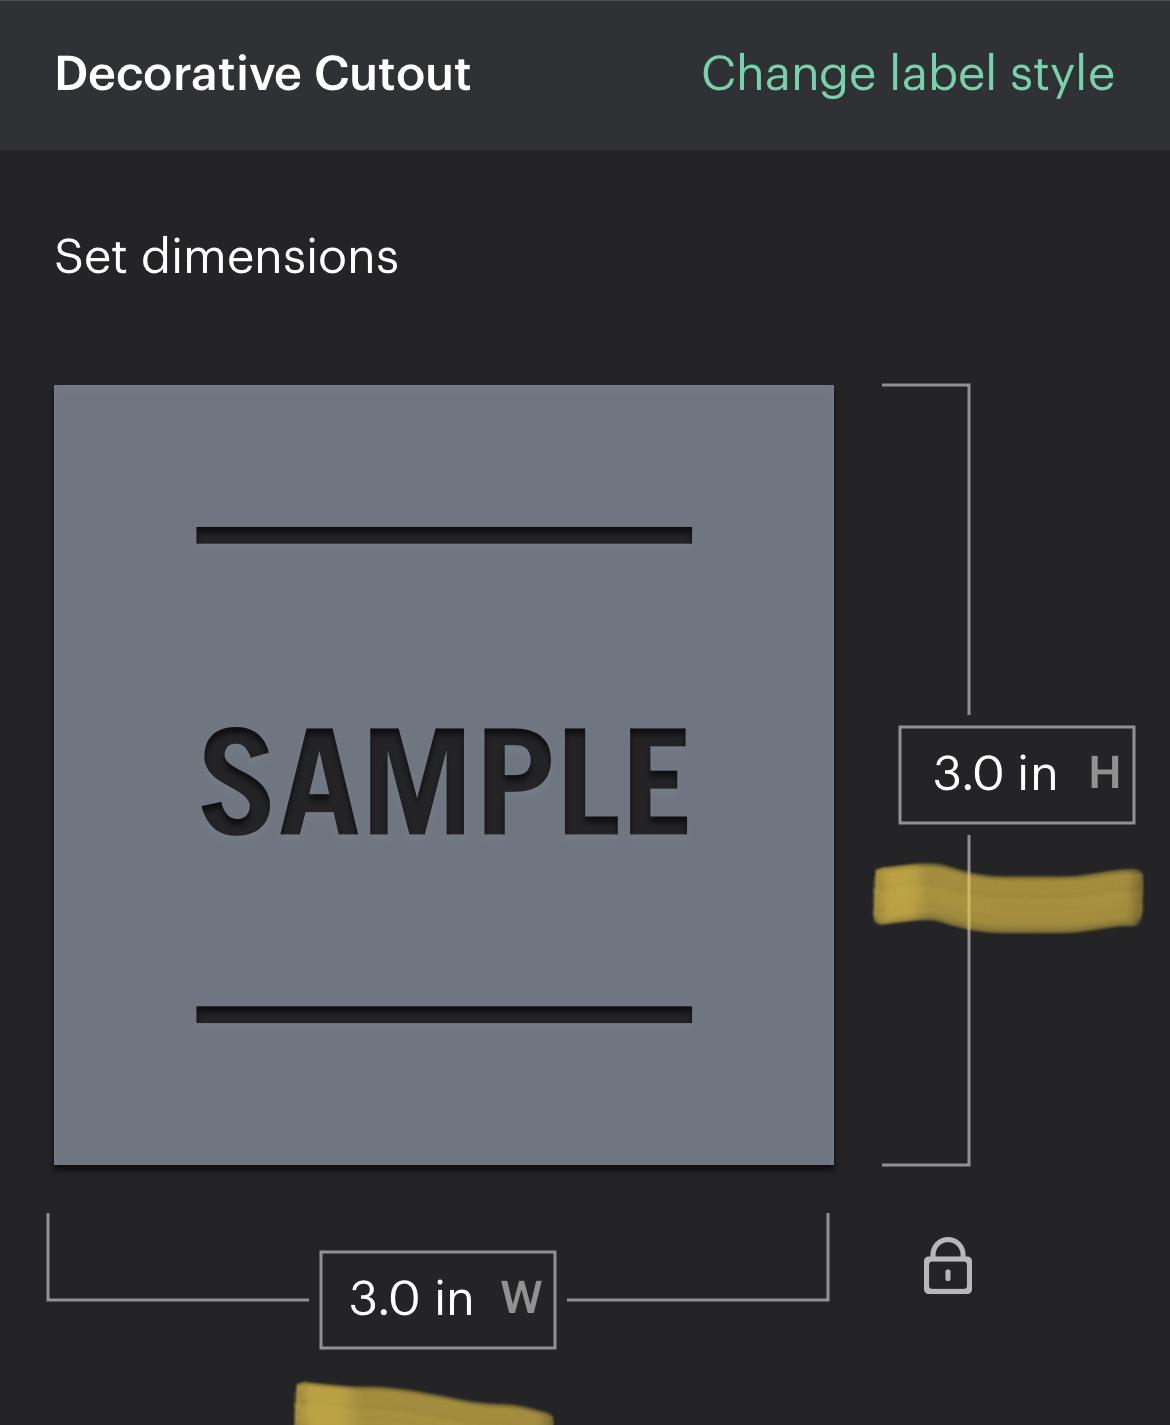
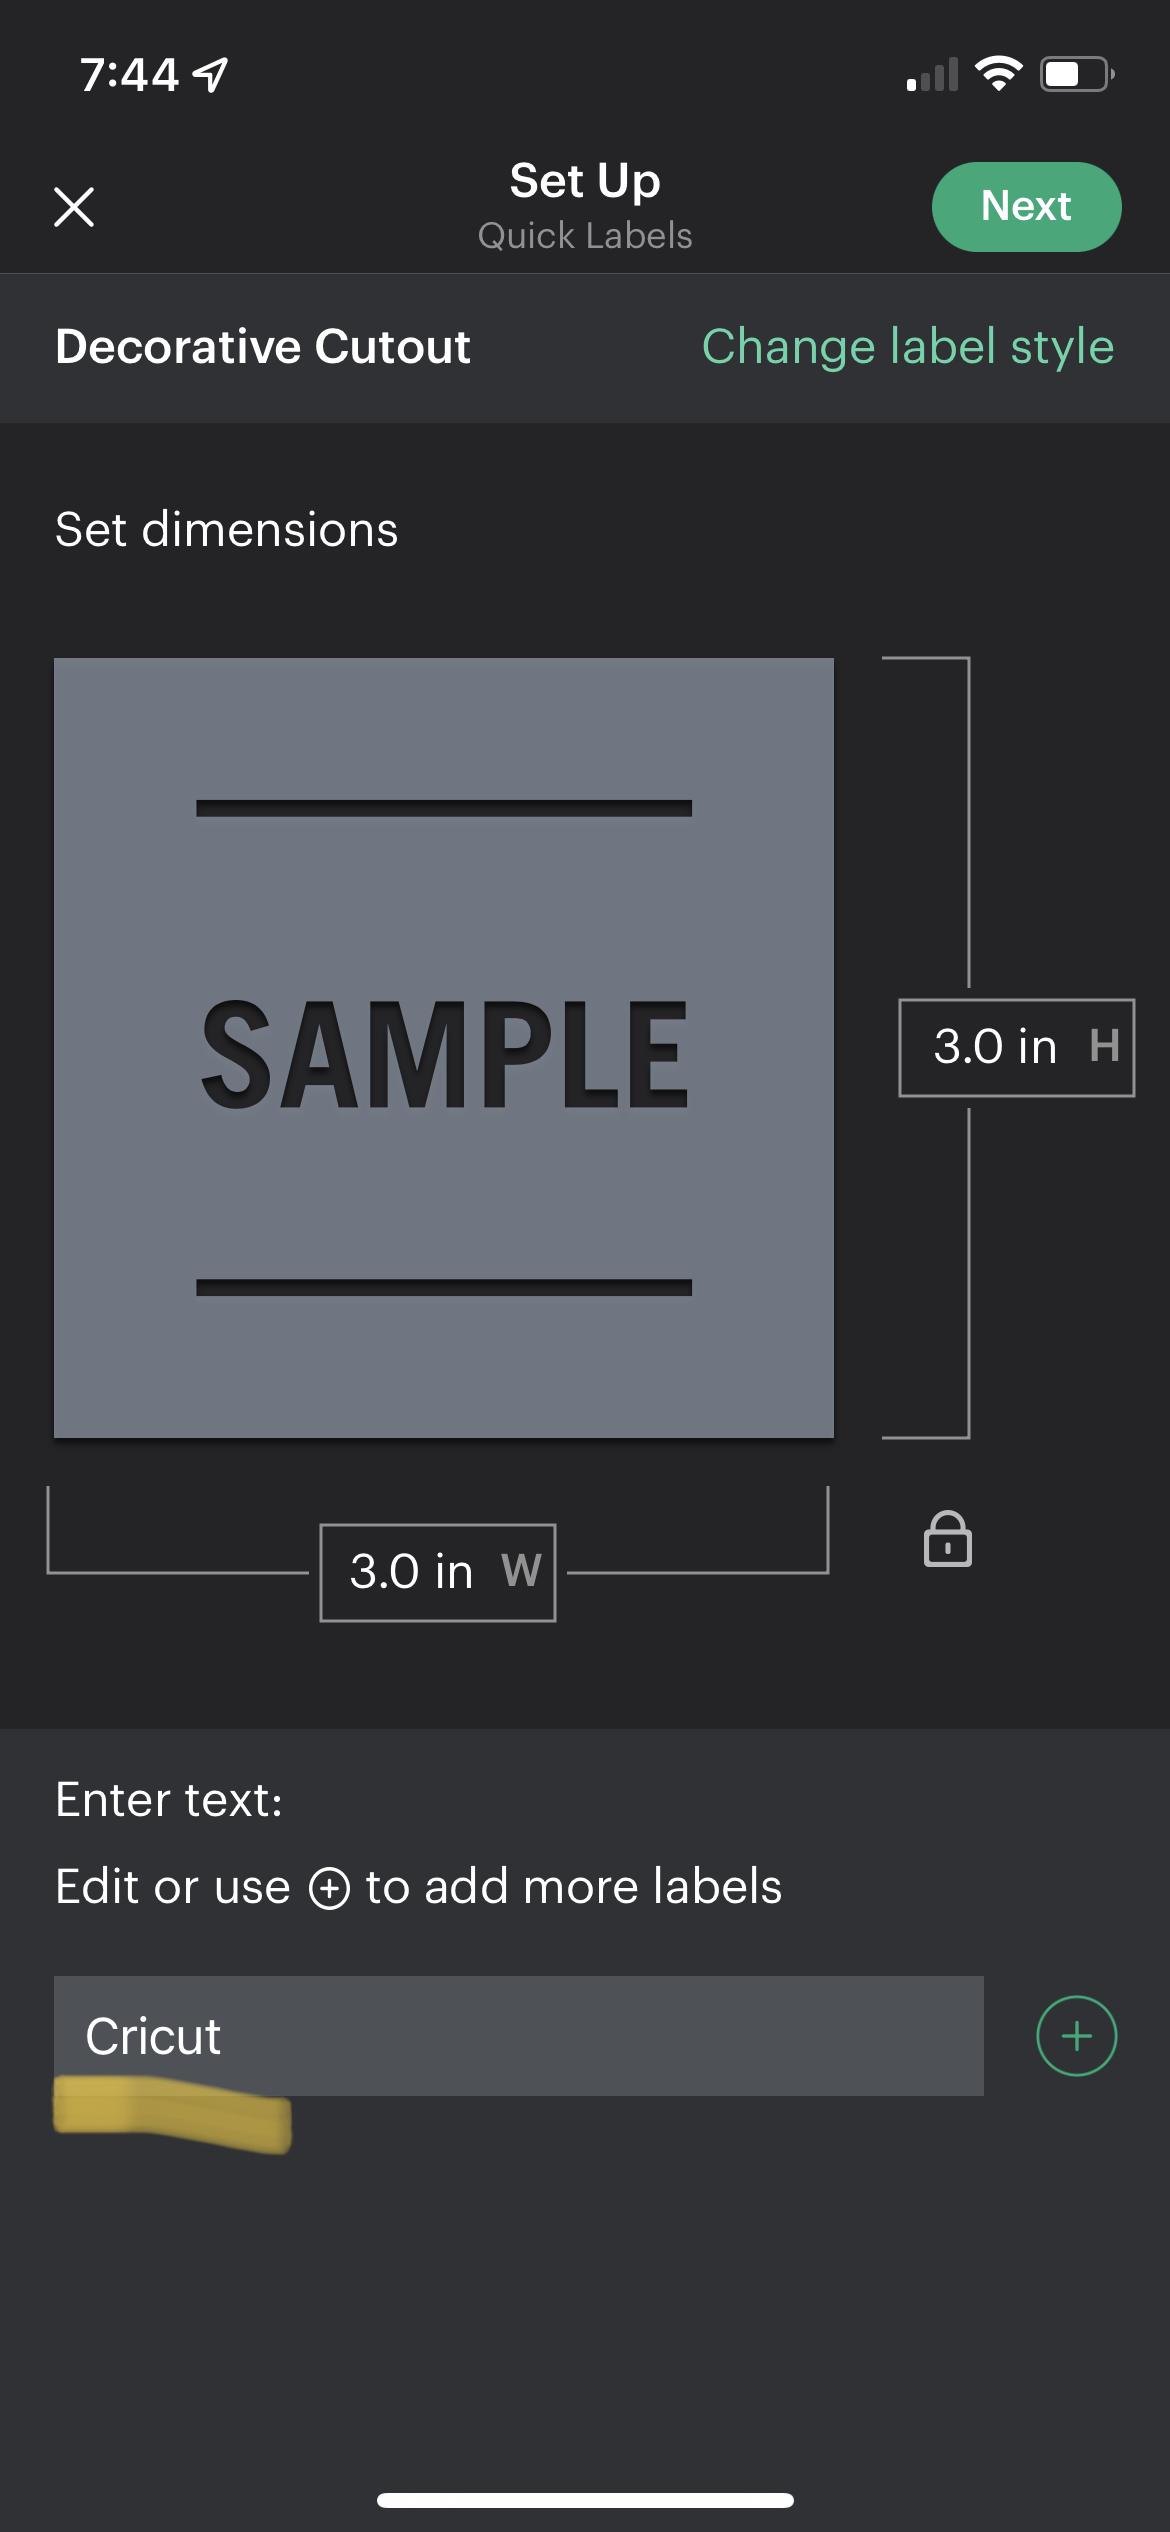
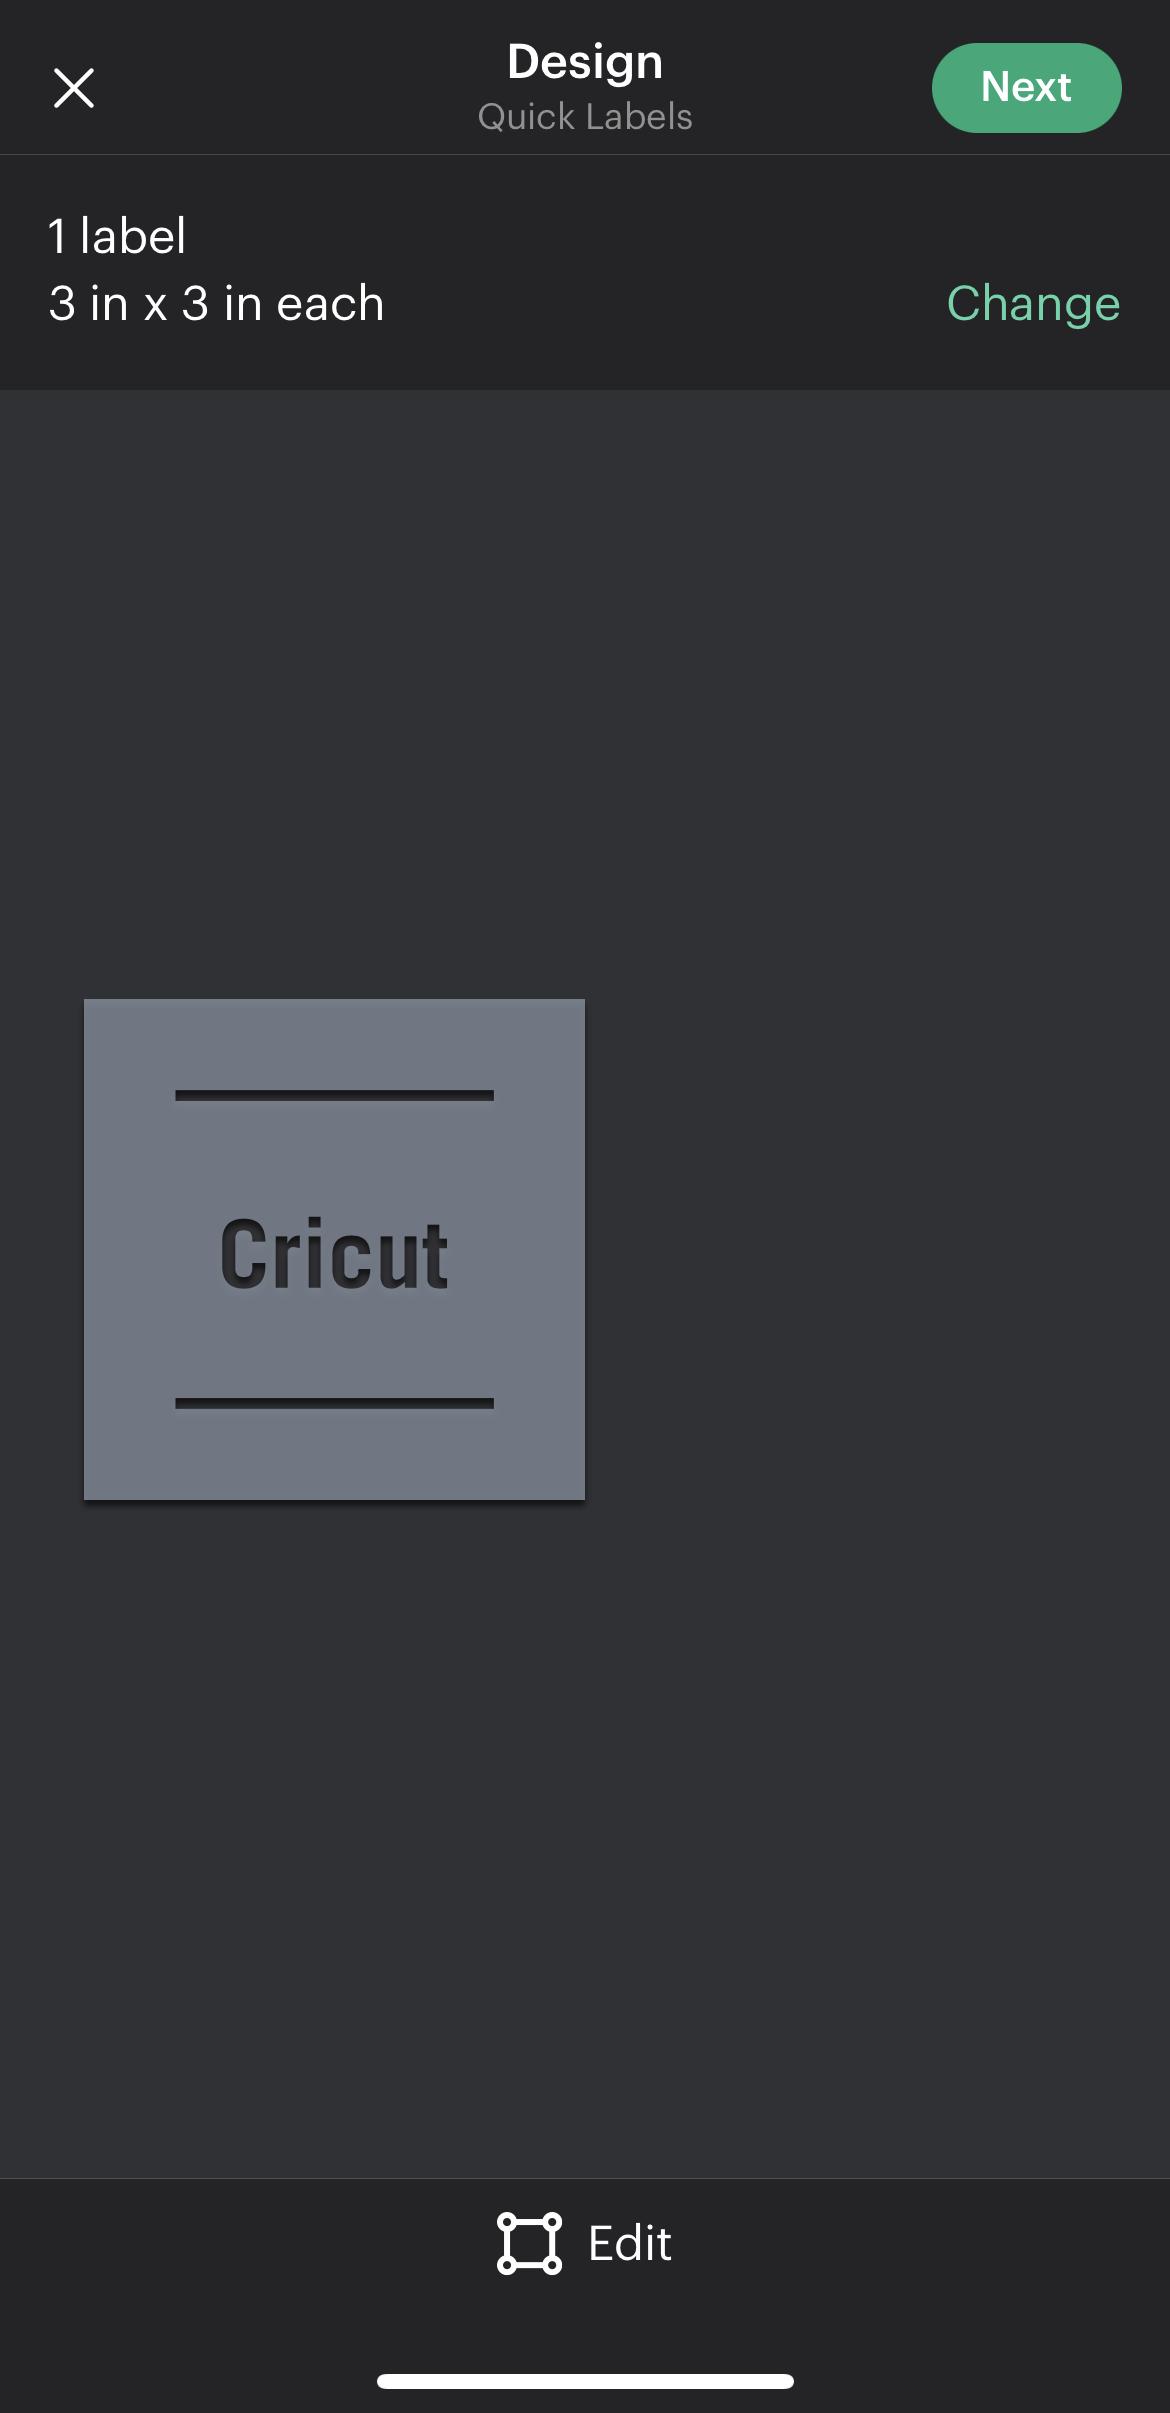
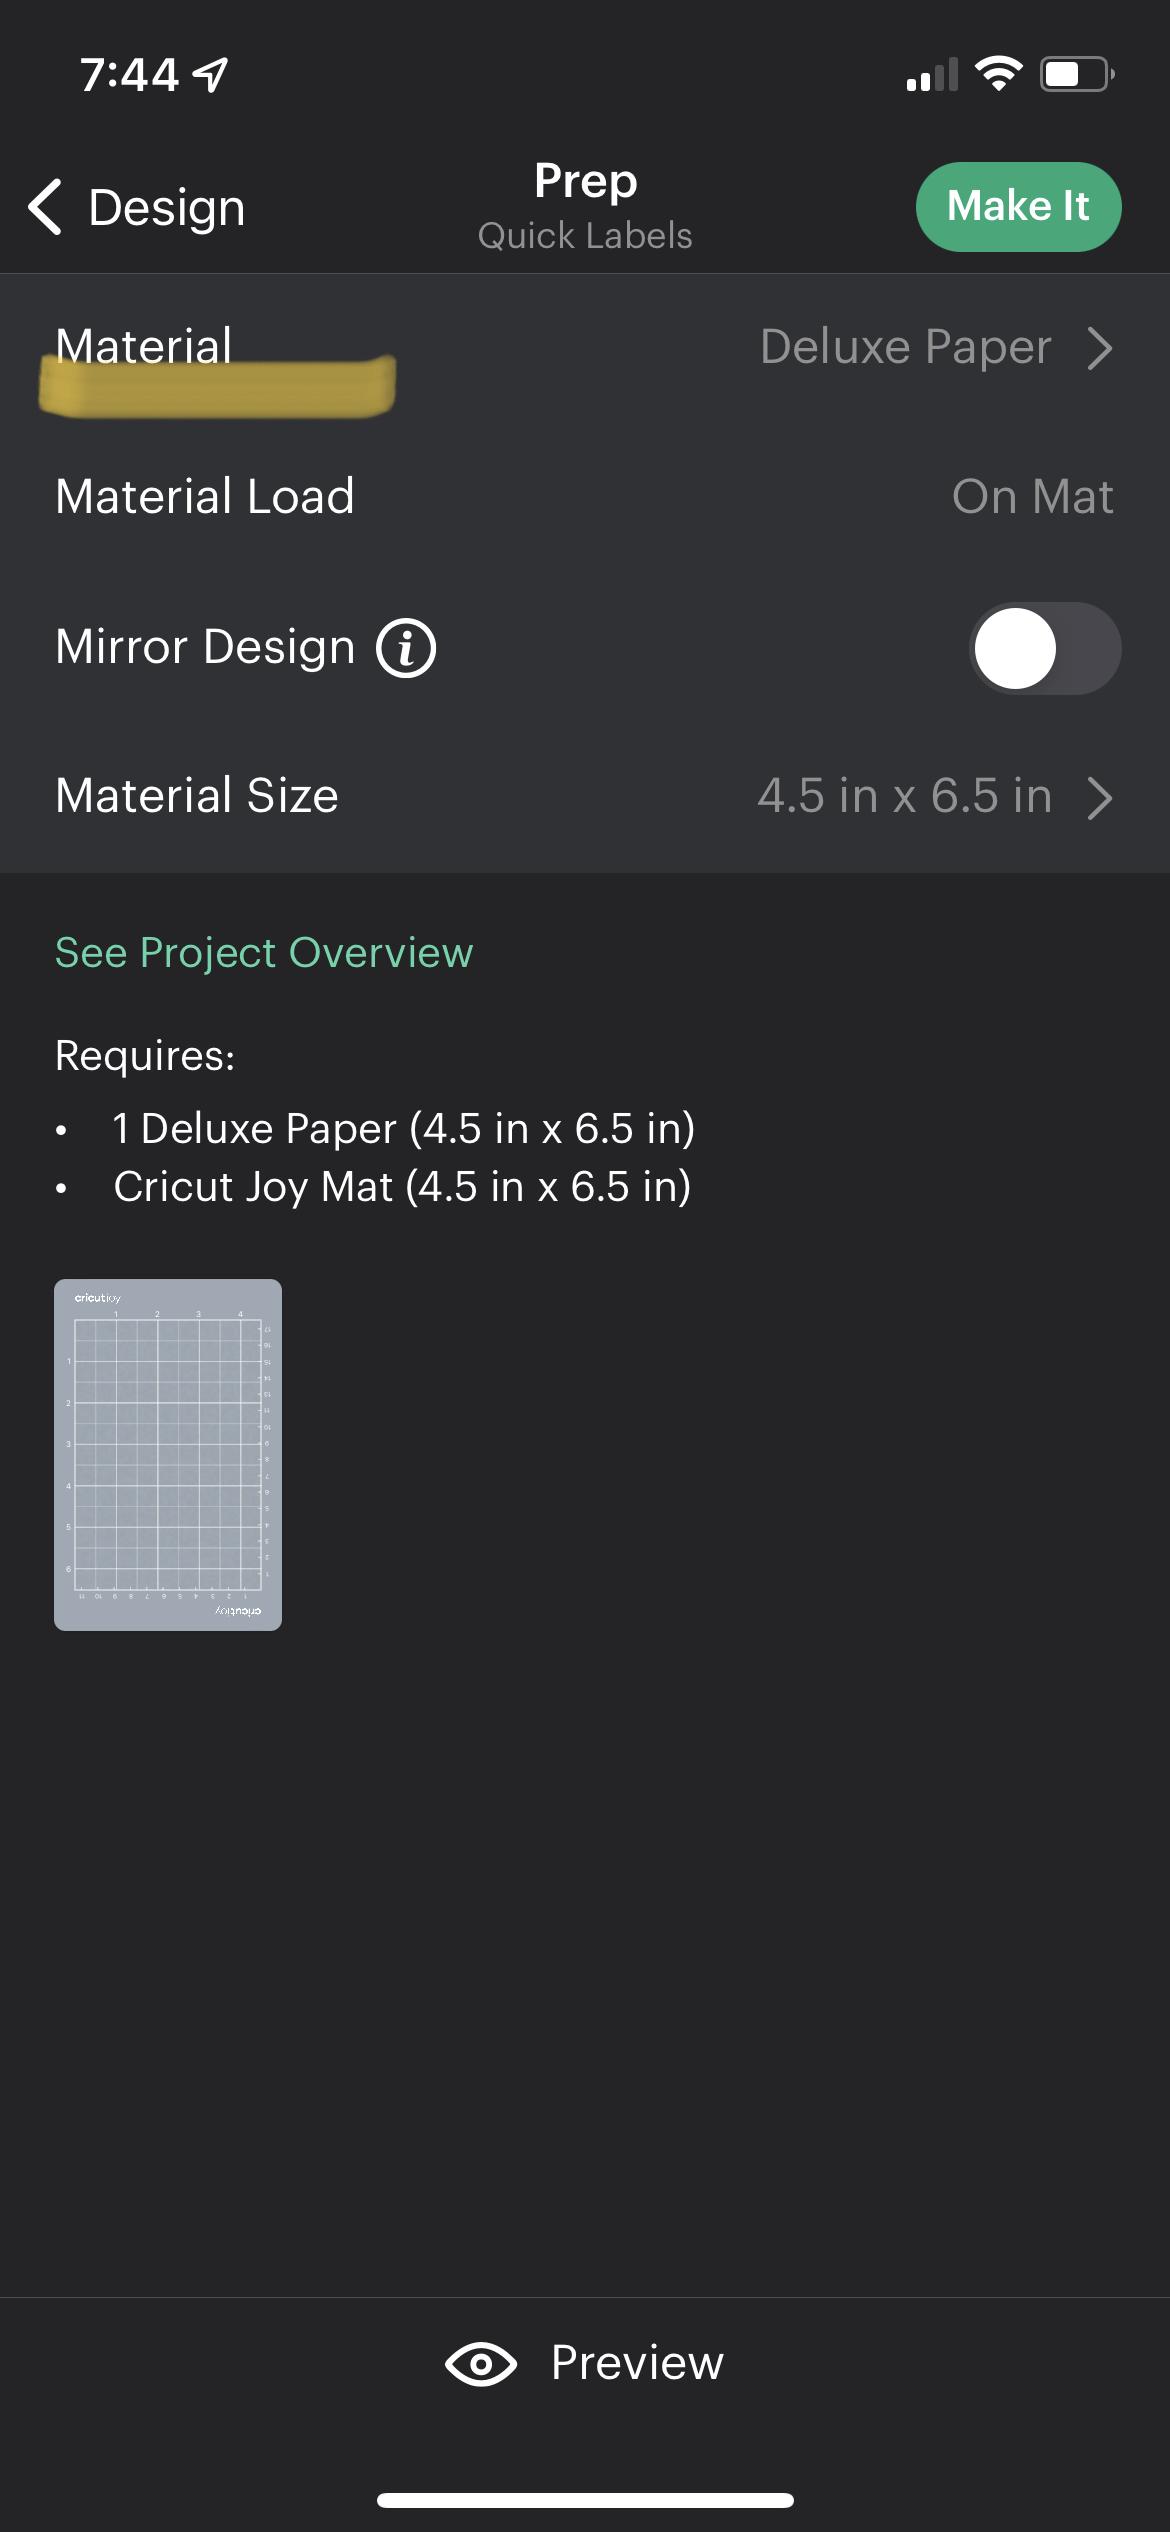
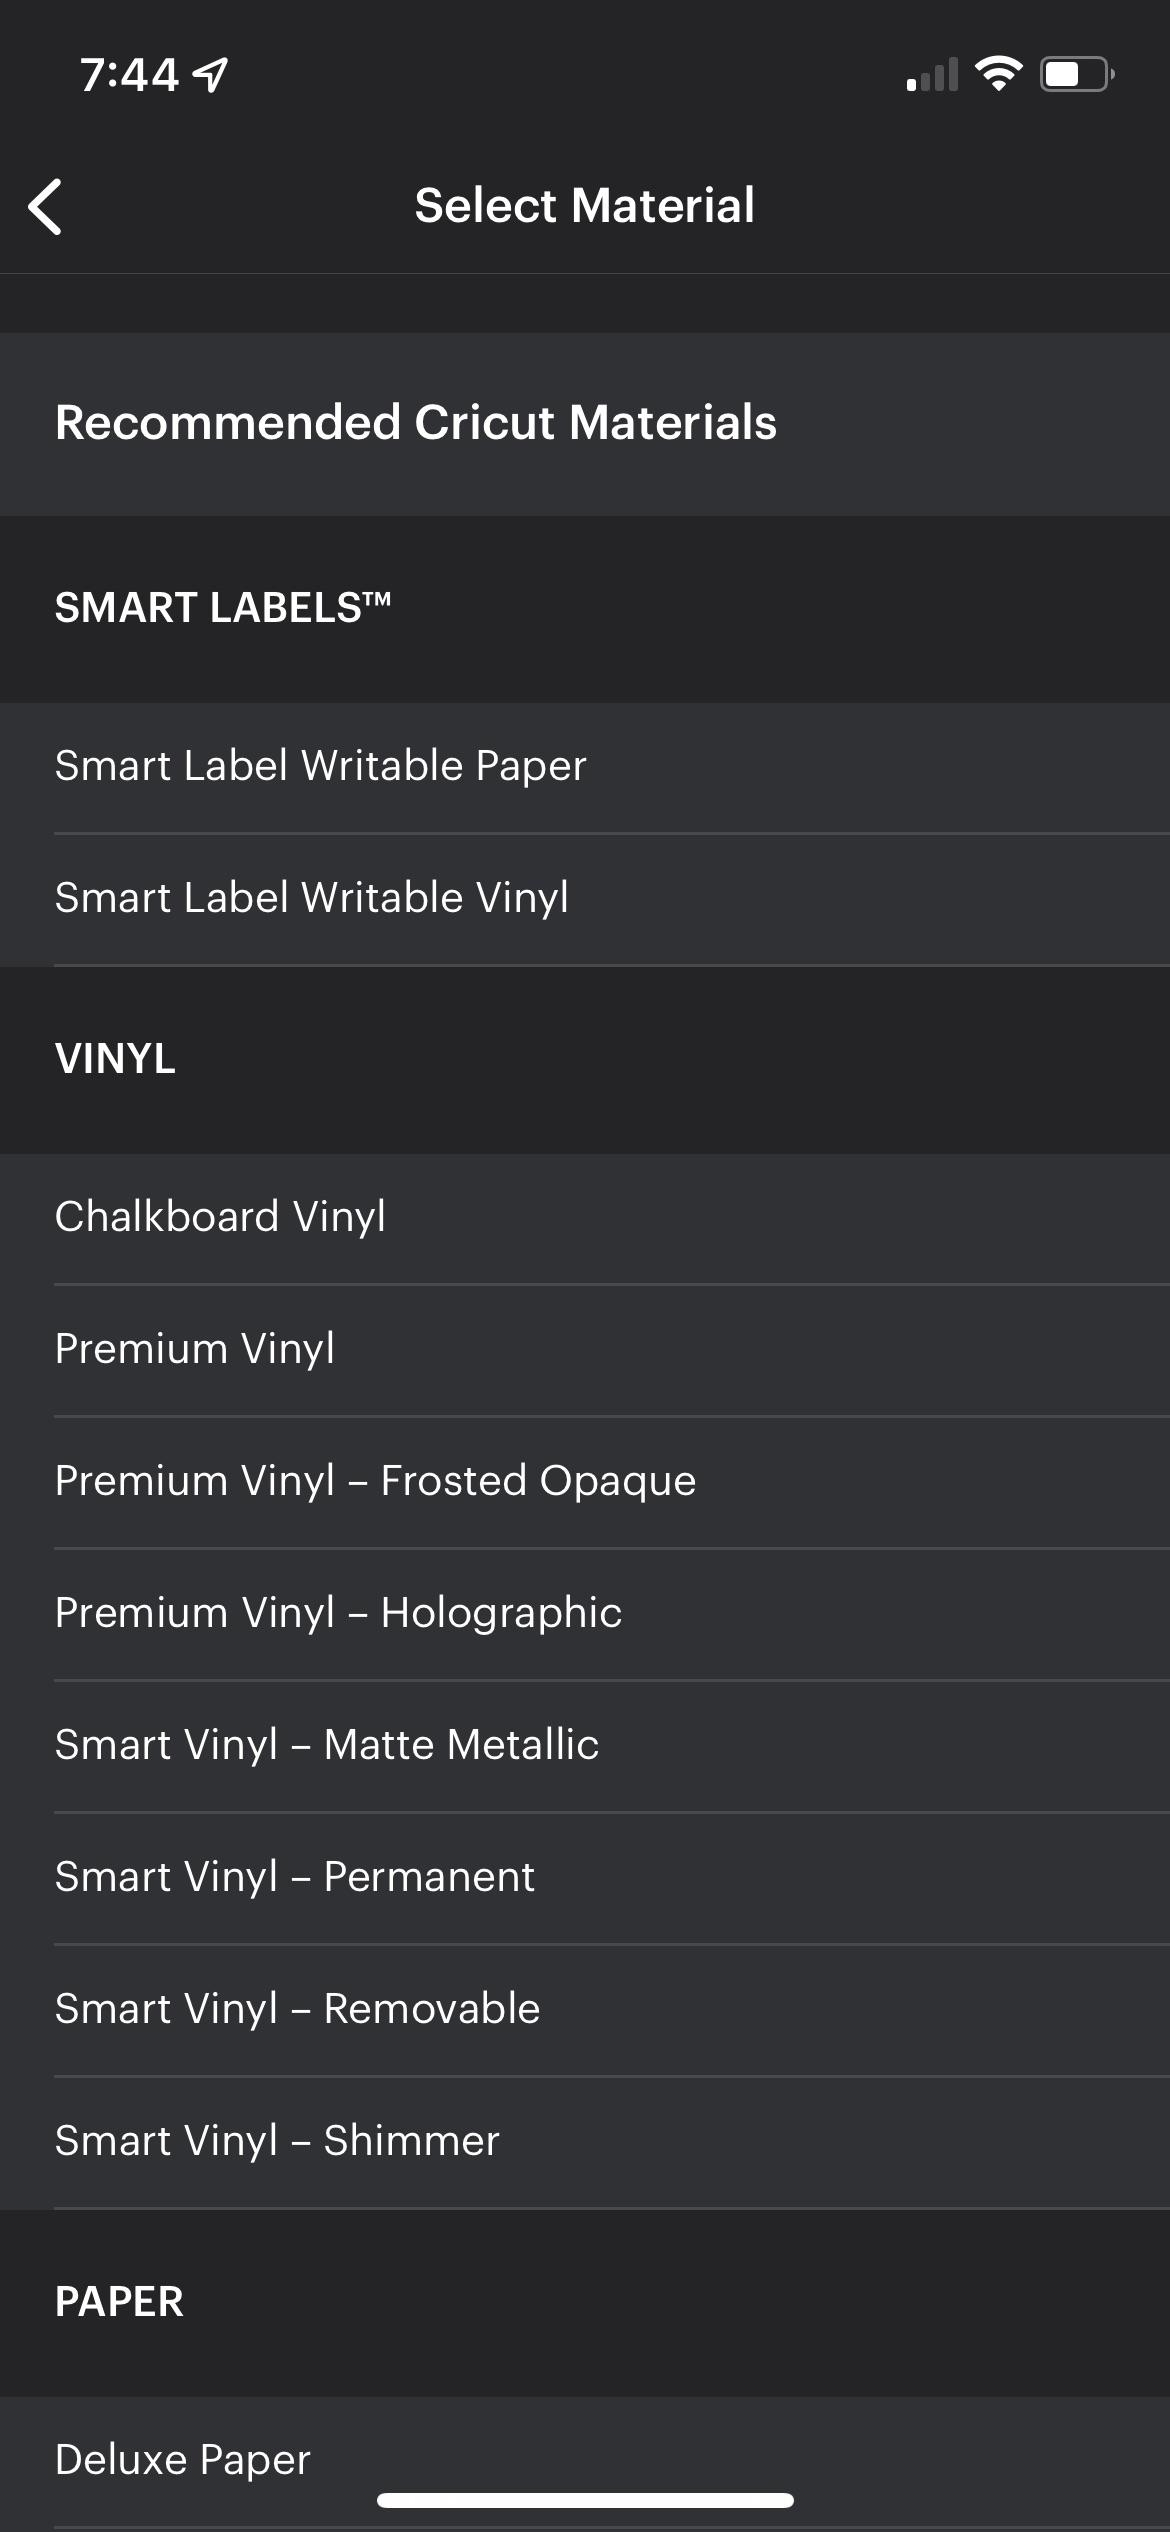
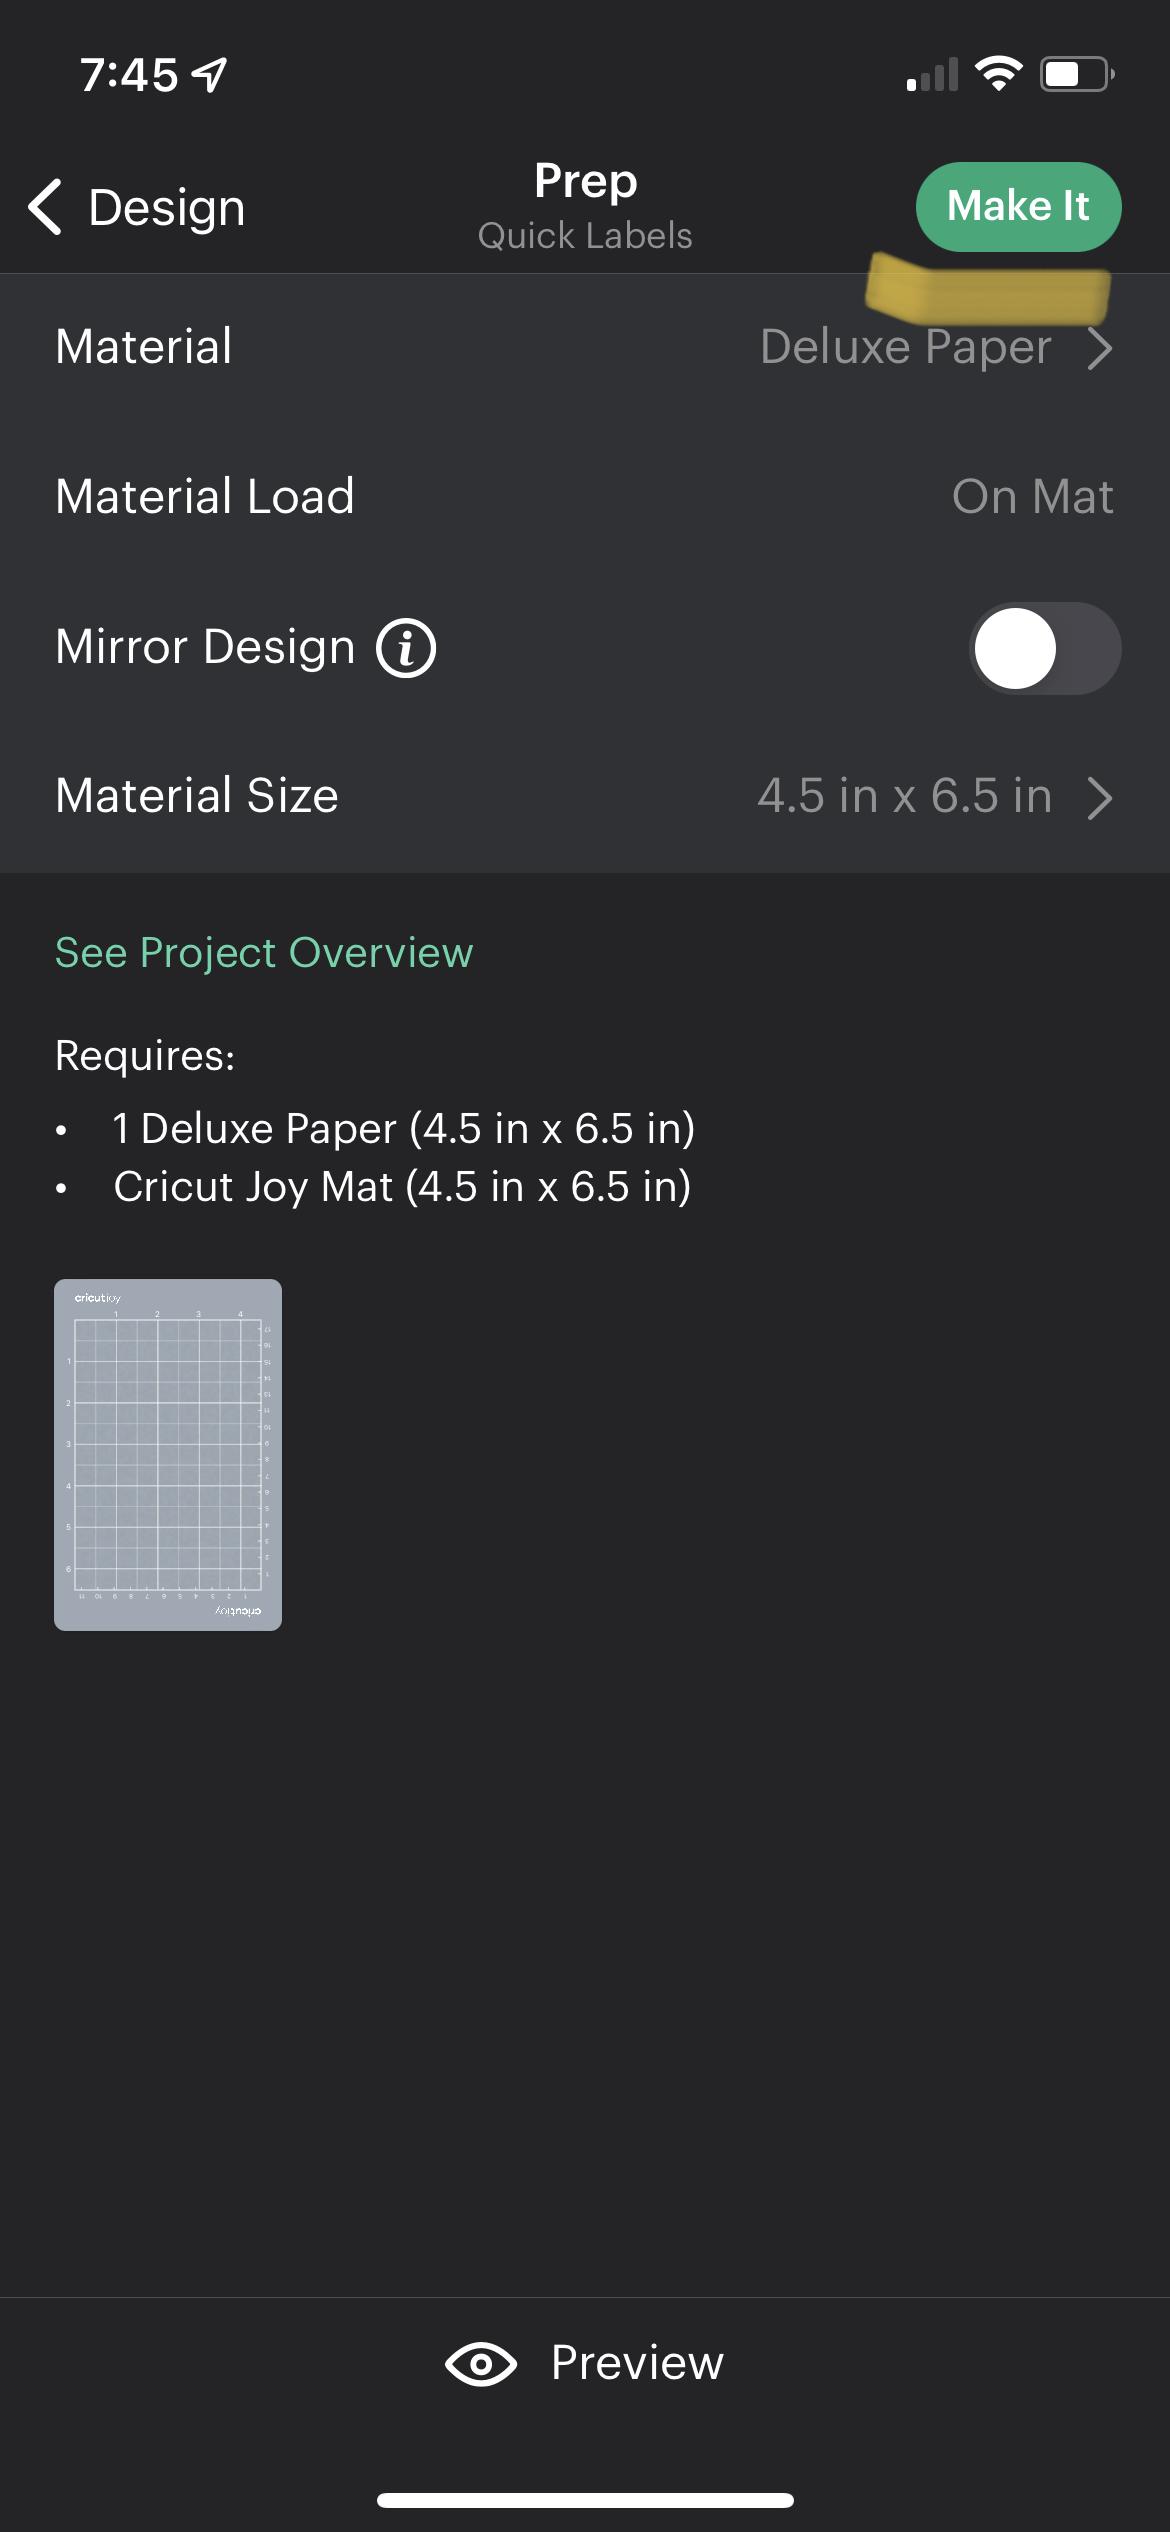
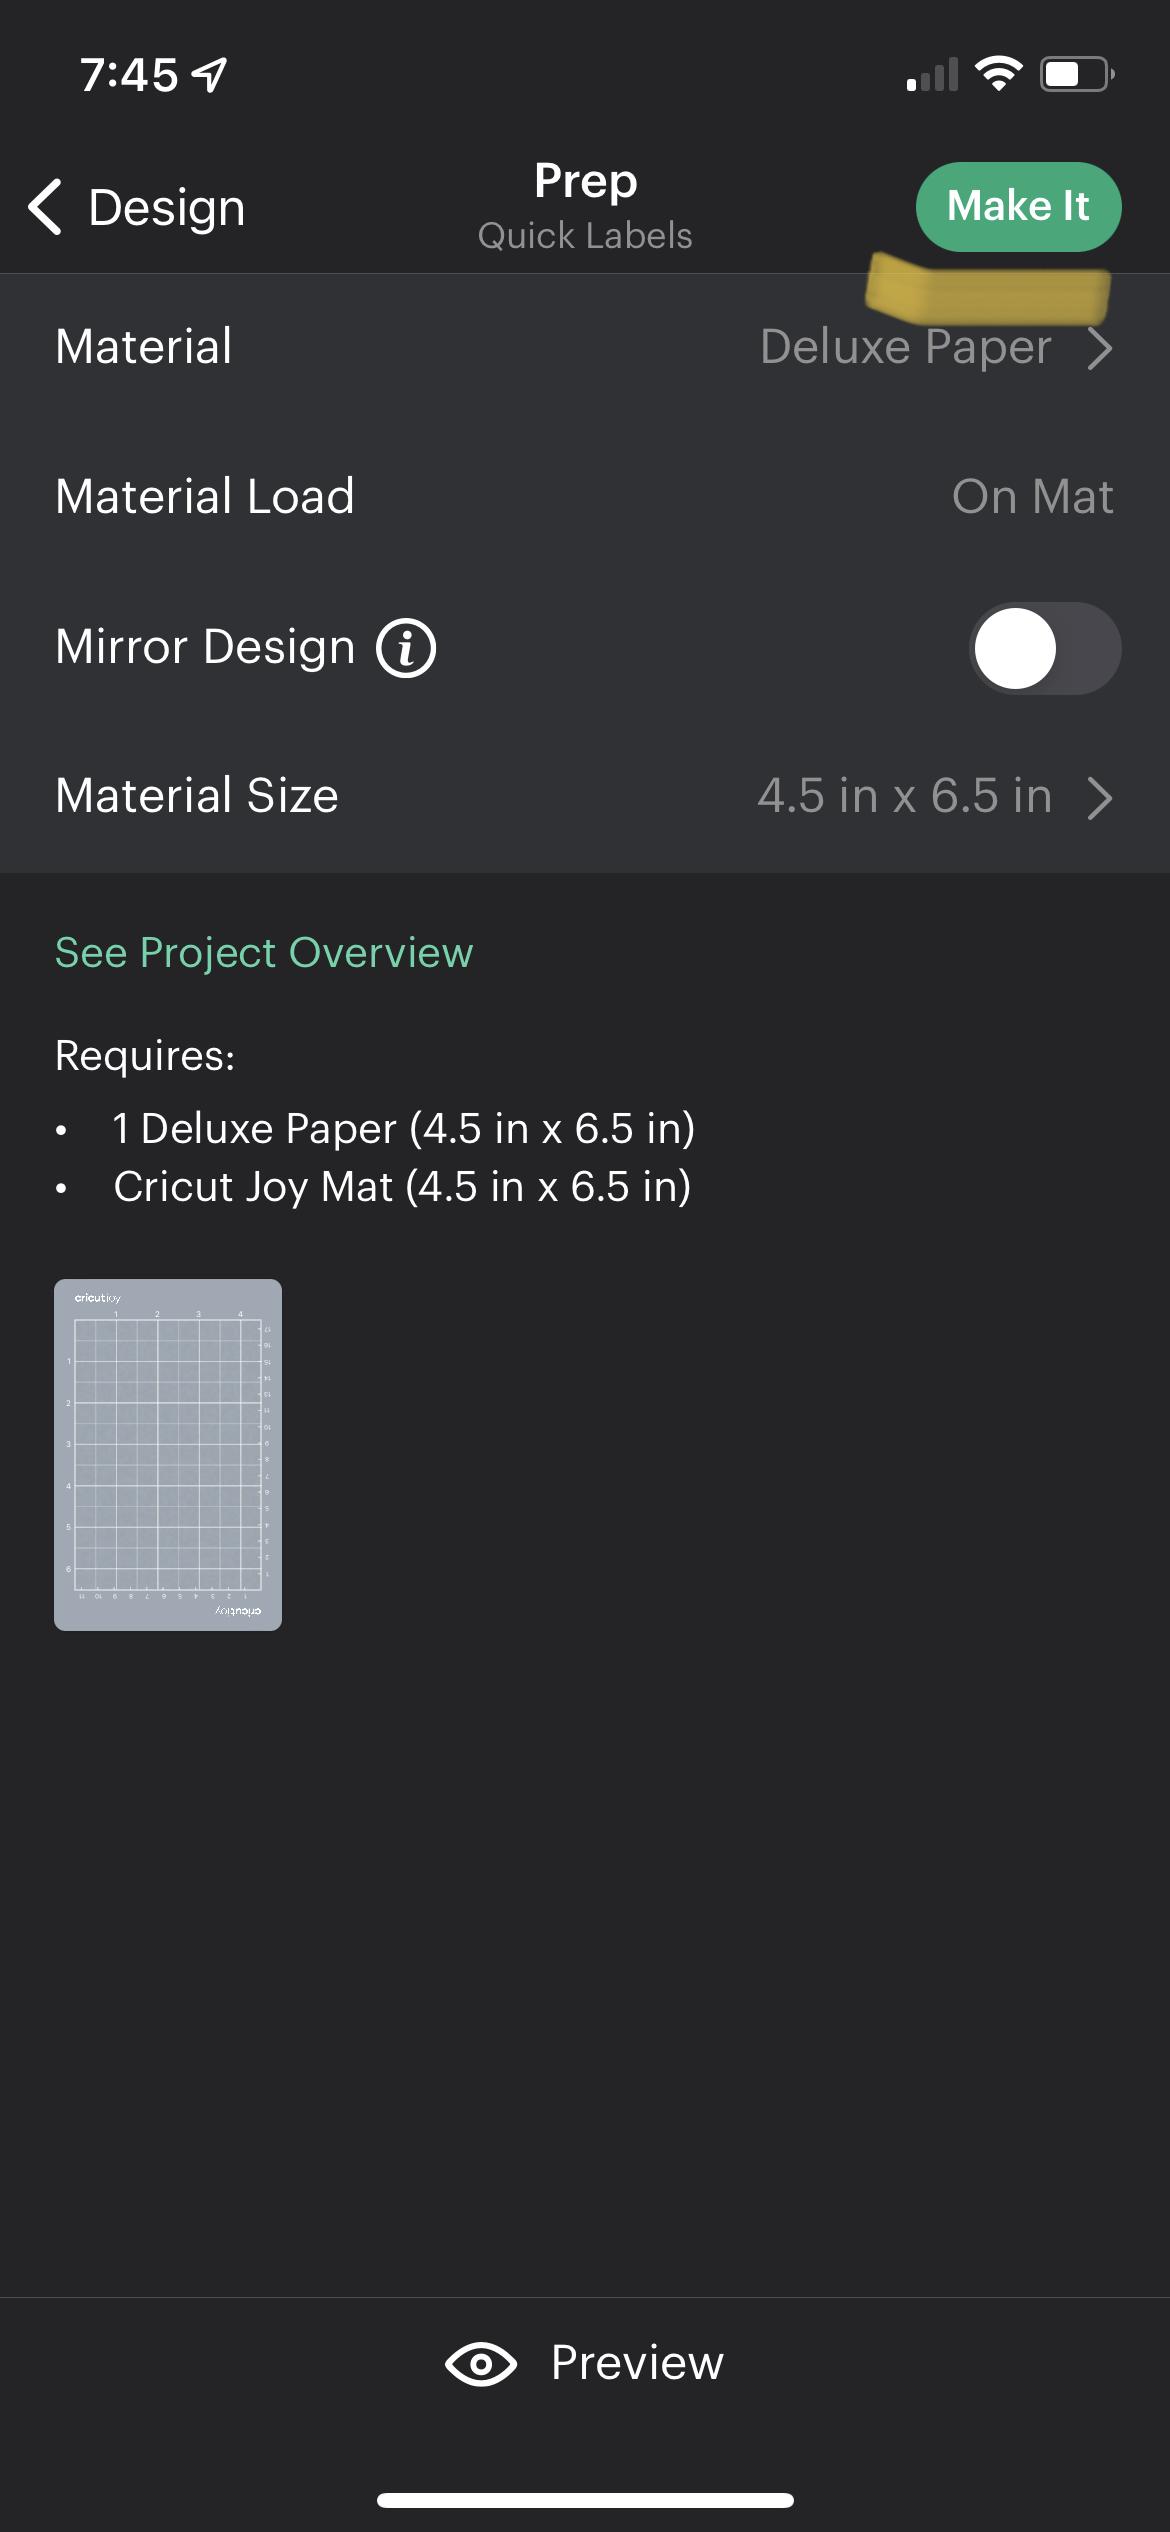
First, get out your printer paper. Cut it so that it fits on your Cricut cutting mat, then apply it to your cutting mat. Open up the Cricut Joy app (I used the Joy app but you can use the design space app too—the process will be a little different though) and scroll through until you find the “Quick Label” tab. Click on the “Quick Label” button, then select any label that you want. Don’t worry if it says “Cutout” because the blade will not be installed on your machine. Once you have selected your label, adjust the size of your label however you want, then enter the text that you want the label to say. Click “Next”, then make sure that your label looks good. Click “Next” again and you should be on the “prep” page. Click the “Material” button, and select “Deluxe Paper”out of the material list. If “Printer Paper” is an option, click that instead. Now, you are ready to make it!
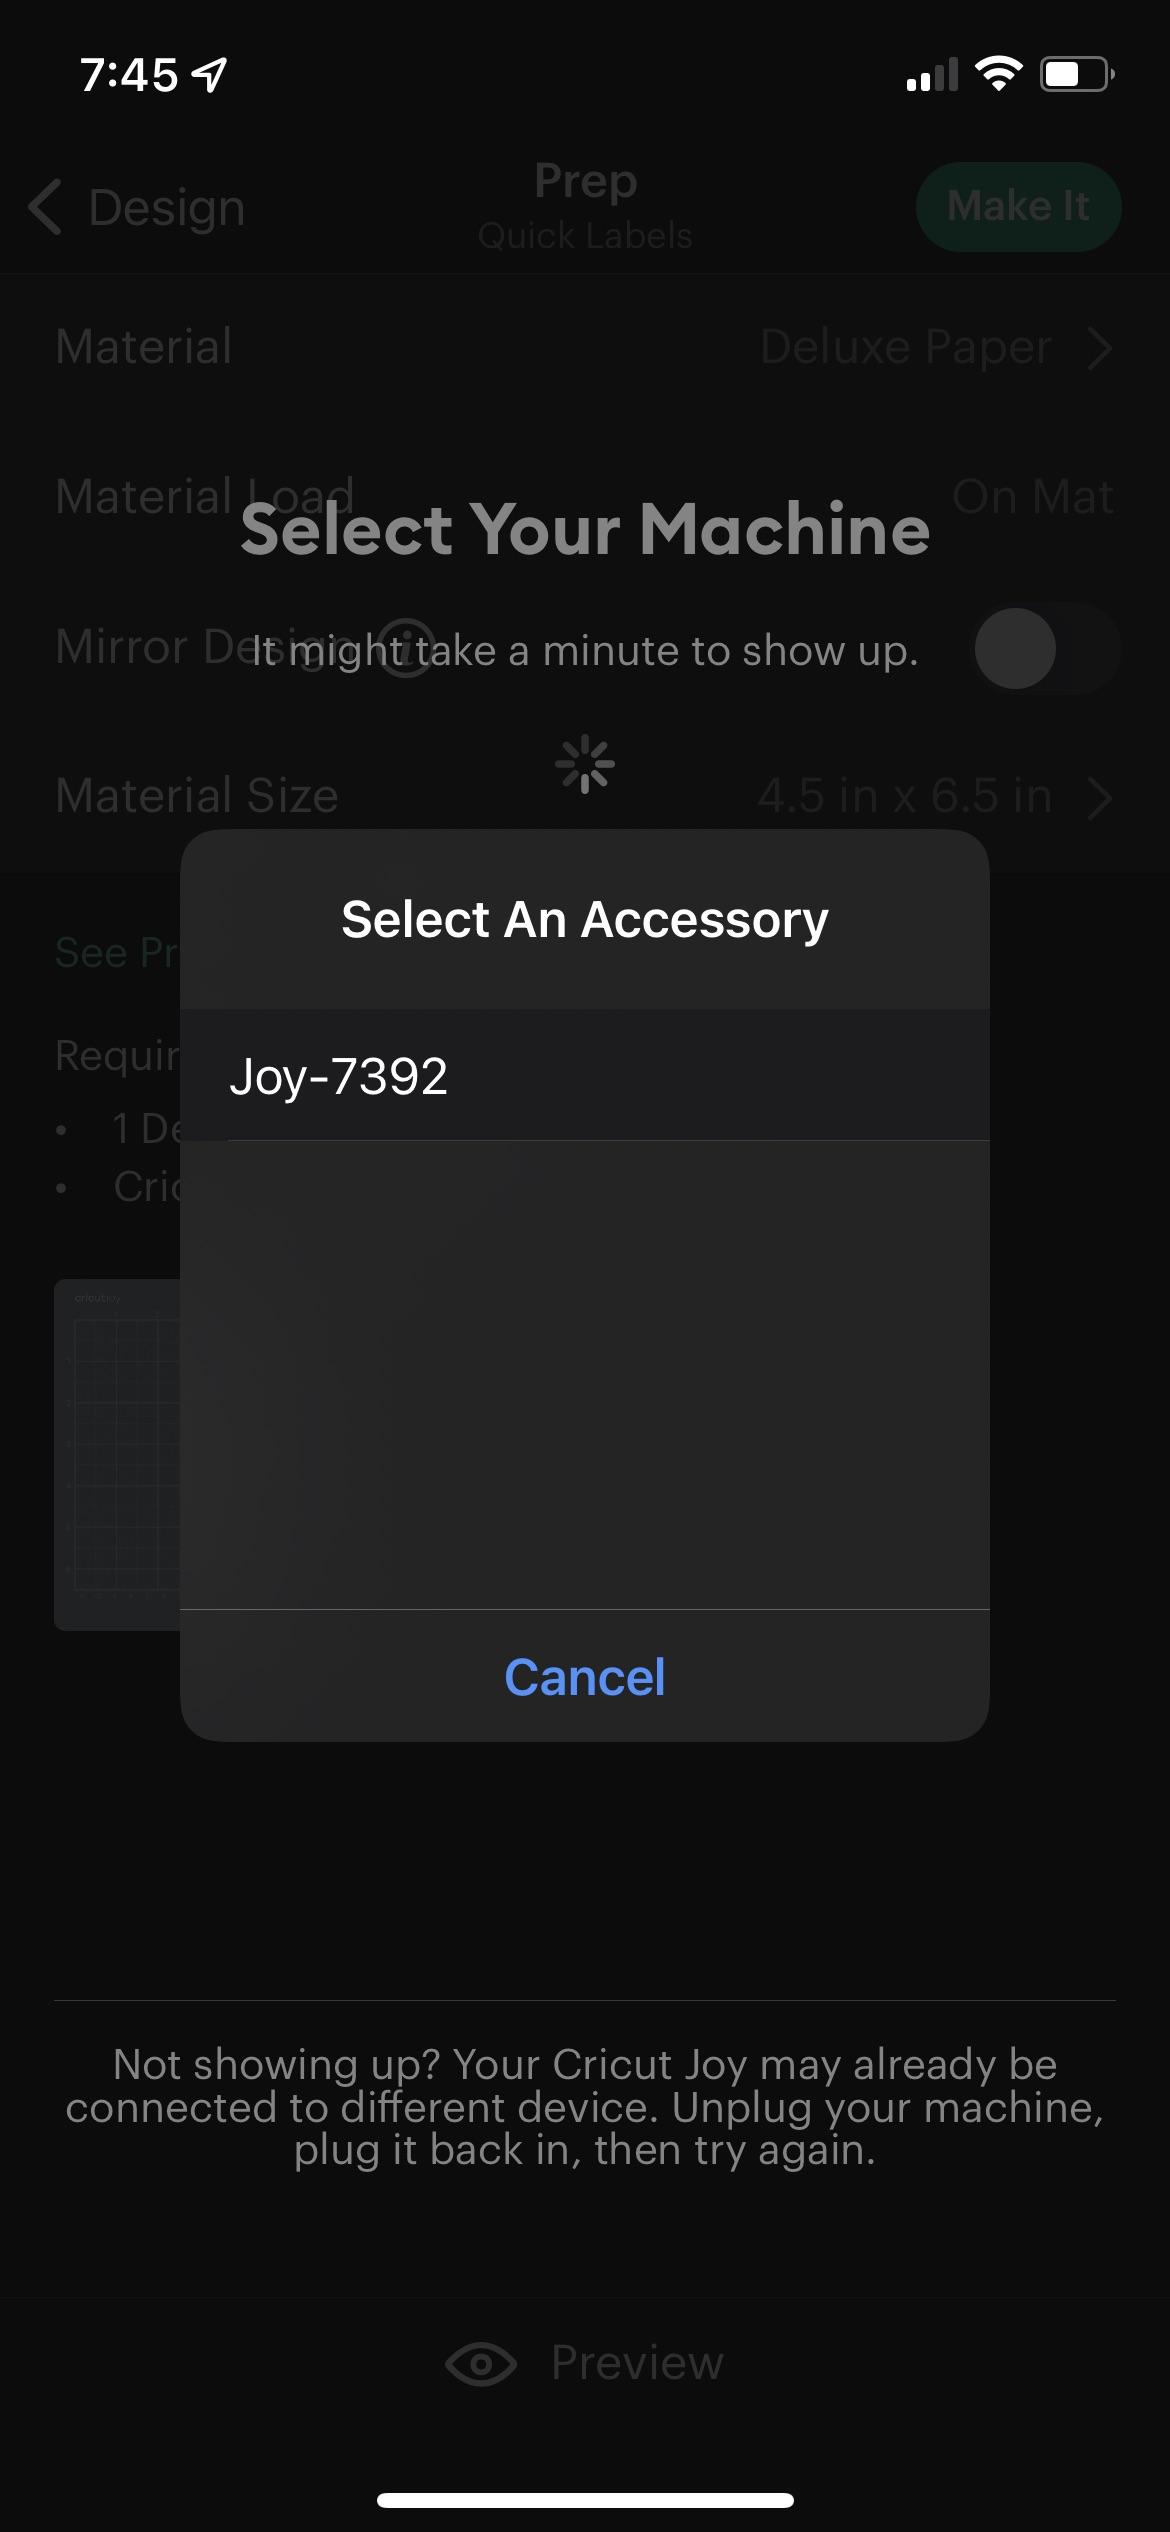
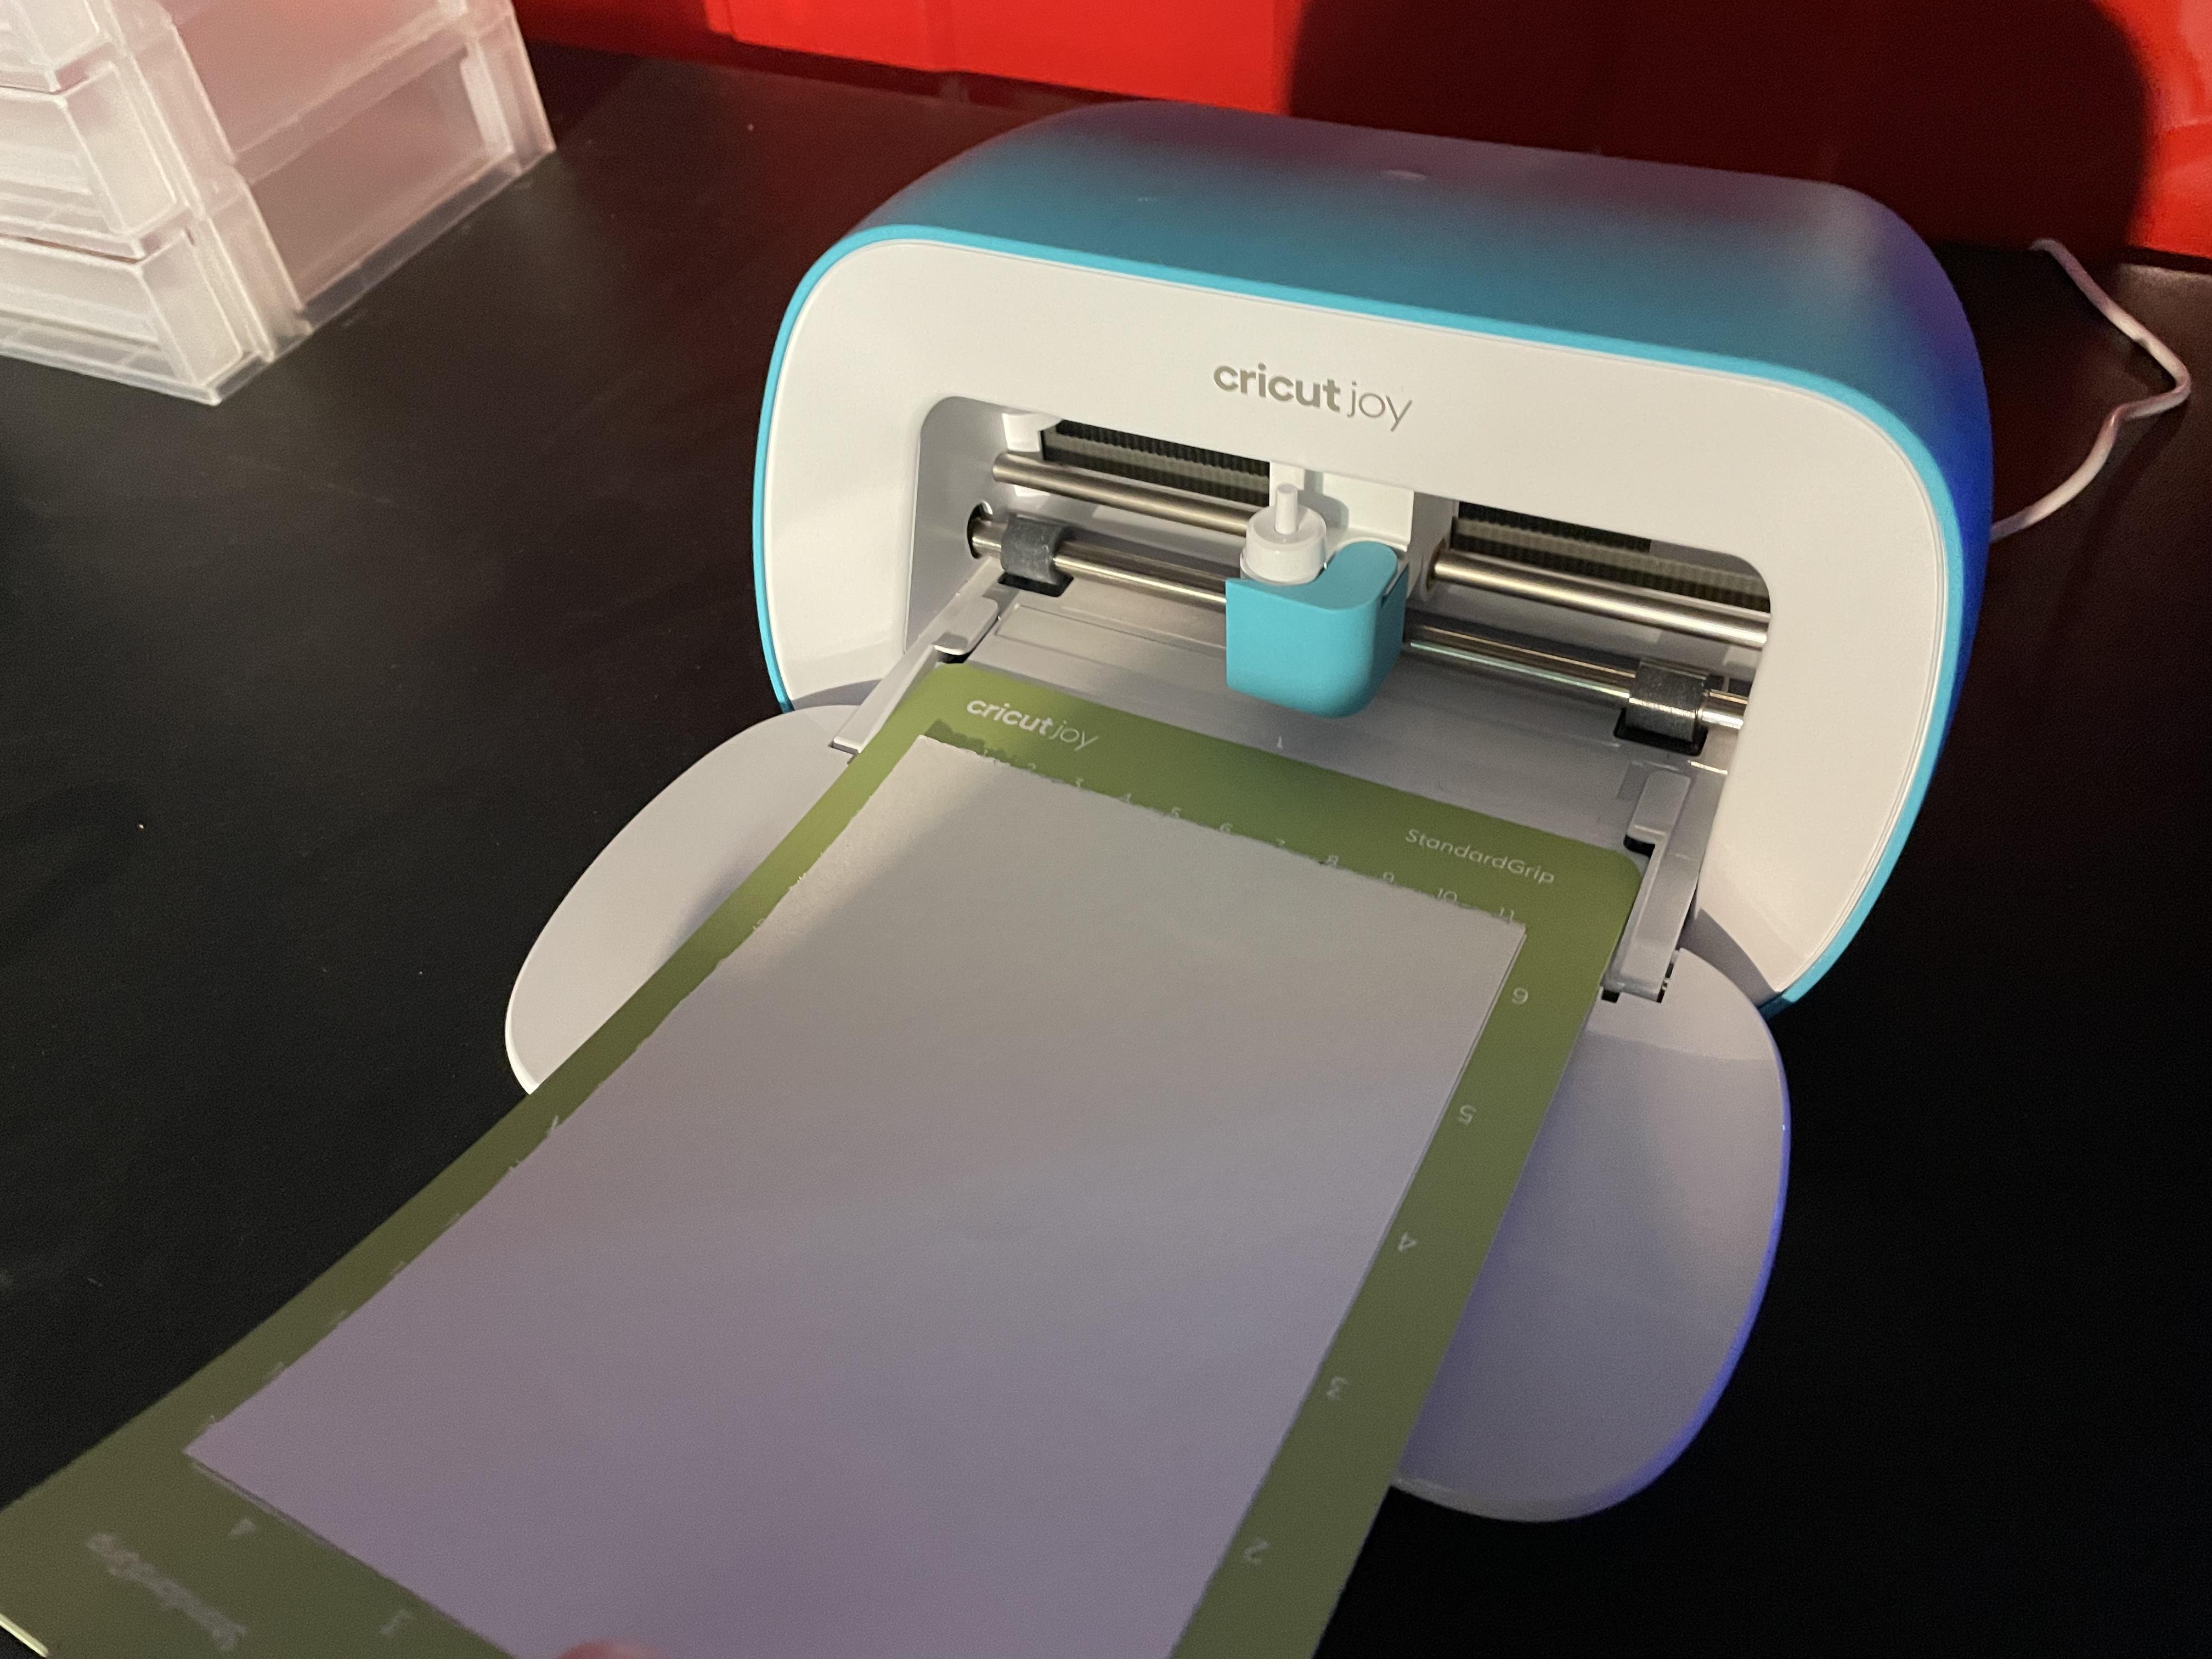
Make Your Label
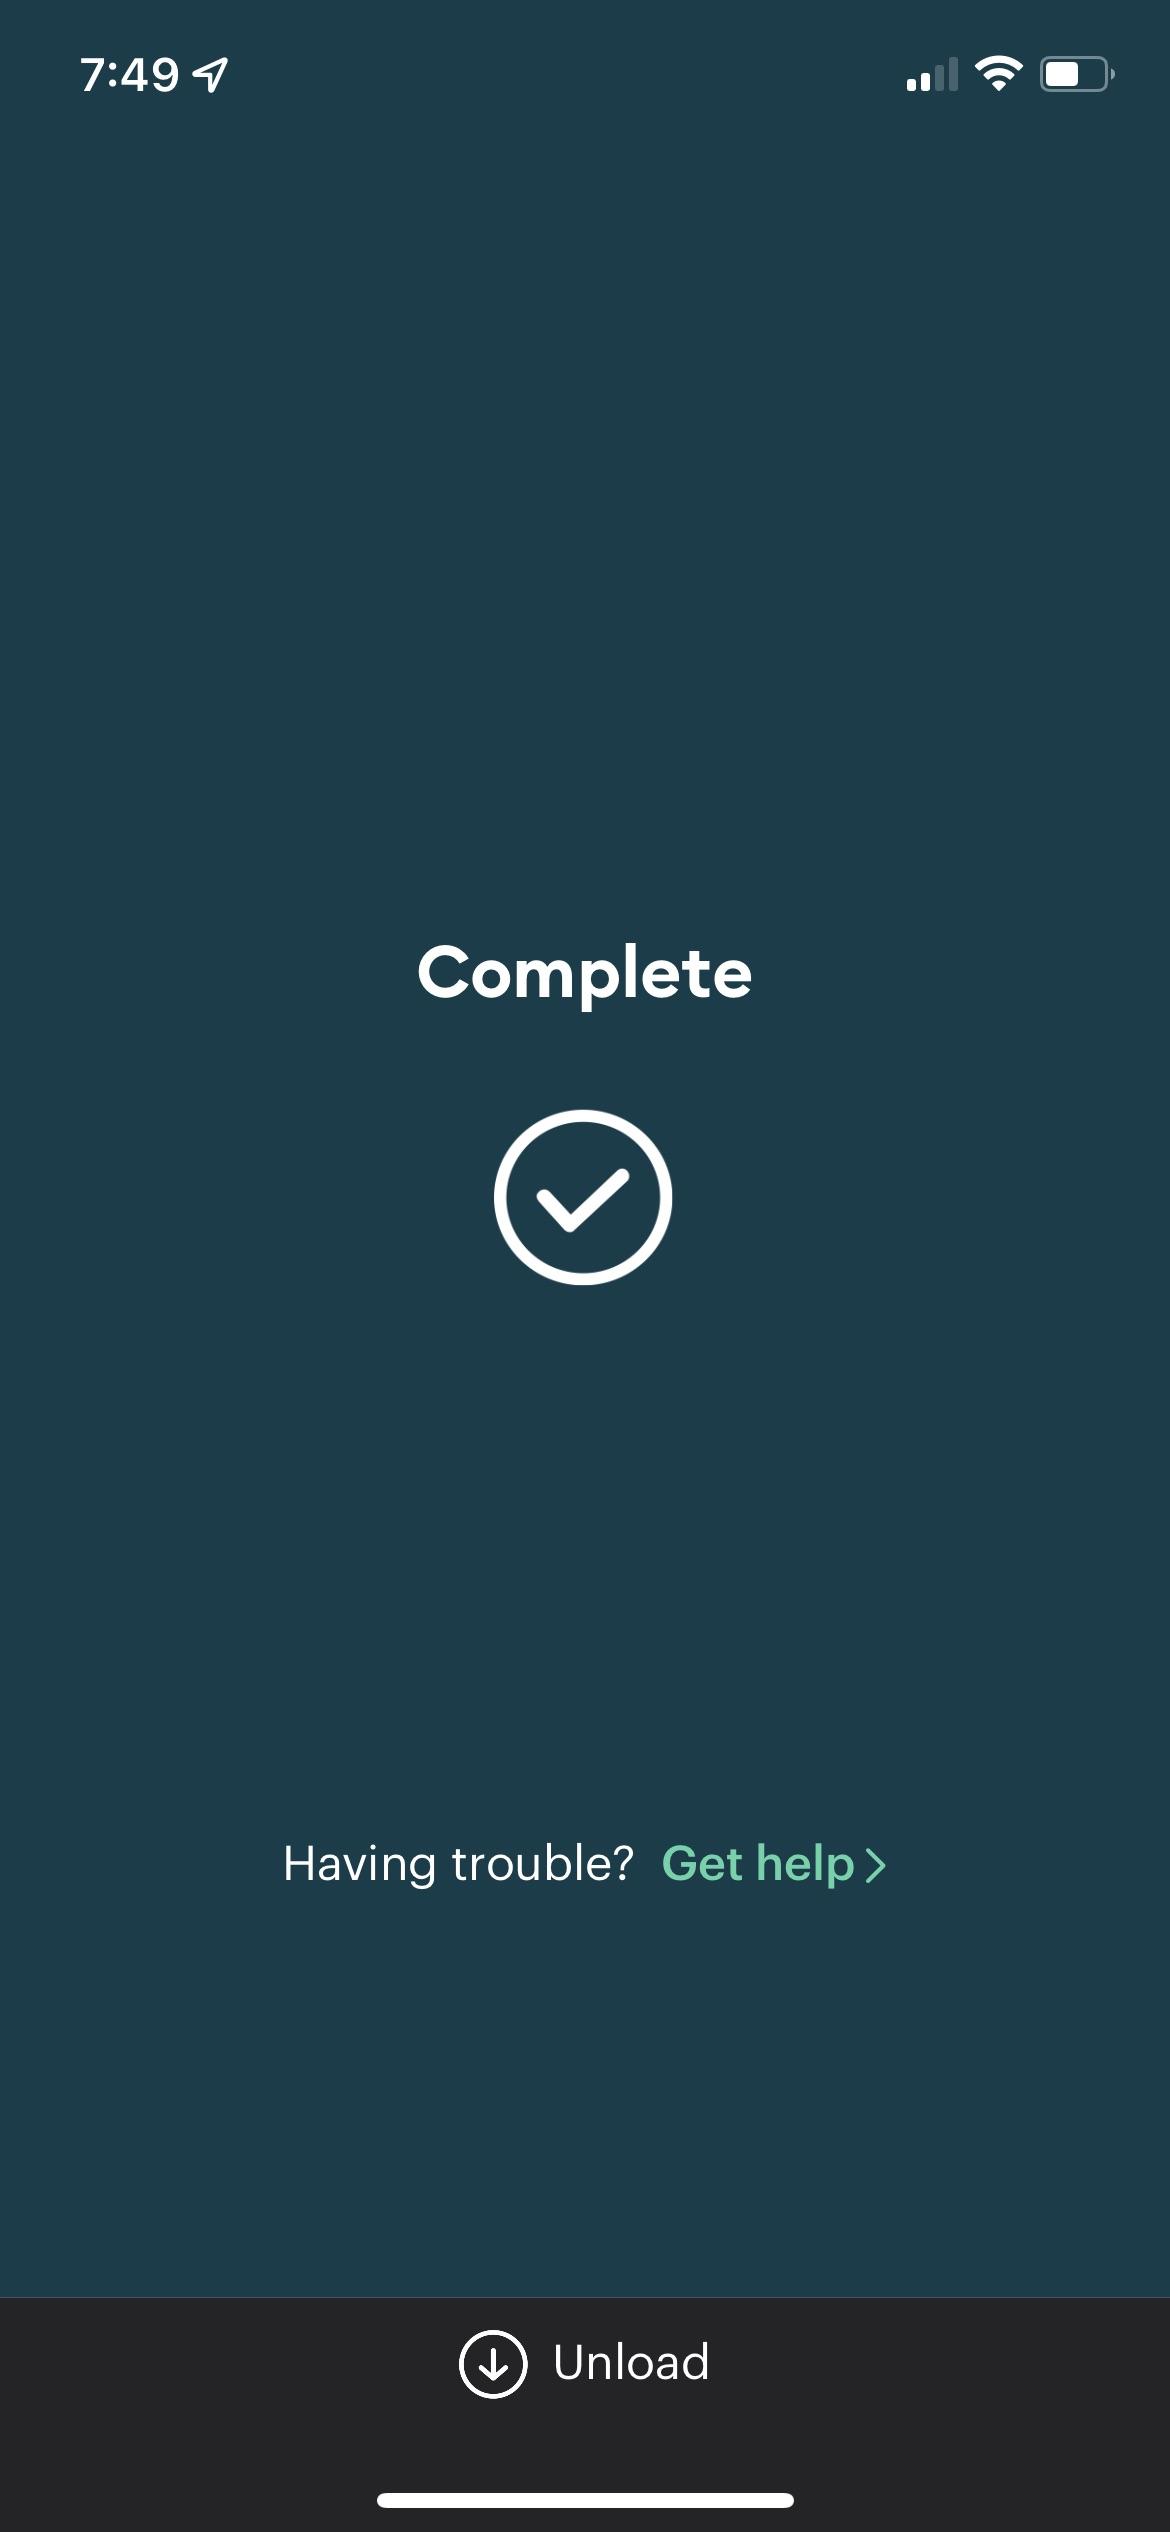
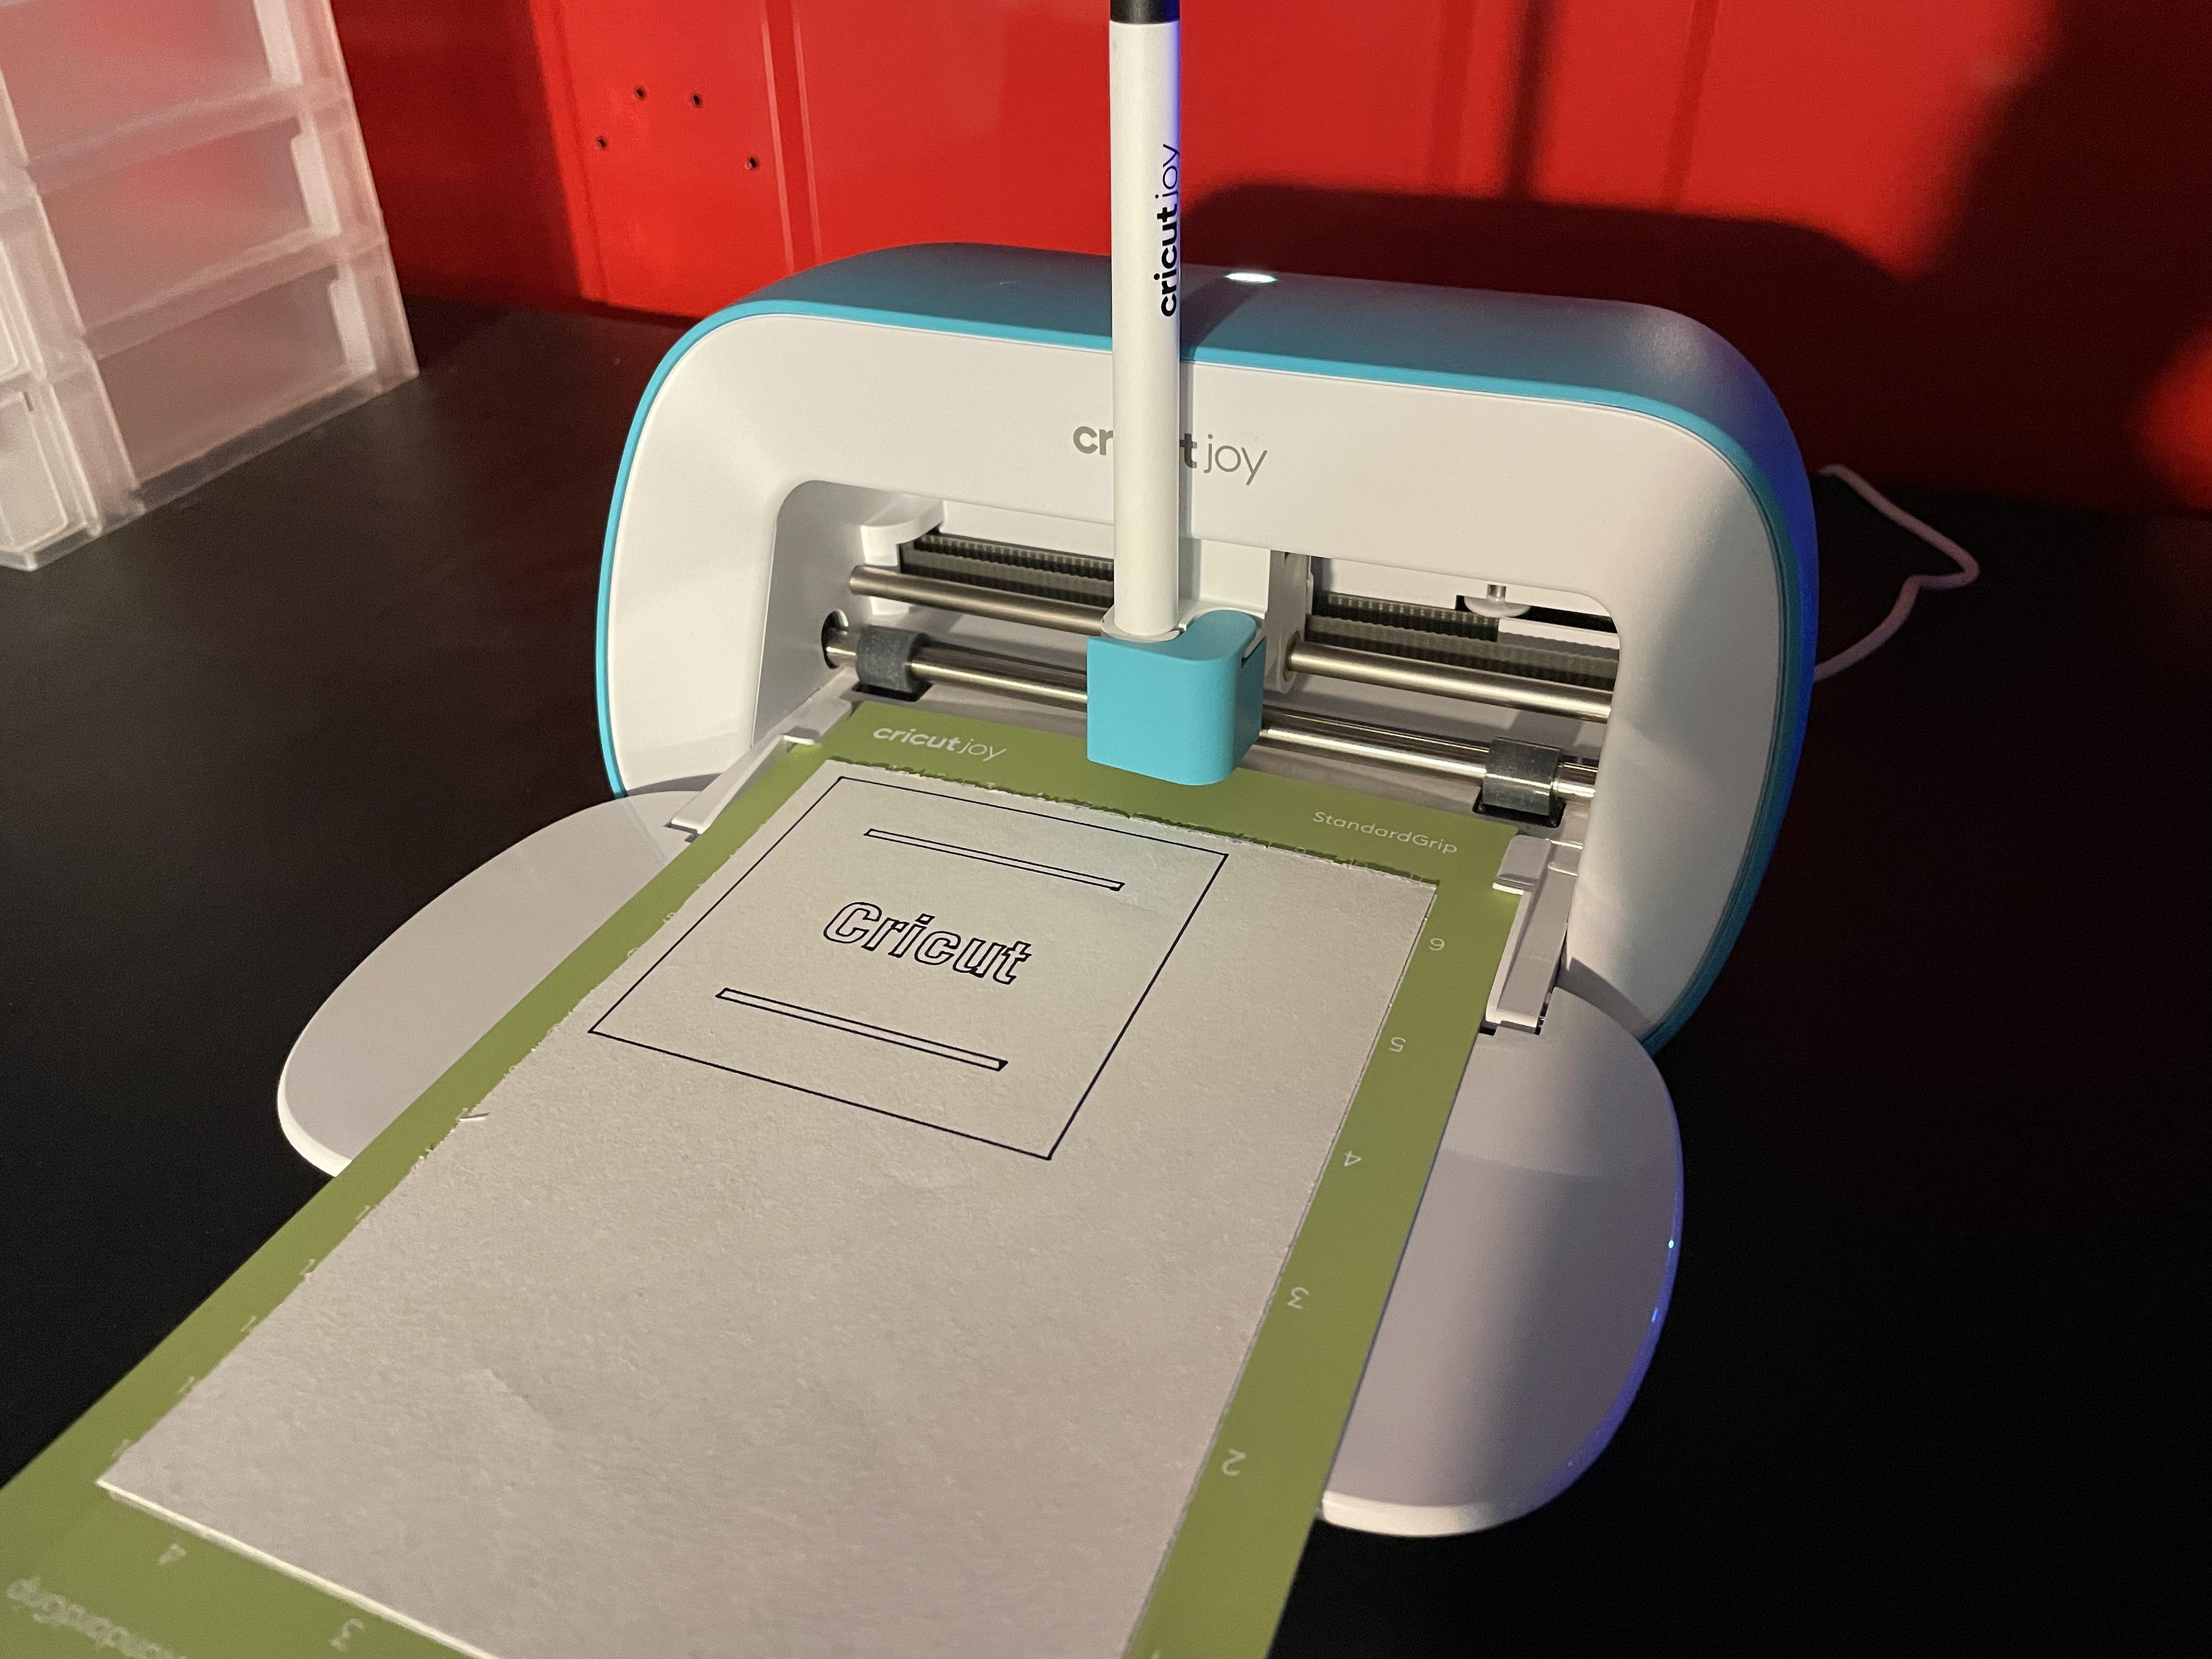
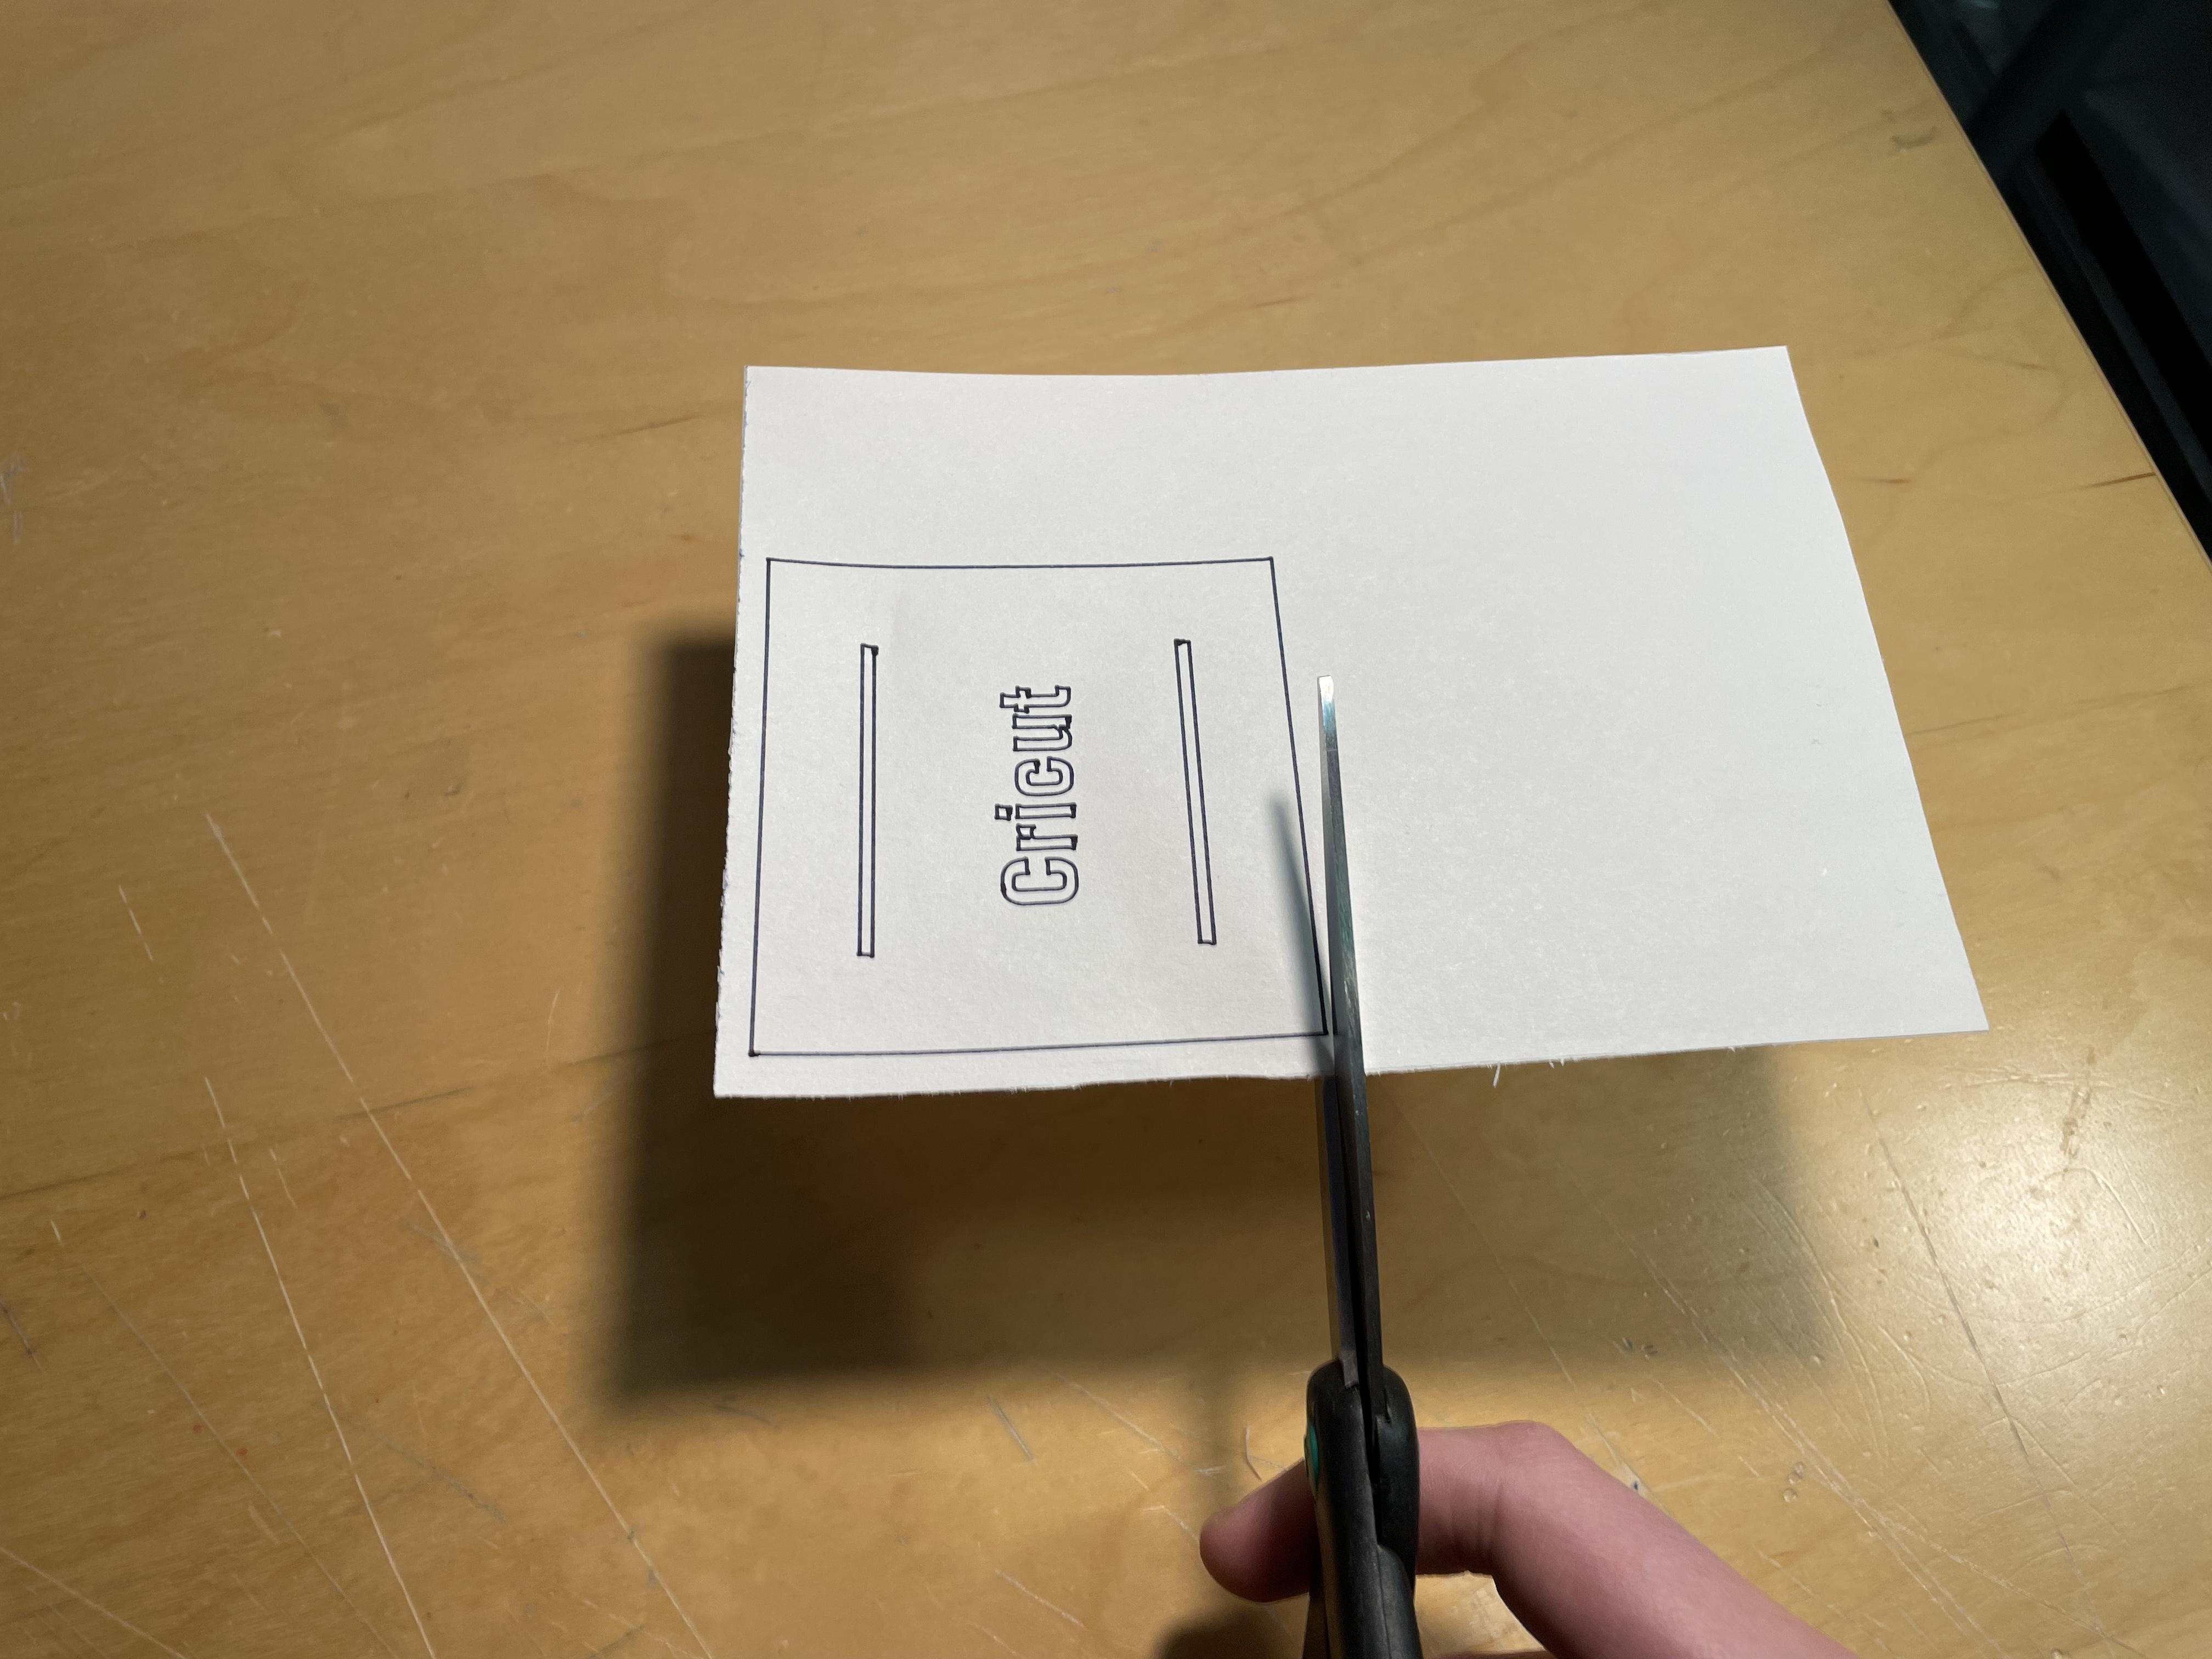
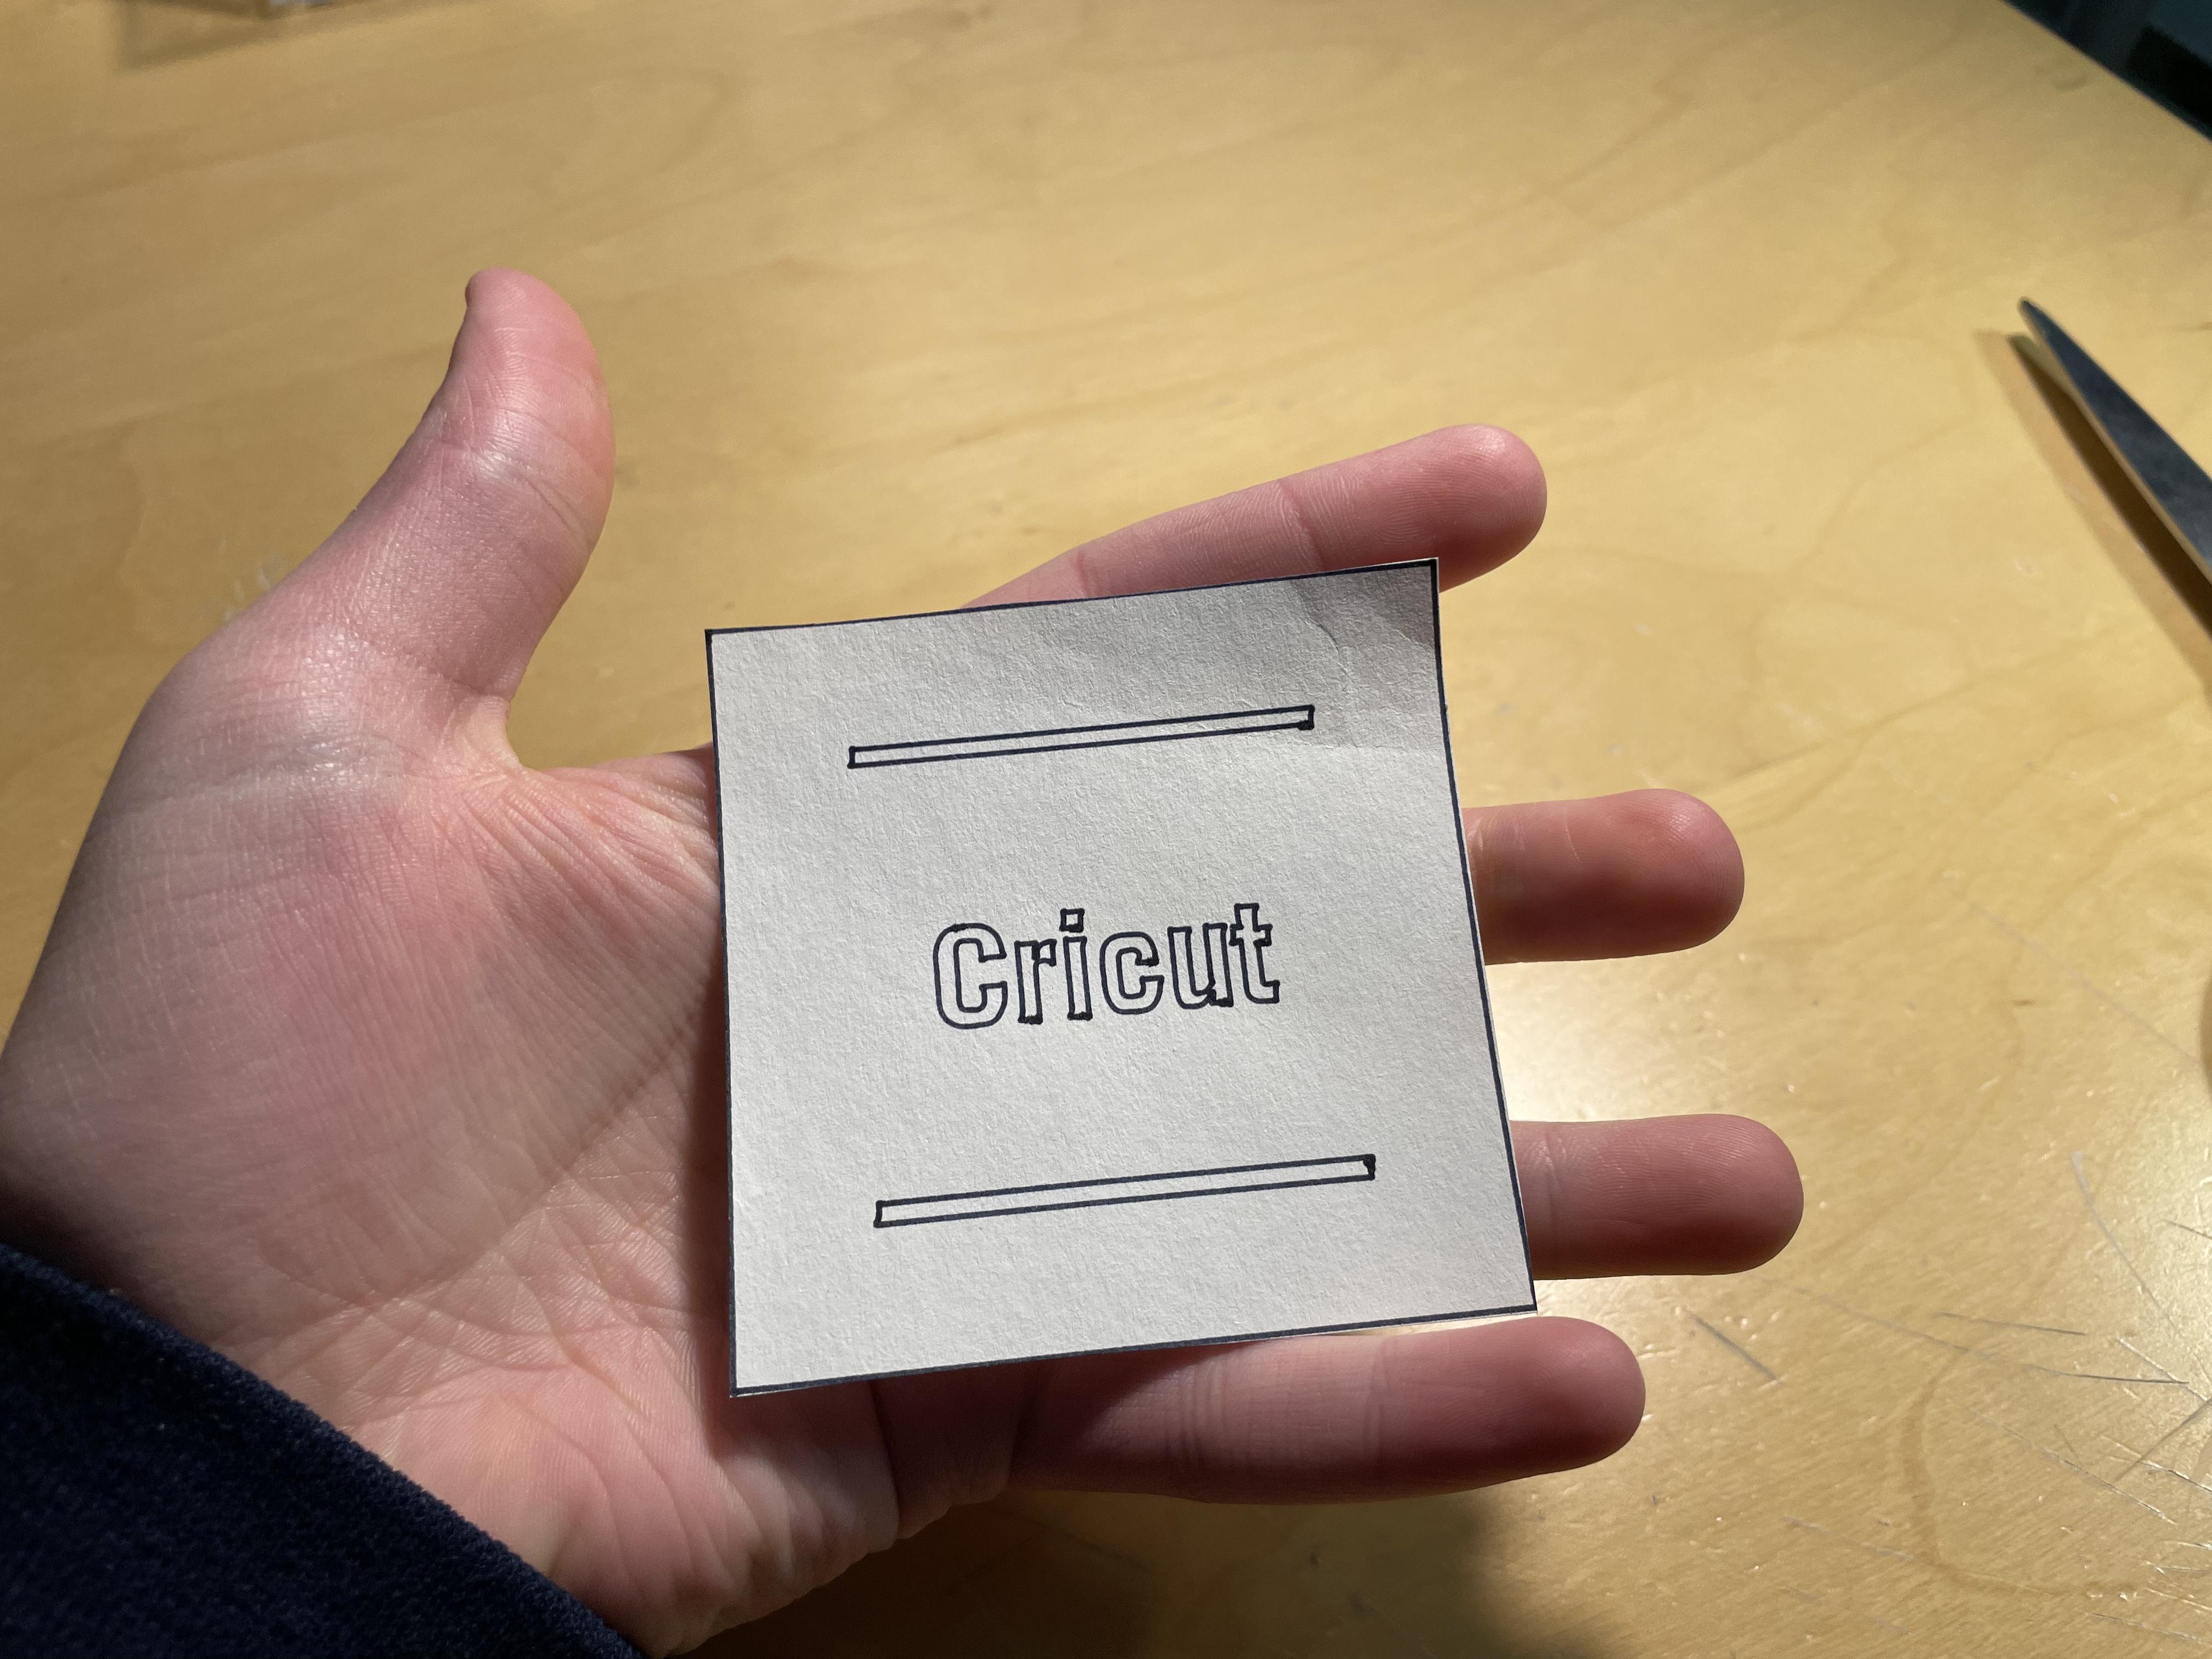
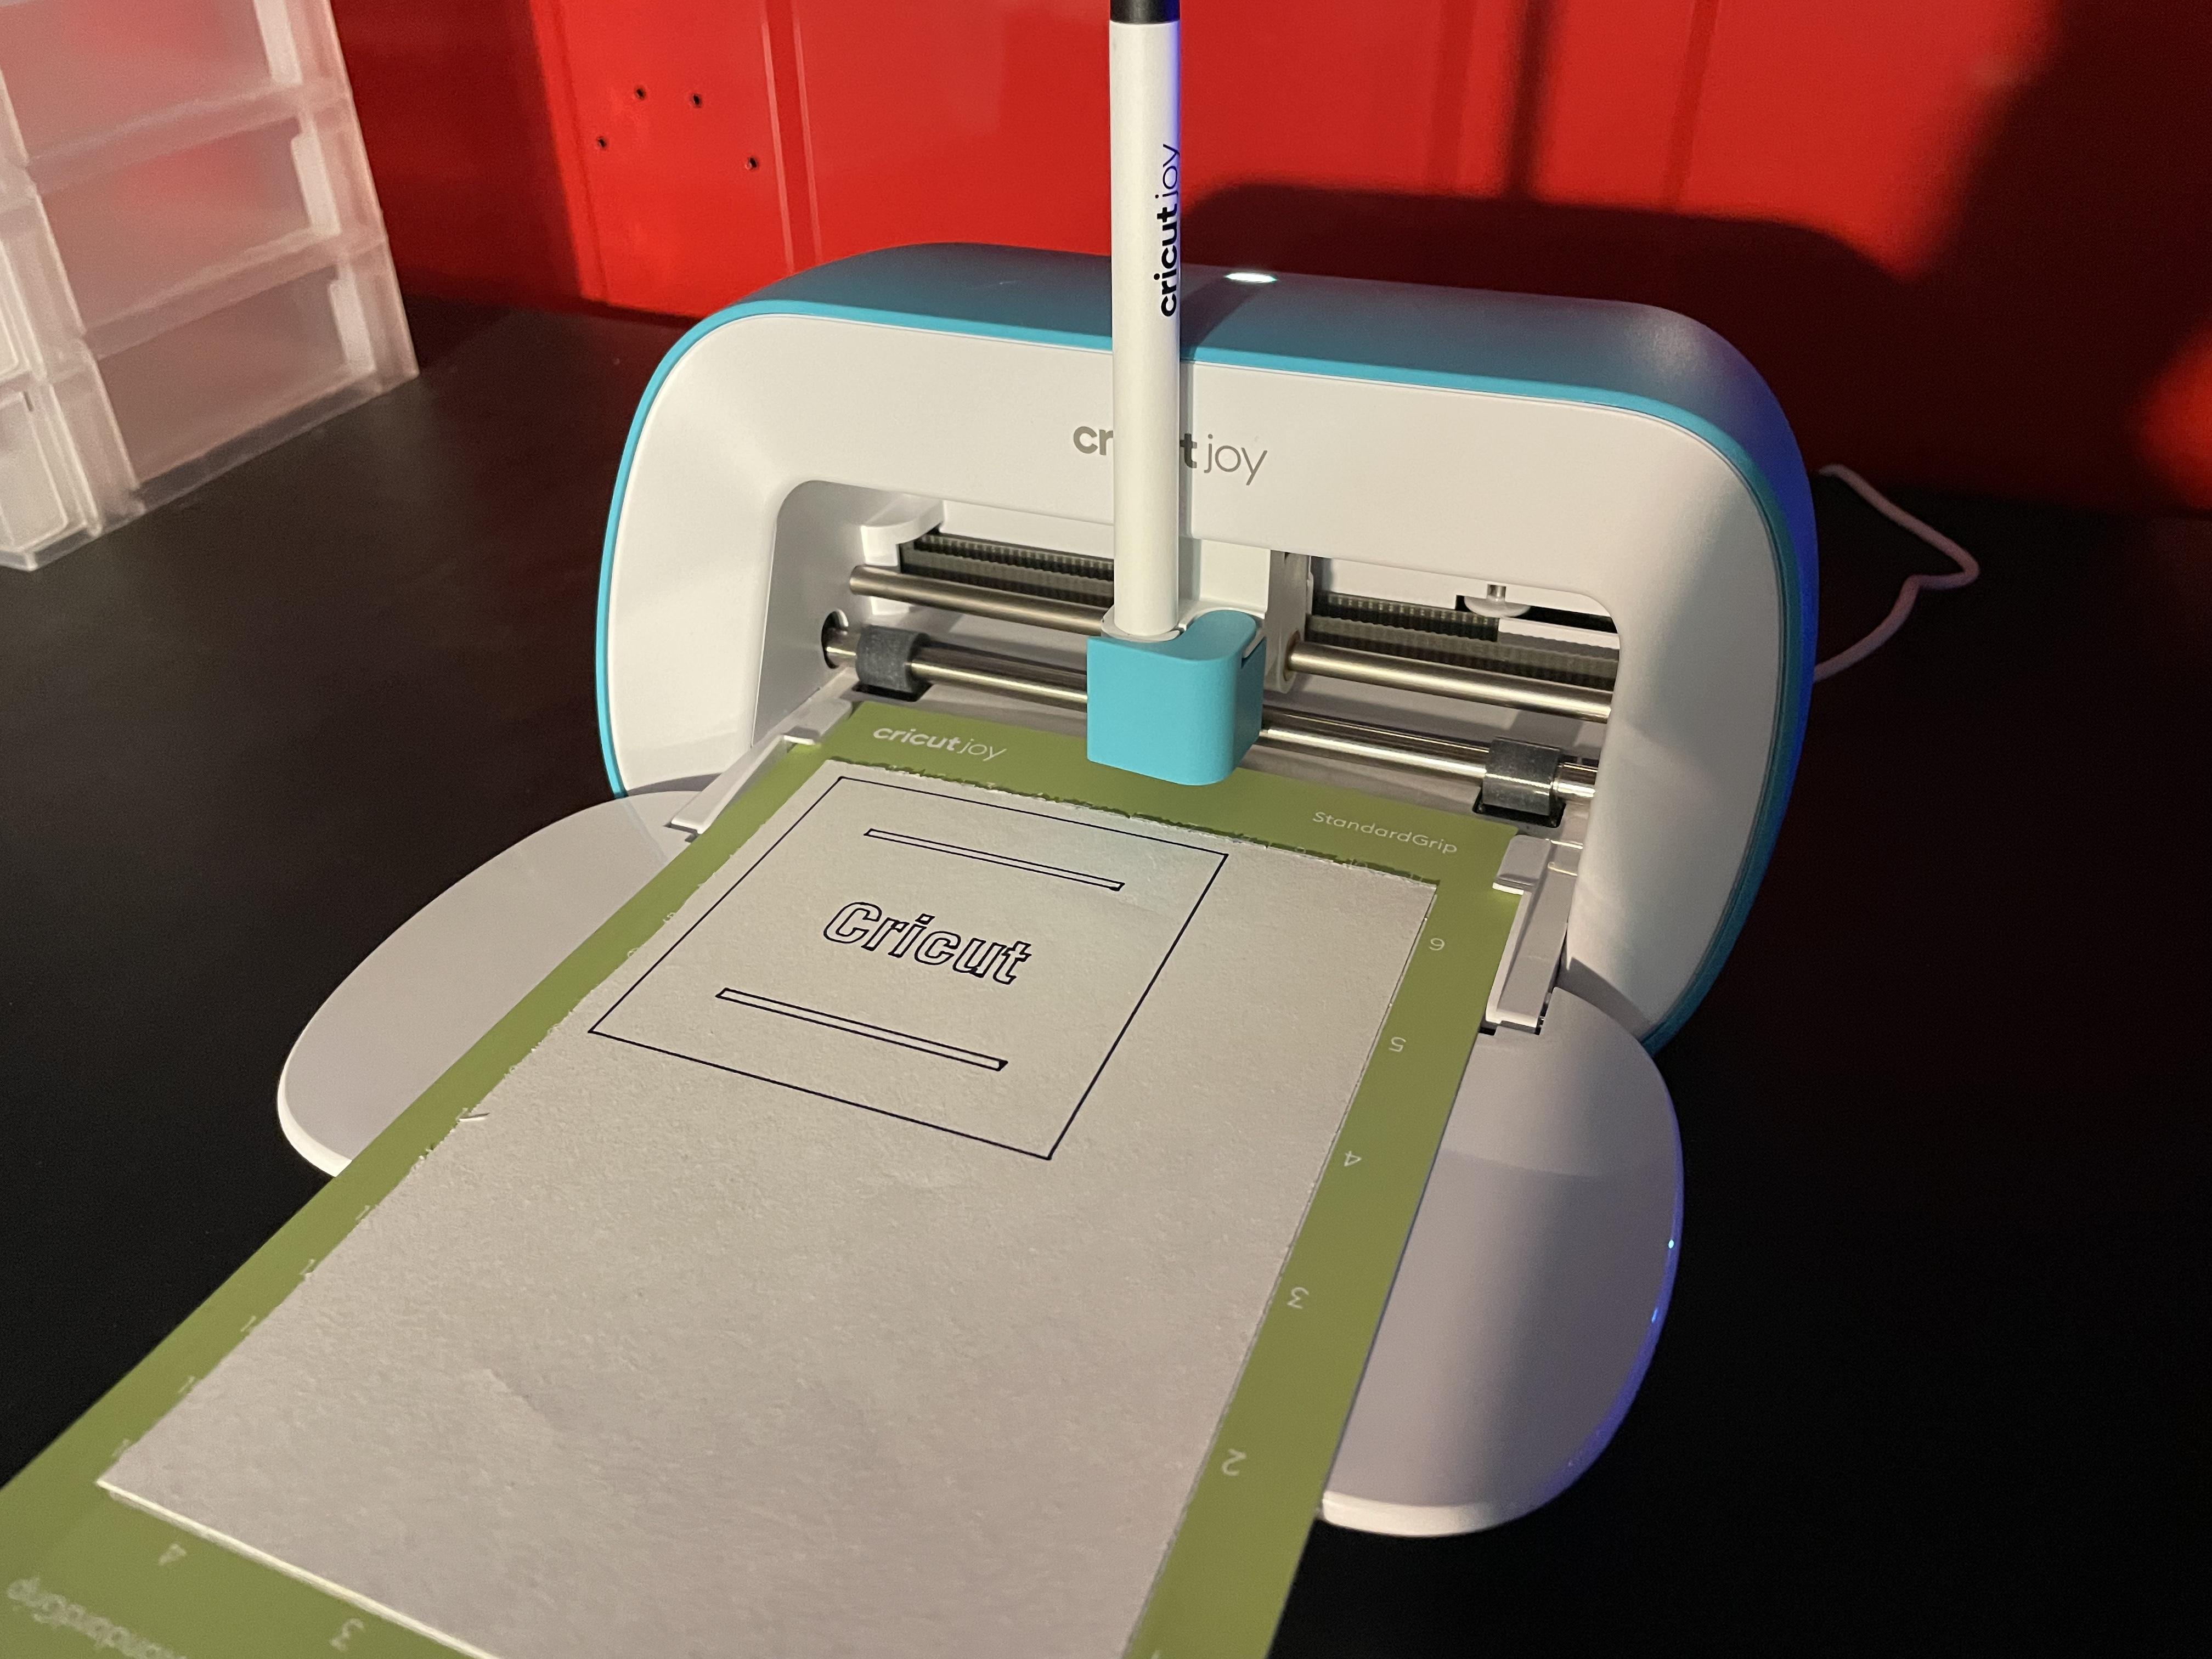
Click the “Make it” button, then wait for your phone to recognize your Cricut. Select your Cricut, then load your Cricut cutting mat with the paper attached. Replace the cutting blade with the Cricut pen, then click the “Start” button and watch your Cricut draw out your label. Once your Cricut has written out your label, unload the paper and peel it off the mat. Cut it out with your scissors, then attach it to whatever you want to label! Enjoy!