Paper Baby Groot
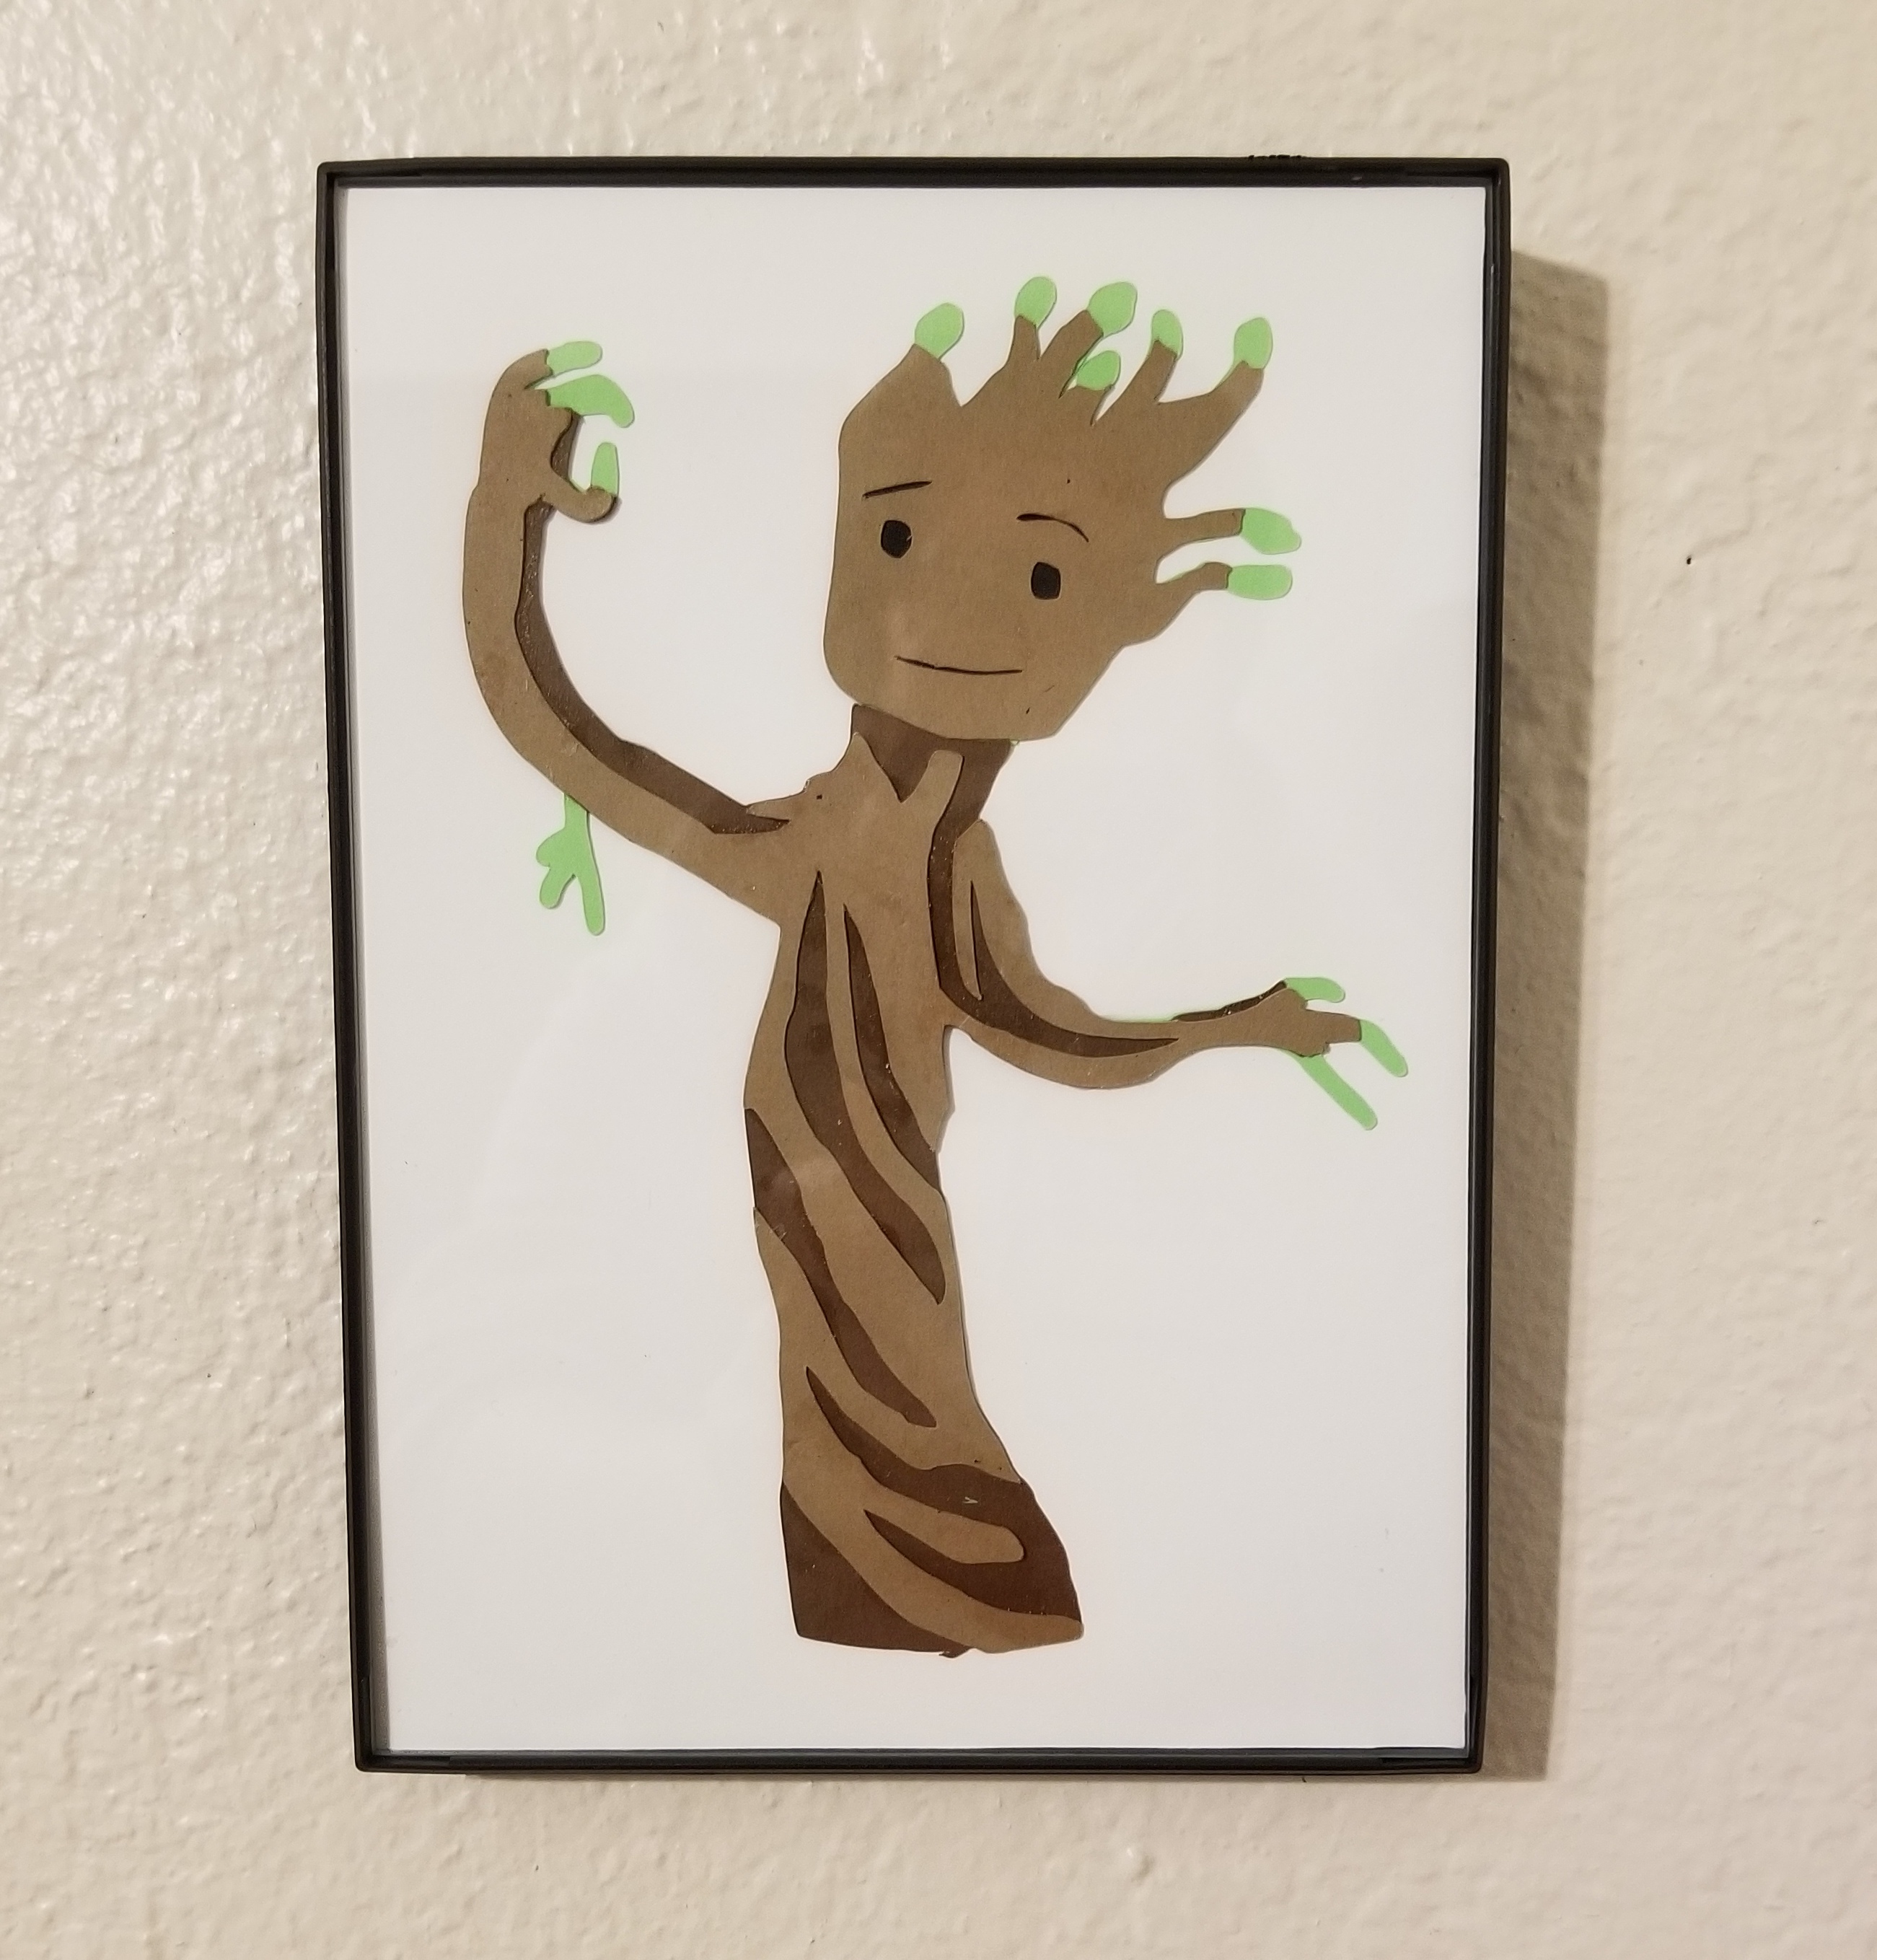
I recently finished my first year of classes as a grad student, and I bought a cricut to celebrate the occasion! My immediate thought was to create some of the characters that bring me joy to decorate my home/office with, so I bring you baby groot!
This tutorial is in three main parts: creating an image, cutting it out, and assembly. If you want to use your own image of baby groot (or perhaps a different character all together), you might want to take a look at the creating an image part. If you just want to cut it out, then follow the steps under cutting it out and assembly. I hope you enjoy making this character as much as I did!
Supplies
Creating an image
- Photoshop (or another image manipulation tool)
- An image that you want to use the character in (I used a still image from the first Guardians of the Galaxy)
Cutting it out
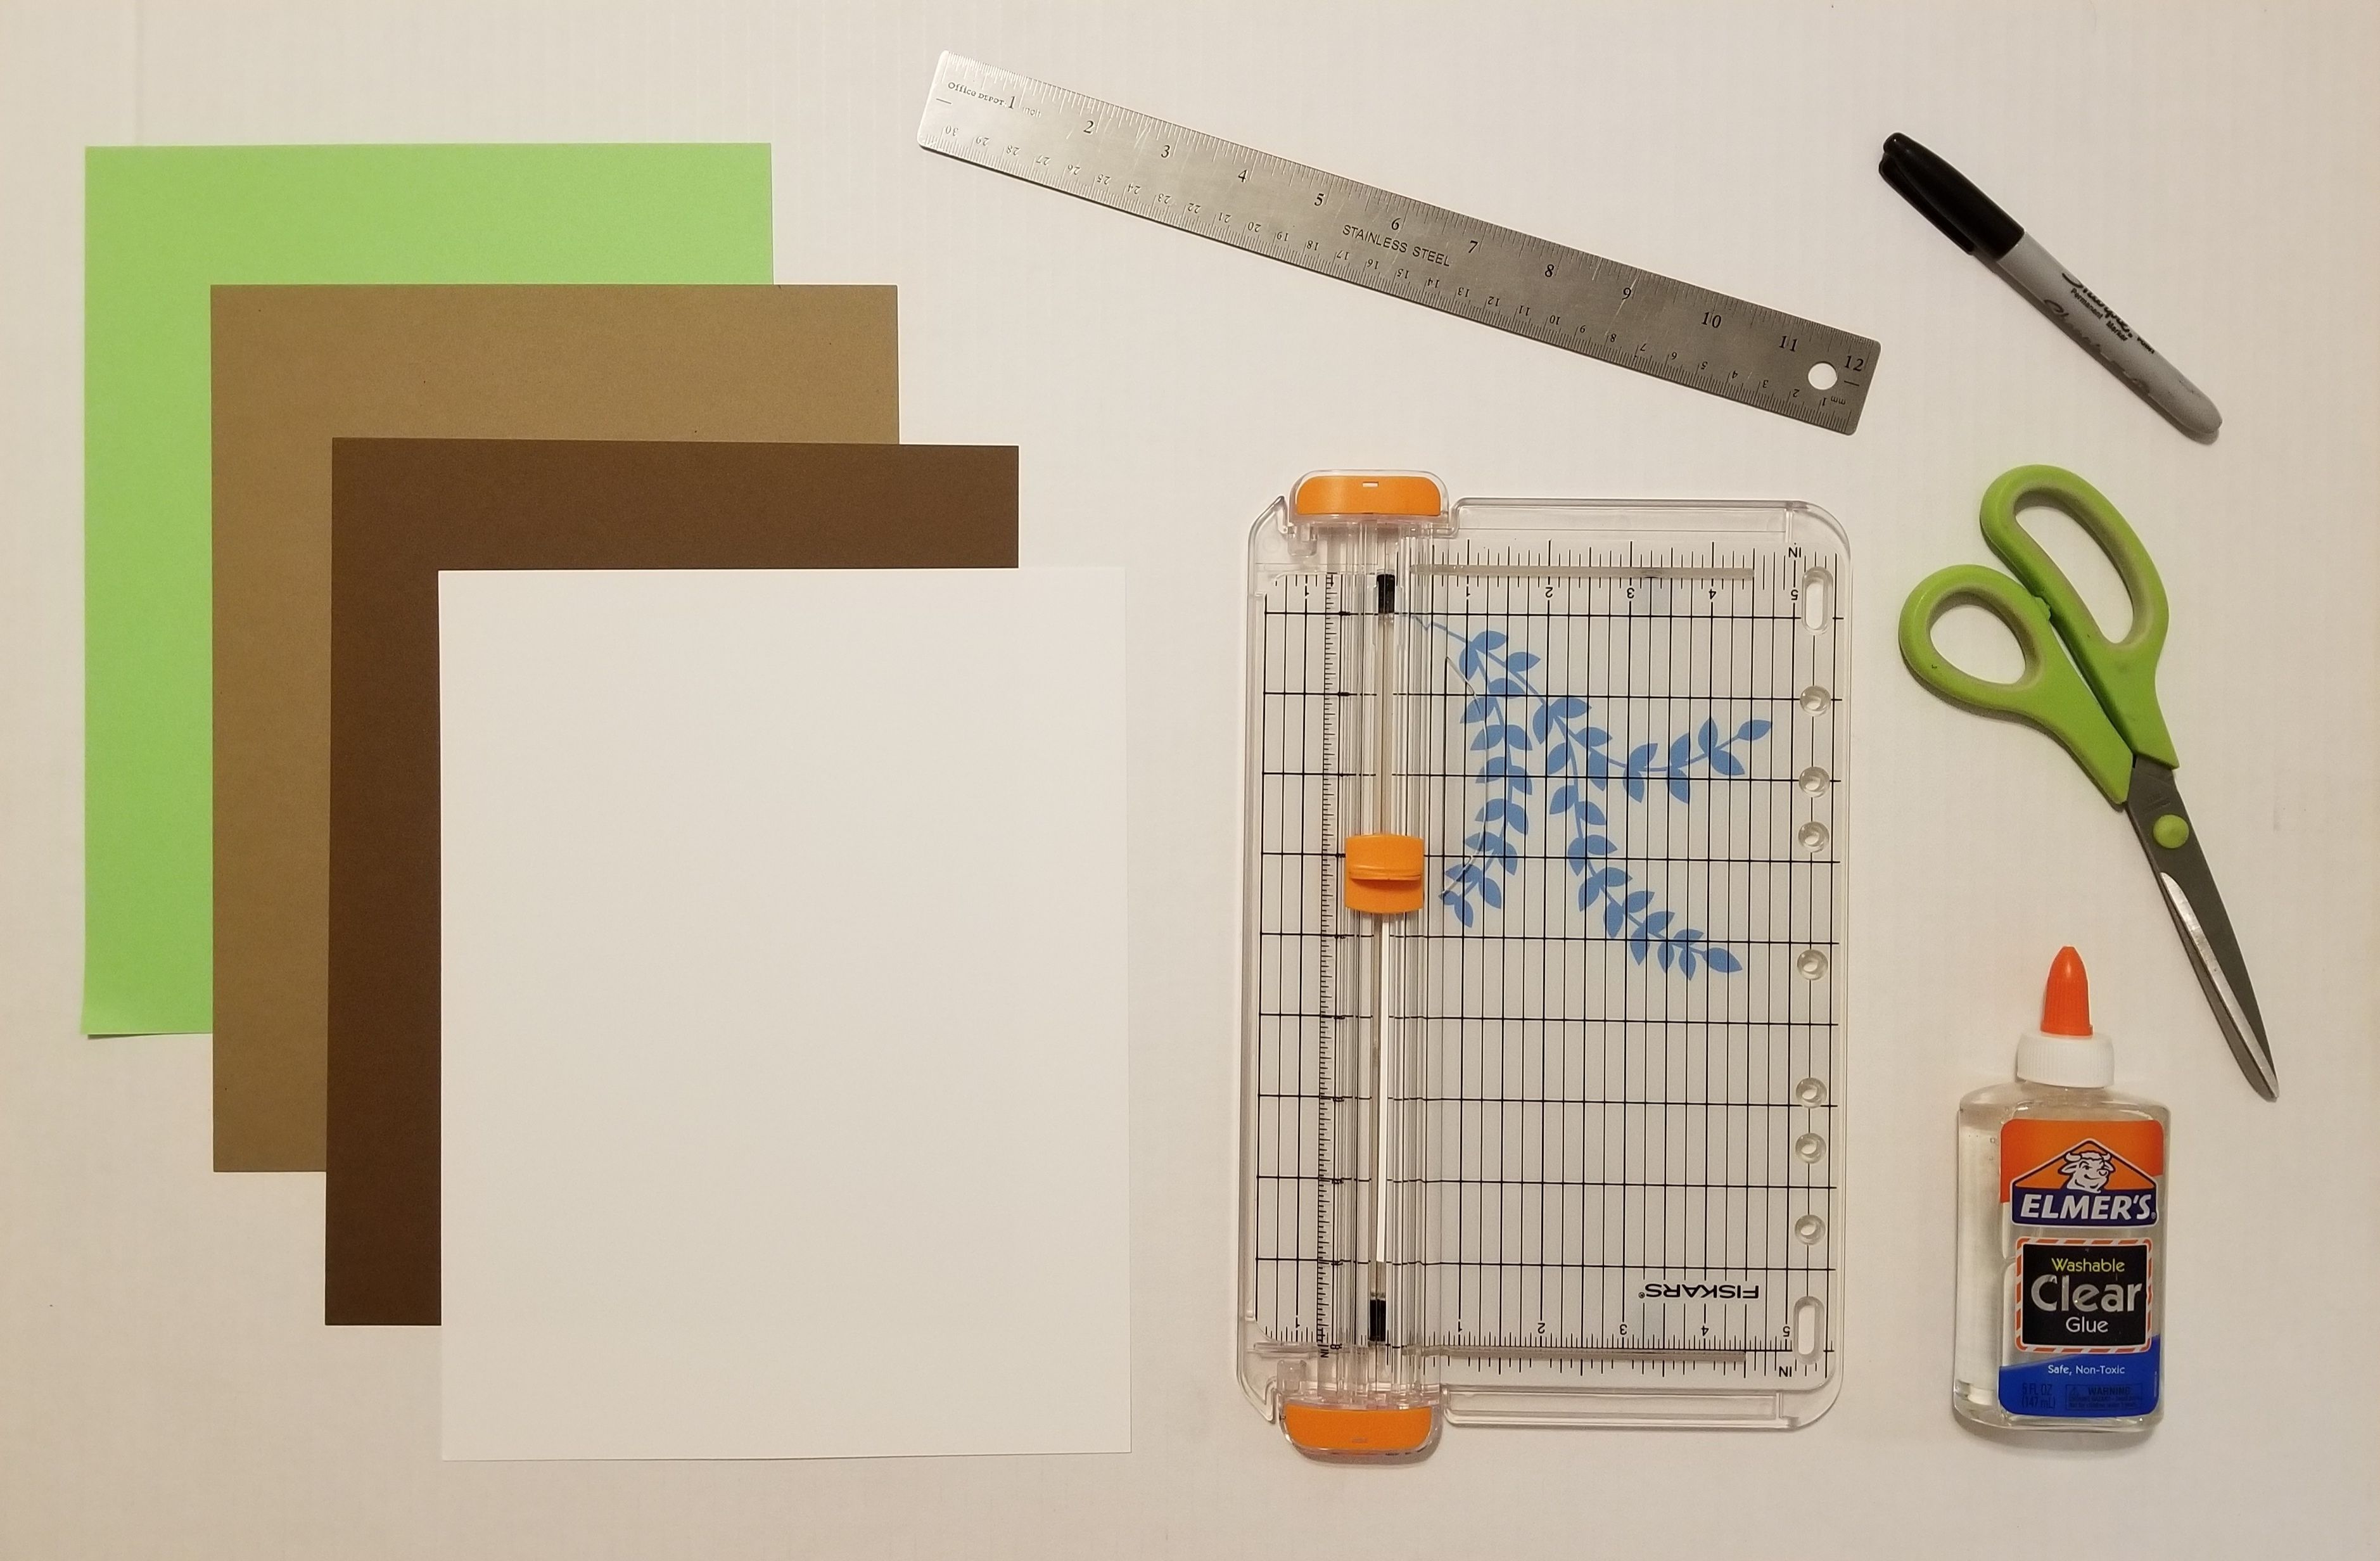
- 4 pieces of different color cardstock (I used green, two shades of brown, and white for the background)
- Ruler
- Scissors
- Optional: Paper trimmer
- Elmer's clear glue
- Black sharpie
- Cricut Explore Air2 with blade
- Laptop/Desktop to plug the cricut into
Optional: 5x7" frame (I cut the background paper and the groot to just fit in this size, but you can change it if desired)
Creating an Image
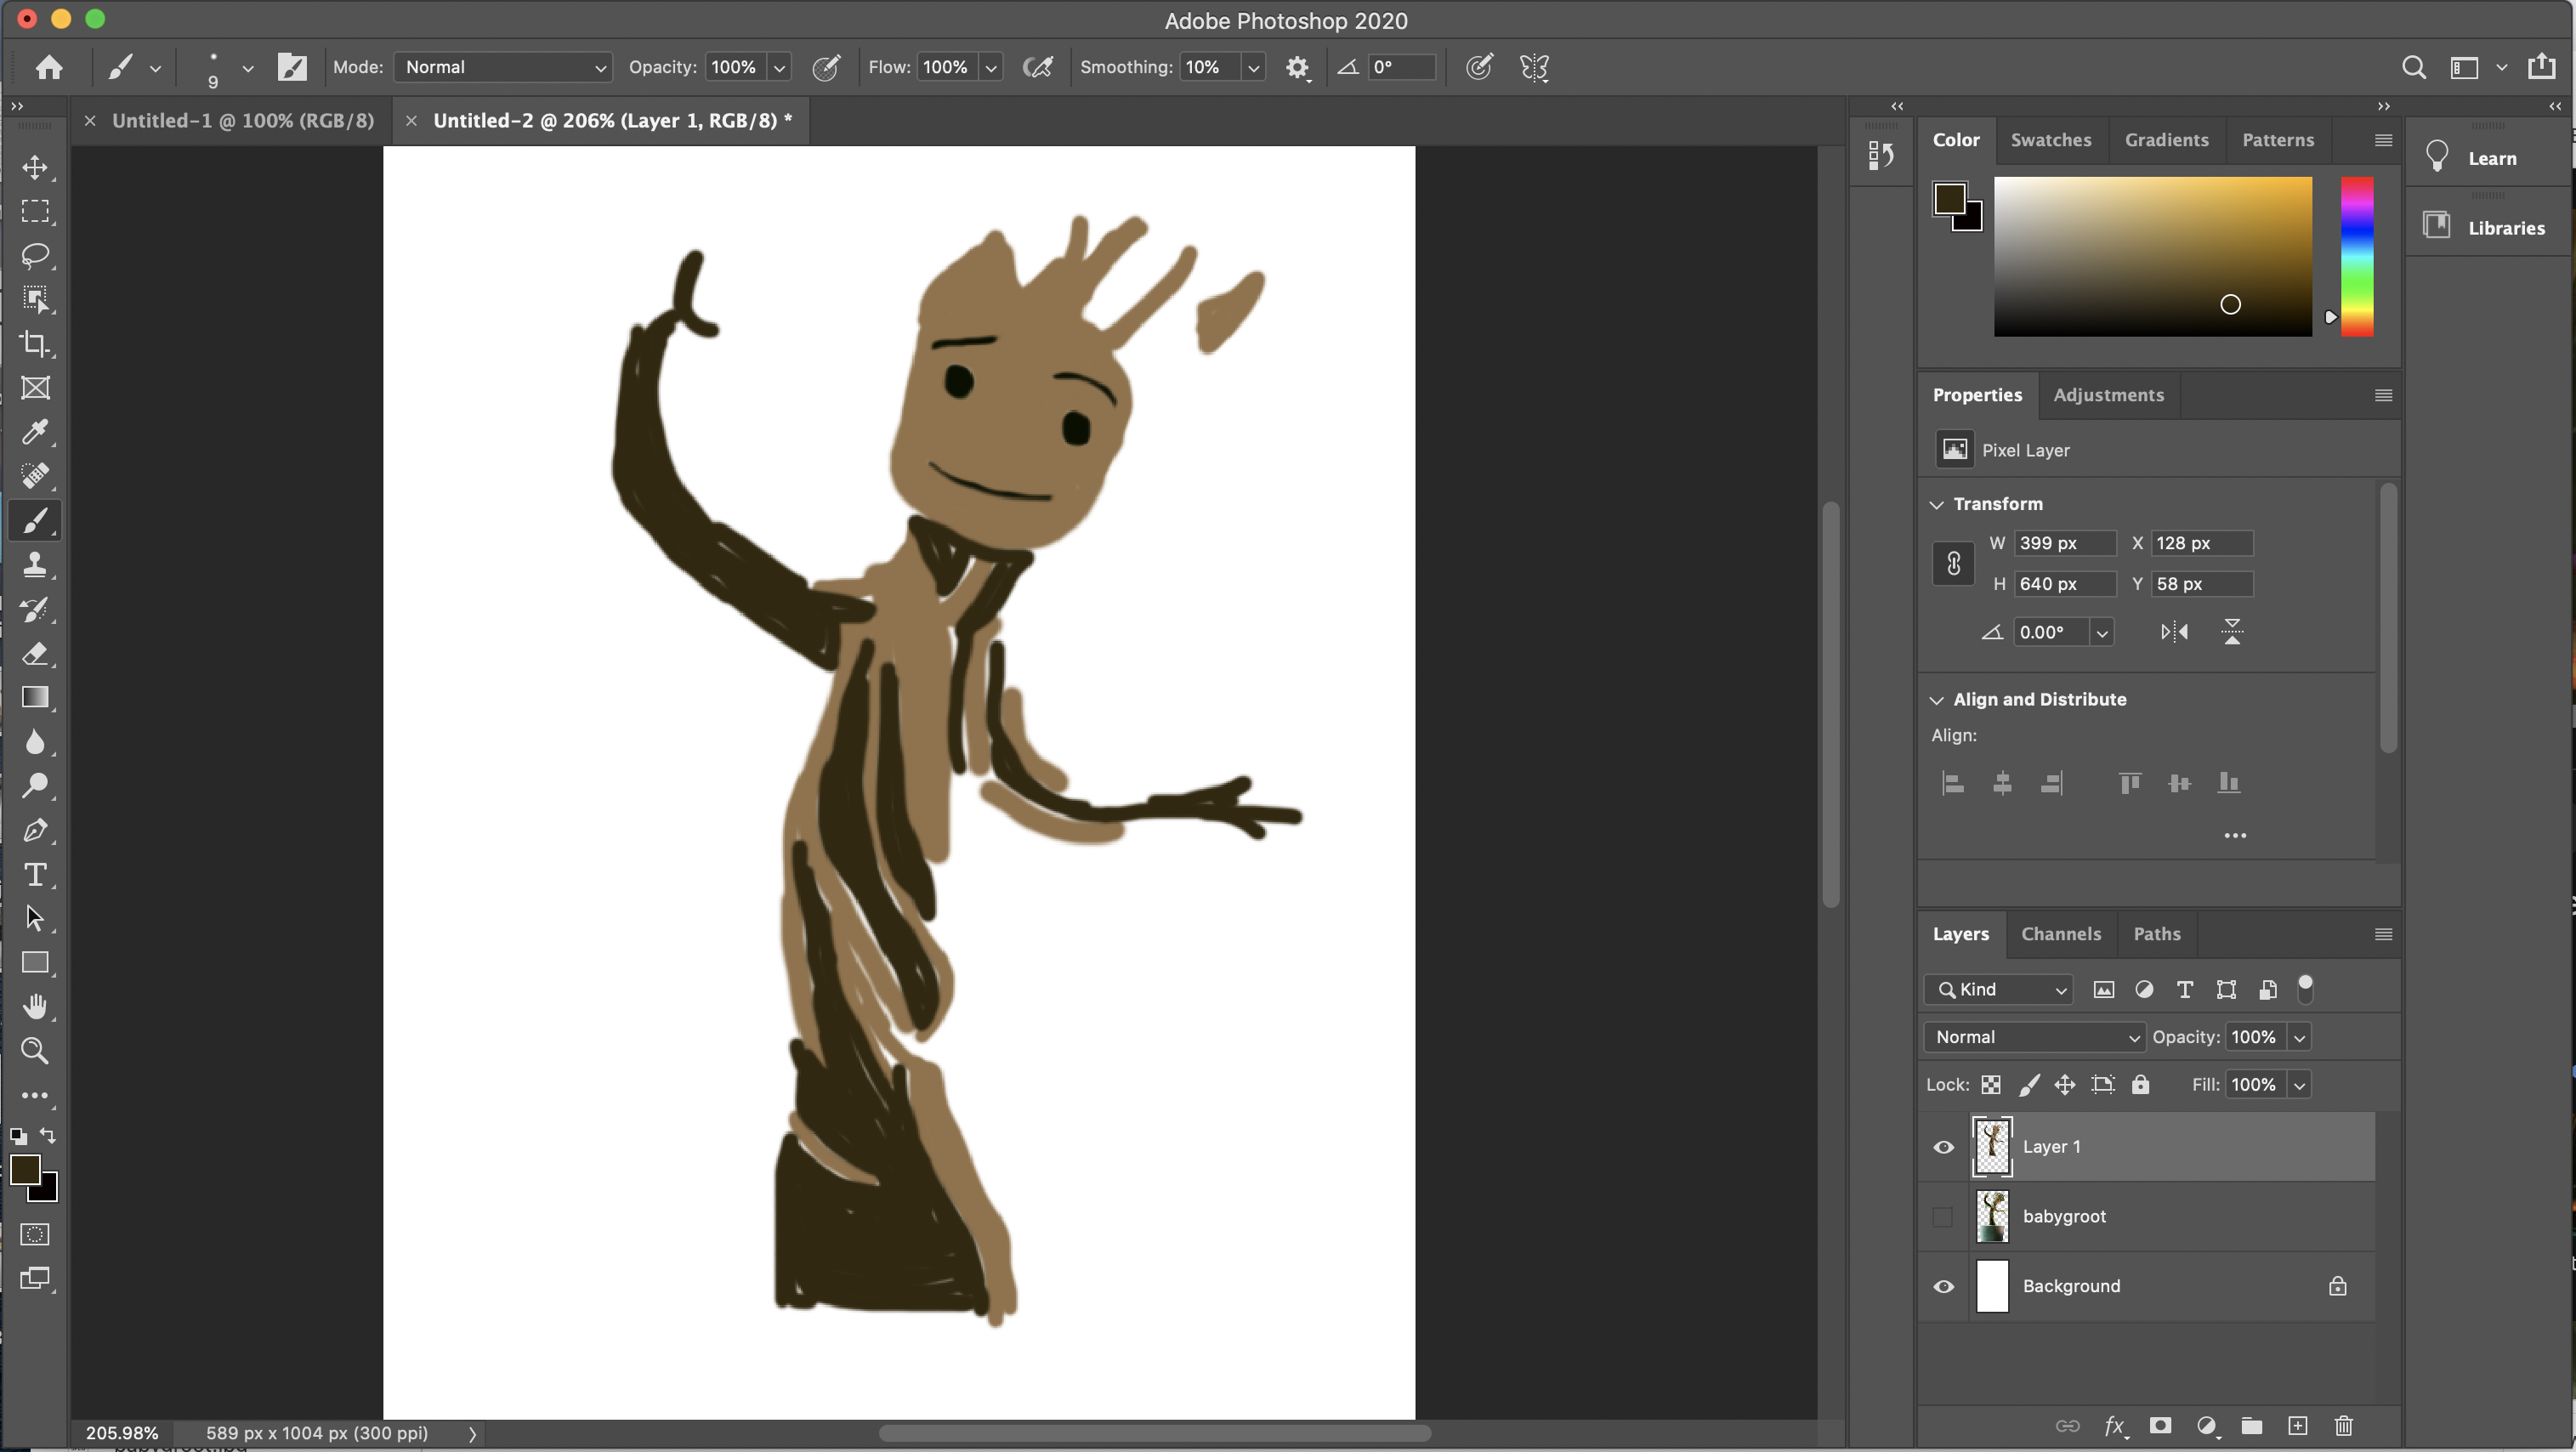
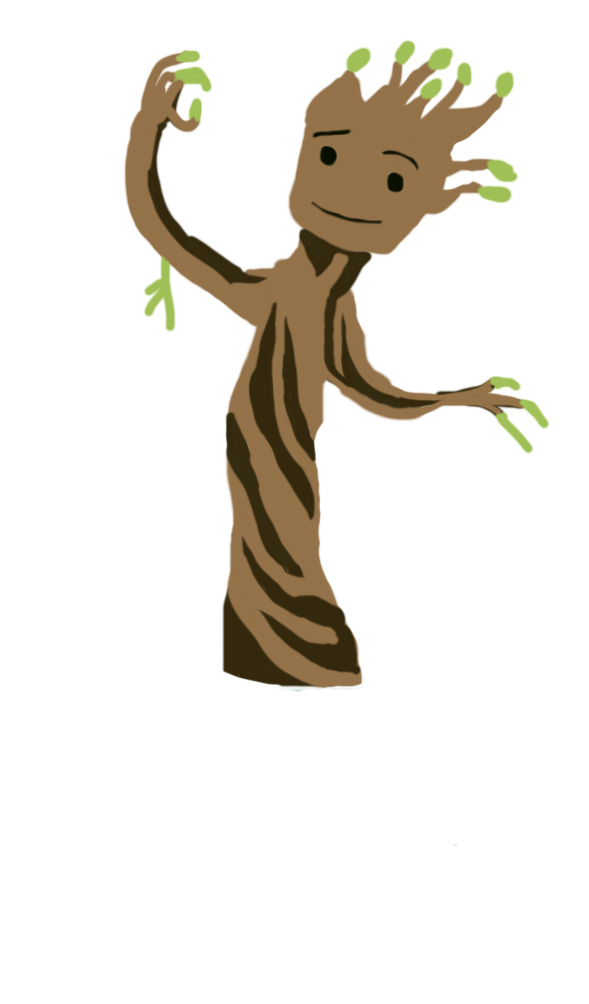
To do this project, I "colored in" a still image from the end of the first GotG movie. By "colored in" I mean that I took off a lot of details that exist in the images (shadows, background, lighting differences, etc.). If you want to use the image that I did, it is available in .jpg form here in the thumbnail. You can use that for the next parts of cutting it out (or, you can use the template I made for cutting it out, depending on how involved you want to get).
- If you want to make your own "colored in" image, you should start by taking a picture that captures the entire image of the character/person doing the action you want. For instance, I knew I wanted baby groot dancing along to the Jackson 5 as the basis for the image.
- Once you have your image, upload it to the photo editor of your choice. I used photoshop because my school makes it available to us. In photoshop, I:
- Uploaded the entire image, and then erased most of the background I didn't want.
- Created a second layer so I could draw over the image, and toggle it from view.
- I used the dropper tool to select colors that were from the original image, although you don't have to do this. I would pick colors that have enough contrast so that you can later upload them to the cricut design space.
- When you start to color the image (using the brush tool), this is your moment to take it in its own creative direction! You decide if you want to capture shadows, different details of the character, the scene behind it, etc. The rule that I followed with this one was make it as simple as possible: use the least amount of colors, reduce effects of shadows/lighting. This minimizes things to cut out later.
Once you have done these steps and have a "colored in" image you are satisfied with, now is the time to cut it out! You should export your new image into a .jpg so that it will be easier to do the next part.
Cutting It Out
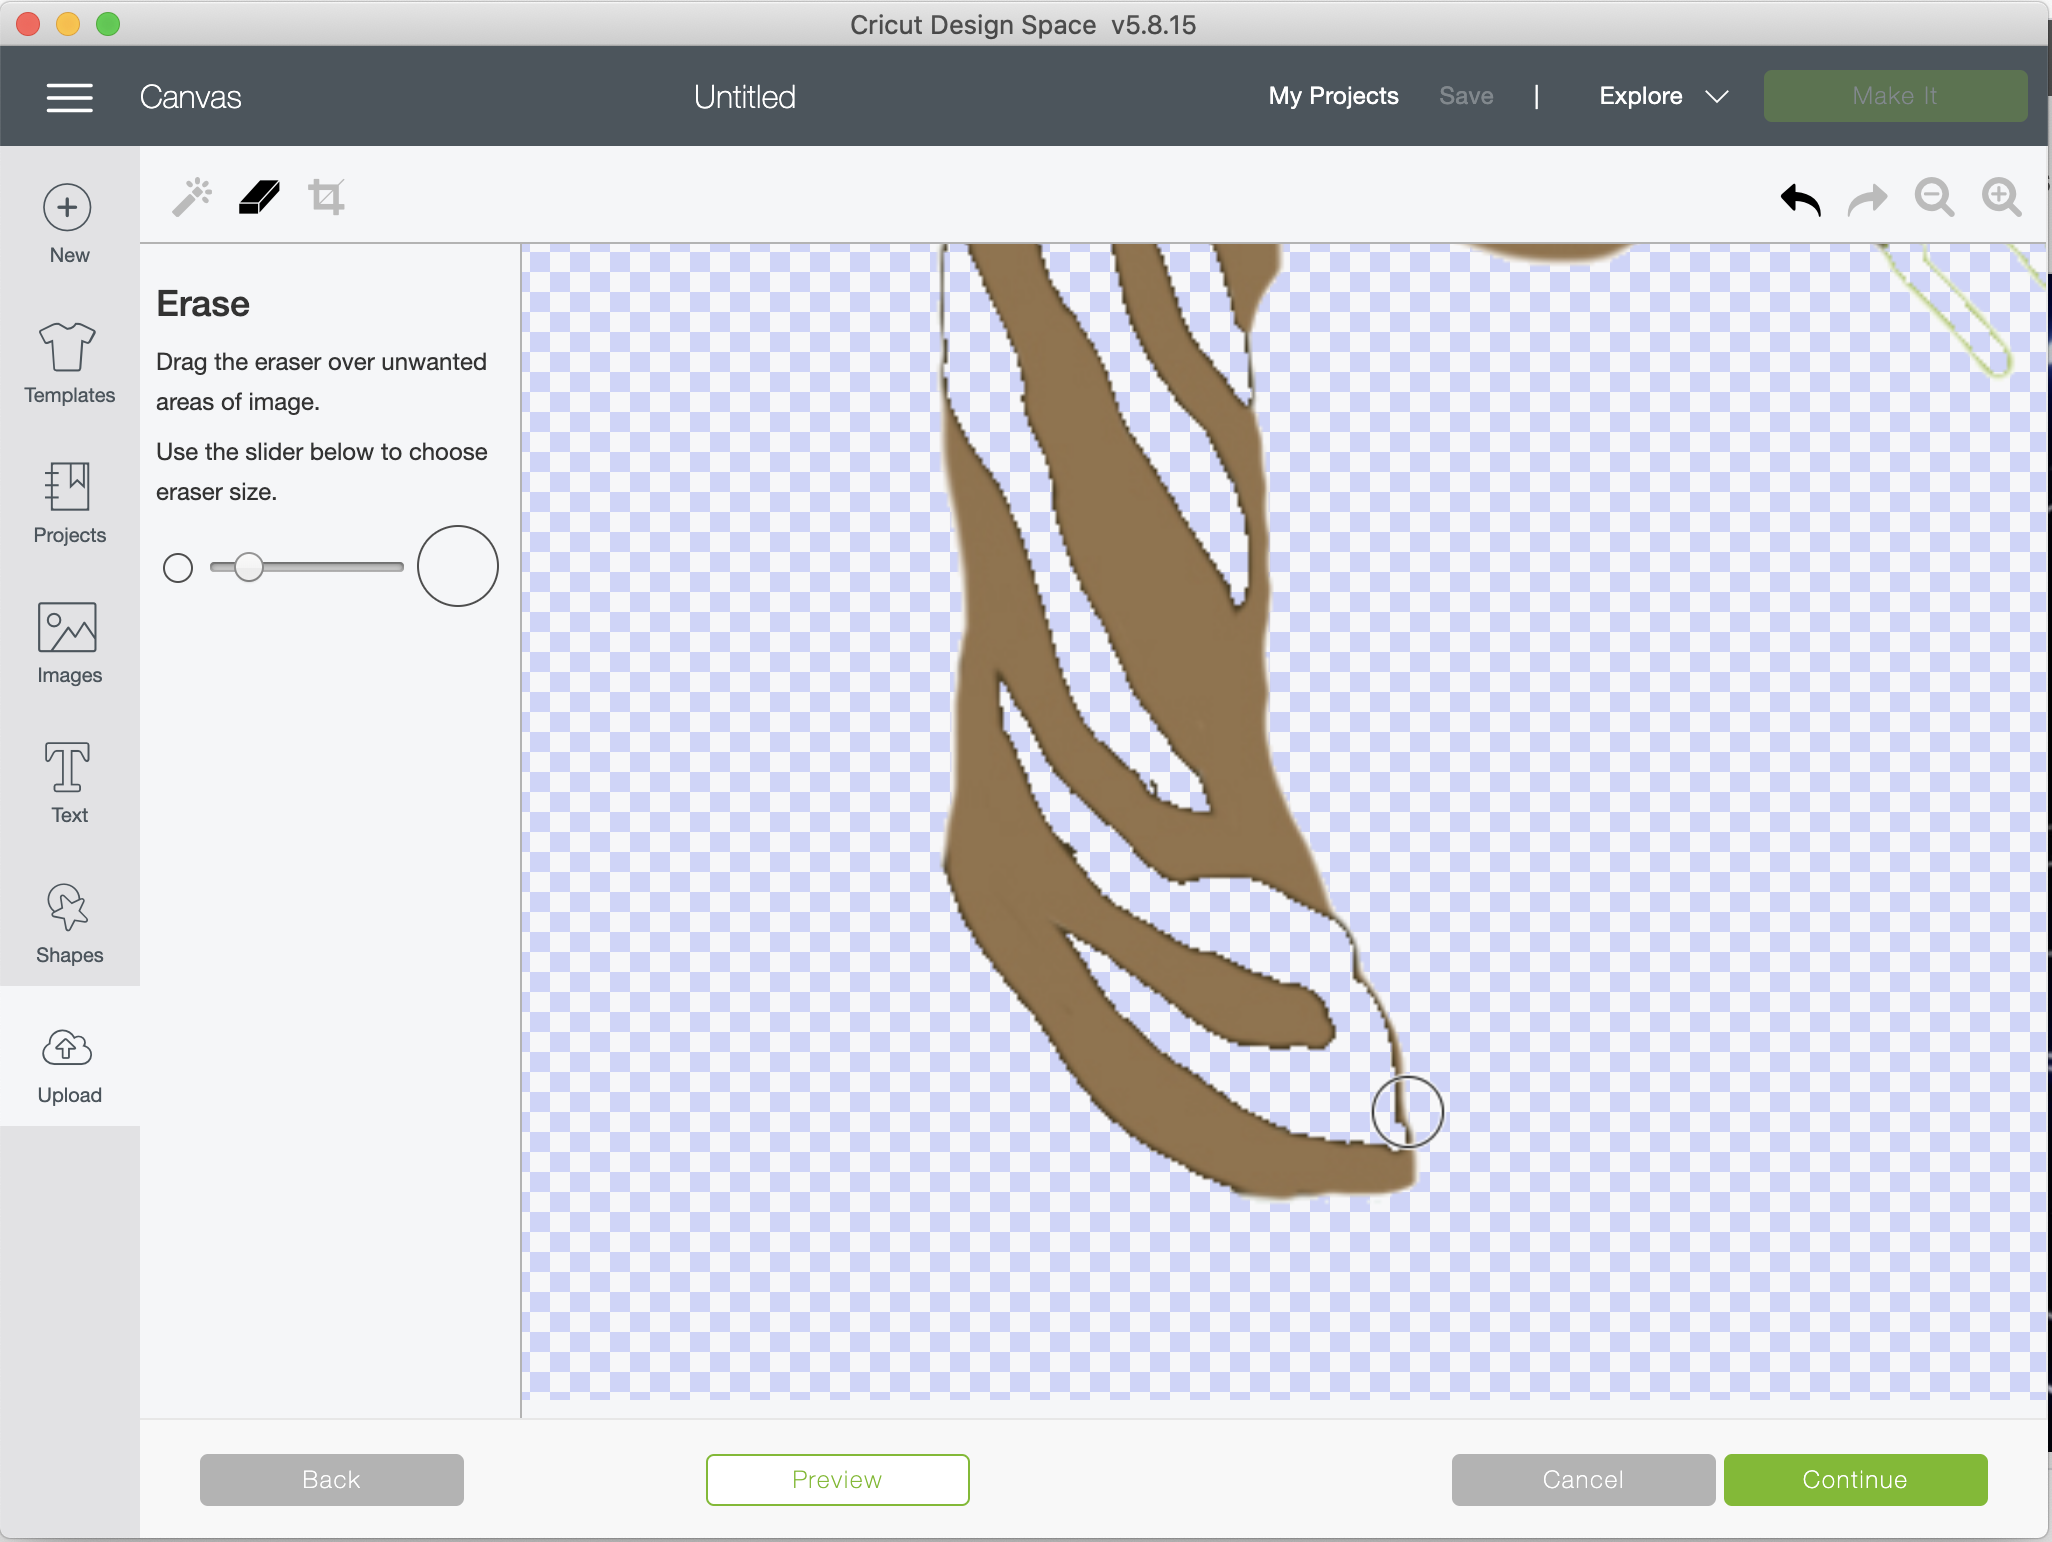
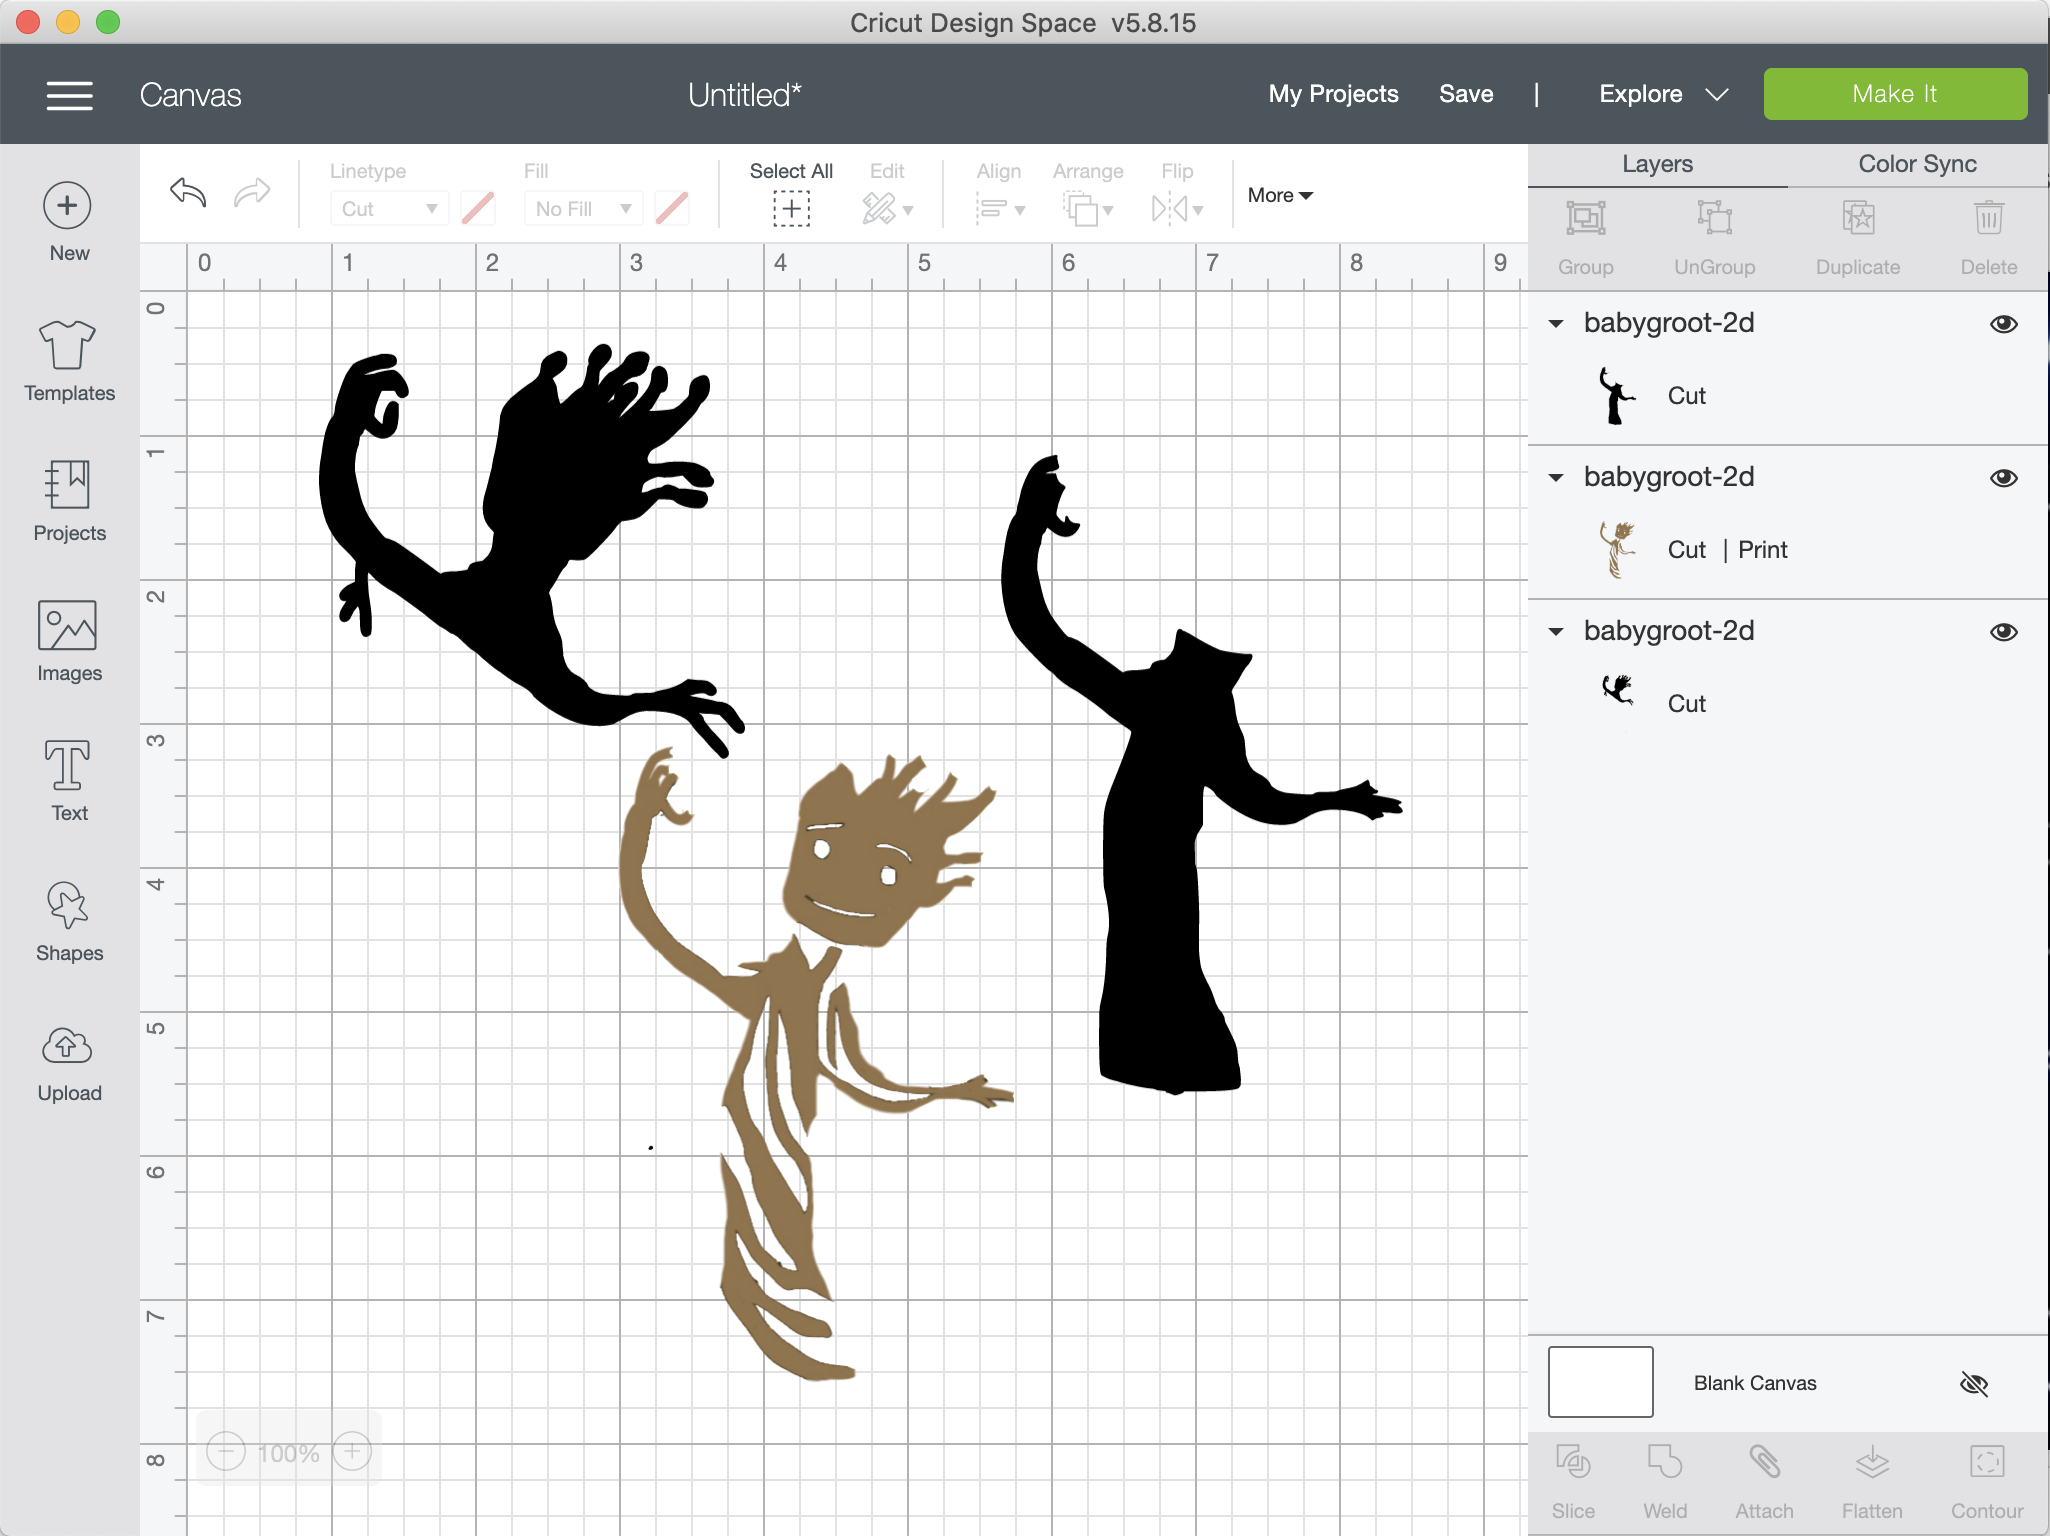
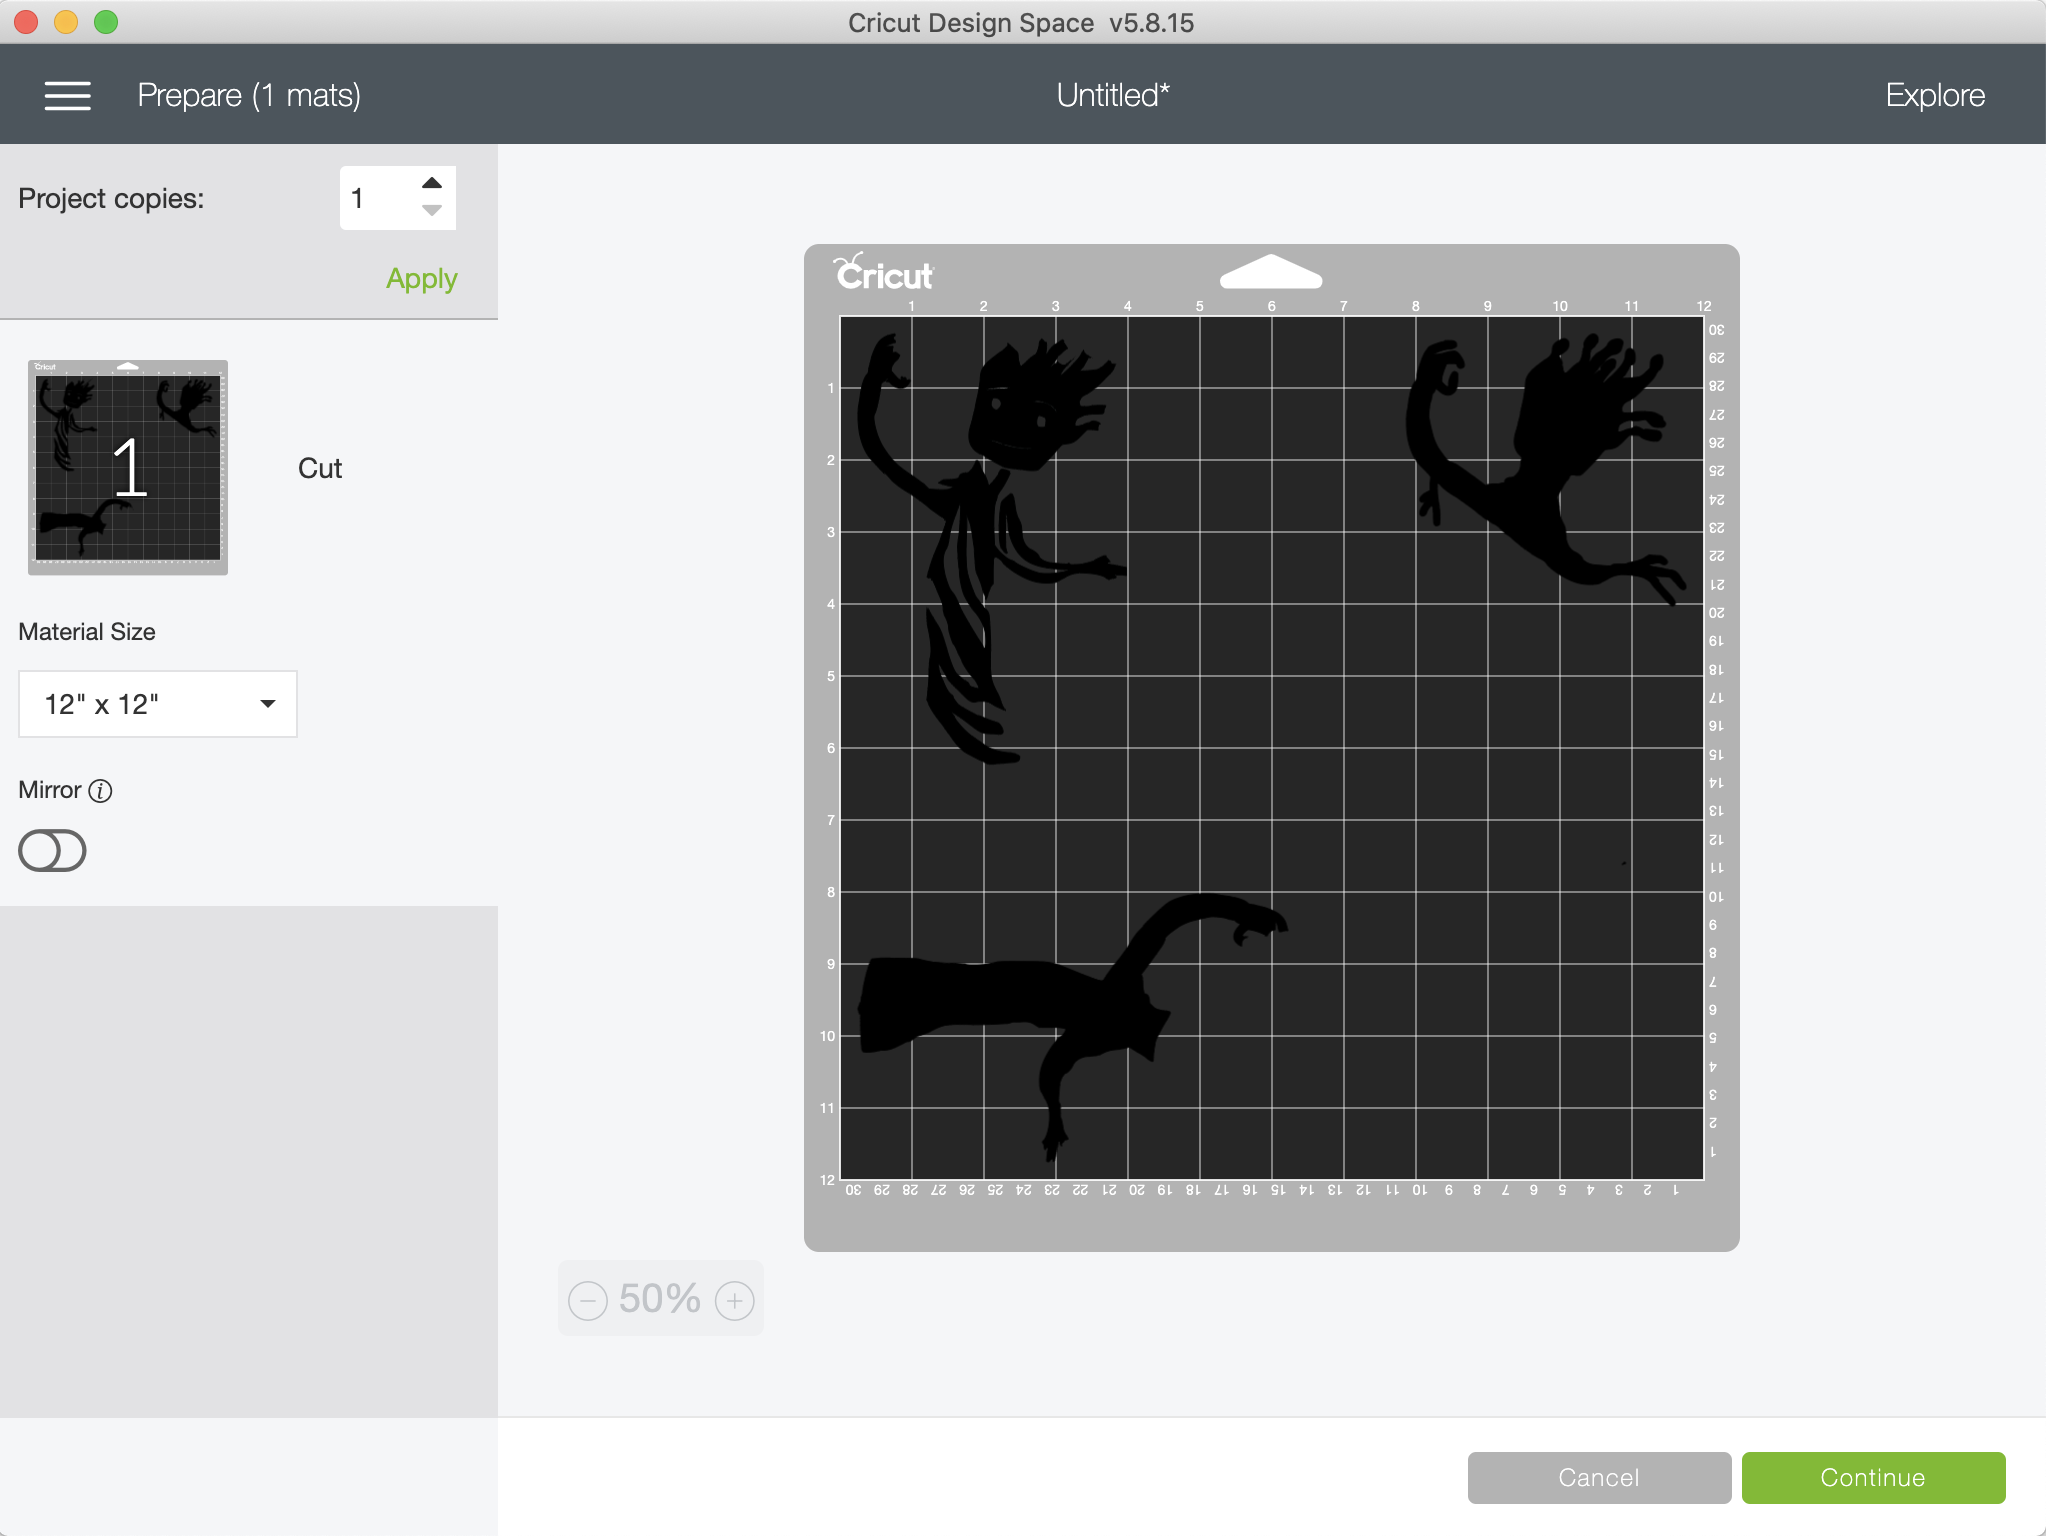
Uploading to Cricut Design Space
Creating the cut outs the way I did requires a bit of layering. The following steps should allow you to make it the way I did, but you can always play with how you want the layers to work out. If you don't want to do this part, you can follow this link to the exact cut out that I used (the sizing is slightly off, but you can fix this in Cricut). If you use the link, just skip these steps and go to the next part, "Making the cut".
- Take your .jpg and upload it to the design space as a "Simple" image
- Once it is in the design space, erase the background; this should leave the entire image of baby groot (or whatever your image is).
- Then, erase the head.
- Click the green button that says "Continue", then click the image that says "Save as a Cut Image", and finally press "Save". This will be the base for your baby groot (or custom image).
- Repeat steps 1 & 2 with the same image.
- You should have the same image as in the end of step 2, but this time remove all of the dark brown and green colors from the image of baby groot using the "Select & Erase" tool. Use the "Eraser" tool to get rid of any lines that are left (an example of this is in the attached images).
- Repeat step 4 with this altered image
- Repeat step 1 & 2 with the same image
- This time, use the "Eraser" tool to erase everything below baby groots extended arms.
- Repeat step 4.
- Once you have these three images, you should click on all three of them under the "Recently uploaded images section", then click "Insert images".
Once you have completed these steps, you should have something similar to the second image. You are then ready to start cutting out the parts.
Making the cut
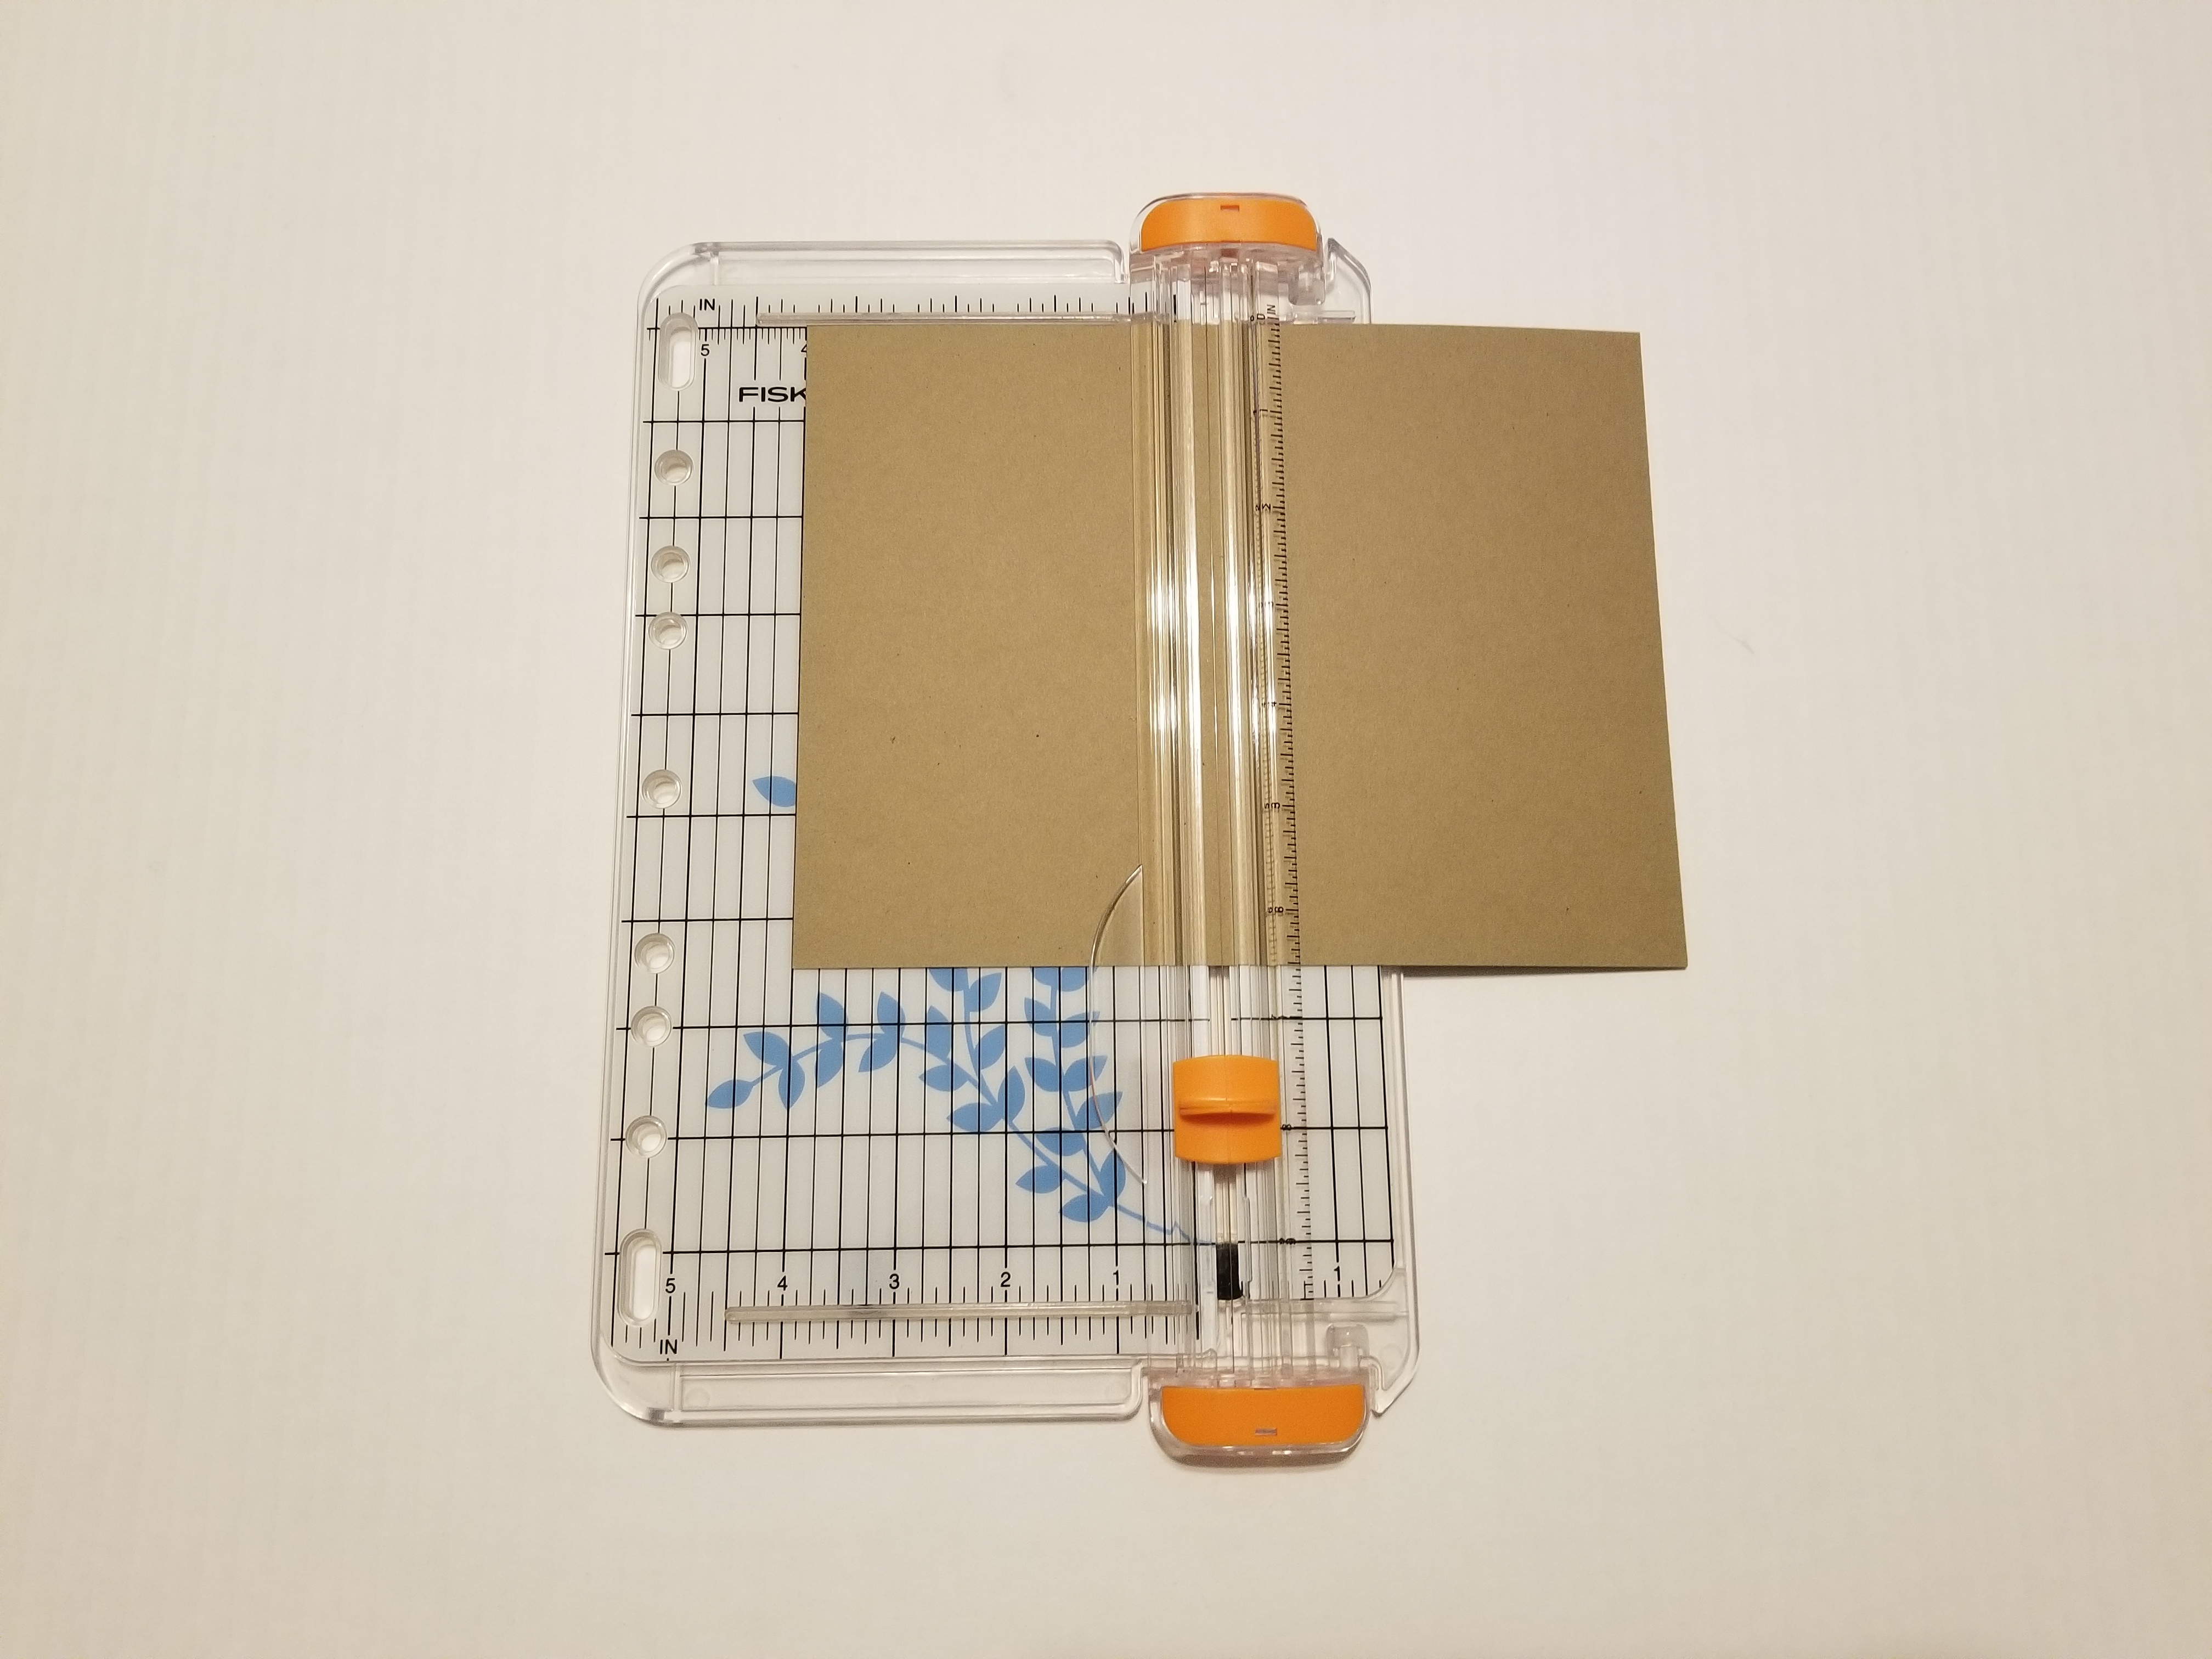
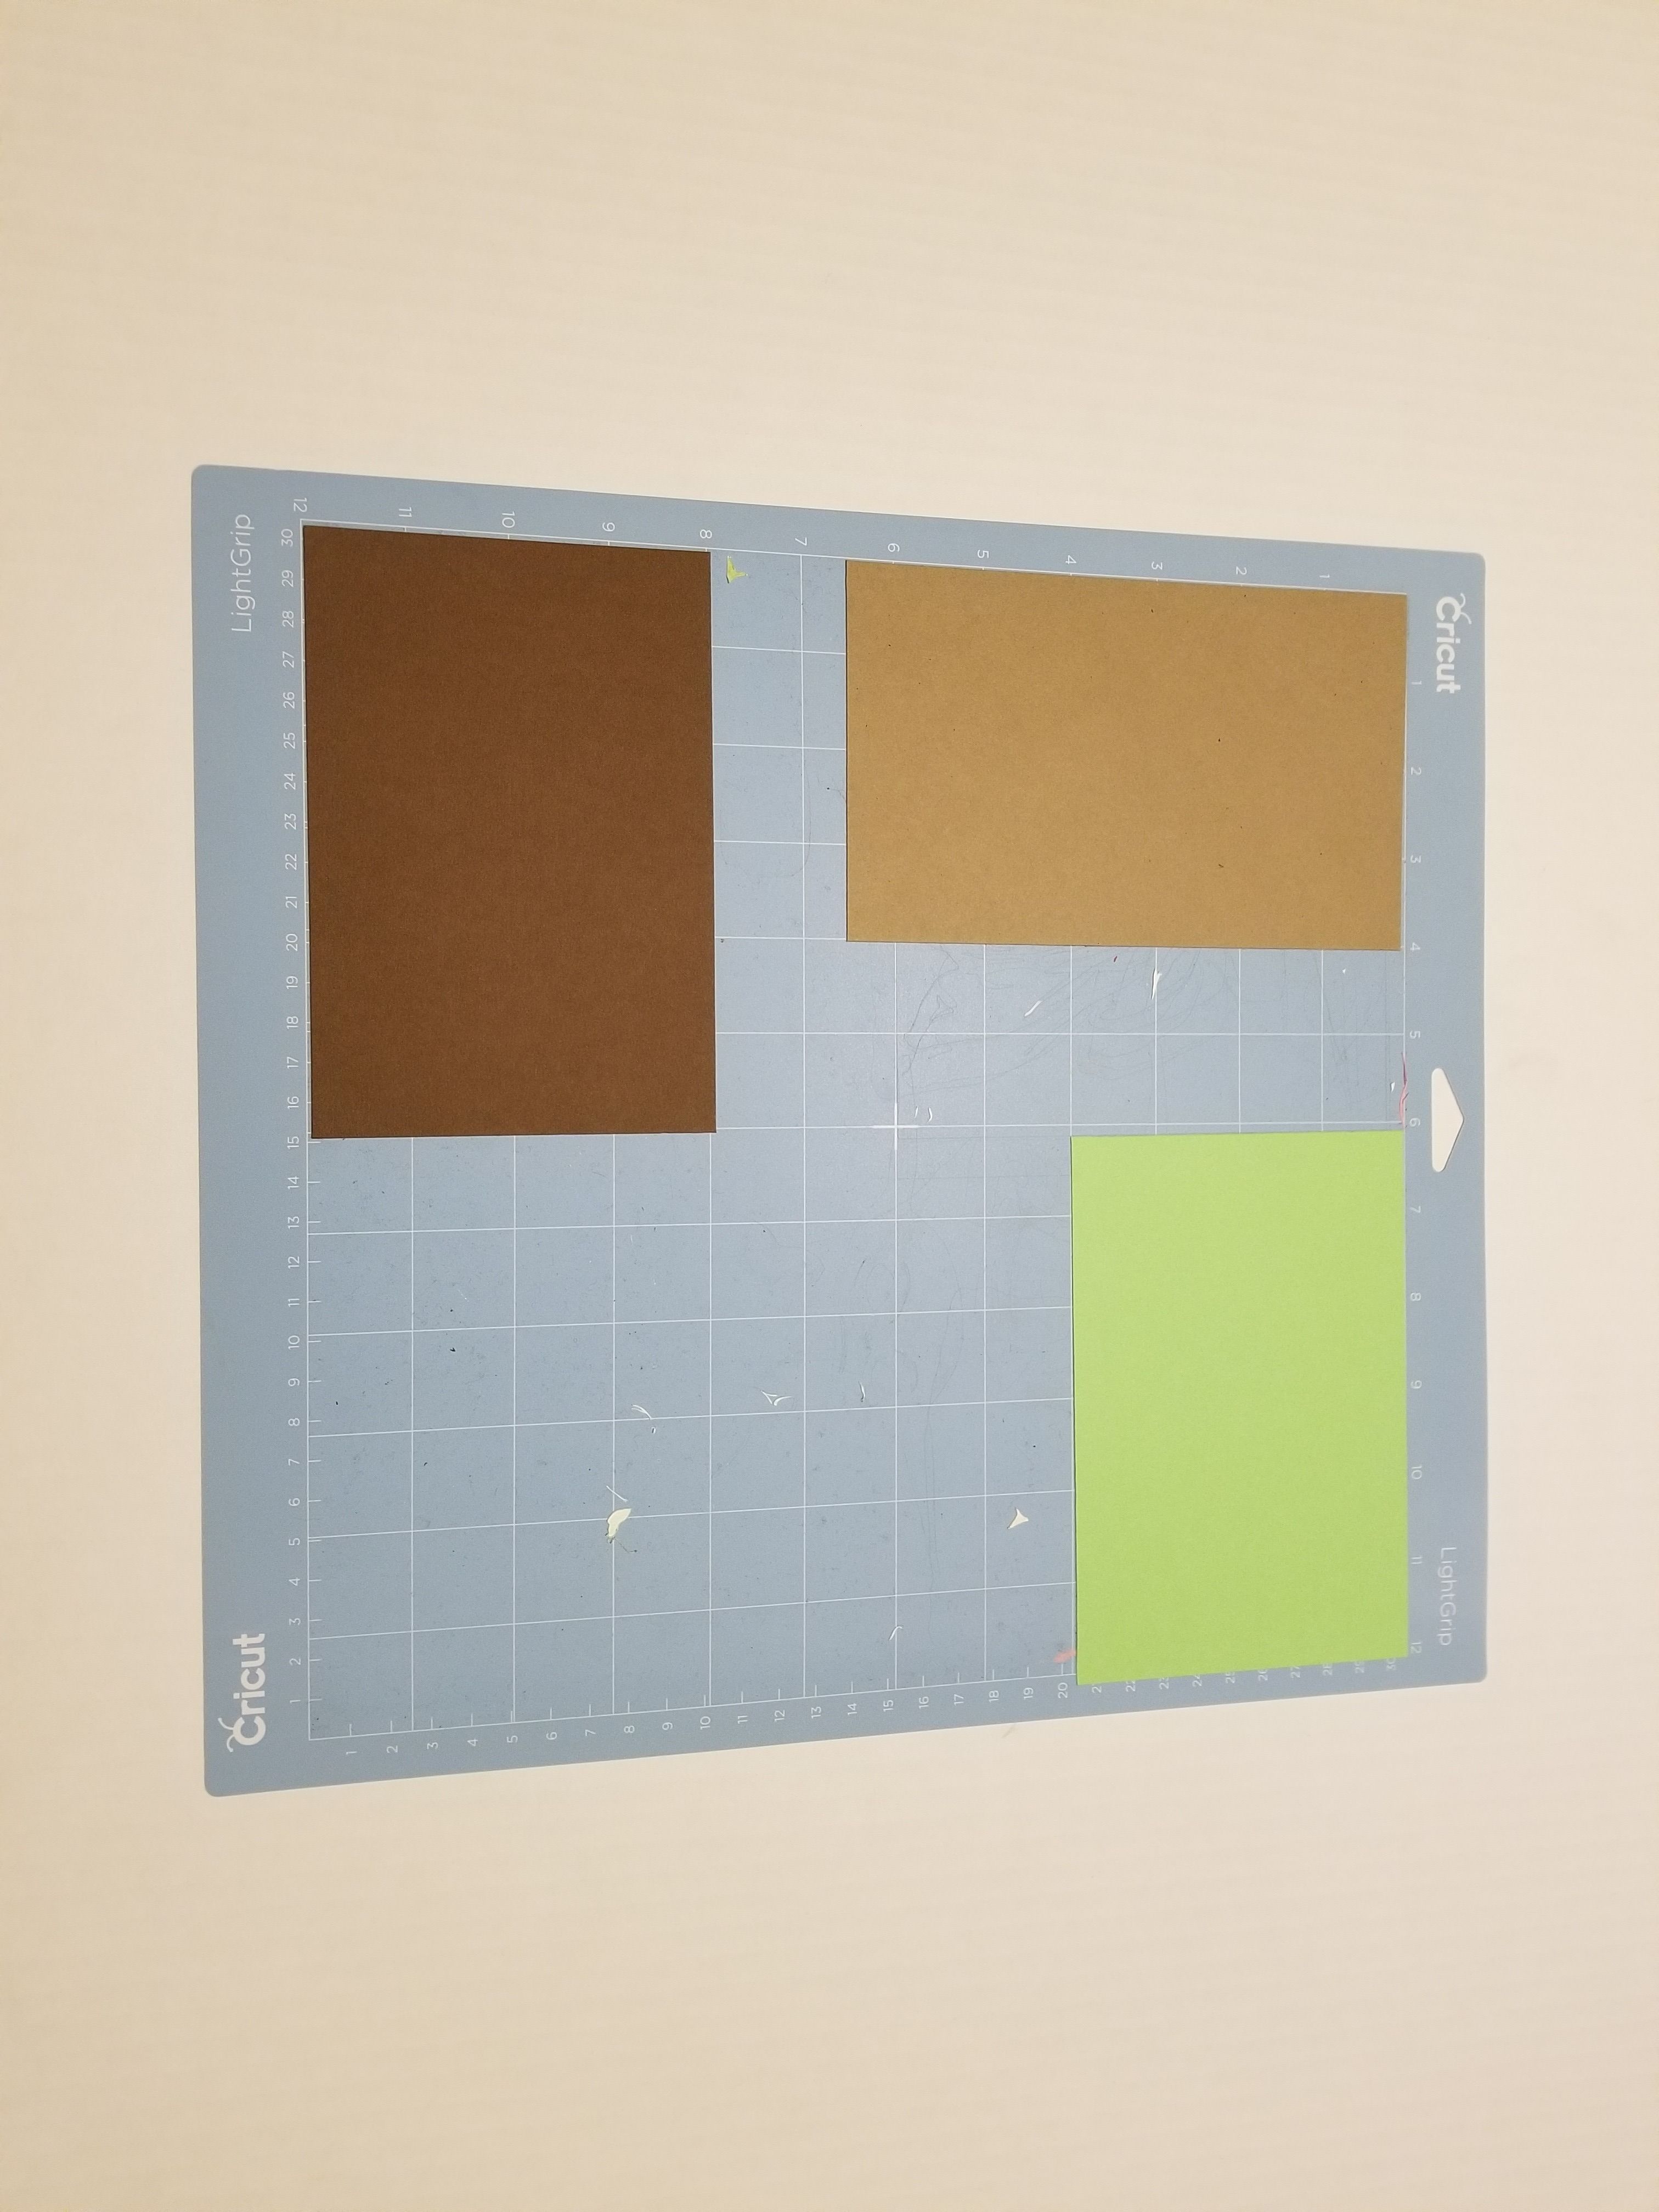
- Take three of your different colors of paper (I used light brown, dark brown, and light green) and cut them to get rectangles that are about 4in by 6in.
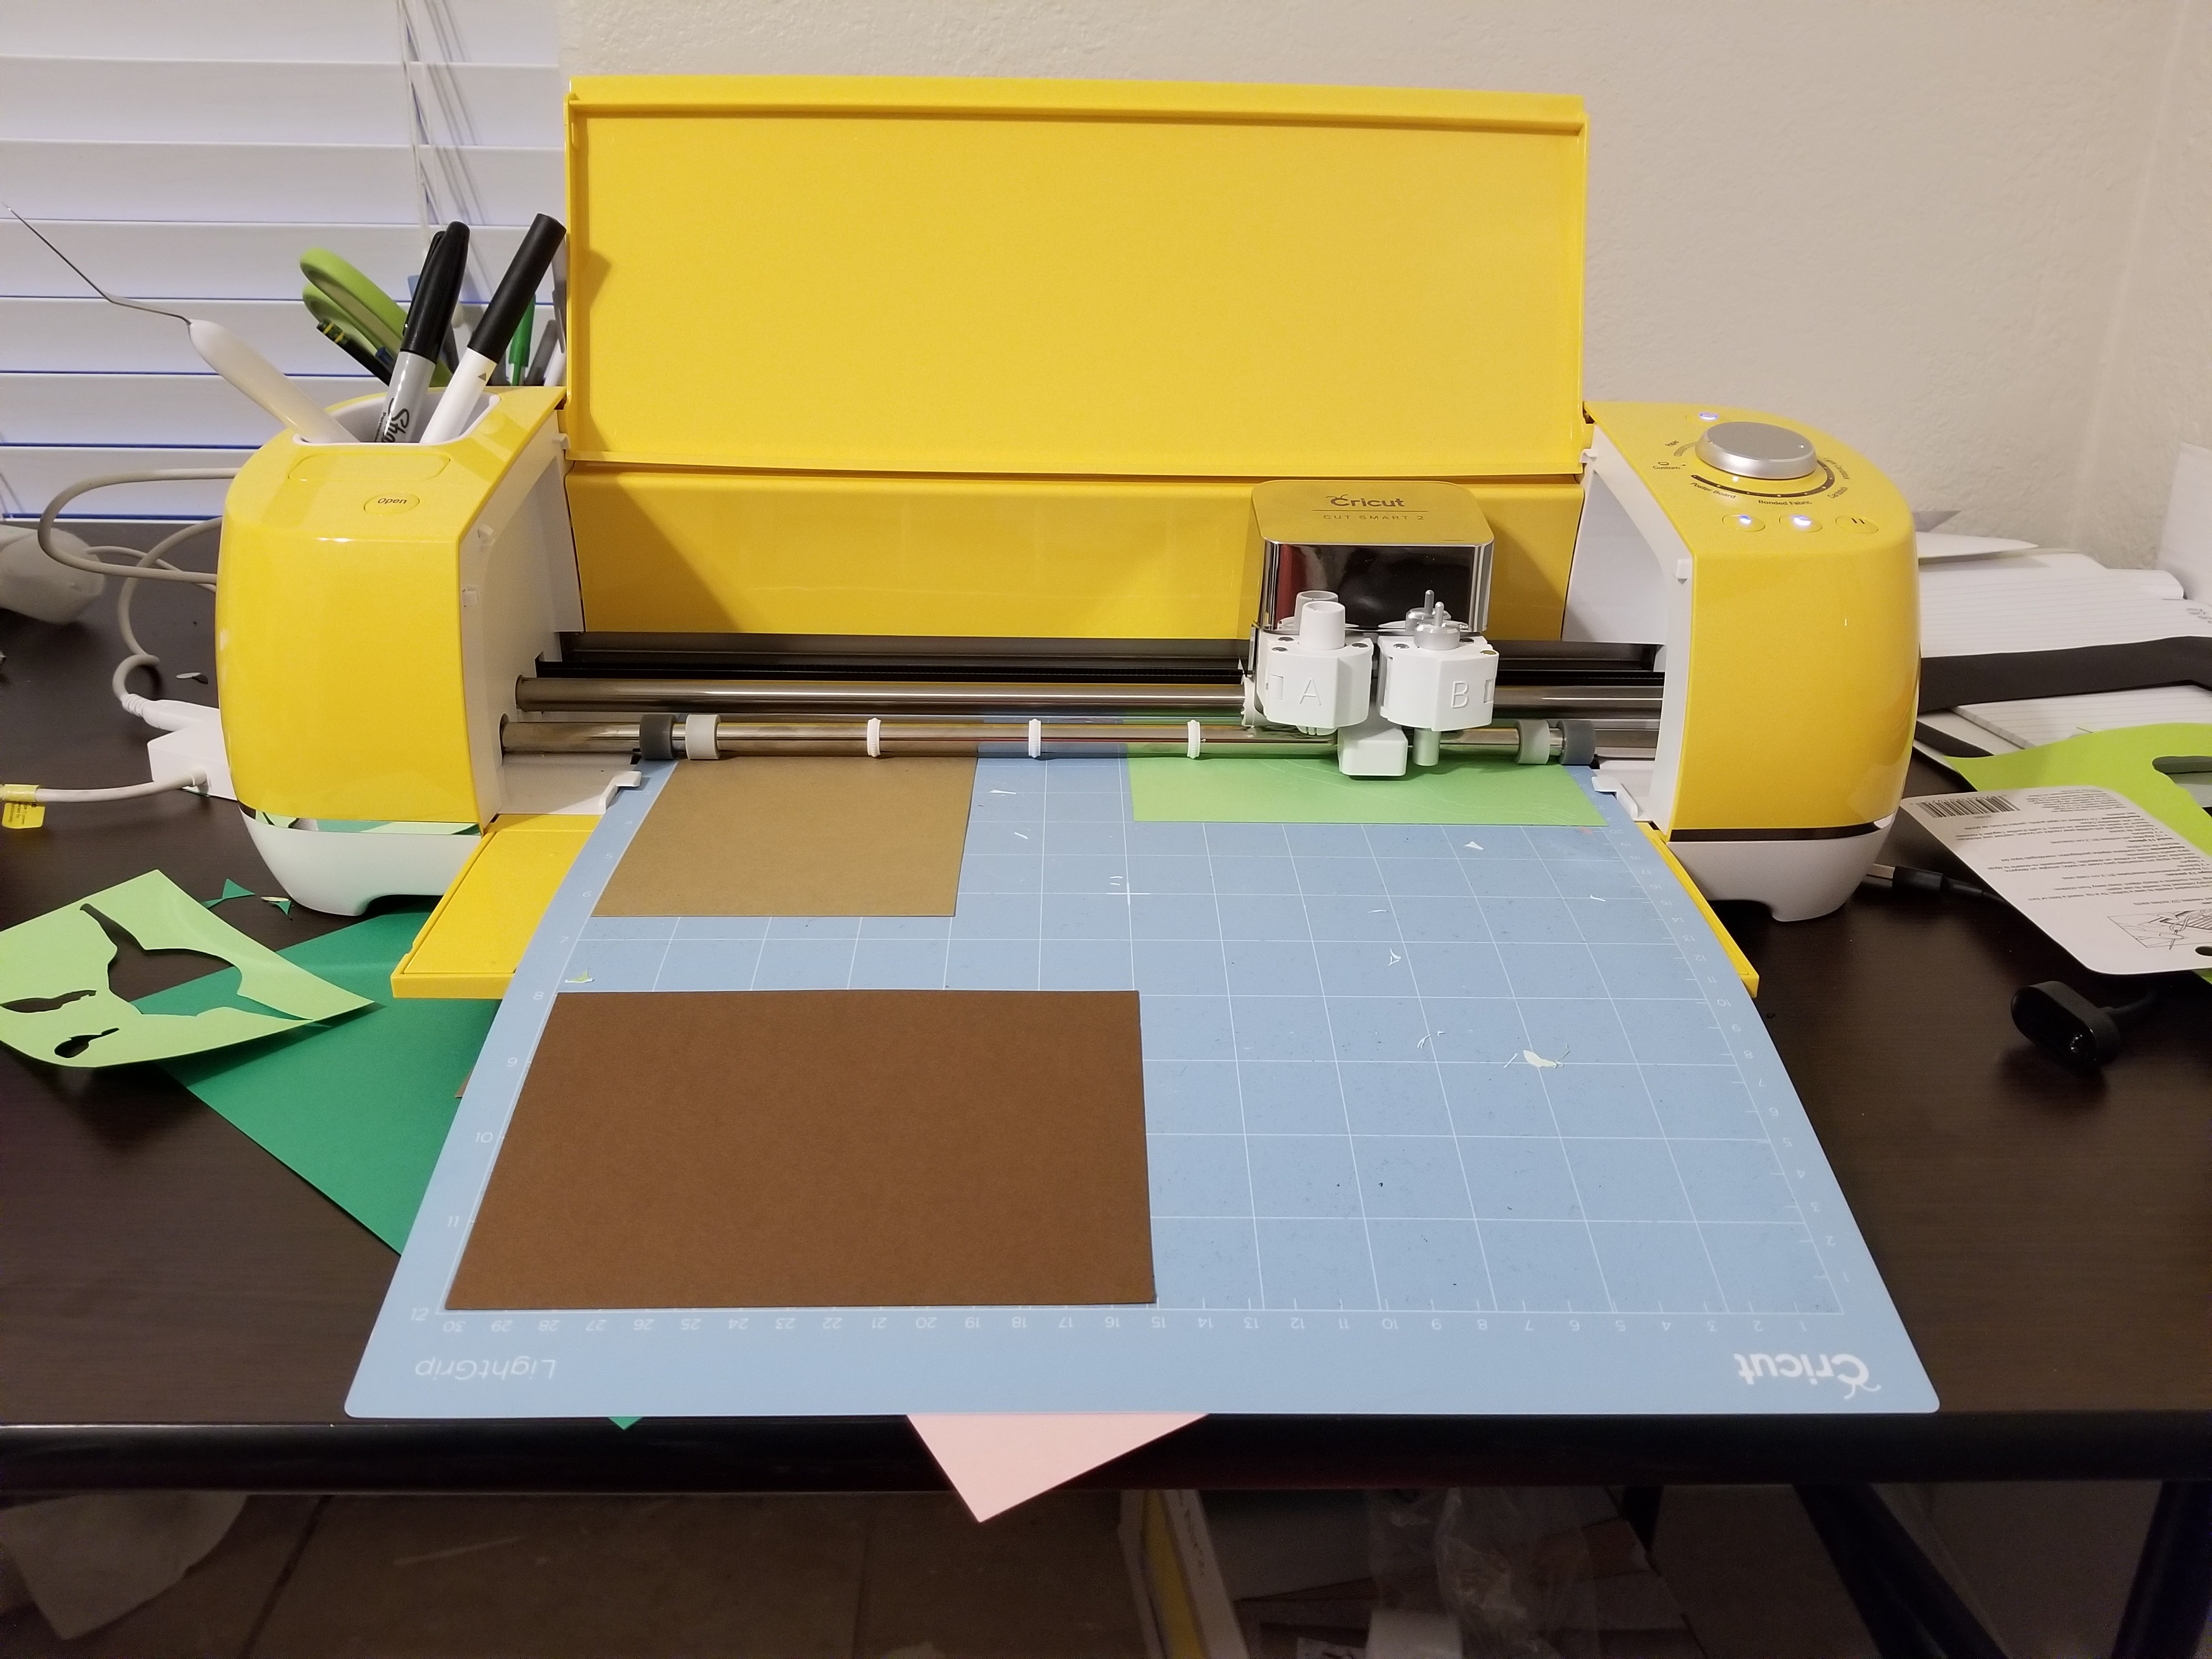
- Position them in three separate corners of your cutting mat (as shown in picture)
- In the cricut design space, ensure the images are scaled to fit within the 4x6 paper
- Once you have them at the correct size, click "Make it"
- You will then have a screen with the three images layed out similarly to the cutting mat. At this point, ensure that the cut you are going to make is aligned with the corresponding color you want to use. For instance, I wanted the outer layer to be light brown, so I placed the outer layer in the same corner as the light brown paper.
- Once you have finished, press "Continue", and follow the prompts from the cricut design space. This will begin making your cut.
Once you have completed these steps, all of your pieces should be ready to take off the mat and you can start assembling them!
Assembly
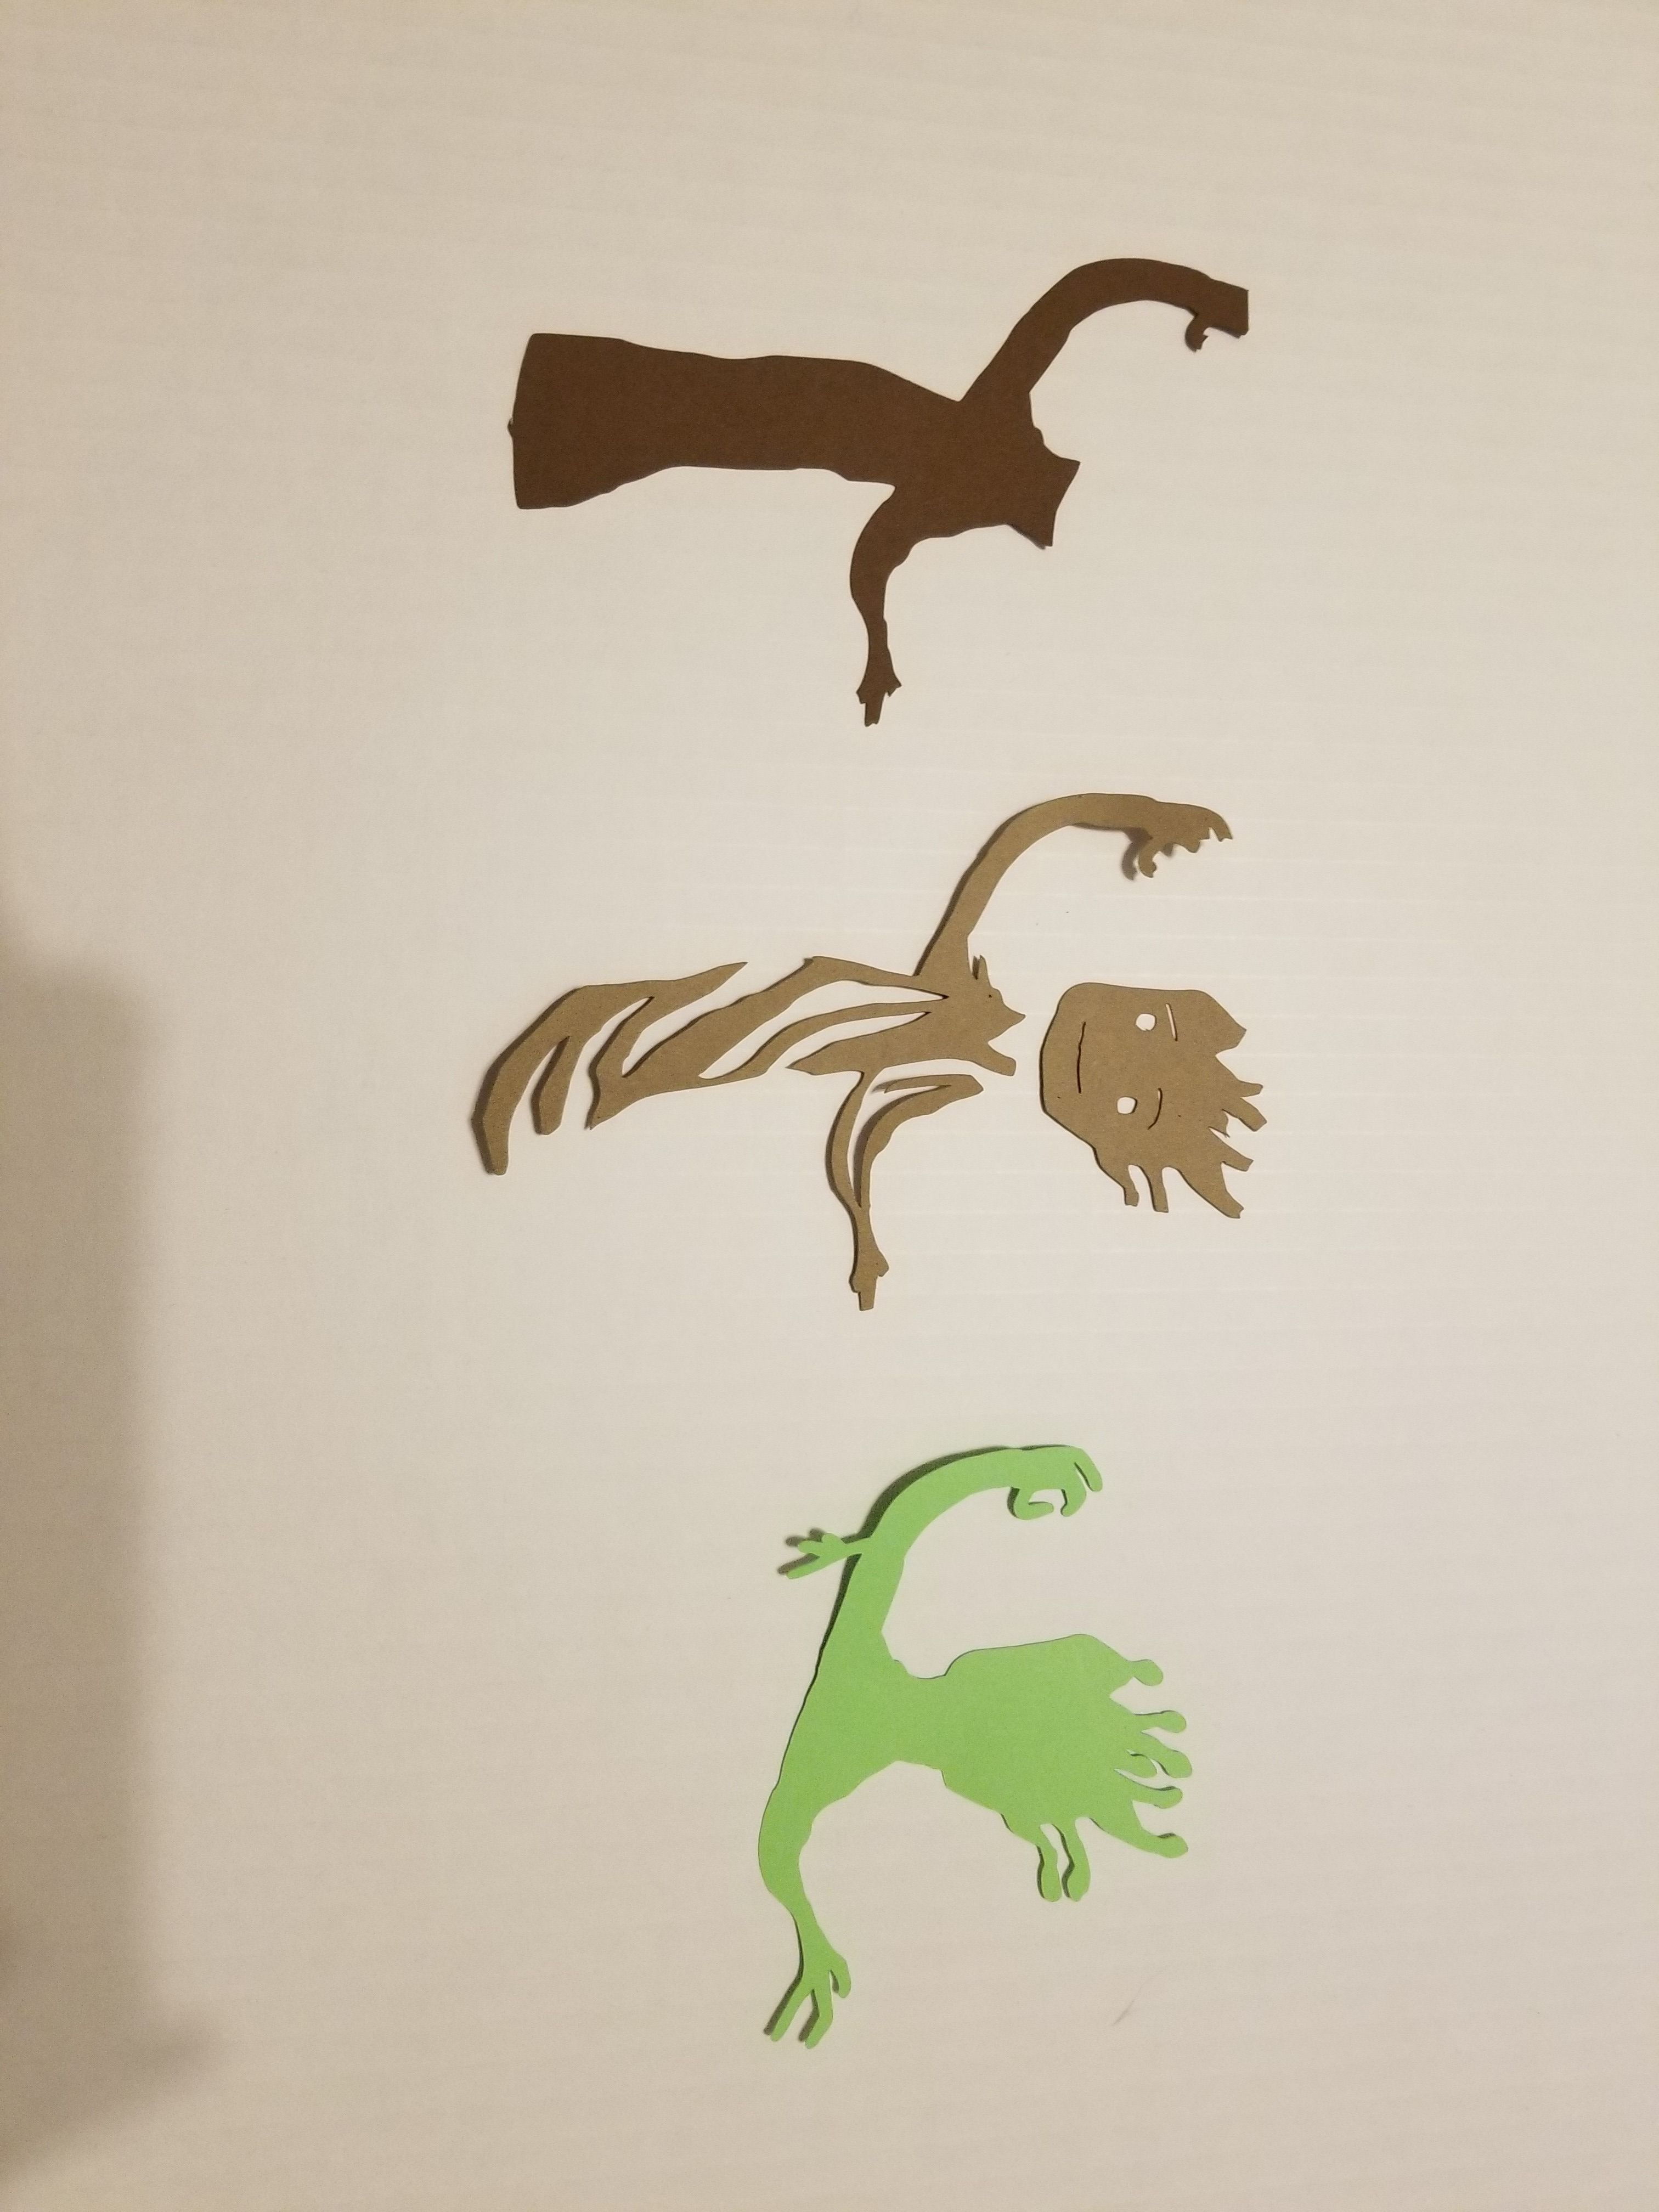
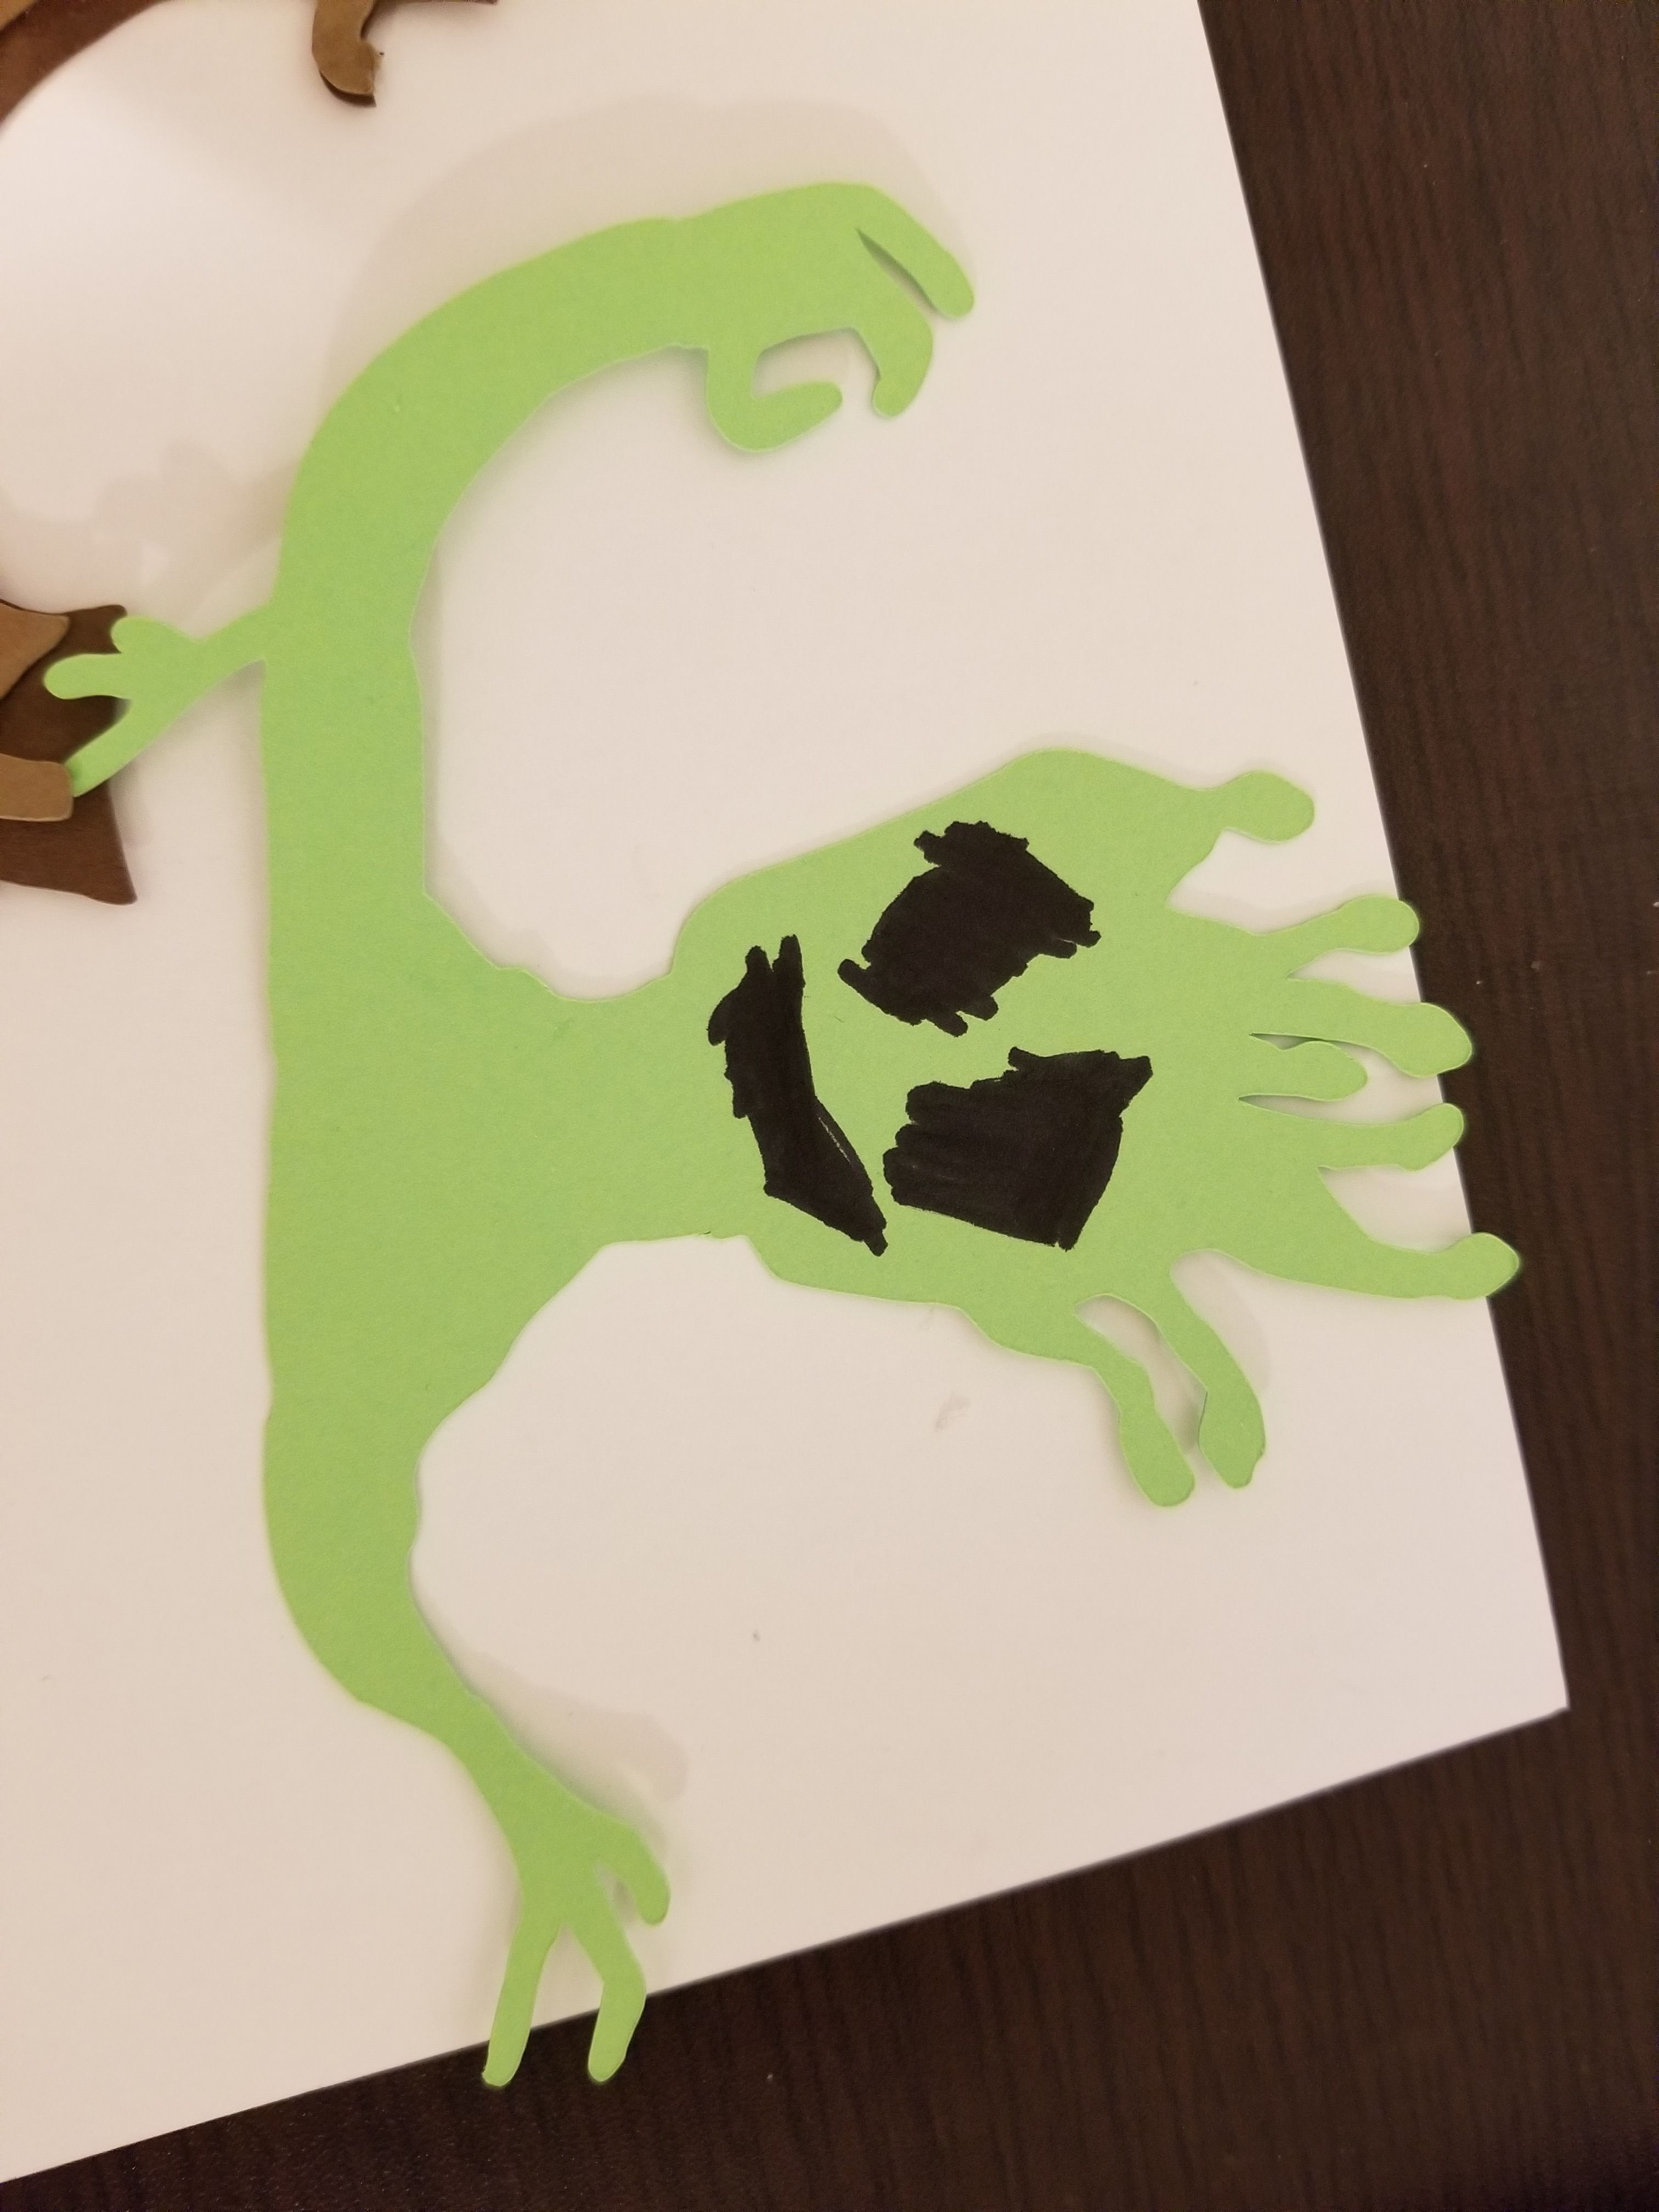
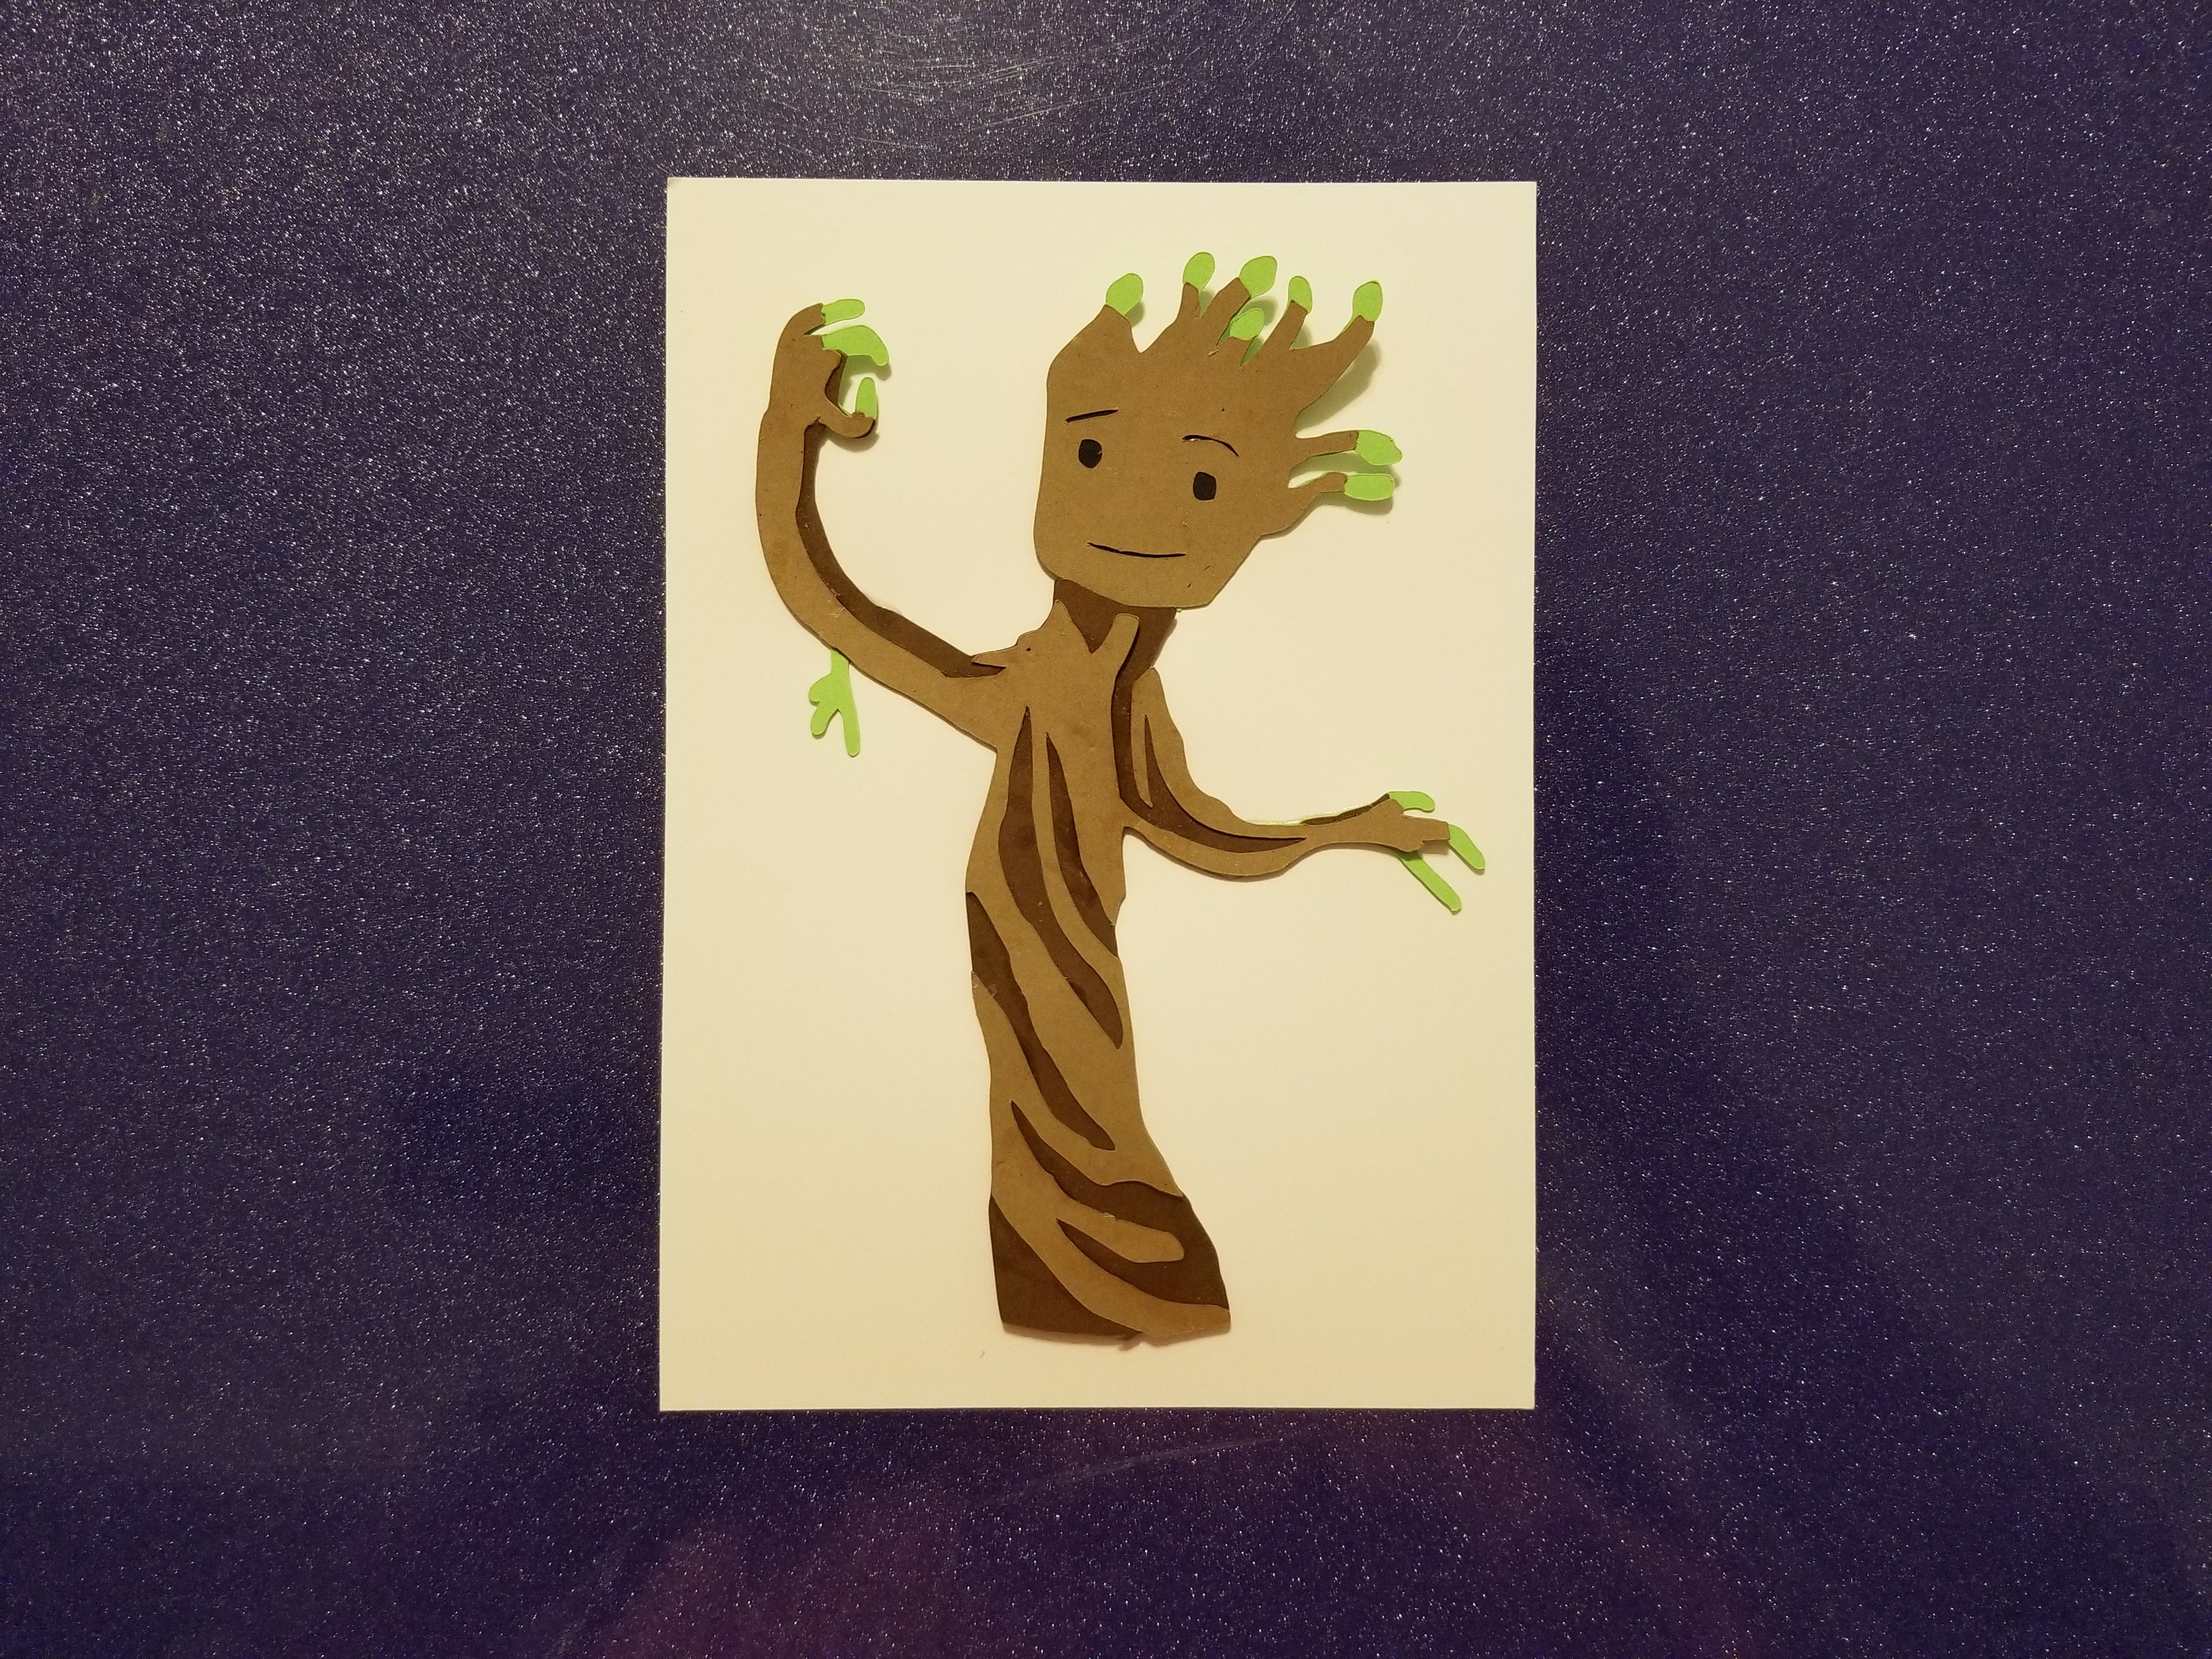
Now, you should have all of your layers cut out. Mine are shown in the thumbnail images. In this step, we will be assembling the papers on top of each other and finishing the project!
- On the layer used behind the head and arms (green in my example), you want to make sure you color in the areas where the eyes and mouth are with a dark color (I used a black sharpie). This is to make sure the eyes and mouth are not green like the leaves.
- Take the light brown layer and align it over the dark brown layer. Before you glue it, make sure these are aligned to your liking. If they are, place a small amount of glue on the back of the light brown paper to attach it to the front of the dark brown paper.
- Once these have been attached, do the same thing with the light brown cut out of the head over the green paper.
- Once these have been attached, attach the body of the green paper to the back of the dark brown paper. Make sure the arms are aligned to your liking before gluing.
- Cut out a piece of paper to be 5in by 7in (I used a white paper)
- Glue the back of your image of baby groot to the paper.
Now, you should be done with your baby groot! I hope you are happy with your final project, and if you are you could consider doing the next step: framing it!
(Optional) Frame It!
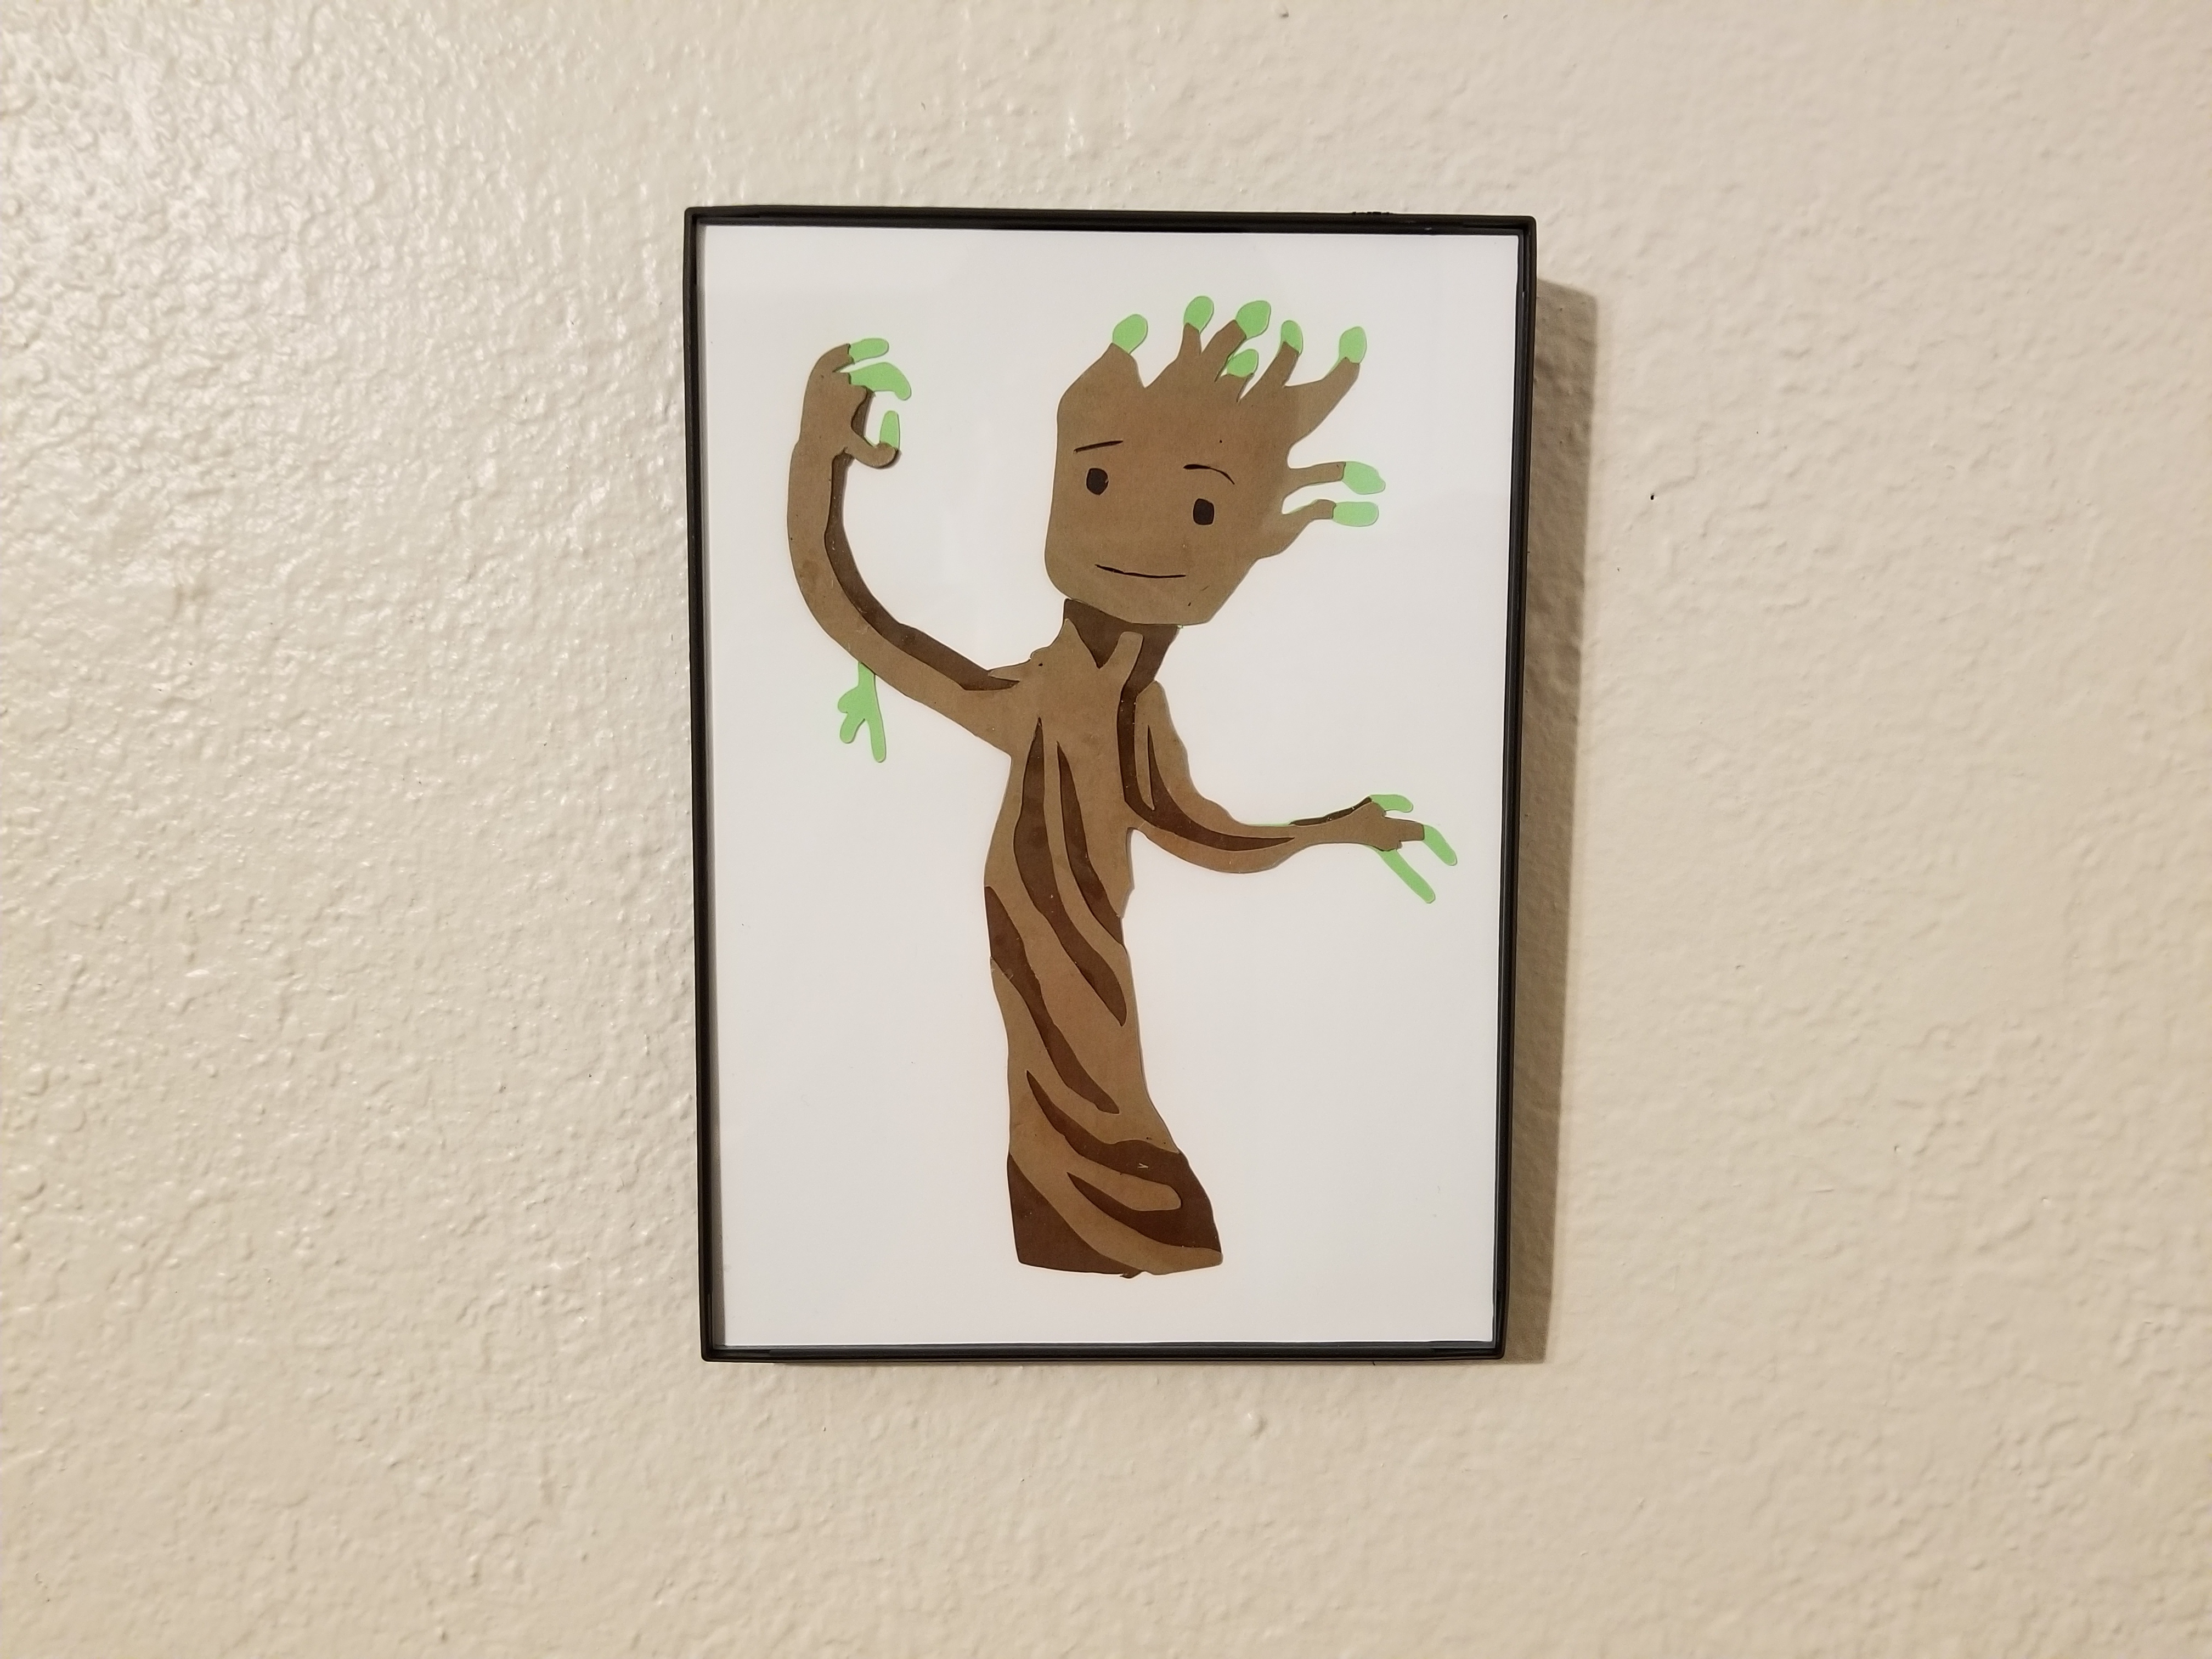
I used a generic 5x7in frame from Target just to give it the final touch, but you do not have to do this. I hope you enjoyed making this project!