Paper Art
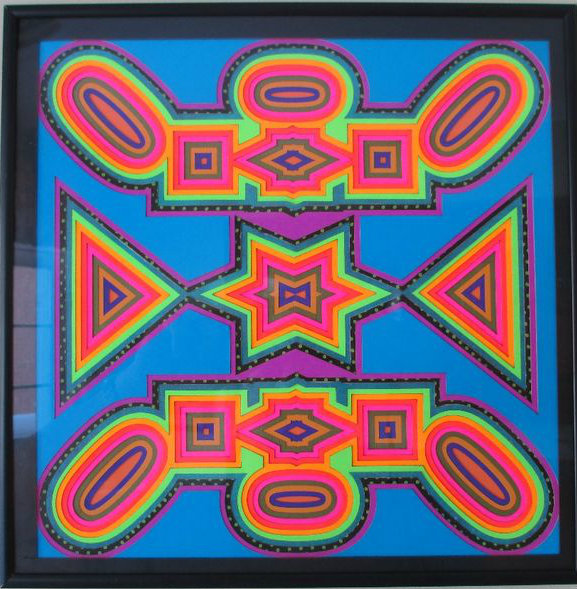
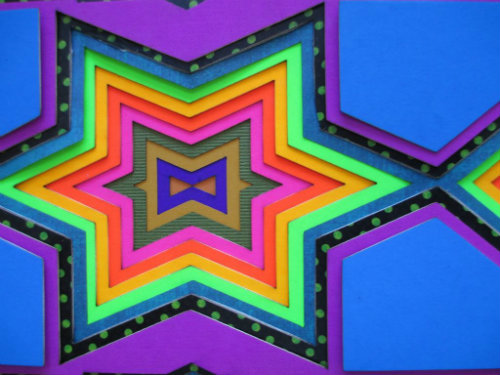
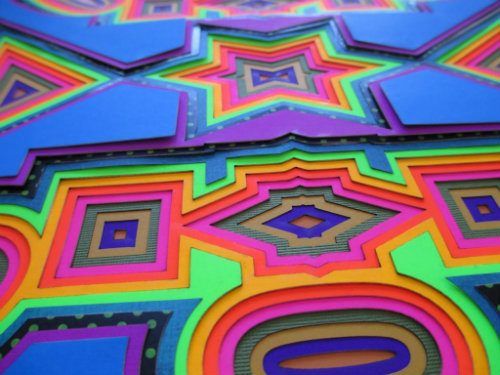
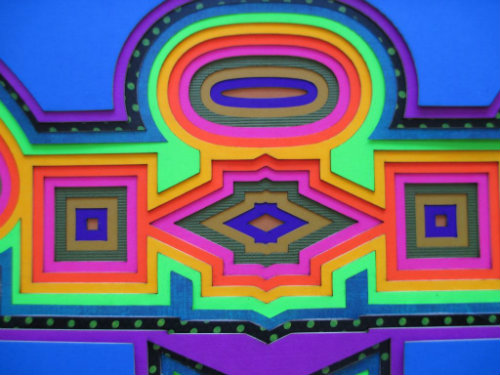
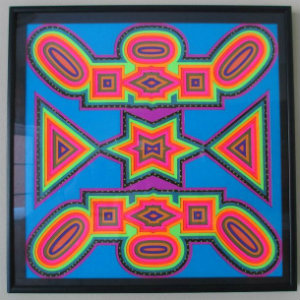
A few months ago, I saw a wooden piece of art similar to this one I crated out of paper. I thought it would look really good in different colors. So I decided to use the soft ware Corel Draw to make my own patterns. Then I cut them out in acrylic using a laser cutter. After making one I started making more and more of them out of different materials. I wanted to make some that anyone can make, so I decided to make some out of paper. I used an exacto knife to cut them and it worked out really well.
I hope you enjoy this tutorial.
Gather Materials
.jpeg)

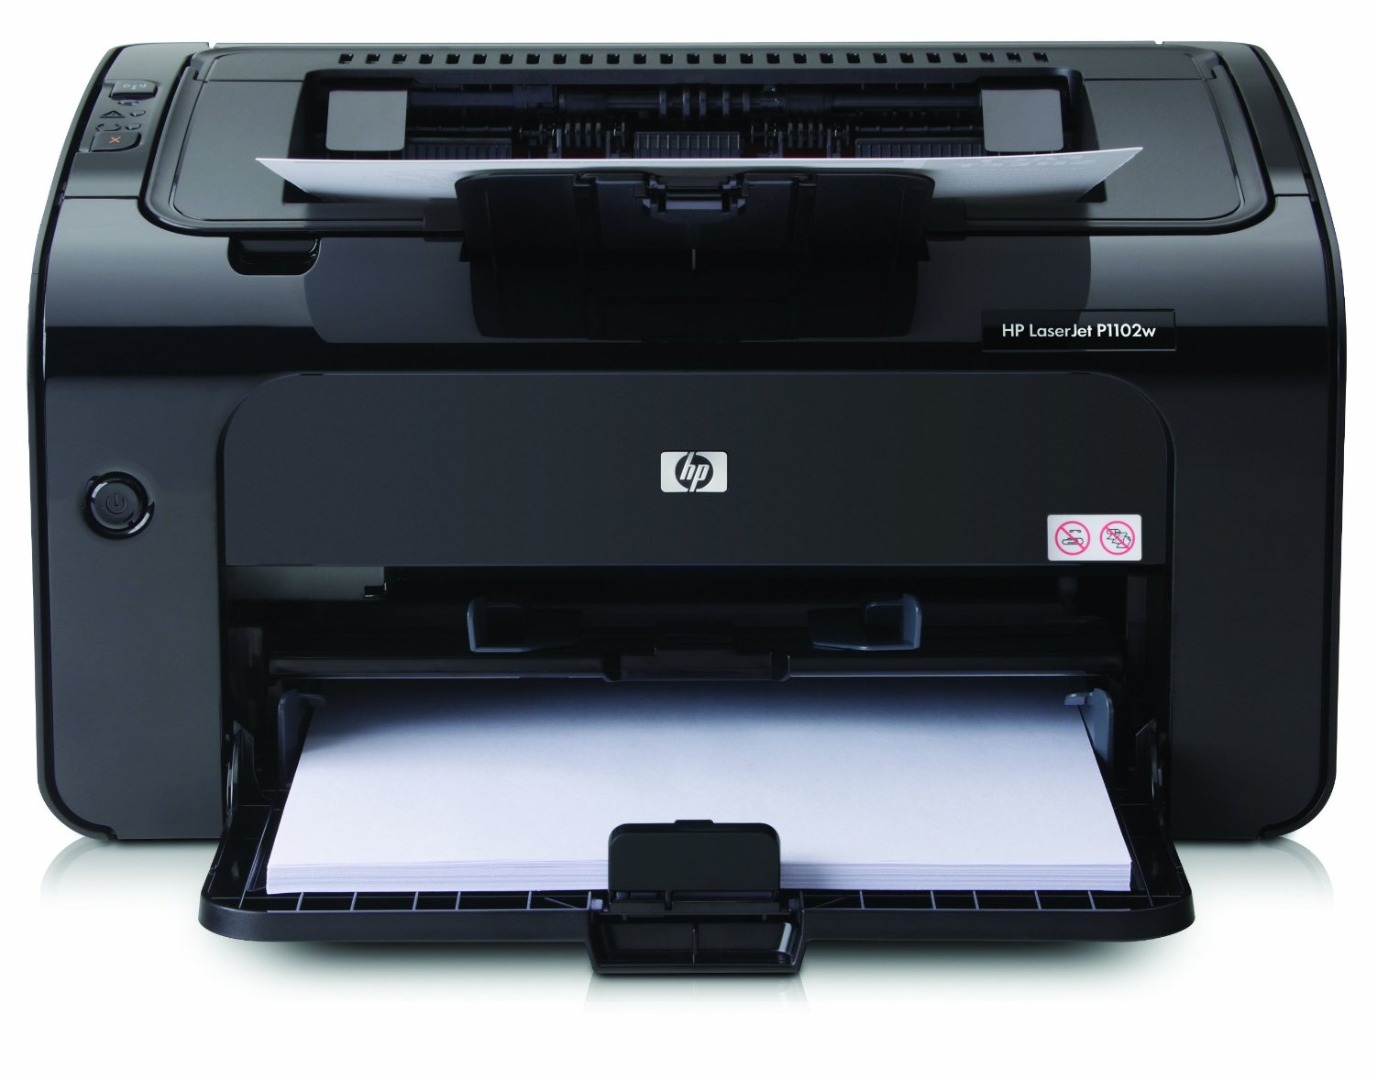
For this project you will need:
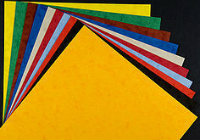
- Colored Paper
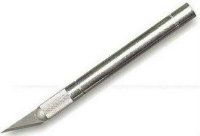
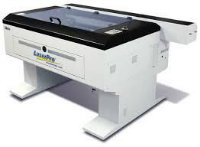
- Exacto knife or laser cutter
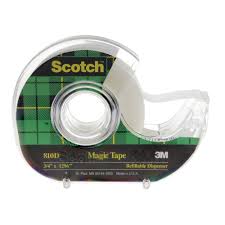
- Tape
- Frame (optional)
- A printer (If you are using an exacto knife)
- A ruler (If you are using an exacto knife)
Design a Pattern
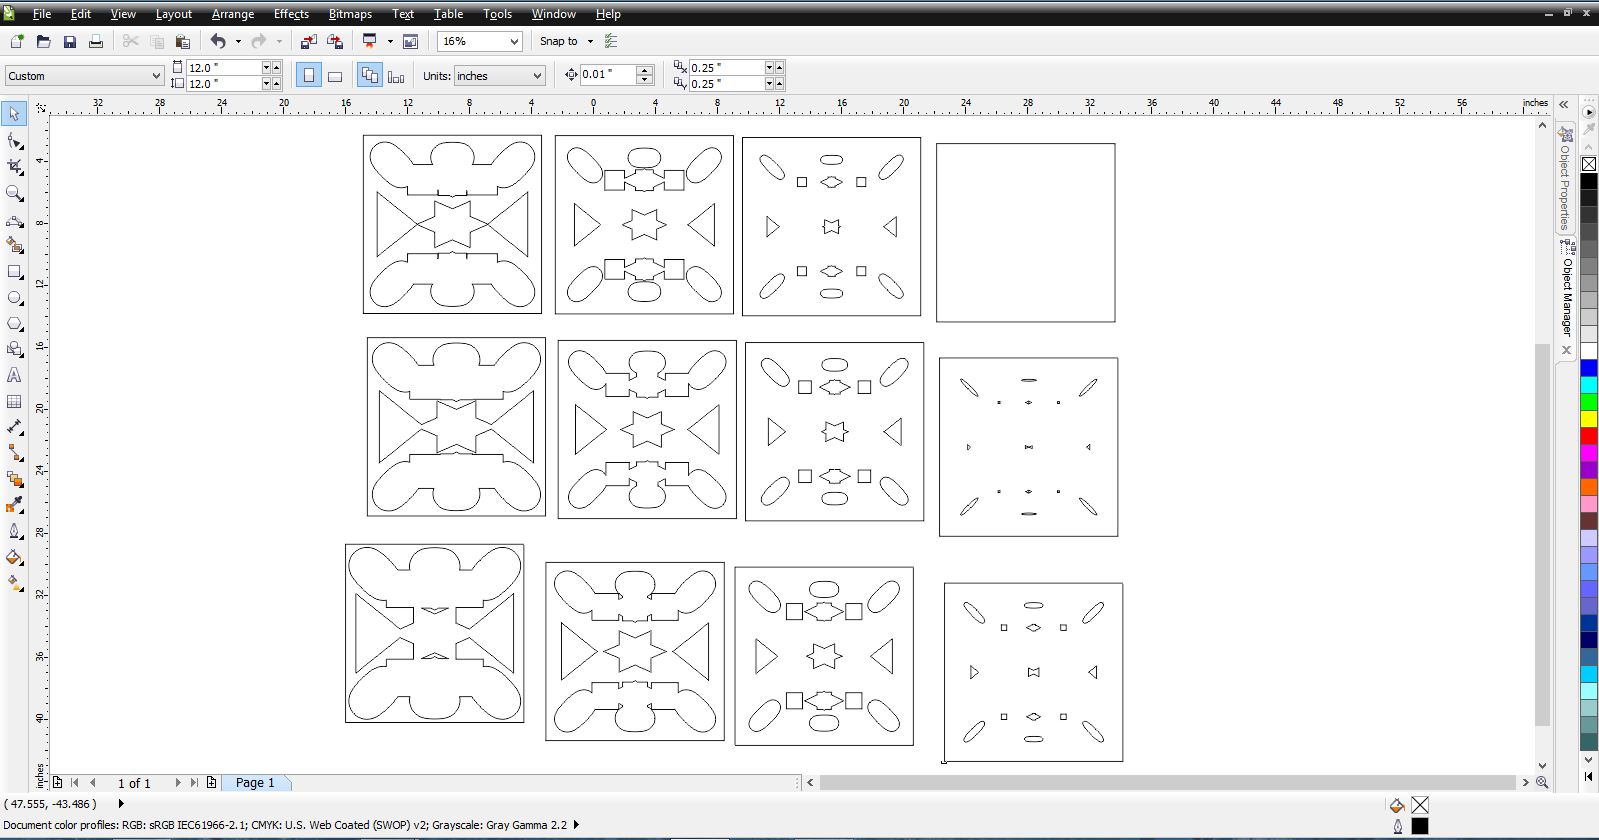
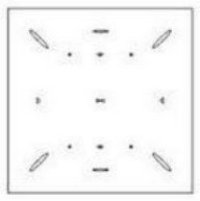
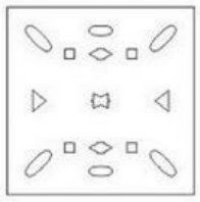
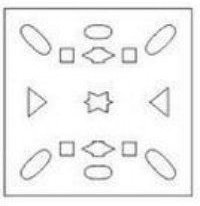
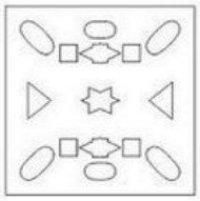
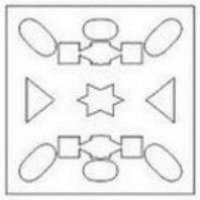
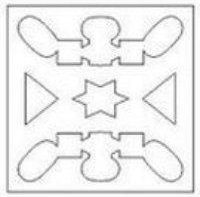
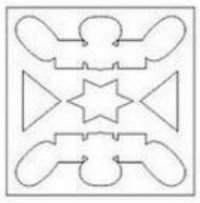
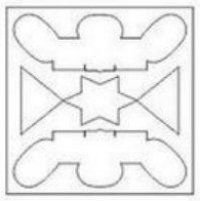
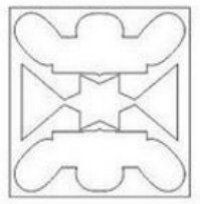
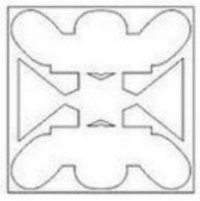
For this project I used the software Corel Draw to make this pattern.
If you want to make your own design:
- Draw out about 8 to 12 squares.
- Create a design in each square.
- Creating a design takes practice so keep practicing if your design doesn't come out perfectly.
Printing and Cutting Out the Paper
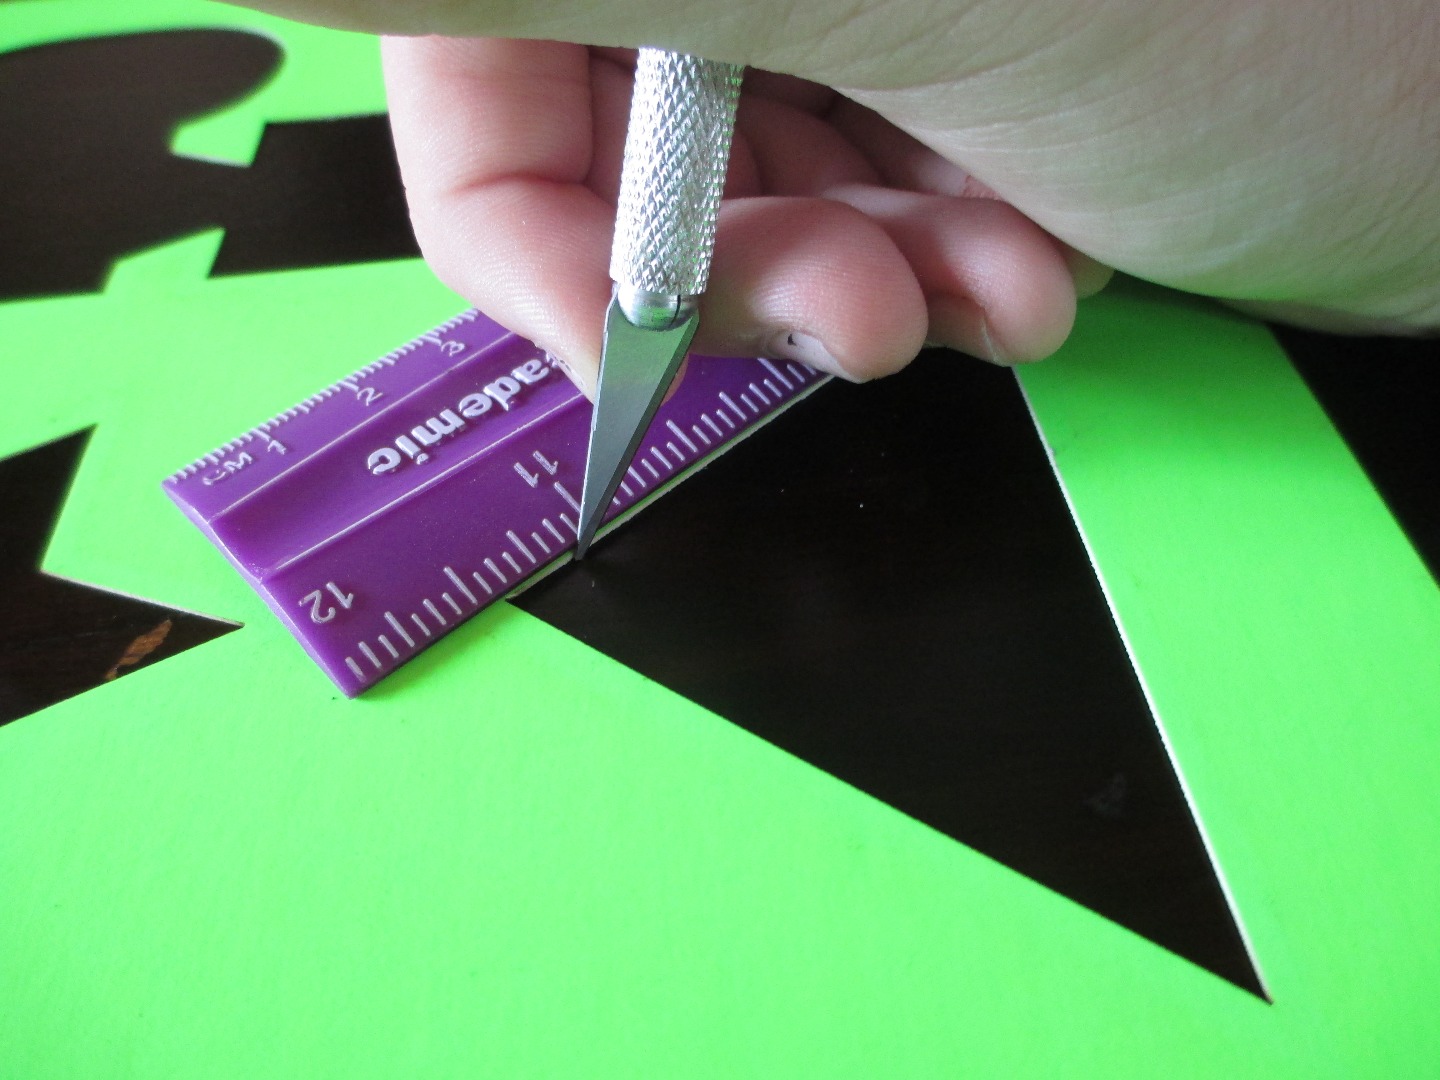
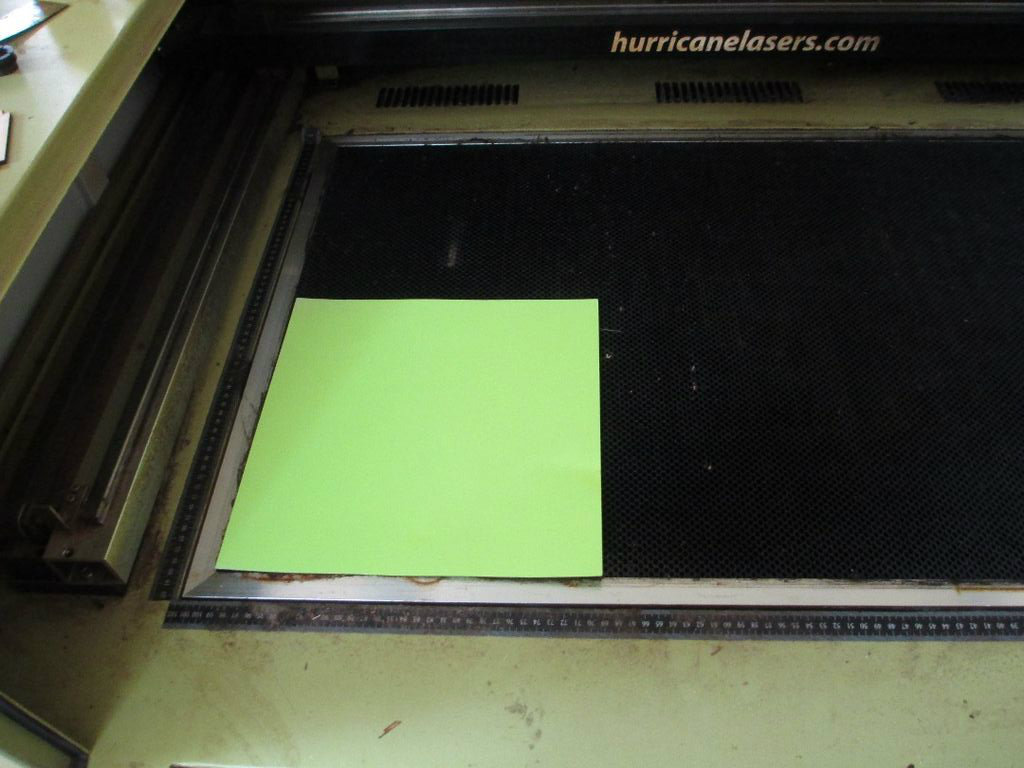
If You are using an exacto knife:
- Print out each pattern on different colors of paper.
- Using the exacto knife cut out the design (Make sure that you use a ruler to make the lines straight.)
If you are using a laser cutter:
- Download the pattern in the software.
- Put the paper in the laser cutter
- Cut out the patterns.
Putting It Together
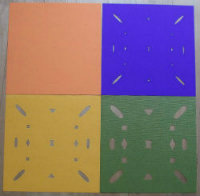
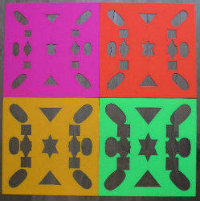
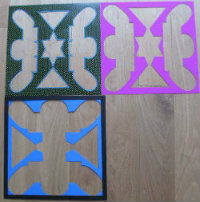
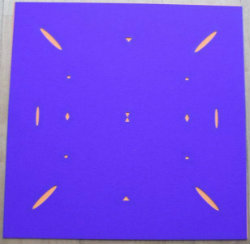
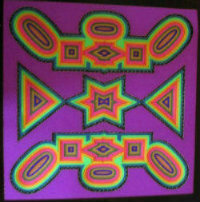
Putting the wall art together:
- Organize the paper from the smallest design to the largest.
- Put the blank piece of paper down and put the smallest design on top. Do this step until you have used each piece of paper.
- Make sure everything is lined up correctly.
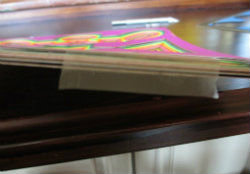
- Tape the edges of the paper.
Hanging the Wall Art
If you would like to hang it on the wall:
- Pick a frame that is the same size or a little bit bigger.
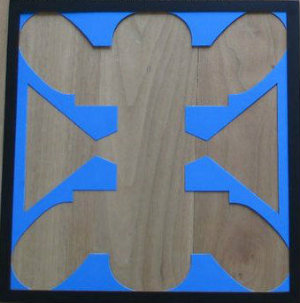
- Put the project in the frame. If your project is too small, you can add in a paper outline of the project similar to the one I created.
I hope you enjoyed this tutorial, and please vote for me in the Rainbow contest and also the Graphic Design contest.