Paper Airplane Launcher 2.0
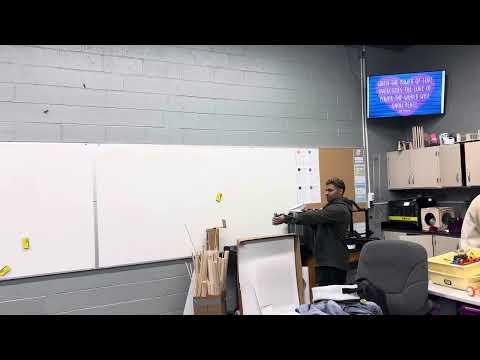
Have you ever wanted to throw a paper airplane like crossbow, cannon, or look cool with throwing a paper airplane? Do you want to throw a paper airplane that makes you feel like wielding a cool weapon in your hand, or to show off your cool throwing skills? The paper airplane launcher is a simple and easy innovation invention that anyone can make! Imagine welding a slick, stylish and modern paper airplane launcher that has precision to it. Currently I am a junior in Herricks High School, New York I'm passionate about developing my skills in 3D printing and engineering. This project will help foster your creativity and practicality, offering new fun ways to find different hobbies that might interest you and explore the mechanics behind launching paper airplane and gaining valuable hands on skills. This project is unique and different for everyone whoever is trying to make a paper airplane launcher as it can be customizable to suit whatever needs you need by following these steps! Good luck you got this!
Supplies
-TinkerCAD
-Paper
-Pencil
-Rubber band
-3D printer
Drafting

My first step into creating this idea is drawing it down so I can have an idea on what I want to create. This will help visualize what I want to create in my final product and also refine any concepts that need to be fix or flaws that need to look back upon and improve on. This step will require creativity, imaginative, and wiliness to try and experiment with new ideas to think outside of the box. I started by creating multiple ruff drafts by exploring new ideas that I can ensure myself the final product is innovative and functional.
Measuring
.jpg)
.jpg)
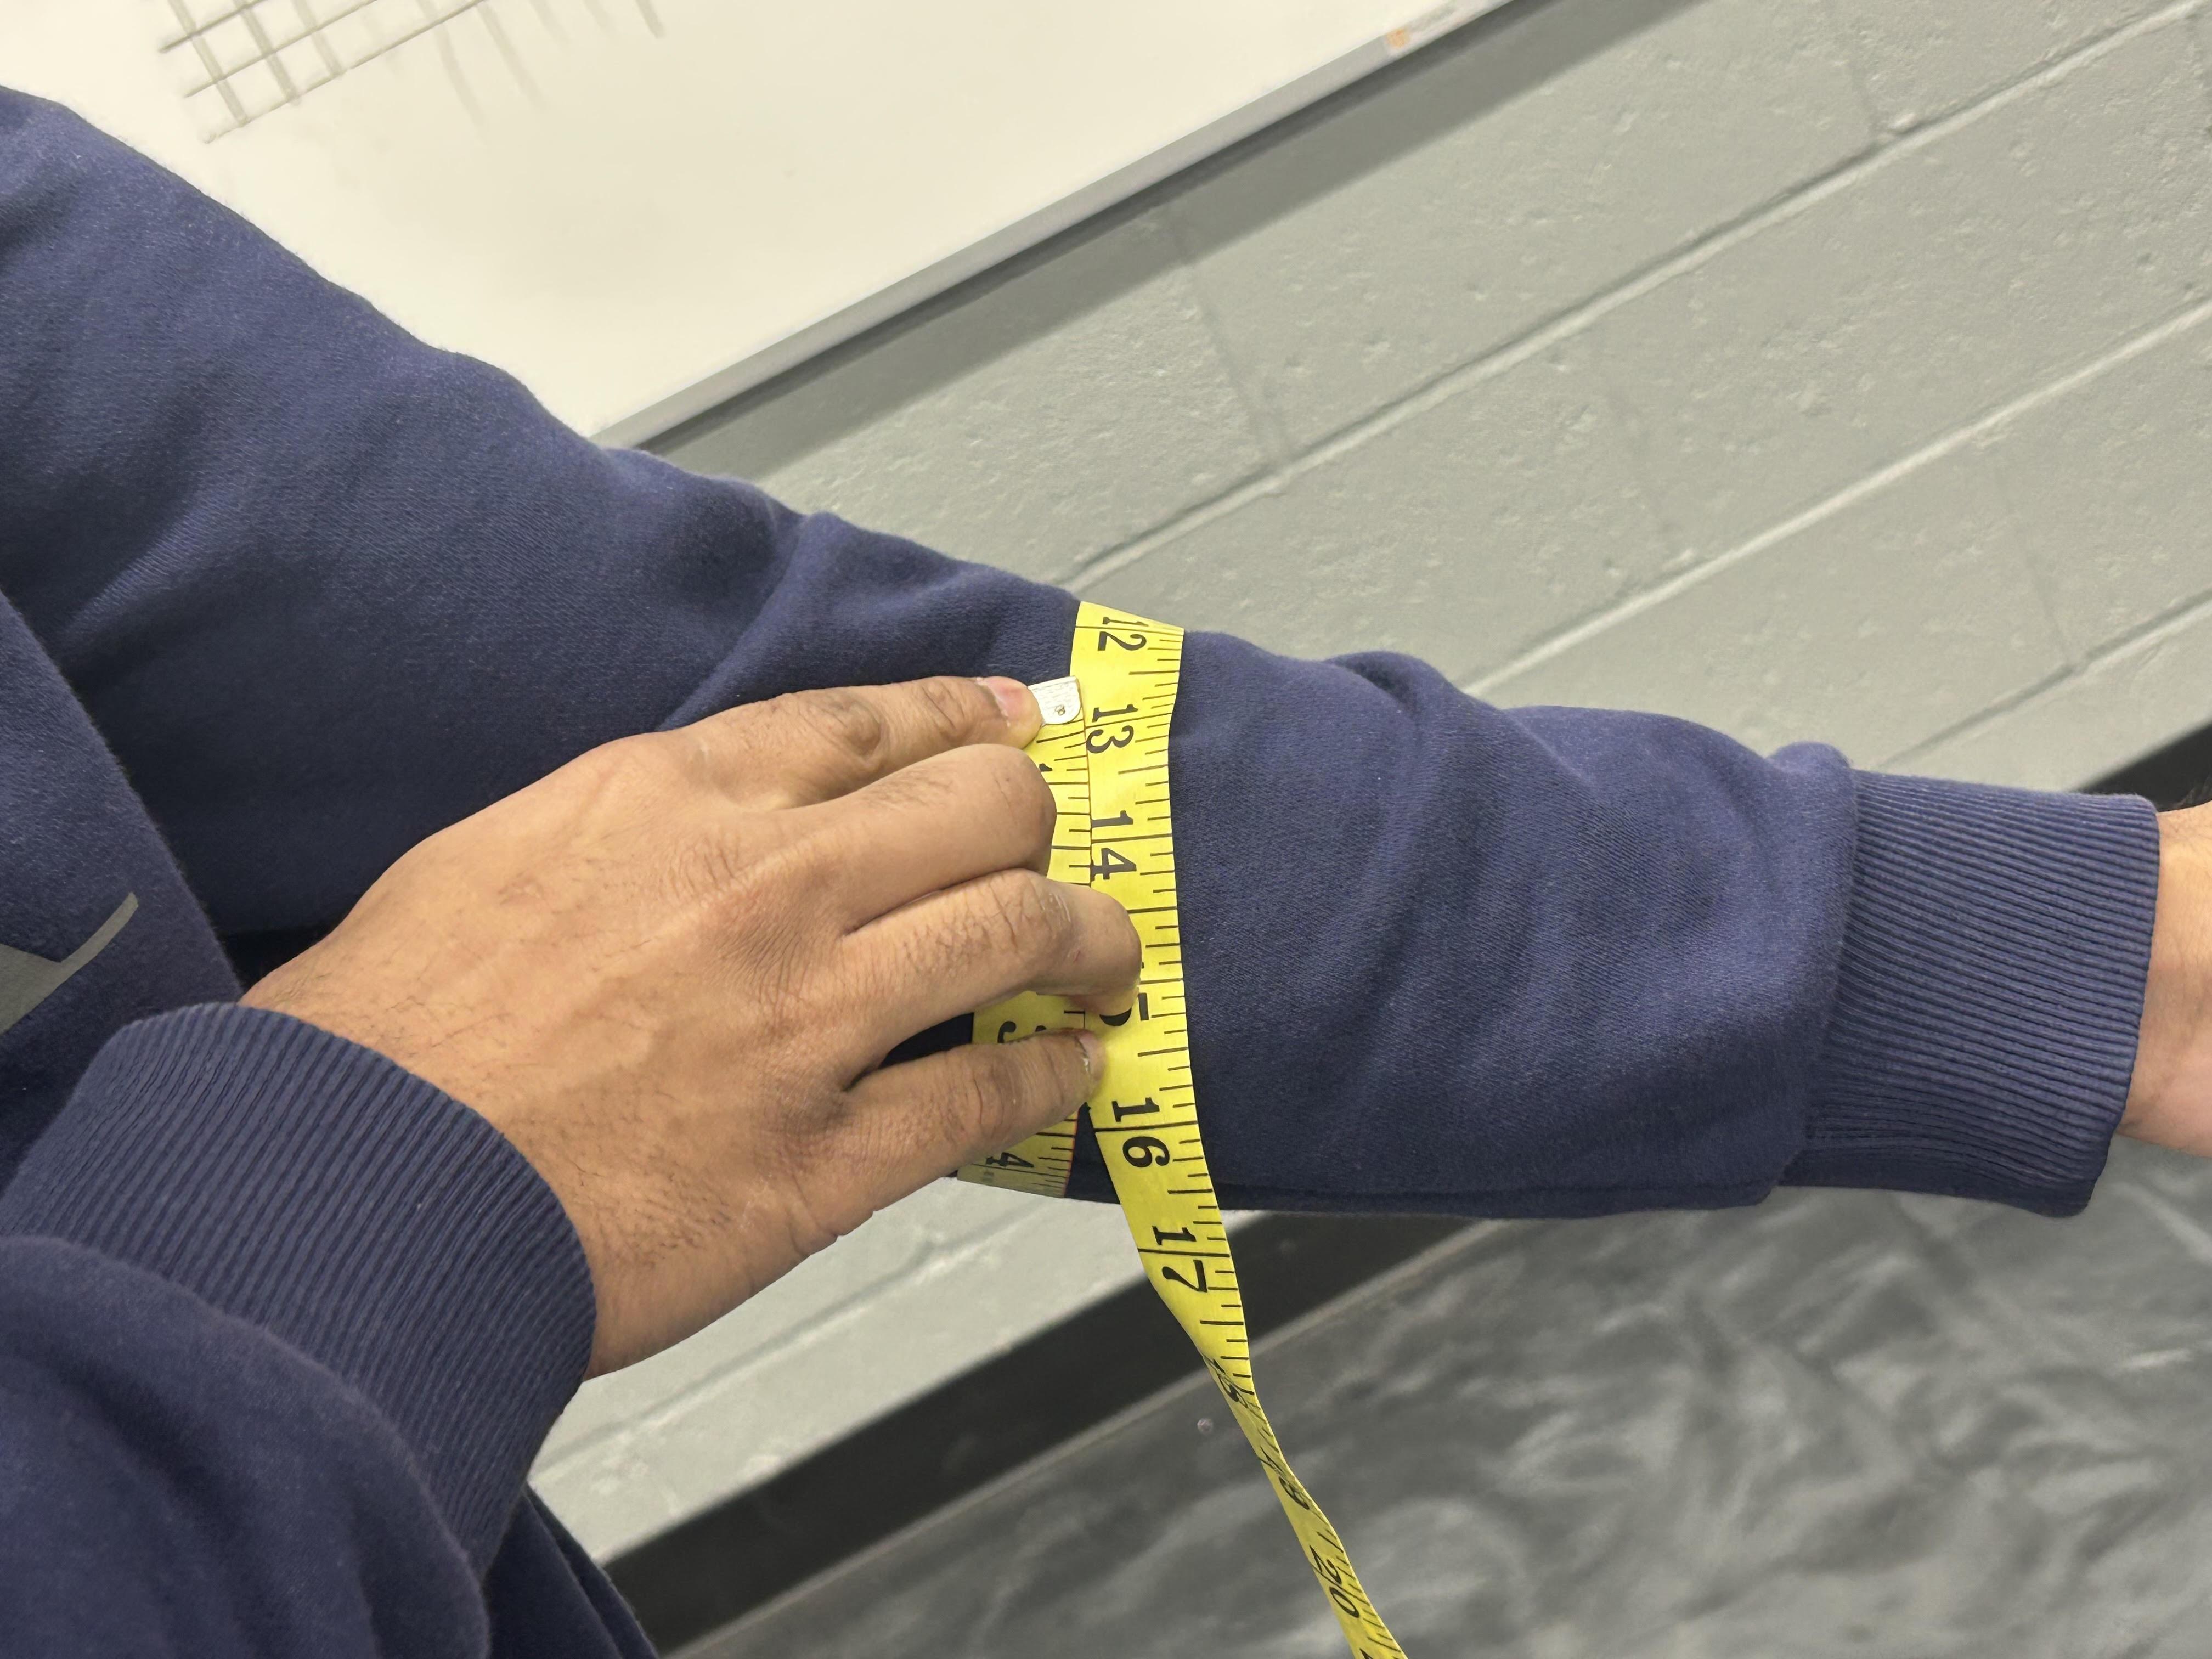
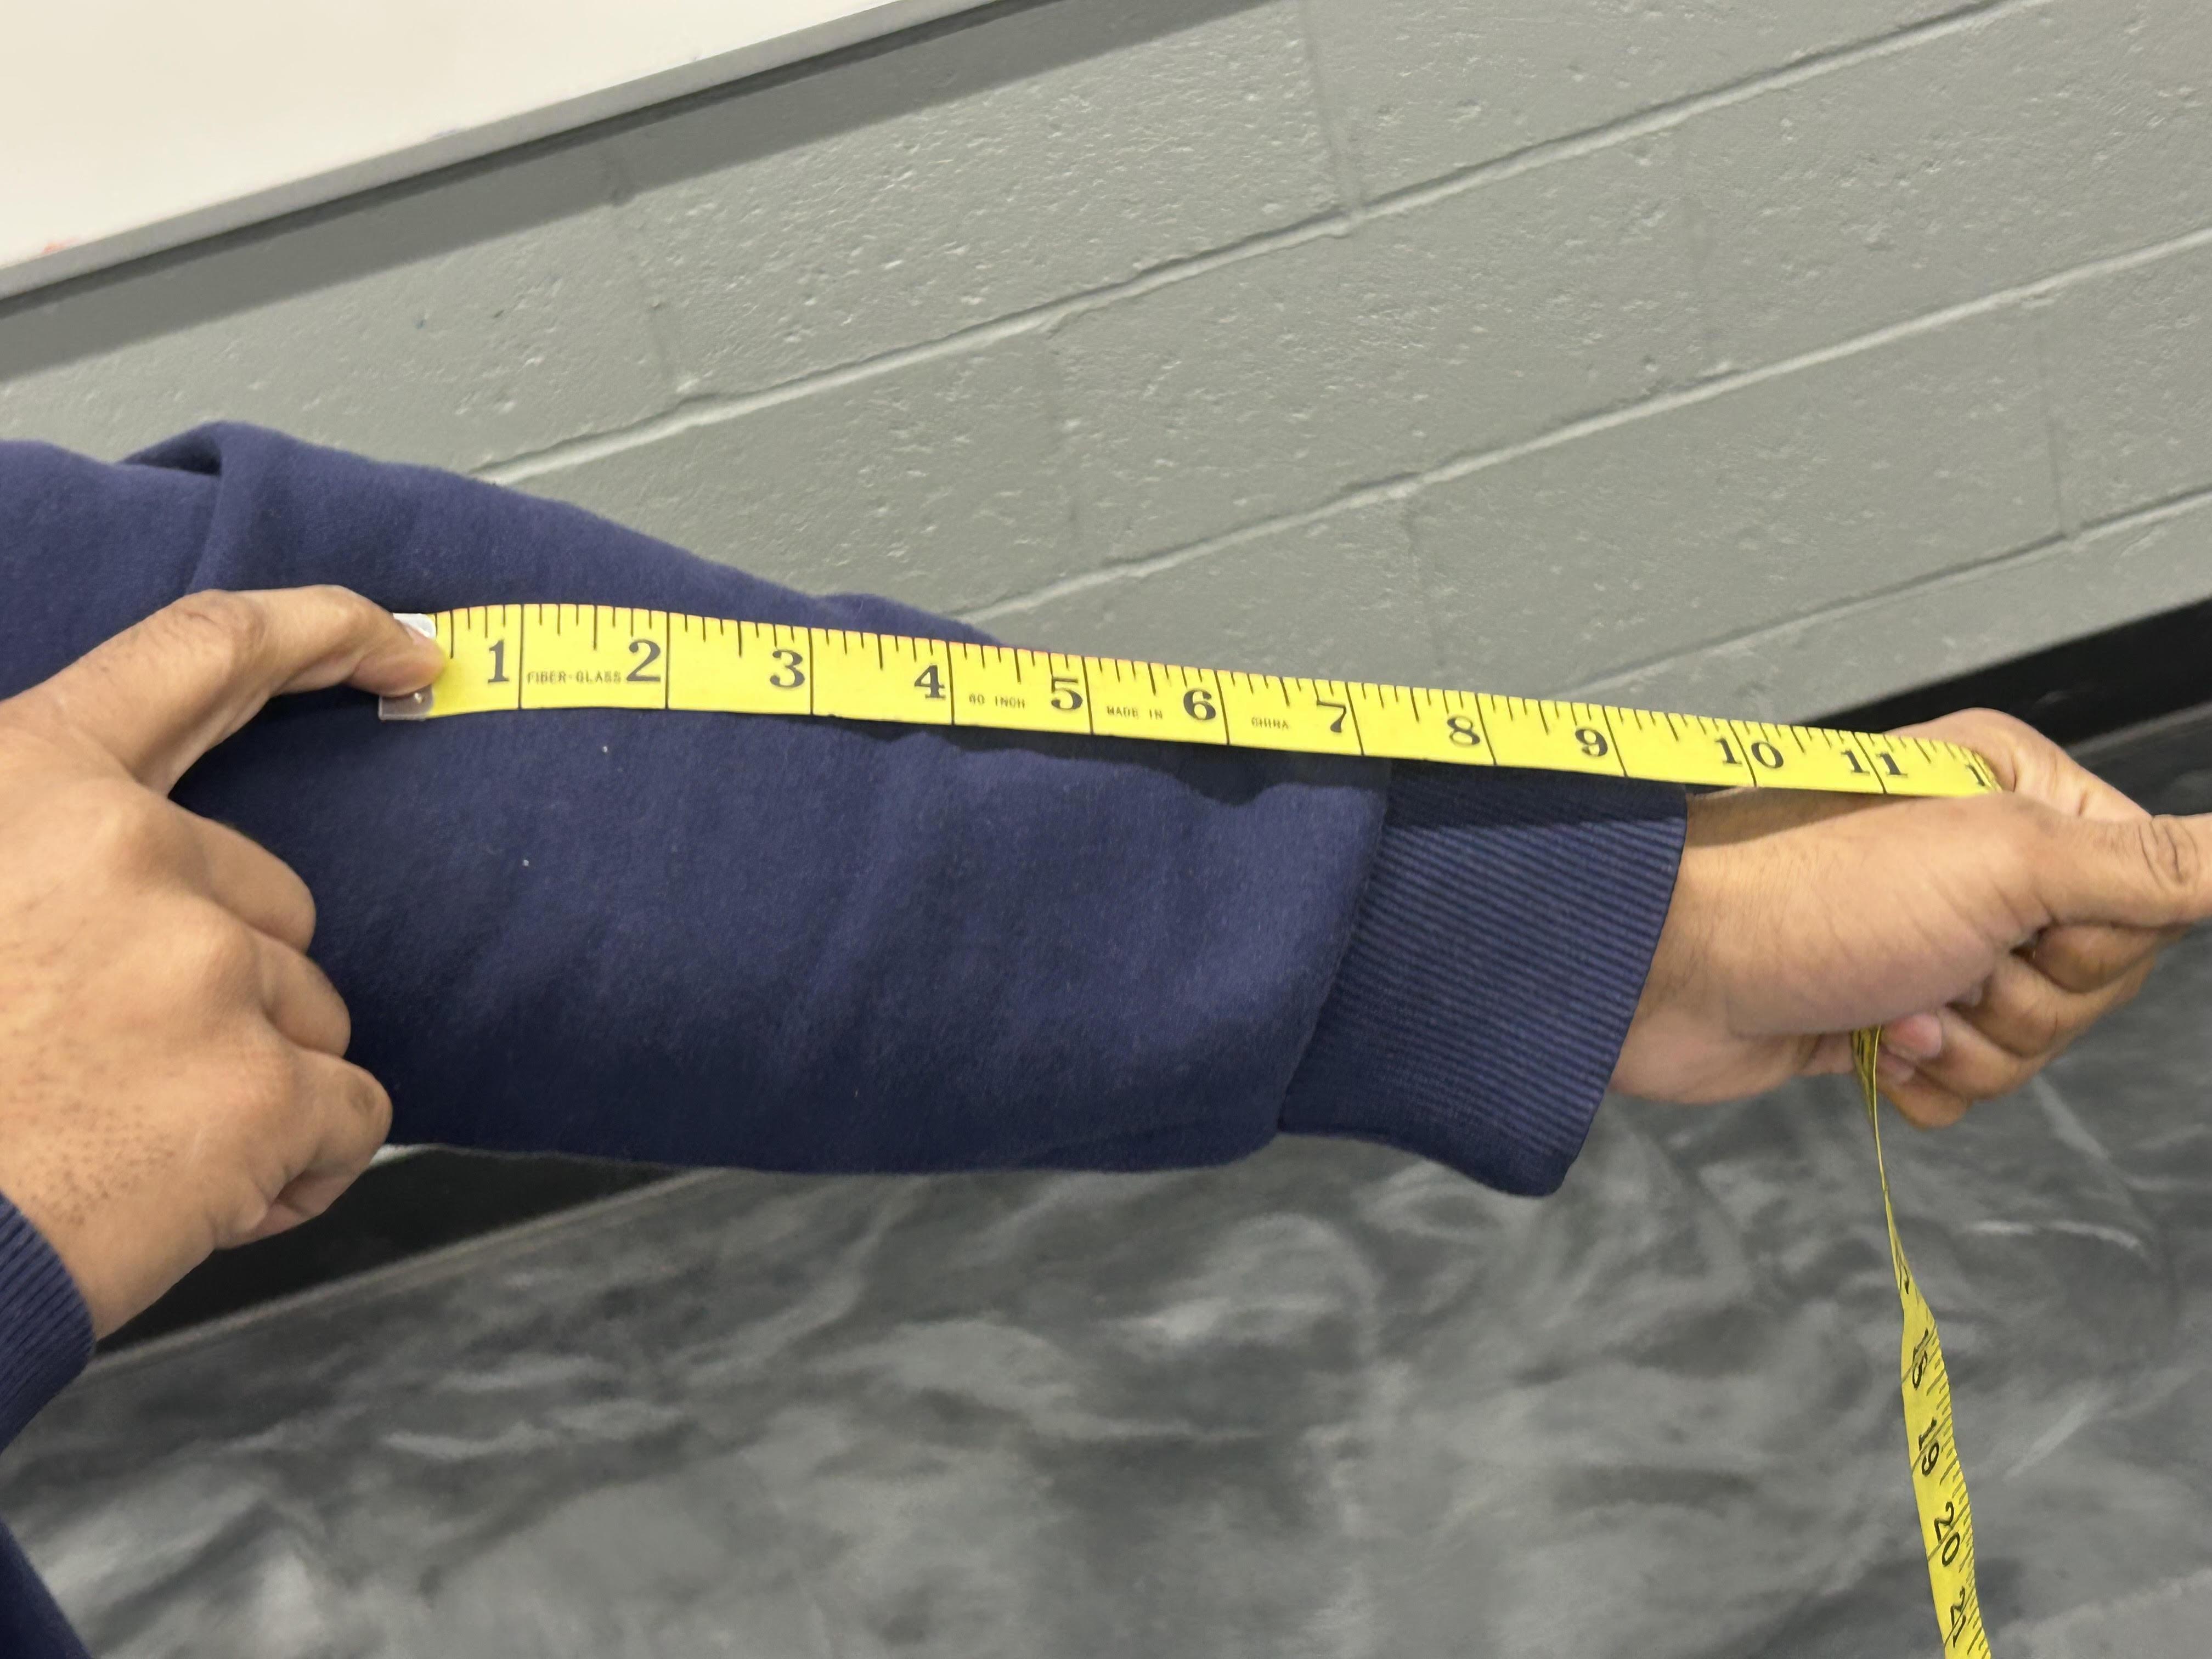
I started by taking precise measurements of my arm to ensure that the Paper Airplane launcher will have a snug, comfortable fit into my arm while I am holding it making it very ergonomic. Next, I measured my forearm to figure out how big the circular section need to be to have a secure fit after all, the last thing you would want is it to fall out your hand while everyone is watching. After that I measured the length of my arm to know how long I need to make the paper airplane launcher to be. Finally, I measured my hand to design a perfect size handle that suits me for maximum control.
Designing


I started off designing my final product in TinkerCAD, a simple and user-friendly program that anyone can use. By looking back at step 1 using your rough sketches and ideas as a guide to help aid you in your final product this can help make the process much more simplified and easier to do. I started creating a 3D model of my sketch that reflected my final vision of the product. TinkerCAD tools made it easier to adjust dimensions, experiment with shapes, and try out new and different ideas on the website, I carefully evaluated each component of the model to ensure it met all my goals and requirement I needed it to reach. This step help refined my ideas and bring my initial concepts to life in a digital format


After putting in all the necessary requirements to design the model now its time to print it to life with your 3D printer. Having an Idea and bringing it to life becoming an tangible object you can play with is the most satisfaction feeling you can have. Start by making sure your 3D printer is properly calibrated, check if the bed is level, and the filament is already preloaded into the machine, and the printer settings matches the requirements of your design. Depending on your launcher your might need to adjust the height, print speed, or infill to best reach your requirements for the most optical launcher. My recommendation for a project like this is PLA or PETG filament as it is strong but lightweight as well. Make sure to run your model through the slicer software as it can ensure all intended parts will fit together and function as intended. A special tip is to pay attention to the clearance as it's better to catch any potential issues during the print rather than after. Once you loaded in the file to the 3D printer it could take a couple hours to a day depending on the size and complexity of it. Always make sure to check upon your project ever so often as any potential problem is better to catch during rather than later of the print. As you watch your model print out it's incredible to see all you hard work pay off see how the 3D printer brings you digital model to life is a remembrance of how technology can bridge creativity and engineering. One the print it complete it's important to inspect the model for any imperfections such as rough edges or filament strings, in such cases like these it's important to have tools like pliers or sandpaper to give your model a clean matt finish. This step helps with your problem solving skills, creativity ,and attention to details.
Paper Airplane


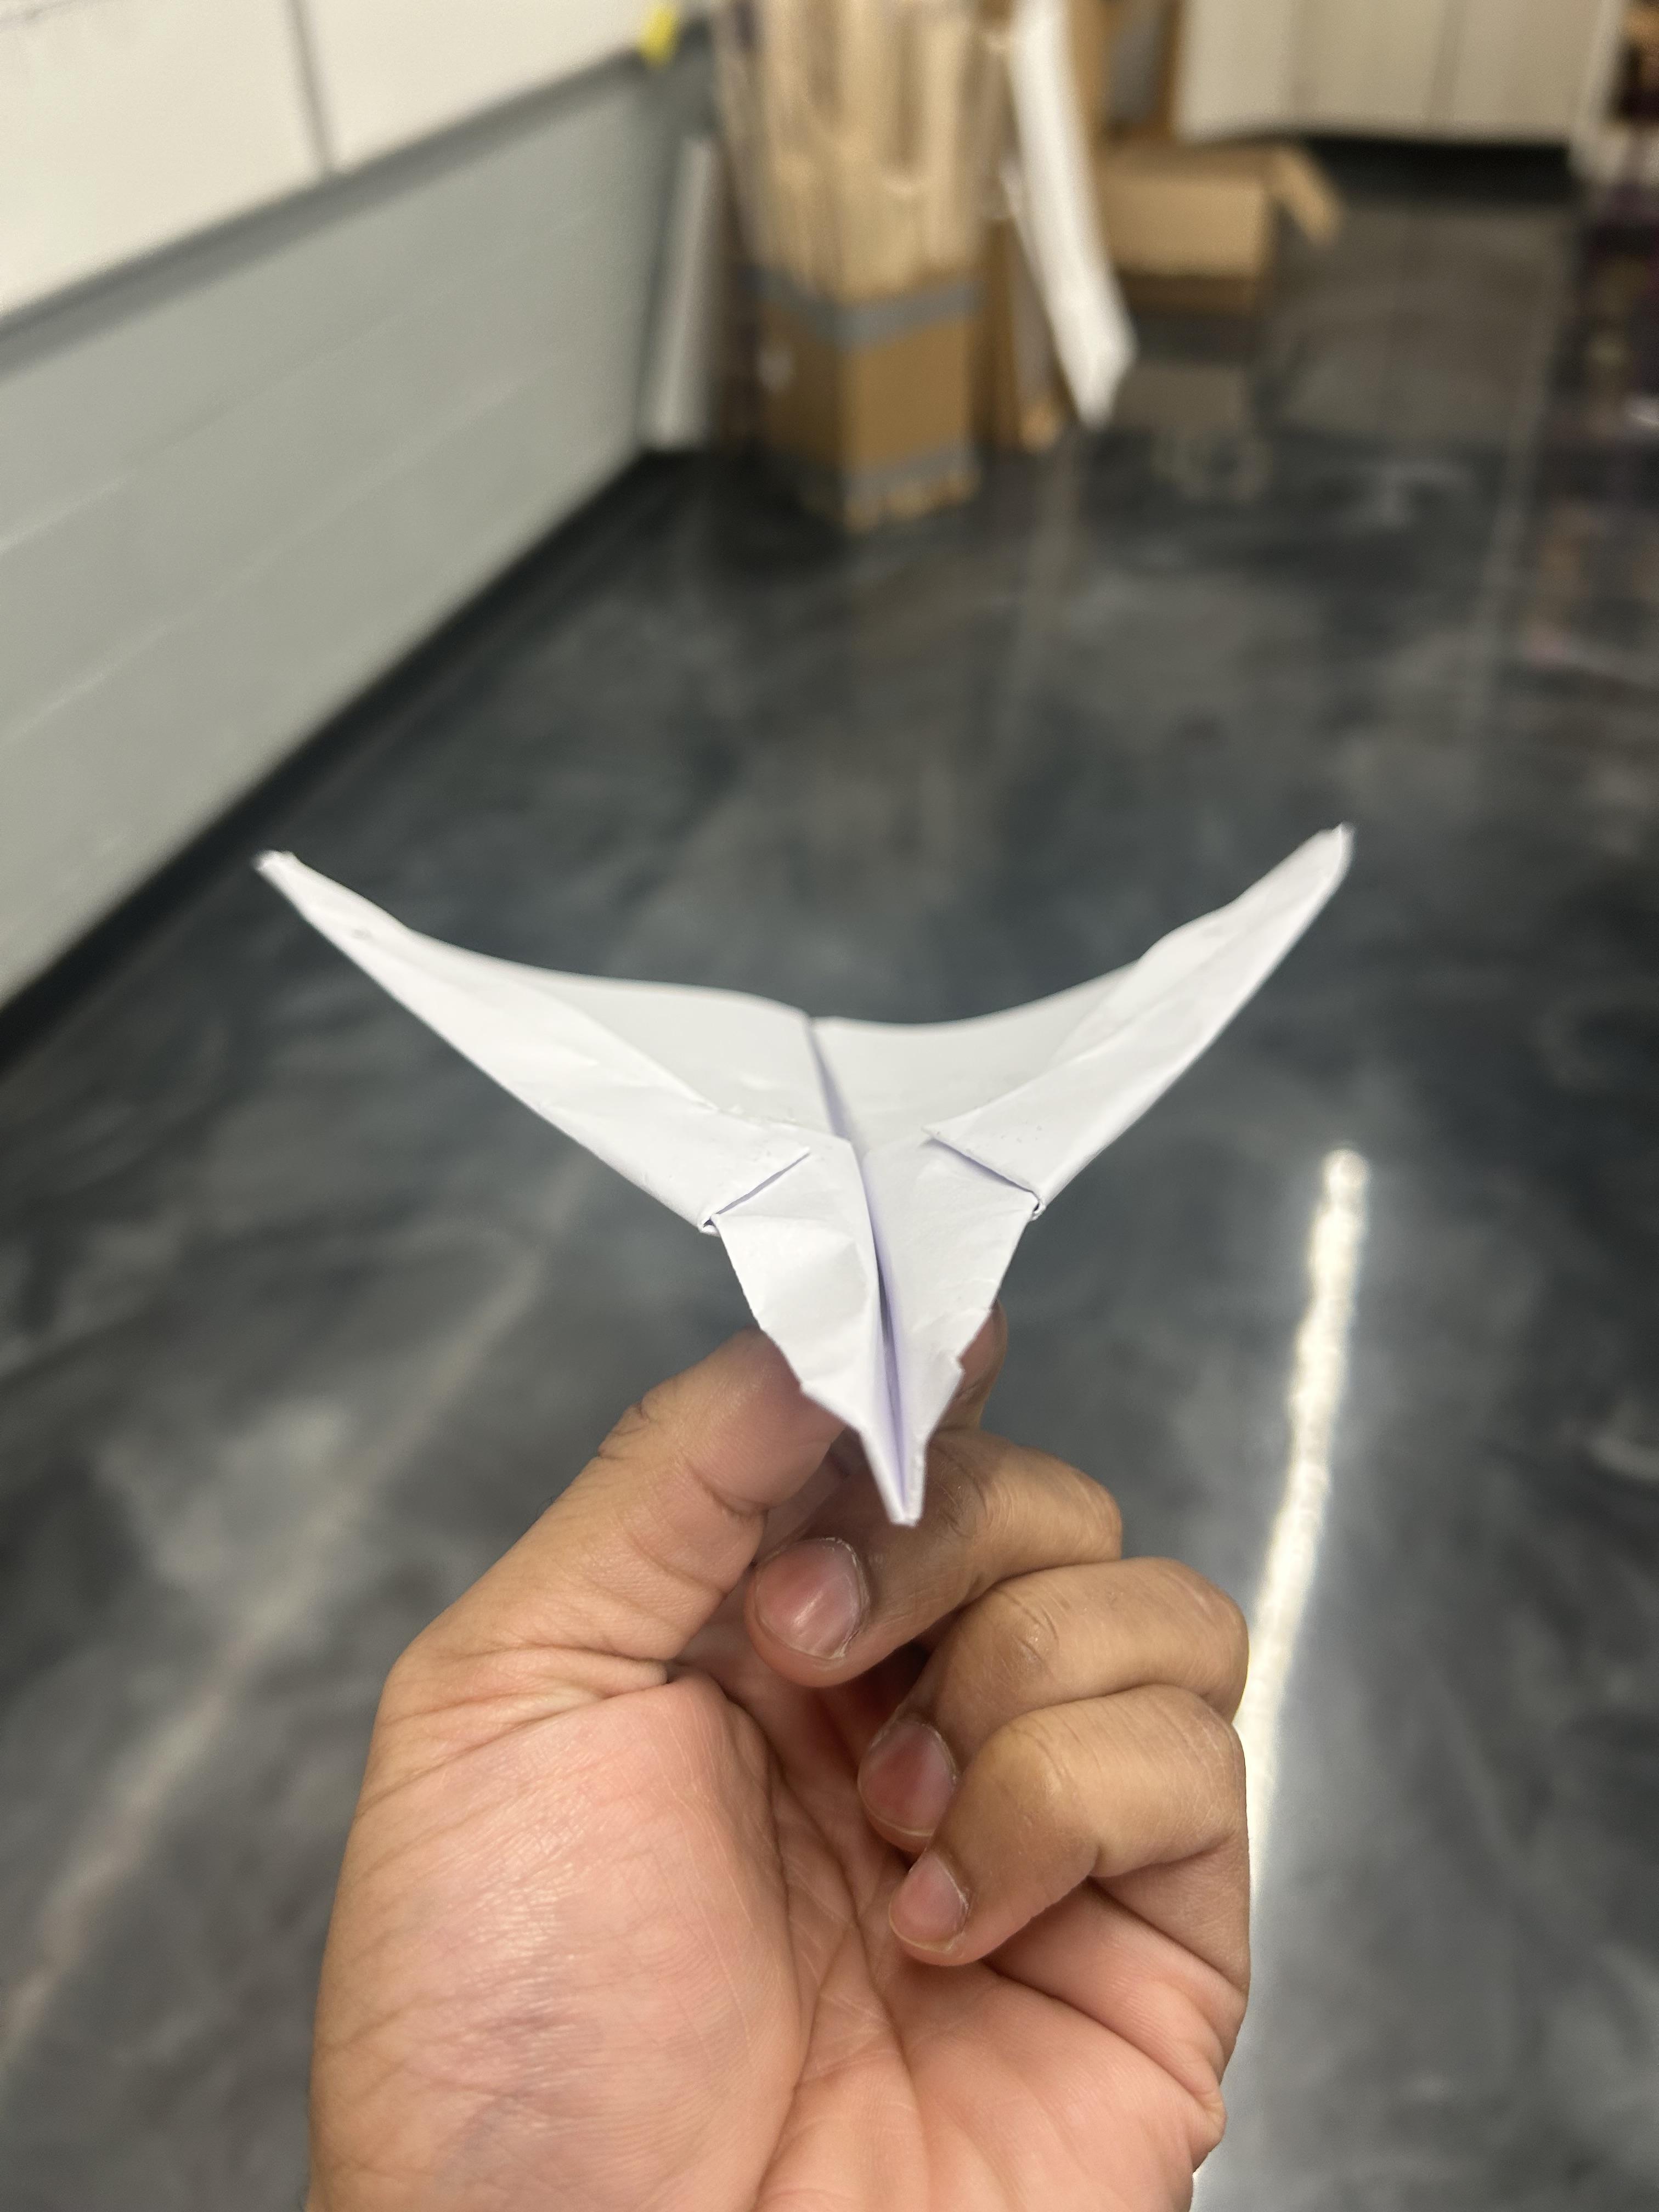
Now its time to make you paper airplane of your choice. Start by folding designs that matches the type of flight you want which can be speed, distance, height, or different acrobatics. You can try out previously design paper airplanes like the dart for a more faster launch or a glider for a longer, more soaring path. To ensure that the paper airplane works with my launcher or maybe even yours I made a small hook at the bottom of it to attach it onto the rubber band without tearing, and to position it so the airplane stays balance for the launch so no misfire, mistakes, or crossfire could happen. When you are making the paper airplane it is important to consider the weight and size of it as each micromovement could play a huge roll on how the airplane might fly on your launcher. For me I made sure that a light weight design is best for me as it doesn't overwhelm the rubber bands capacity and a wide wingspan so it can glide through the air easily. You can experiment with different materials or fabric to reinforce the durability of your airplane. This detail is for people who want to show off their airplane. Try decorating it with vibrant colors, unique patter, or creative features to make it stand out in from of your friends. My personal favorite step is modifying the wing, folds or length as it can be a huge trial and error but will pay off in the long run, by playing with these parts you can see how the changes in the flight performance changes. By experimenting with different airplane styles you will gain a deeper understanding of aerodynamics and how slight adjustments can have a profound impact on the planes trajectory. Creating a paper airplane is just as important as creating the launcher because each part of this step is customizable to suit your needs as you are the one who is making it.
Attach and Fly
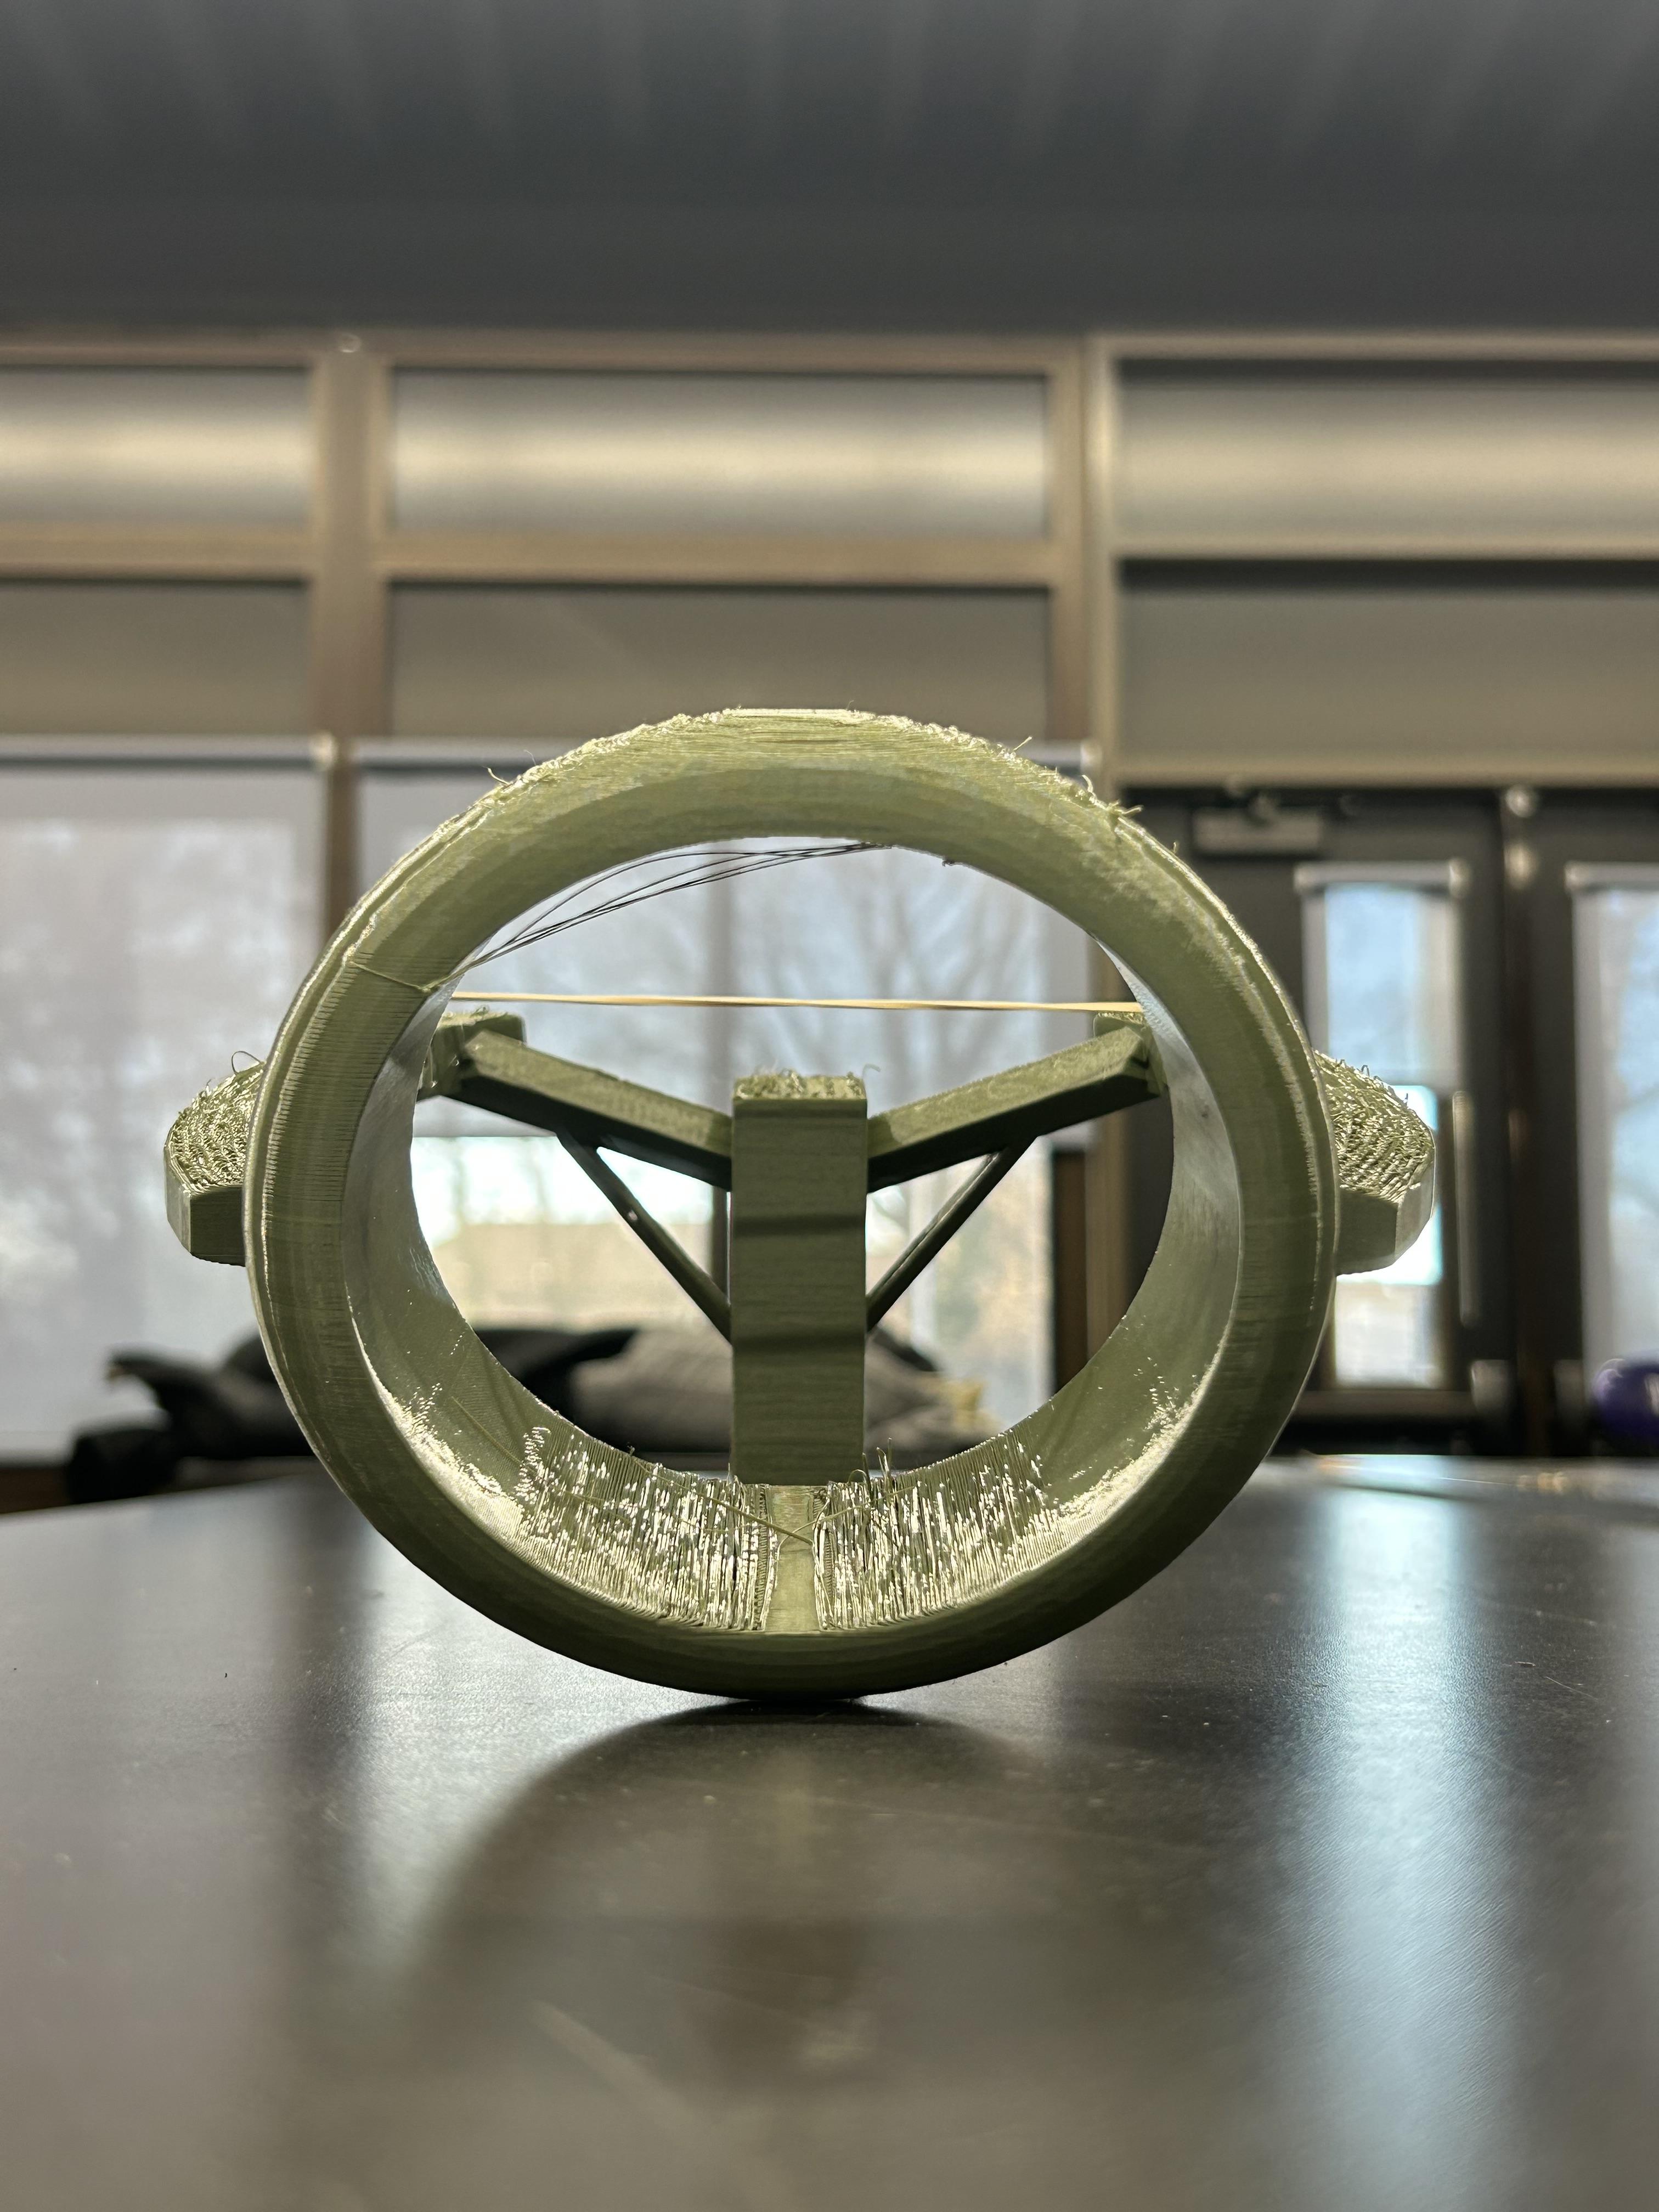


Congratulations! you finally finish, now comes the most exiting part of the project, the testing of your paper airplane launcher! with everything assemble and ready to go, it time to see all your hard work into action. Observe how your launcher propels your paper airplane into the air contrasting it by throwing it by hand. Try experimenting with different techniques to see how it might effect the efficiency, aerodynamic, and the flight of the paper airplane by changing the trajectory of the launch, the material of the airplane, various airplane design for the best combination for the maximum distance or performance of your model. Try challenging your friends or family with friendly competitions or games to this idea to see who can have the longest, highest, most accurate aim but the most important goal of all is to have fun and enjoy what your doing! Every launch is an opportunity to improve, learn, and have a great time. This project is an ideal way of a testament of your creativity, problem solving skills, and perseverance throughout this project. Take a moment to step back and enjoy all of your hard work come together, enjoy the satisfaction on creating something new and unique to you showing personality to it and this is your moment to celebrate successfully bringing your product to life in a way that is both fun and practical. Take exception pride in yourself and your accomplishment you earned it.
P.S Thank you for reading all the way to the end.