360 Degrees Photos, DIY Vertical Mount / Panoramic Head to Digital Camera
by cochoa in Craft > Photography
2668 Views, 19 Favorites, 0 Comments
360 Degrees Photos, DIY Vertical Mount / Panoramic Head to Digital Camera
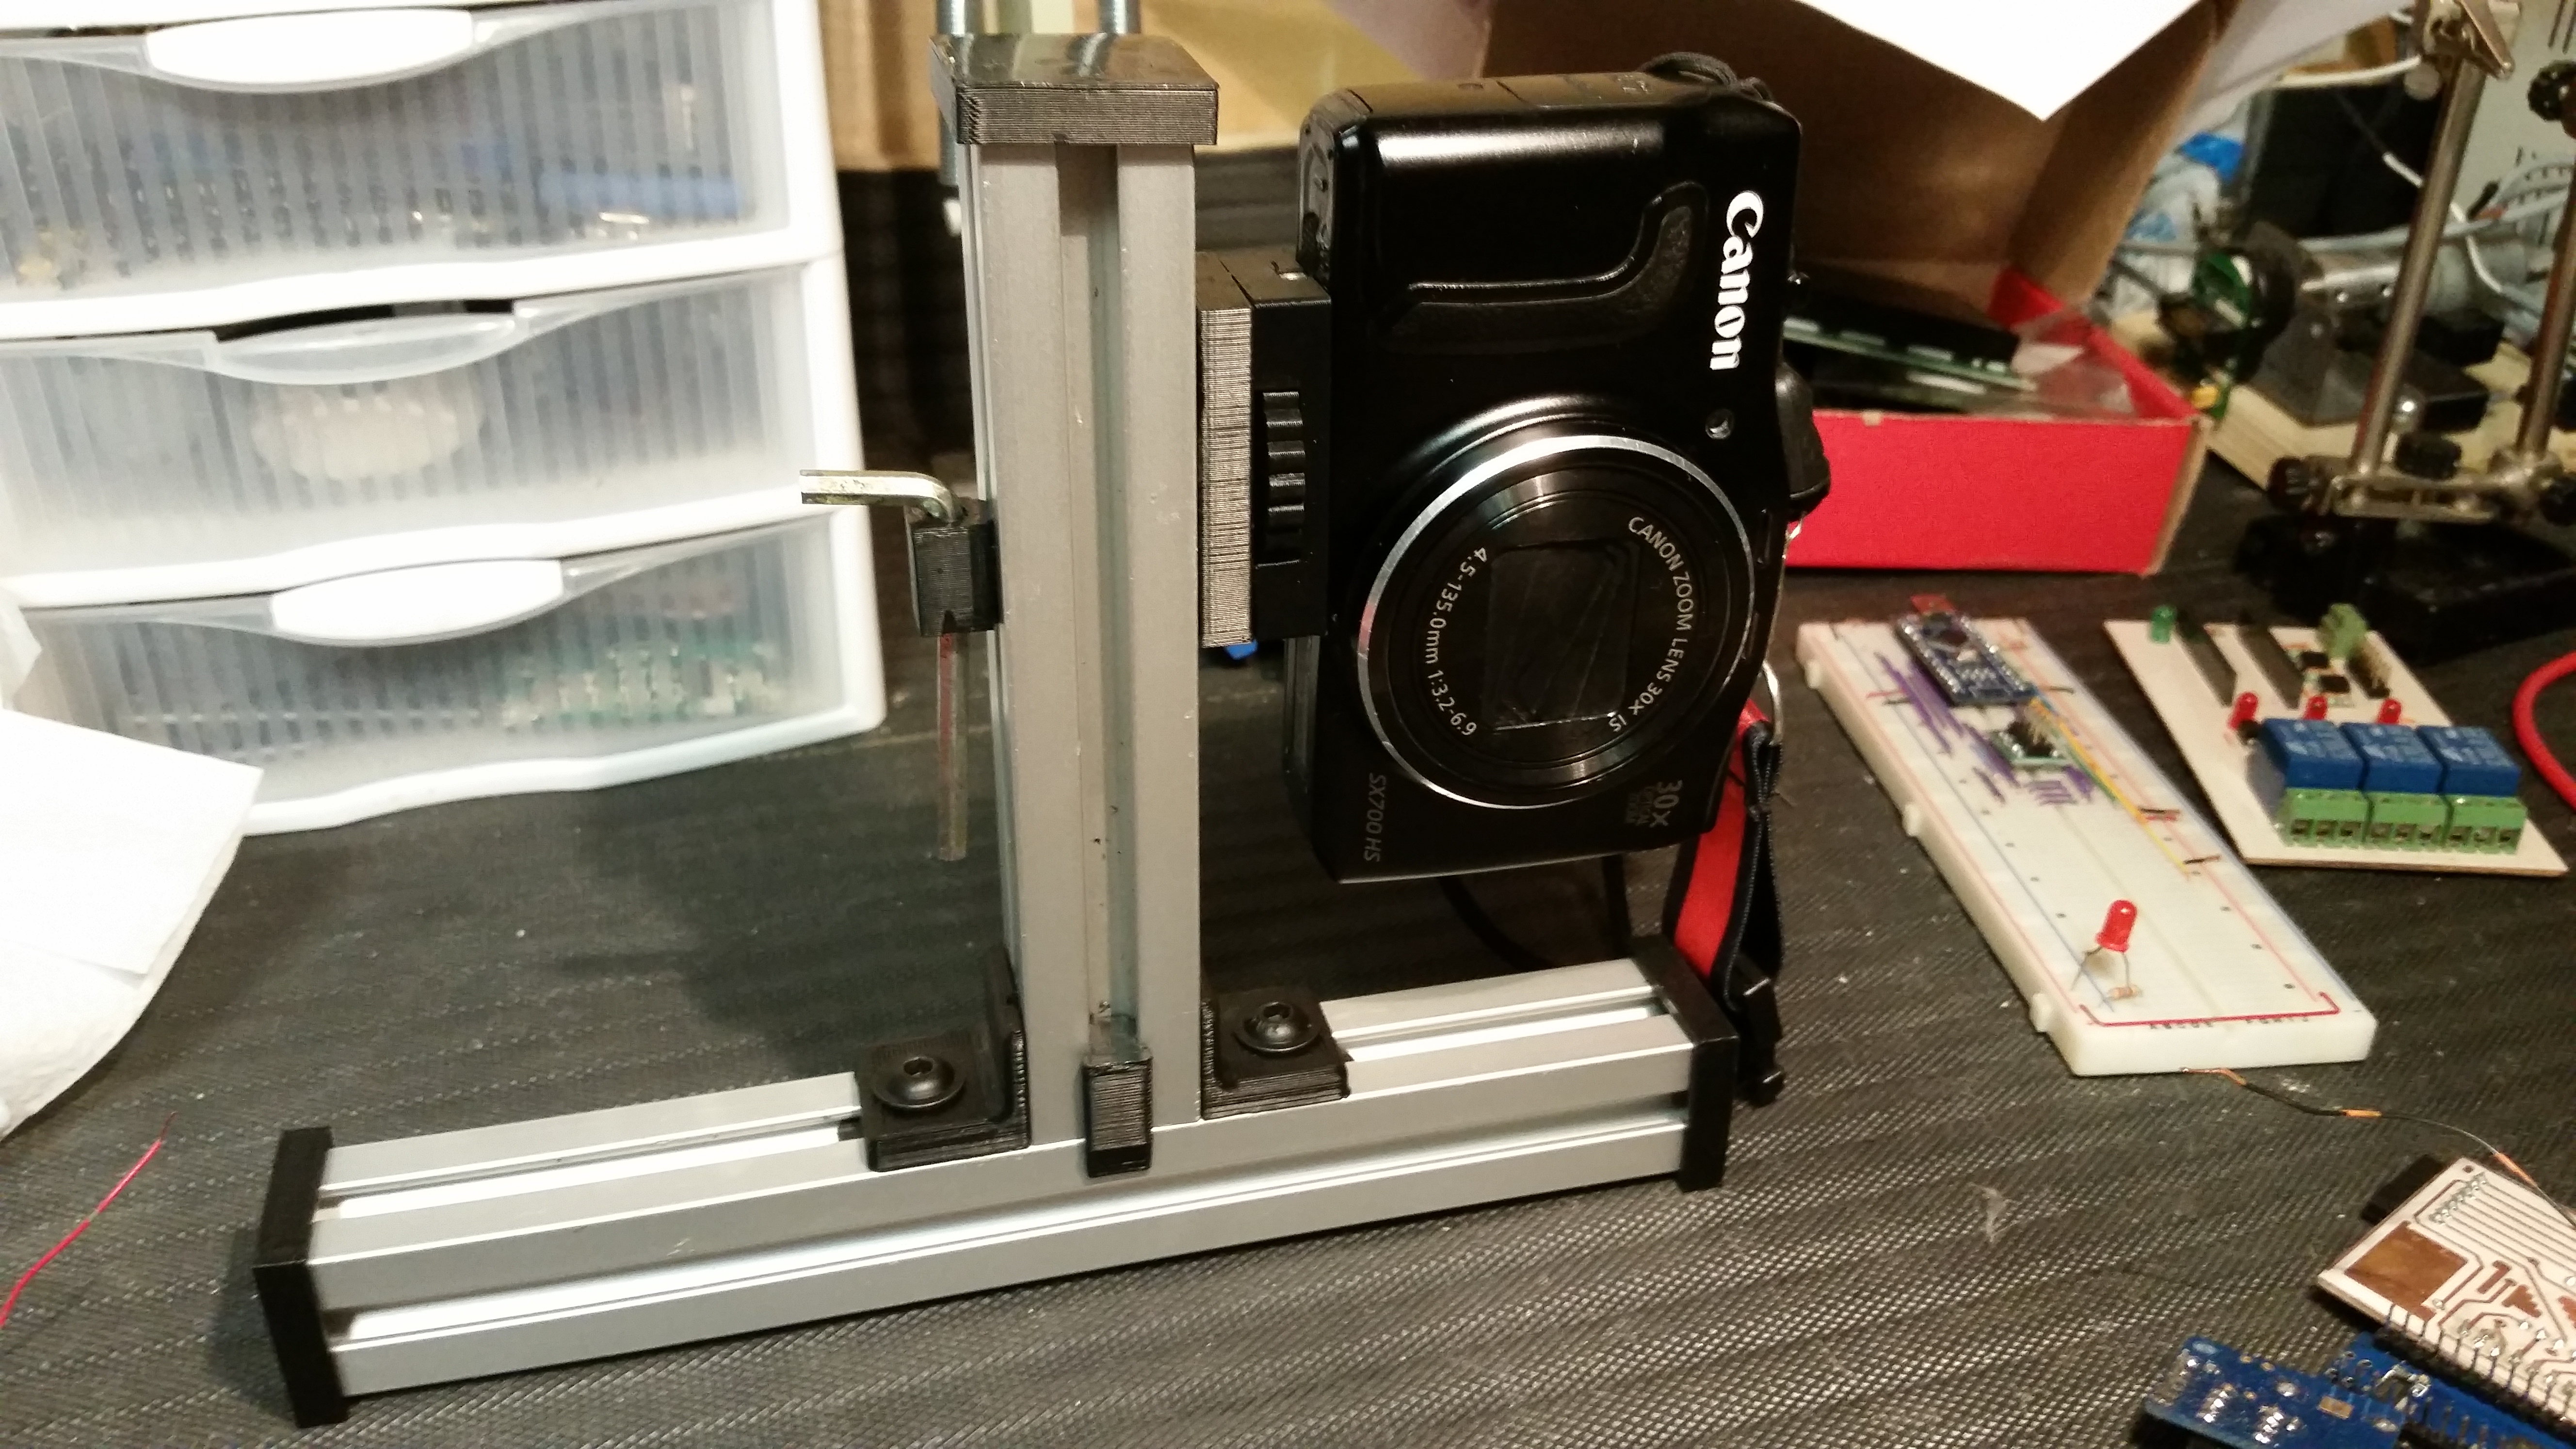
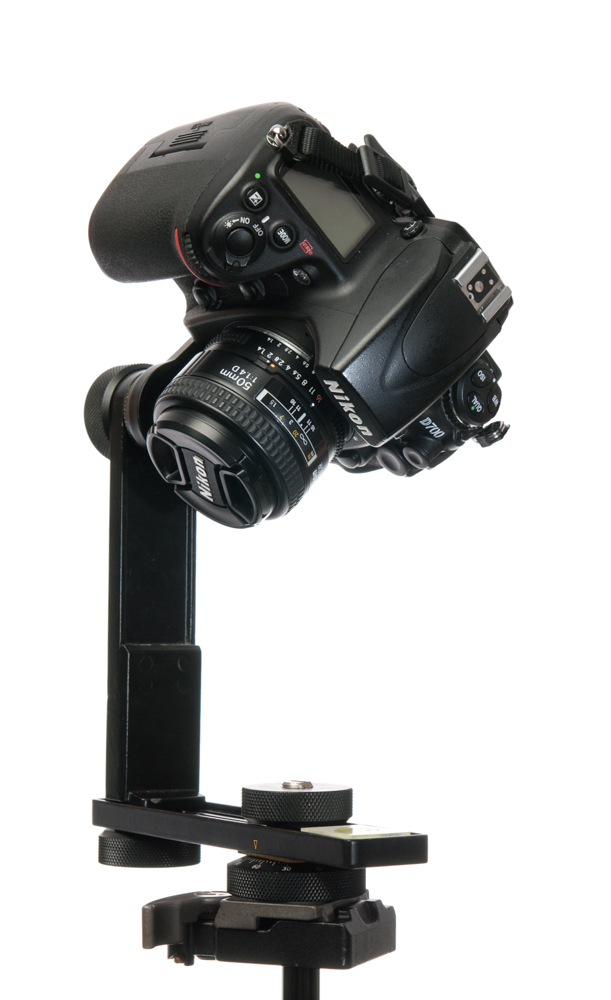
I was see in youtube this Nodal Ninja and how to take best panoramic photos, but when i see the price I decided make my own nodal ninja and this is the result
Desing
![SOLIDWORKS Premium 2015 x64 Edition - [nodel.SLDASM ].jpg](/proxy/?url=https://content.instructables.com/FGZ/1C3K/IU05A98S/FGZ1C3KIU05A98S.jpg&filename=SOLIDWORKS Premium 2015 x64 Edition - [nodel.SLDASM ].jpg)
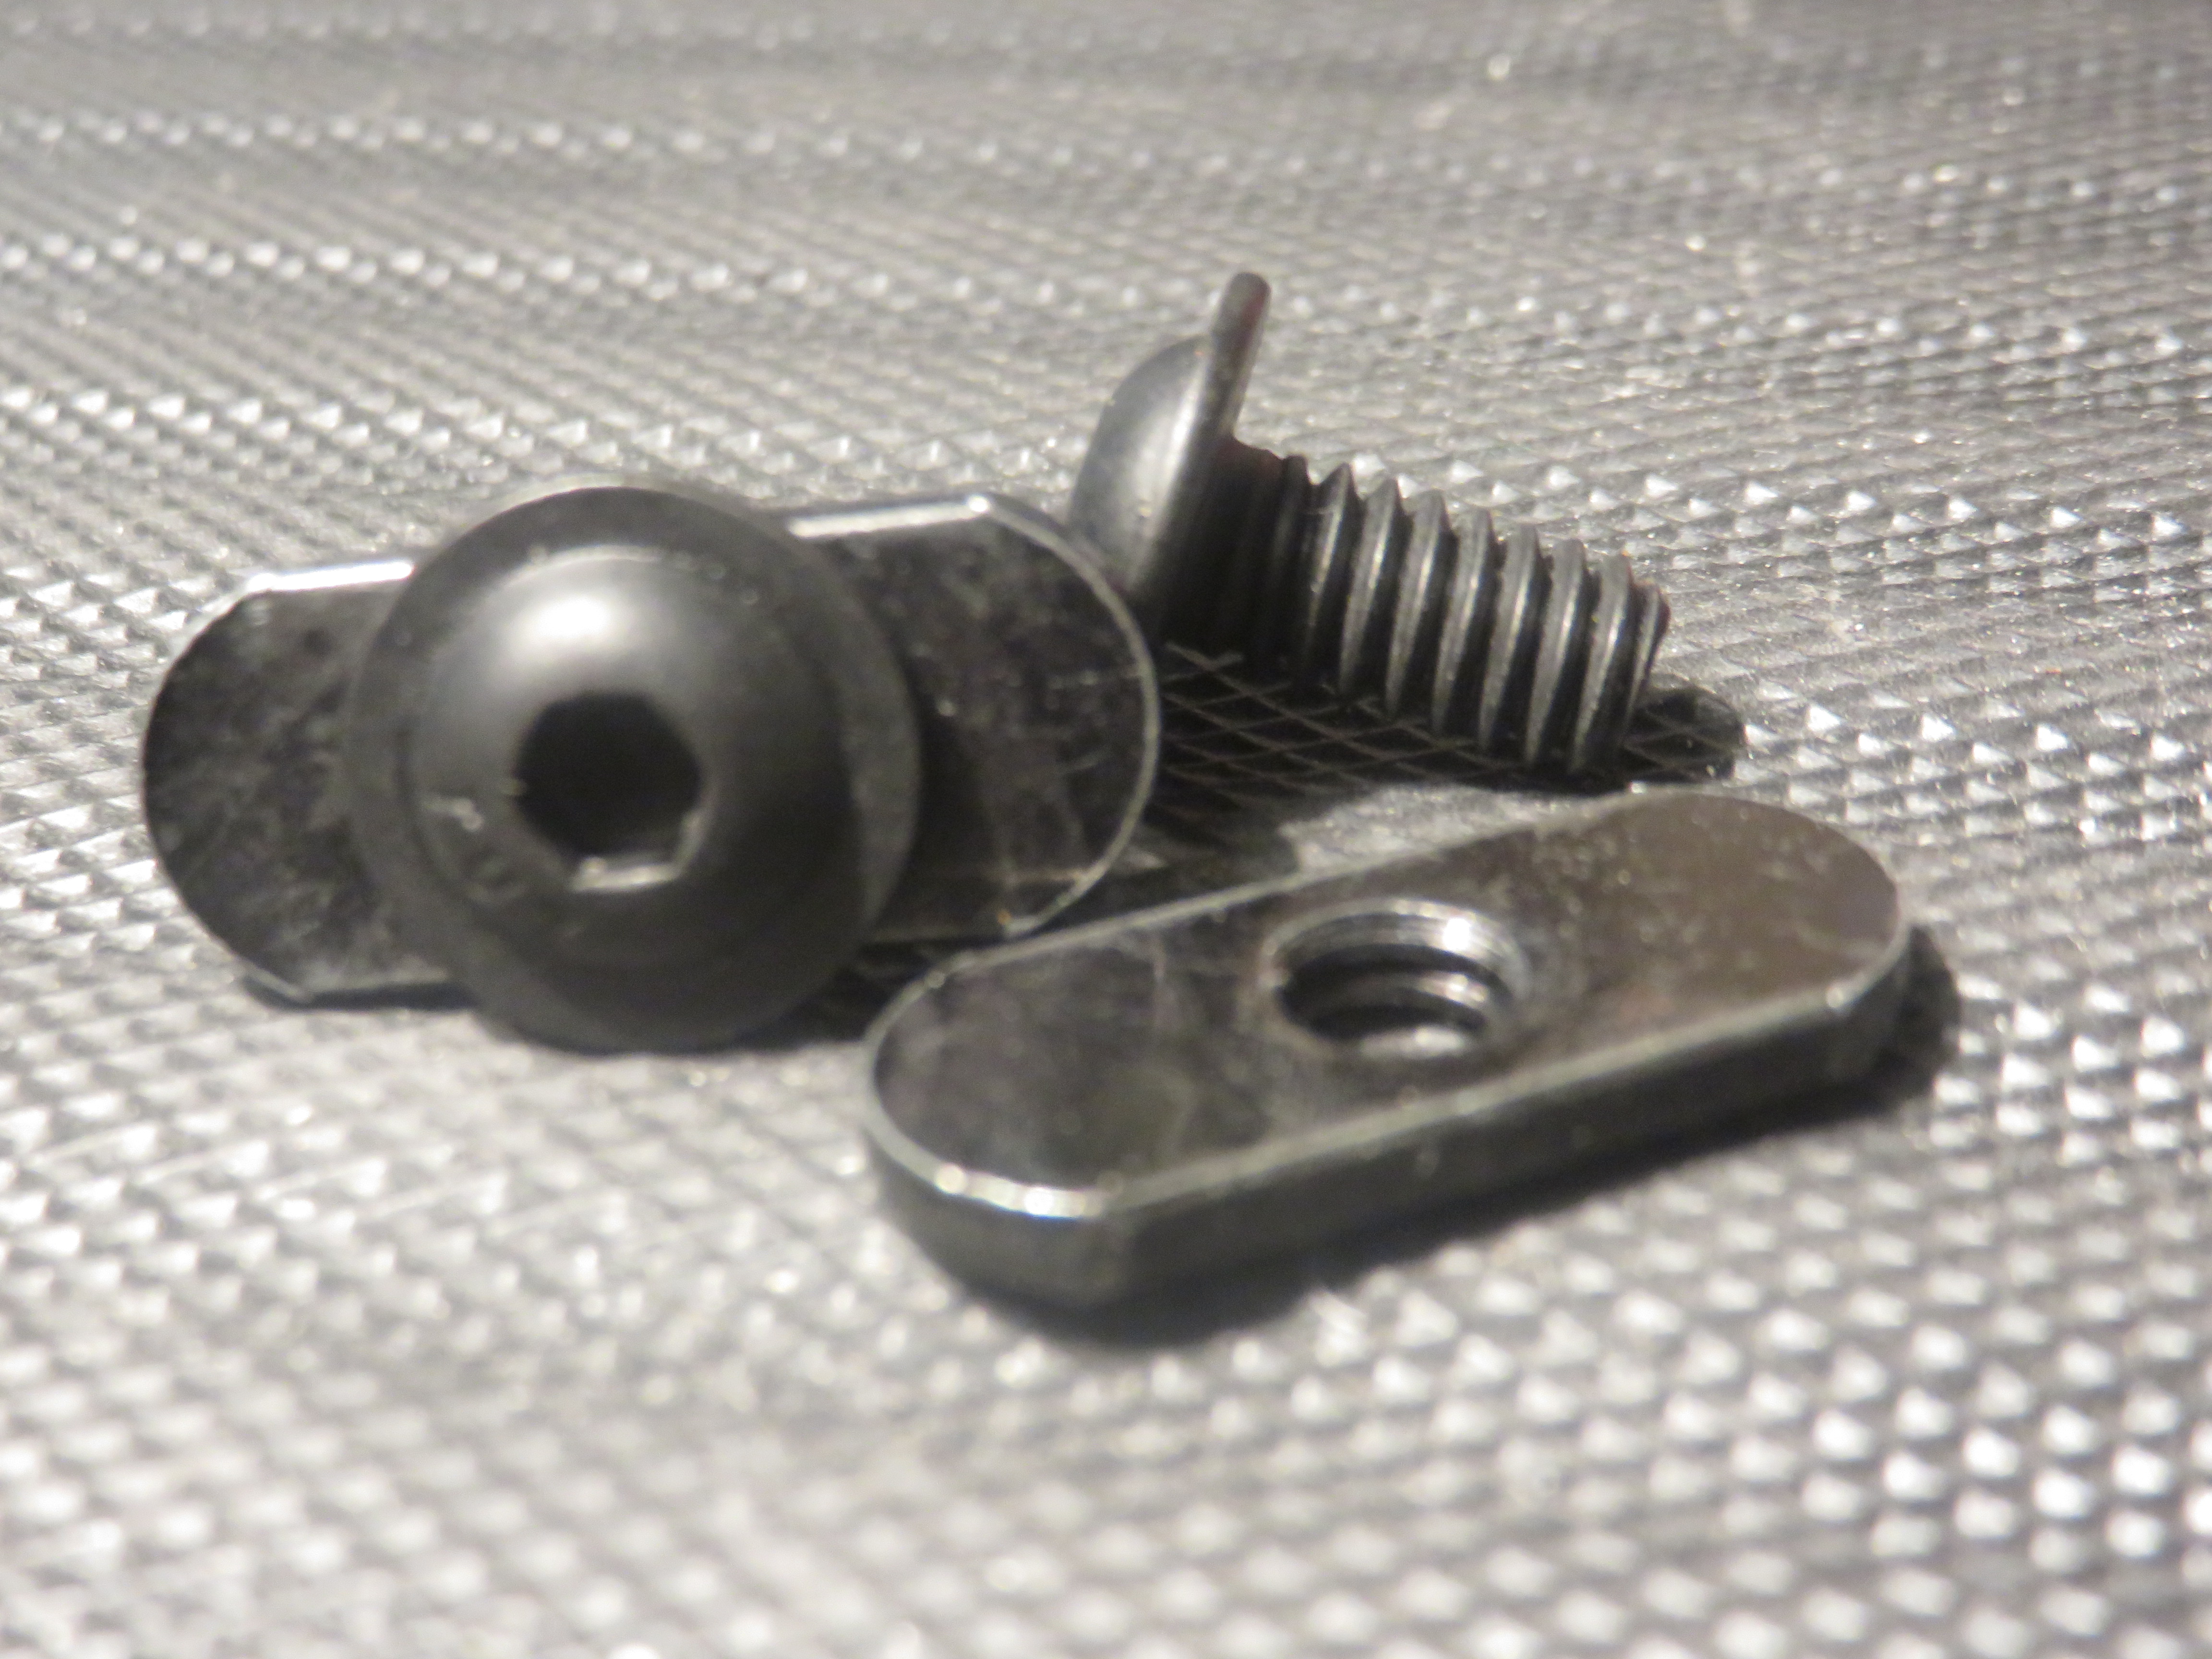
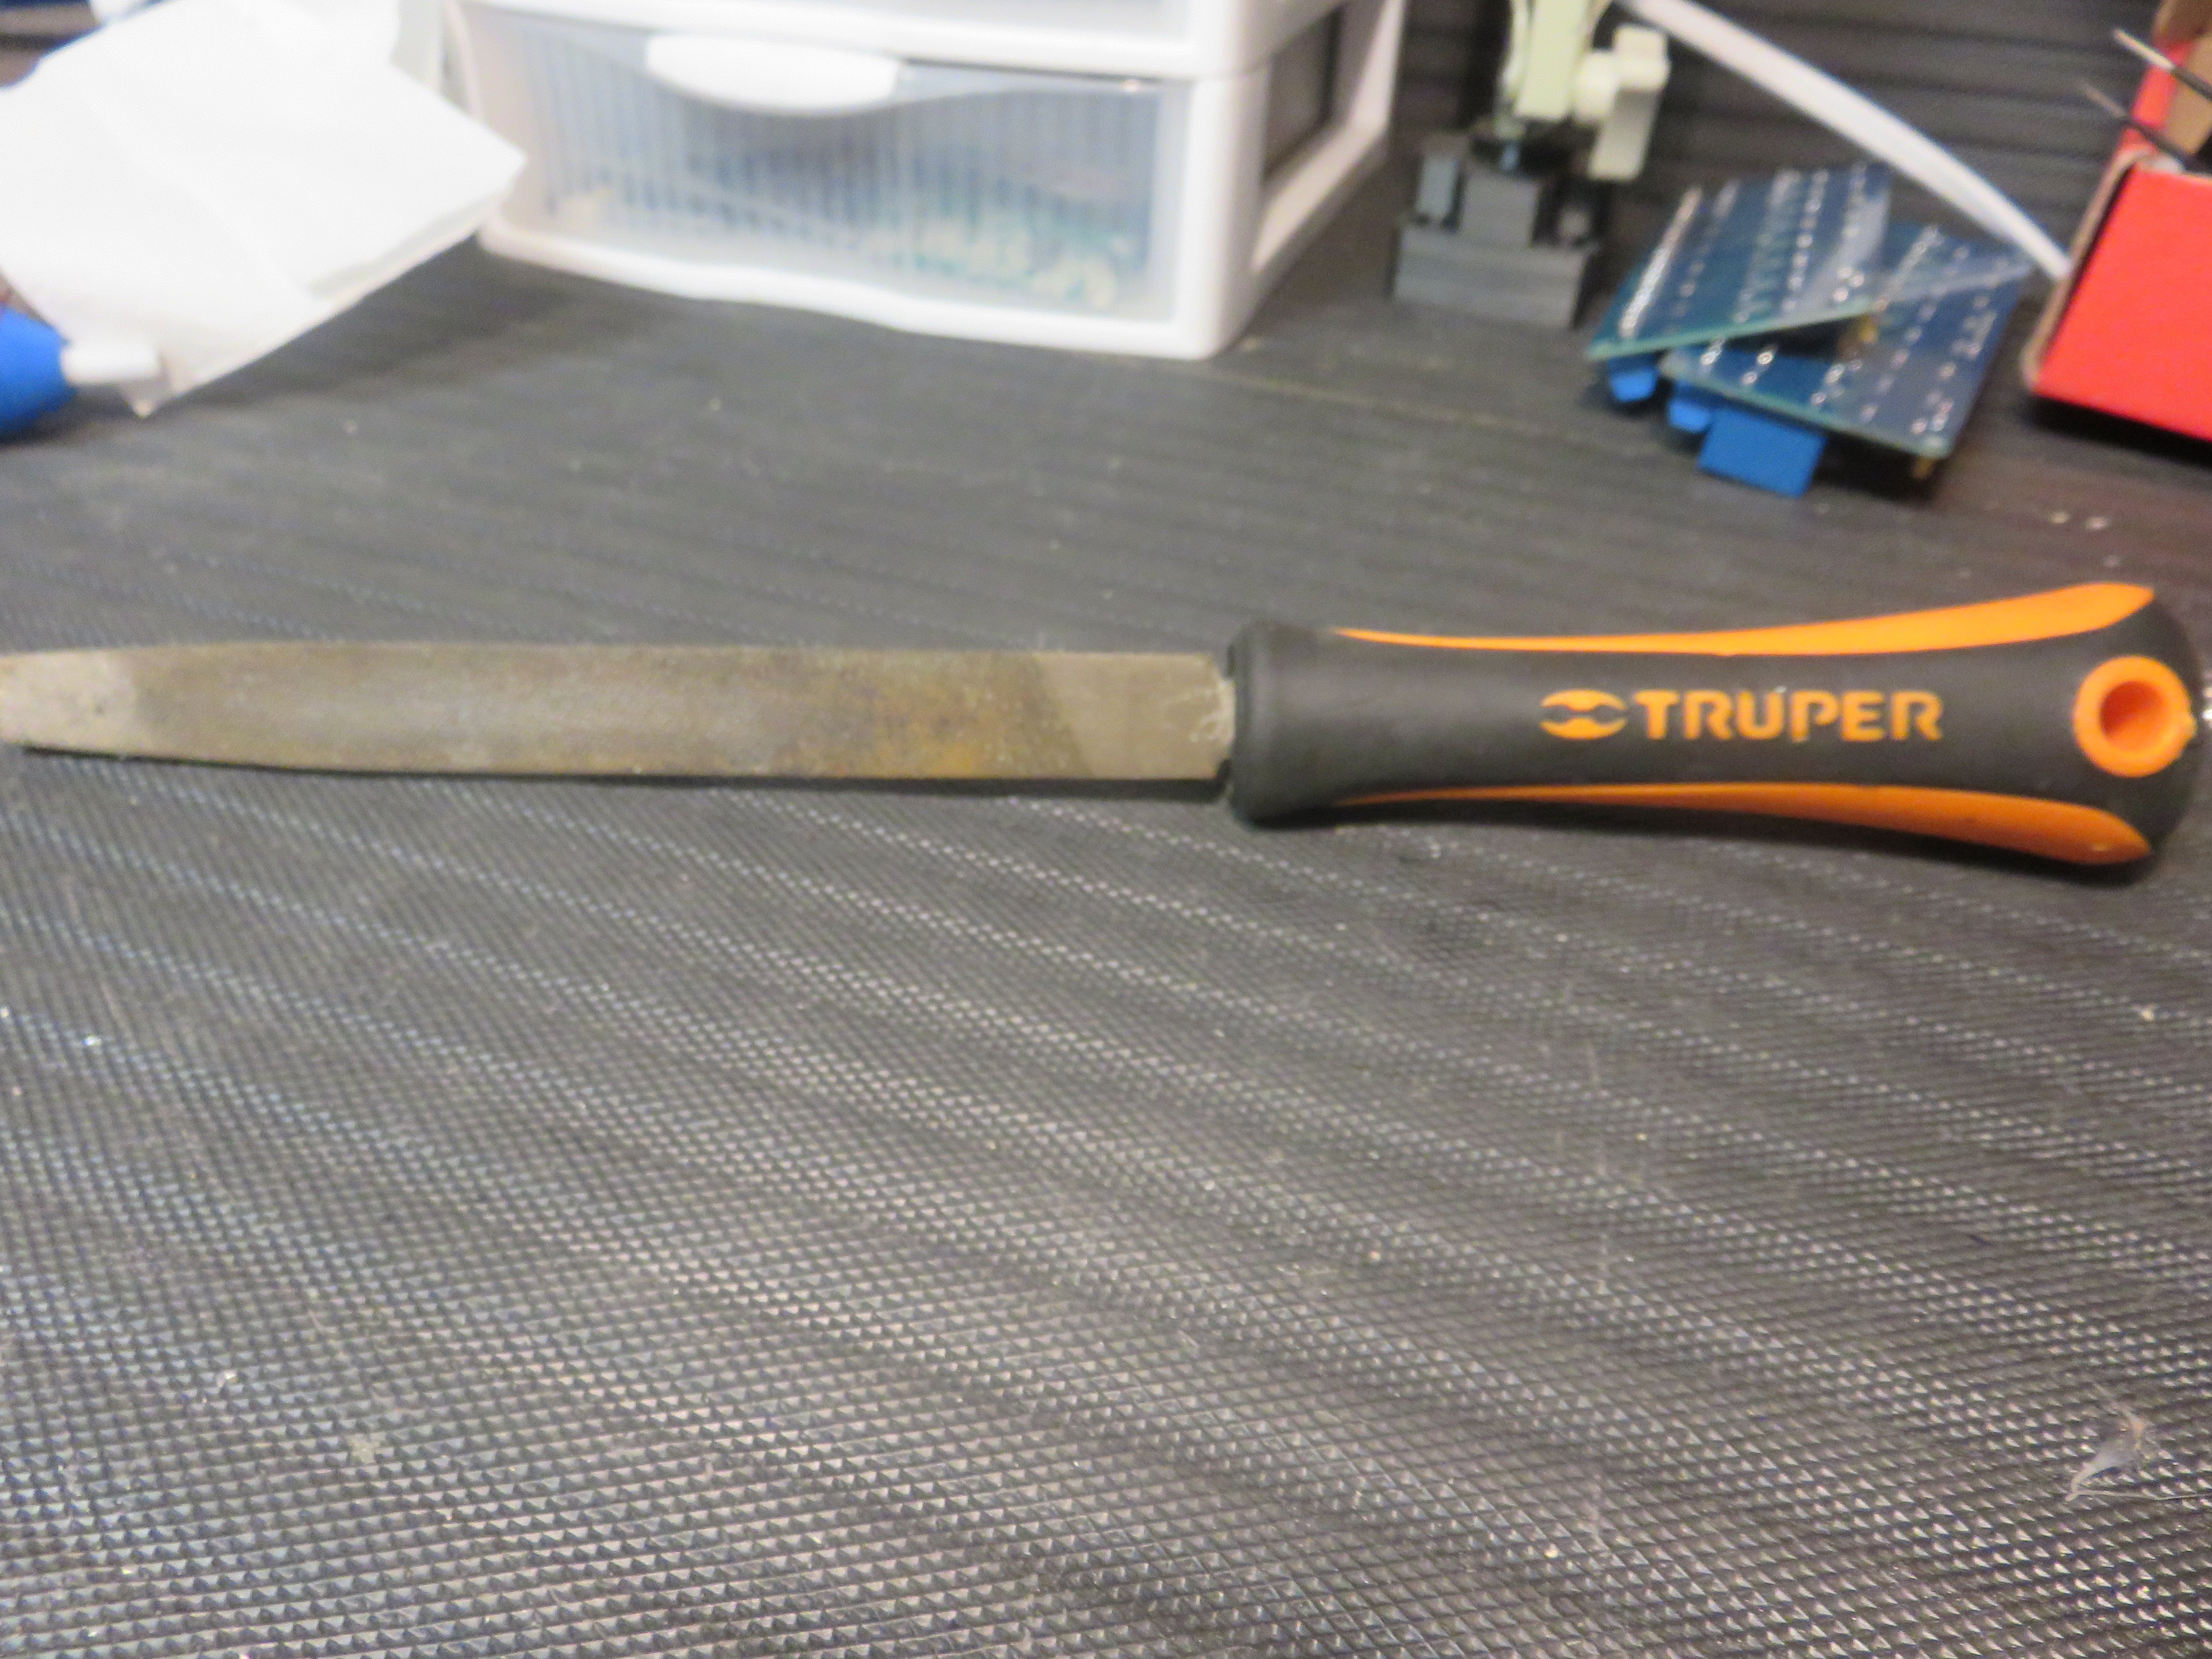
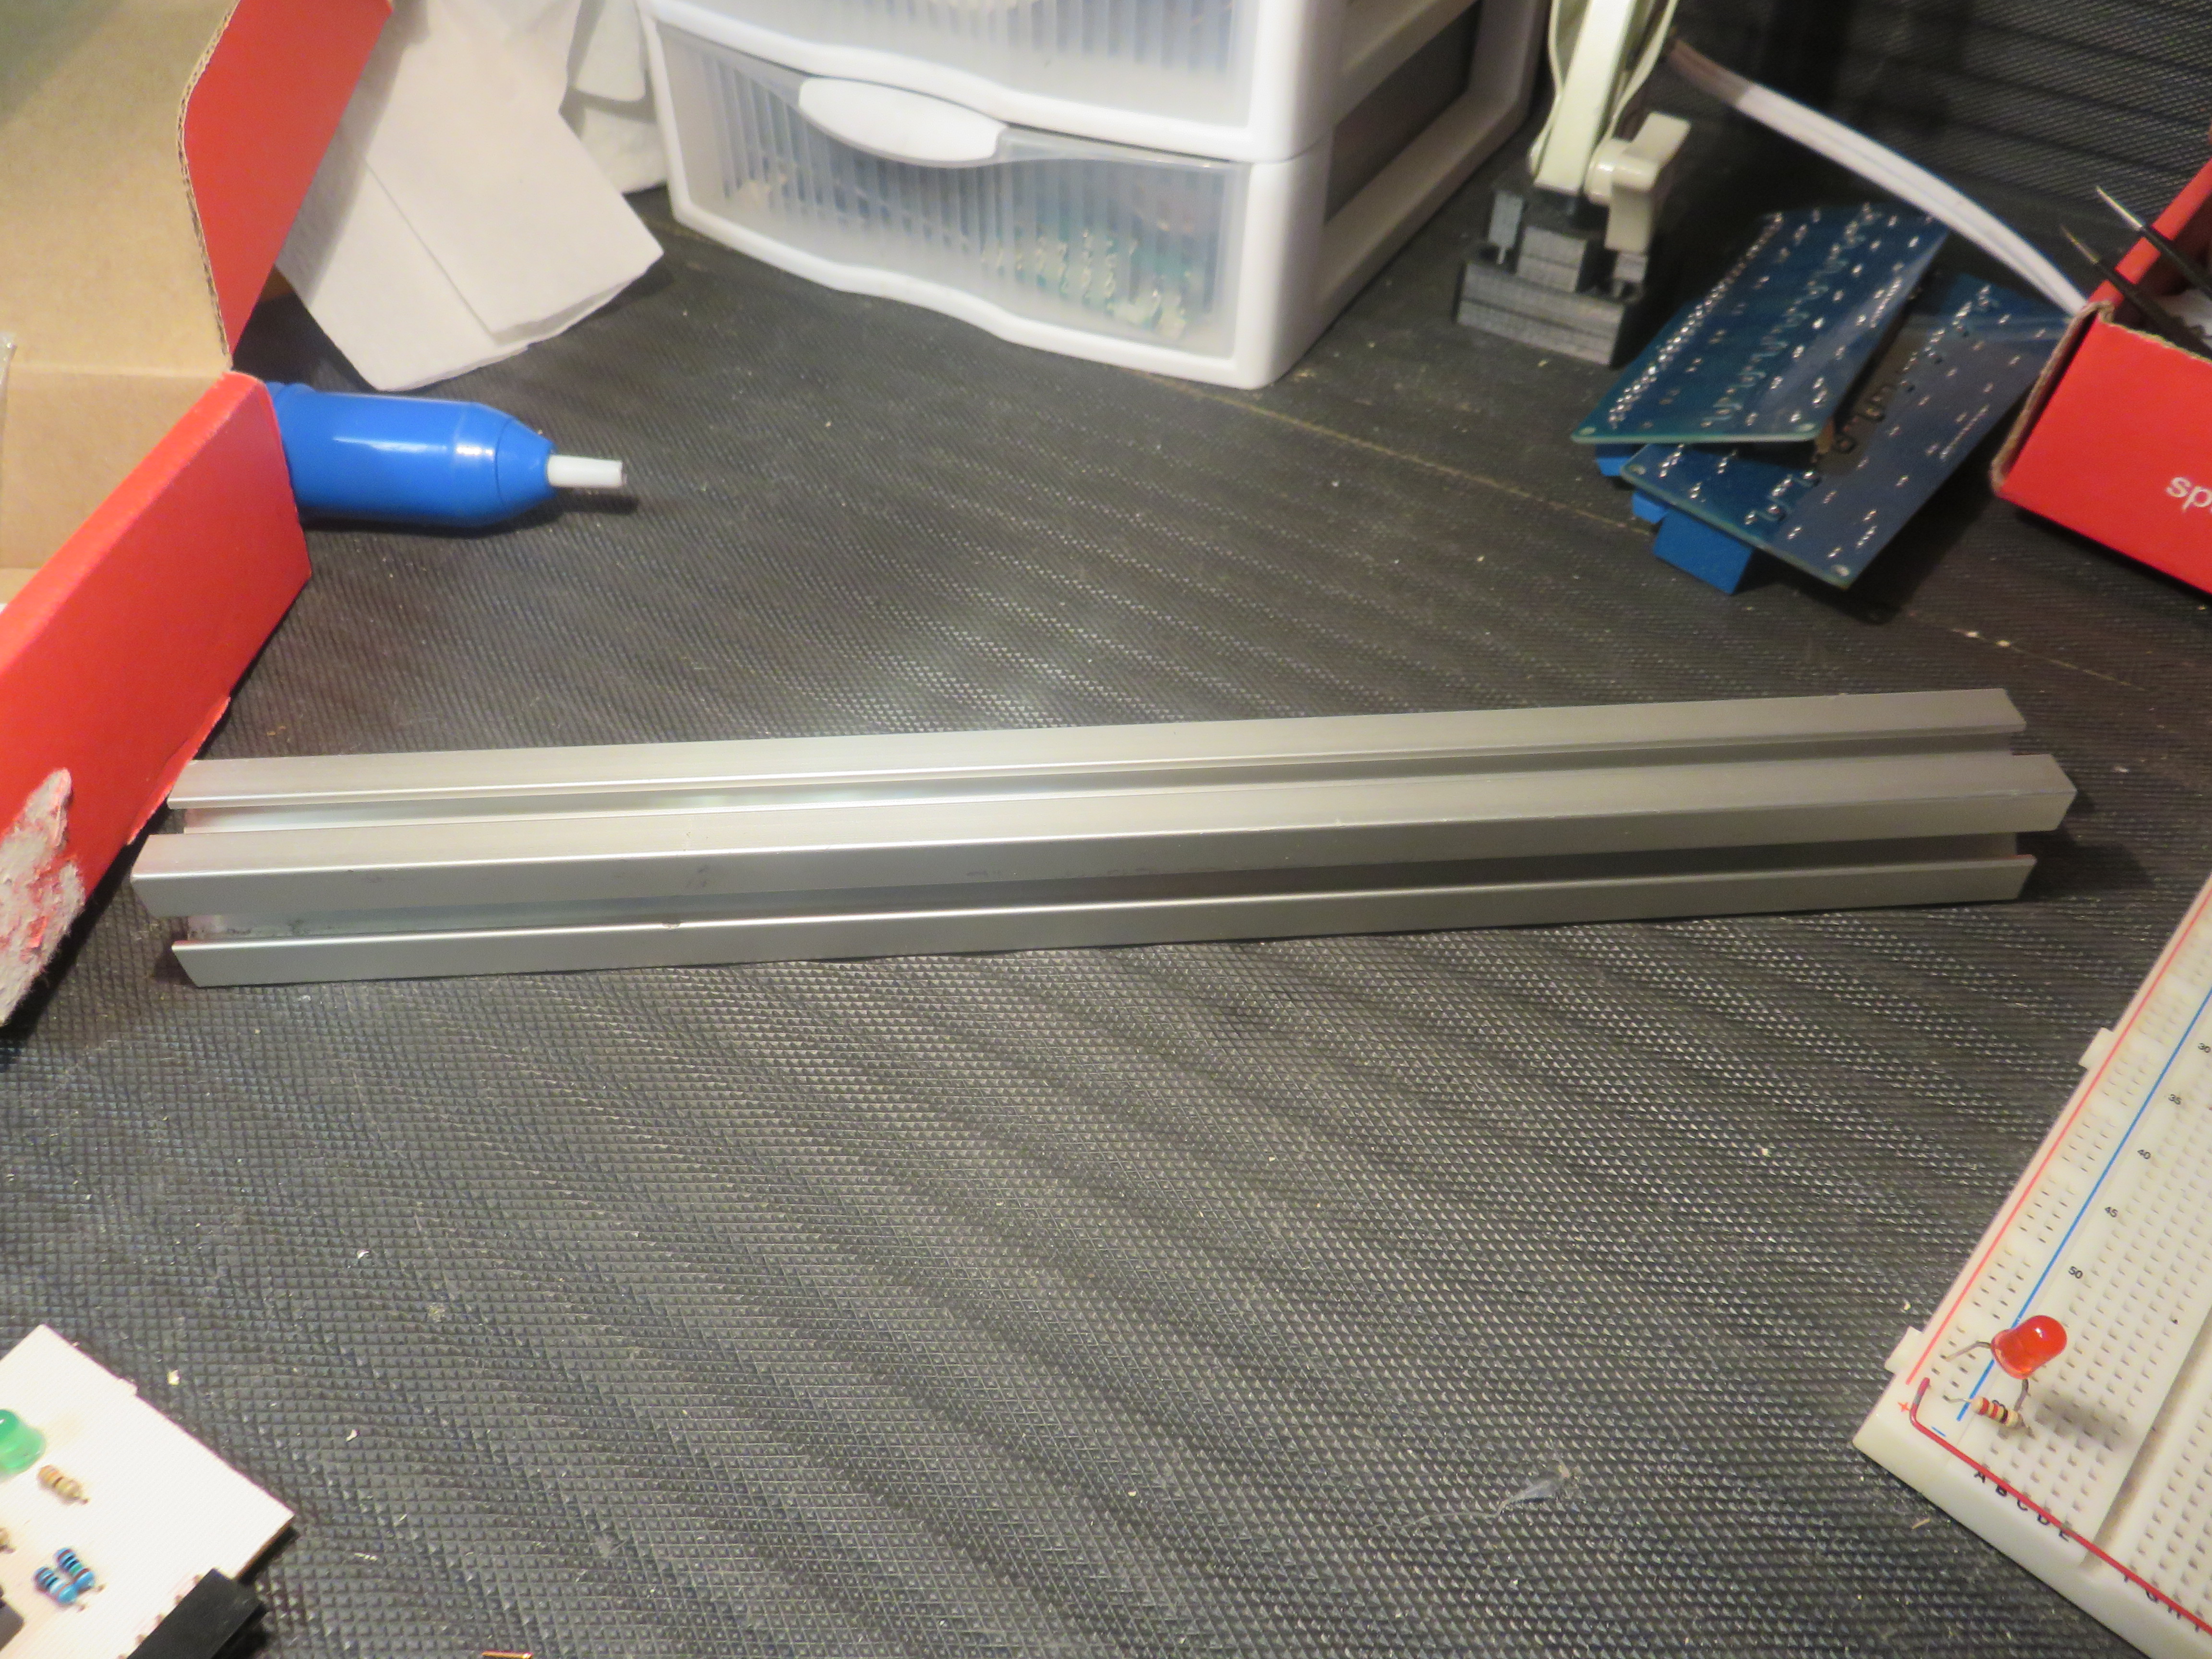
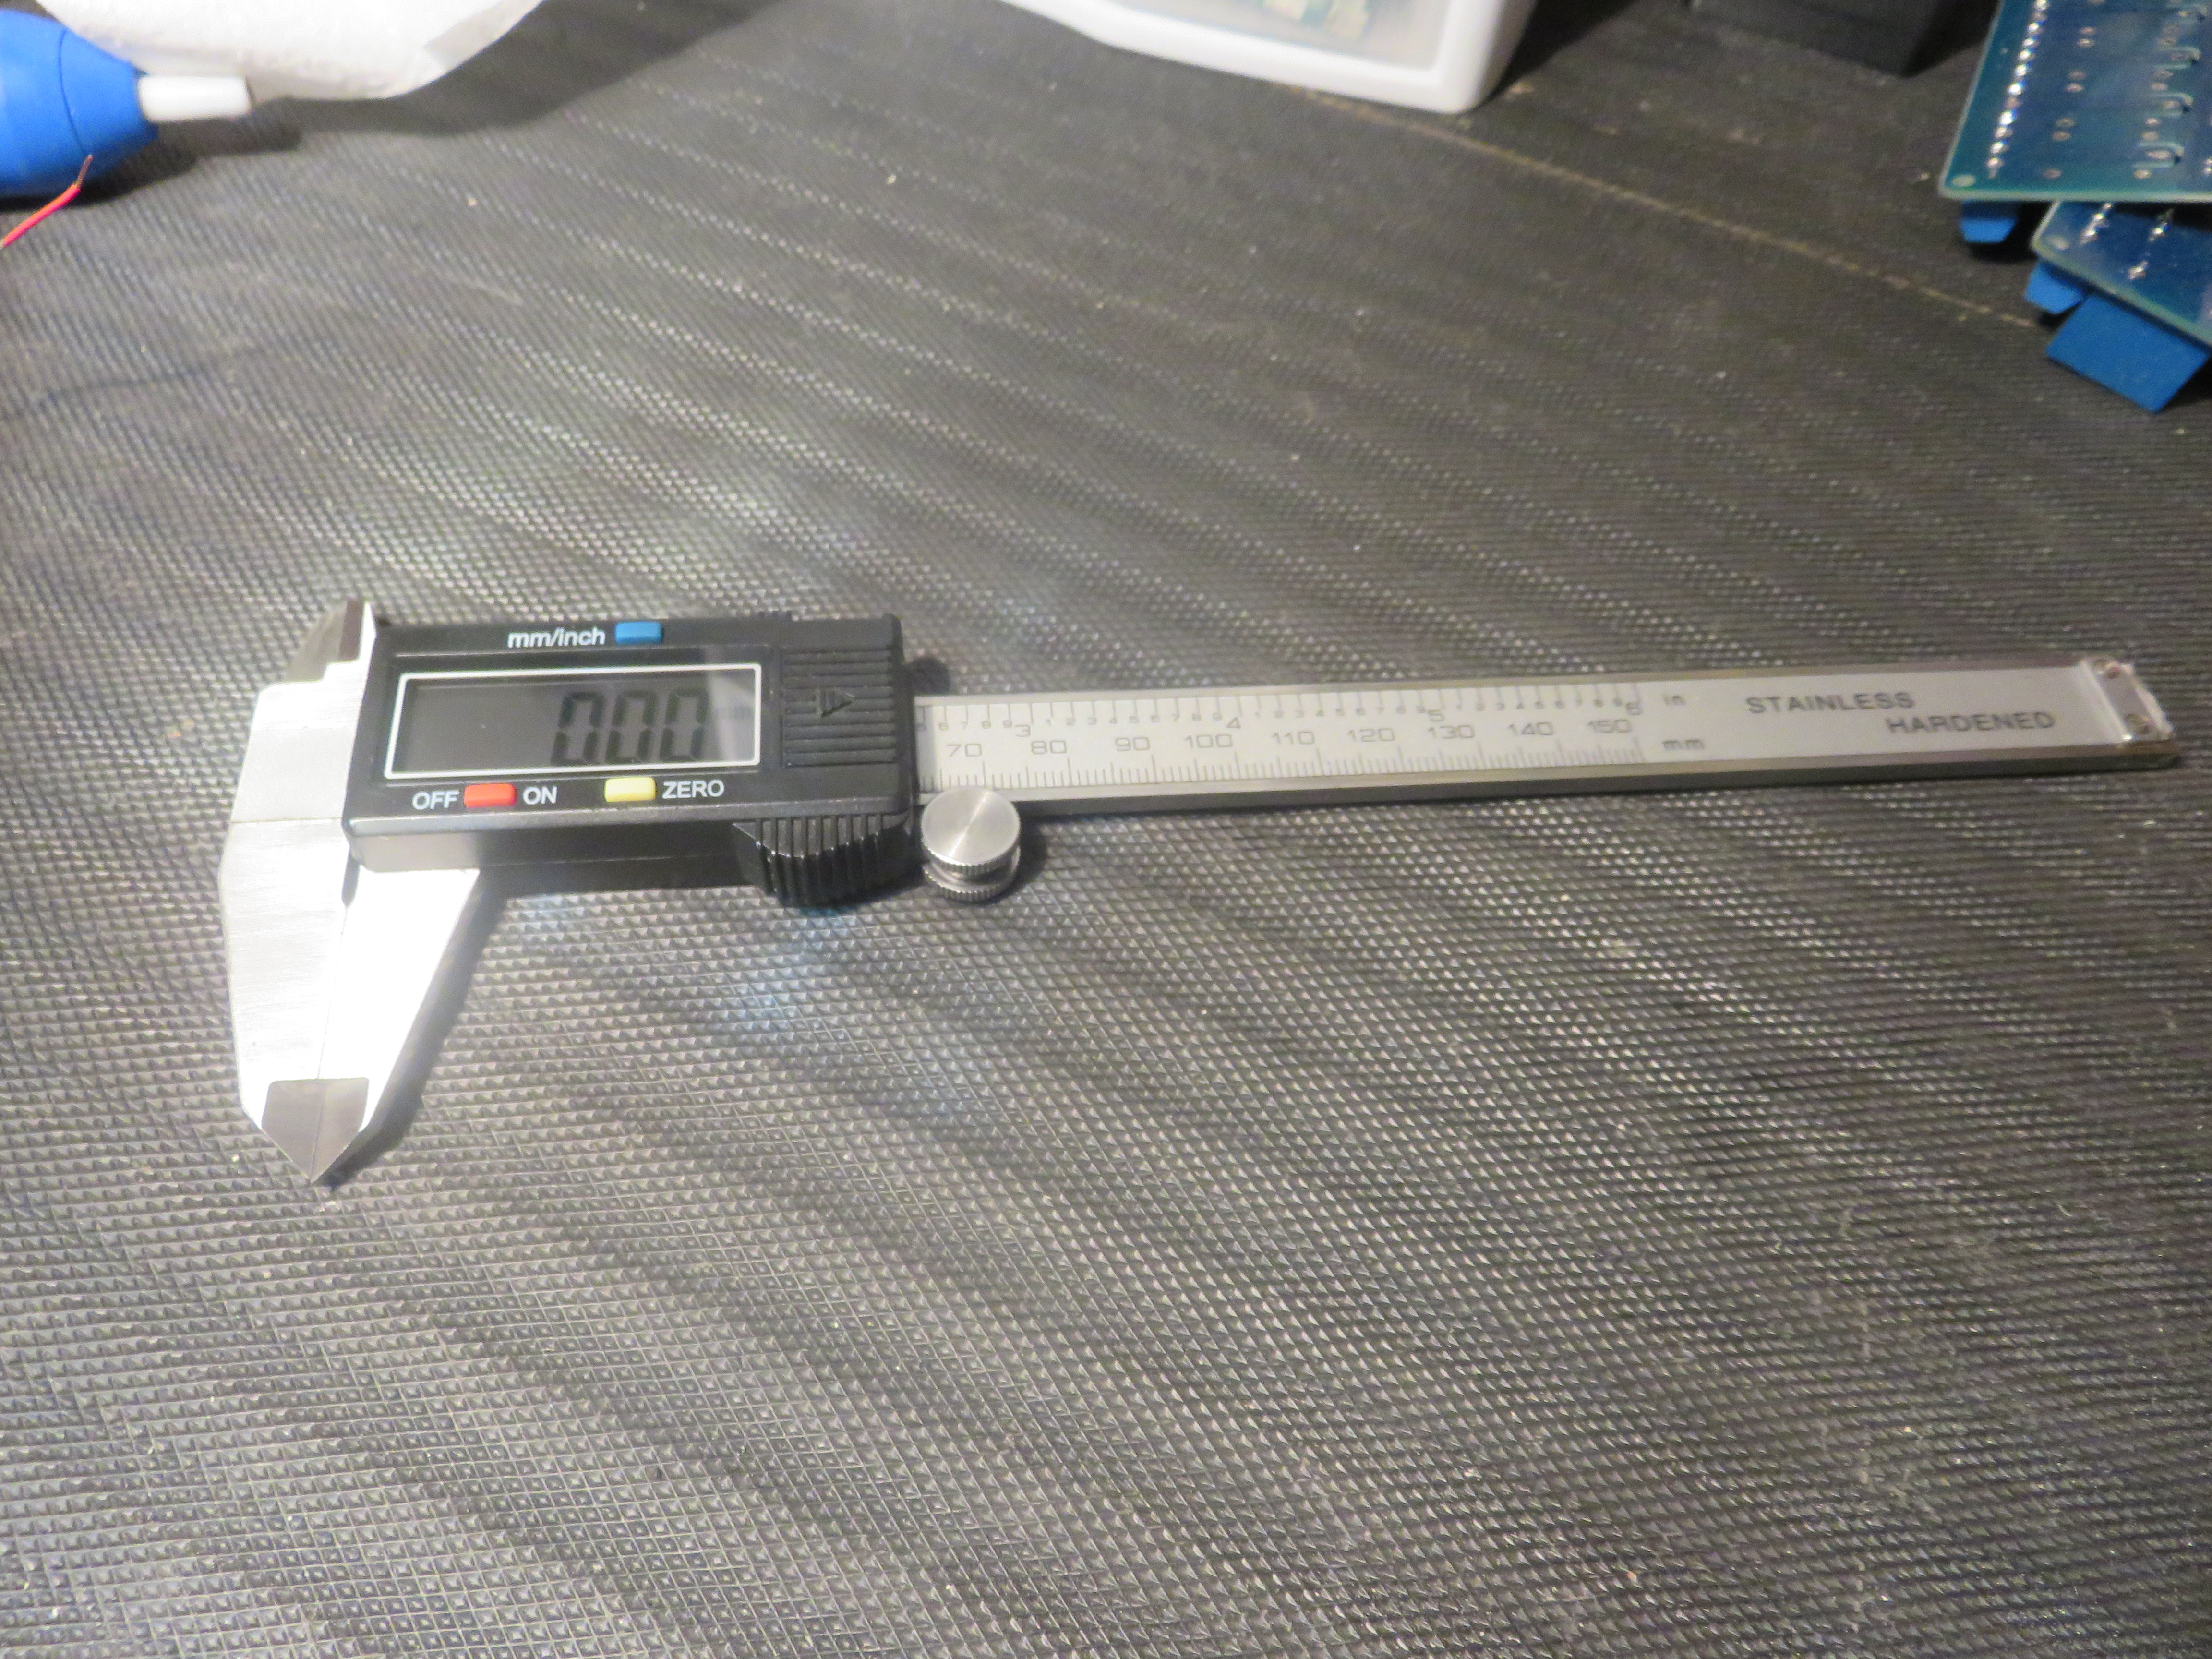
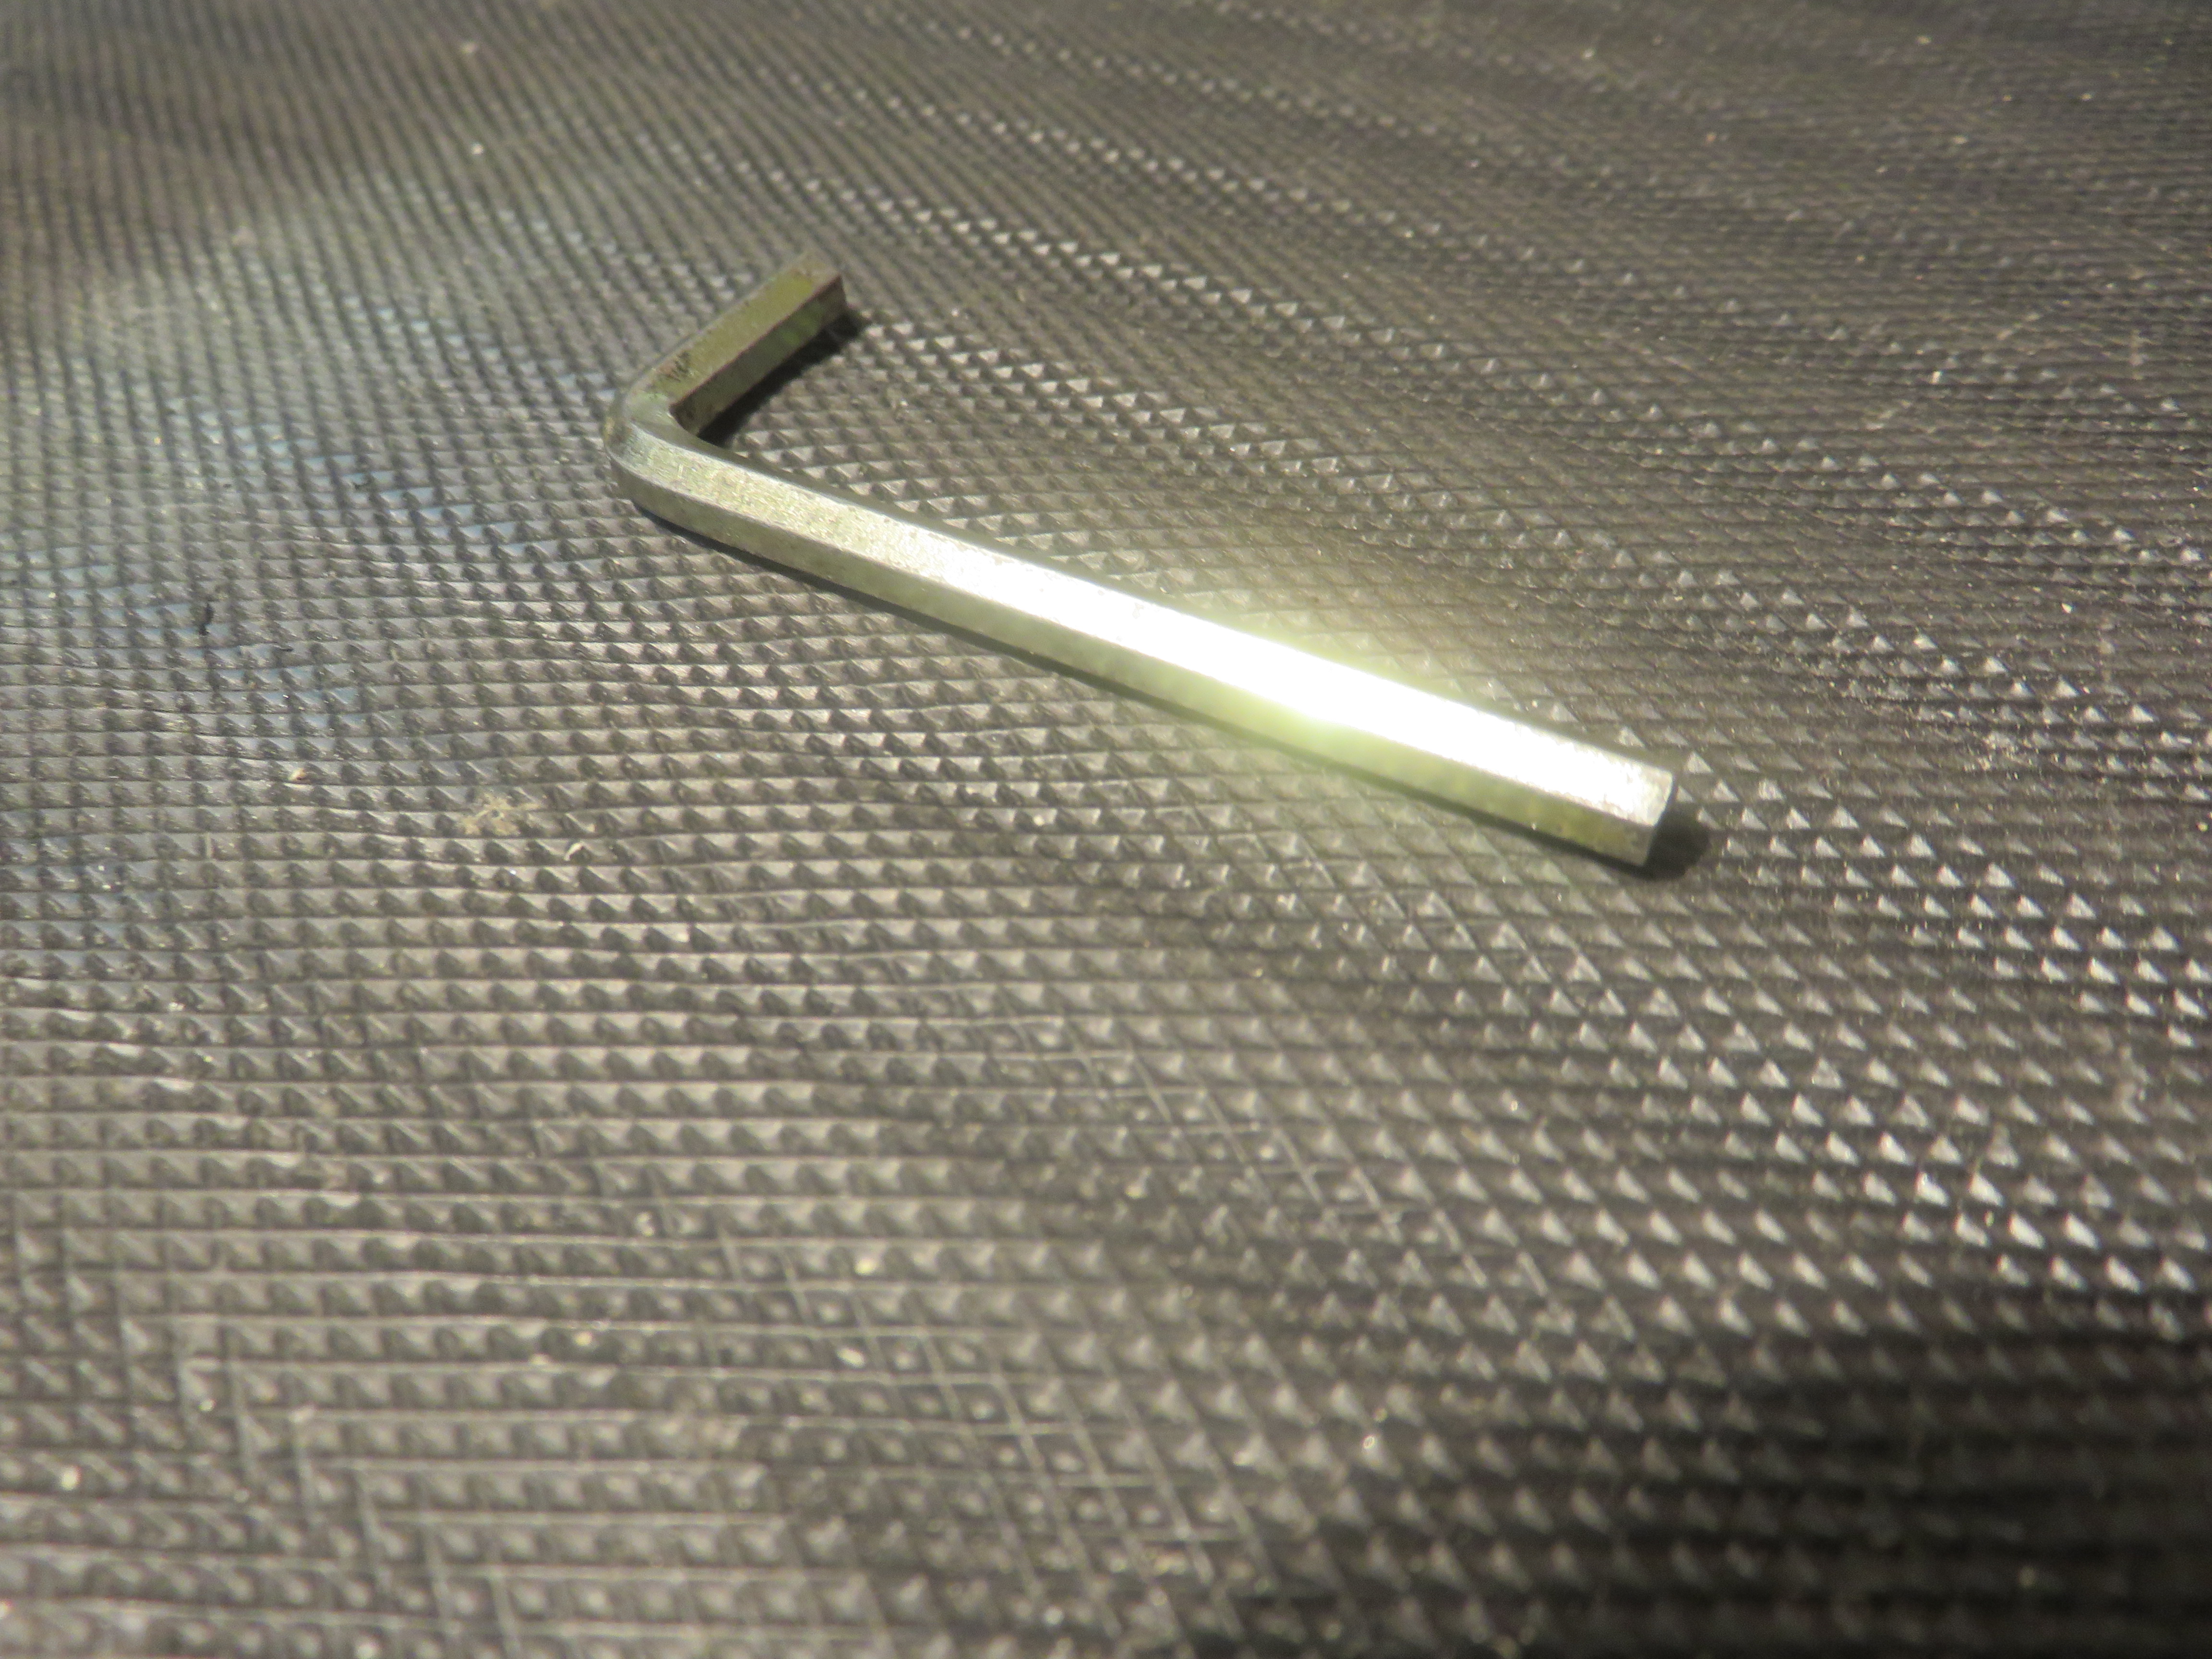
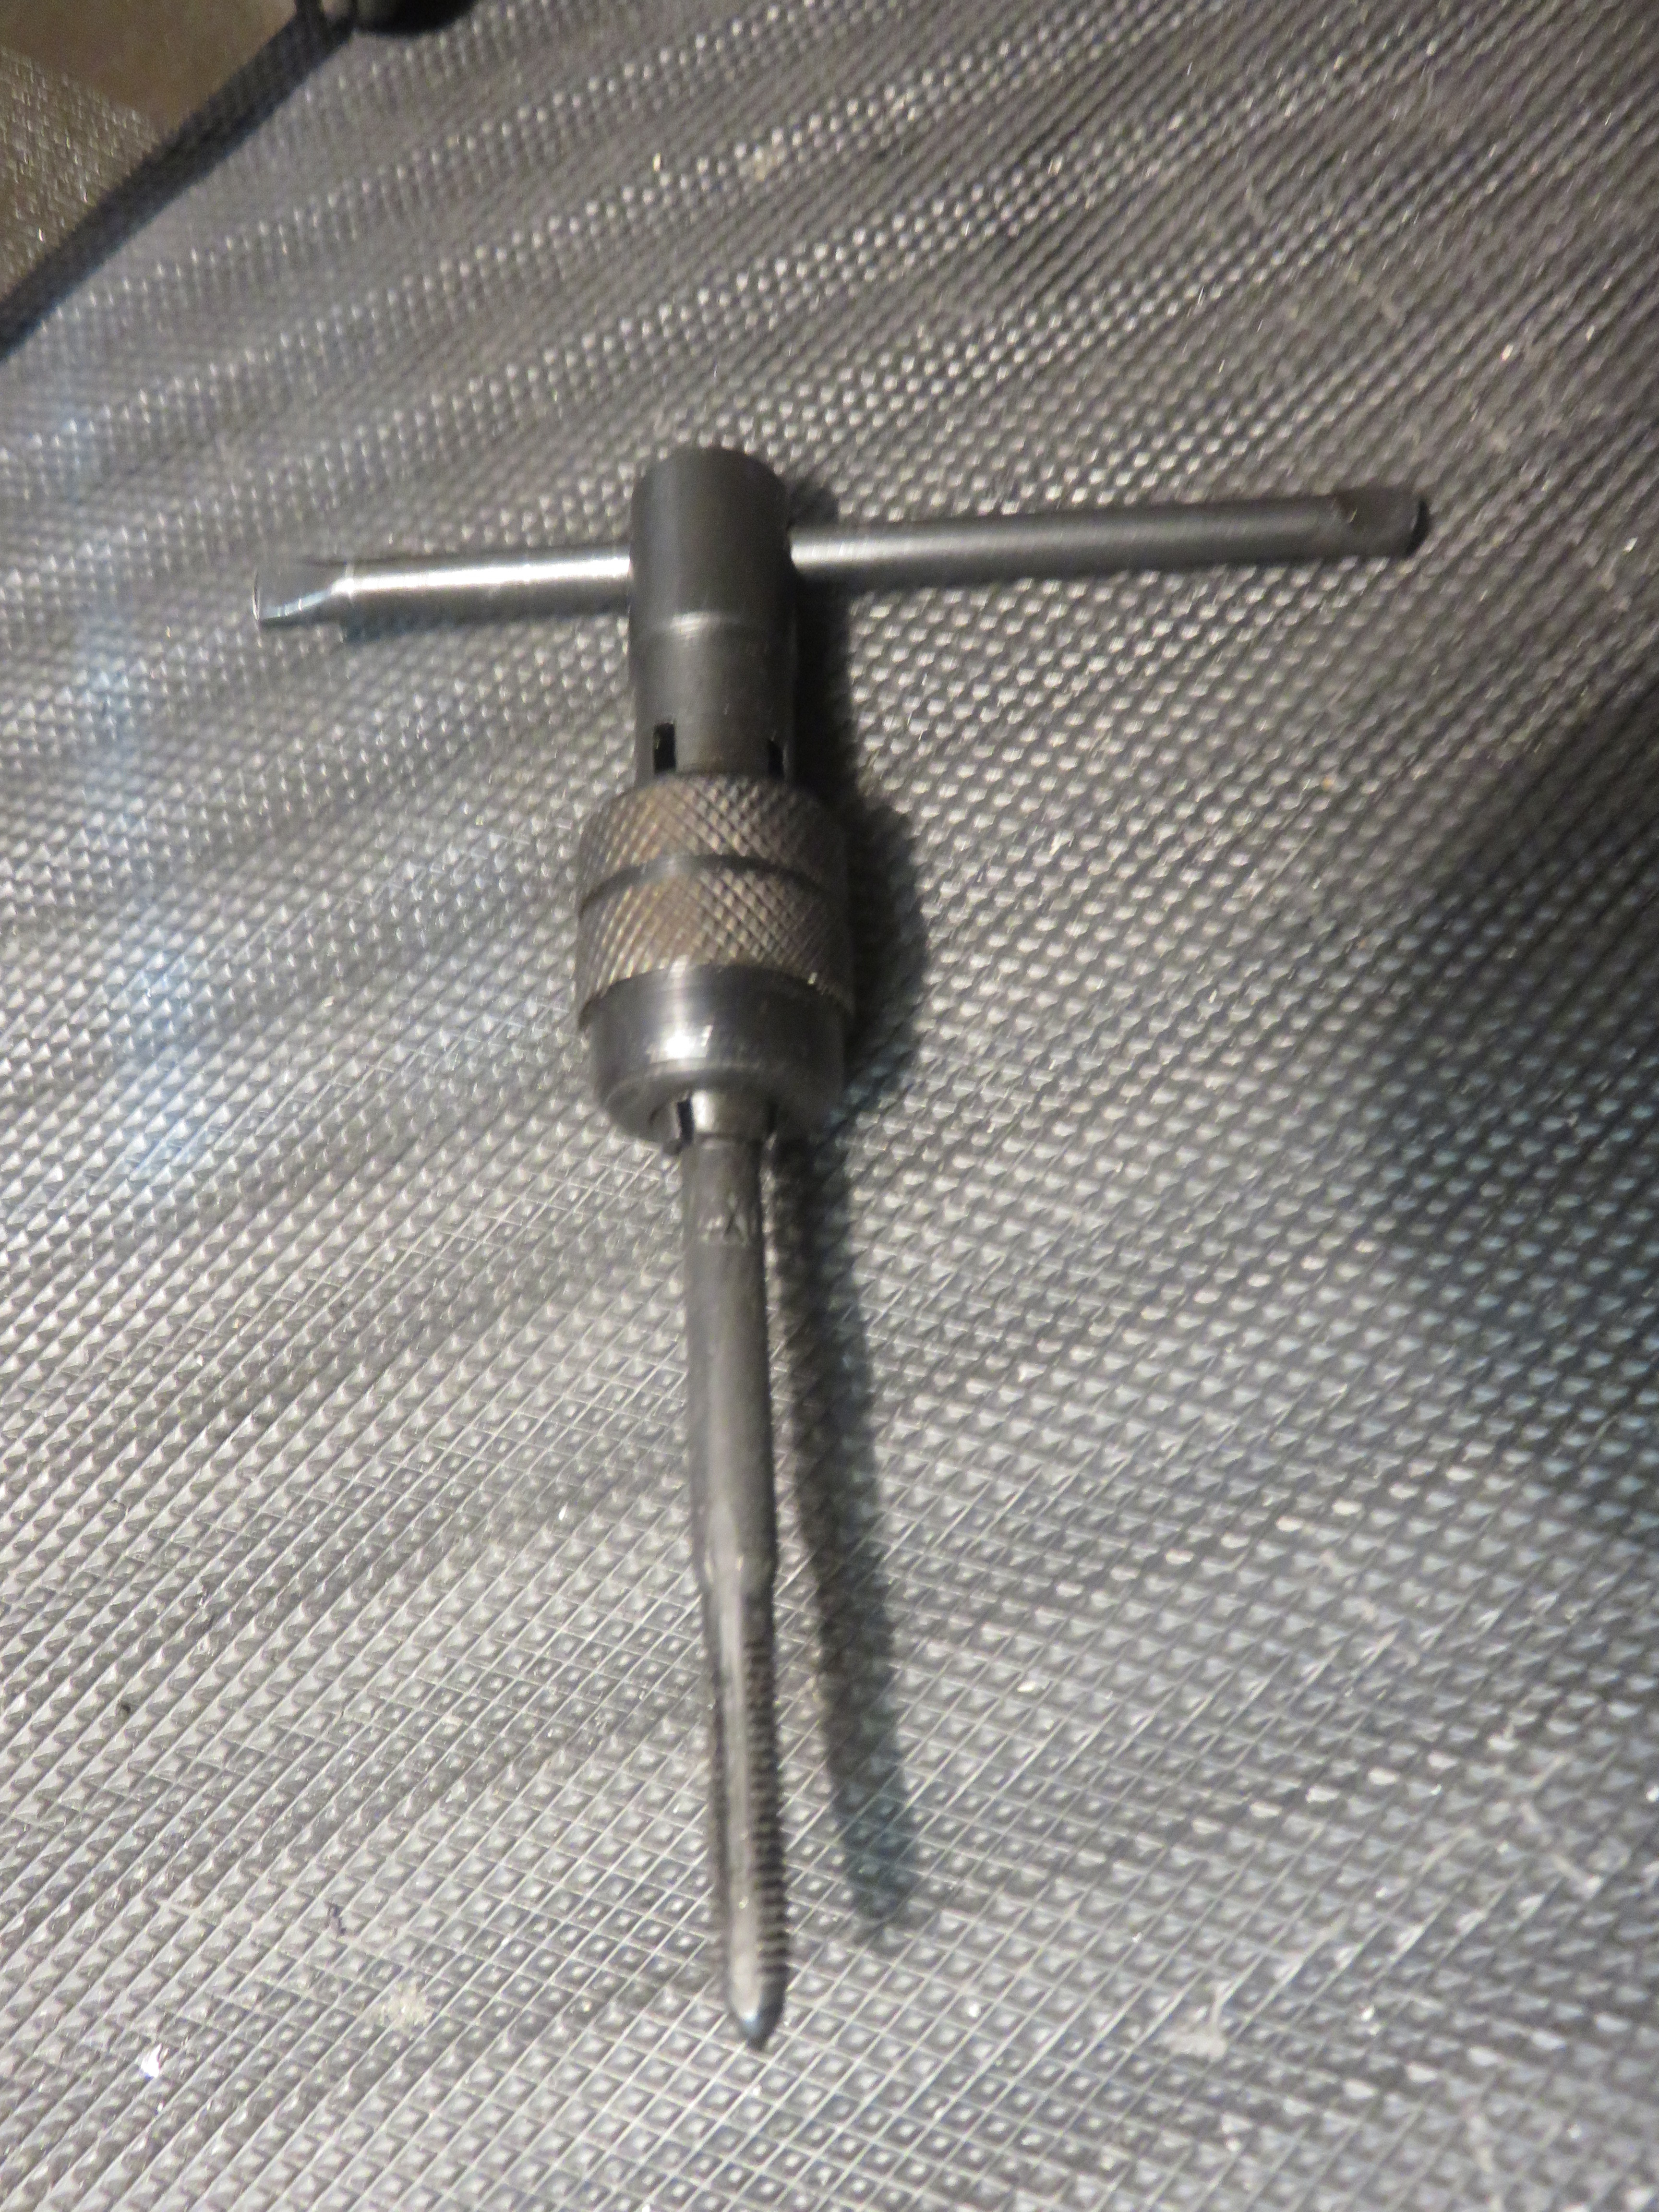
the materials are:
- Aluminum Profile 1" x 1".
- Metal File.
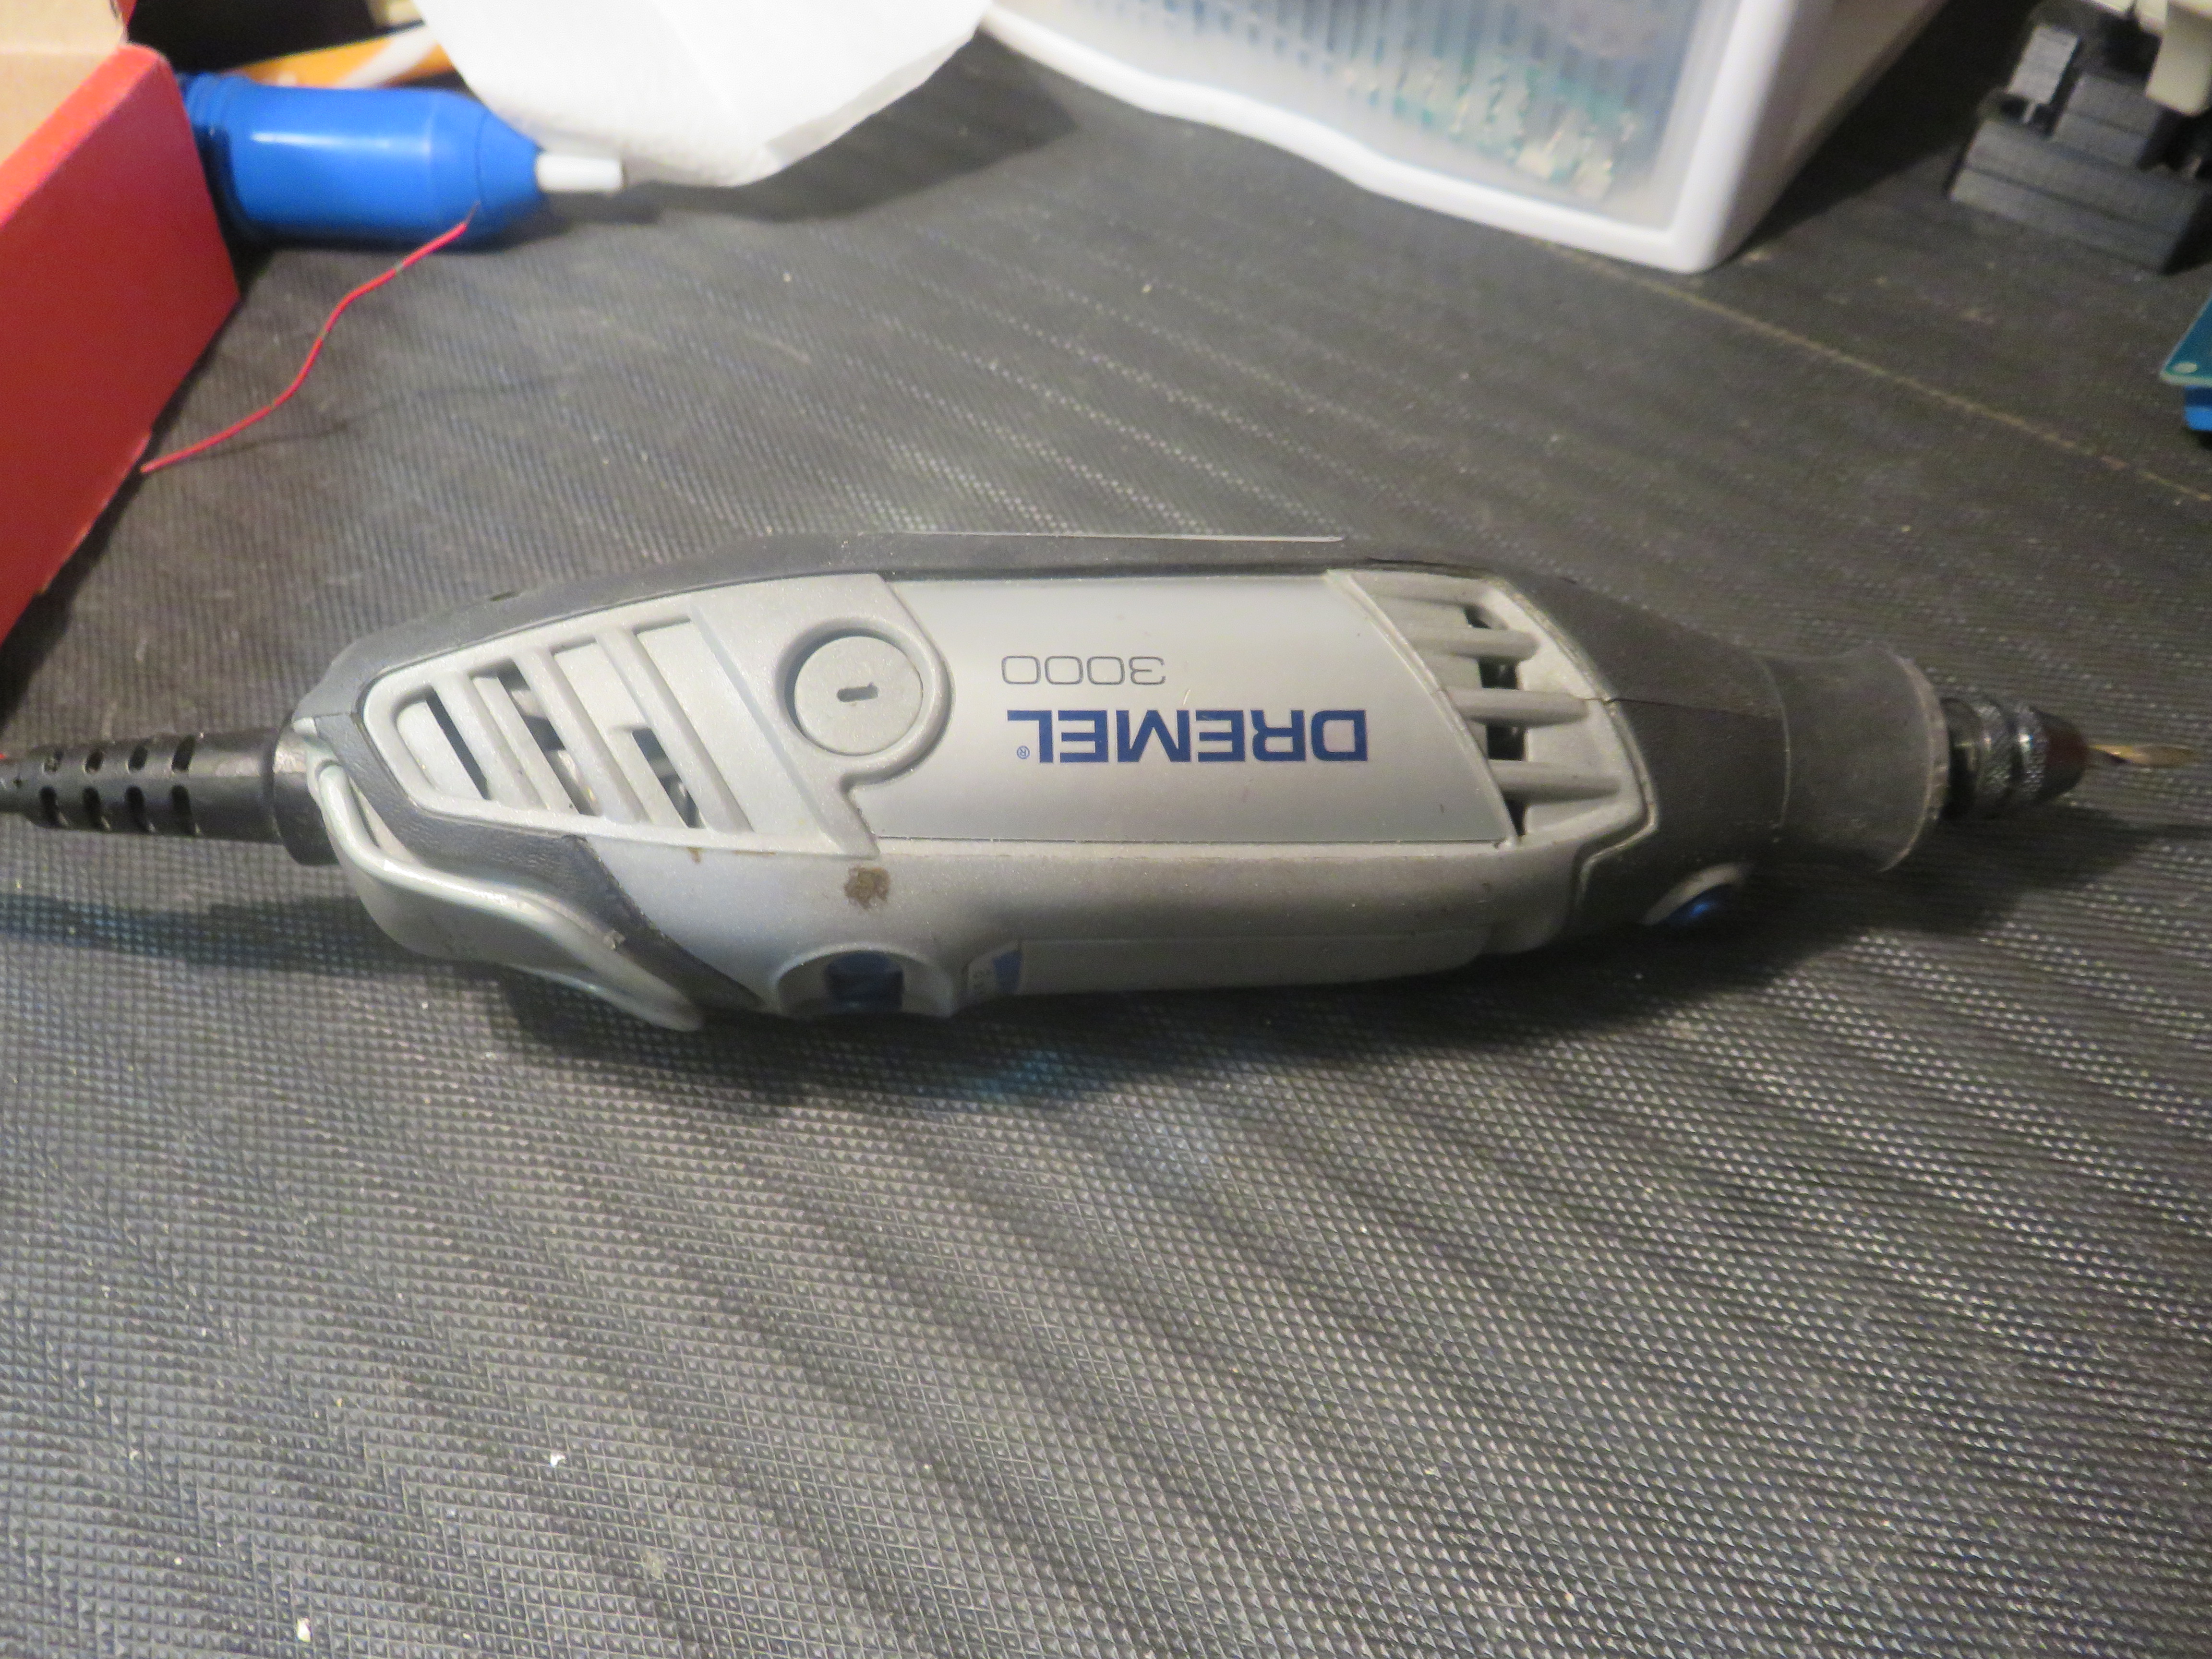
- Dremel.
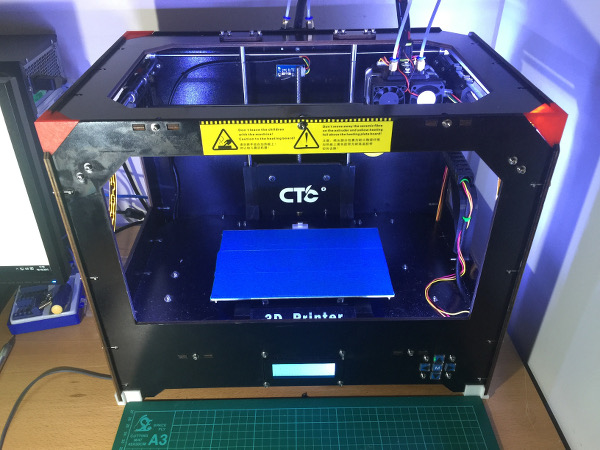
- 3D Printer (I use The Replicator Dual CTC).
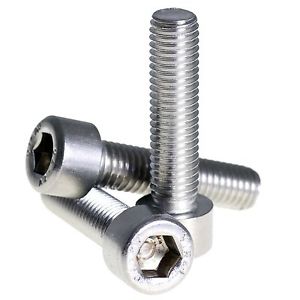
- Screws and Nuts 1/4".
- Hex Key.
- Screw M4X10.
- Vernier.
- Tap M4.
Printed Parts
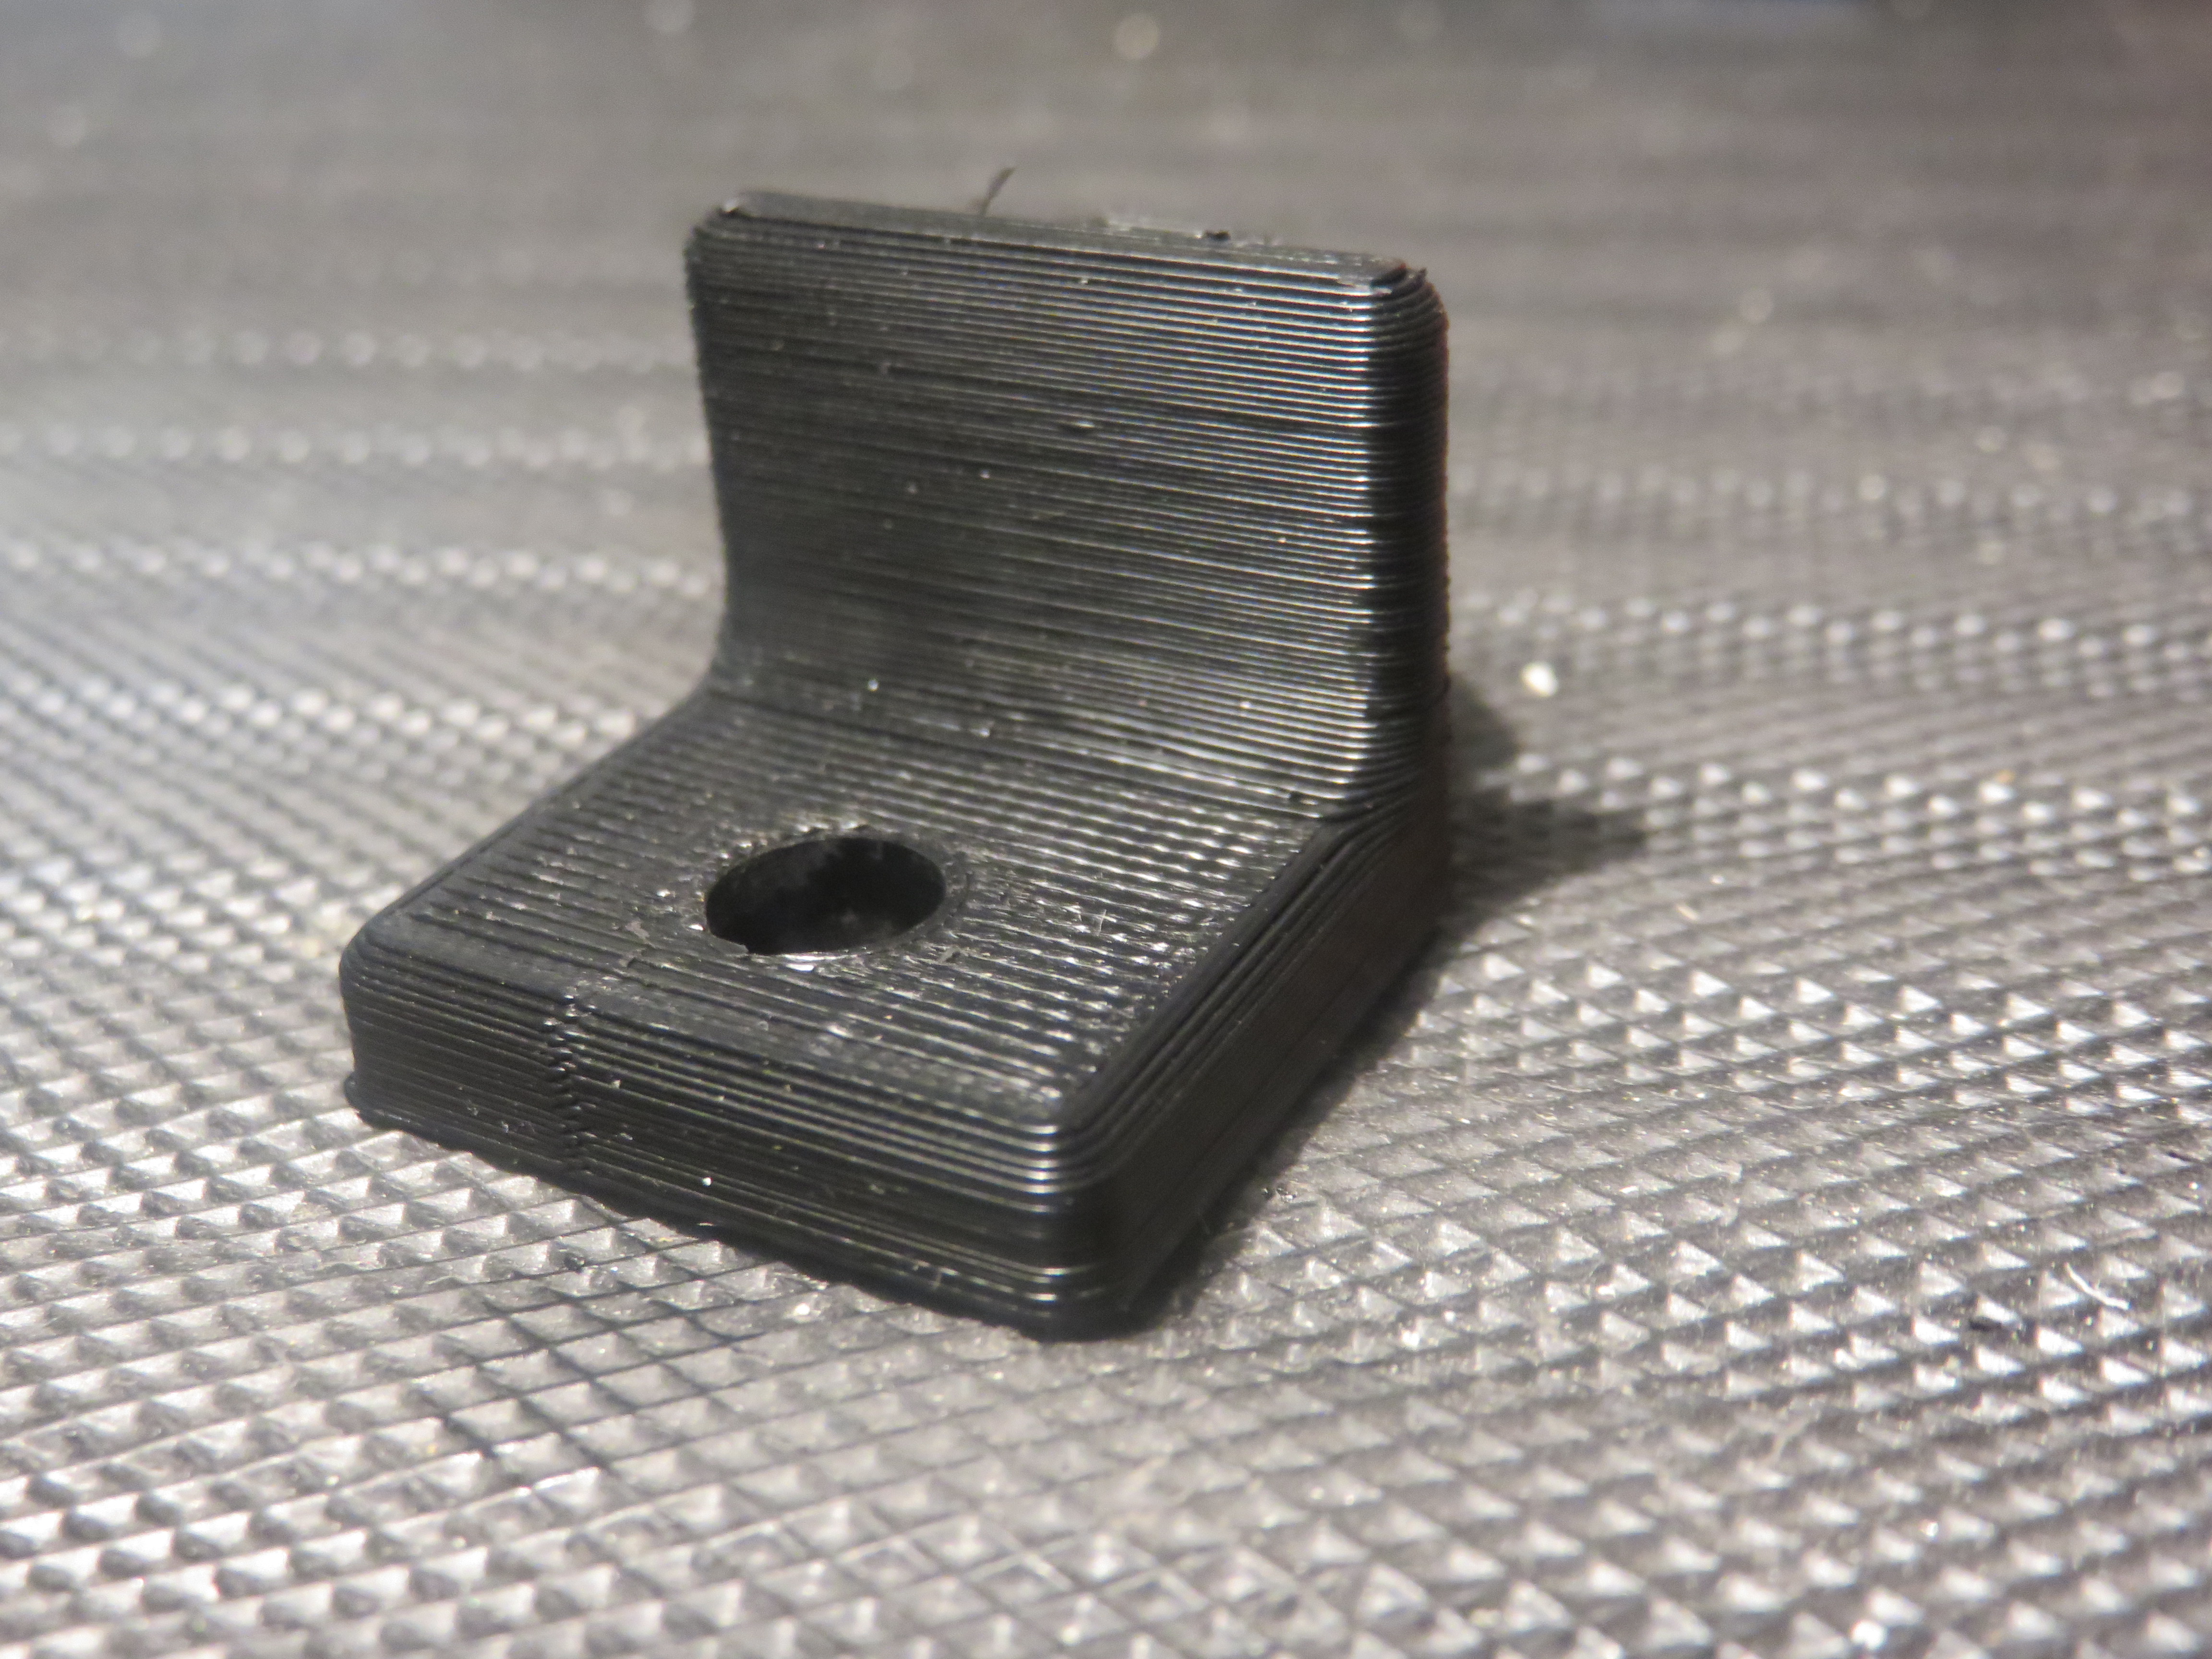

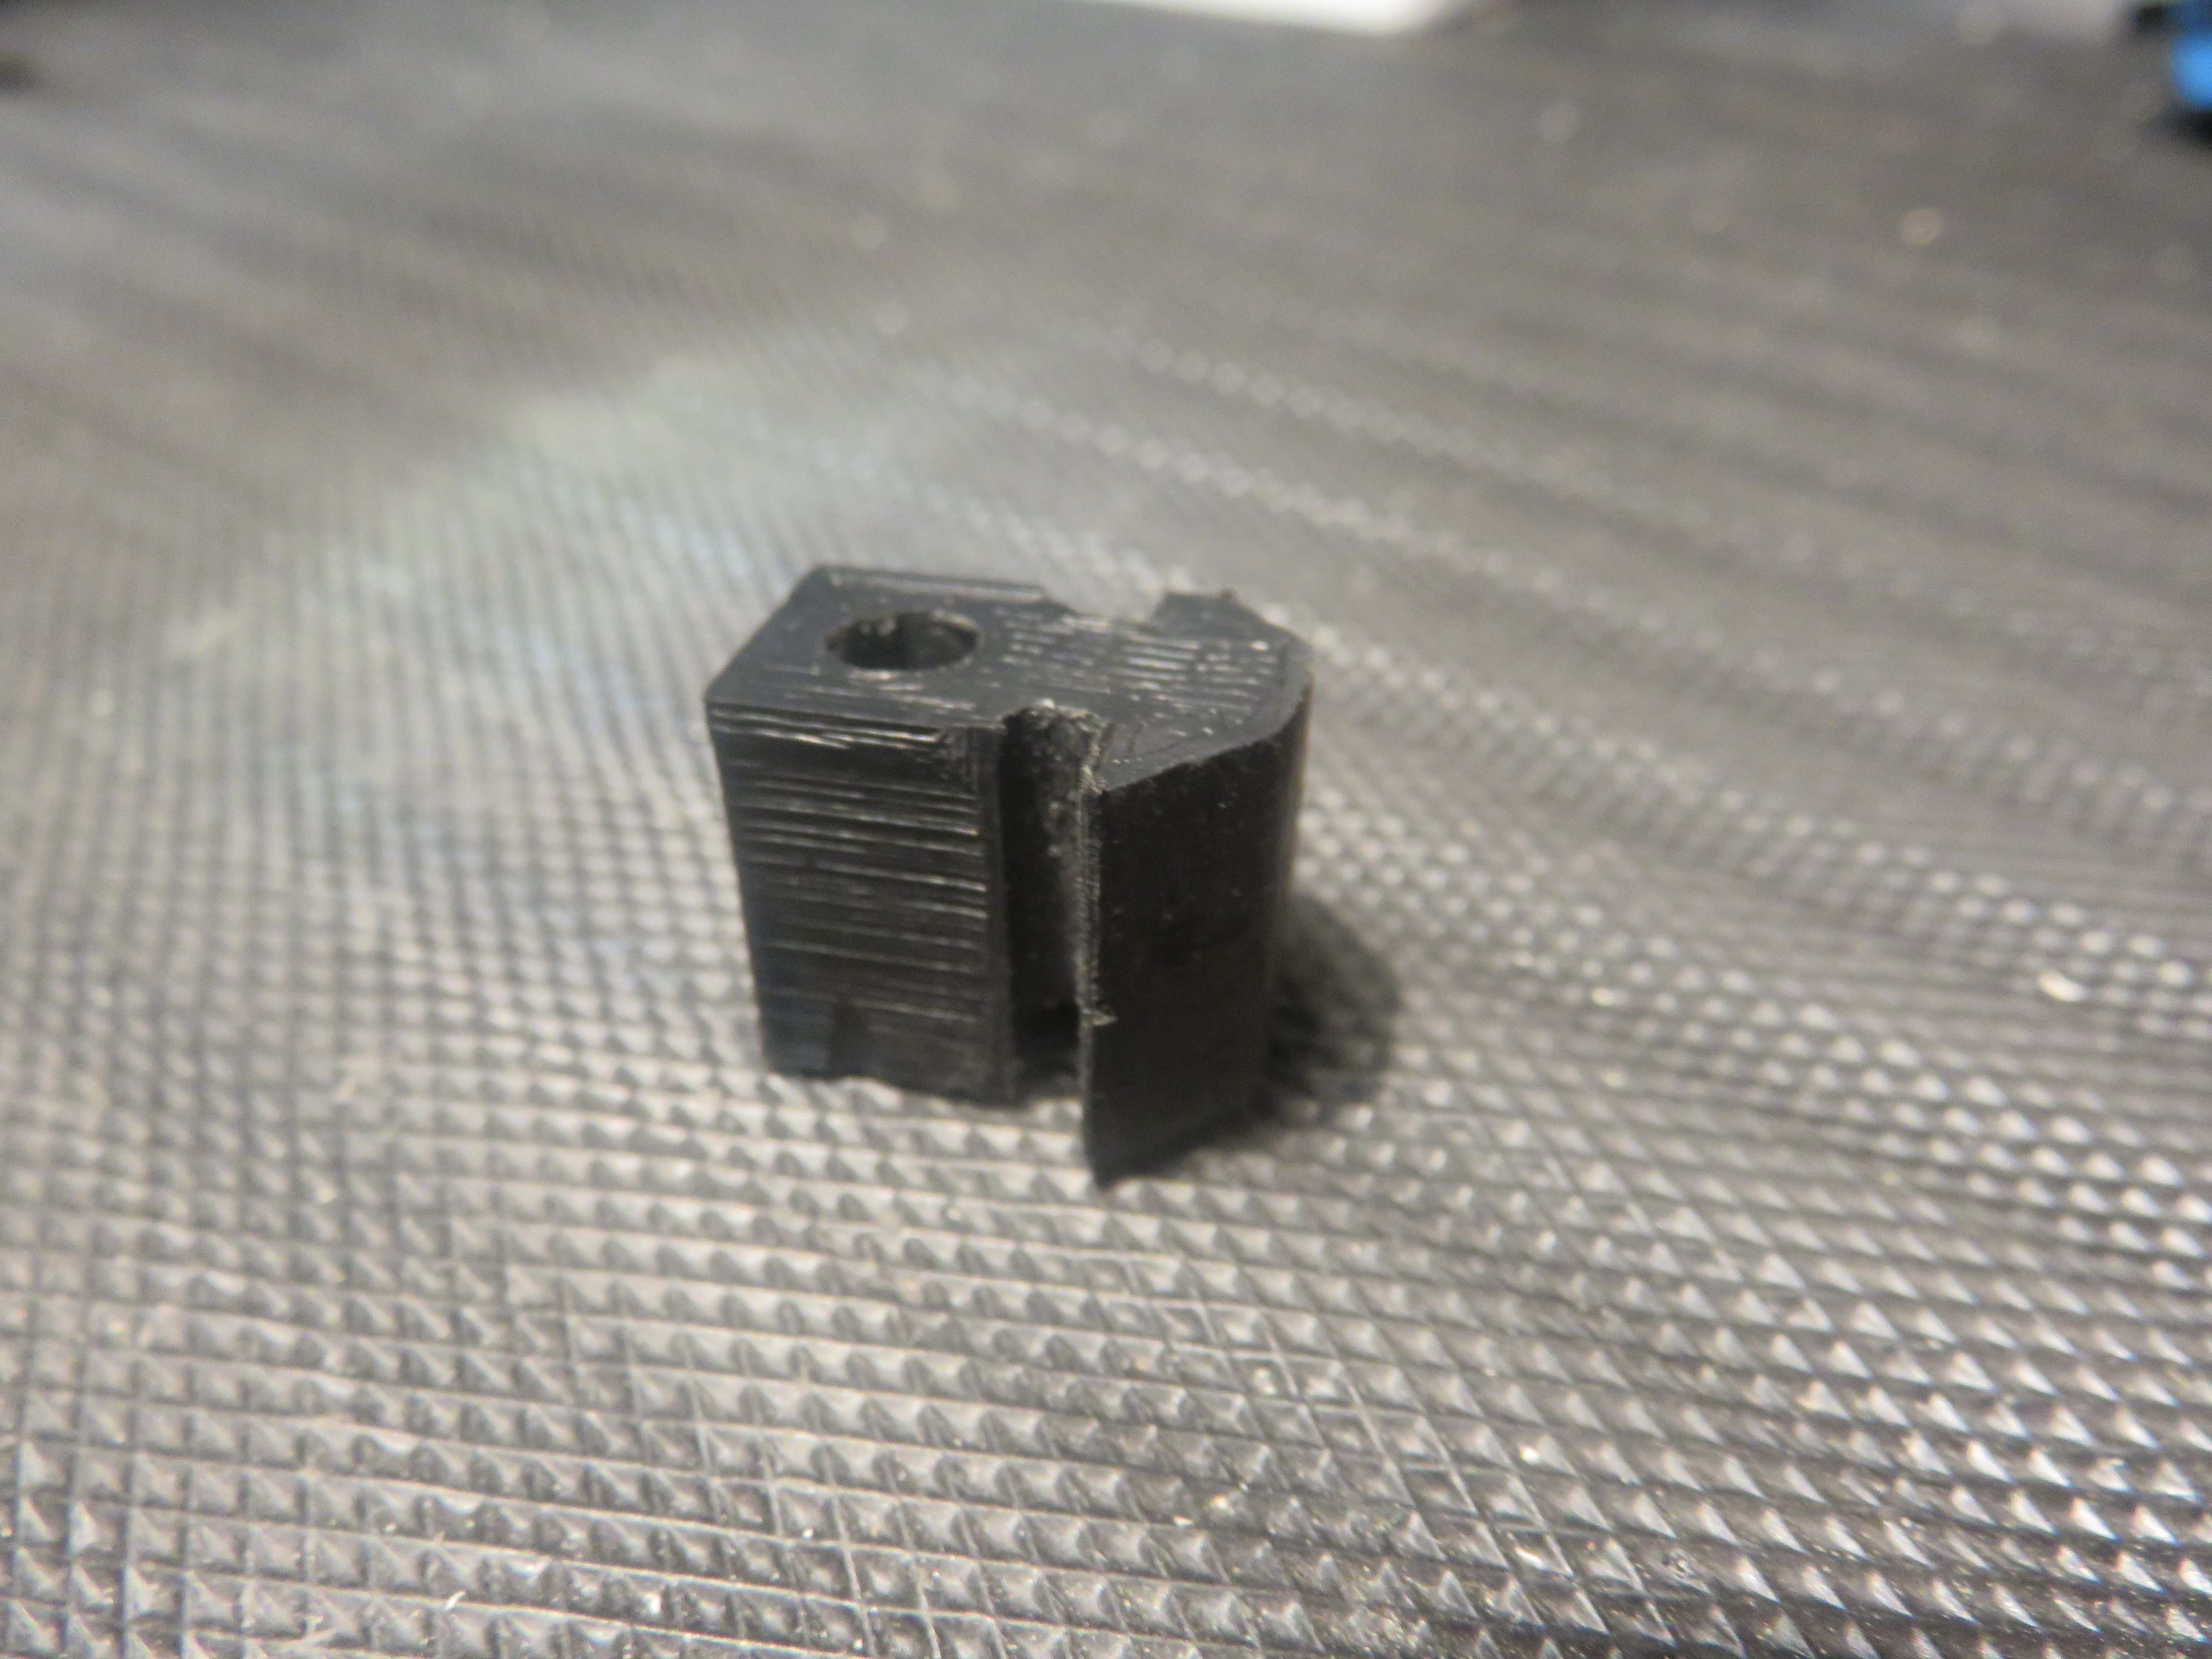
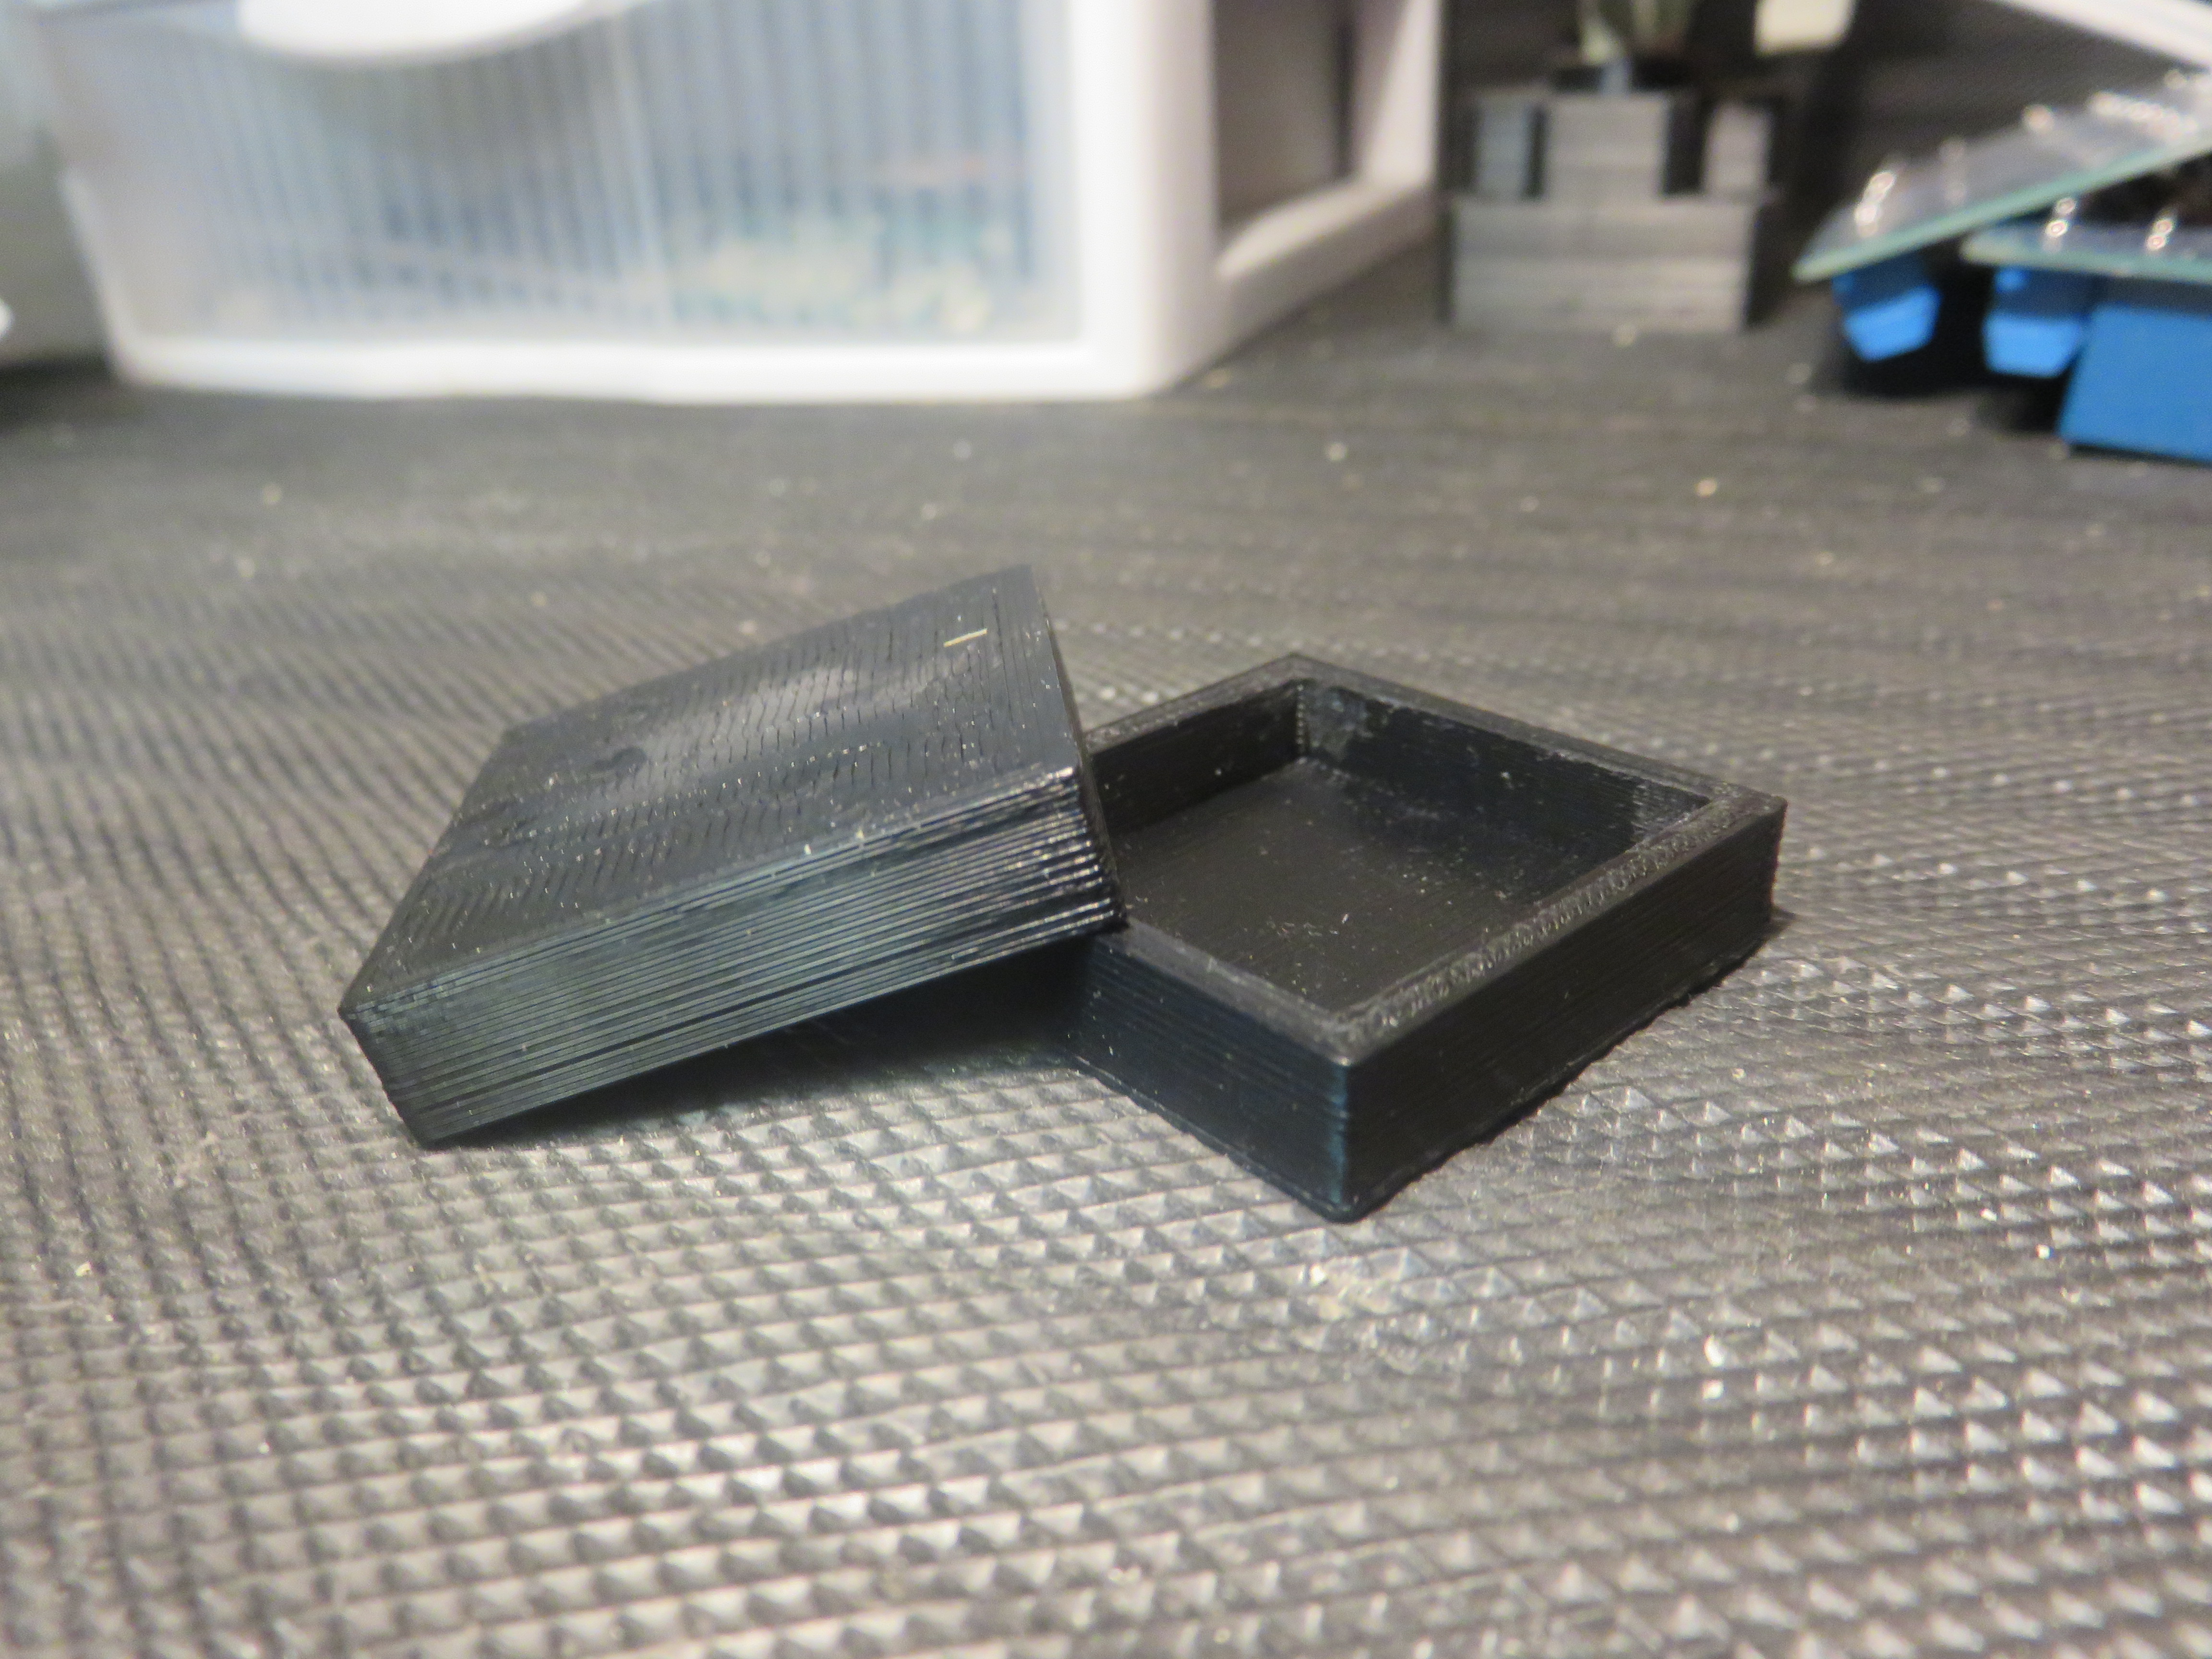
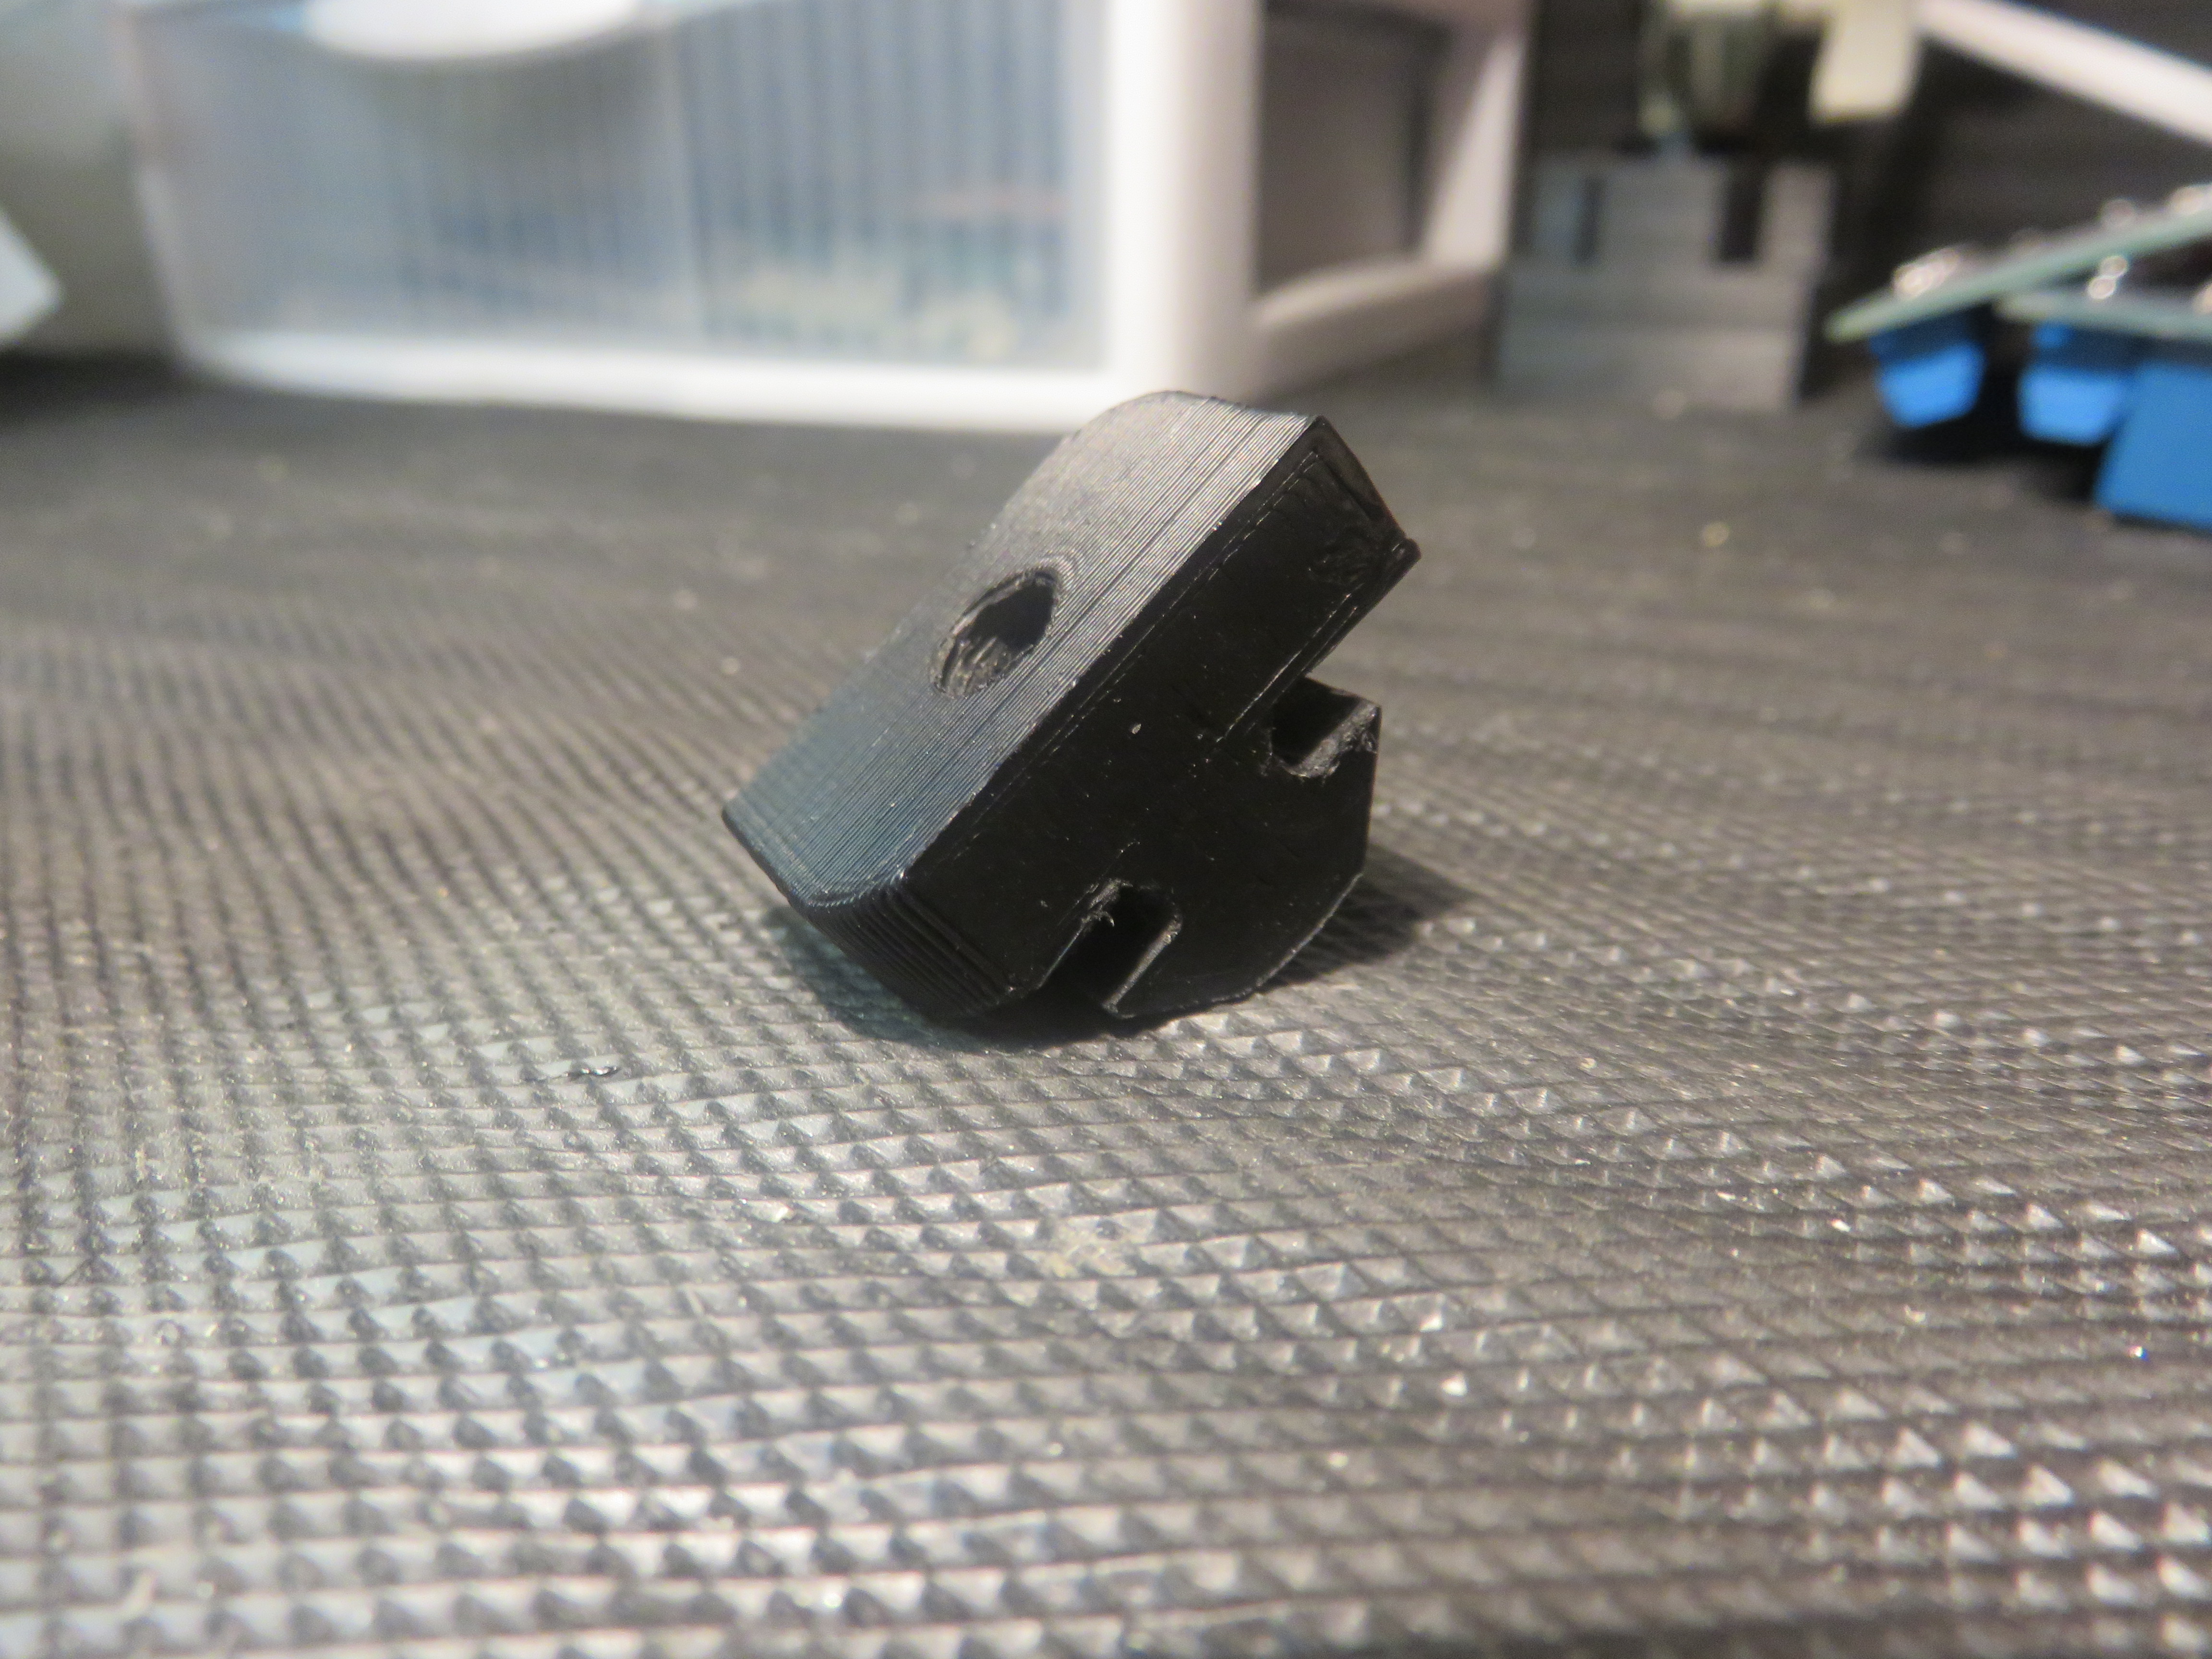
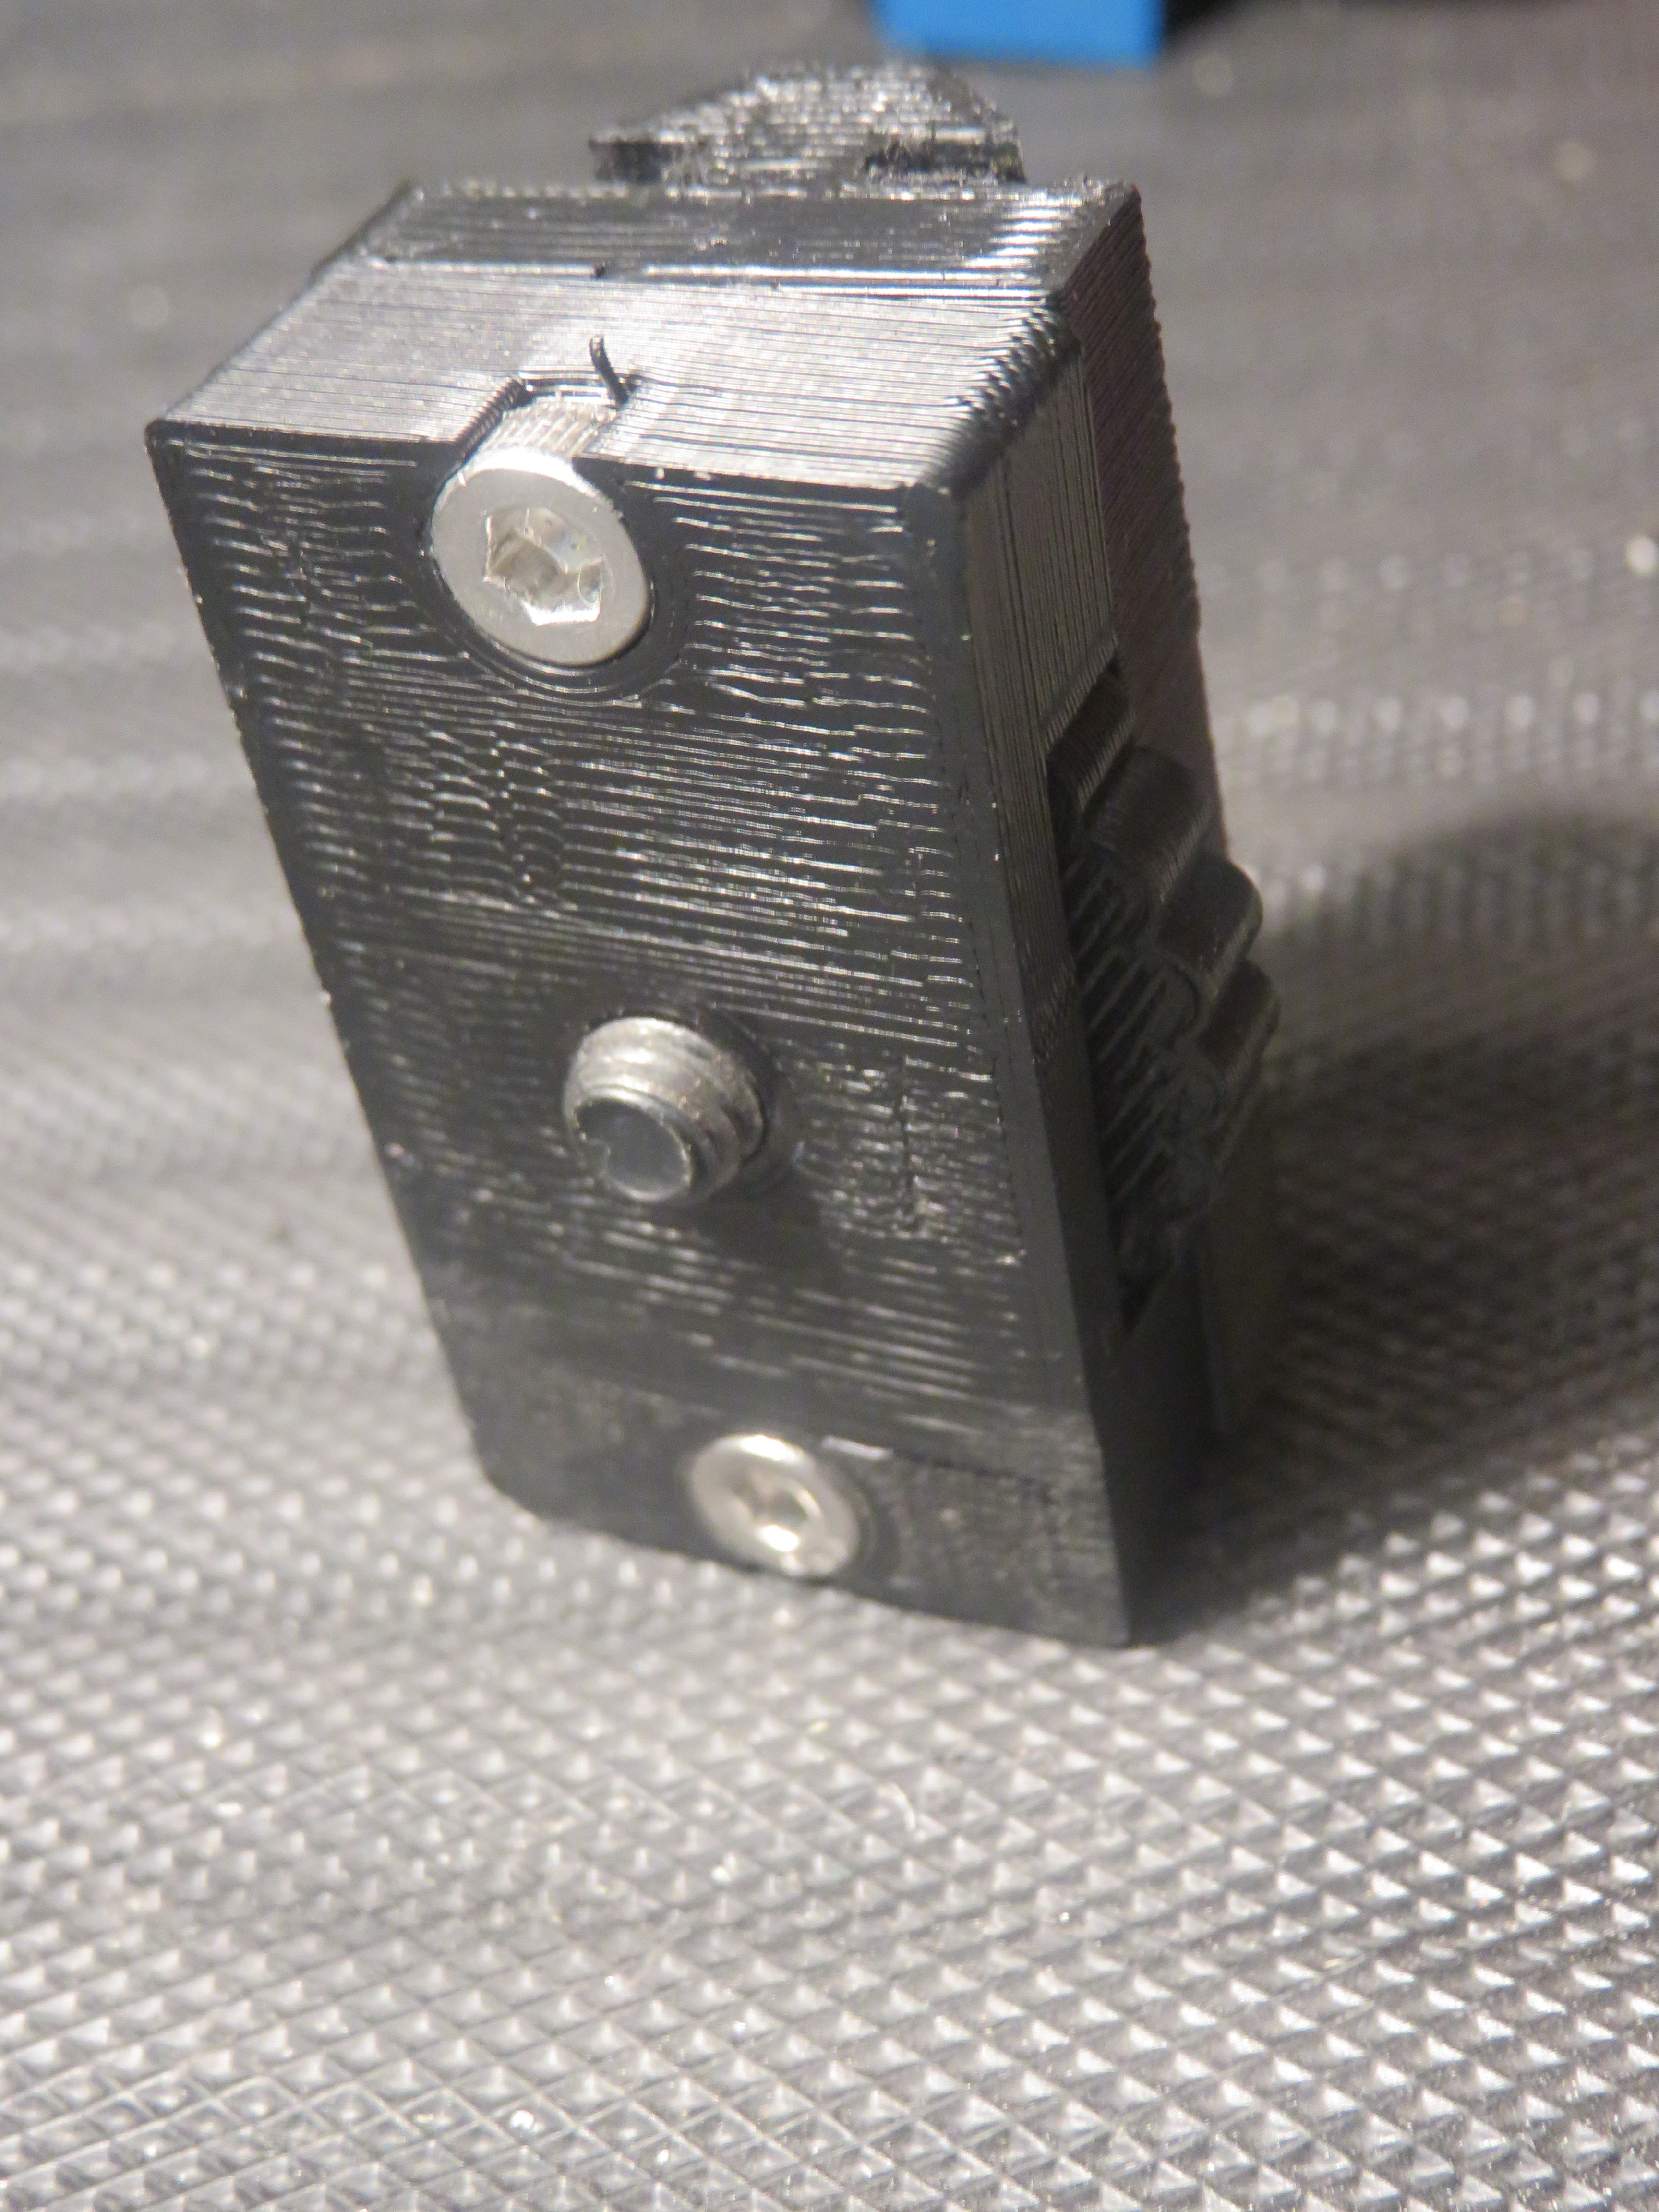
I designed all of the parts, the last photo are the camera holder, I only posted the photo of the ensemble but in the files I put the all of parts.
Assembly Parts
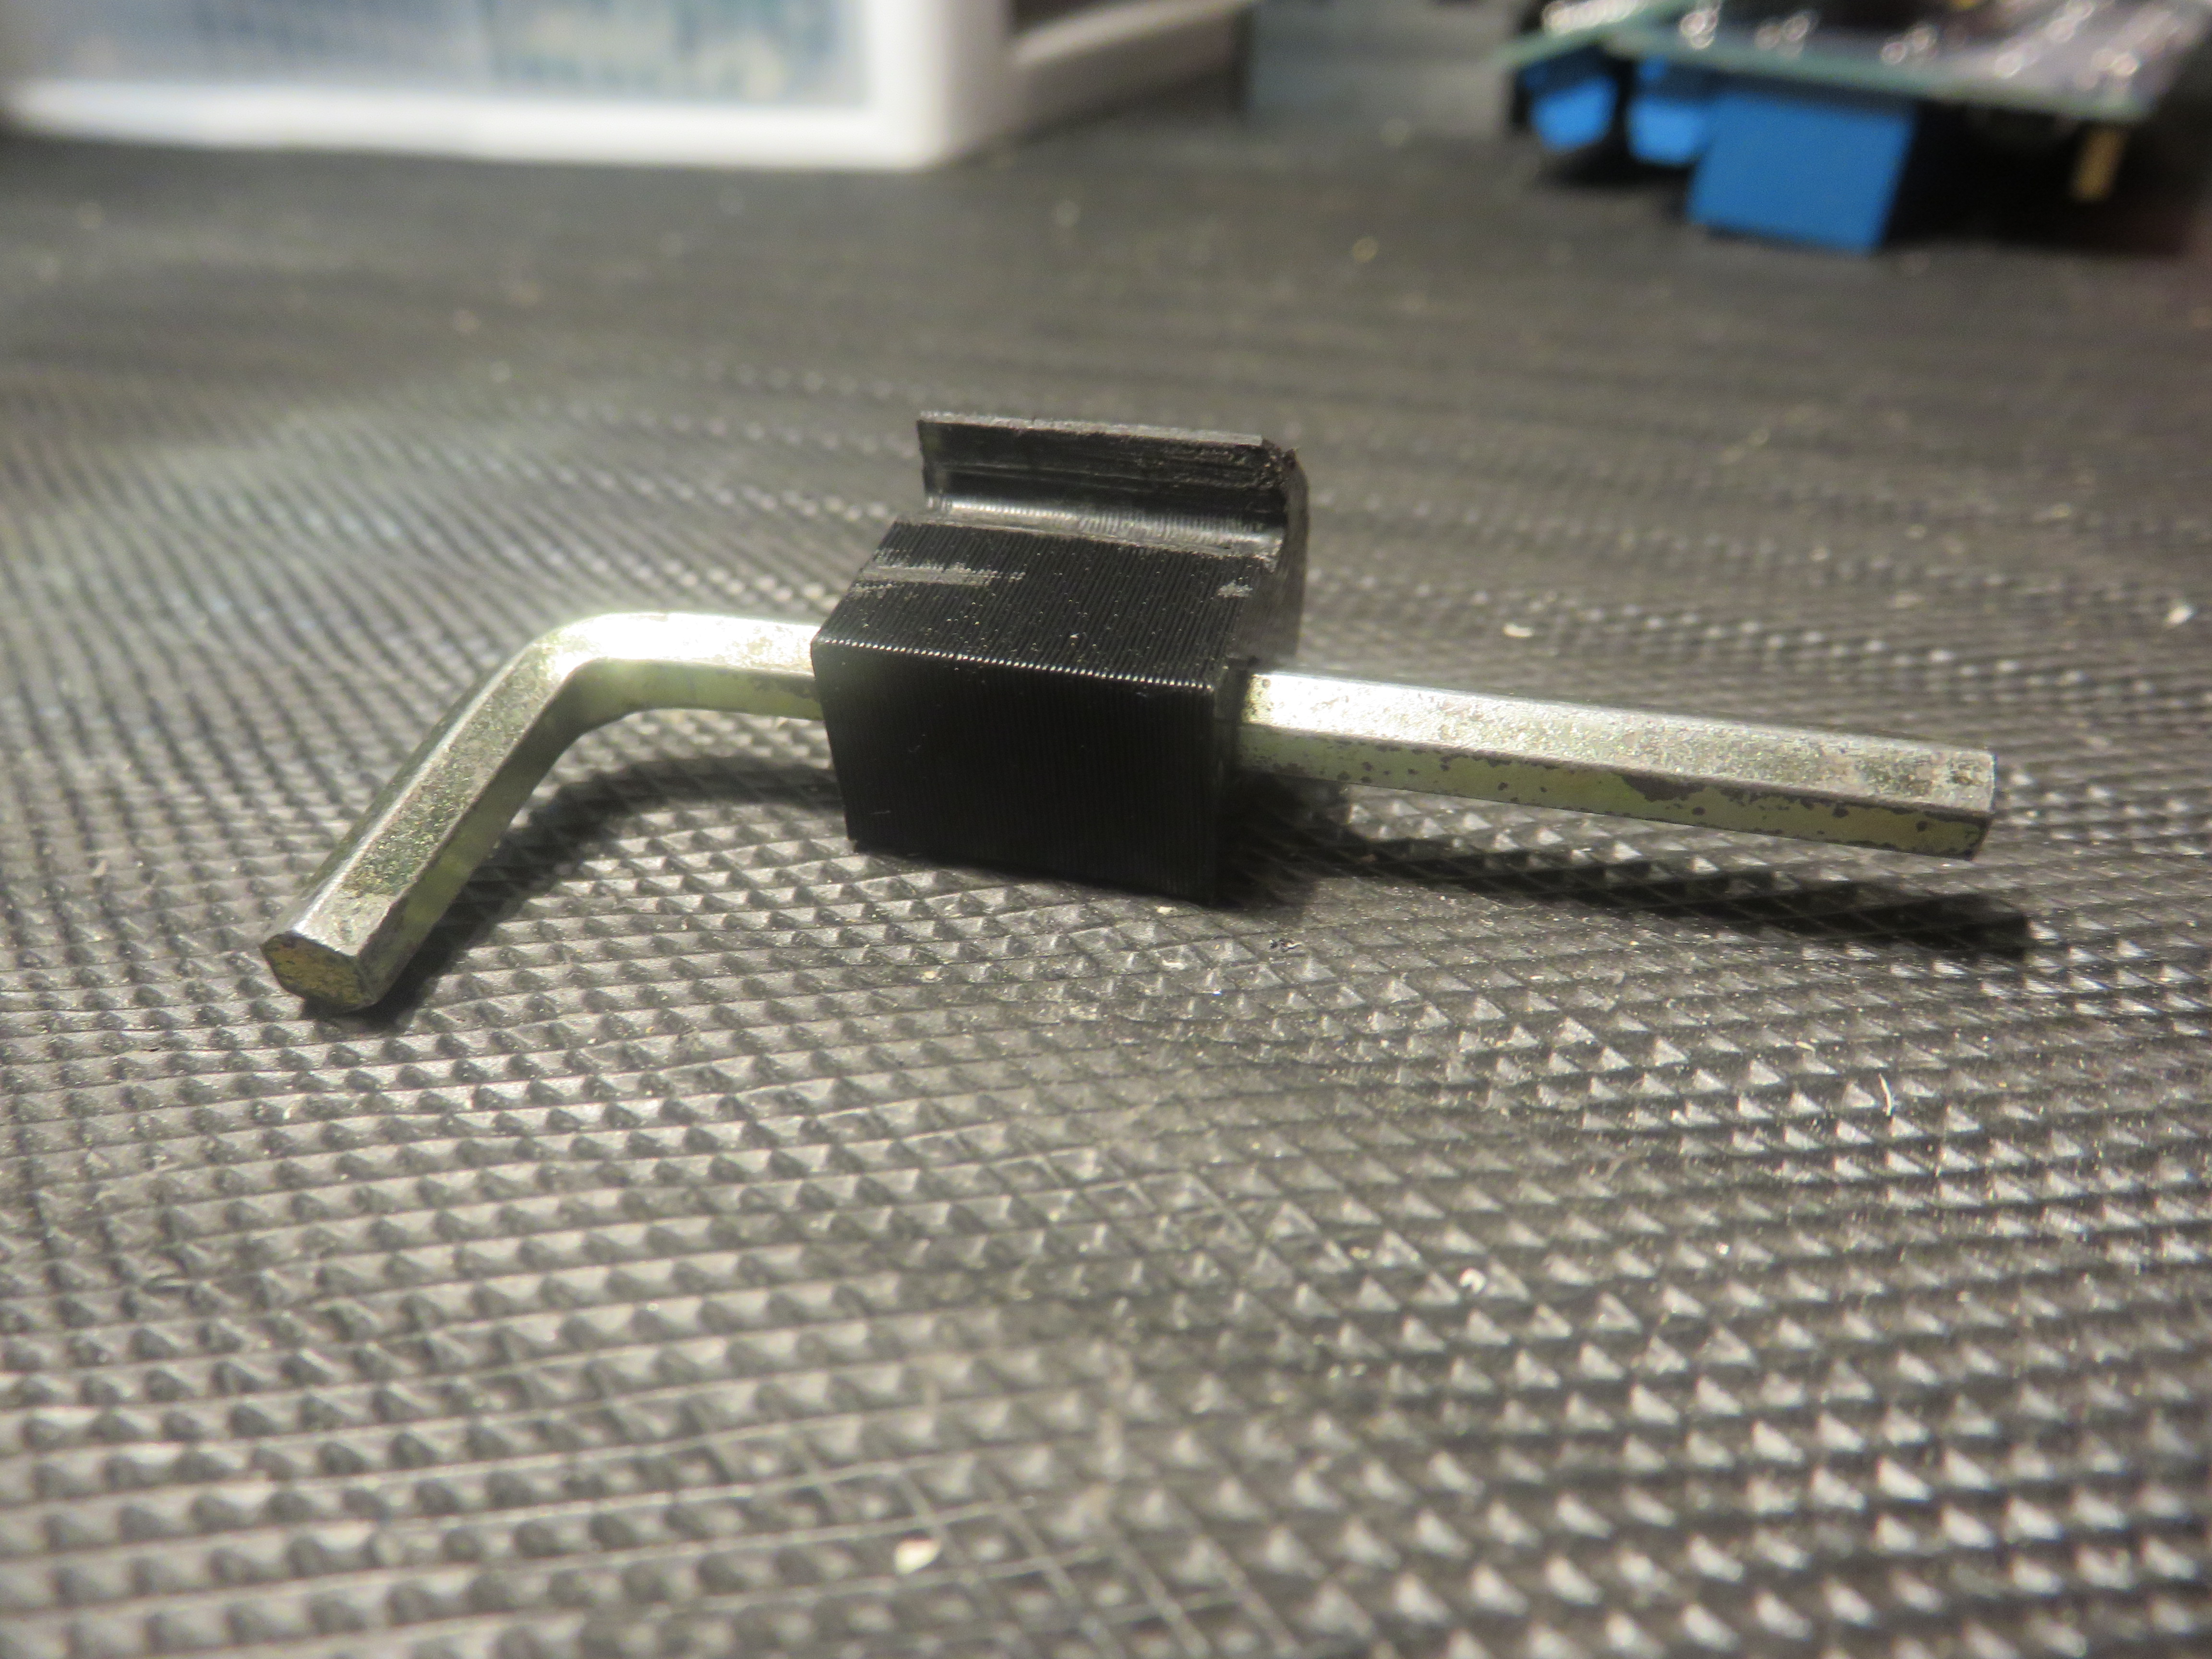
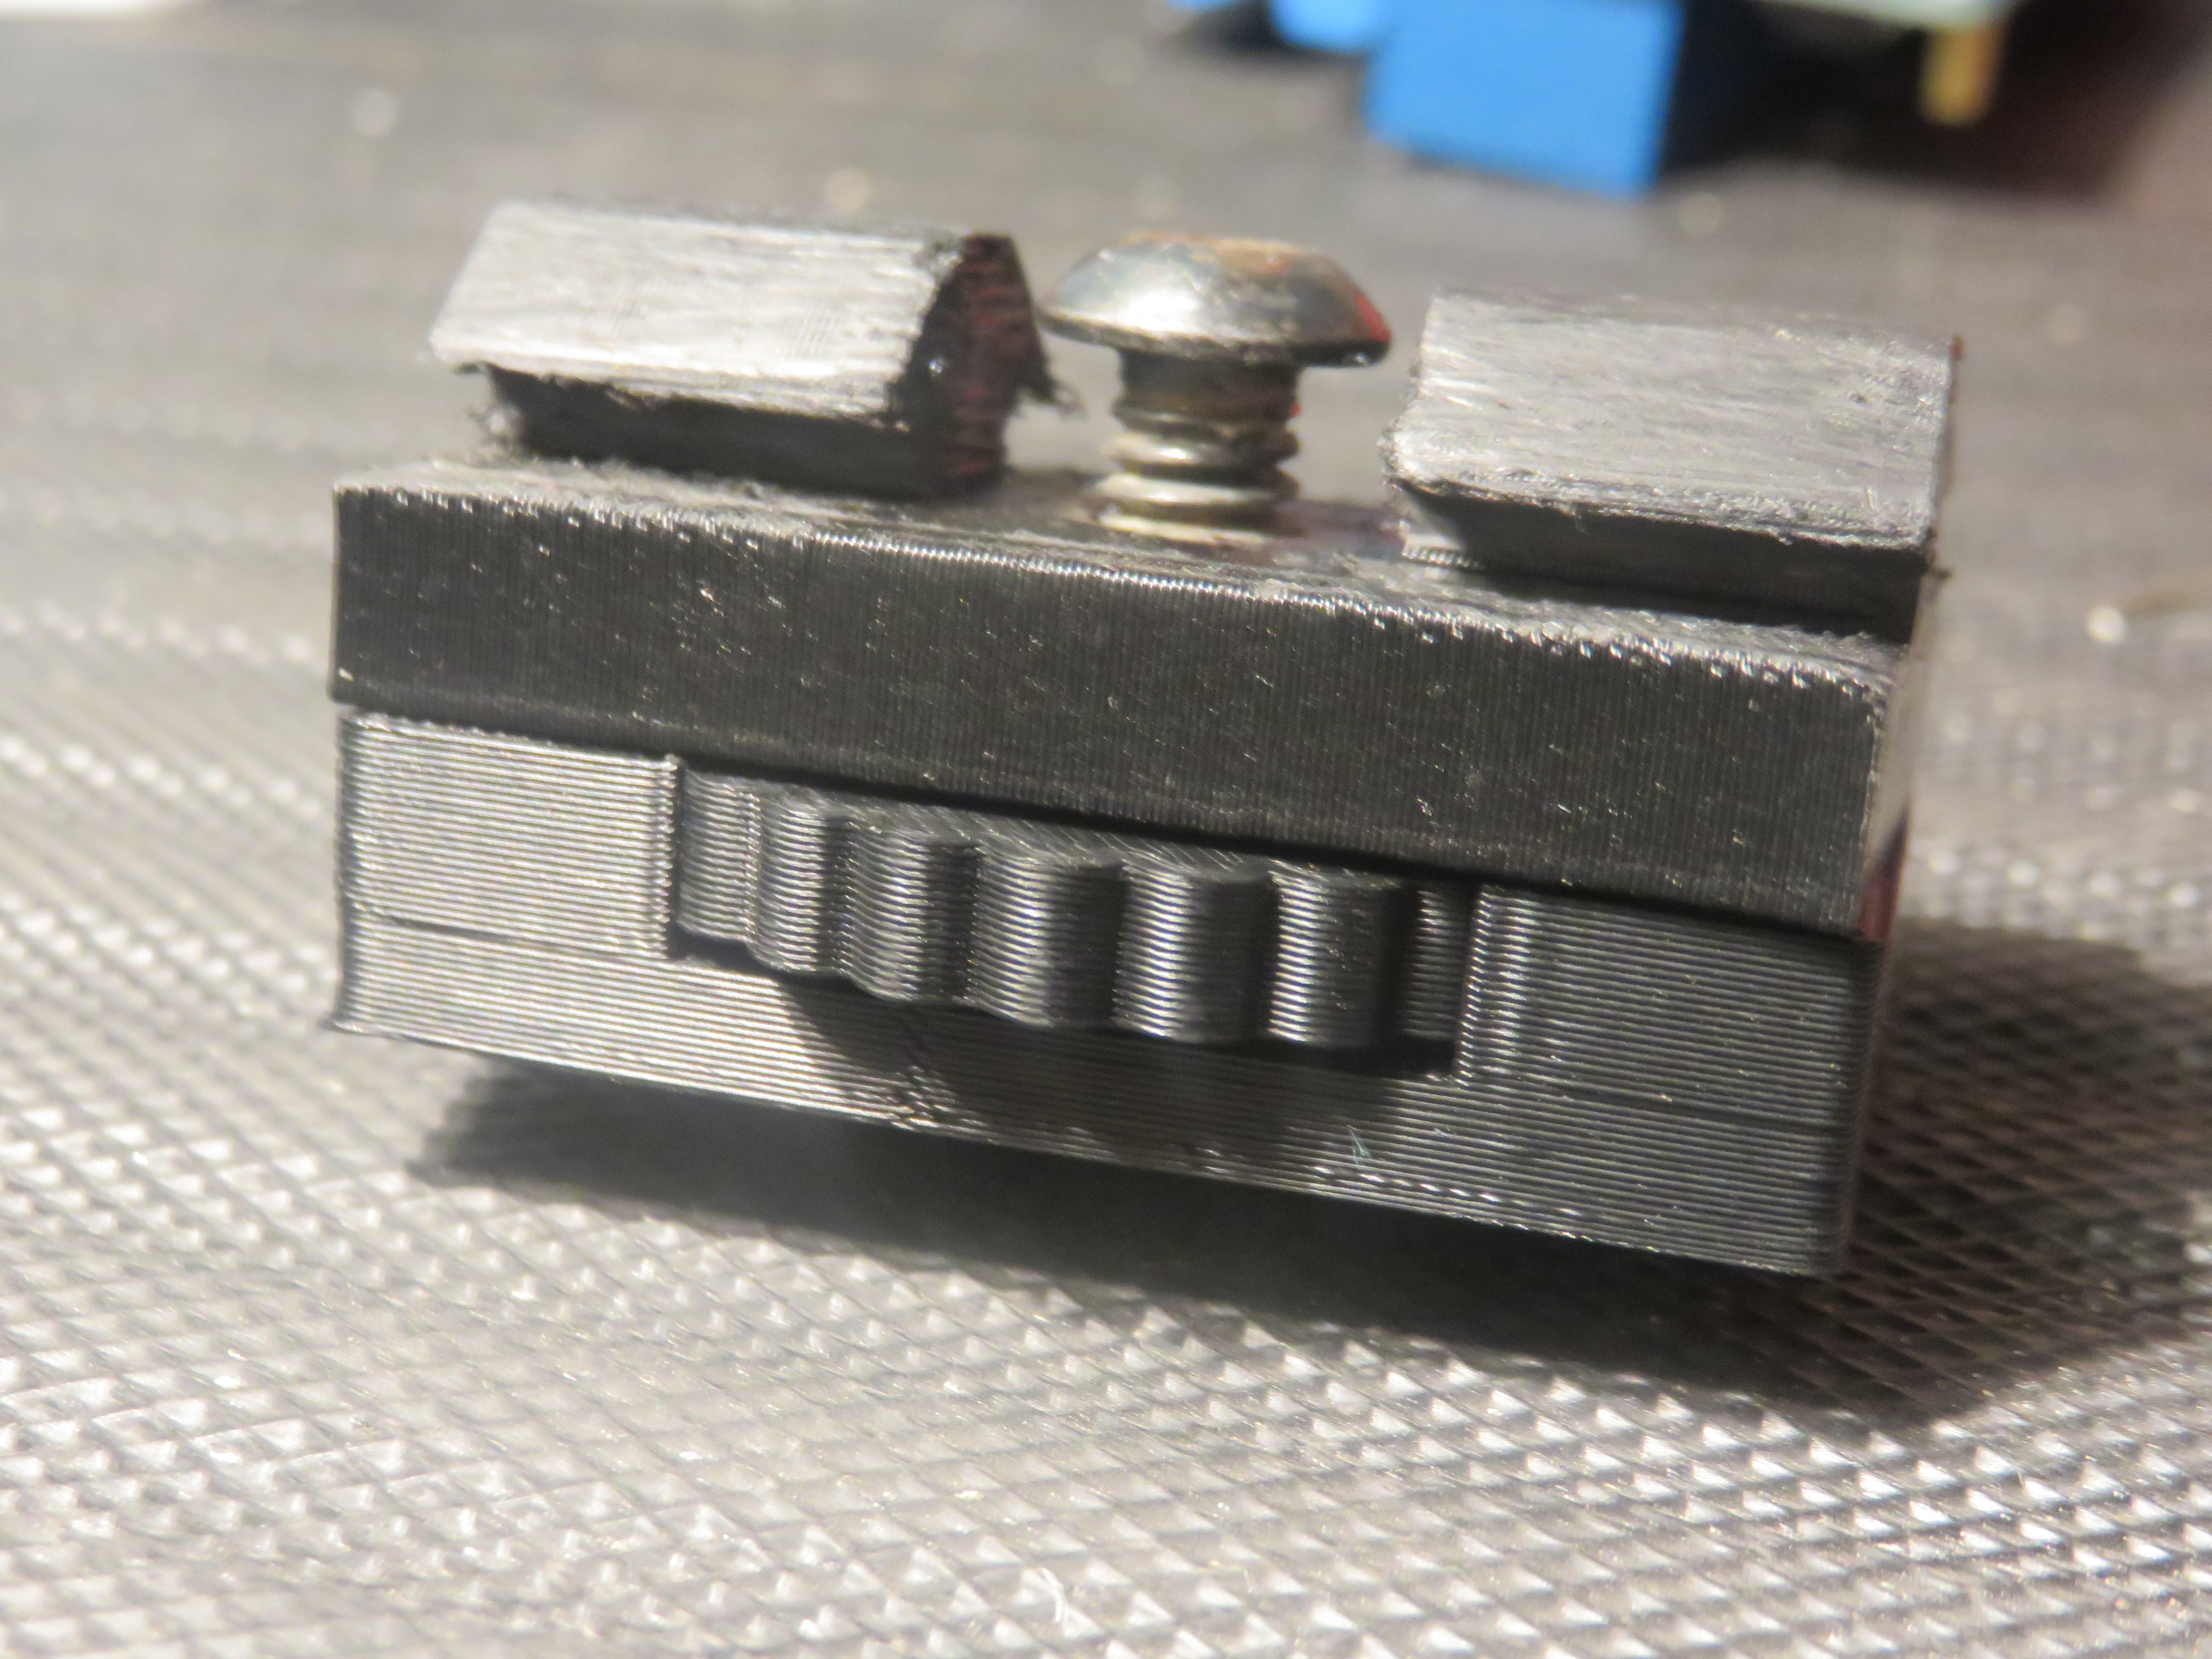
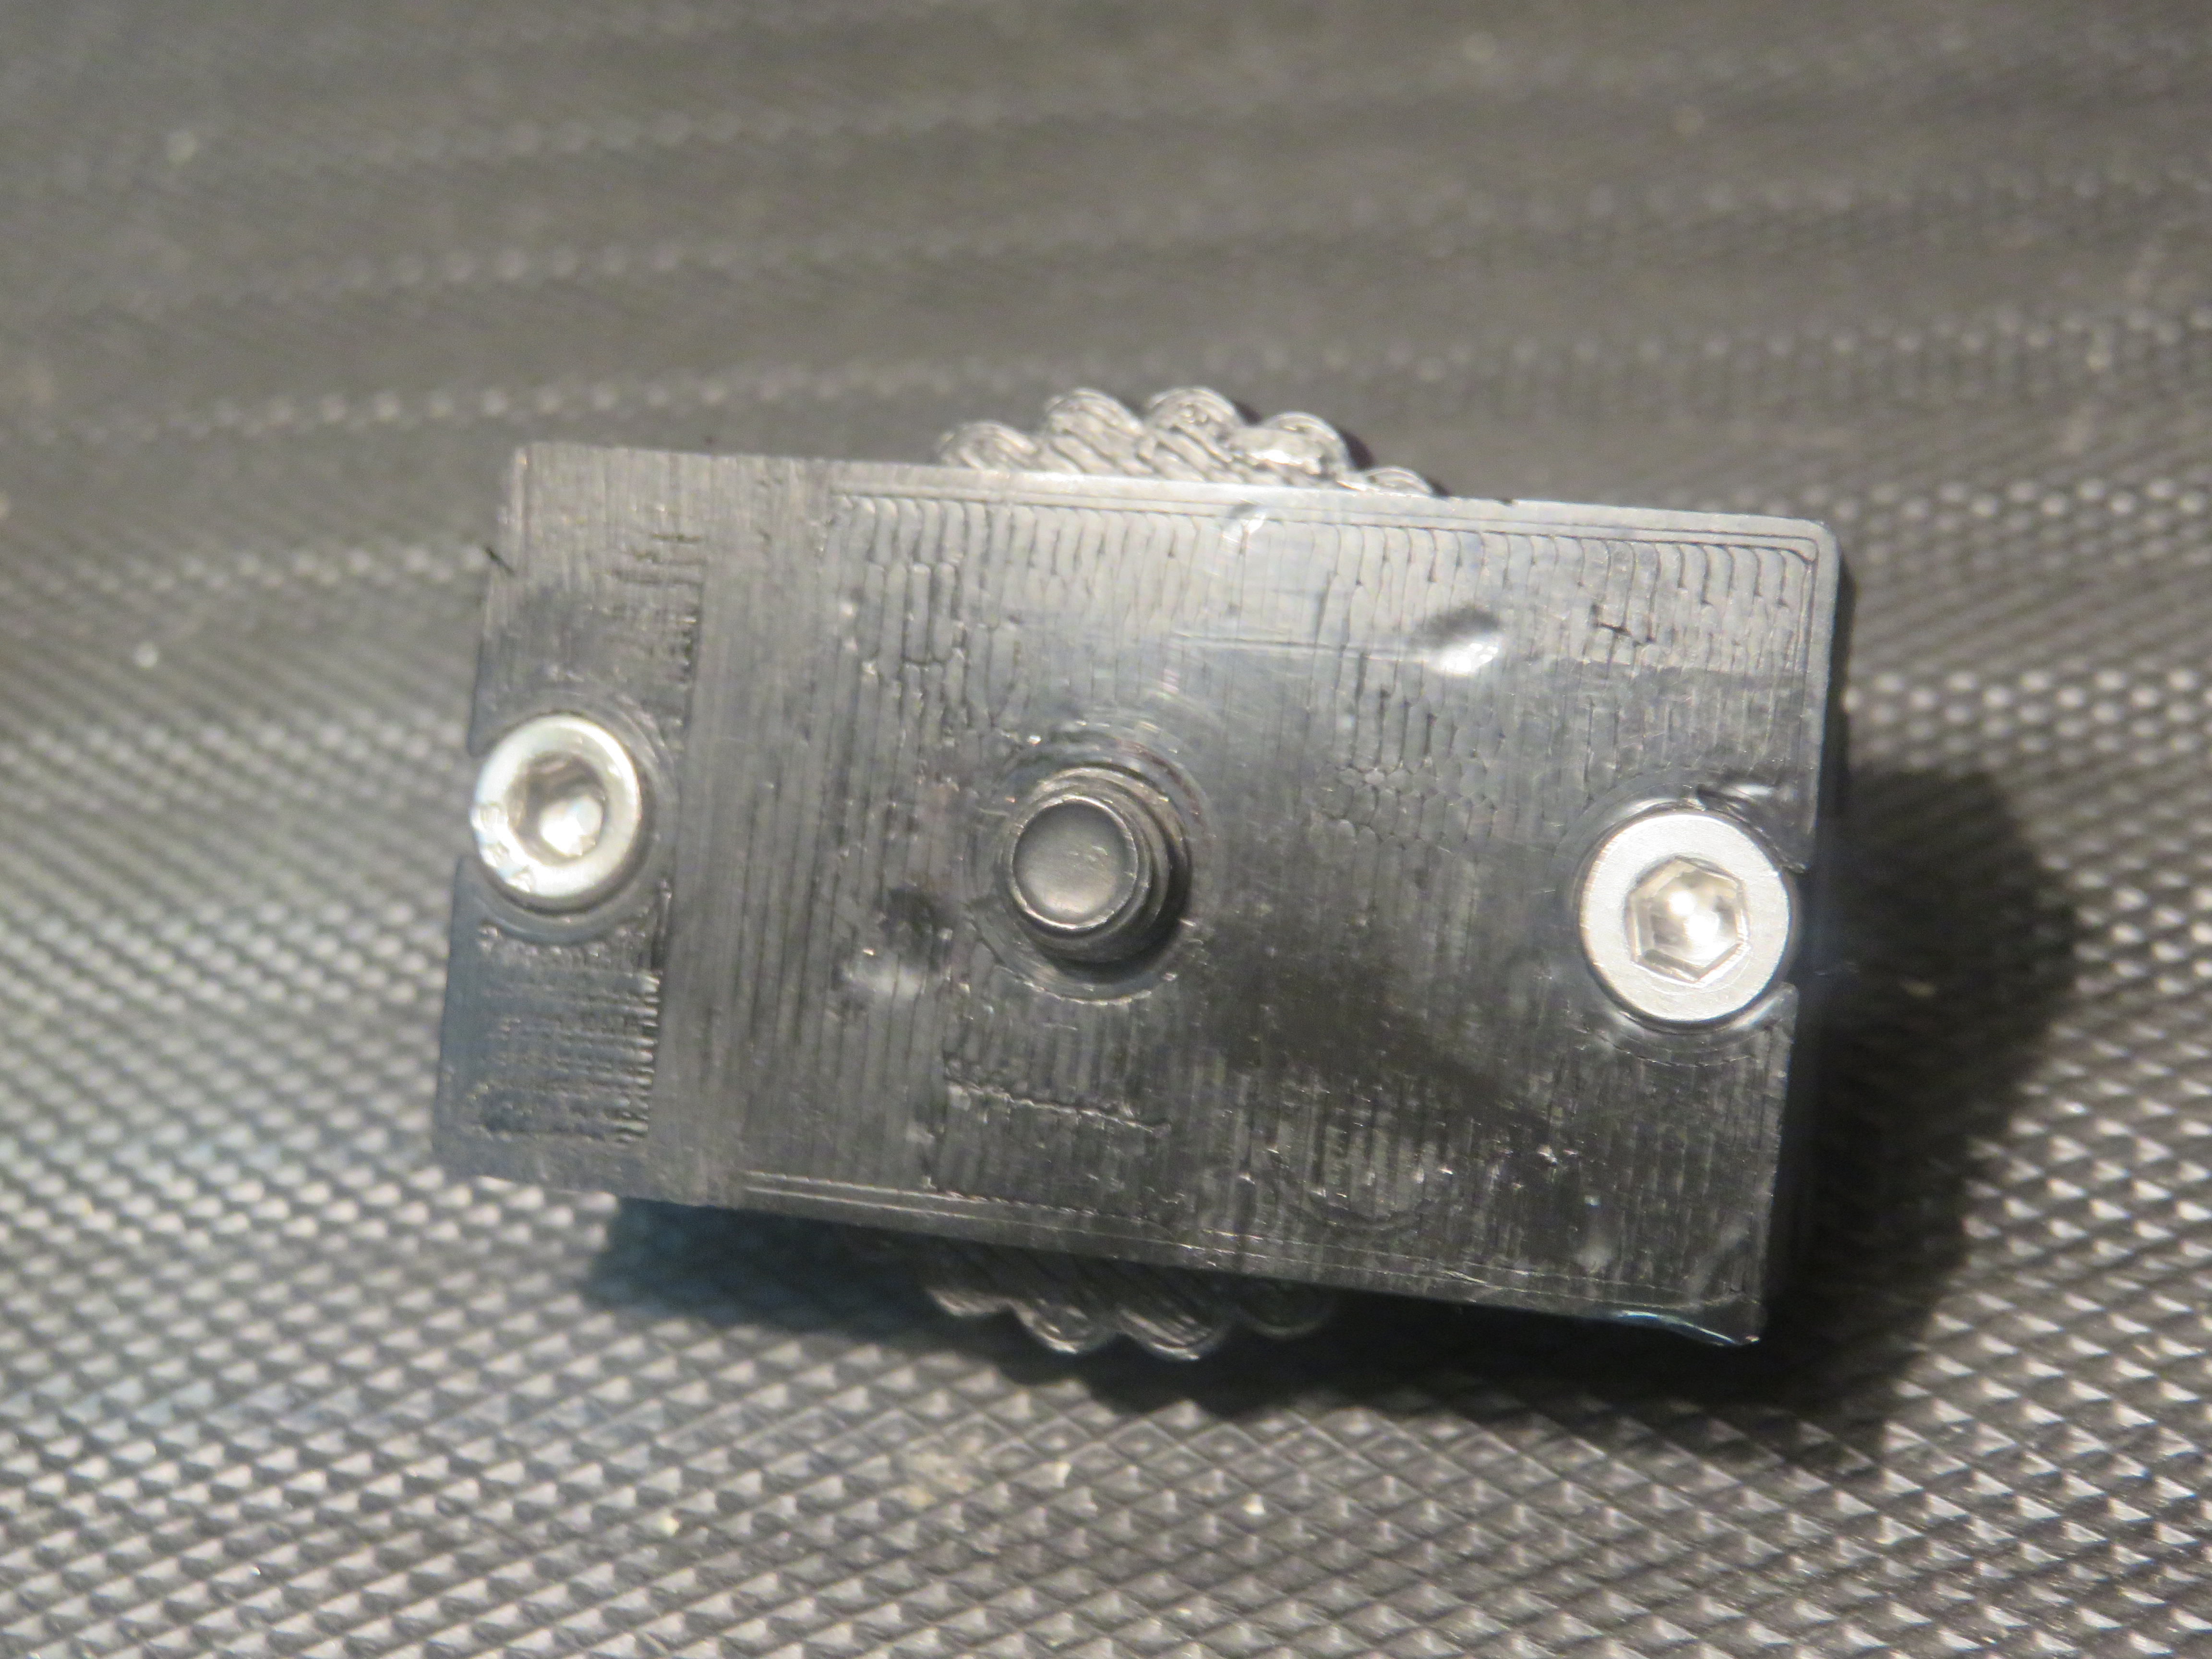
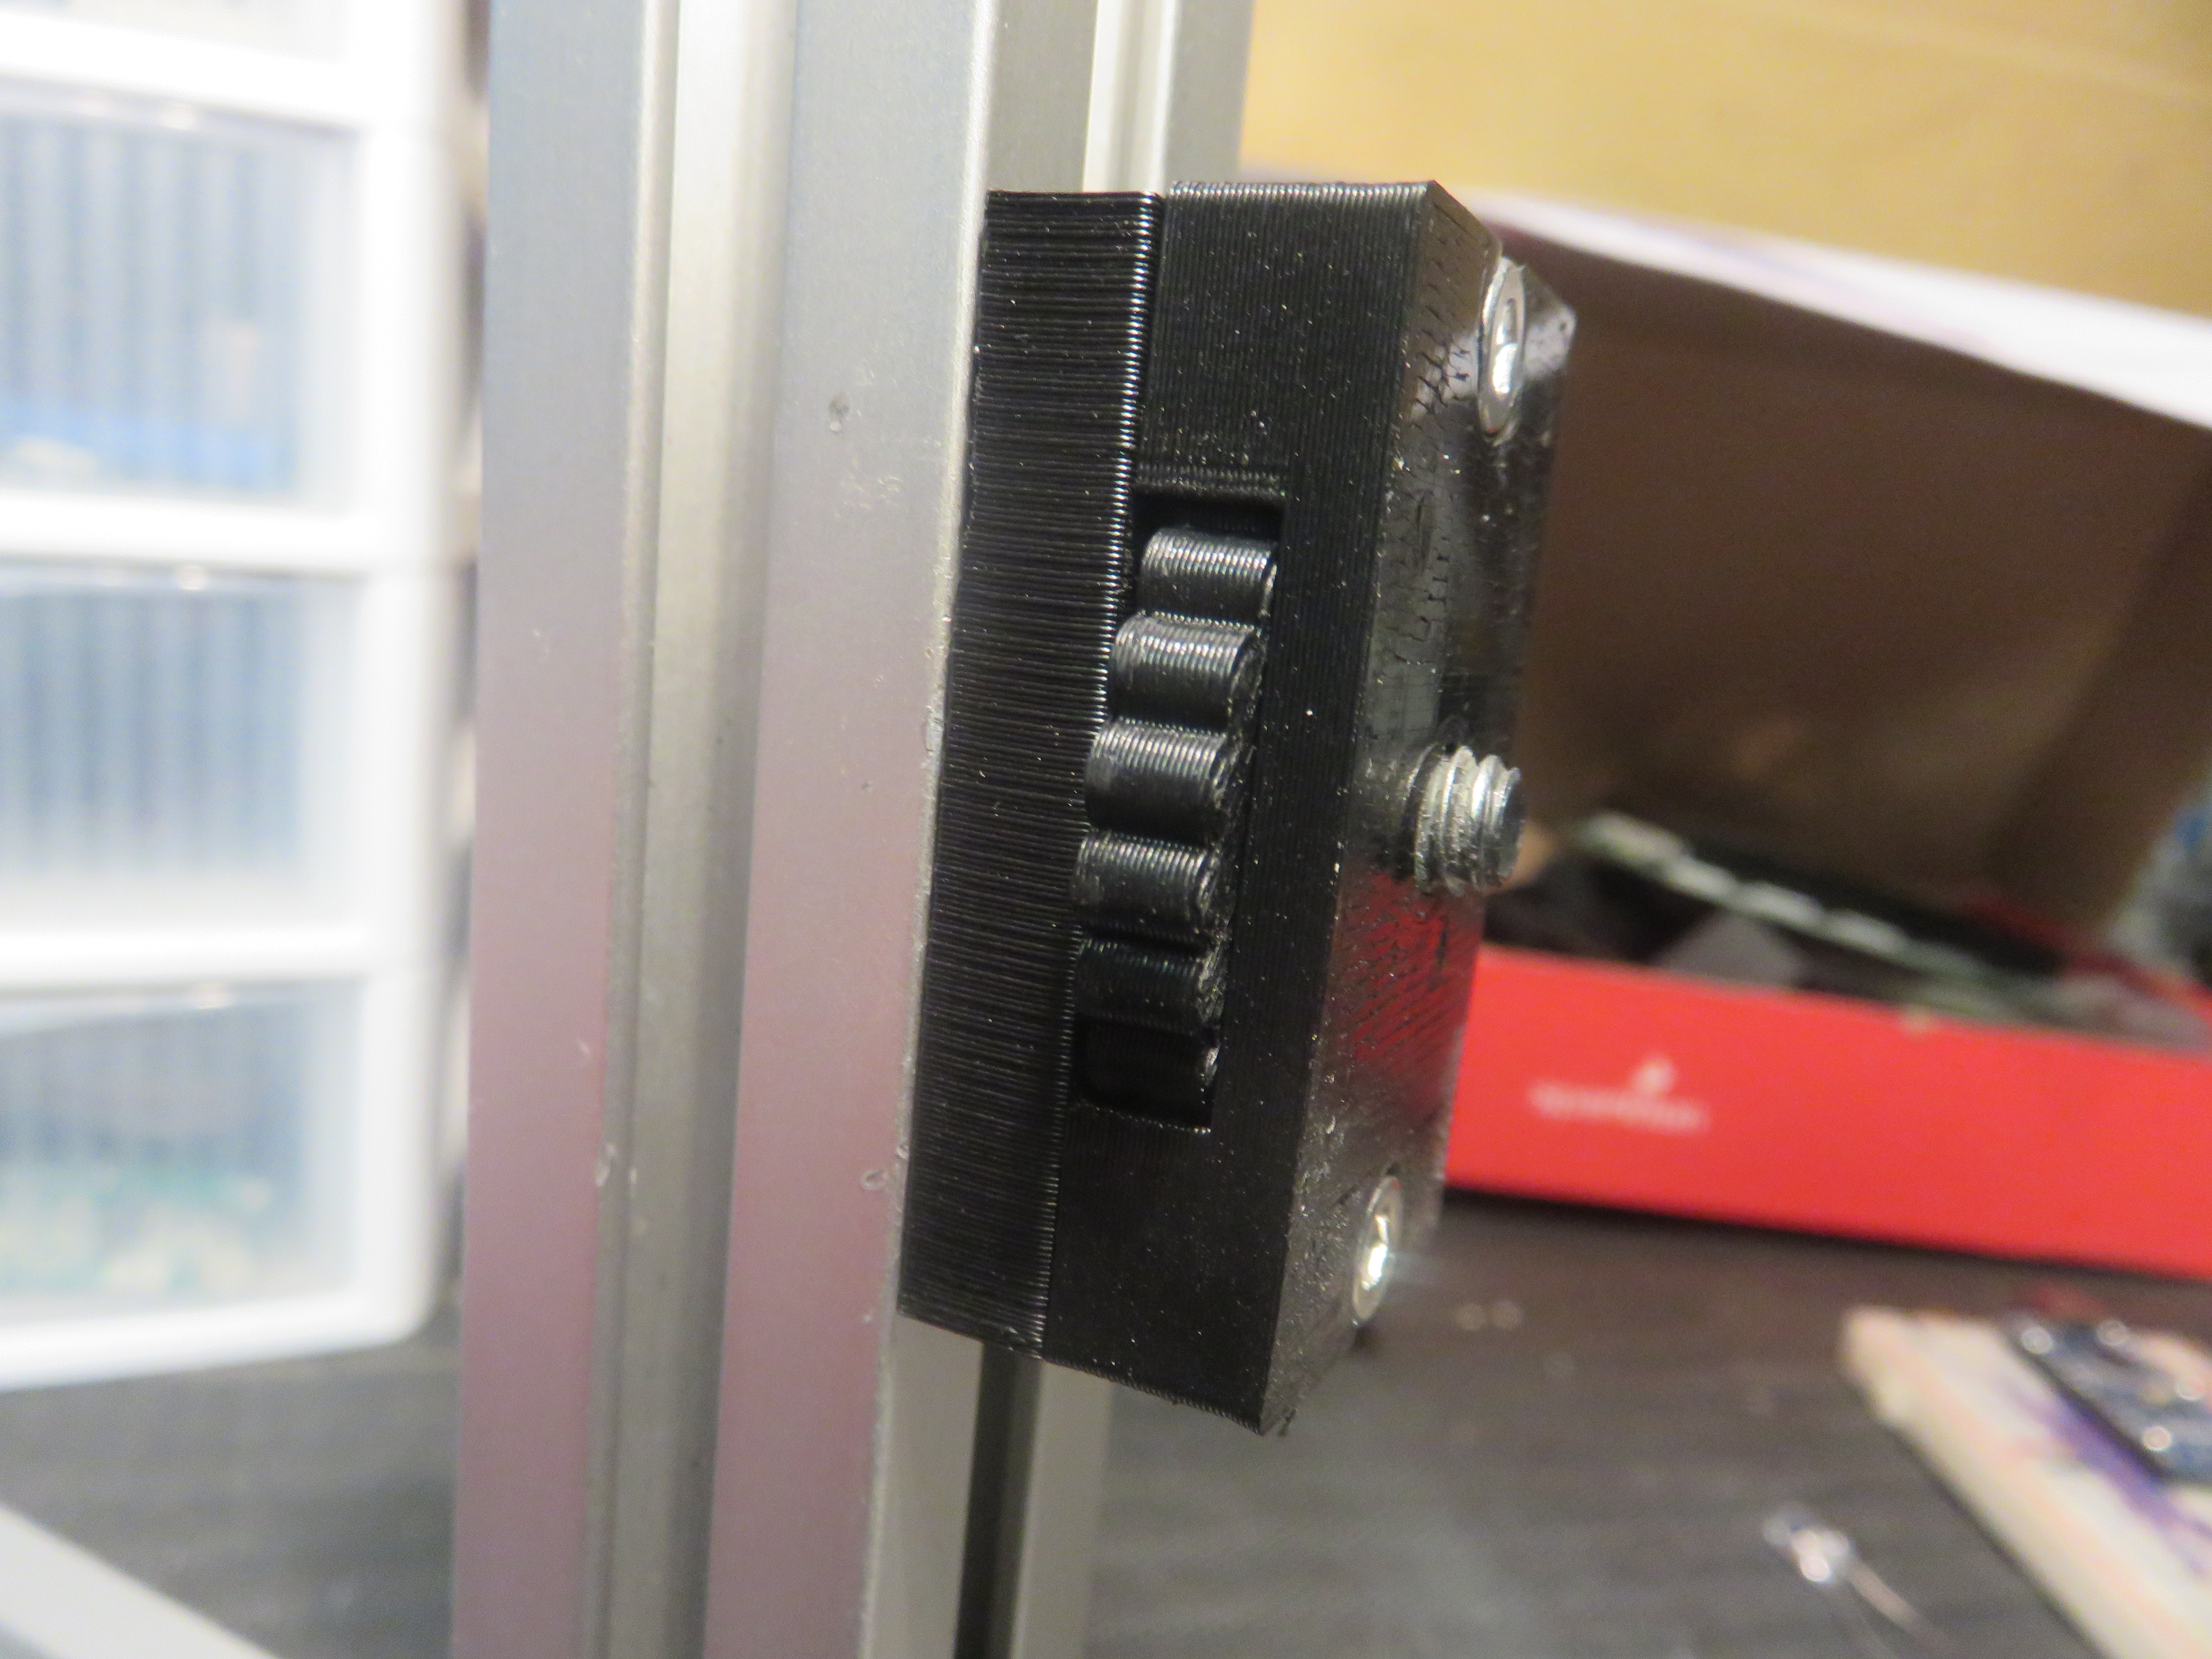
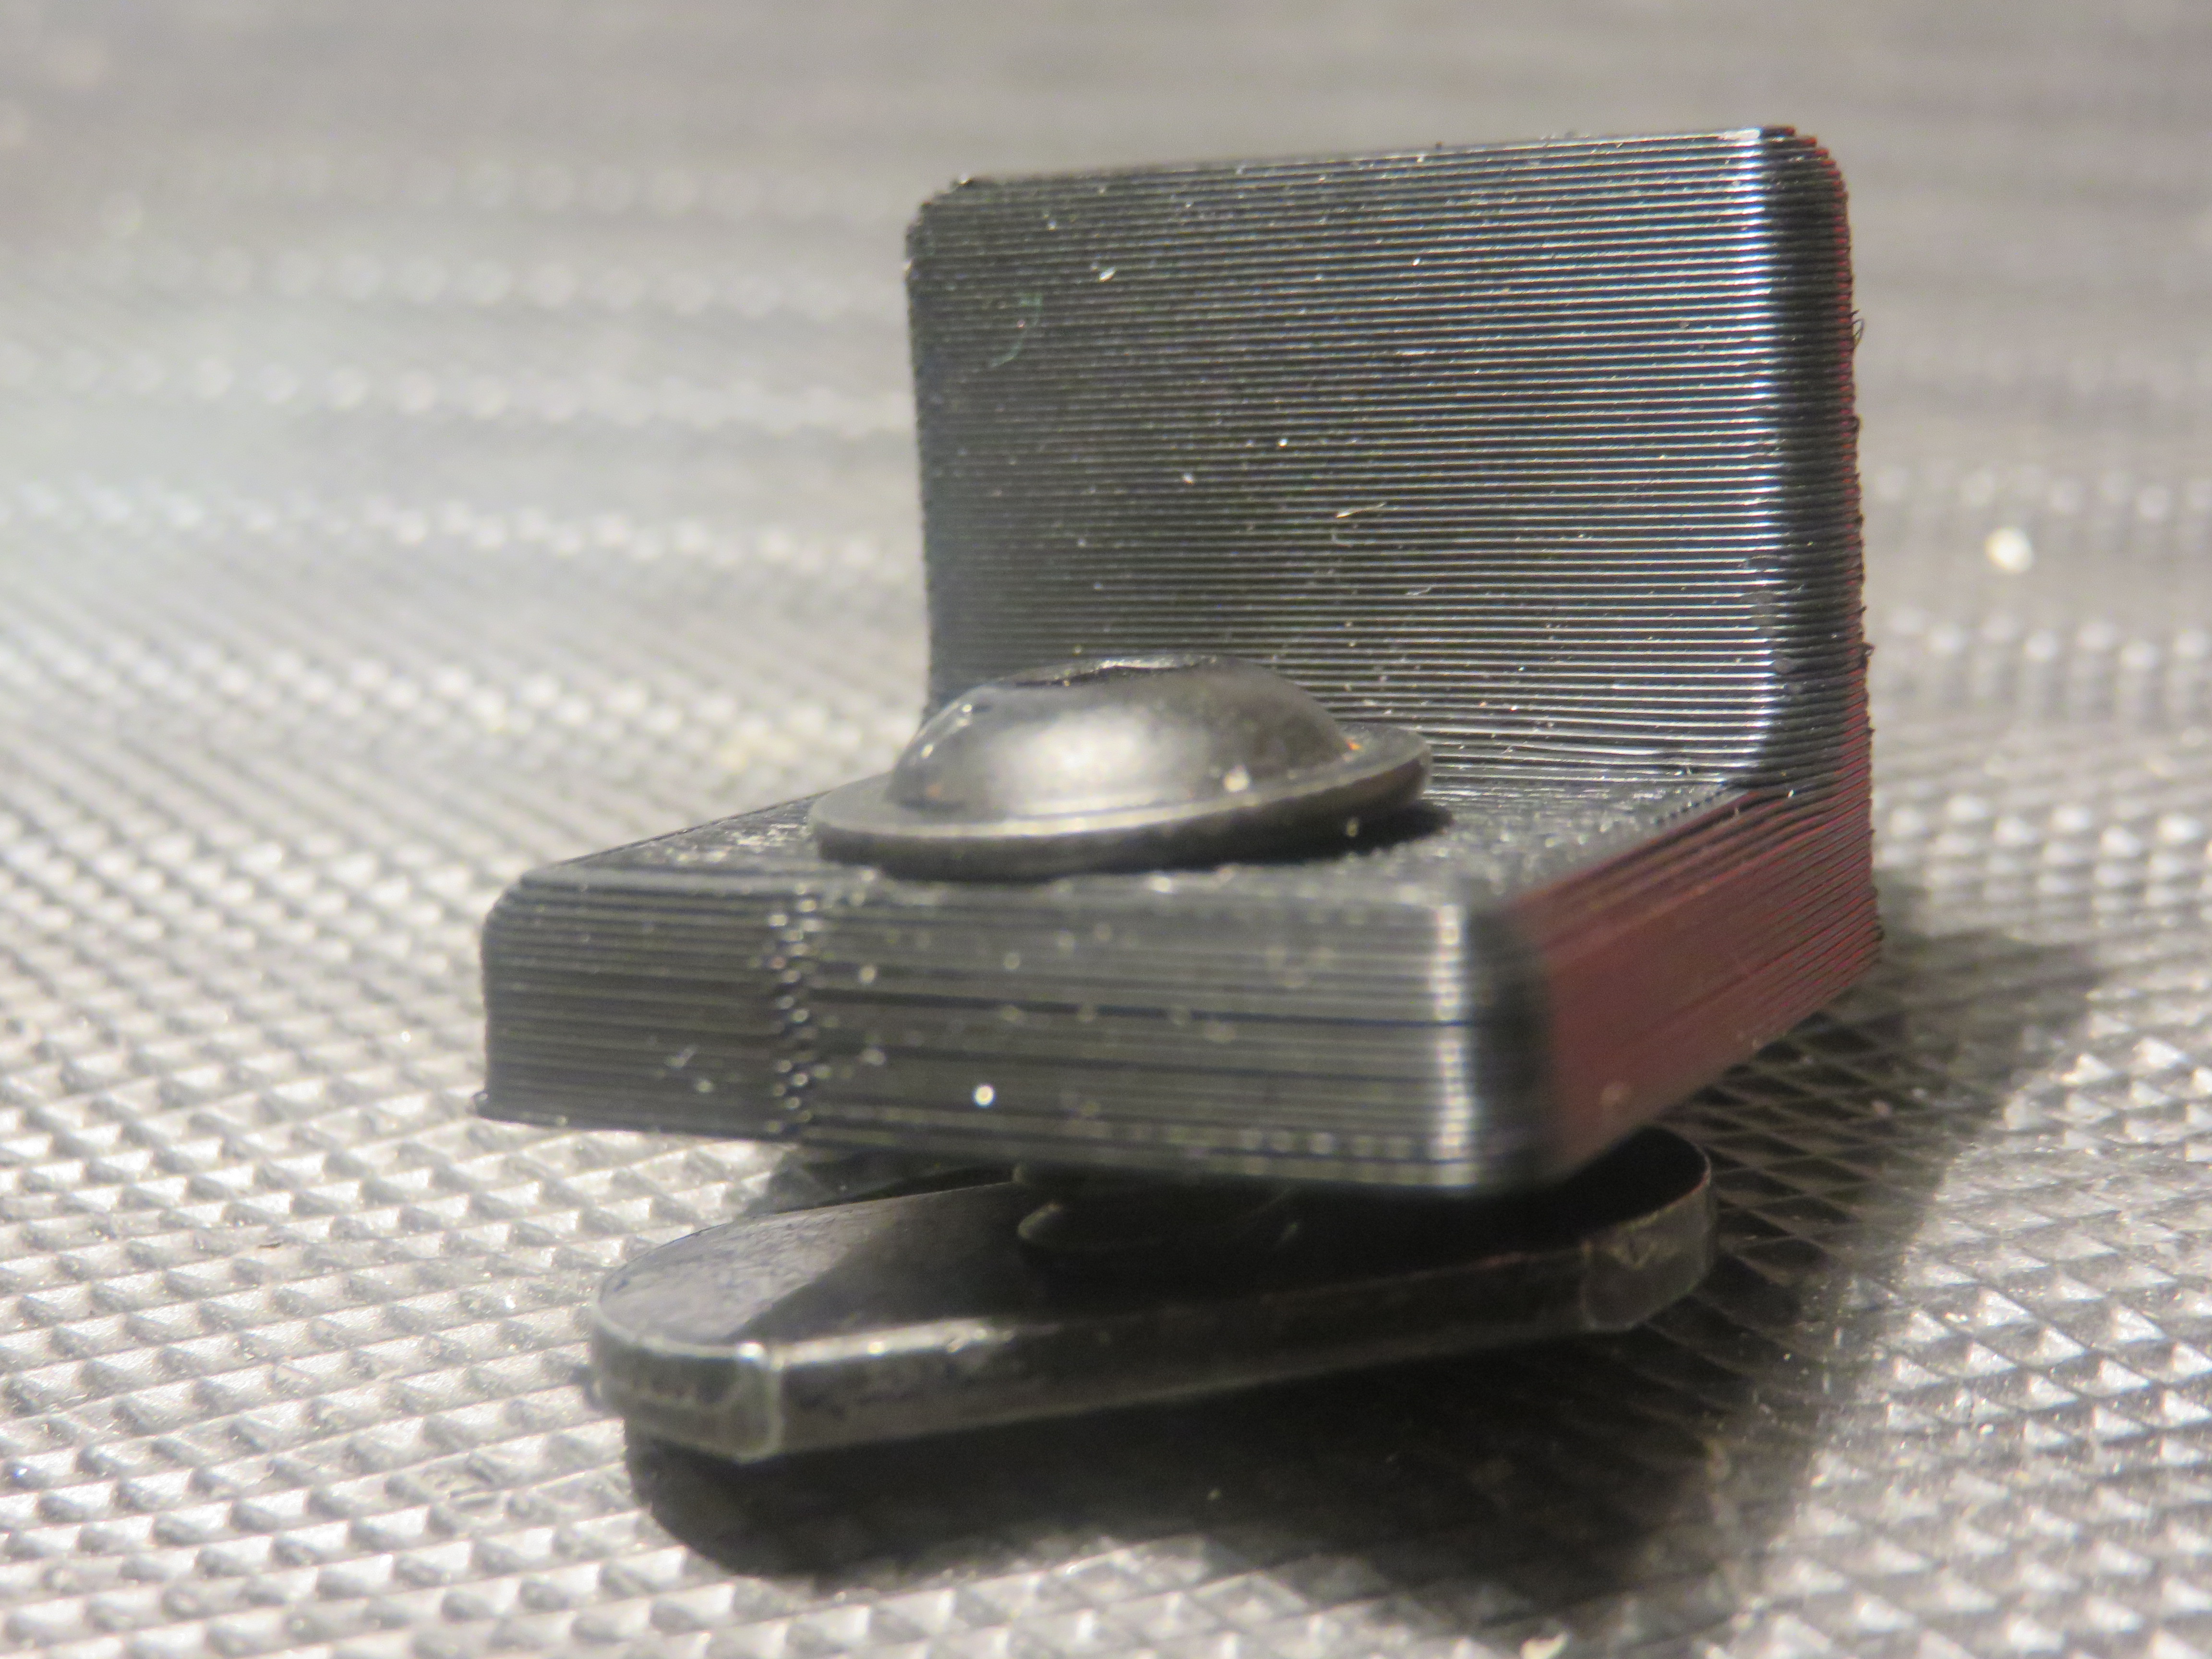
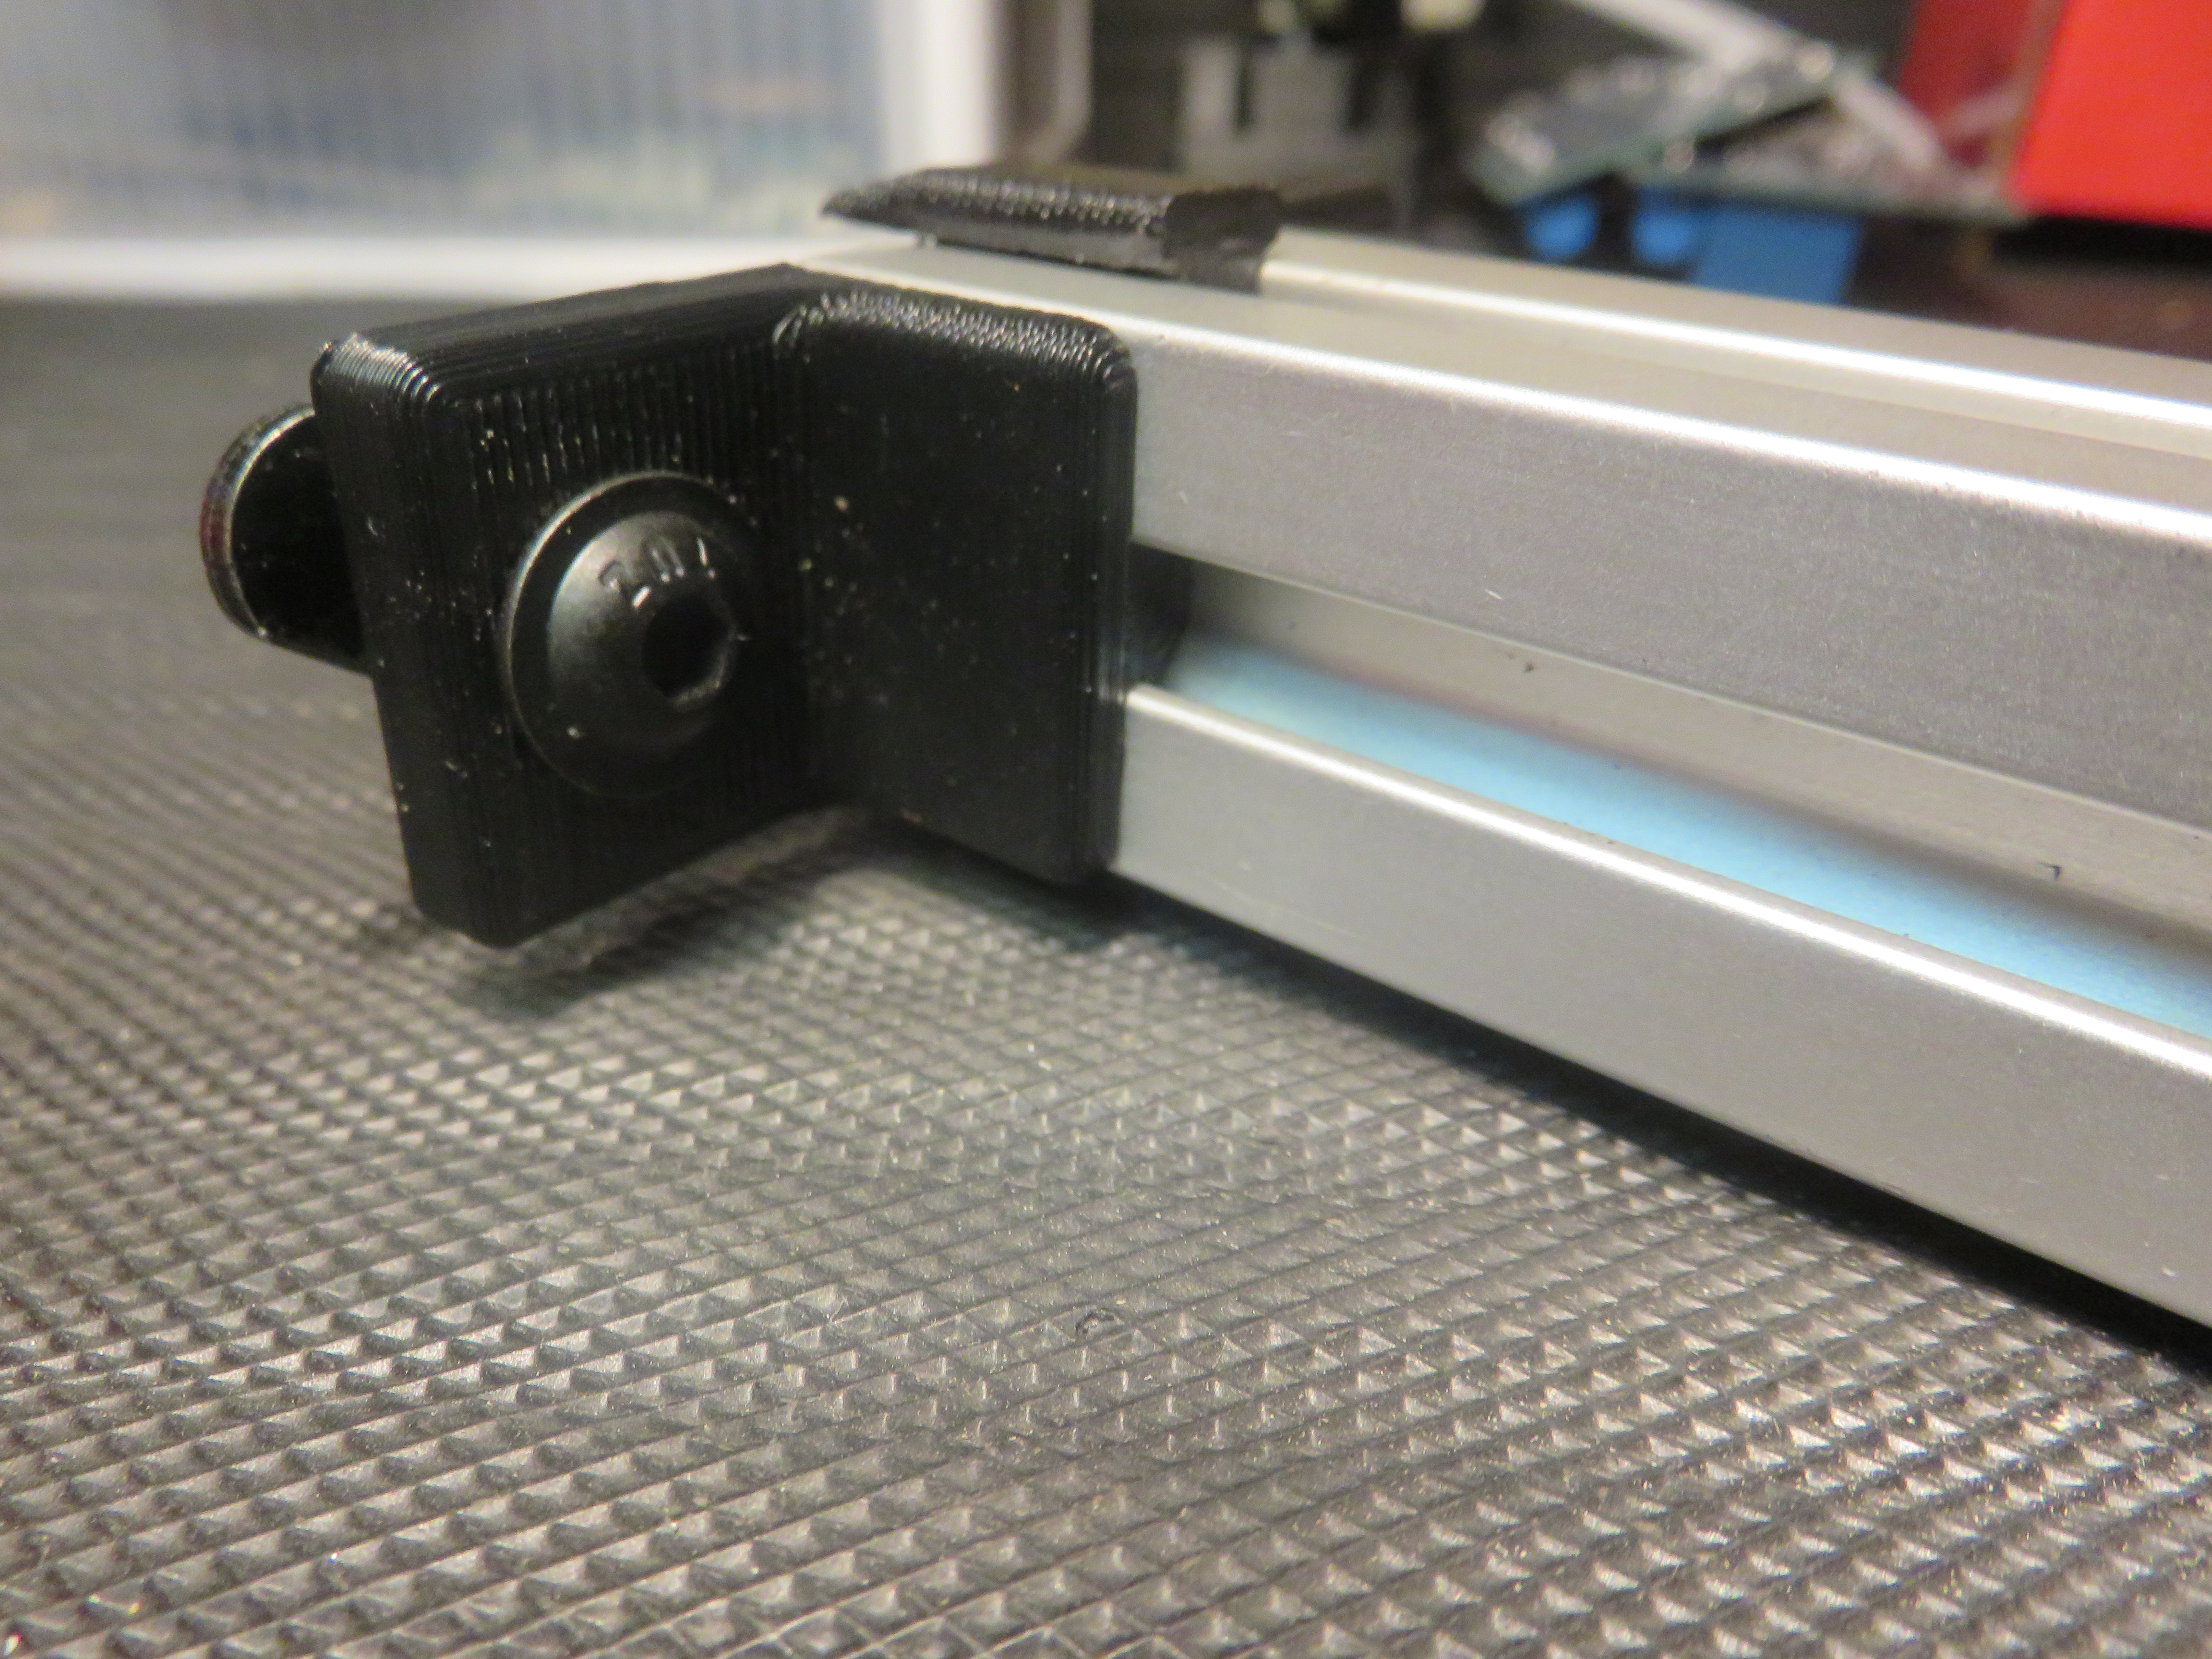
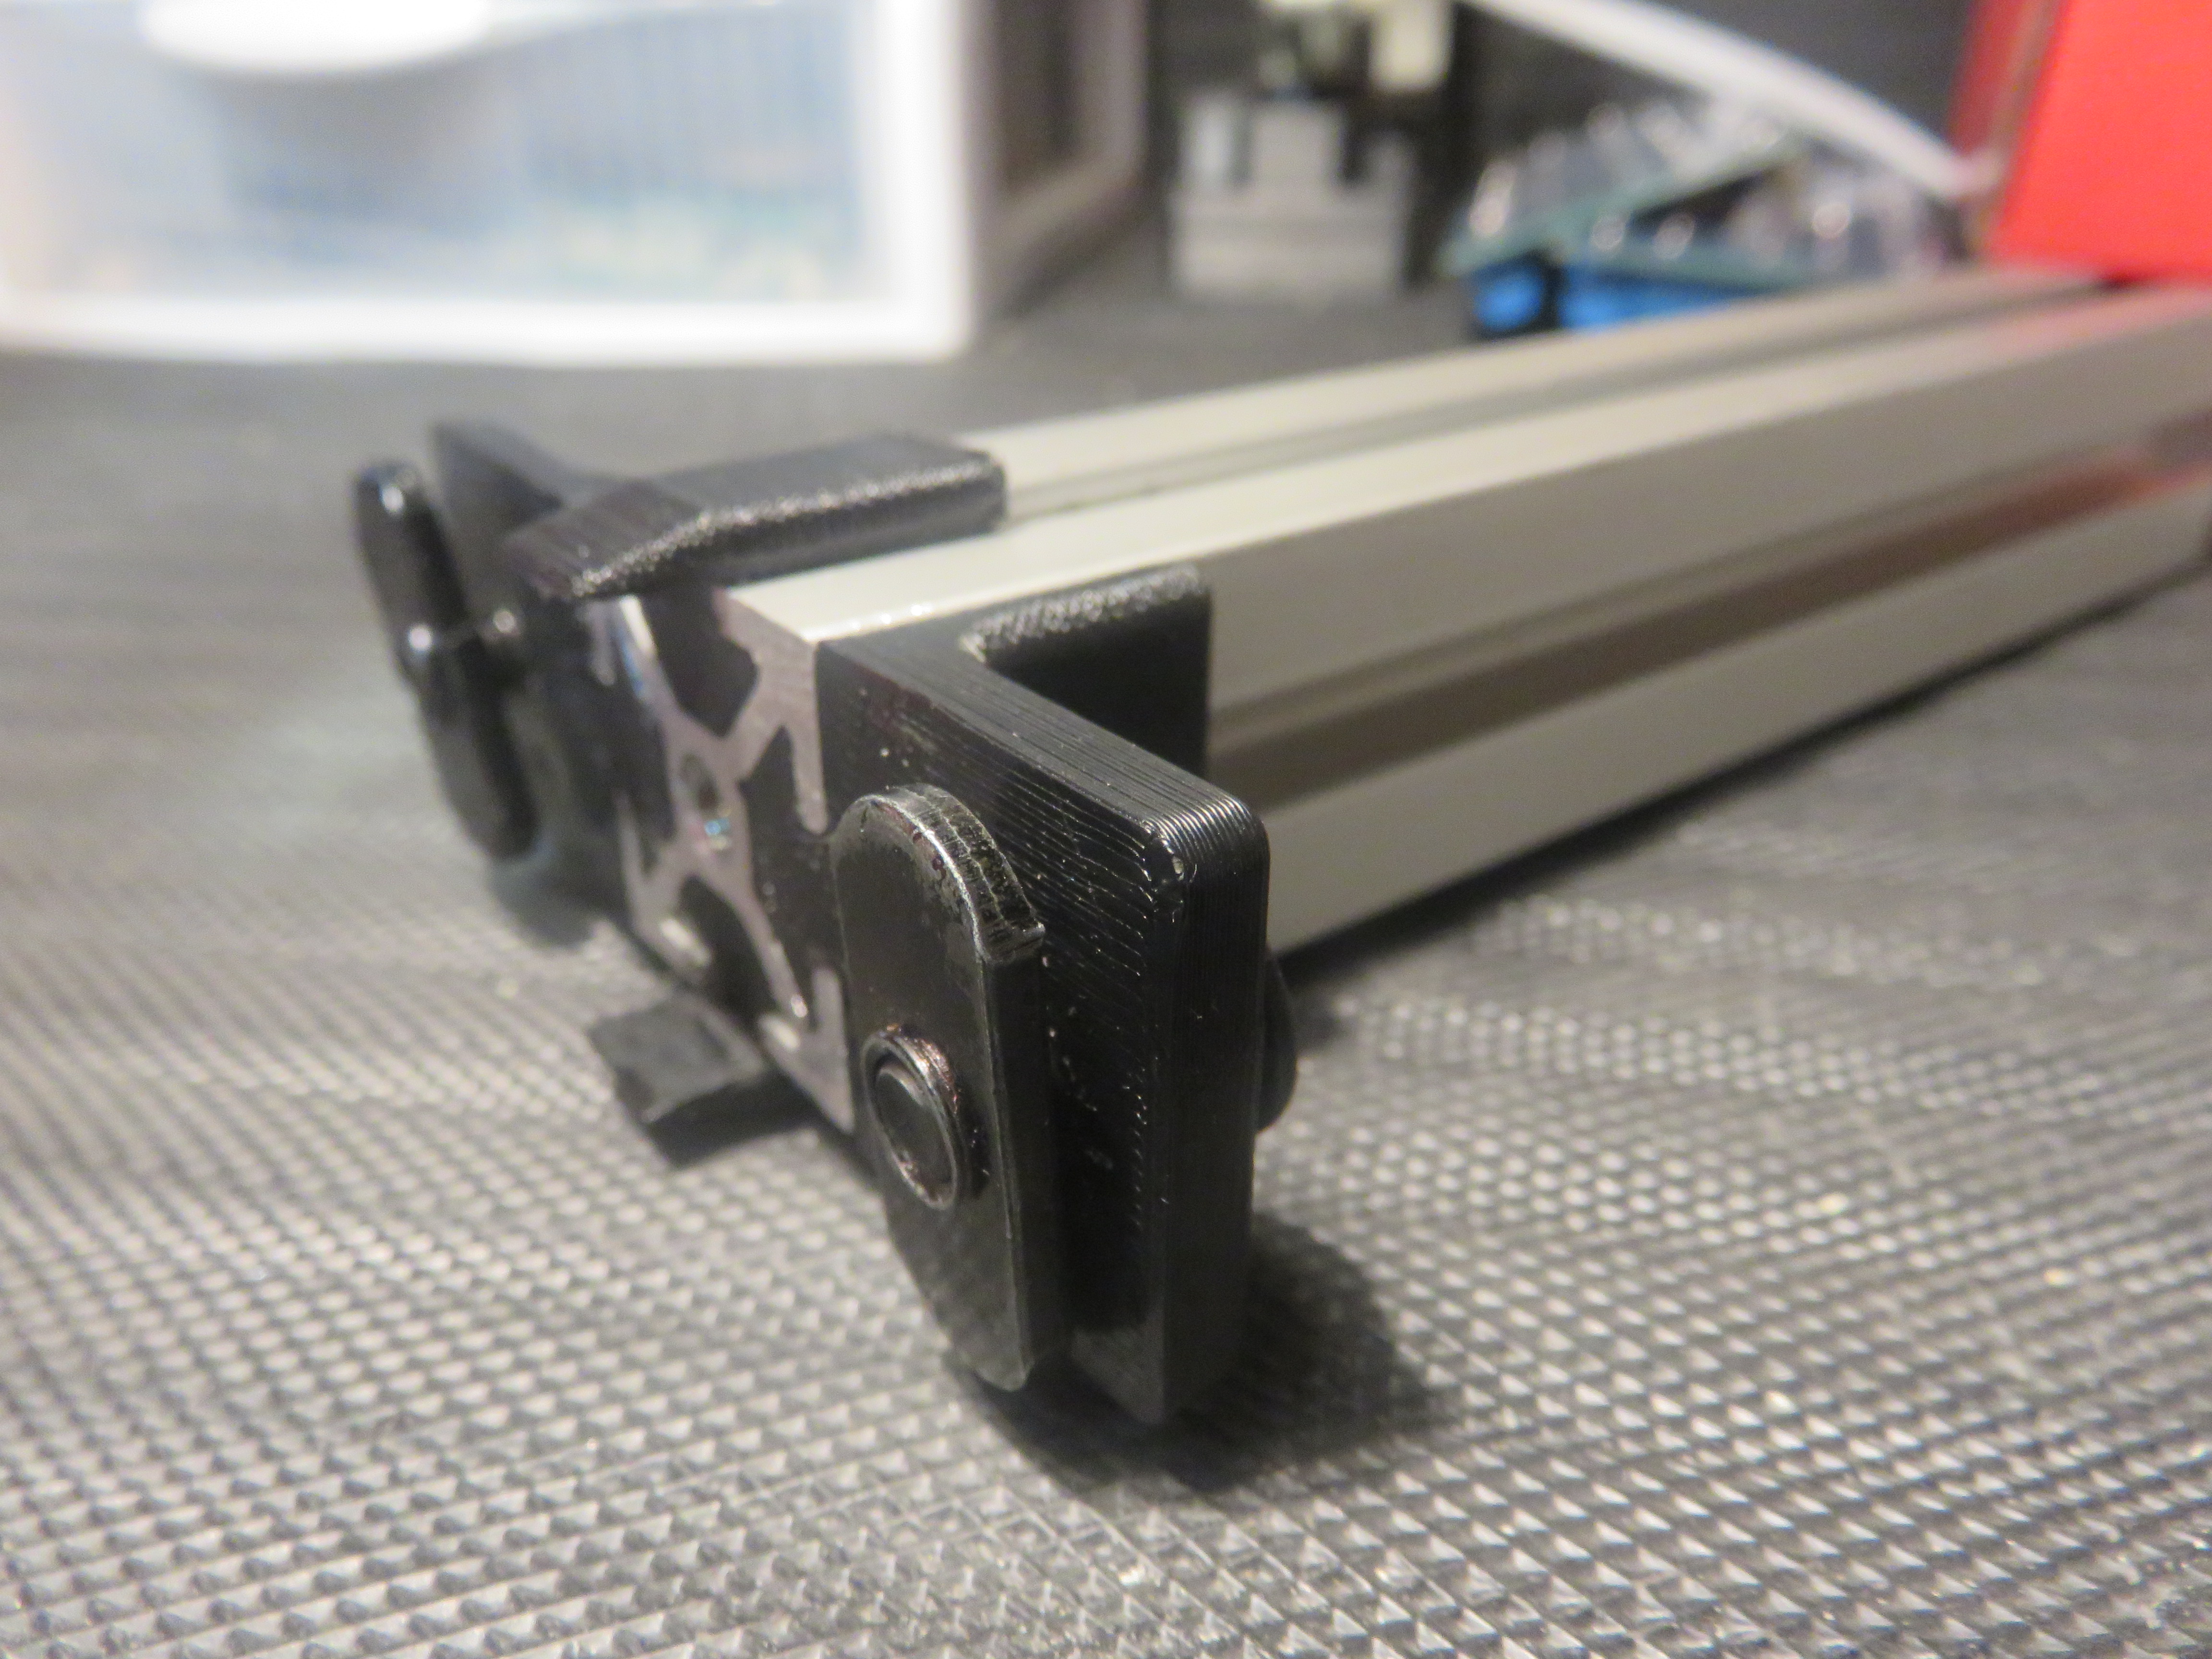
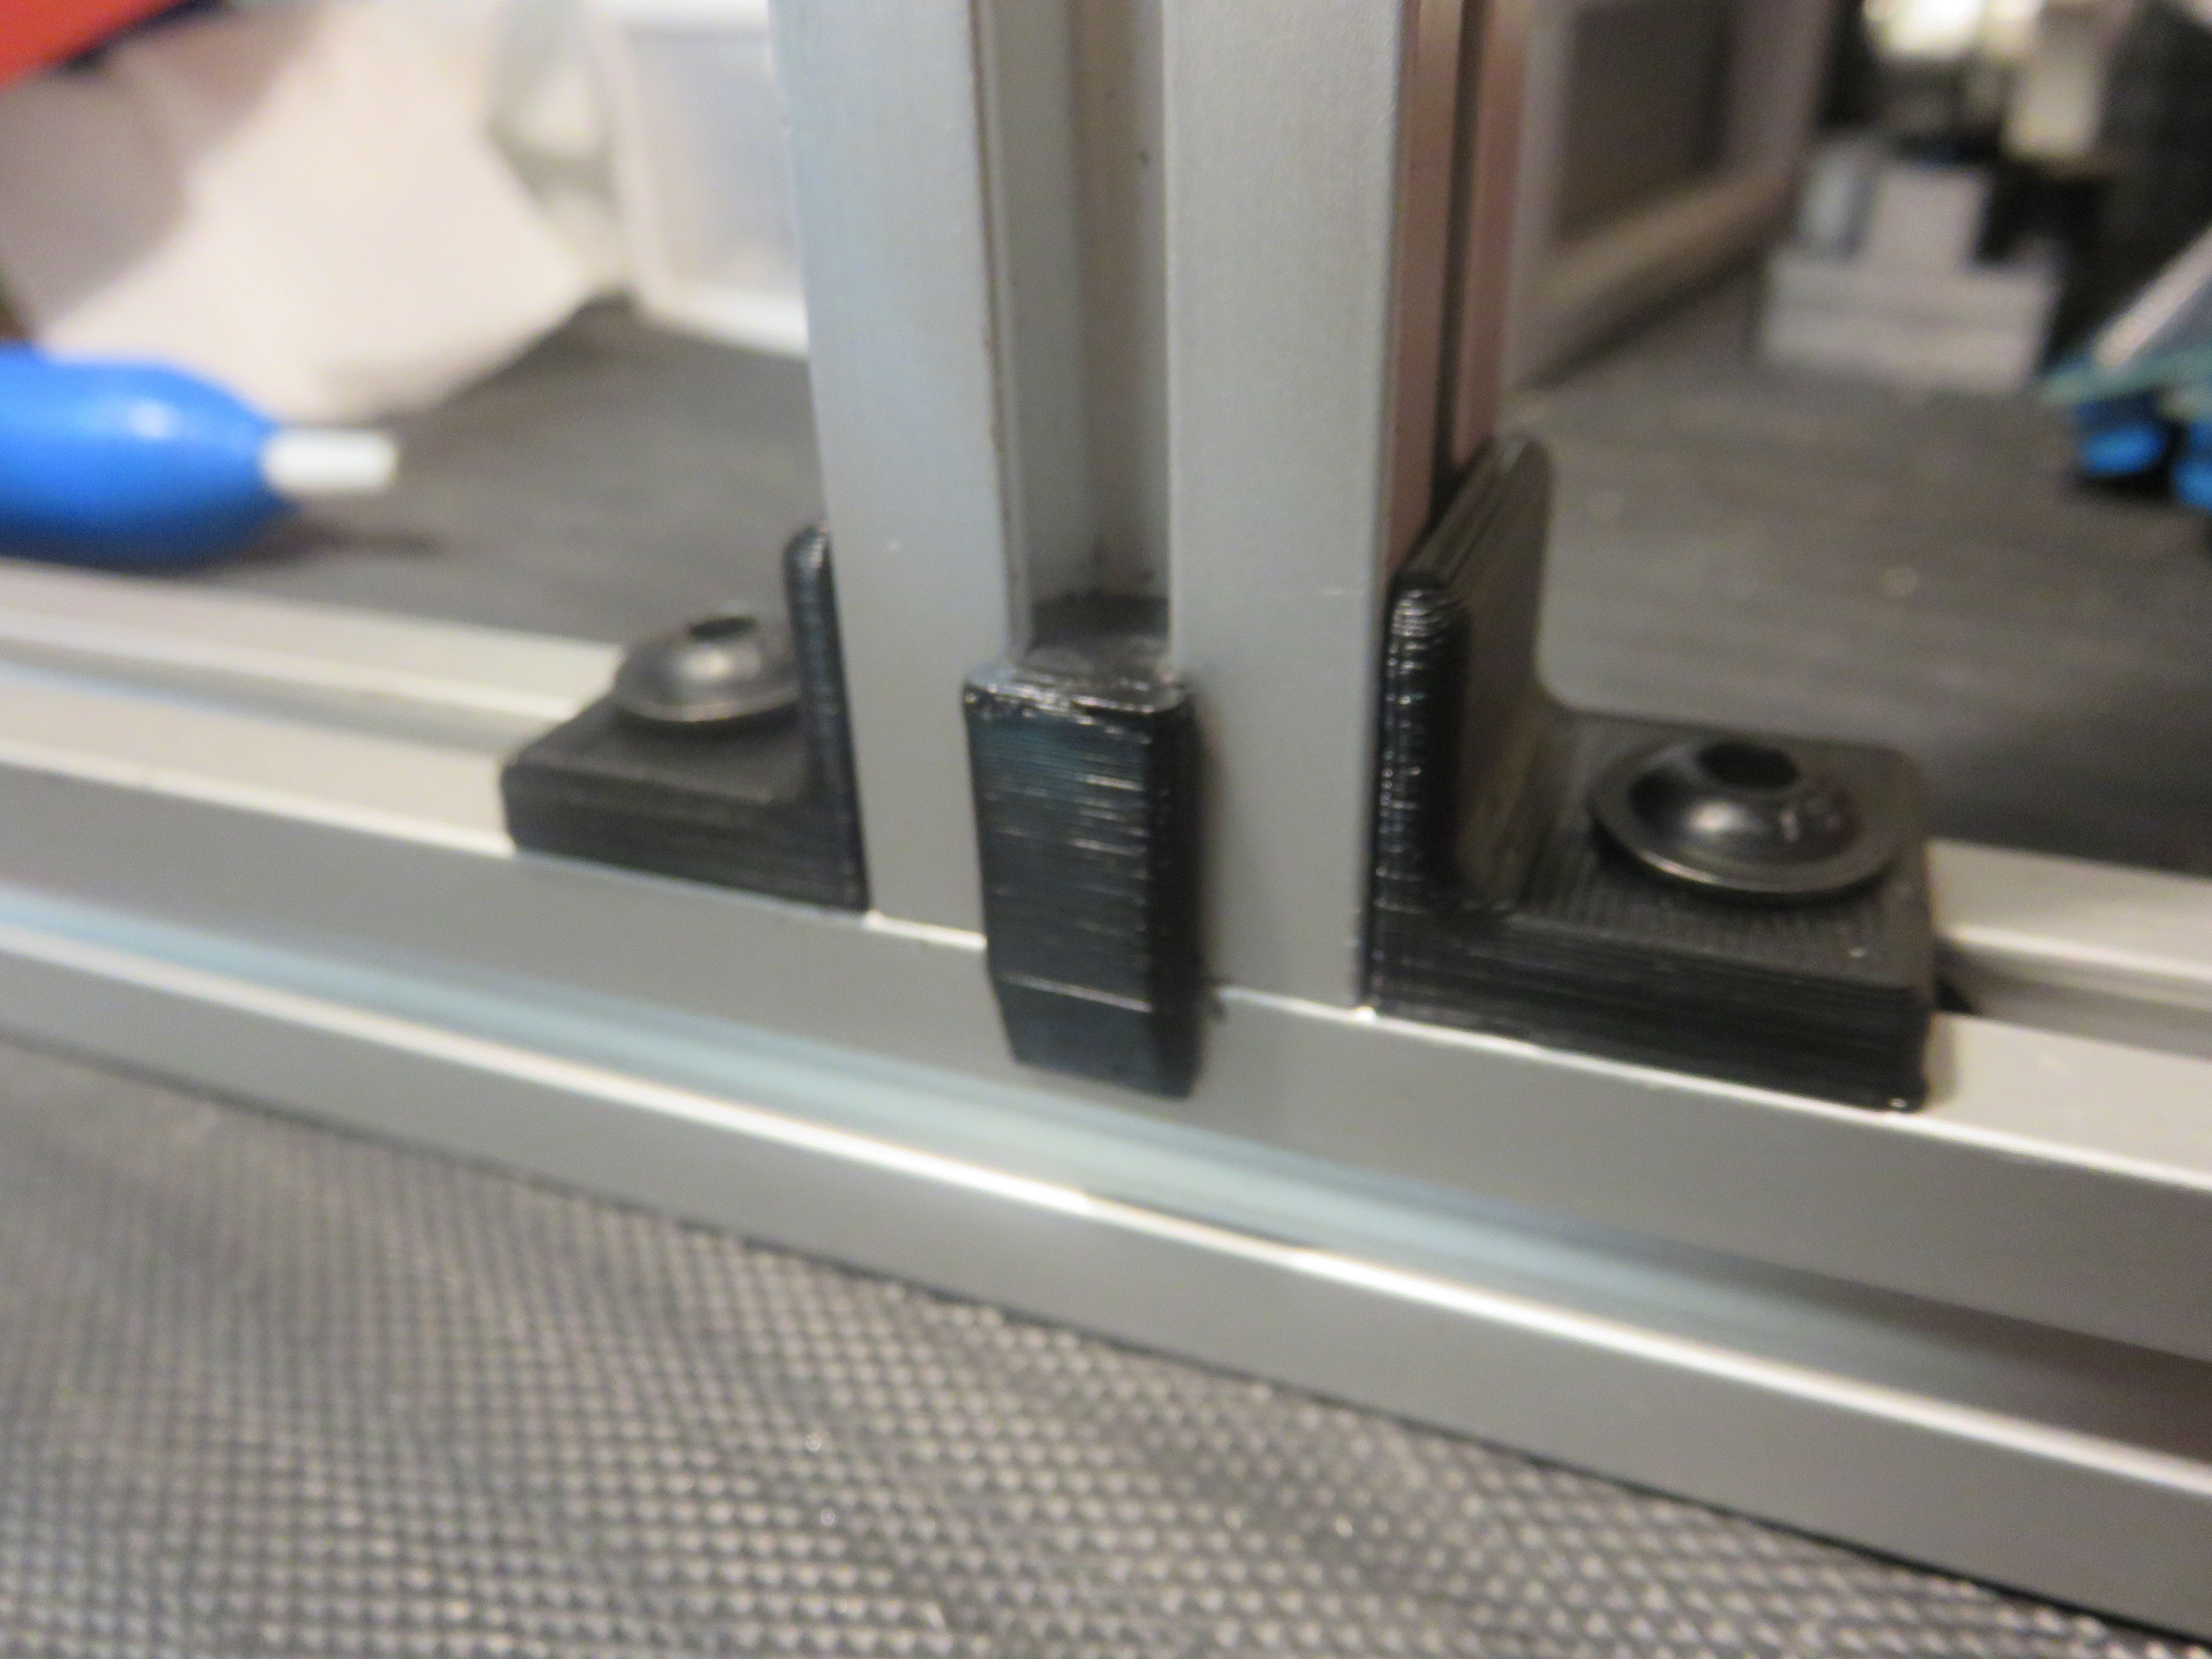
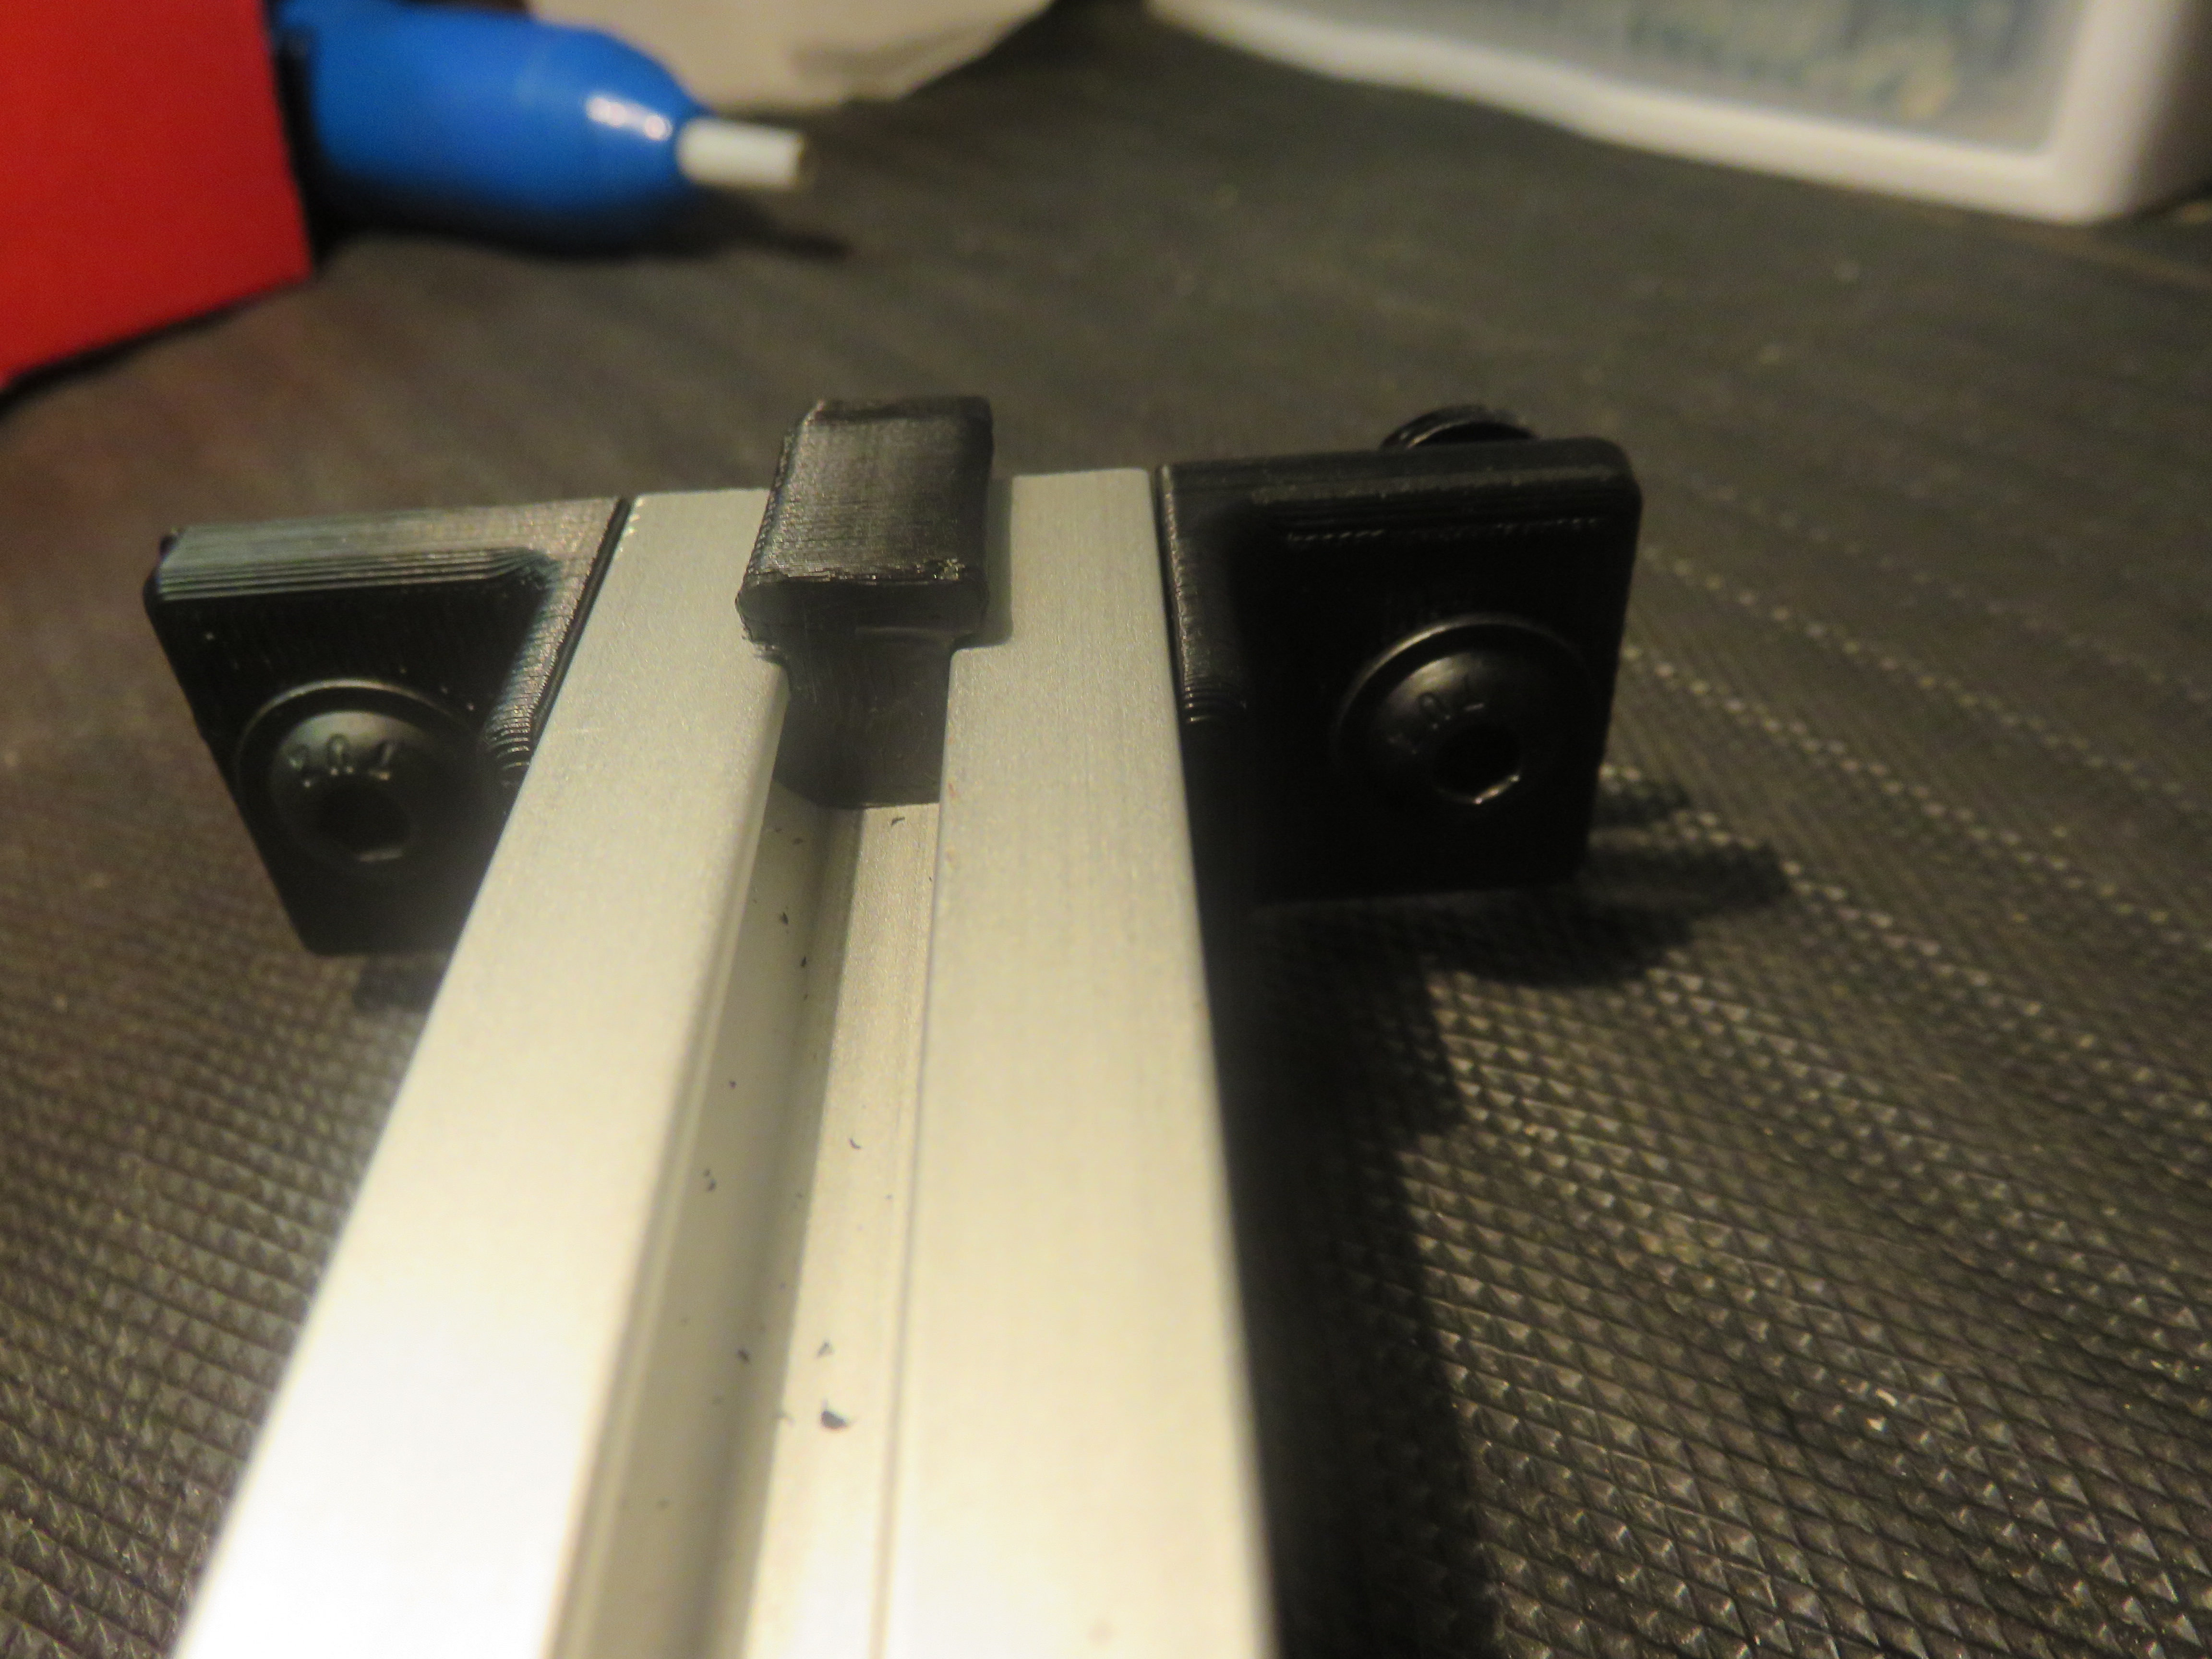
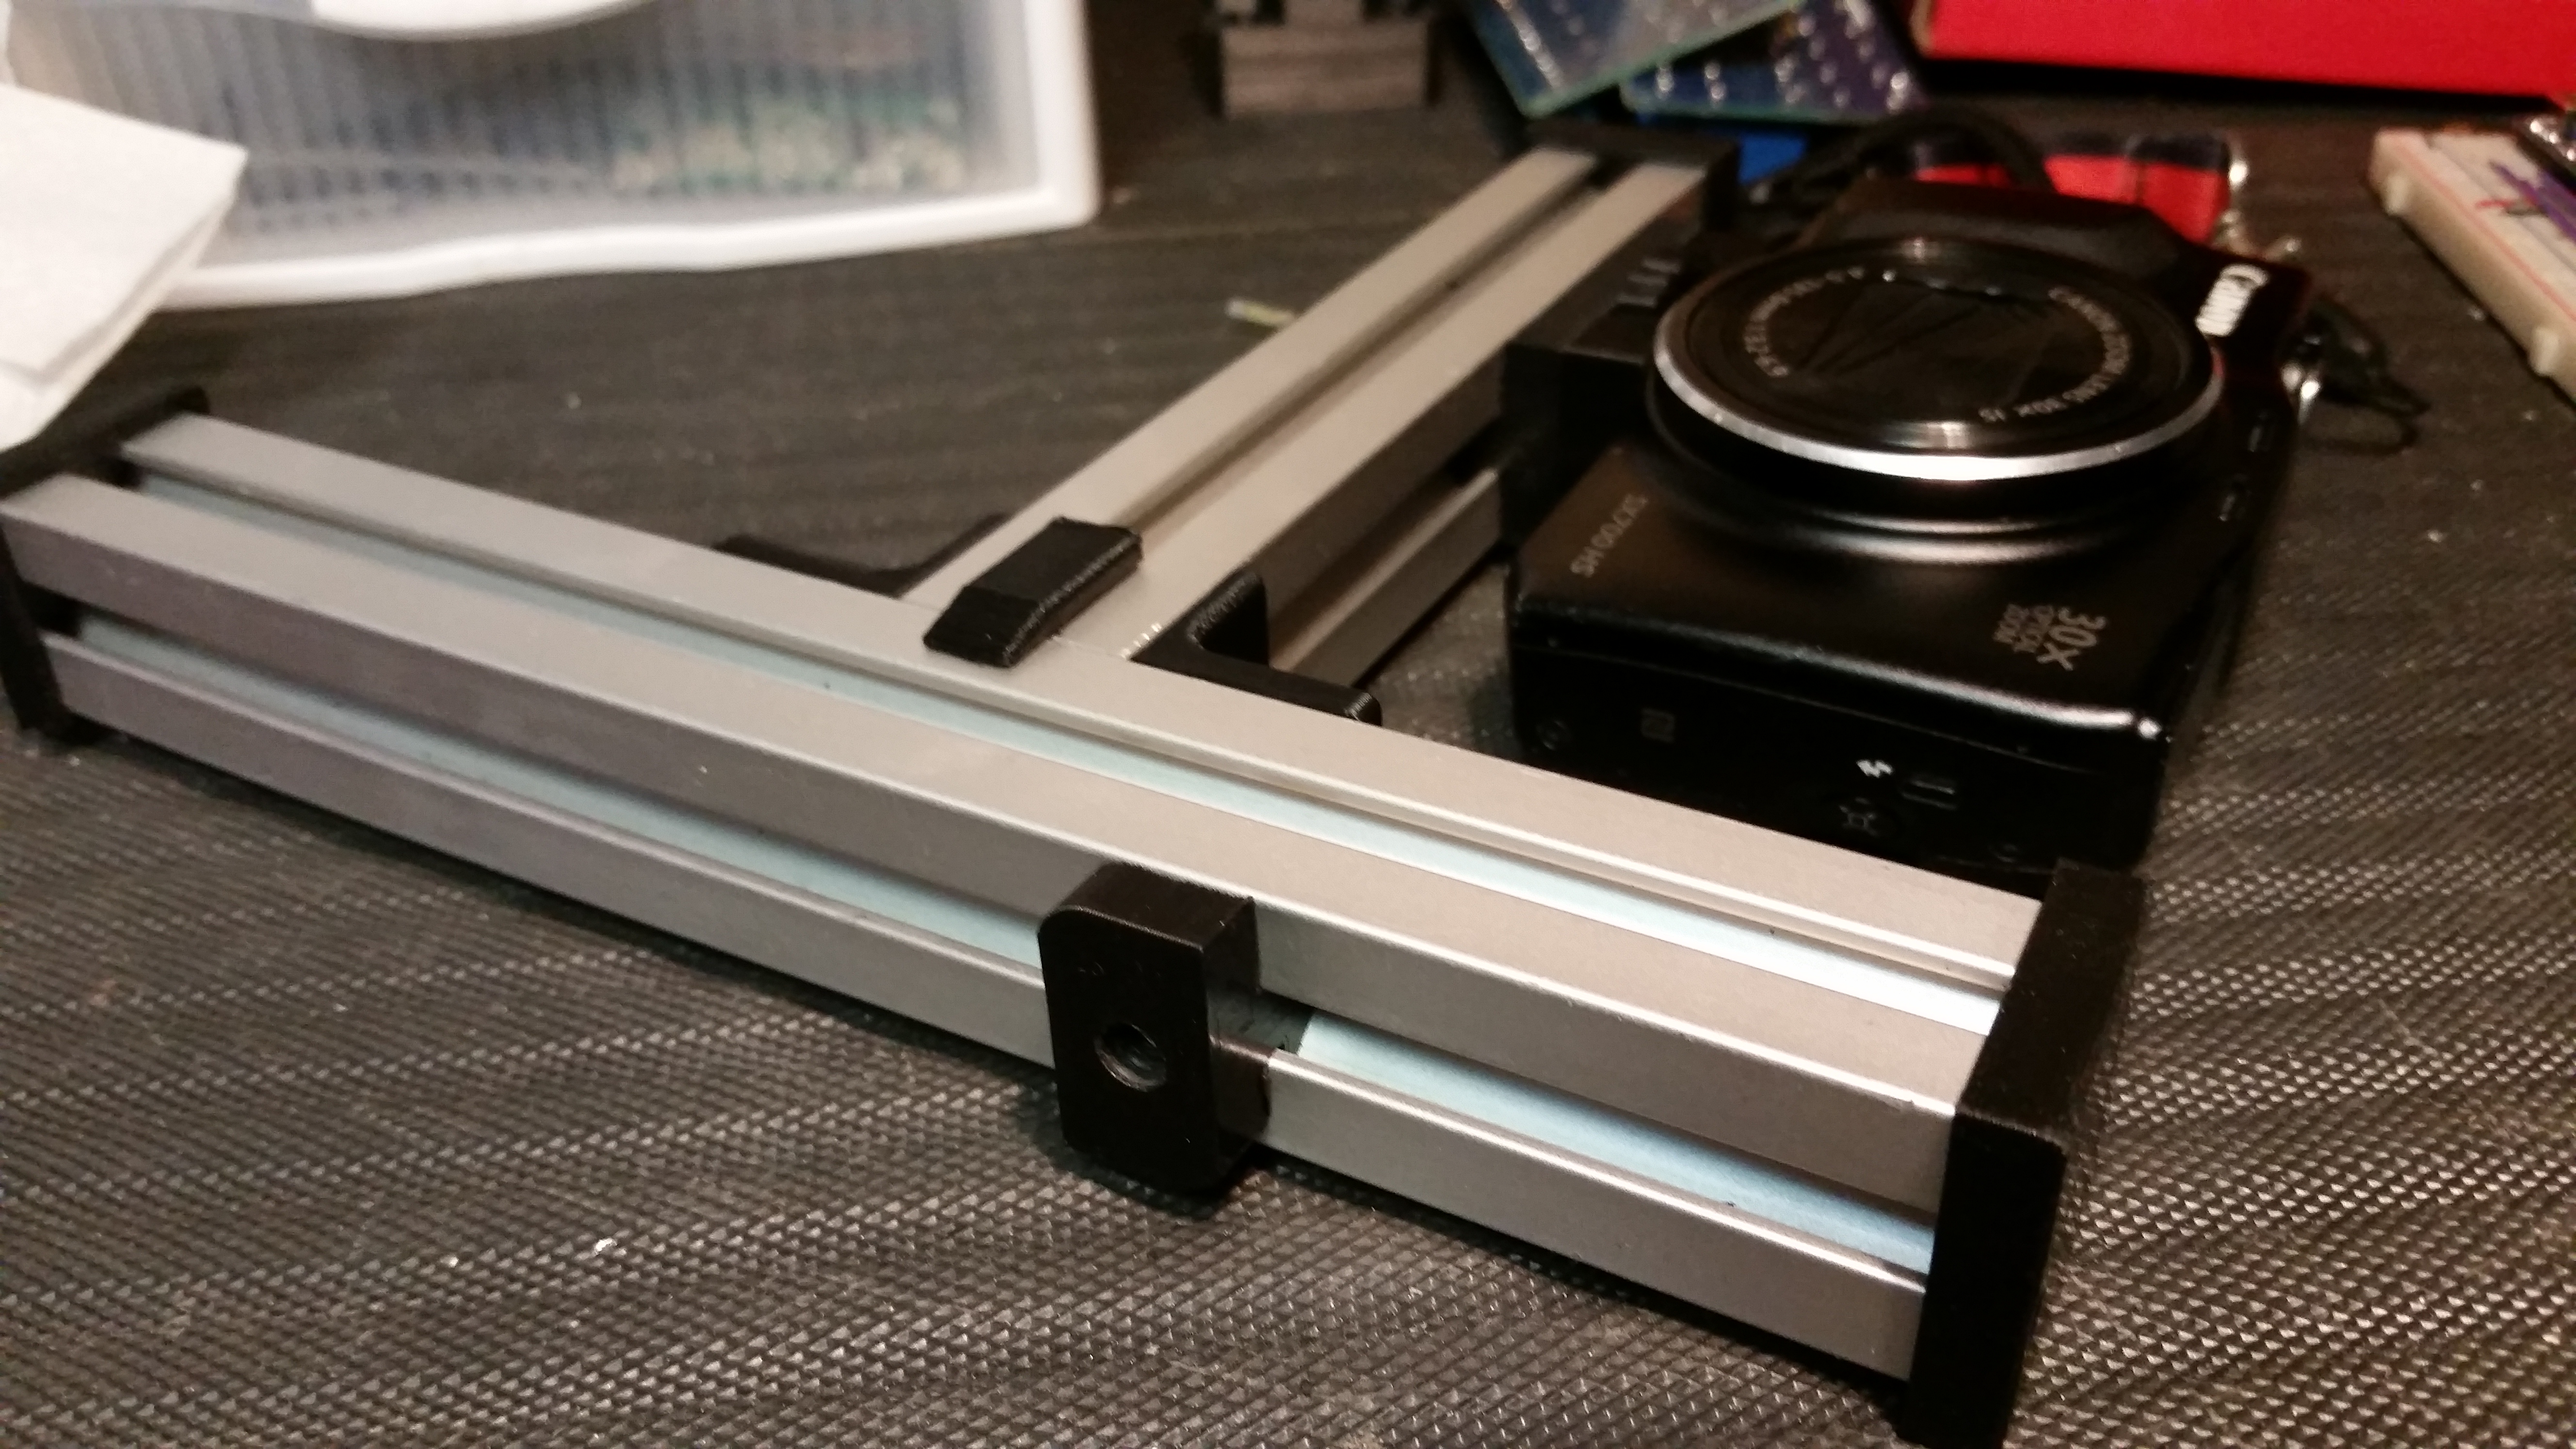
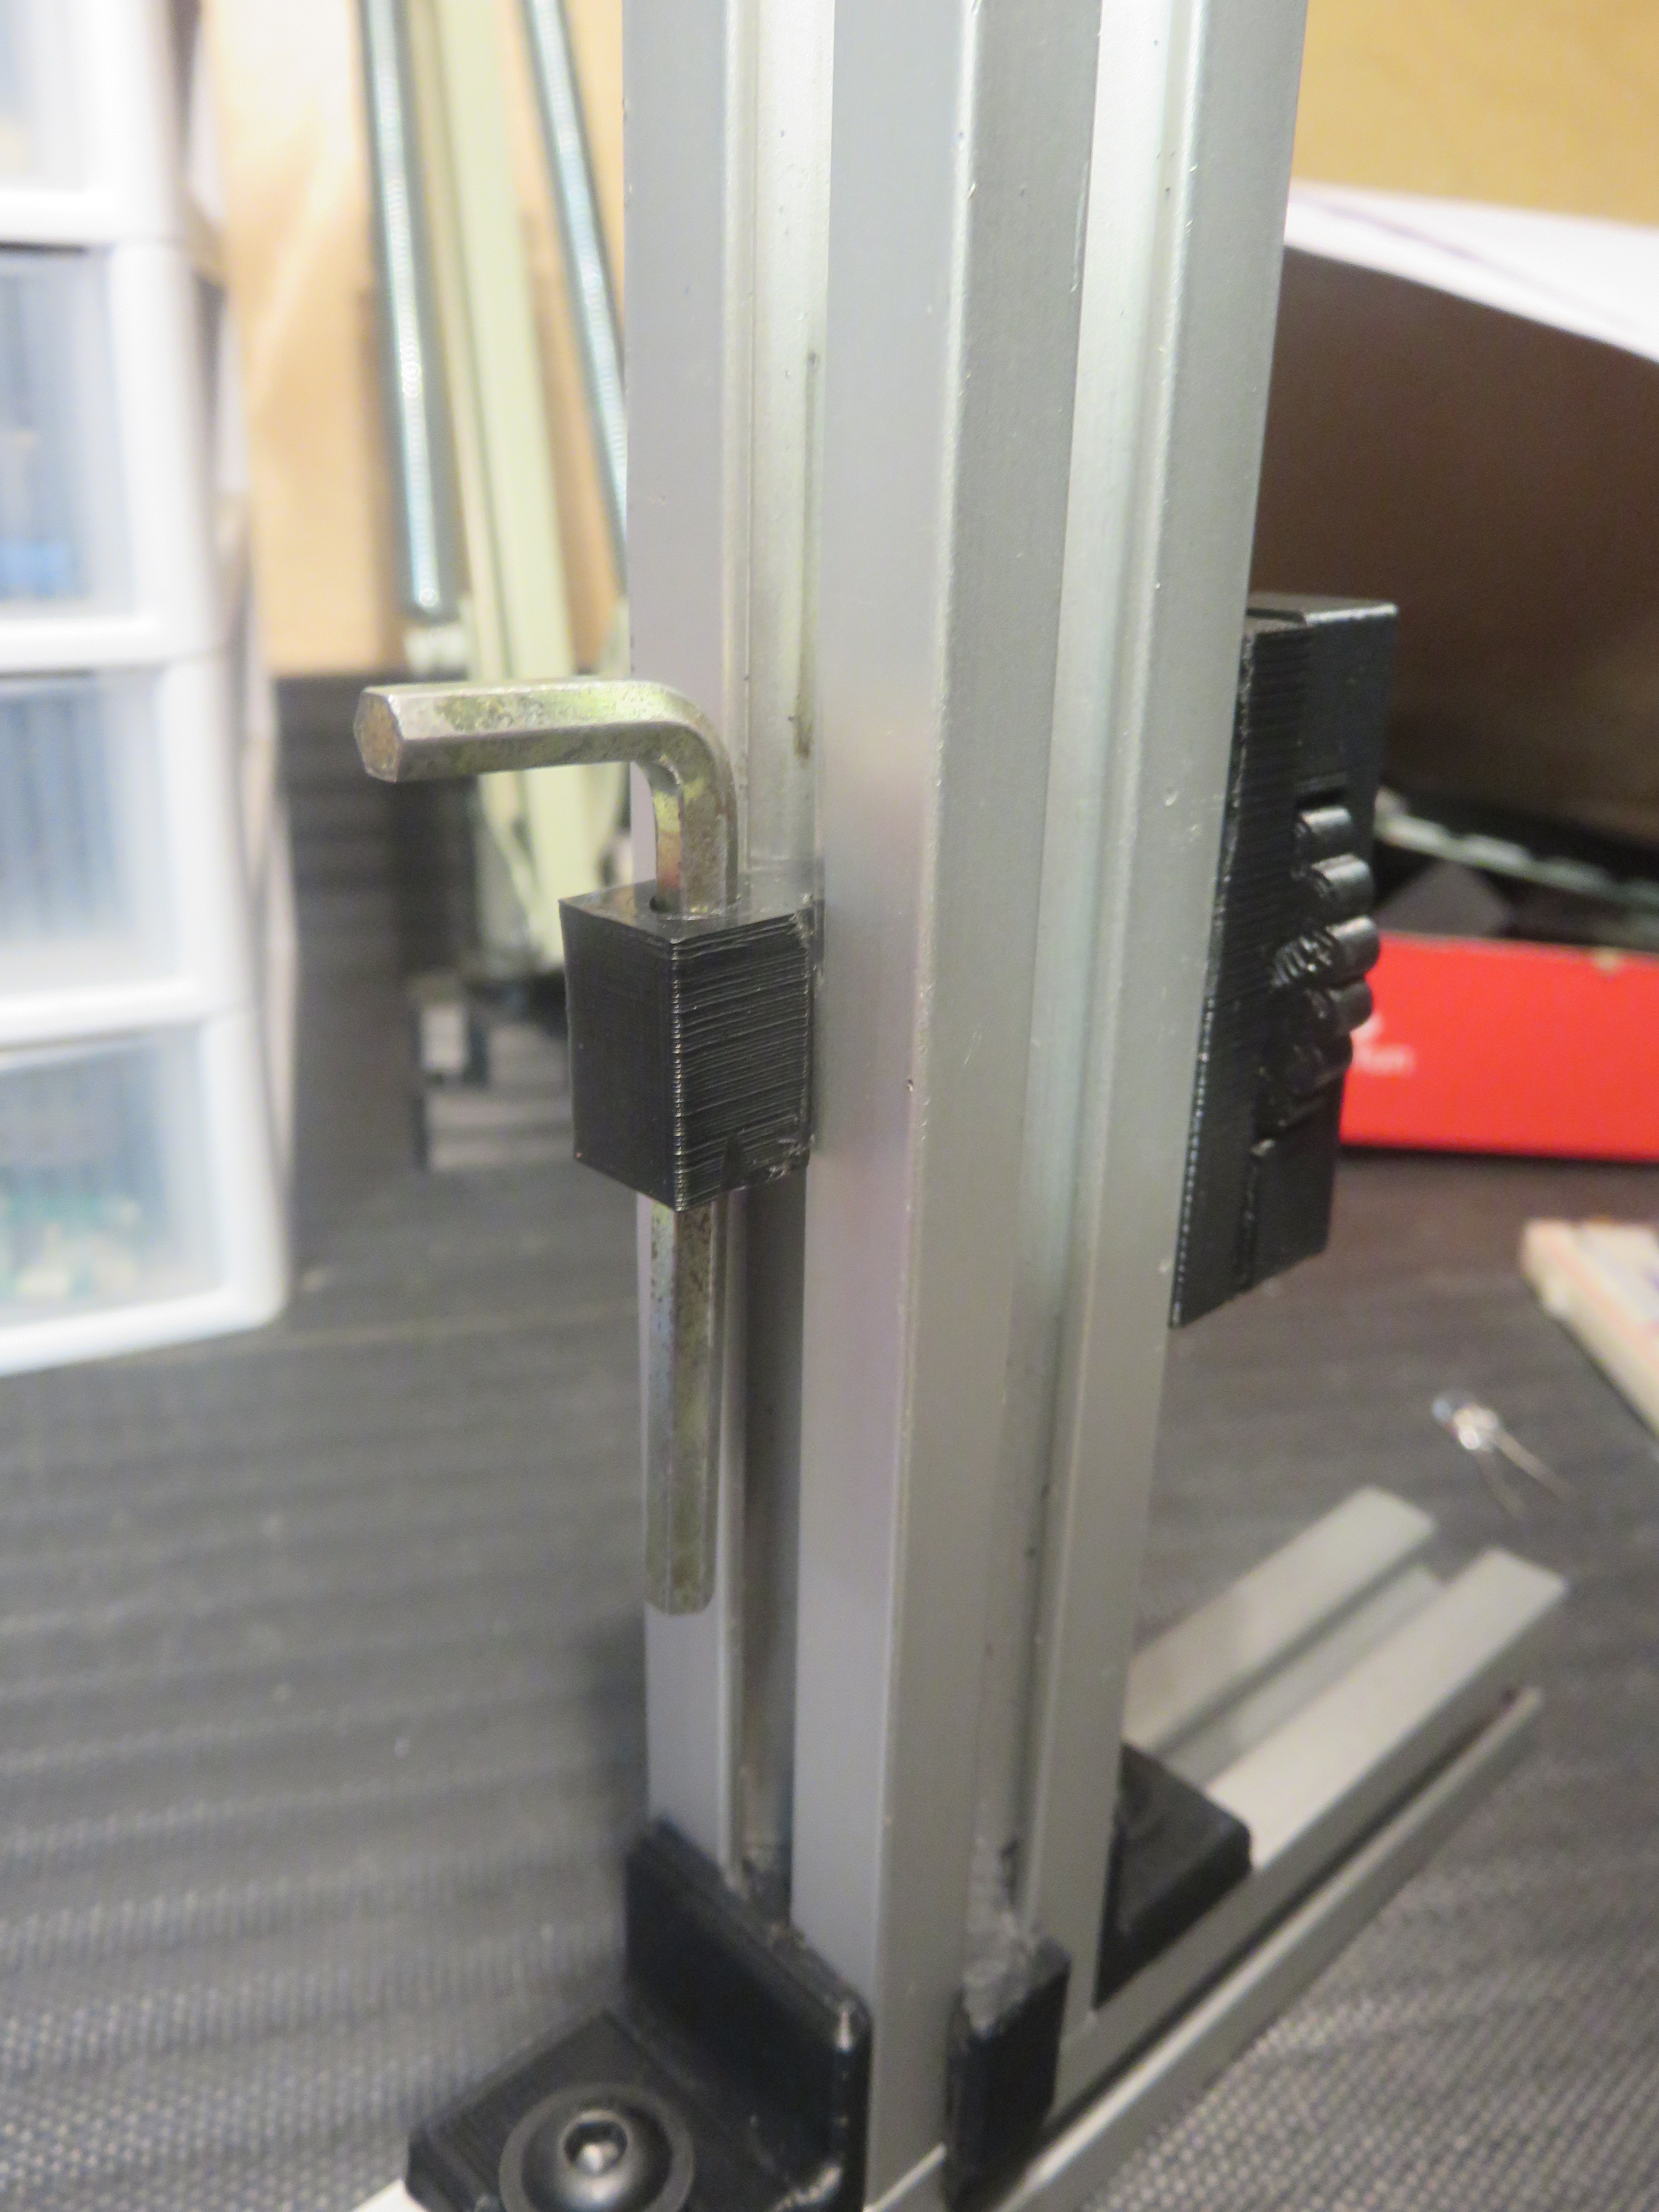
the aluminium profile you can cut your preference this depends on size of your camera.
in this part maybe you need the dremel or the metal file to scrape the plastic so you can enter the piece.
Final
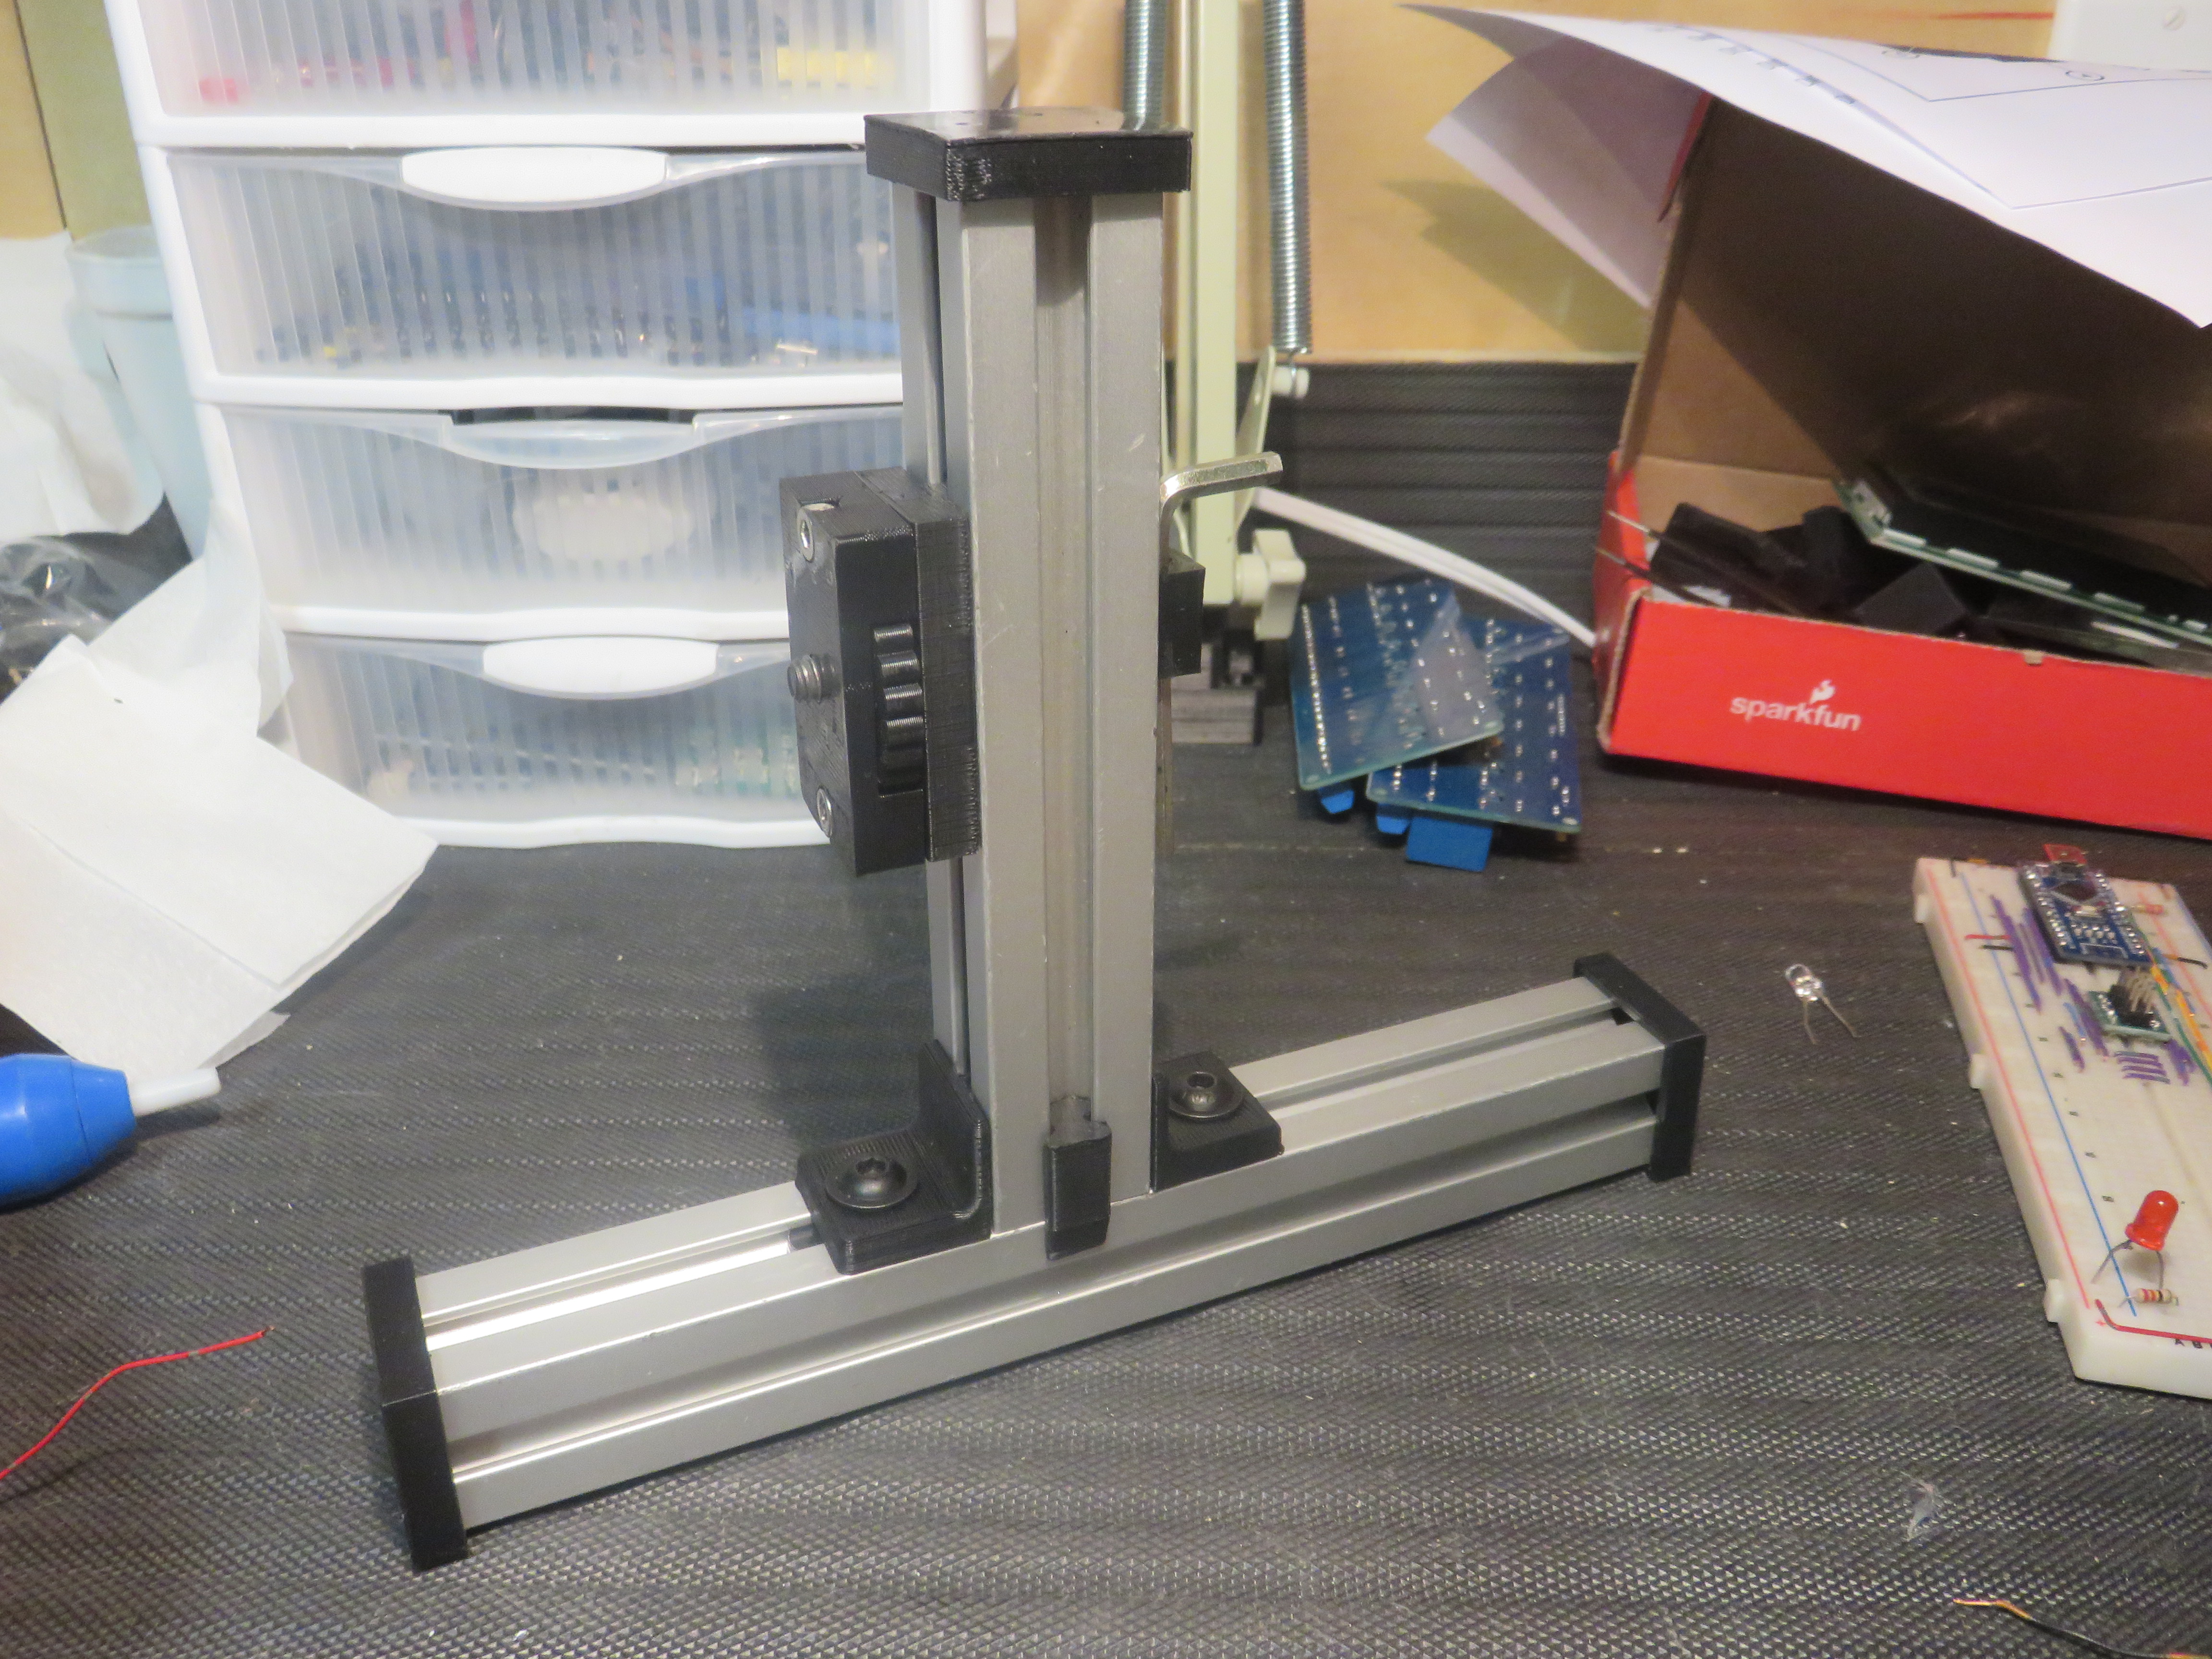
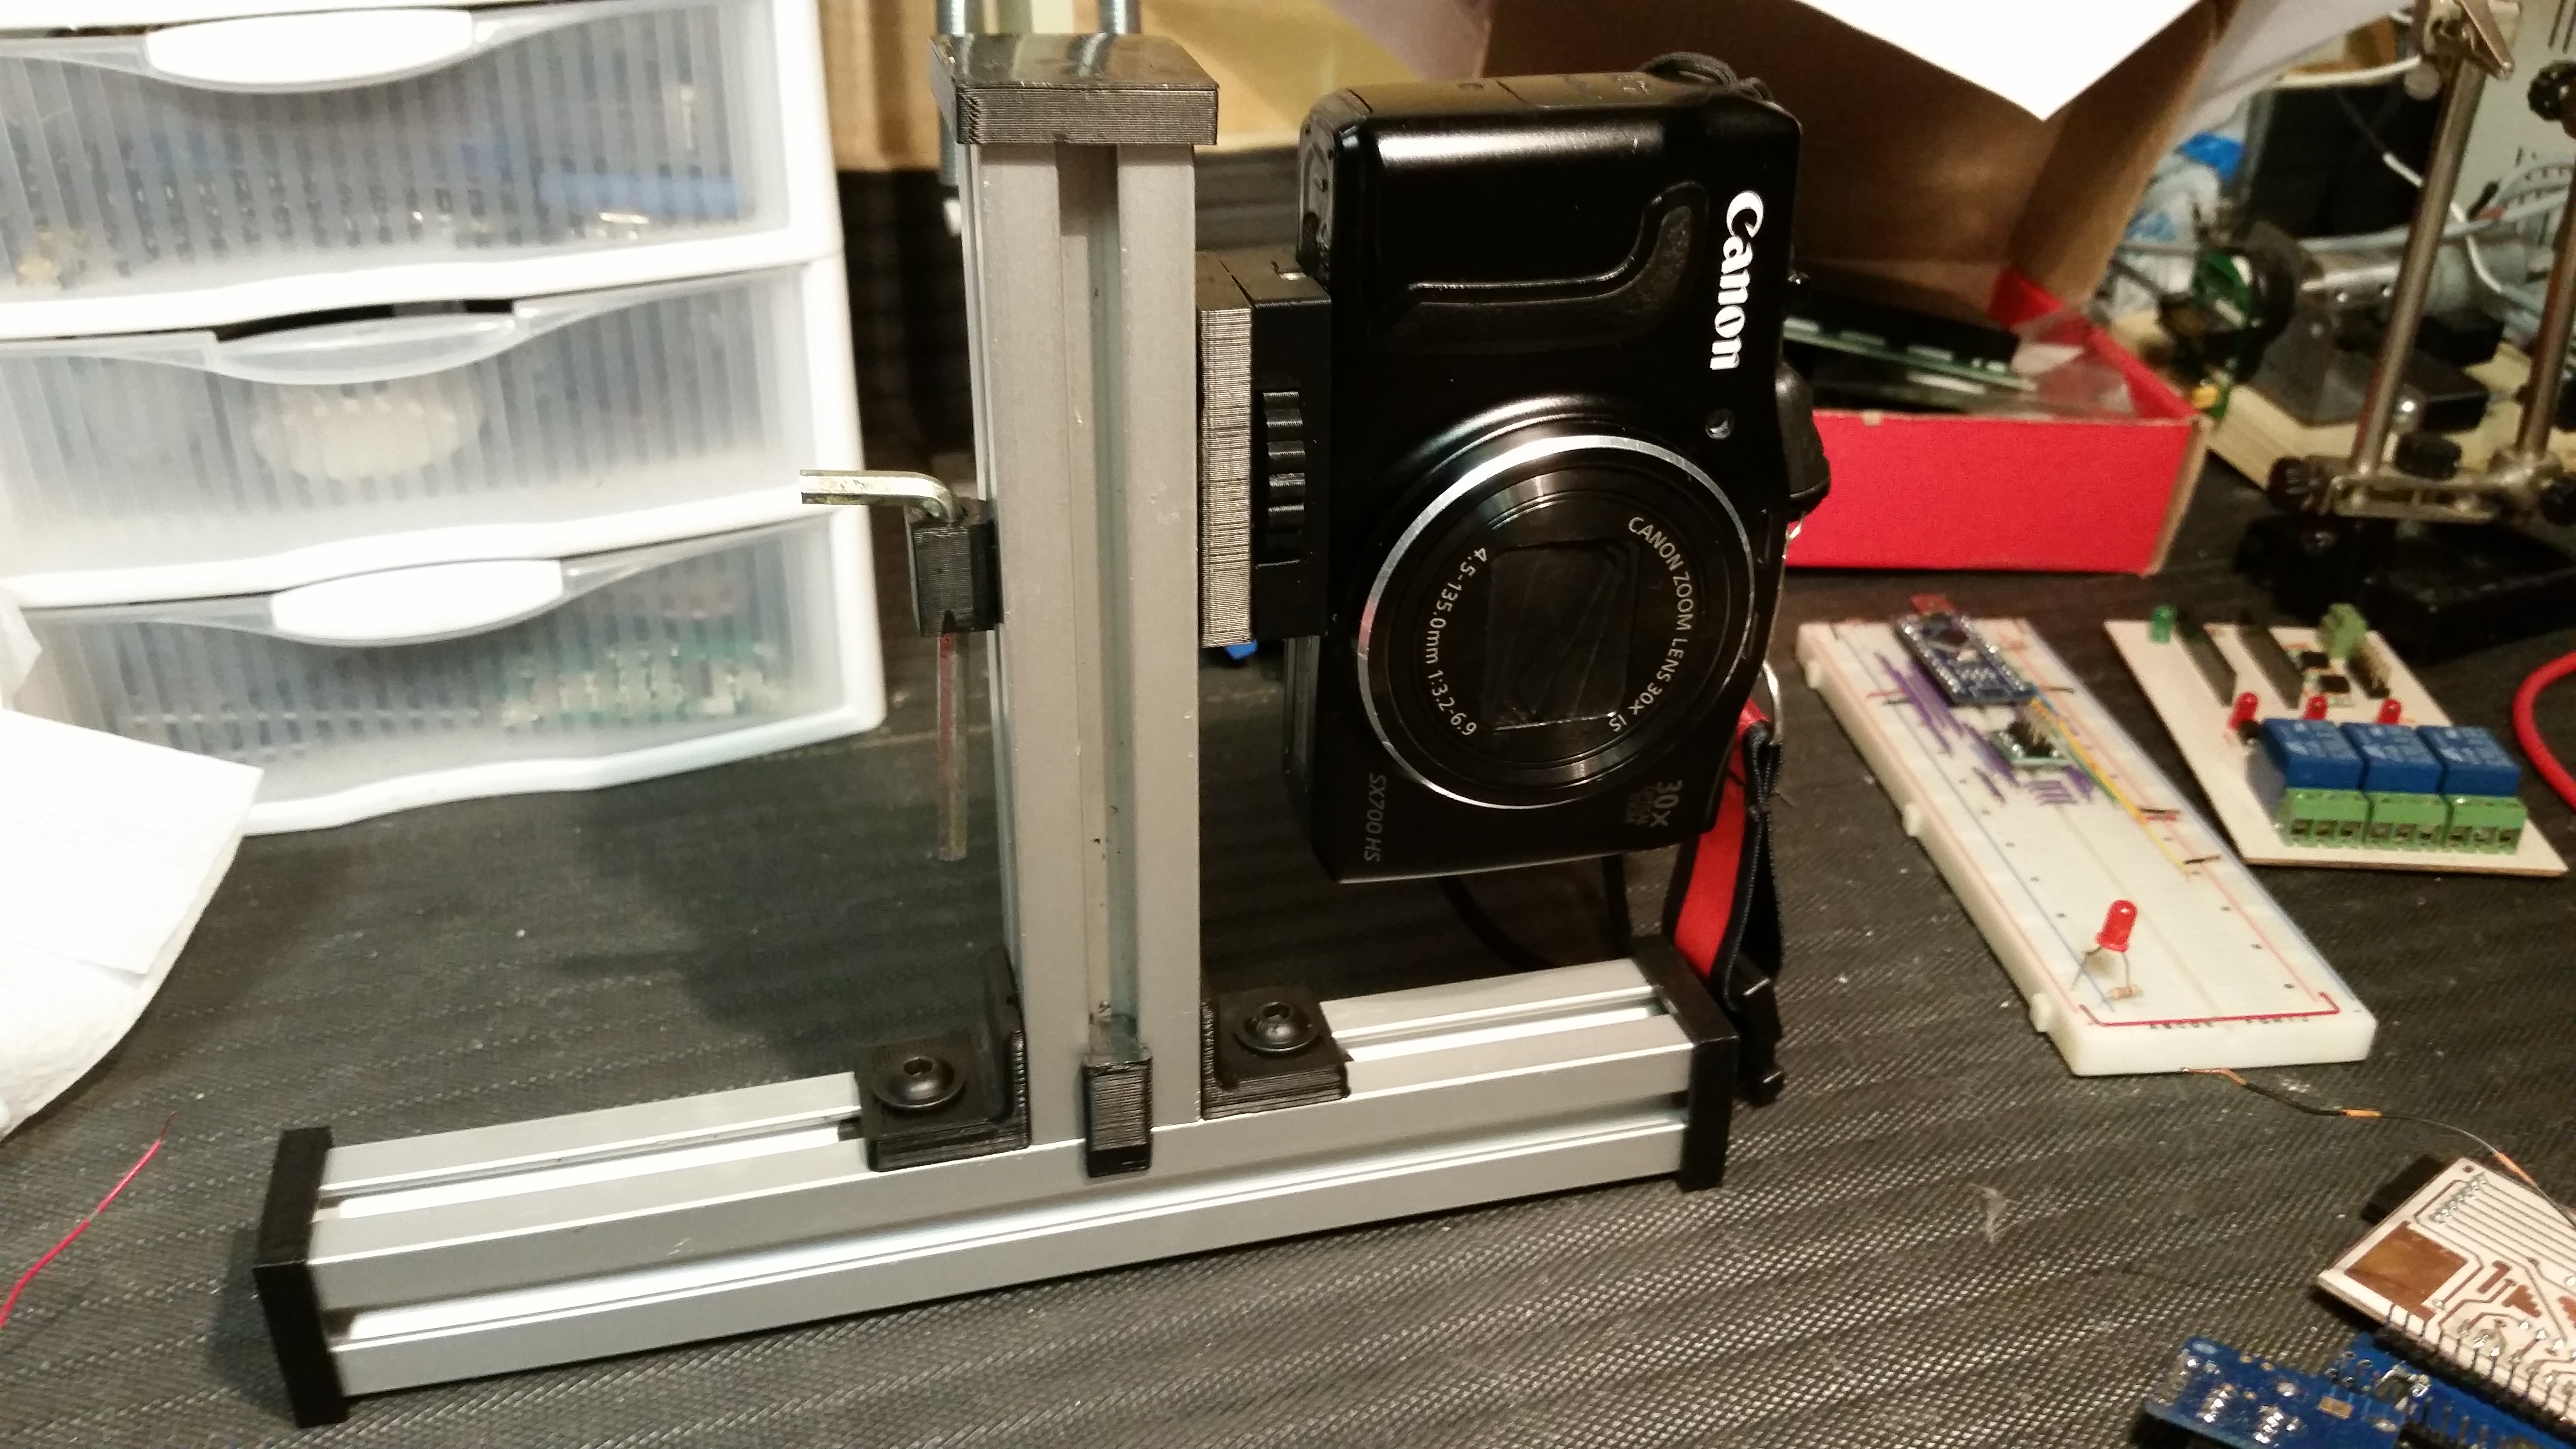
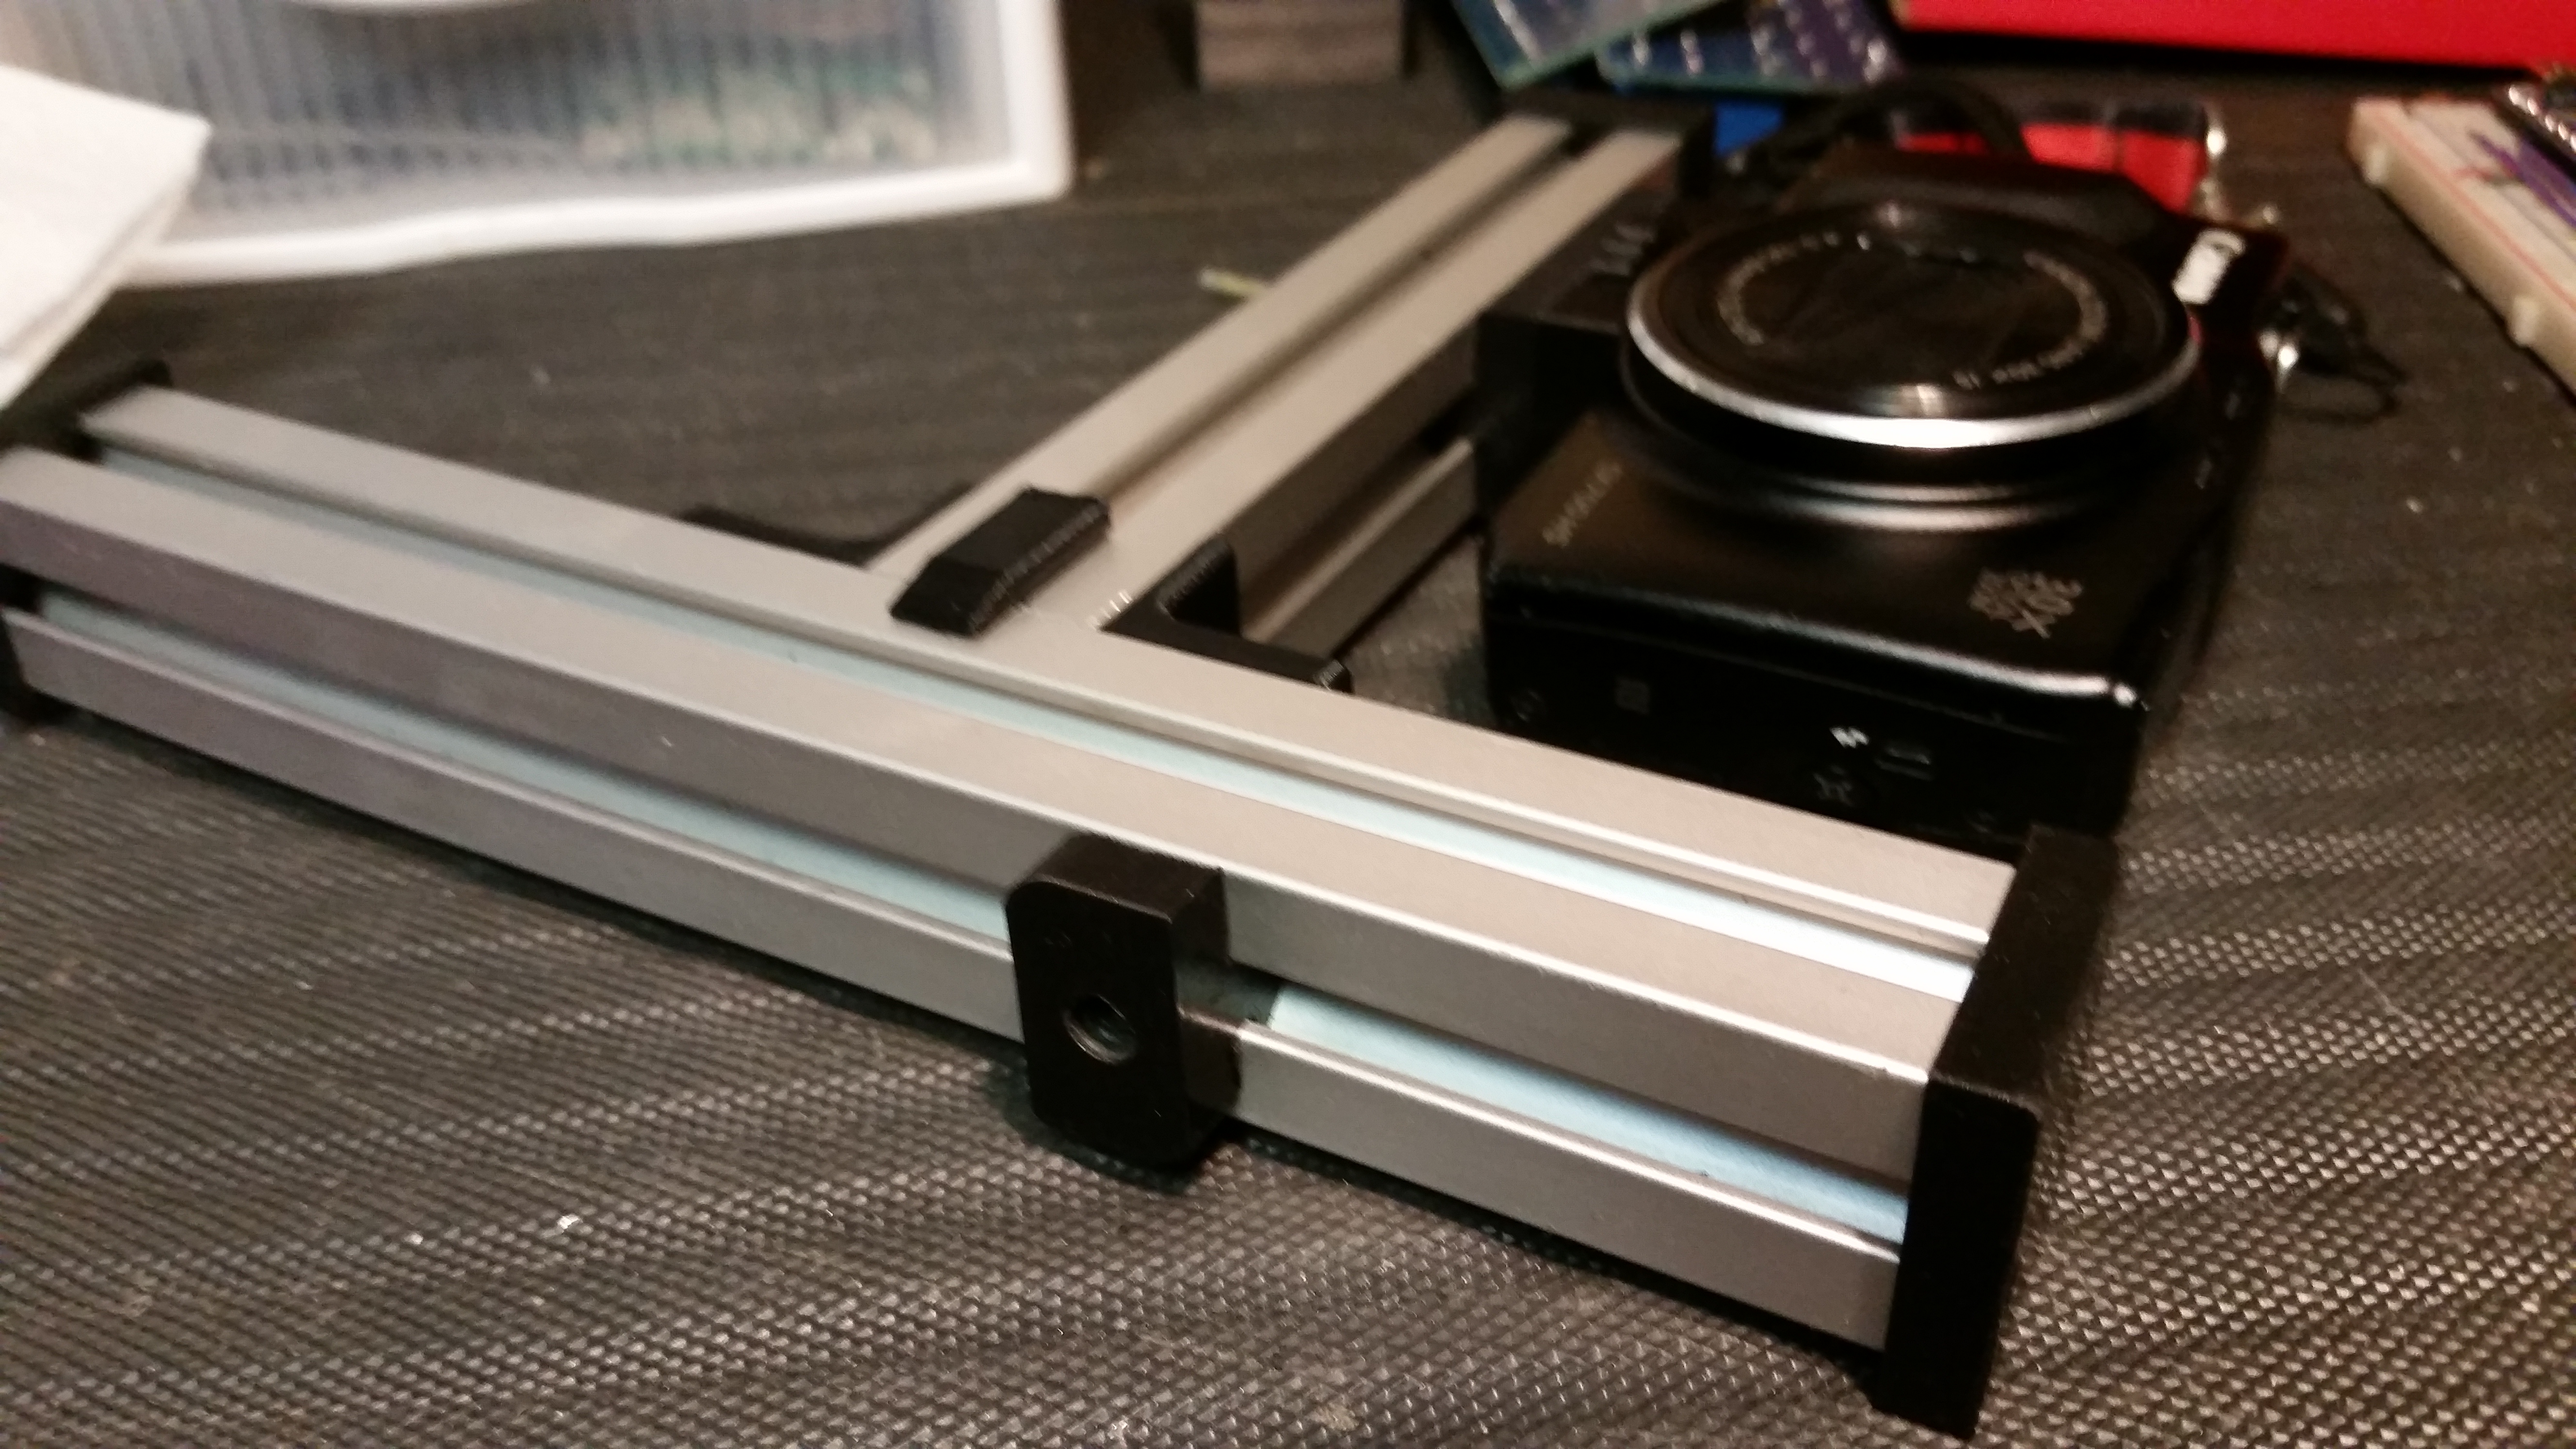
this is the result, I used oil to slide more smooth the pieces,
Files
this are the my files.
and this the viewer to check my project
http://a360.co/2dGhdvl
Test
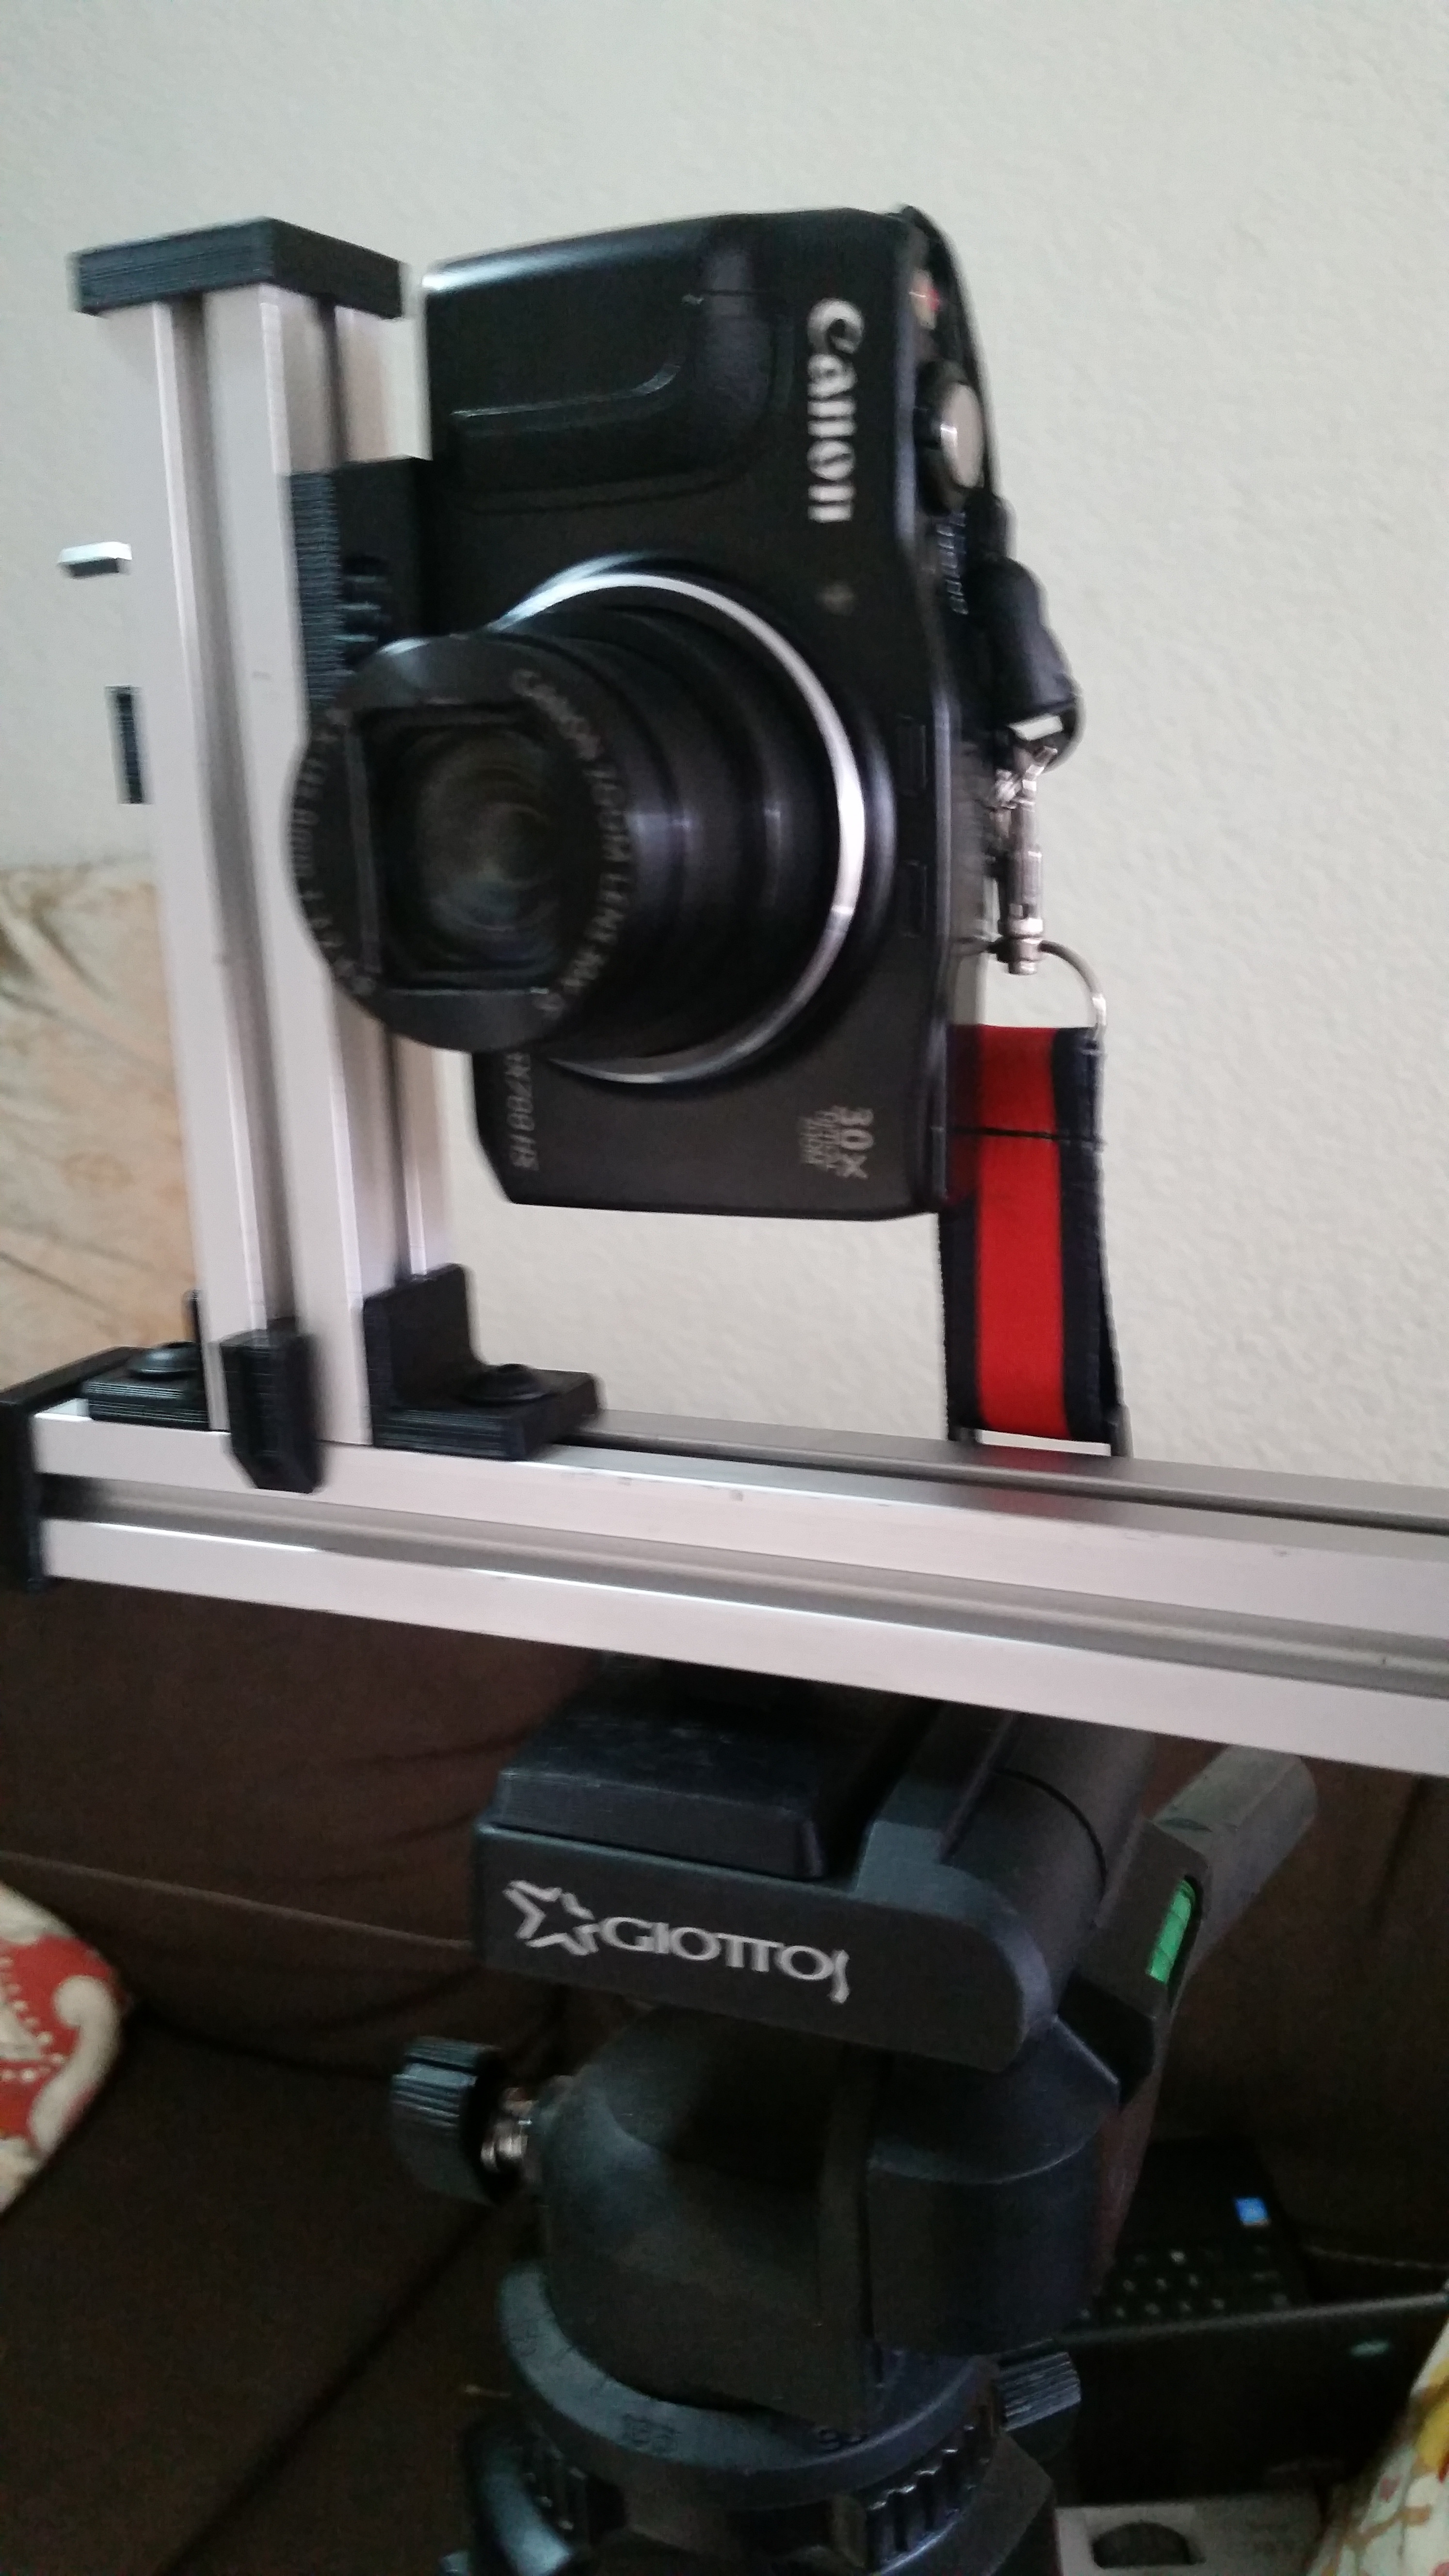
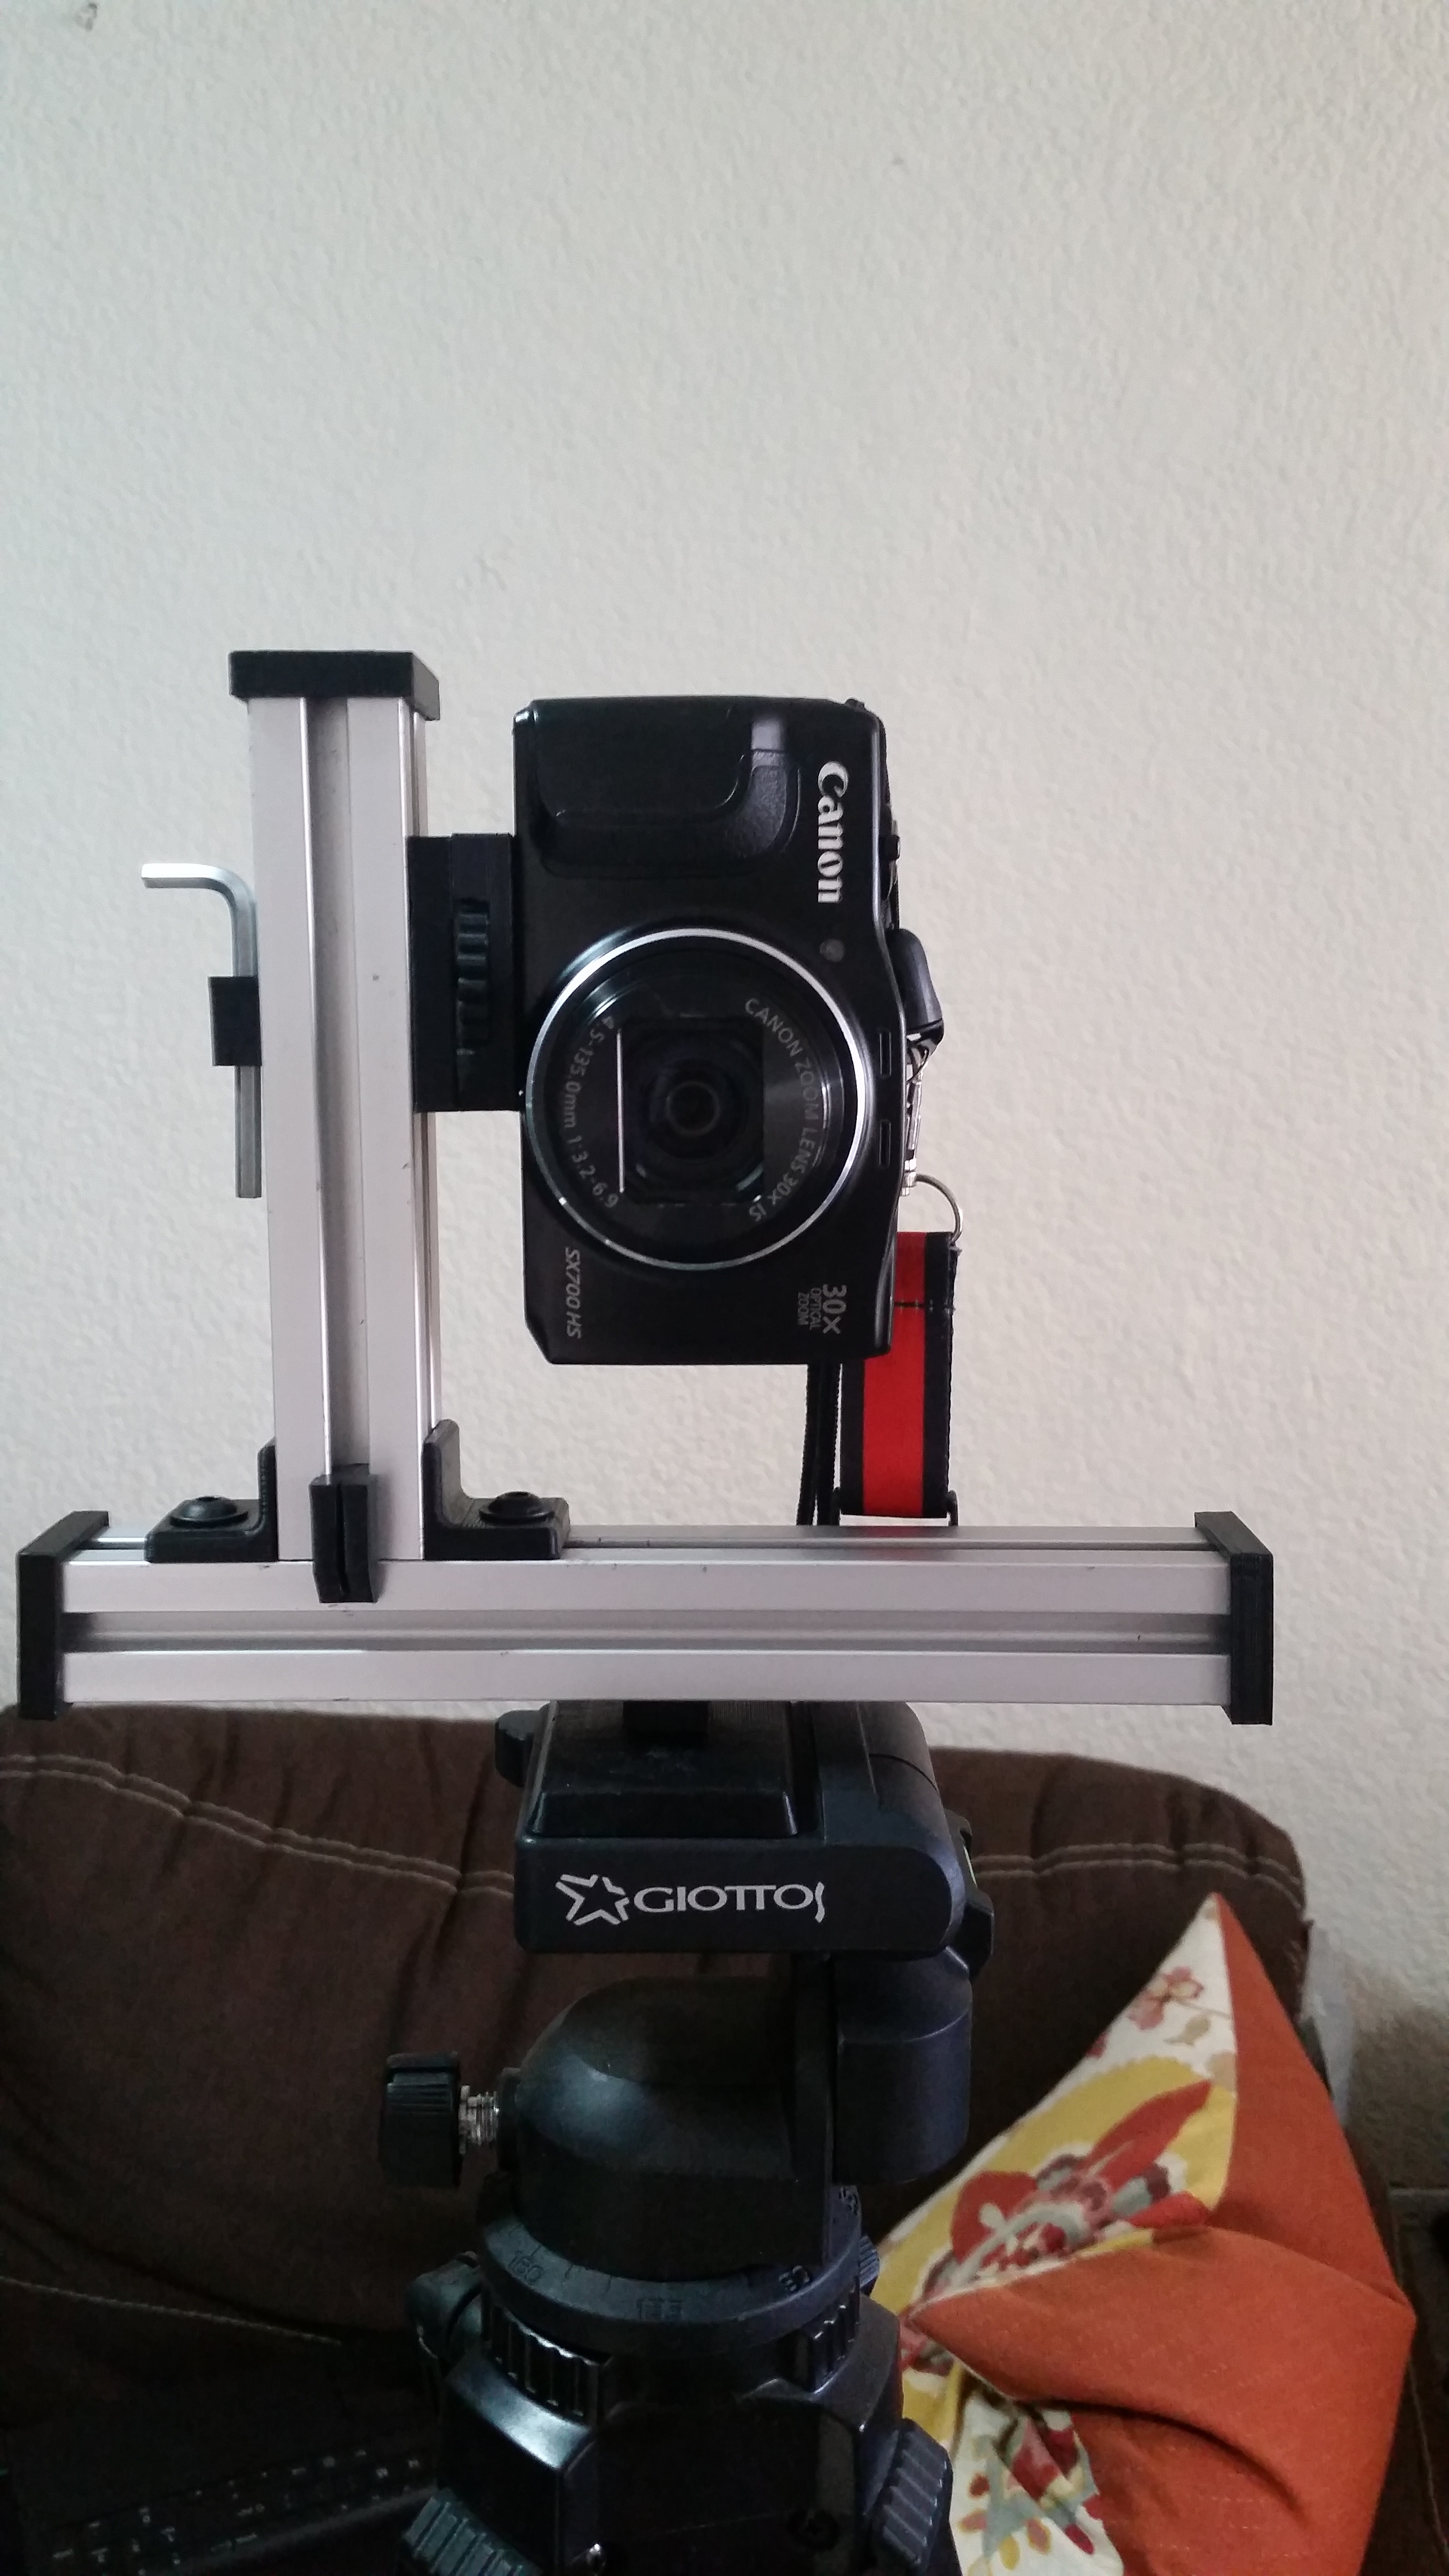
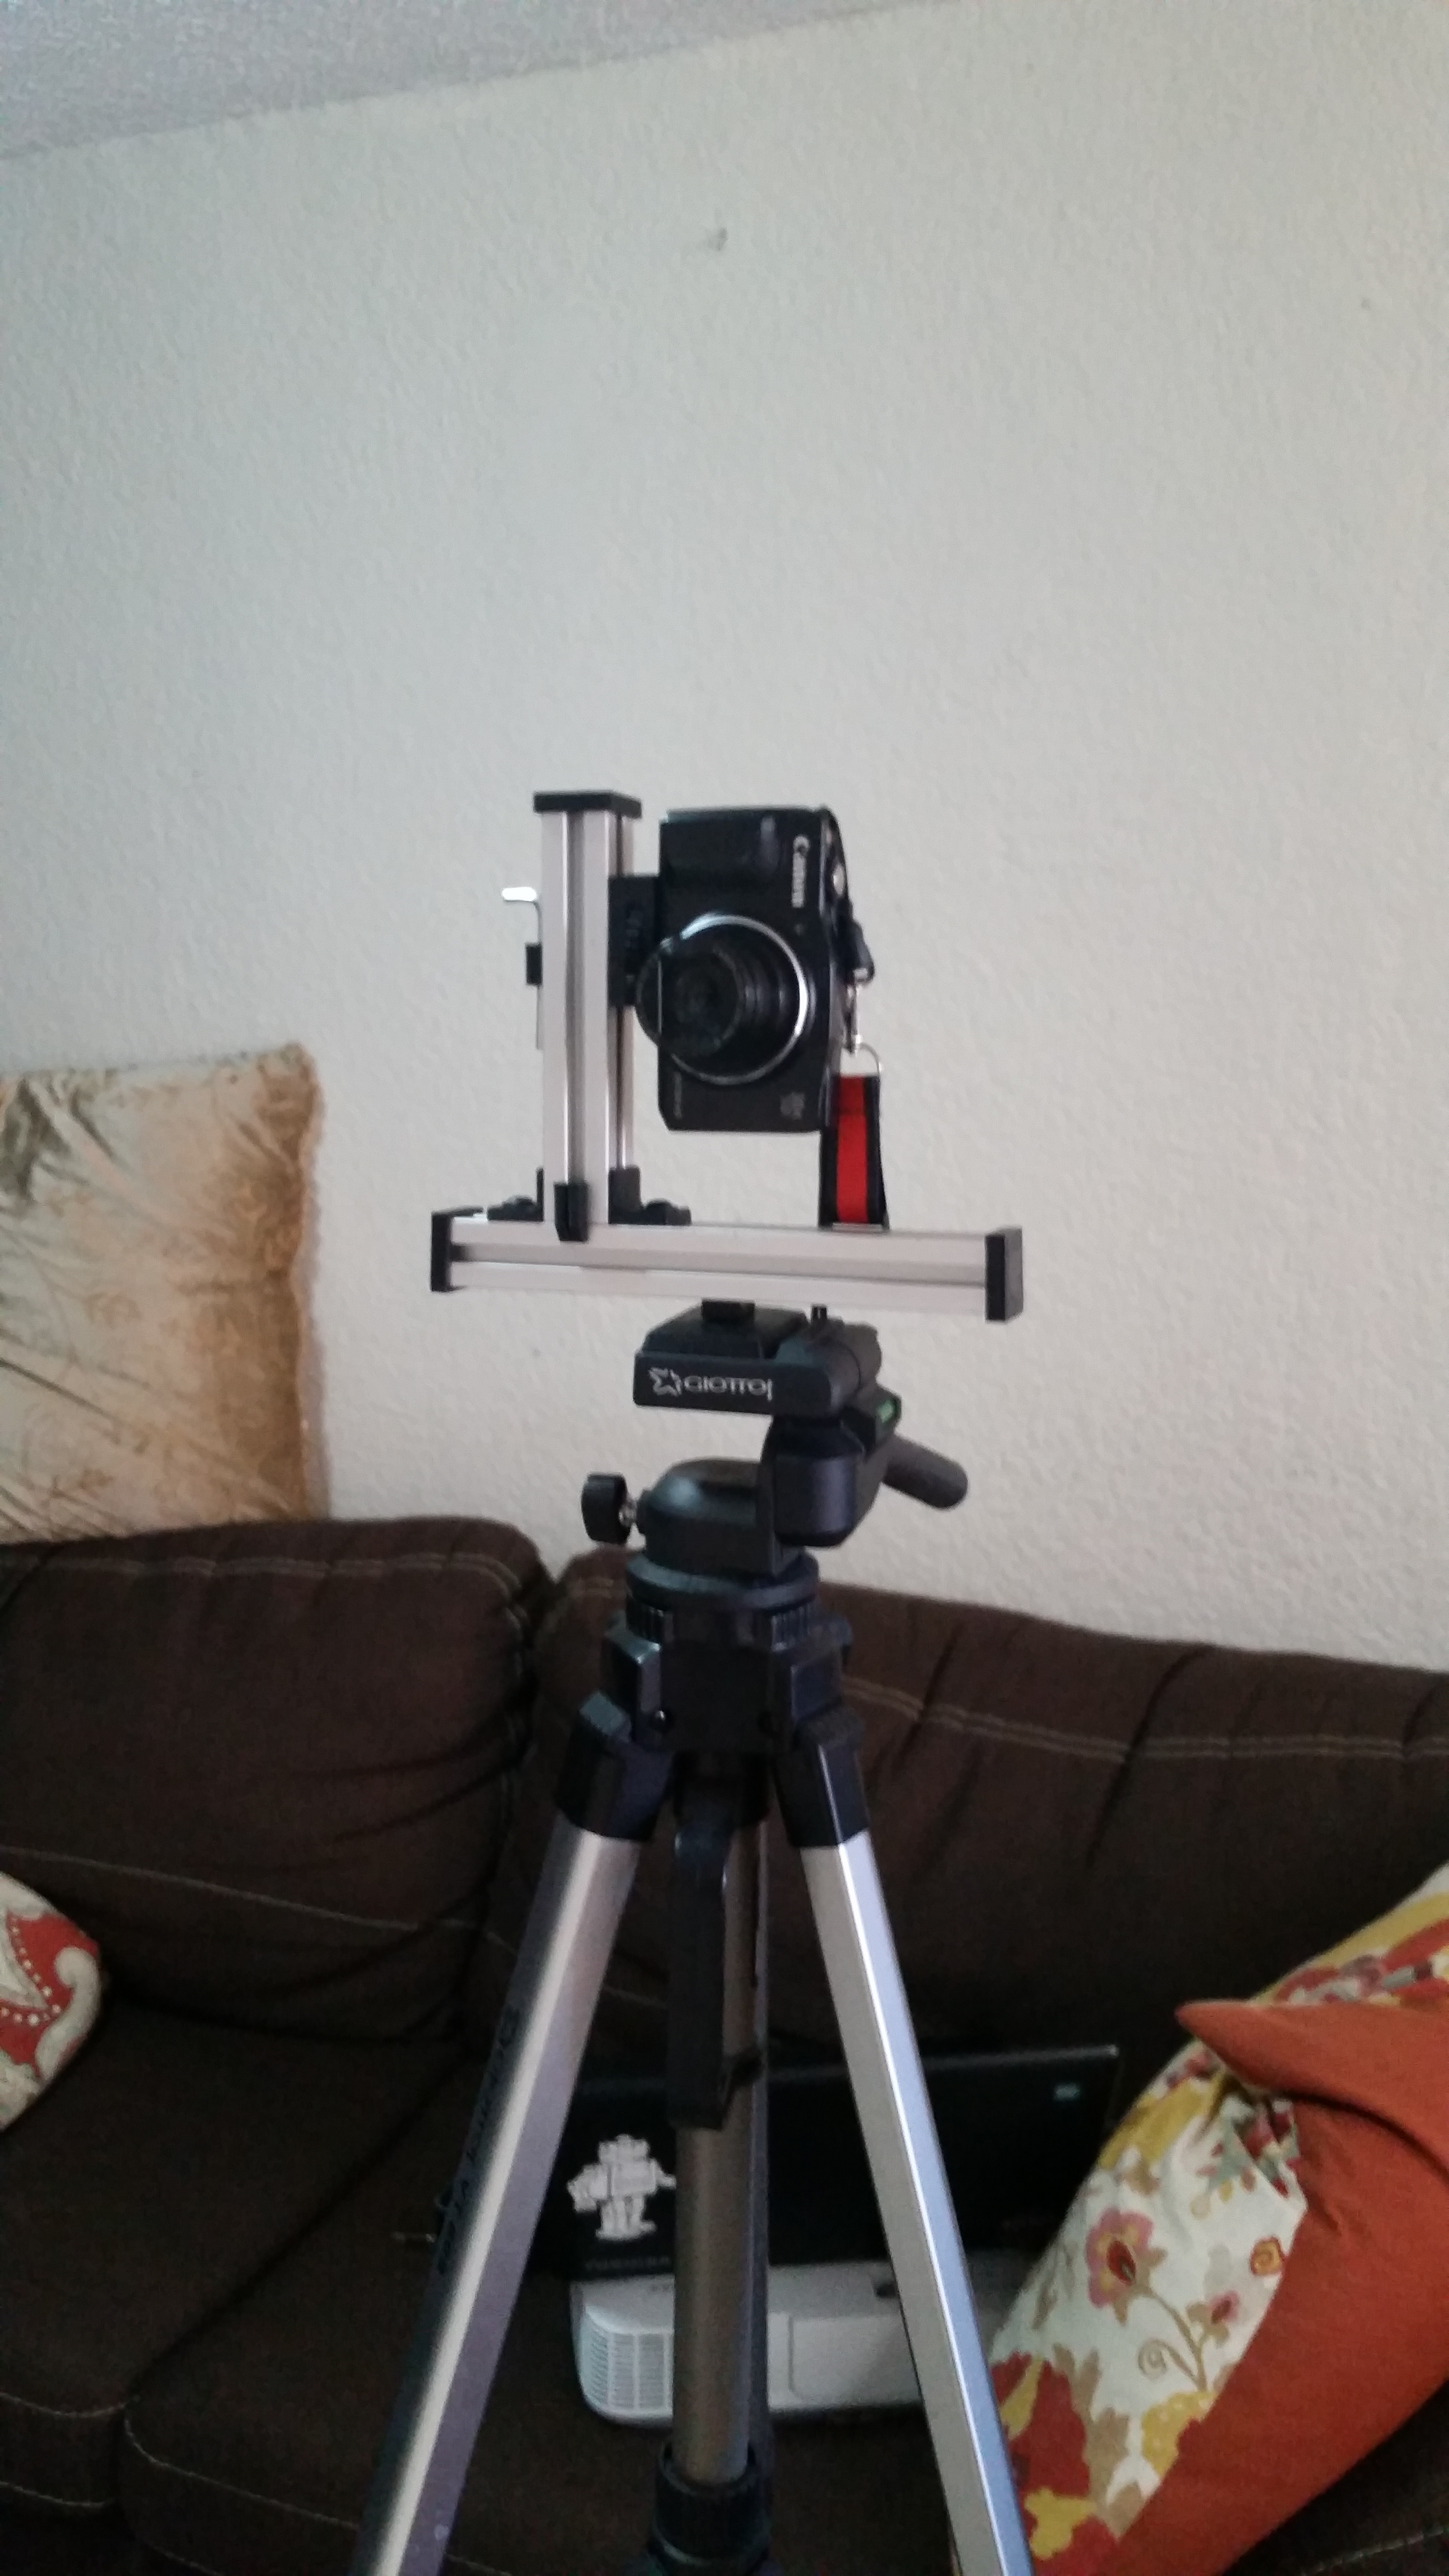
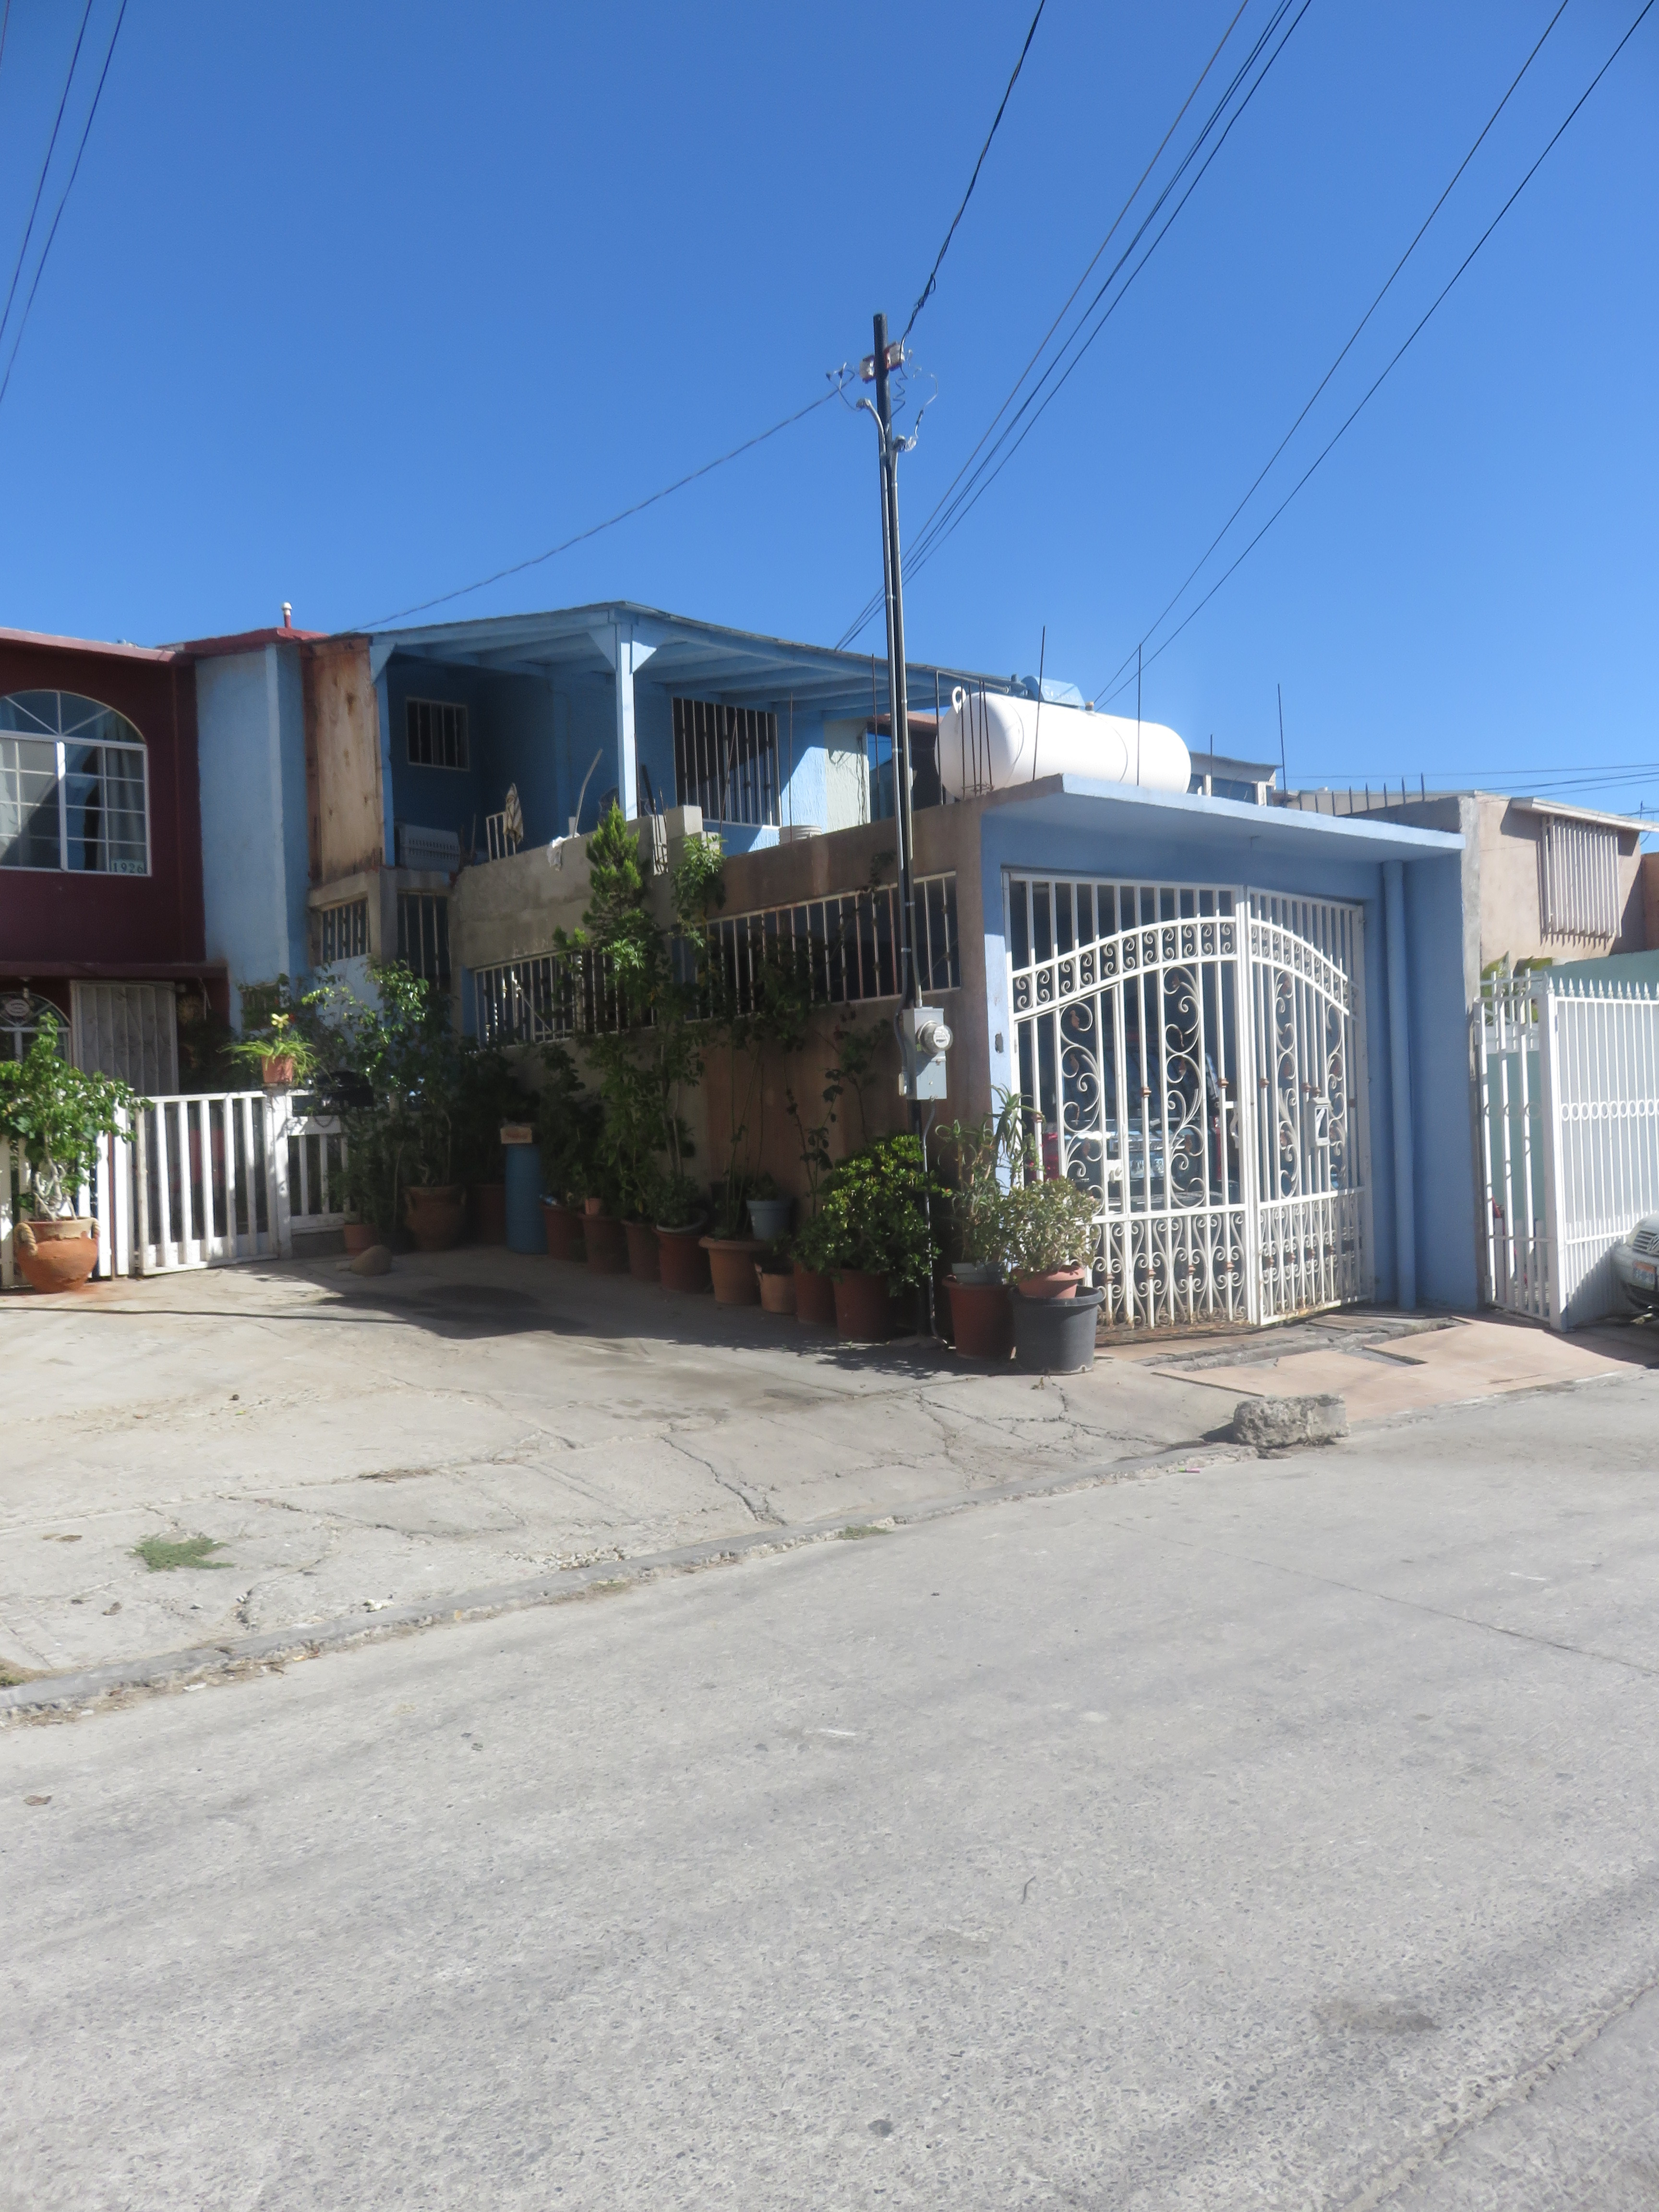
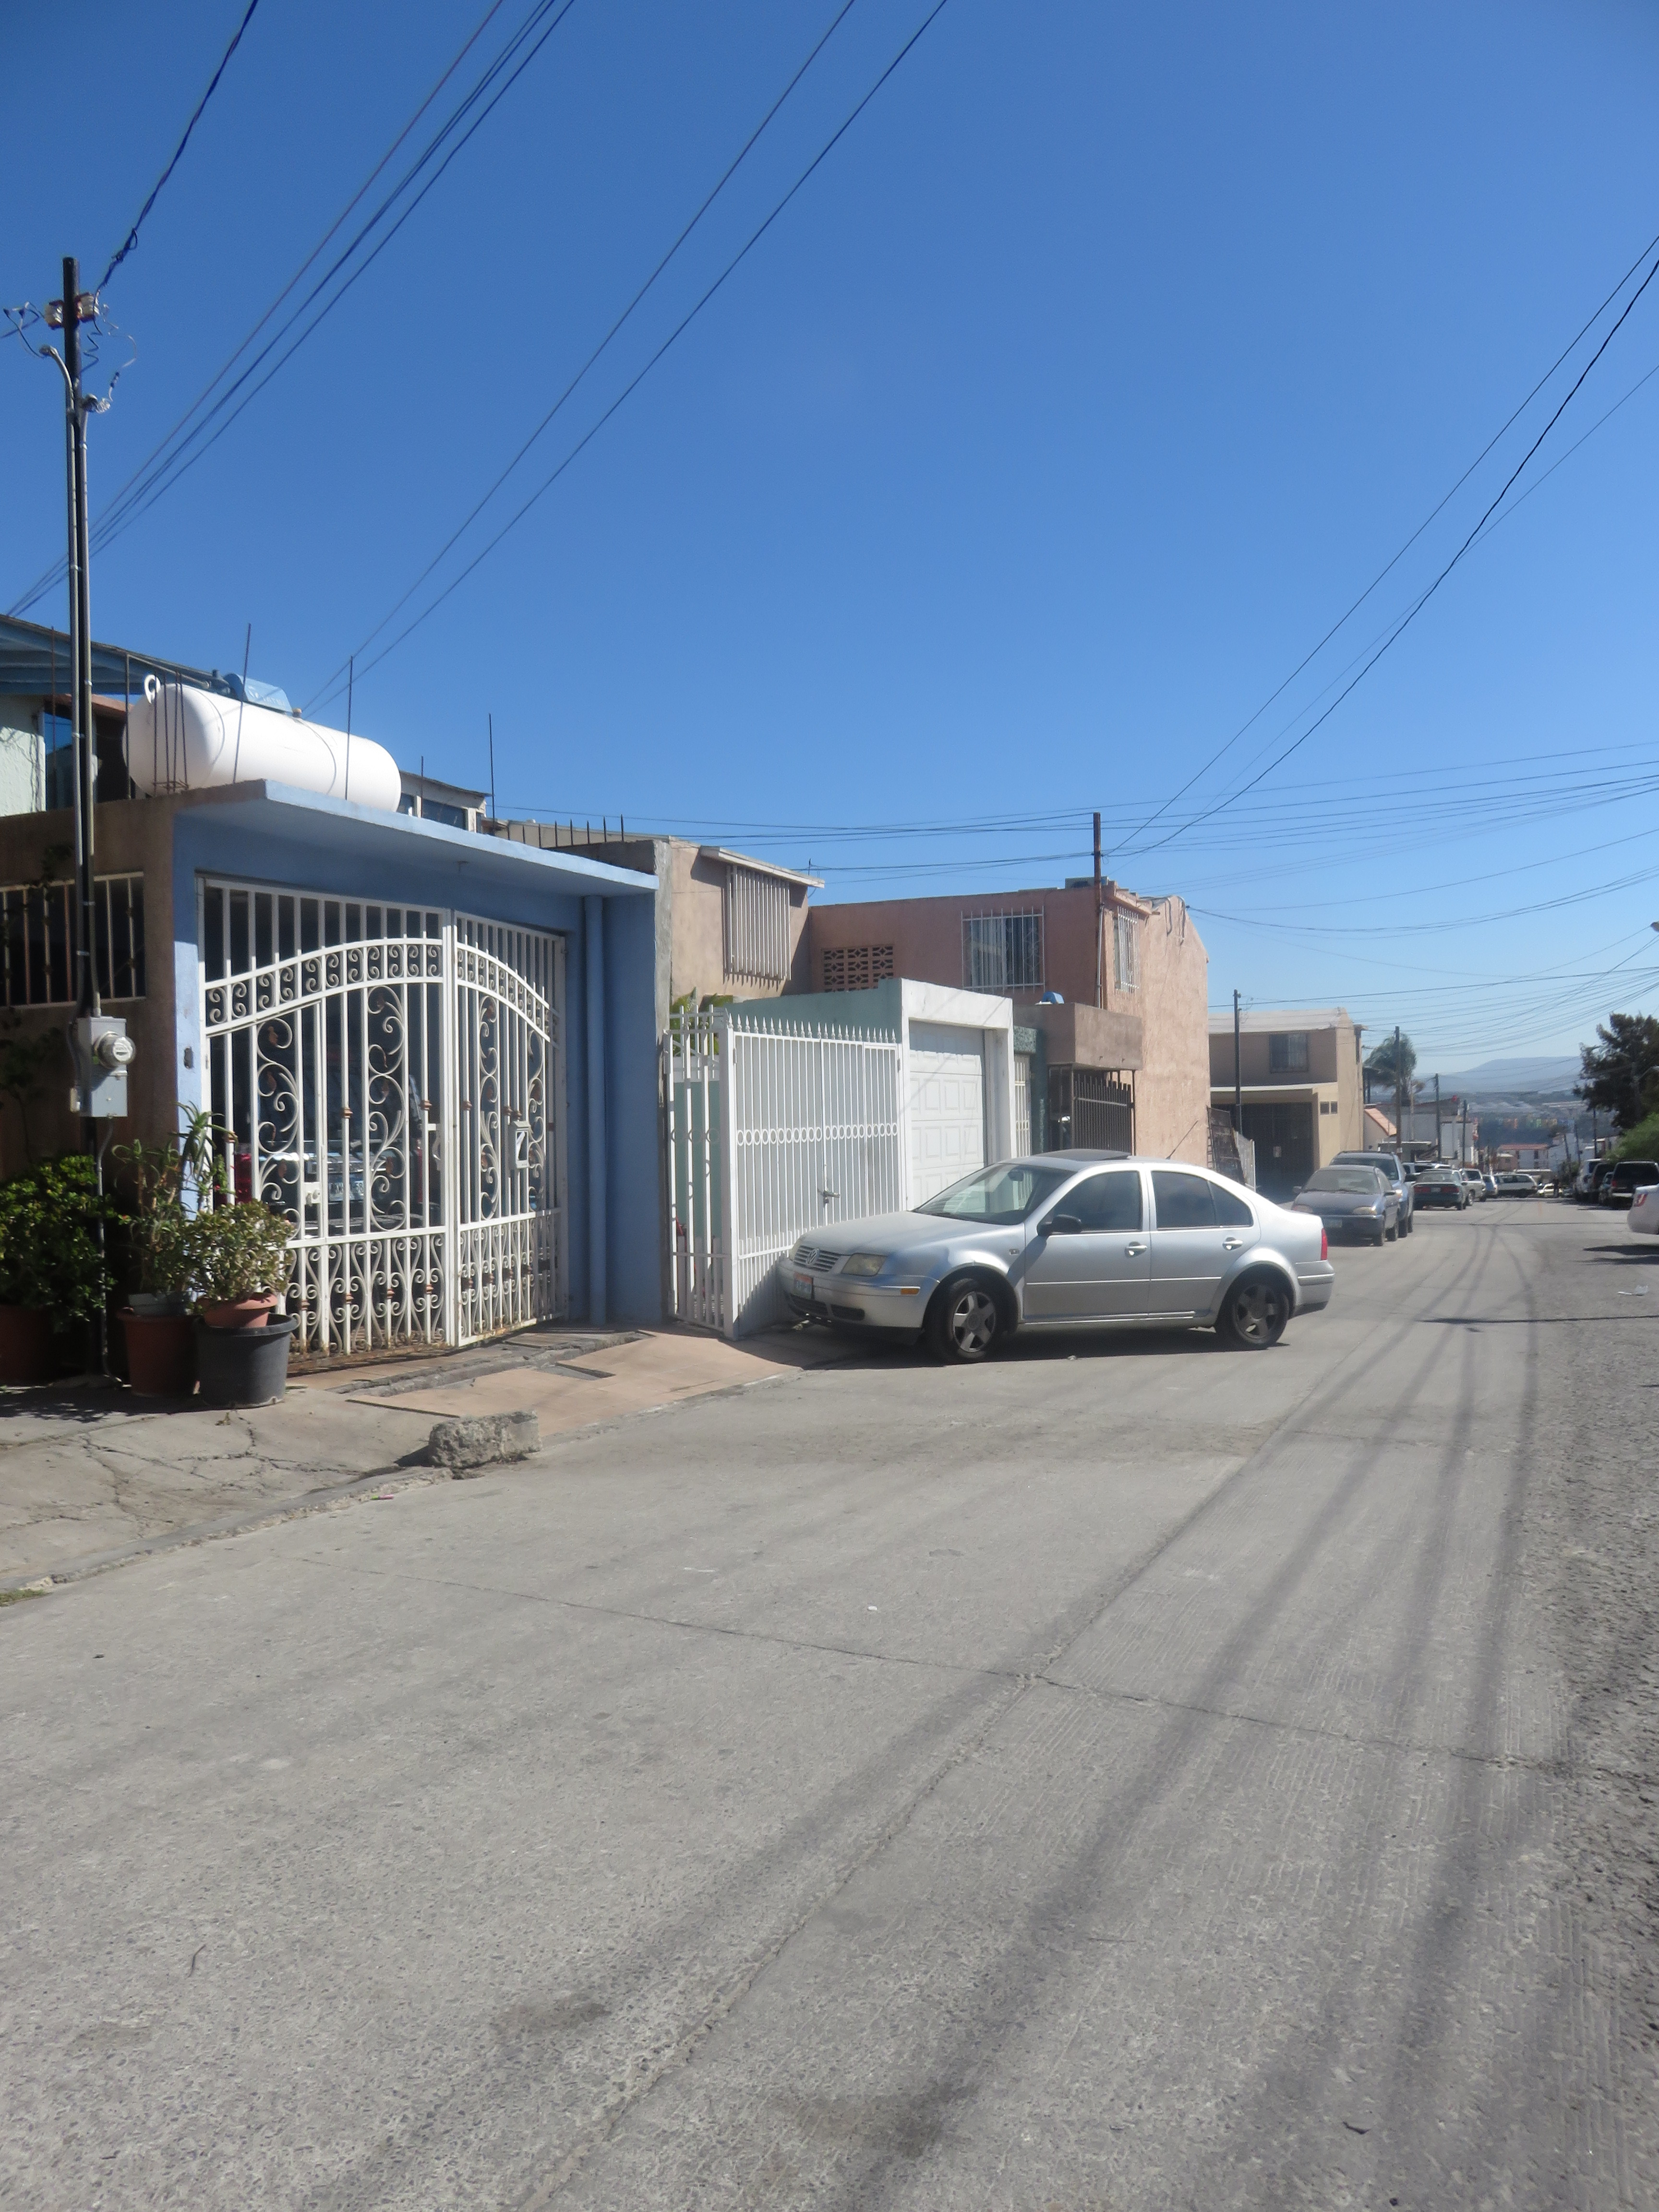
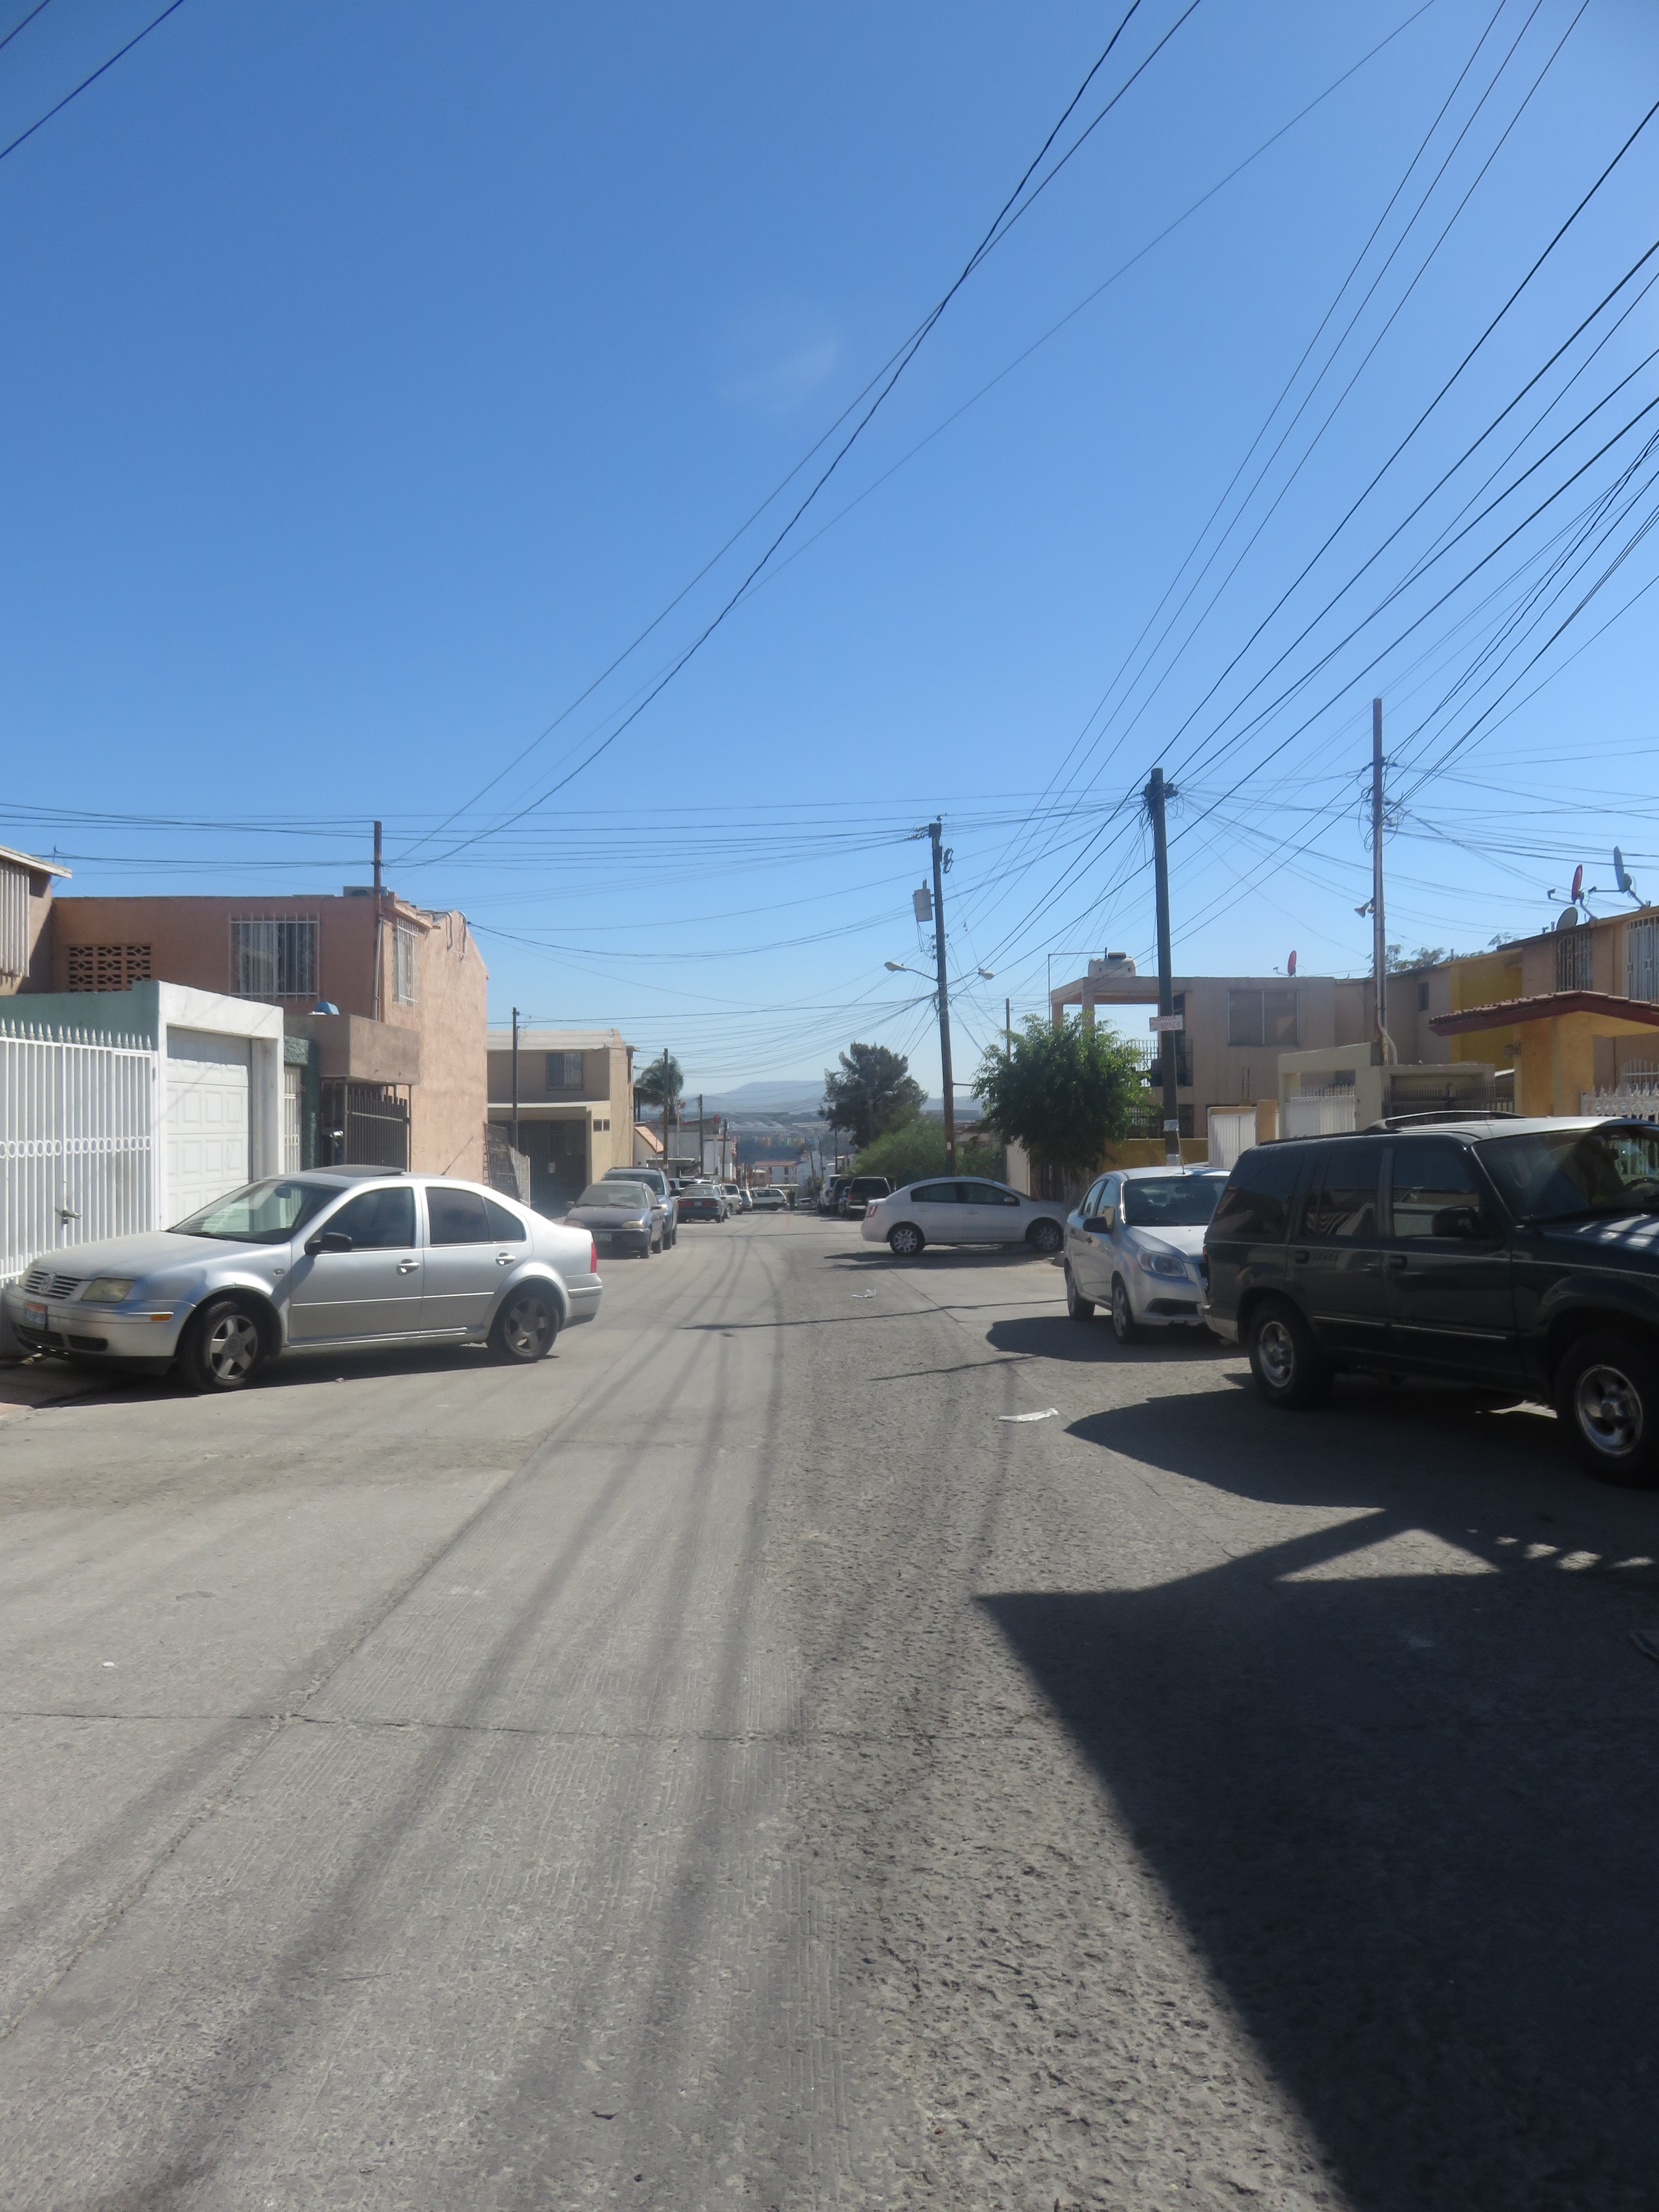
you need grip the camera to the souport and after you need align the middle of lens to the middle of tripod, and then need only need a good panoram but never forget leavea margin to relate the photos like my photos
Edition
![[Group 0]-IMG_0498_IMG_0510-13 images.pano.jpg](/proxy/?url=https://content.instructables.com/FWN/M8RI/ITW361G9/FWNM8RIITW361G9.jpg&filename=[Group 0]-IMG_0498_IMG_0510-13 images.pano.jpg)
![[Group 0]-IMG_0498_IMG_0510-13 images.pano_2.jpg](/proxy/?url=https://content.instructables.com/F0P/NMA1/ITW361H5/F0PNMA1ITW361H5.jpg&filename=[Group 0]-IMG_0498_IMG_0510-13 images.pano_2.jpg)
![[Group 0]-IMG_0498_IMG_0510-13 images.jpg](/proxy/?url=https://content.instructables.com/FSX/7GYP/ITW361GX/FSX7GYPITW361GX.jpg&filename=[Group 0]-IMG_0498_IMG_0510-13 images.jpg)
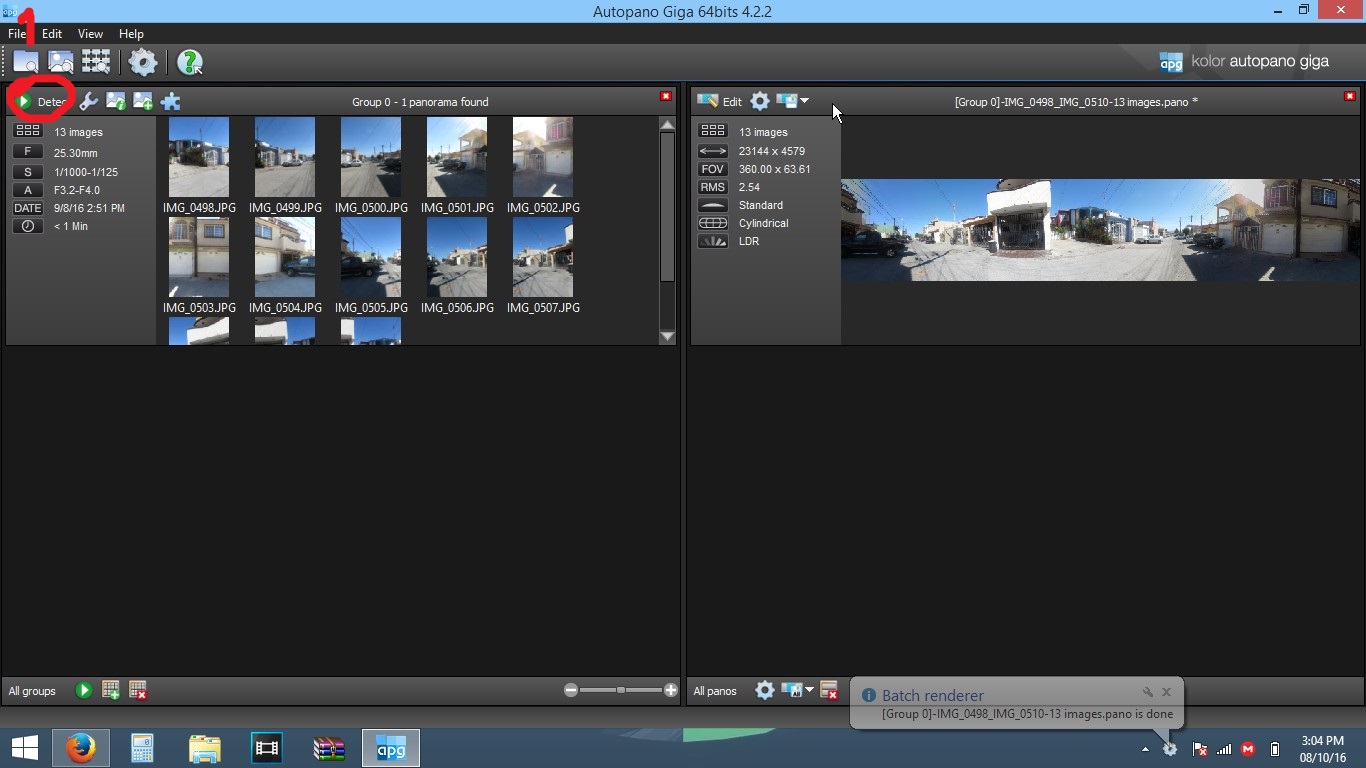
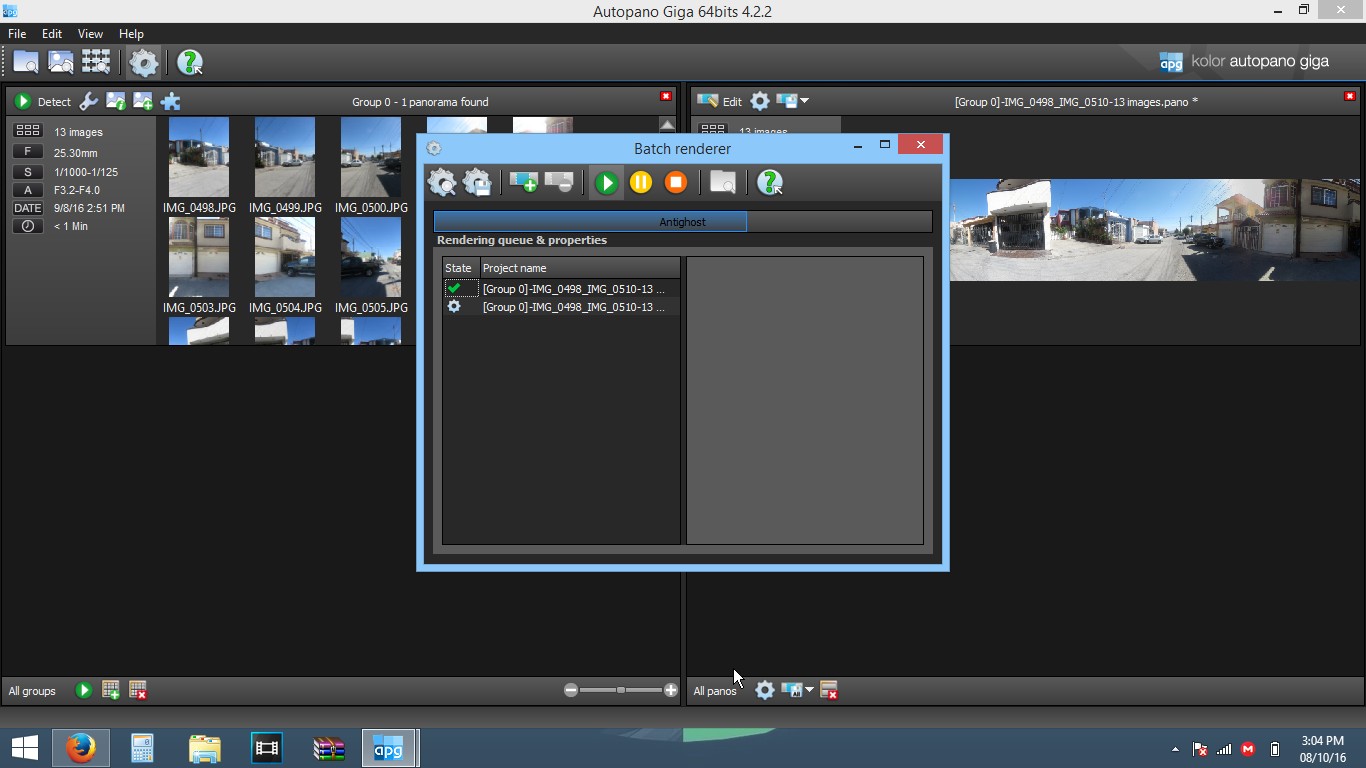
then you need you transfer the sequence of photos to any folder, in to the program go to section edit and import the all of photos, then the program make a window select the option select like a first photo,
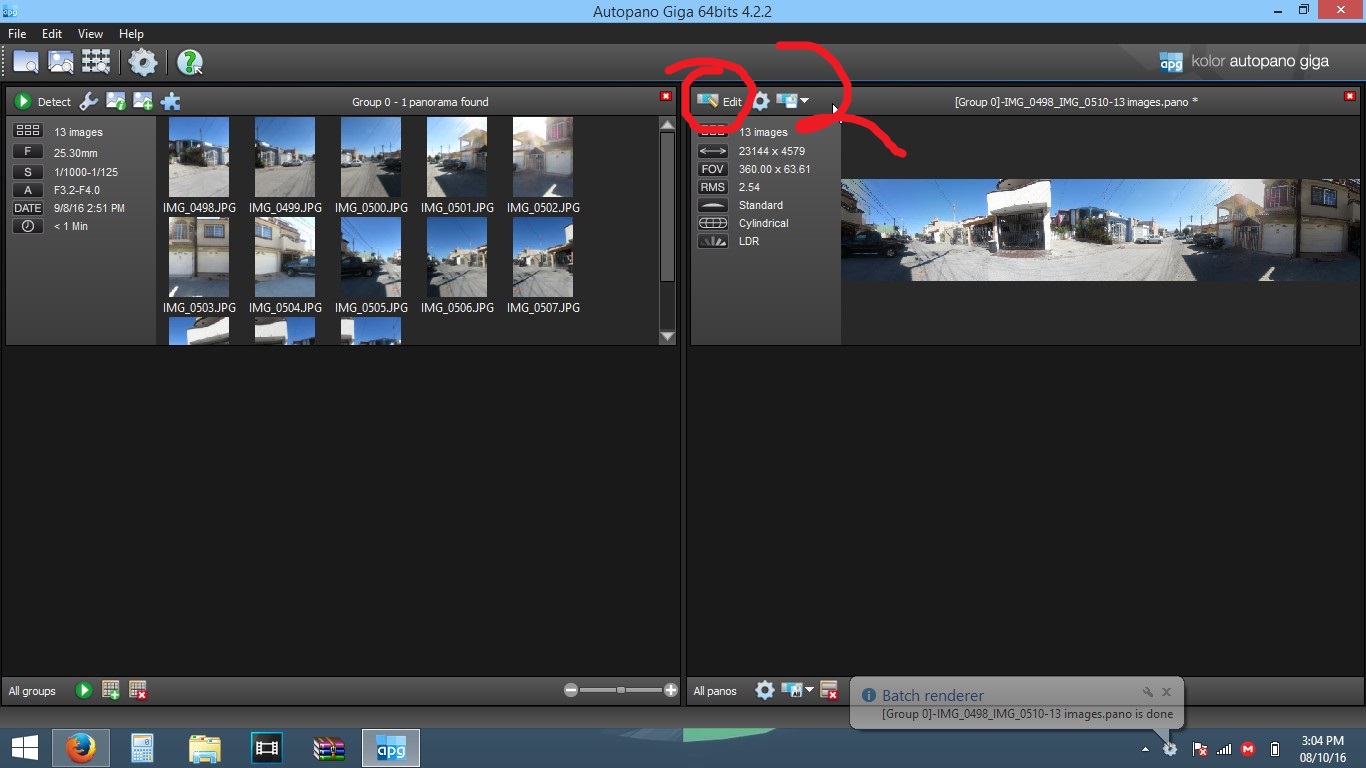
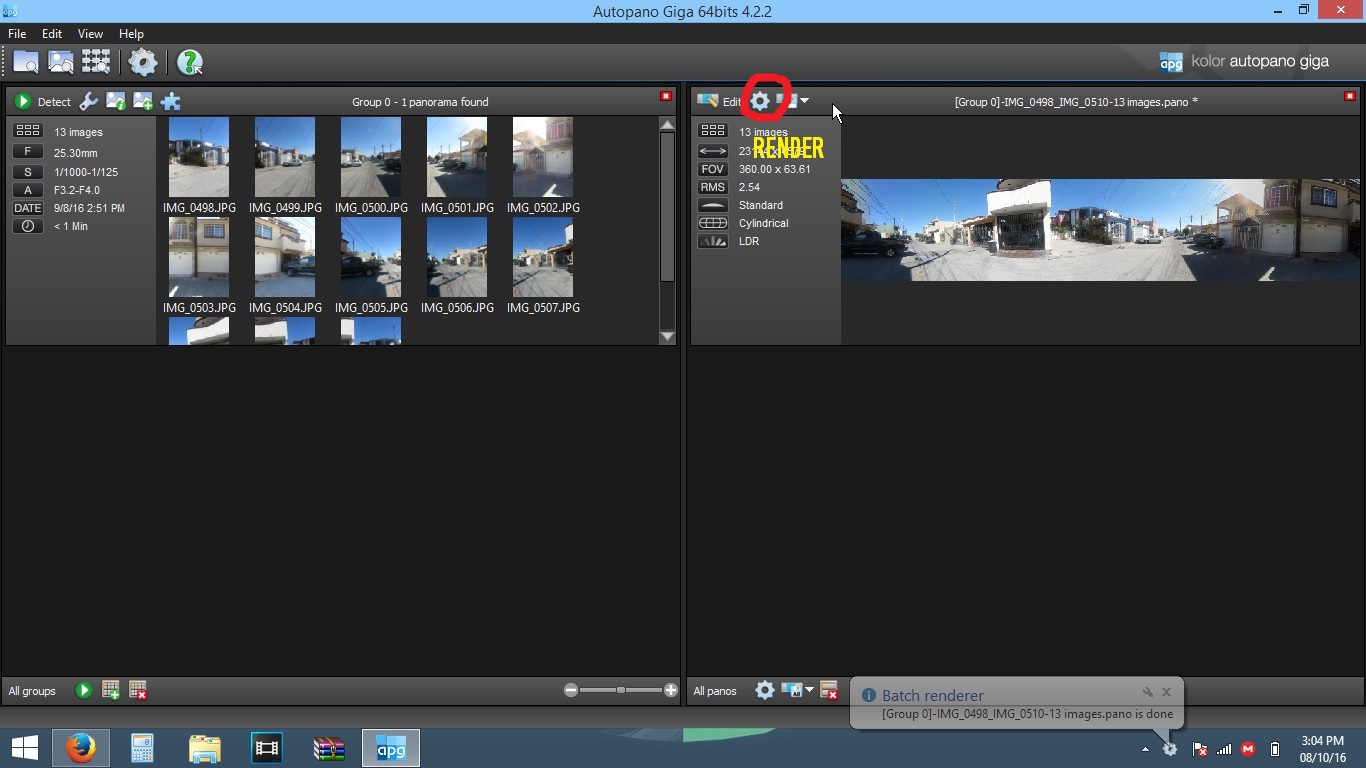
the next step when the program finish the program going to create a new window in the right side you need select the option edit to crop the image like a second photo, the program create a emergency window and you can visualize your photo and in the top and in the bottom you can see the variations in this case with the panoramic head you don't so much variation you can watch in the third photo the next step is crop the photo in the top of window have a button is in circle red this crop is automatic and you only need accept the crop, in the fourth photo I marked in a circle red you can select some types of views can you prefer to your photo.
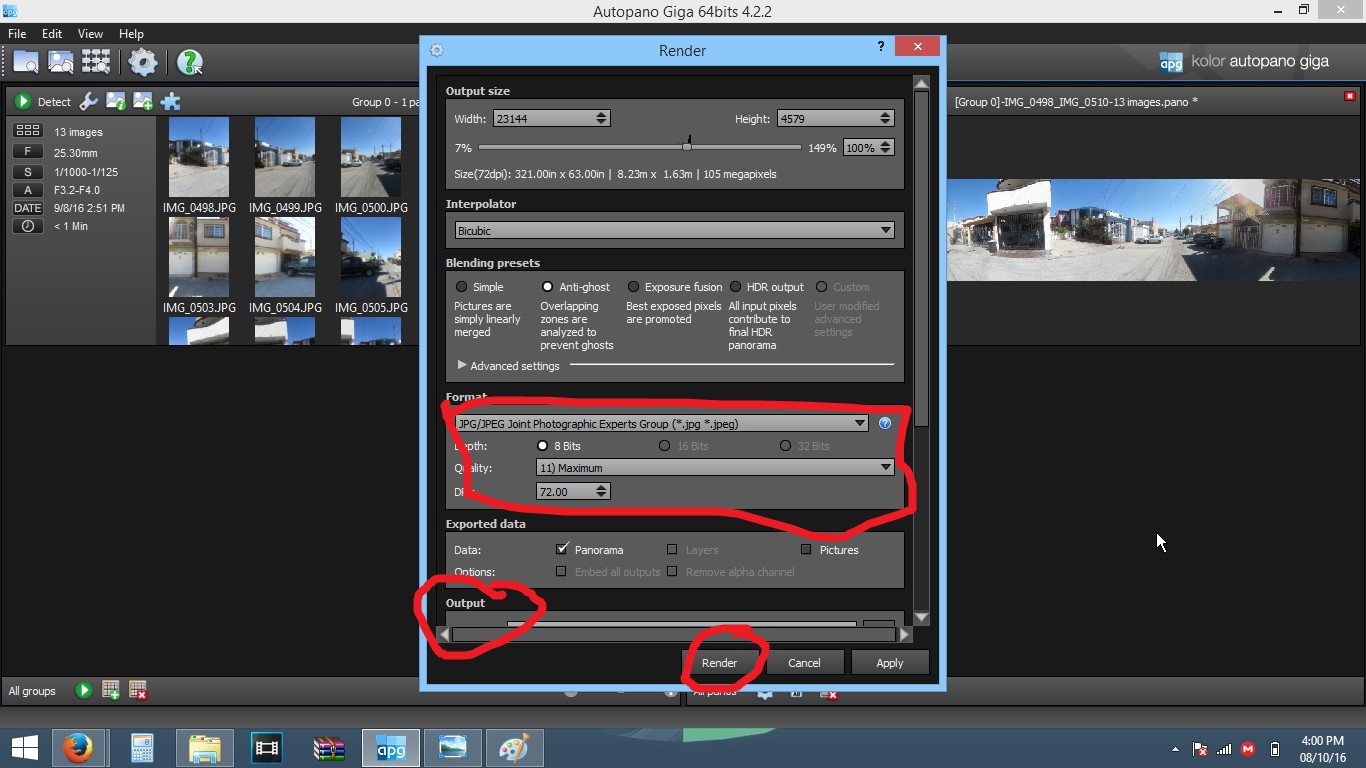
when you finish the edition the final step is do a render the button is in an fifth photo this button open a window in this window you can select yours values to your photo the quality and the folder to save the photo when the photo is finish you can get a great photo like the eight photo and that's it.