Panda Hoodie
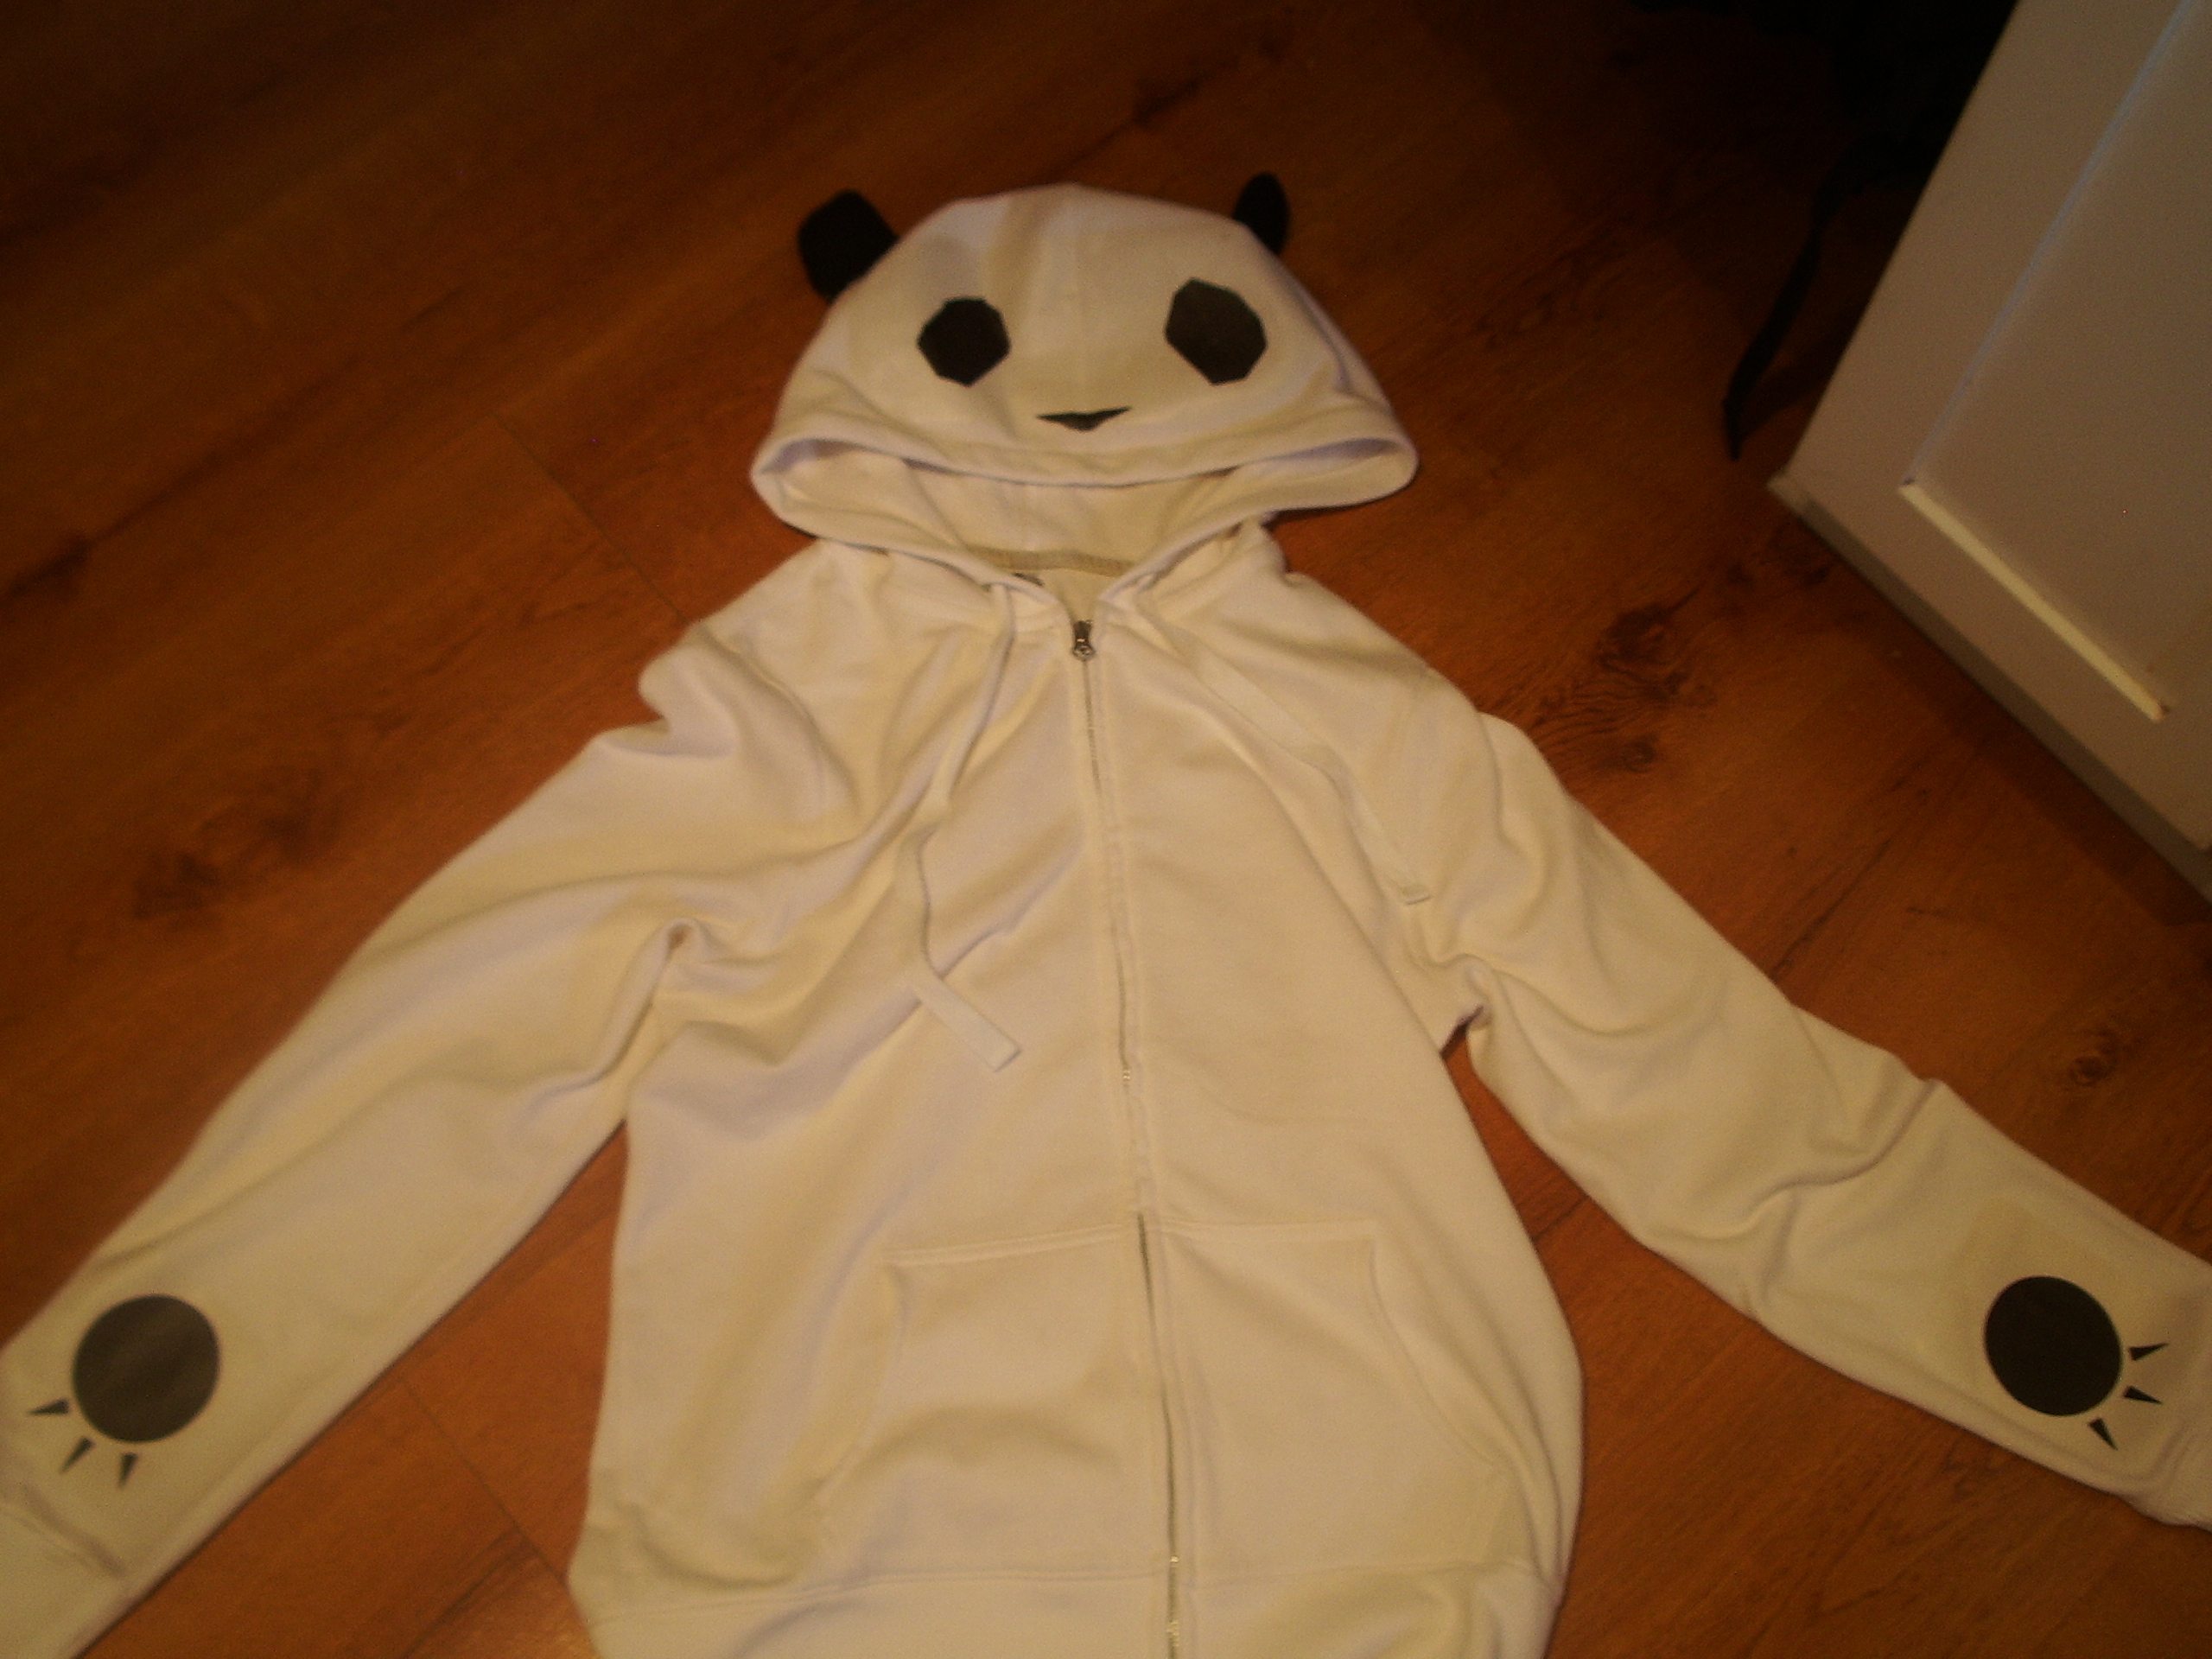
Welcome! this is my first Instructable, so enjoy!
this is how to make a panda hoodie, but it is easily customizable
it does require some basic sewing knowledge
materials required:
hoodie (plain) i got mine at old navy for 5 bucks
iron on transfers
black felt
fabric marker
thread-black and white
needle (larger)
creativity
this is how to make a panda hoodie, but it is easily customizable
it does require some basic sewing knowledge
materials required:
hoodie (plain) i got mine at old navy for 5 bucks
iron on transfers
black felt
fabric marker
thread-black and white
needle (larger)
creativity
Design and Decide What You Want!
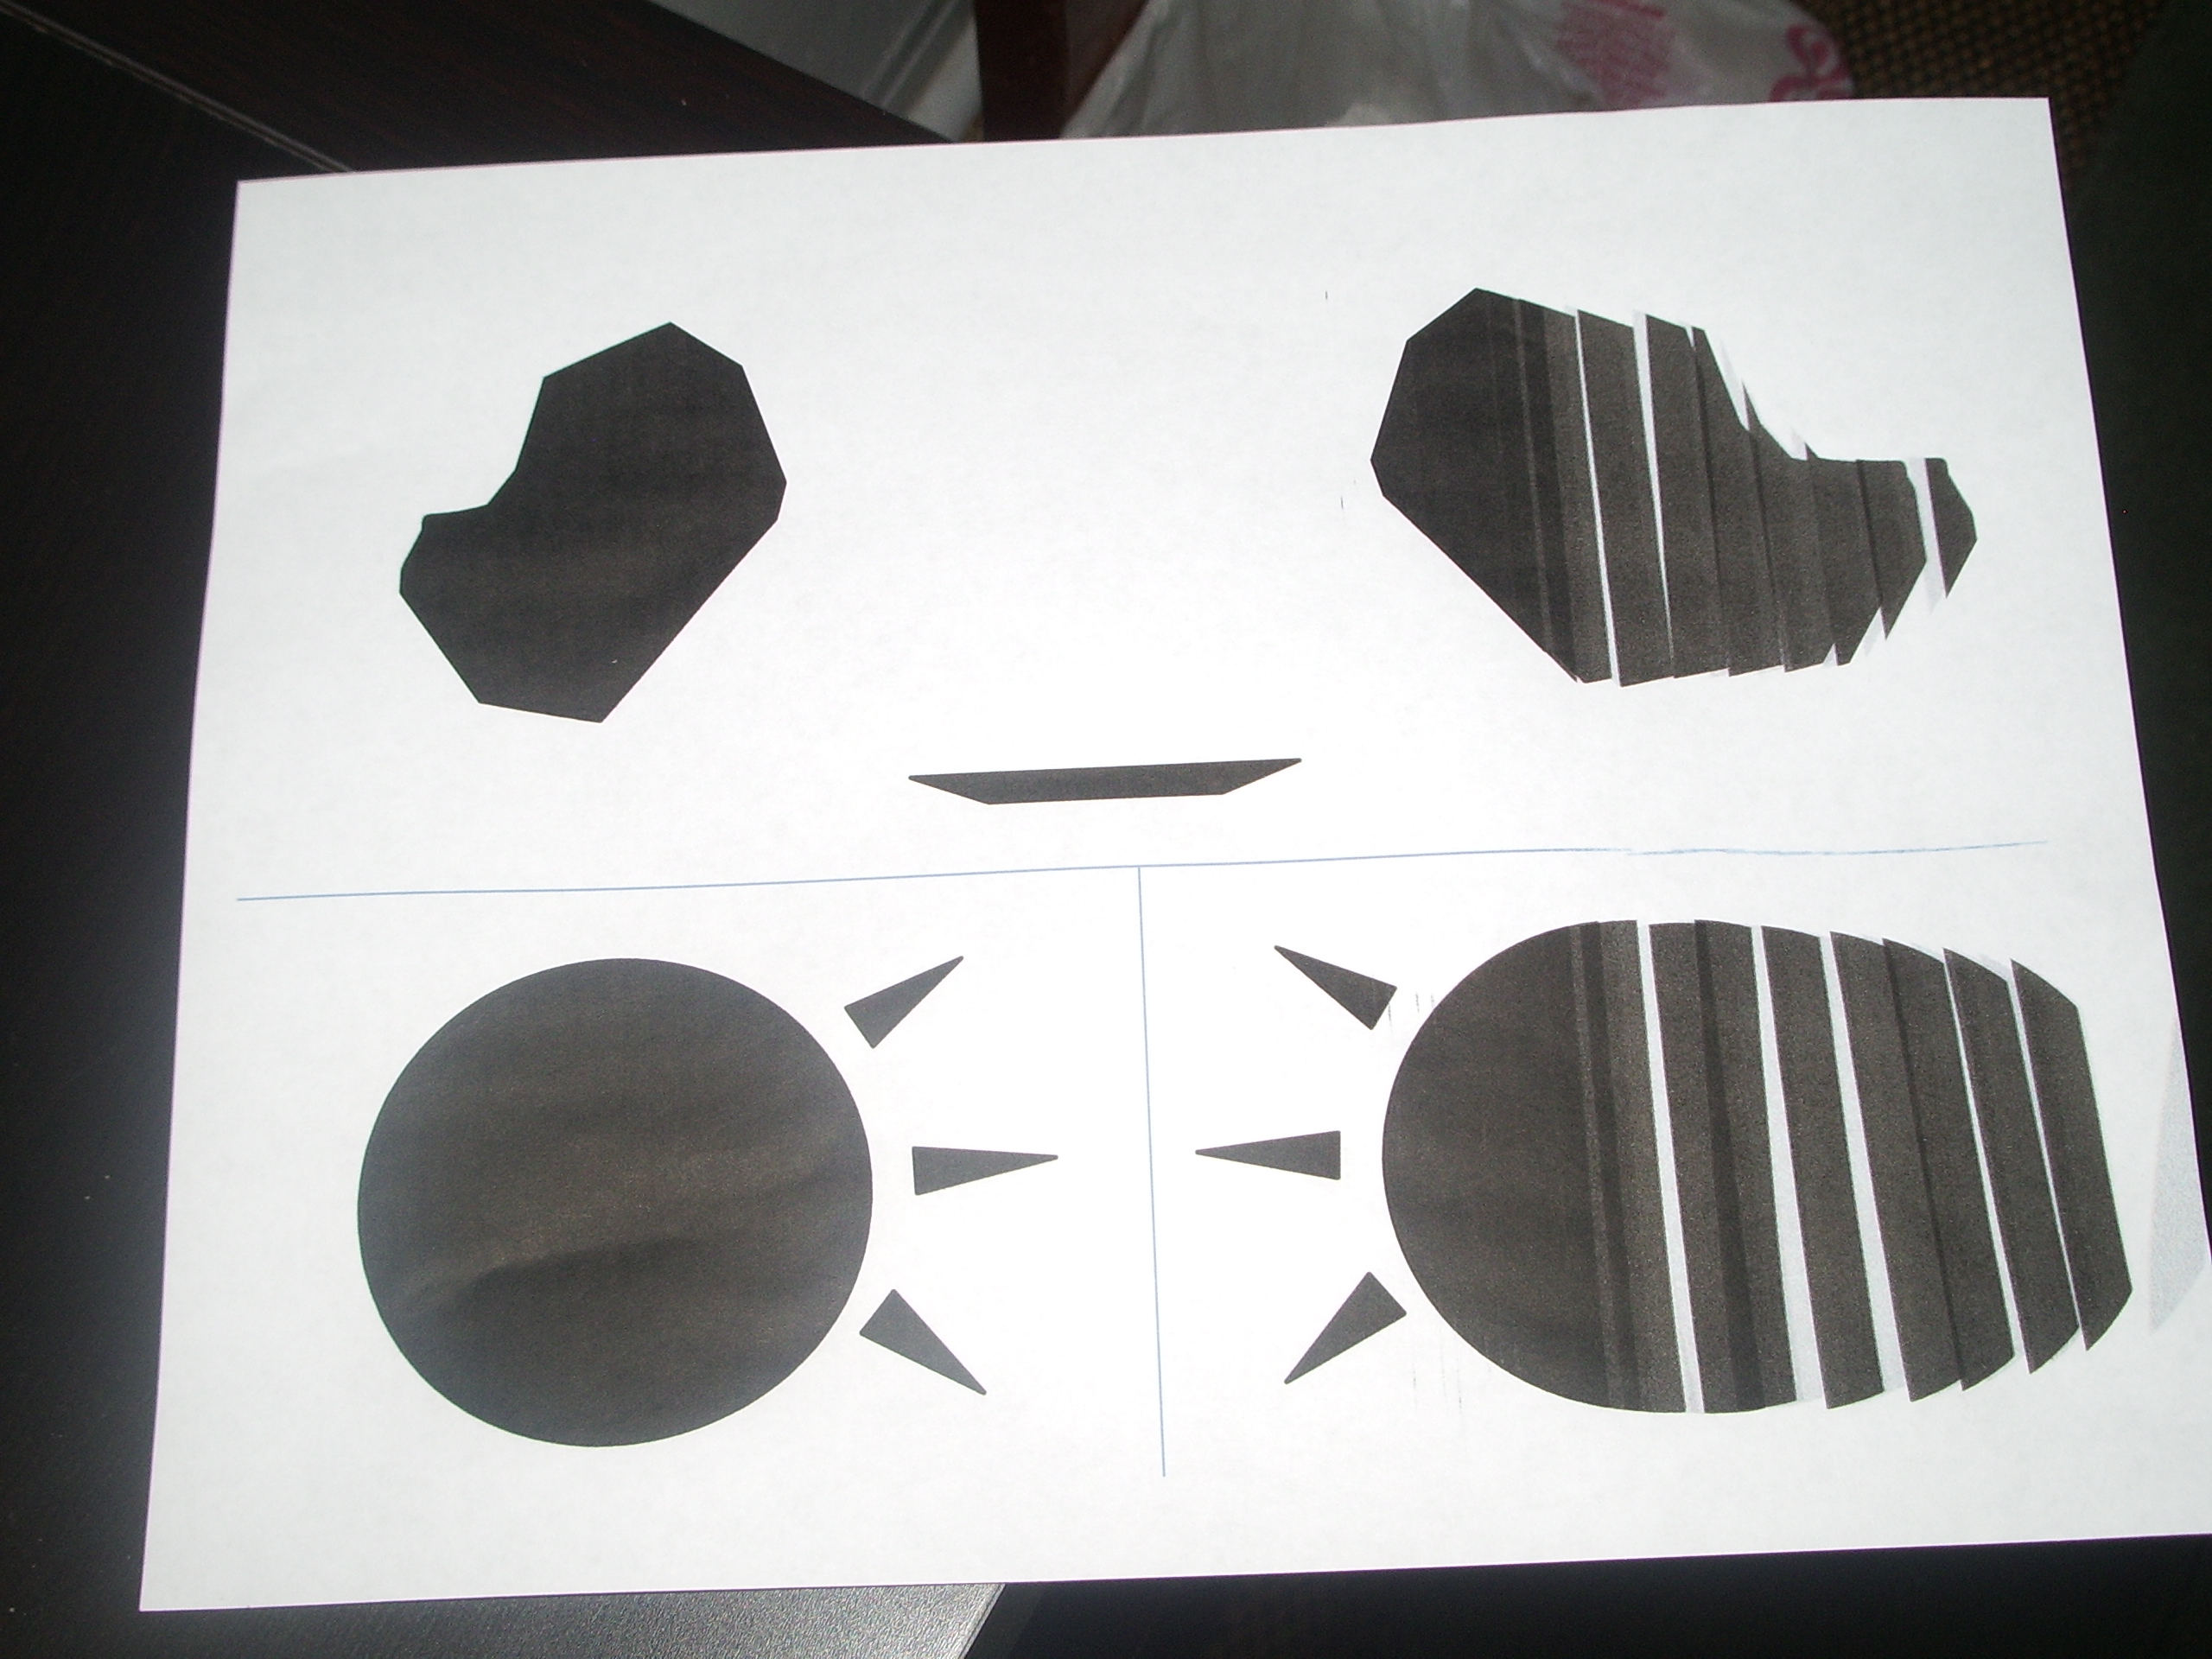
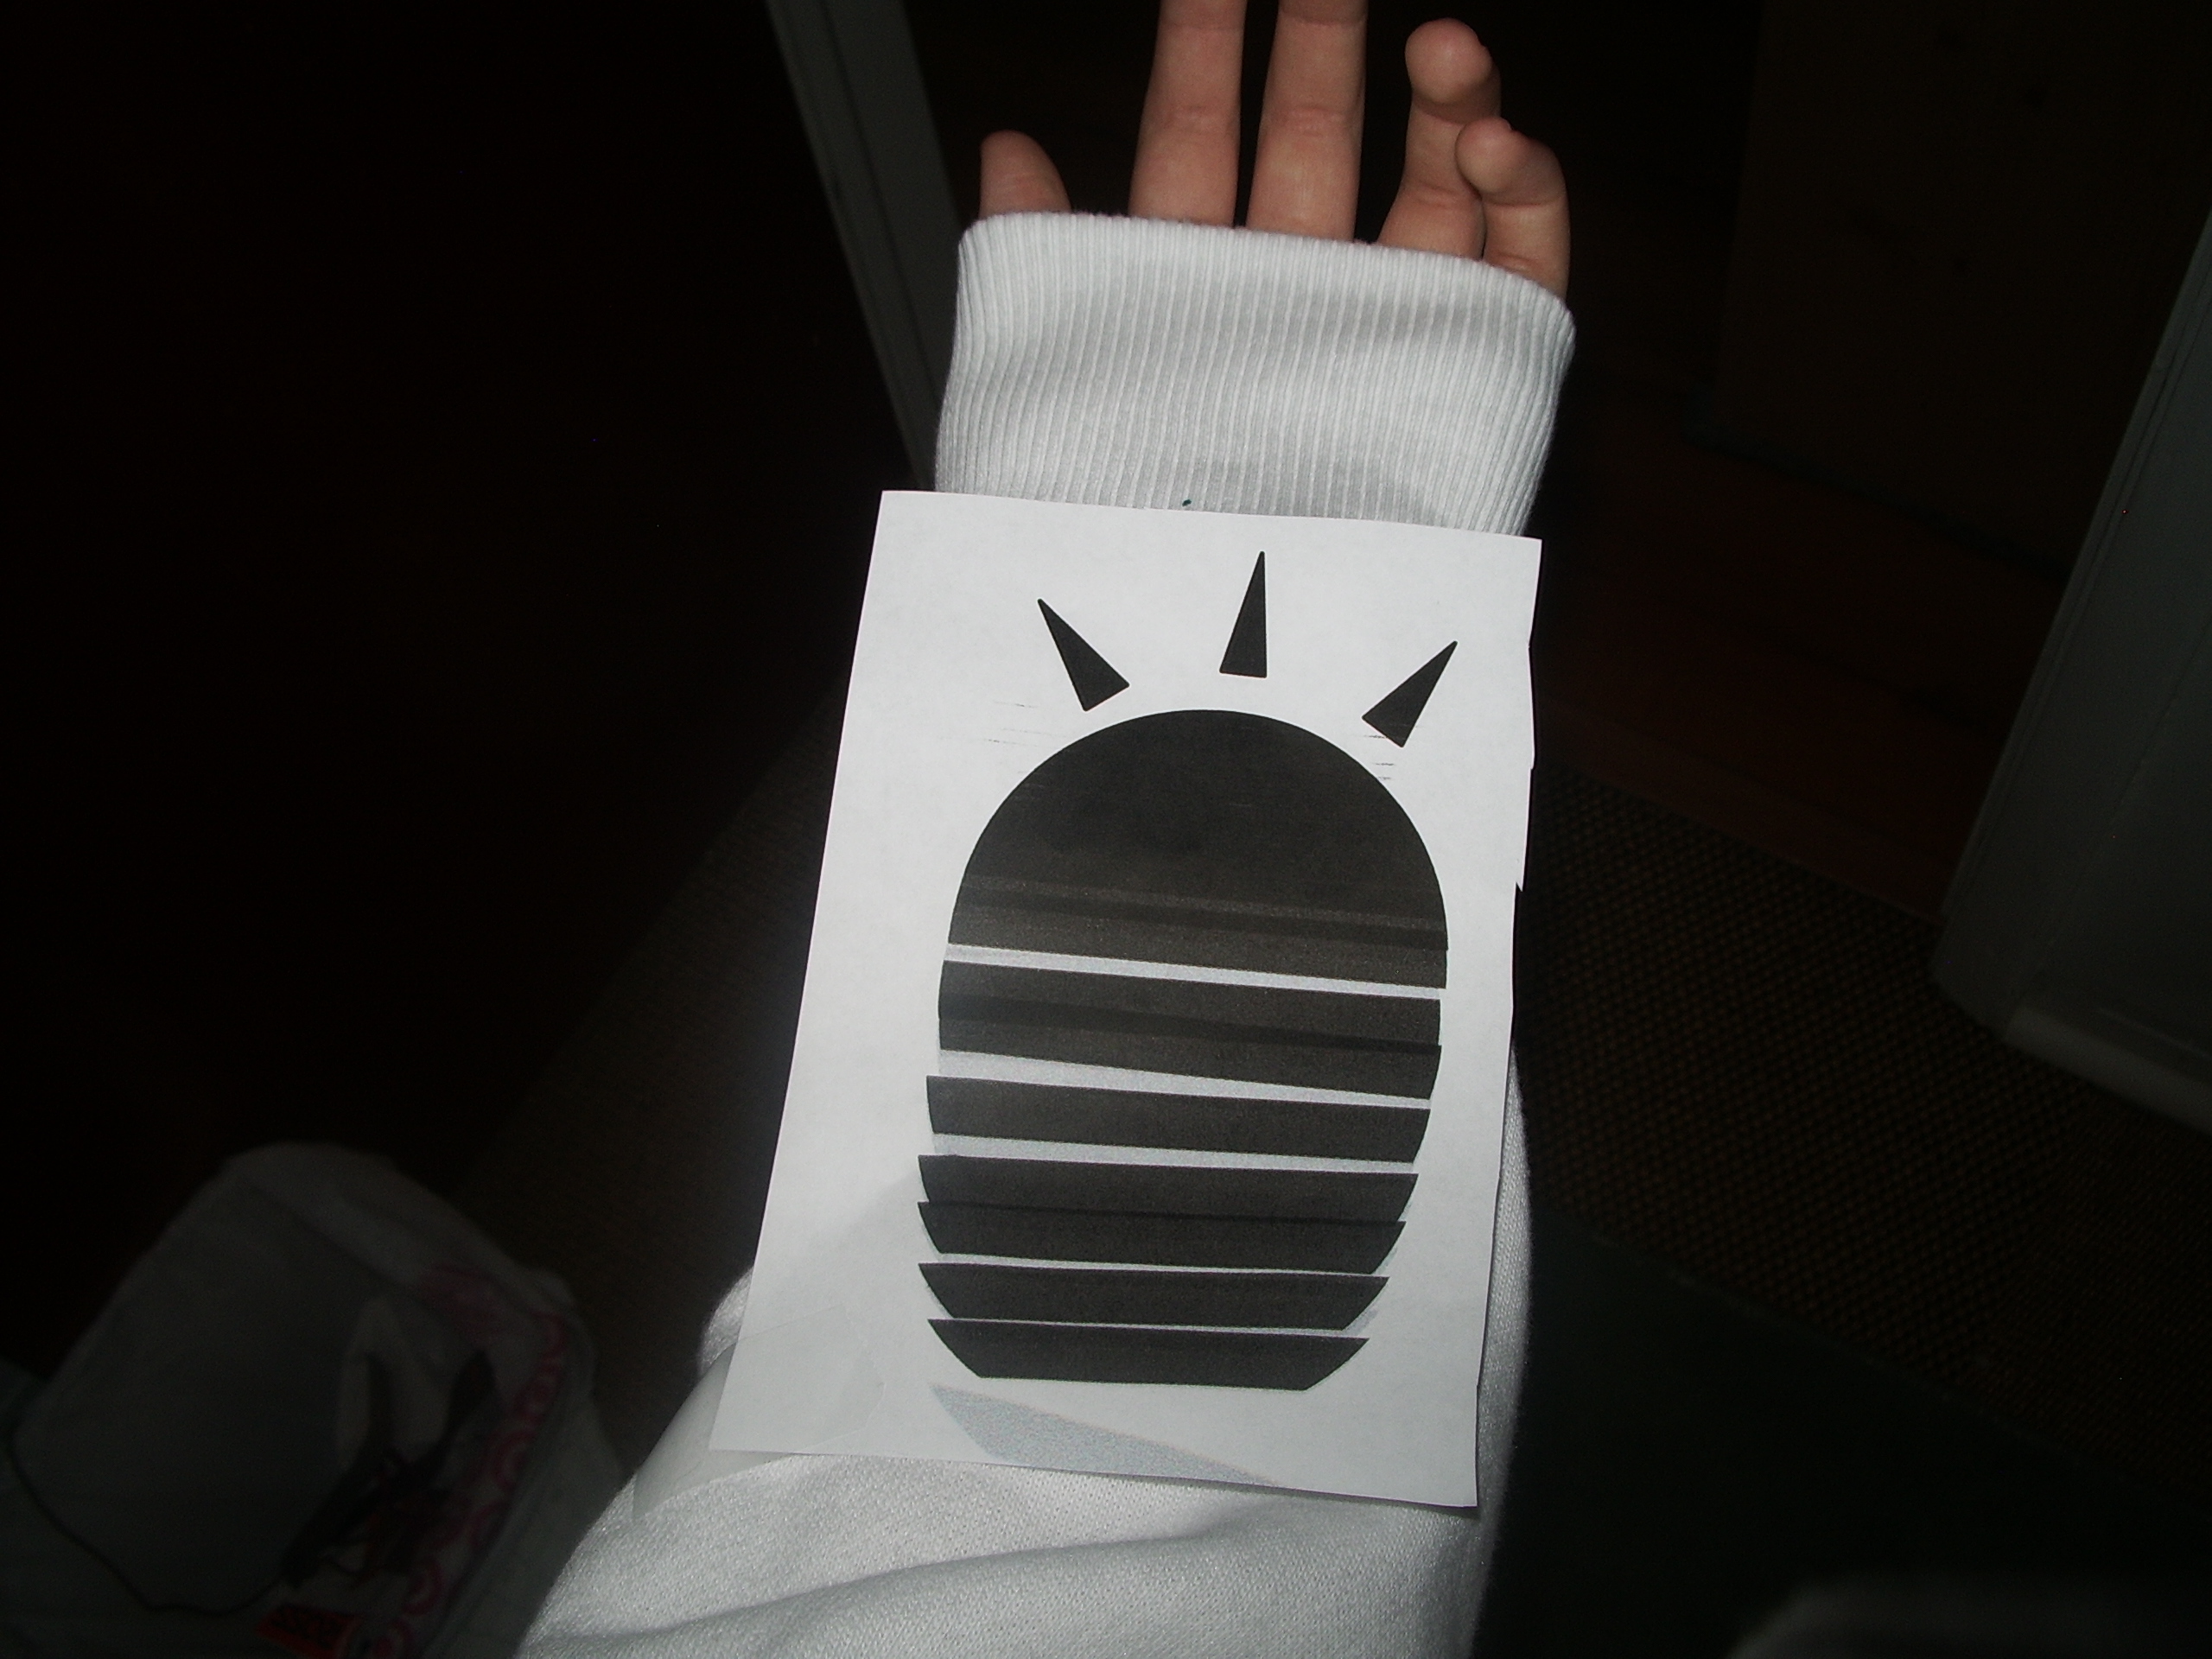
the first thing to do is decide what you want on the hoodie. for this Instructable, I did a panda.
Design what you want on the hoodie with the computer. I used power point, and put a picture of a panda in and traced the eye shapes with the polygon tool. then i put in the paw shapes on the bottom so i wouldn`t have to use more than one sheet of transfer paper.
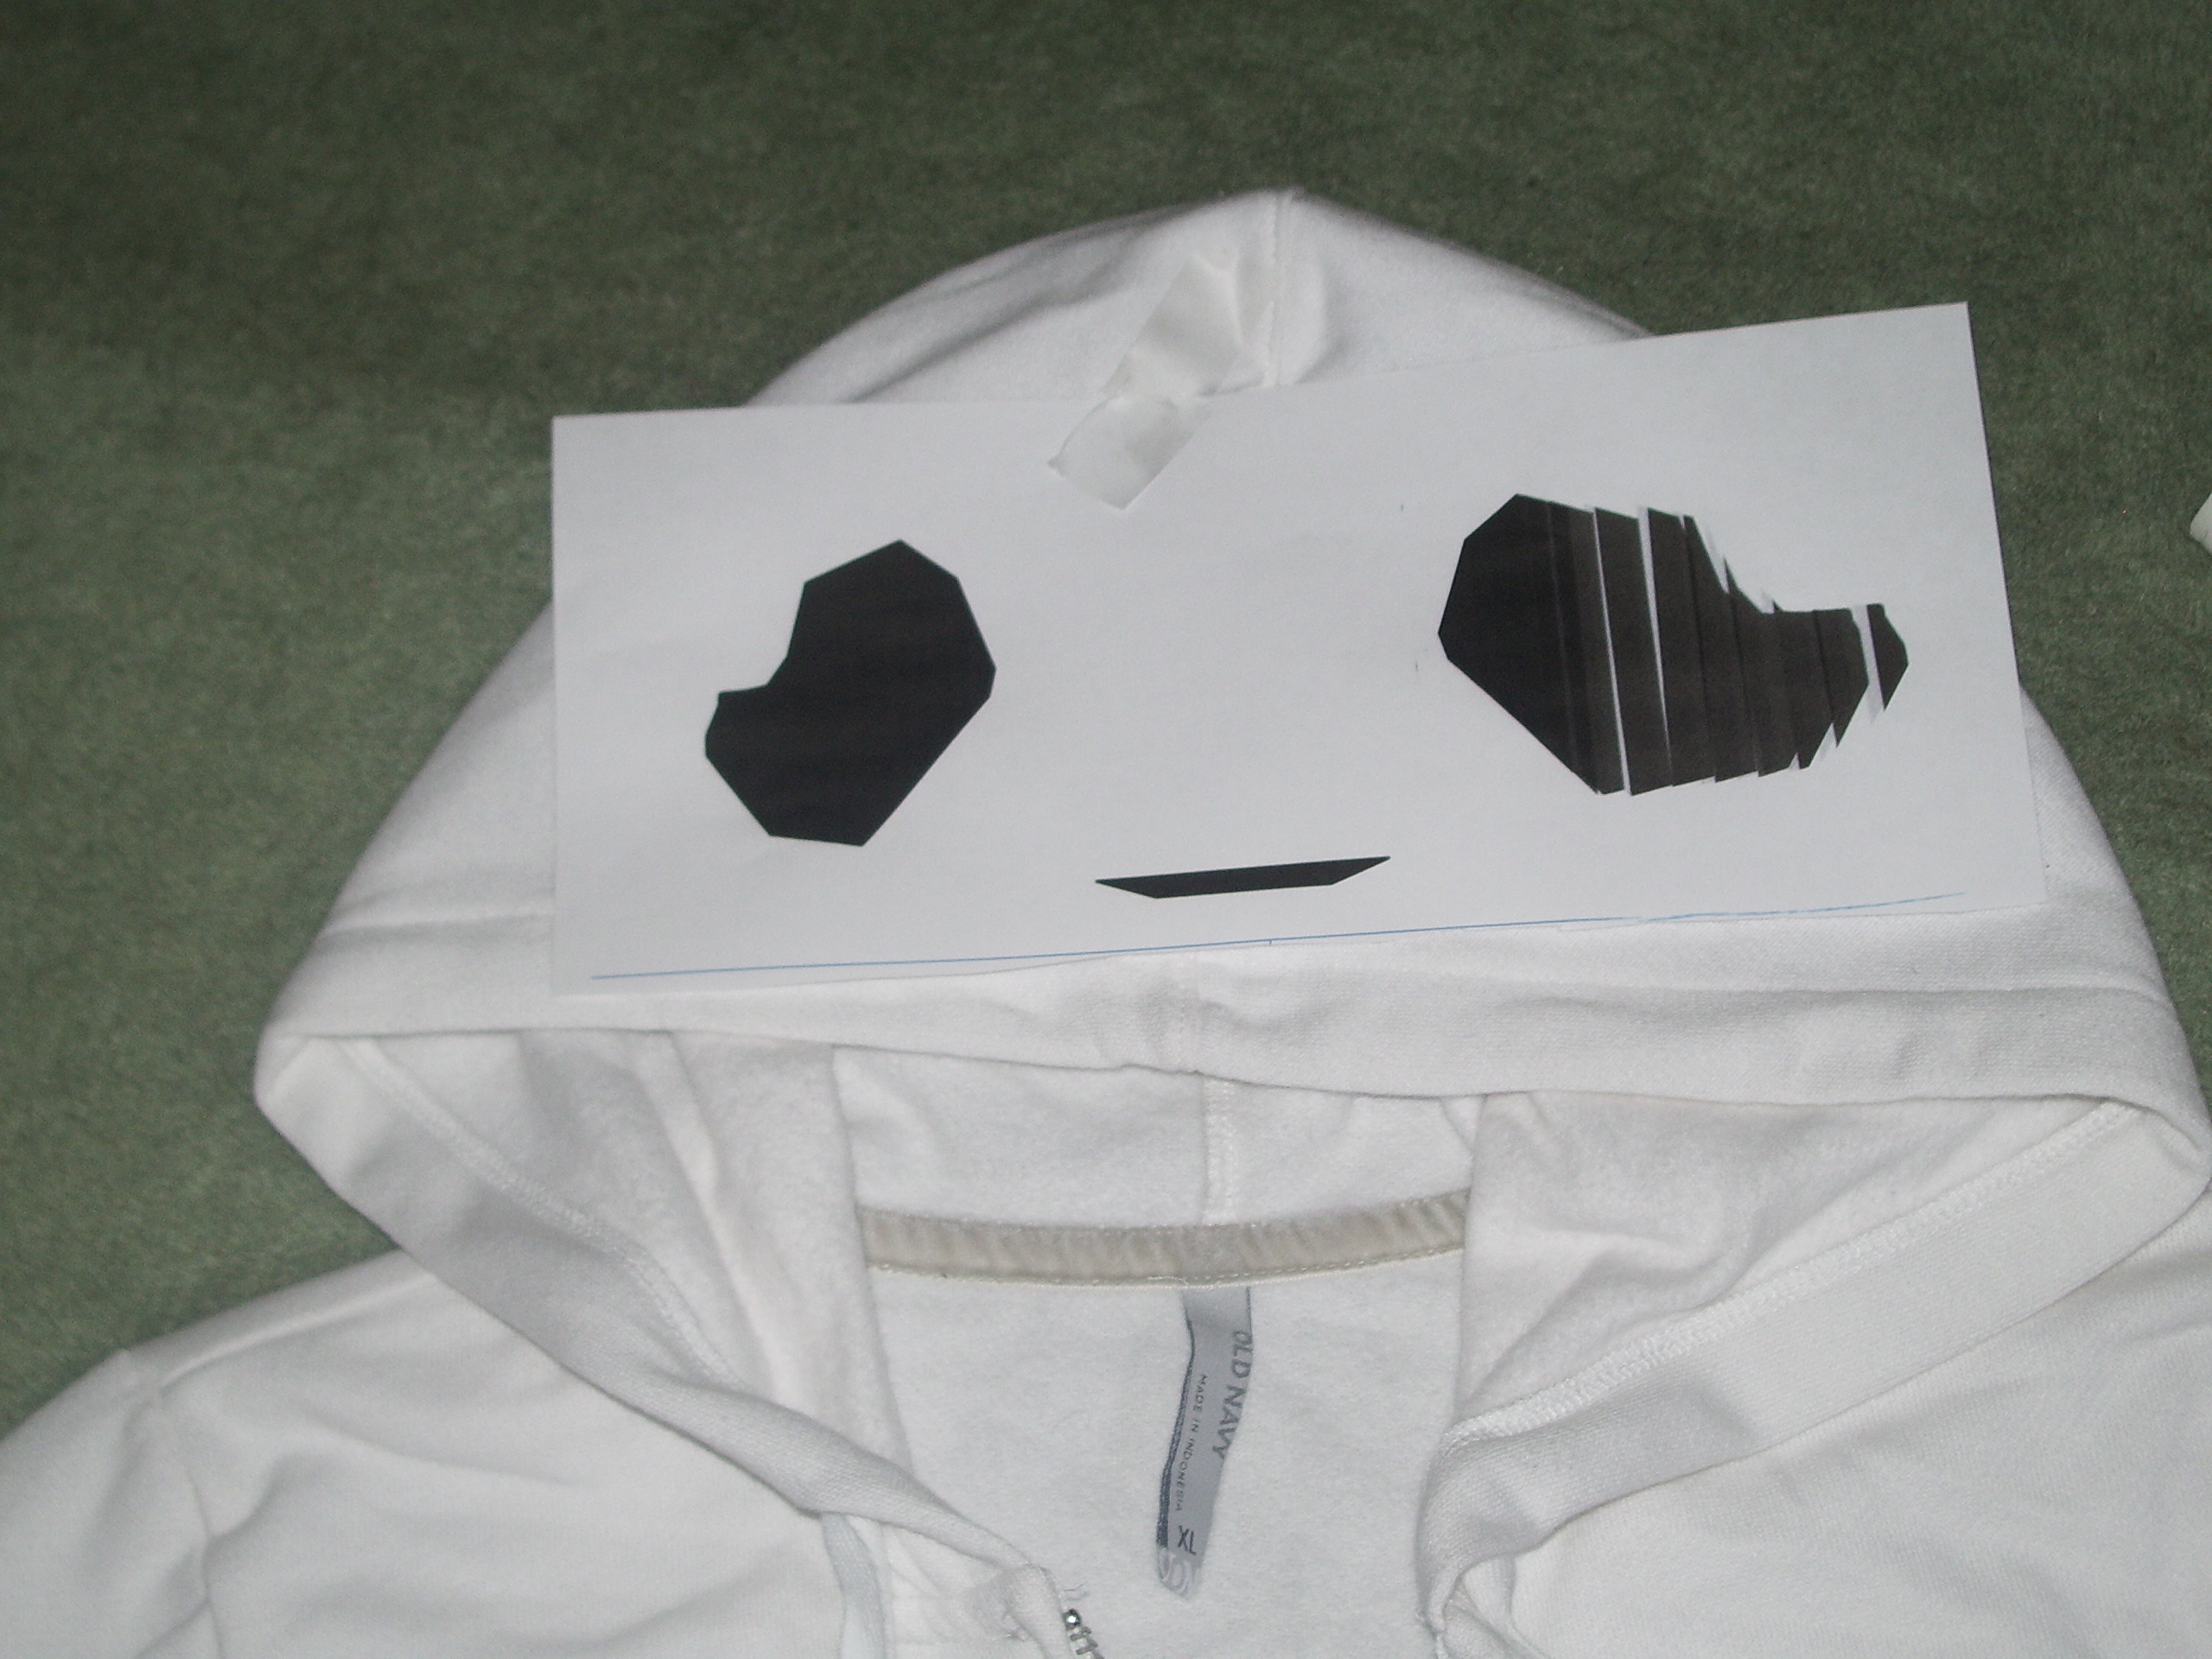
Print a "fast draft", then tape it on the the hoodie in the desired places.
Now you can kinda see what each thing will look like. As you can tell, the eyes on mine were a little large. now go back in power point and adjust whatever needs to be adjusted. if you`re all ready, go on to the next step...
Transfer the Iron-on
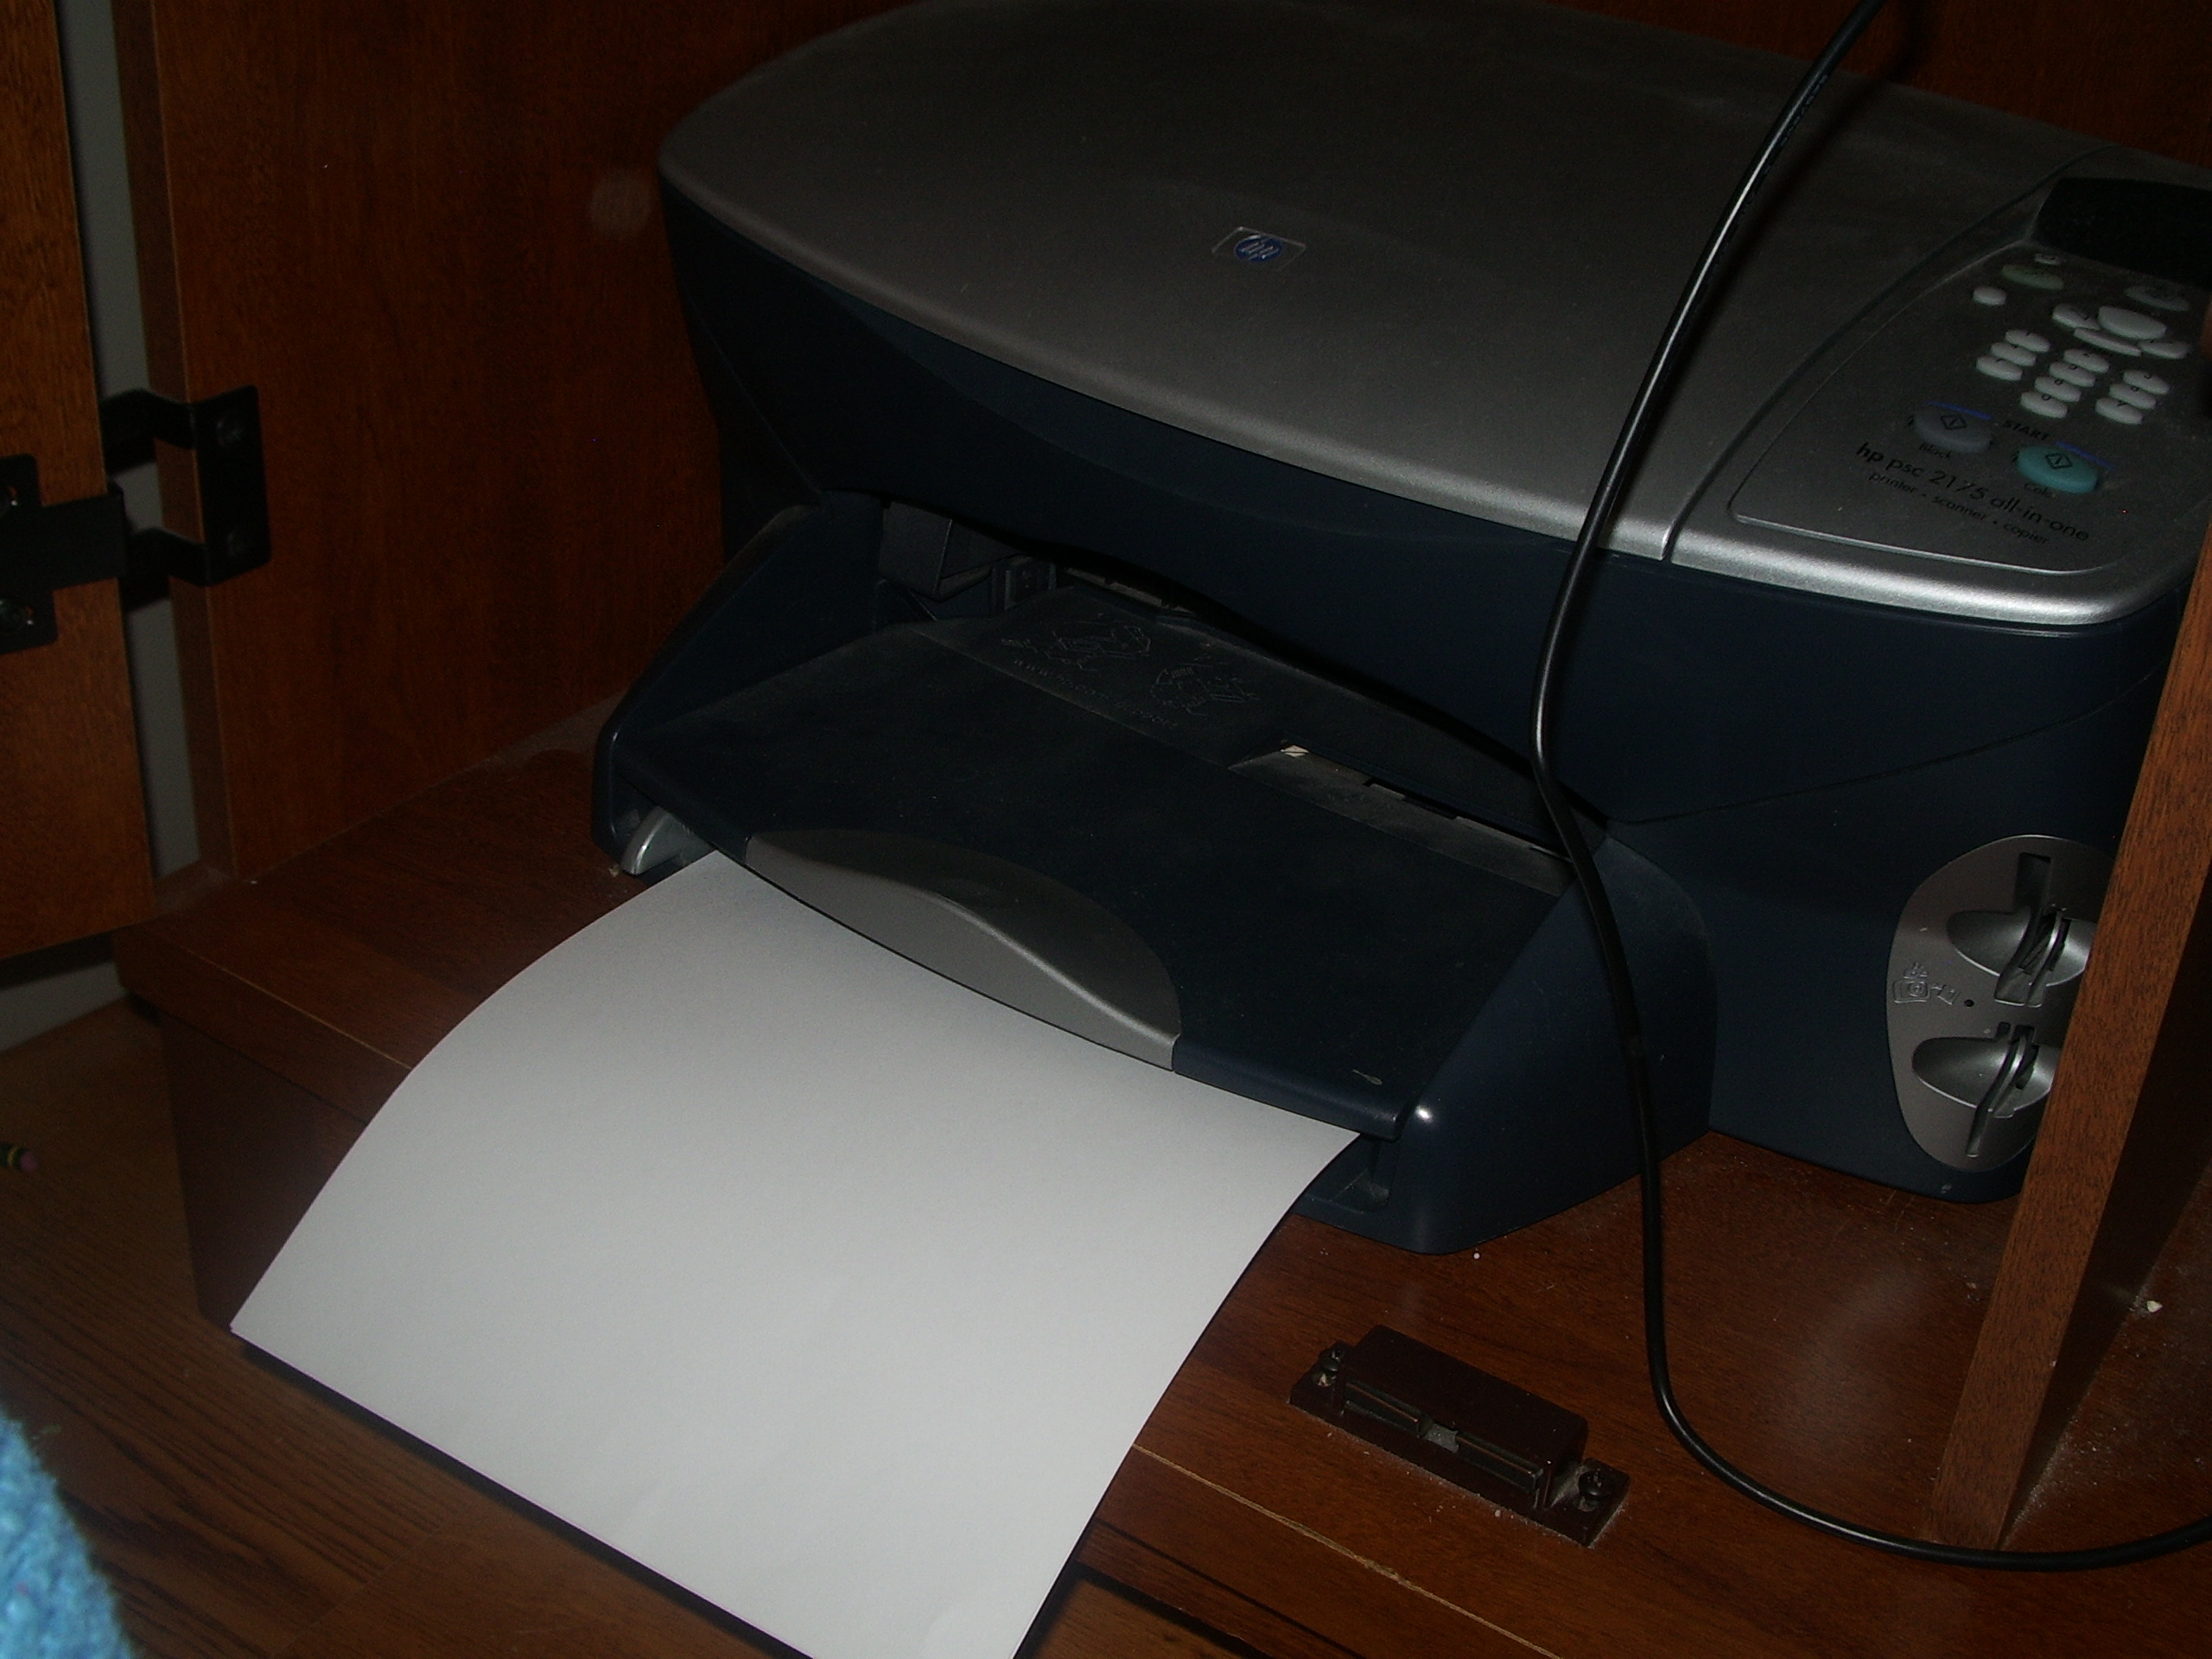
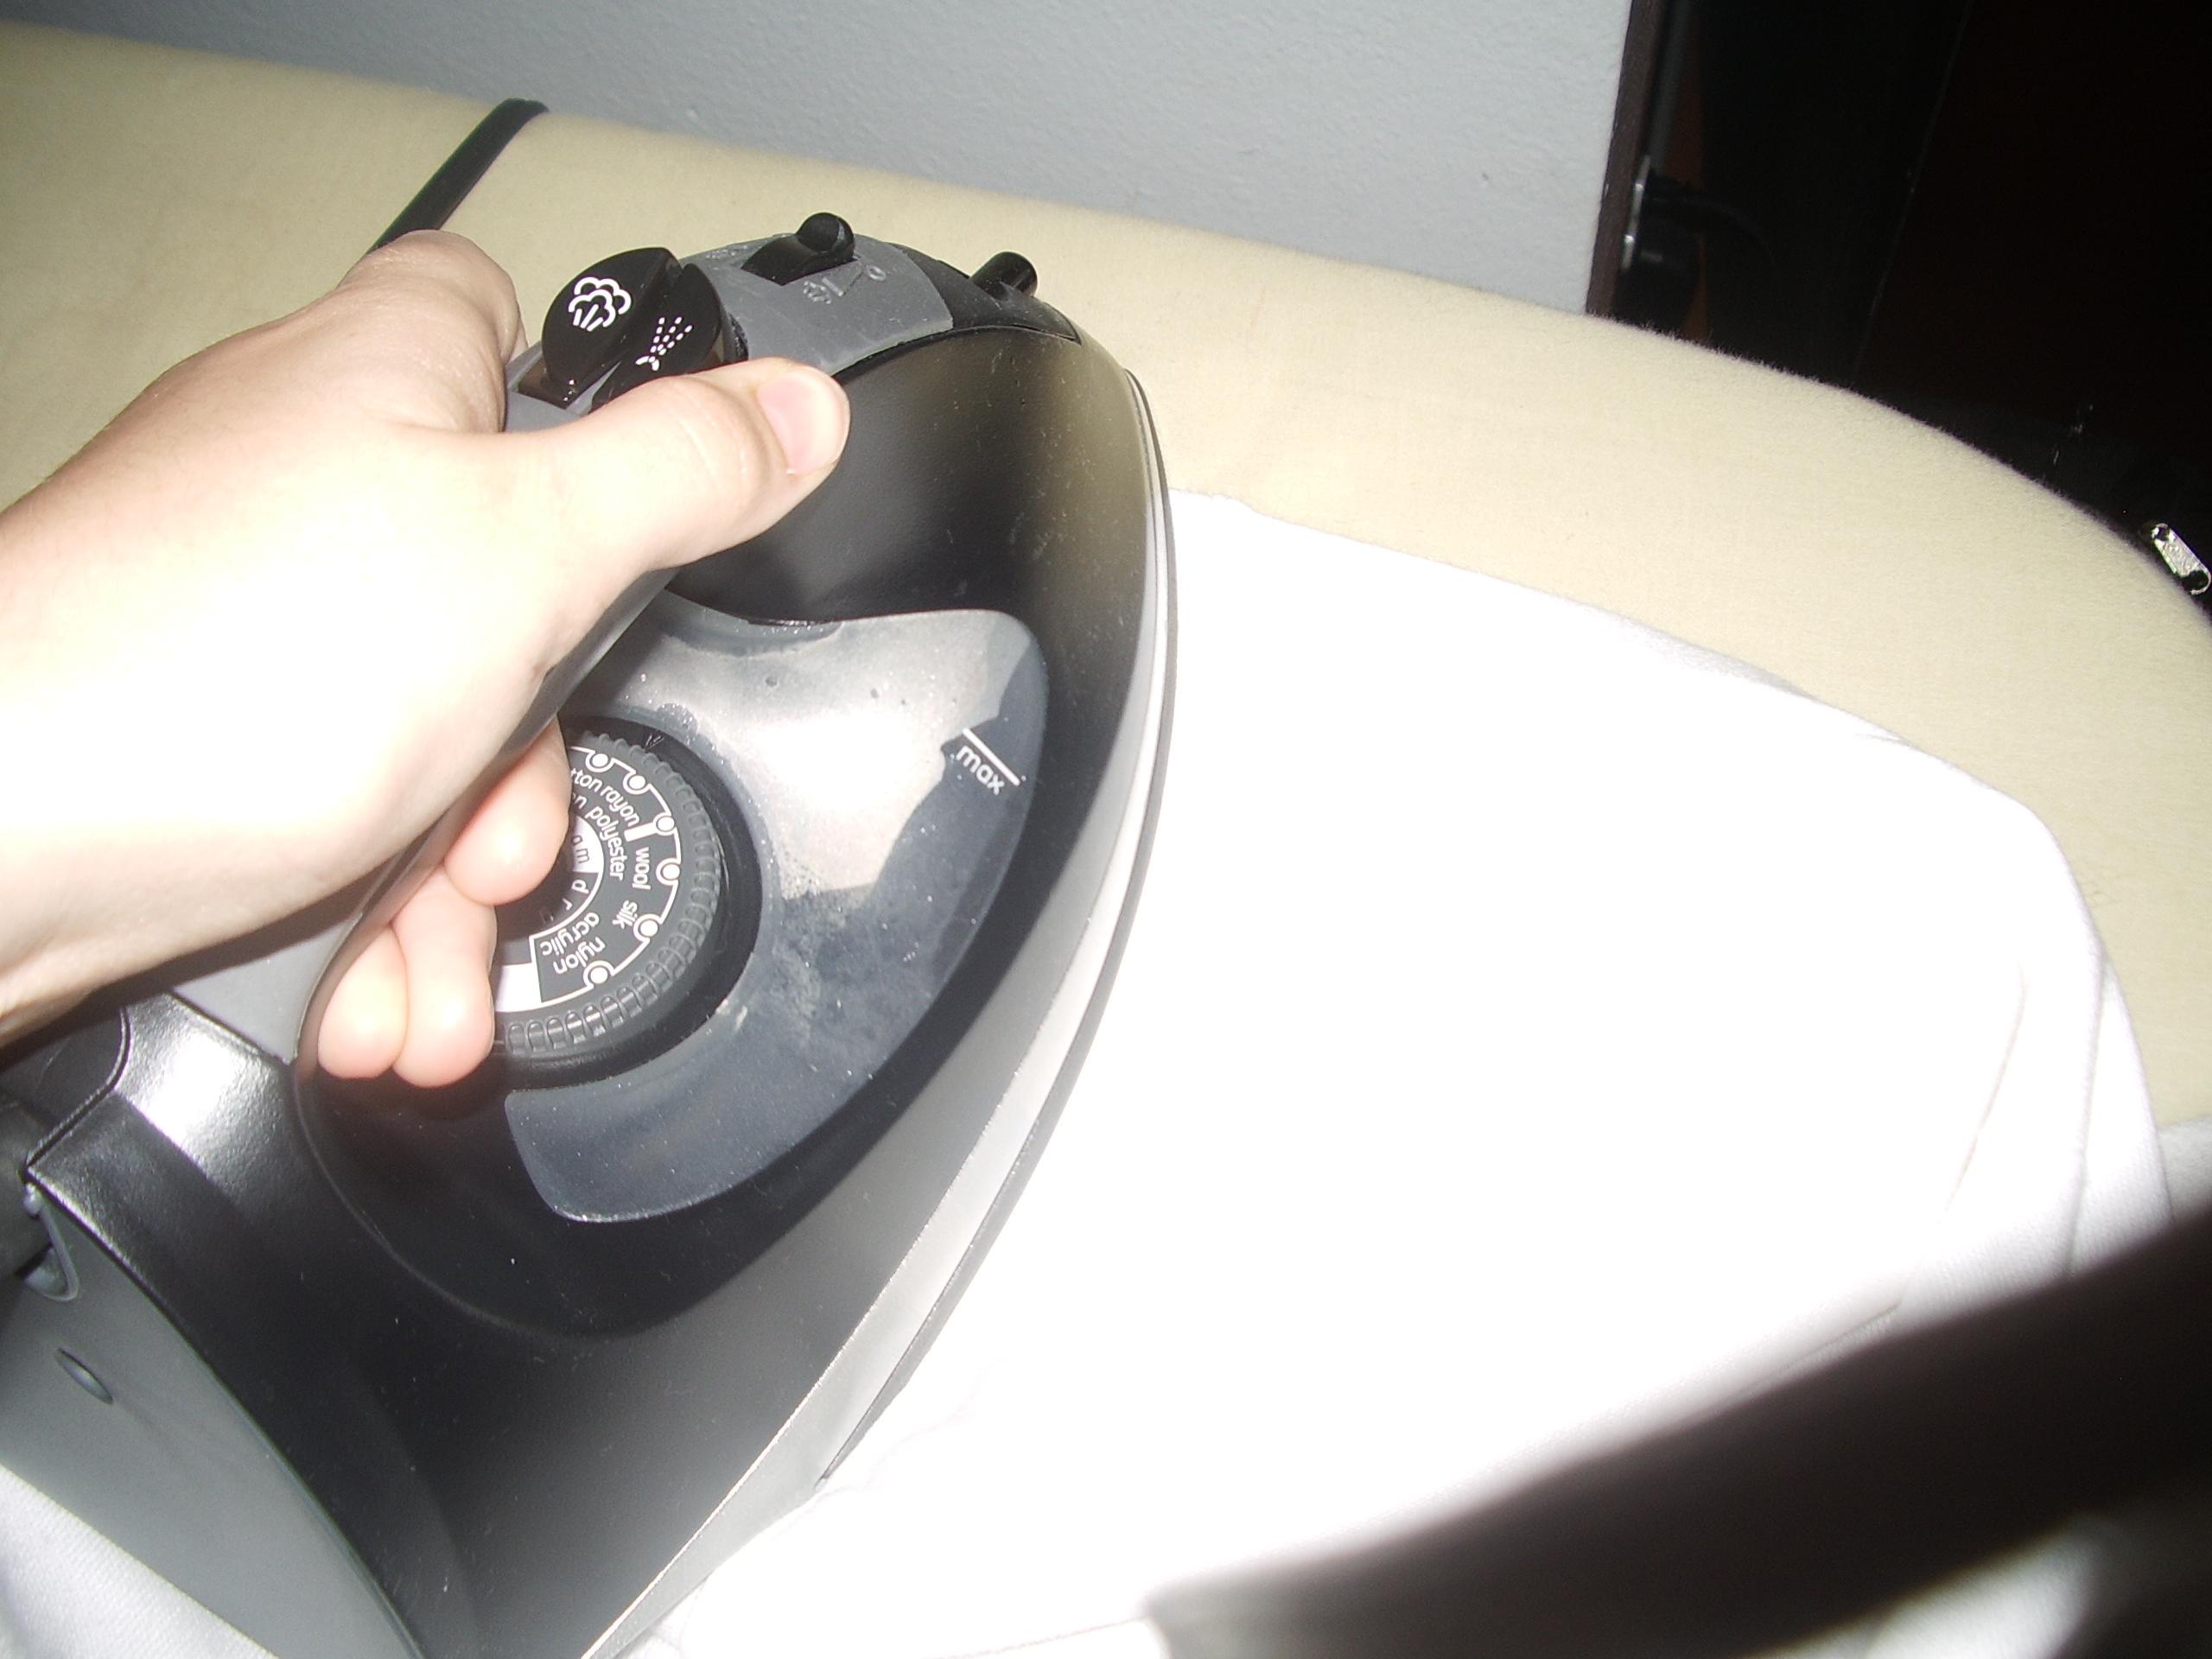
If you are doing this in power point, go to print, then properties, and select specialty paper-transfer paper. be sure to put in the iron on paper upside down and to flip the image if needed.
now print it out...
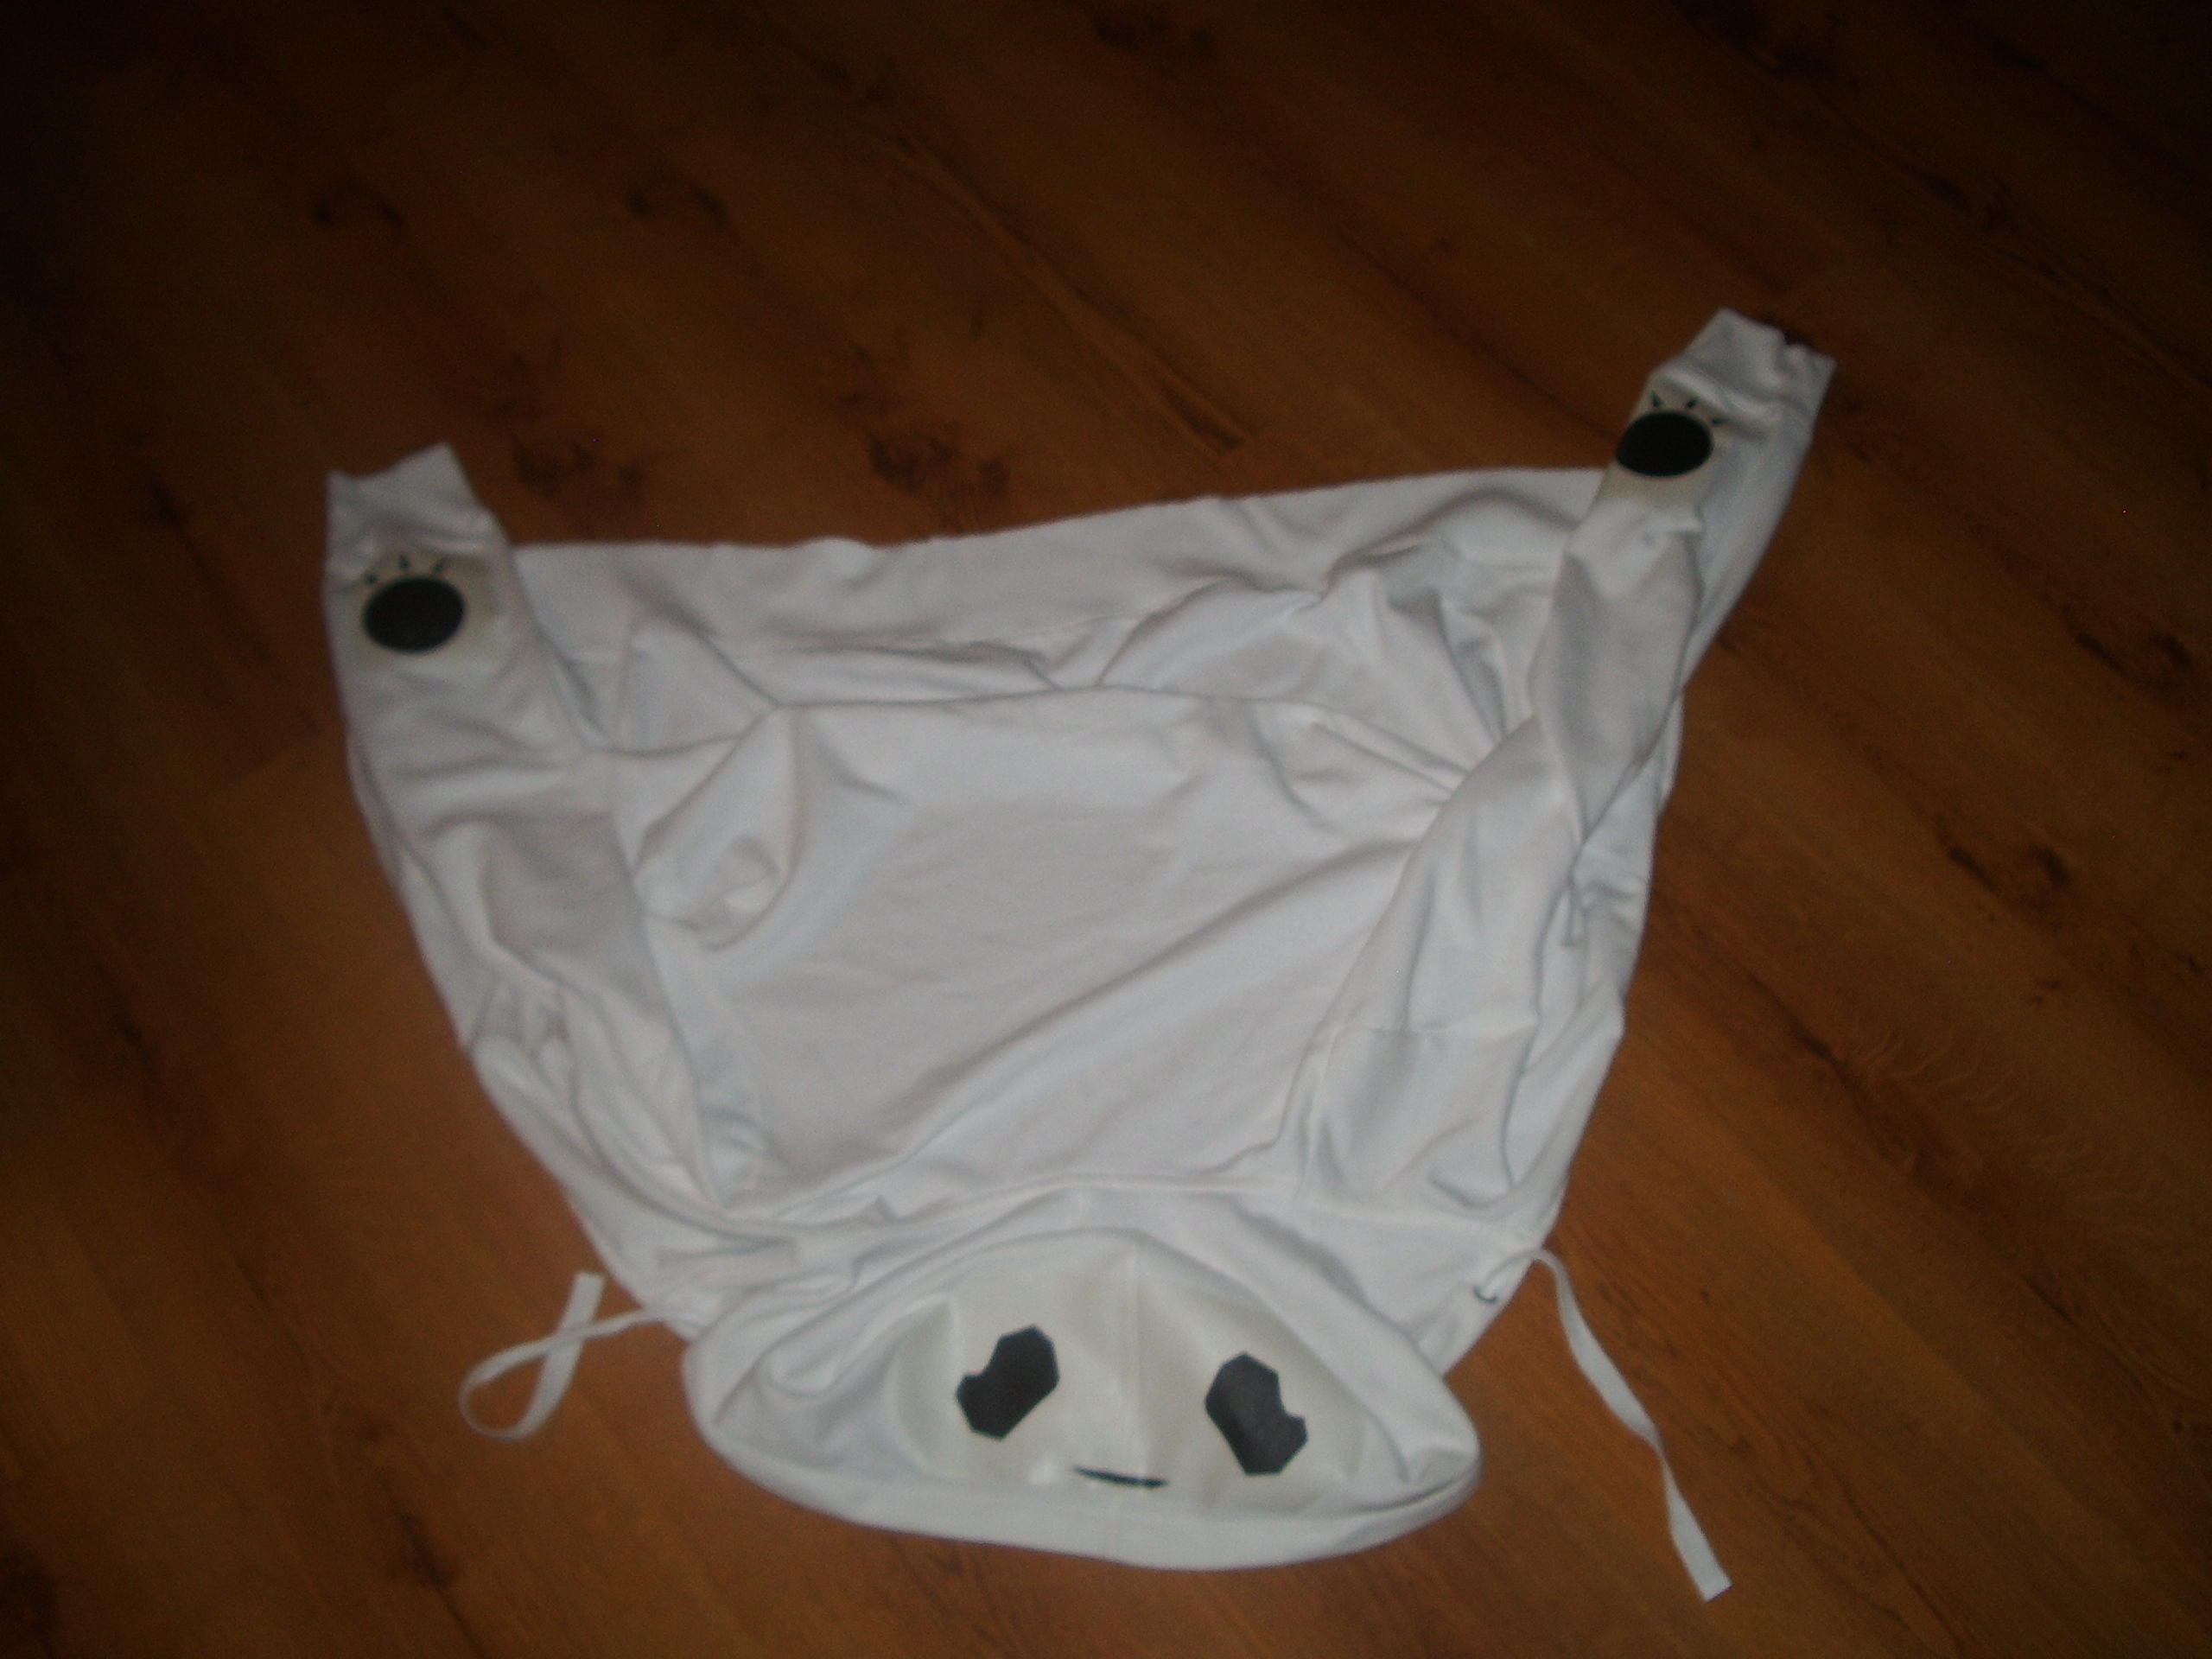
assuming that it printed out right, follow the instructions in the transfer to get your iron ready, trim it, iron the hoodie, etc. now iron on the separate parts .
i did the hood first, to get it over with. be sure to iron really well around the crease in the middle.
The paws are a lot easier, except make sure you know which side will end up on the inside.
Part 2- Panda Ears
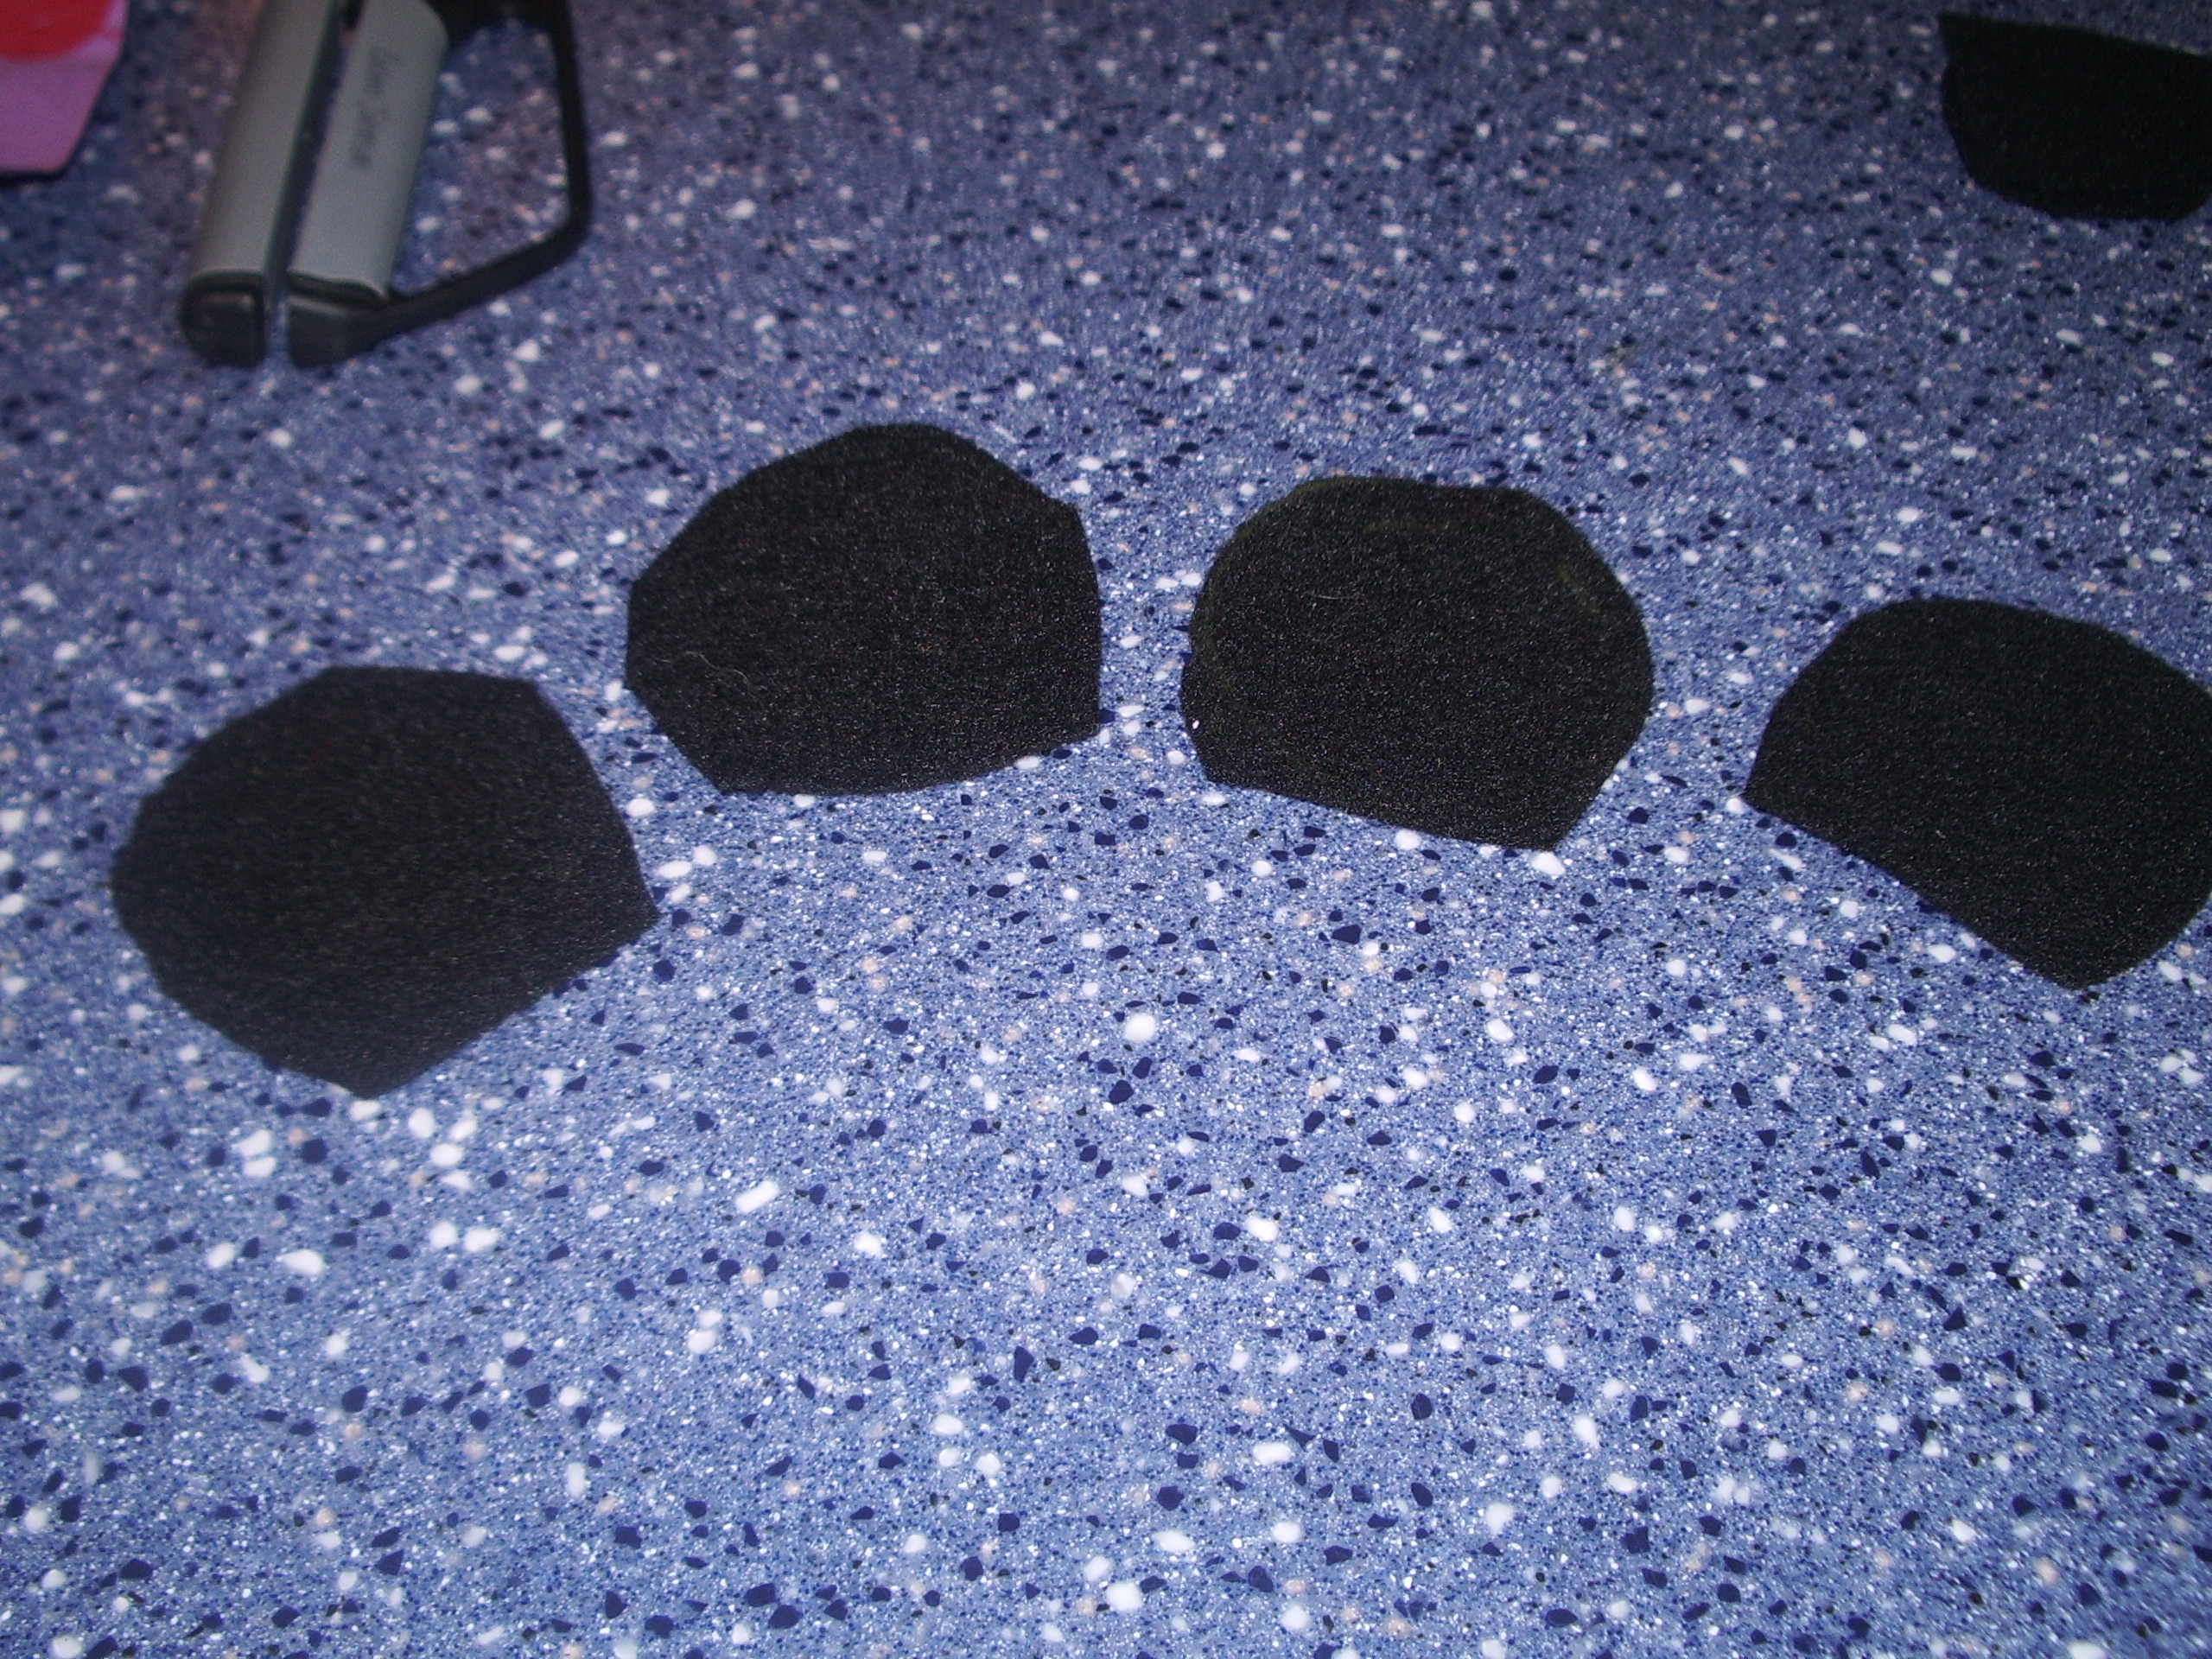
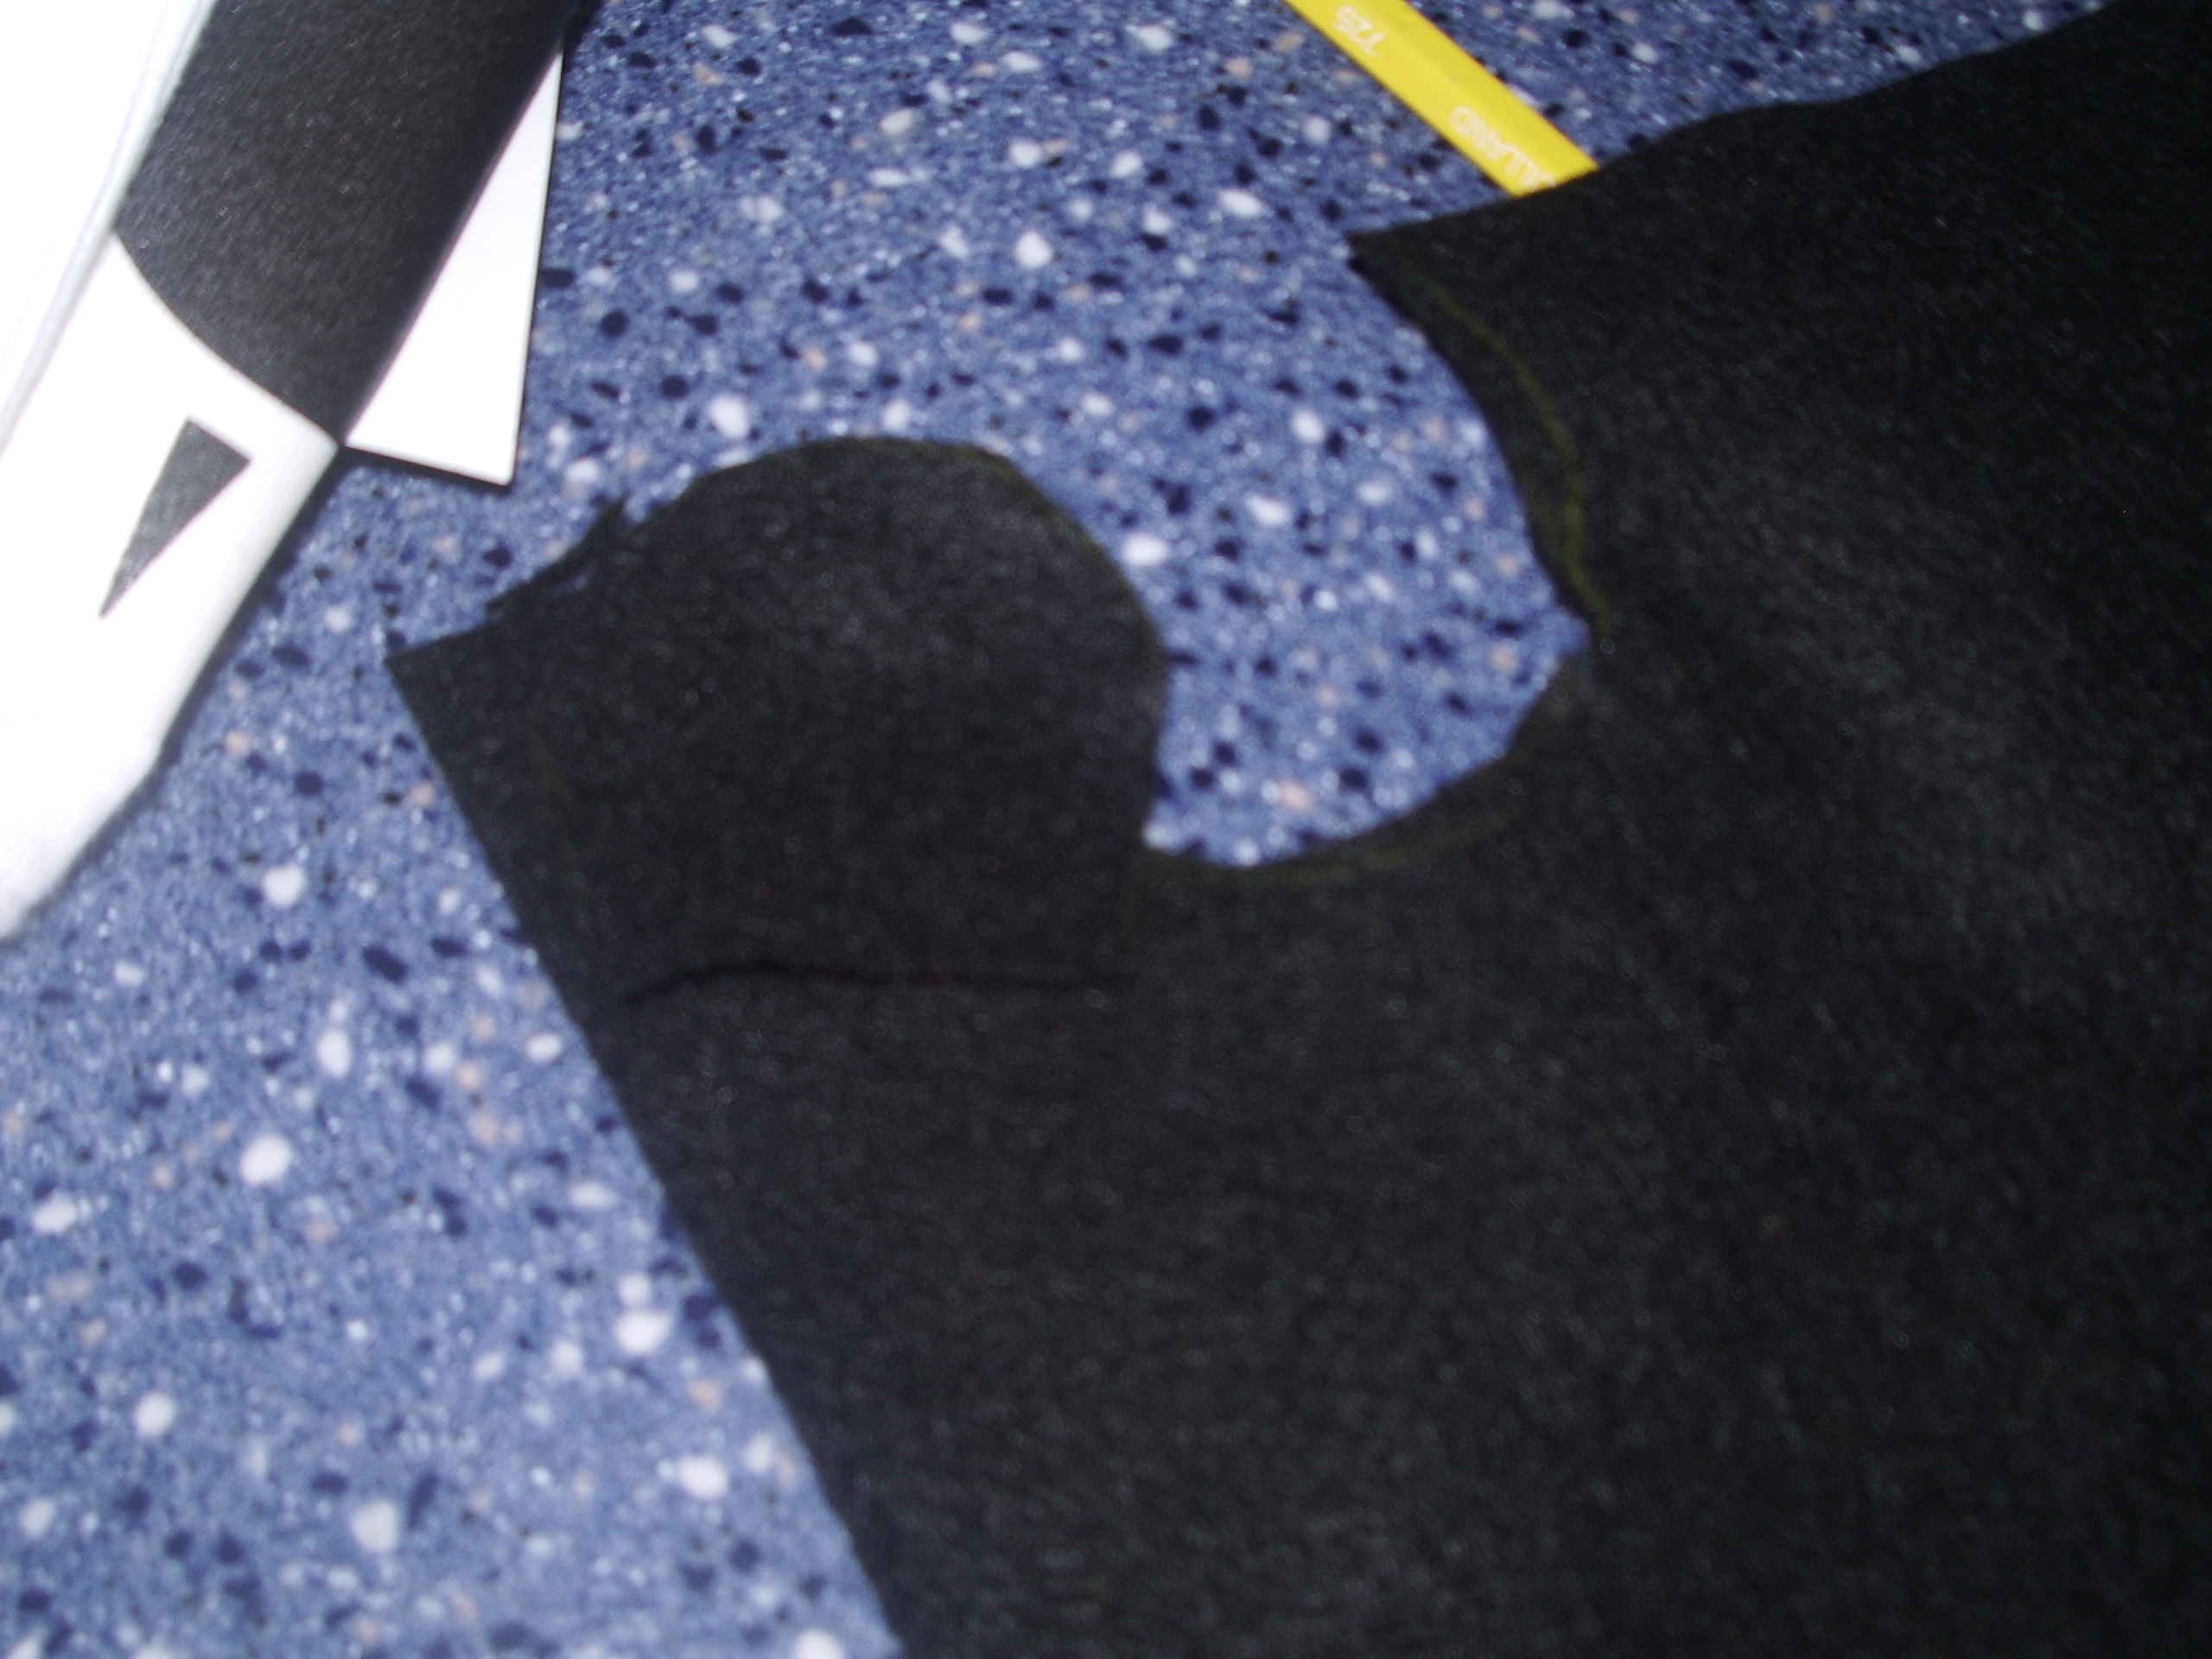
now it is time for part 2- the ears. the materials were already mentioned in the intro but here they are again:
felt-black for the panda
black or dark-colored thread
thread the same color as hoodie
cloth scissors
needle
black thread
thread the same color as the hoodie
fiberfill (i guess this is optional but it helps the ears stand up better)
now cut one ear out of the felt. make it about 3/4 centimeter larger than you really want it.
put it on top of the felt and cut aroung it so they`re all the same size.
yes, this is kinda sloppy, but you wont see the edges when you`re done.
Sewing the Ears
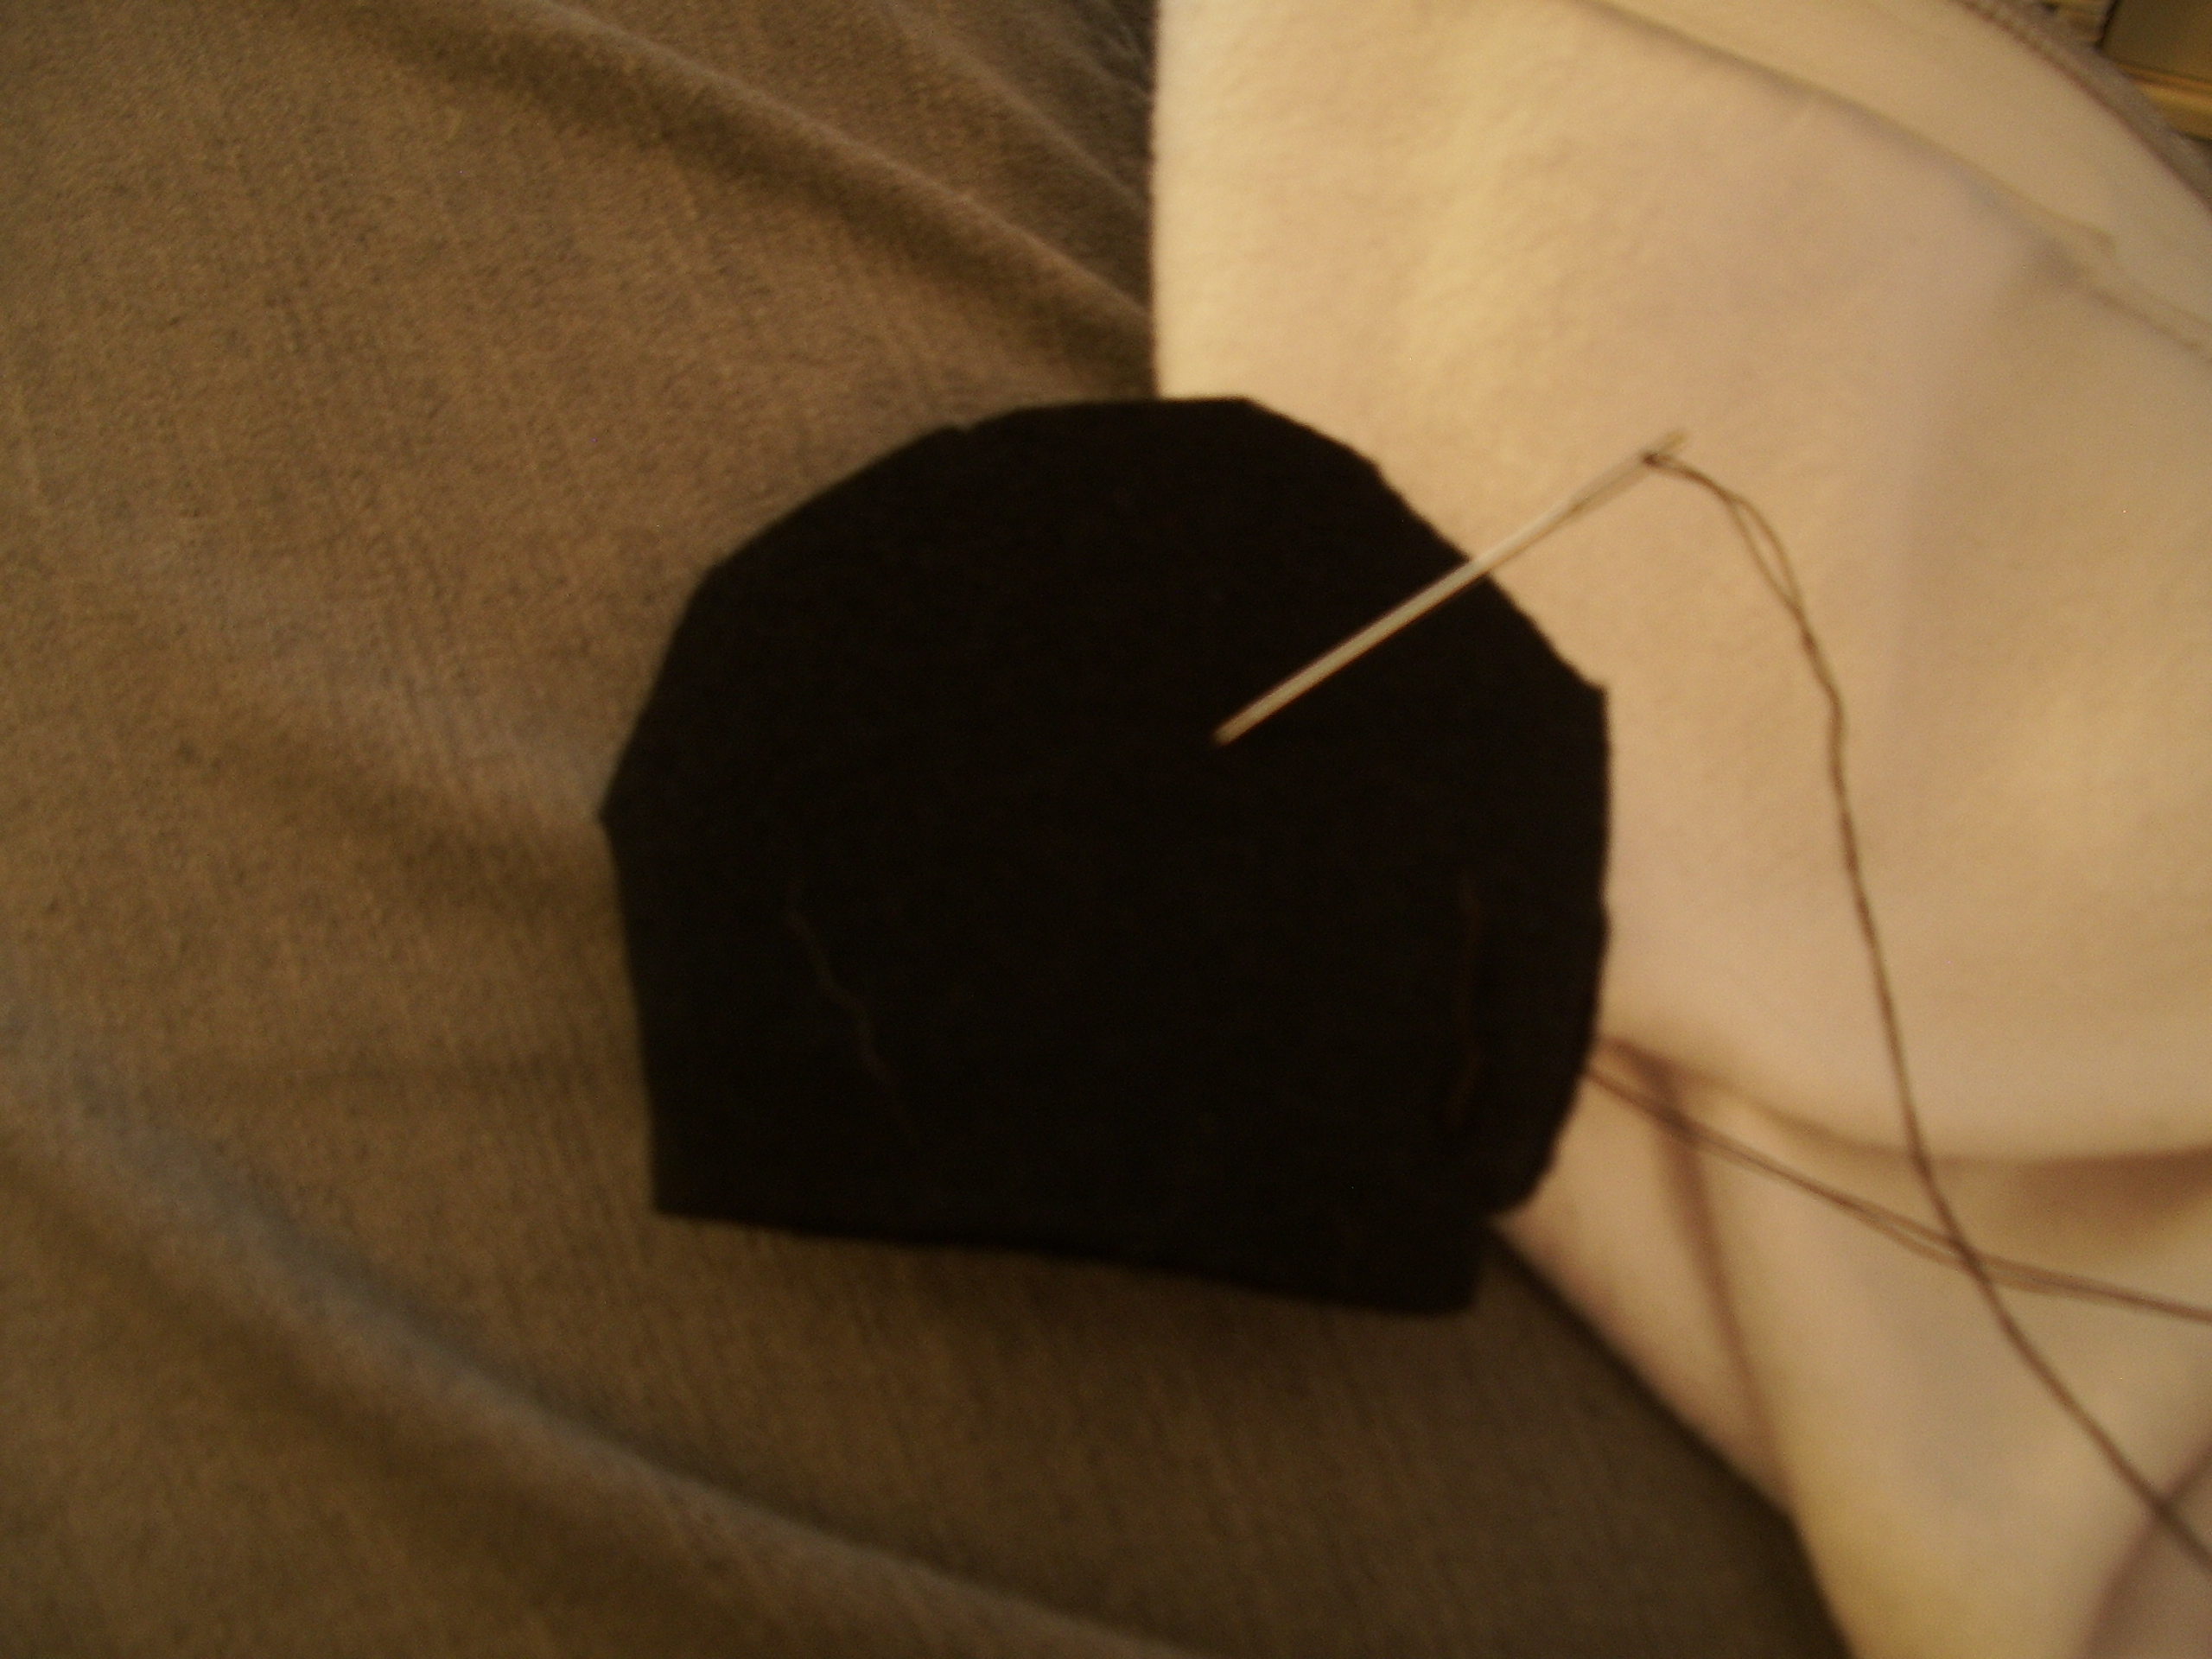
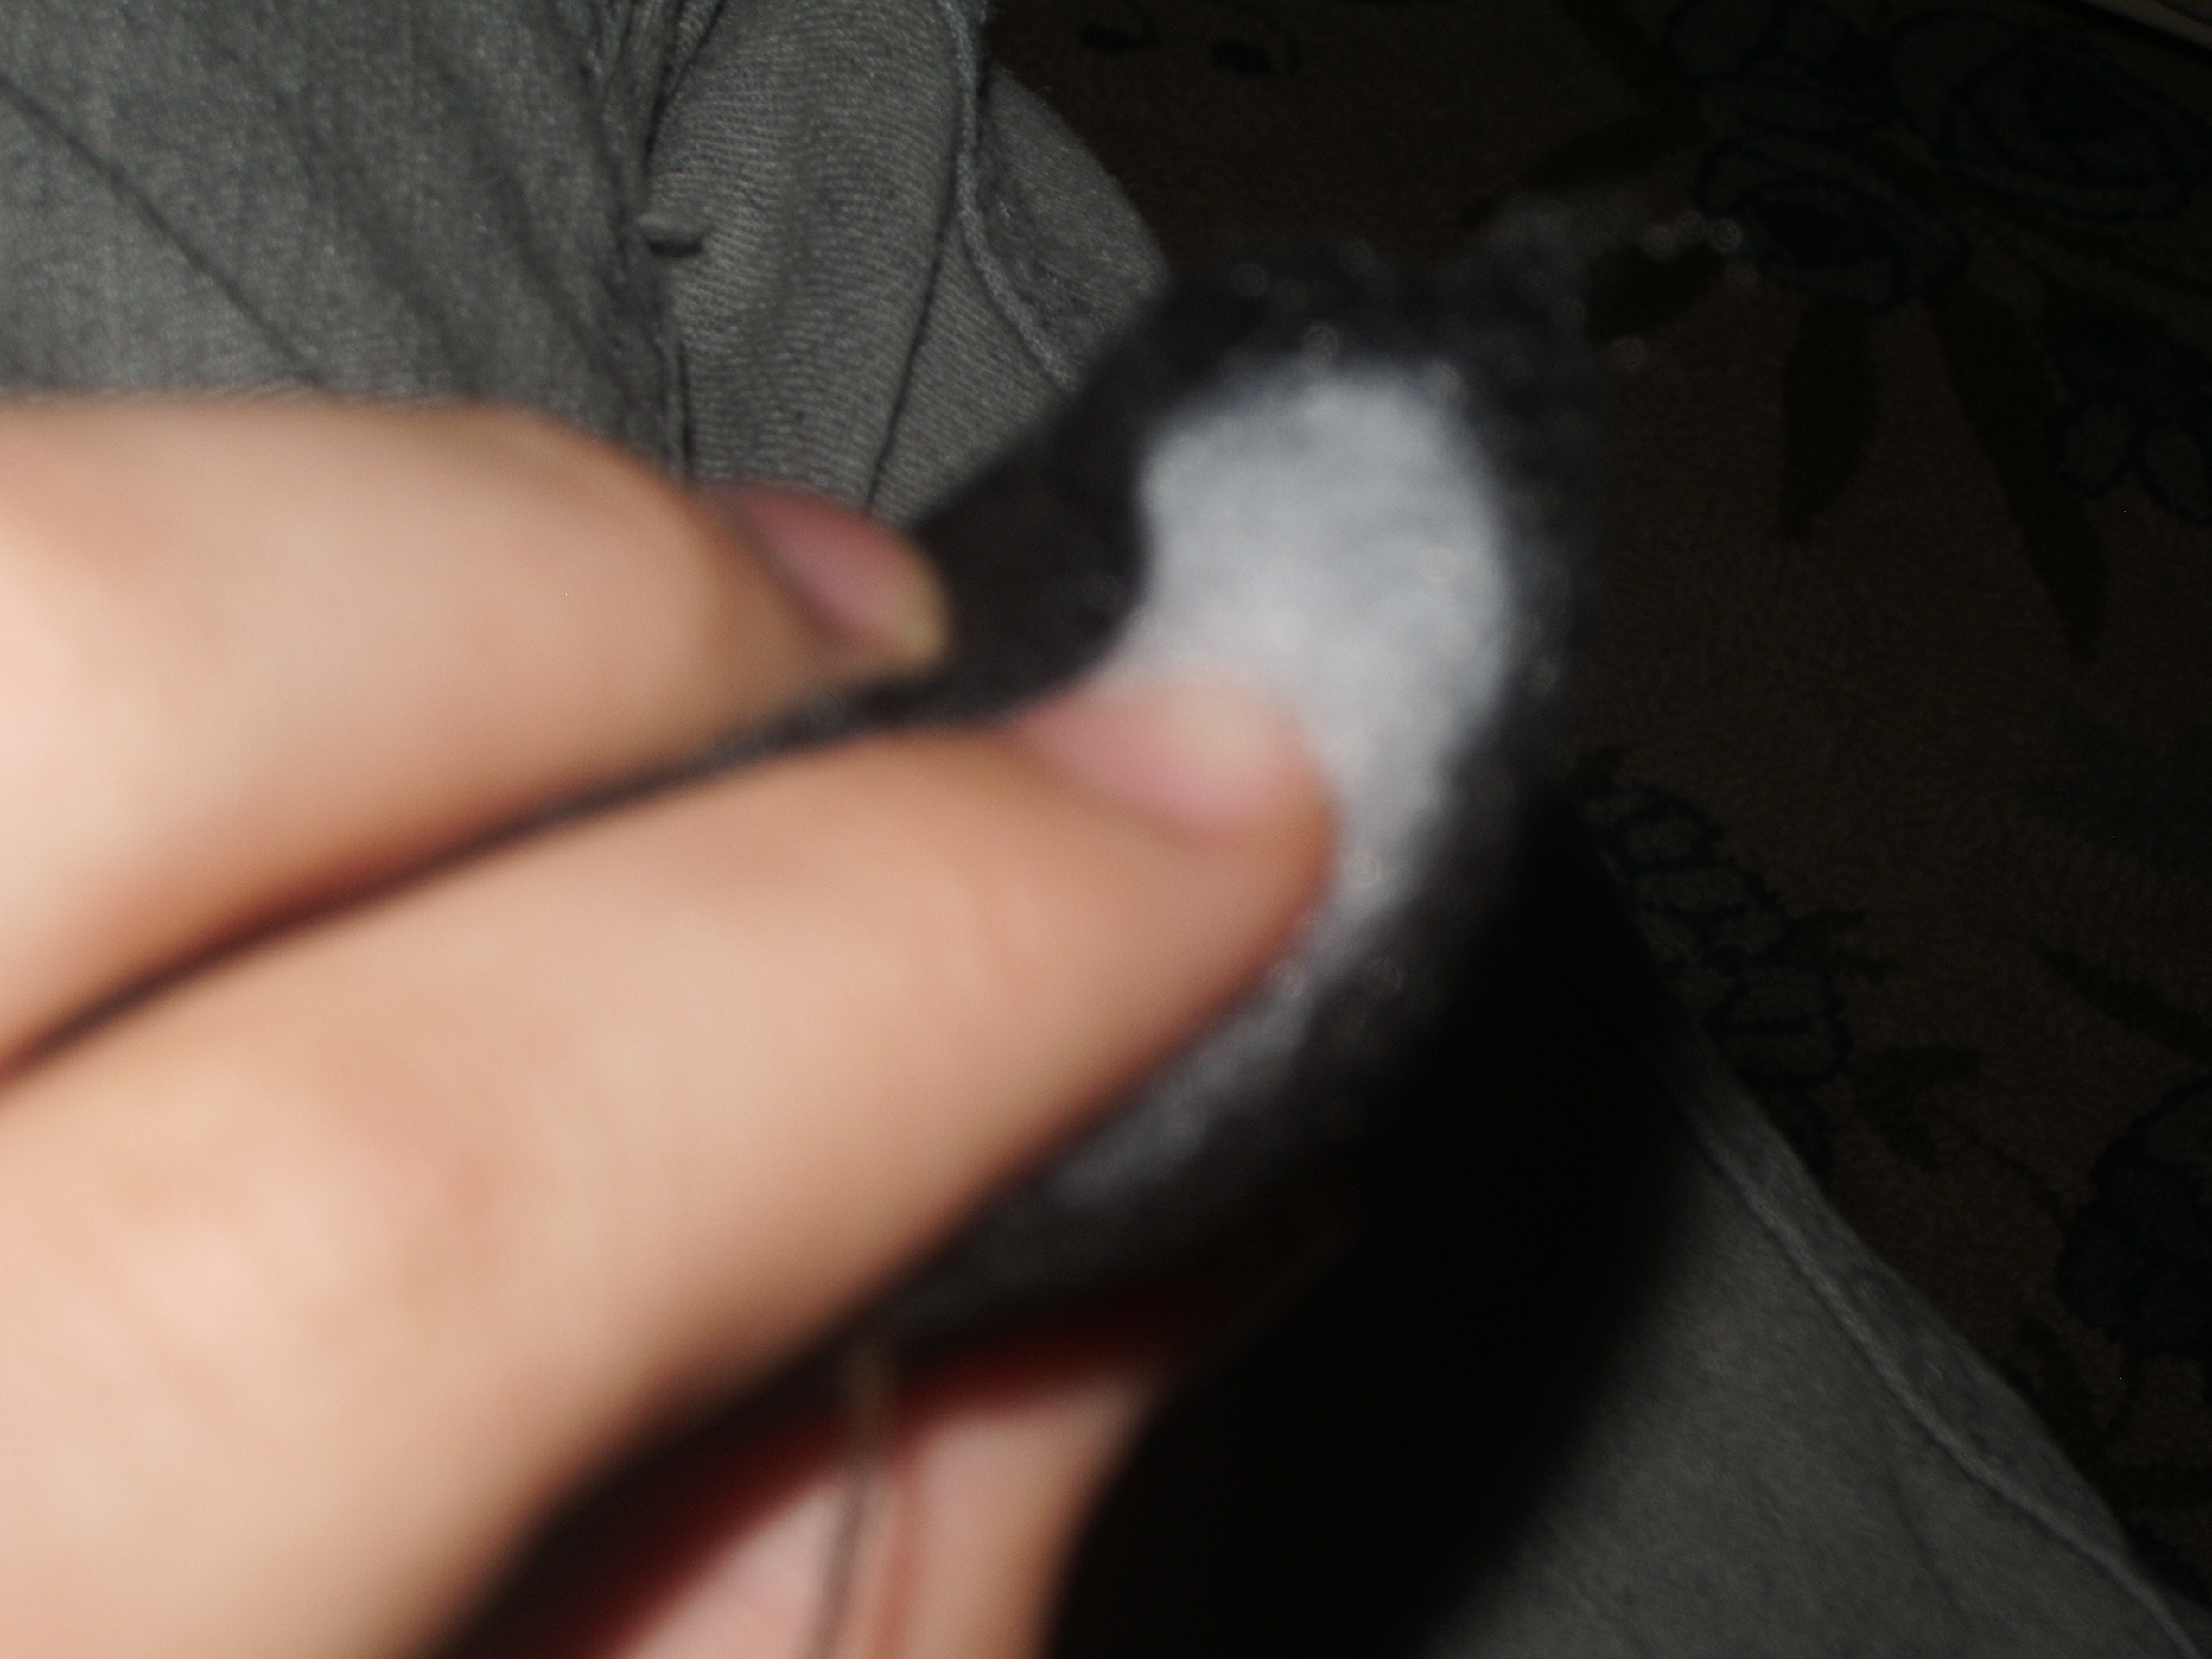
now stitch about 1/2-3/4 centimeter inward around the edge.
DON`T start at the bottom.
DO start and end a little bit up from the edge
to see what i mean, look at the first pic below.
turn inside out
ok, now it is time to stuff with fiberfill. i used about a half handfull of fiberfill for each ear, which was a little bit much.
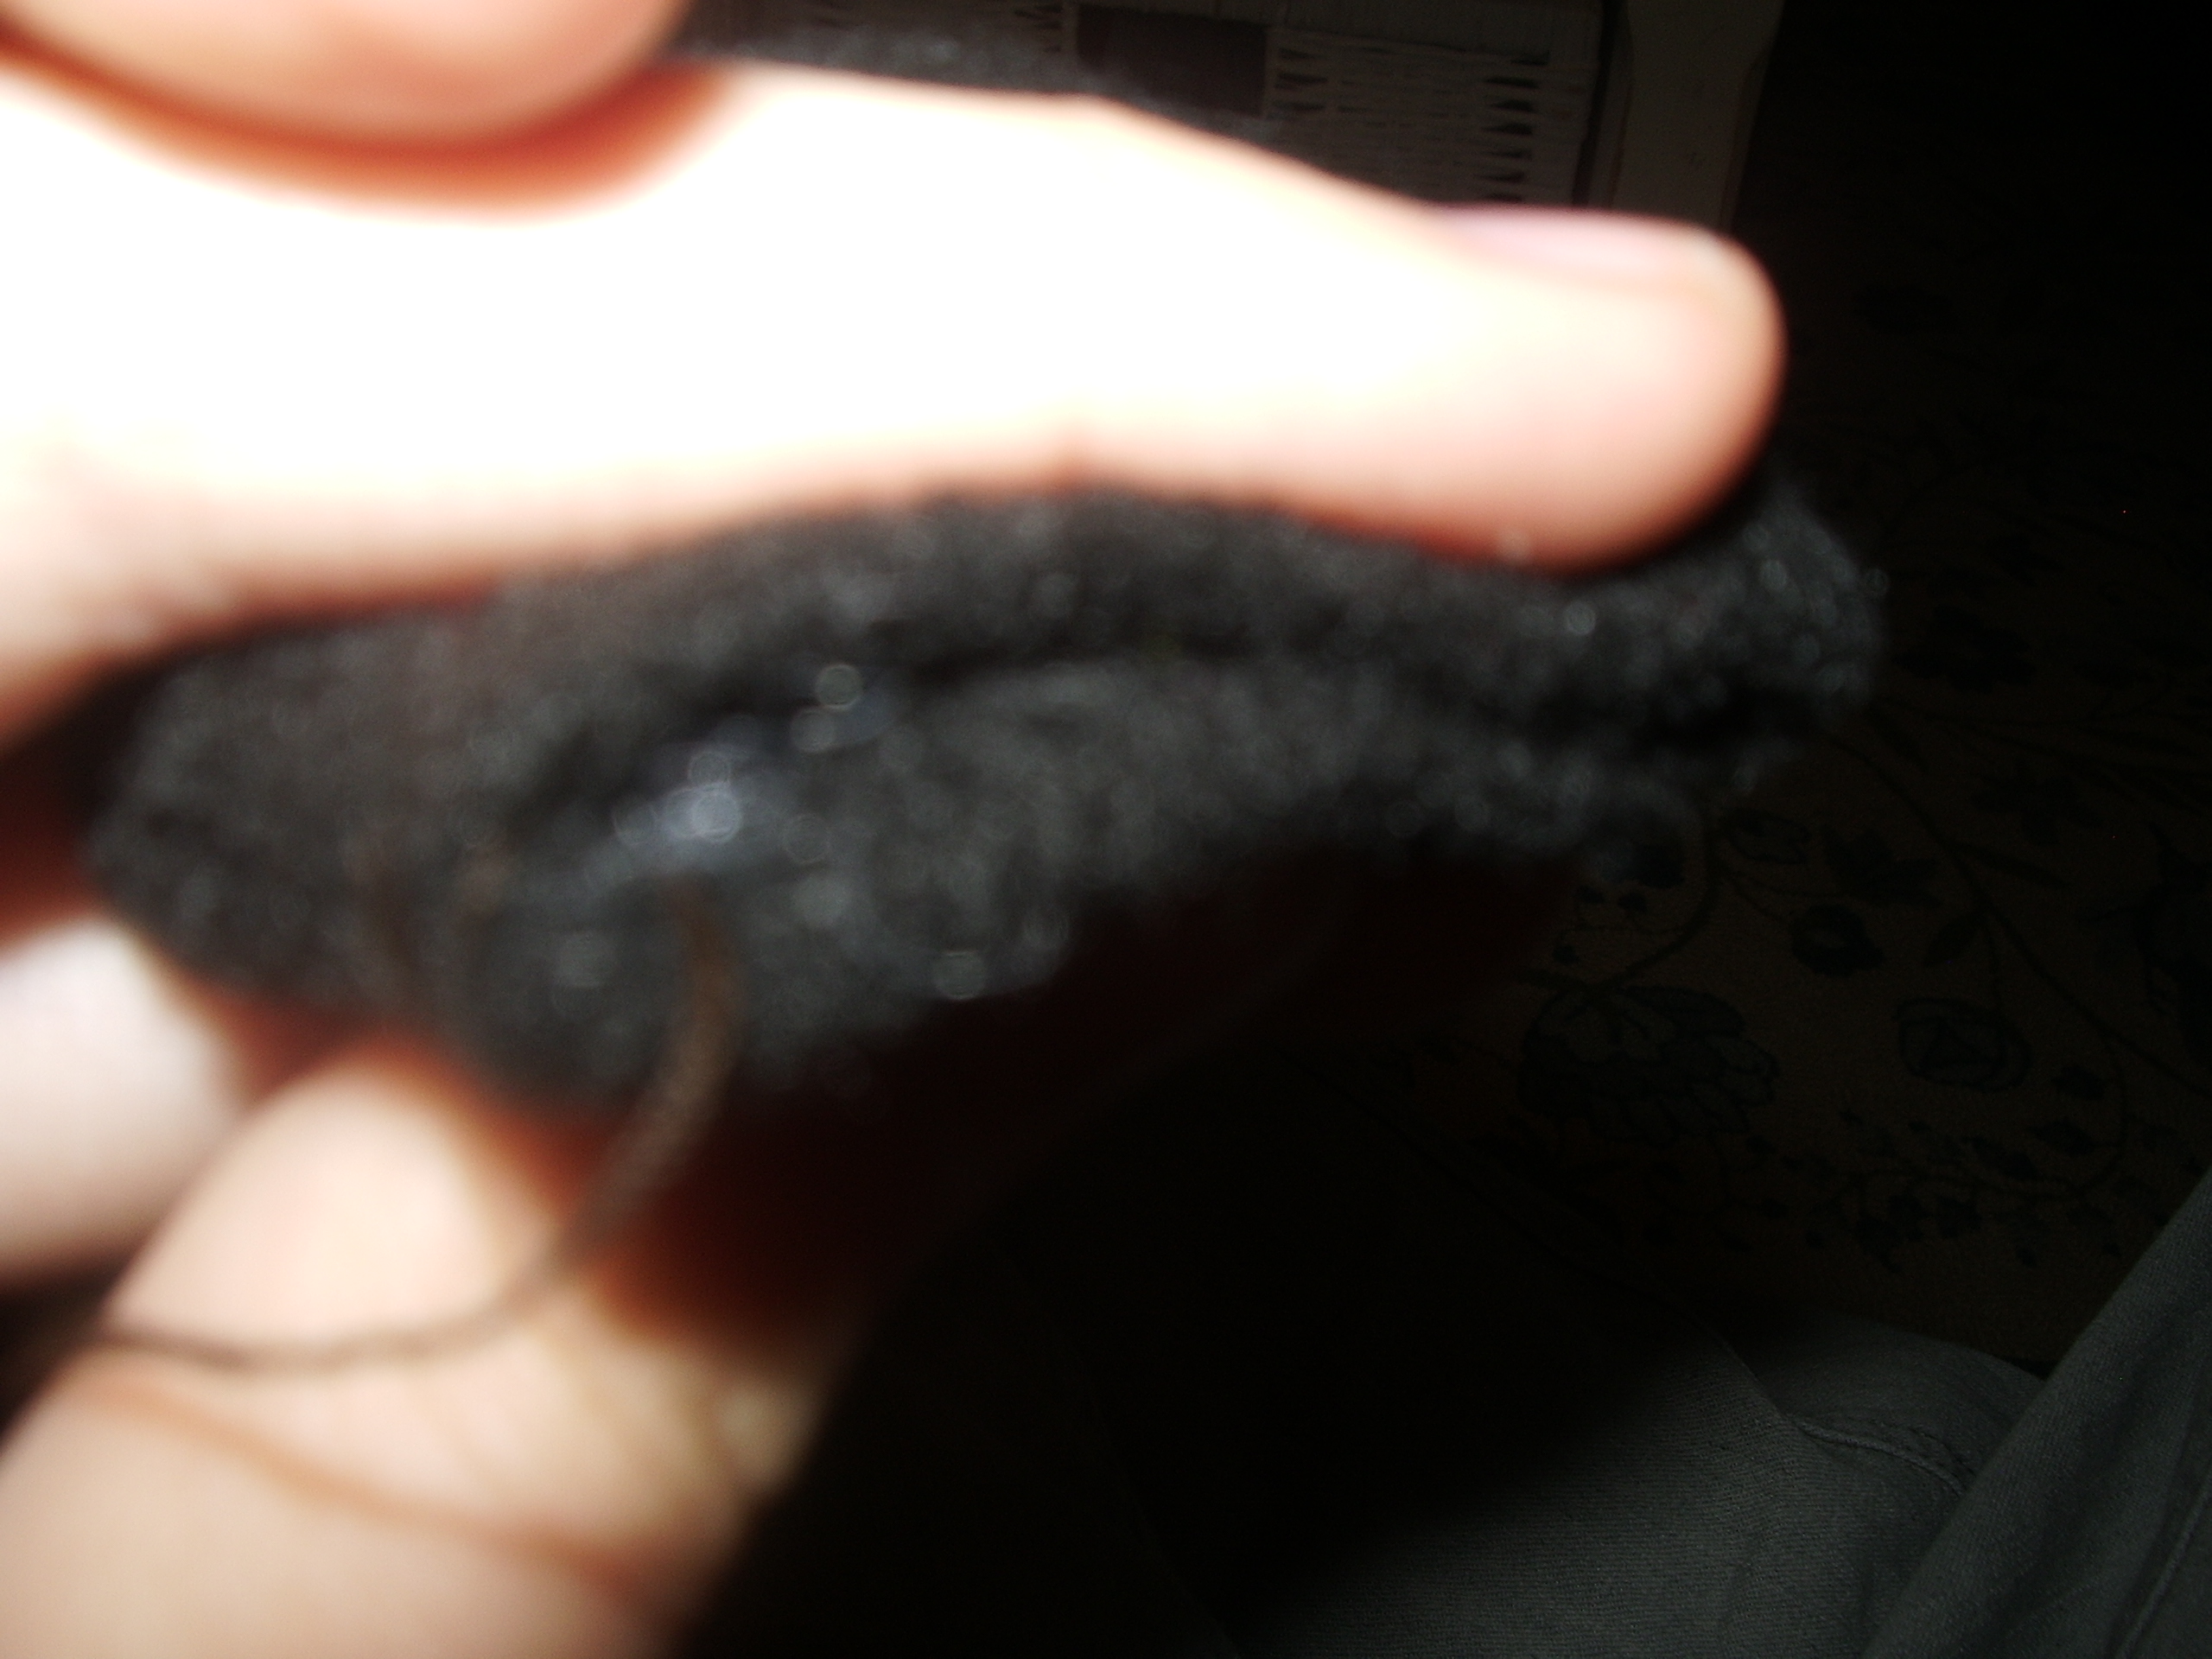
when you`re done, take the bottom two flaps, that you left open, and fold them in so you can`t see any fiberfill. sew these flaps together with the dark colored thread.
there is a pic of this..
Attach Ears to the Hoodie.
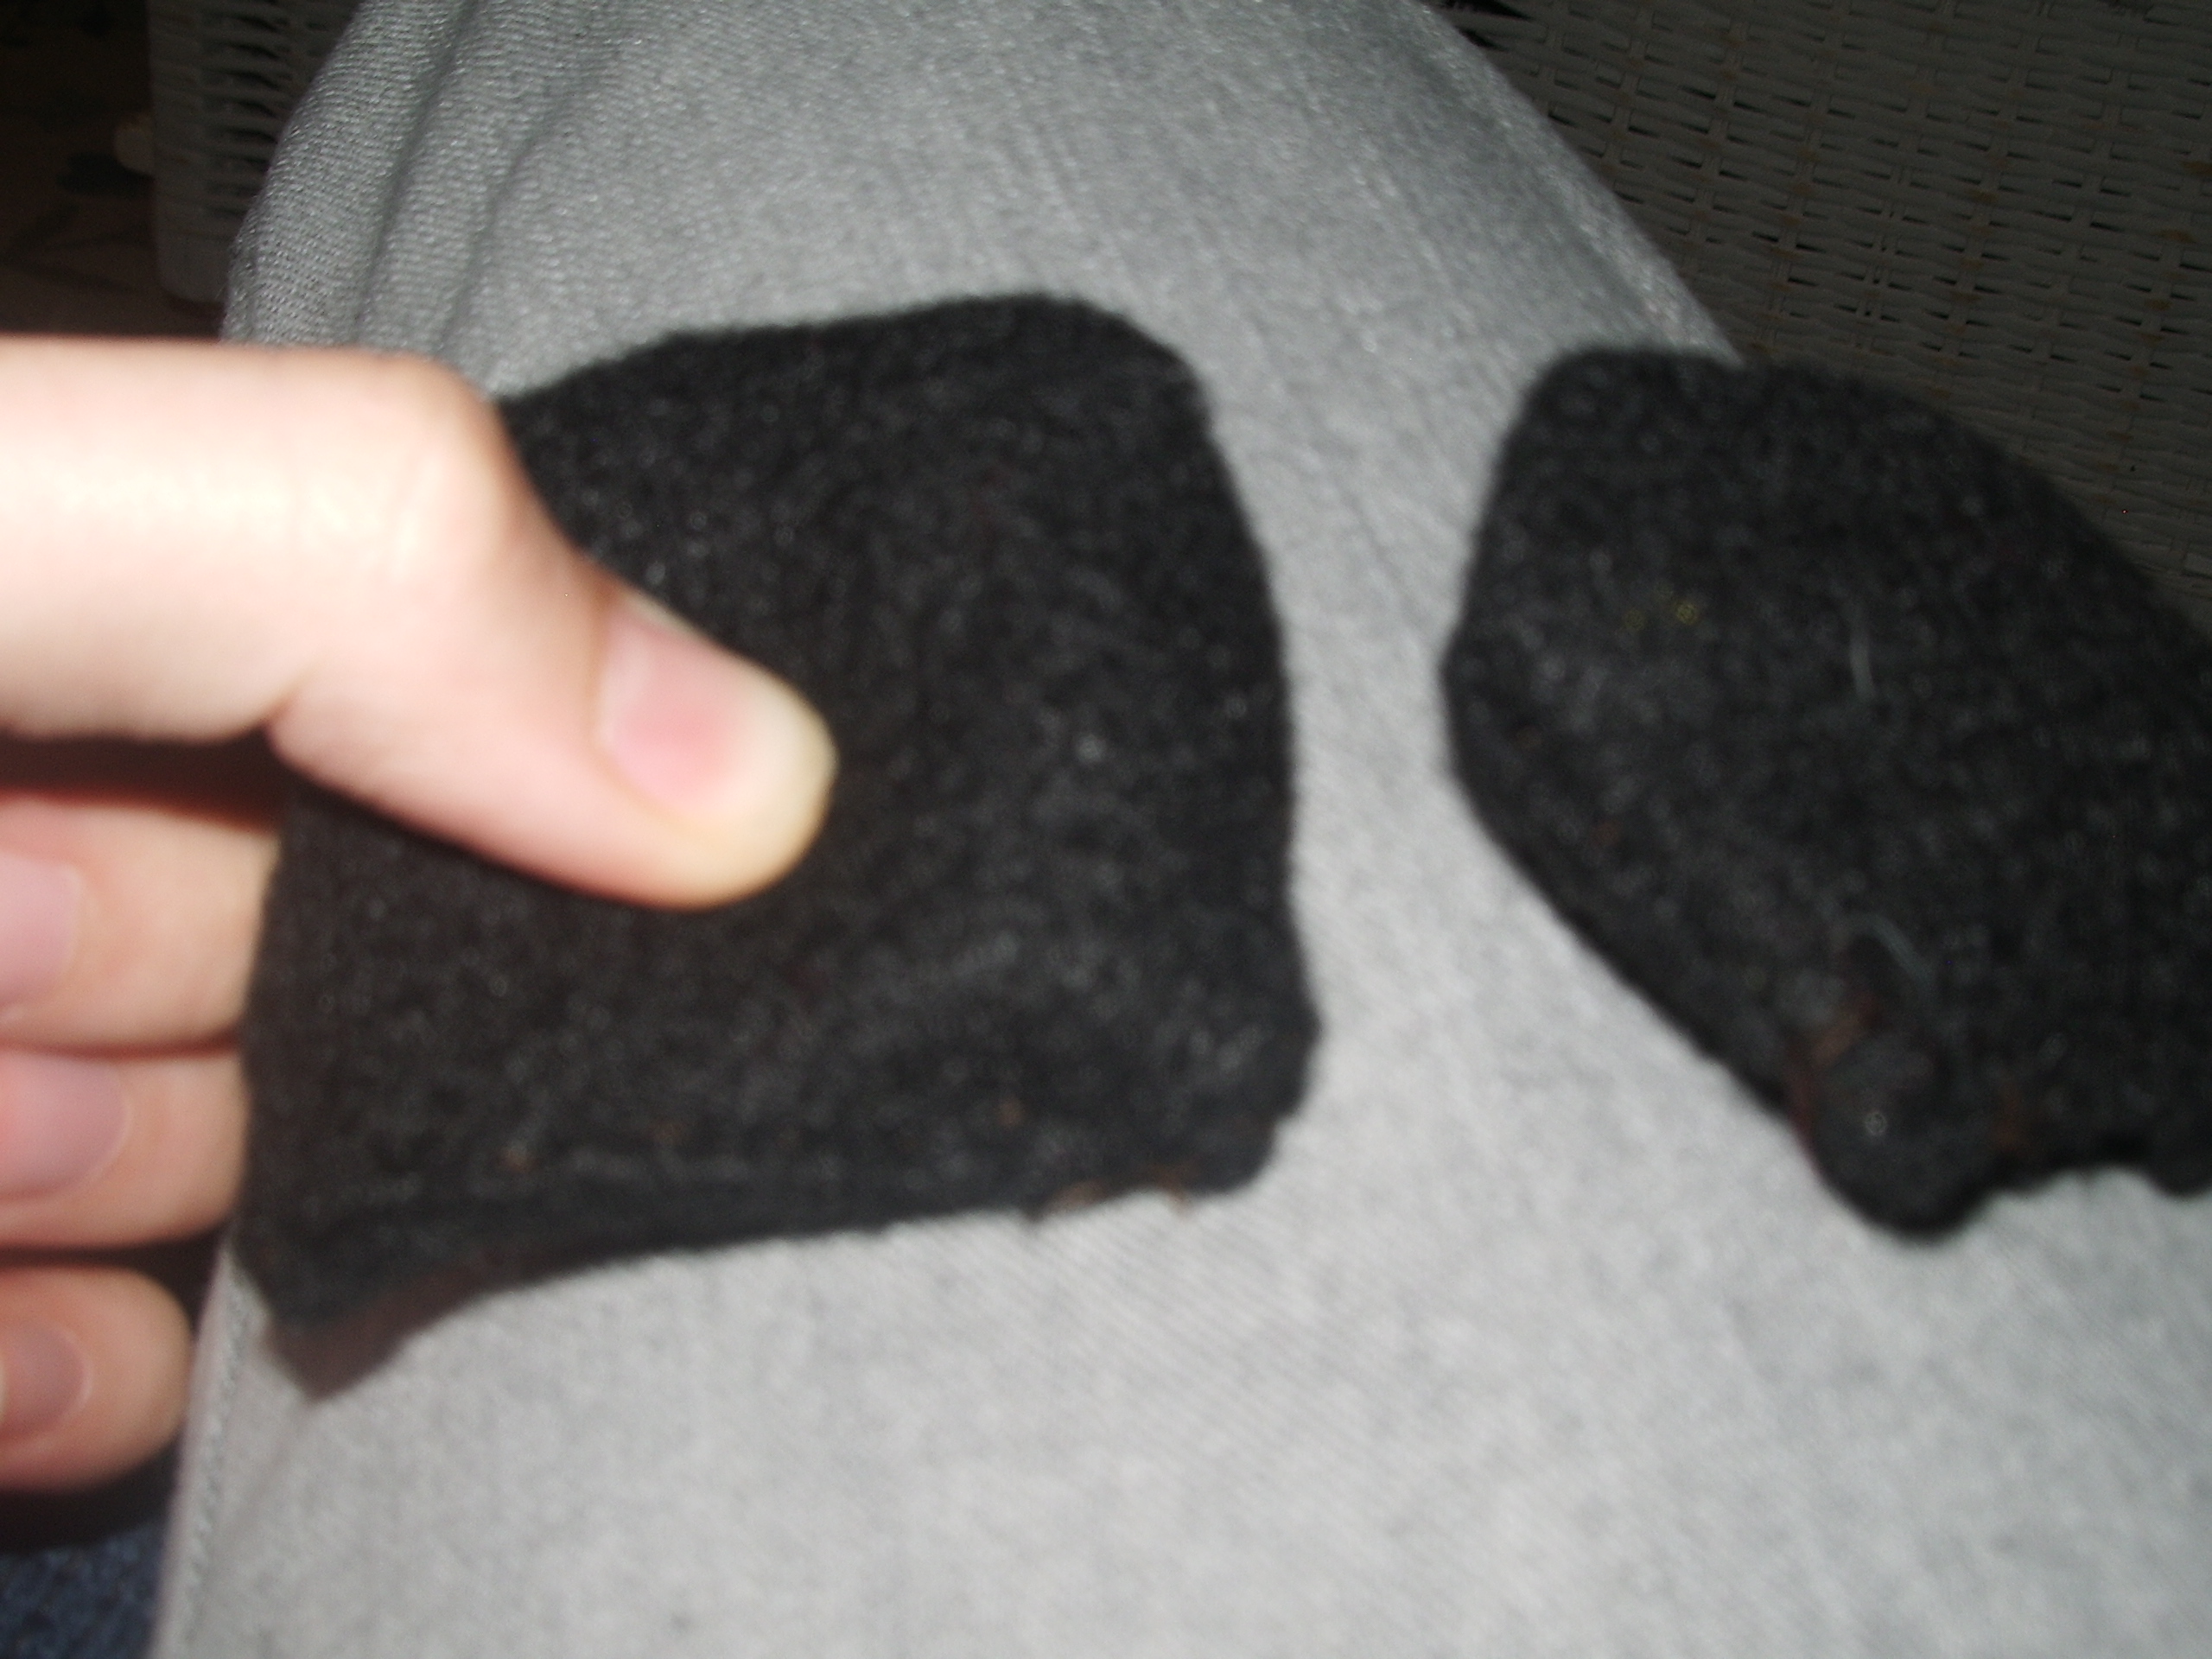
we now have two ears! Yay!
okay, we don`t need the black thread anymore.
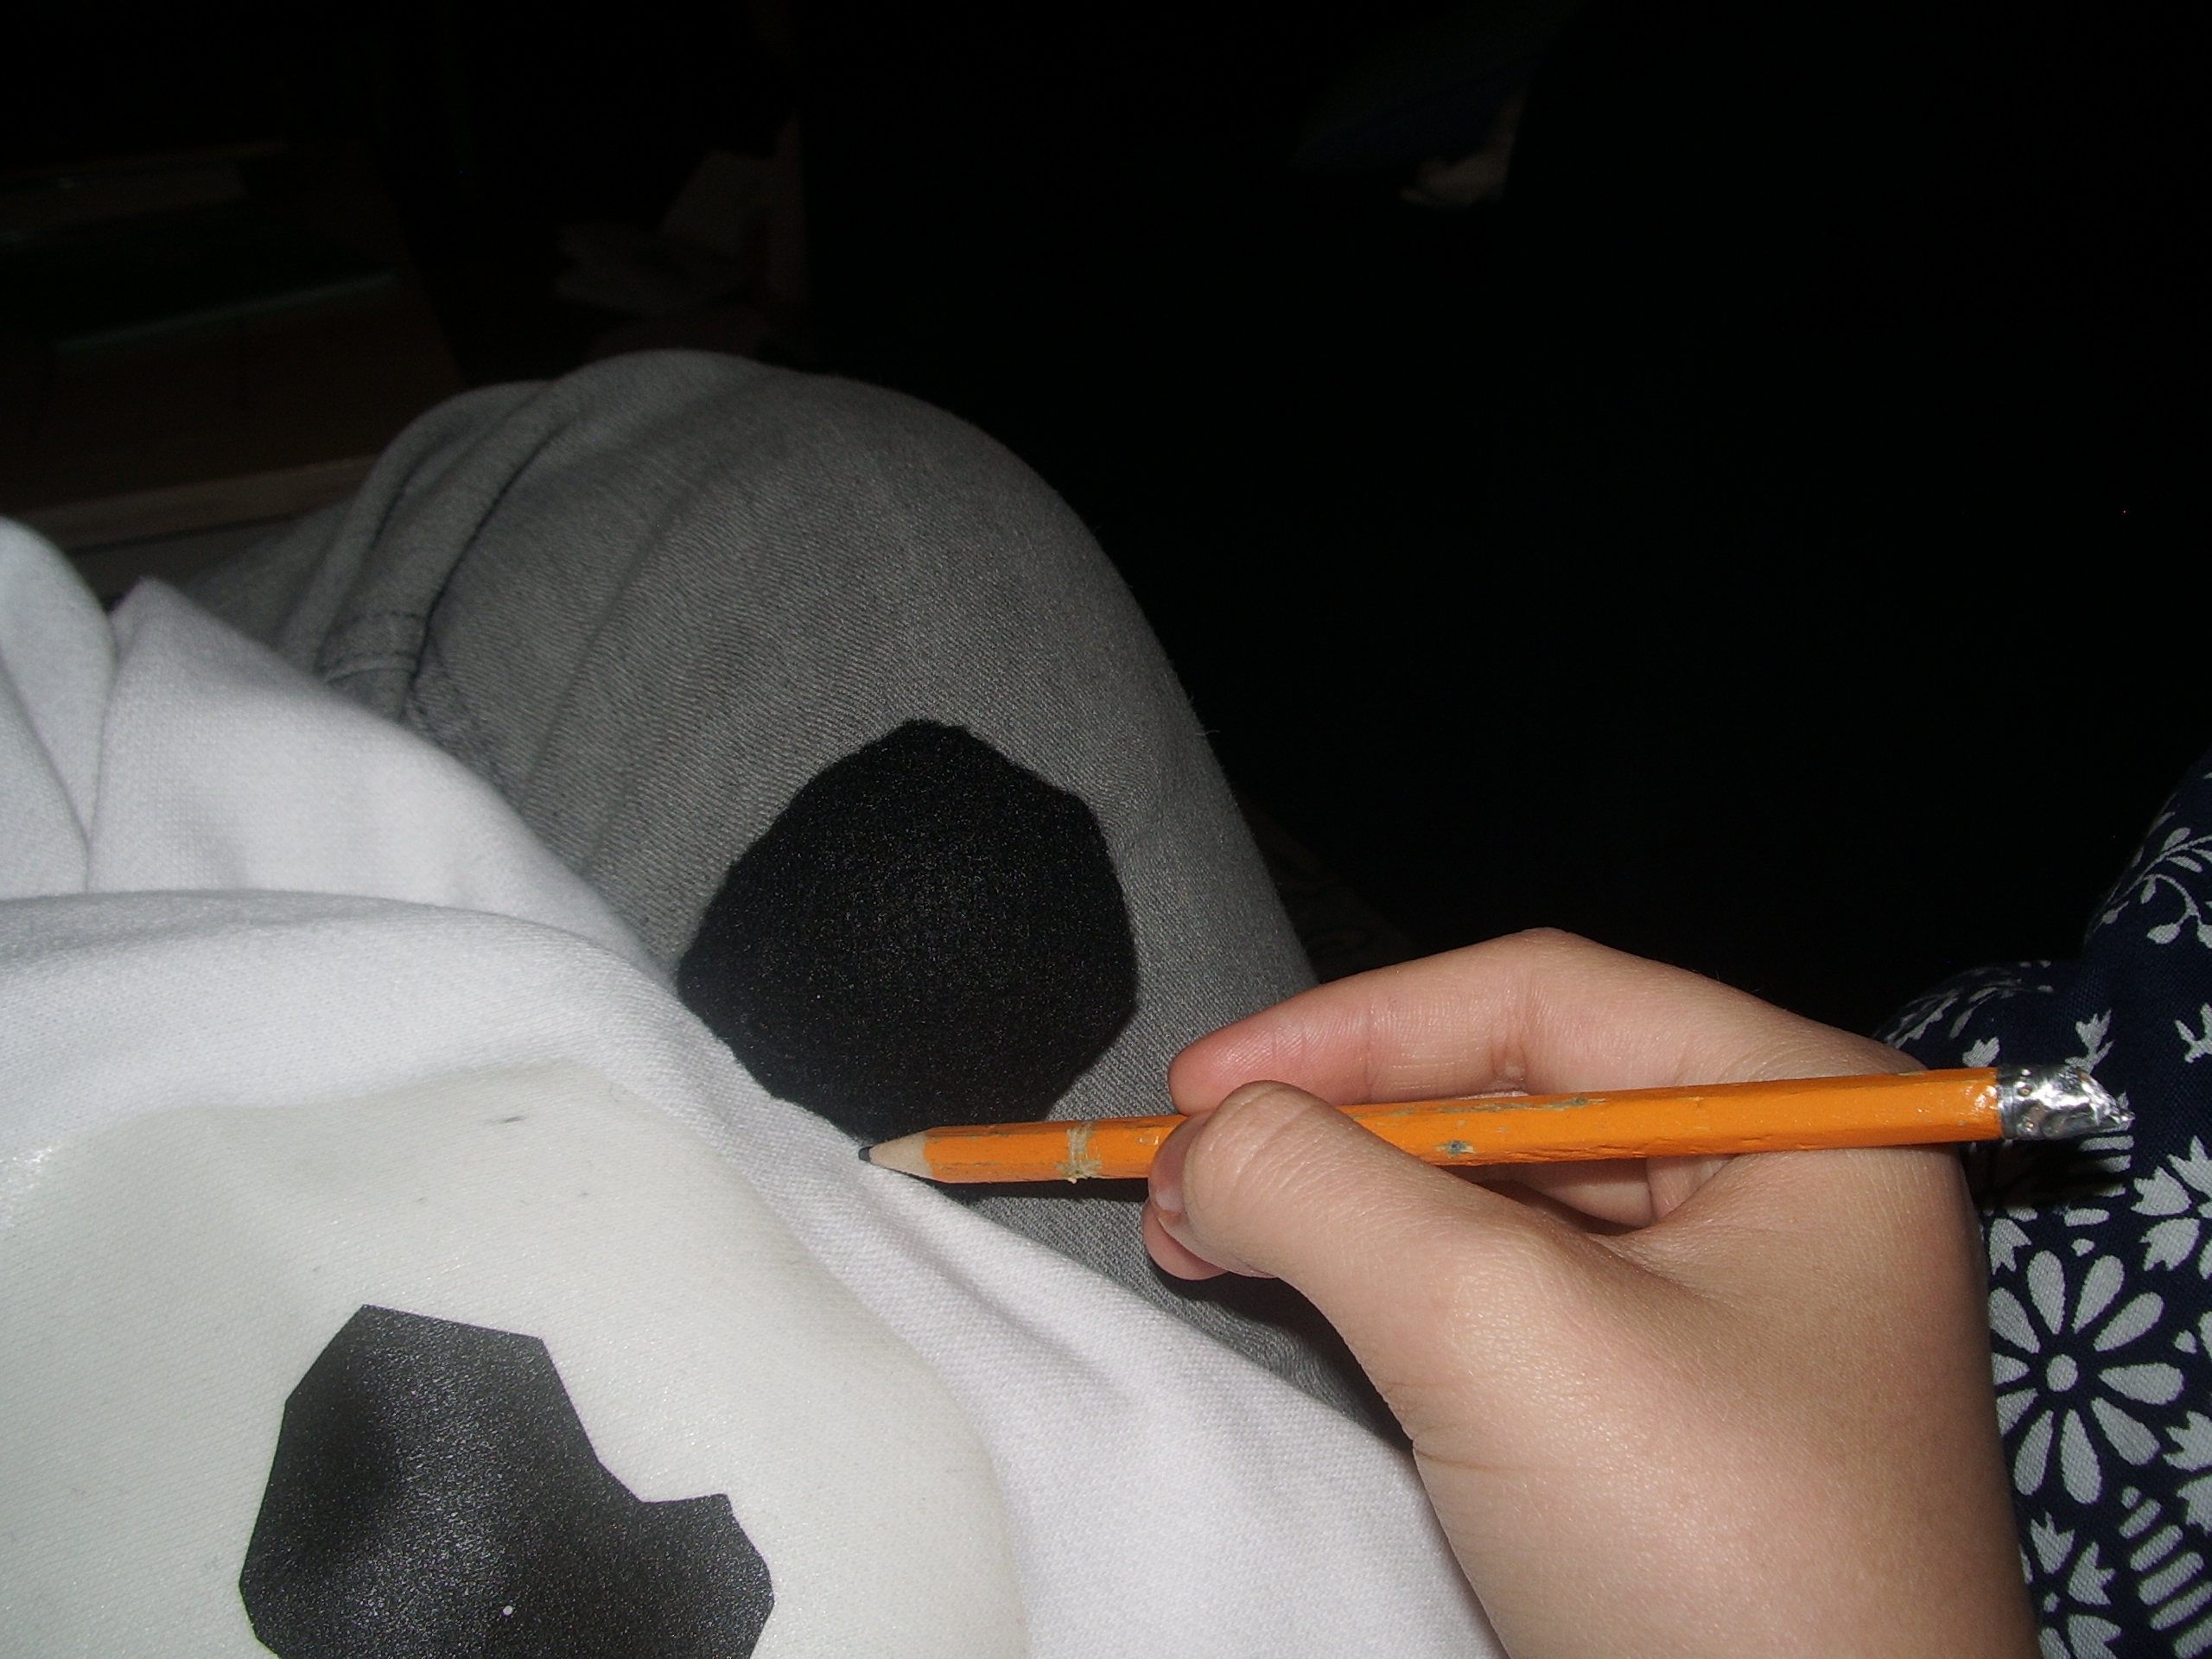
first, mark where you want the ears to be on the hoodie.
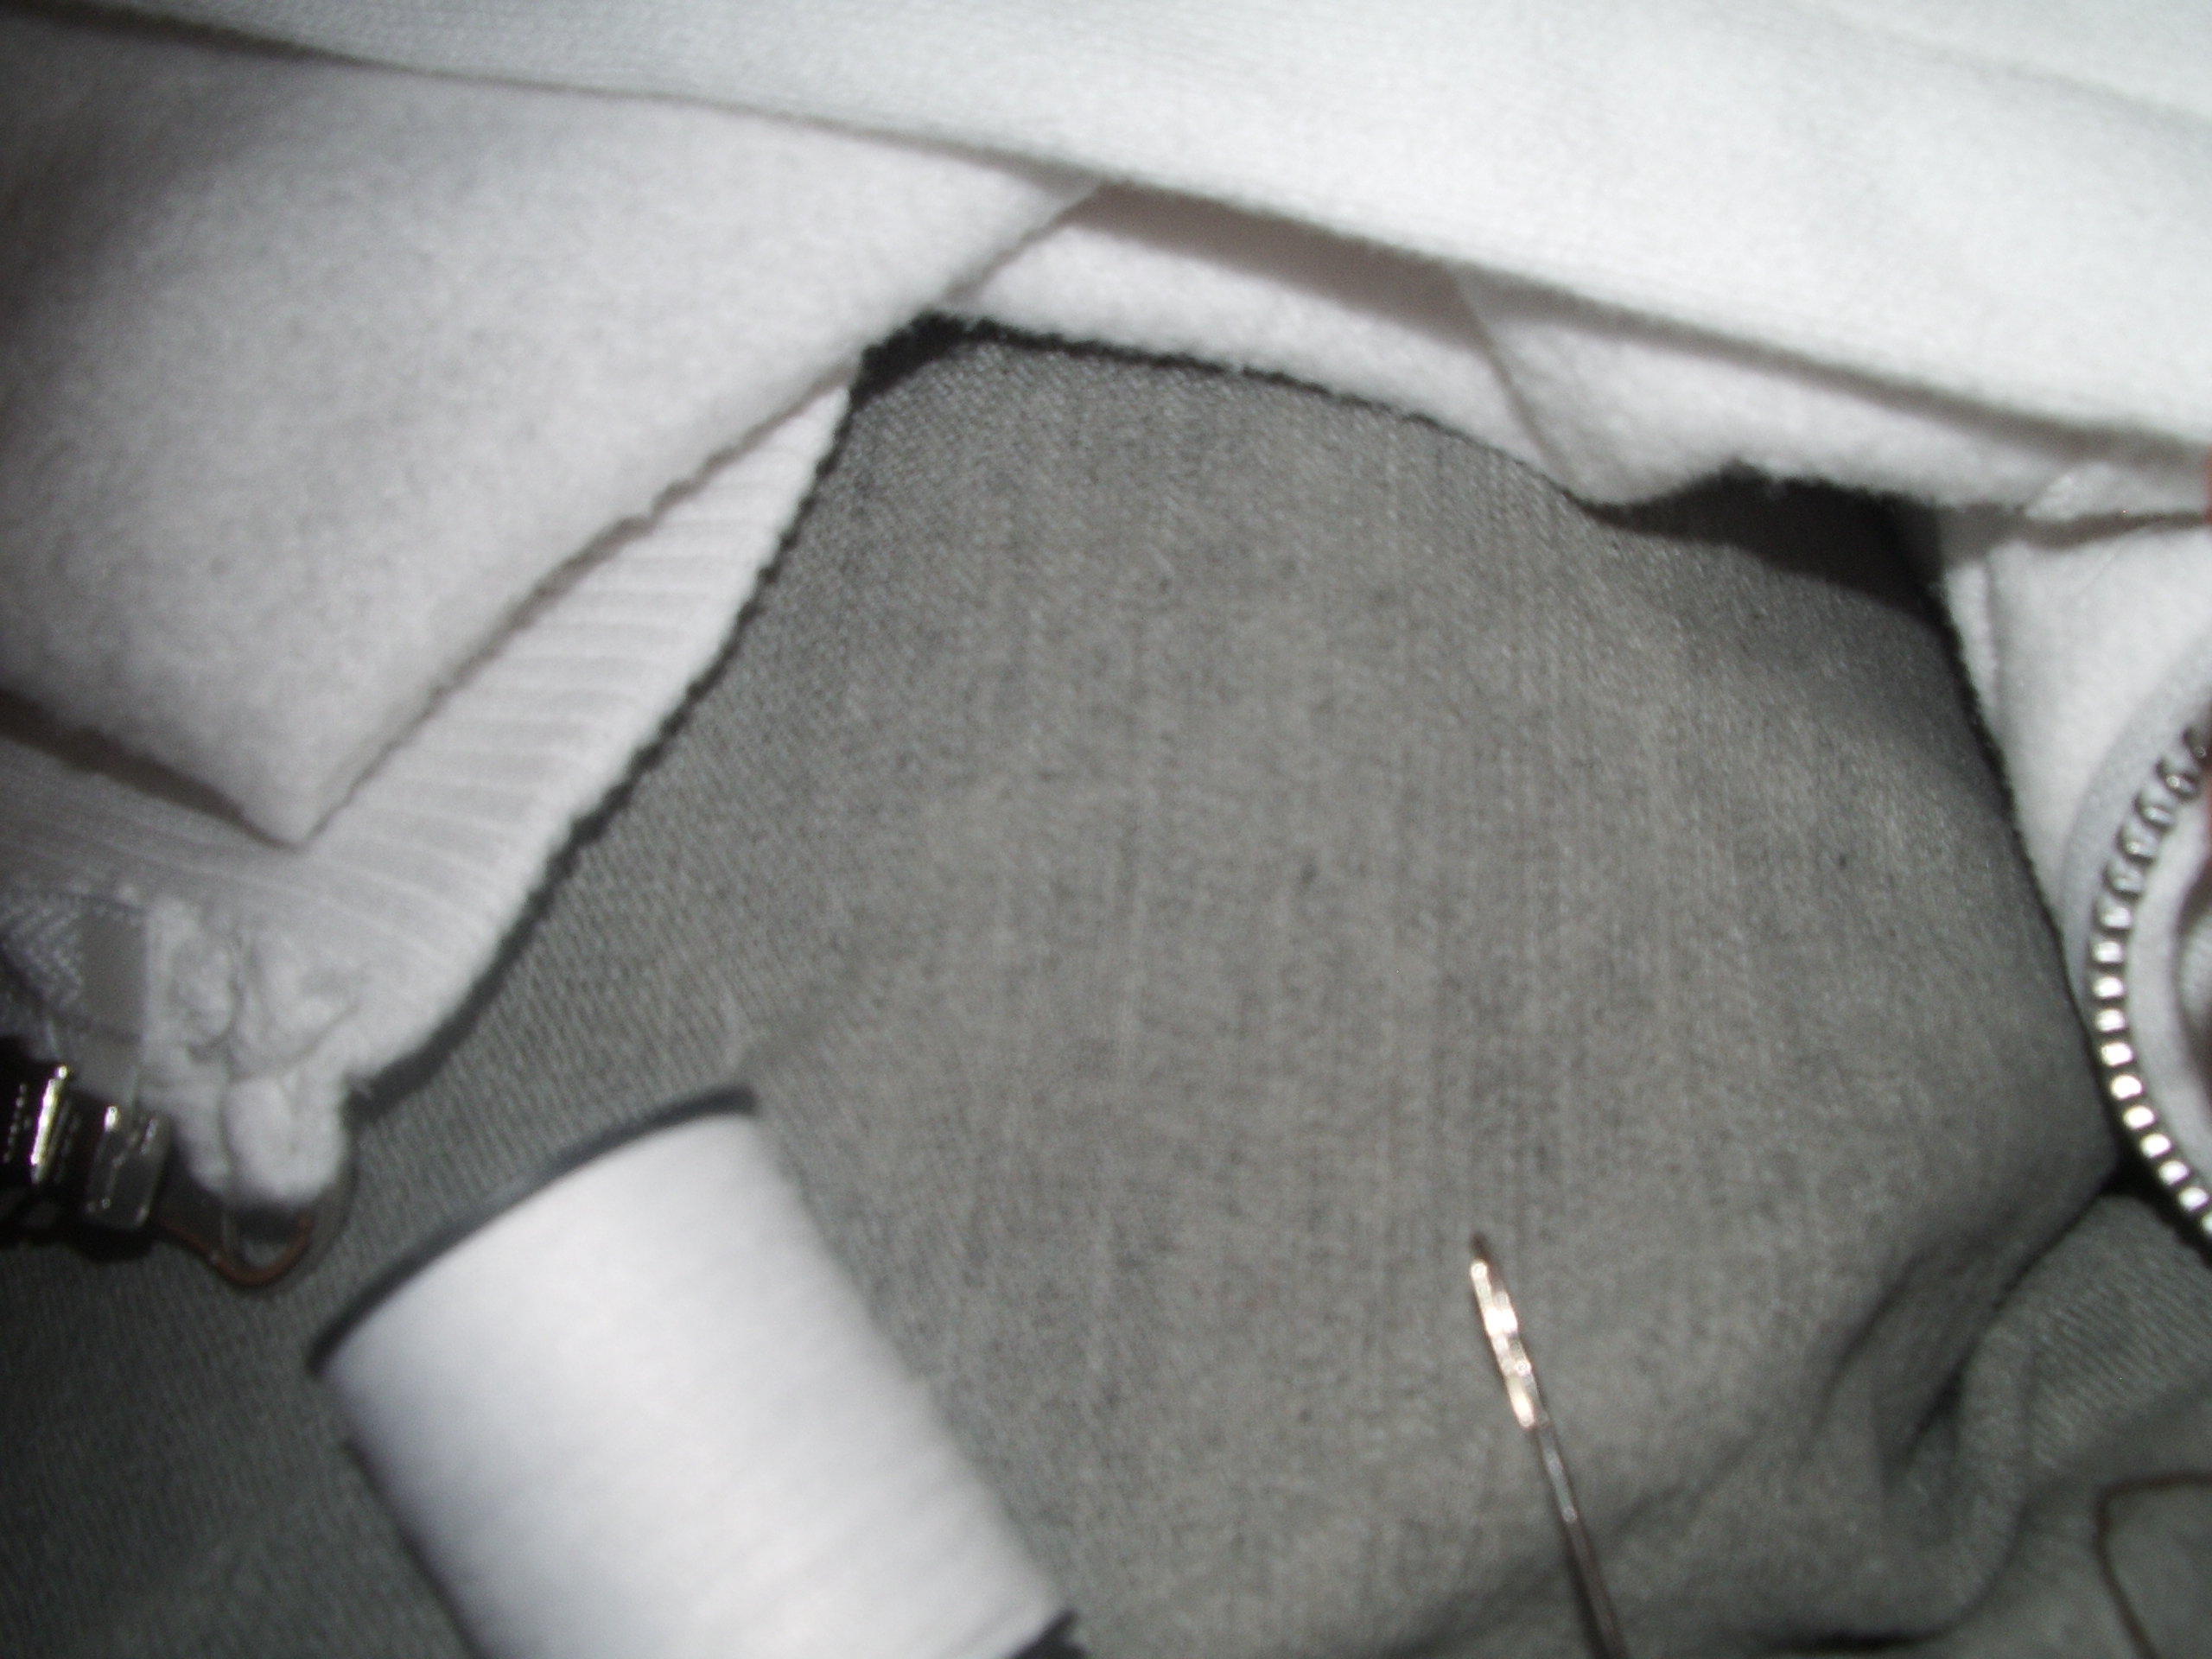
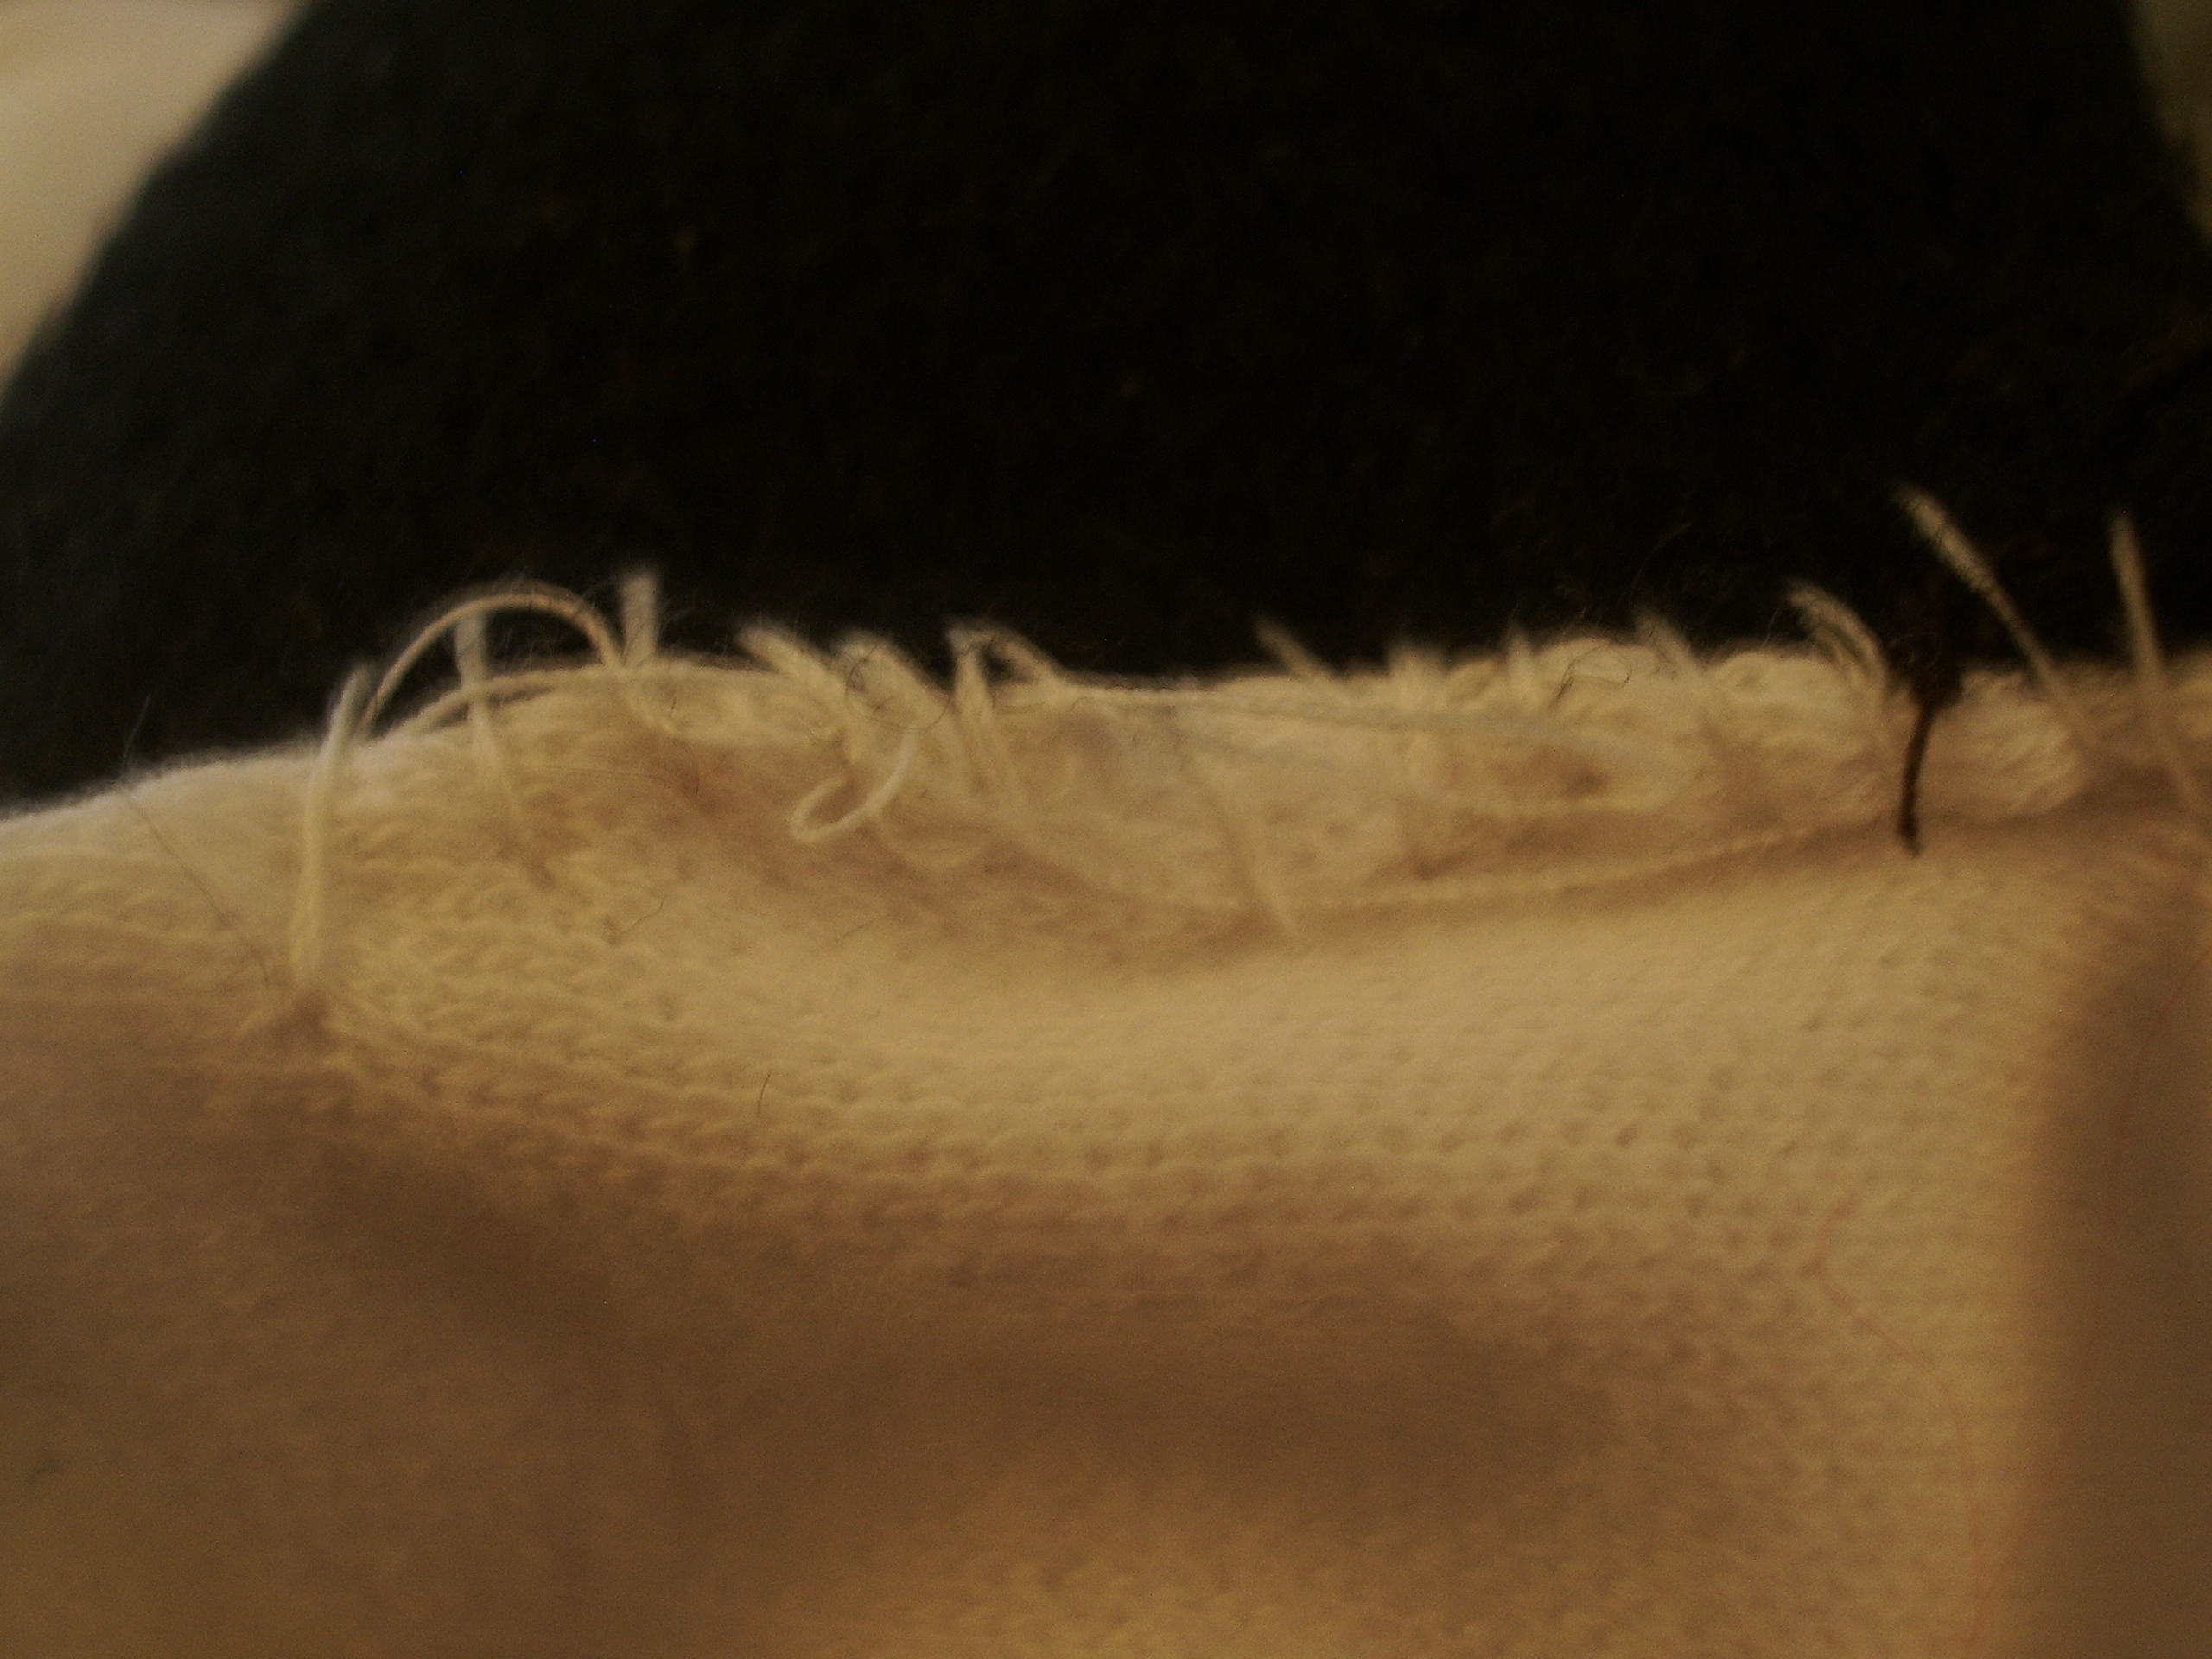
now take the hoodie thread and stitch along the base of the ear and through the hoodie
tie off the end of the string and do this to both ends.
YAY!
okay, we don`t need the black thread anymore.
first, mark where you want the ears to be on the hoodie.
now take the hoodie thread and stitch along the base of the ear and through the hoodie
tie off the end of the string and do this to both ends.
YAY!
THE END

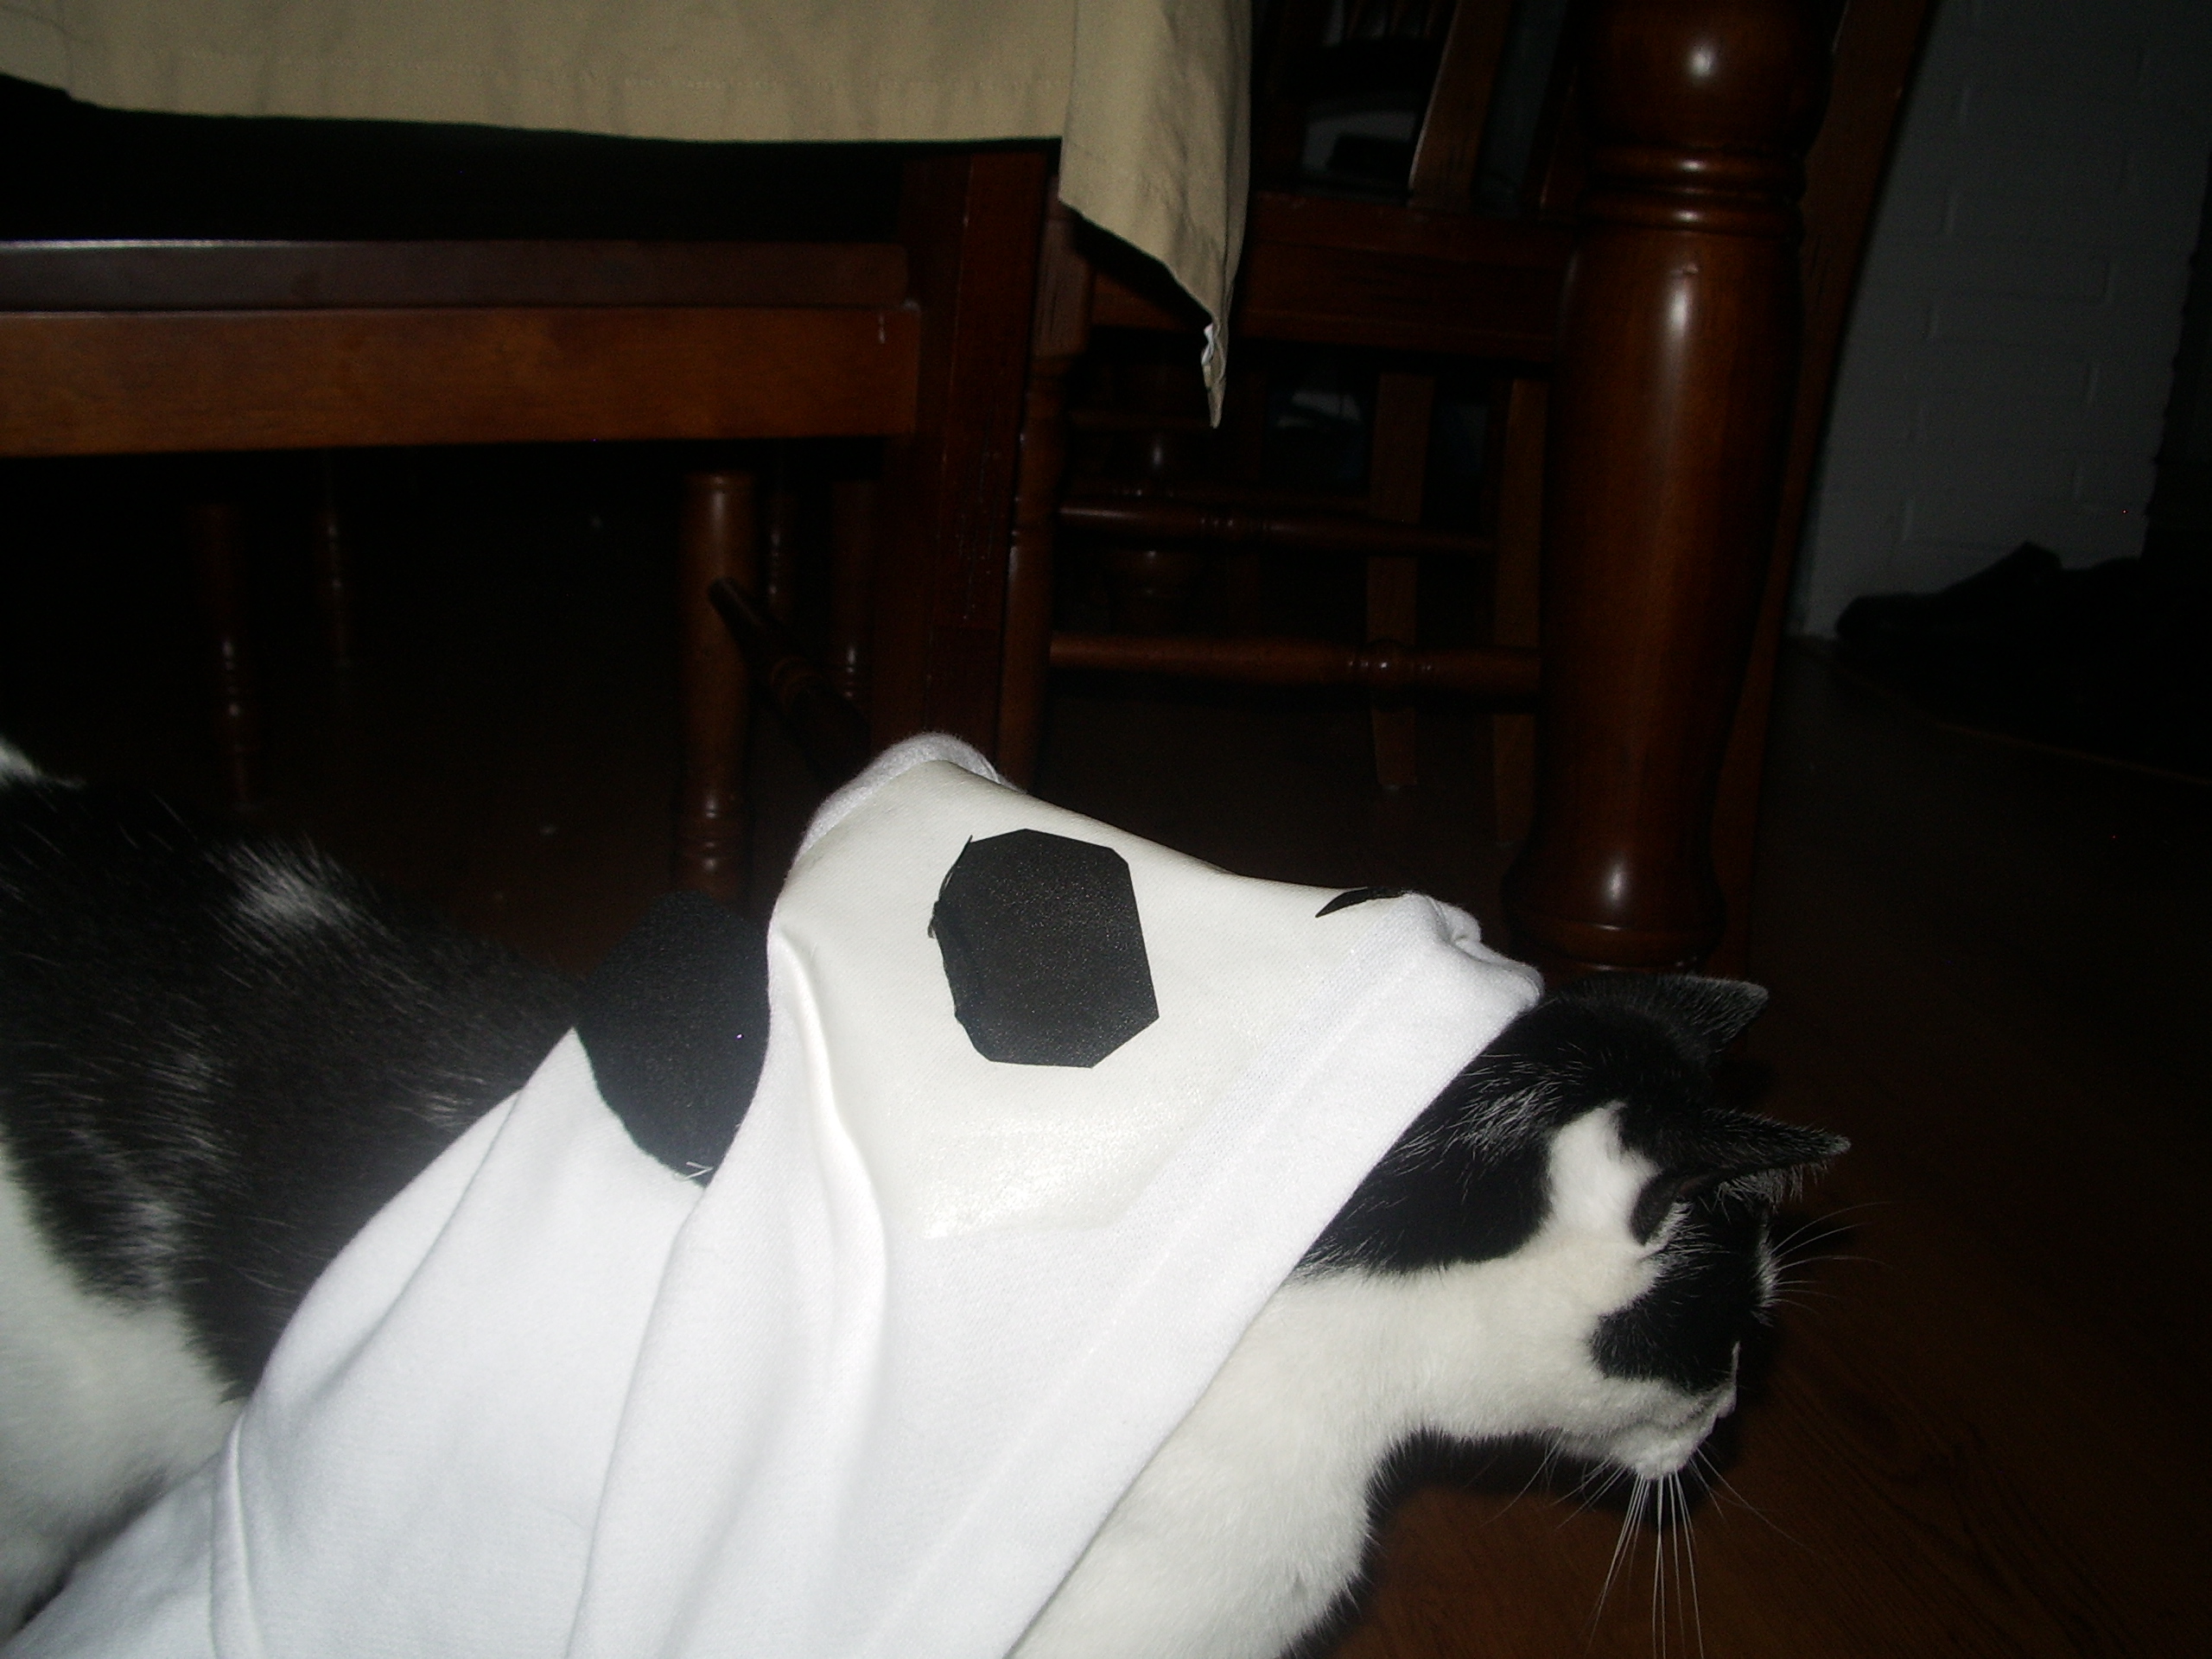
you`re done!
put on the hoodie and do a victory dance around the house.
you can touch up any white spots left from the transfer with a fabric marker.
my first instructable-please comment and thank you!
put on the hoodie and do a victory dance around the house.
you can touch up any white spots left from the transfer with a fabric marker.
my first instructable-please comment and thank you!