Pancake Pictures
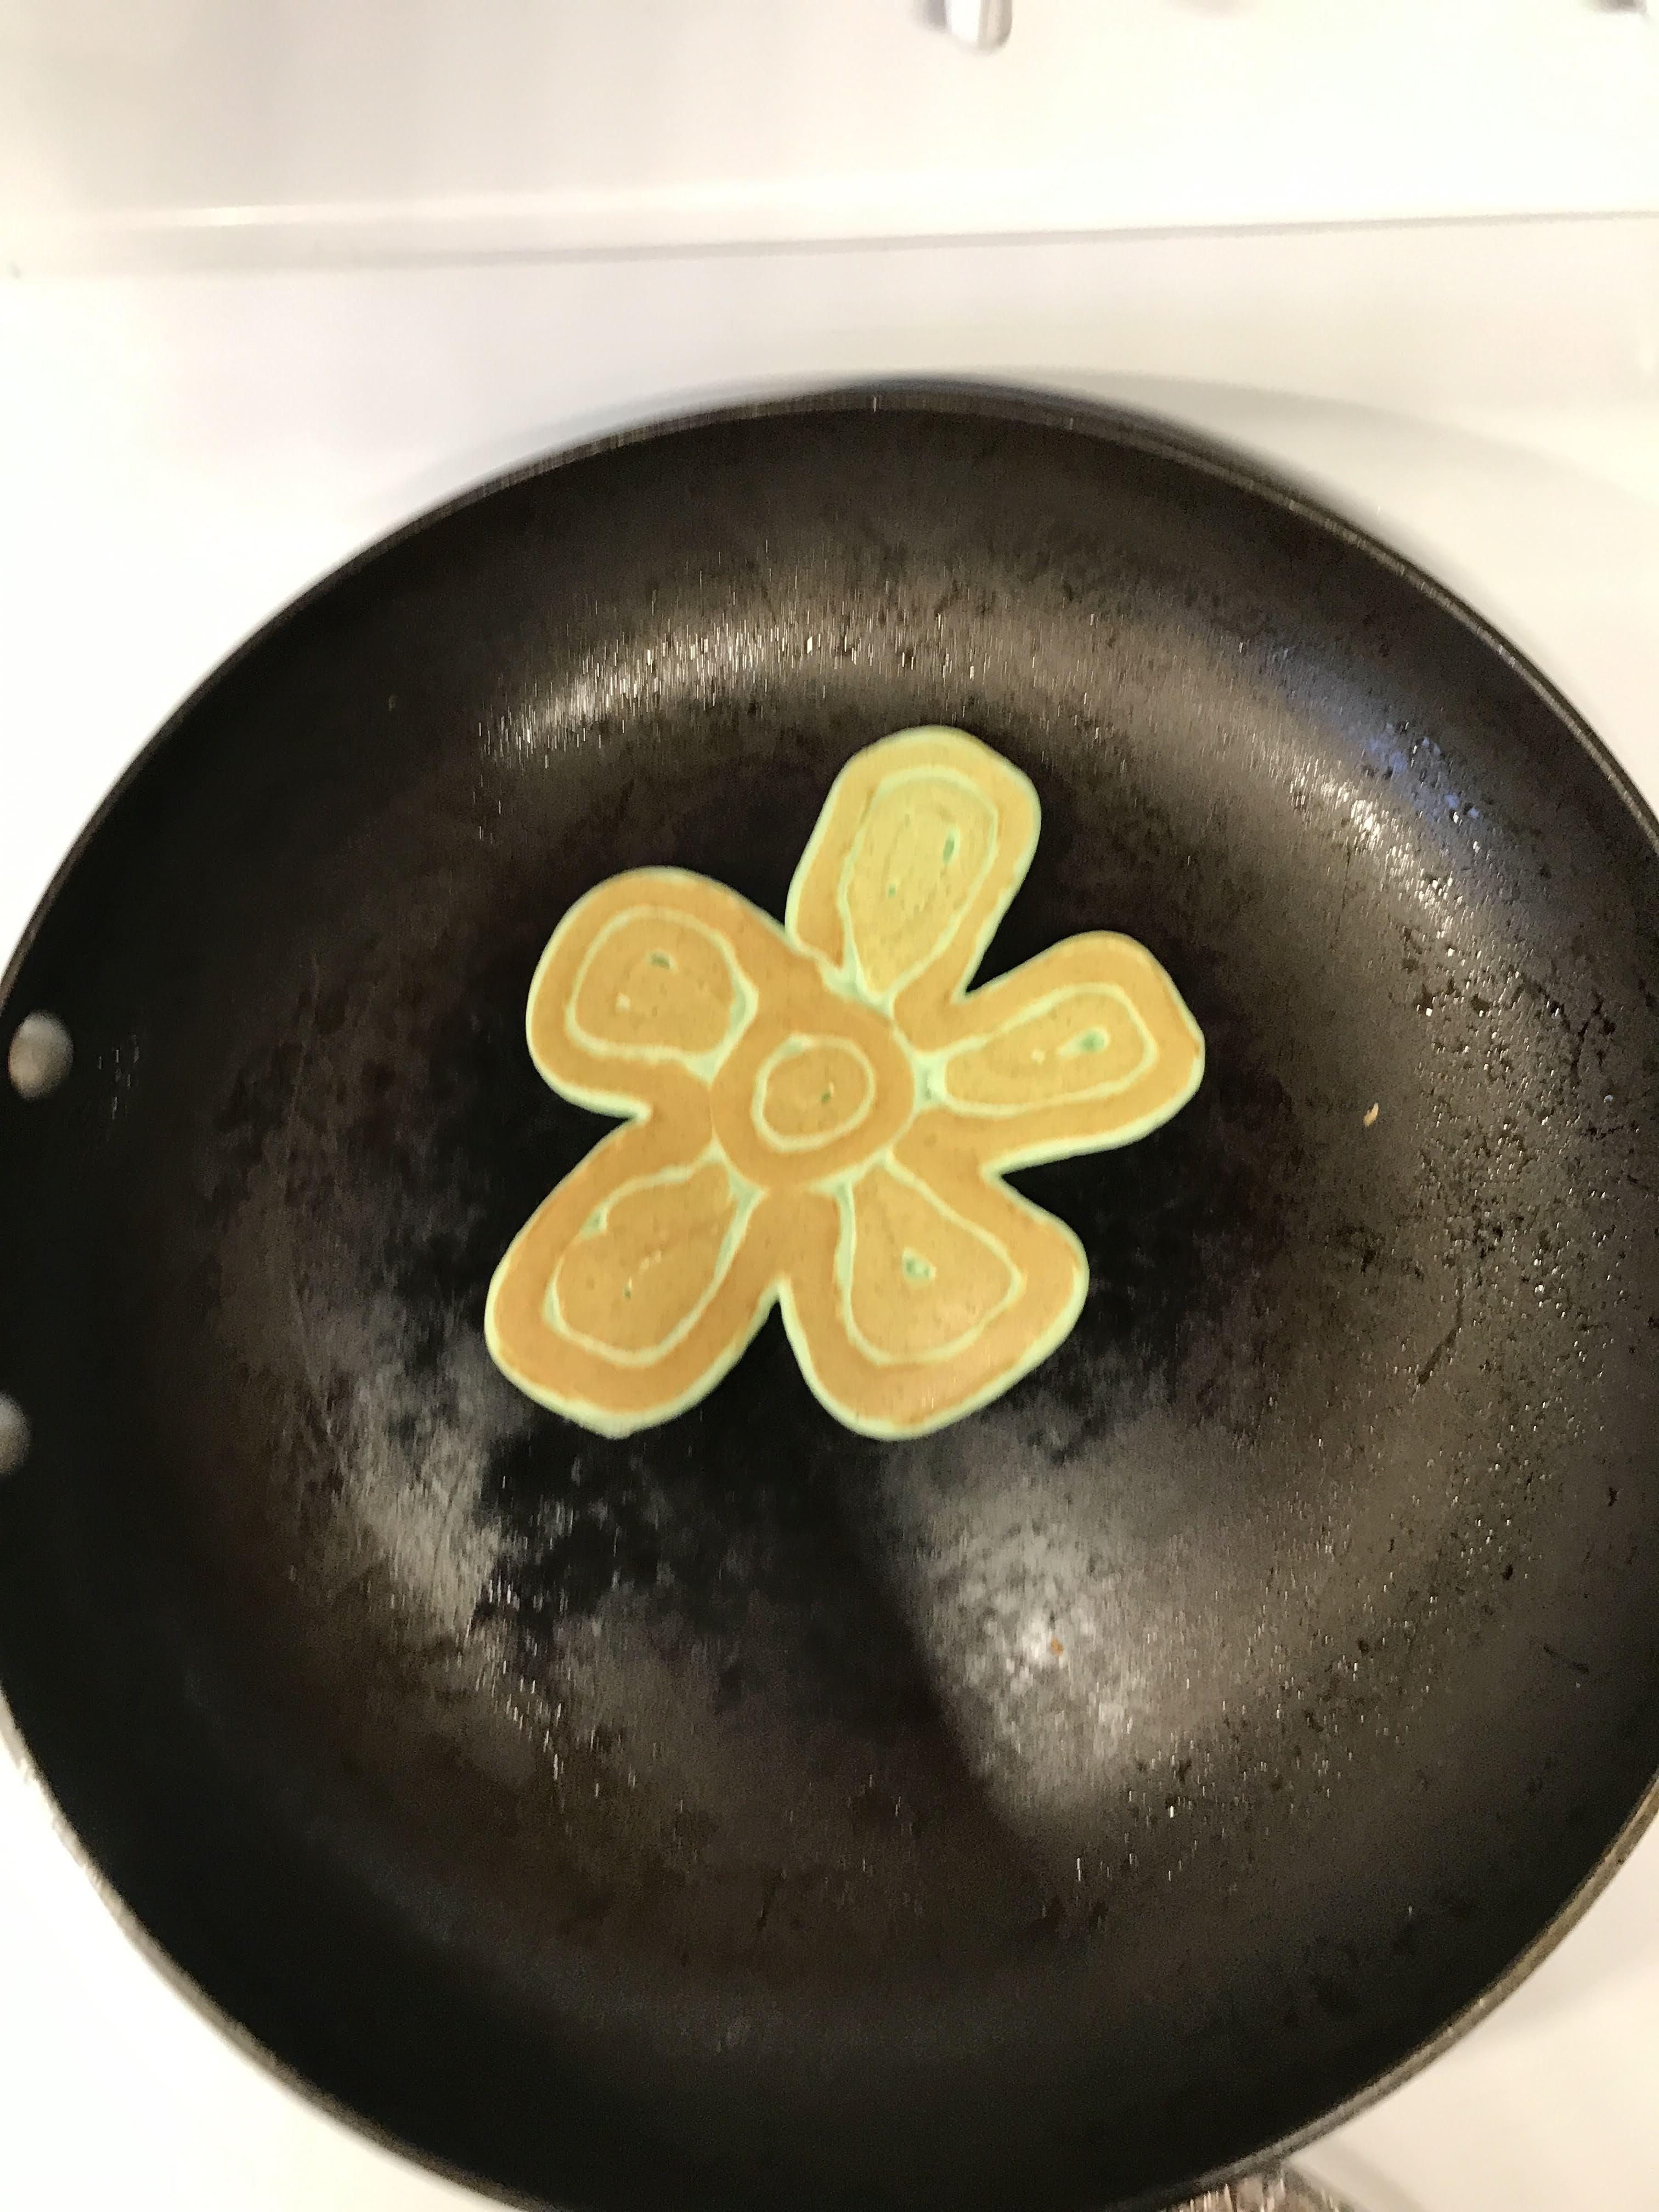
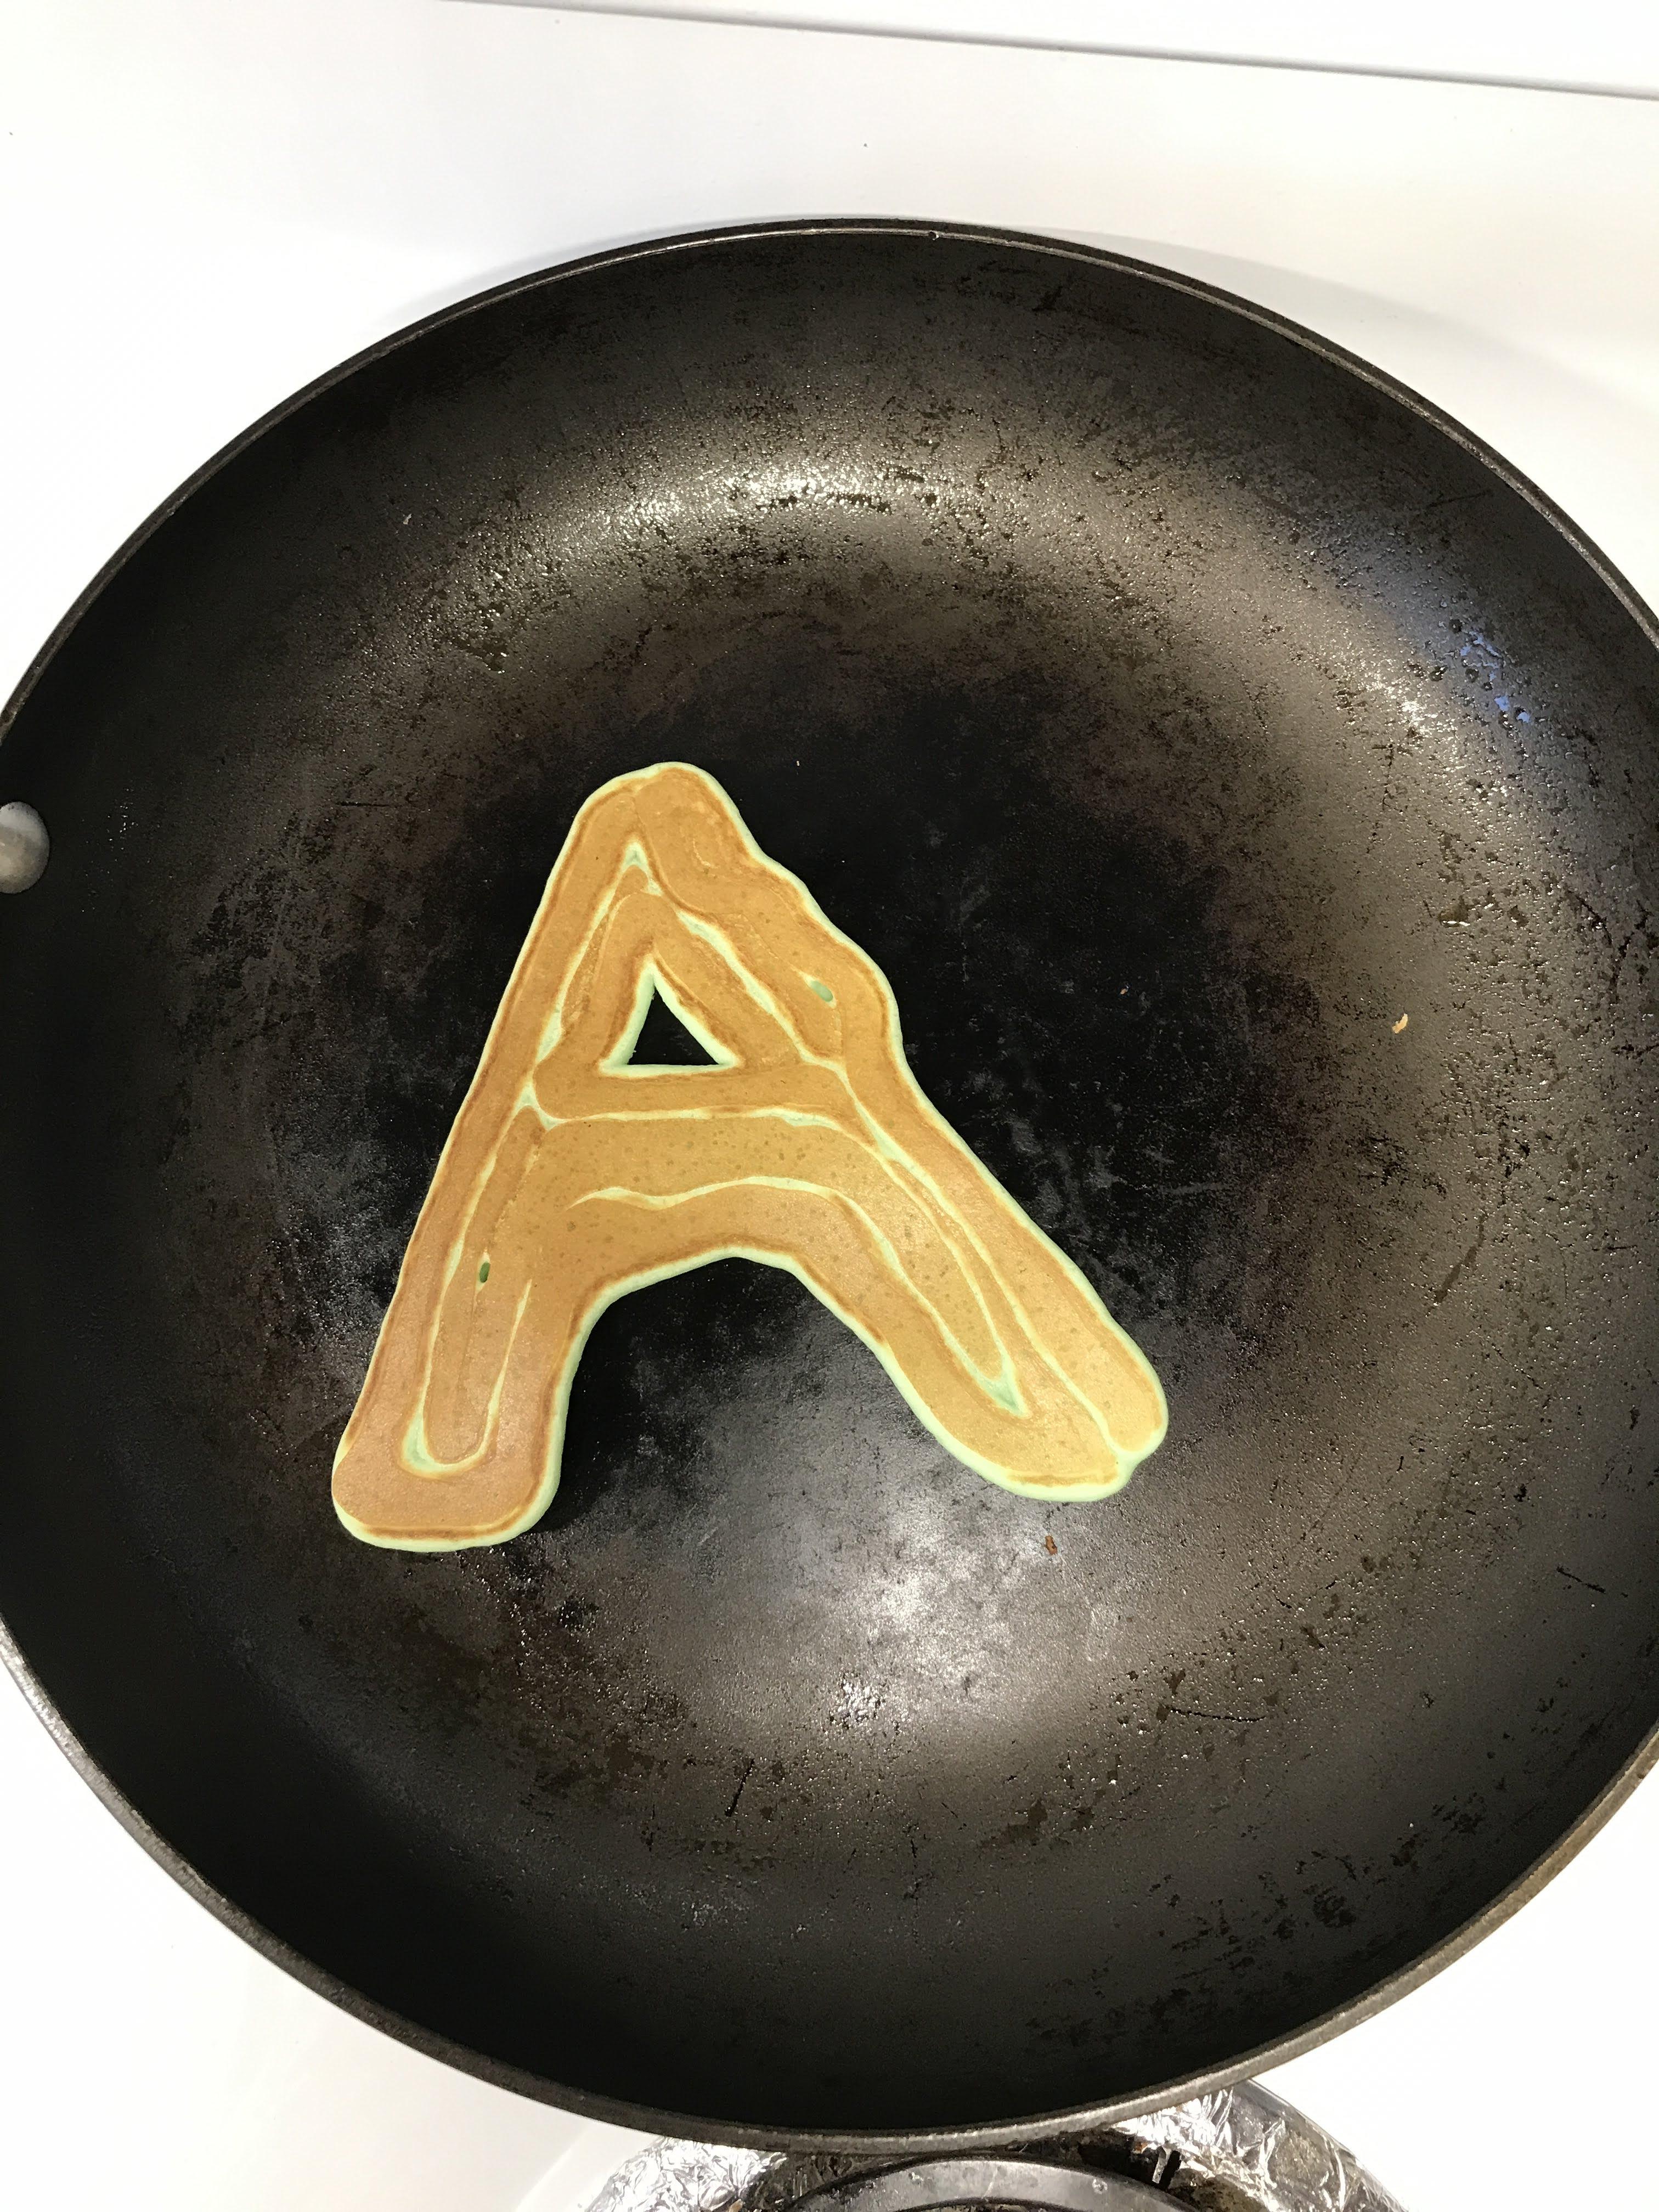
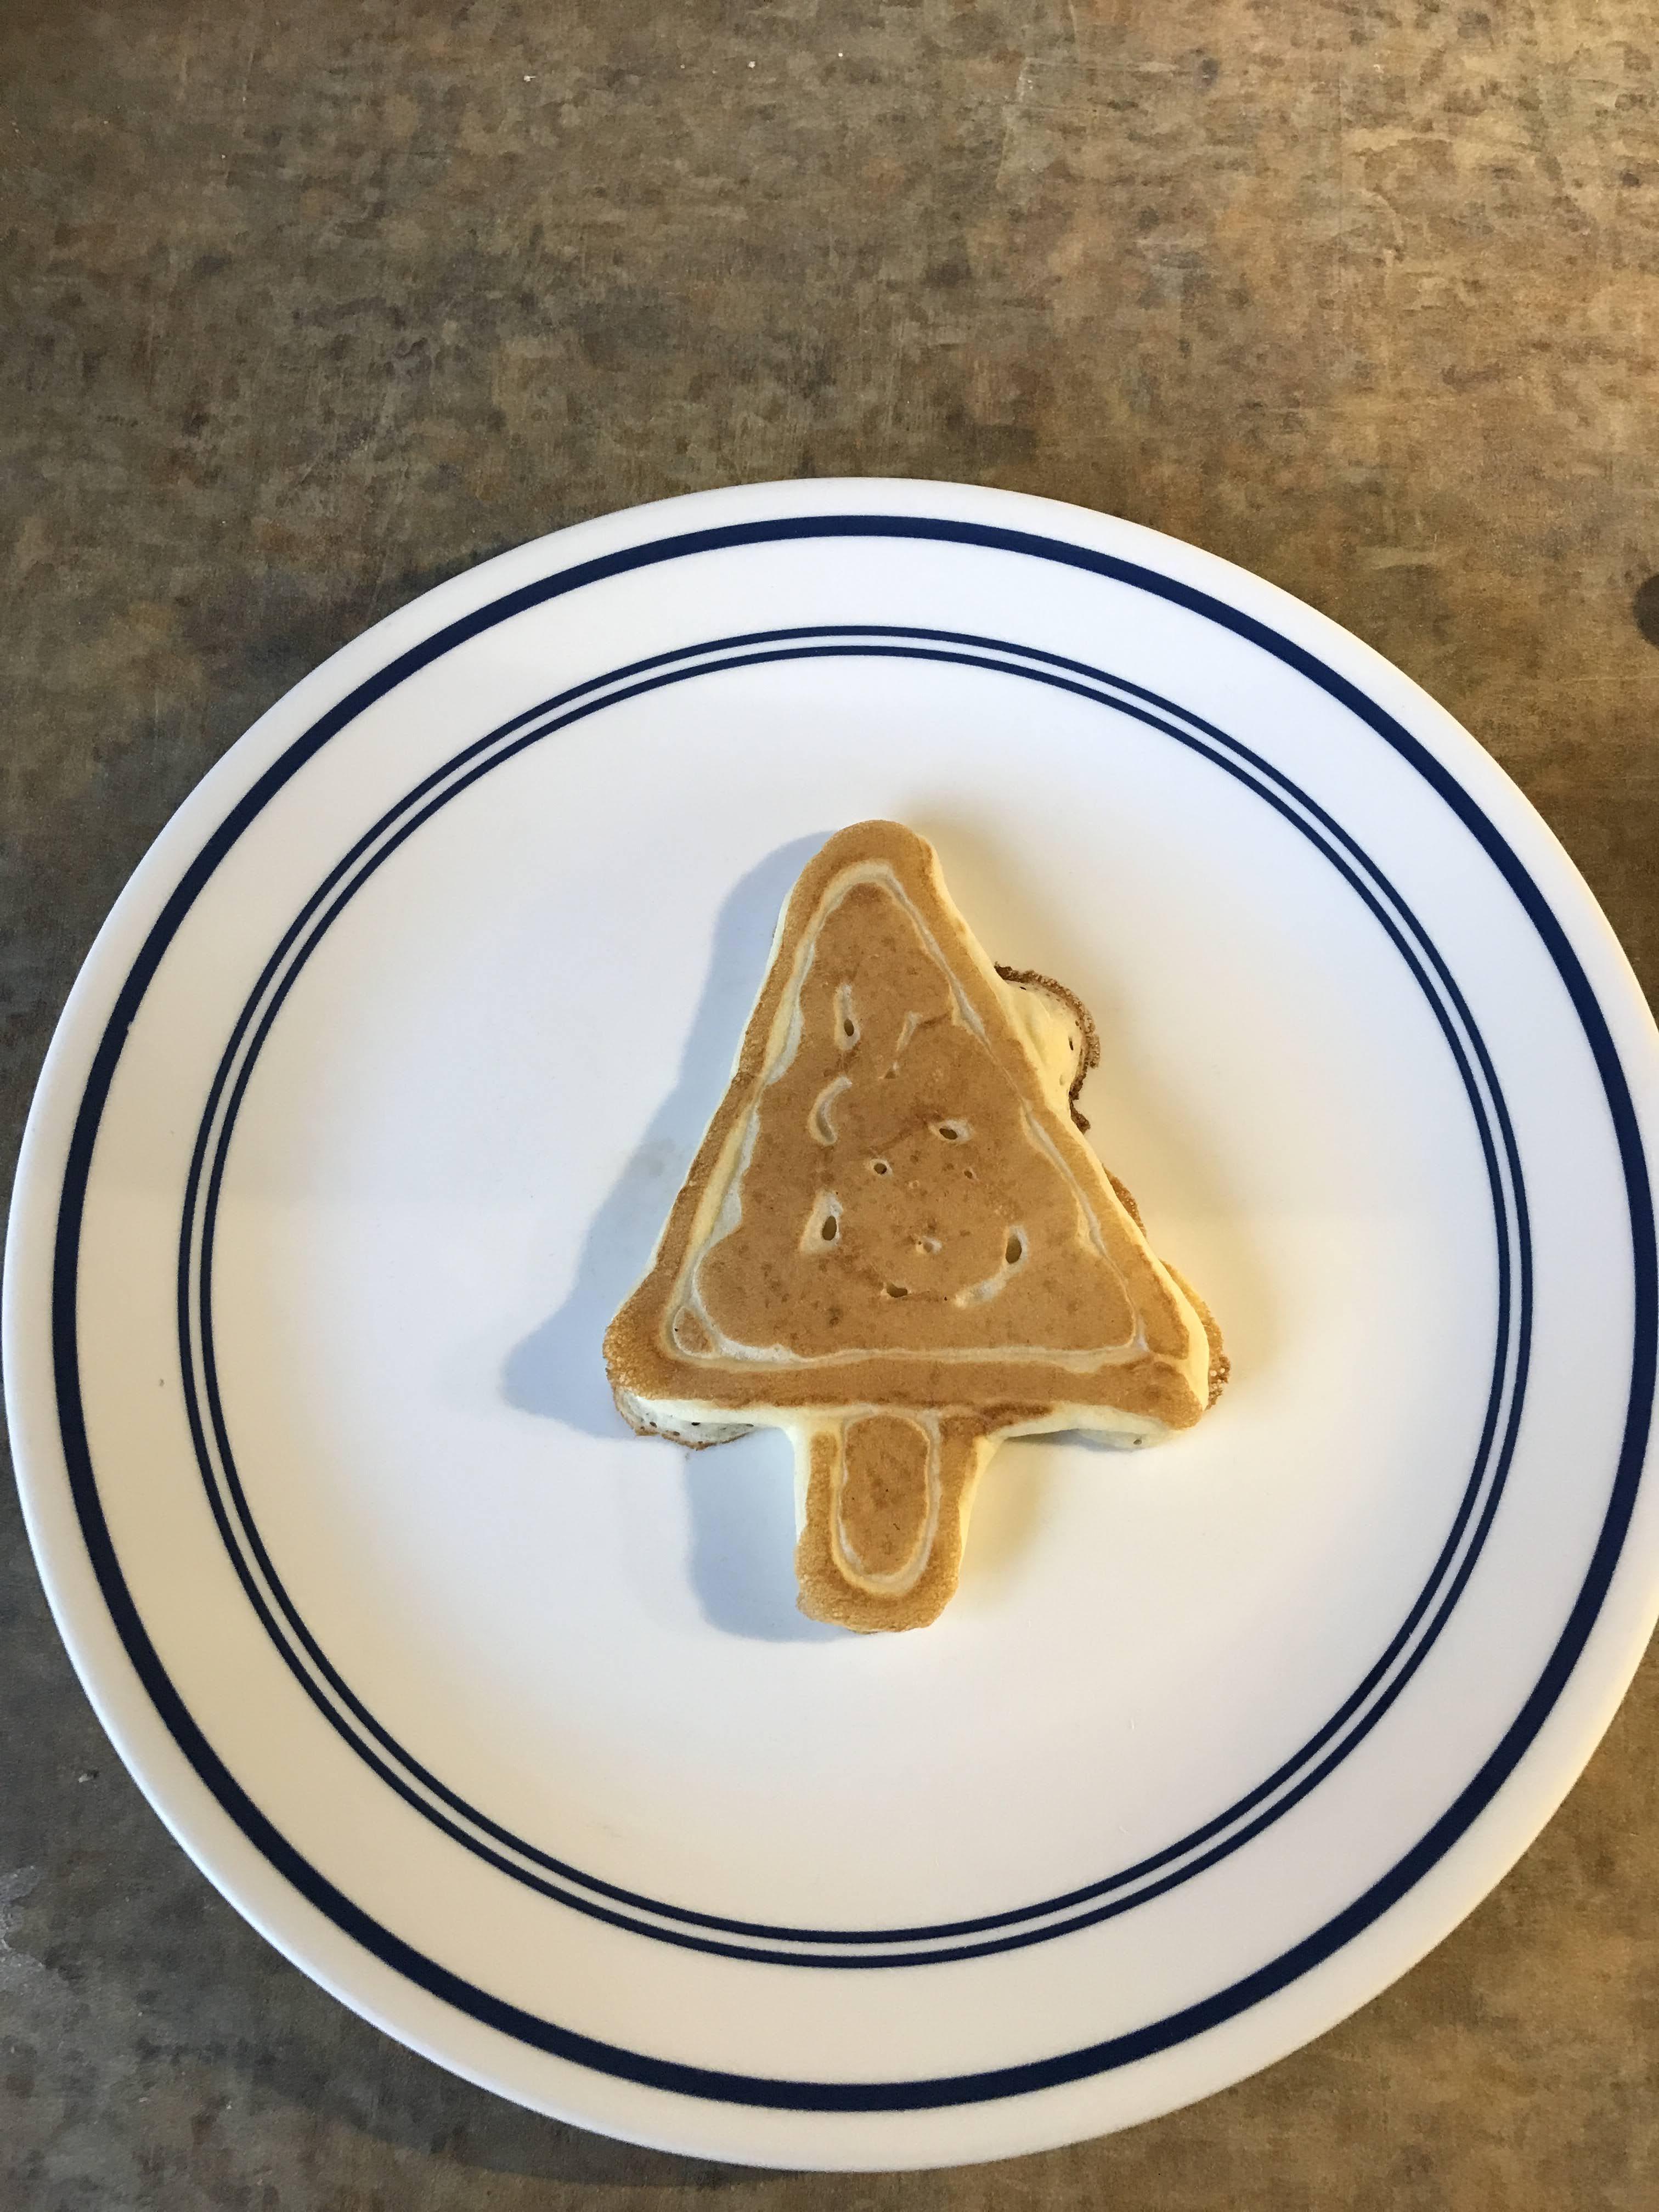
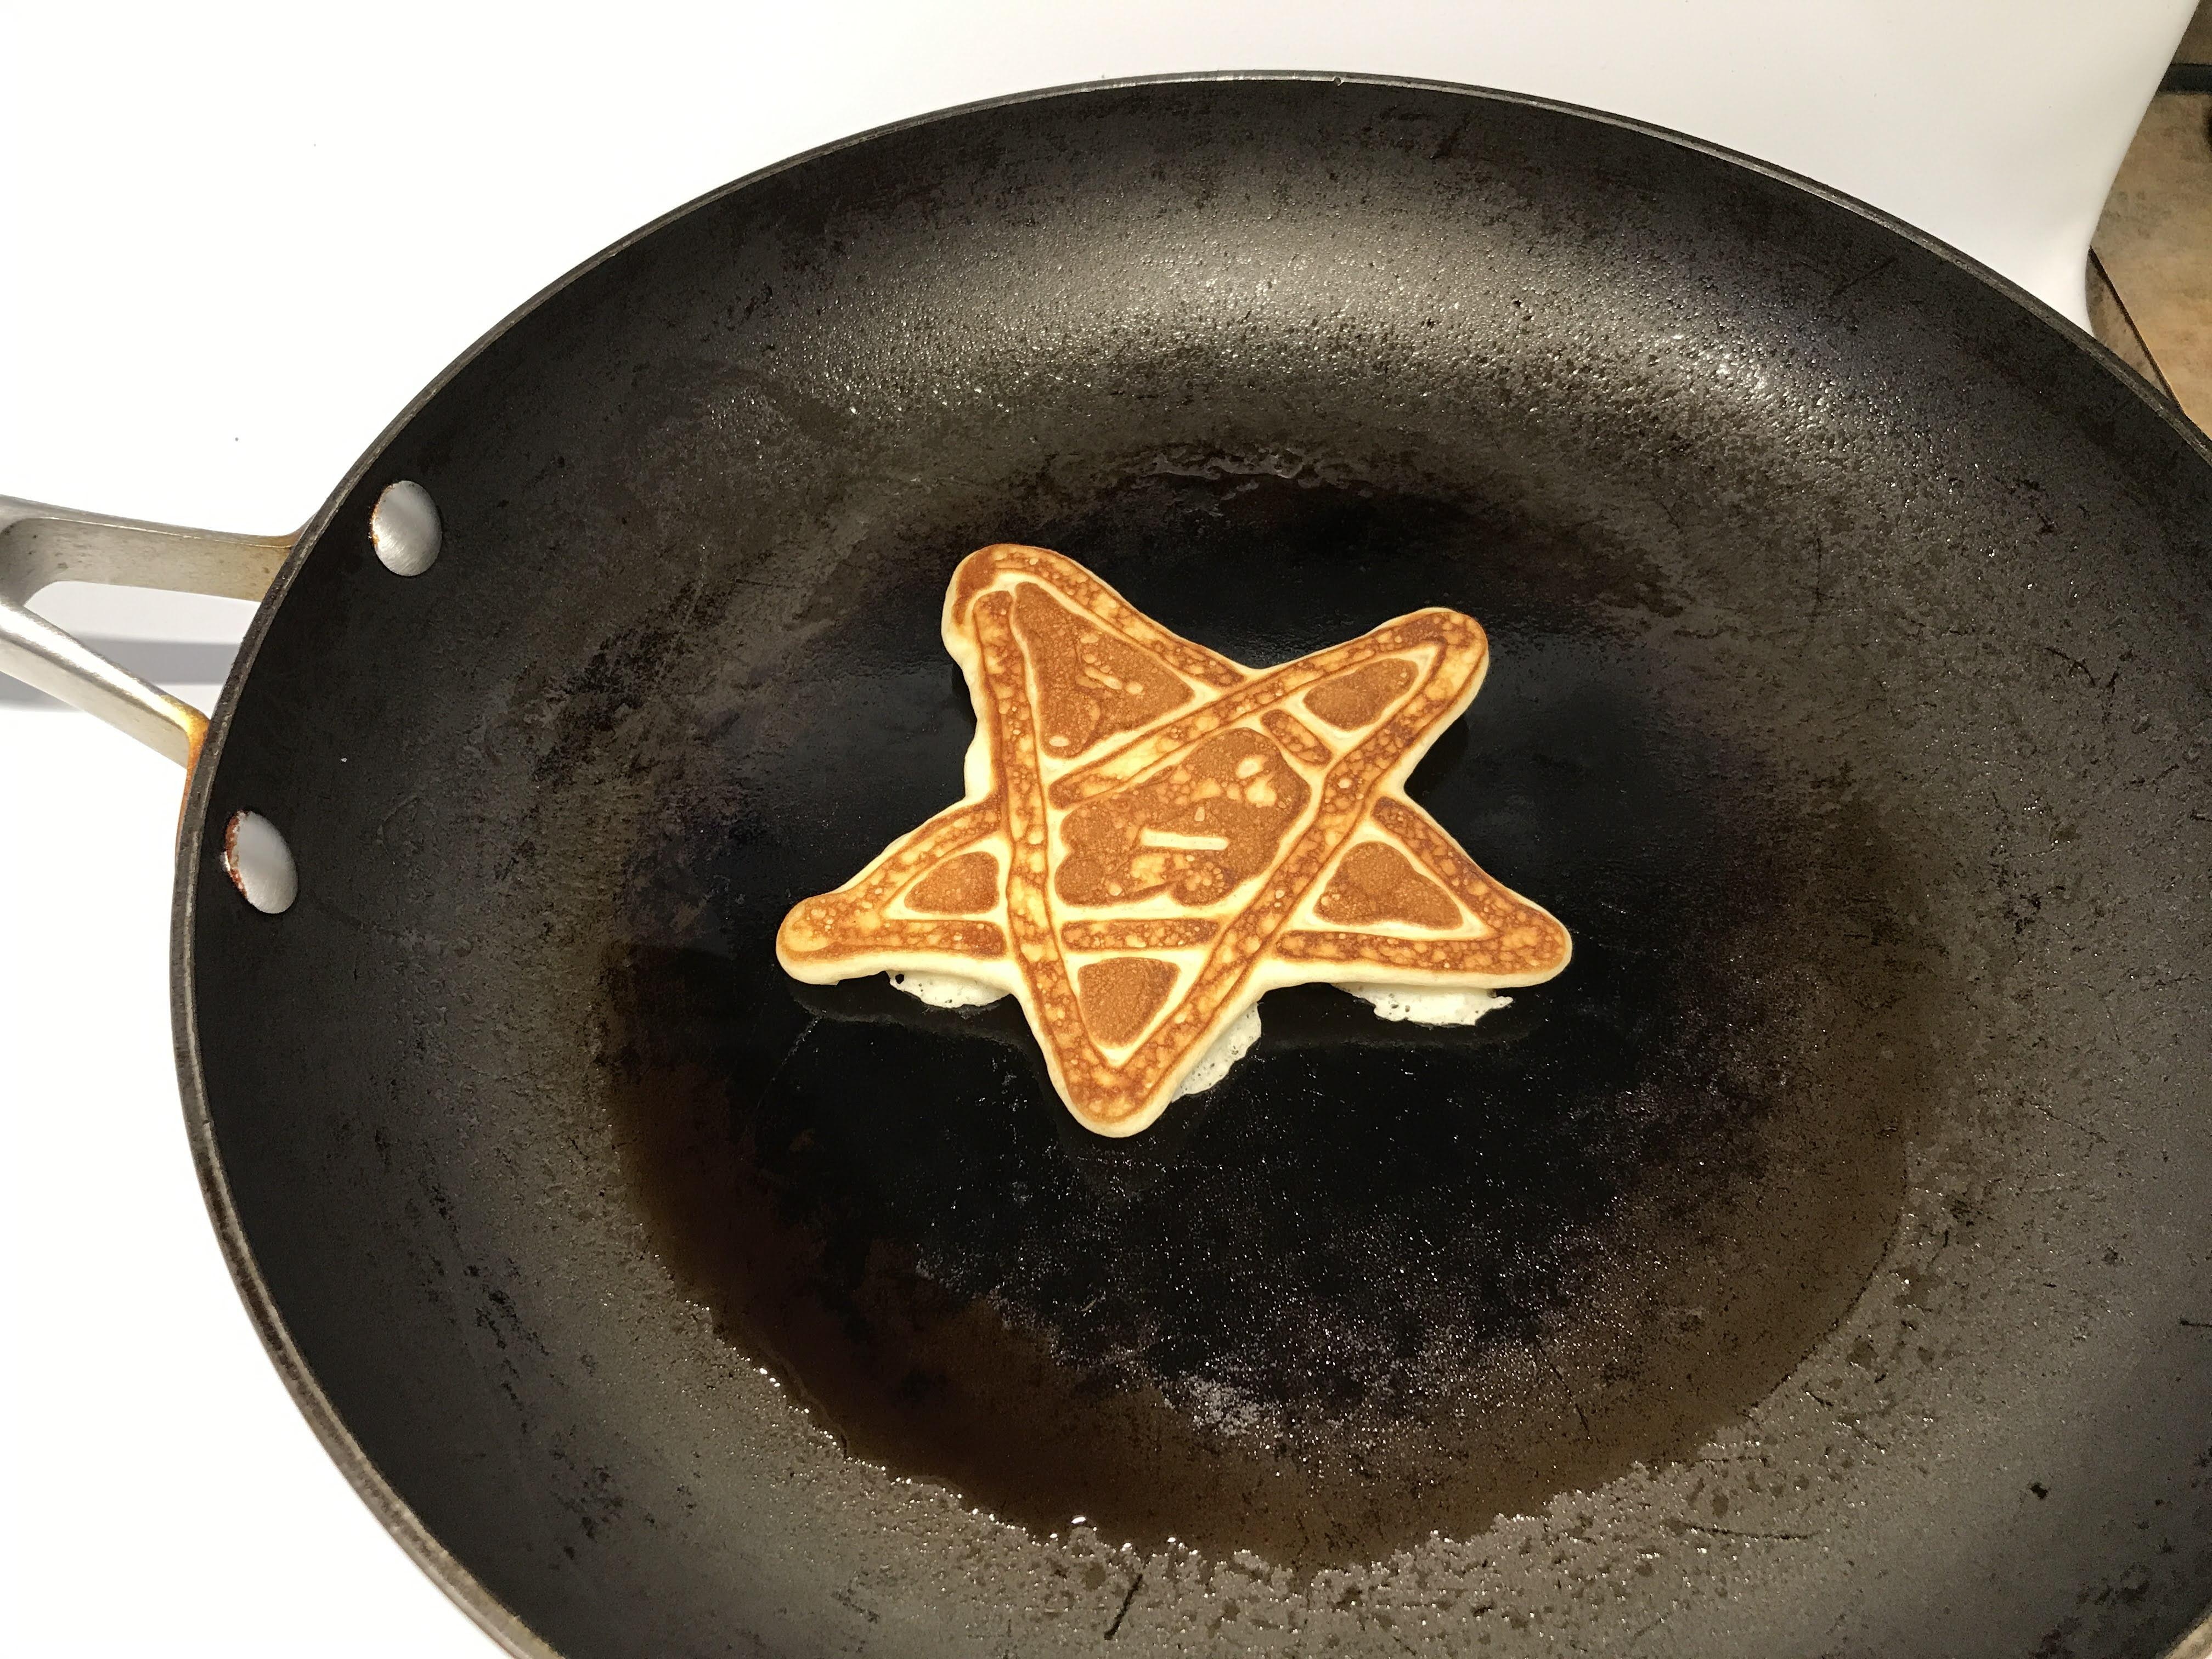
Make your pancakes into whatever shape, picture, or contour you desire! Using pancake batter as a new-fashioned art medium, breakfast can become the most fun meal of the day. You can easily serve up pancakes shaped as flowers, stars, cars, numbers, letters, or familiar icons such as Mickey Mouse.
Supplies
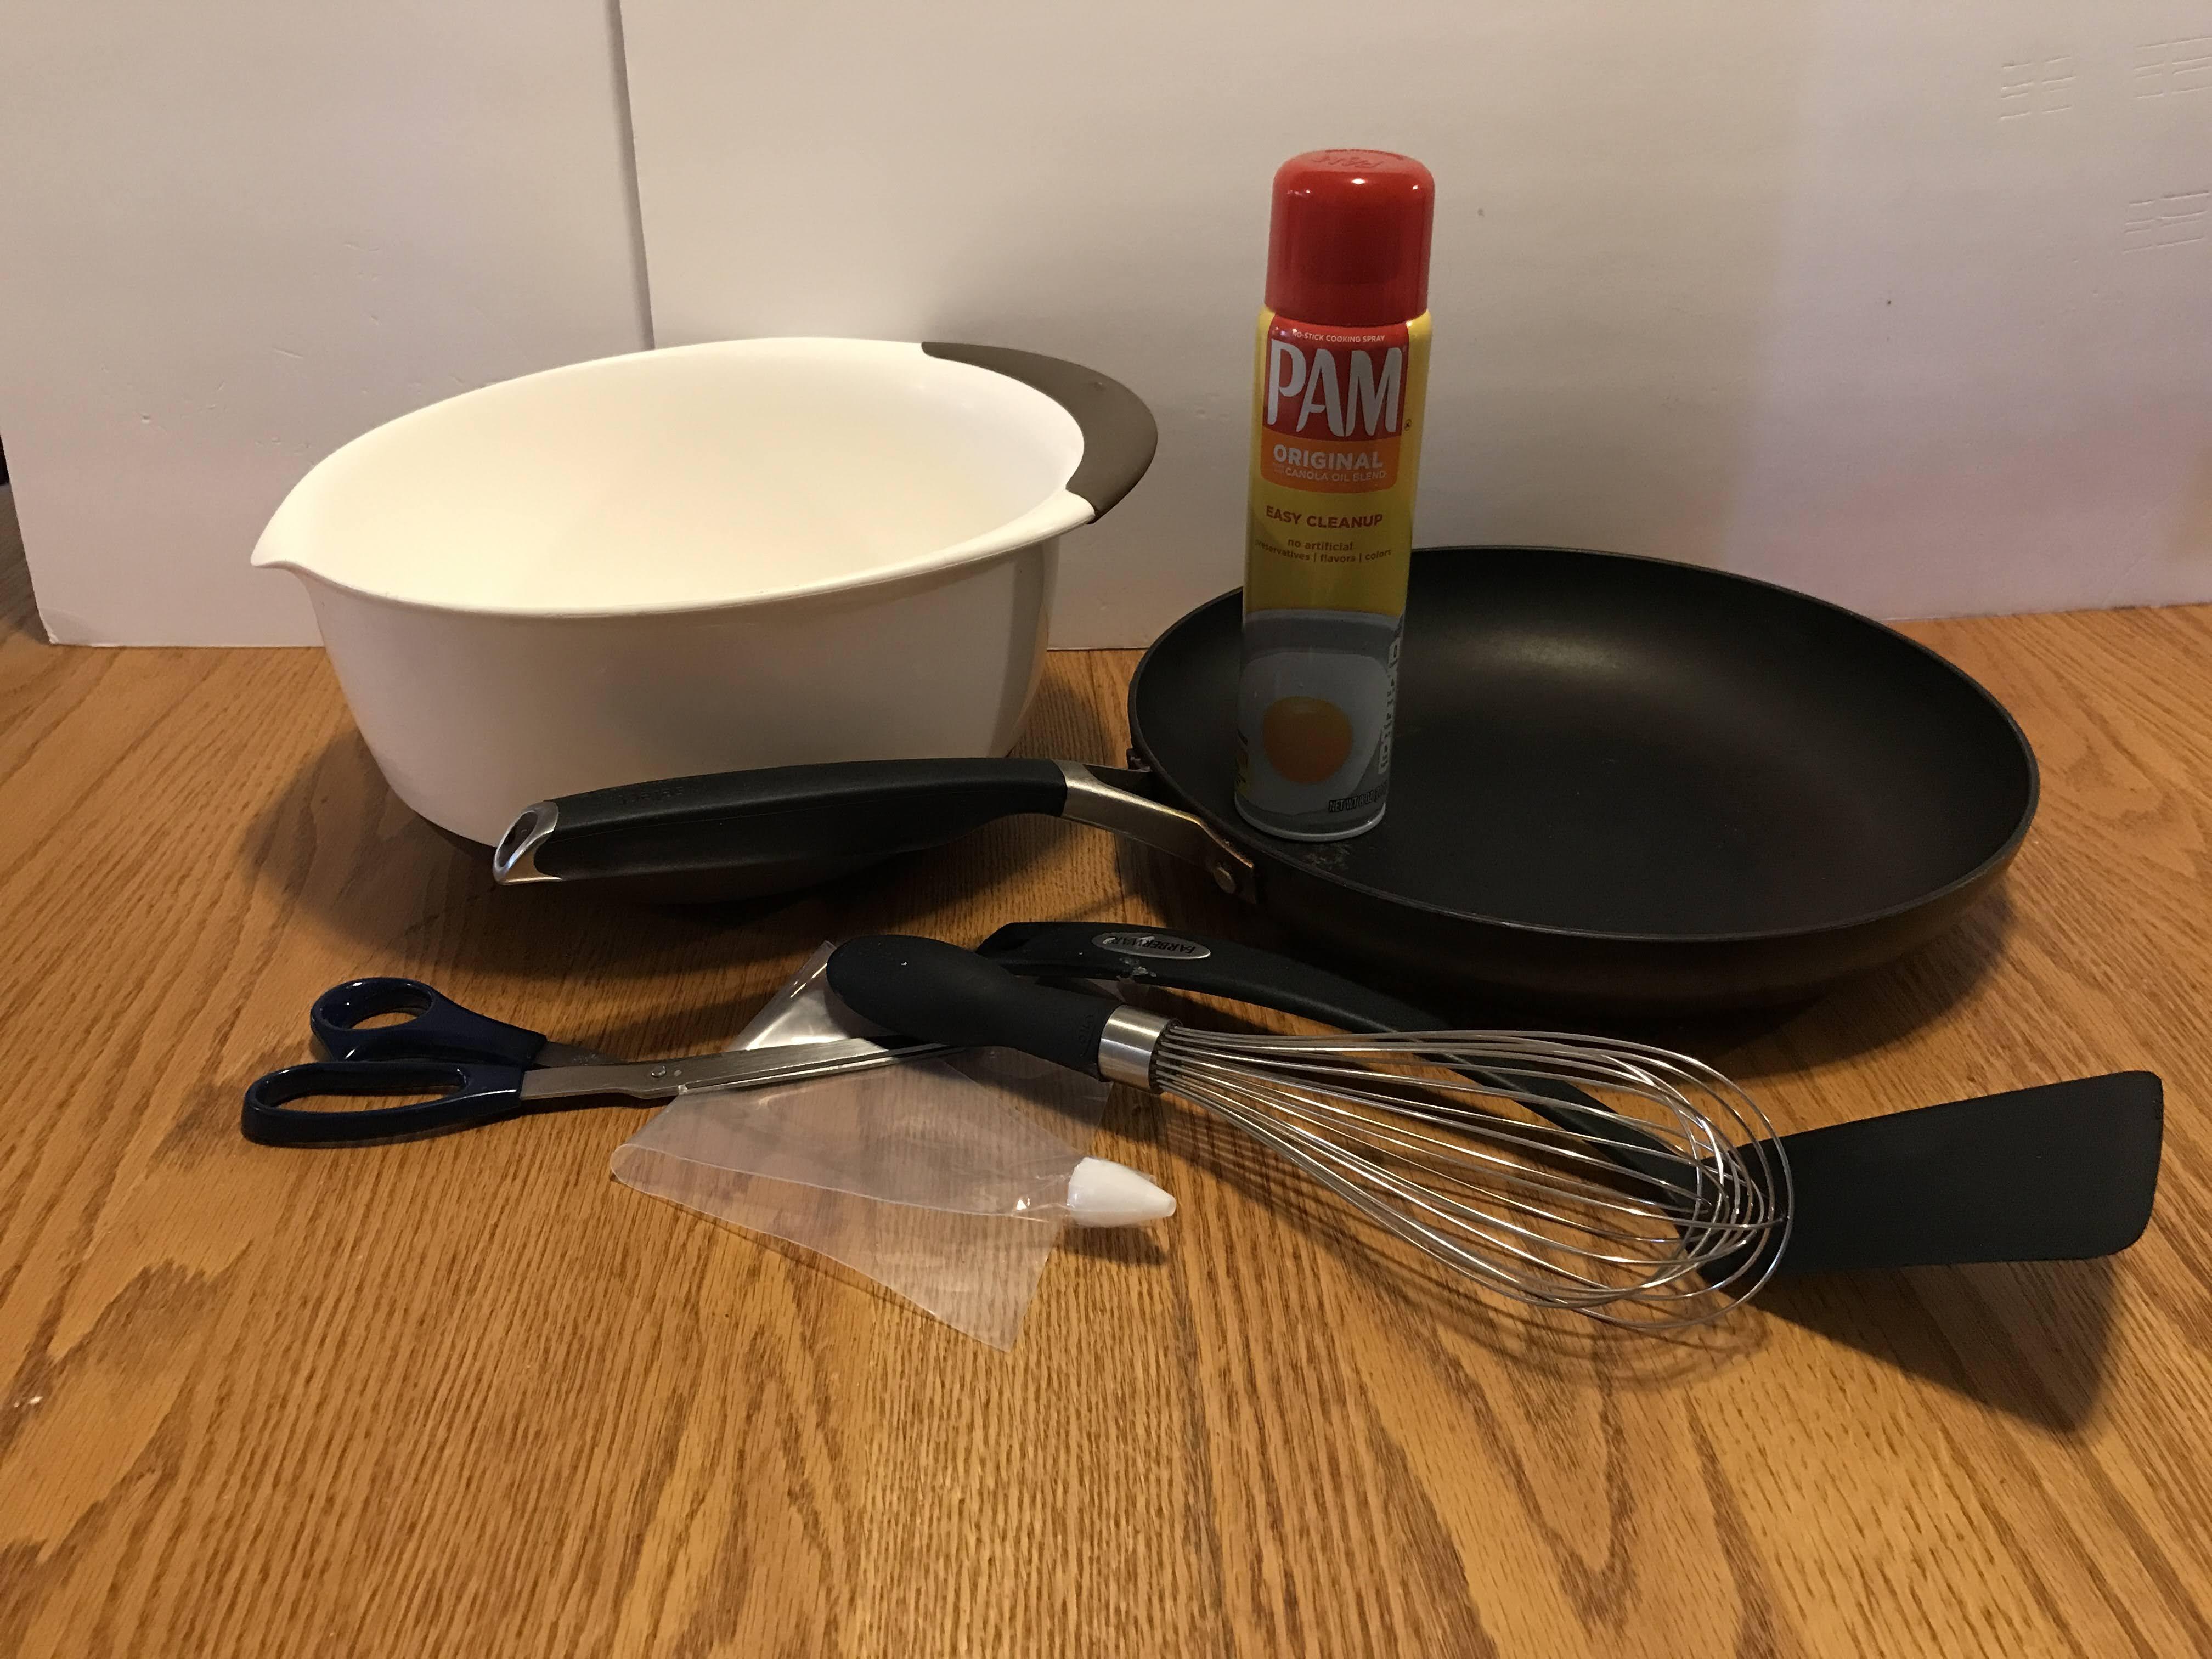
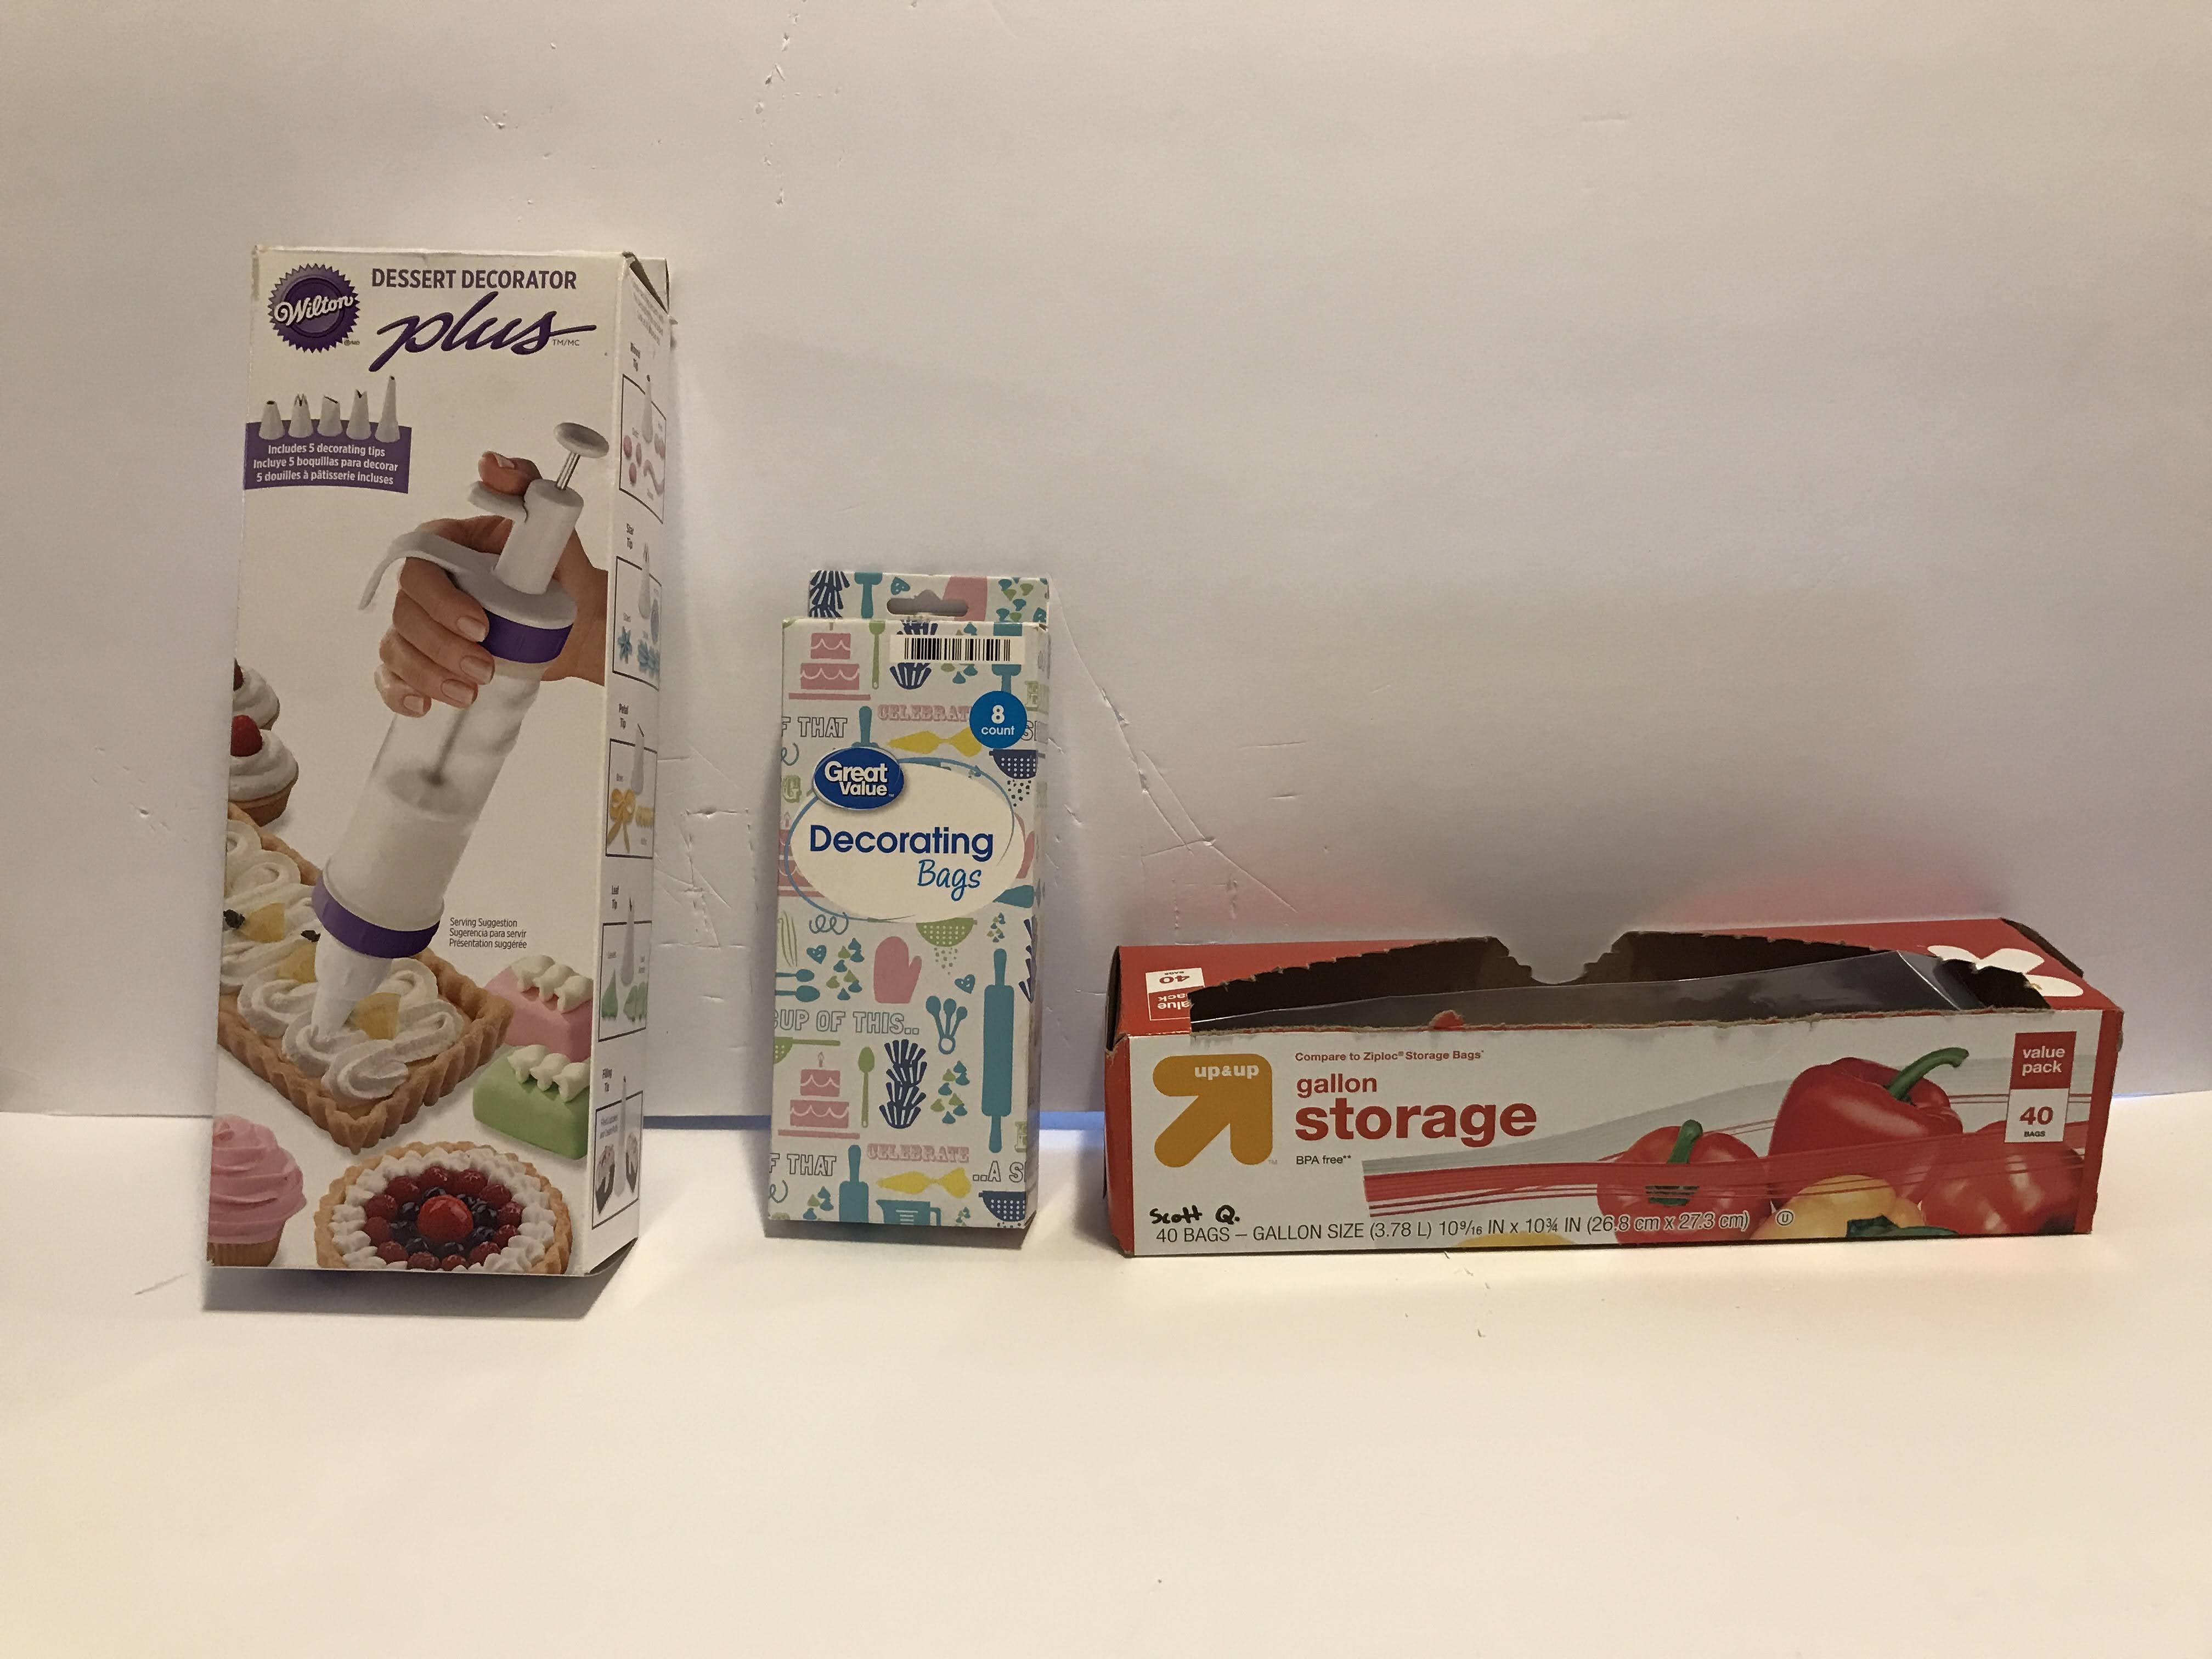
Pancake mix and water, or ingredients to make pancakes from scratch
Large Mixing bowl
Whisk
Decorating tool [Choose one of the following]
- Decorating bag with tip
- Frosting Syringe
- Gallon Ziploc bag
Scissors
Frying pan
Cooking Spray
Spatula
Extras: Food coloring, sprinkles, berries, bananas, maple syrup, any other pancake topping!
Preheat Your Pan
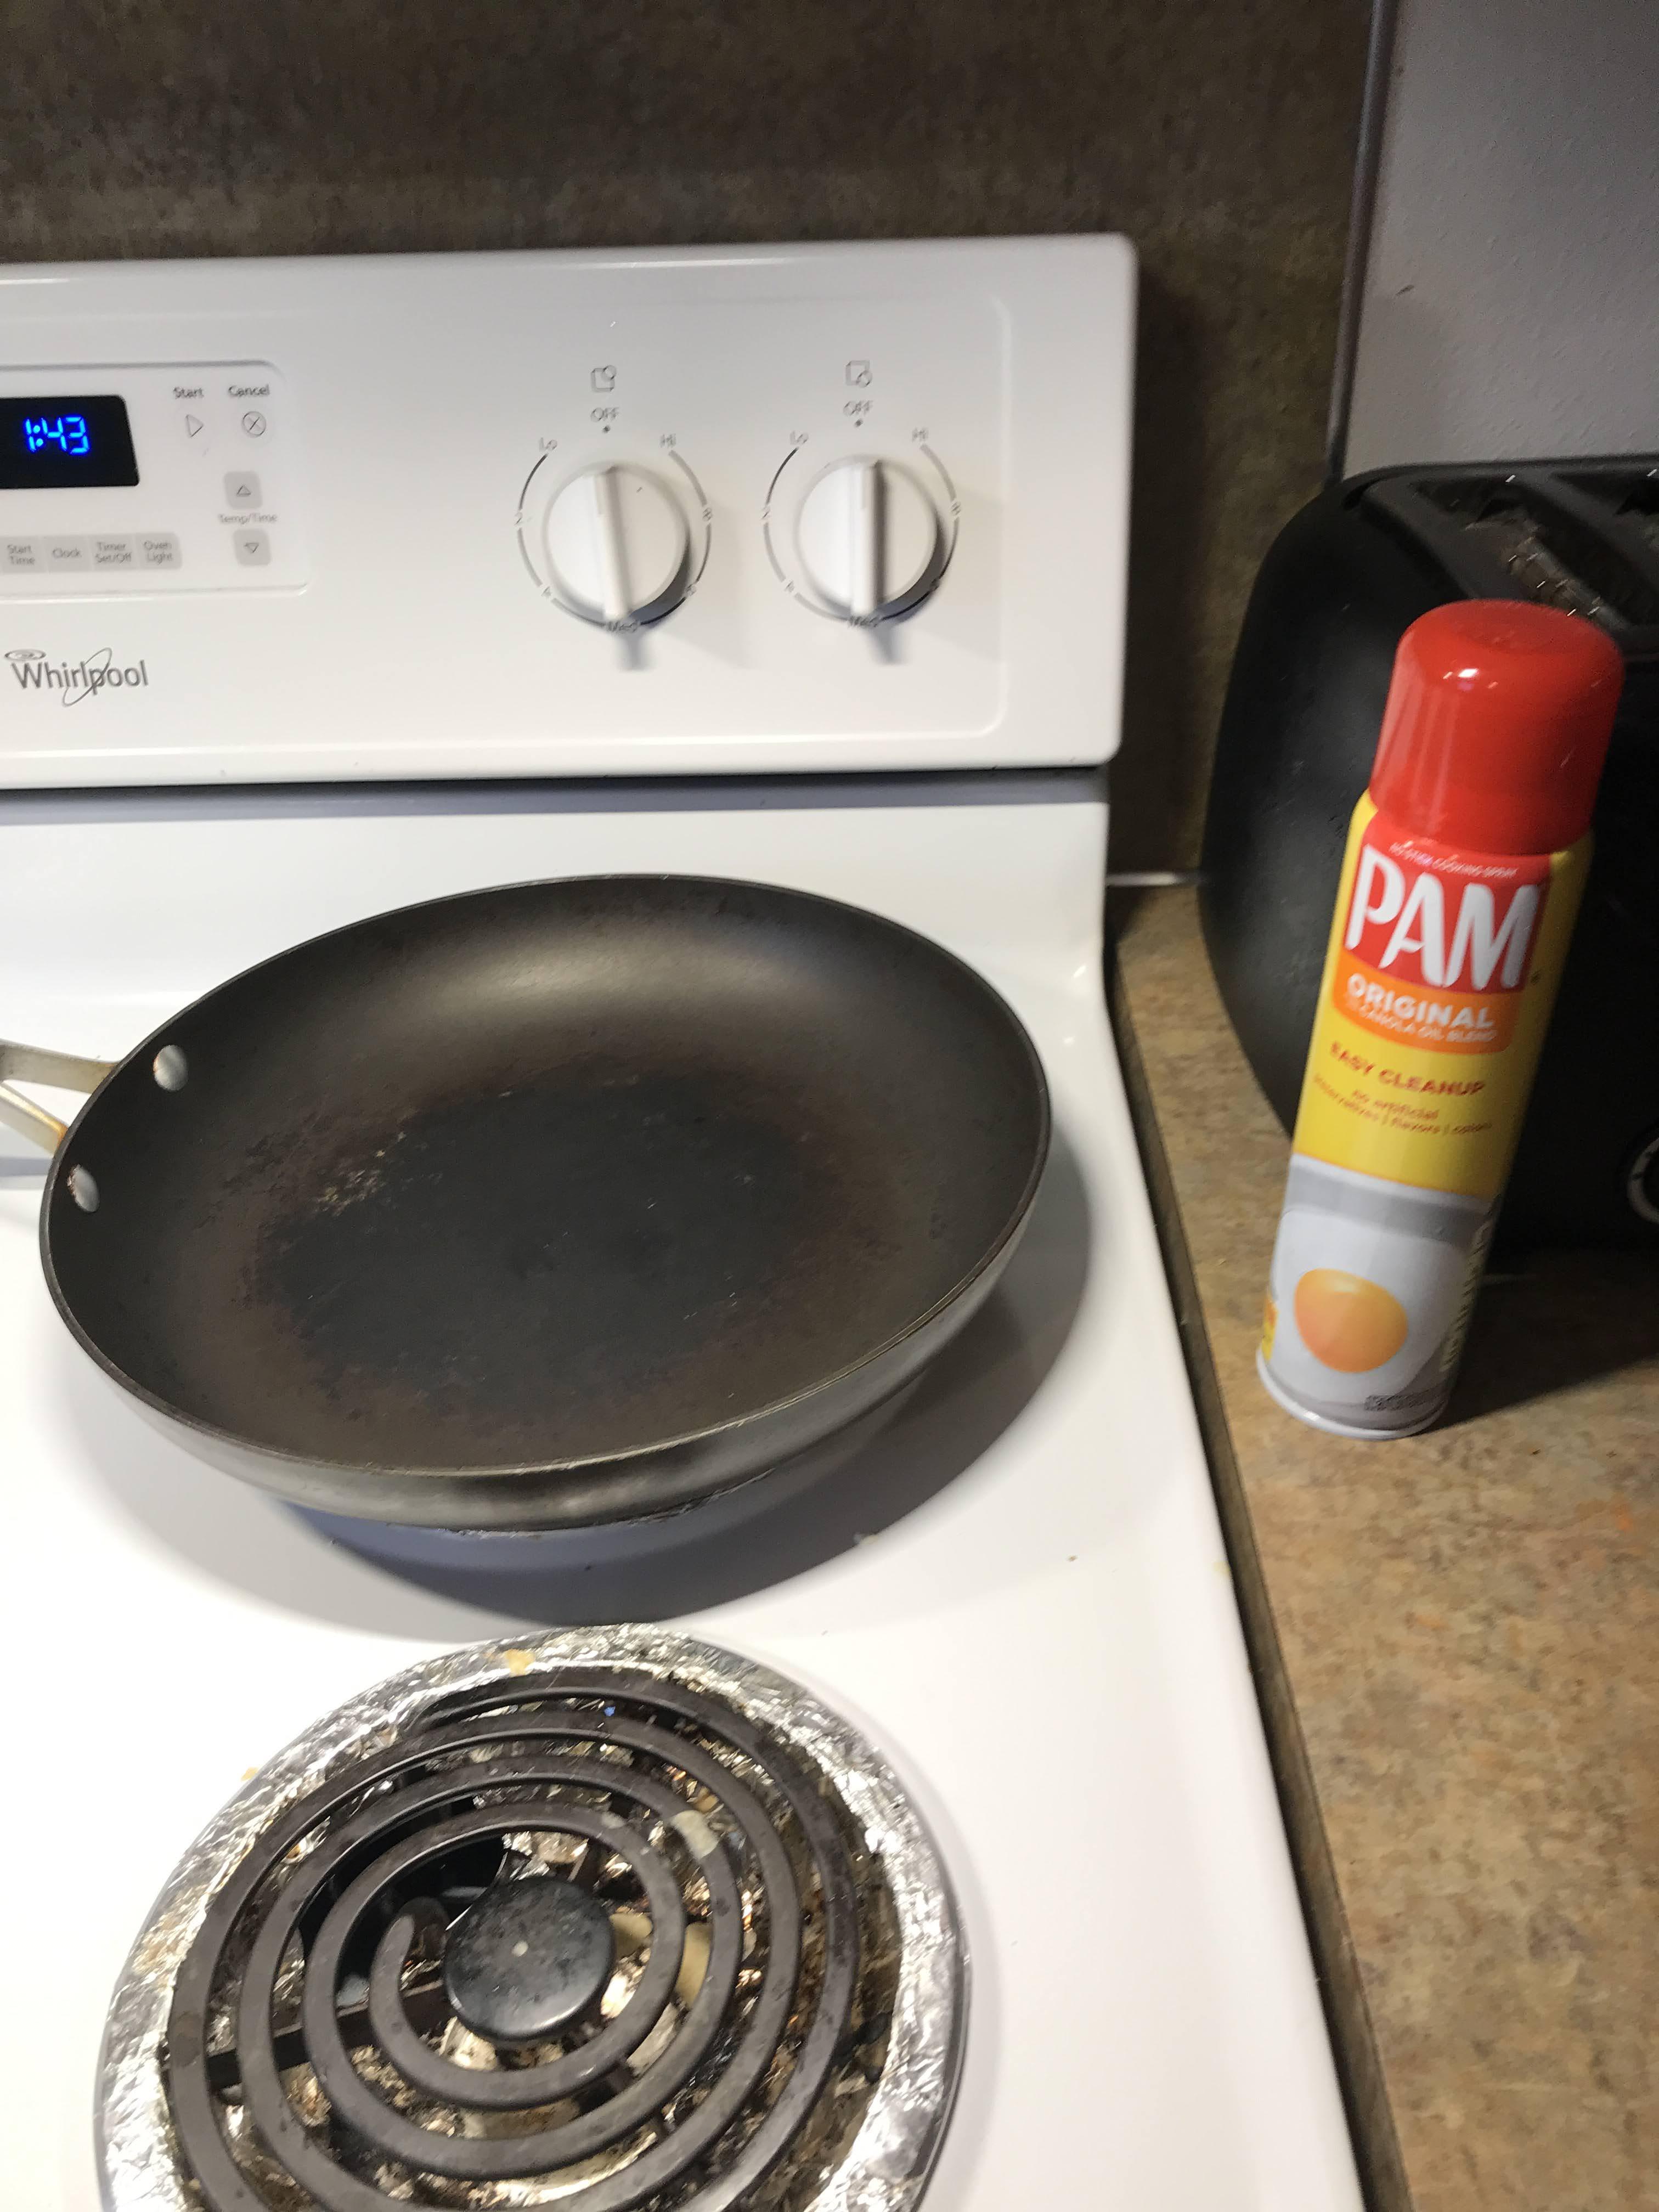
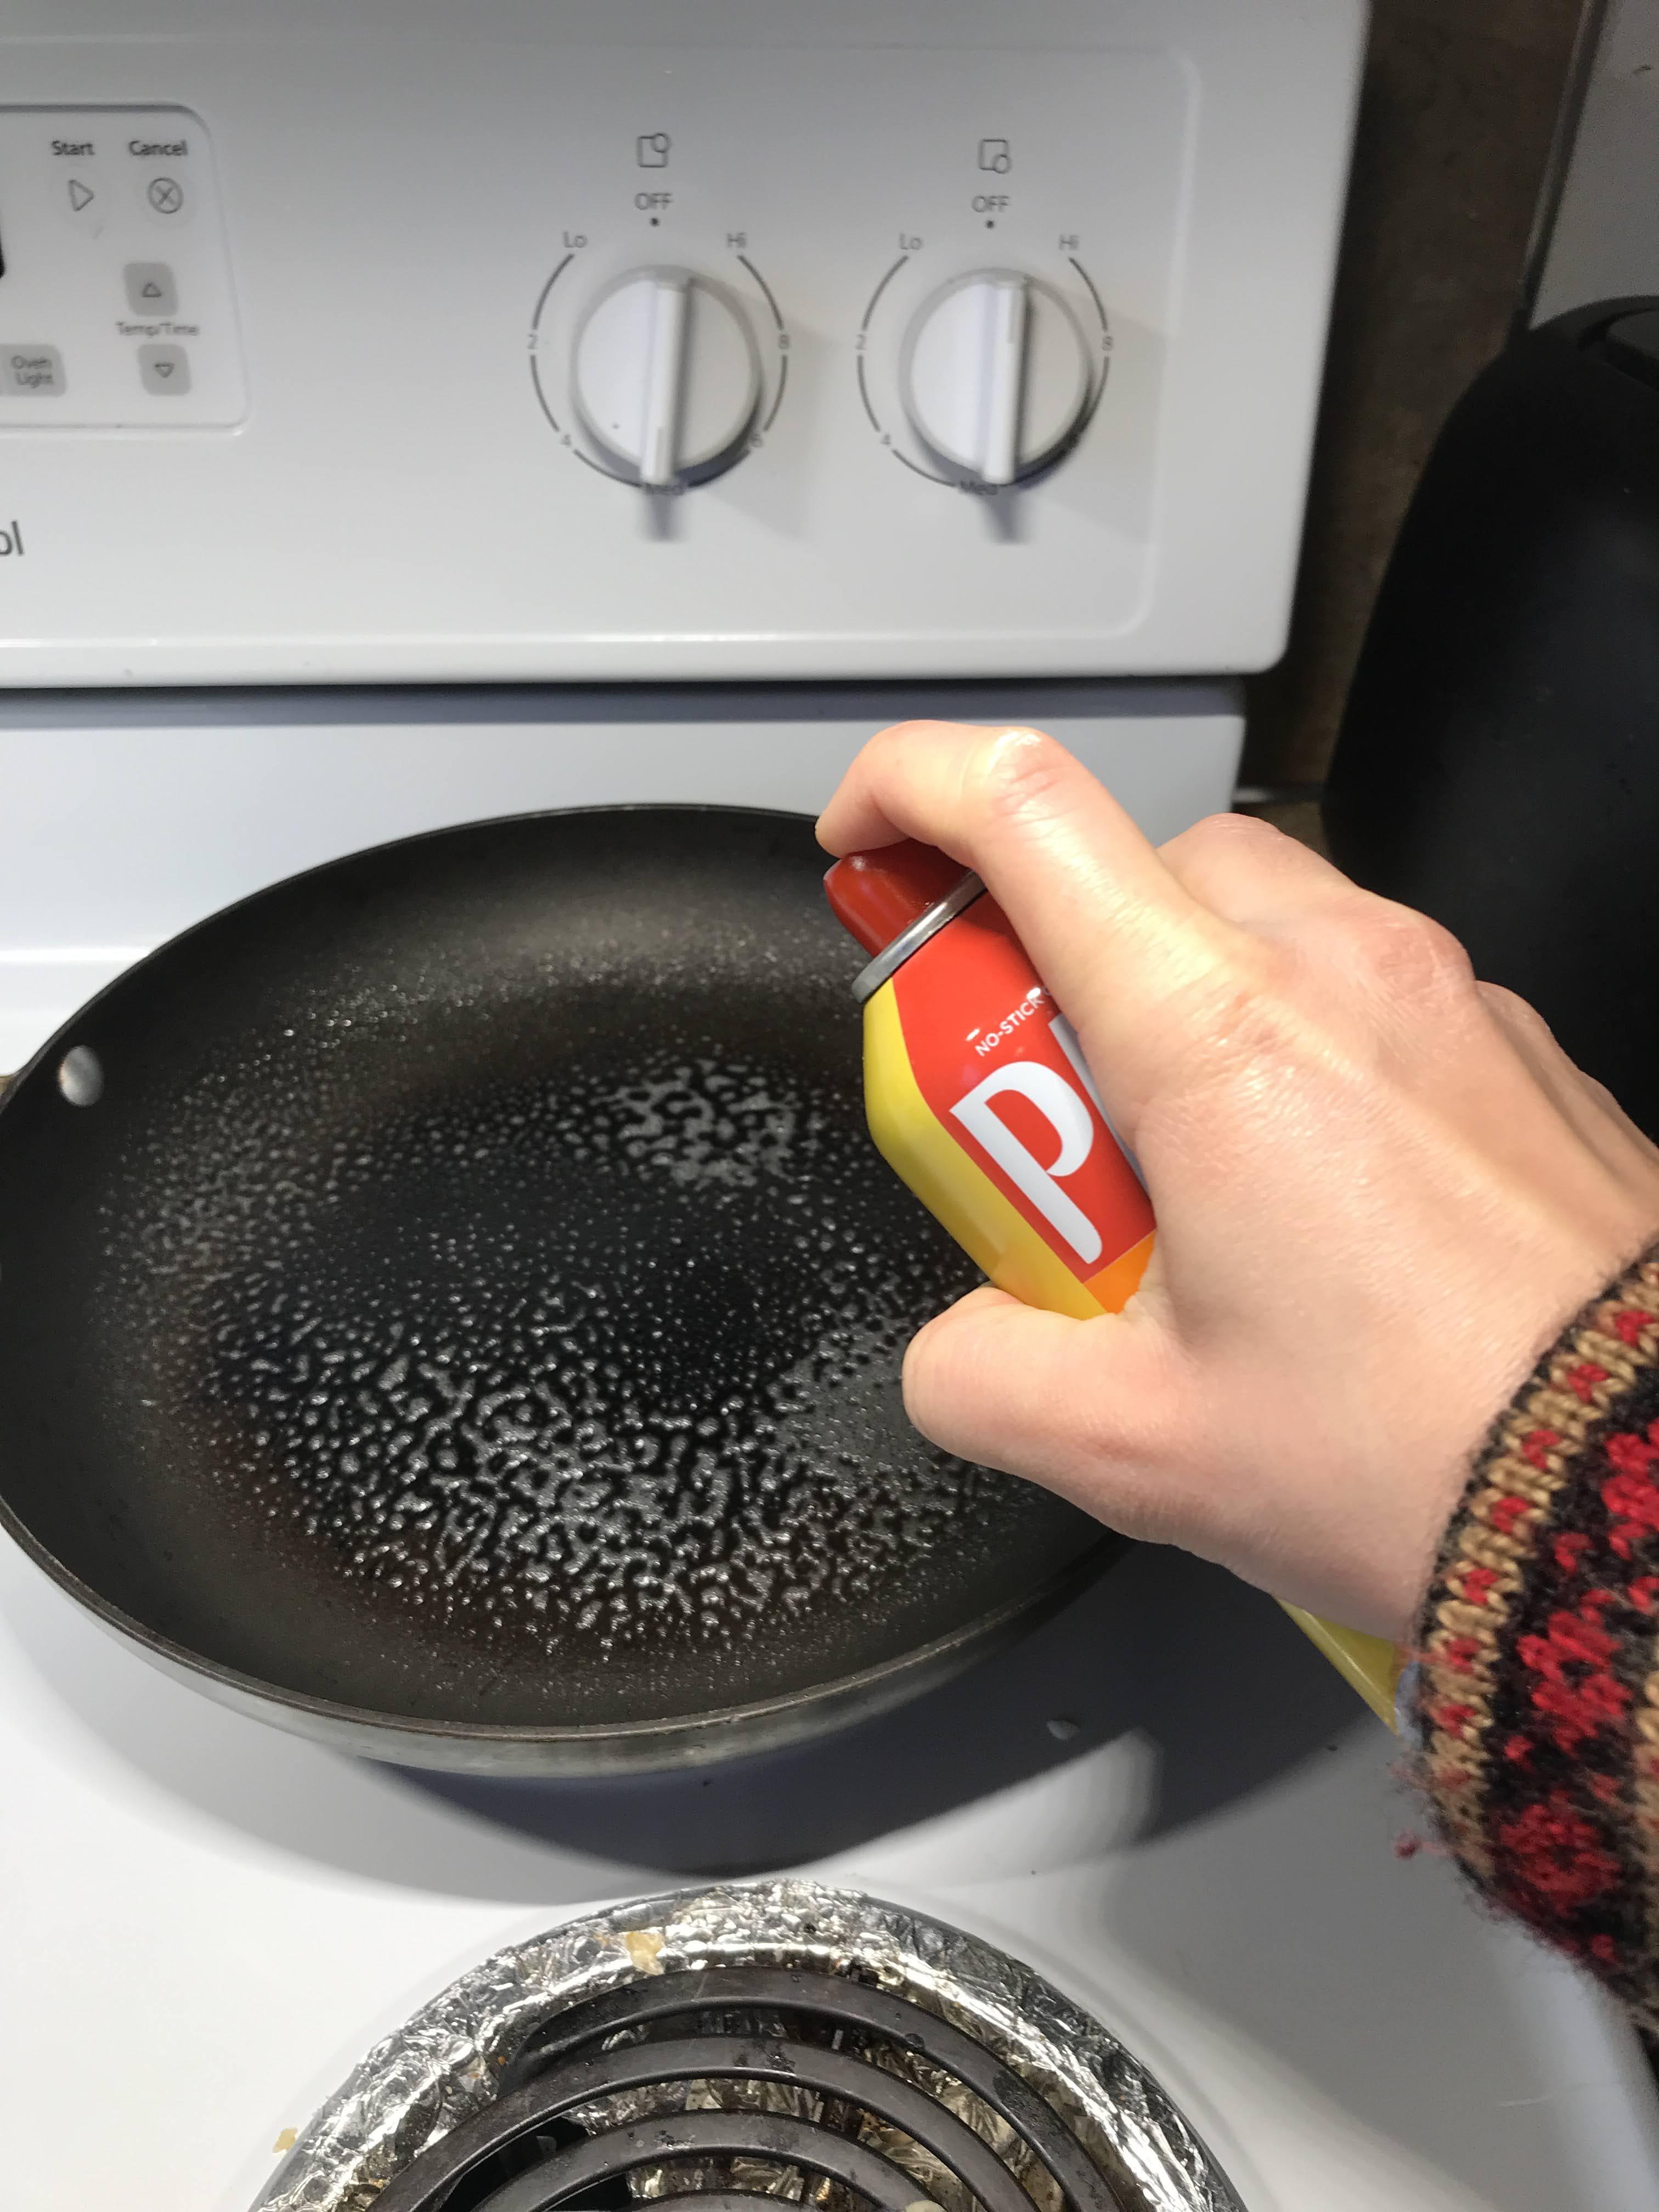
First, begin preheating your frying pan to a medium heat. Spray with cooking oil, or spread oil/butter on the surface of the pan evenly so that the pancake will not stick to the pan.
Make Pancake Batter
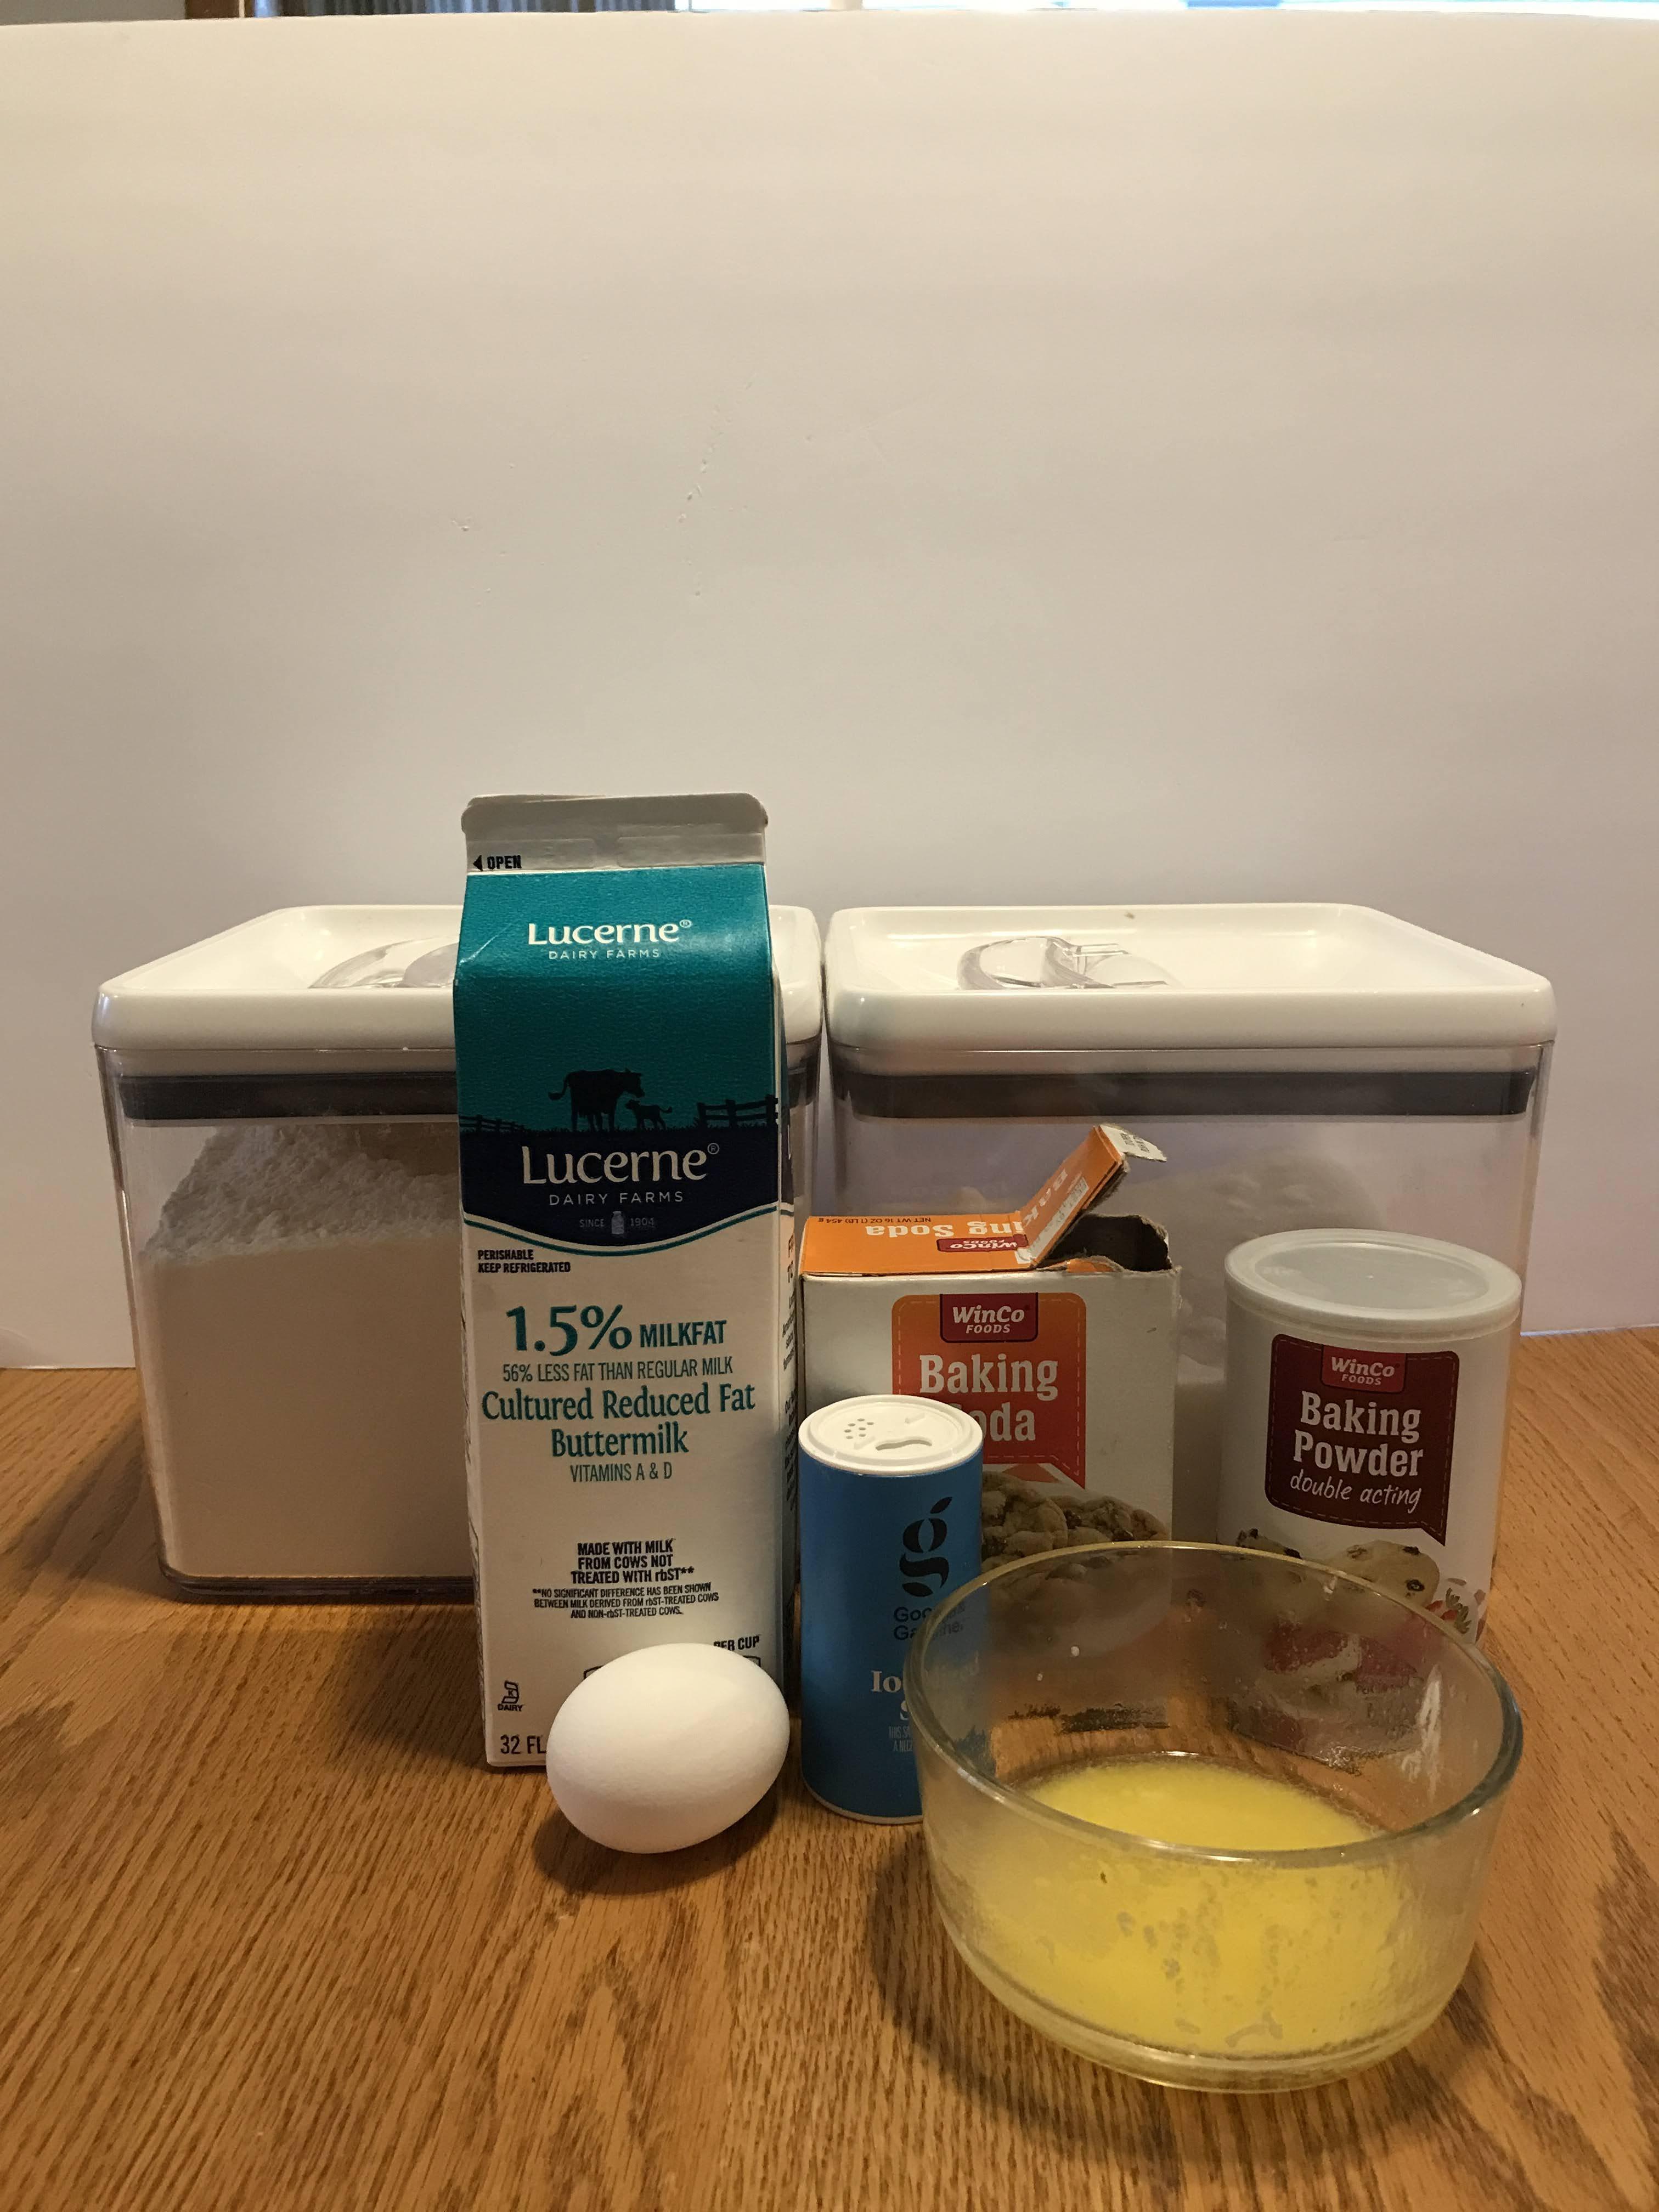
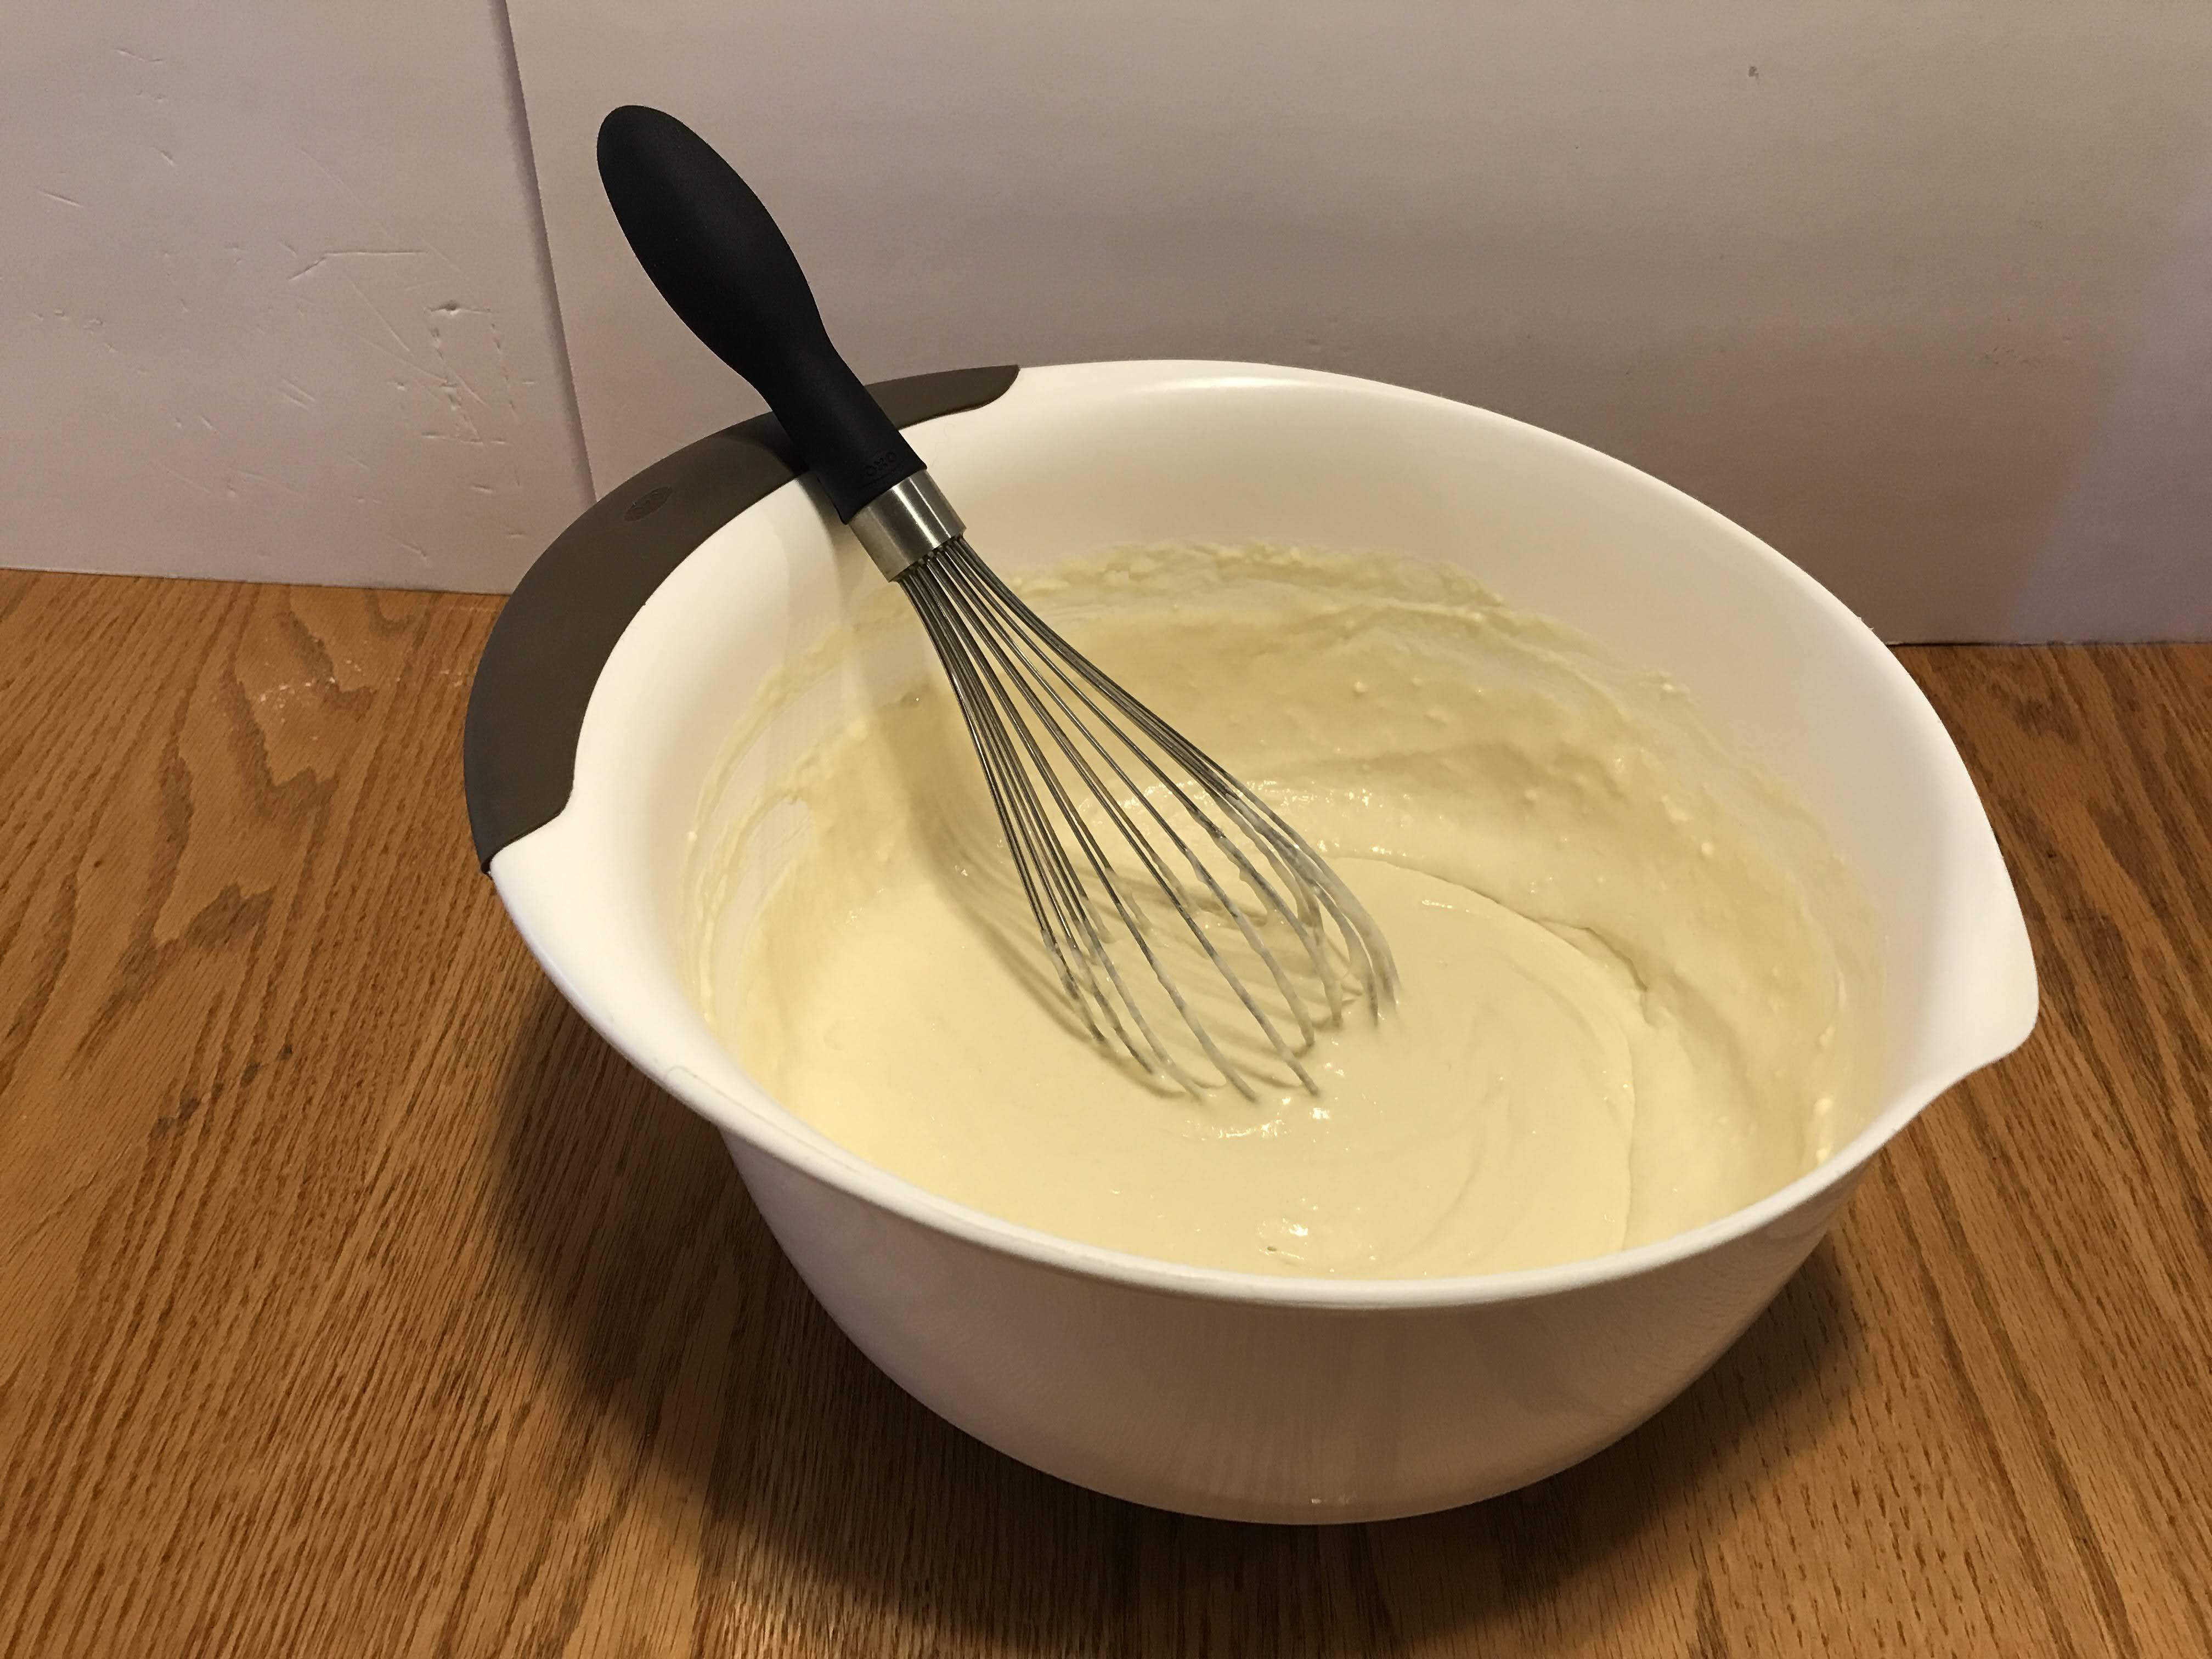
Use your large mixing bowl and whisk to mix up your favorite pancake batter! You can use store-bought mix and follow the instructions on the box. Or you can use an instructables recipe here. This is the recipe that I used:
2 cups all-purpose flour
2 Tablespoons sugar
2 teaspoons baking powder
1/2 teaspoon baking soda
1/2 teaspoon salt
2 cups buttermilk
3 tablespoons melted butter
1 large egg
In a large mixing bowl, mix together all dry ingredients (flour, sugar, powder, soda, salt). In a small bowl, whisk all the wet ingredients together (buttermilk, butter, egg). Pour the wet mixture into the dry mixture, then mix well.
TIP: Mix your batter well. Most pancake recipes will instruct you to just barely mix. However, for making shapes out of batter, the batter needs to be smooth, without lumps. That way it can glide through your decorating bag and give a smooth, even appearance for your shape.
Into the Decorating Bag
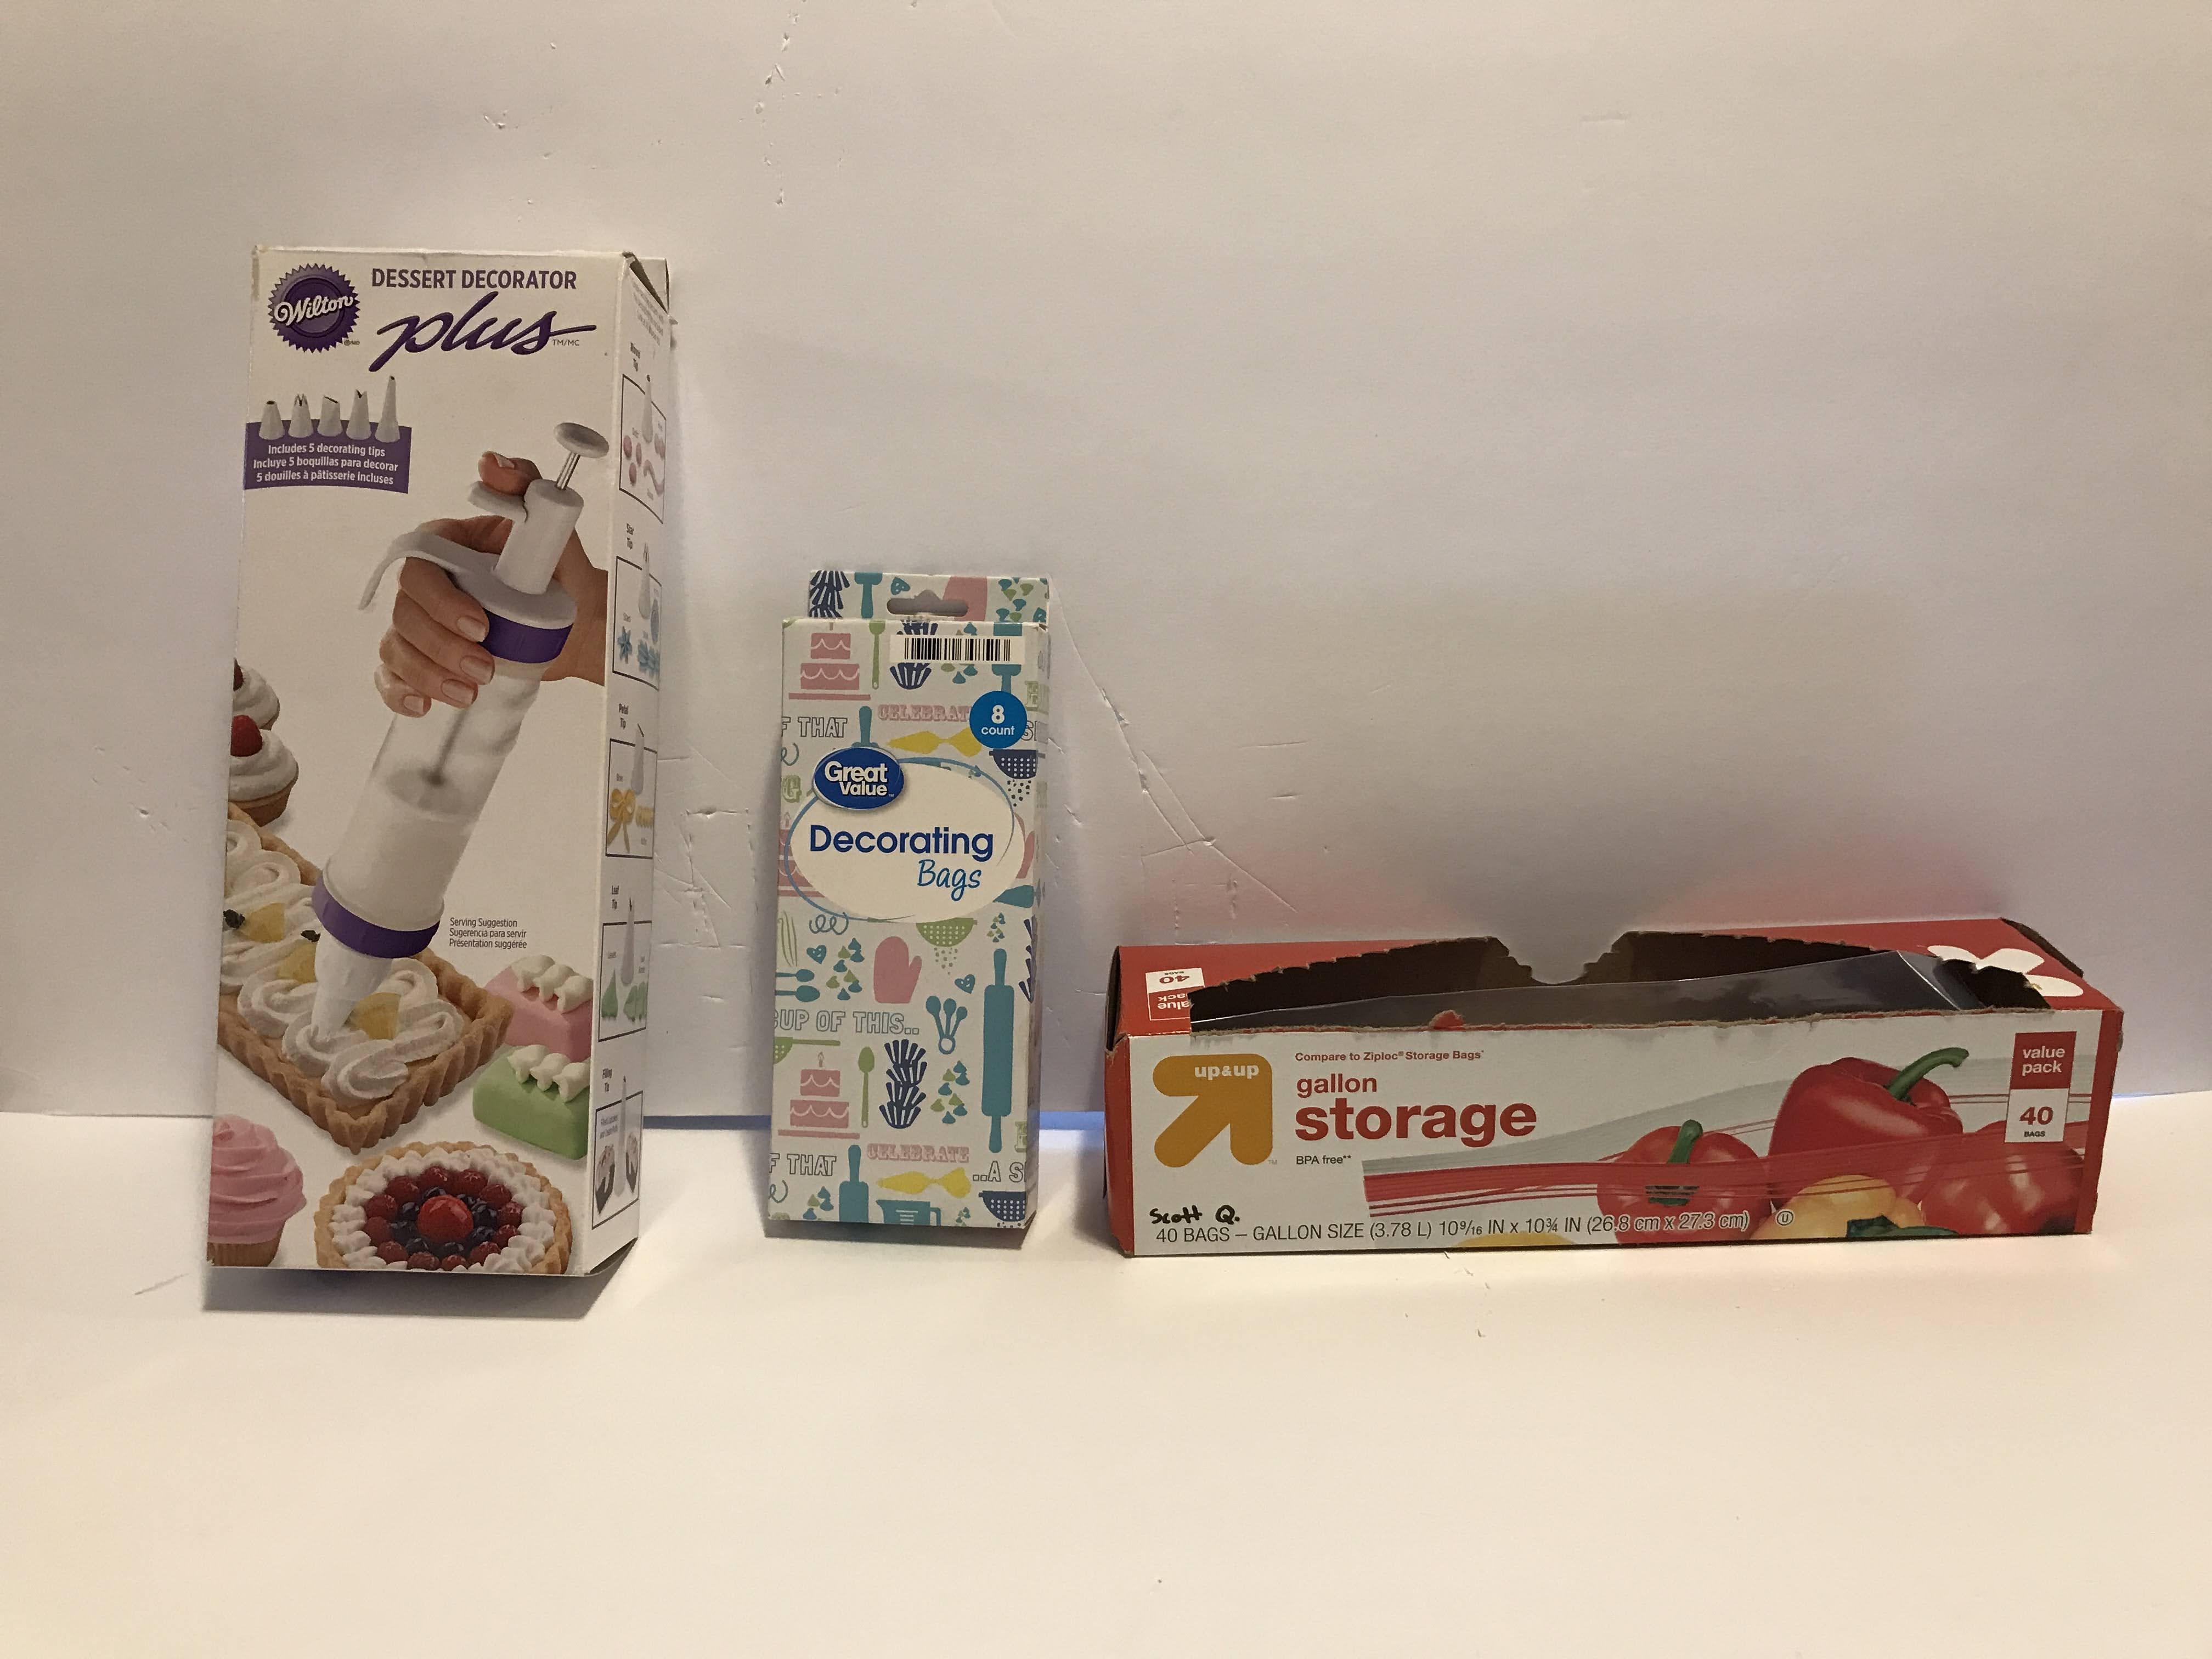
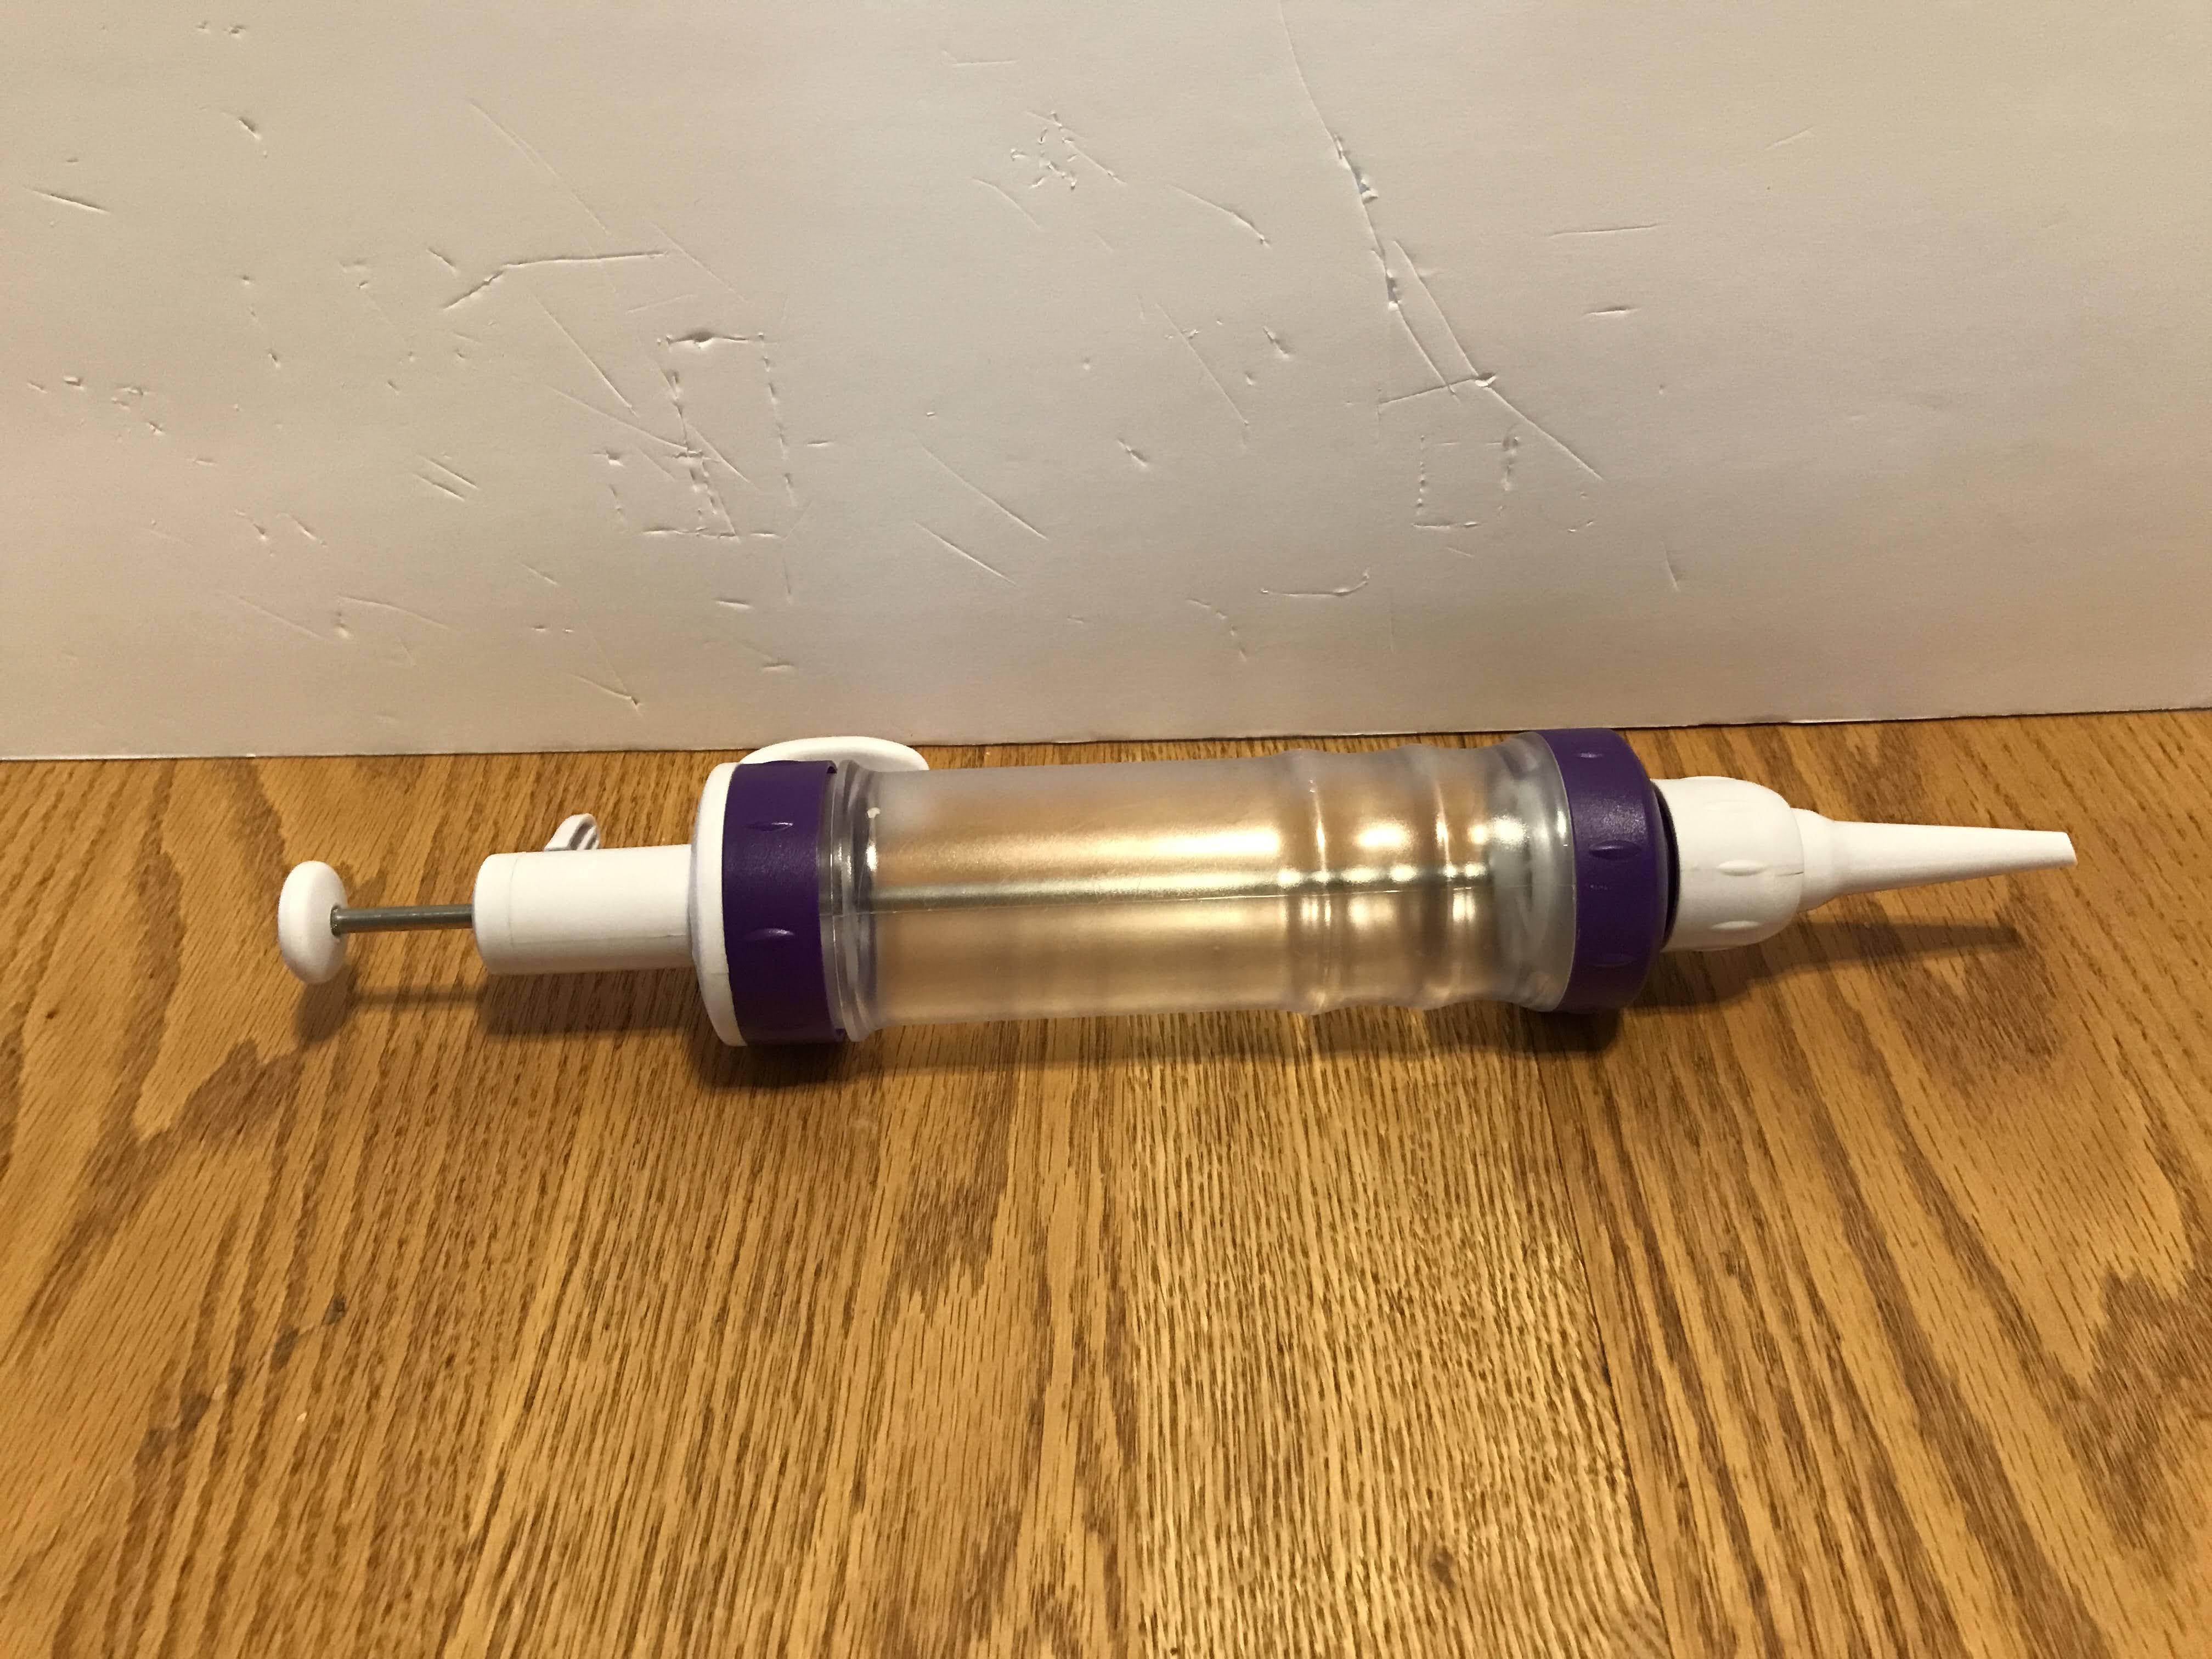
I tried making pancake shapes using three different decorating tools.
Frosting syringe: This was the easiest to use as far as accuracy in shapes. Assemble it according to instructions on the box, leaving the top open for batter. I used the smallest tip for best accuracy.
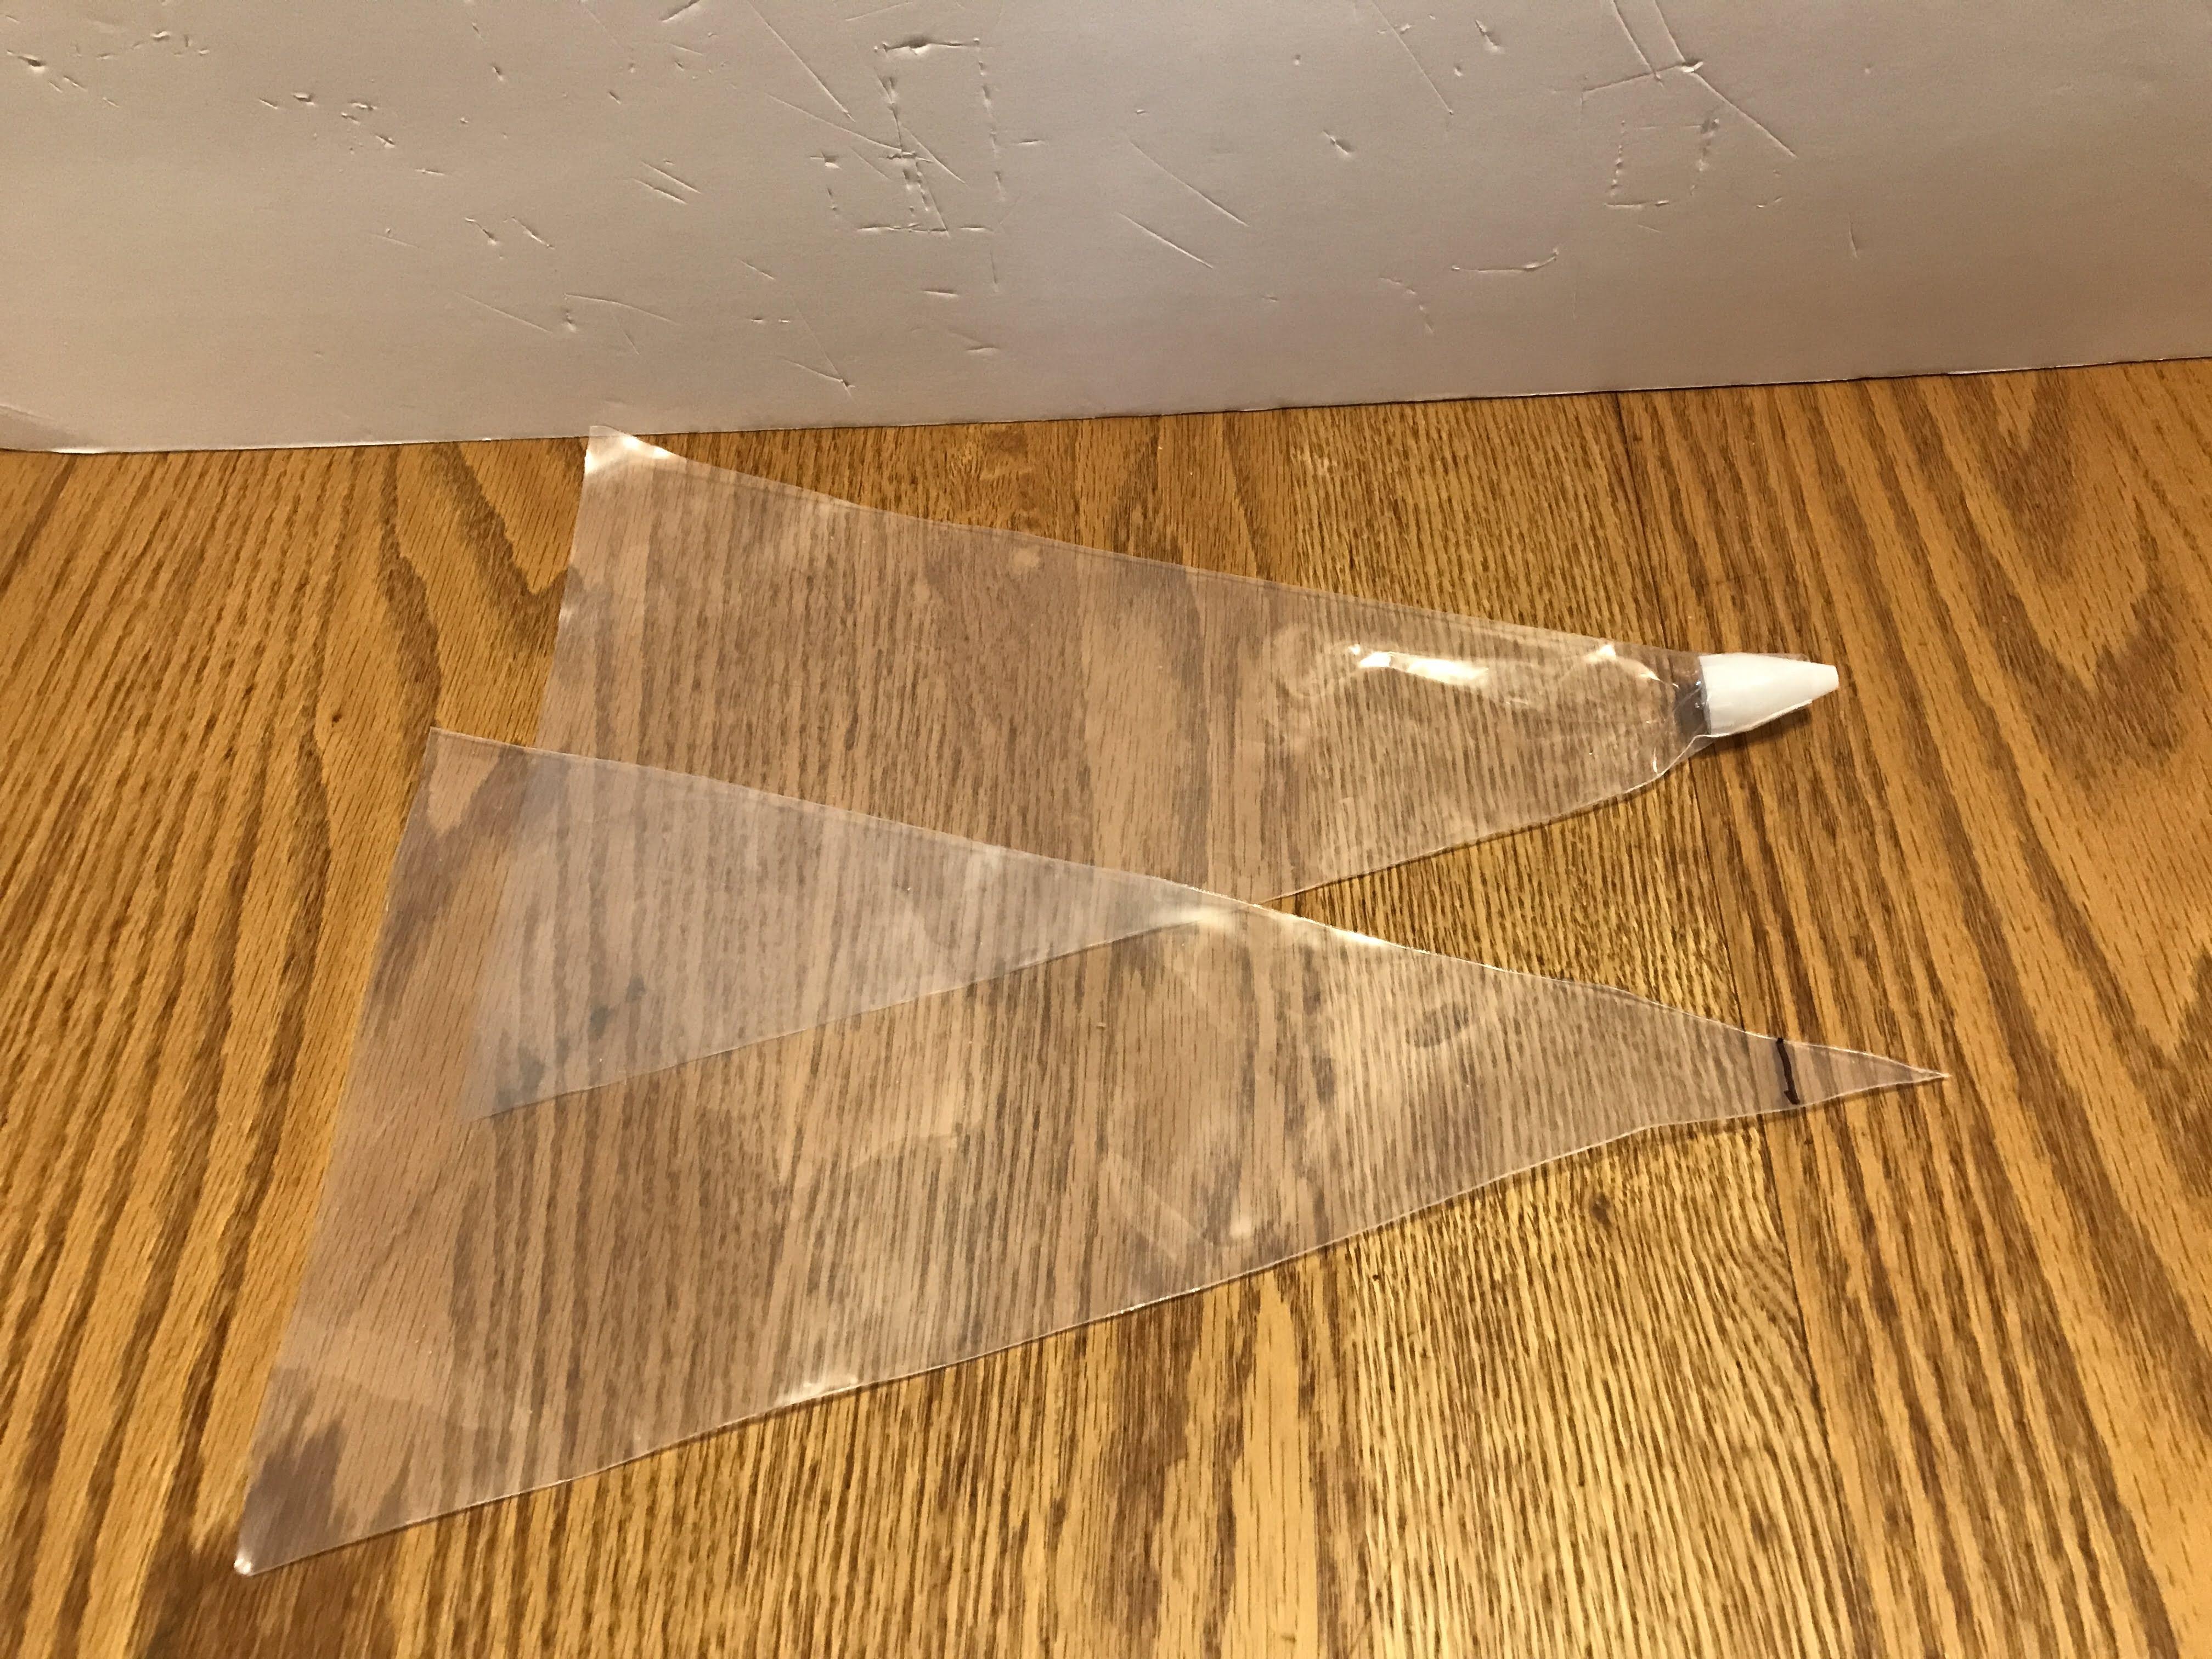
Decorating Bag: I found these bags at Walmart for cheap. Use scissors to clip the bag 3/4 in from the corner, and insert the smallest tip into the bag, working it down to the clipped corner.
Gallon bag: For when you don't have any other decorating tools.
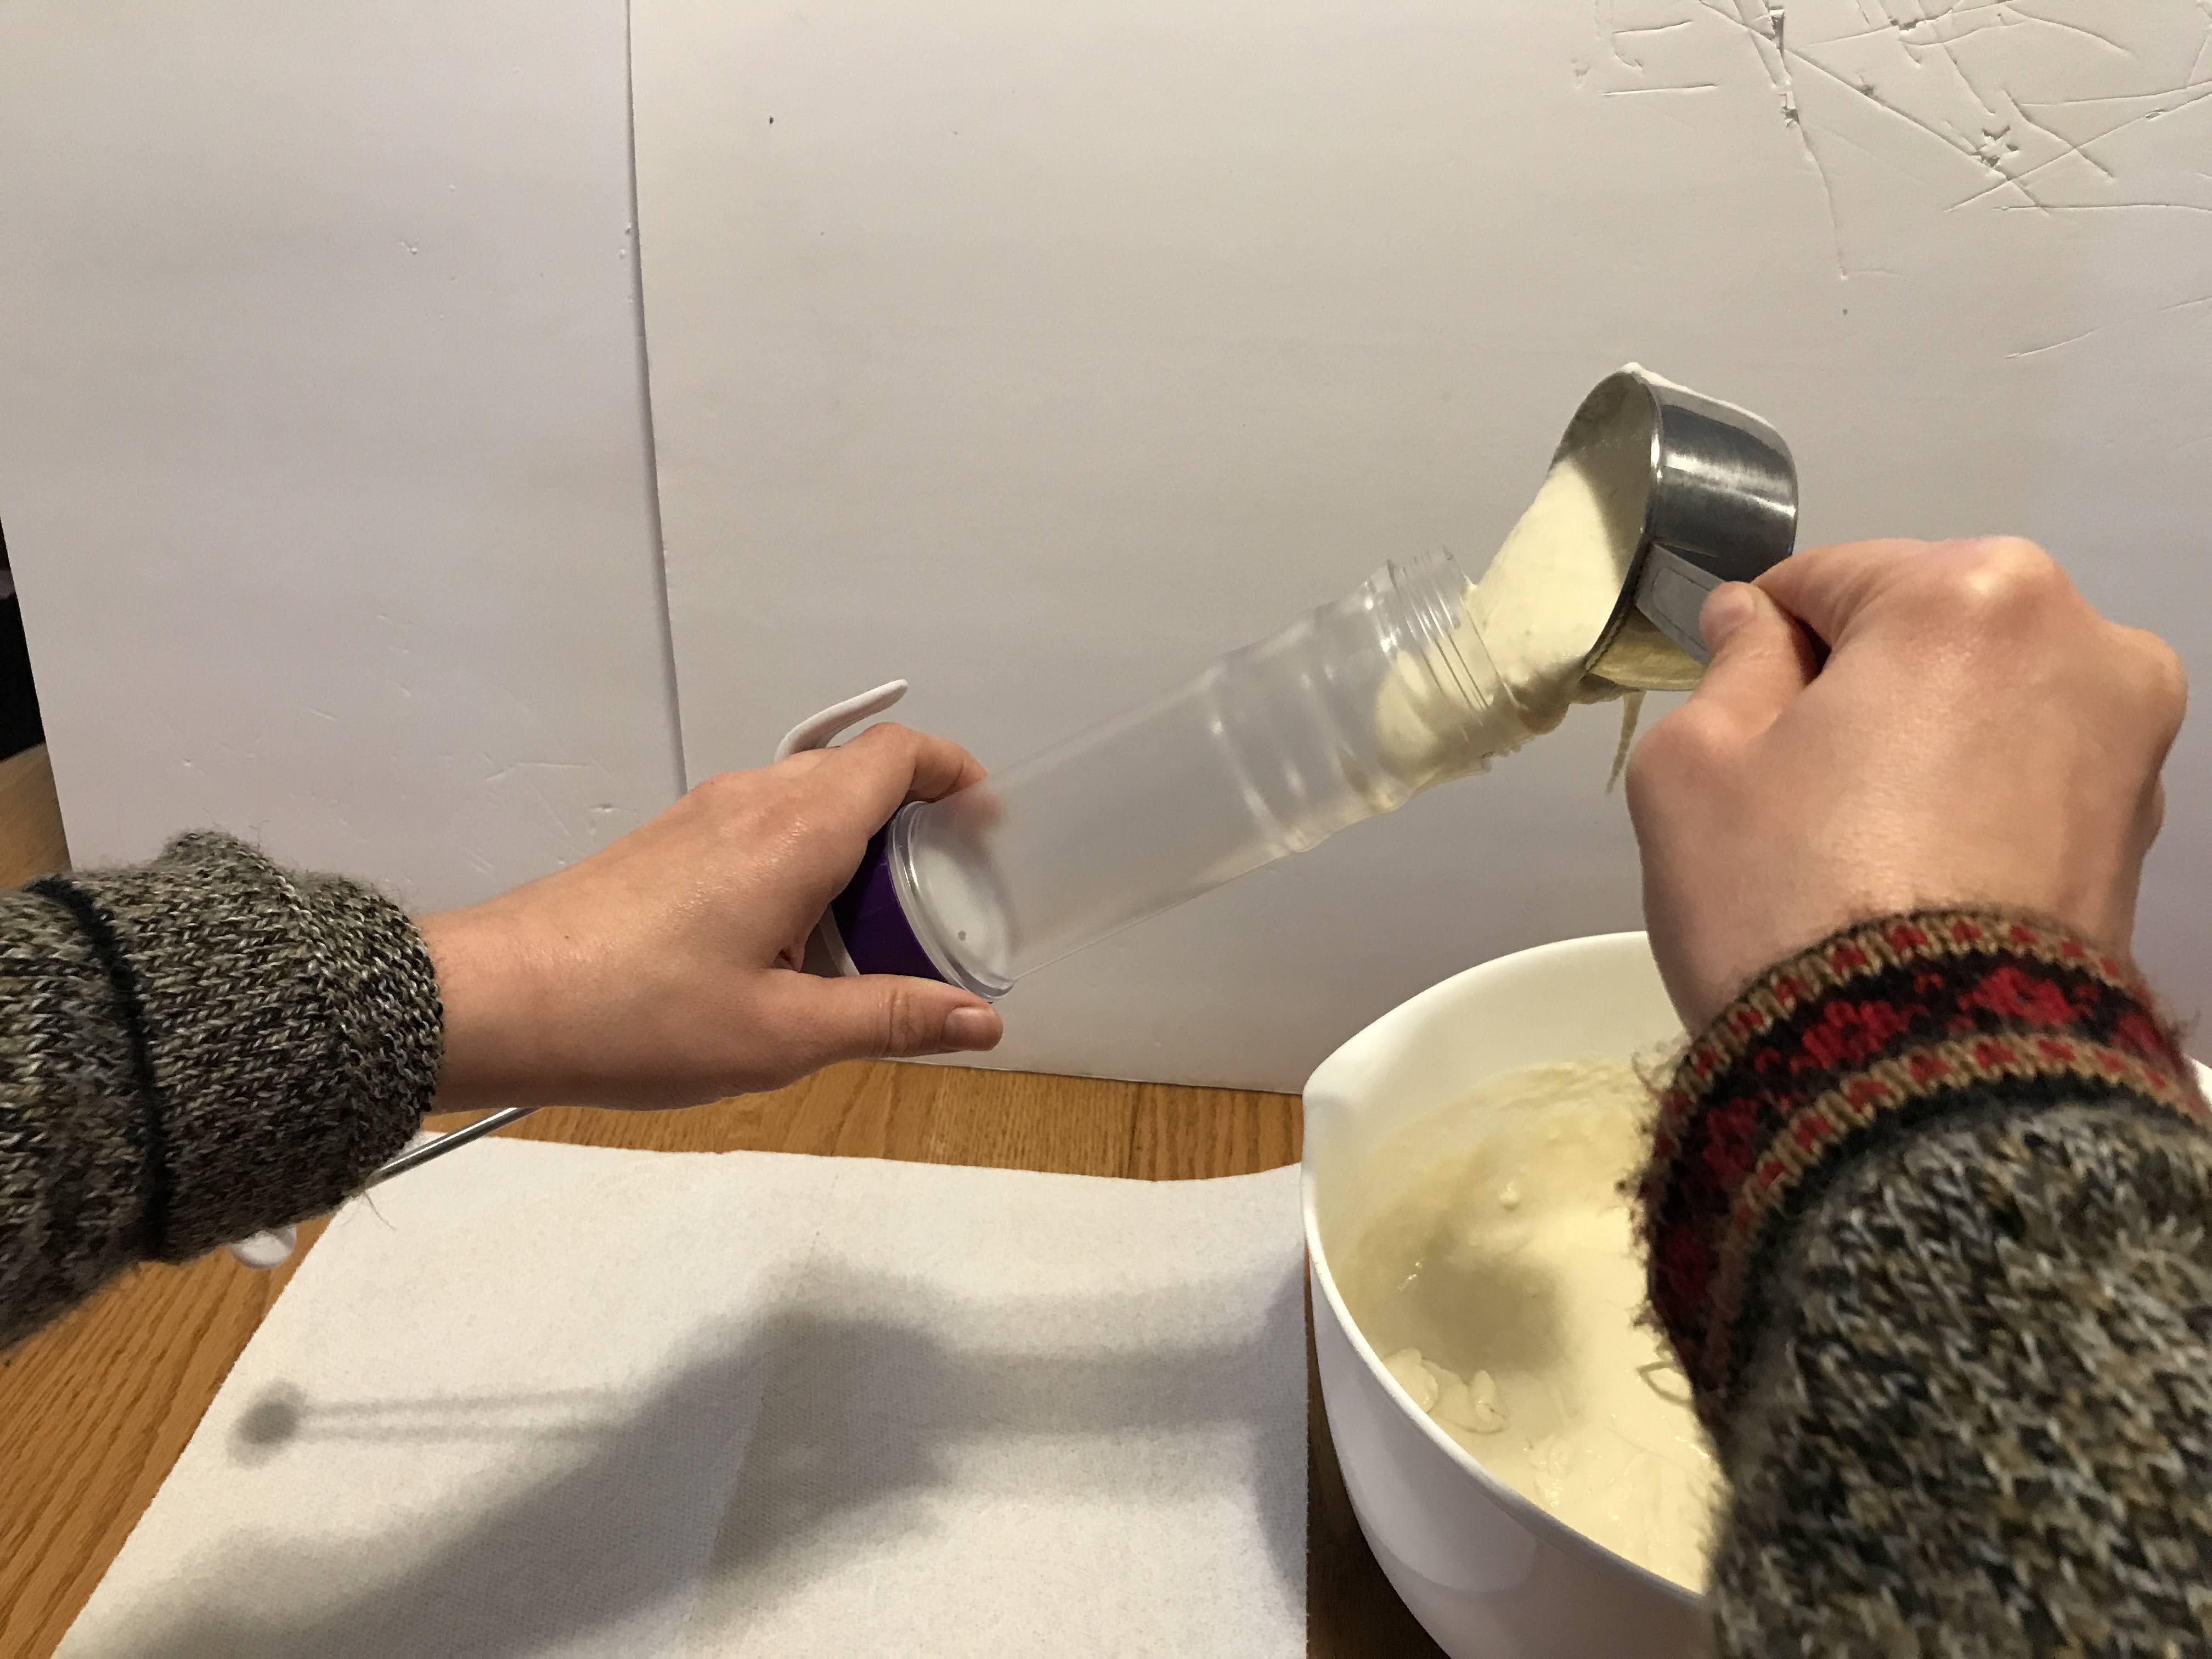
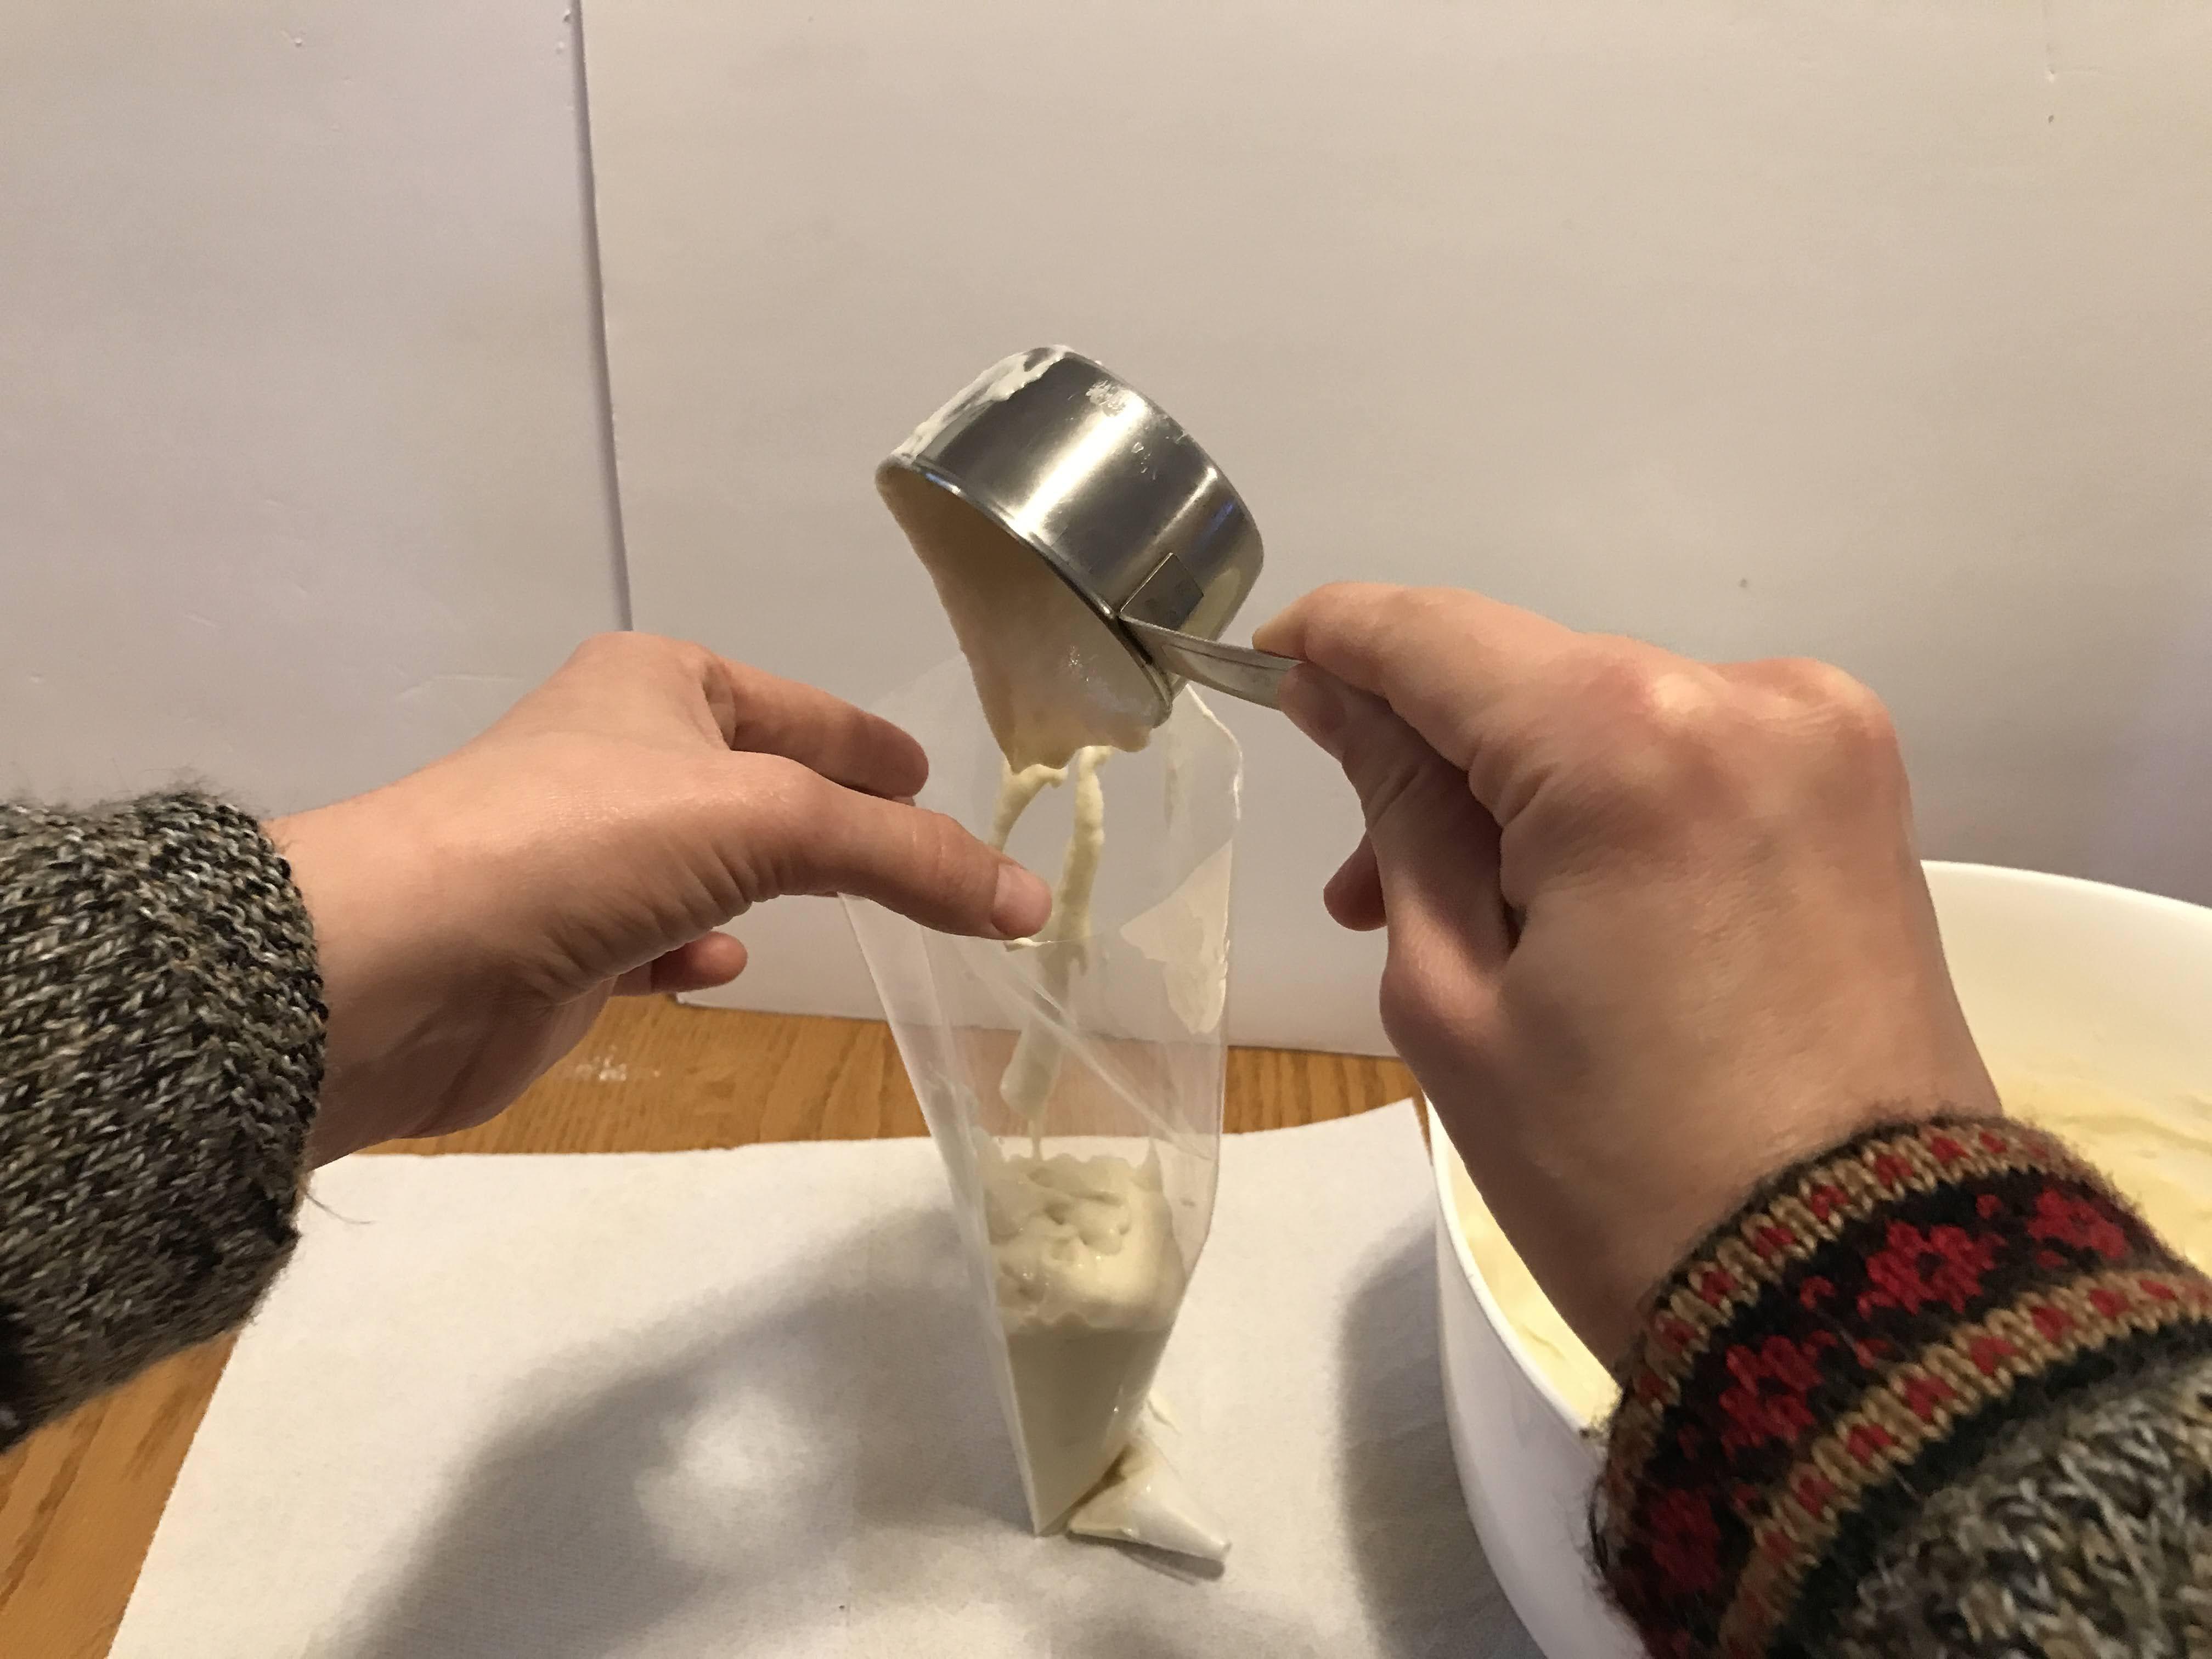
Pour your prepared batter into your decorating bag or syringe. If you are somewhat less coordinated (like me), you can use a measuring cup to scoop the batter from the bowl into the bag/syringe.
*For the Gallon bag, after you have poured in the batter, clip on of the bottom corners about 1/4 in from the corner. You want it just big enough for the batter to squeeze out, no bigger.
Draw the Outline
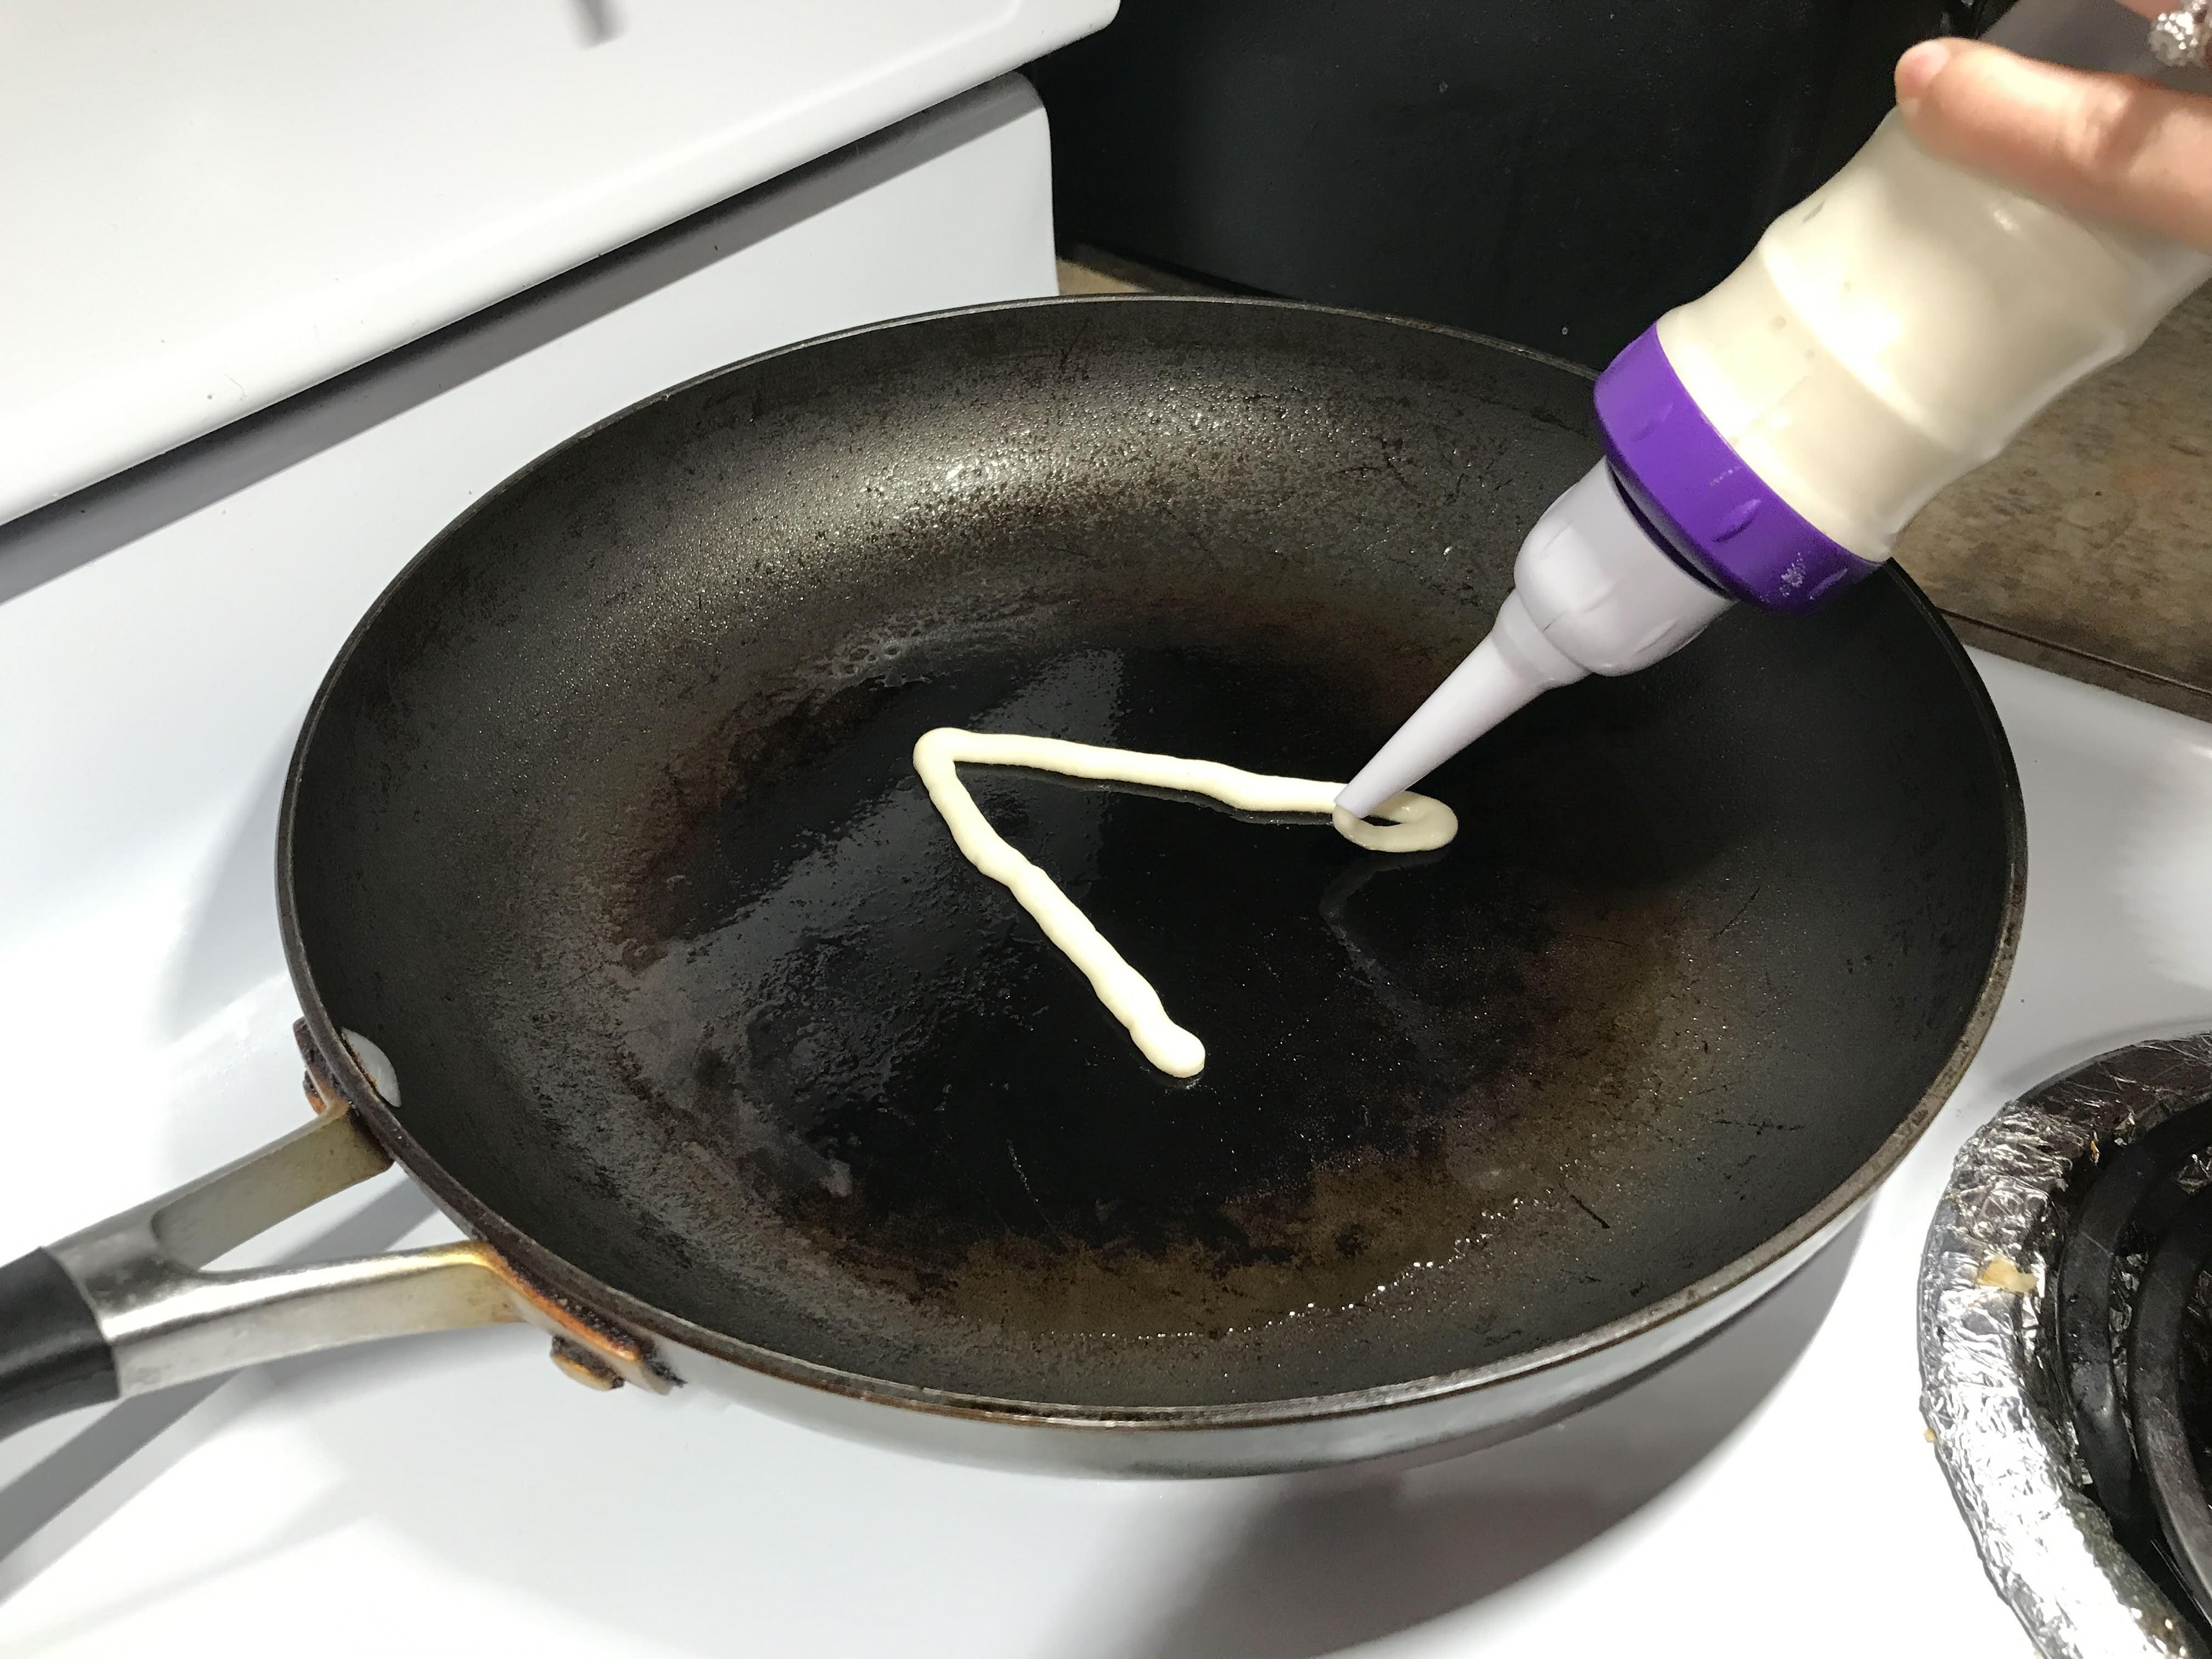
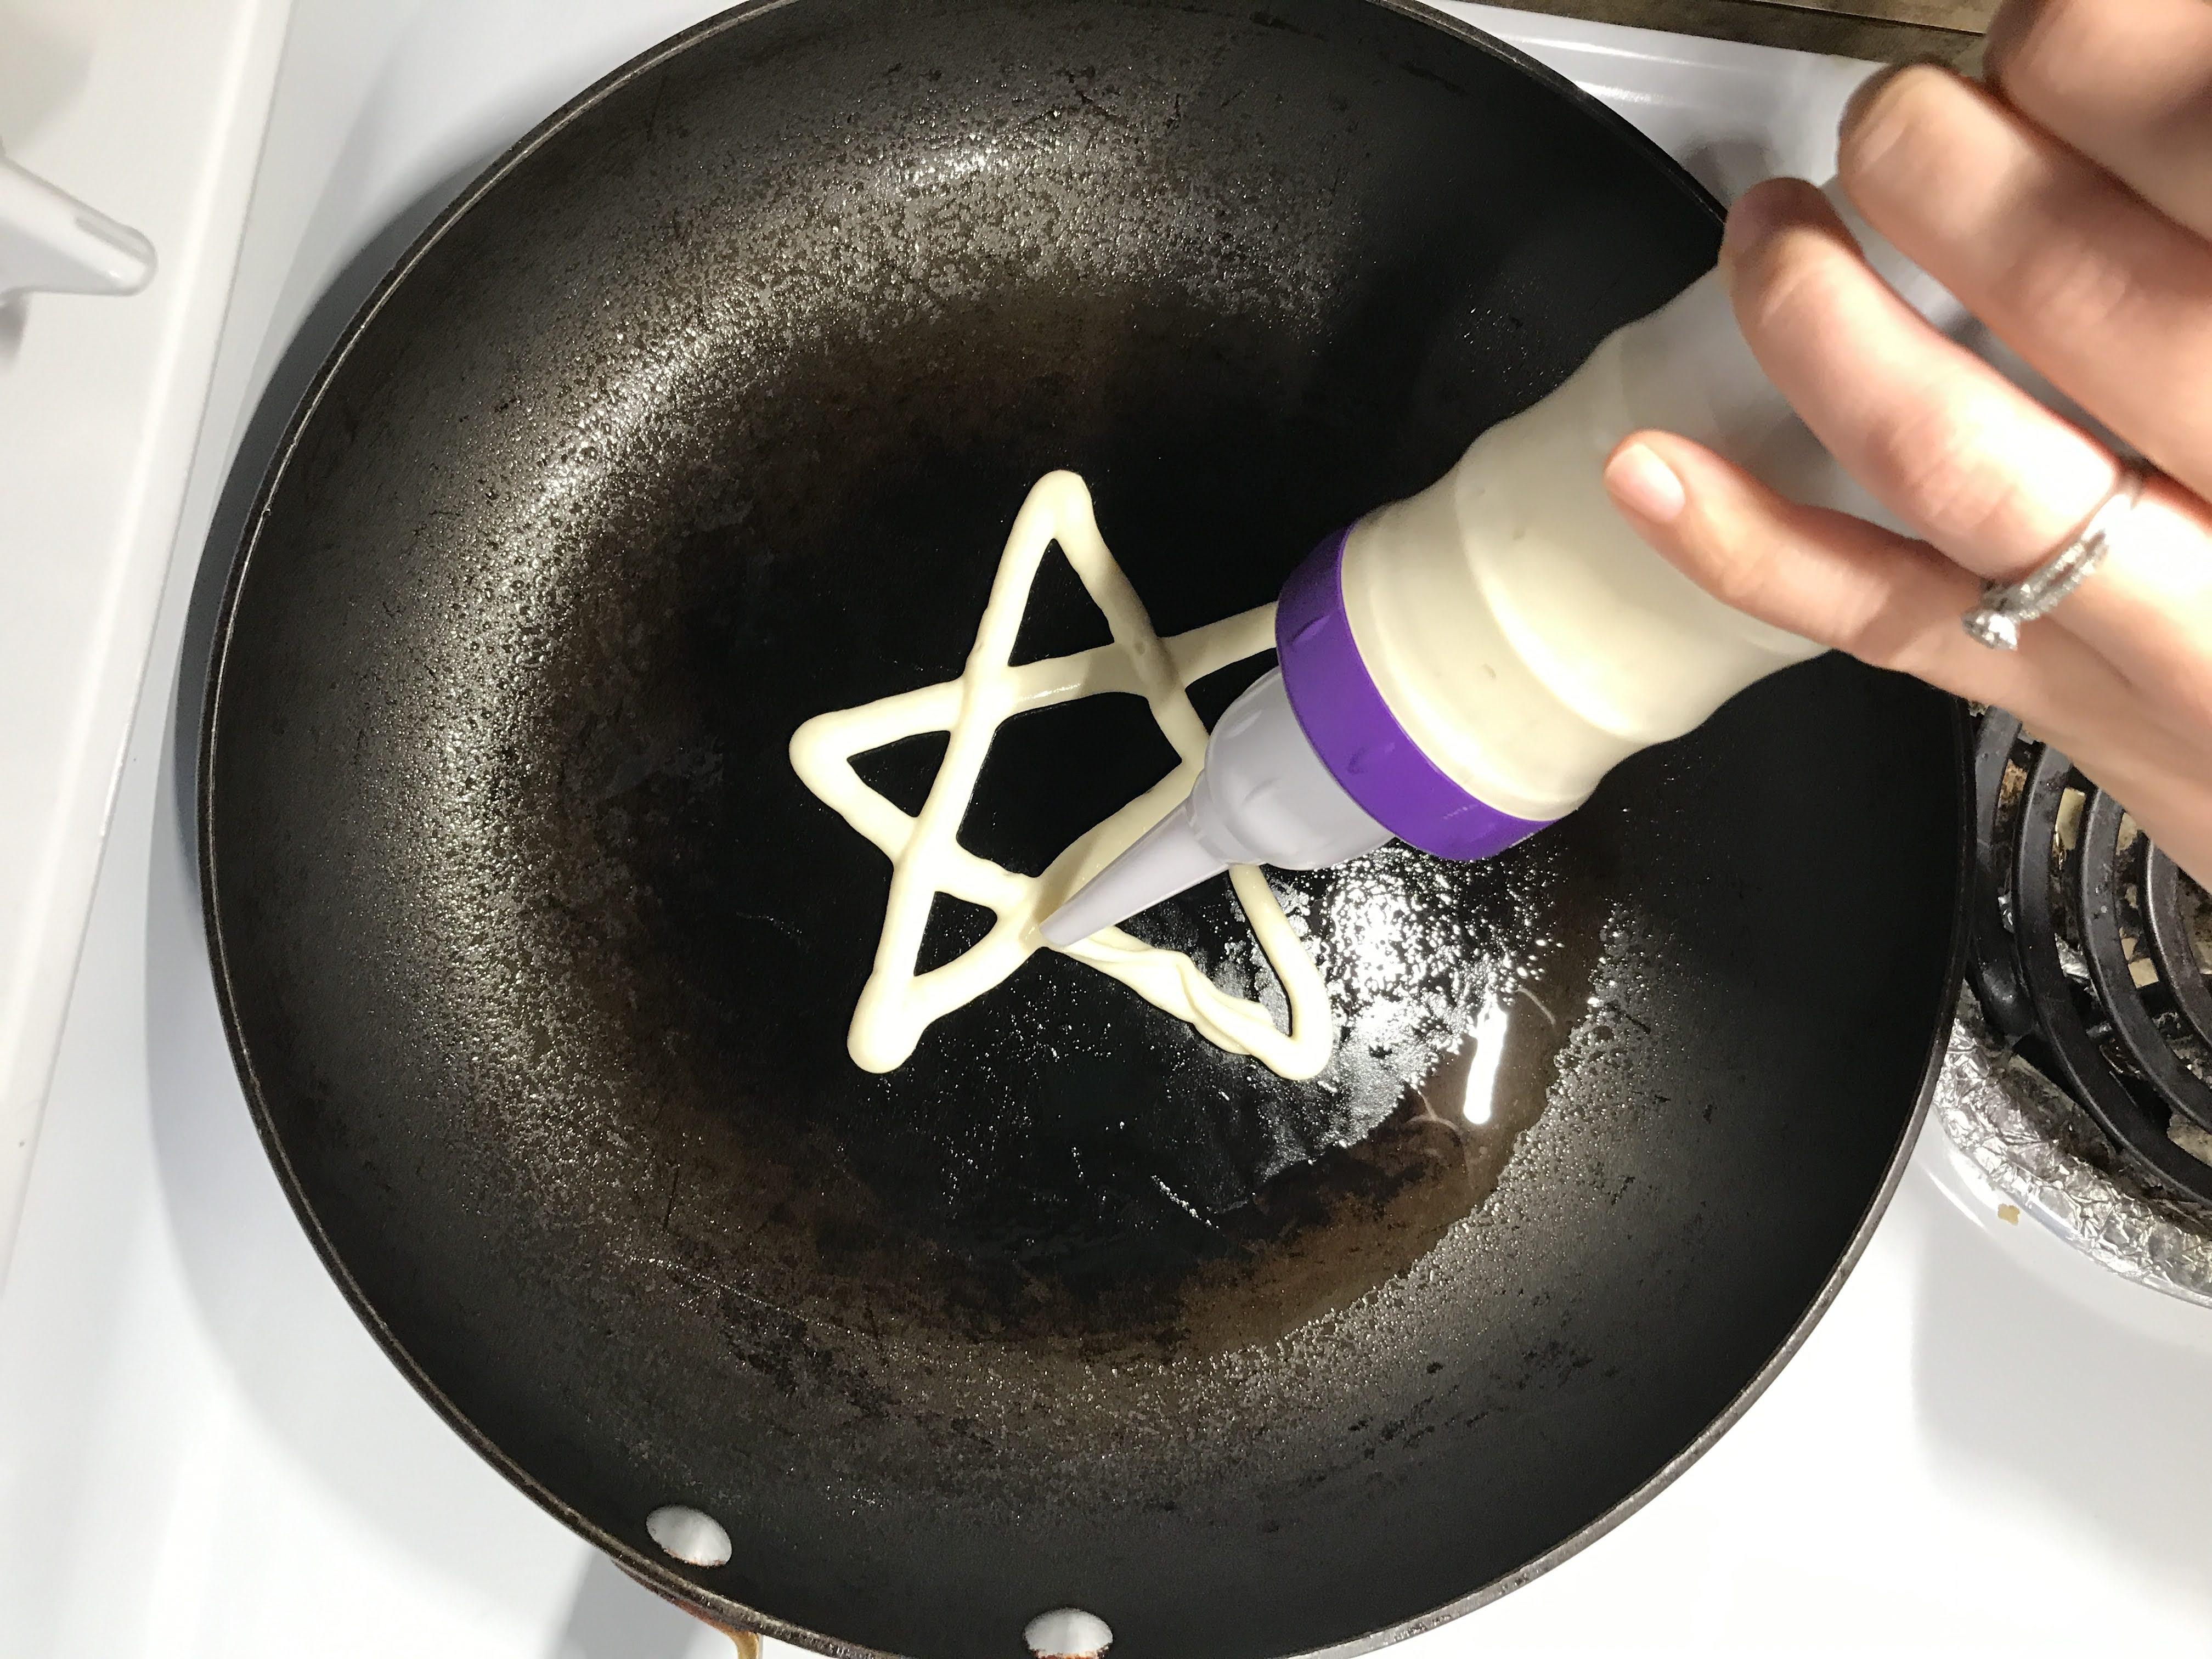
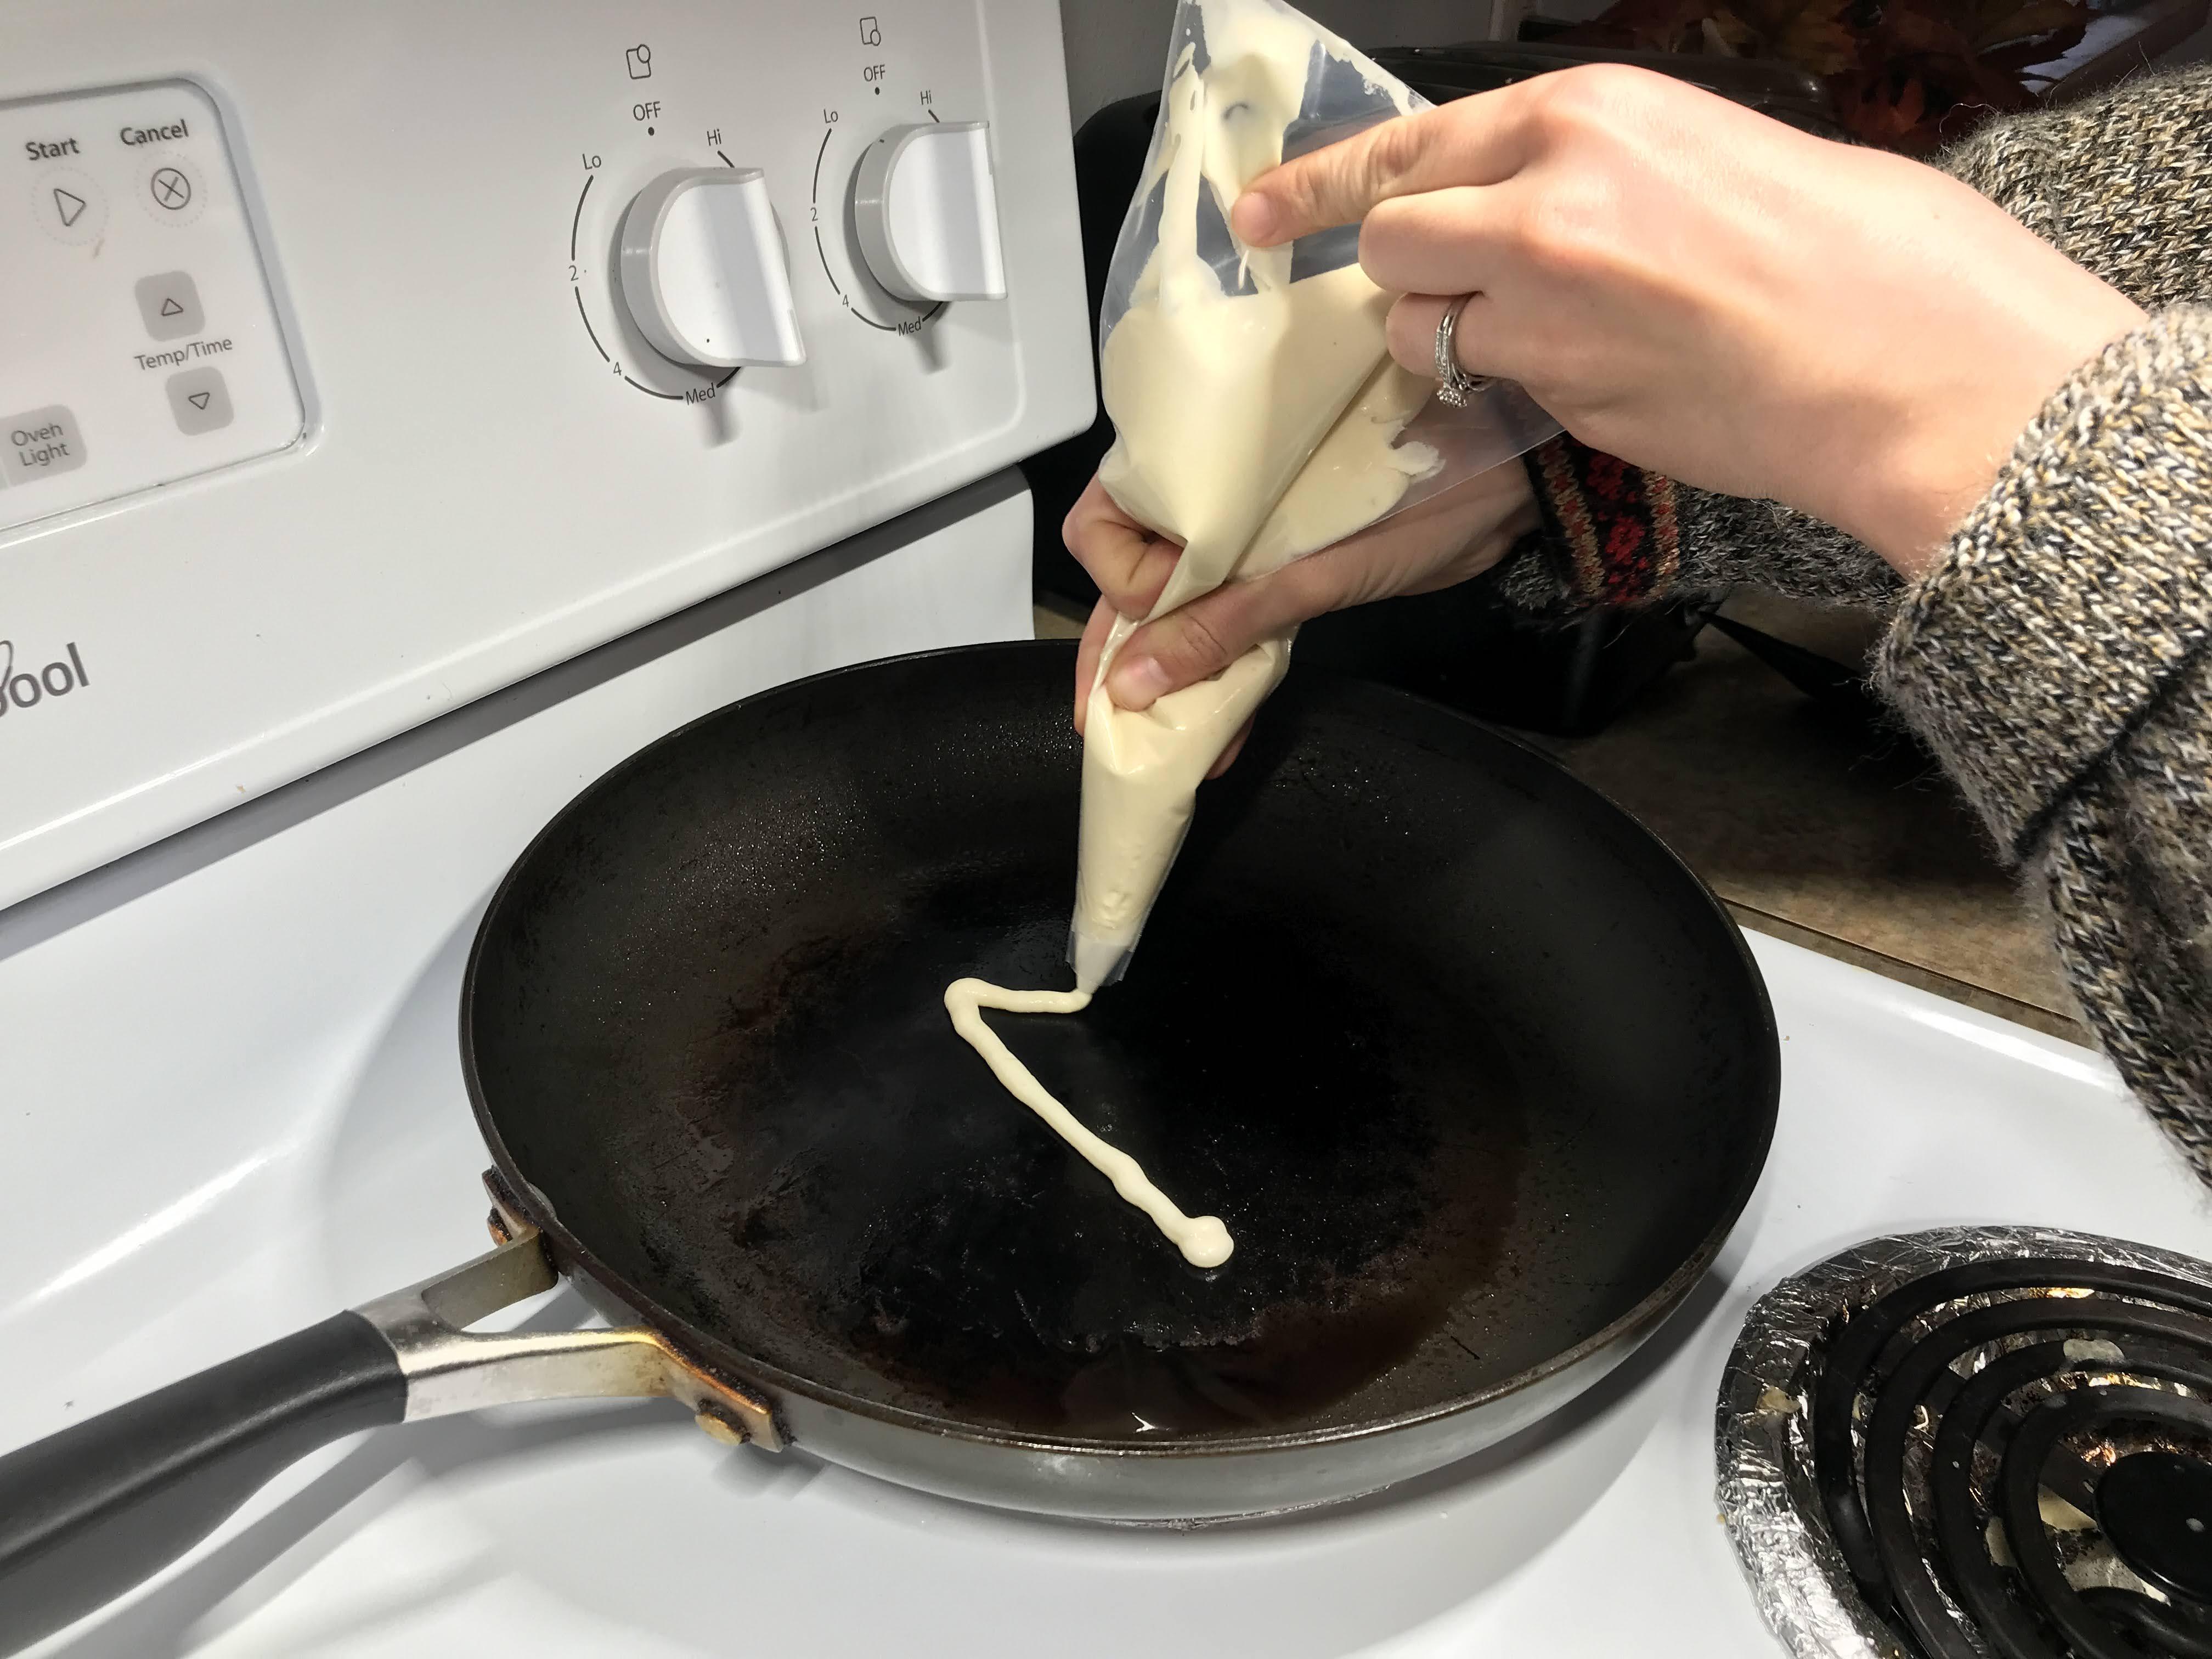
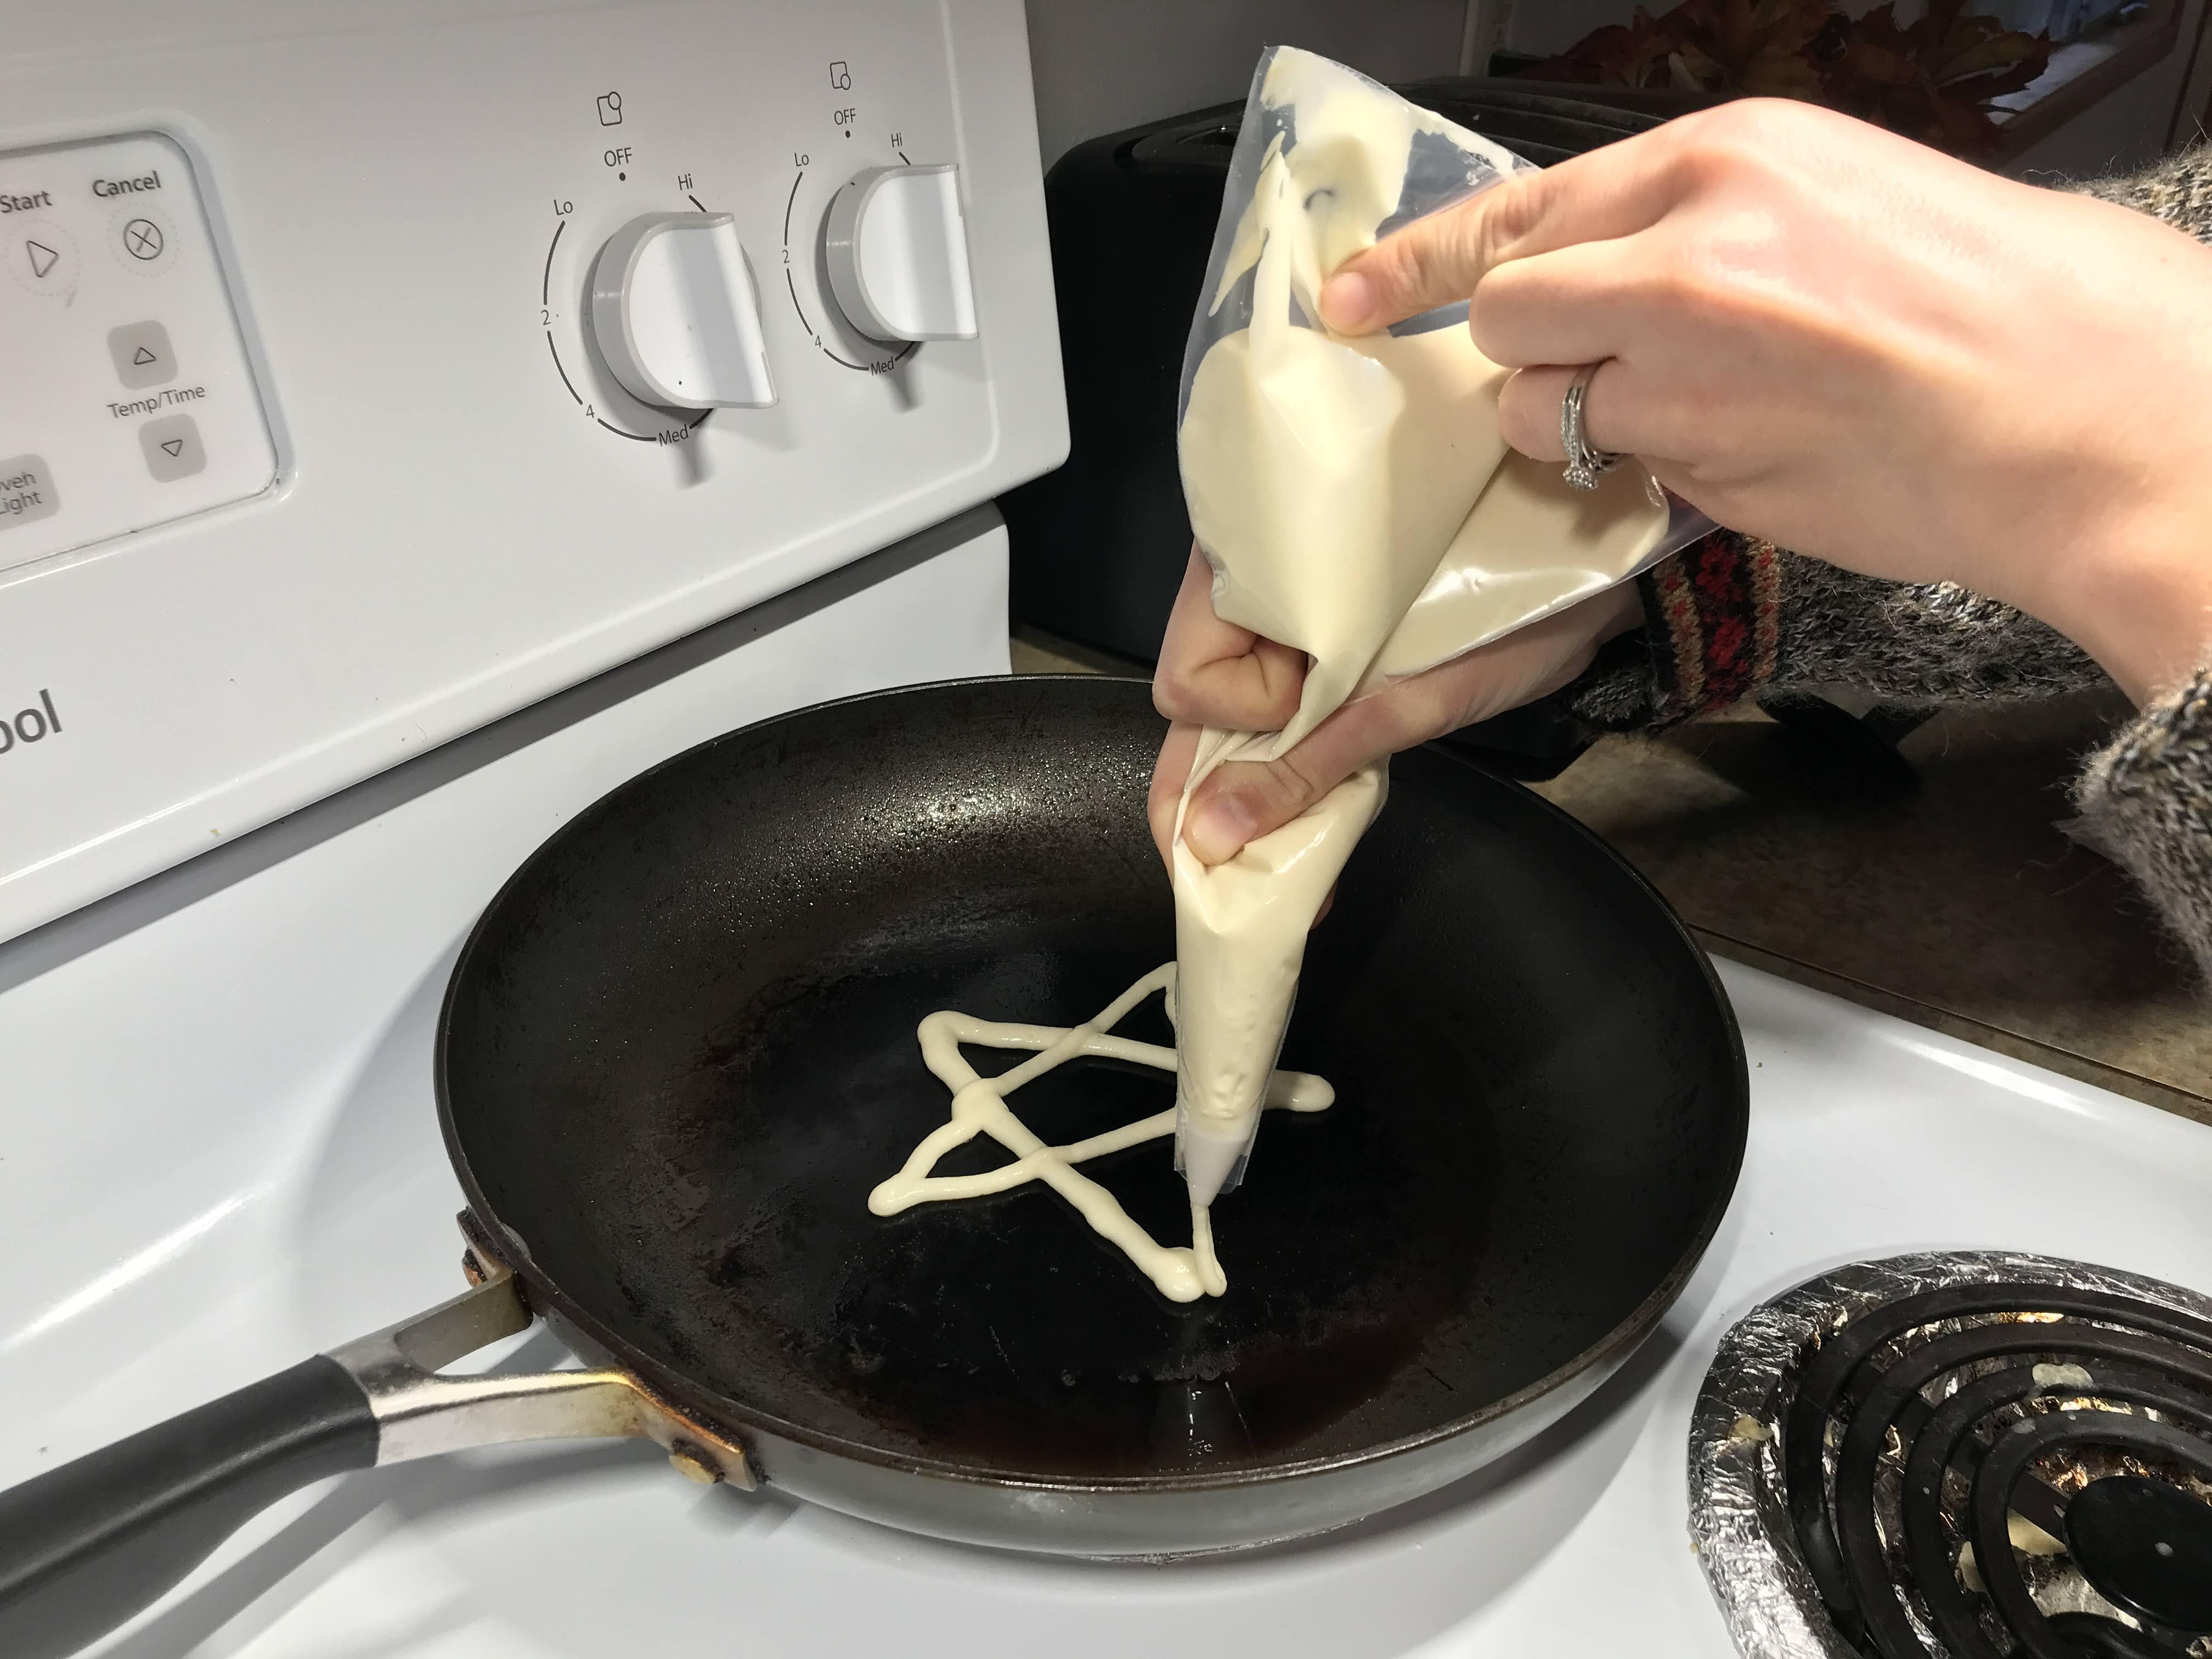
Place the tip of your bag/syringe on the pan where you want your shape to start. Carefully move the tip along the outline of your desired shape, slowly squeezing the bag to control the speed of the batter coming out.
Fill in Your Shape
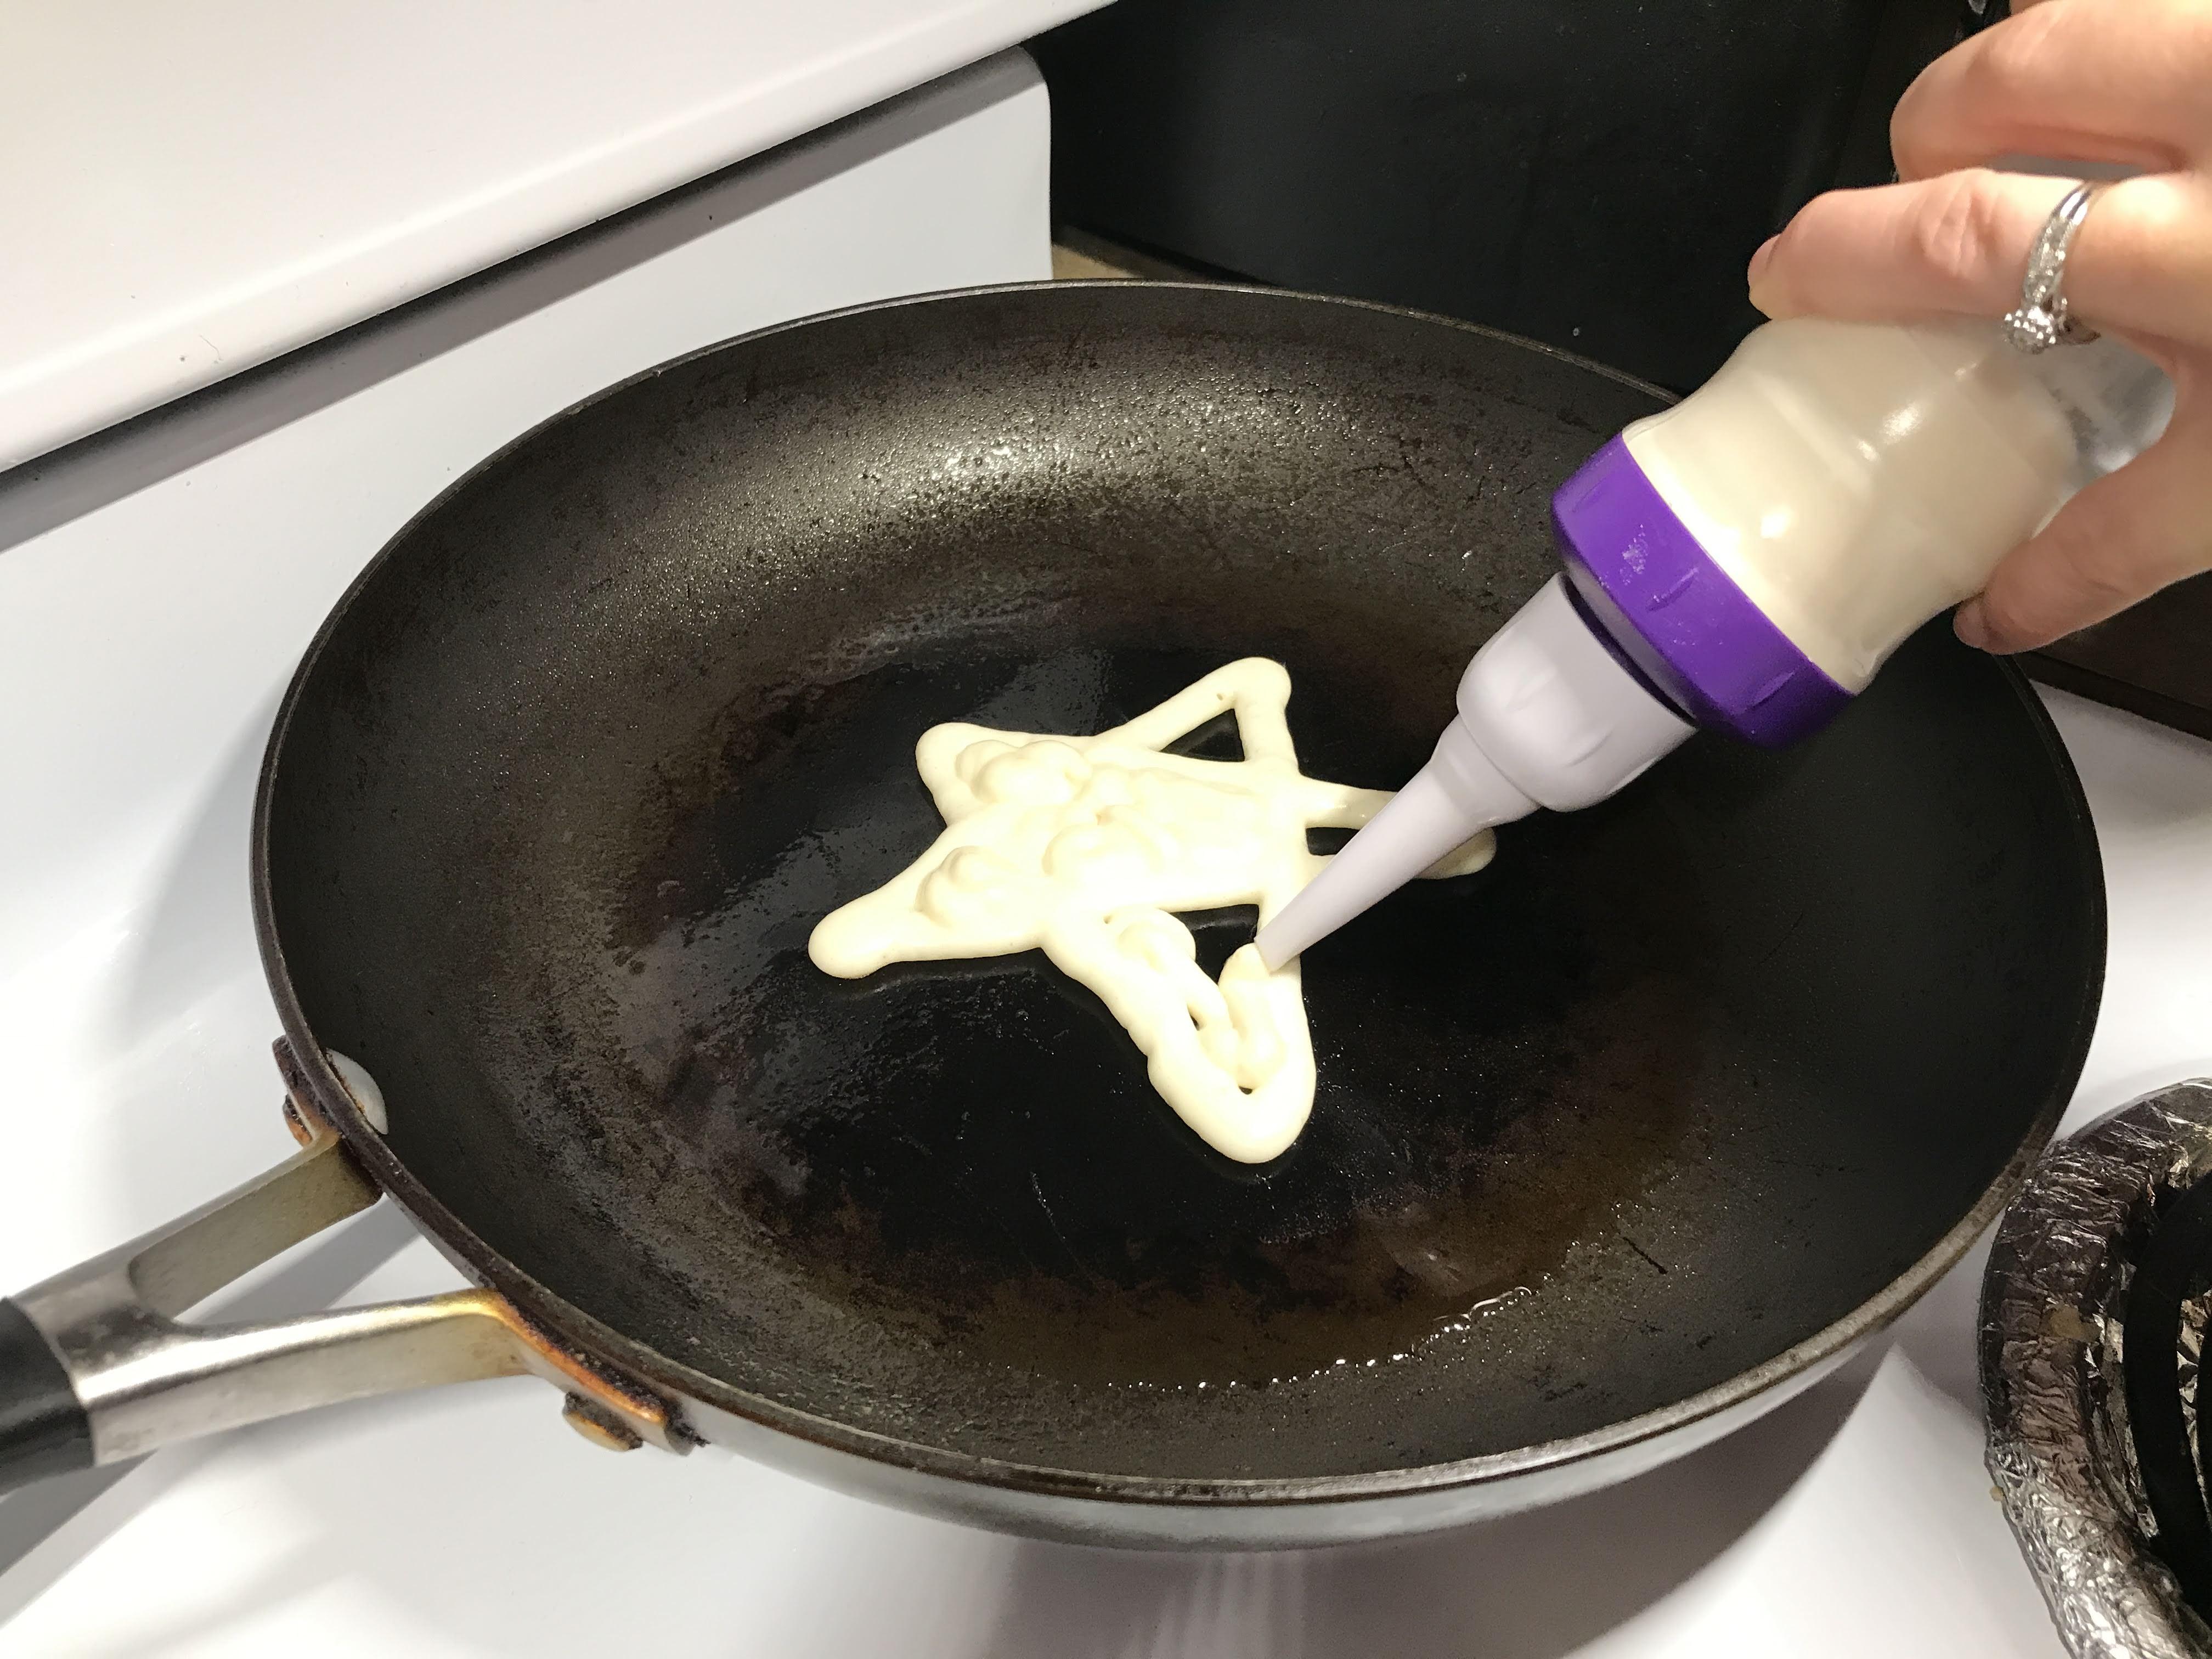
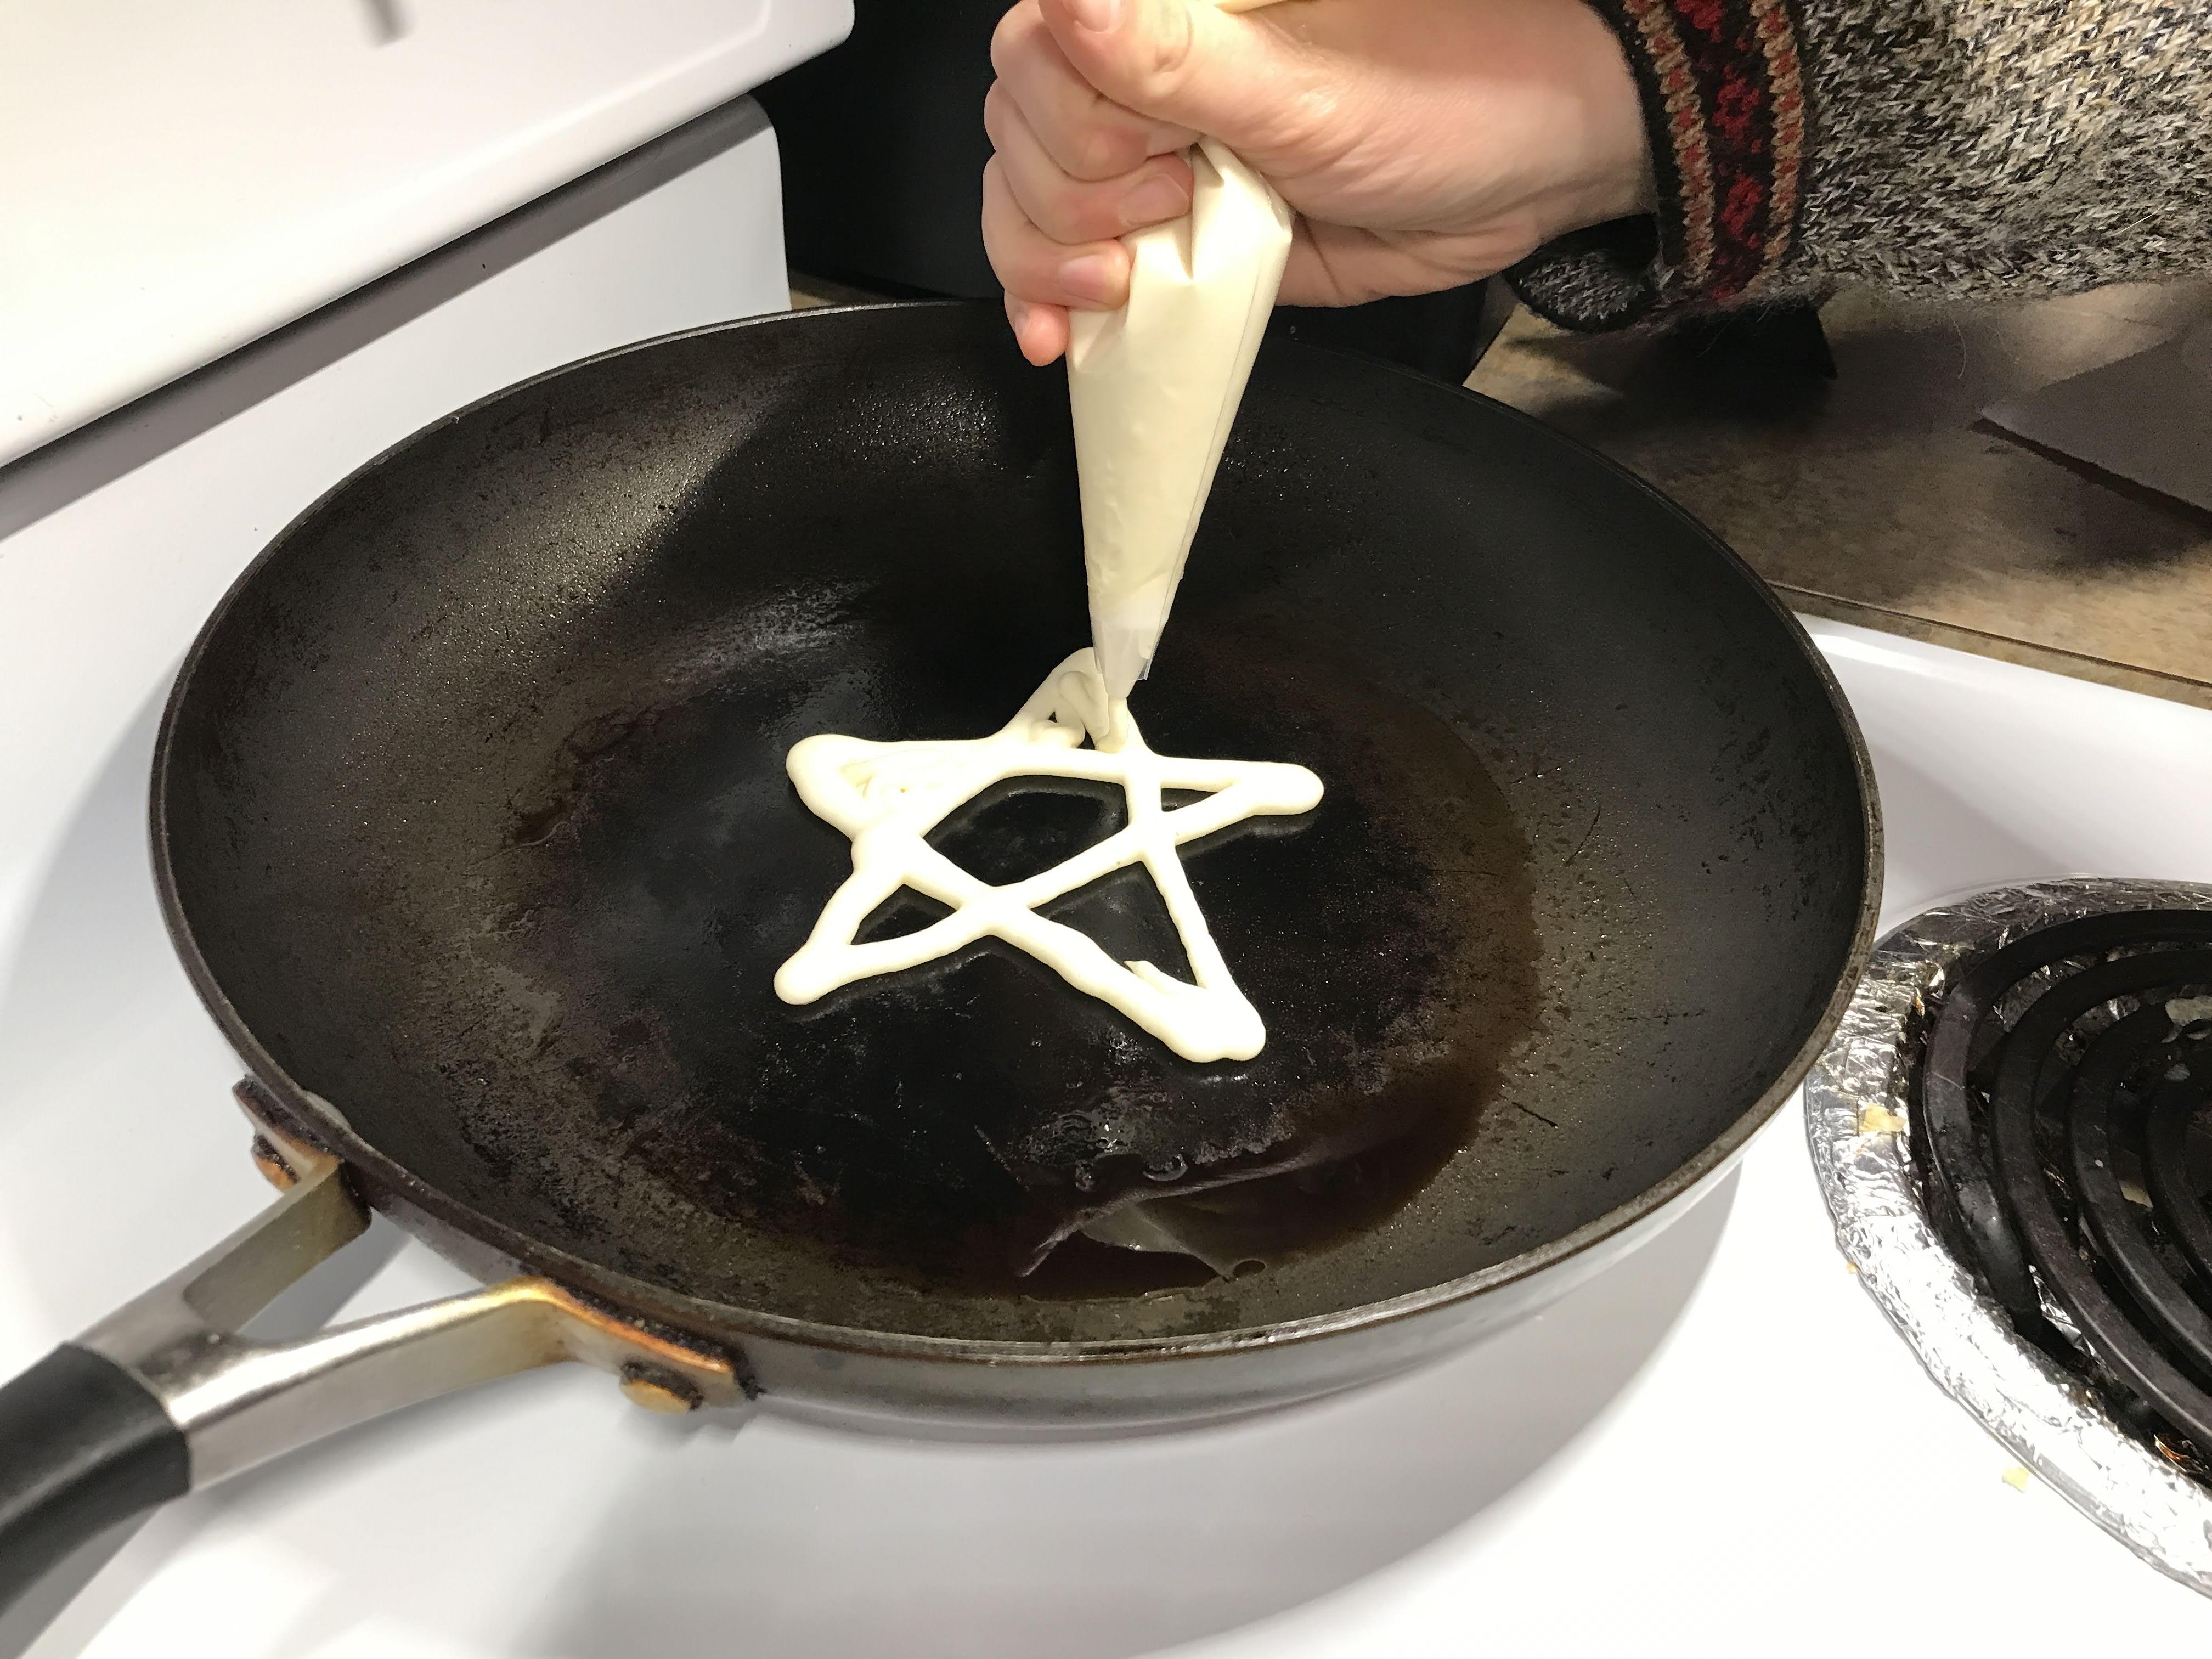
Once you have your outline, fill in the shape with more batter! You want just enough to cover the pan within the outline.
Flip!
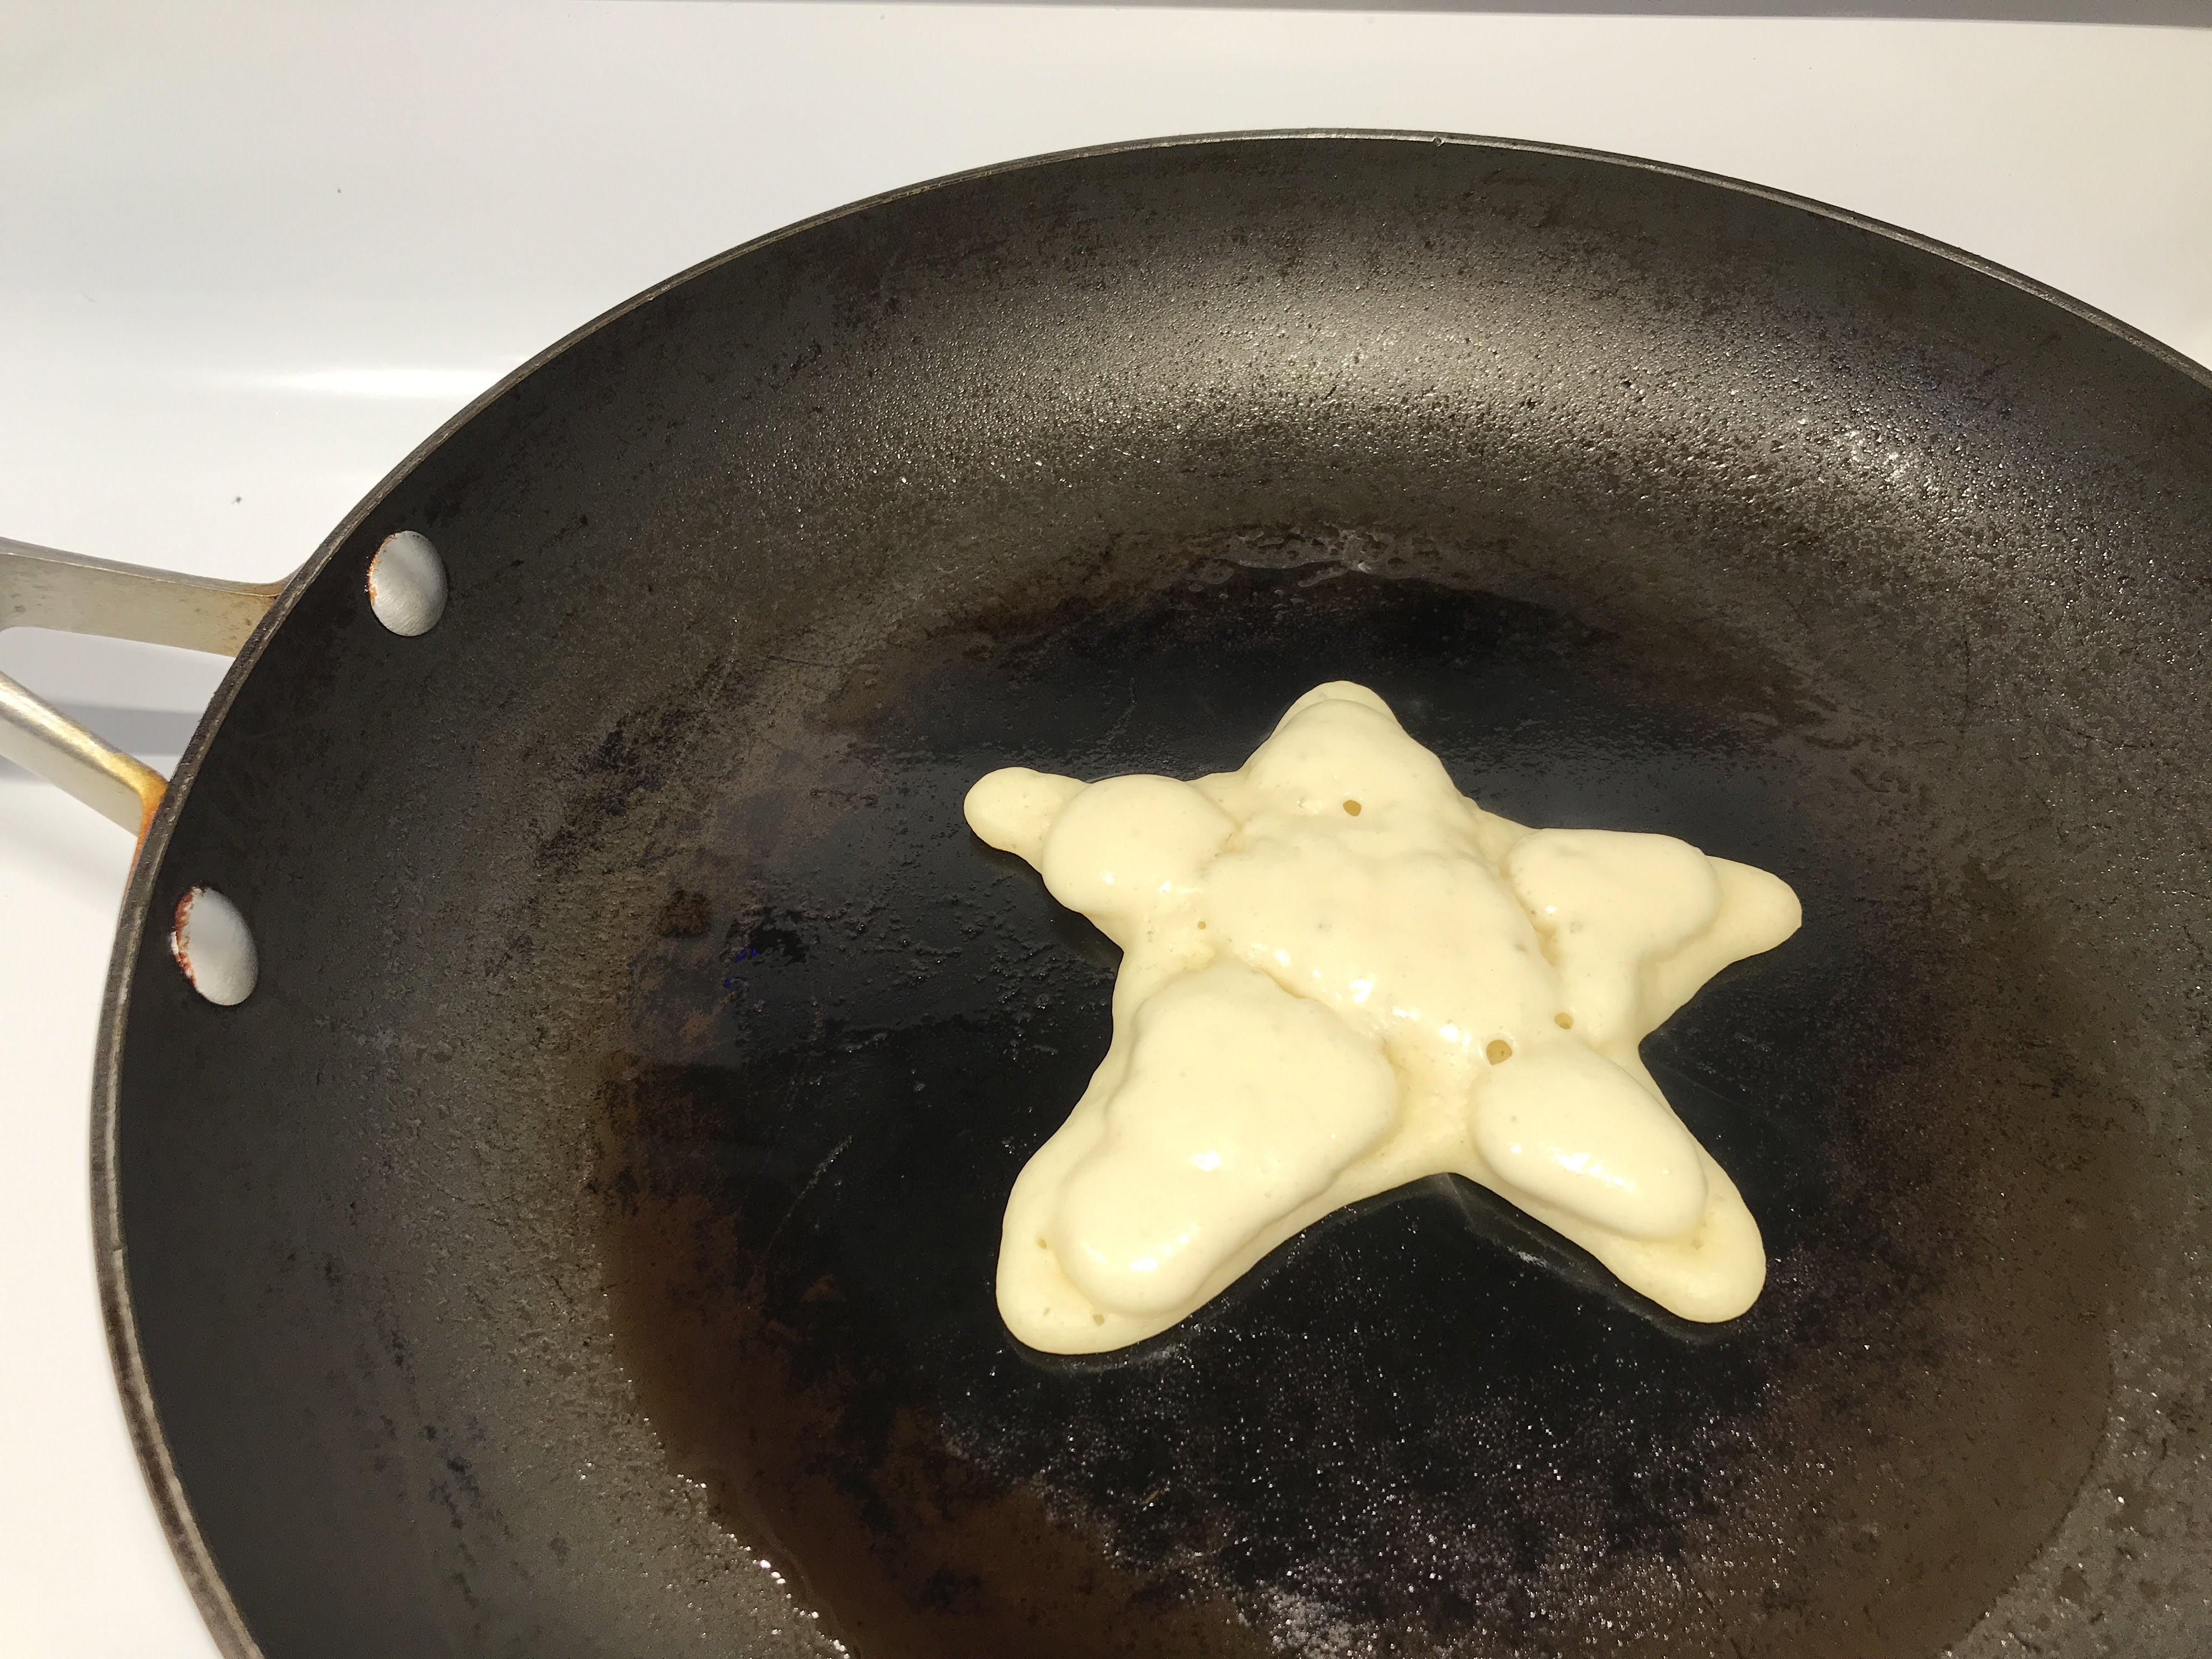
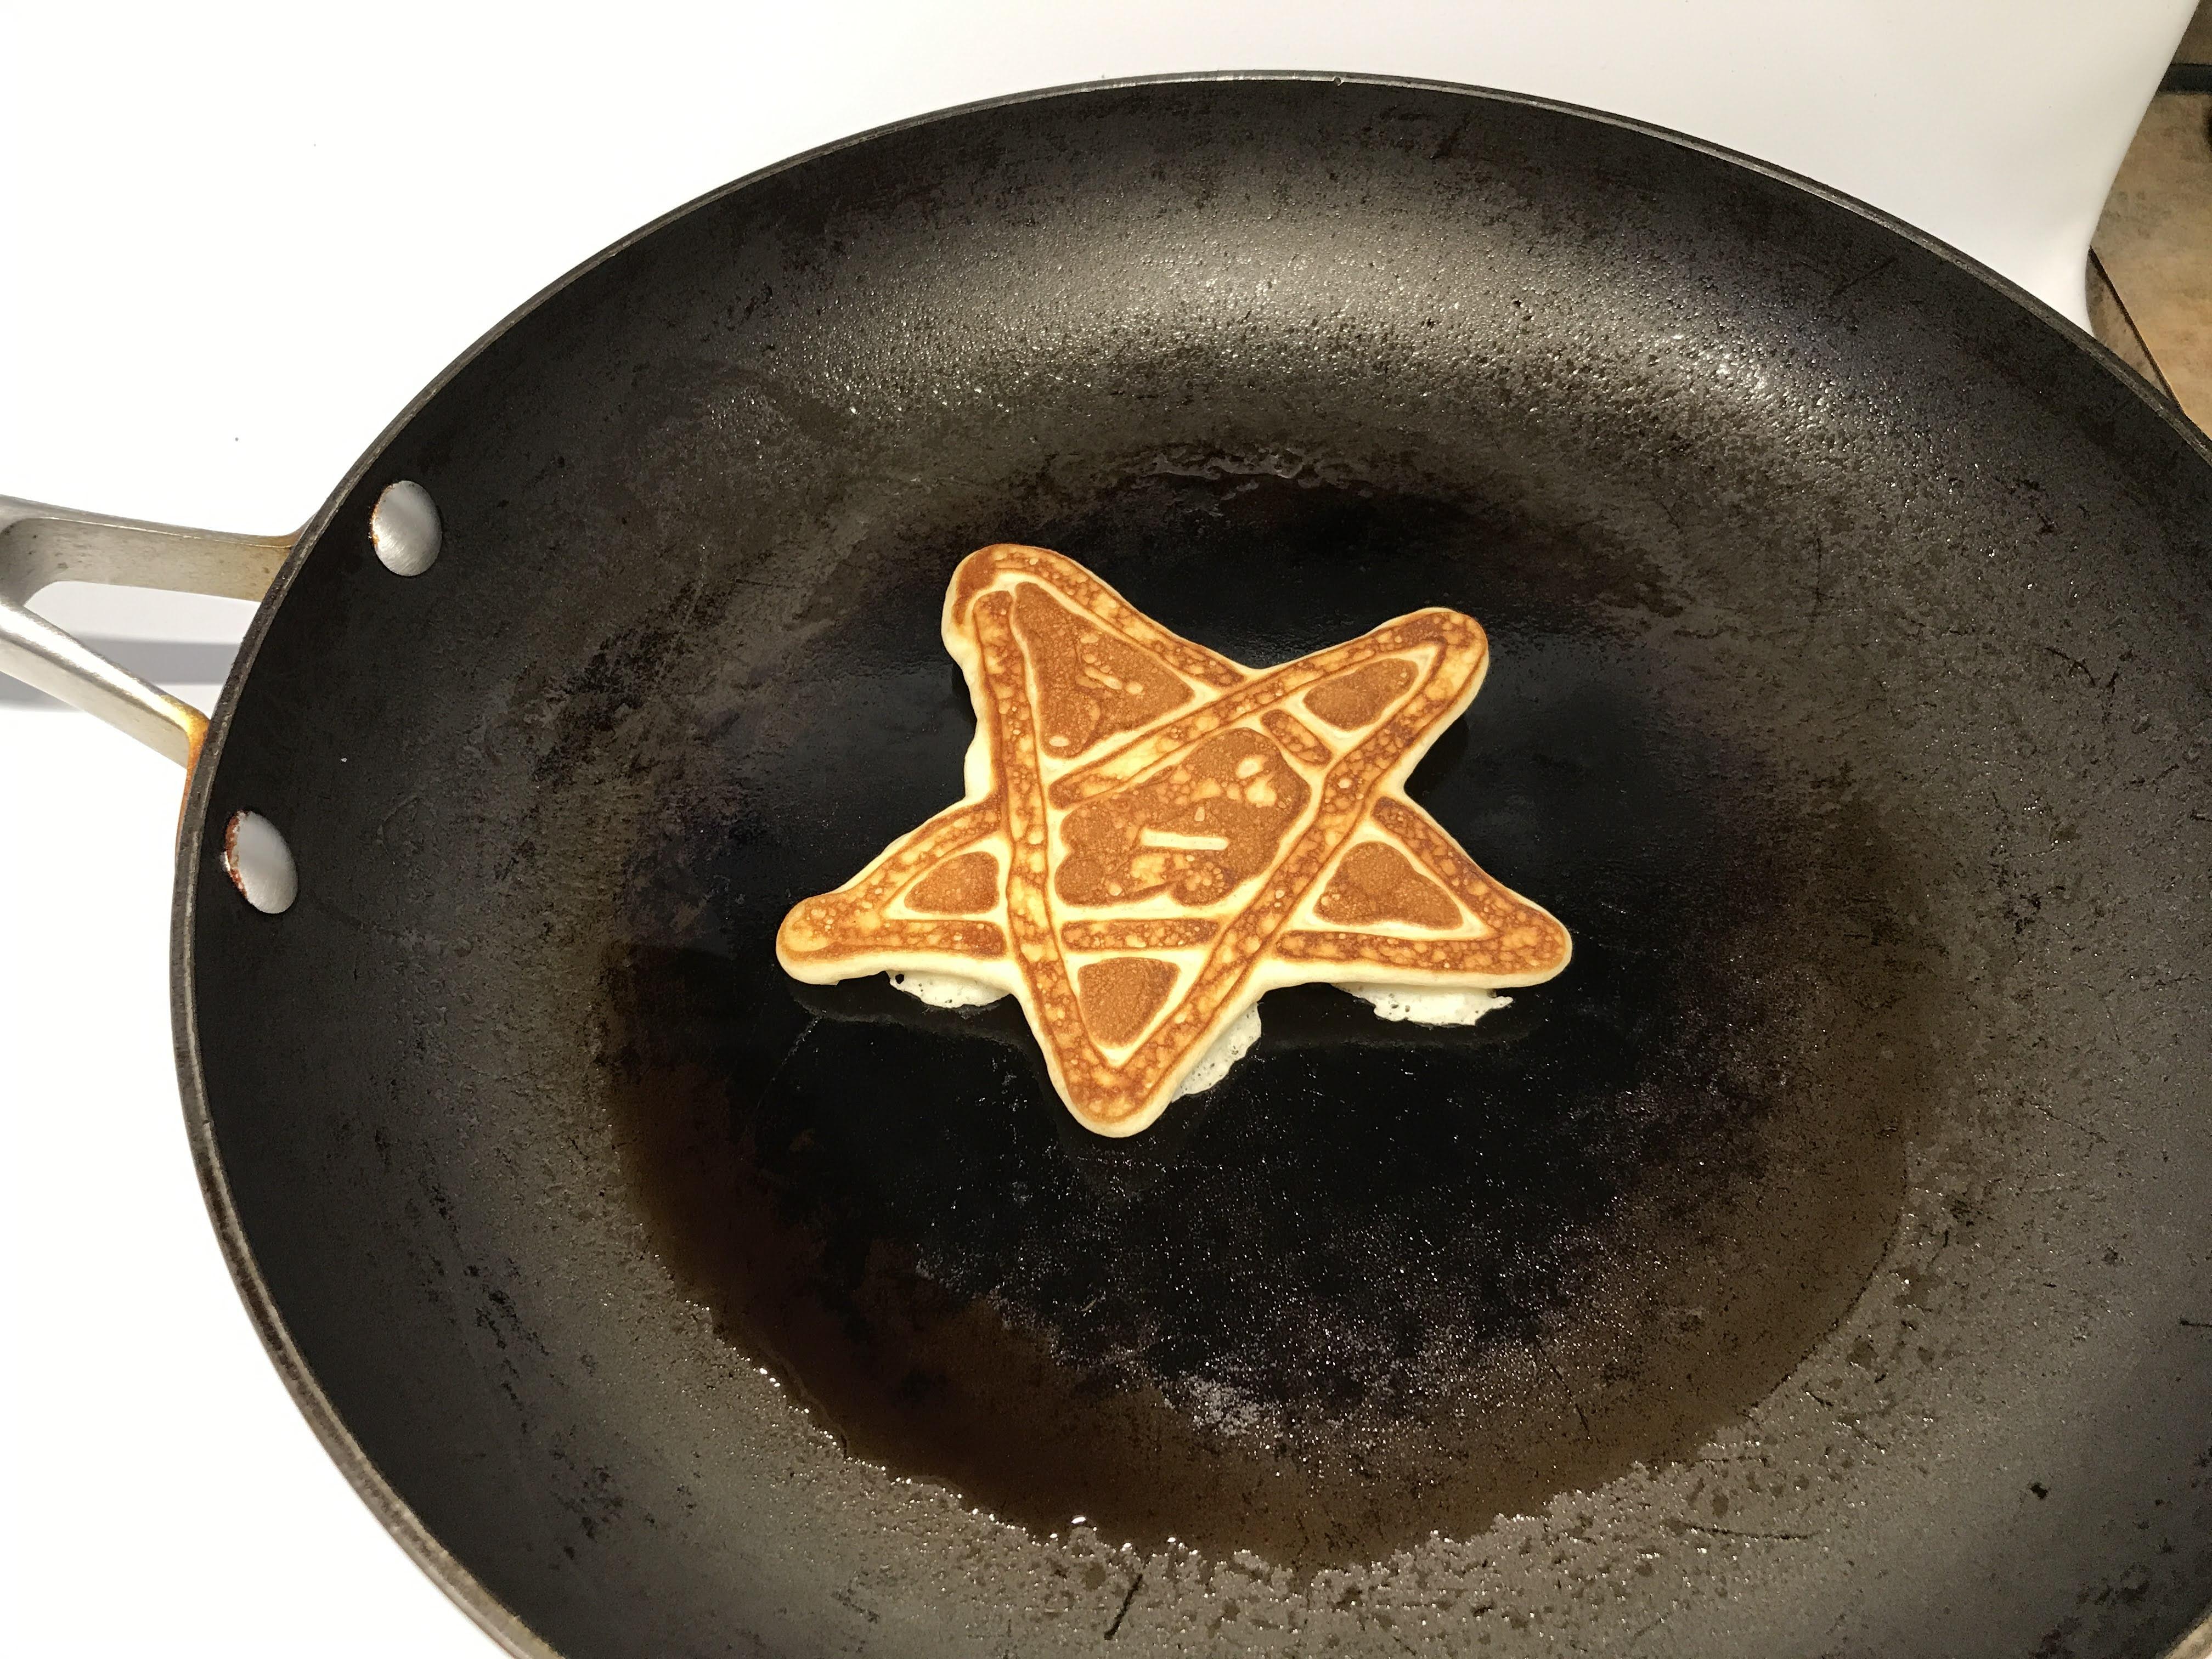
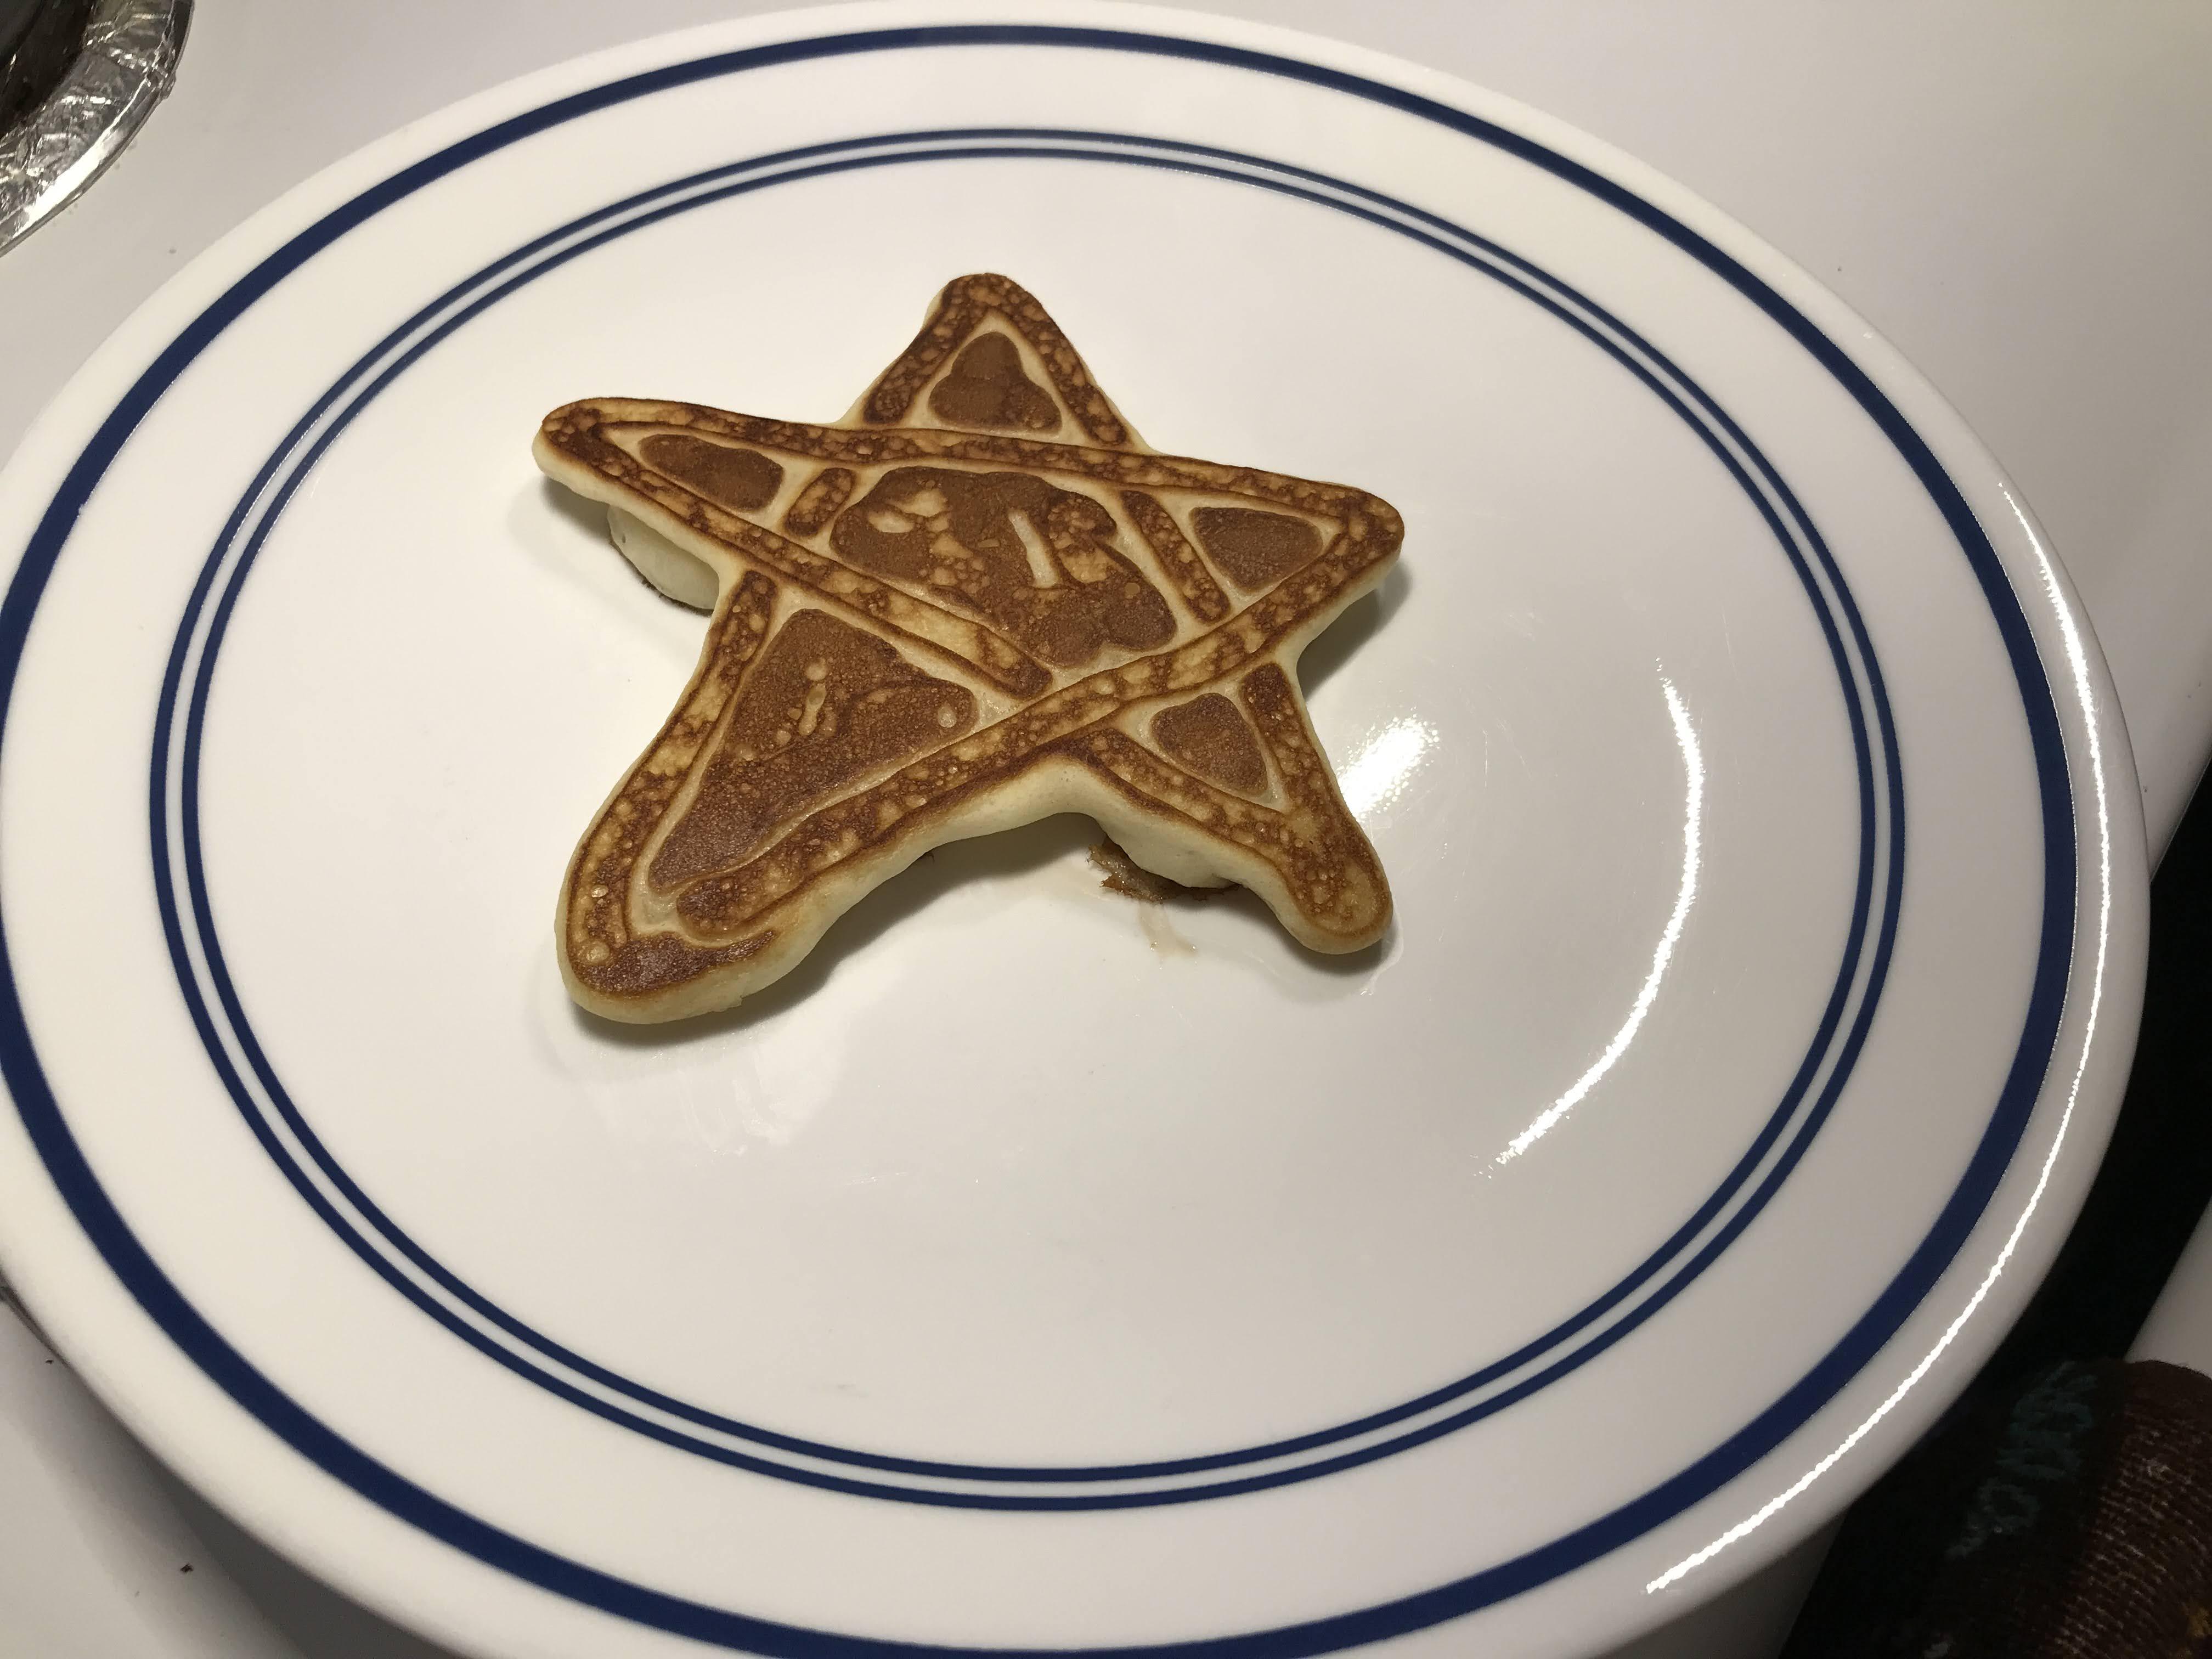
Watch you pancake as it cooks. It should start to have bubbles rise to the surface. Once this begins, flip the pancake over. Wait about 1-2 minutes, and check the underside with your spatula. If it is lightly browned, flip the pancake off the frying pan and onto your plate.
Color Variation
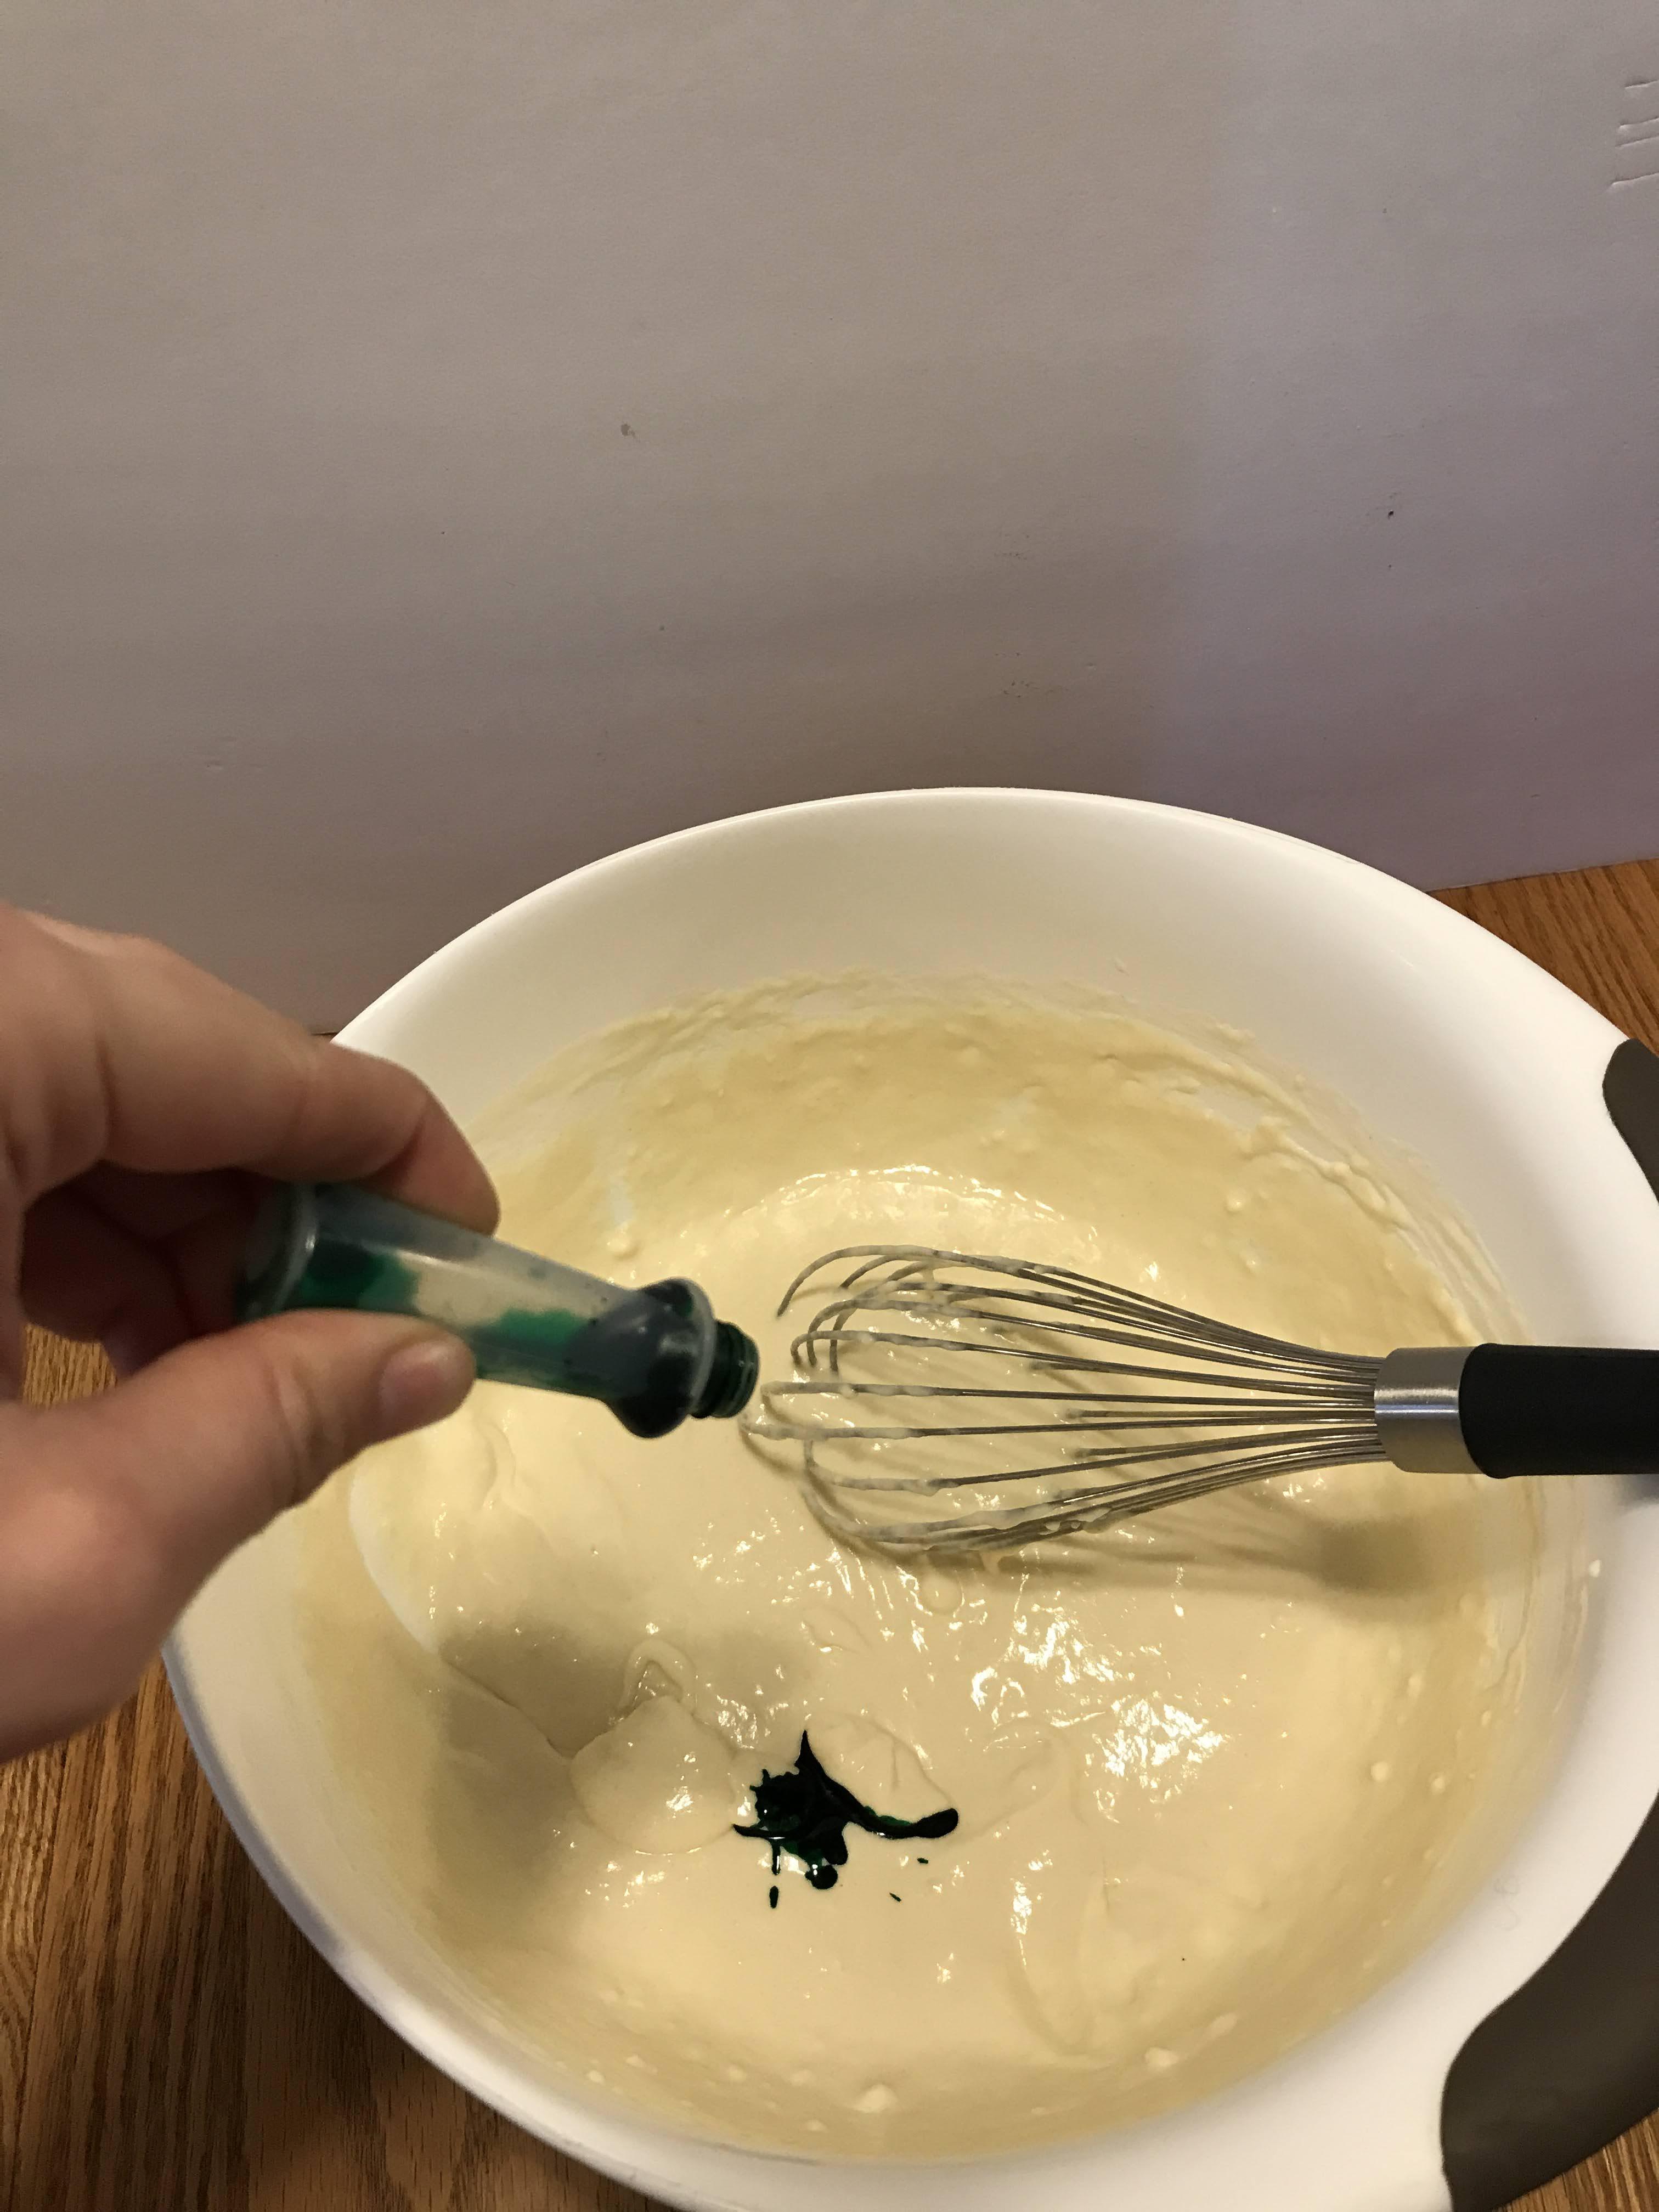
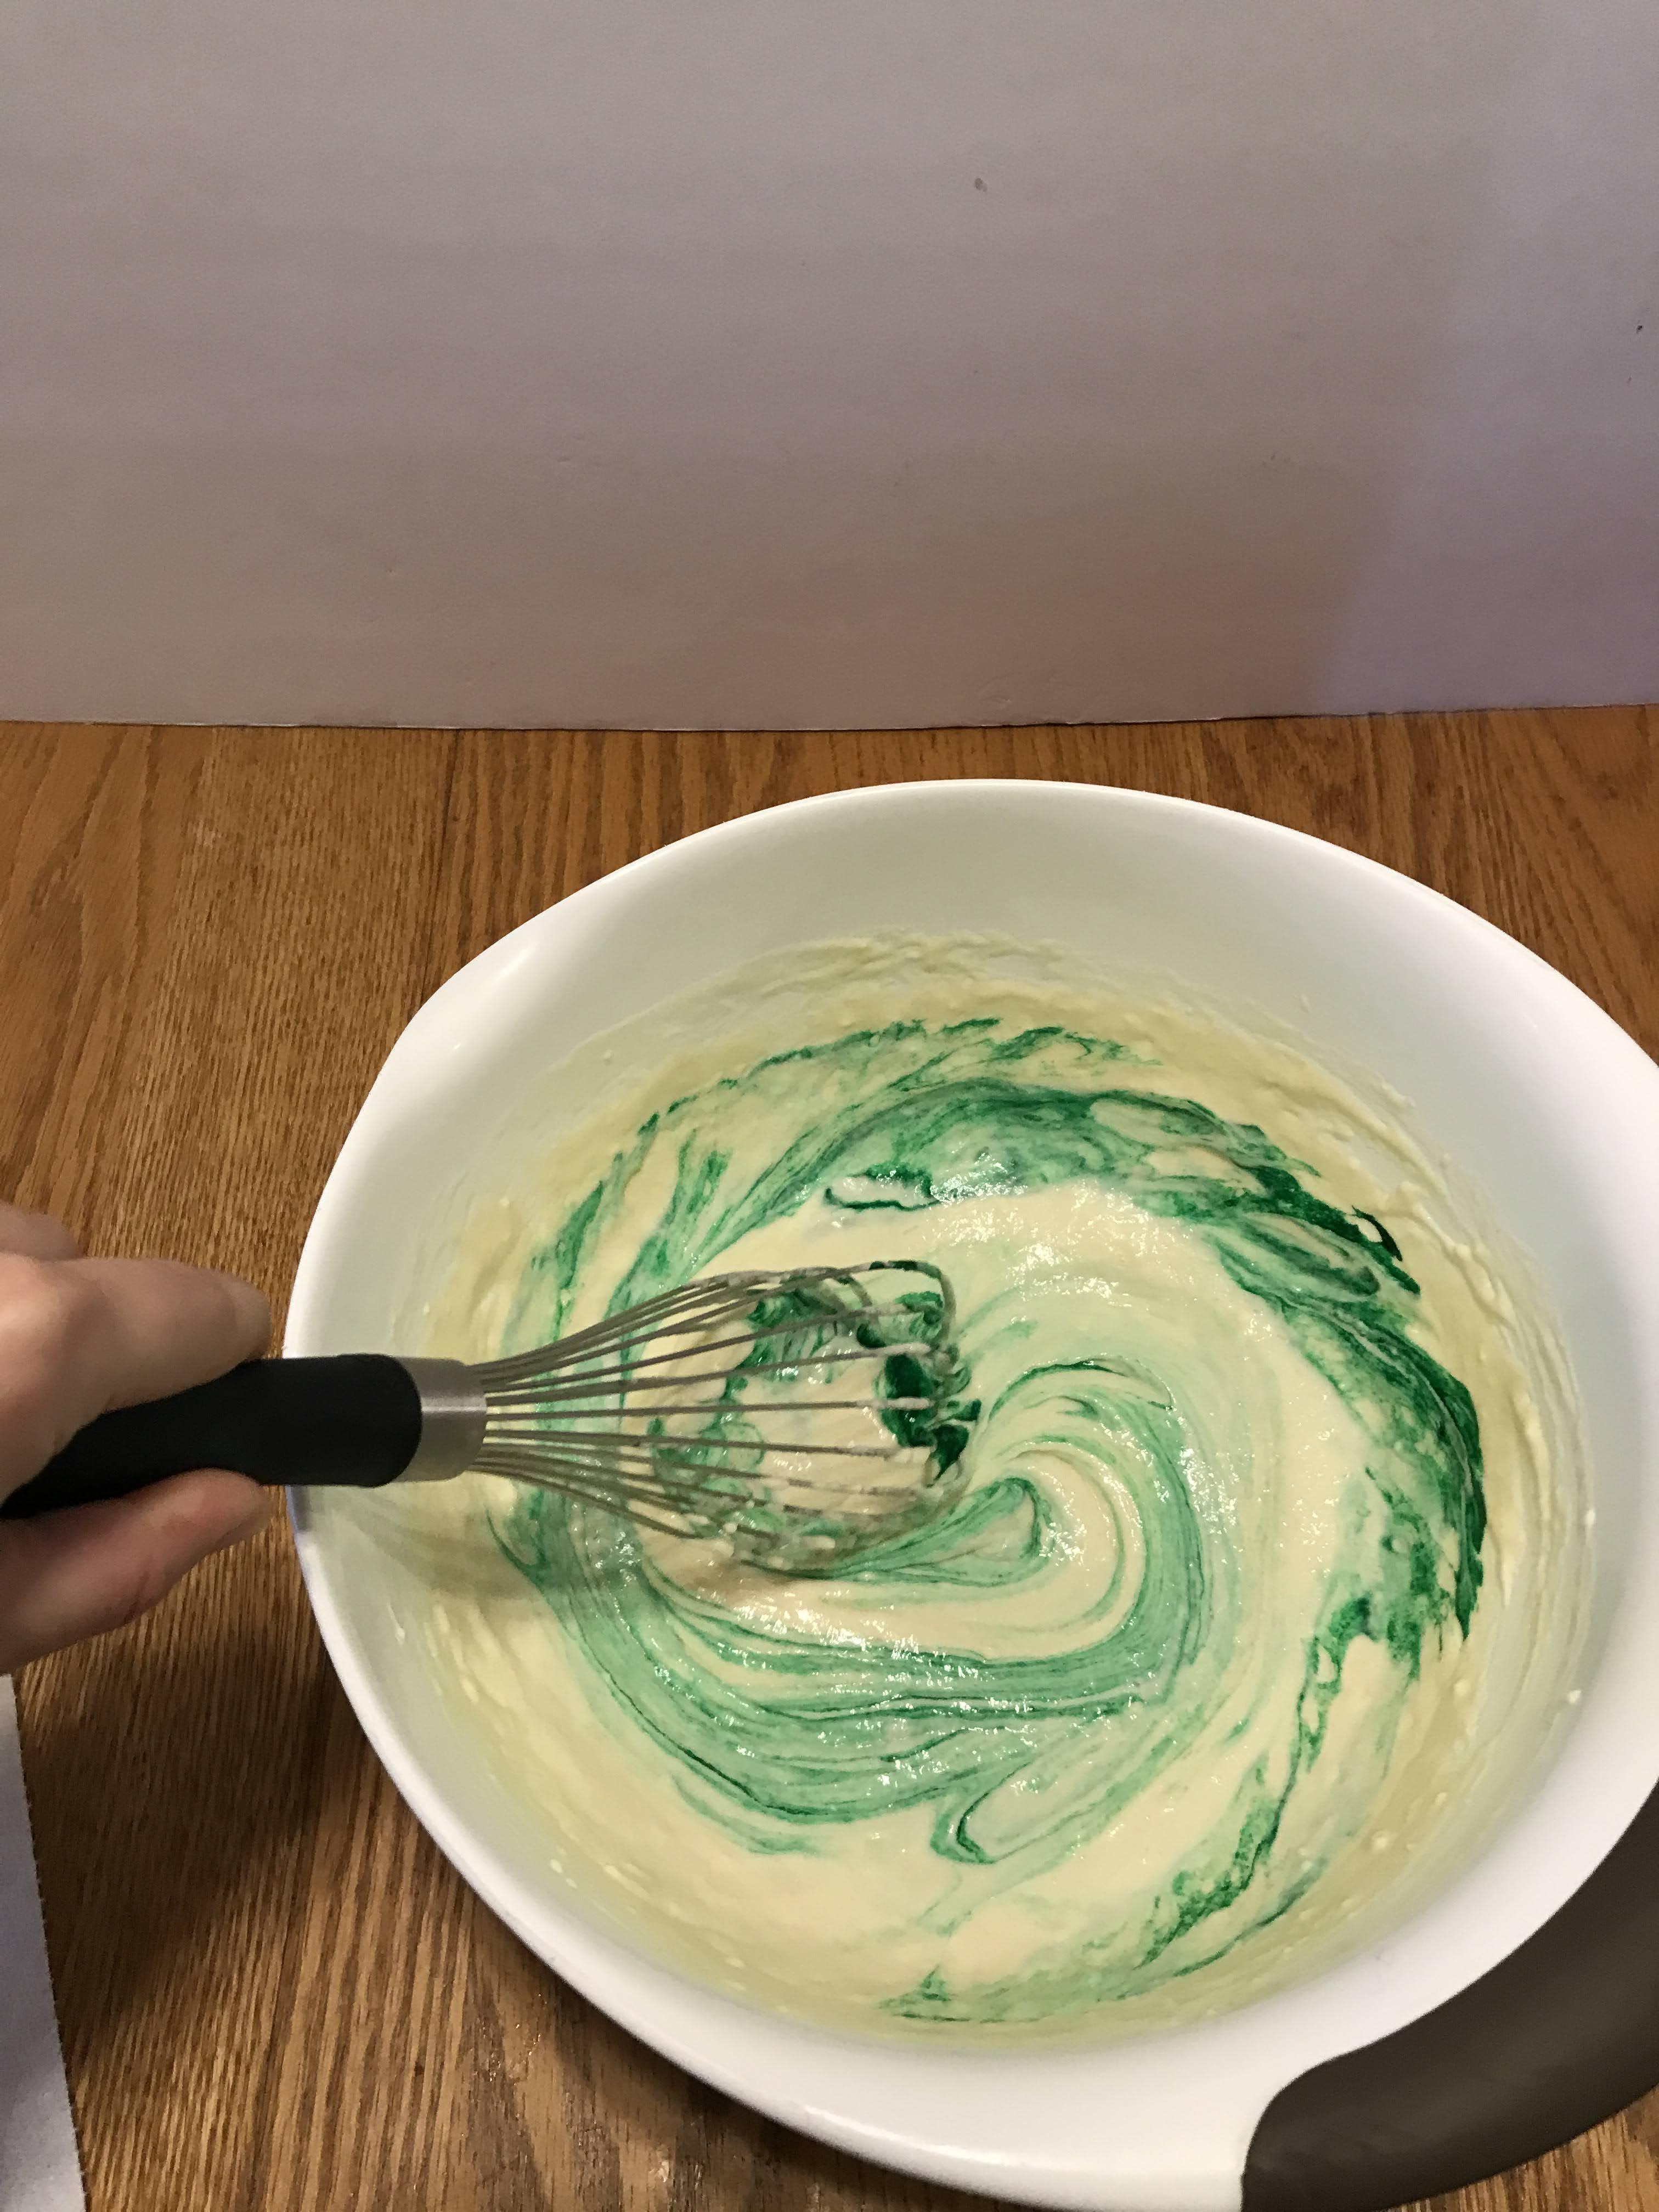
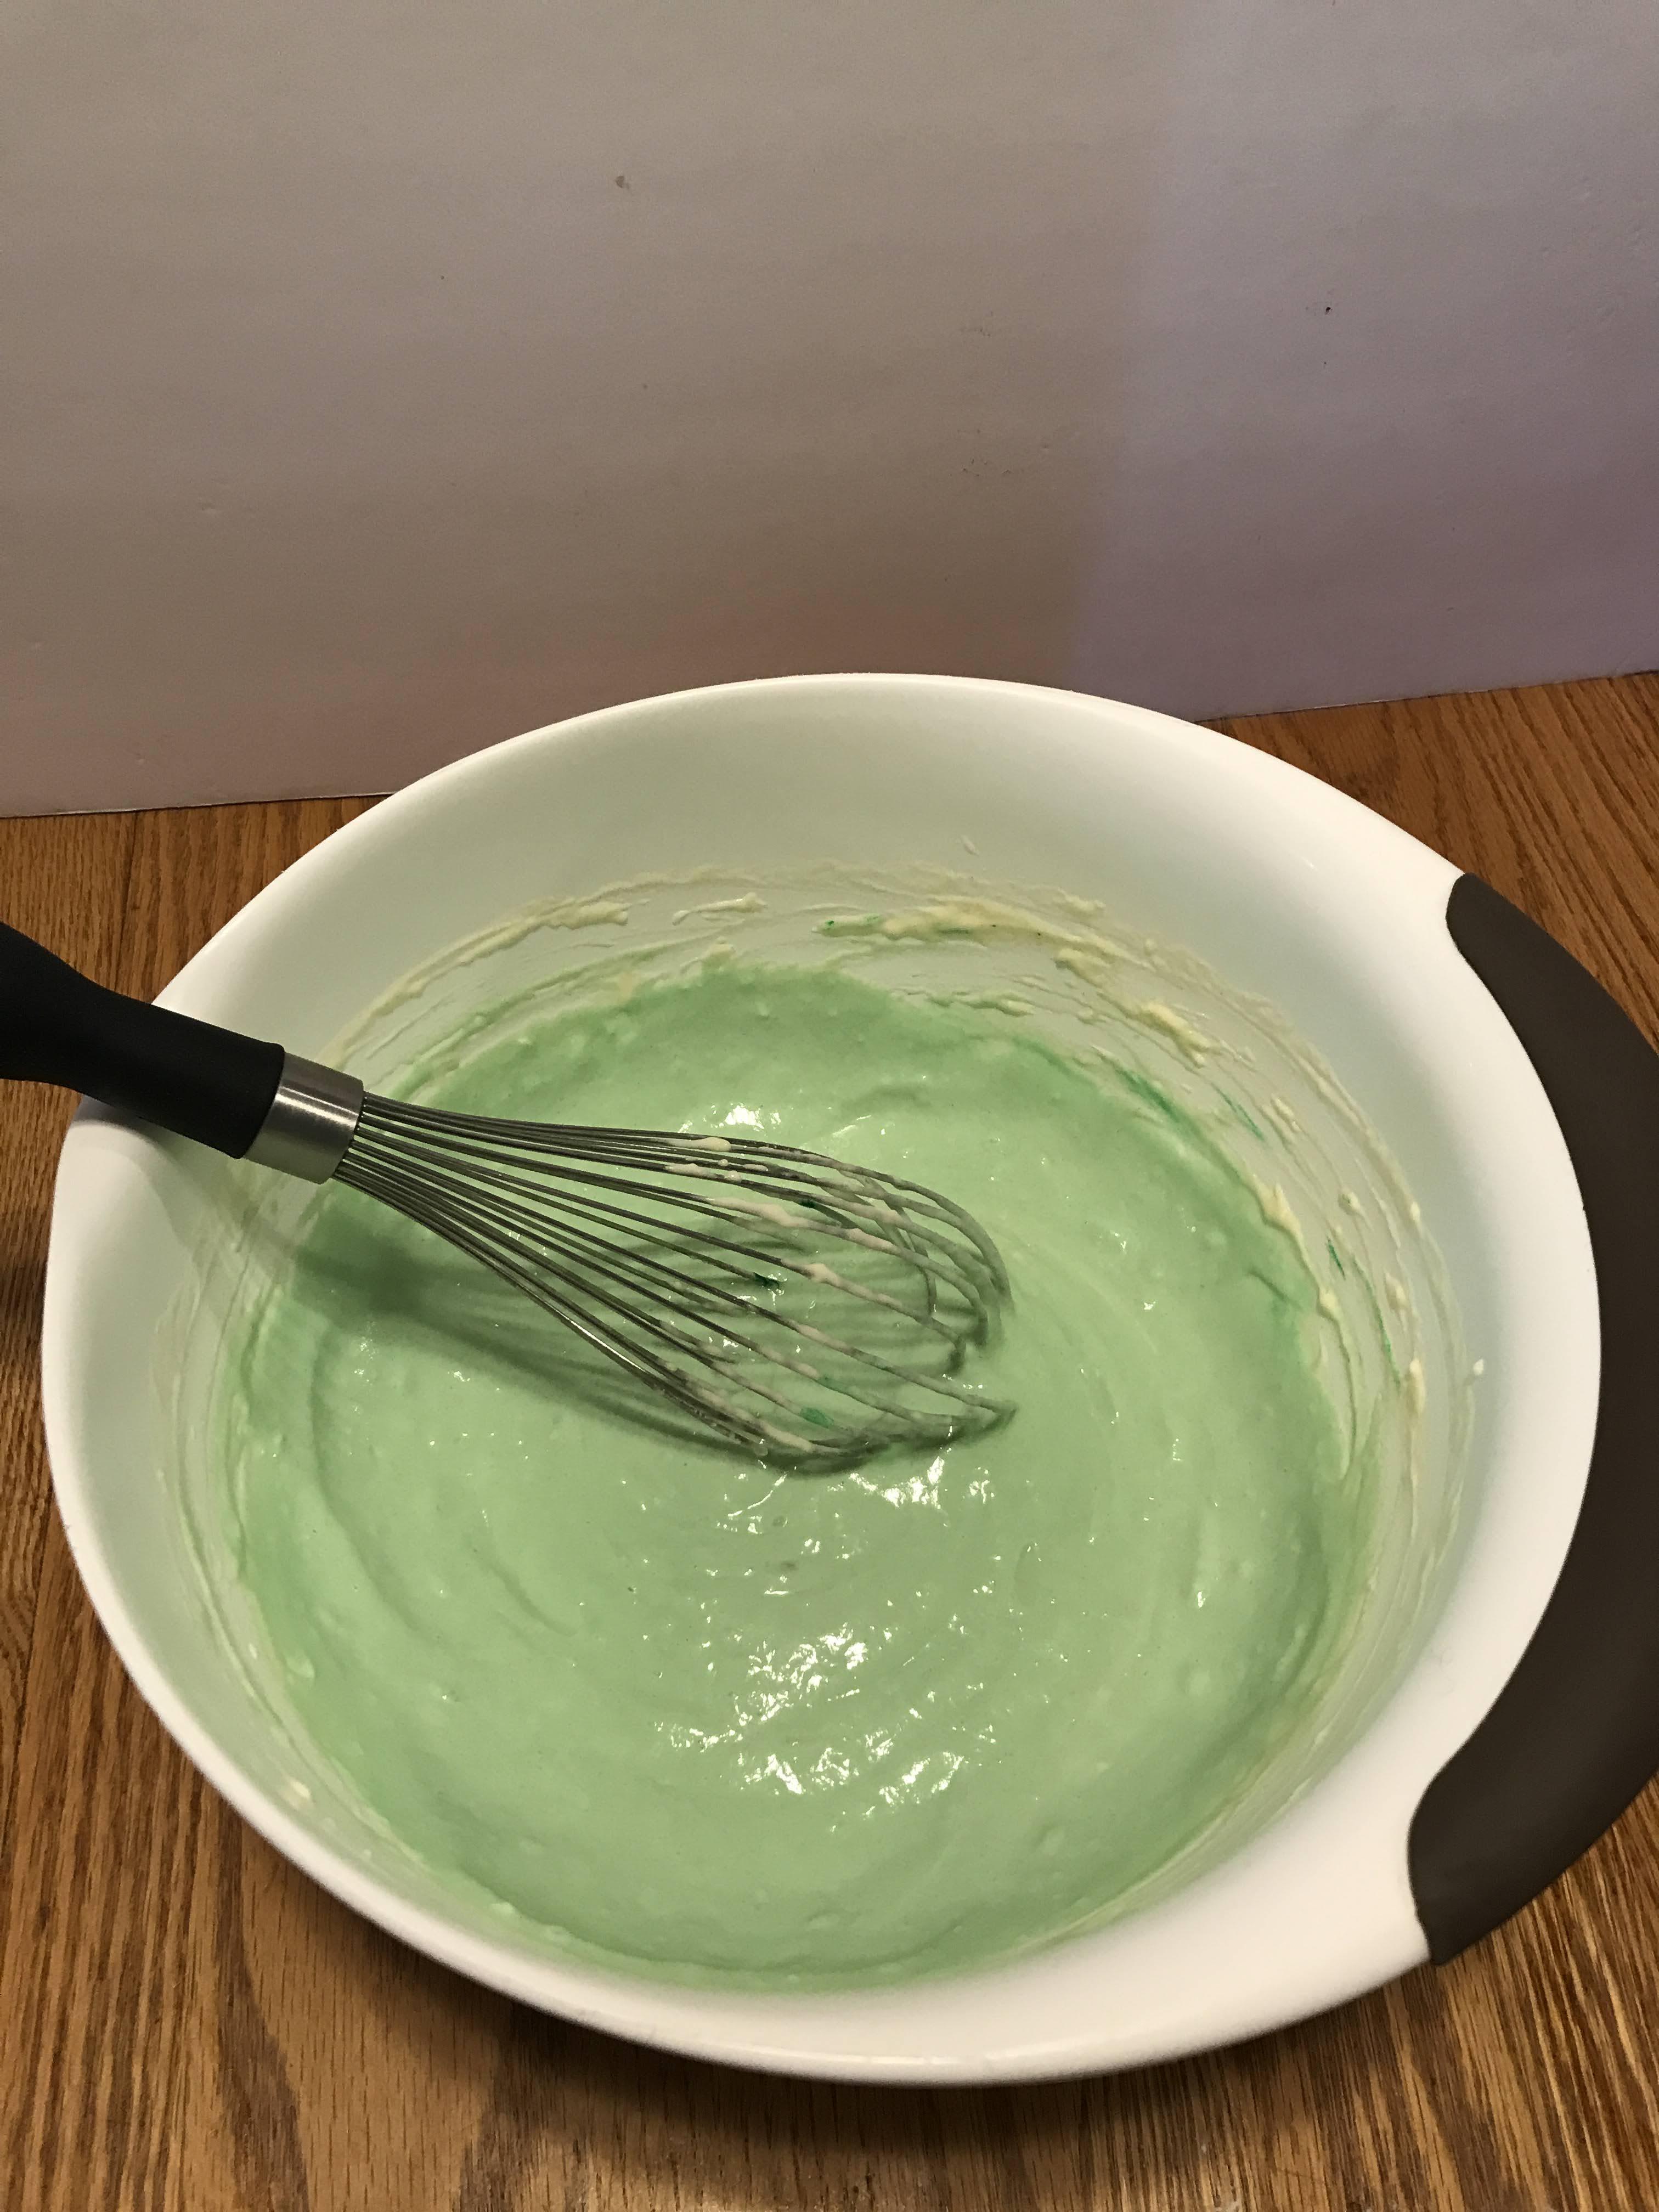
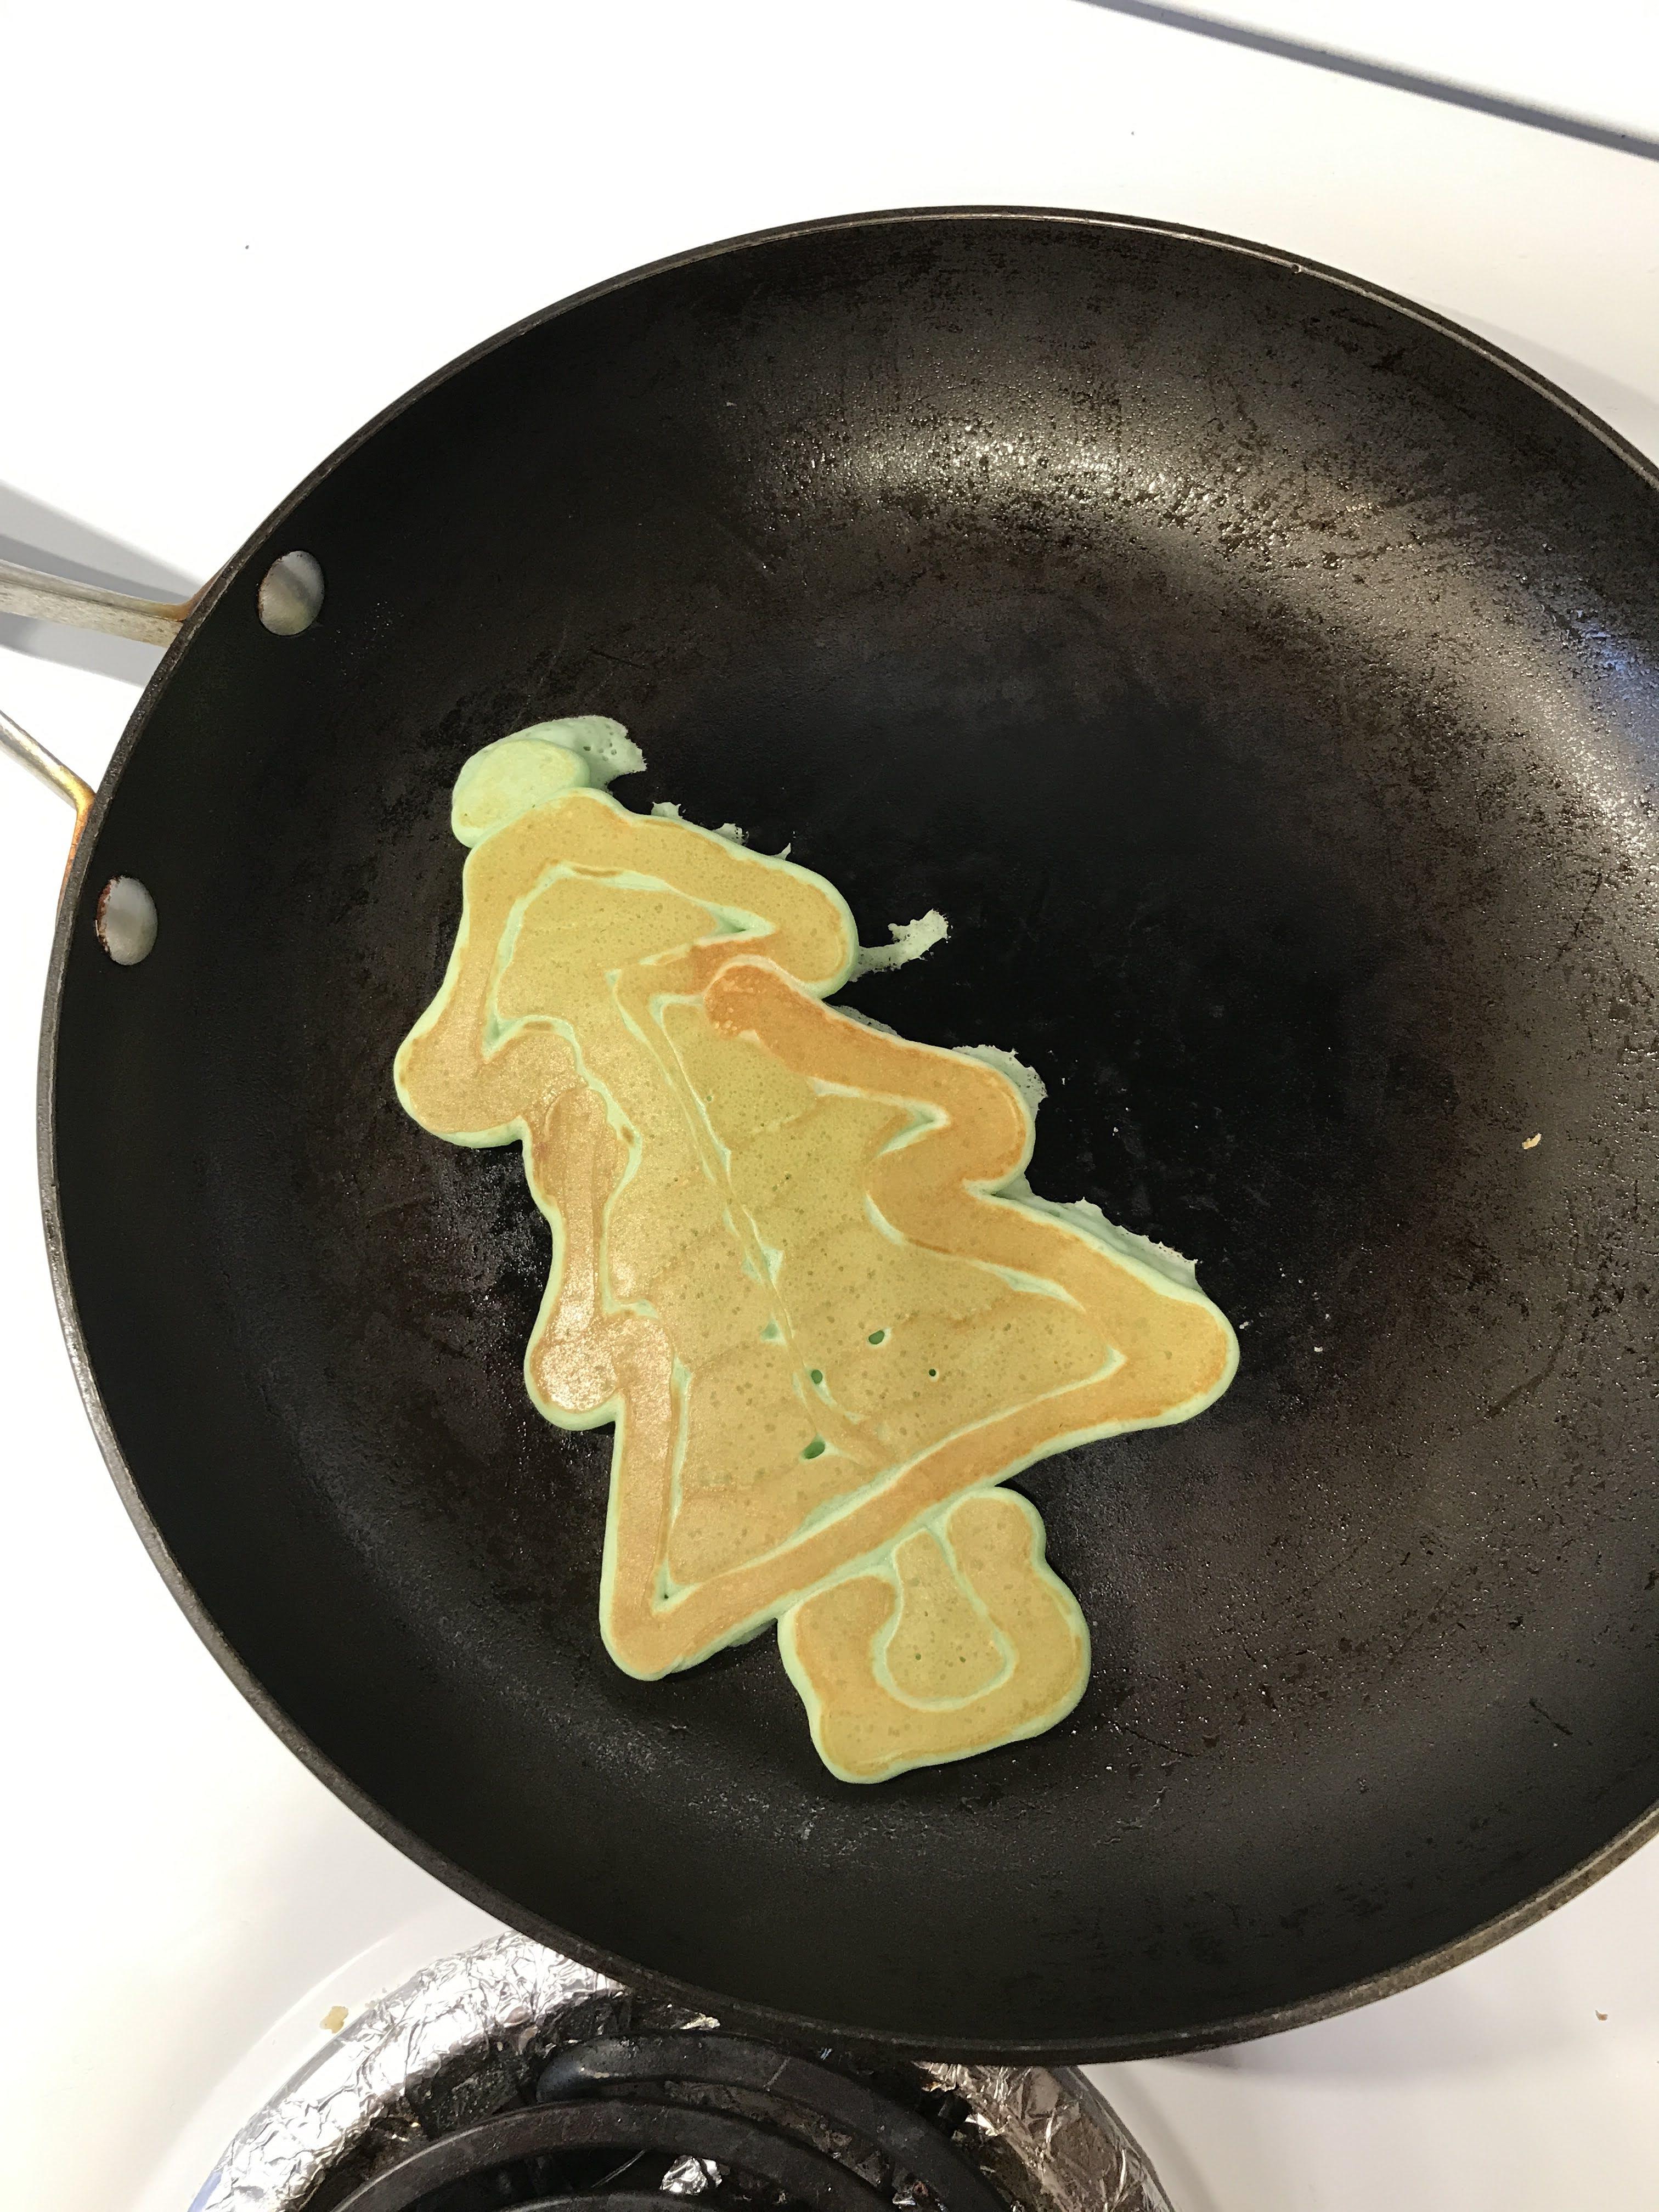
Color: If you want your picture to have a certain color, add a few drops of food coloring to you pancake batter before you cook. Mix it into the batter completely. Add more coloring until you have the desired shade. If you want more than one color, separate the batter into smaller bowls, then mix each with the colors you want. Pour each color into their own bag/syringe, and then use the above steps to create your picture.
TIP: Flip your pancake slightly earlier to avoid extra browning. There will be a little browning for any pancake, so plan your color accordingly.
Enjoy!
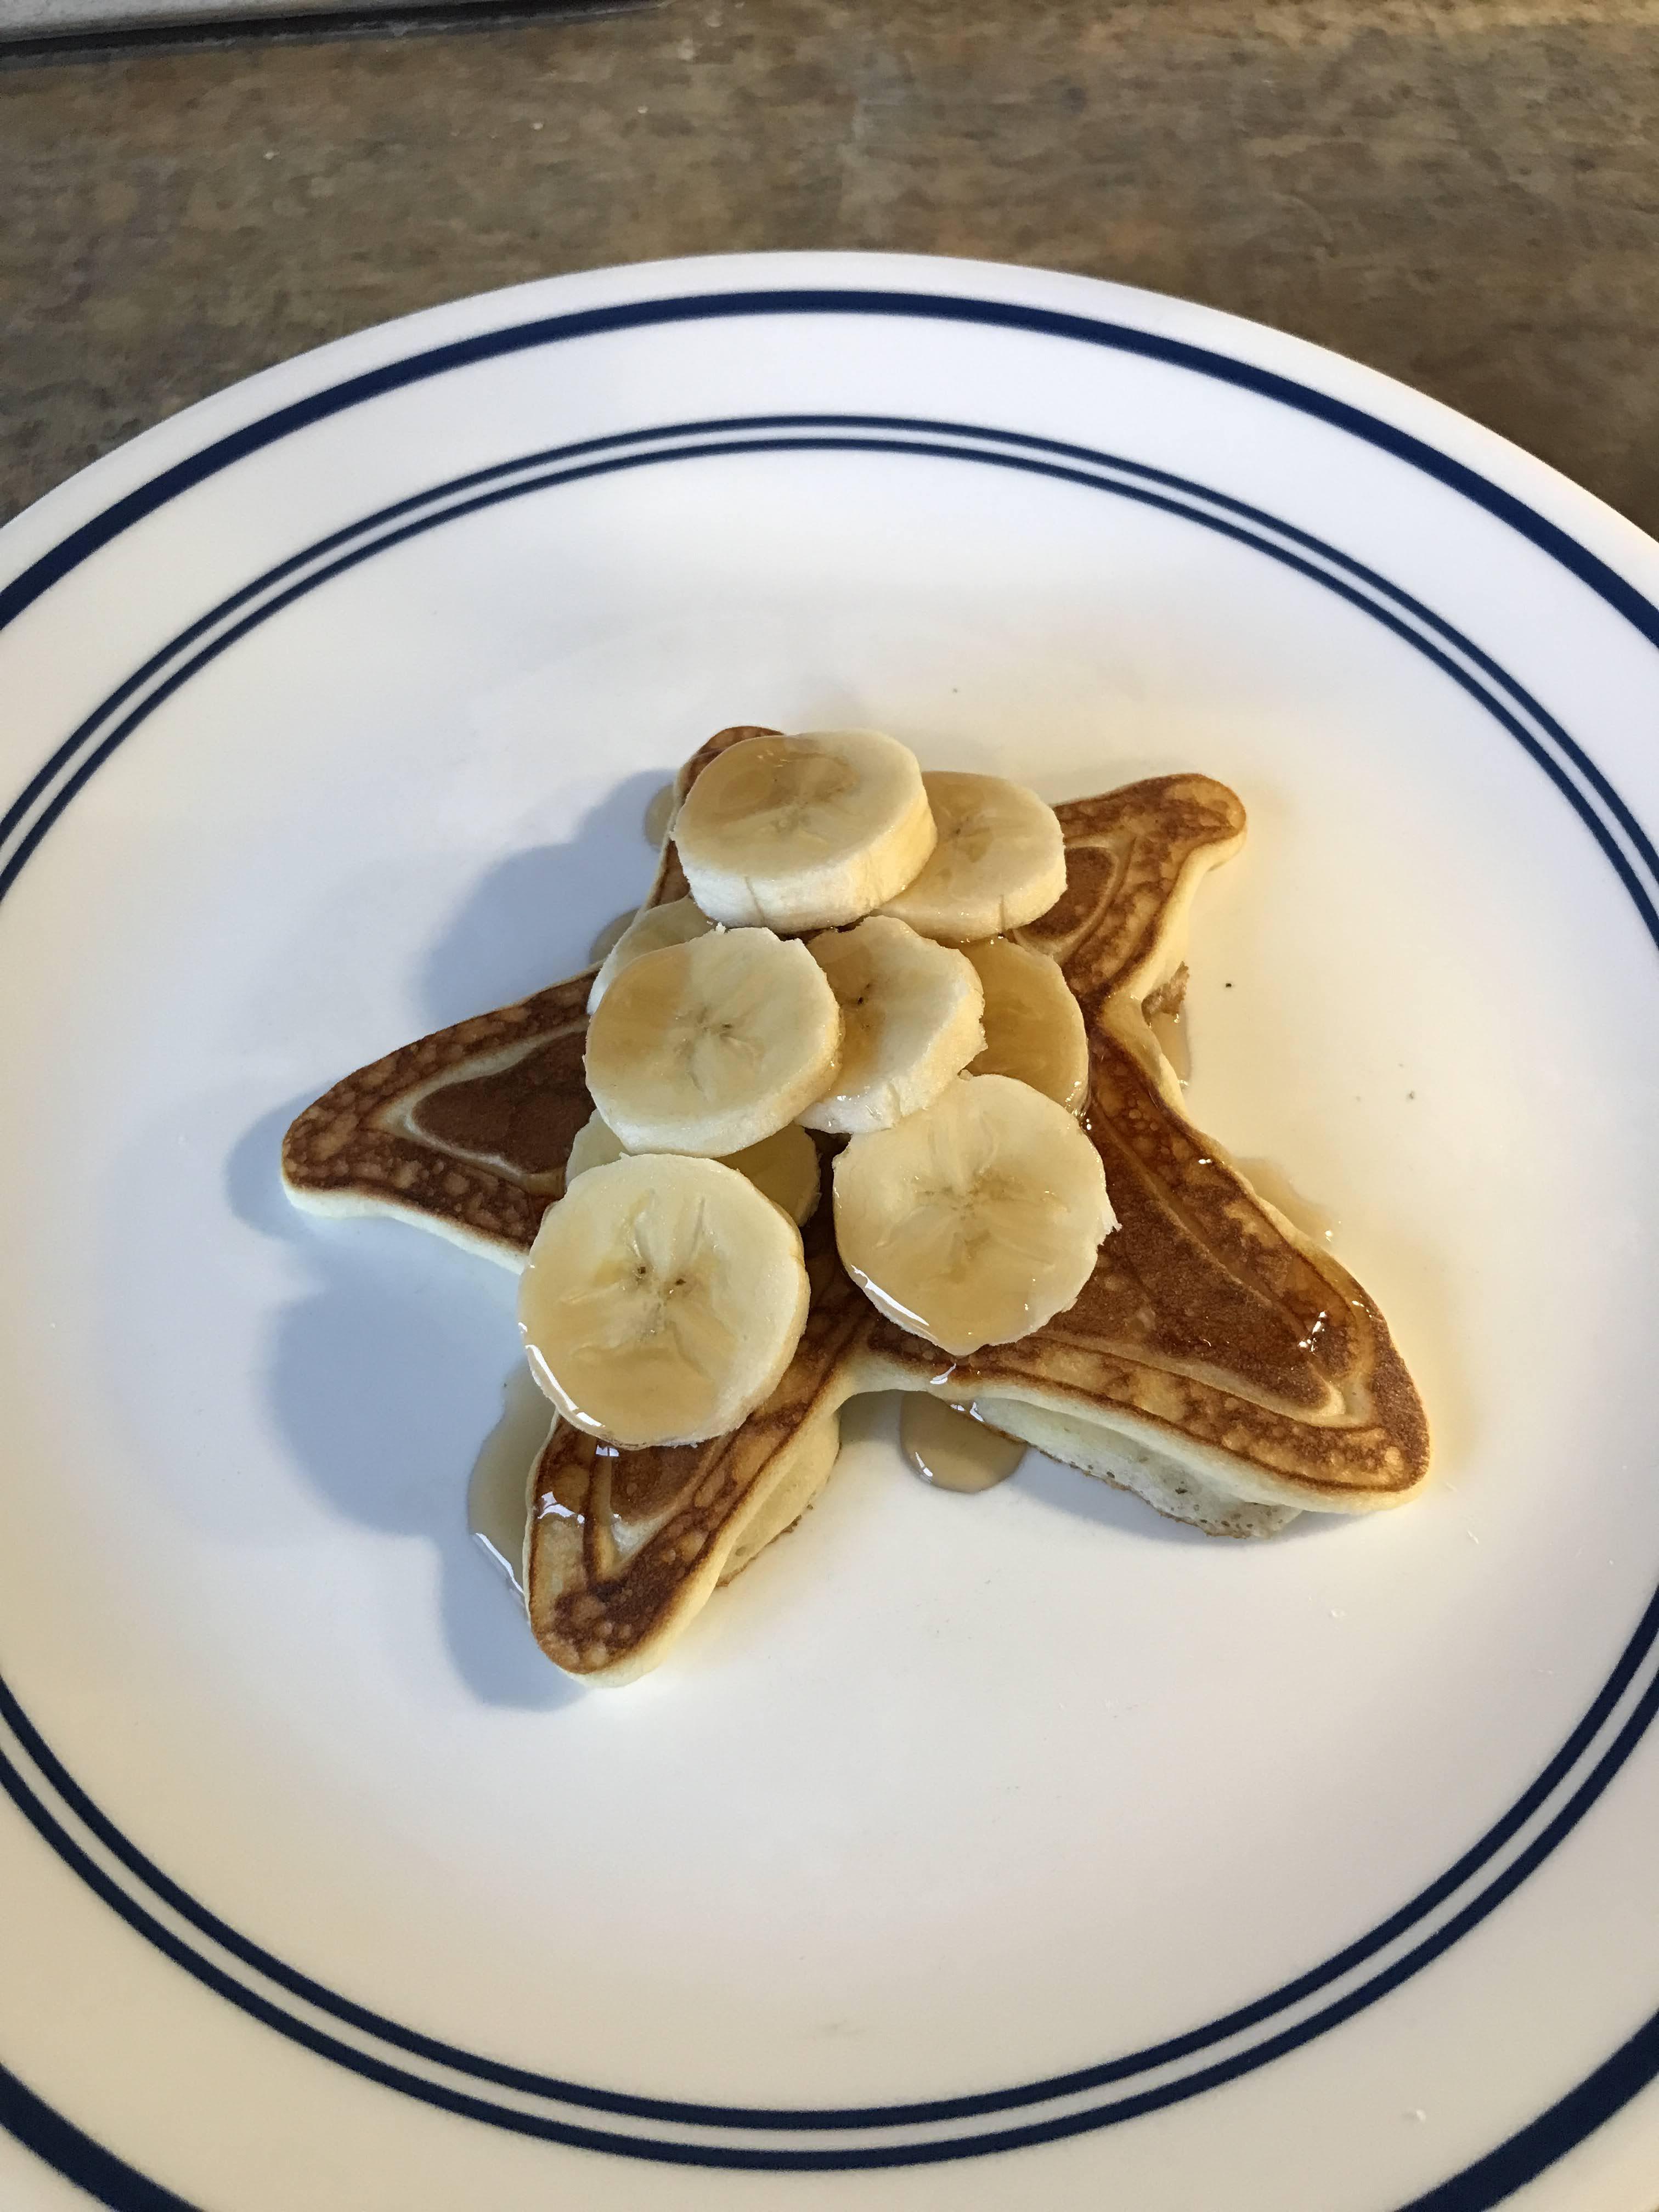
Top your pancake with bananas, berries, applesauce, whipped cream, maple syrup, or whatever else you enjoy, and dig in! If you want to continue the artistry, carefully place toppings to add to your picture. Have fun, and enjoy the fruits of your labors!