Painting With Light and GIMP
by instructables_user_4783 in Design > Digital Graphics
6888 Views, 6 Favorites, 0 Comments
Painting With Light and GIMP
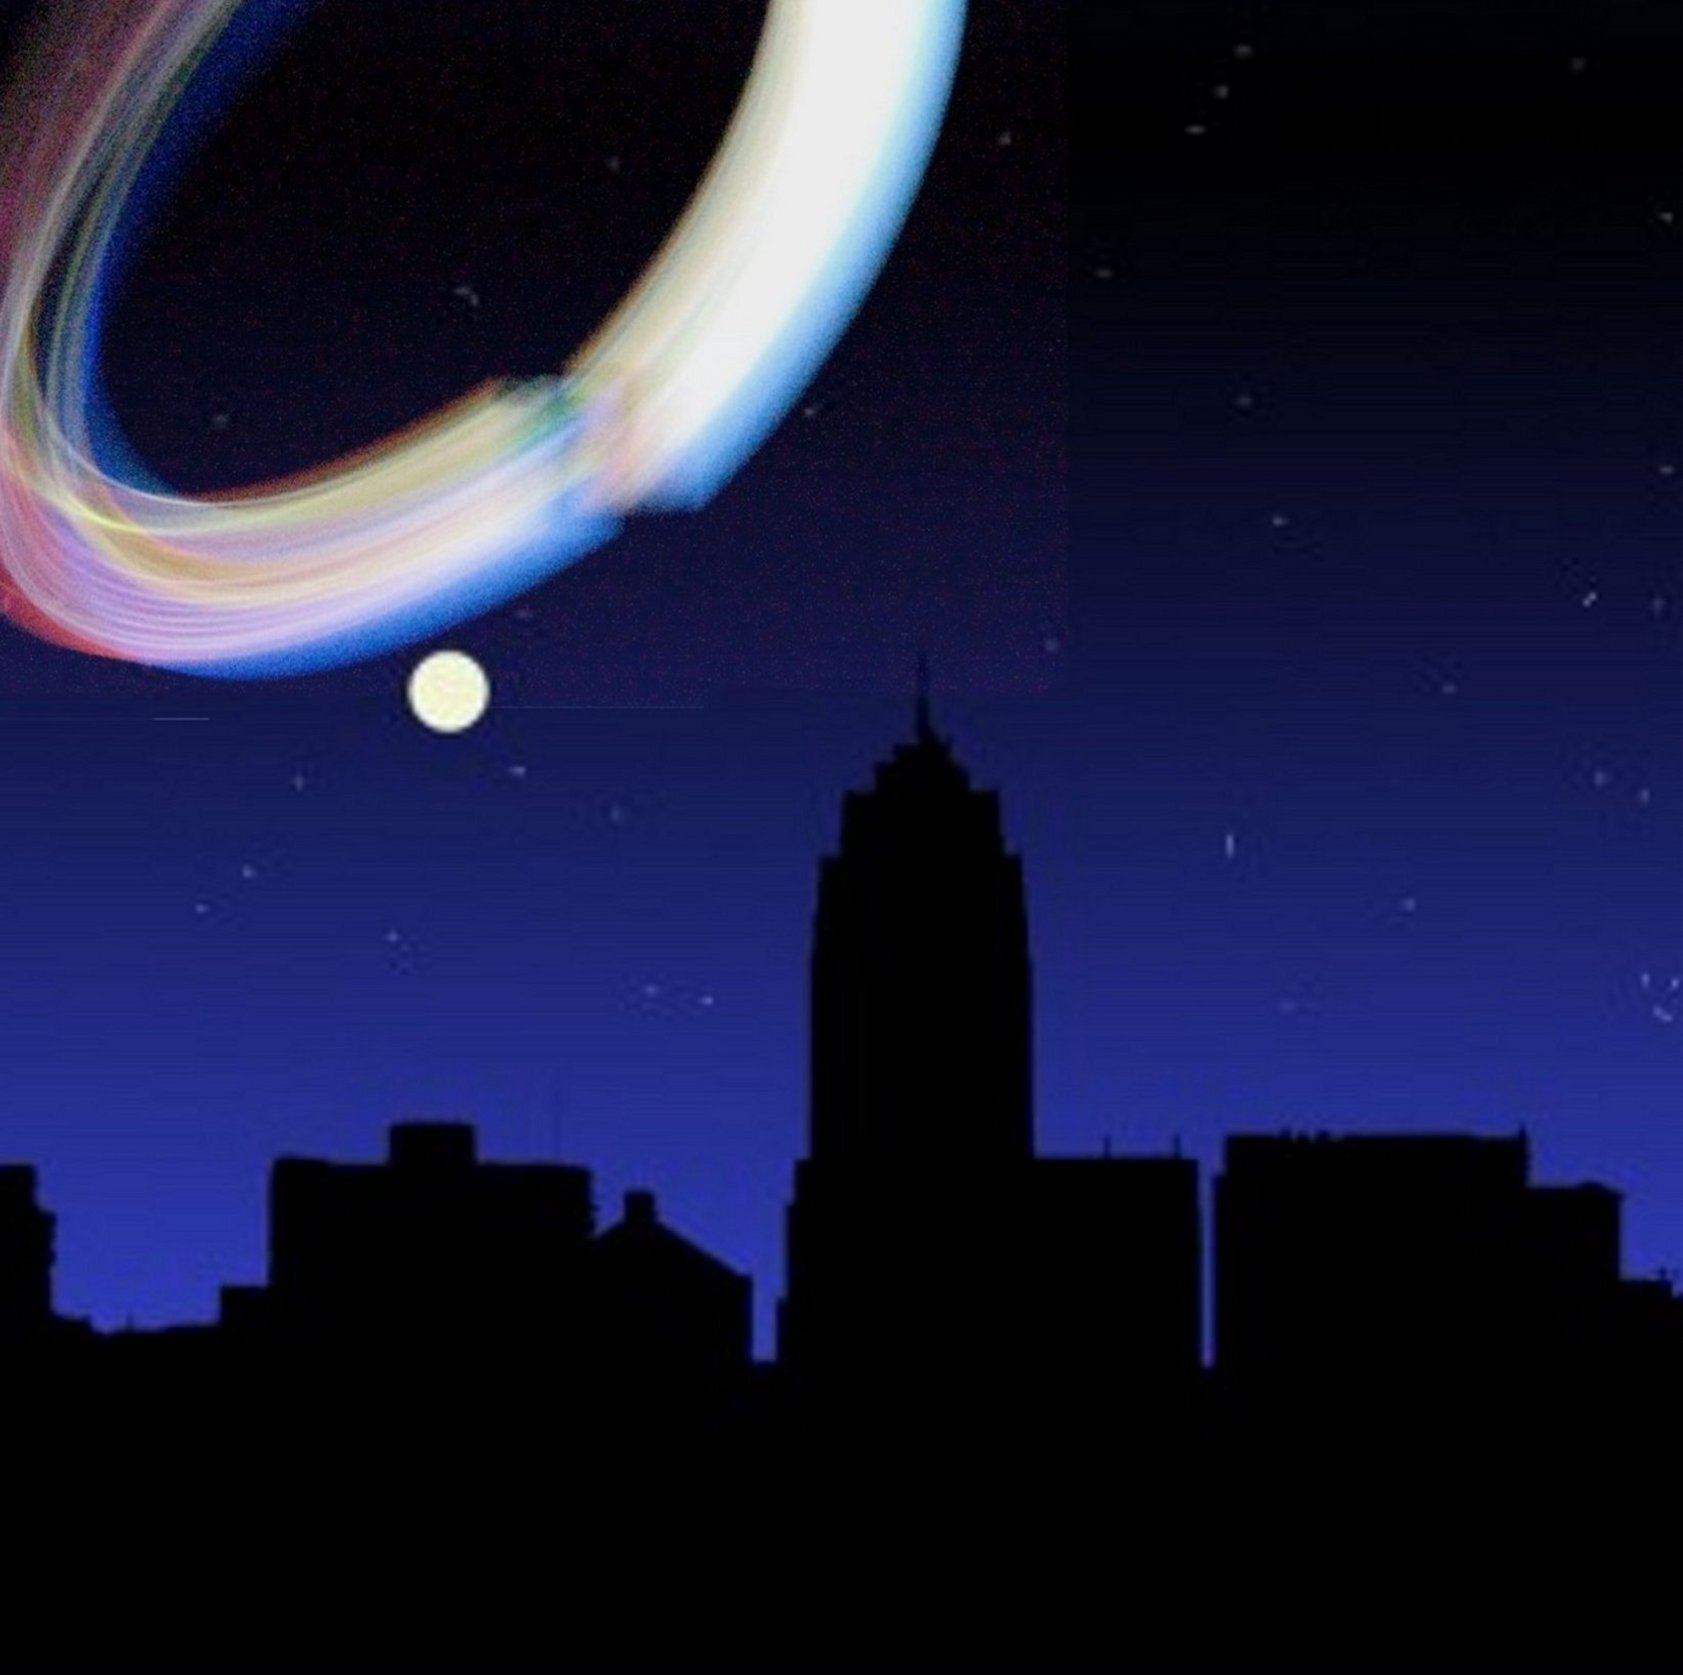
In this instructable I'm showing you how to create glowing lines and effects with a digital camera and the GIMP.
What You Need
A computer with Windows, Mac OS or Linux.
GIMP (free) http://www.gimp.org/
A digital camera WITH ability to manually adjust shutter speed.
A glowing object ( I used my MP4) DO NOT use a flash light, it is too bright and will light up too much.
A table or tripod.
GIMP (free) http://www.gimp.org/
A digital camera WITH ability to manually adjust shutter speed.
A glowing object ( I used my MP4) DO NOT use a flash light, it is too bright and will light up too much.
A table or tripod.
Paint With Light
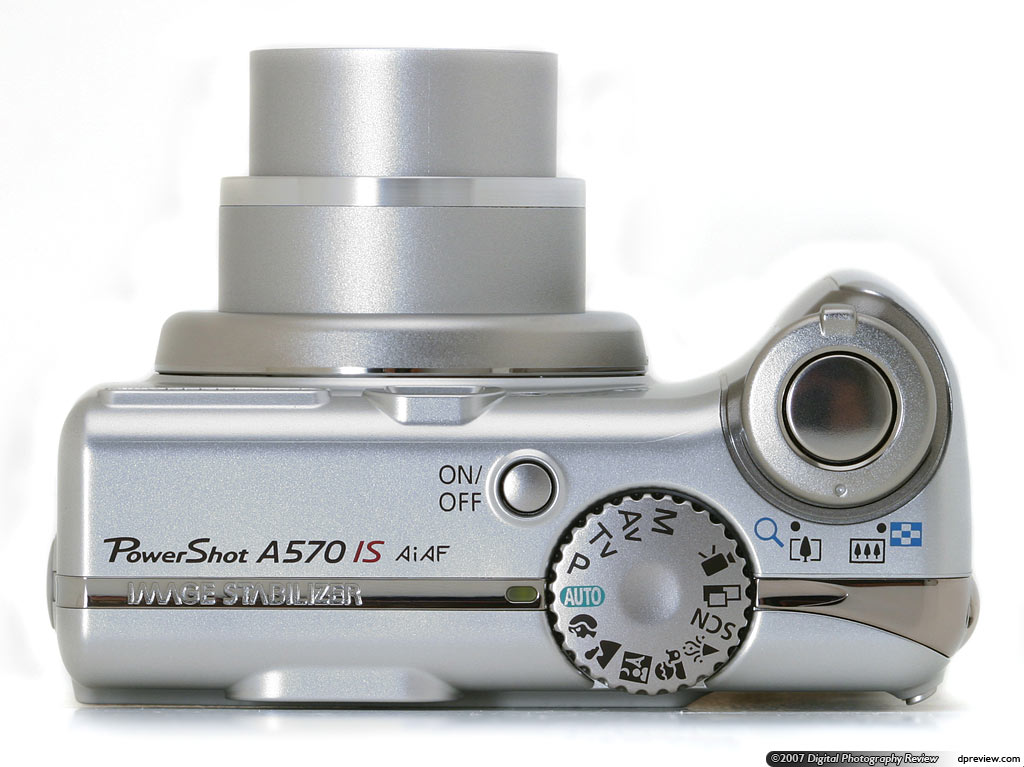
Put the camera in manual mode. Go in a dark room and put the camera on a table or tripod. Set the ISO to 1600, AWB to Auto, and Drive Mode to as long as you like. Set the F-Stop to F5.0 and shutter speed to 0.6 seconds. Grab your glowing object, start the camera and wait for as long as you set the Drive Mode. Wave the glowing object around, this will be your paintbrush, create a cool design. If the settings do not work feel free to play with them until they work. Generally a faster shutter speed will be darker and slower shutter speed will be lighter.
Editing
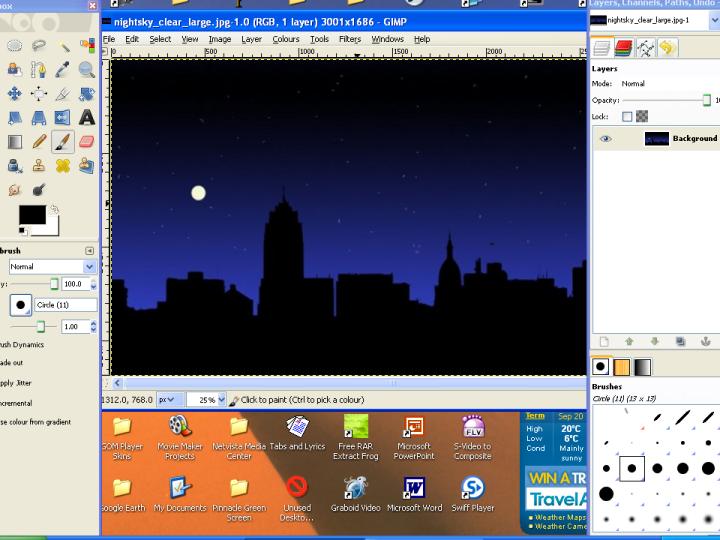
Download the picture out of the camera and save it to the computer. Get a dark picture off the internet or take one yourself with your camera, open it in the GIMP.
More Editing
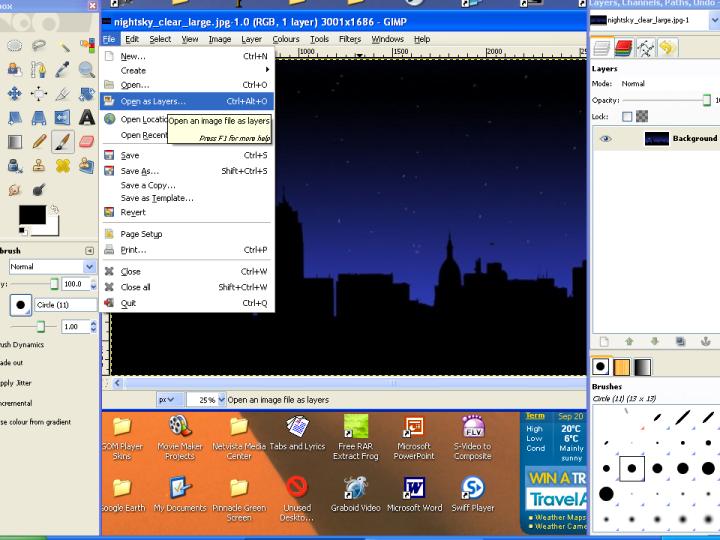
Open the Painting with light picture (from the camera) in the GIMP and scale it down in size. Make sure that it is smaller than the second photo.
TIP:''Make sure all your images are slightly bigger that the canvas to avoid borders
Save the smaller image as a JPEG image with a file name that you can remember such as "painting with light_small.jpg". Close the picture. Open the dark picture from the internet or camera in the GIMP if you have not already done so. Click File, Open as layers and open "painting with light_small.jpg" or whatever you called it.
Even More Editing
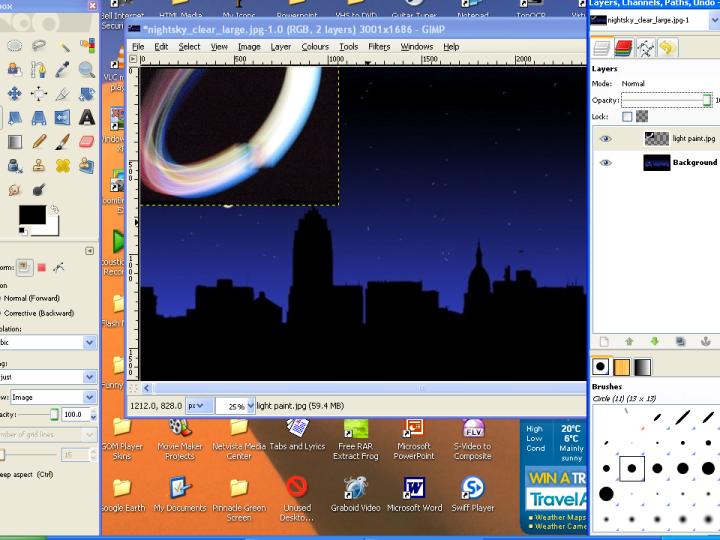
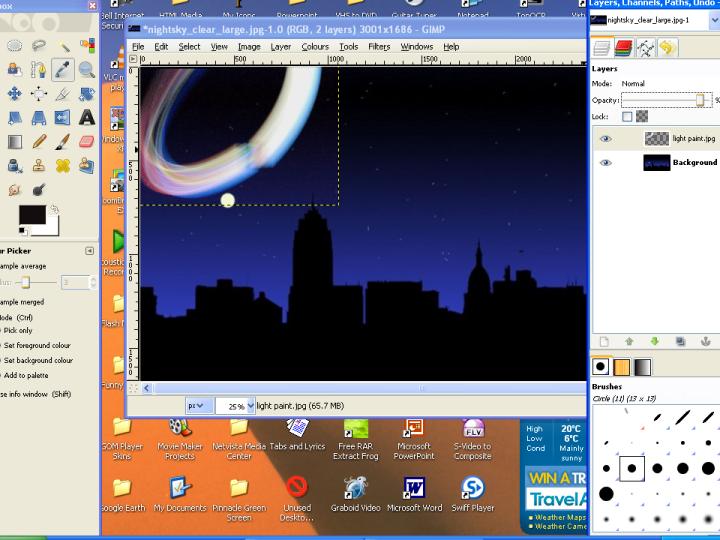
Make sure that the painting with light image is on the top layer. Drag it to where ever you want it and scale it to whatever size you want.
Colour to Alpha
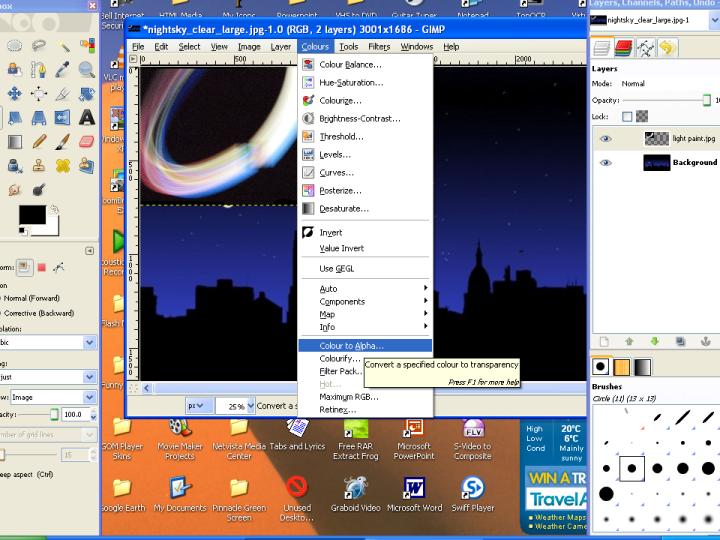
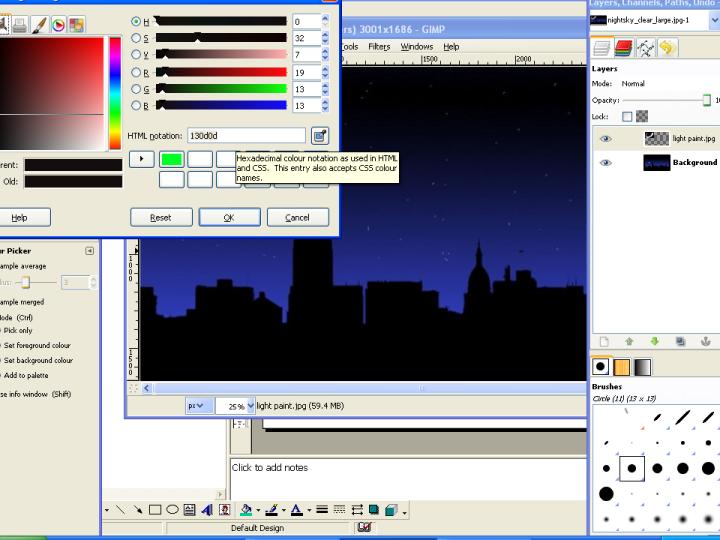
With the painting with light layer selected, select the color picker tool and click on the dark background of the painting with light picture. Click on the foreground color button. Copy the HTML notation to the clipboard.Click cancel. Click colours...color to alpha and click the colored box in the bottom of the window. Paste the HTML notation and click OK. Click OK to the color to alpha window. wait a few seconds. If both photos blend together seamlessly you are done. If not keep repeating these steps until all shades of black/gray are removed. You might also want to lower opacity of the painting with light layer a little bit.
Done
Save your image and your done. Tell your friends that you have seen a UFO :).