Painting a Wooden Sign
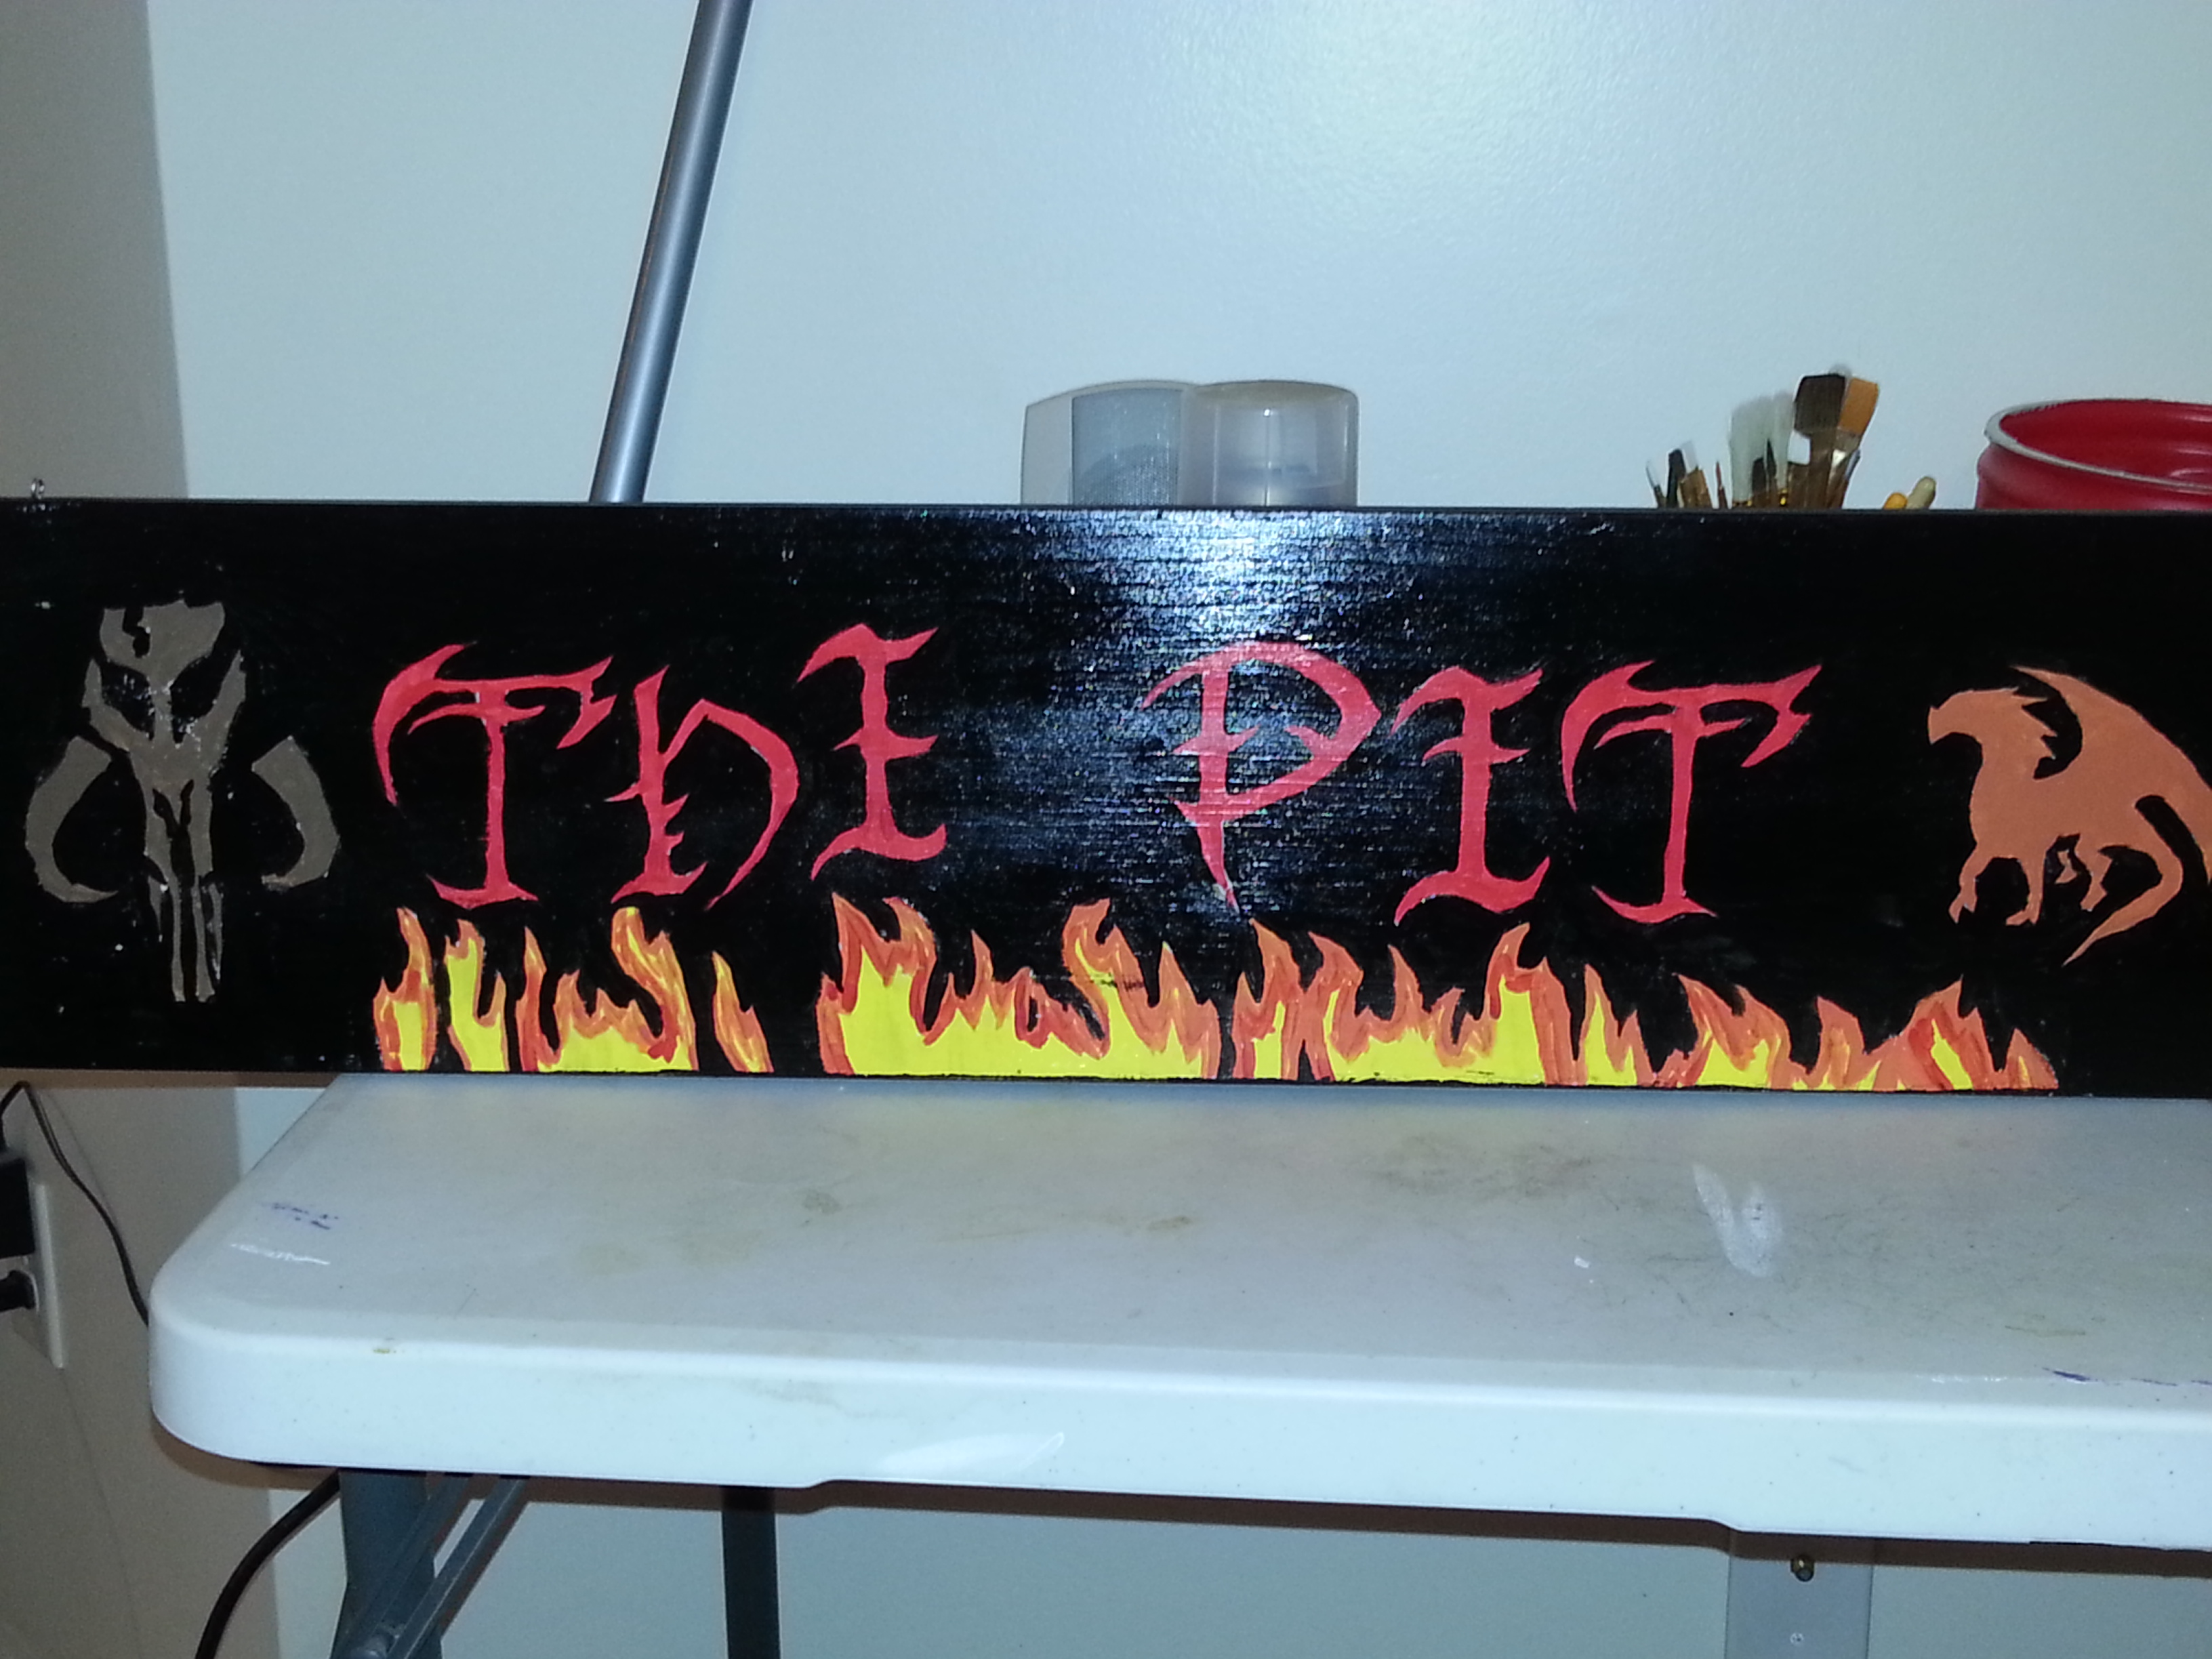
Recycling a piece of wood from a crate and turning it into a wooden sign for a gift or home decoration.
Finding a Piece of Wood and Materials
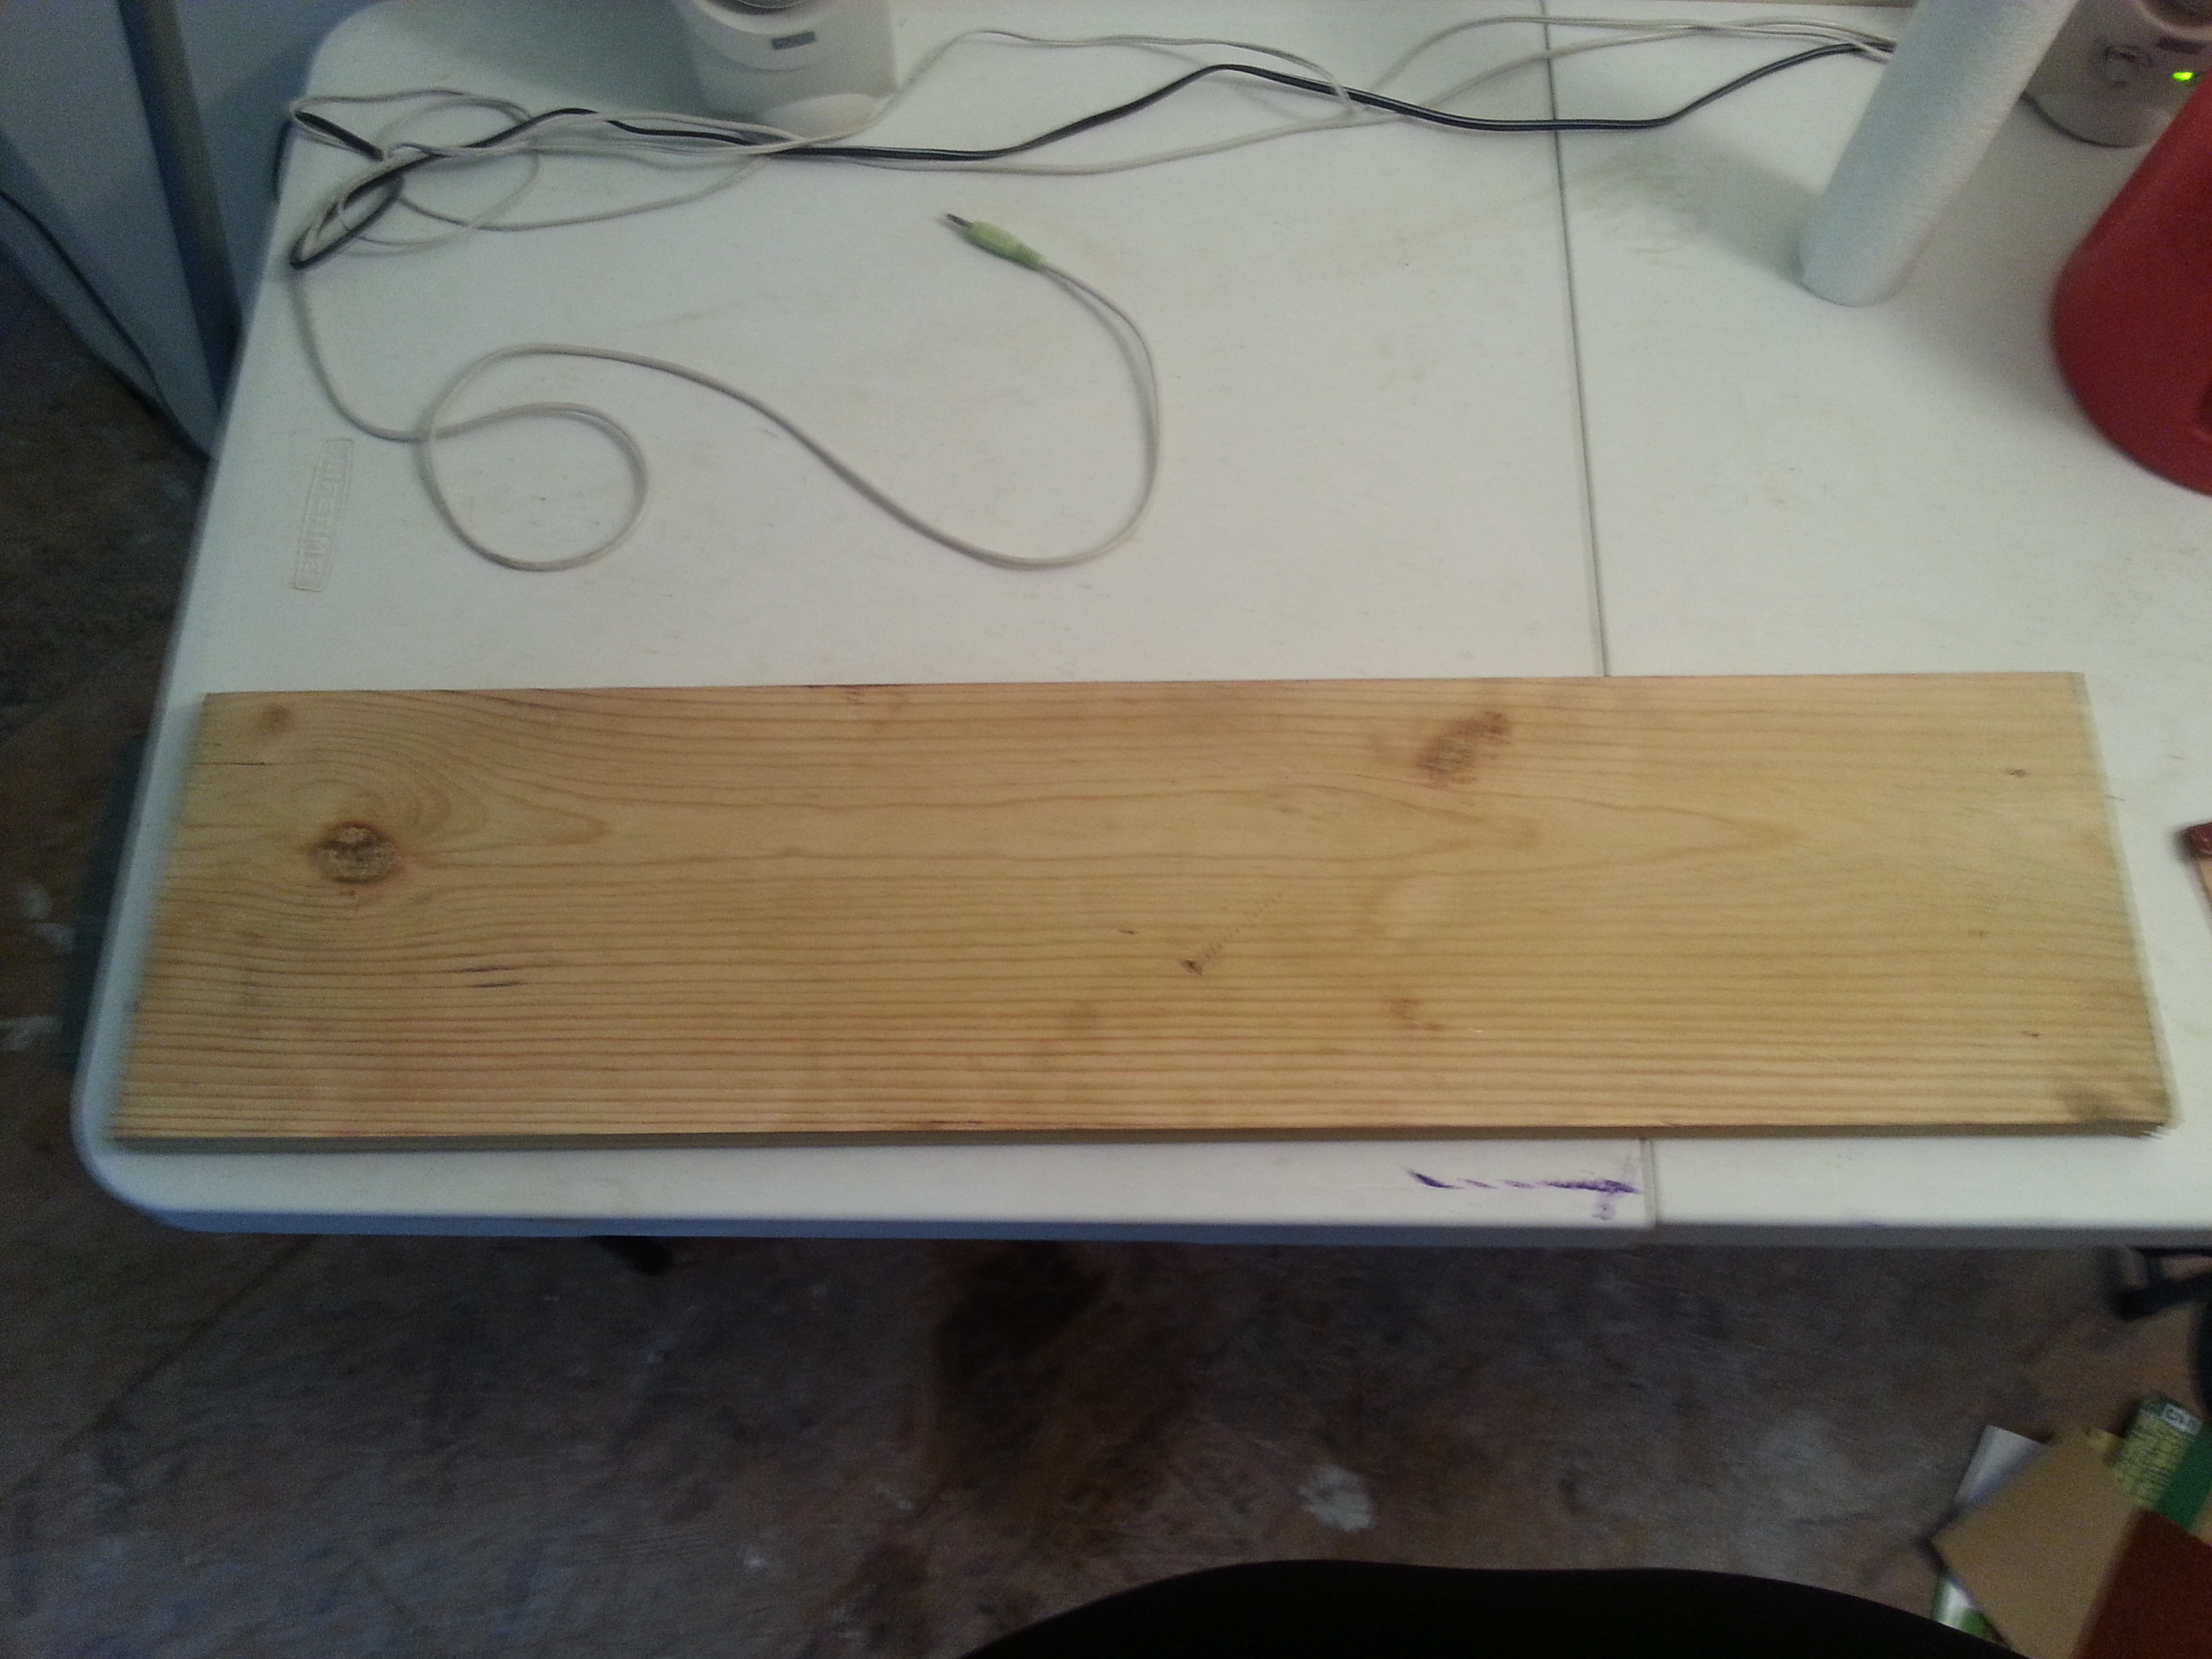
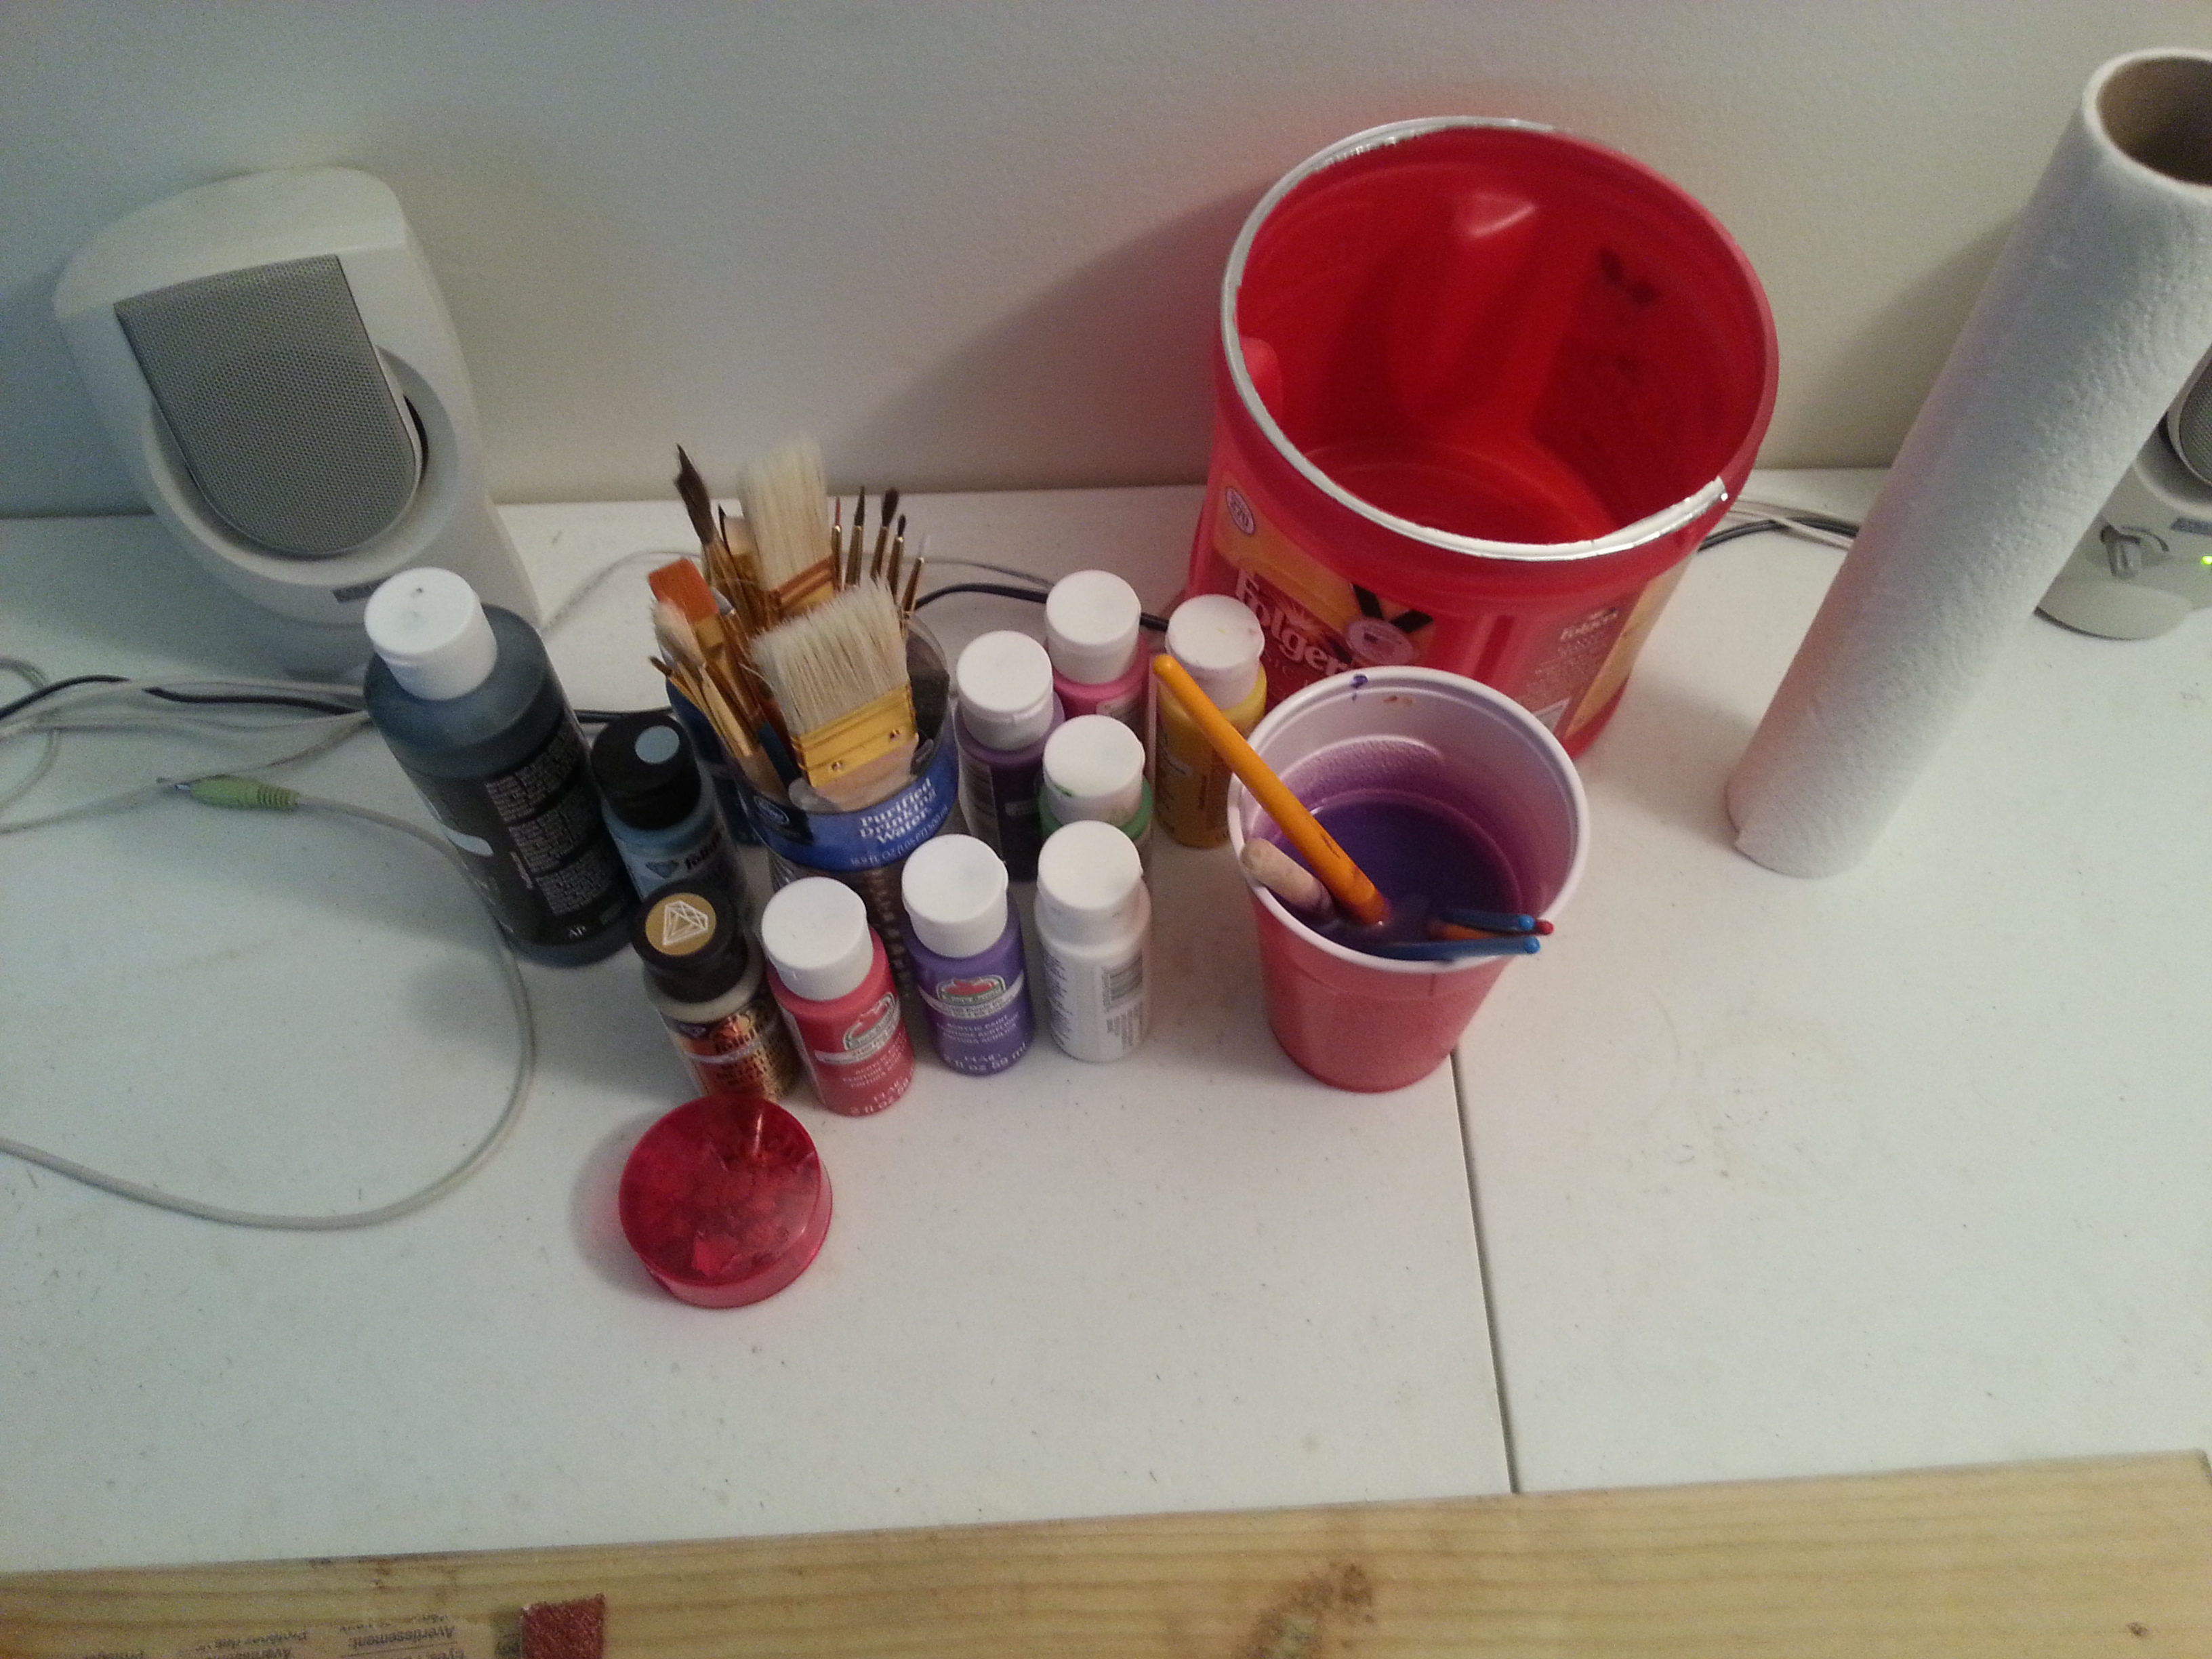
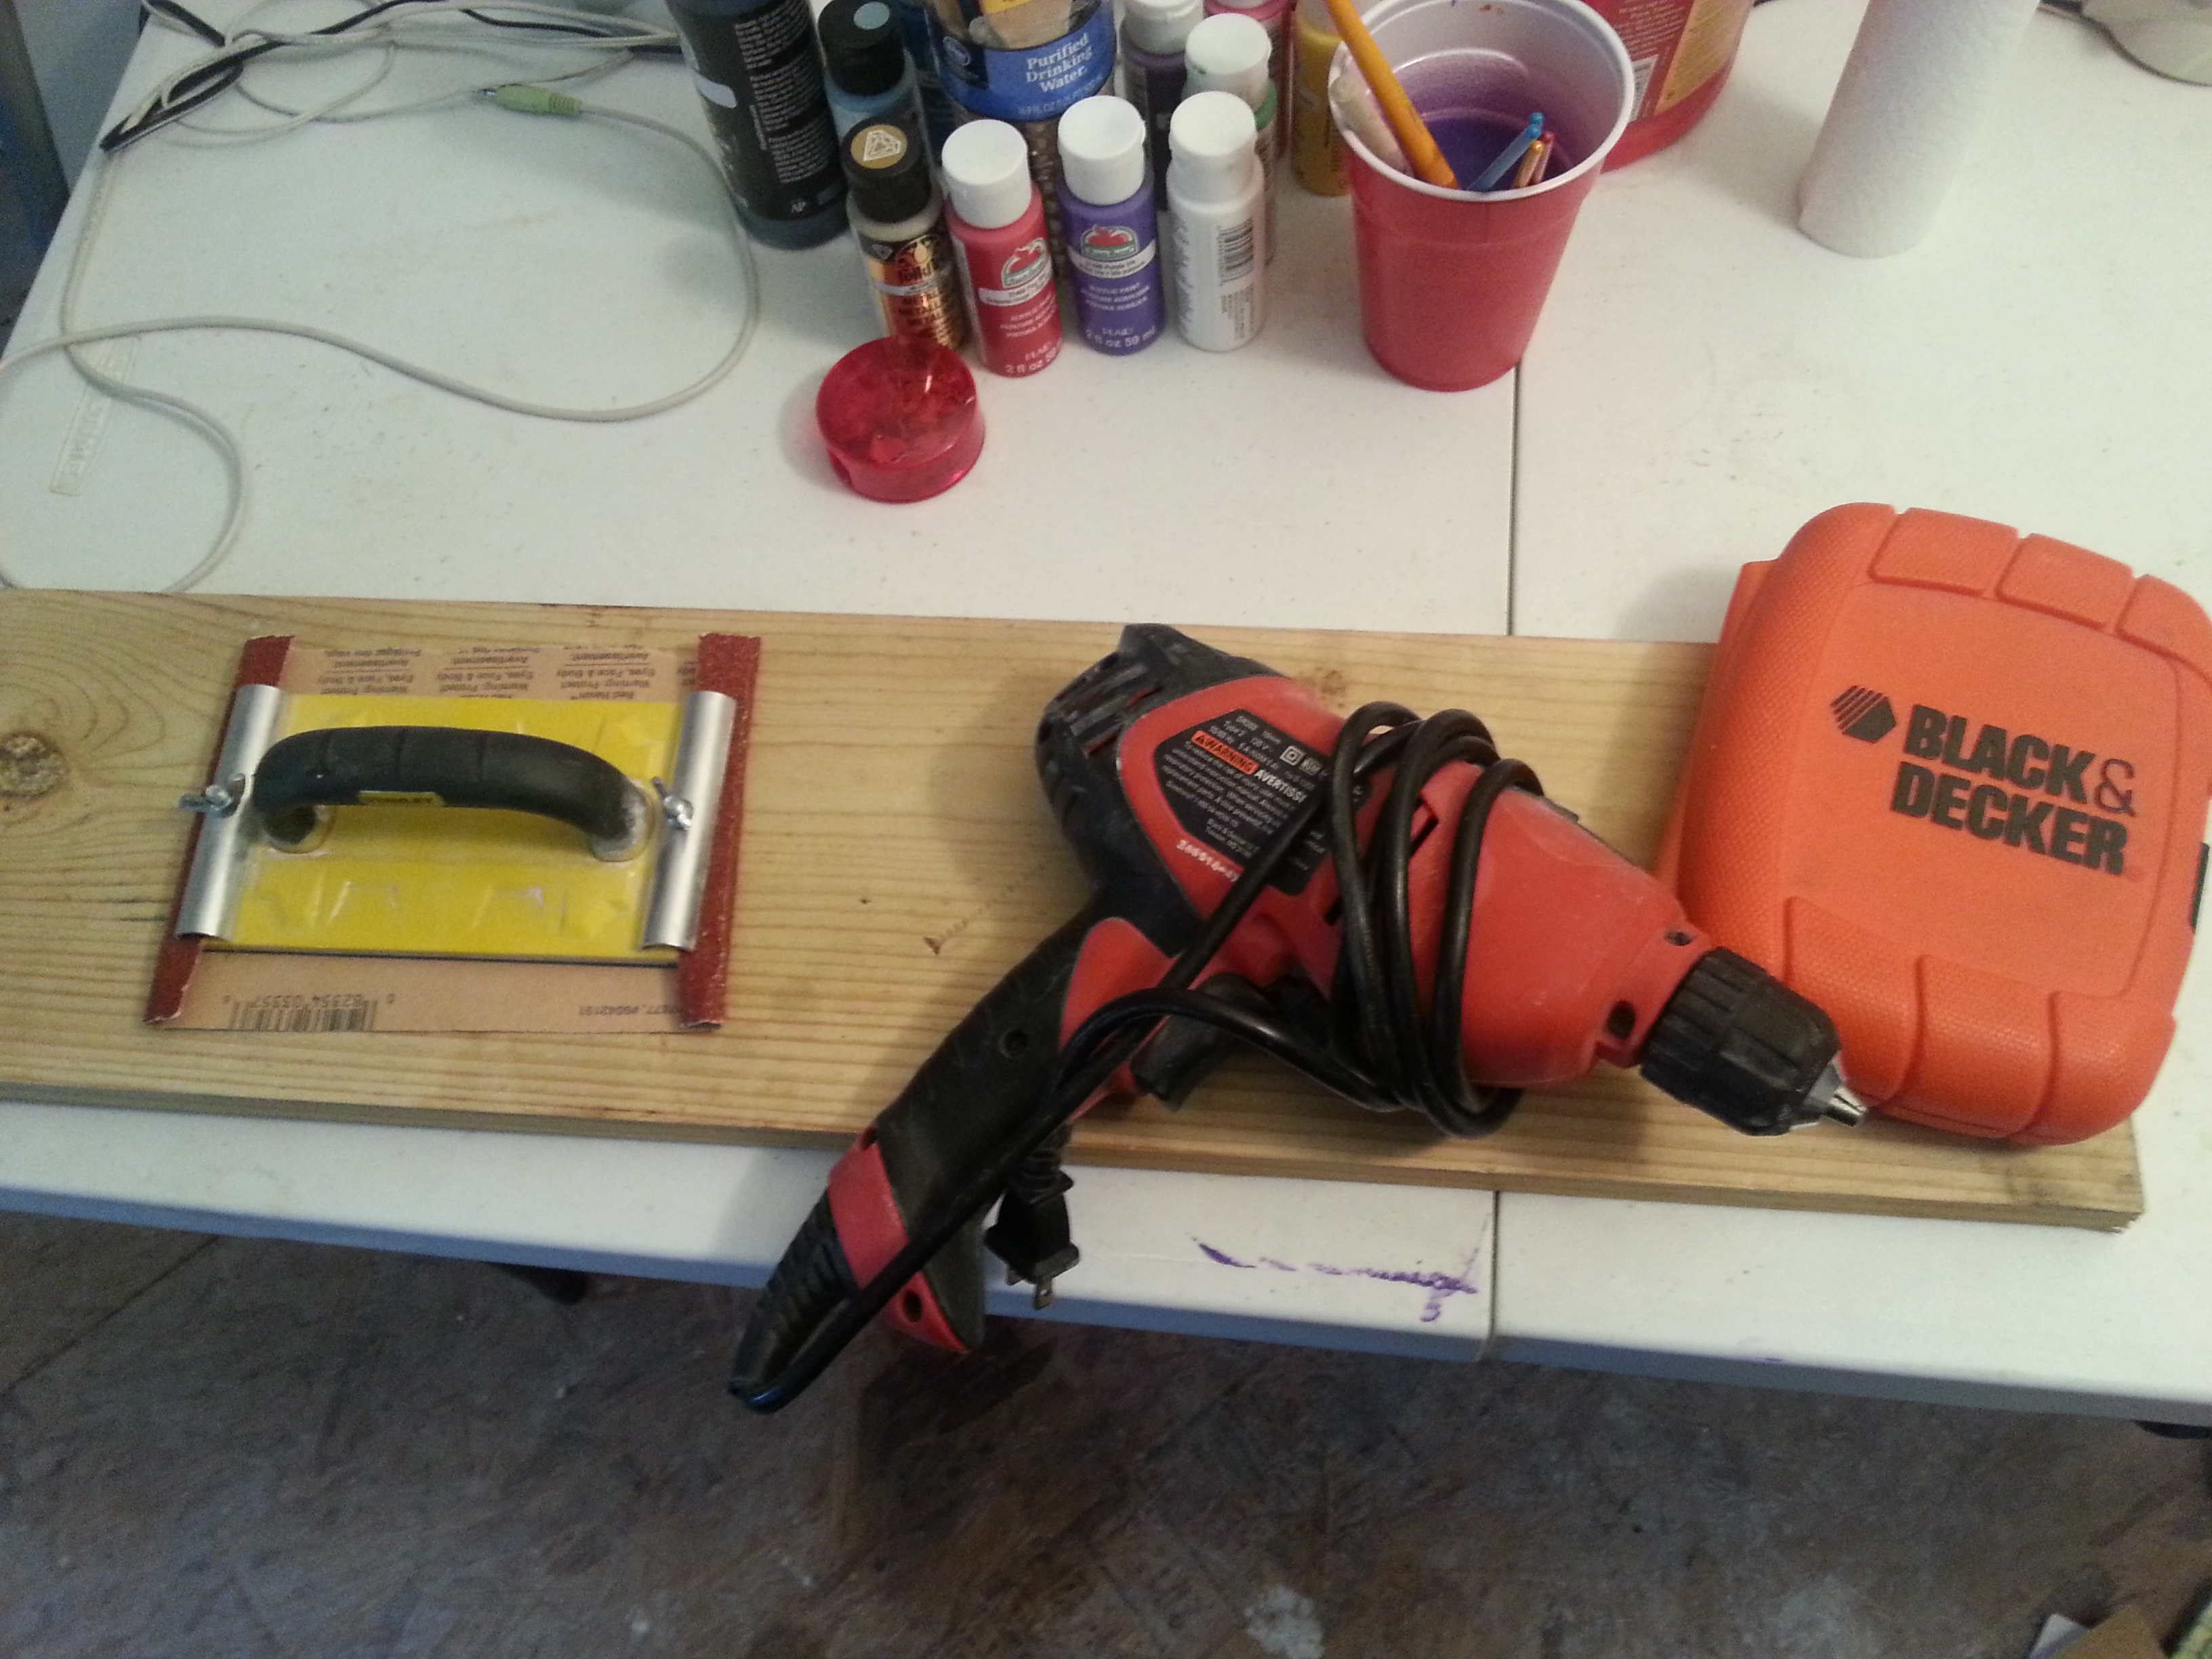
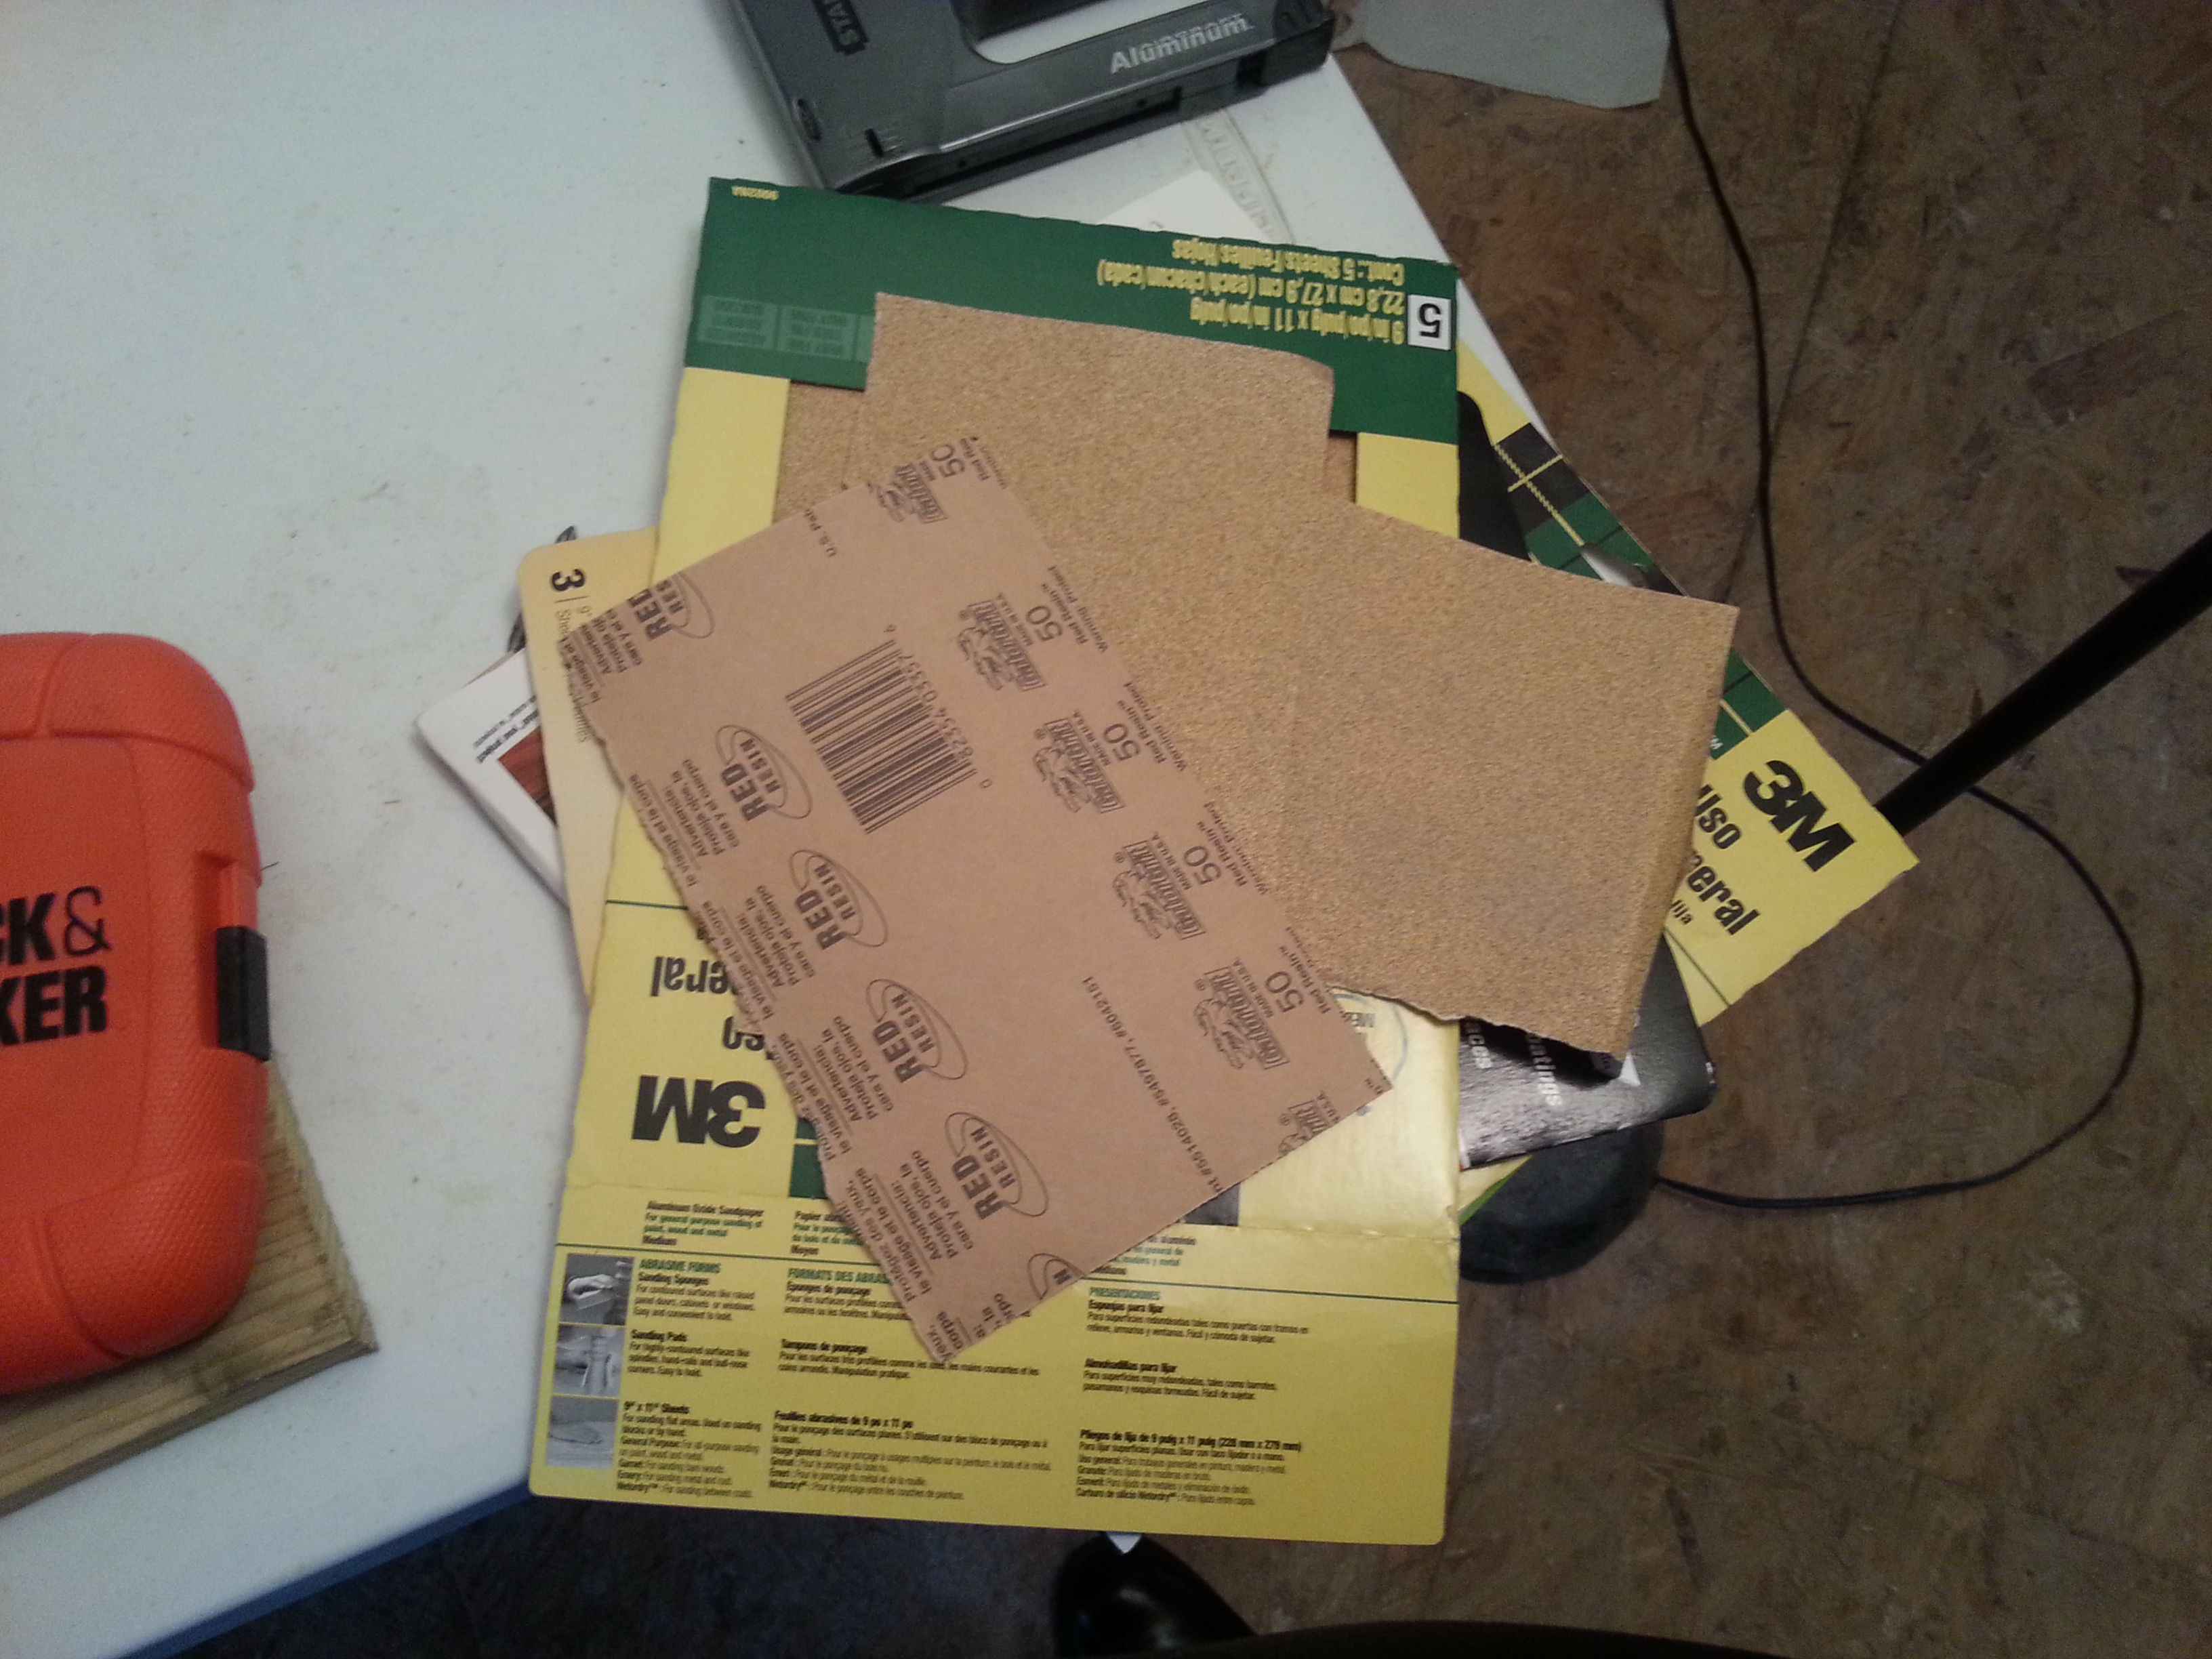
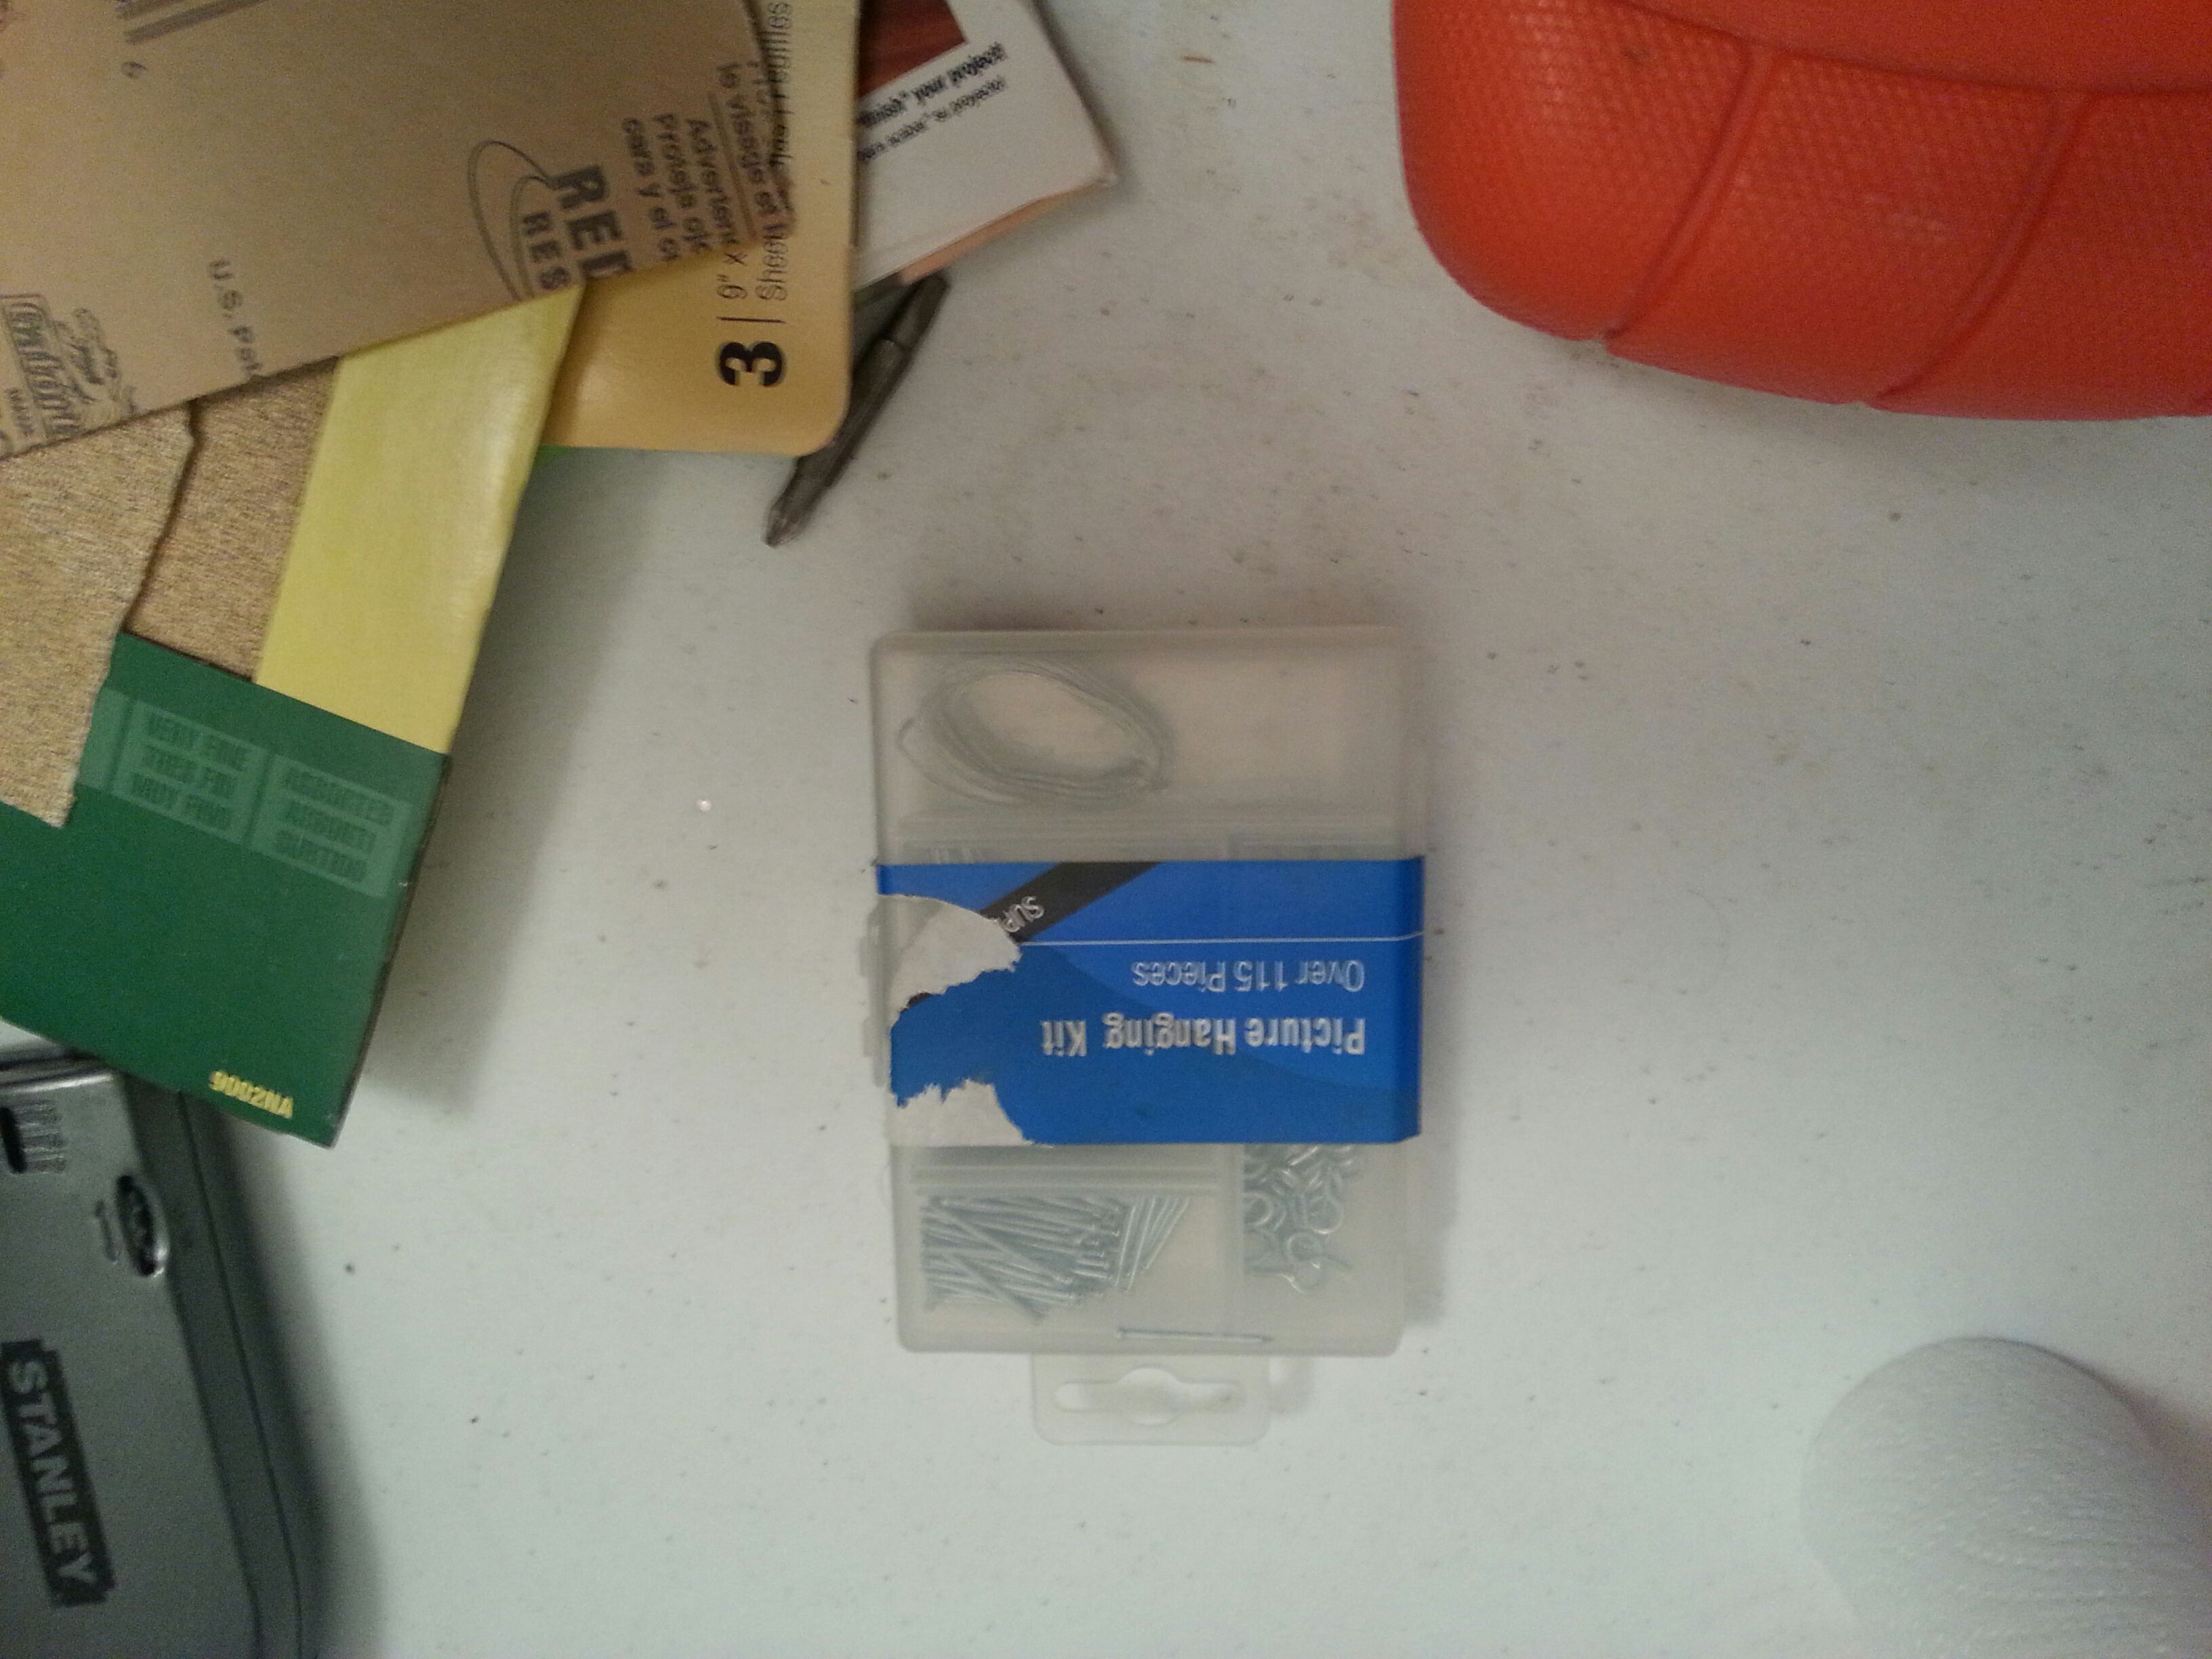
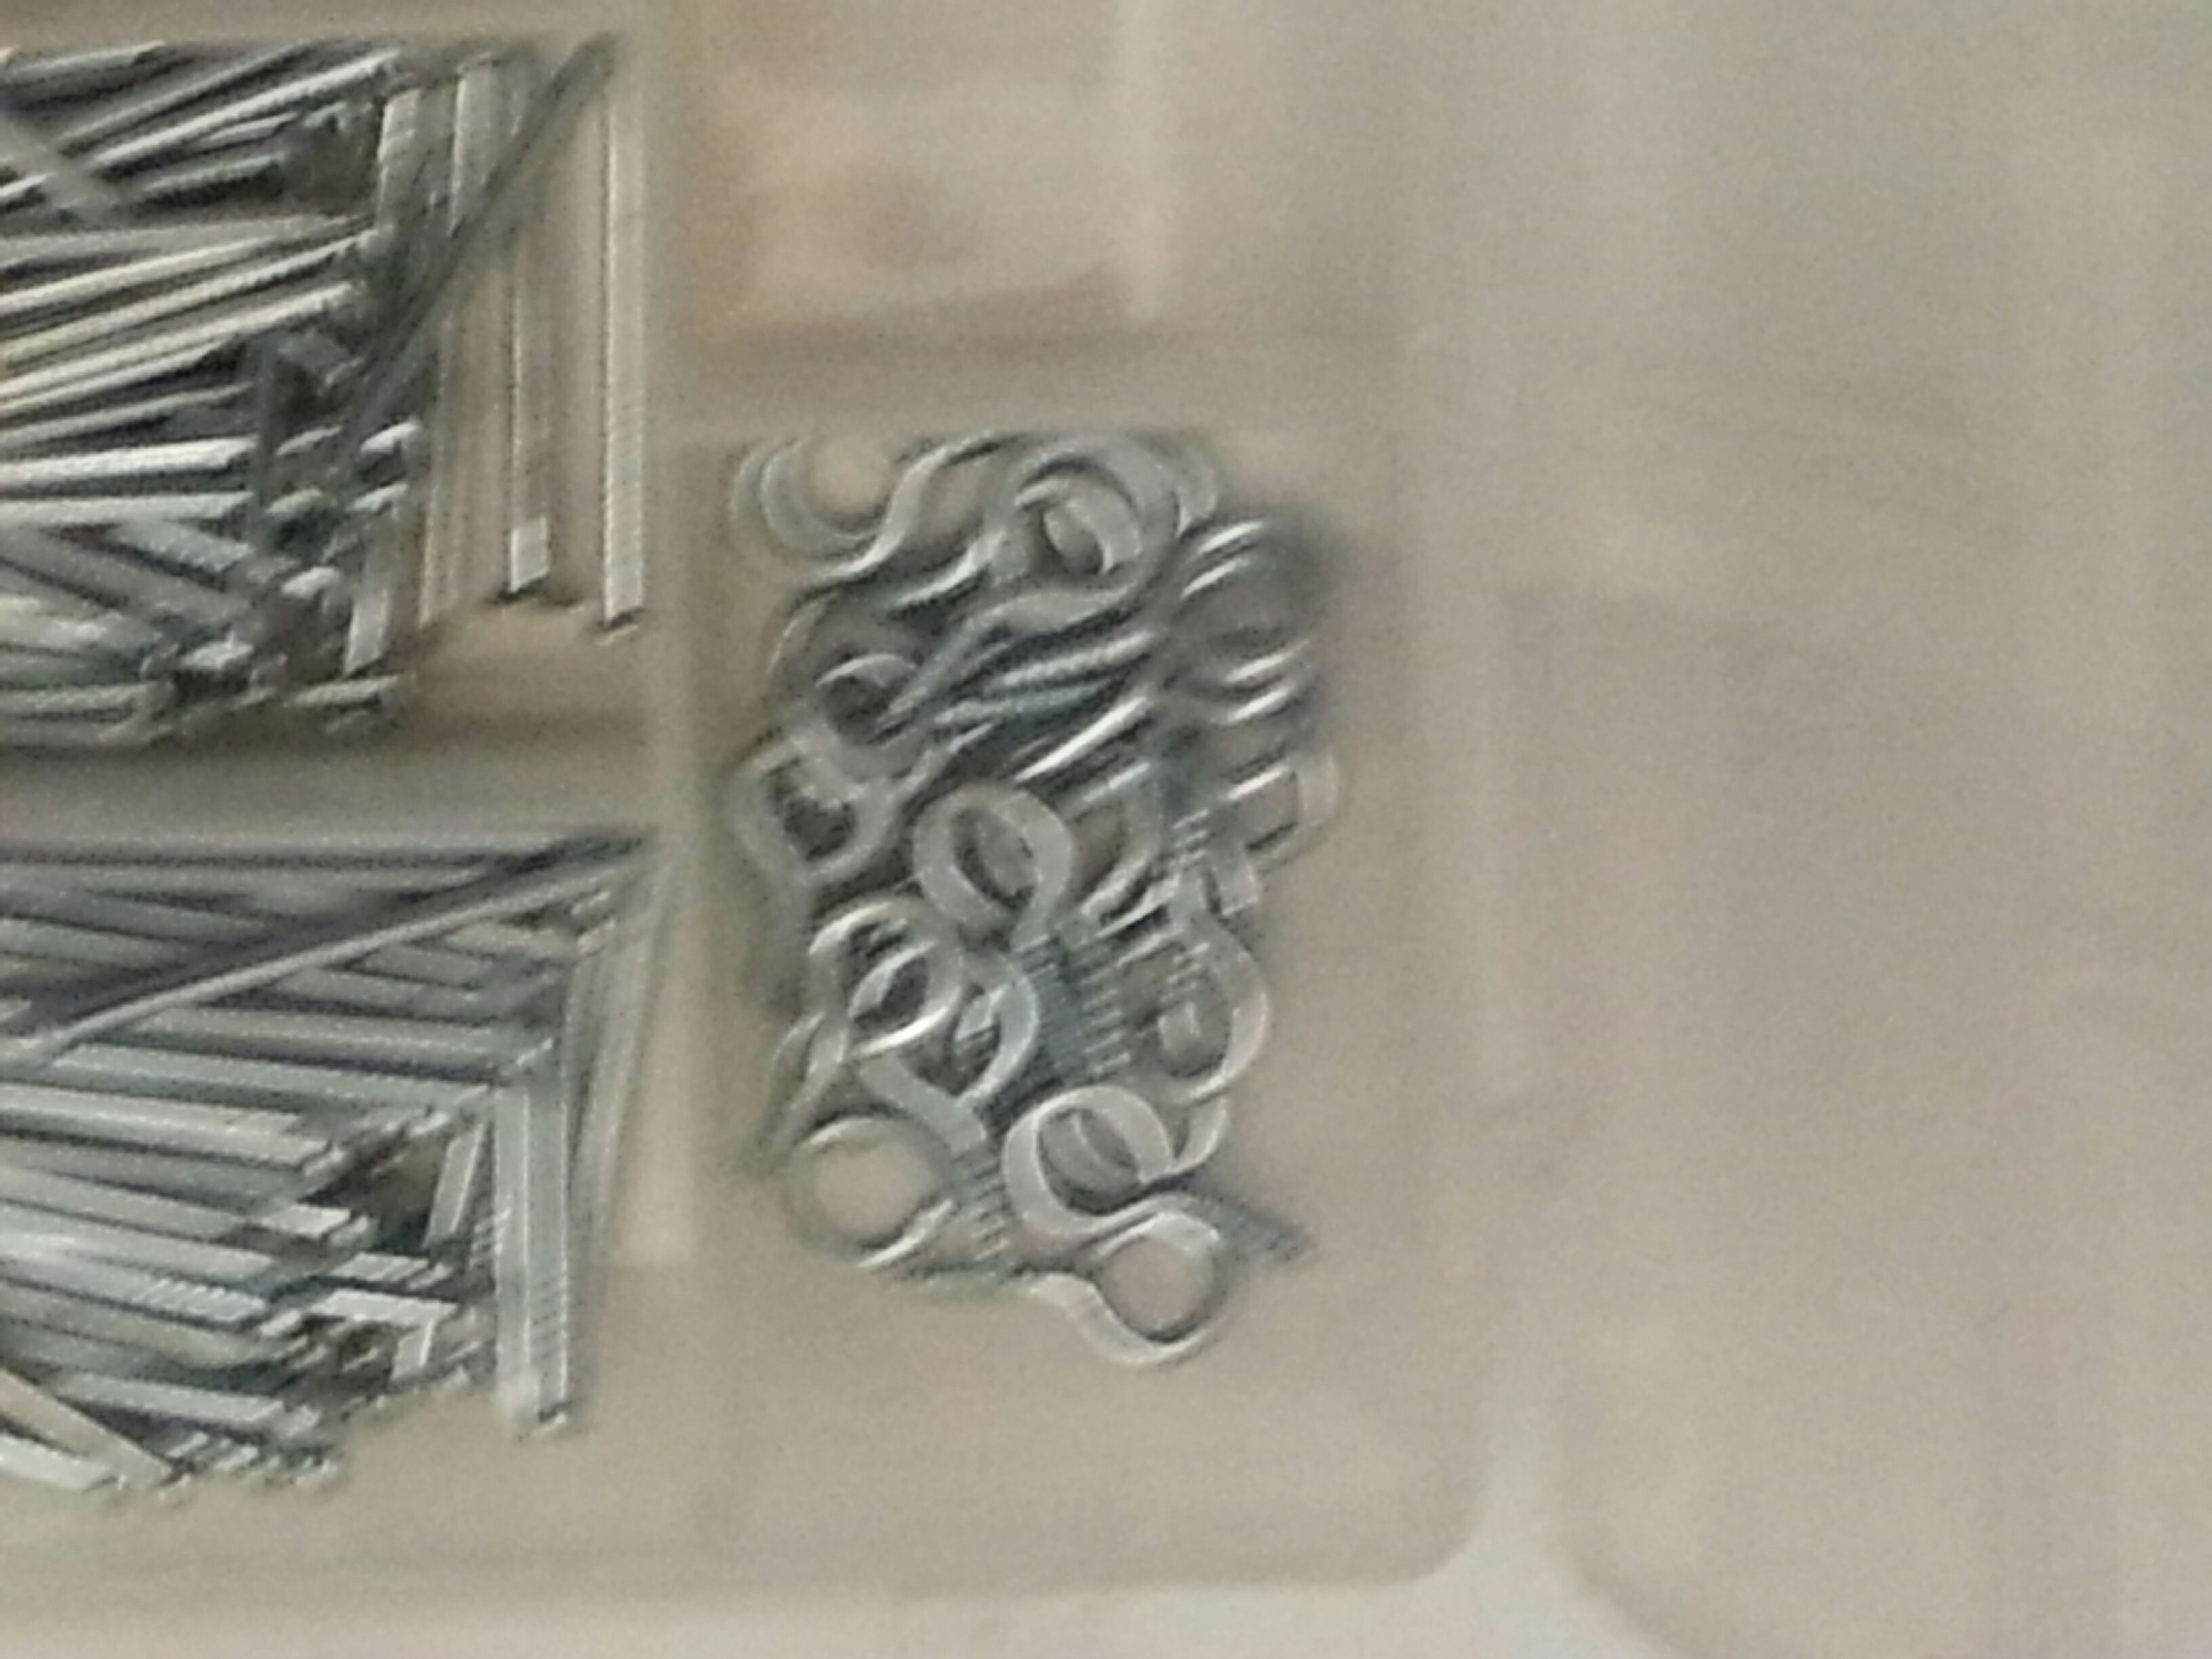
The first thing you have to do is gather materials for this project. I had several pieces of wood that came from shipping crates that I recycled for this project.
Here is your material list
=========================
Wood
Sandpaper
Paint & brushes
Drill (optional)
Drill bits (optional)
Pencil
Stencils
Clear coat.
==========================
Once you have gathered up all of your material you can get started.
Here is your material list
=========================
Wood
Sandpaper
Paint & brushes
Drill (optional)
Drill bits (optional)
Pencil
Stencils
Clear coat.
==========================
Once you have gathered up all of your material you can get started.
Prepping the Wood
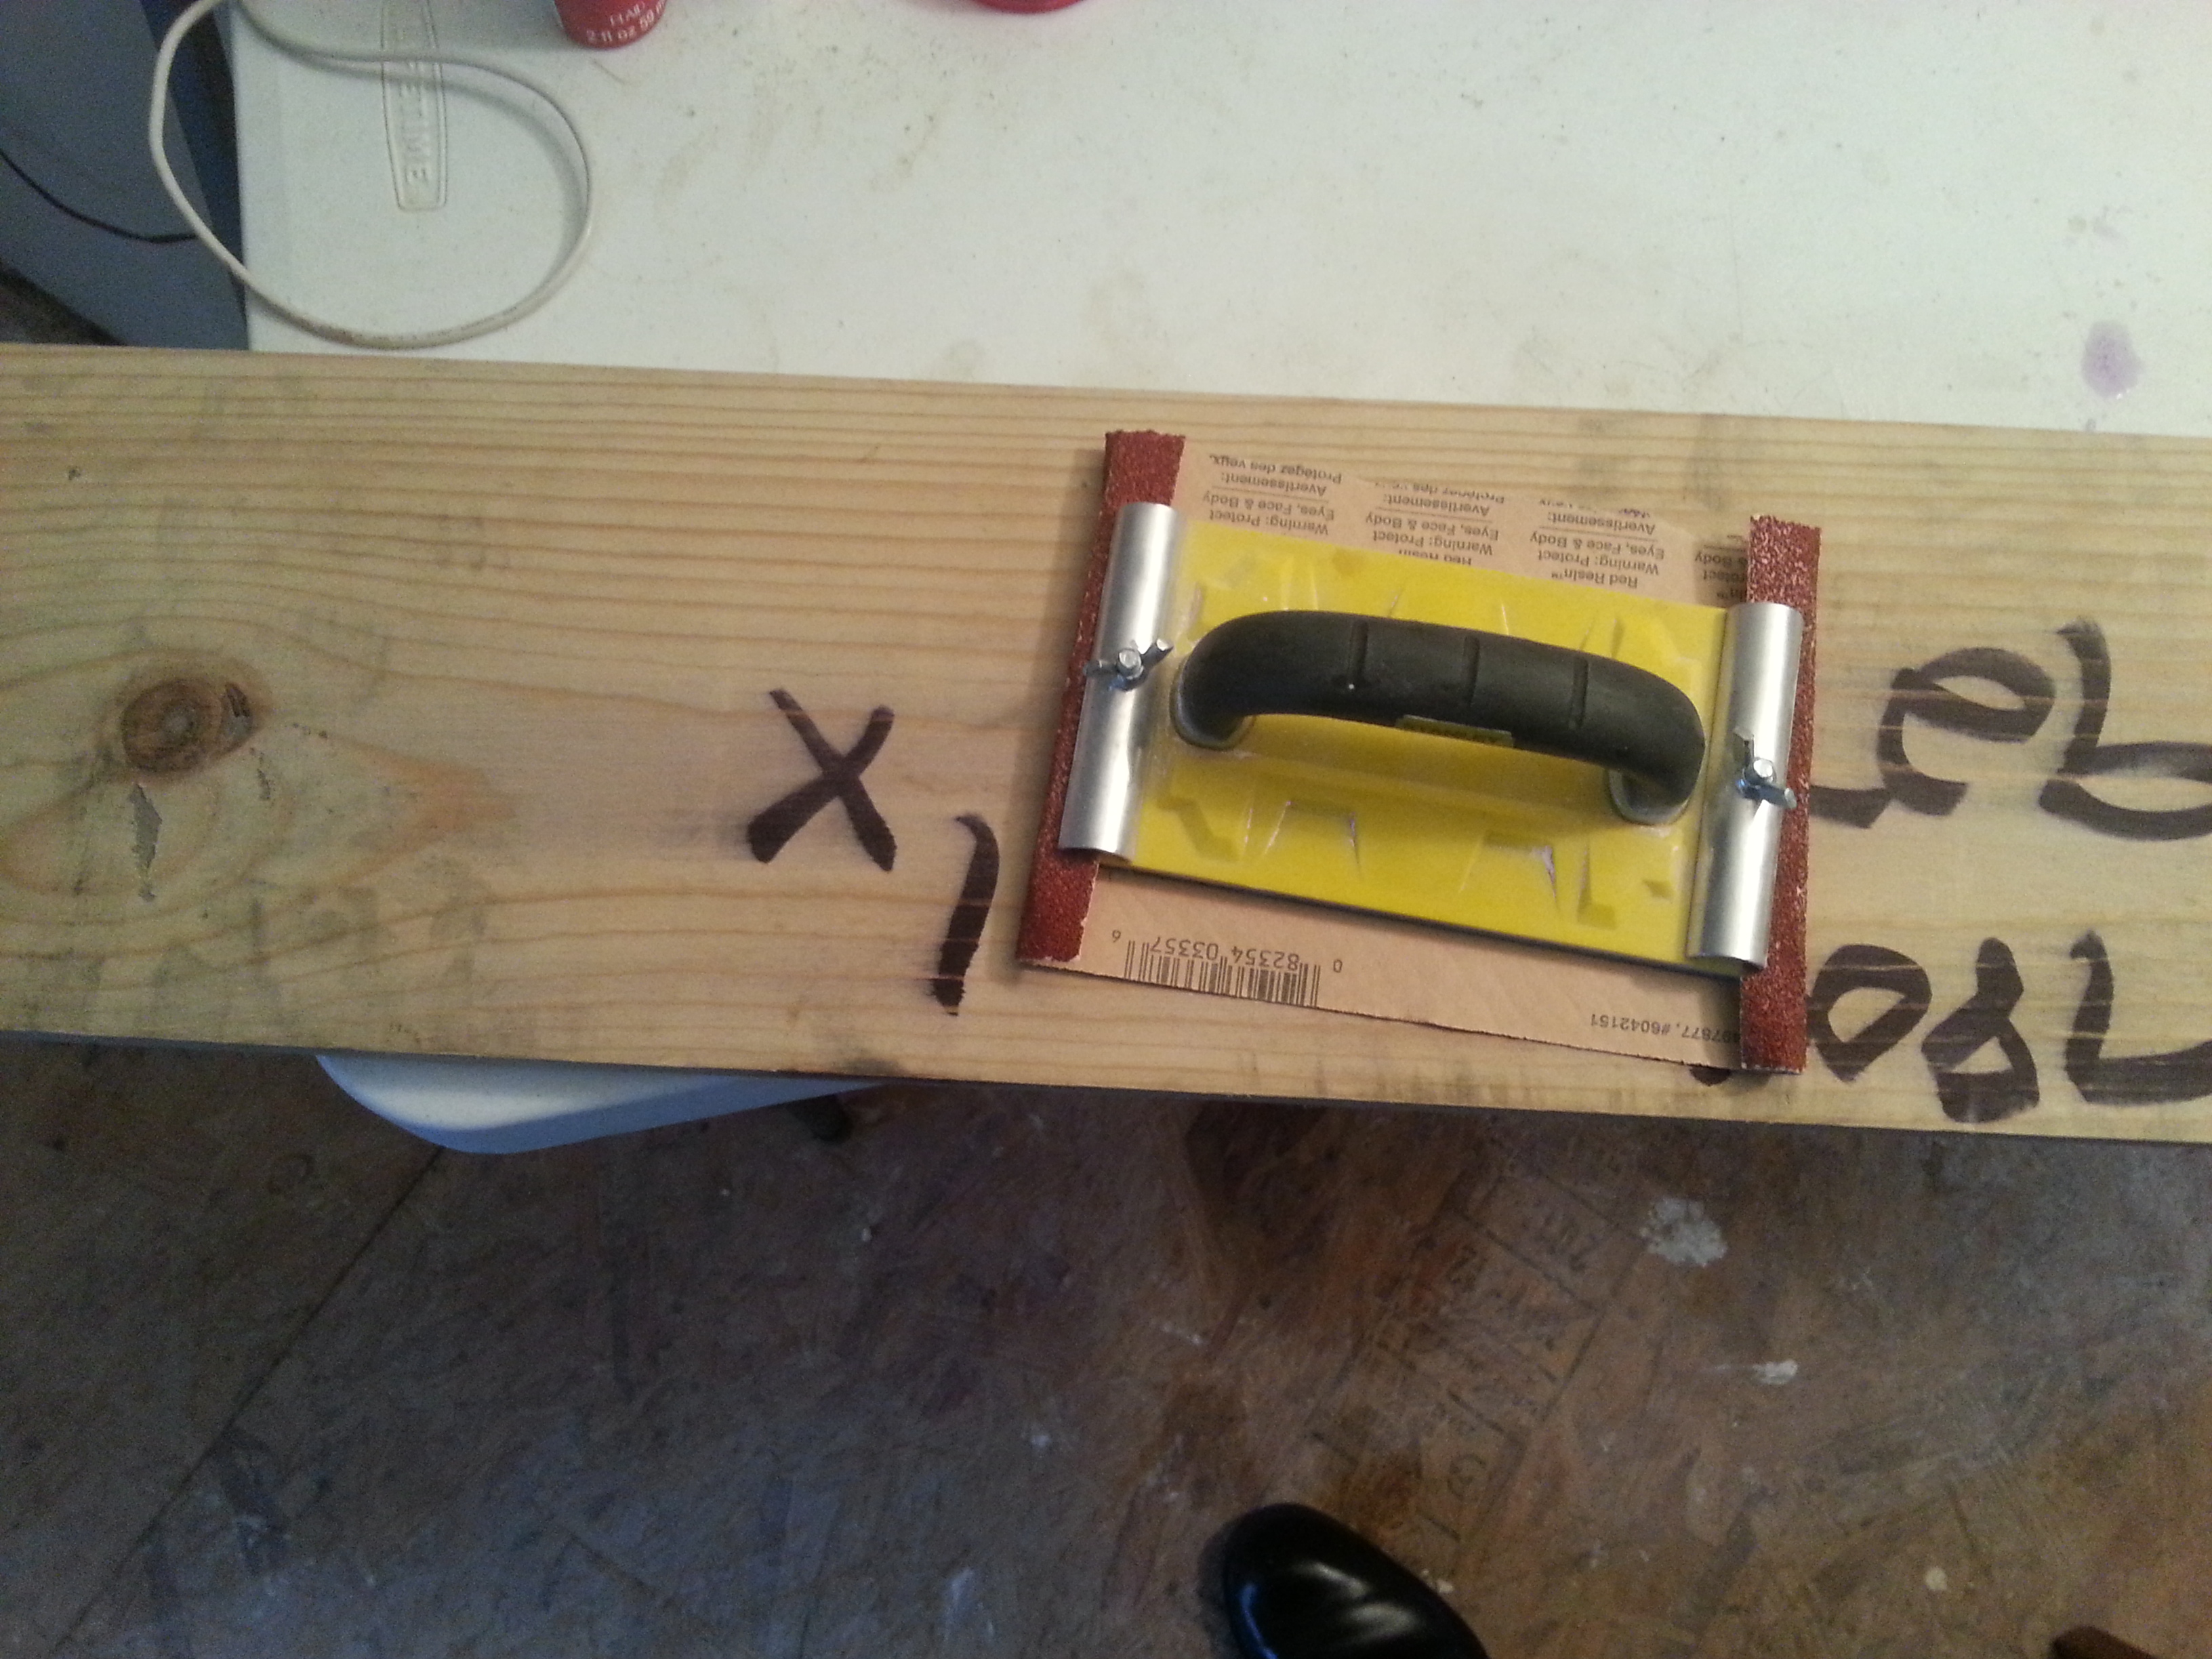
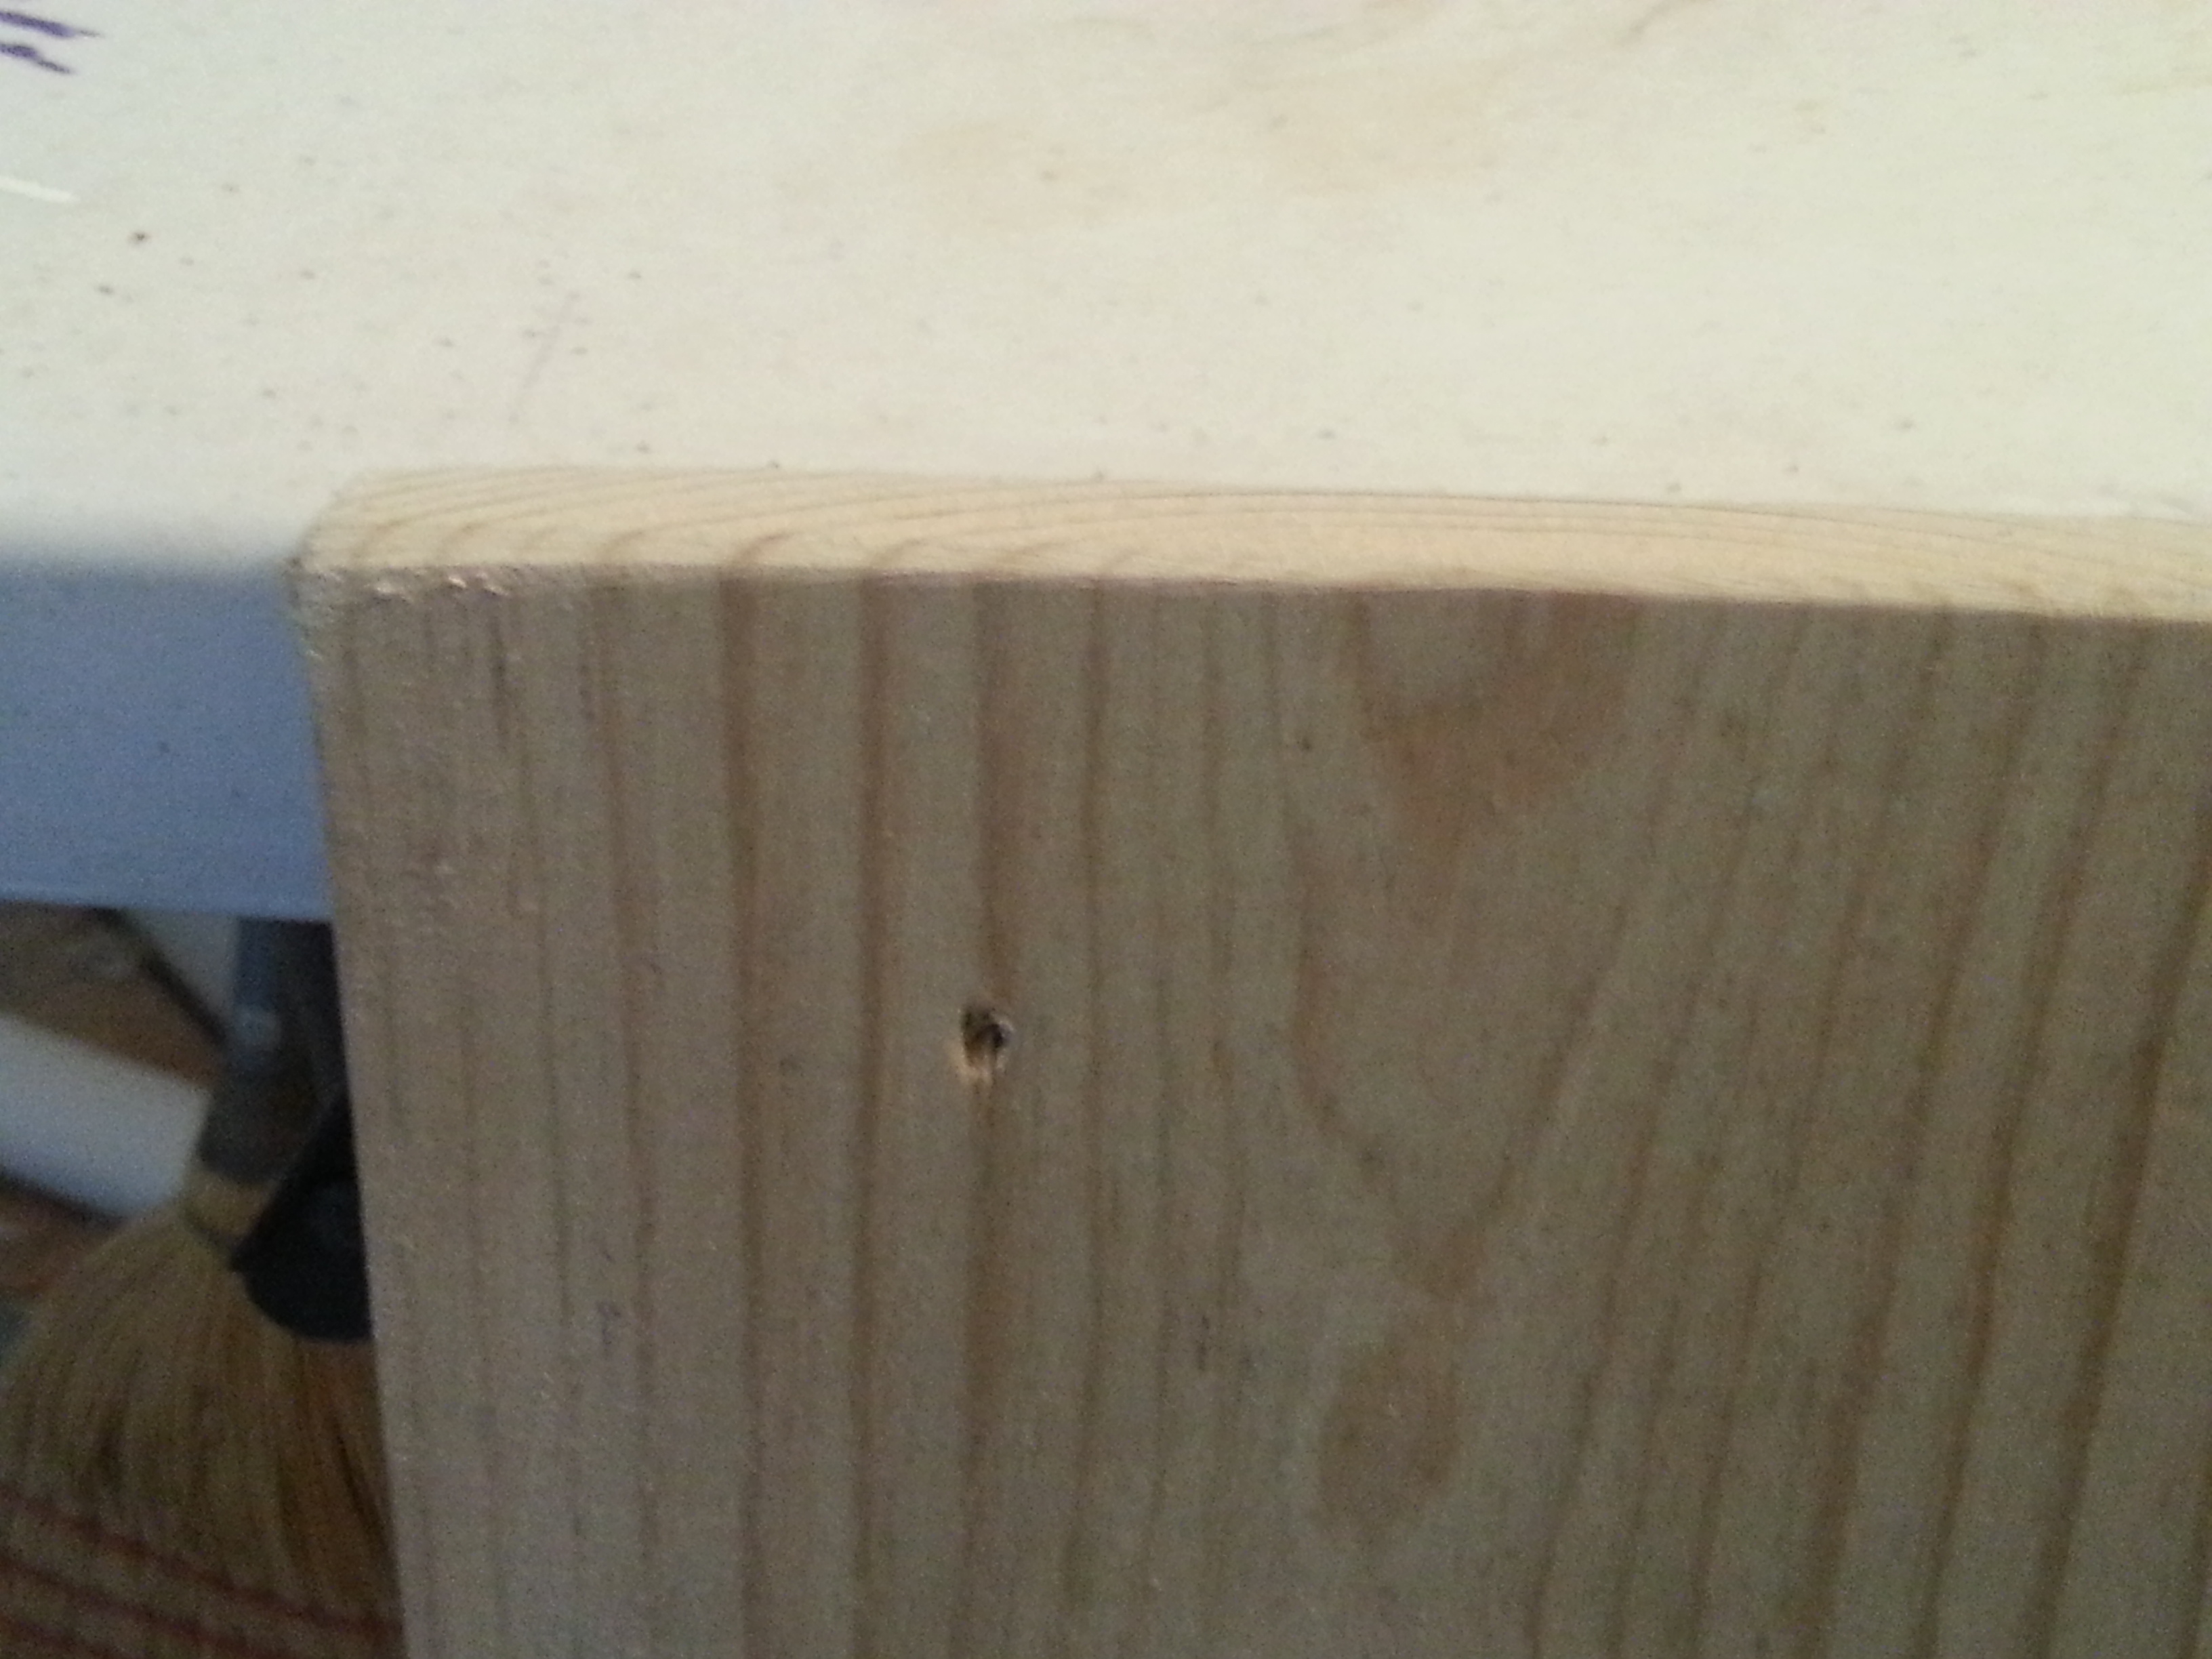
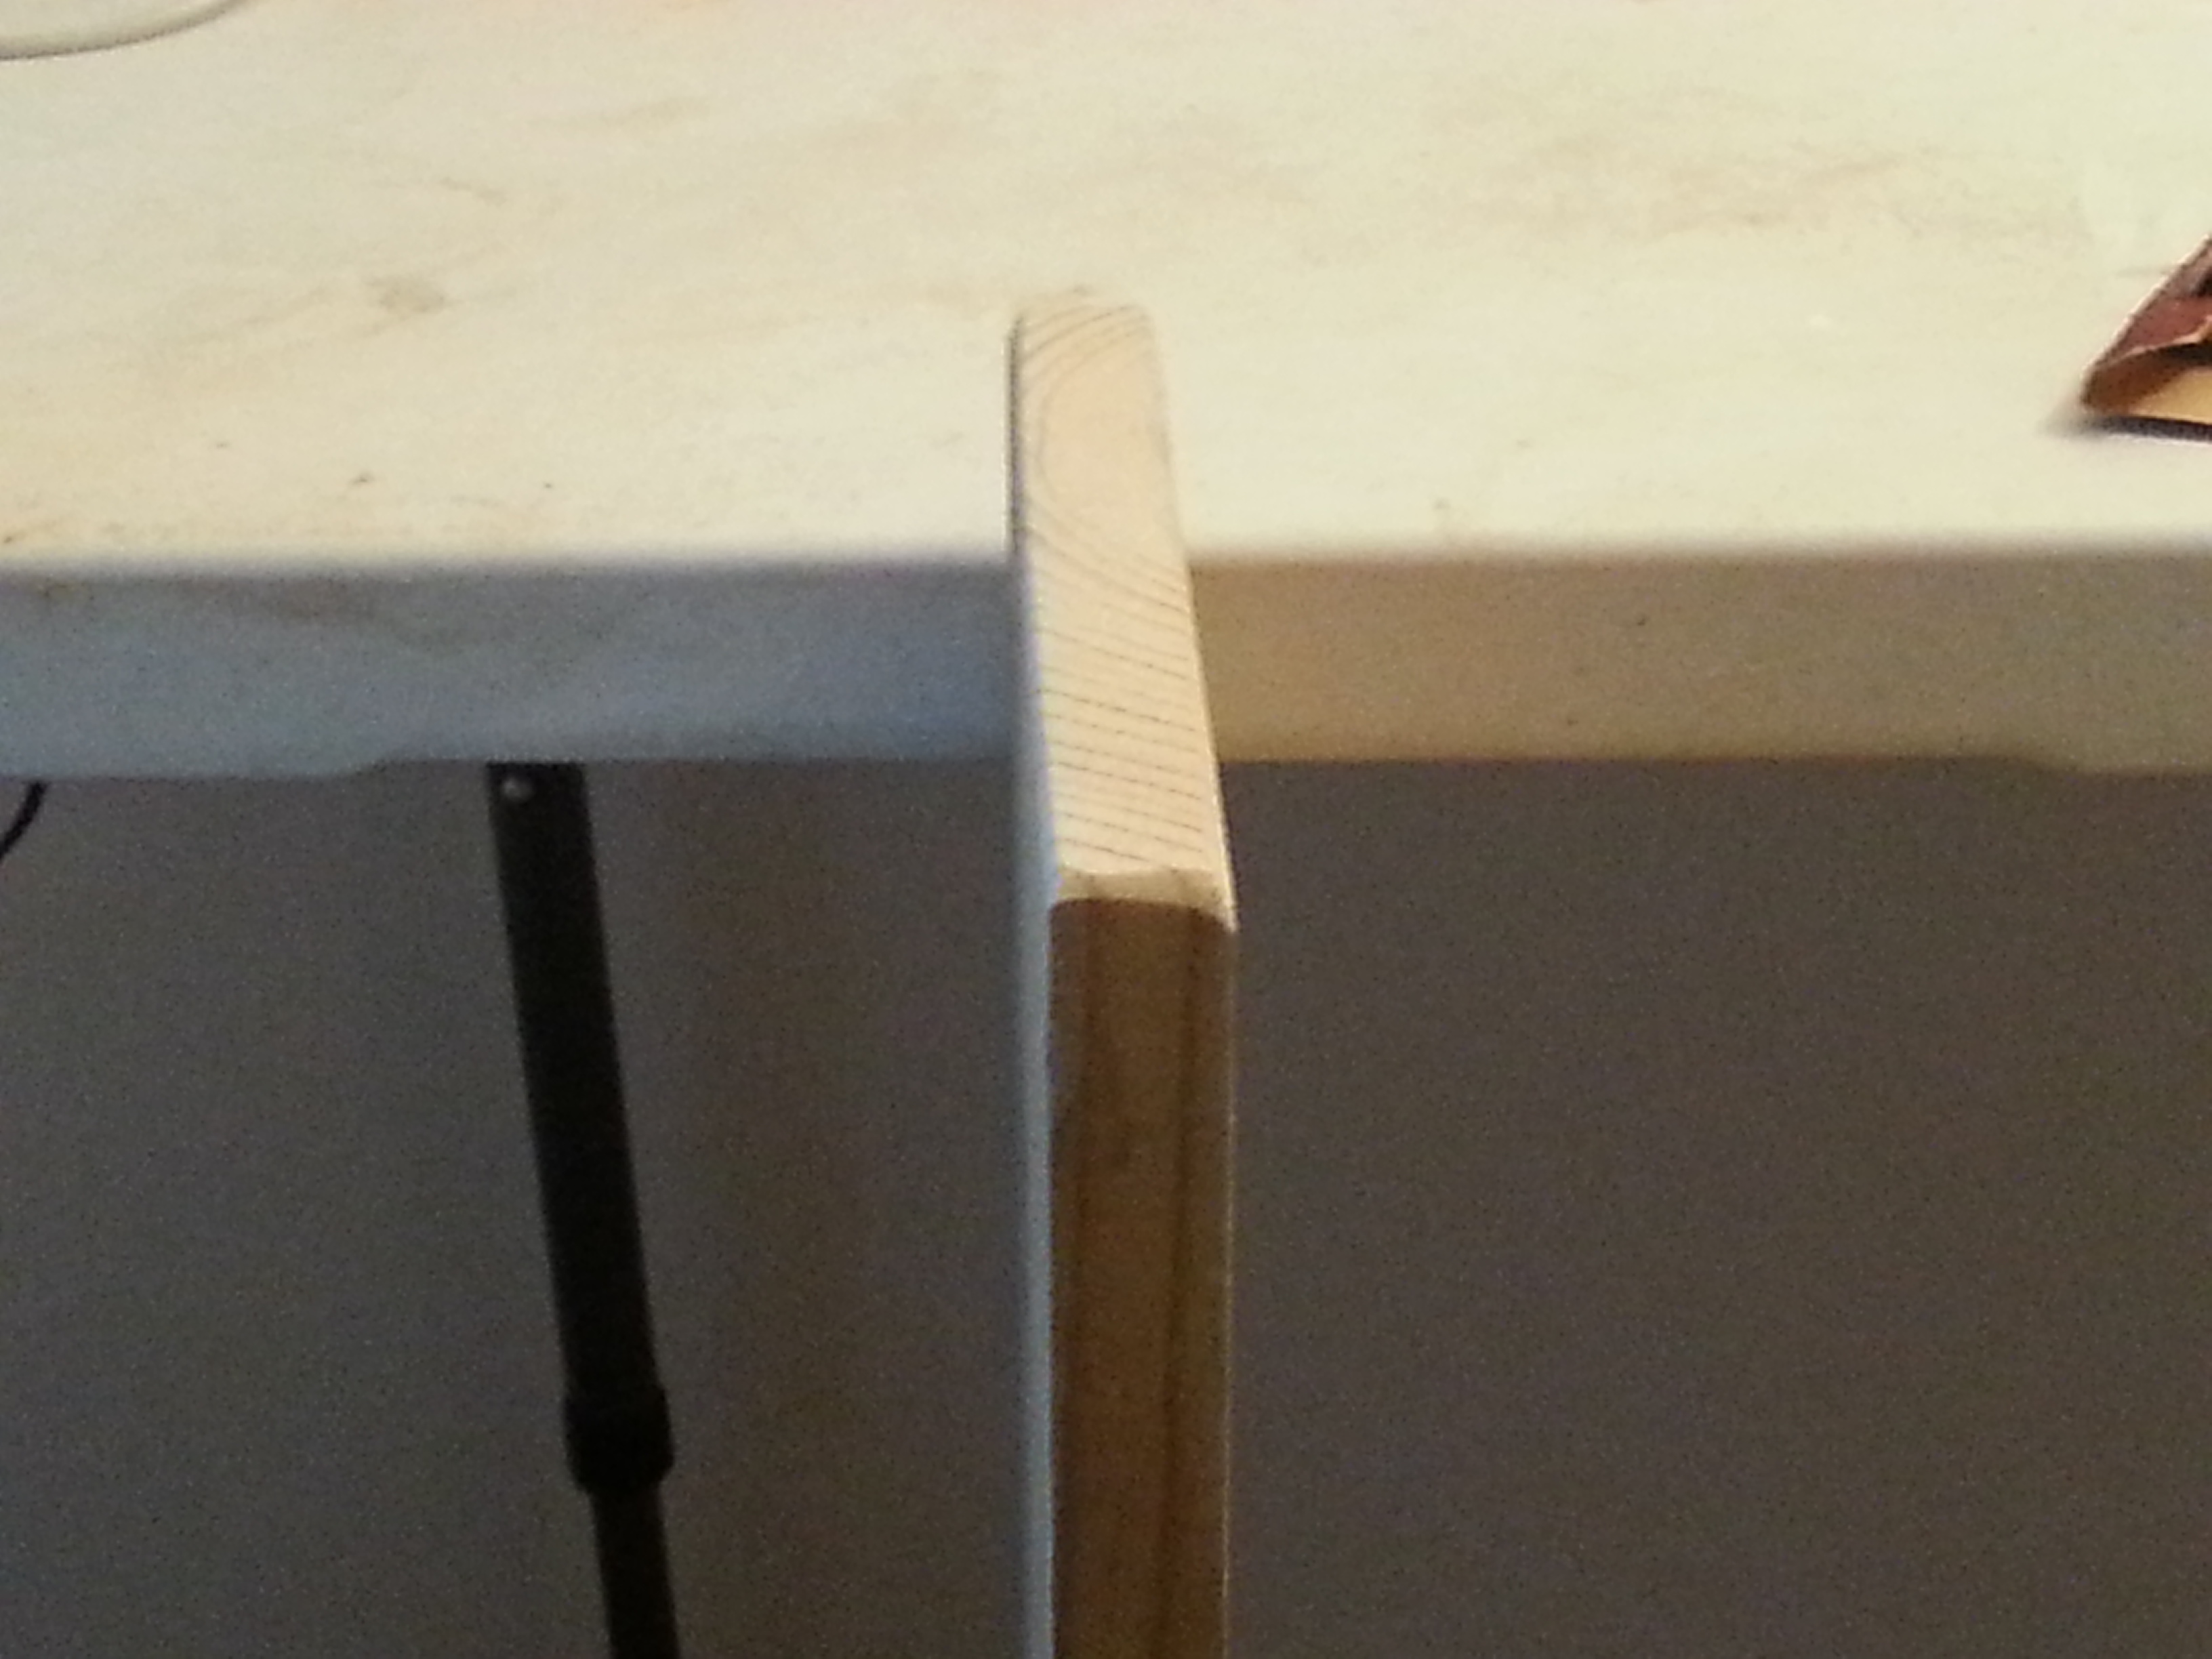
This step is pretty easy and all it involves is sanding the wood. Honestly you don't have to sand the wood down but I feel it makes it easier to paint of its all sanded down.
I also make sure to send down the edges and corners to remove any rough edges that may be present. I like the look of a beveled edge.
After doing the edges go back over the front and back again just to make sure everything is cleaned up.
An optional step is to go back over it again with a finer grit sandpaper. I do this for the sake of being OCD.
once you are done sanding wipe it all down with a damp sponge or cloth and let dry.
If your curious I only used 50 & 100 grit sandpaper on this project.
"Priming" the Surface.
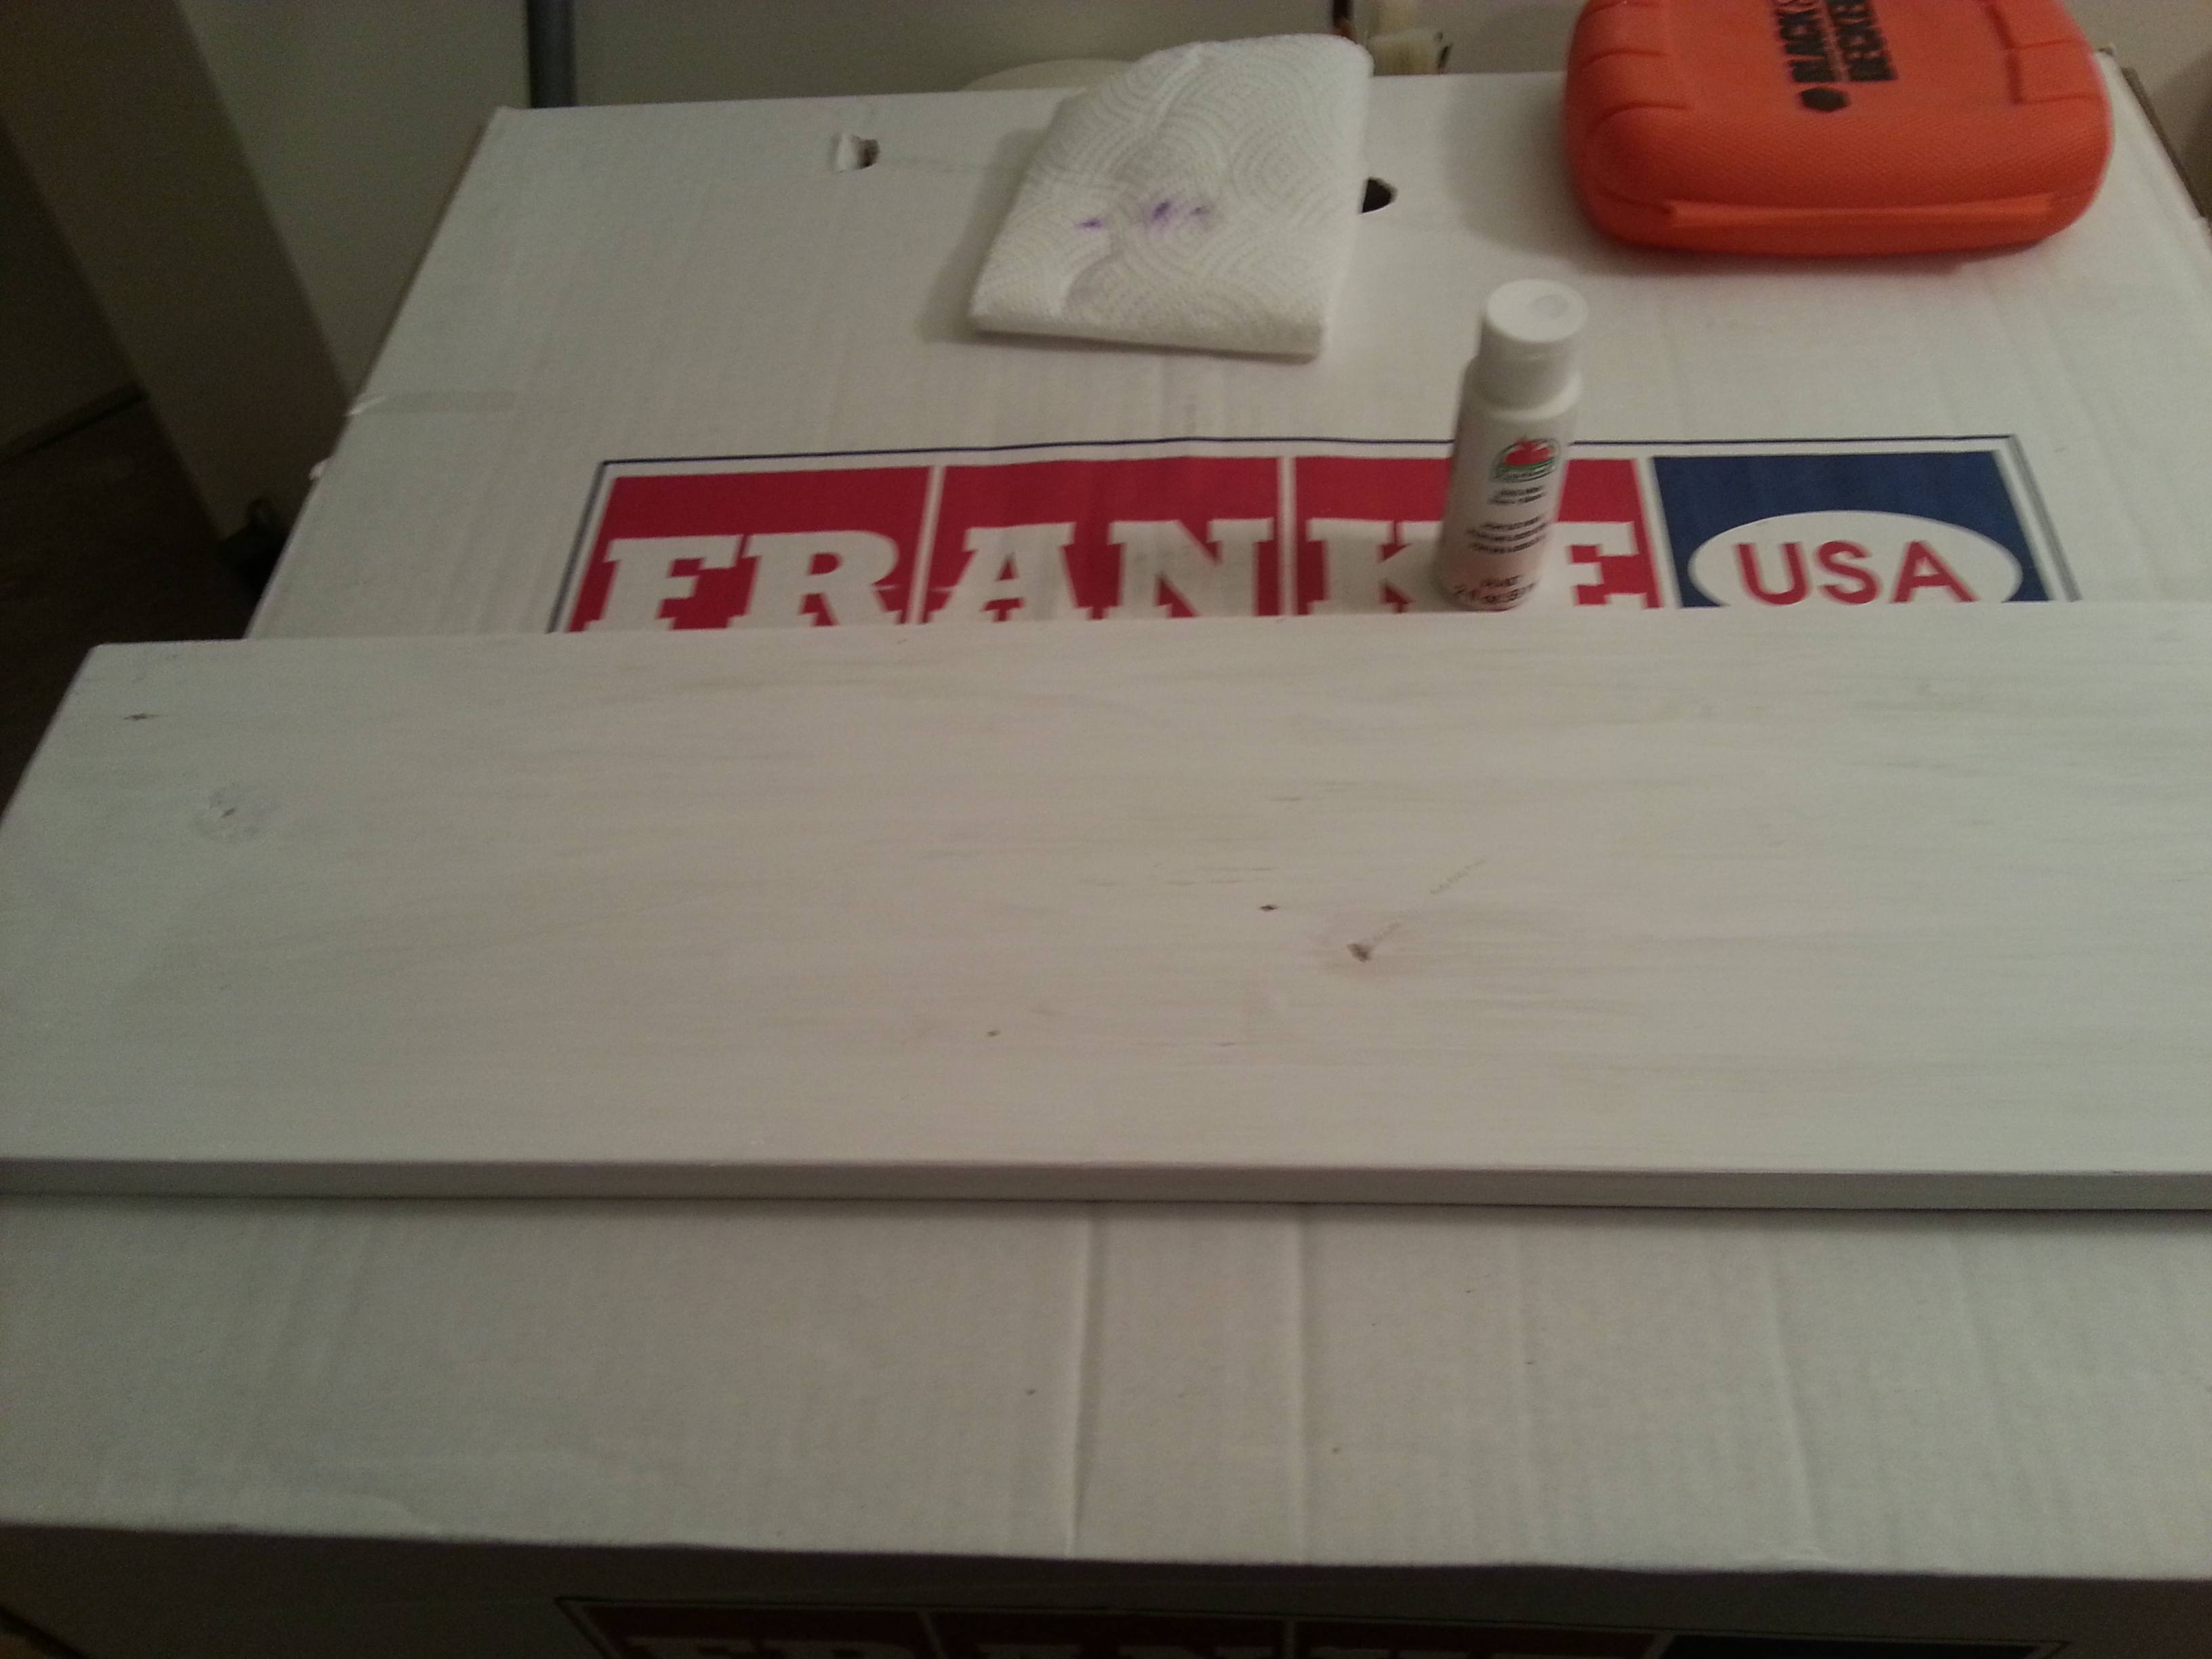
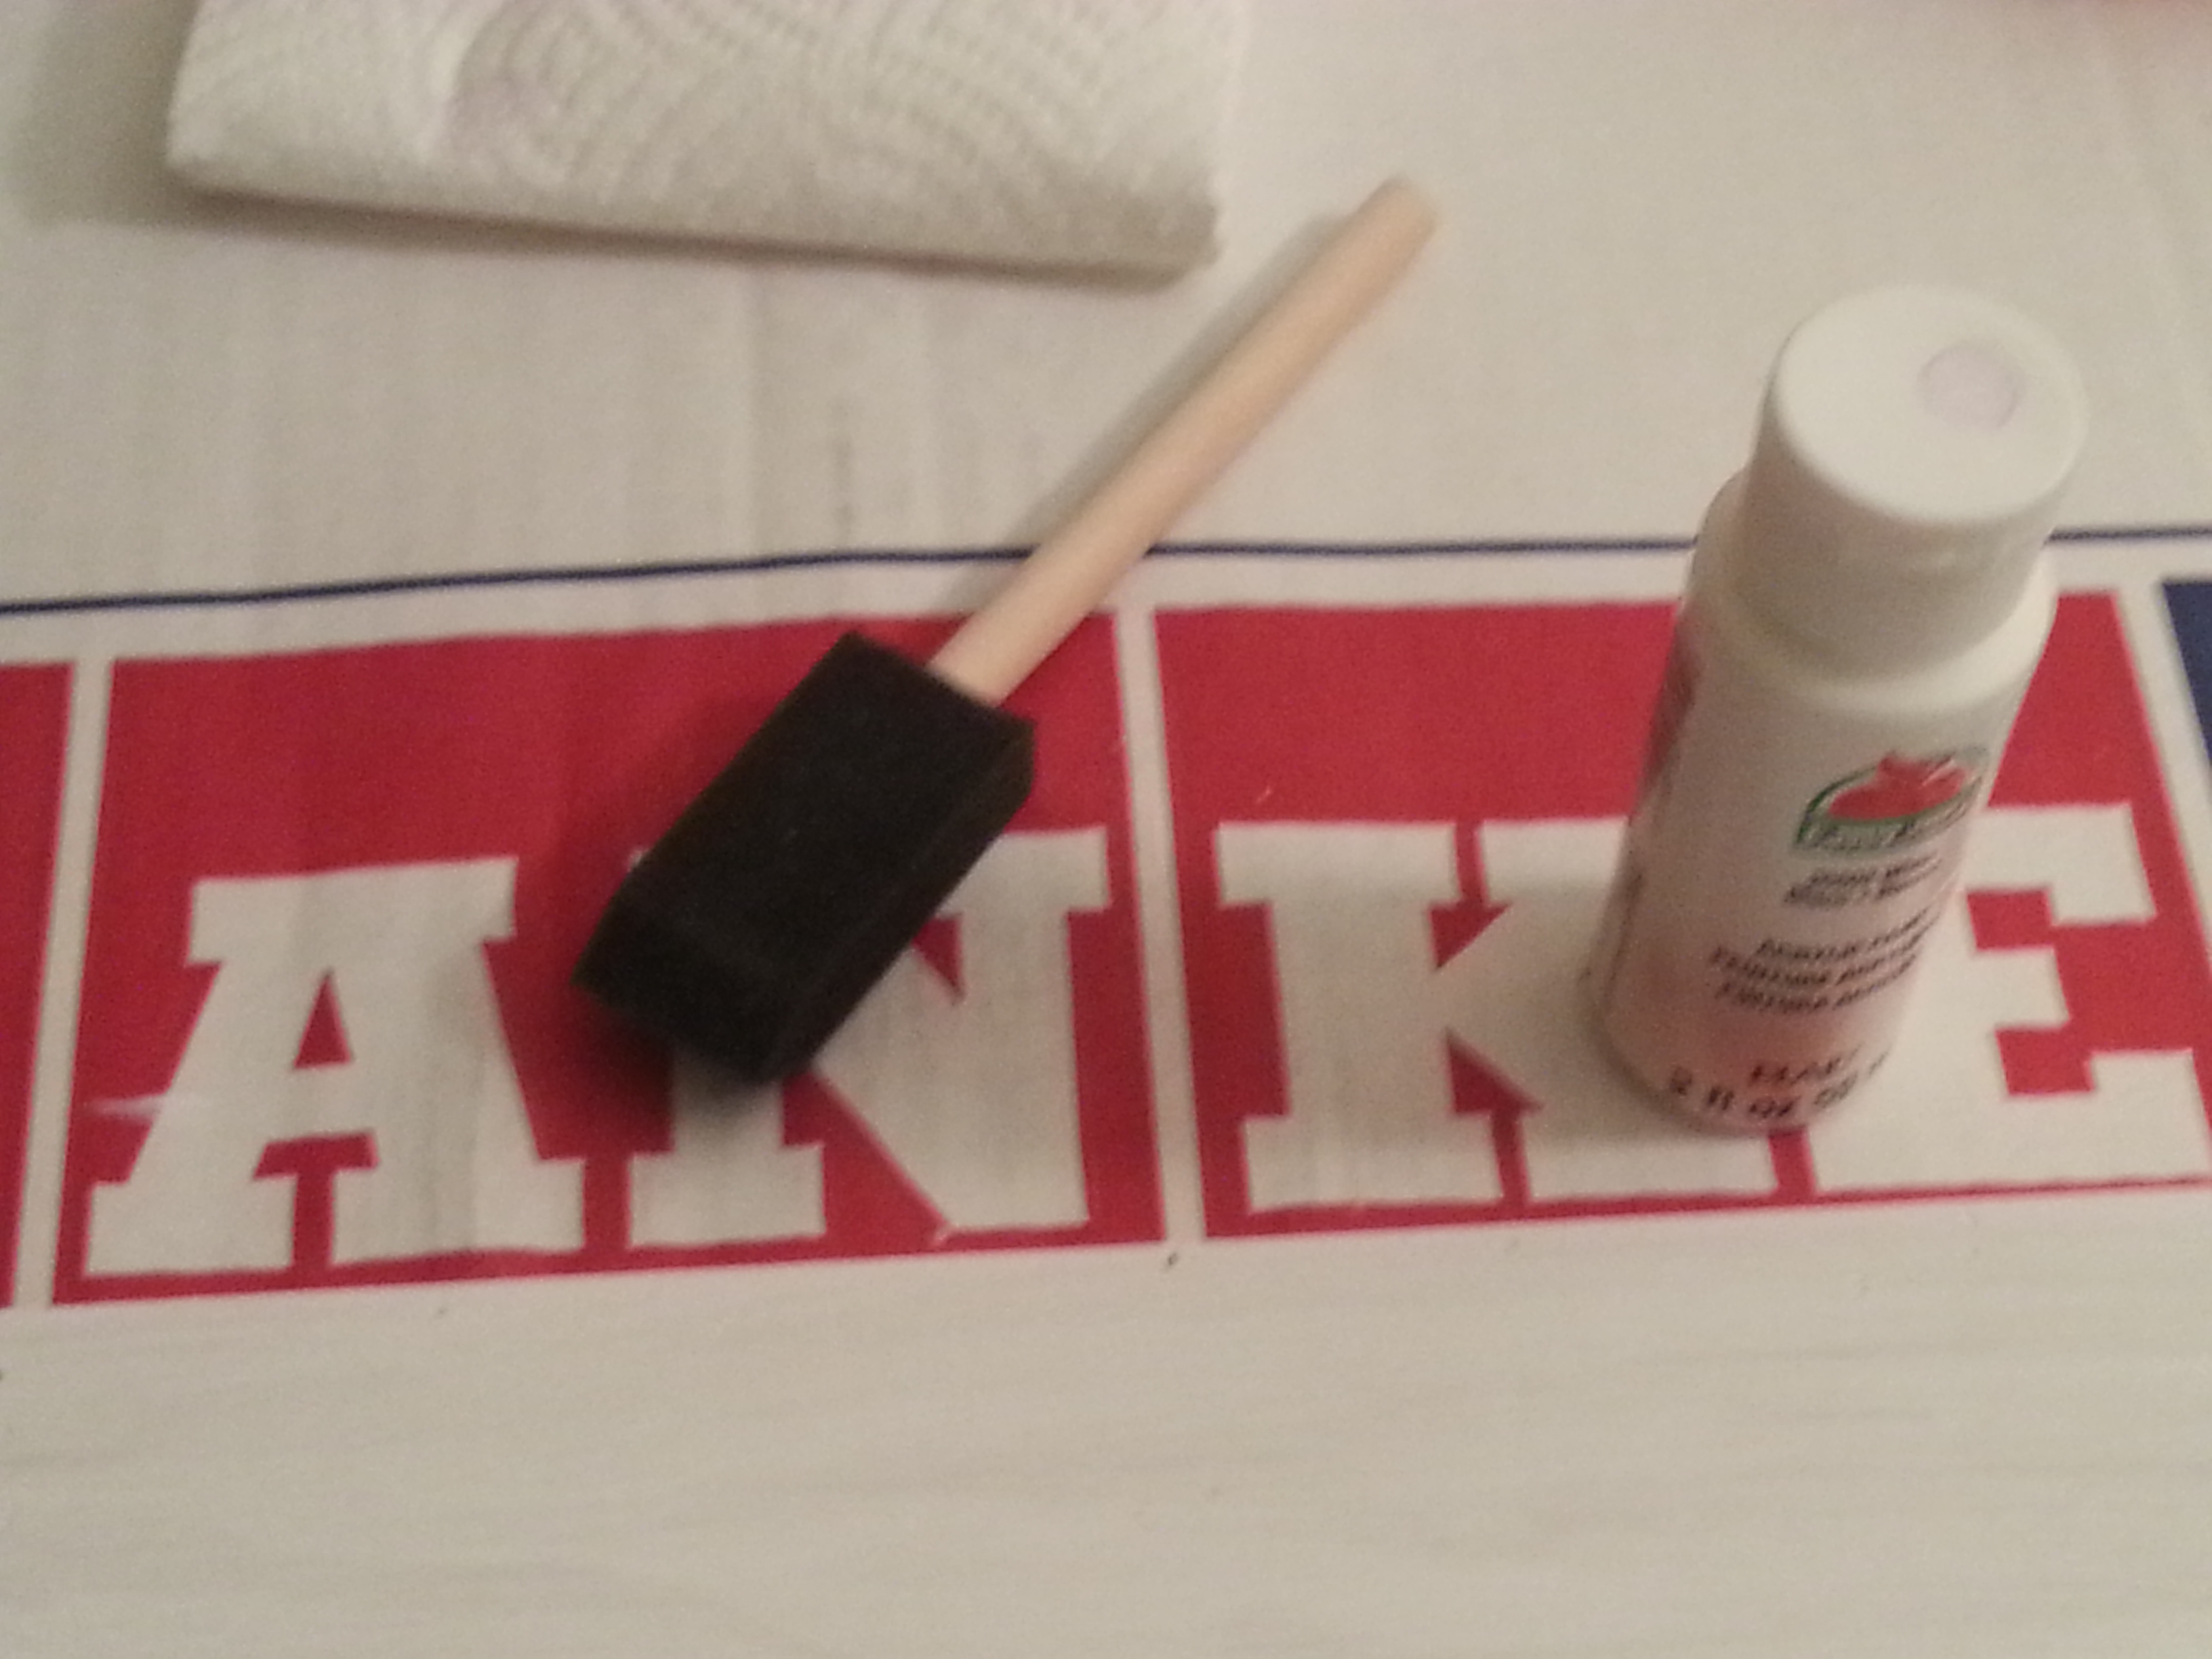
This step is pretty easy. All I do is take white acrylic paint and treat the sides and front of the piece. You can paint the back of you want but there is really no point unless you want to.
I paint it white so that the next step is easier to do and see.
Also, I find the sponge brushes work great on filling all of the little imperfections that are in the wood.
I paint it white so that the next step is easier to do and see.
Also, I find the sponge brushes work great on filling all of the little imperfections that are in the wood.
Stencil and Tracing
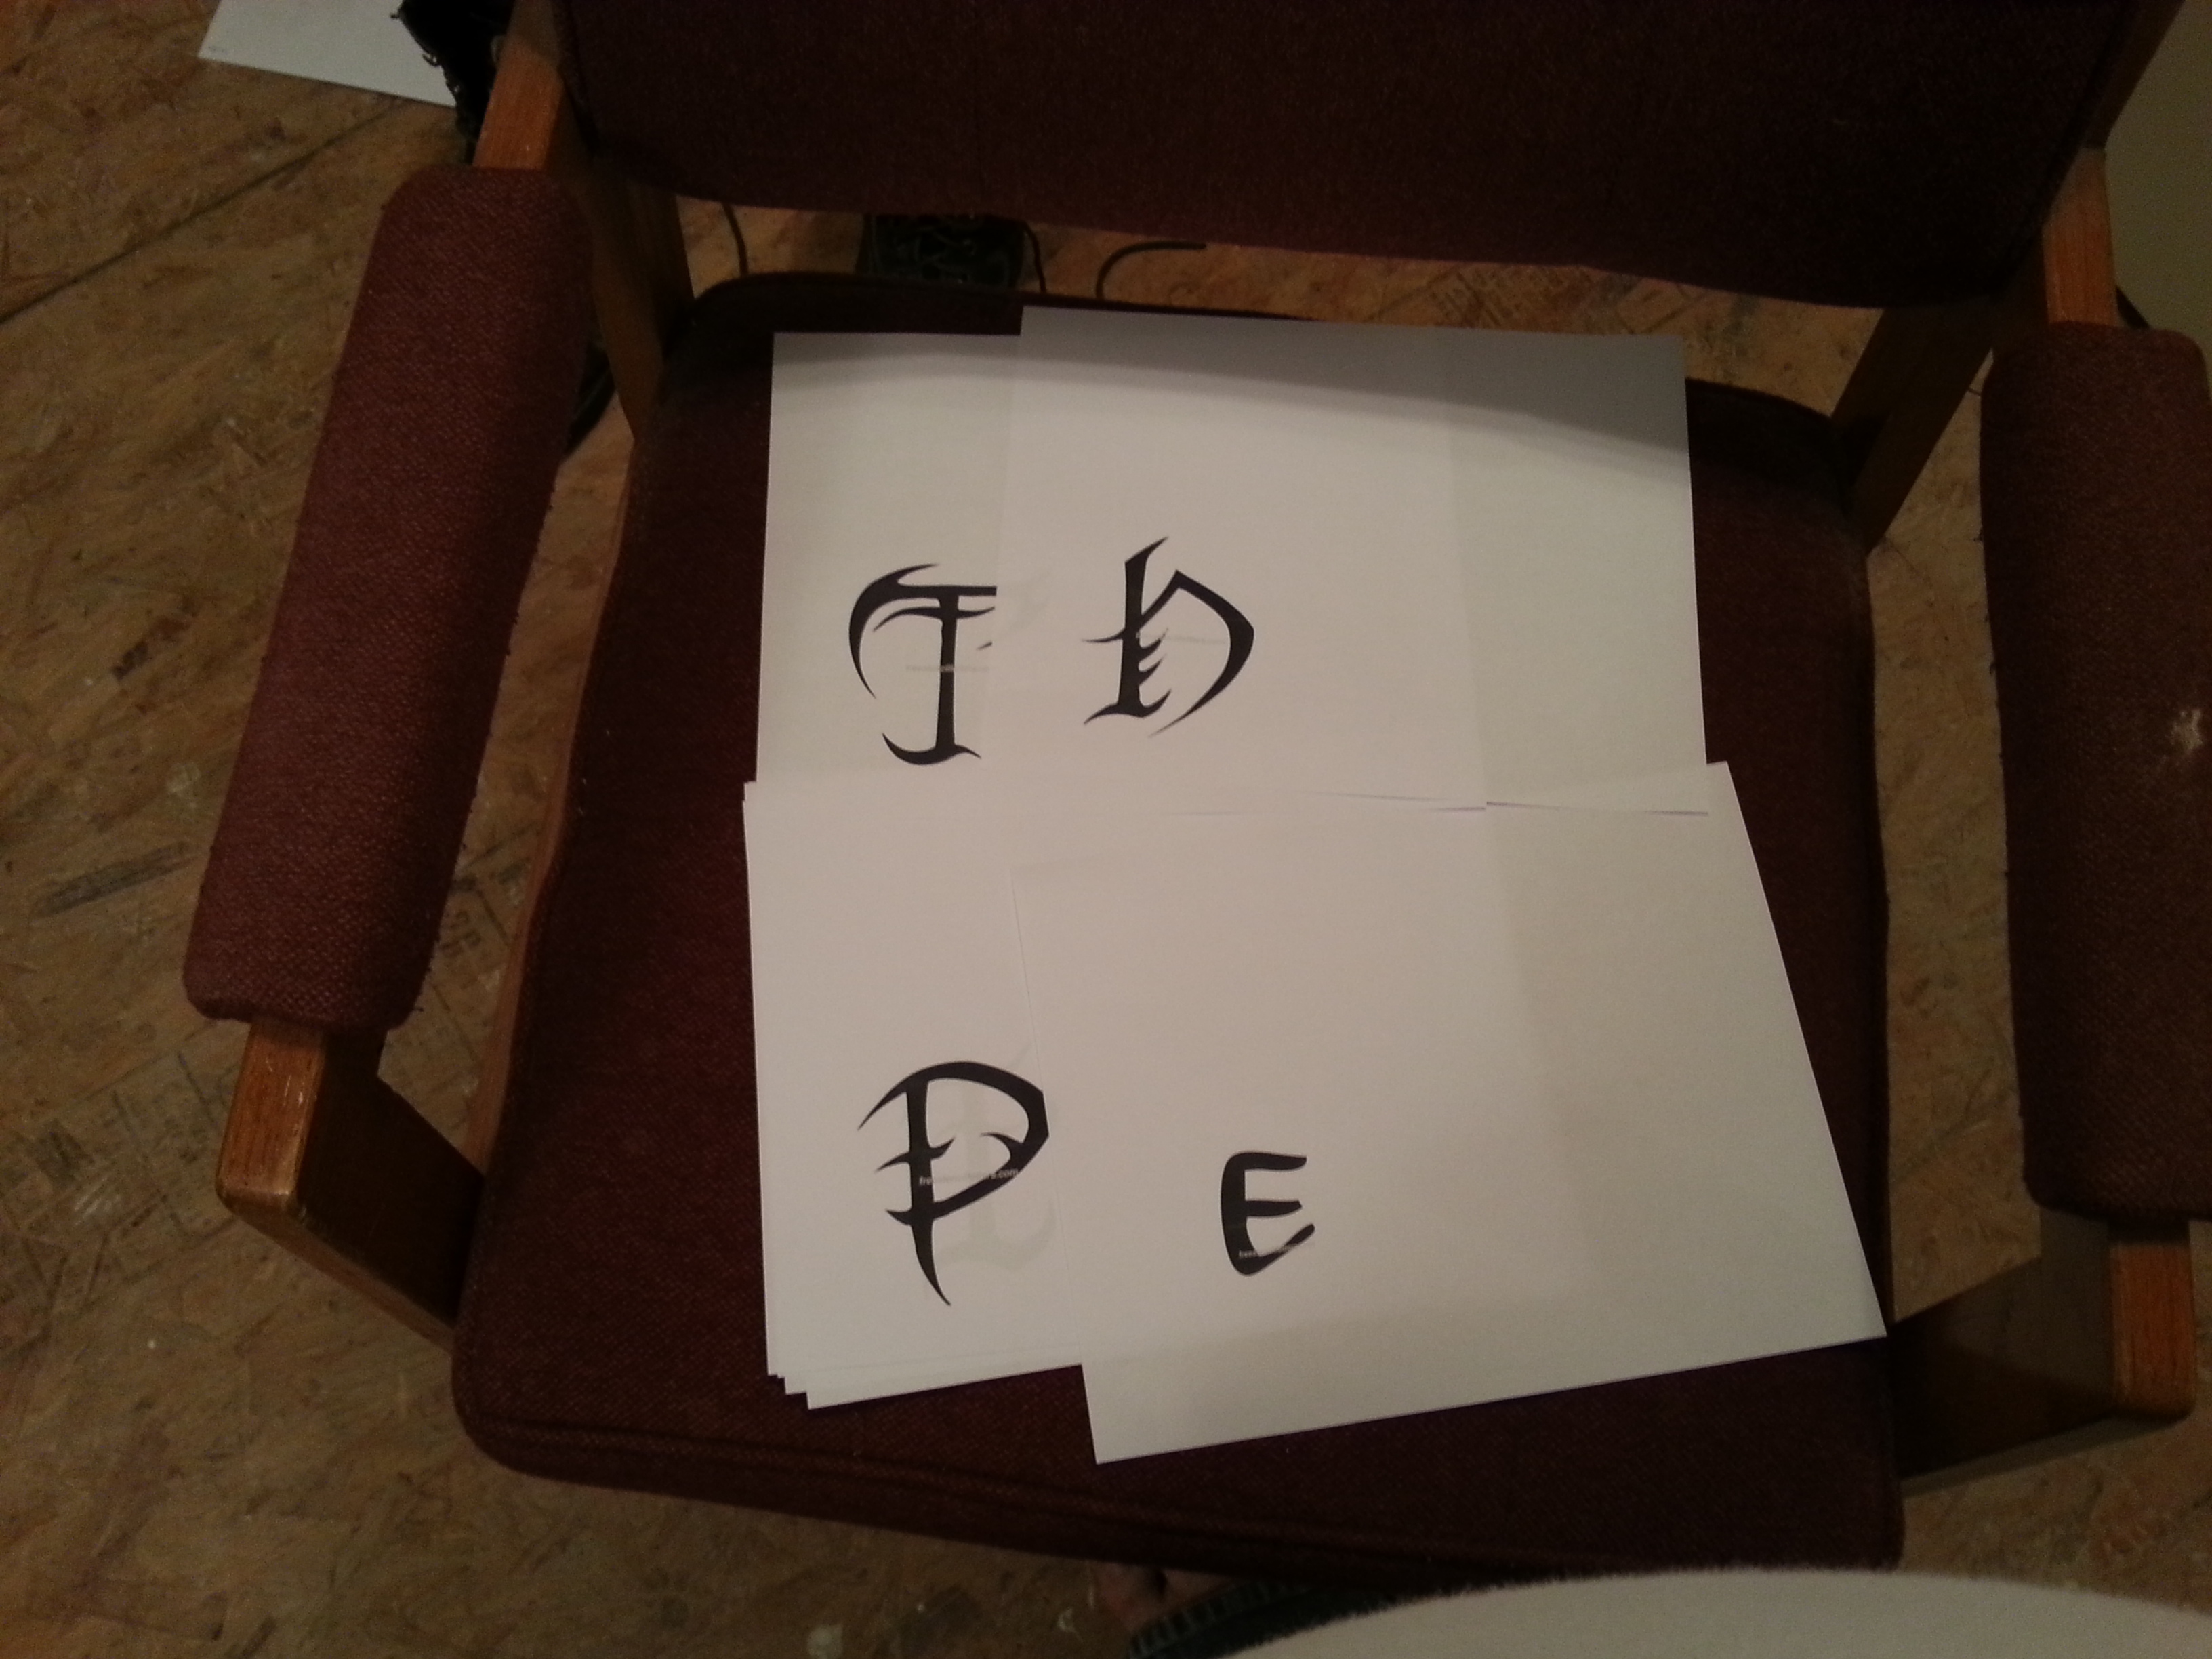
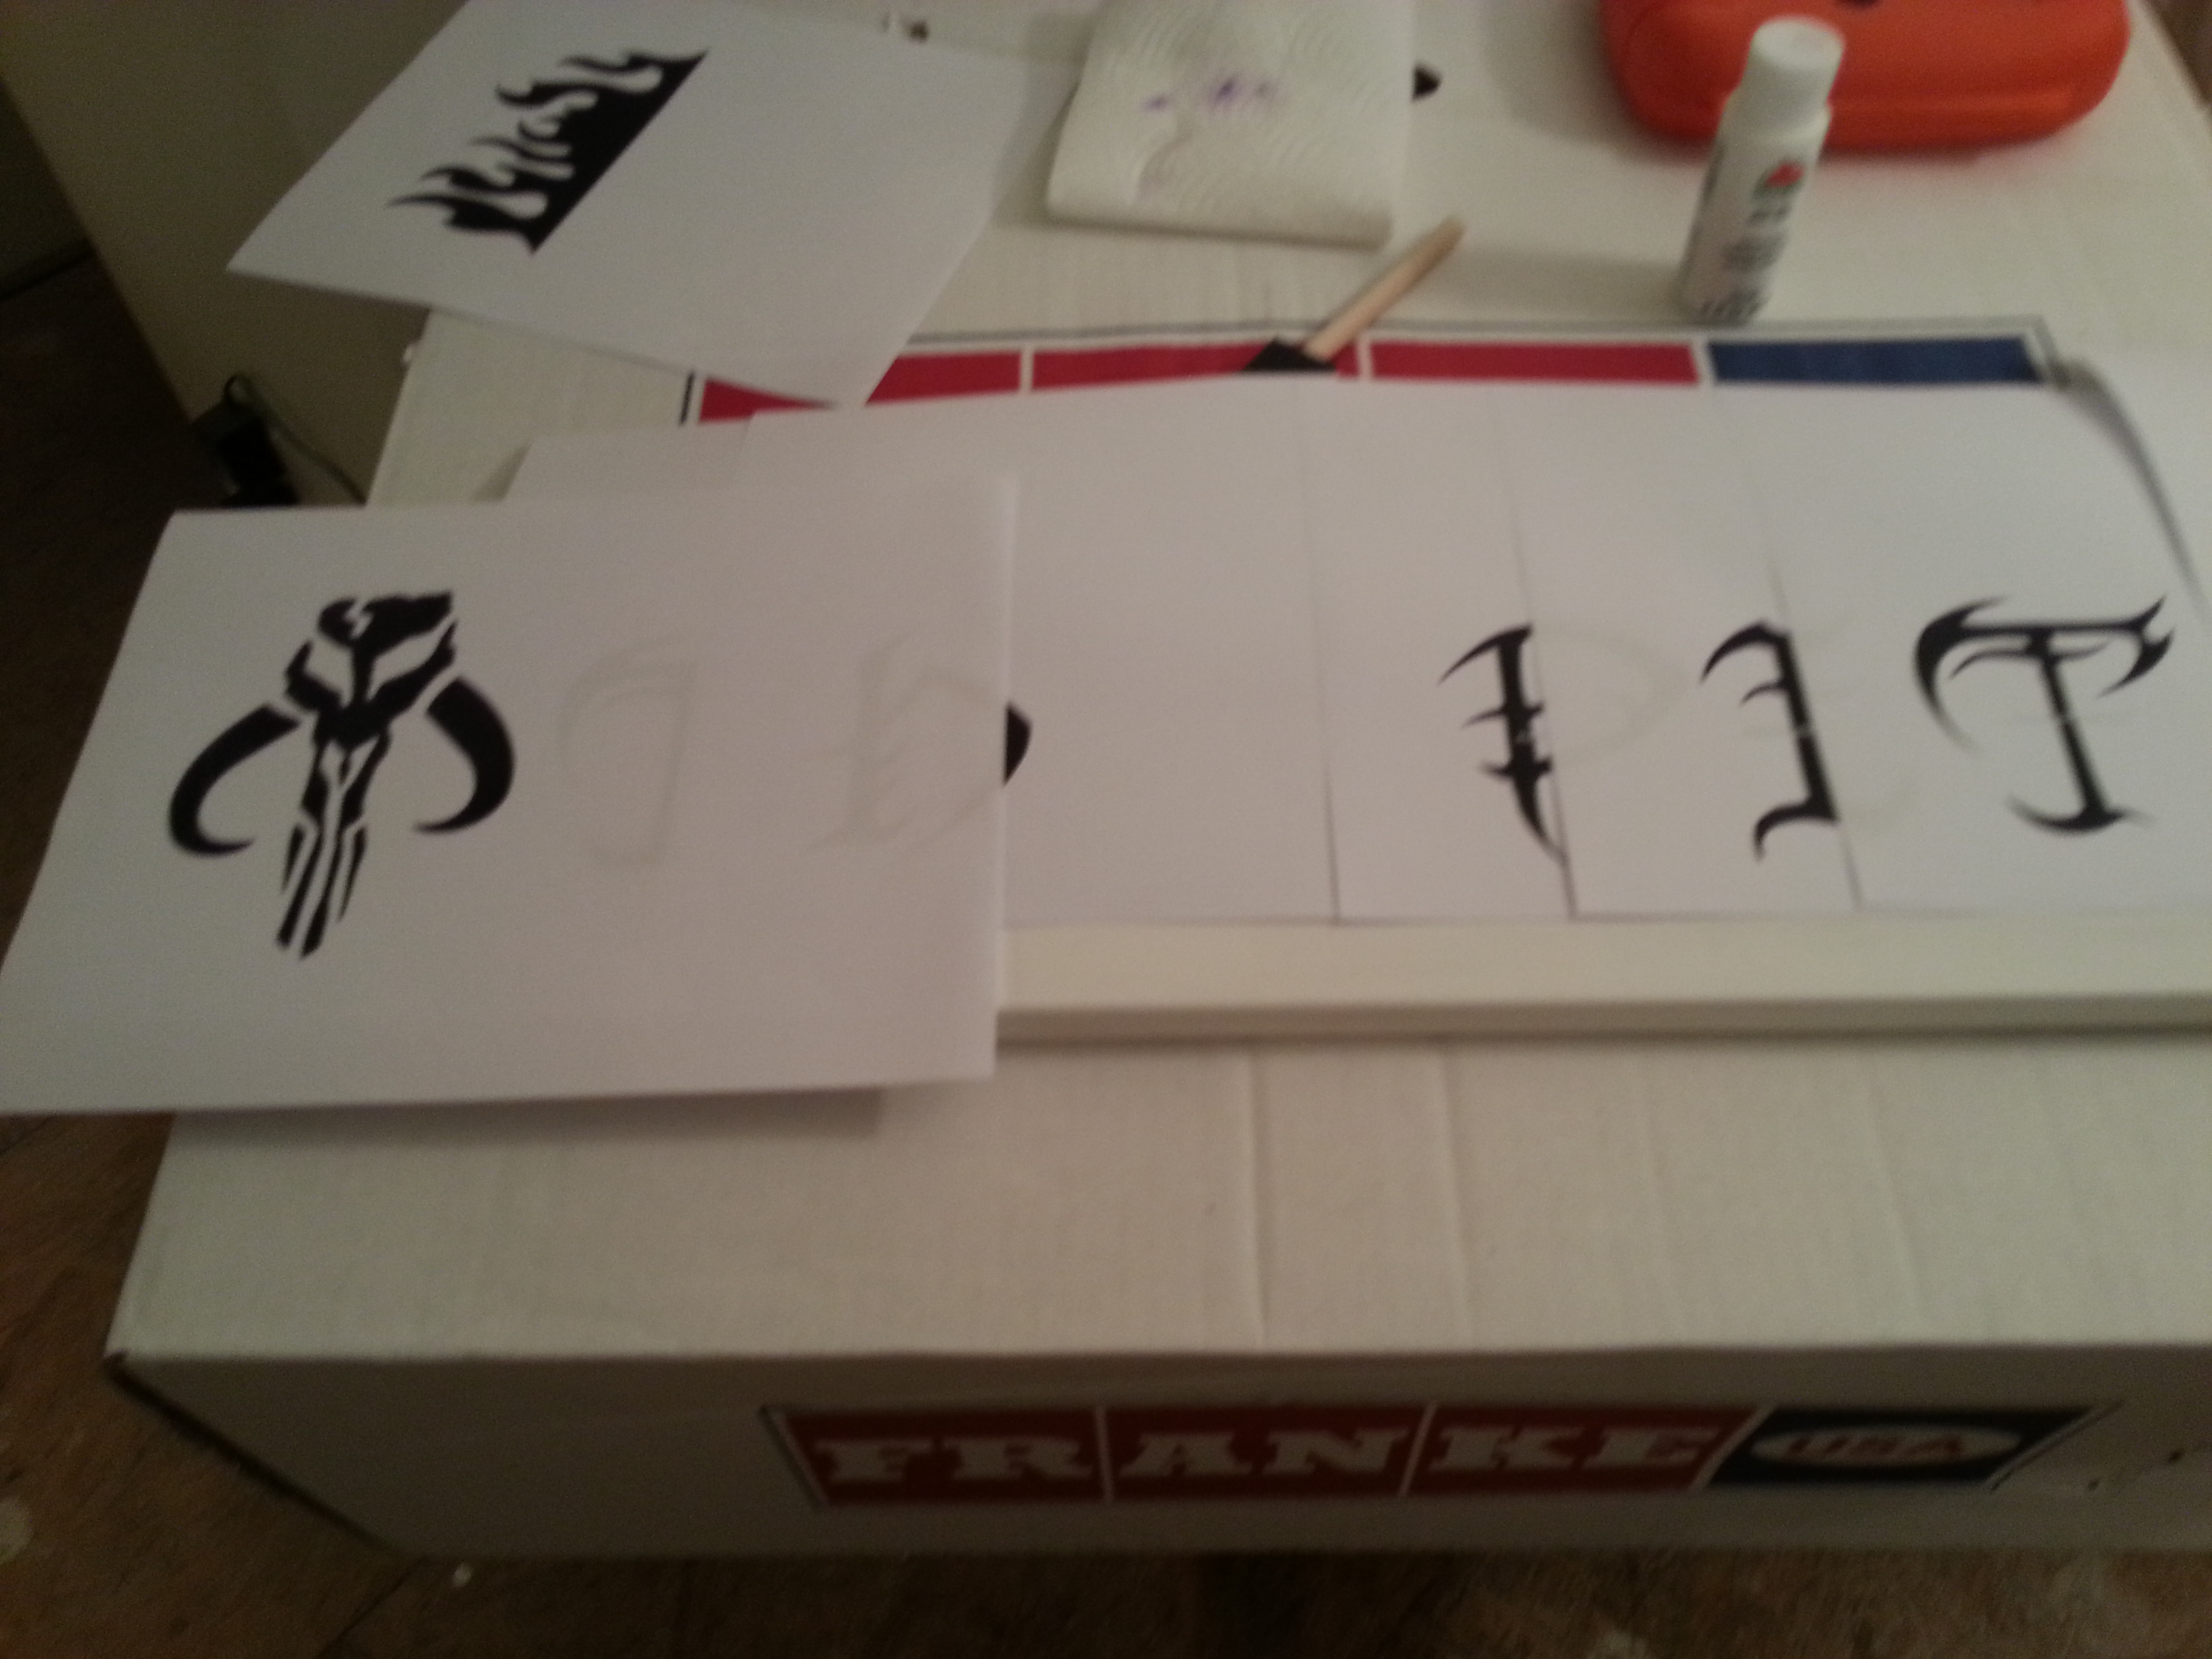
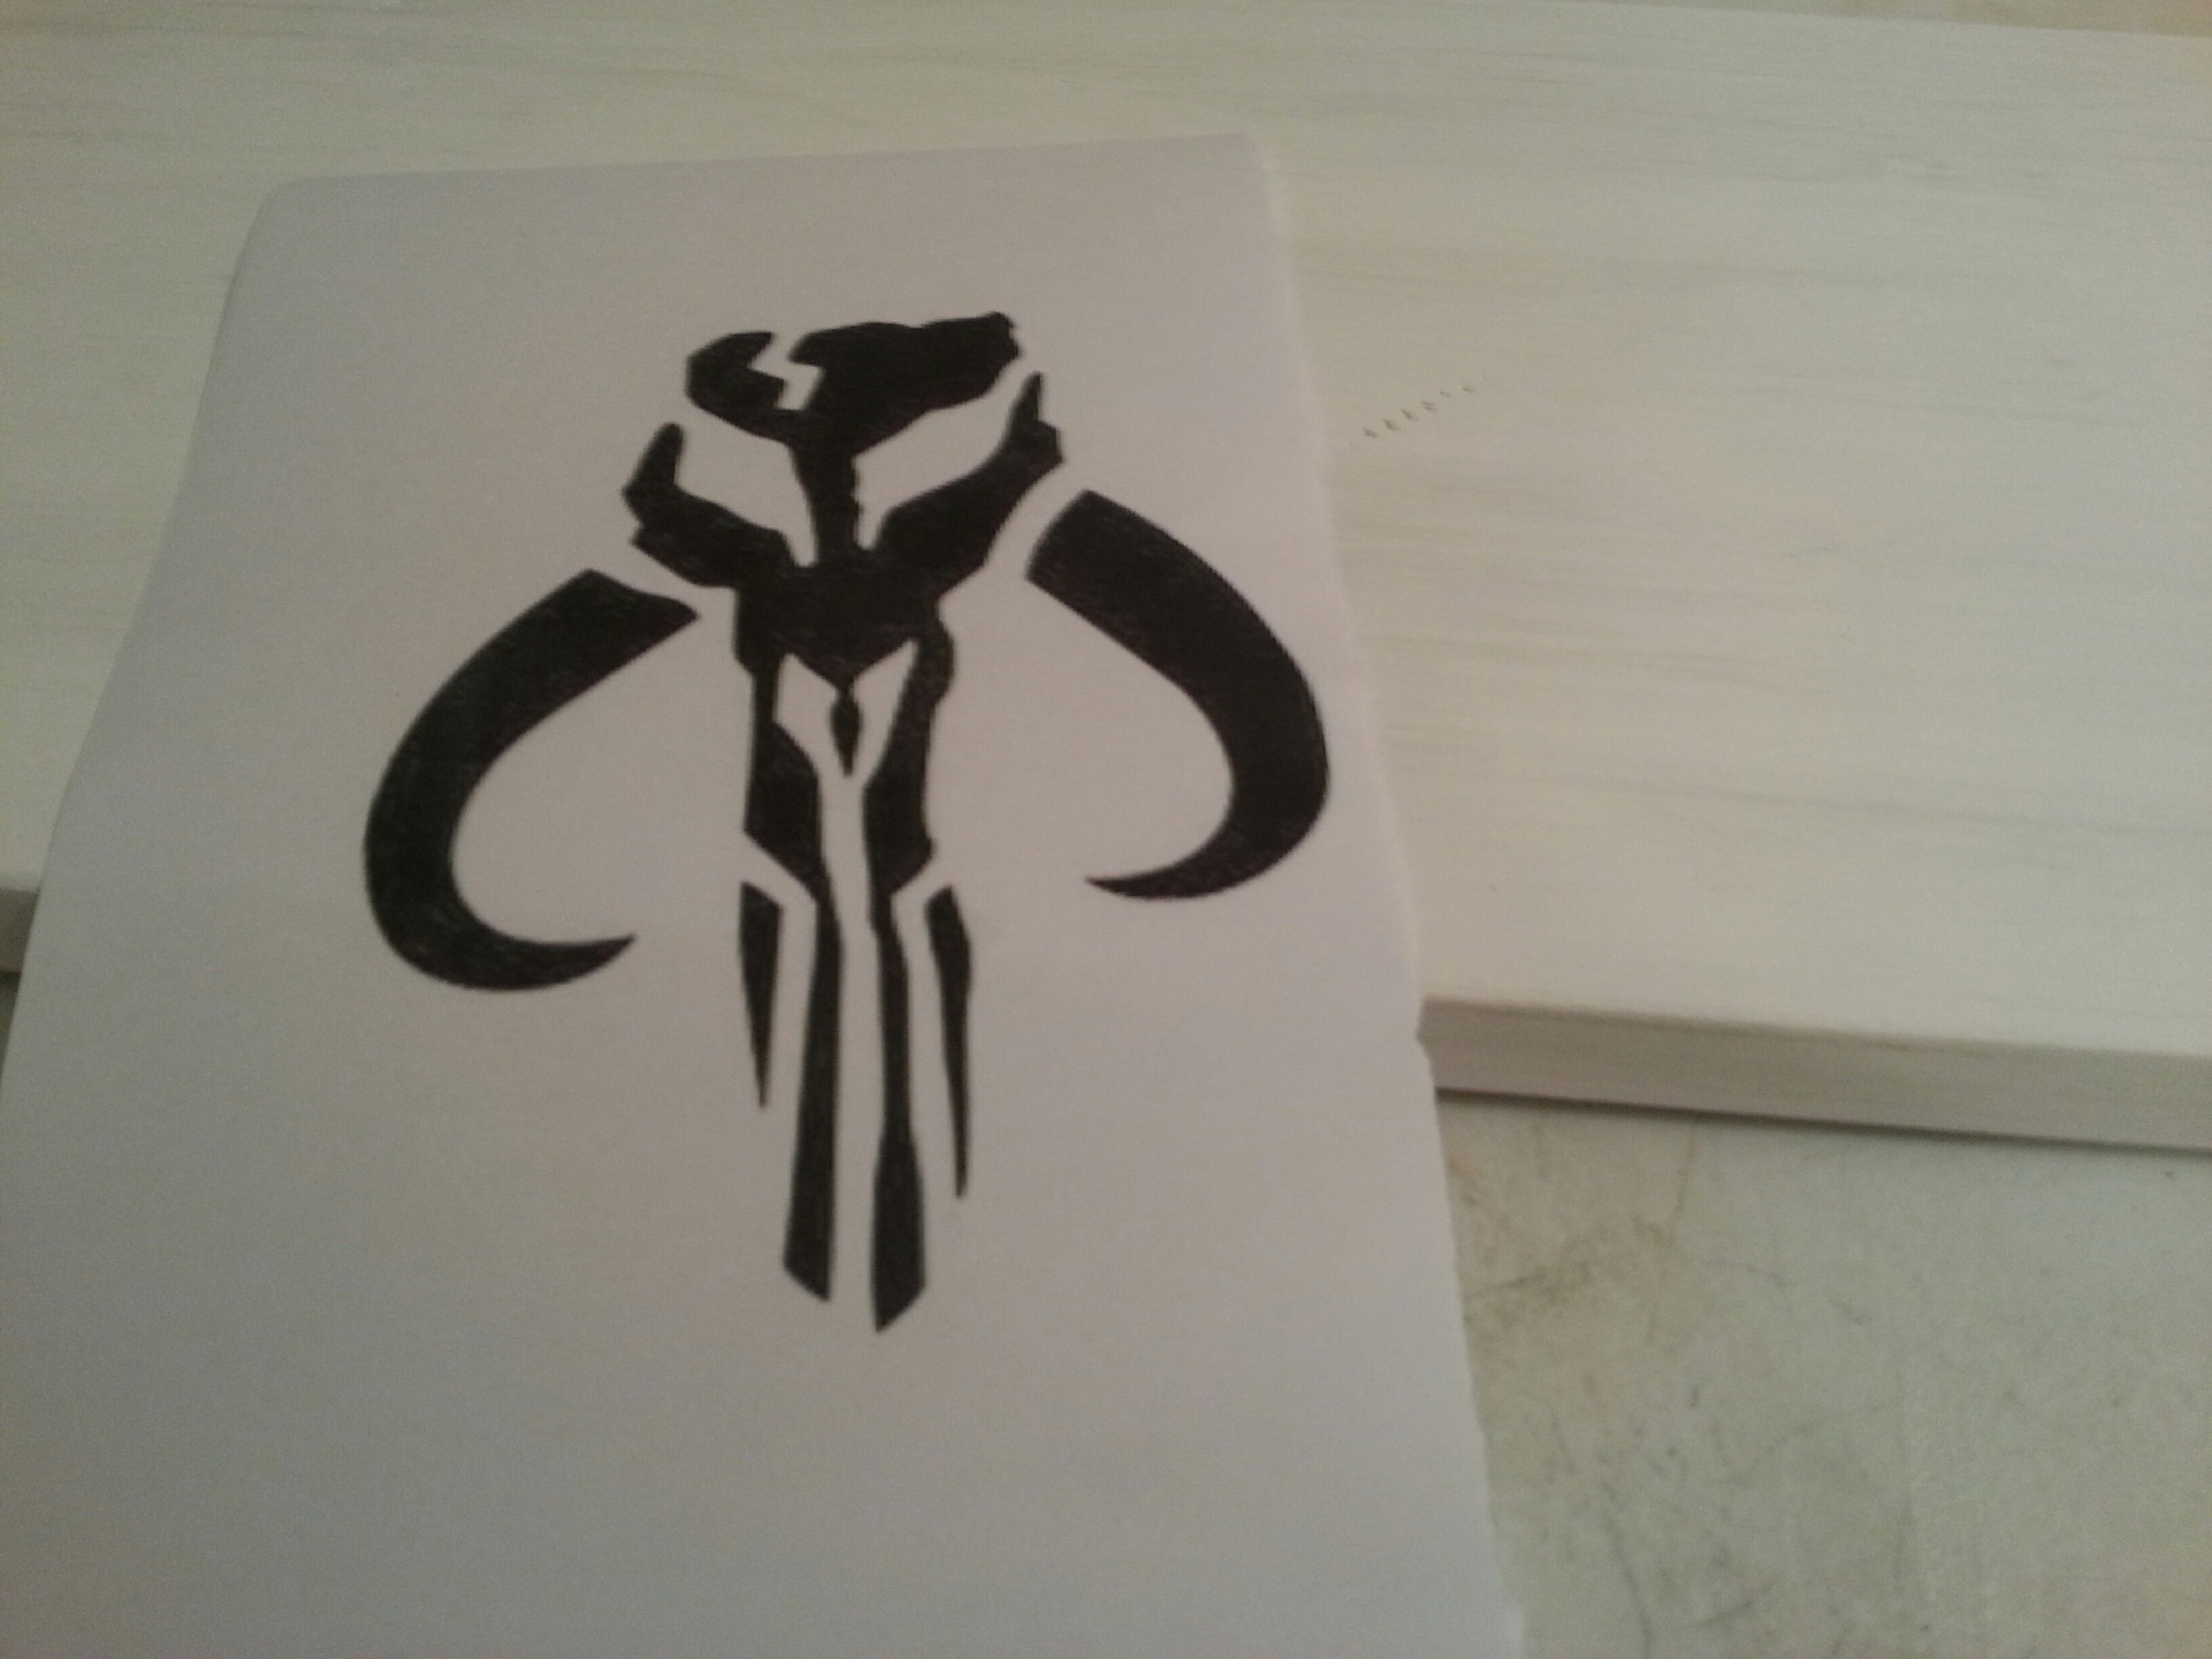
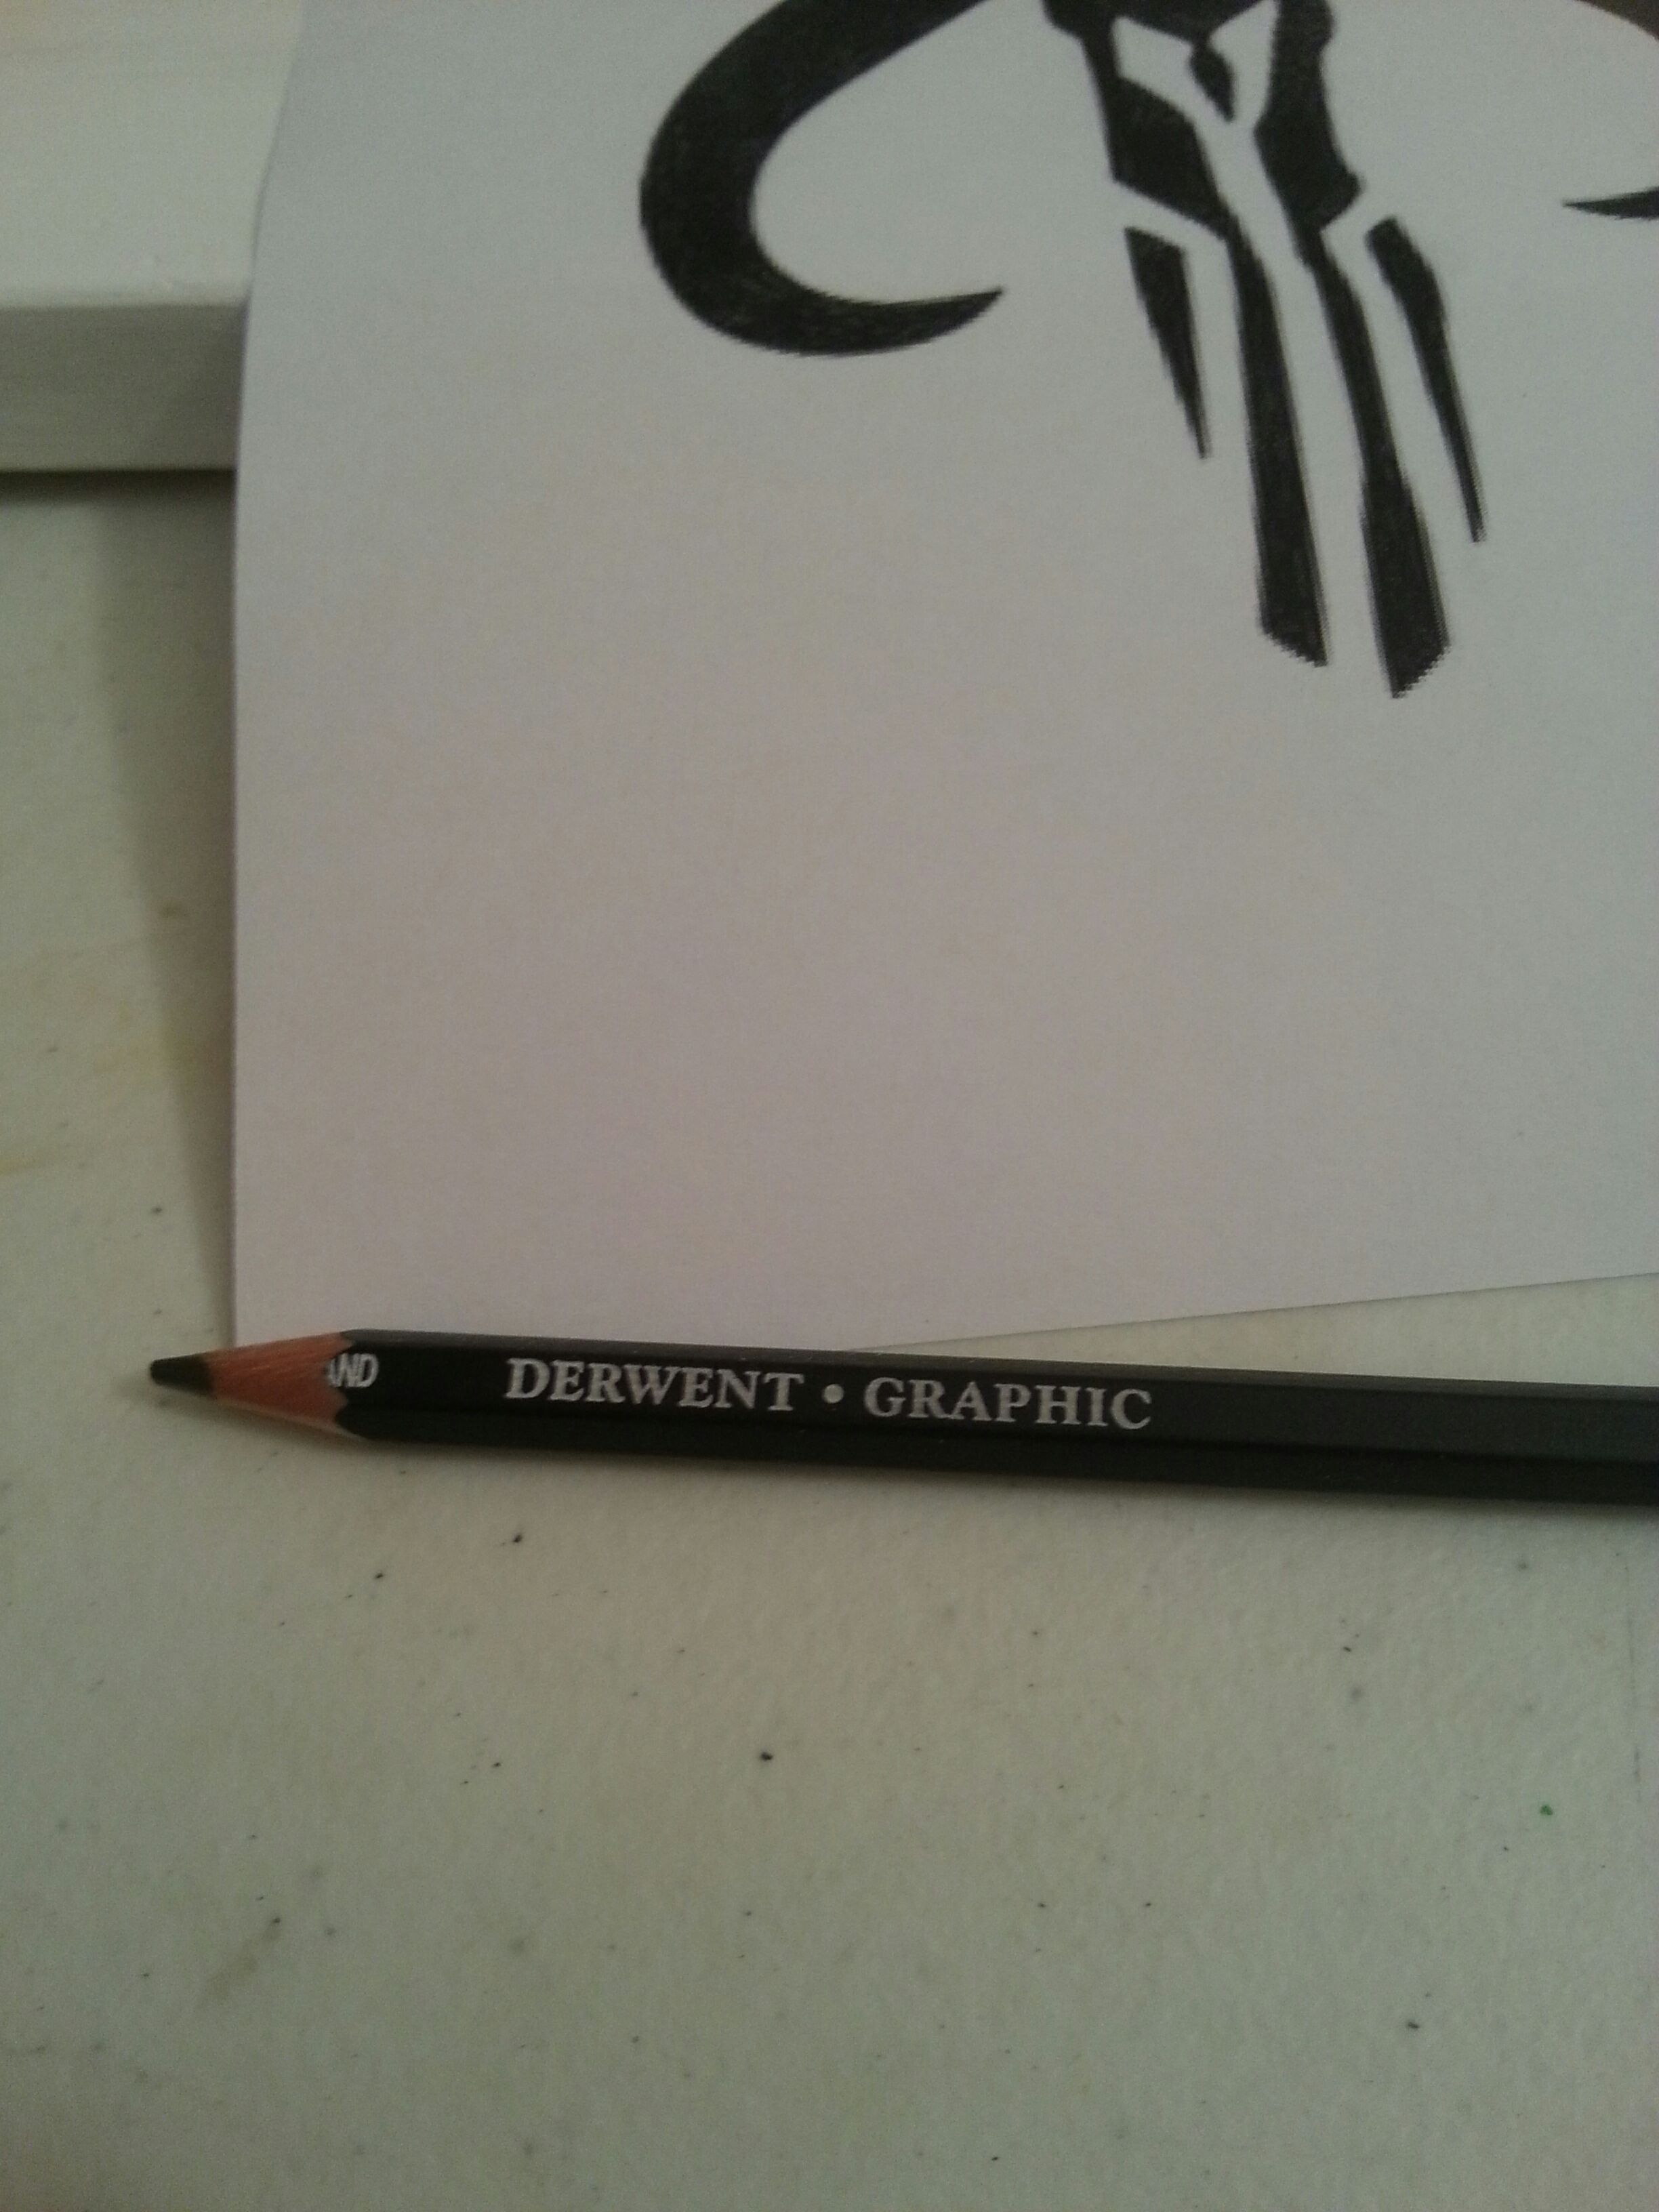
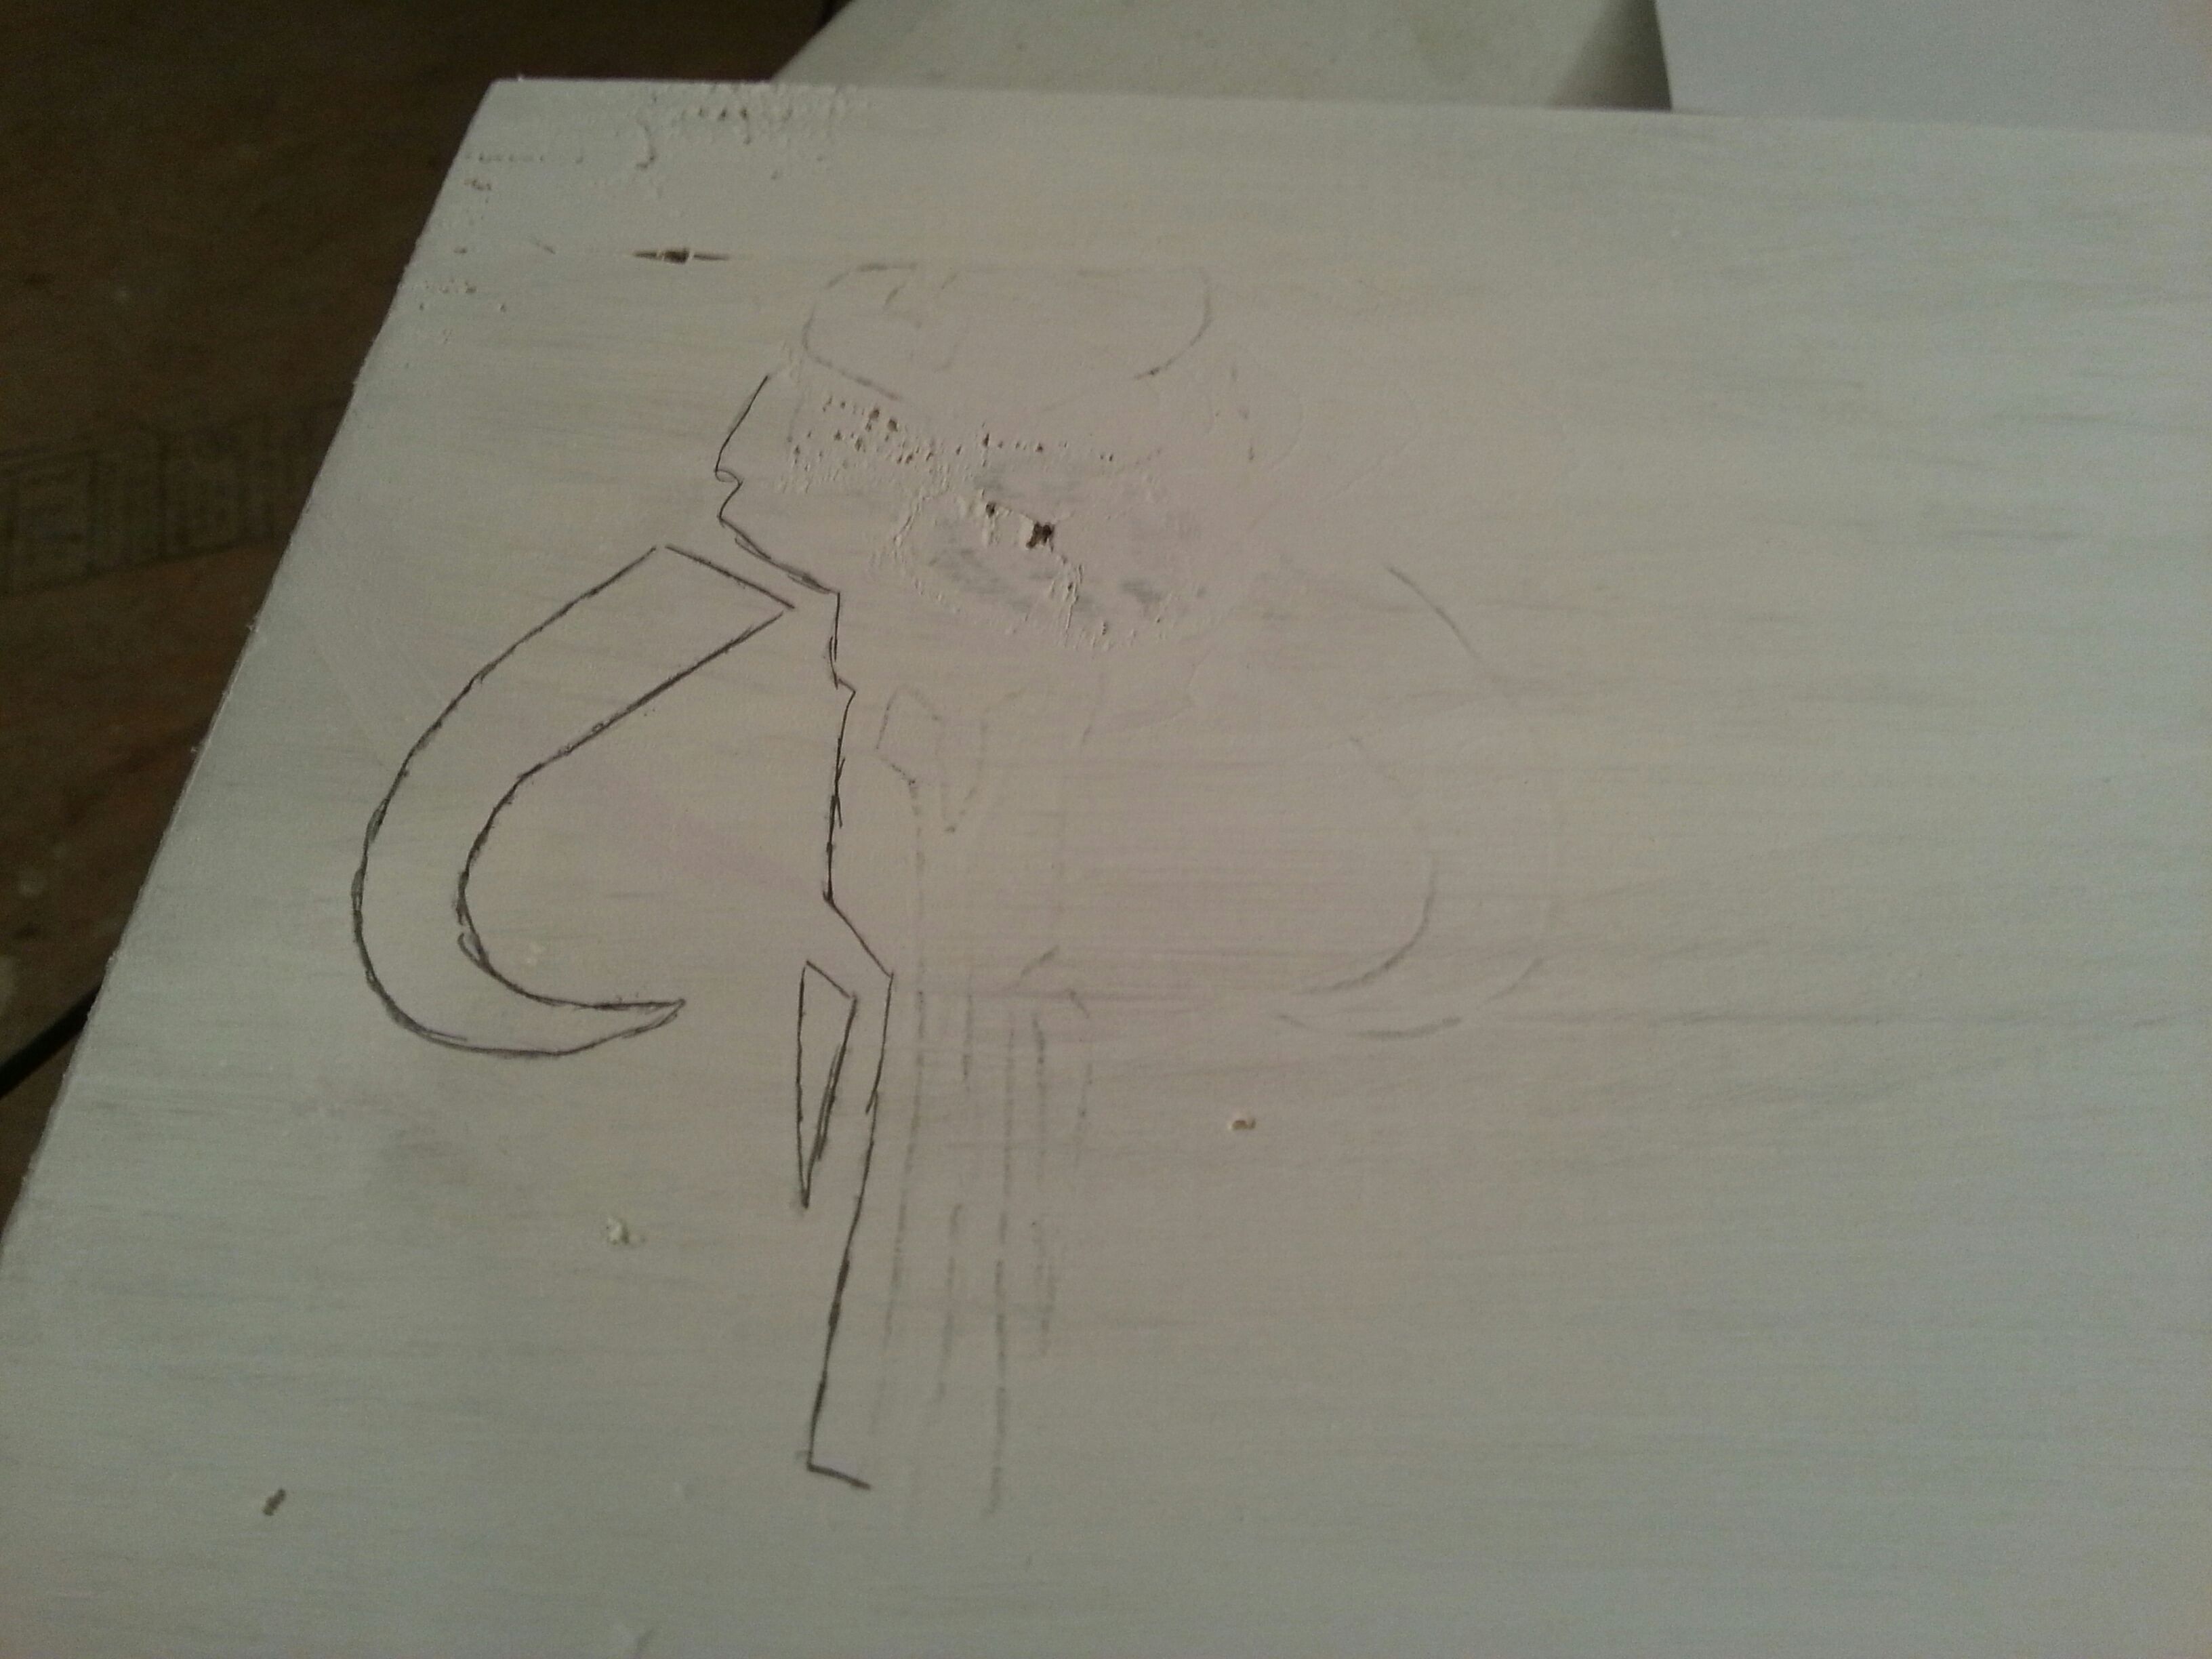
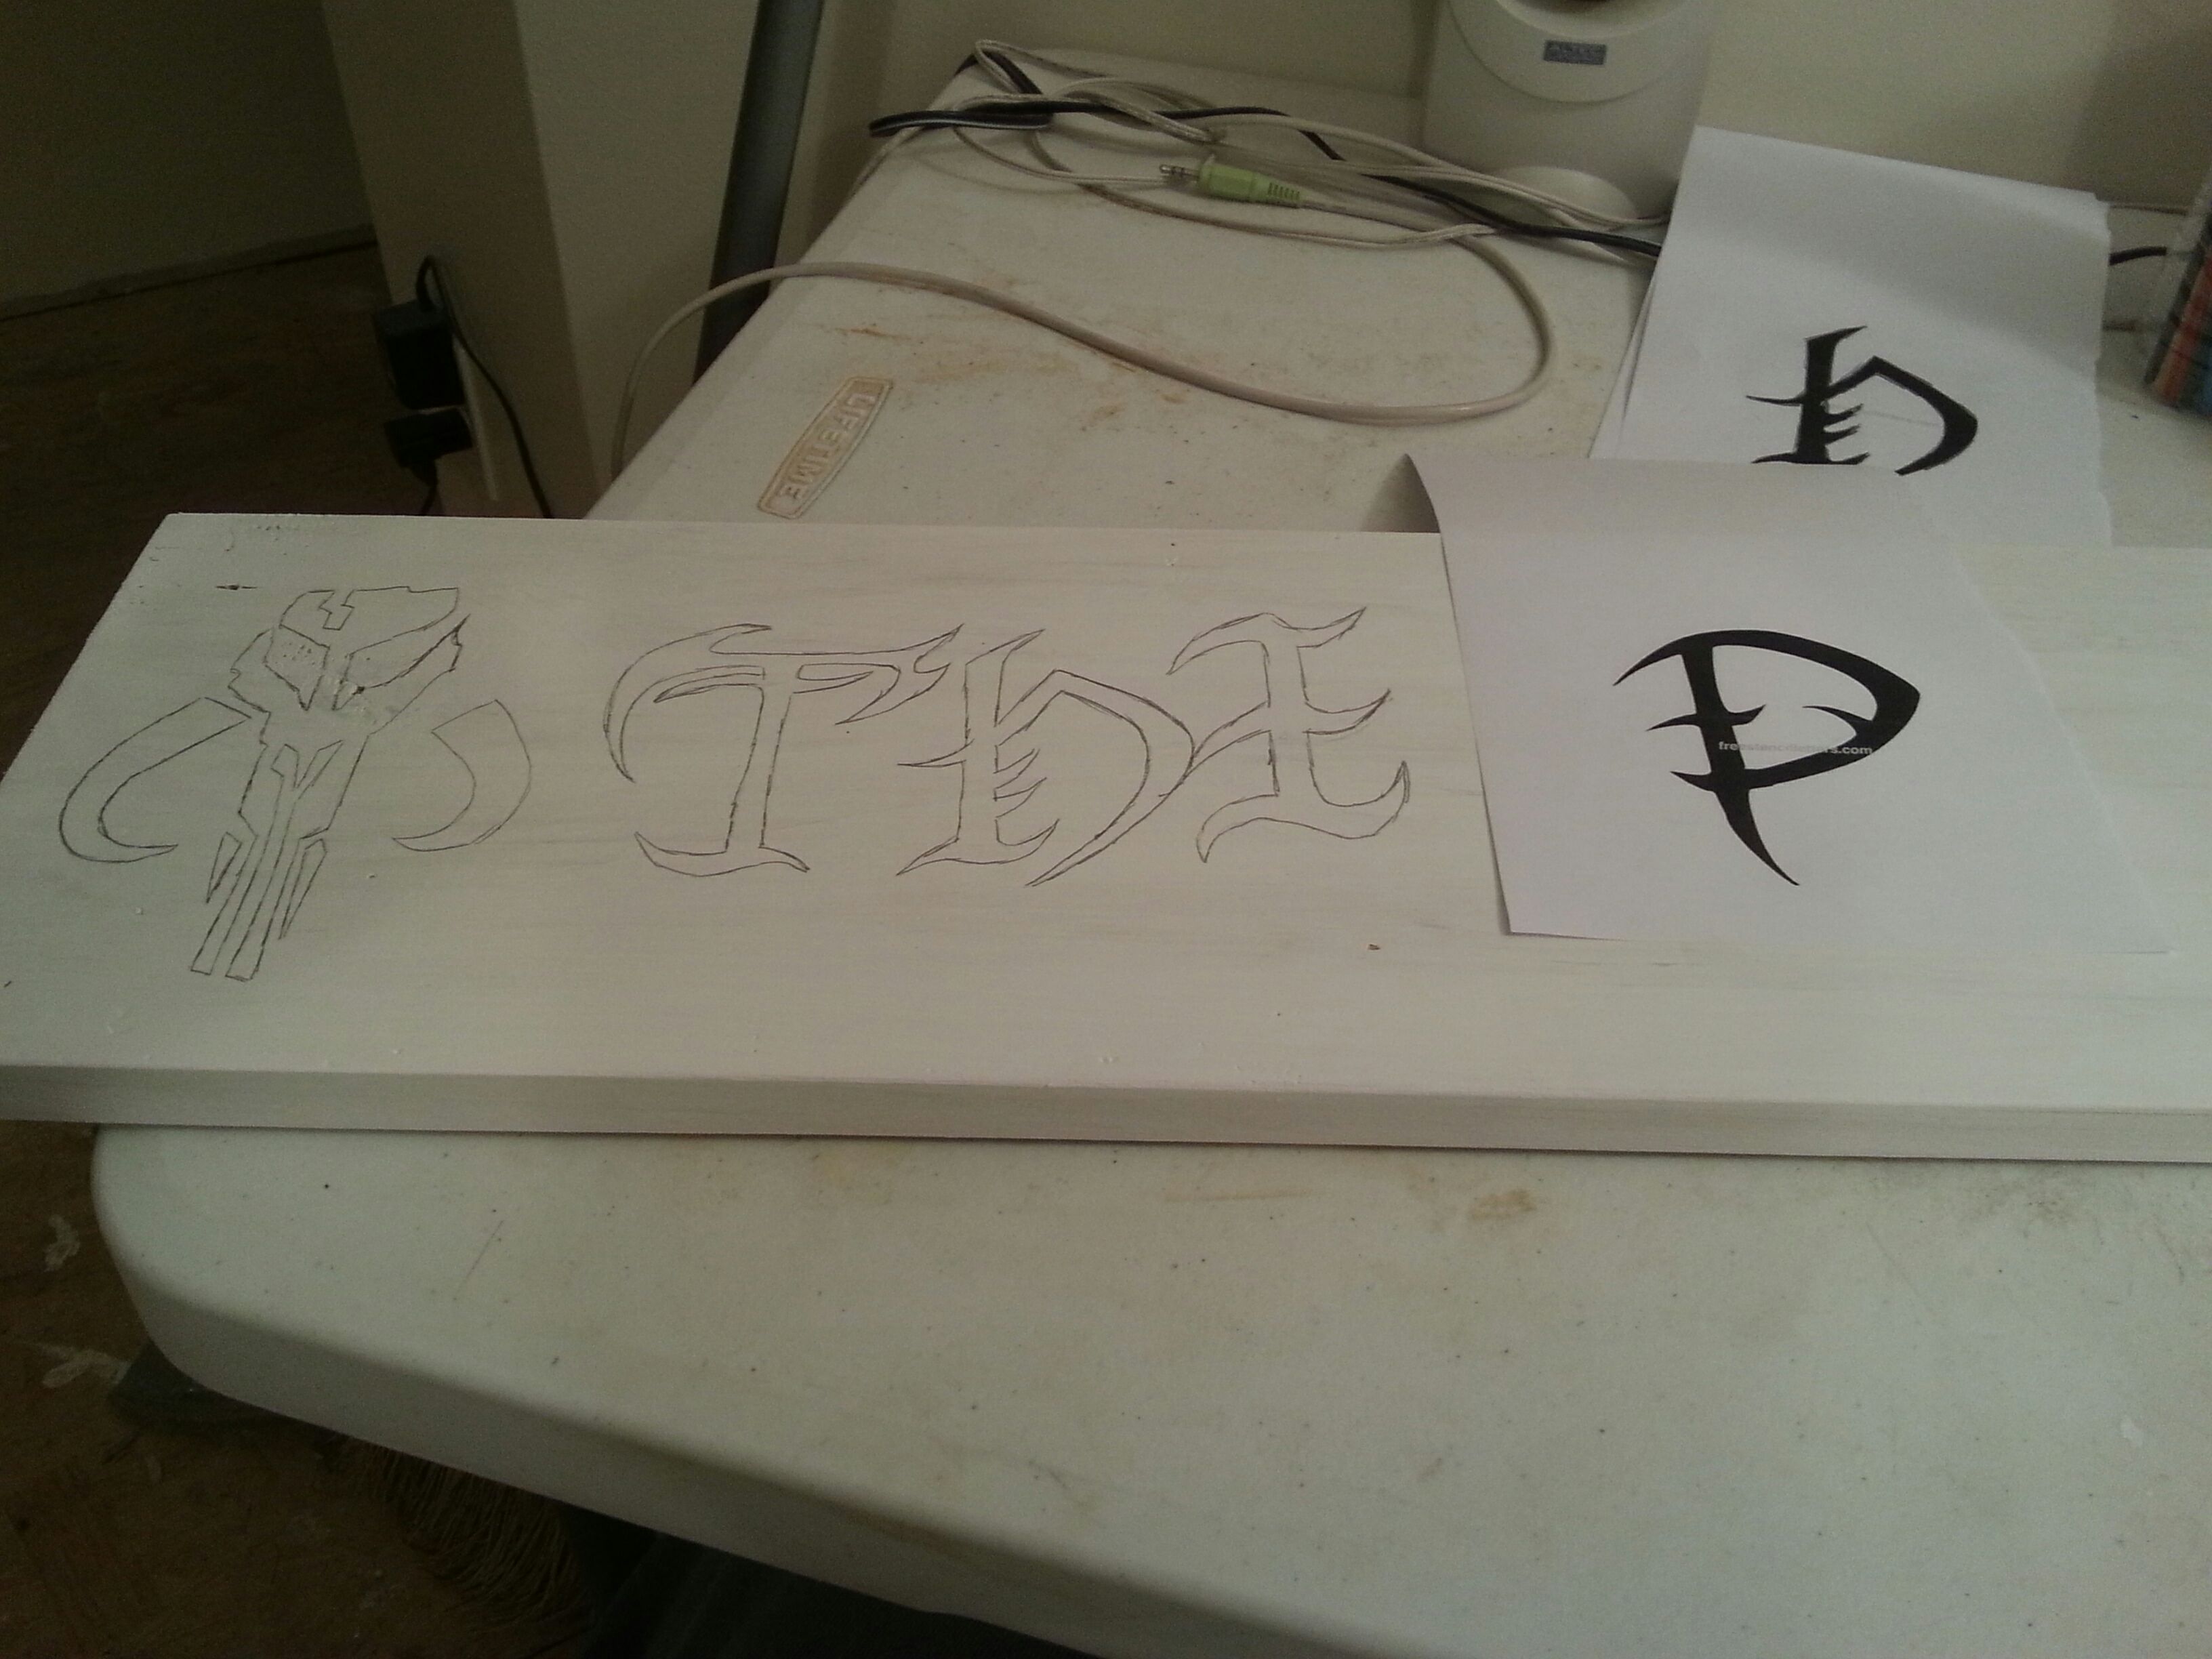
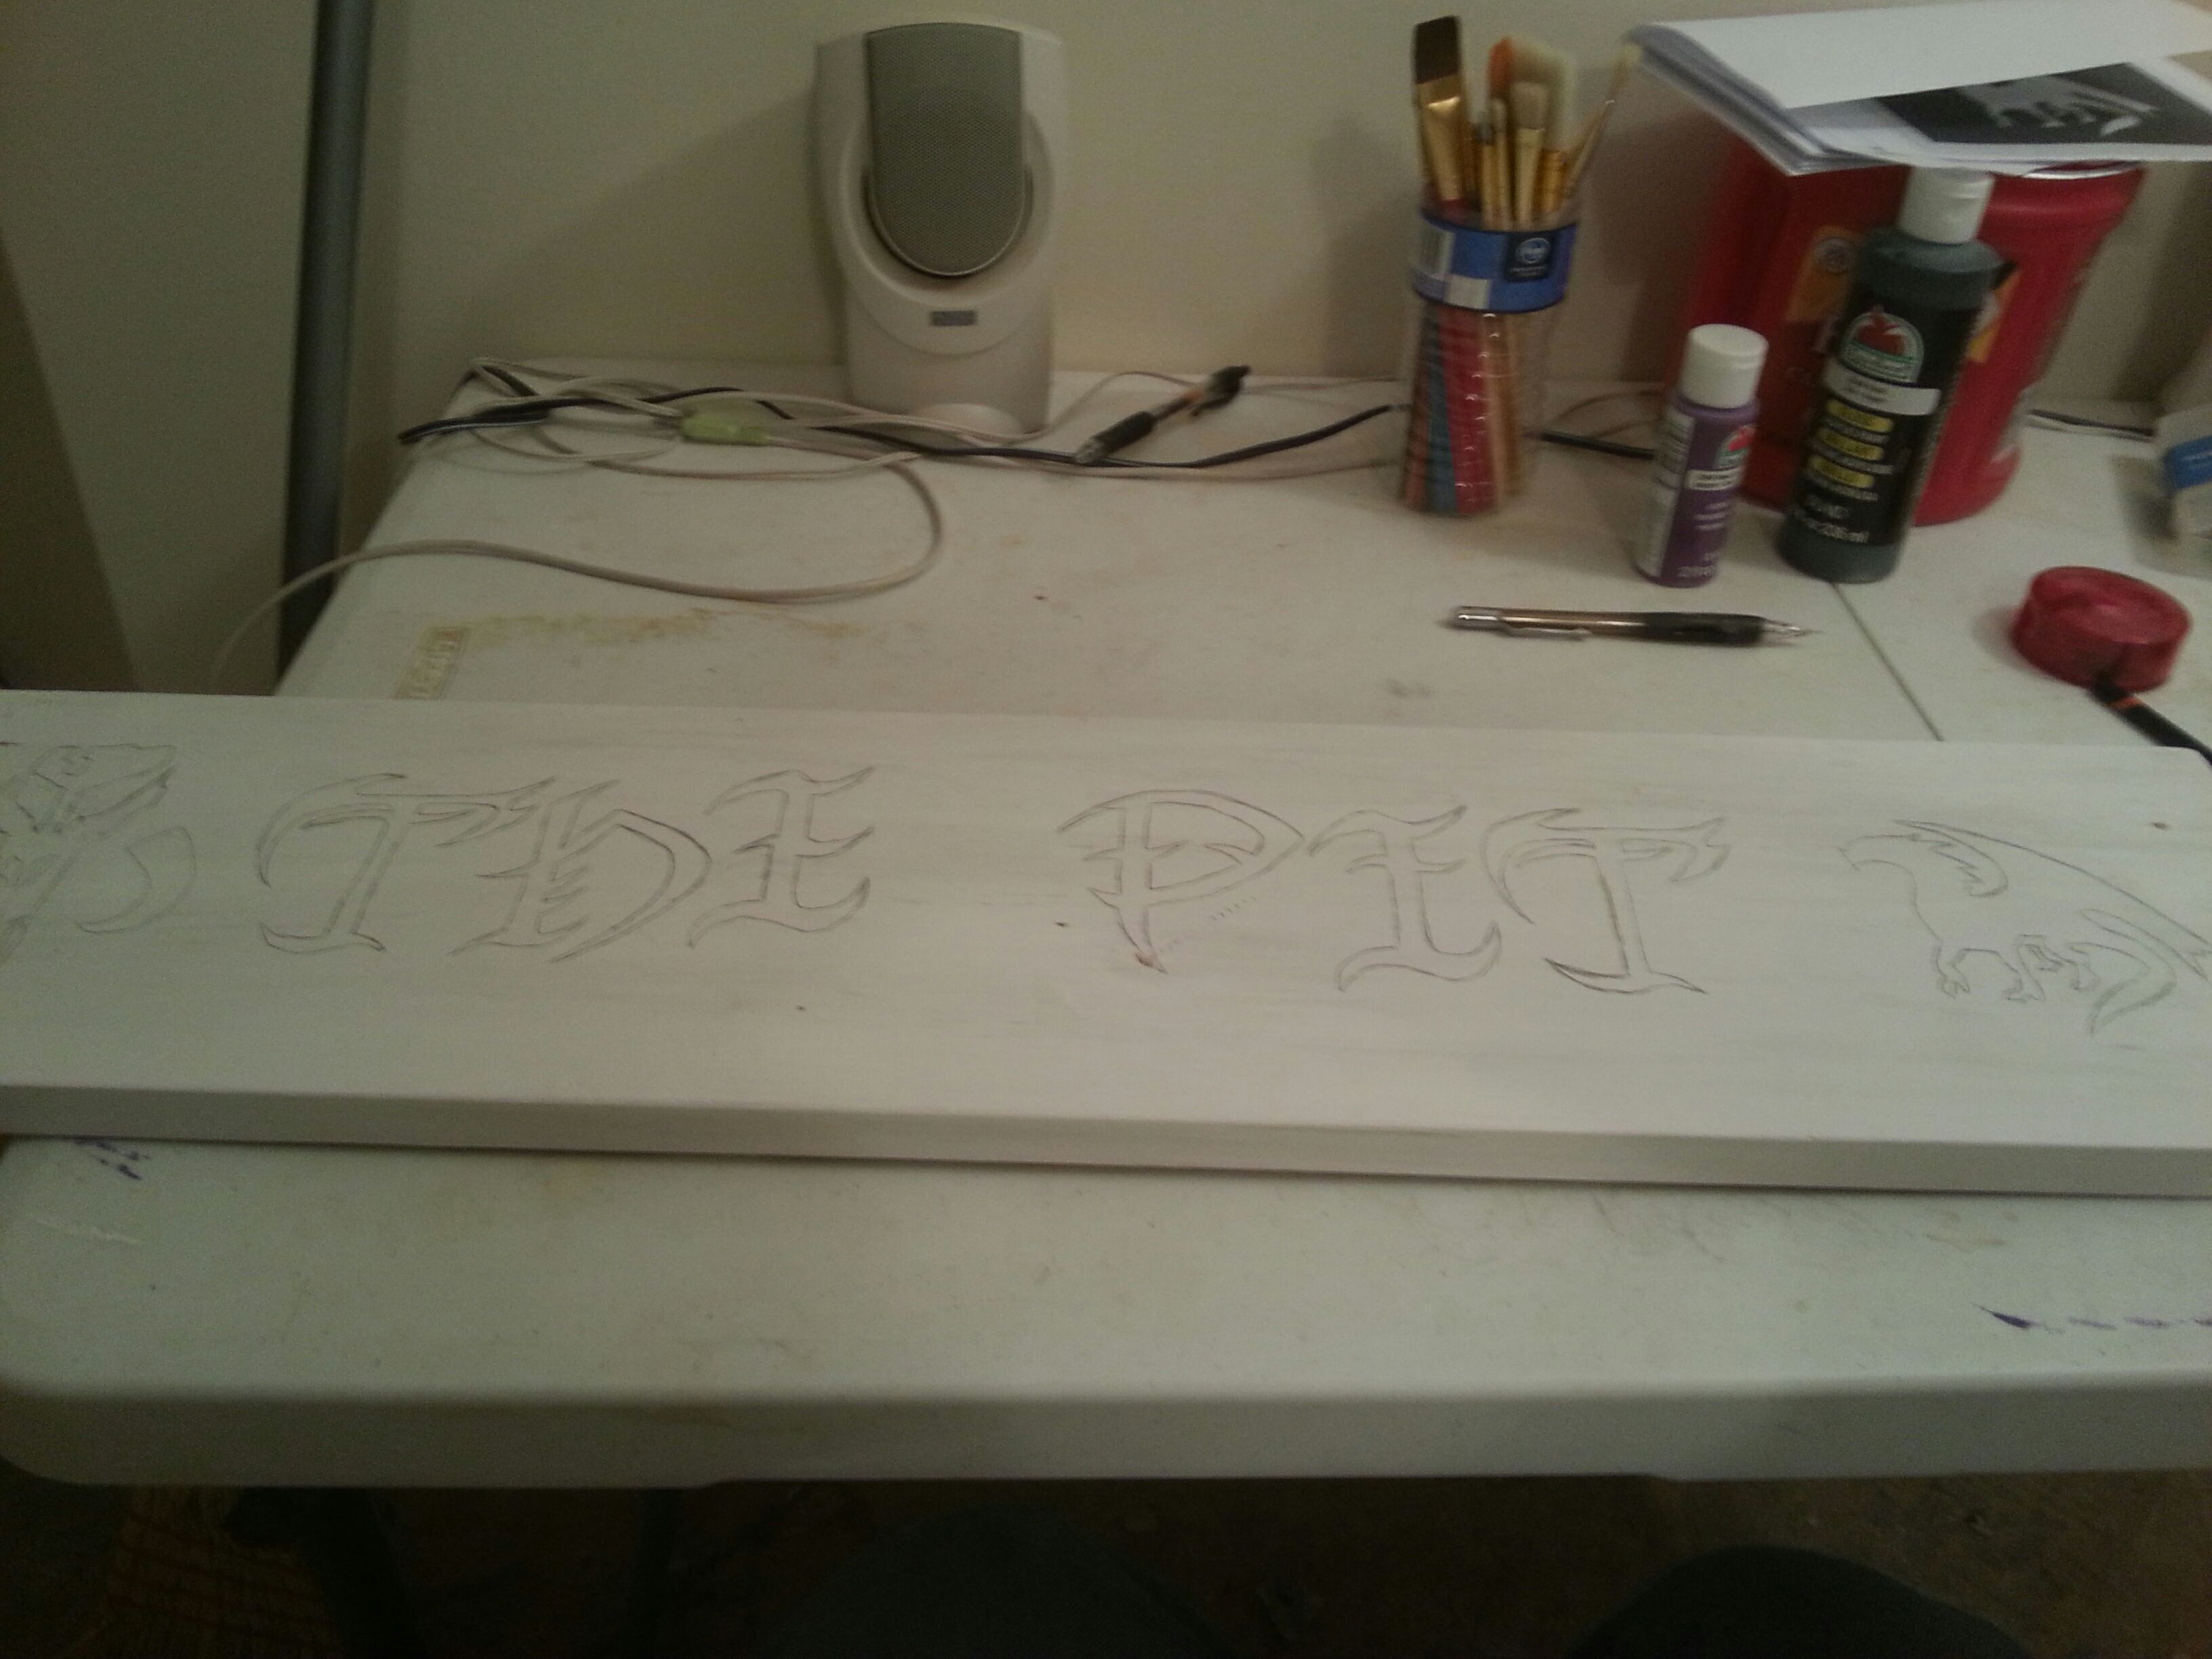
So while you are waiting for the paint to dry this would be a good time to find some stencils on Google and figure out your layout.
I had an idea of what I wanted to do and went to town with my graphics.
I then take my stencils and get a feel for the scale. As you can see on the end, I need to make my stencil a little bigger.
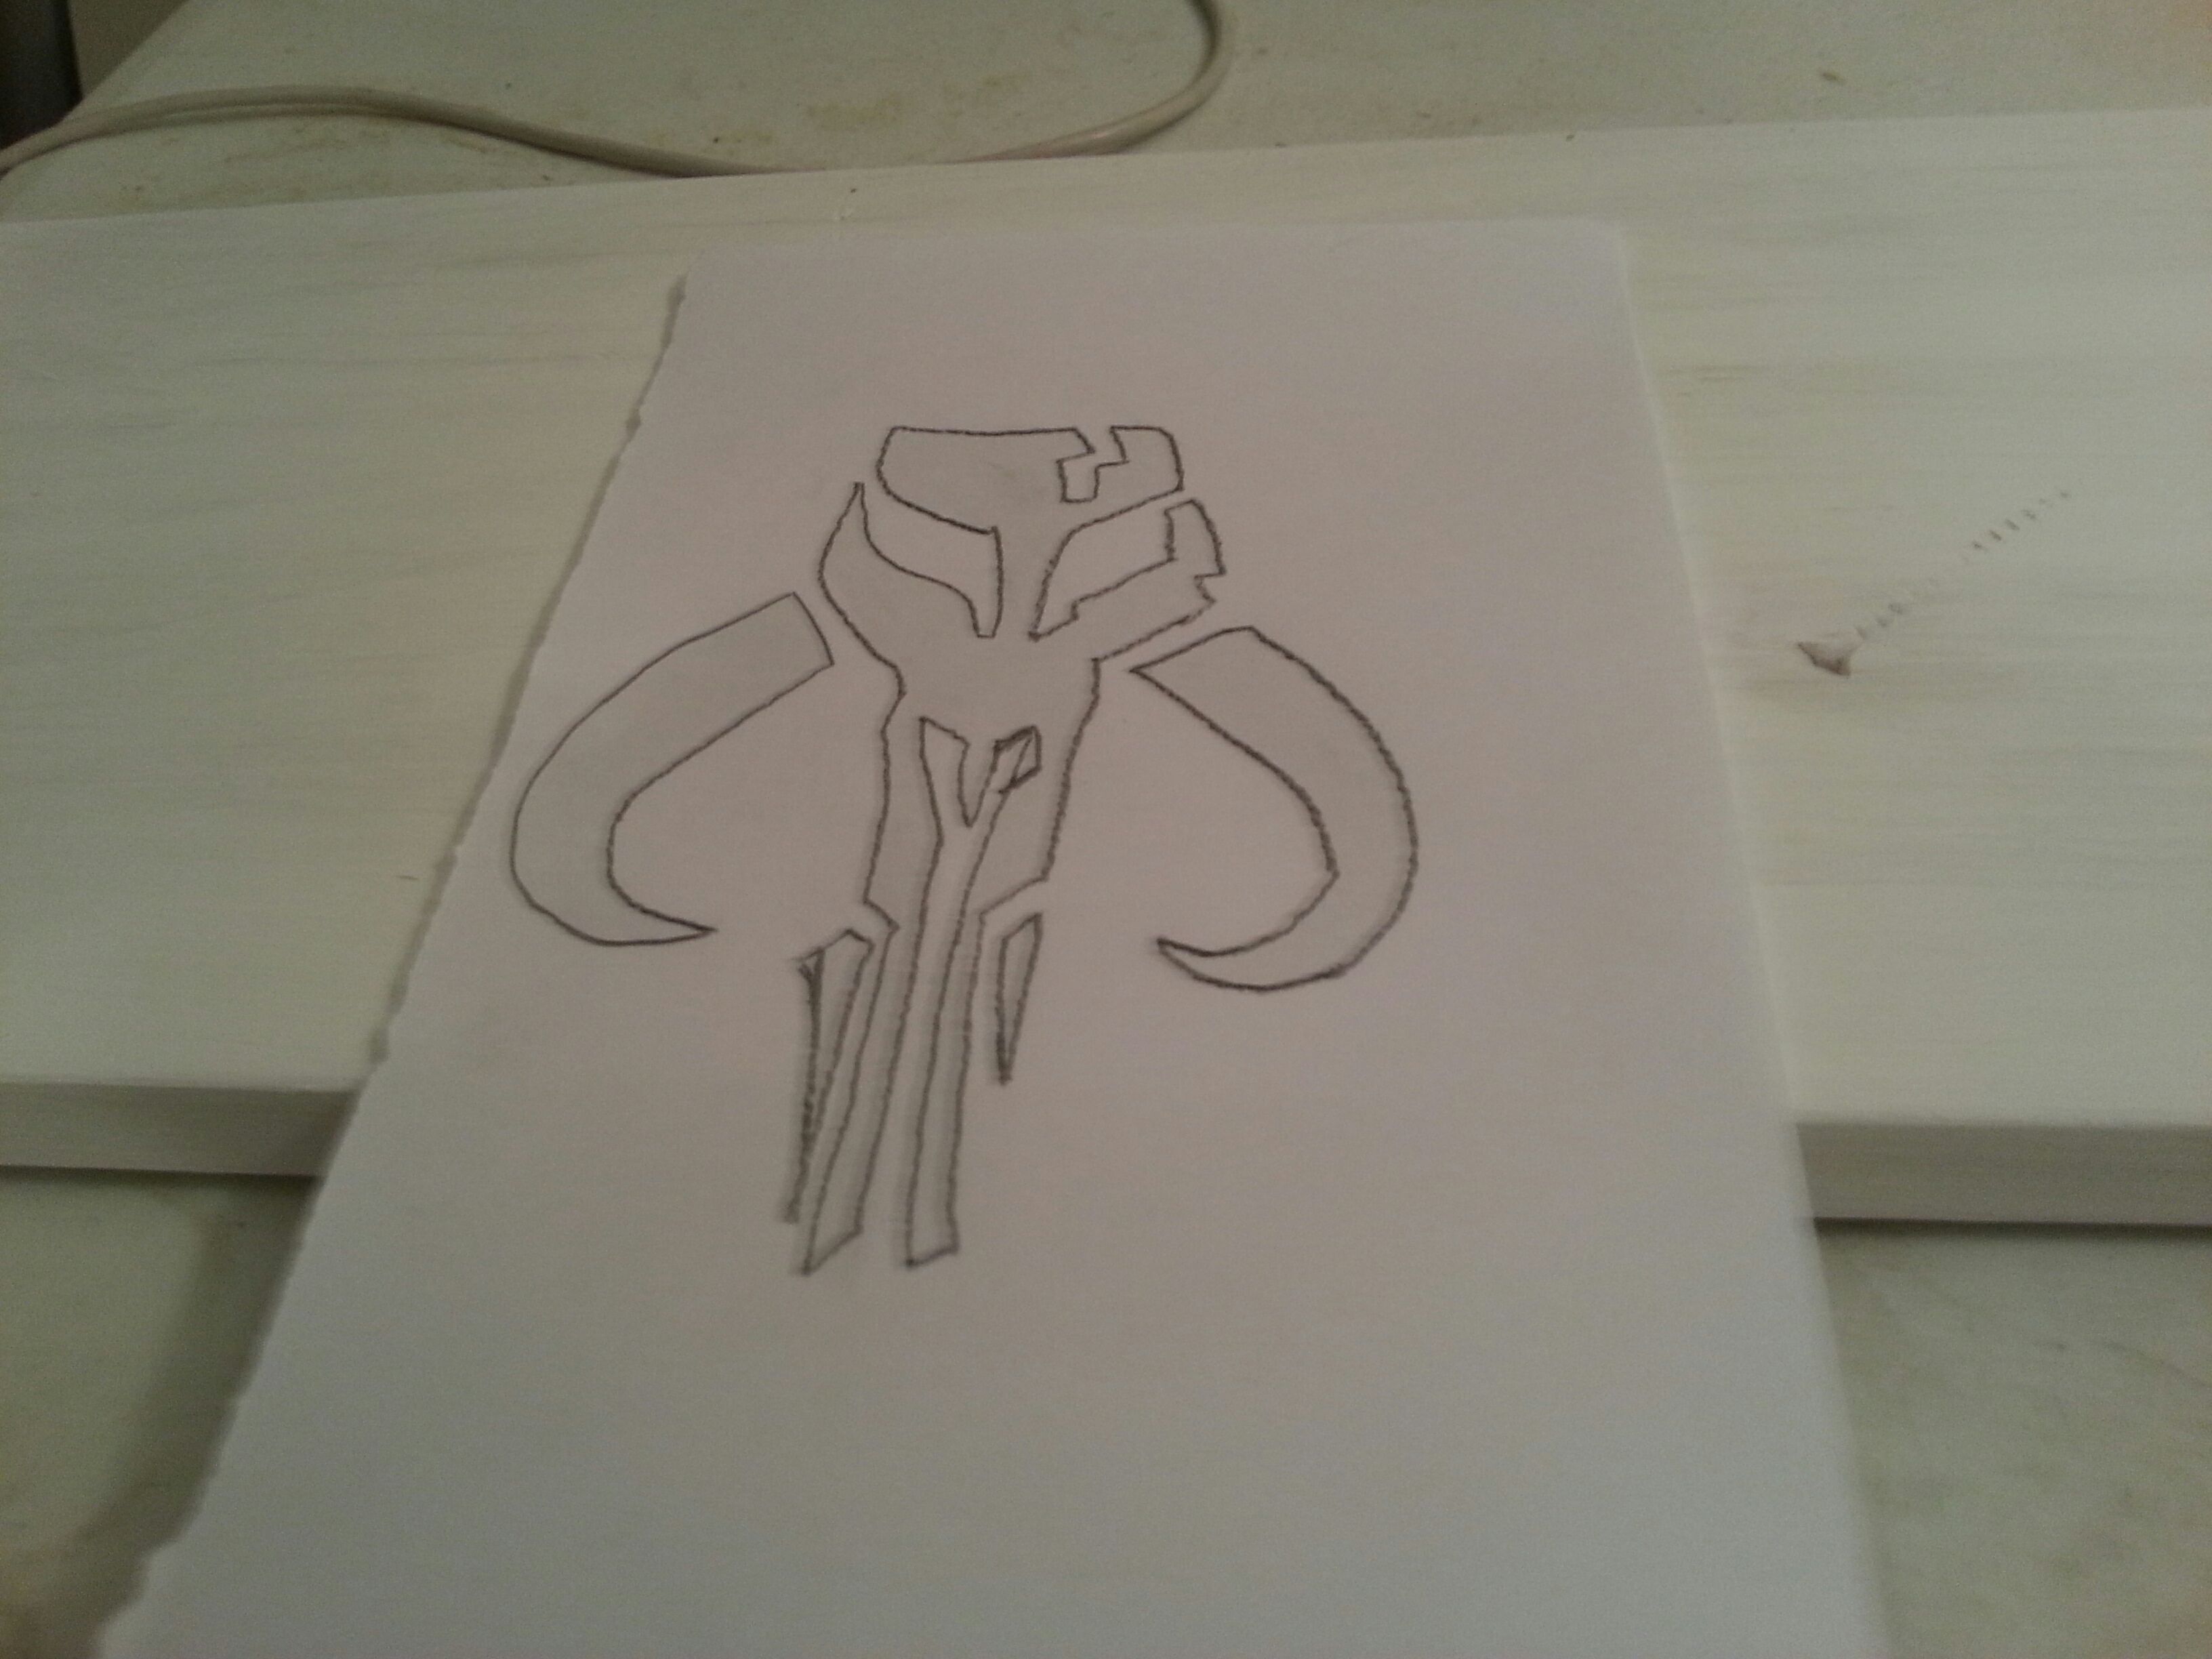
I then take this heavy lead pencil and I trace the back lines of my stencil. I then place my stencil and trace those lines and it transfers the lead to my work surface. This makes it easier for those of us with no artistic talent.
You will have to go over it again as the lines are kind of light. So keep the stencil handy for reference.
Once your done with your stencils you are ready to paint.
Painting
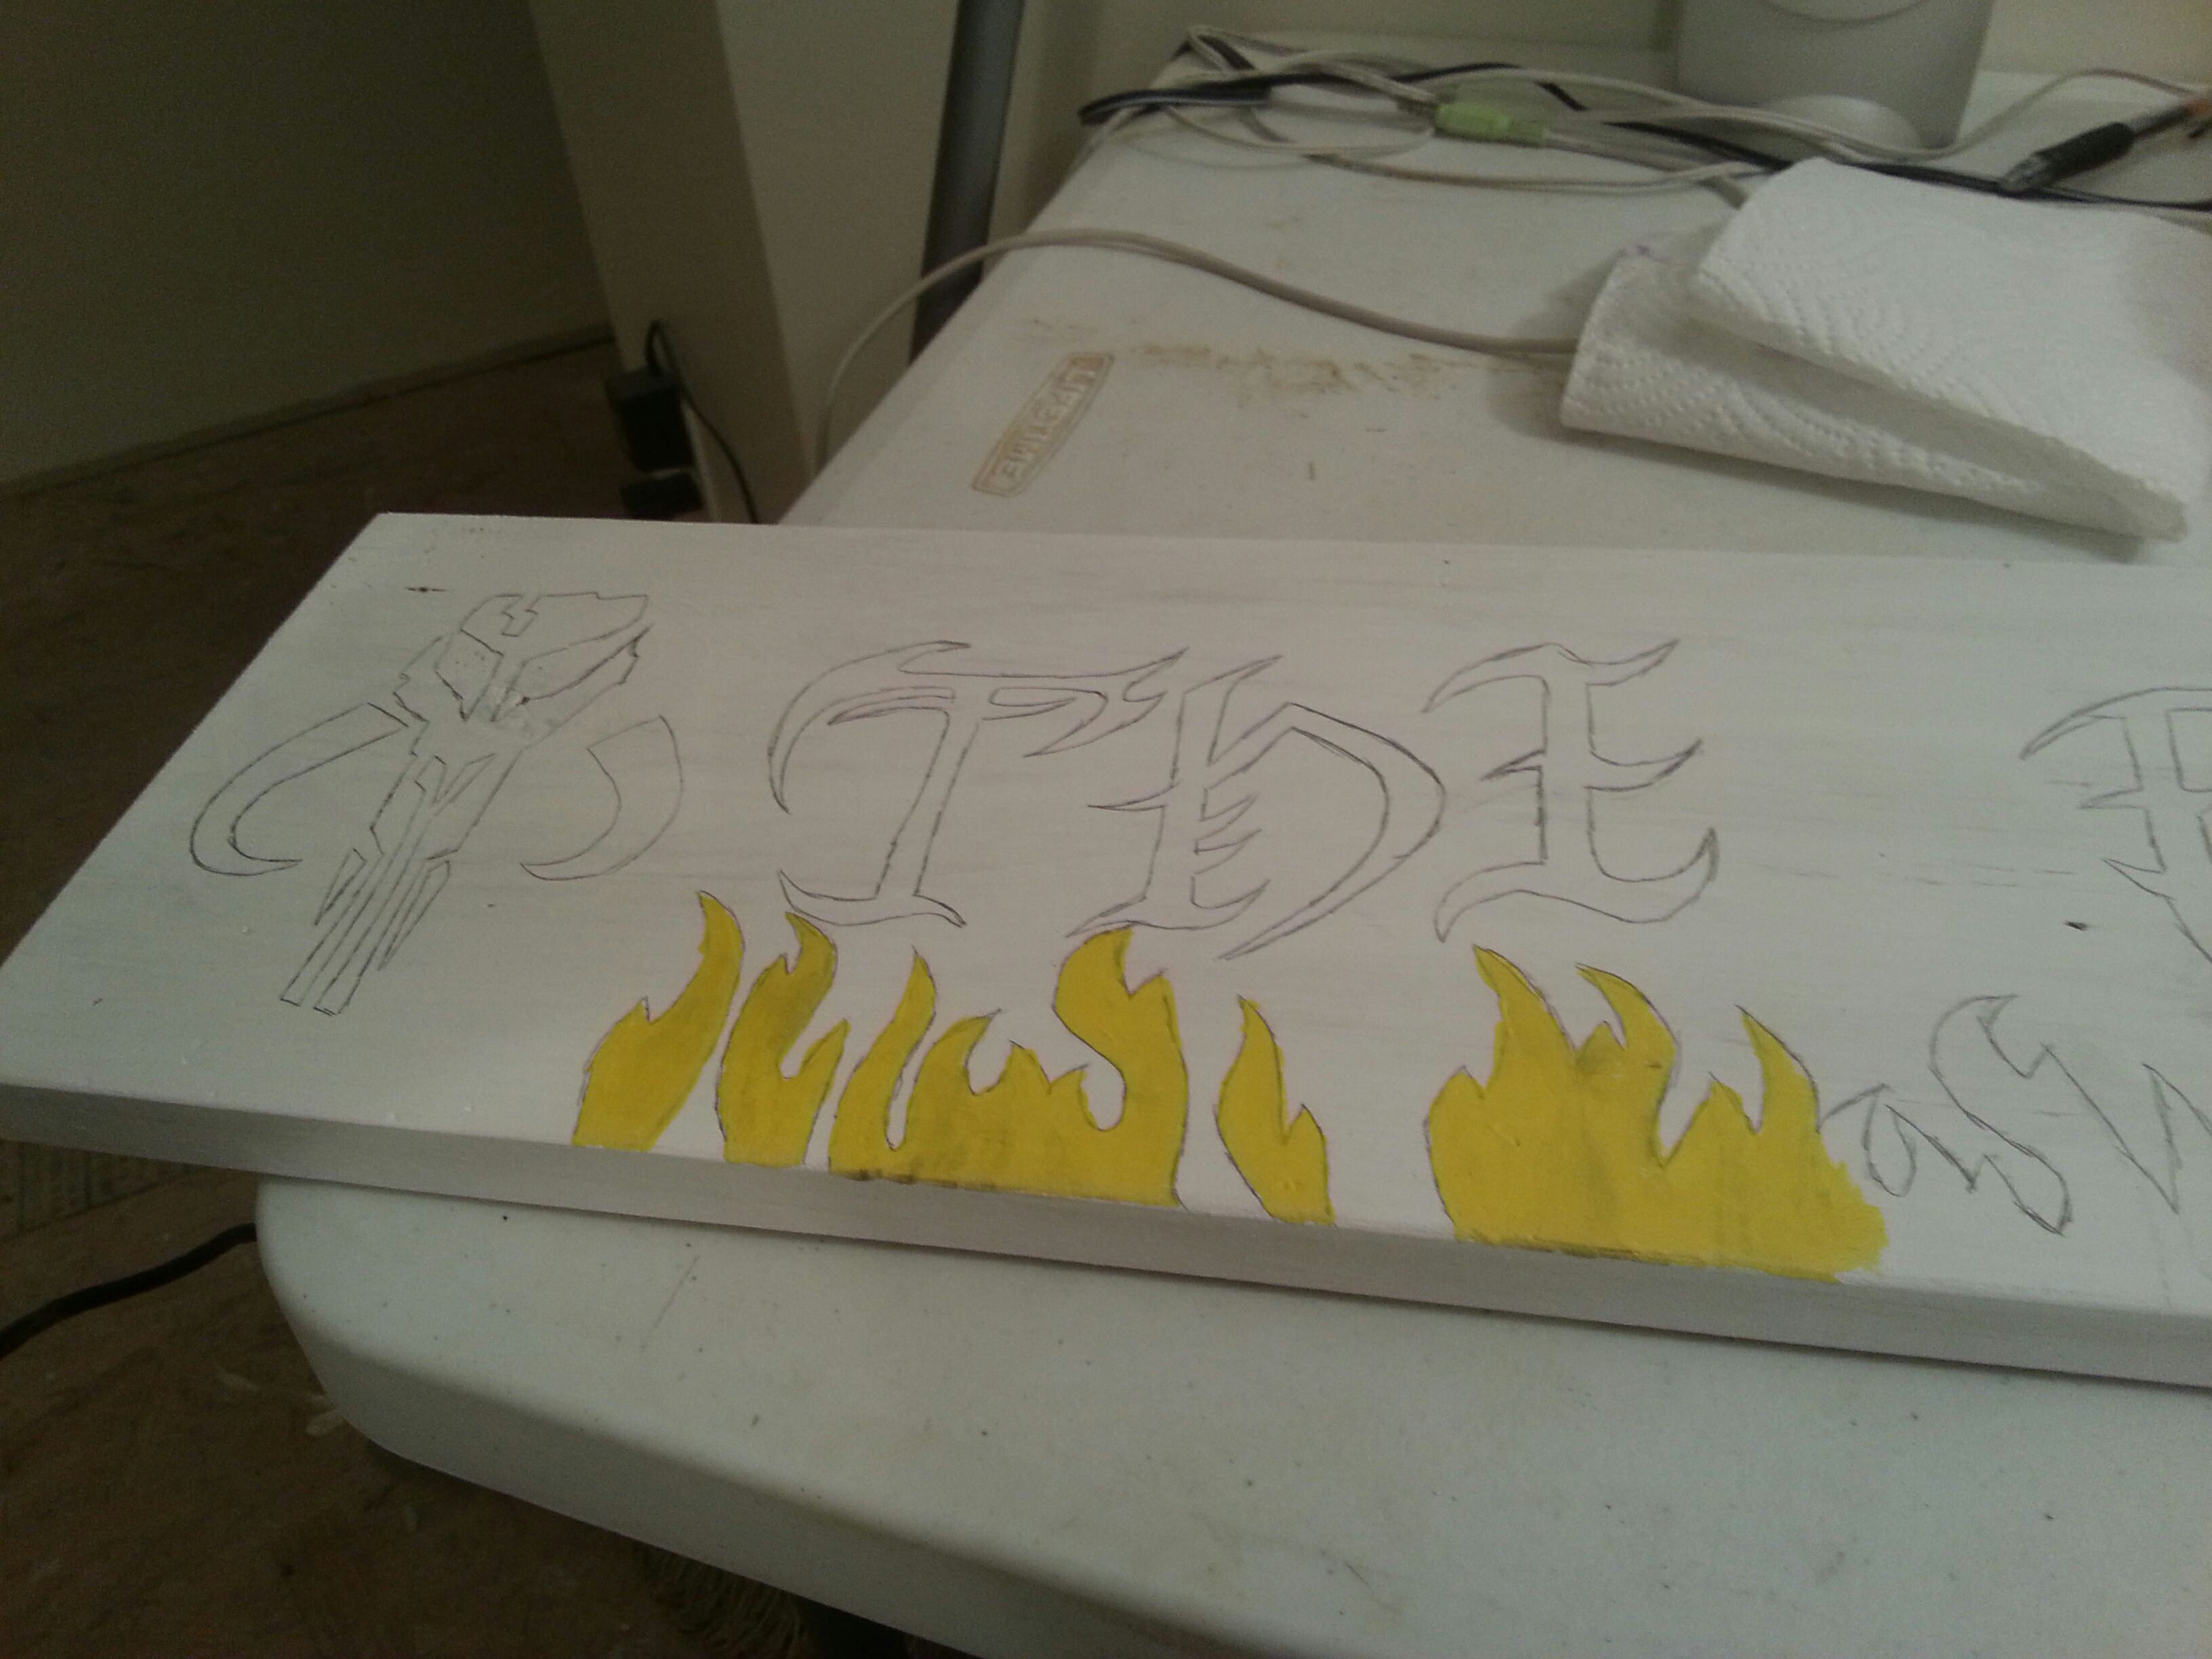
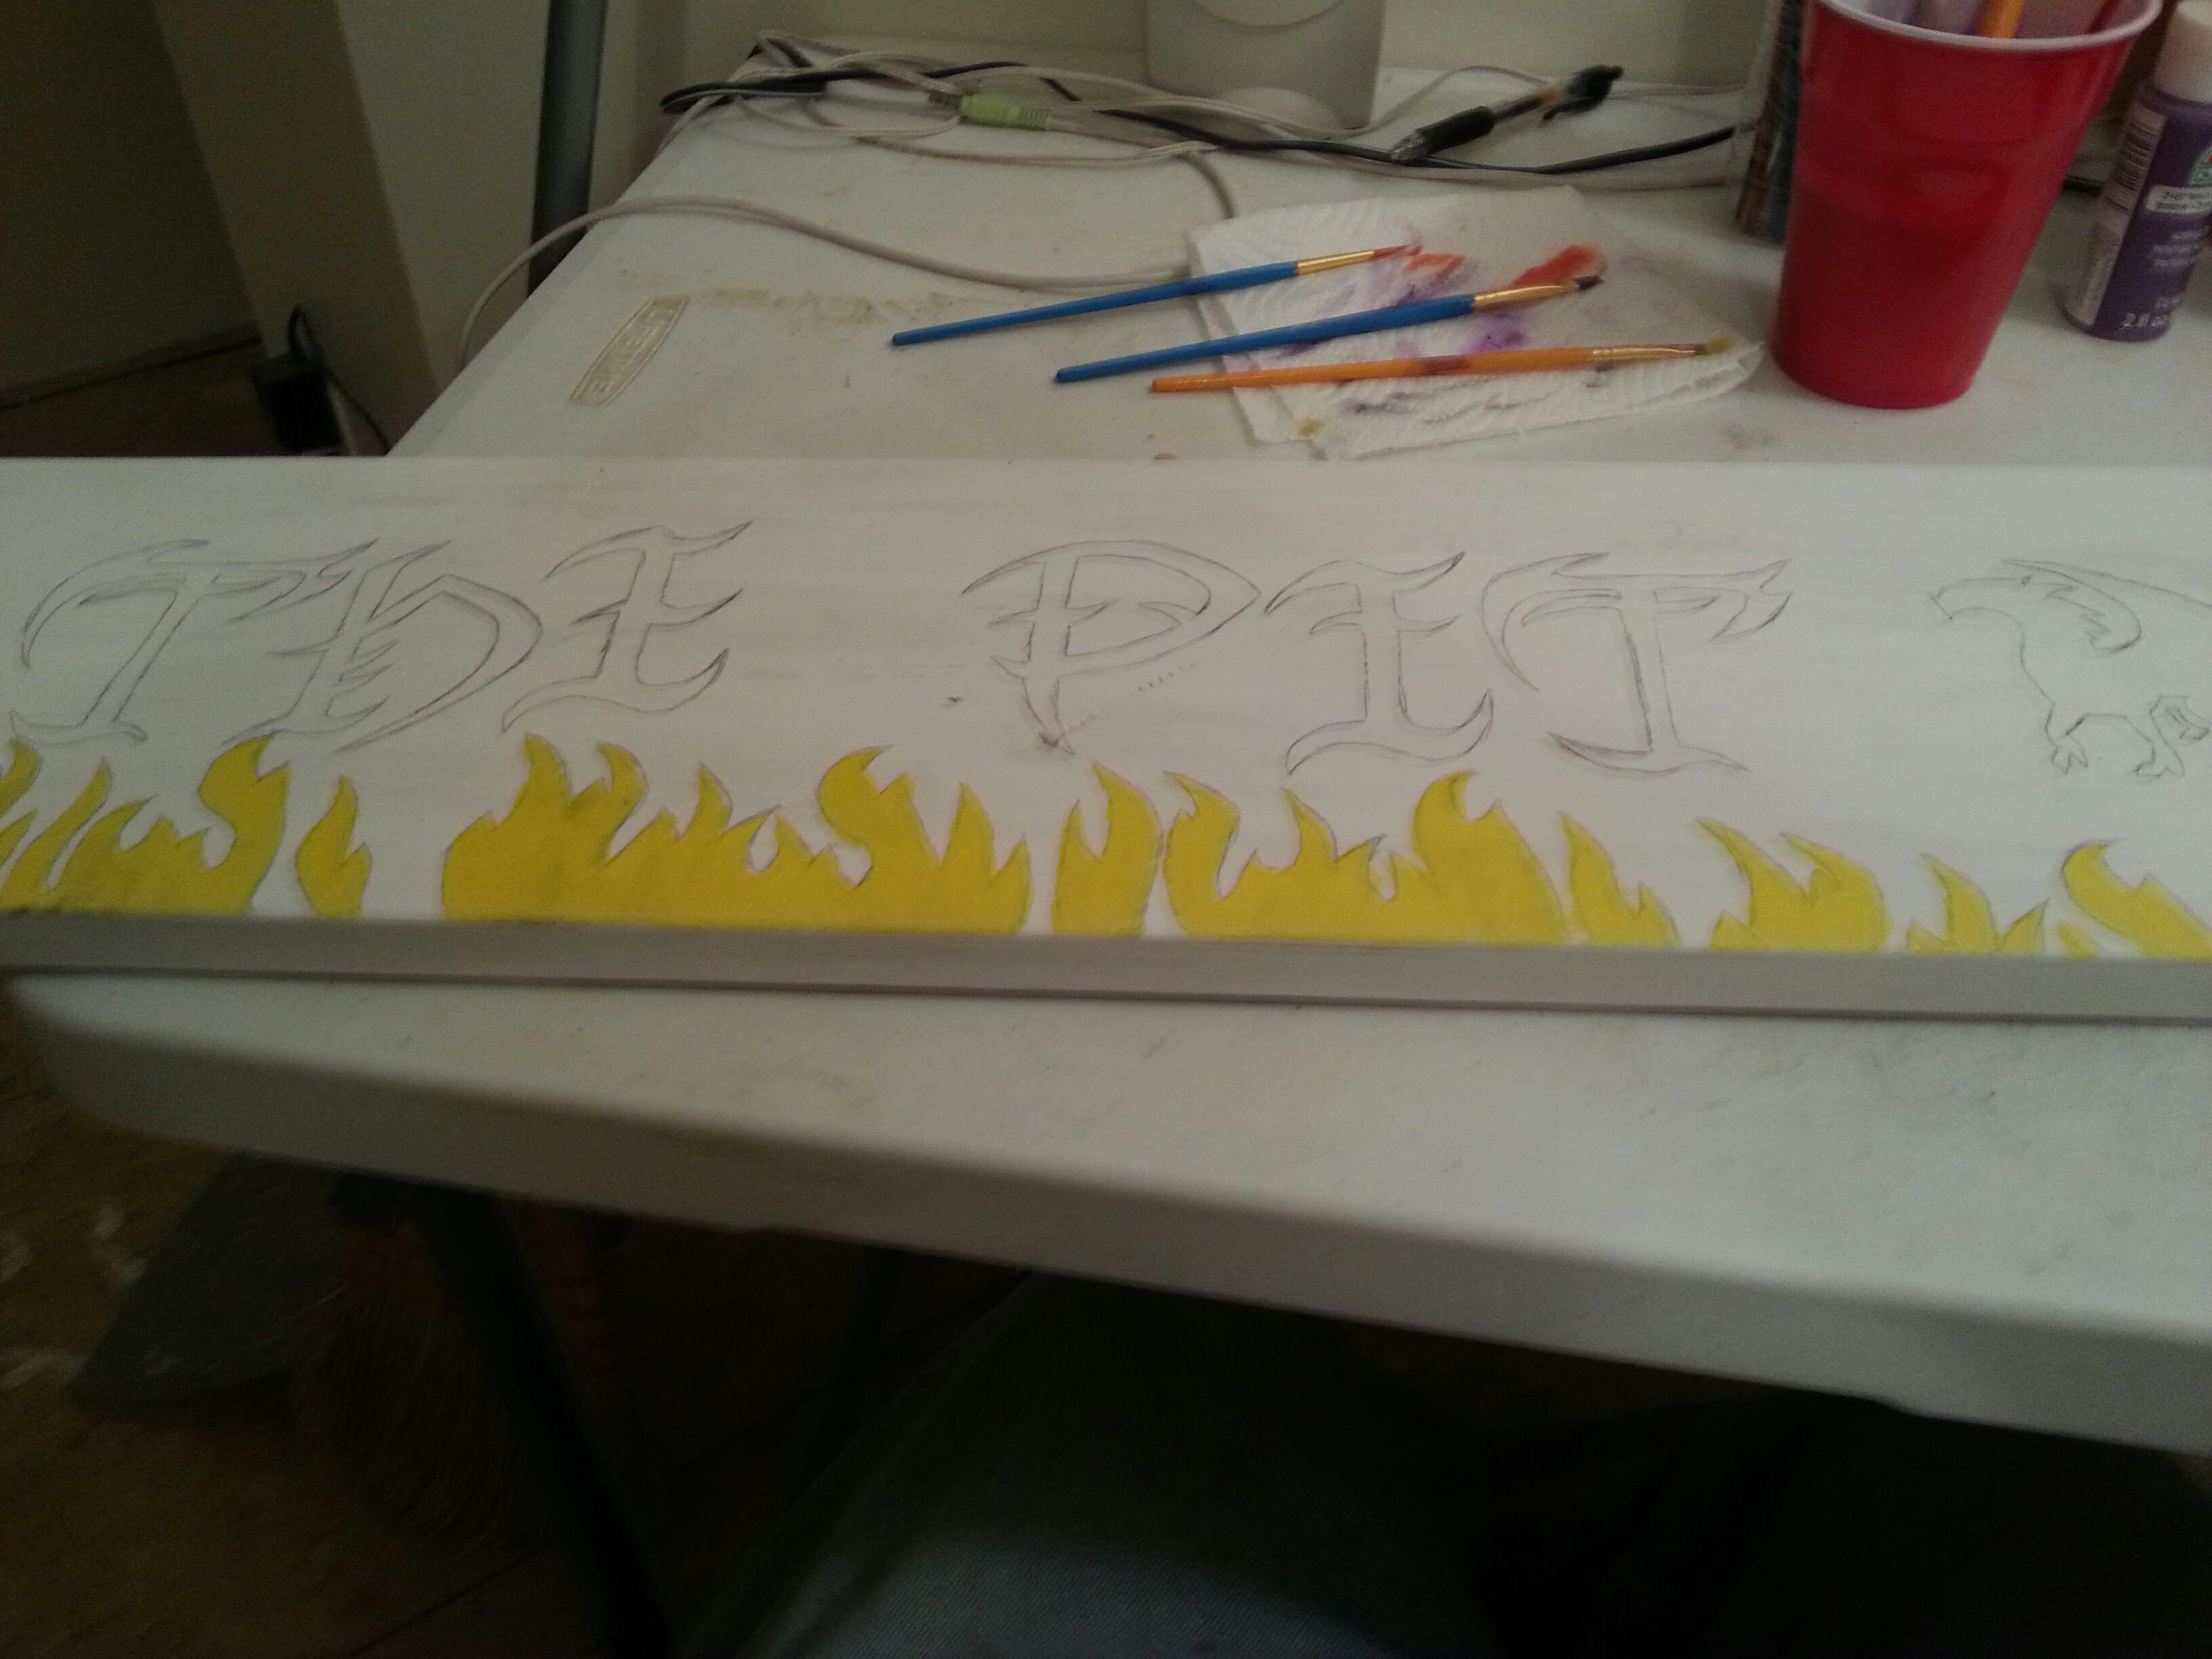
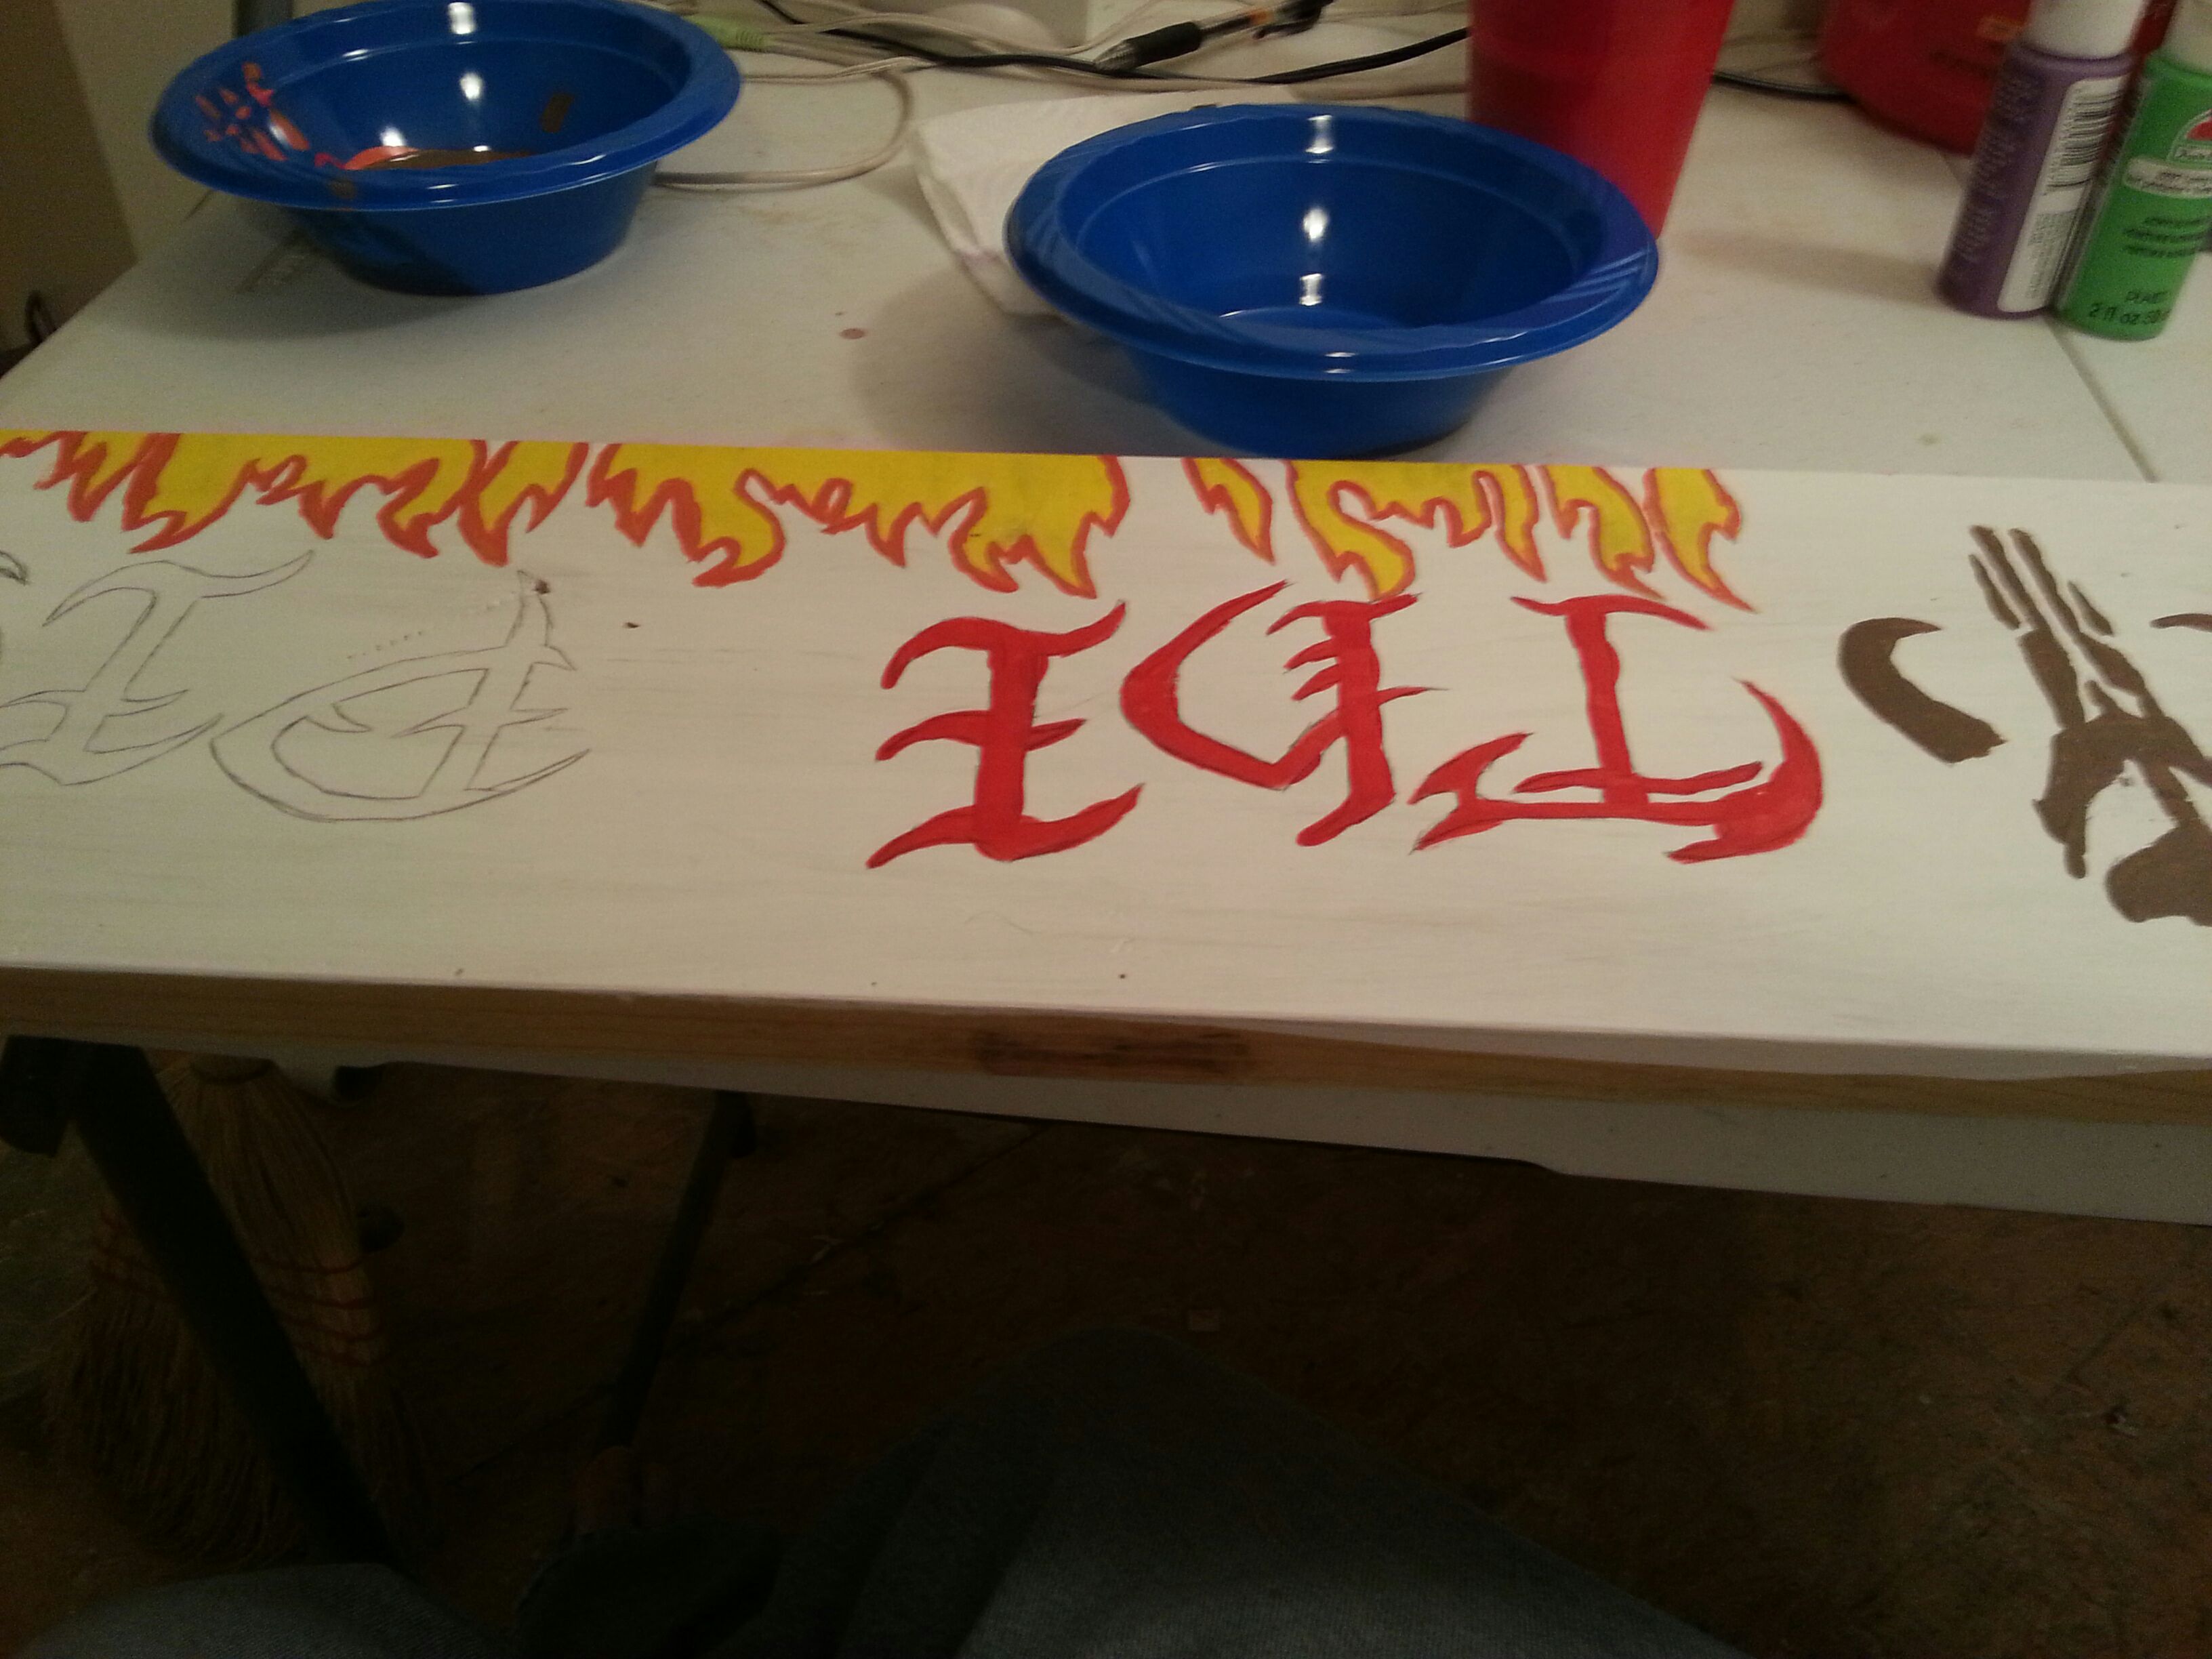
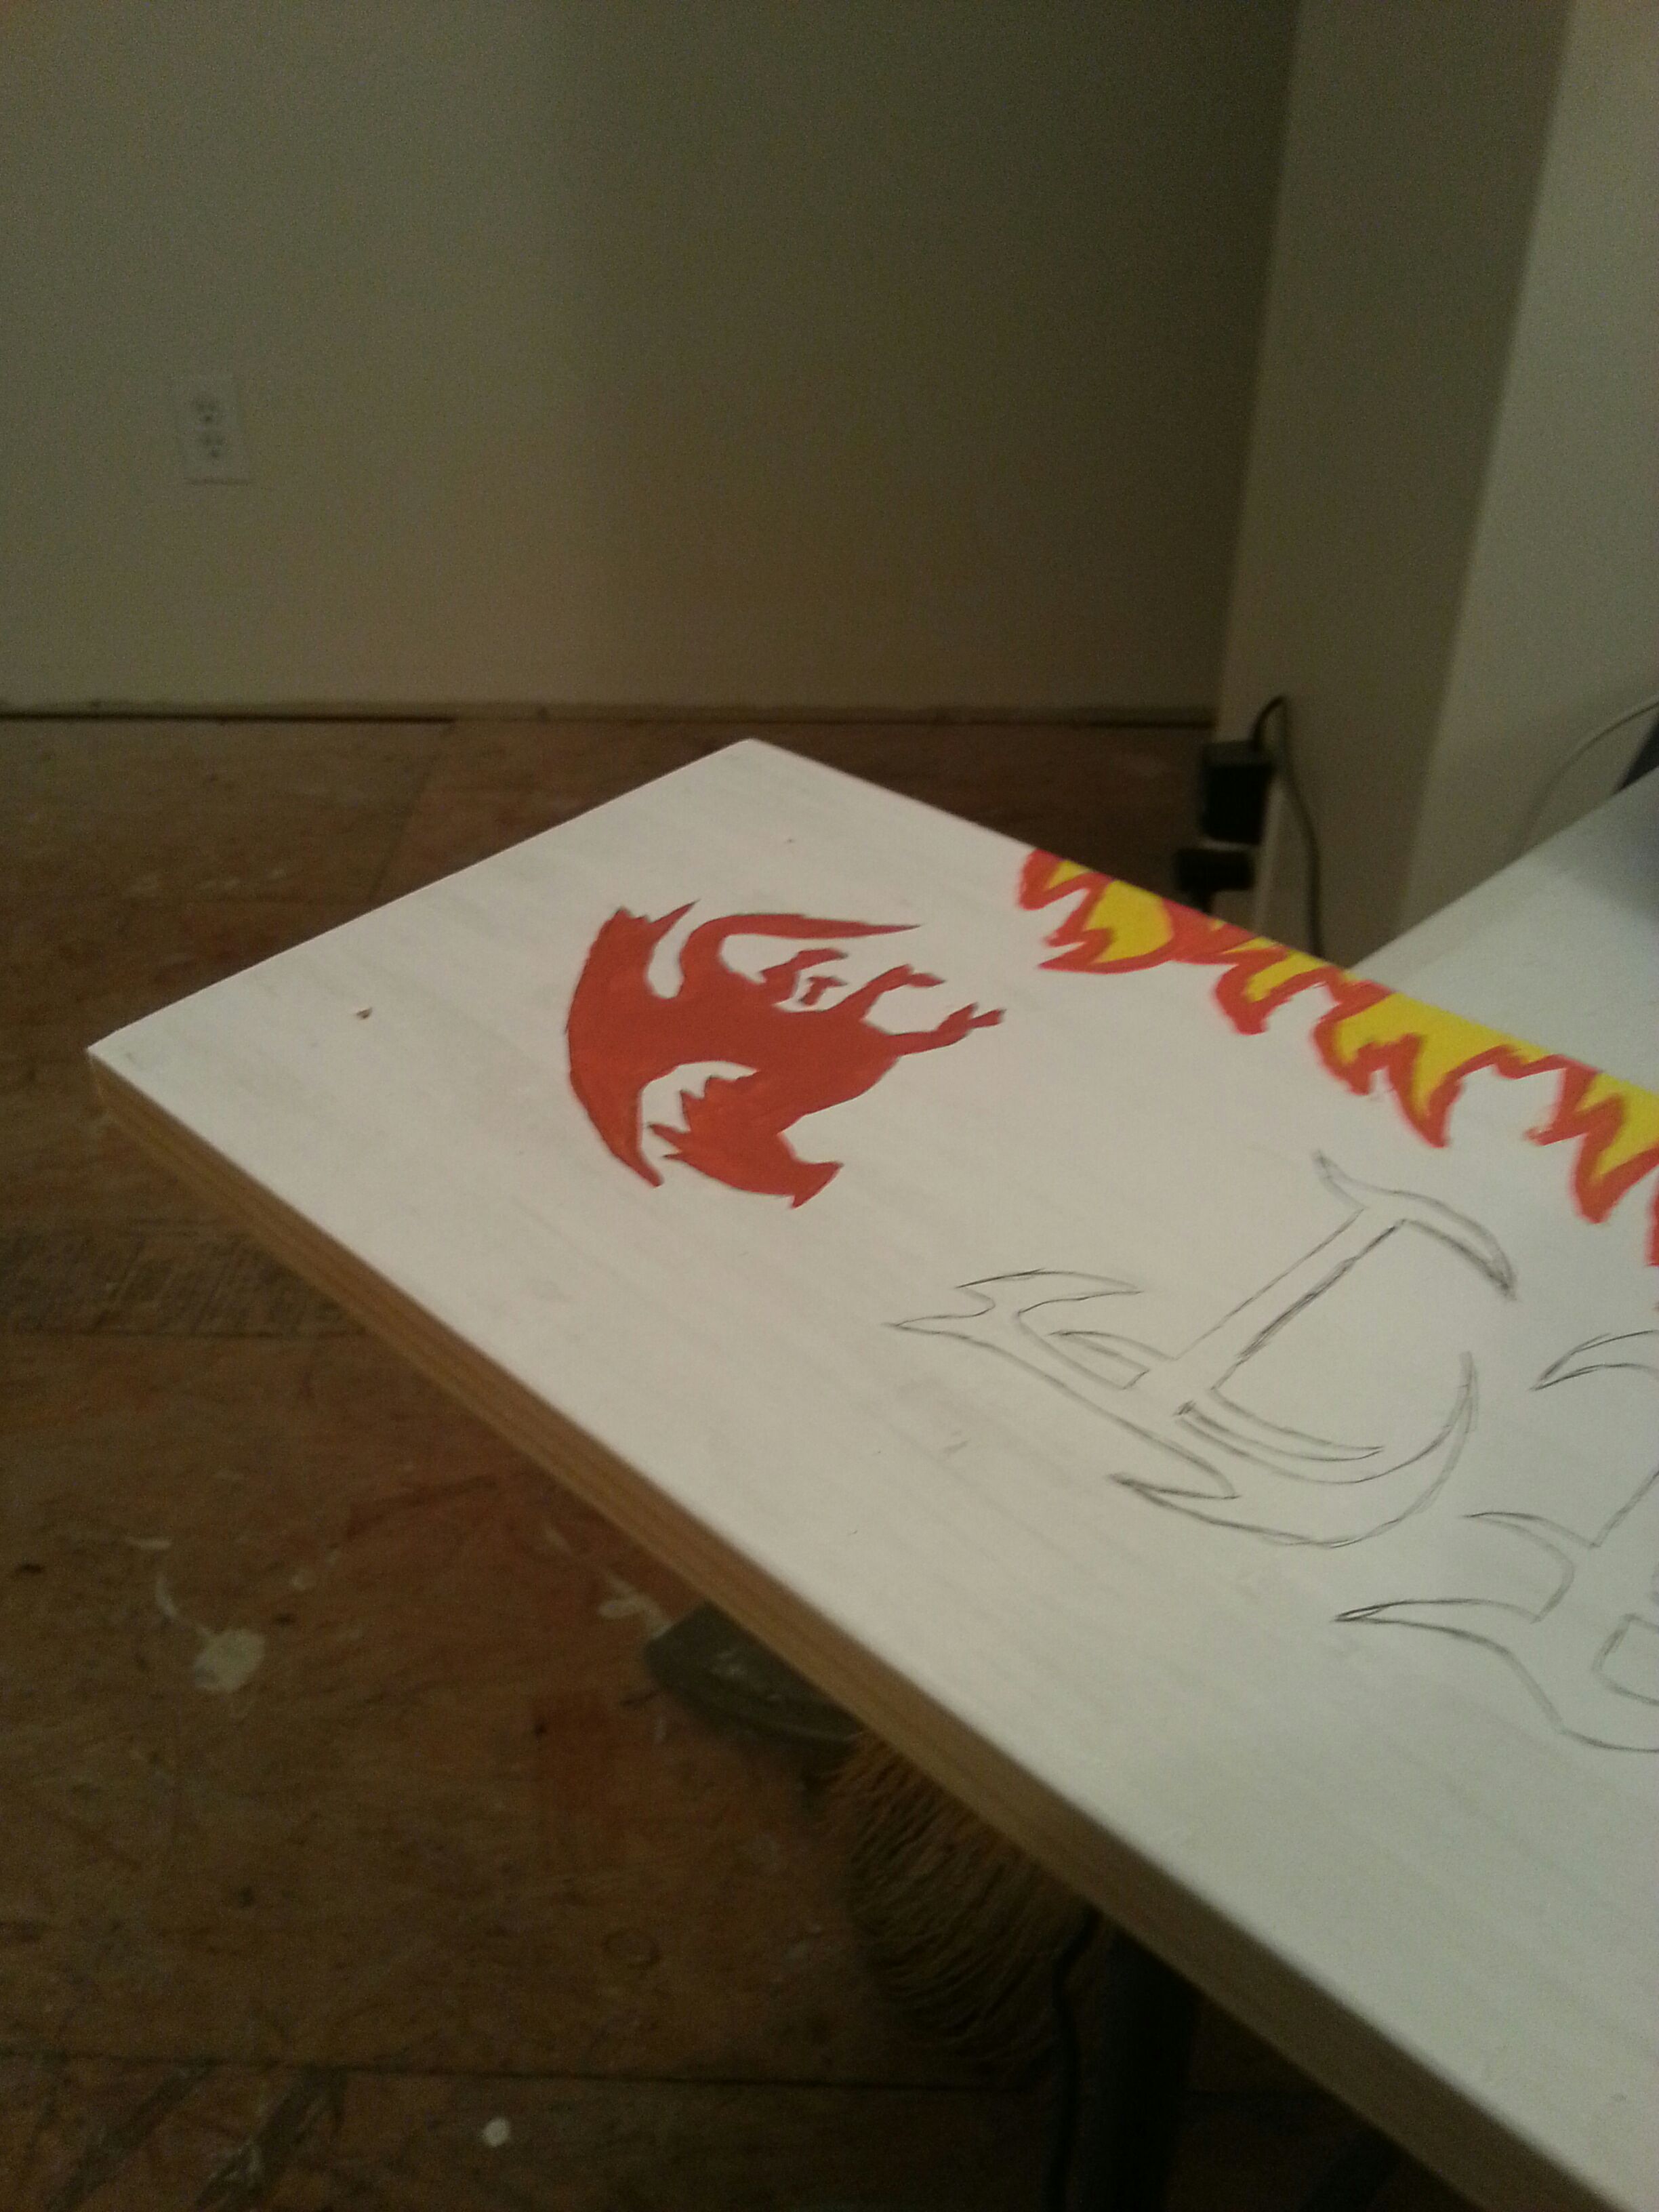
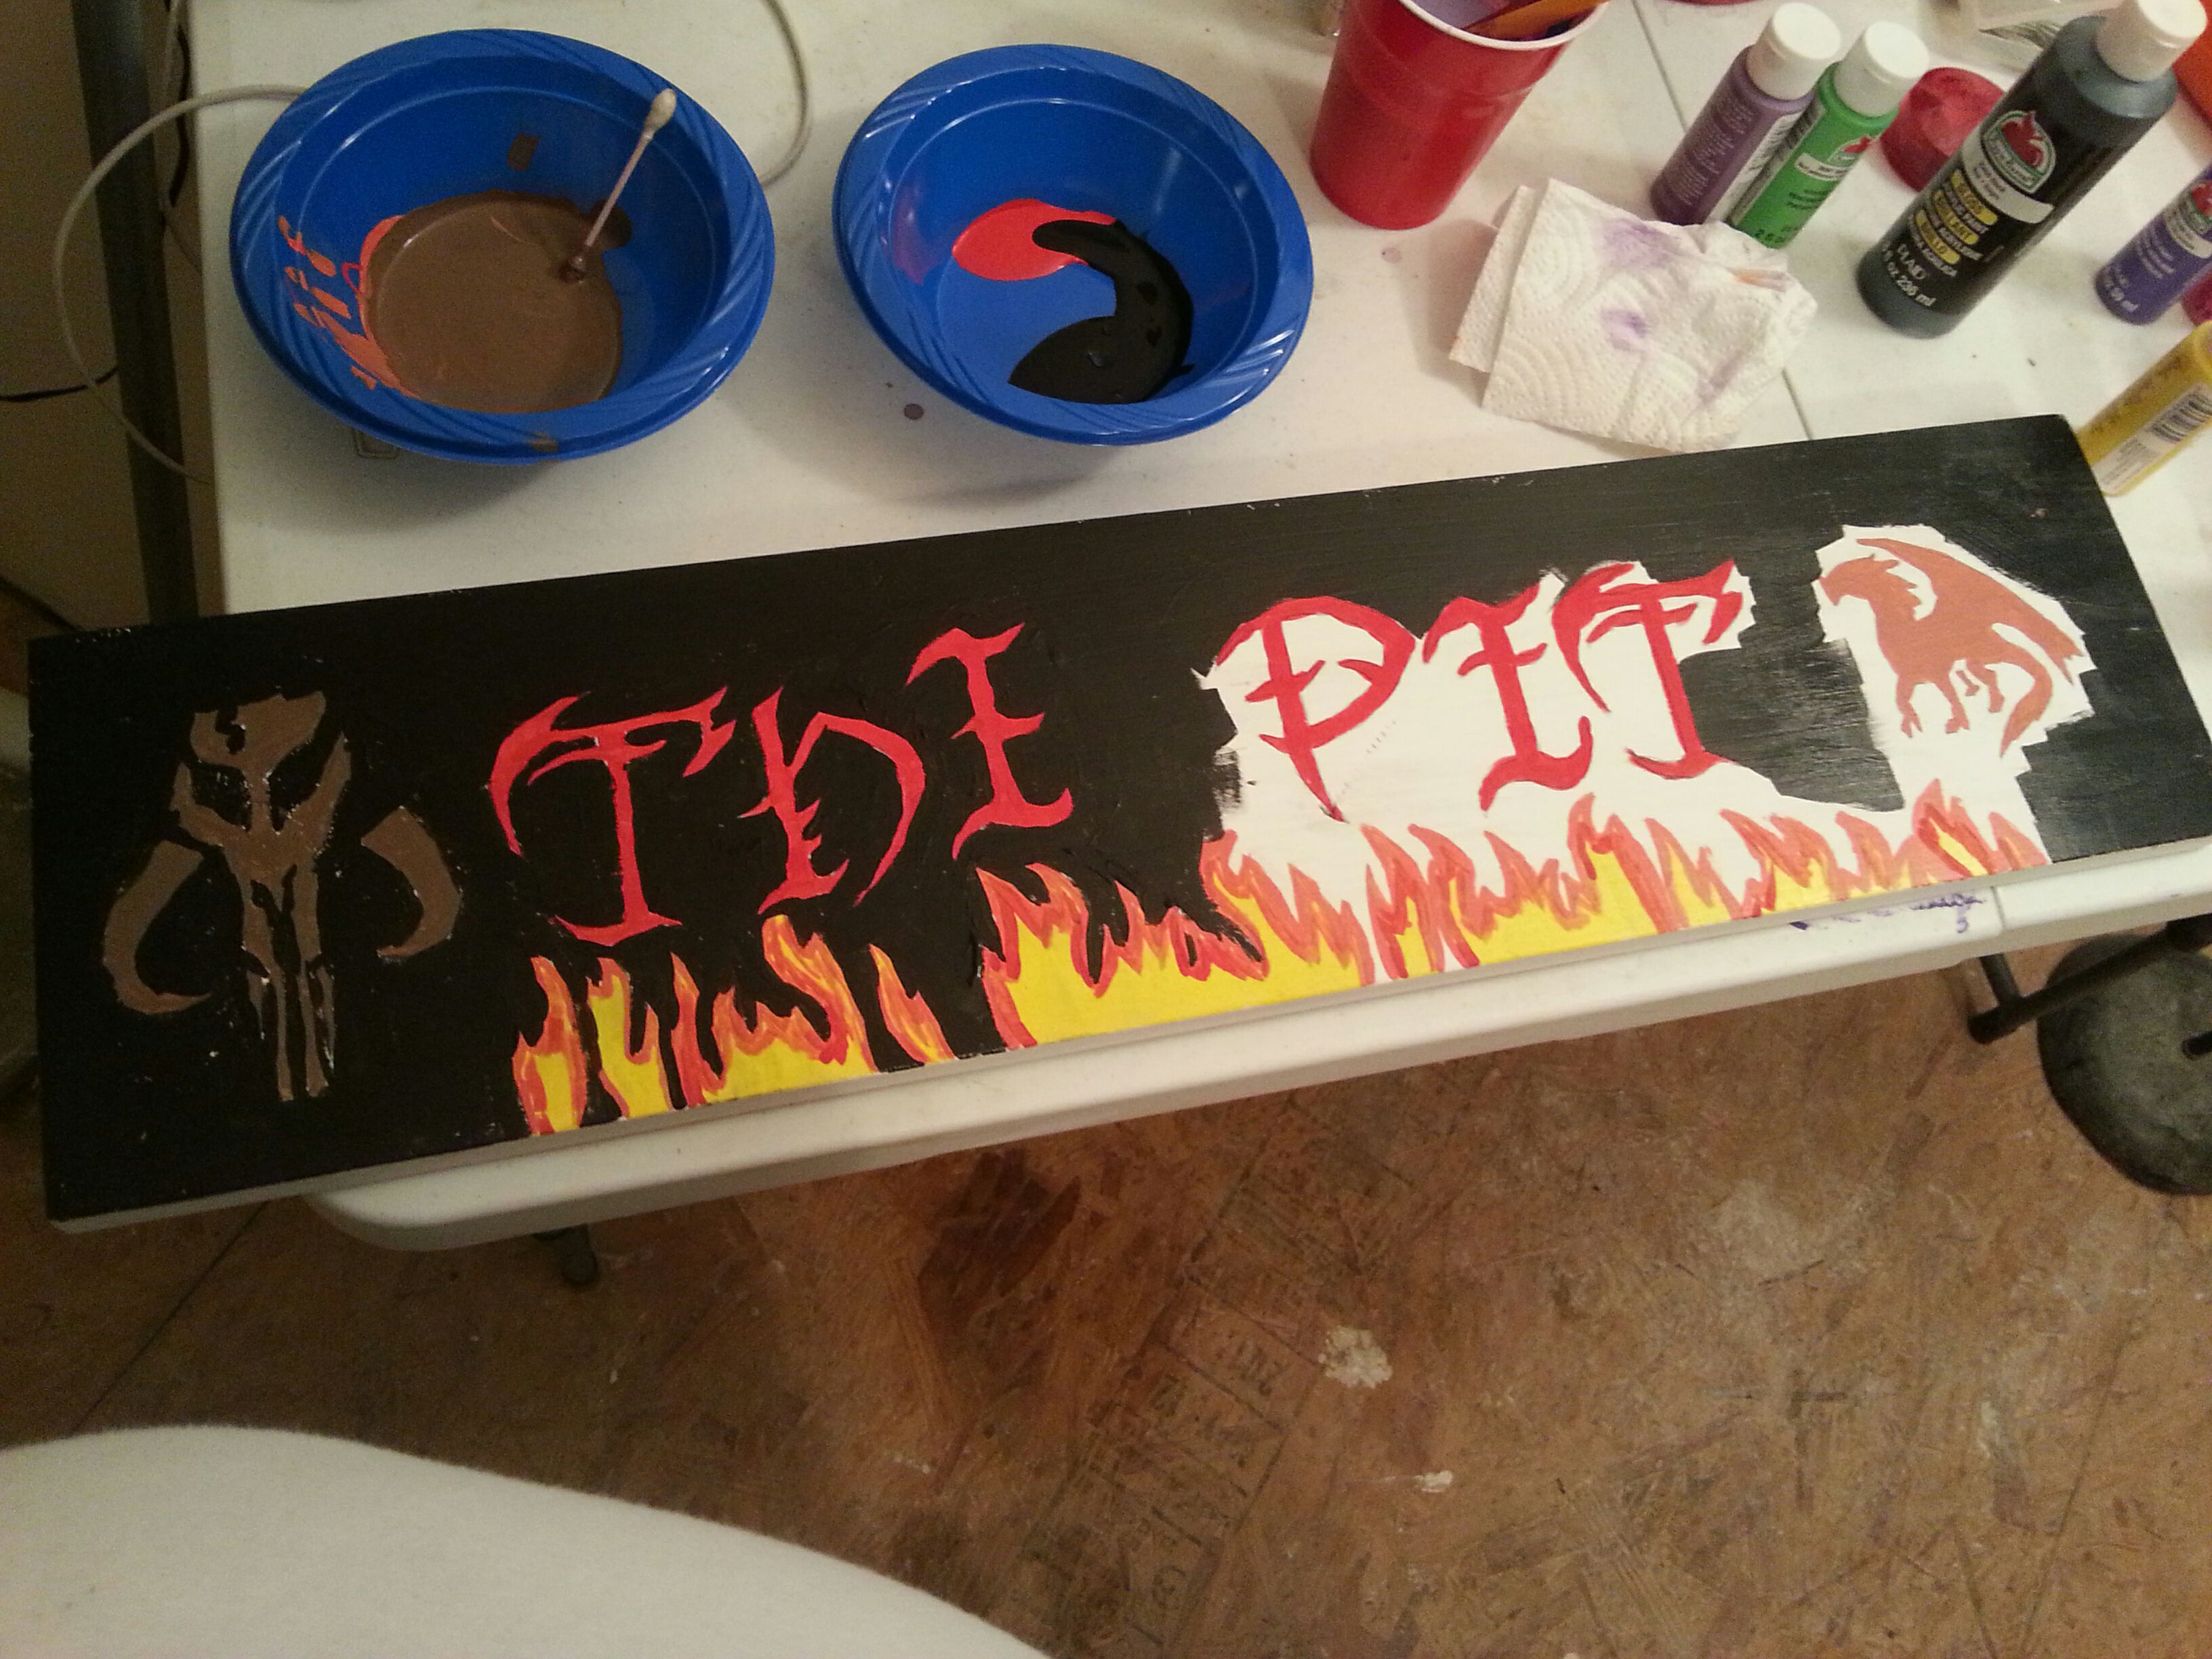
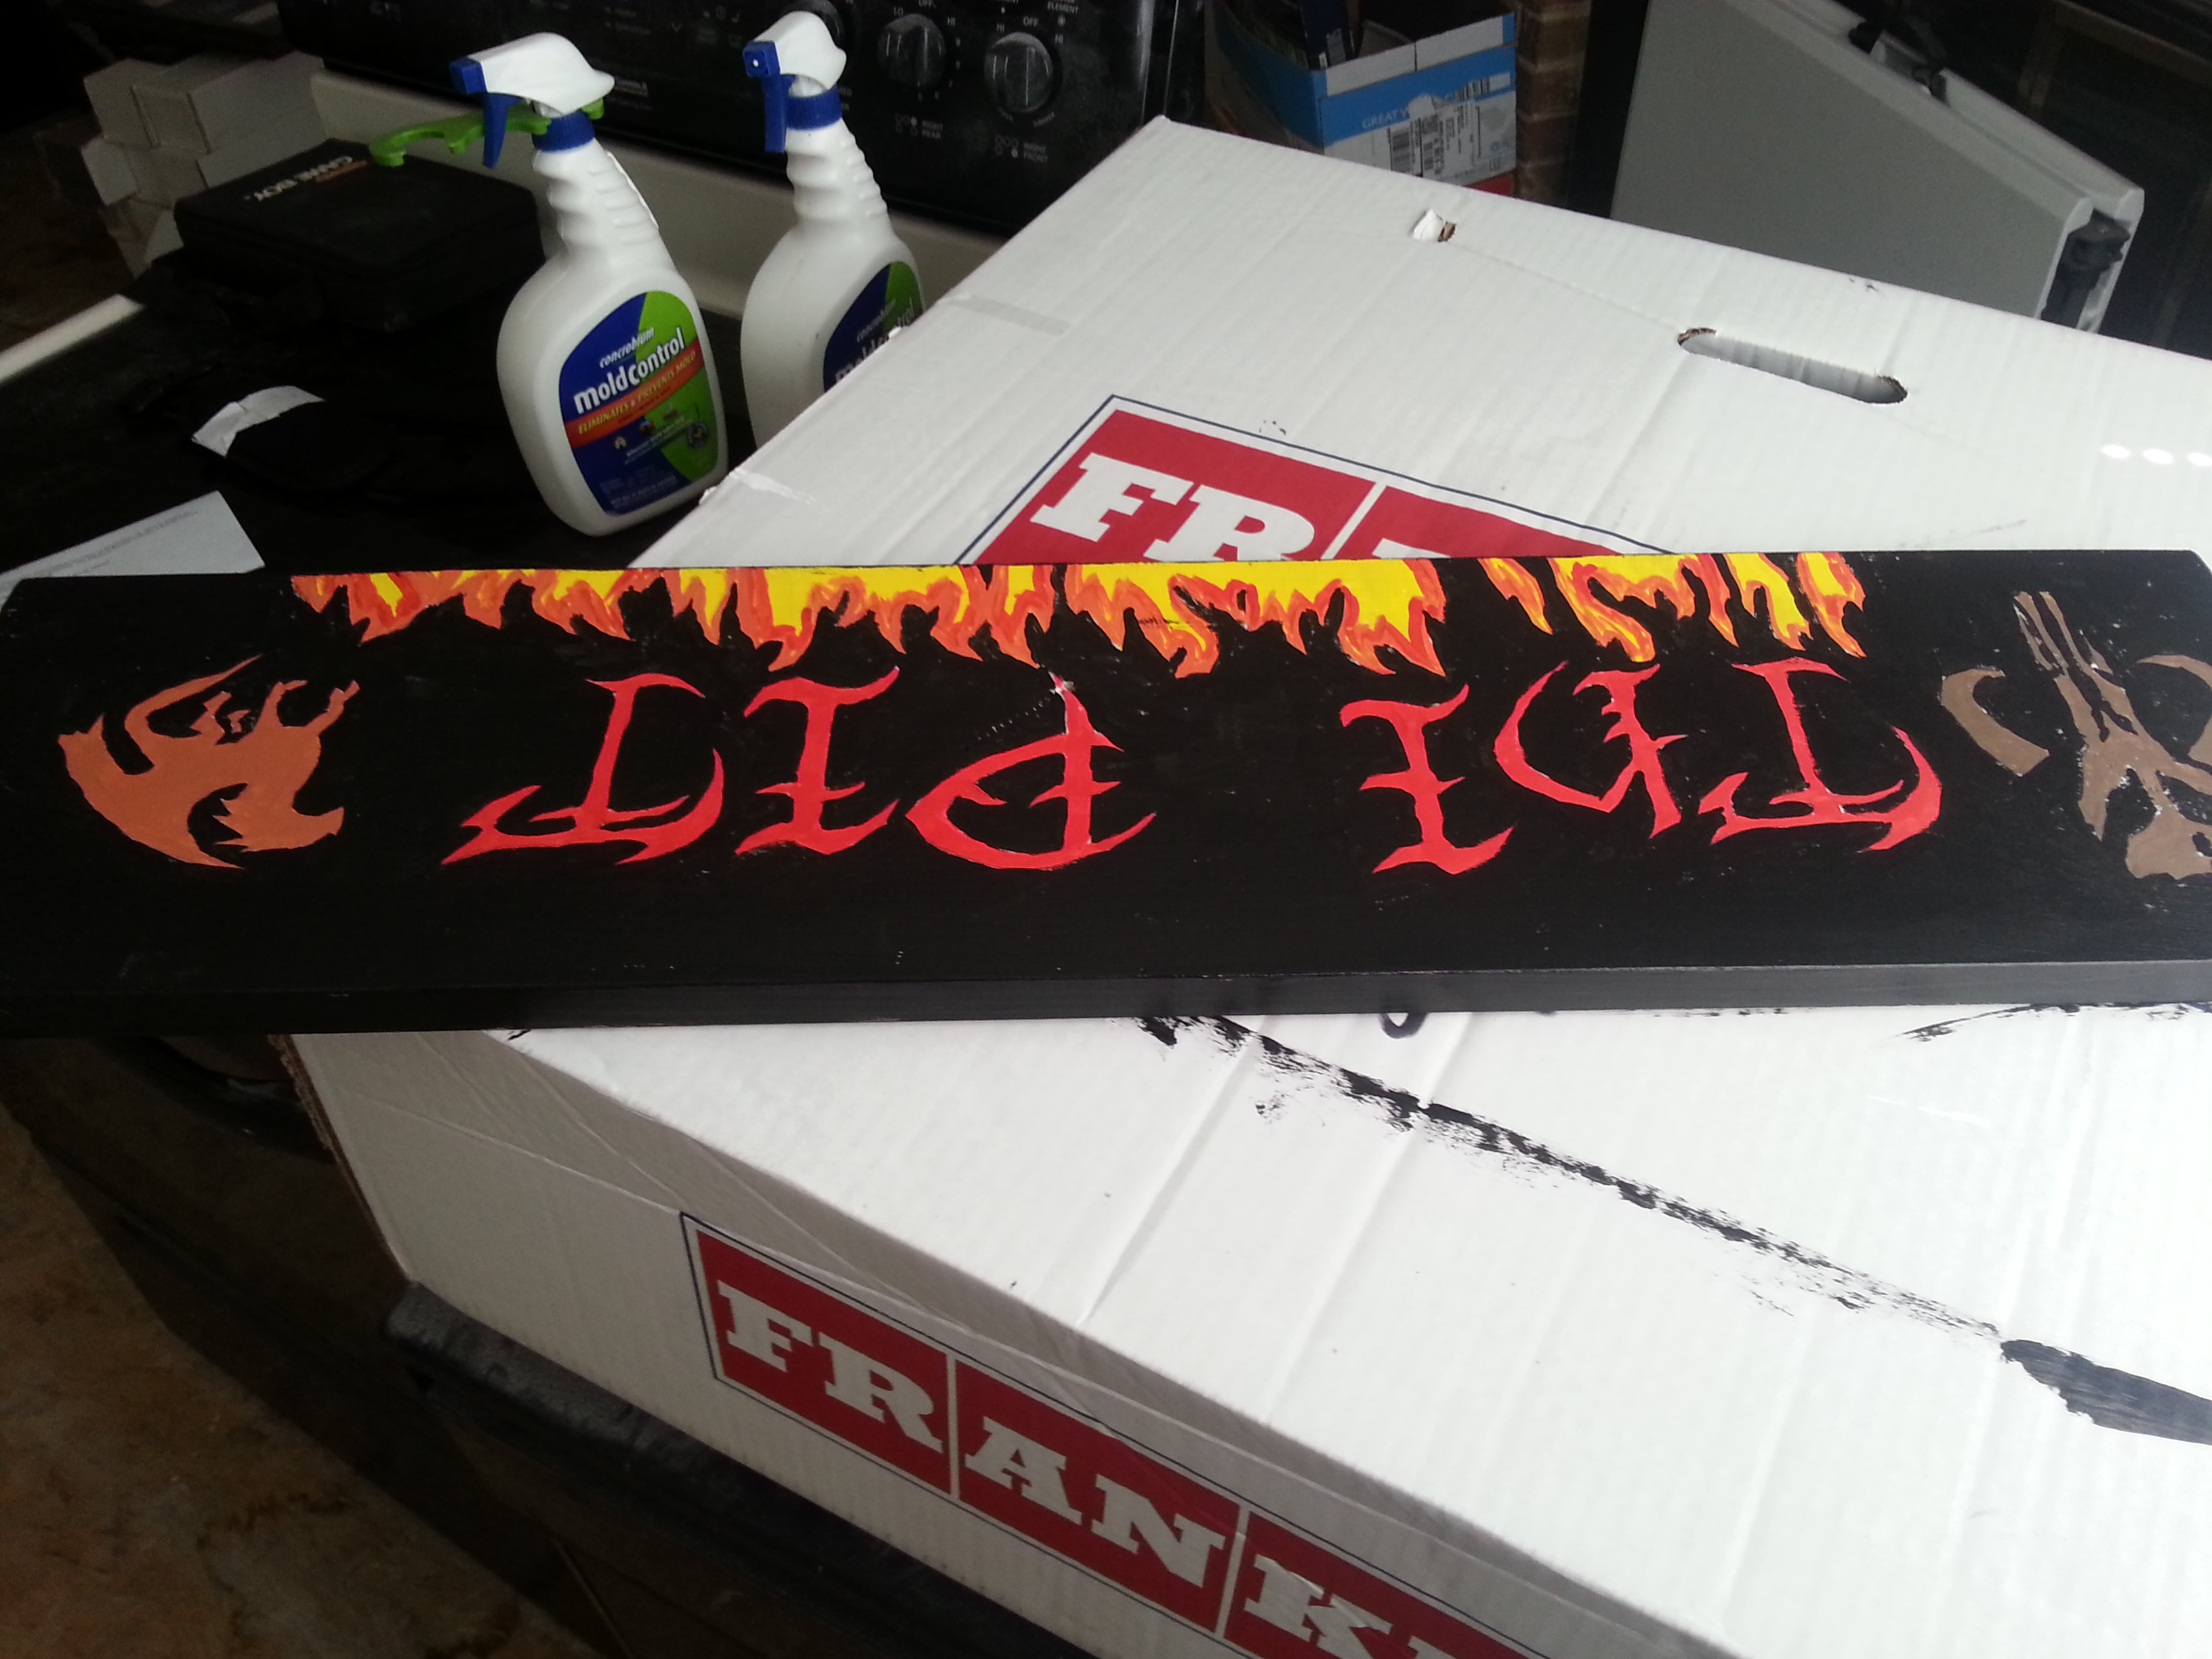
So now is what I consider the hard part. Painting.
All I can say is take your time as this part is up to your artistic tastes.
Also if you don't have enough colors, make your own. Hence my crazy colors. Also it doesn't hurt to be color blind.
Now let. The paint dry.
Once dry do any touch ups that you may want to do and let those dry.
Then continue to the next step.
Clear Coat
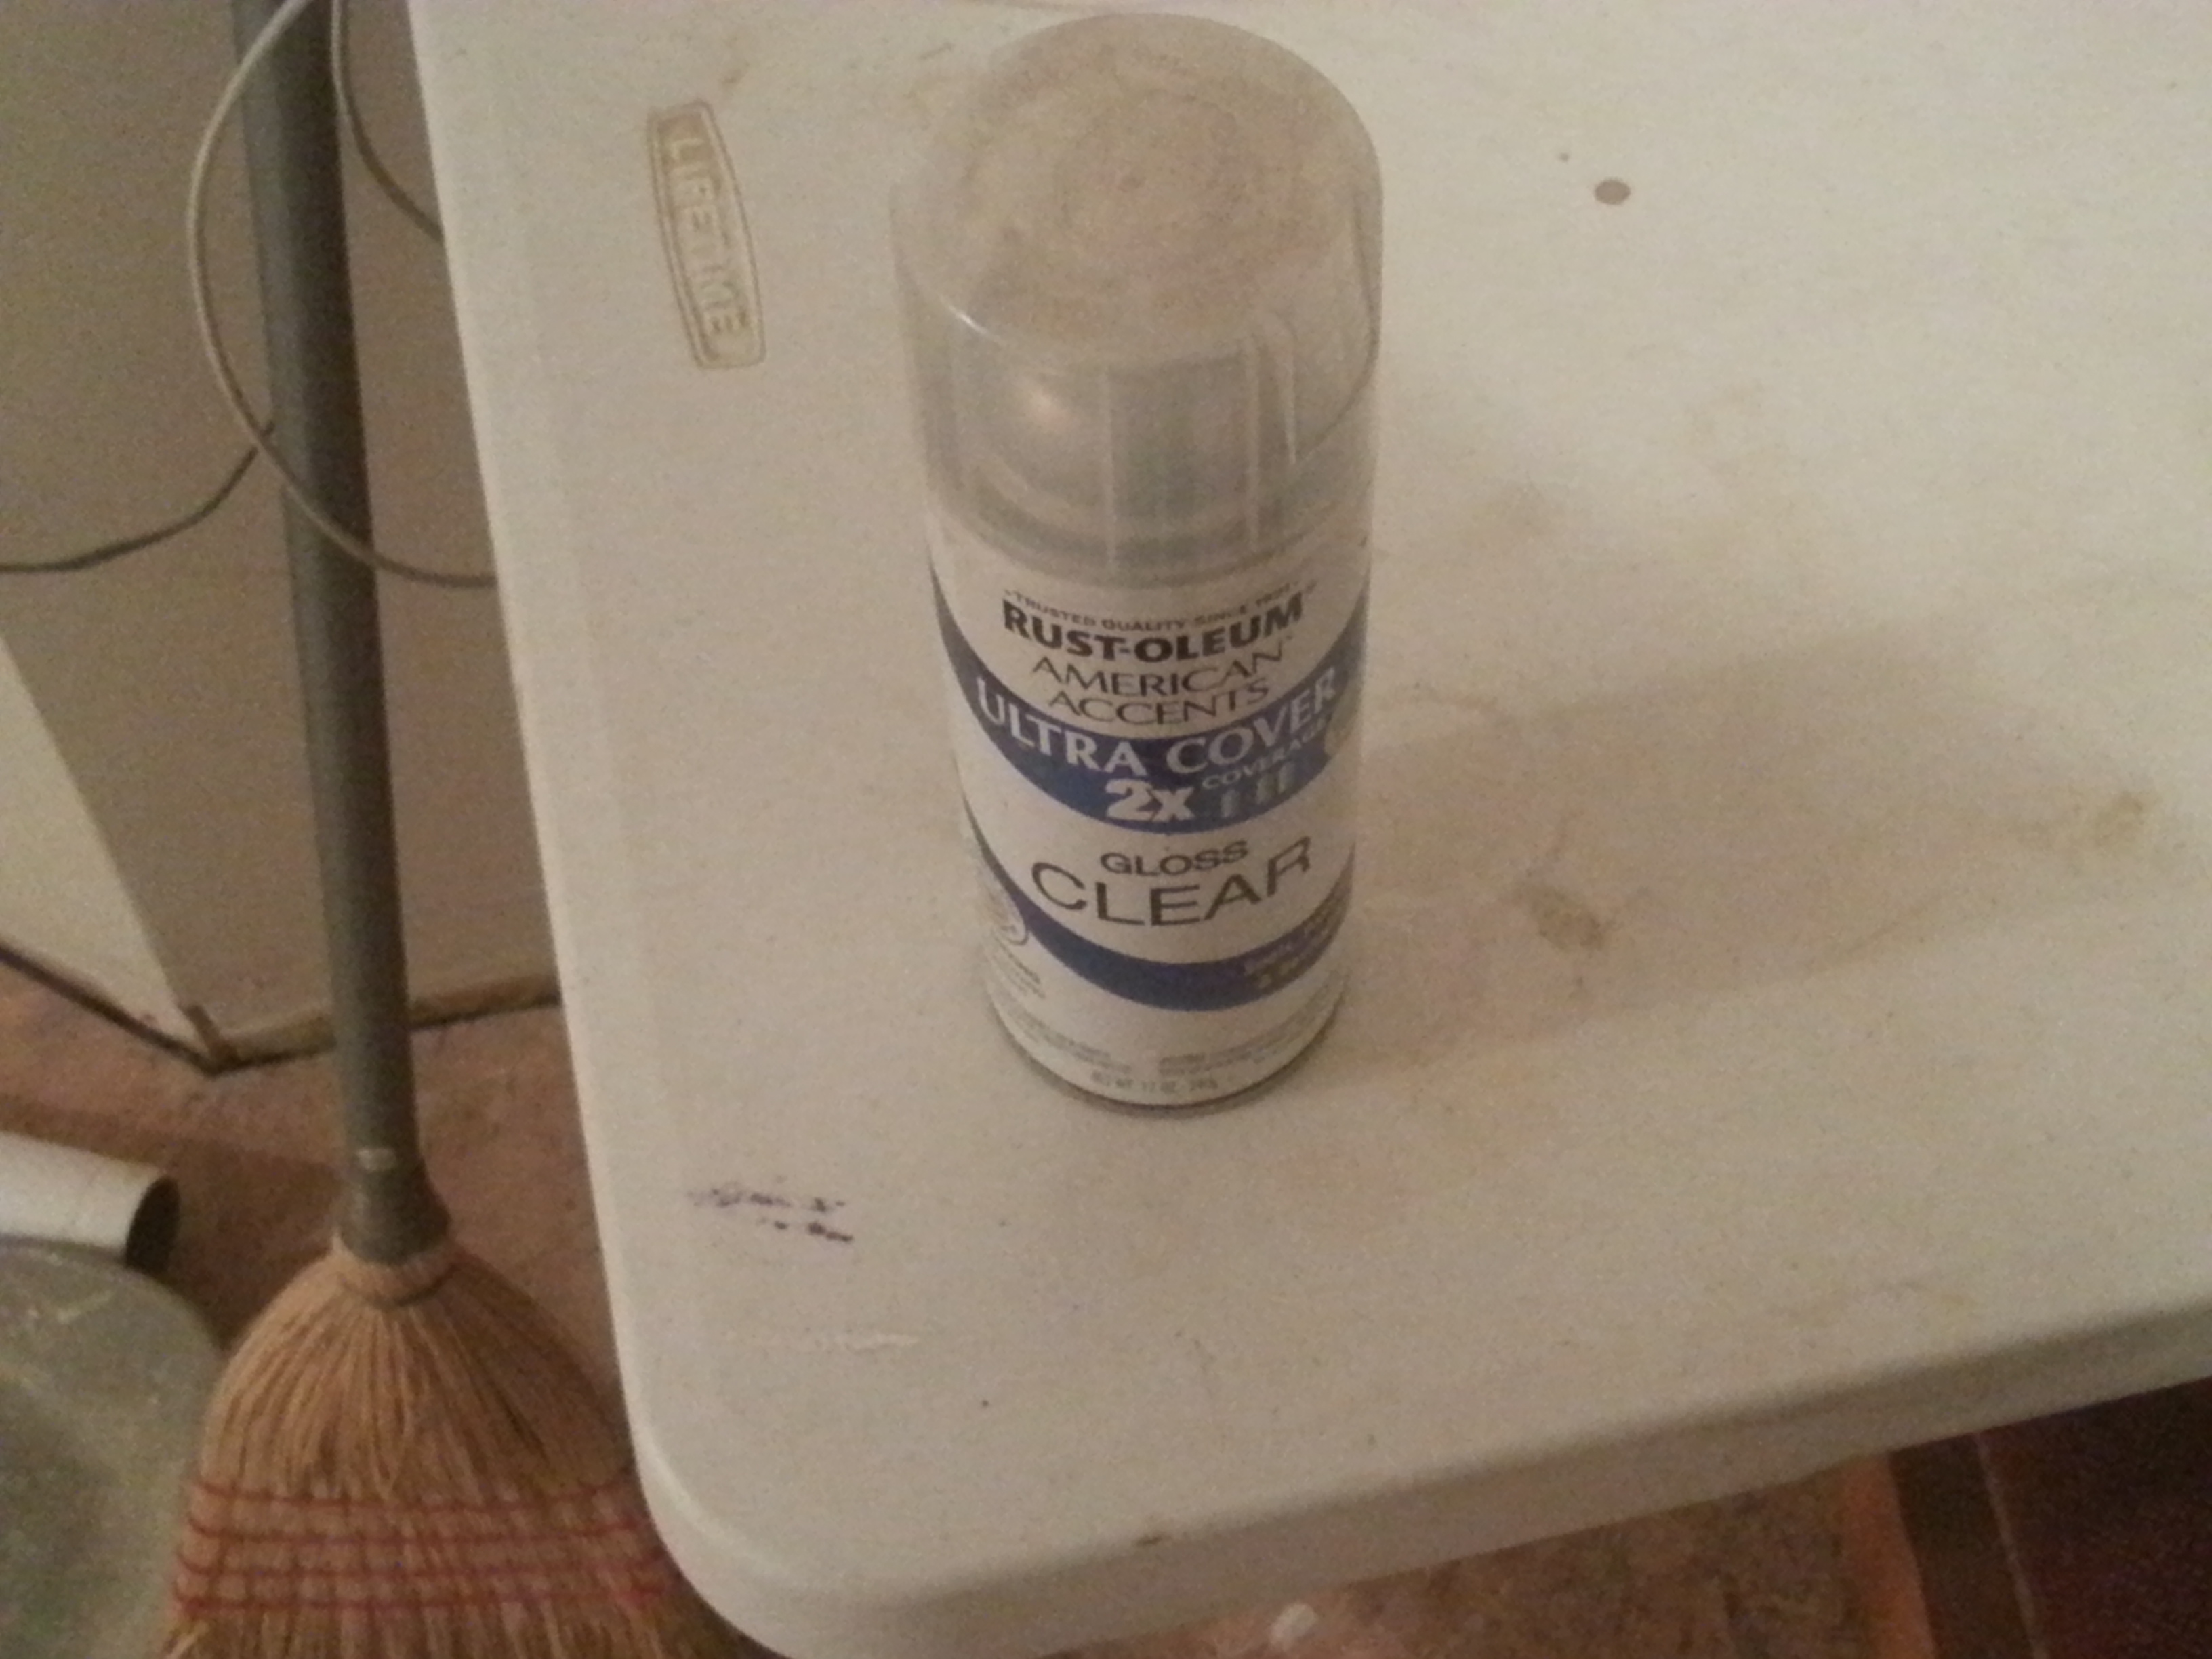
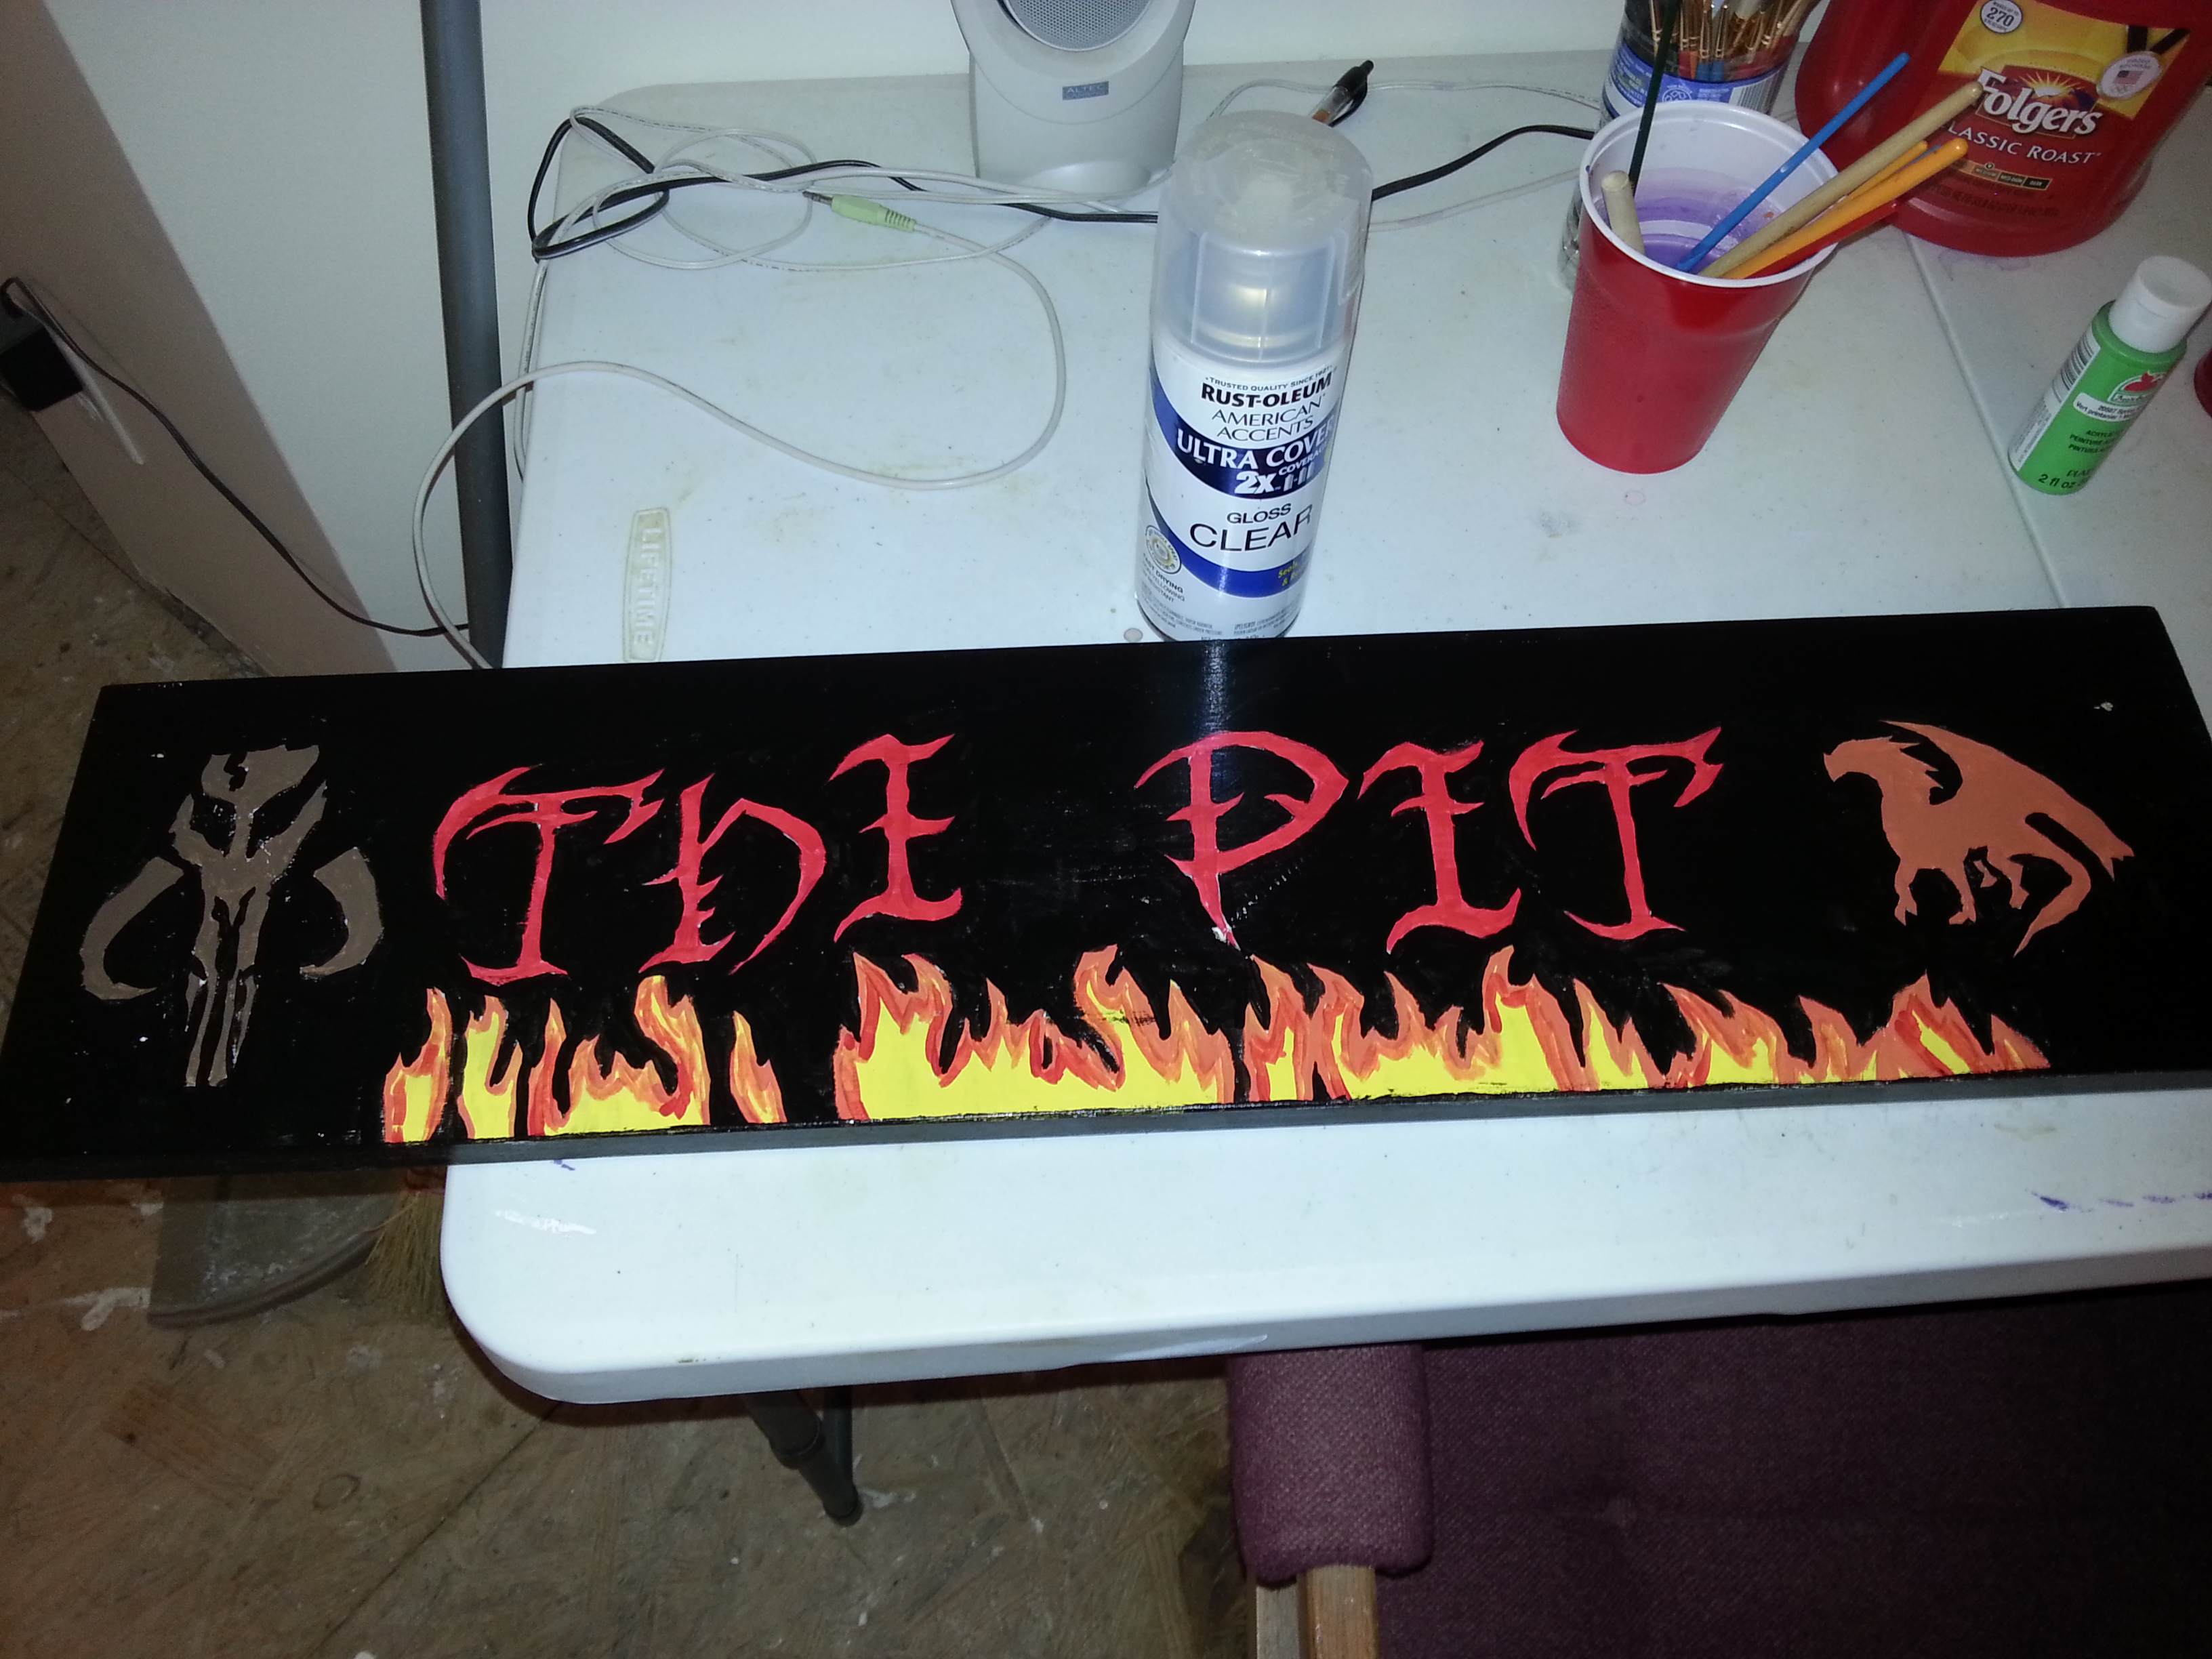
OK. Another easy step. Apply an even coat of clear coat and let it dry.
Make sure to do this in a well ventilated area like outside and not in the middle of a garage for instance.
Make sure to do this in a well ventilated area like outside and not in the middle of a garage for instance.
Add Hardware
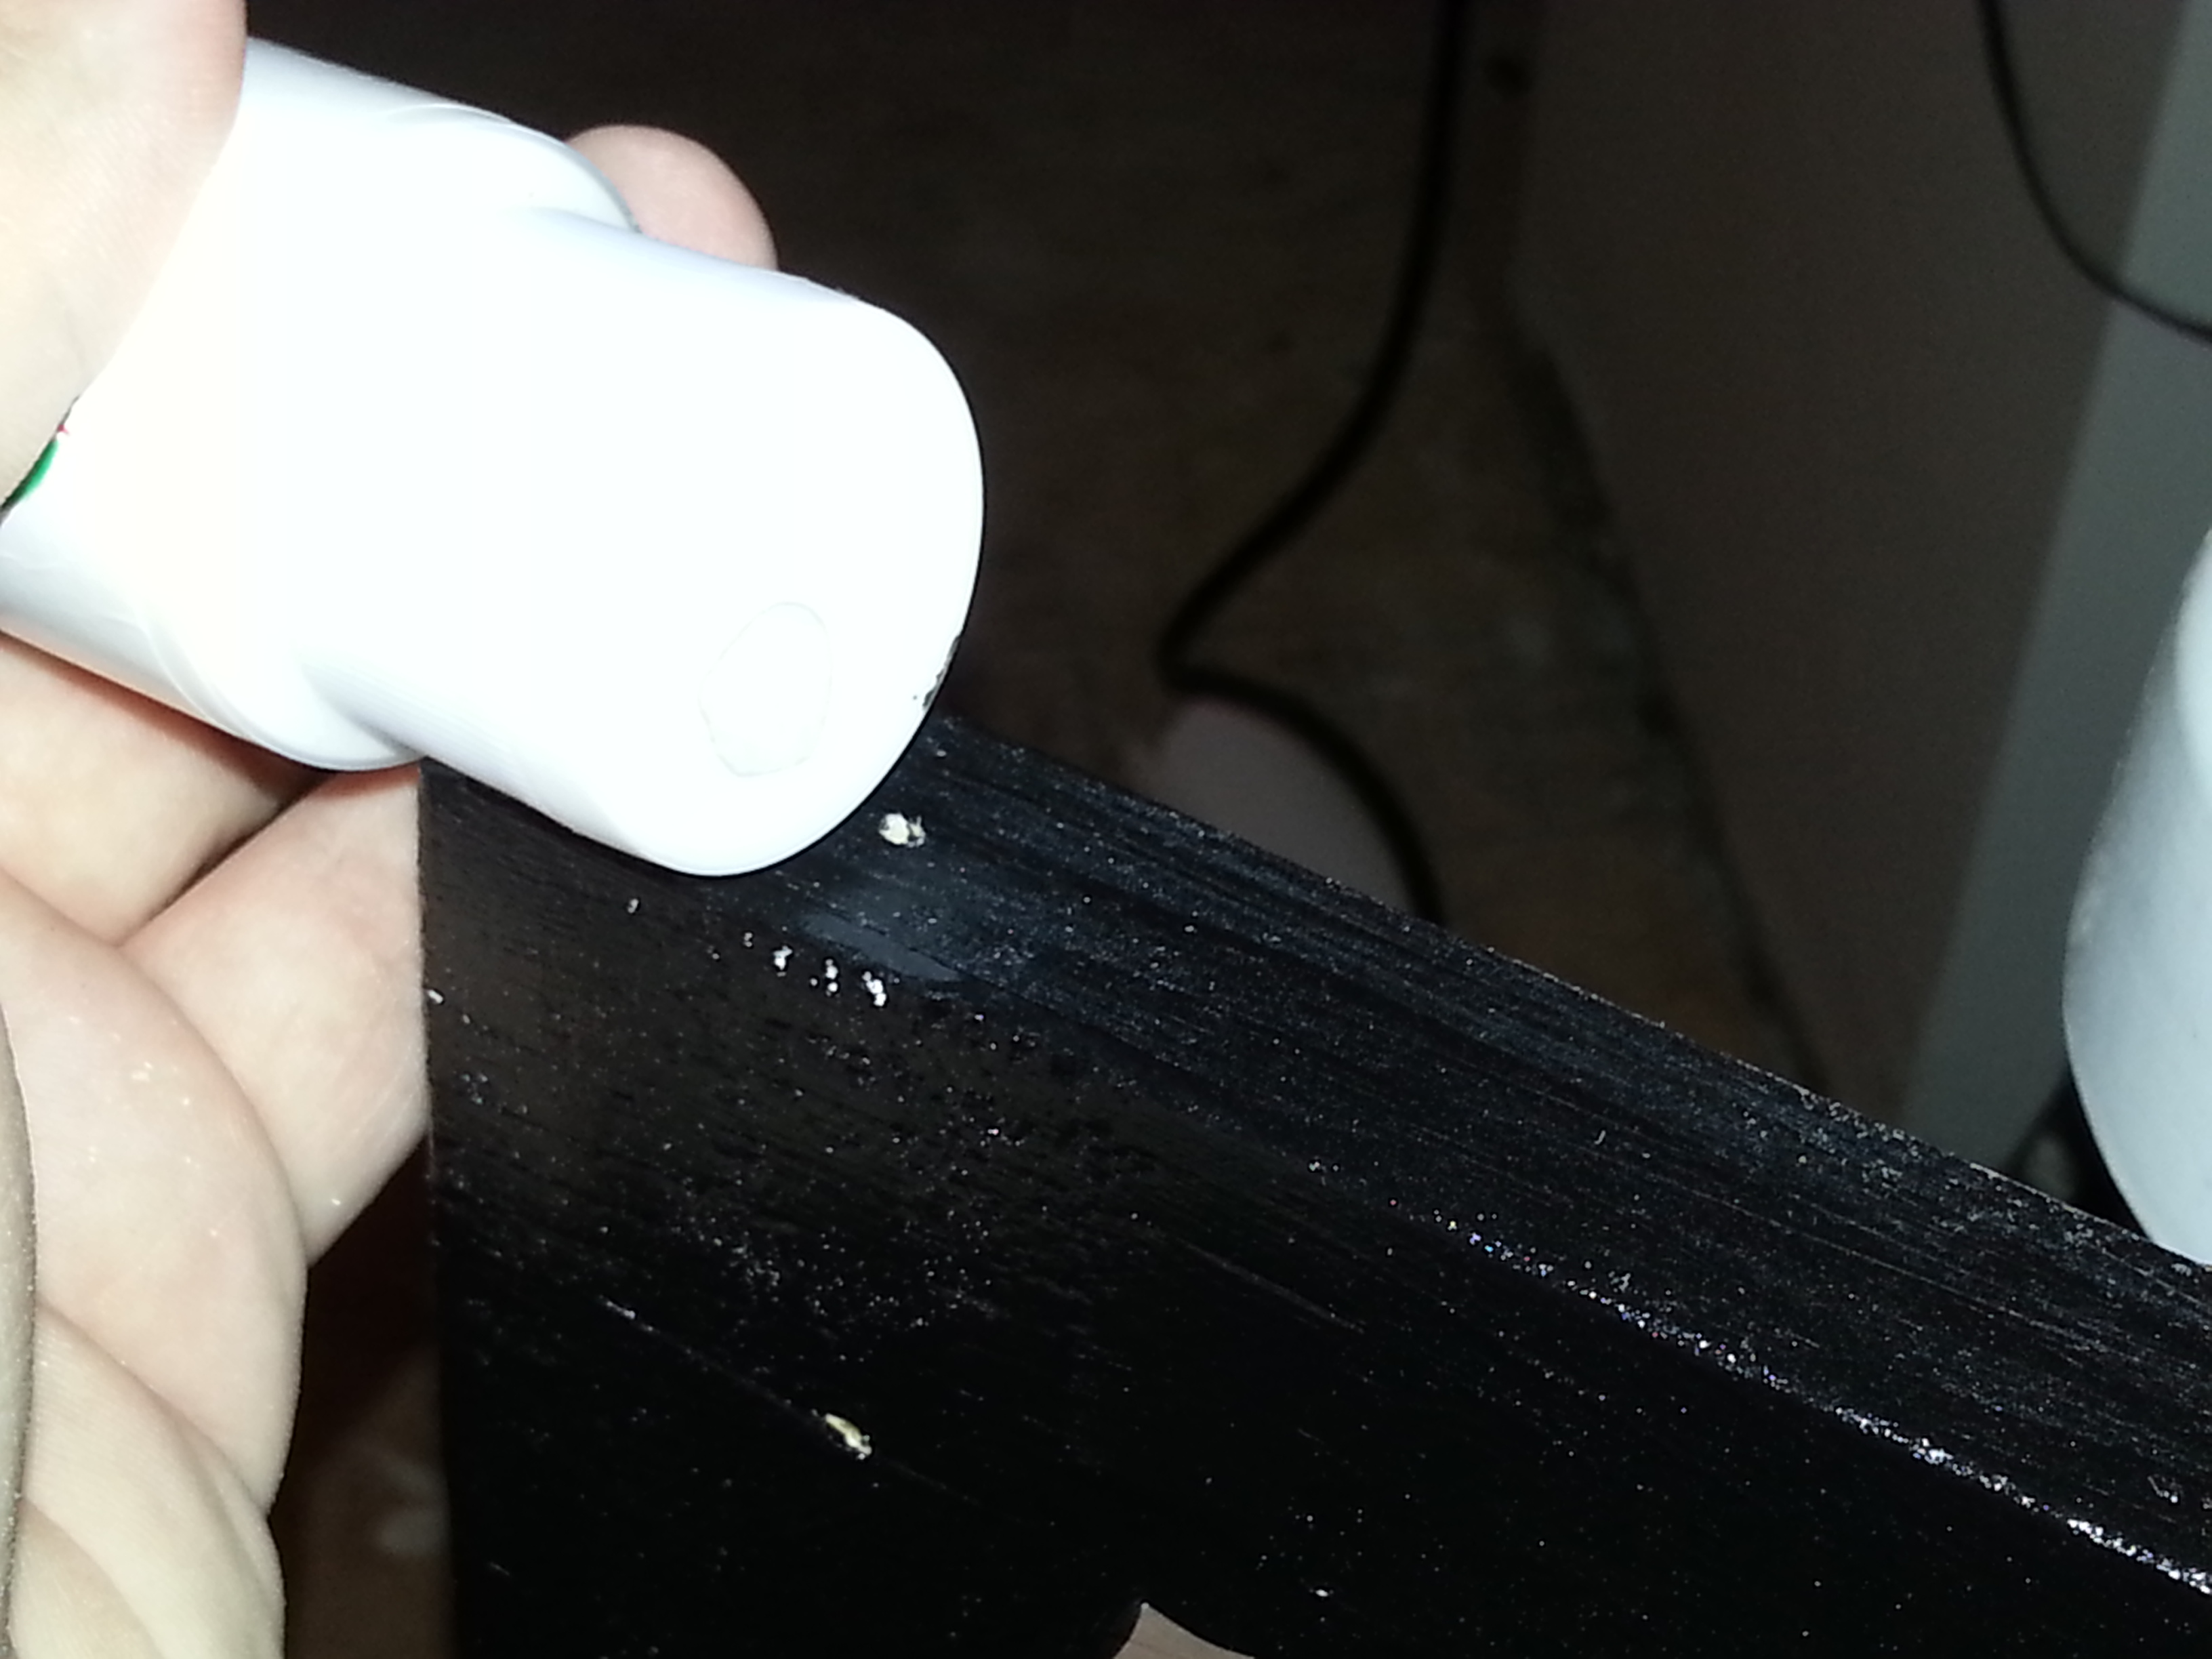
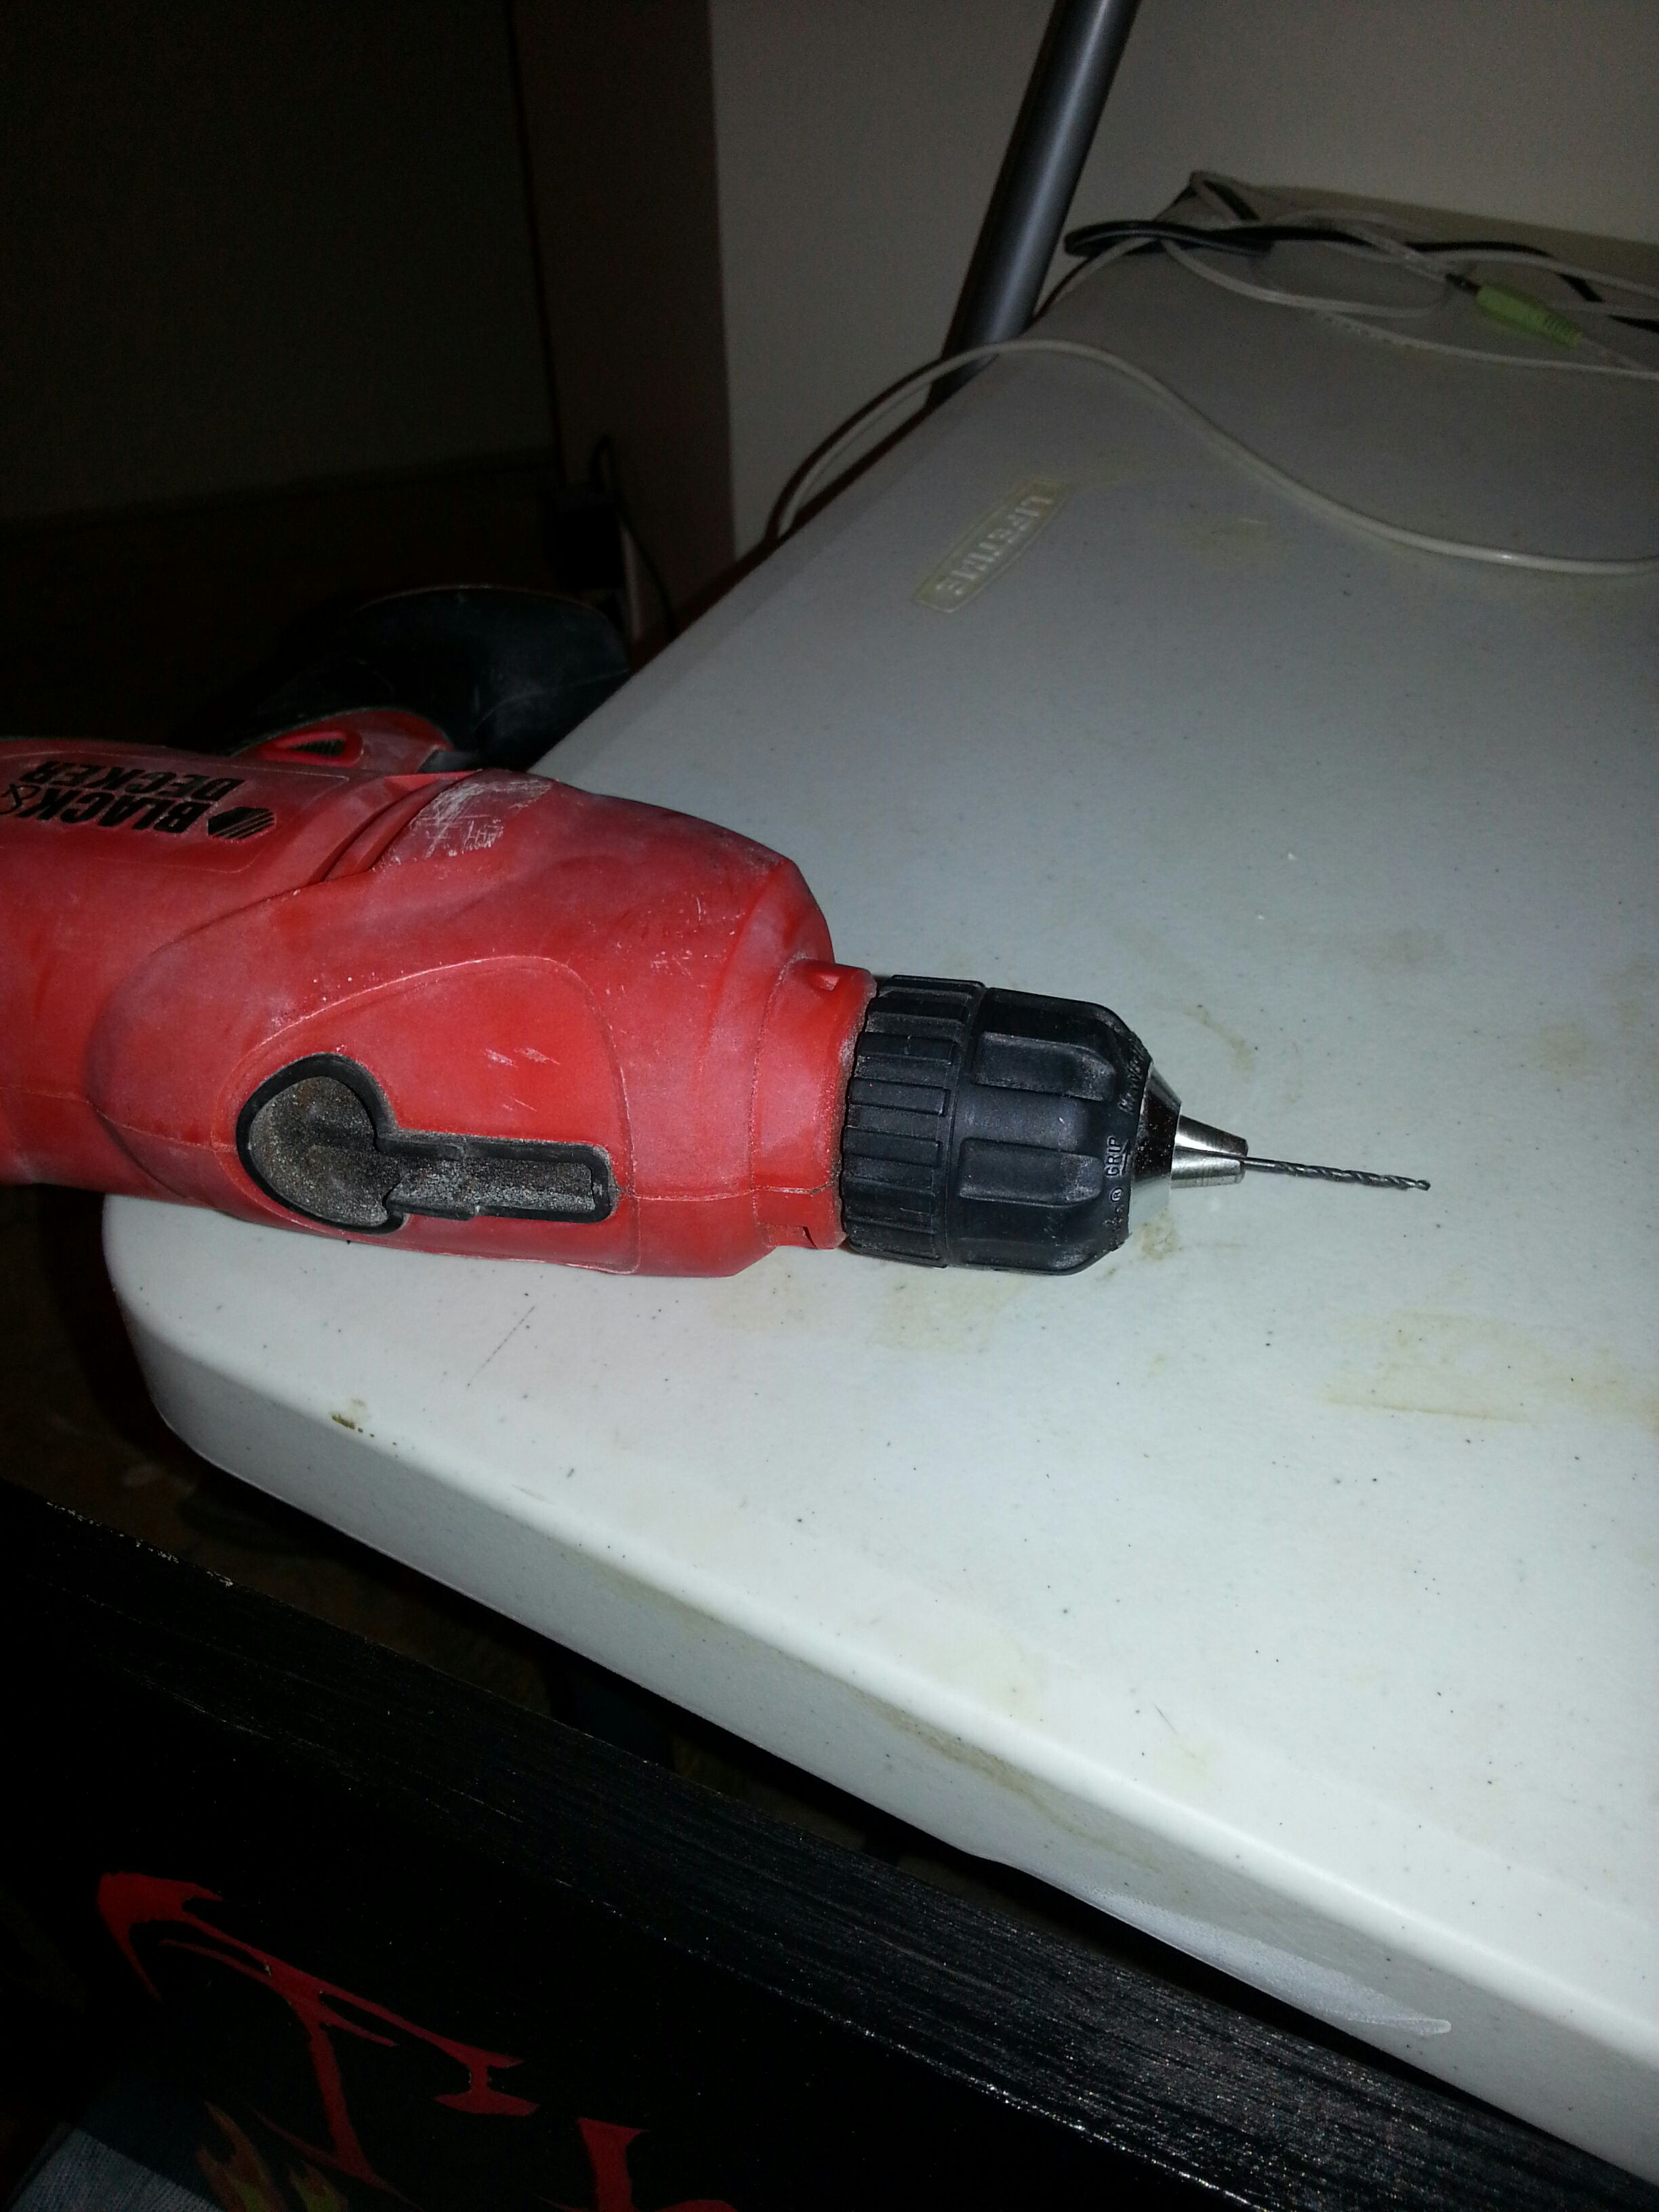
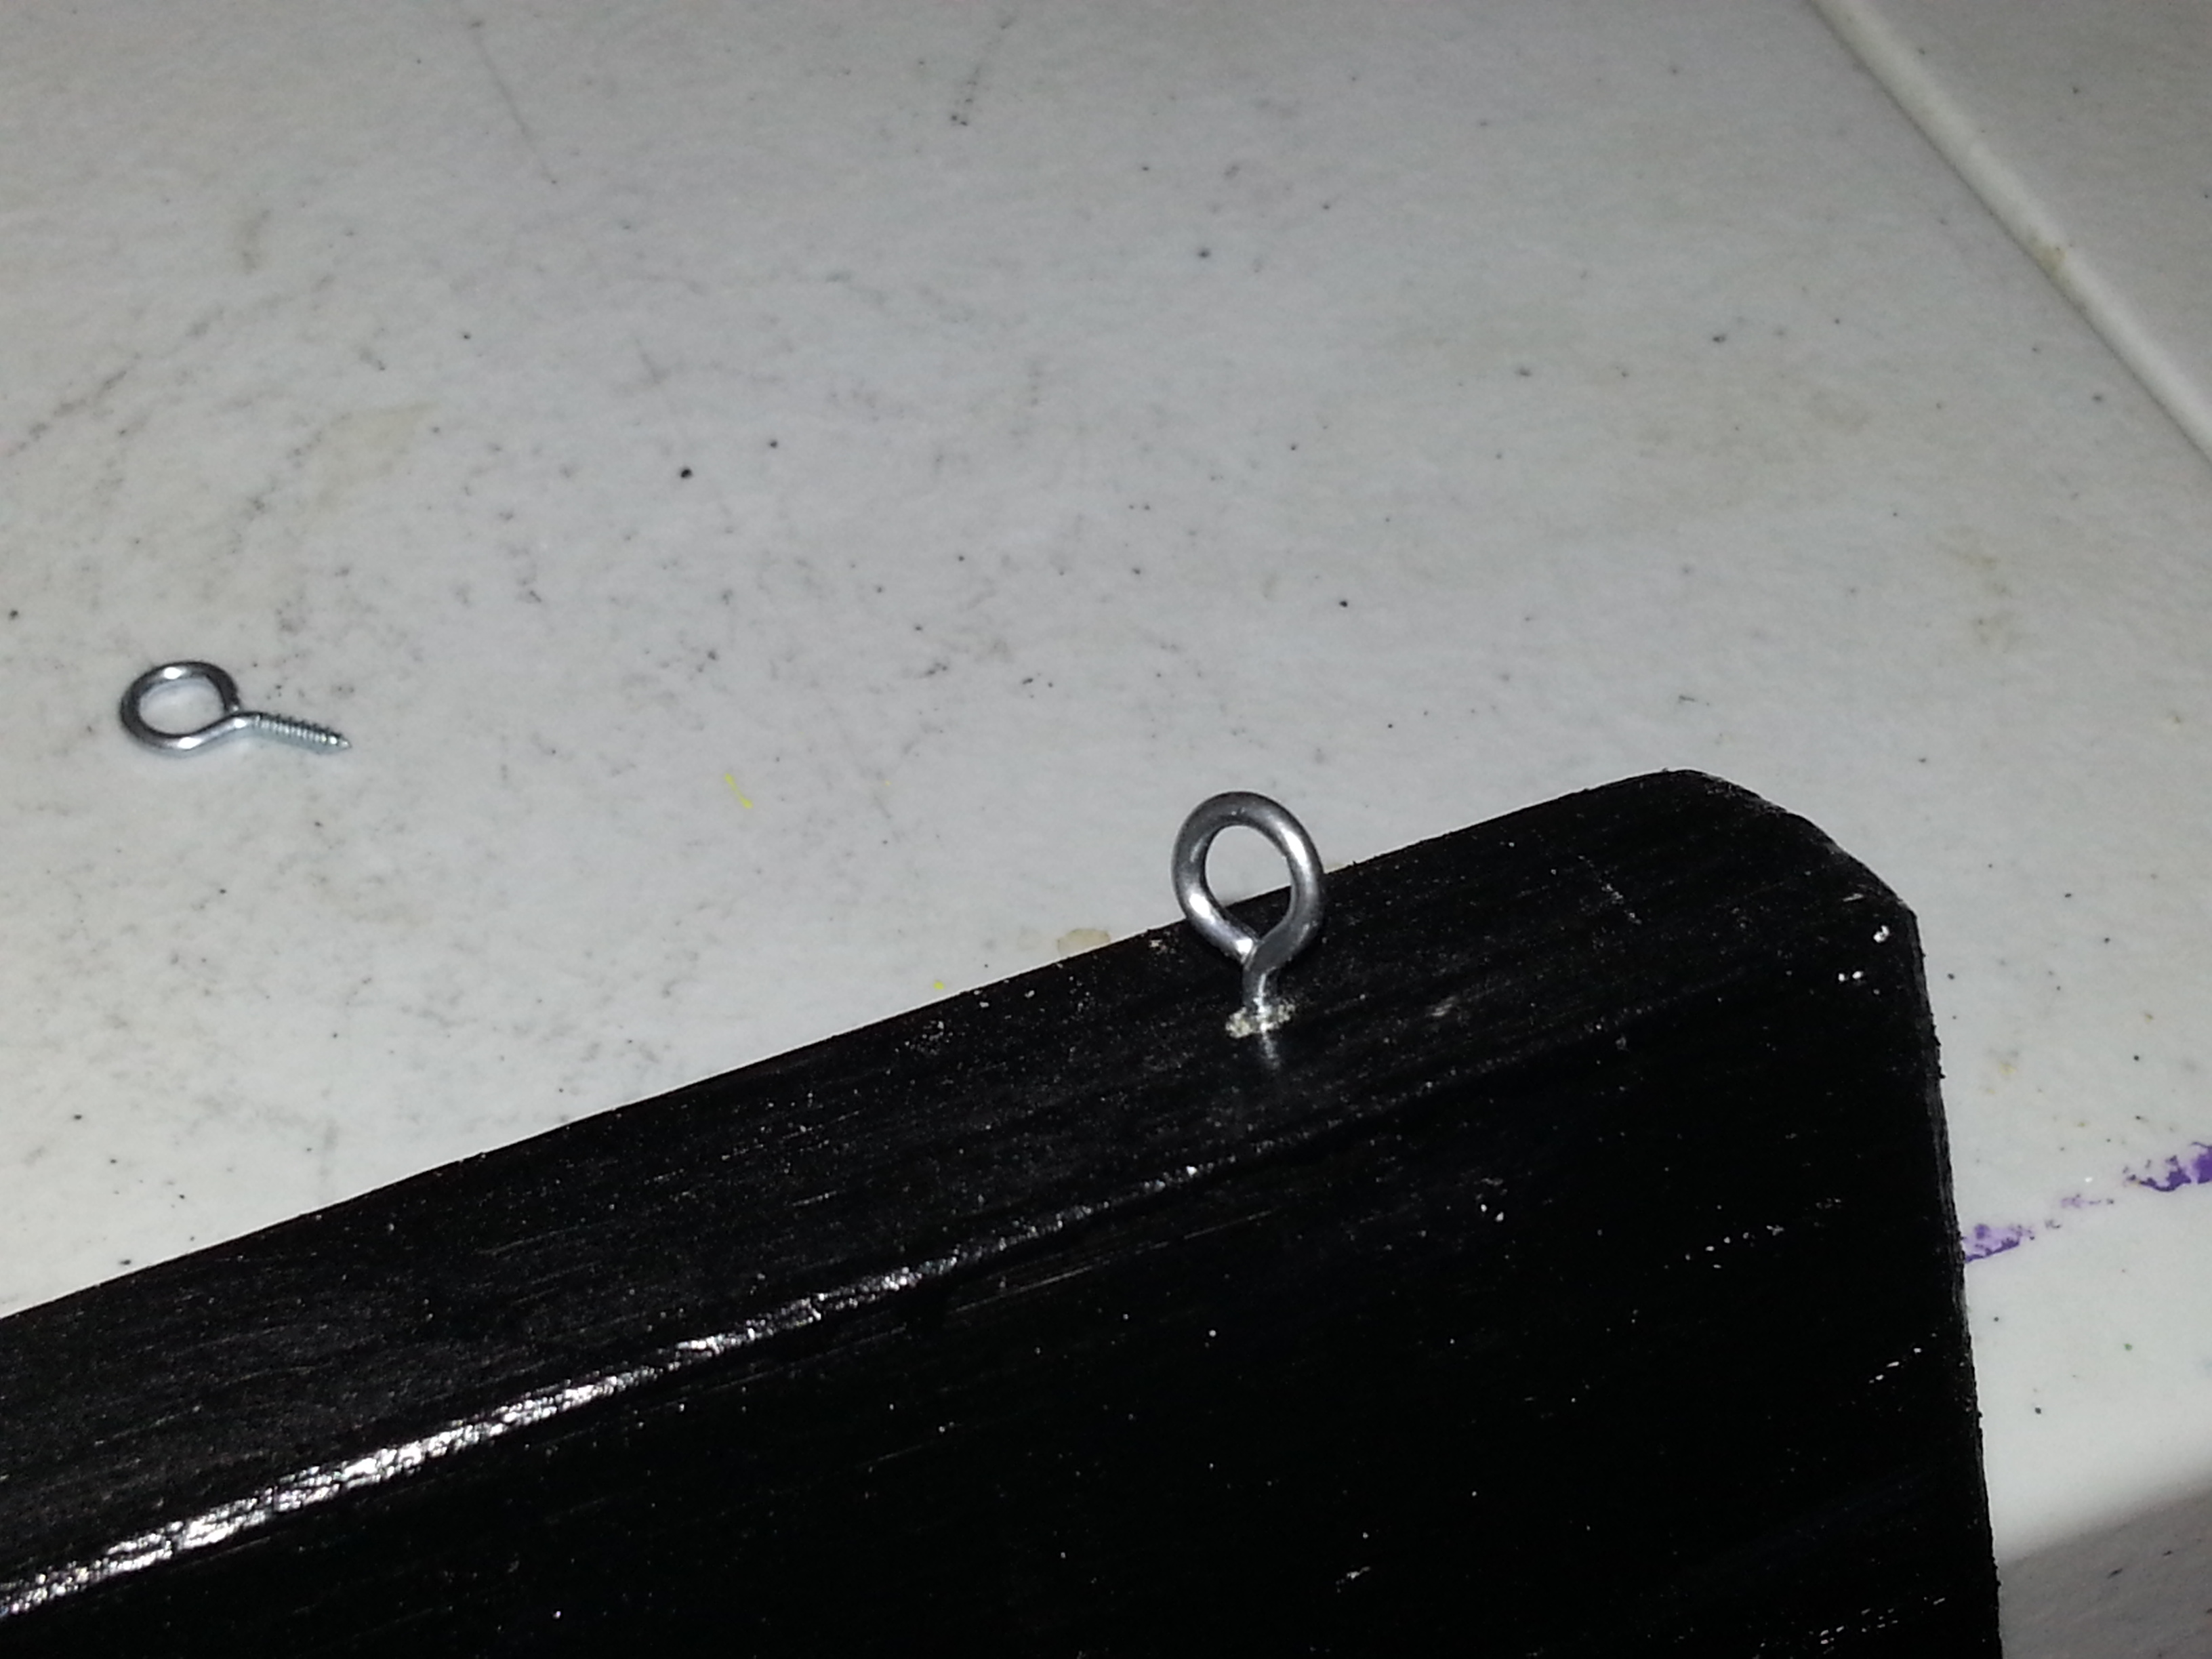
This is where the drill comes in handy. I took my smallest bit and barley drilled a starter hole to put my eyelets on the painting.
I used an empty paint bottle to space out evenly for the edges.
Then all I do screw them in and I am all done.
I used an empty paint bottle to space out evenly for the edges.
Then all I do screw them in and I am all done.
Finished
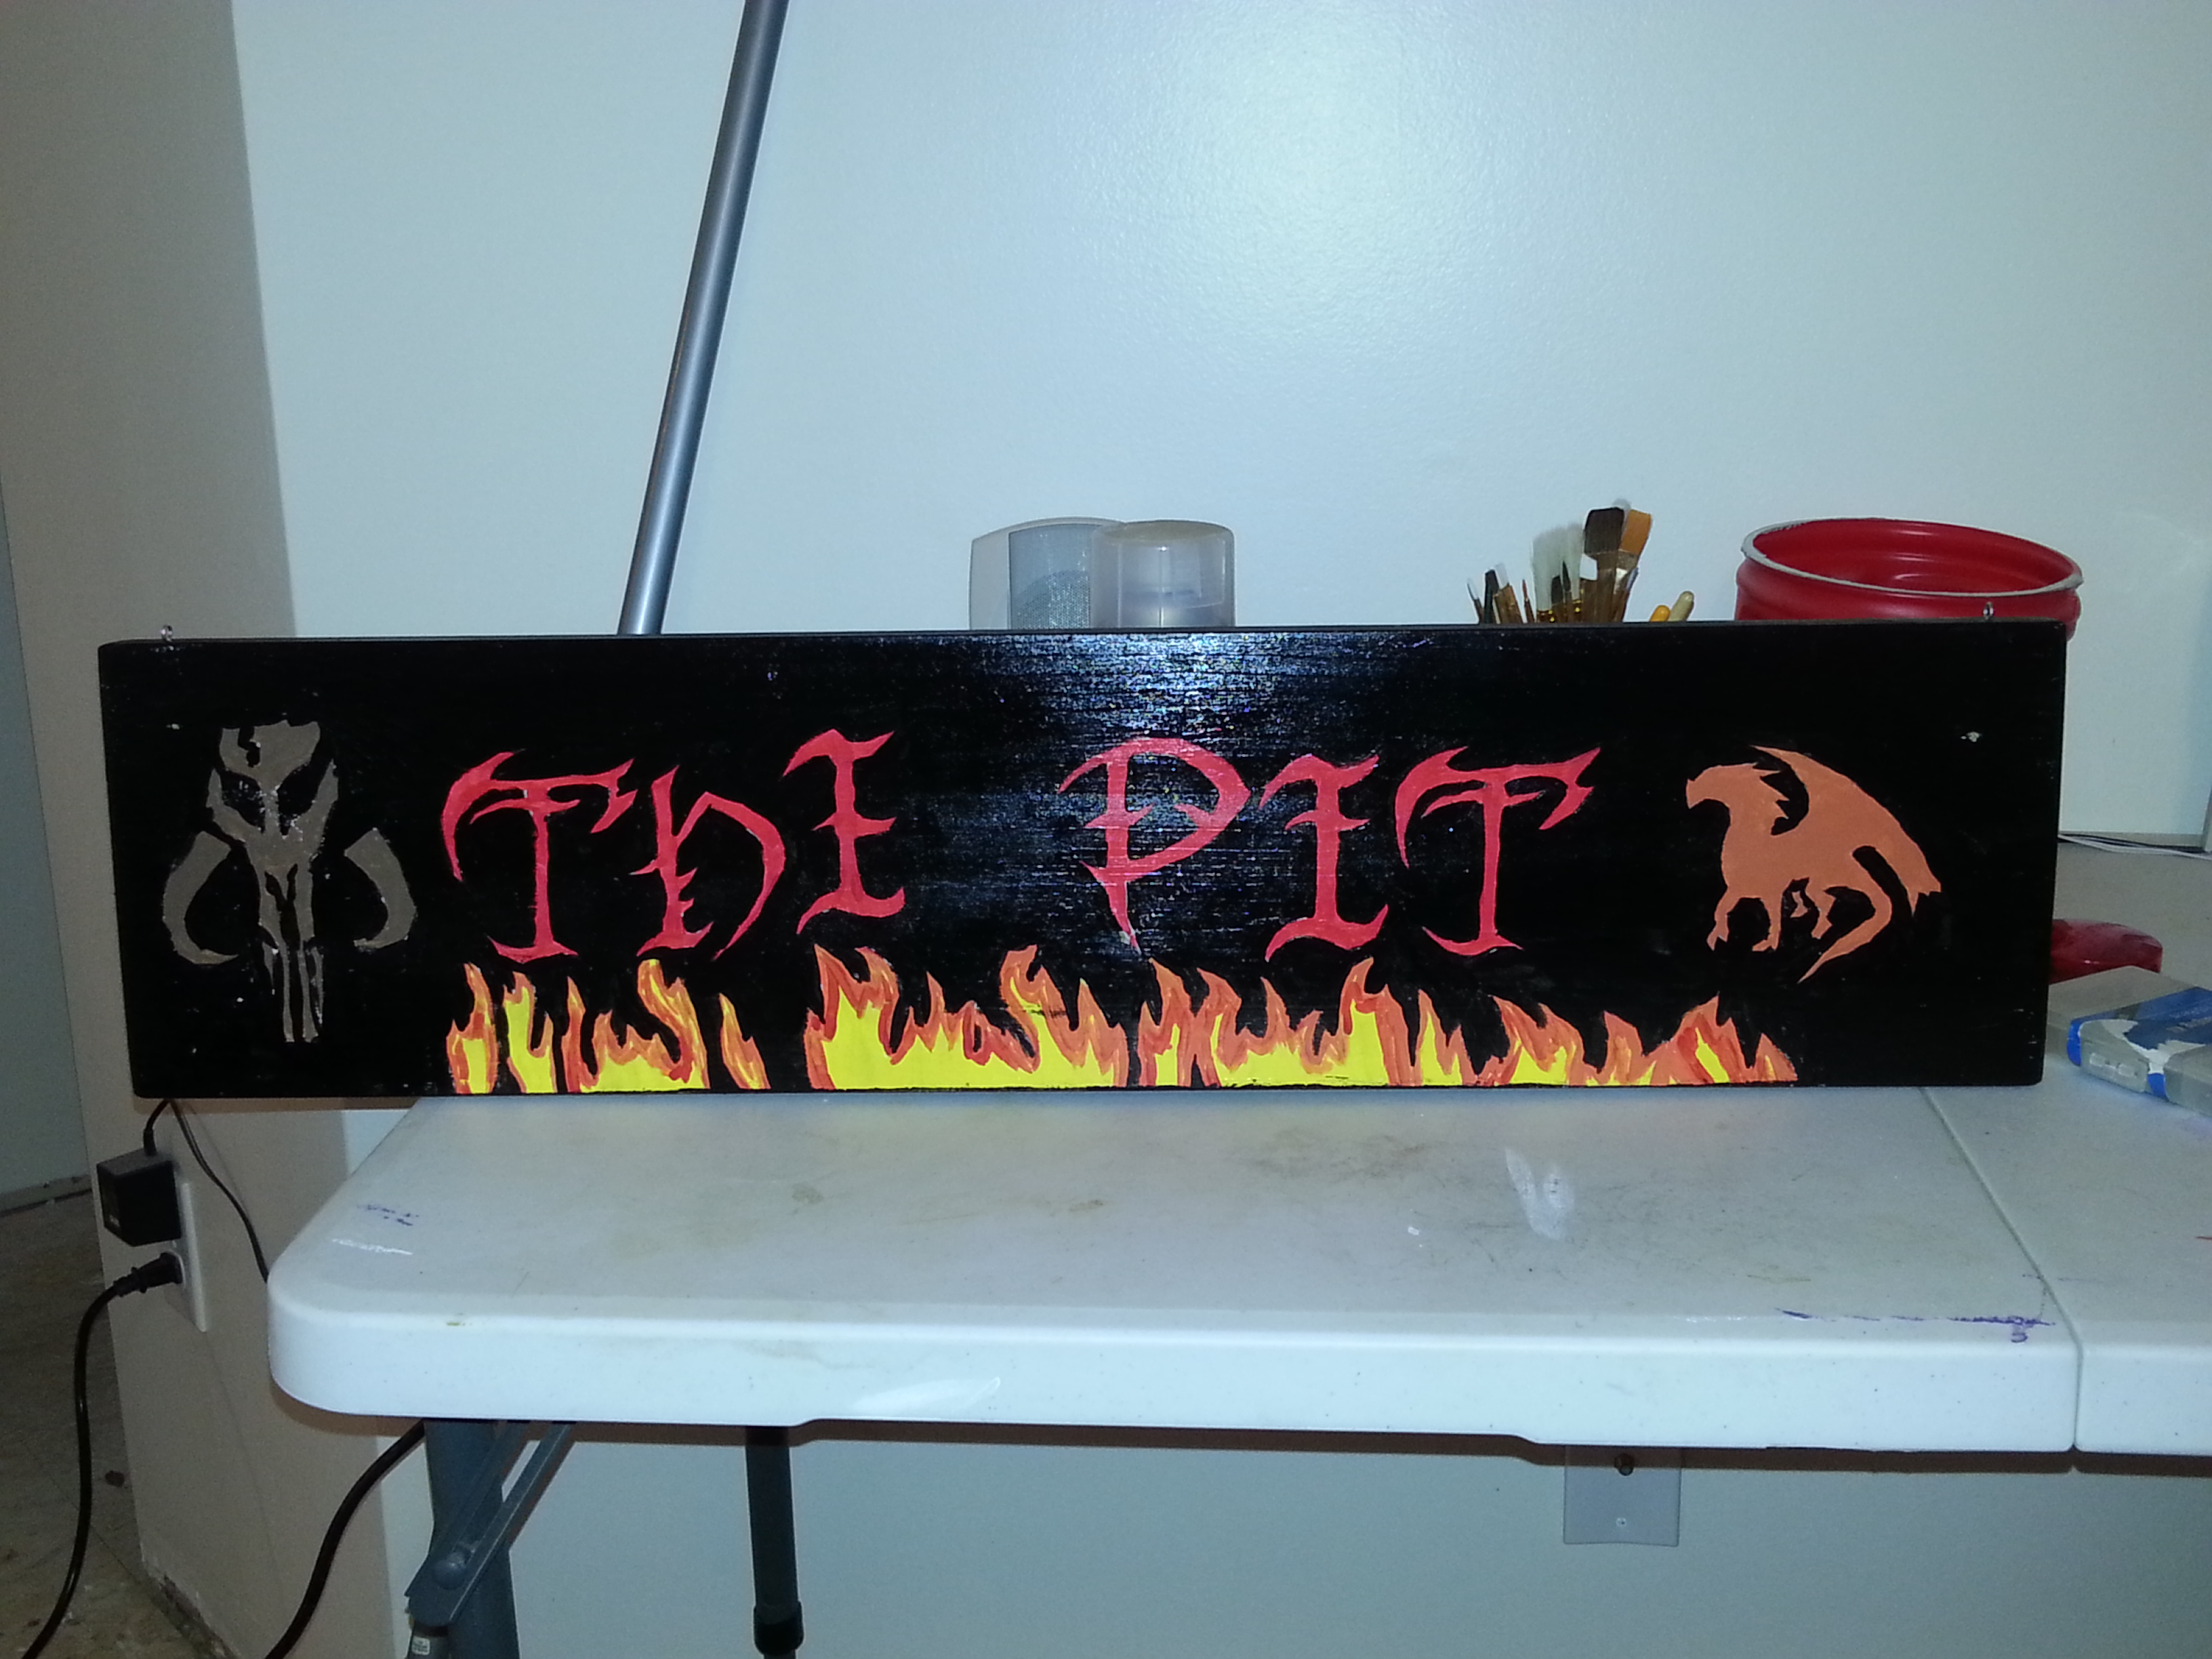
I hope you like my instructables as this was my first one.
The reverse stencil can work on canvas as well as that was the first application on my project.
Enjoy and feel free to comment and asked questions.
The reverse stencil can work on canvas as well as that was the first application on my project.
Enjoy and feel free to comment and asked questions.