Painting a Water Themed Skateboard Deck, DIY
by Sunshine-505 in Design > Art
206 Views, 1 Favorites, 0 Comments
Painting a Water Themed Skateboard Deck, DIY

Creating a Water themed Deck
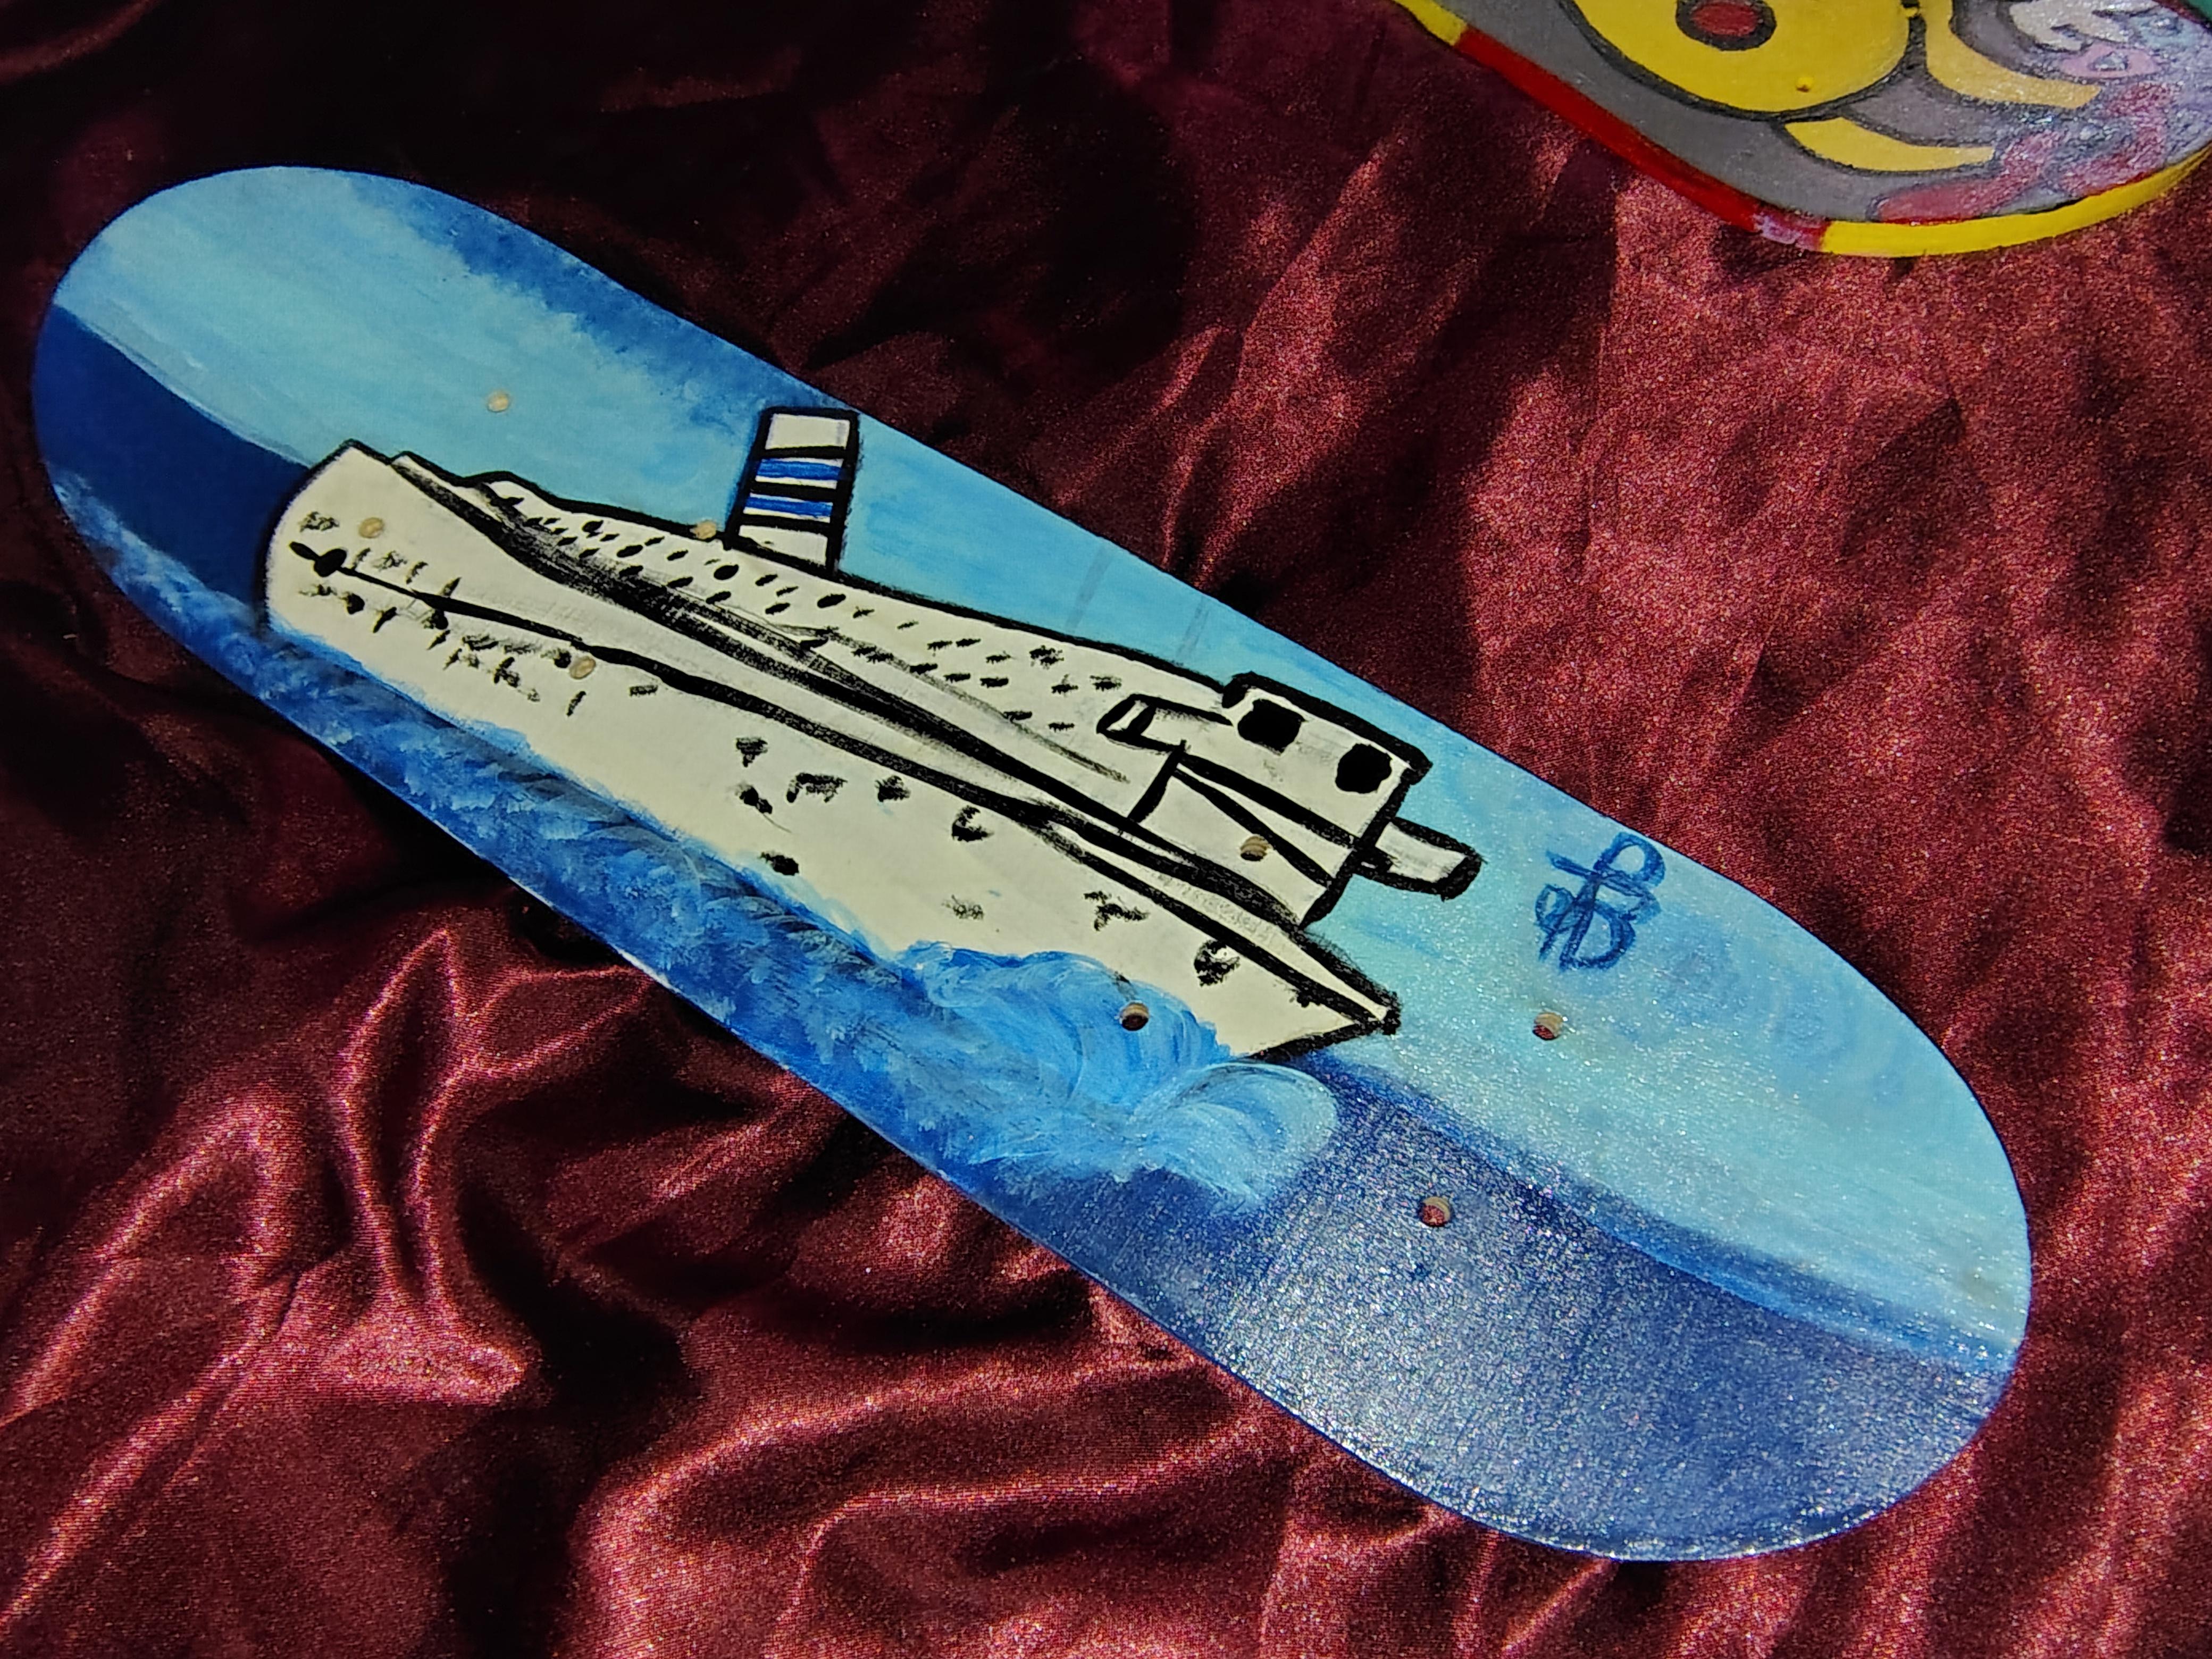
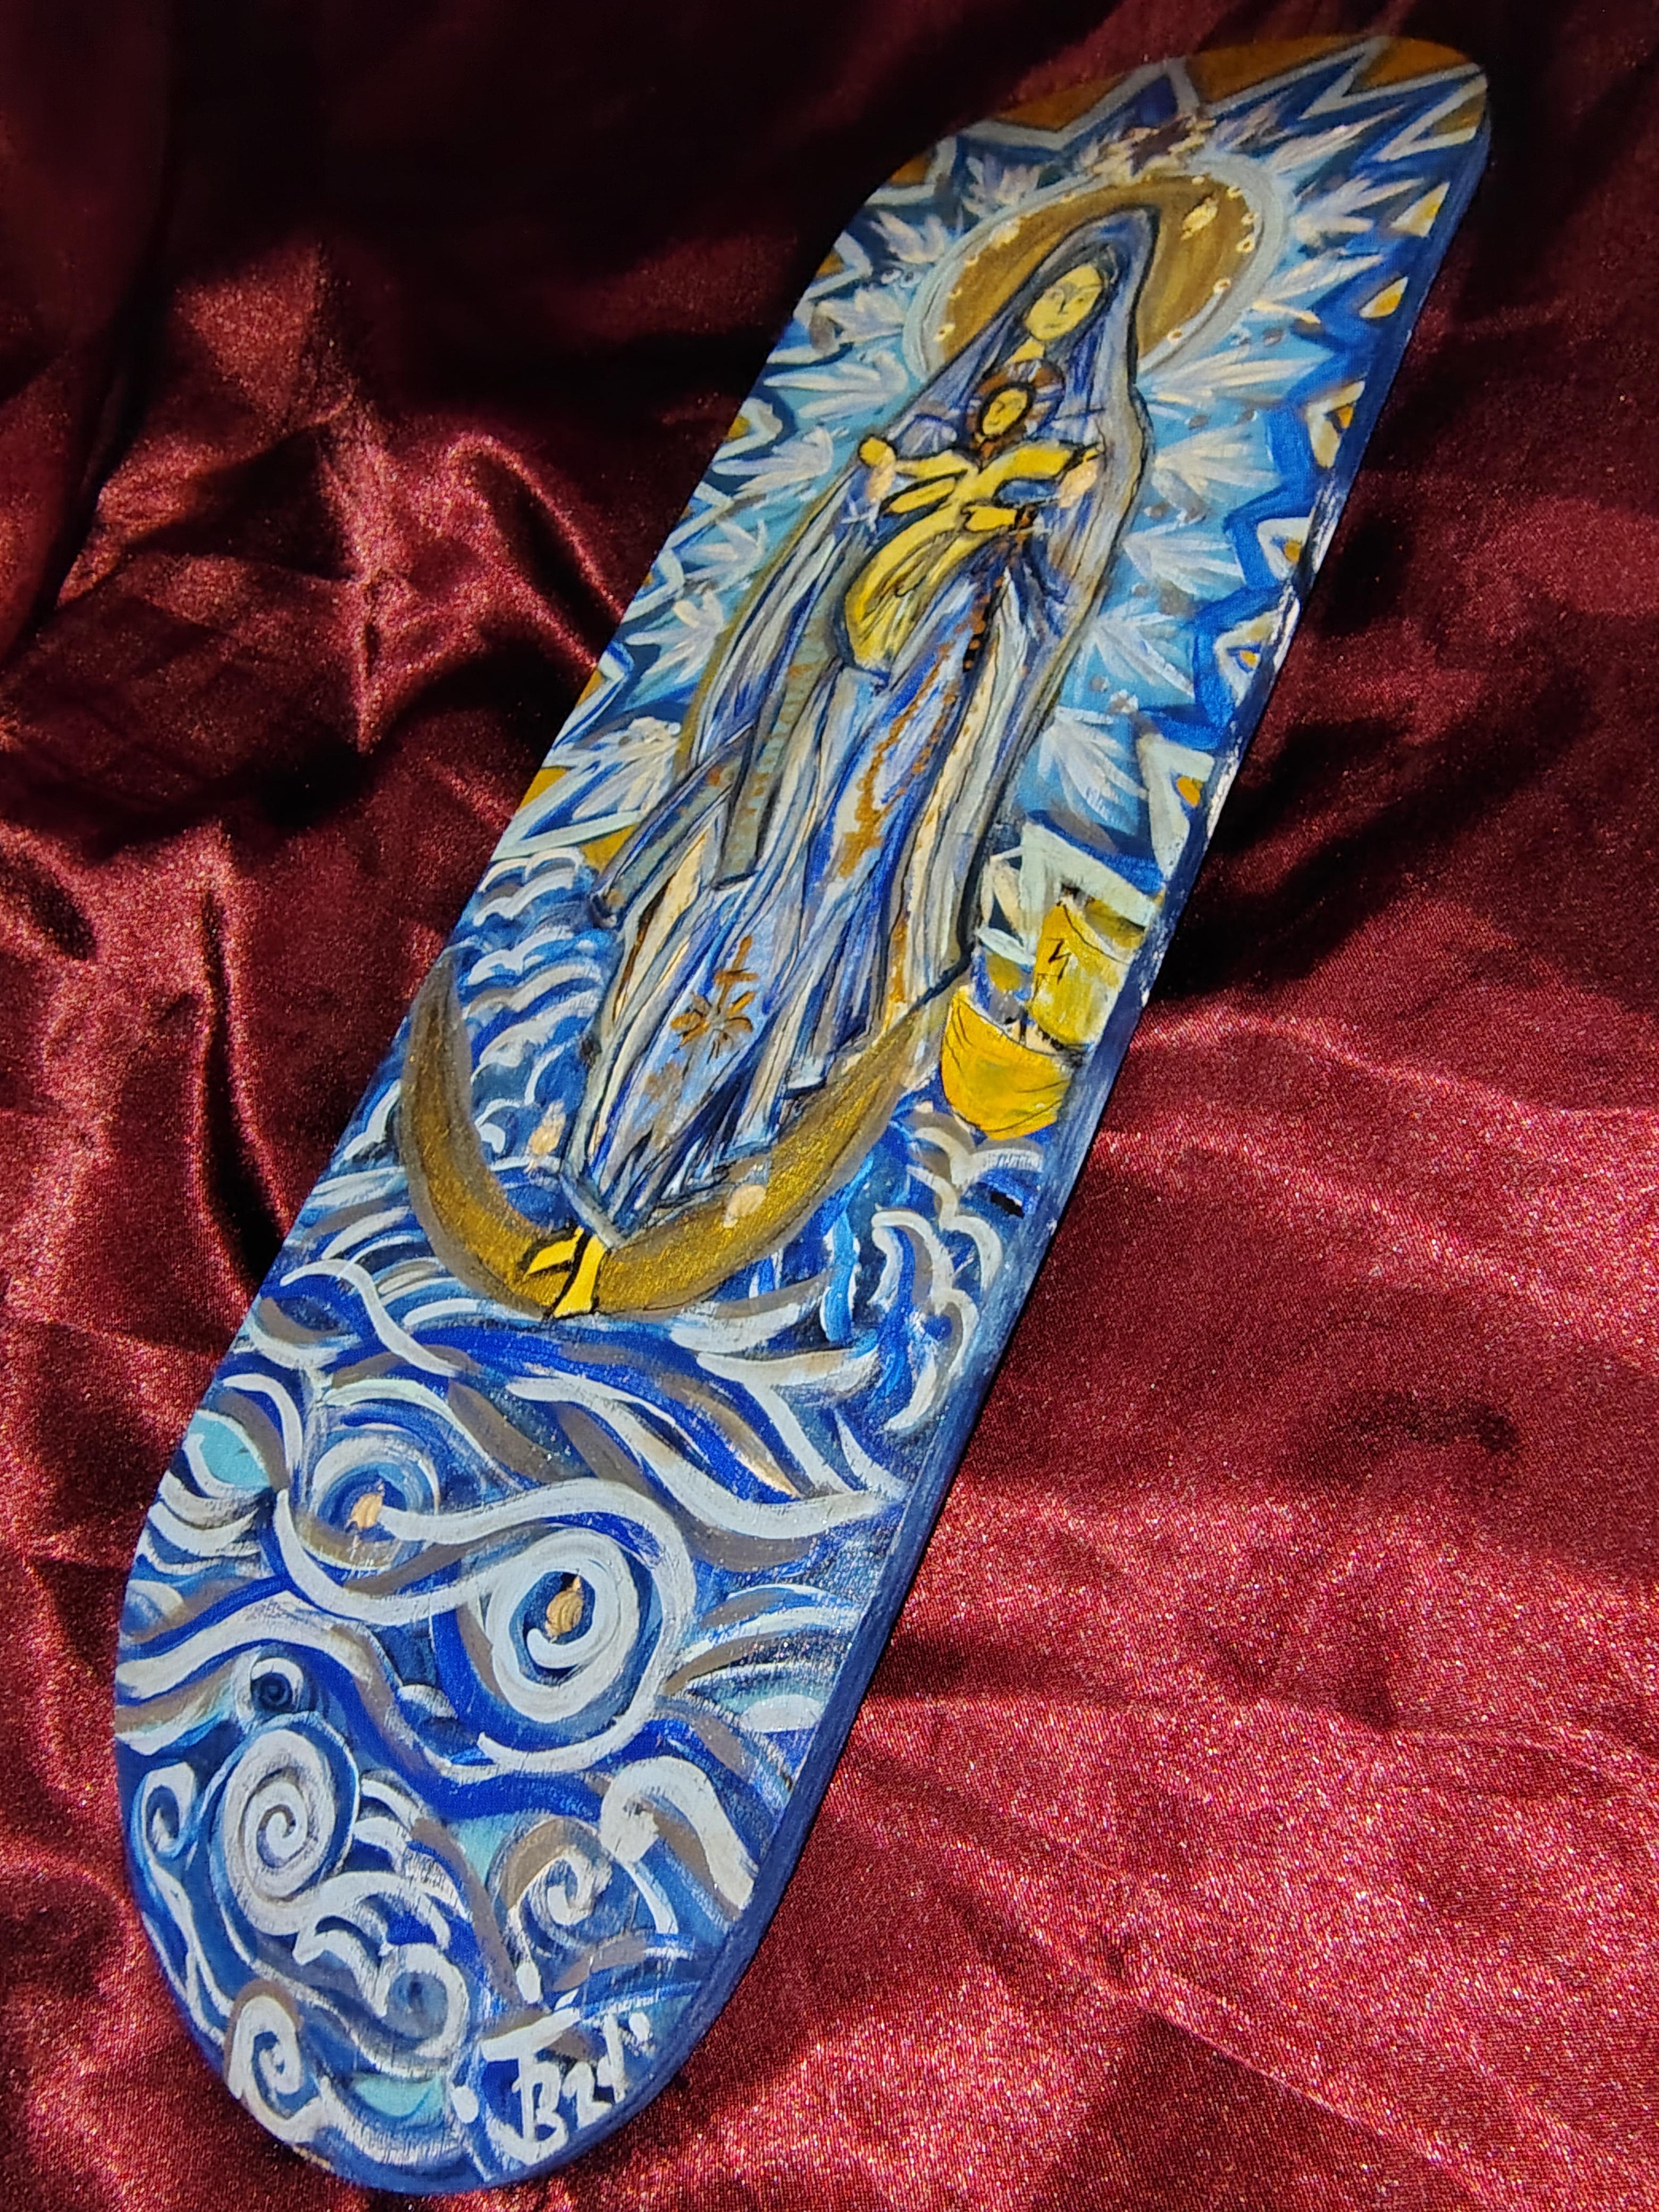
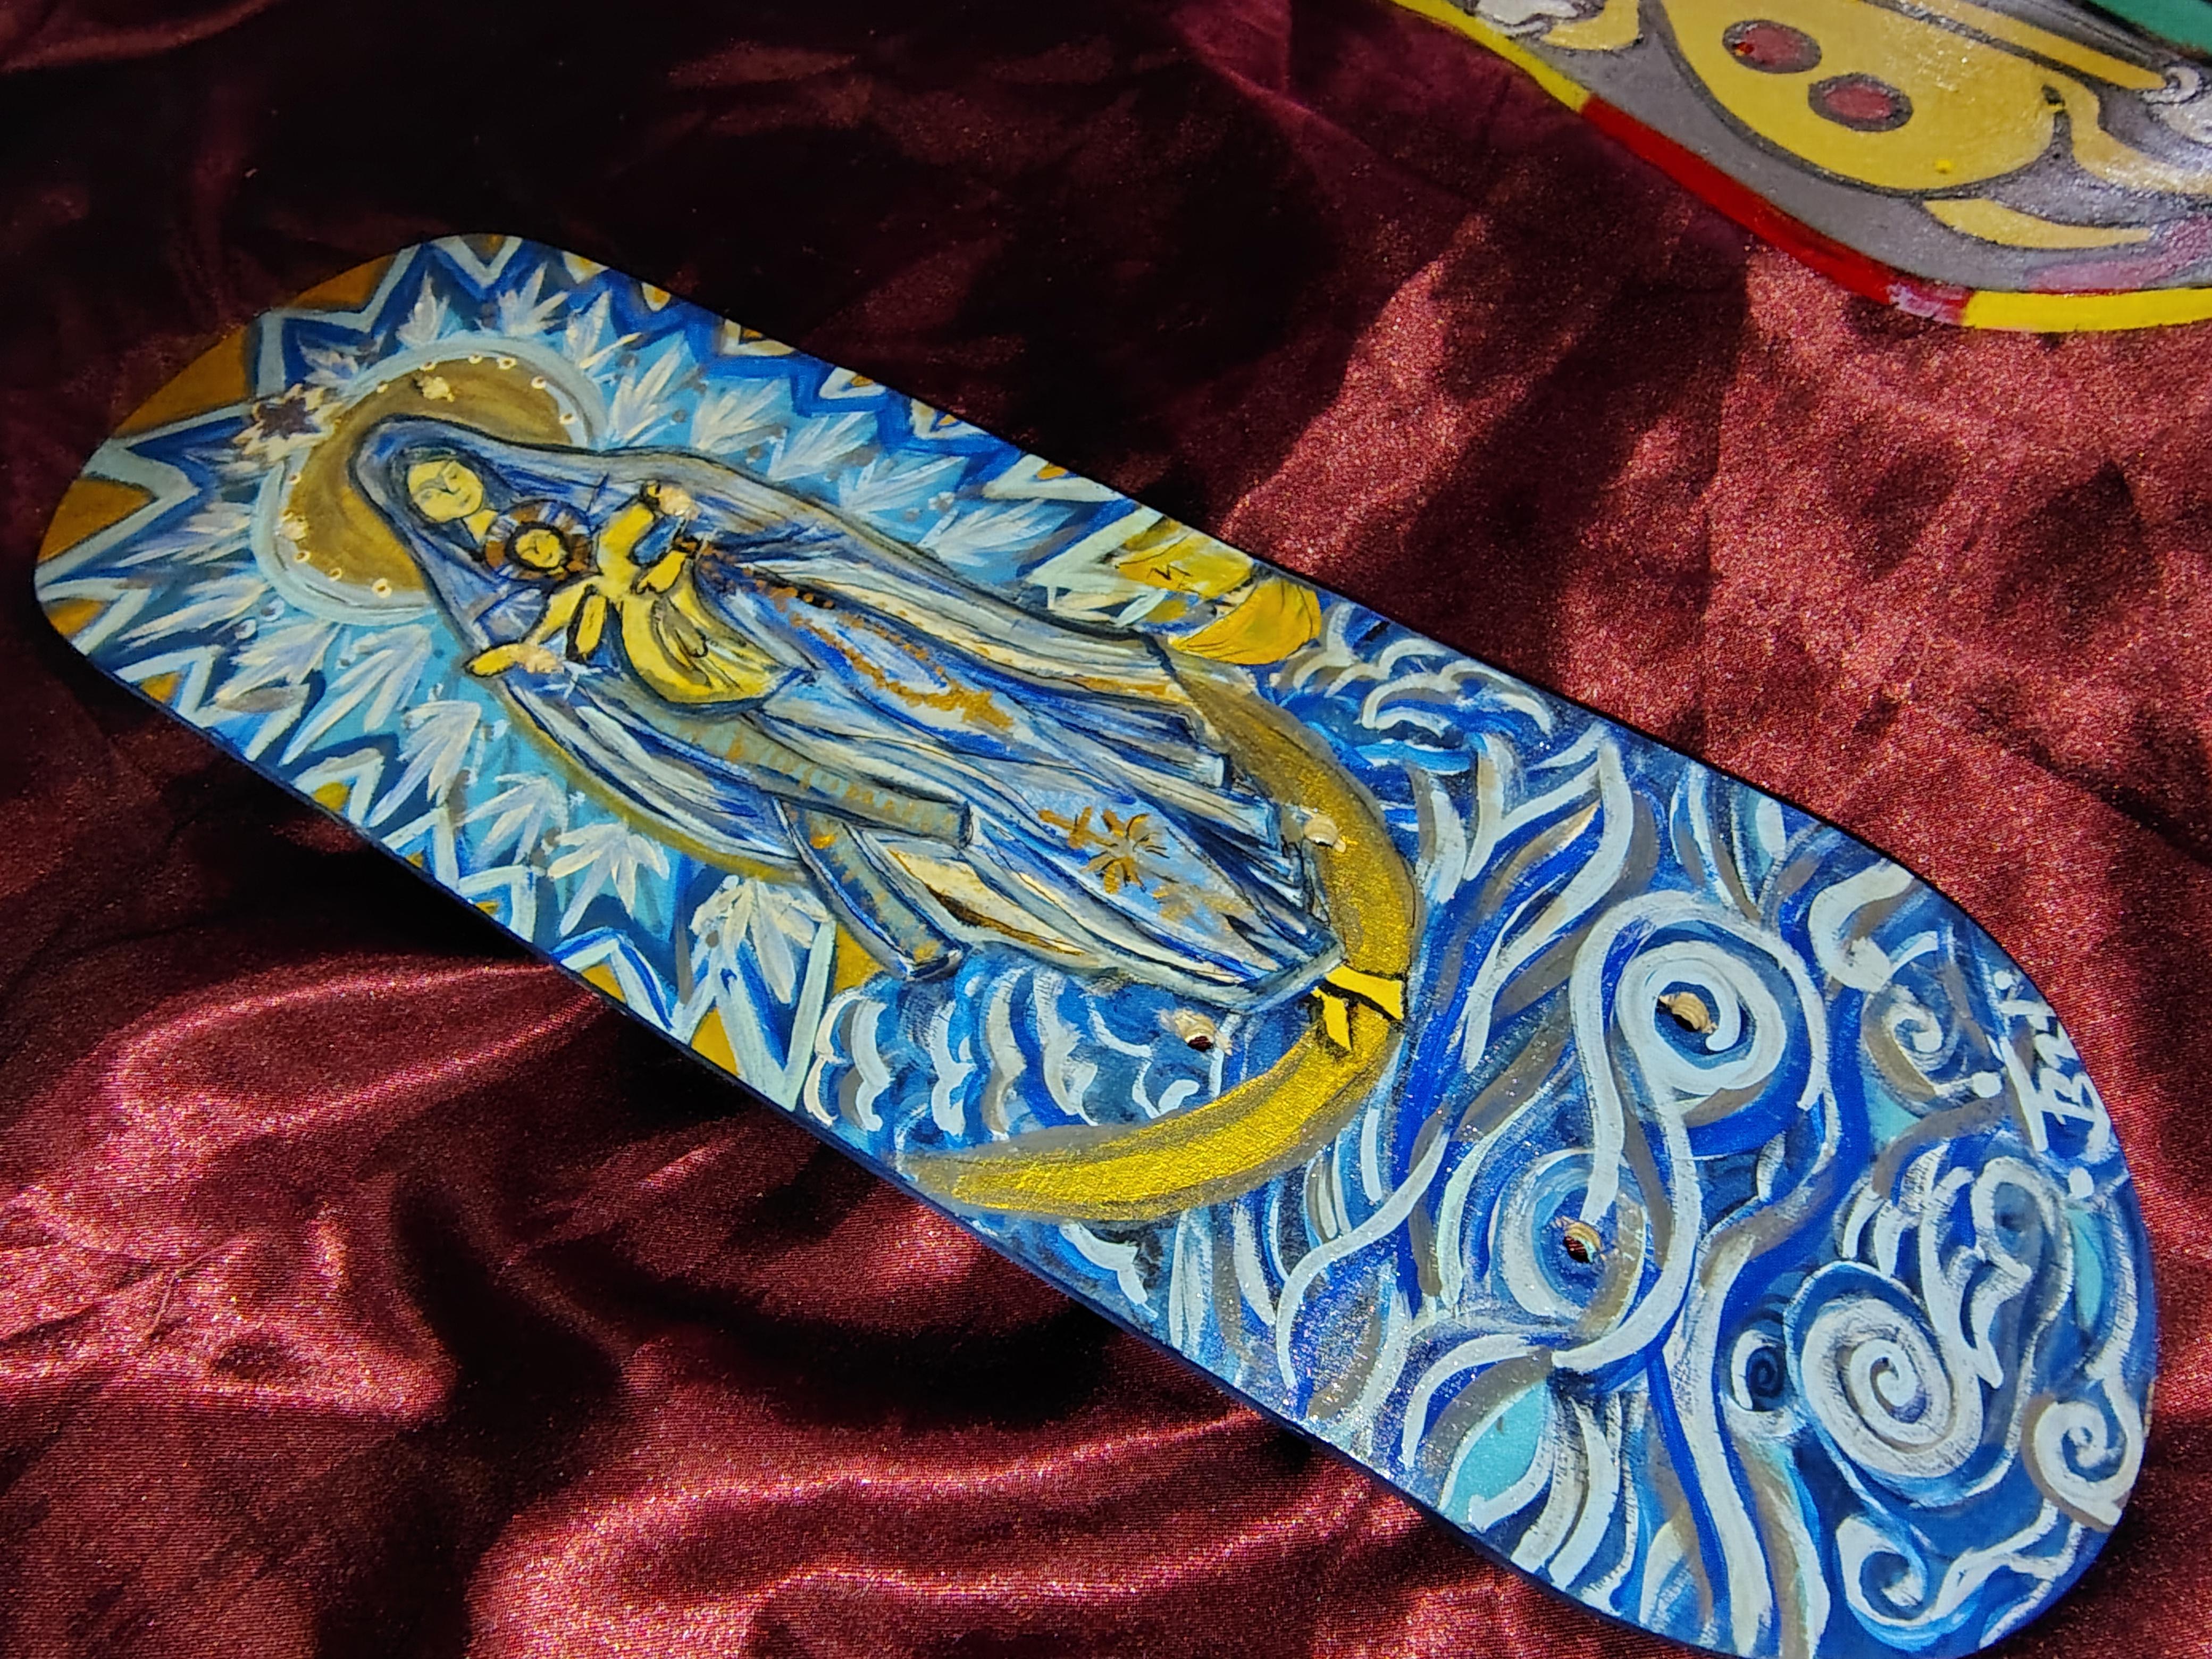
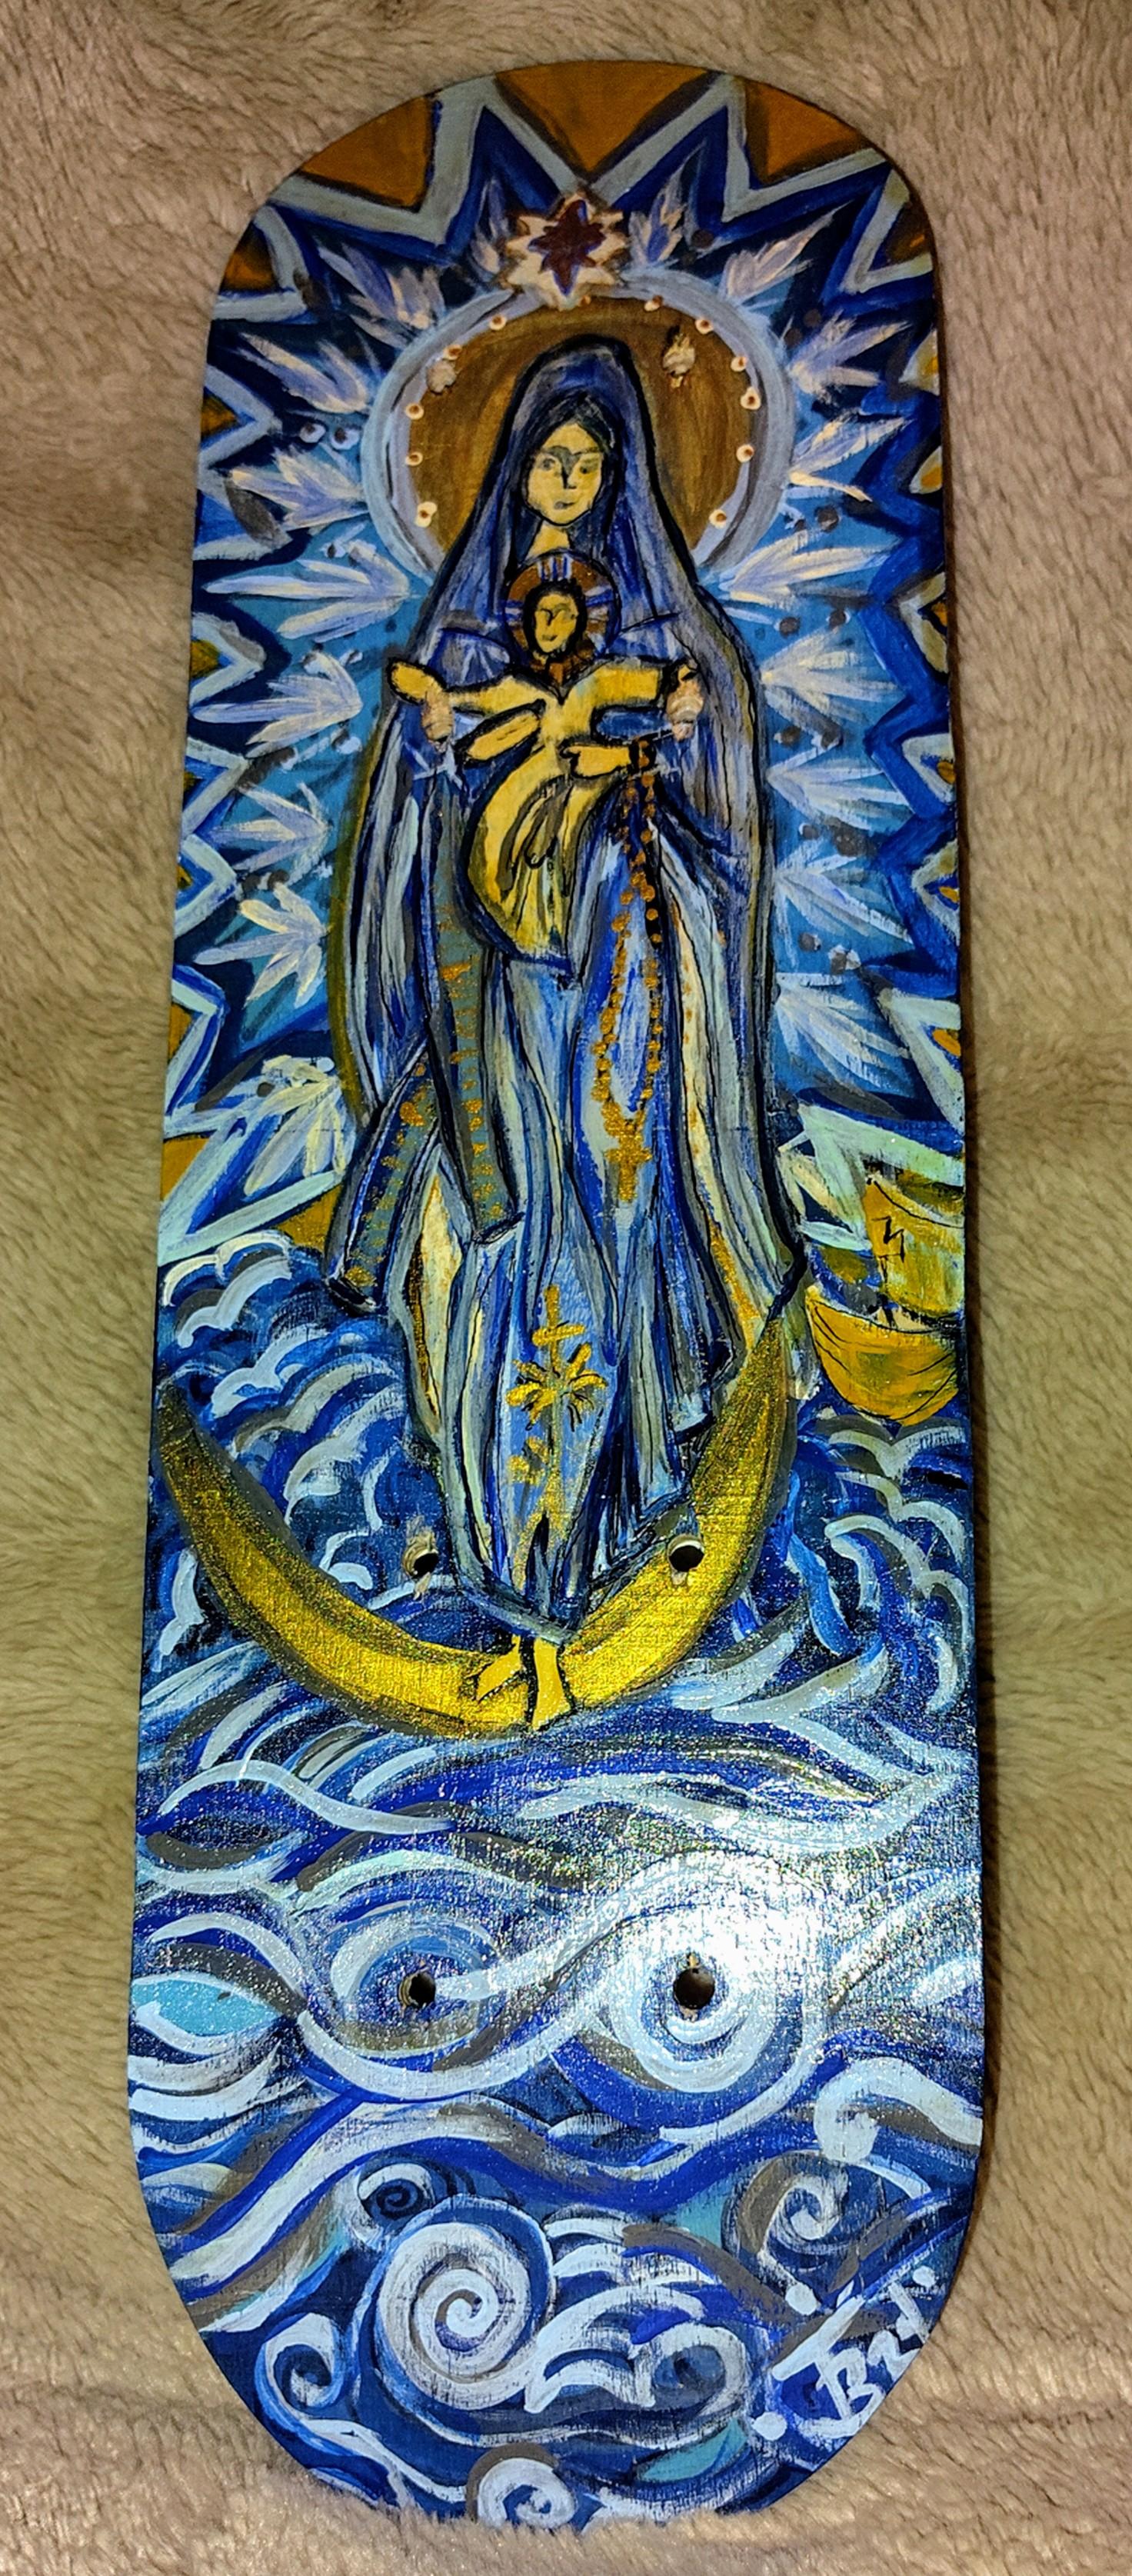
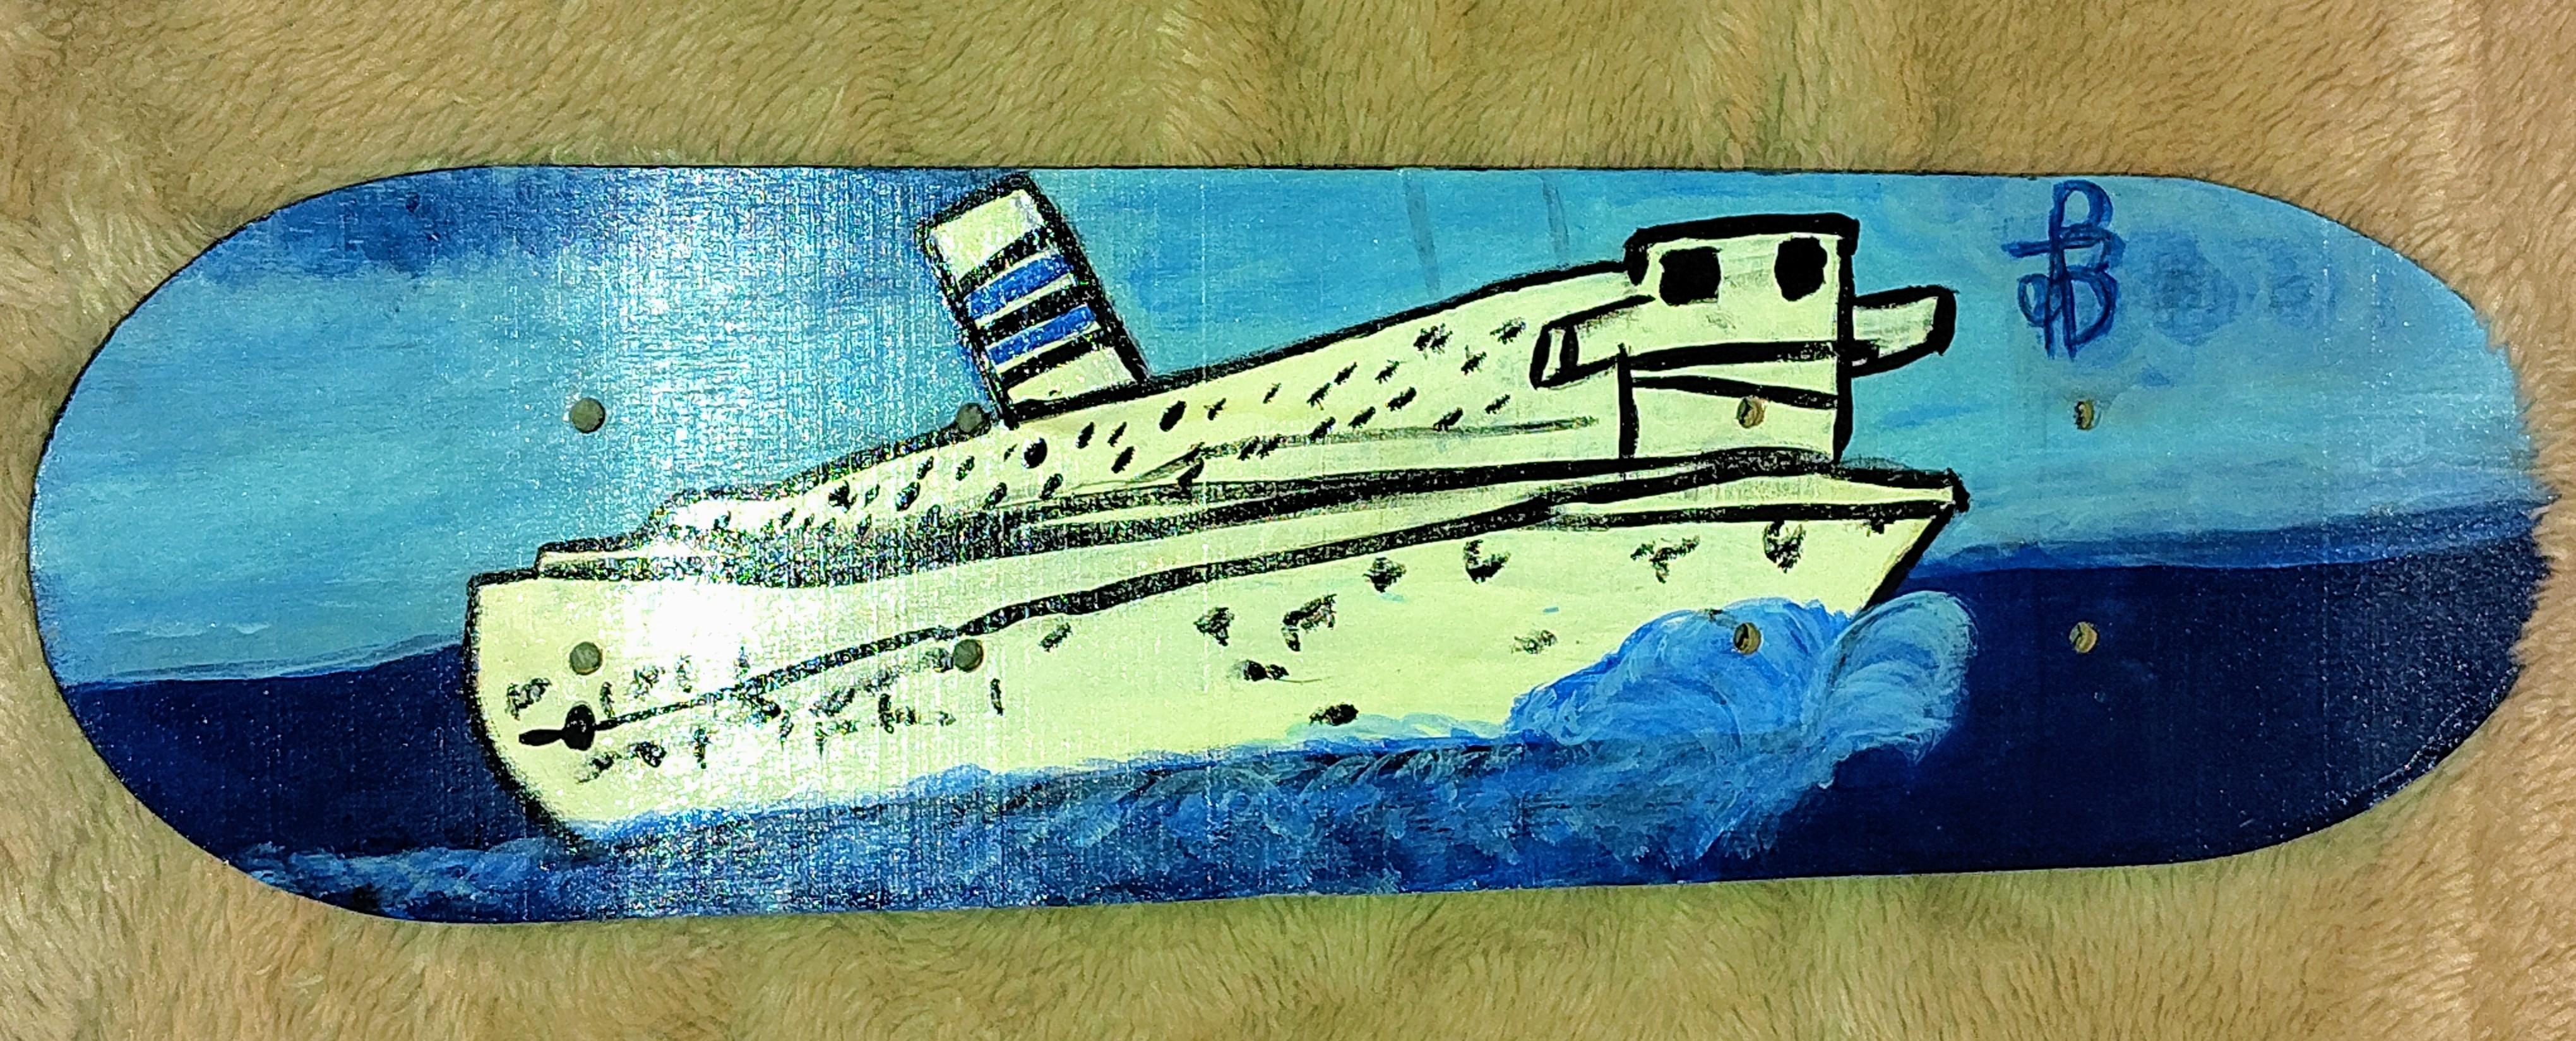
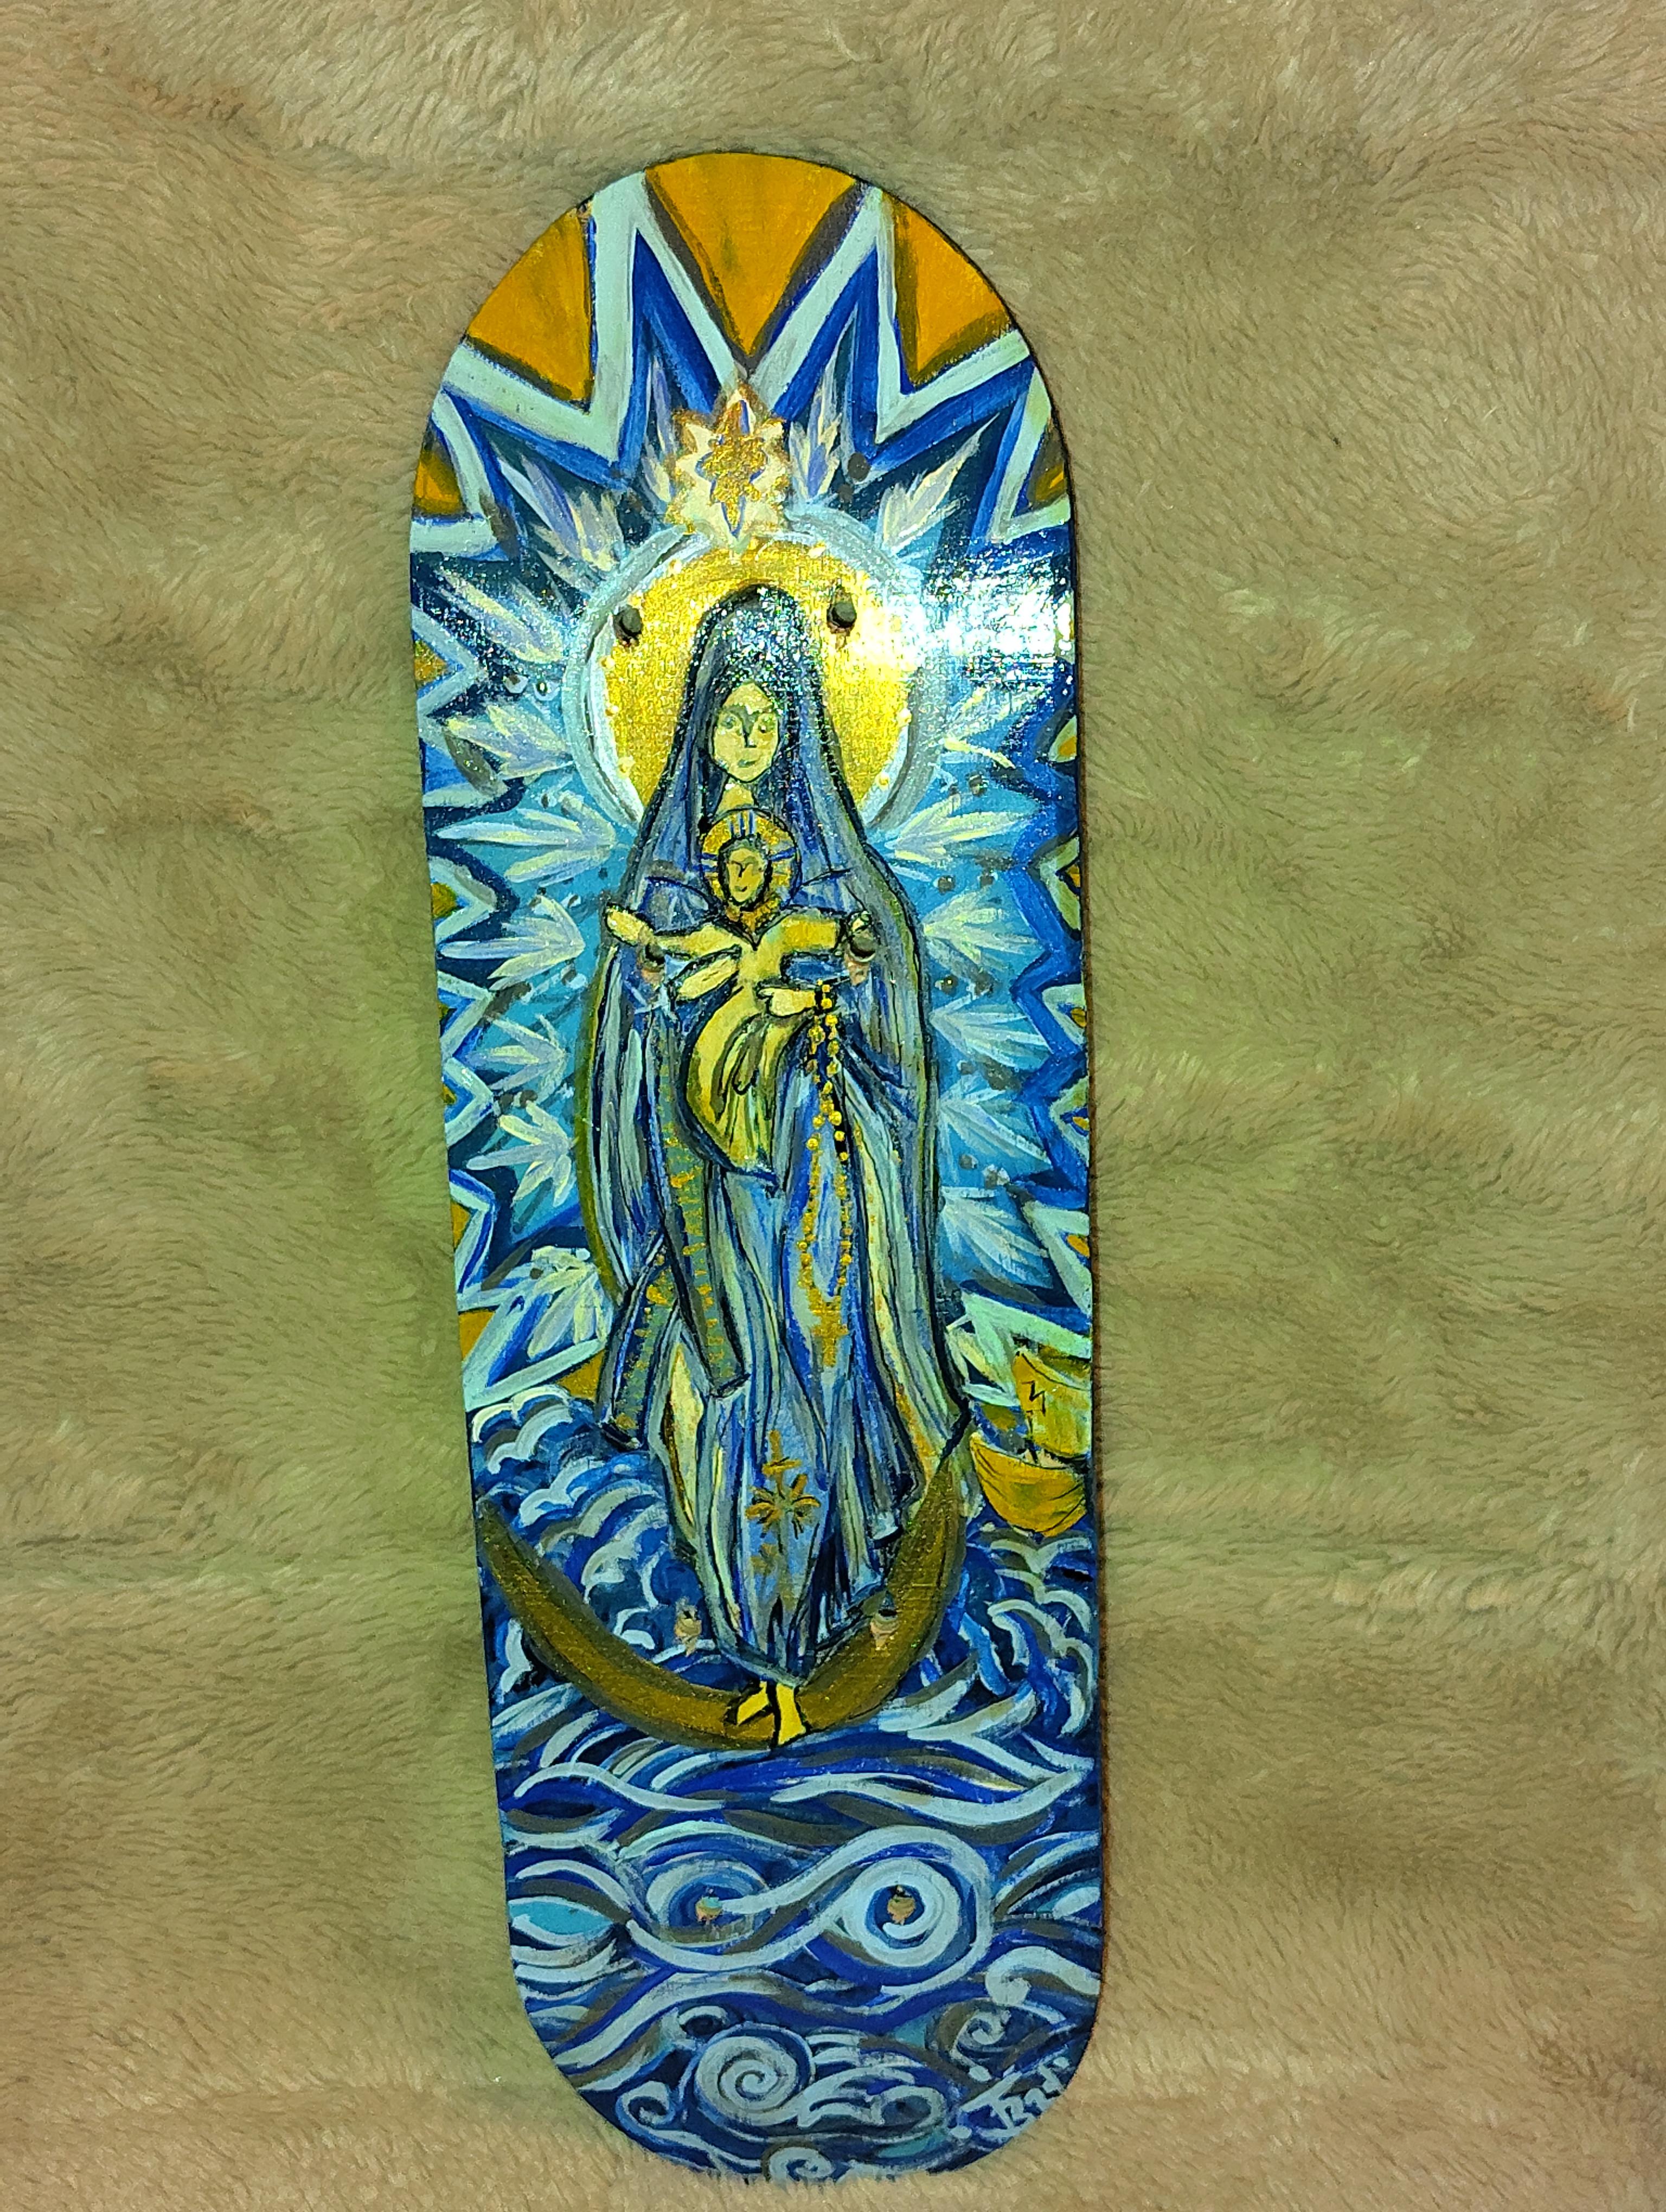
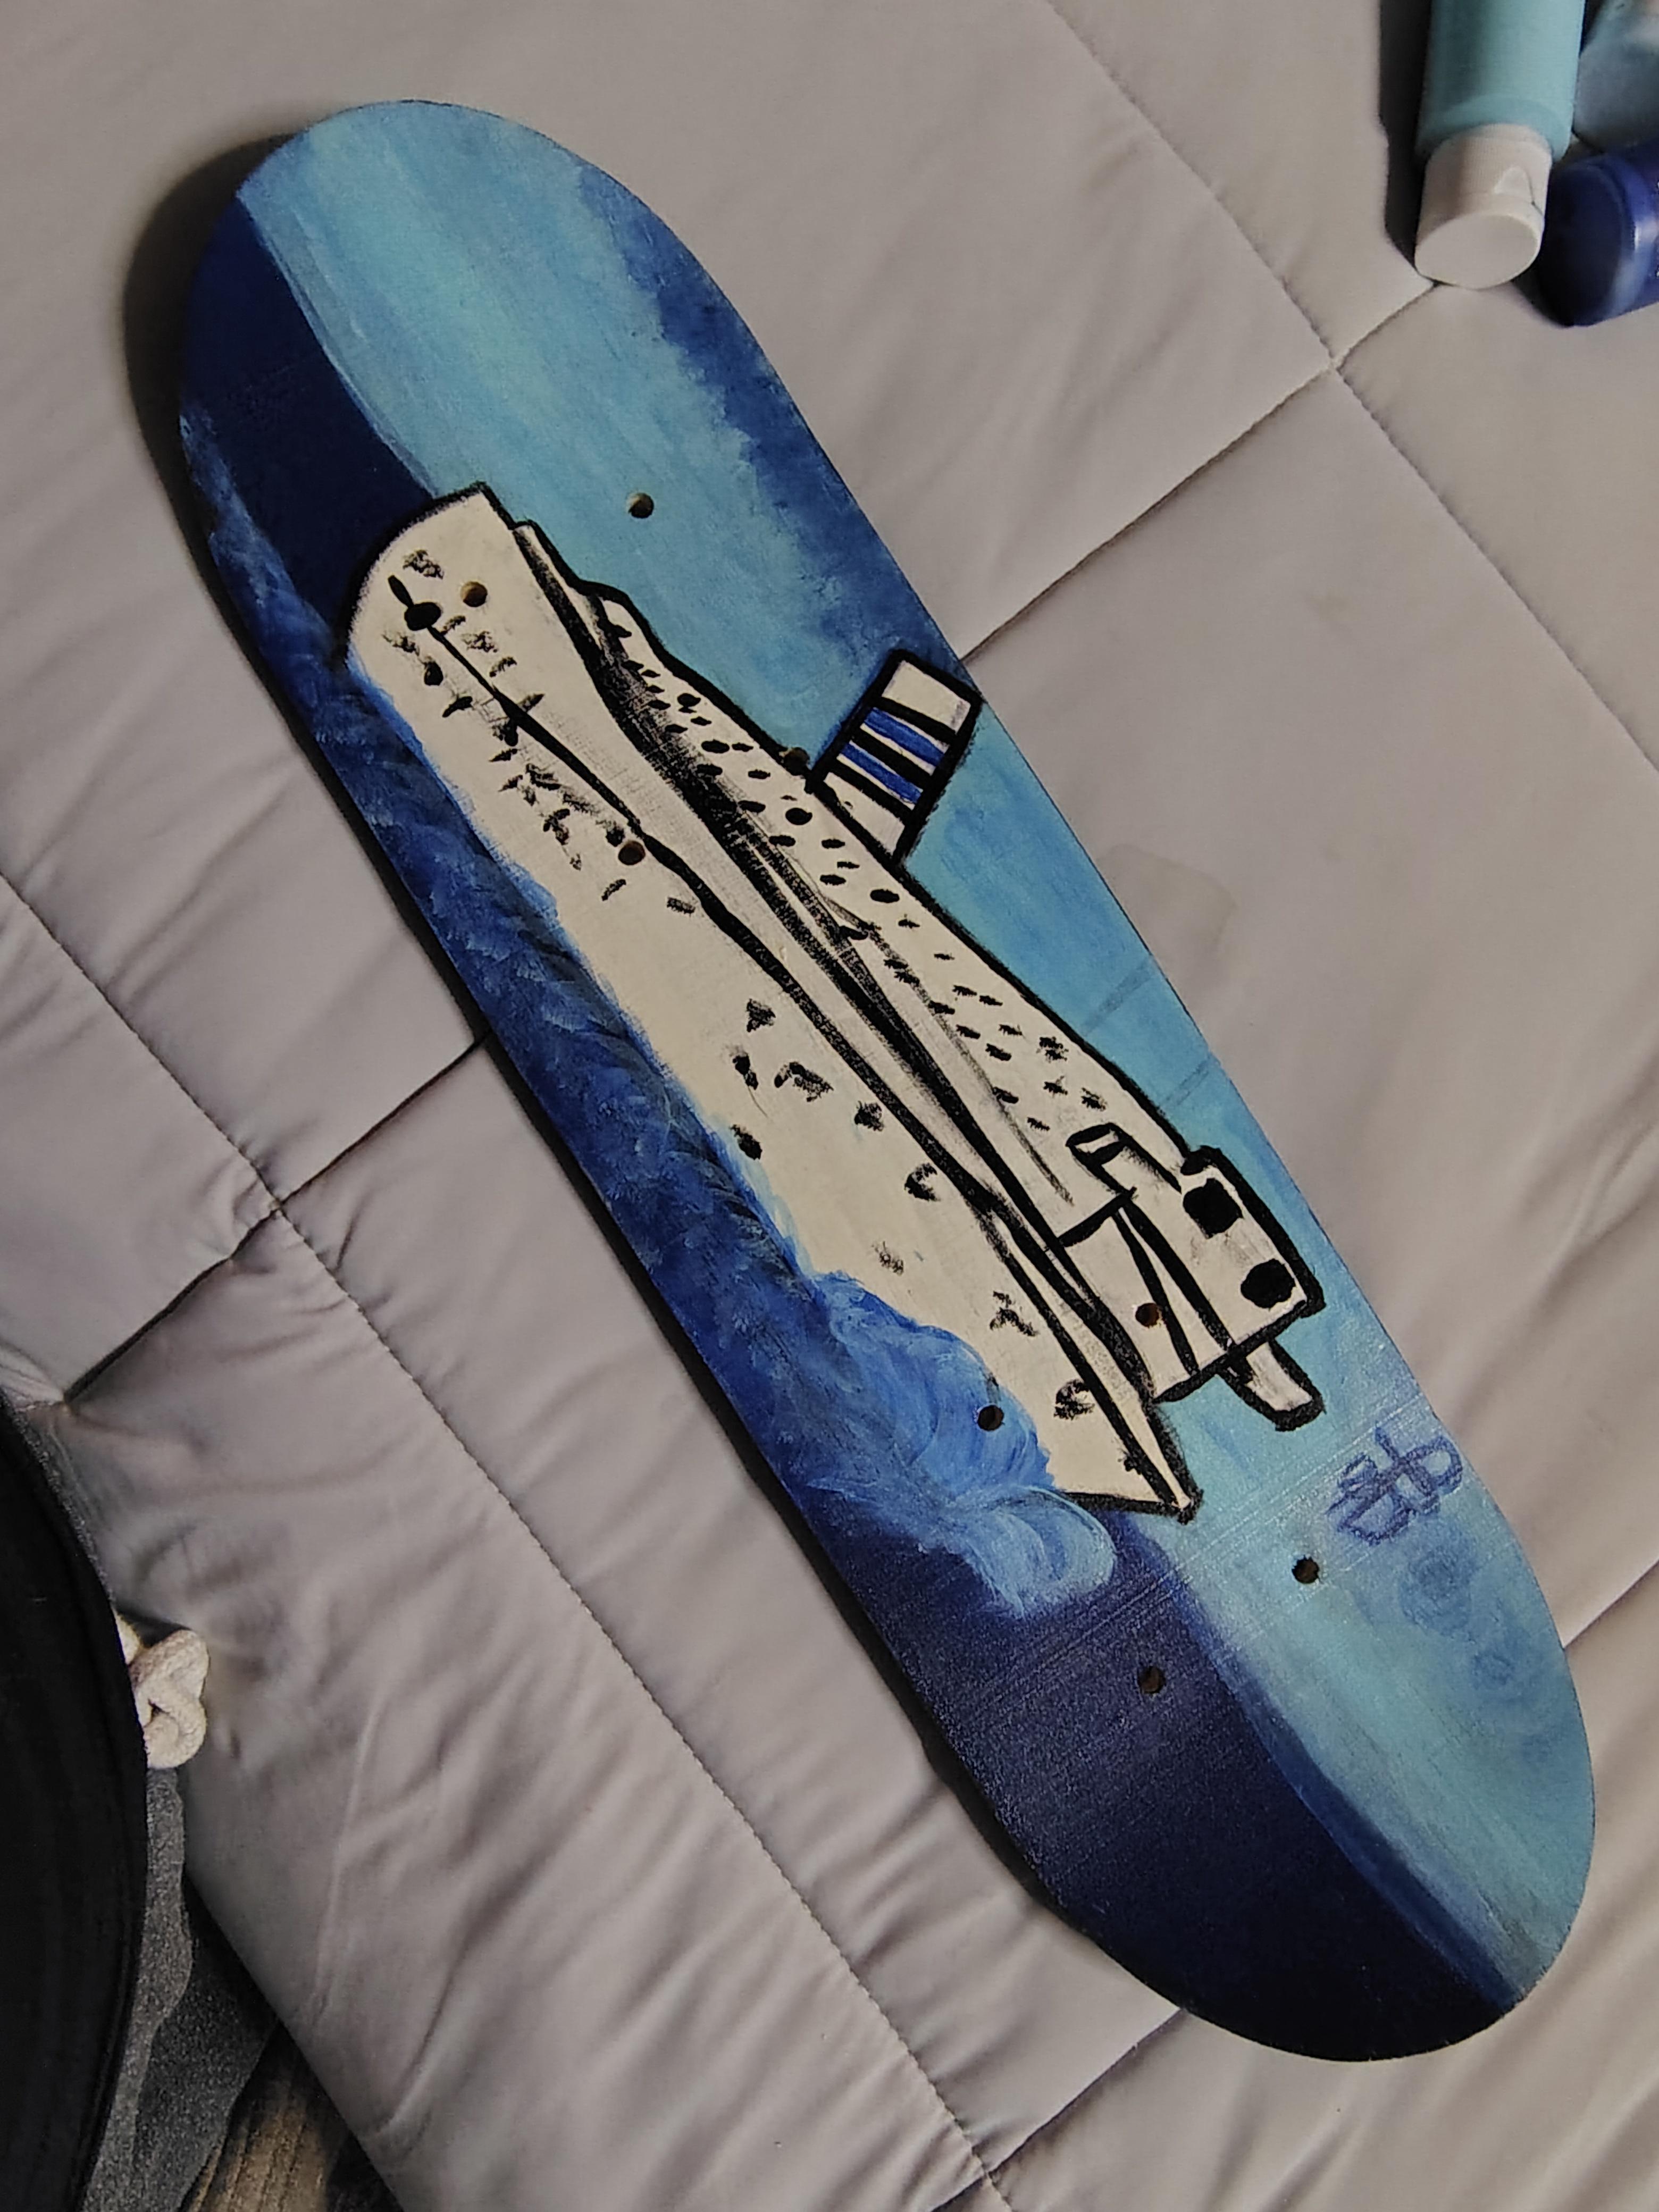
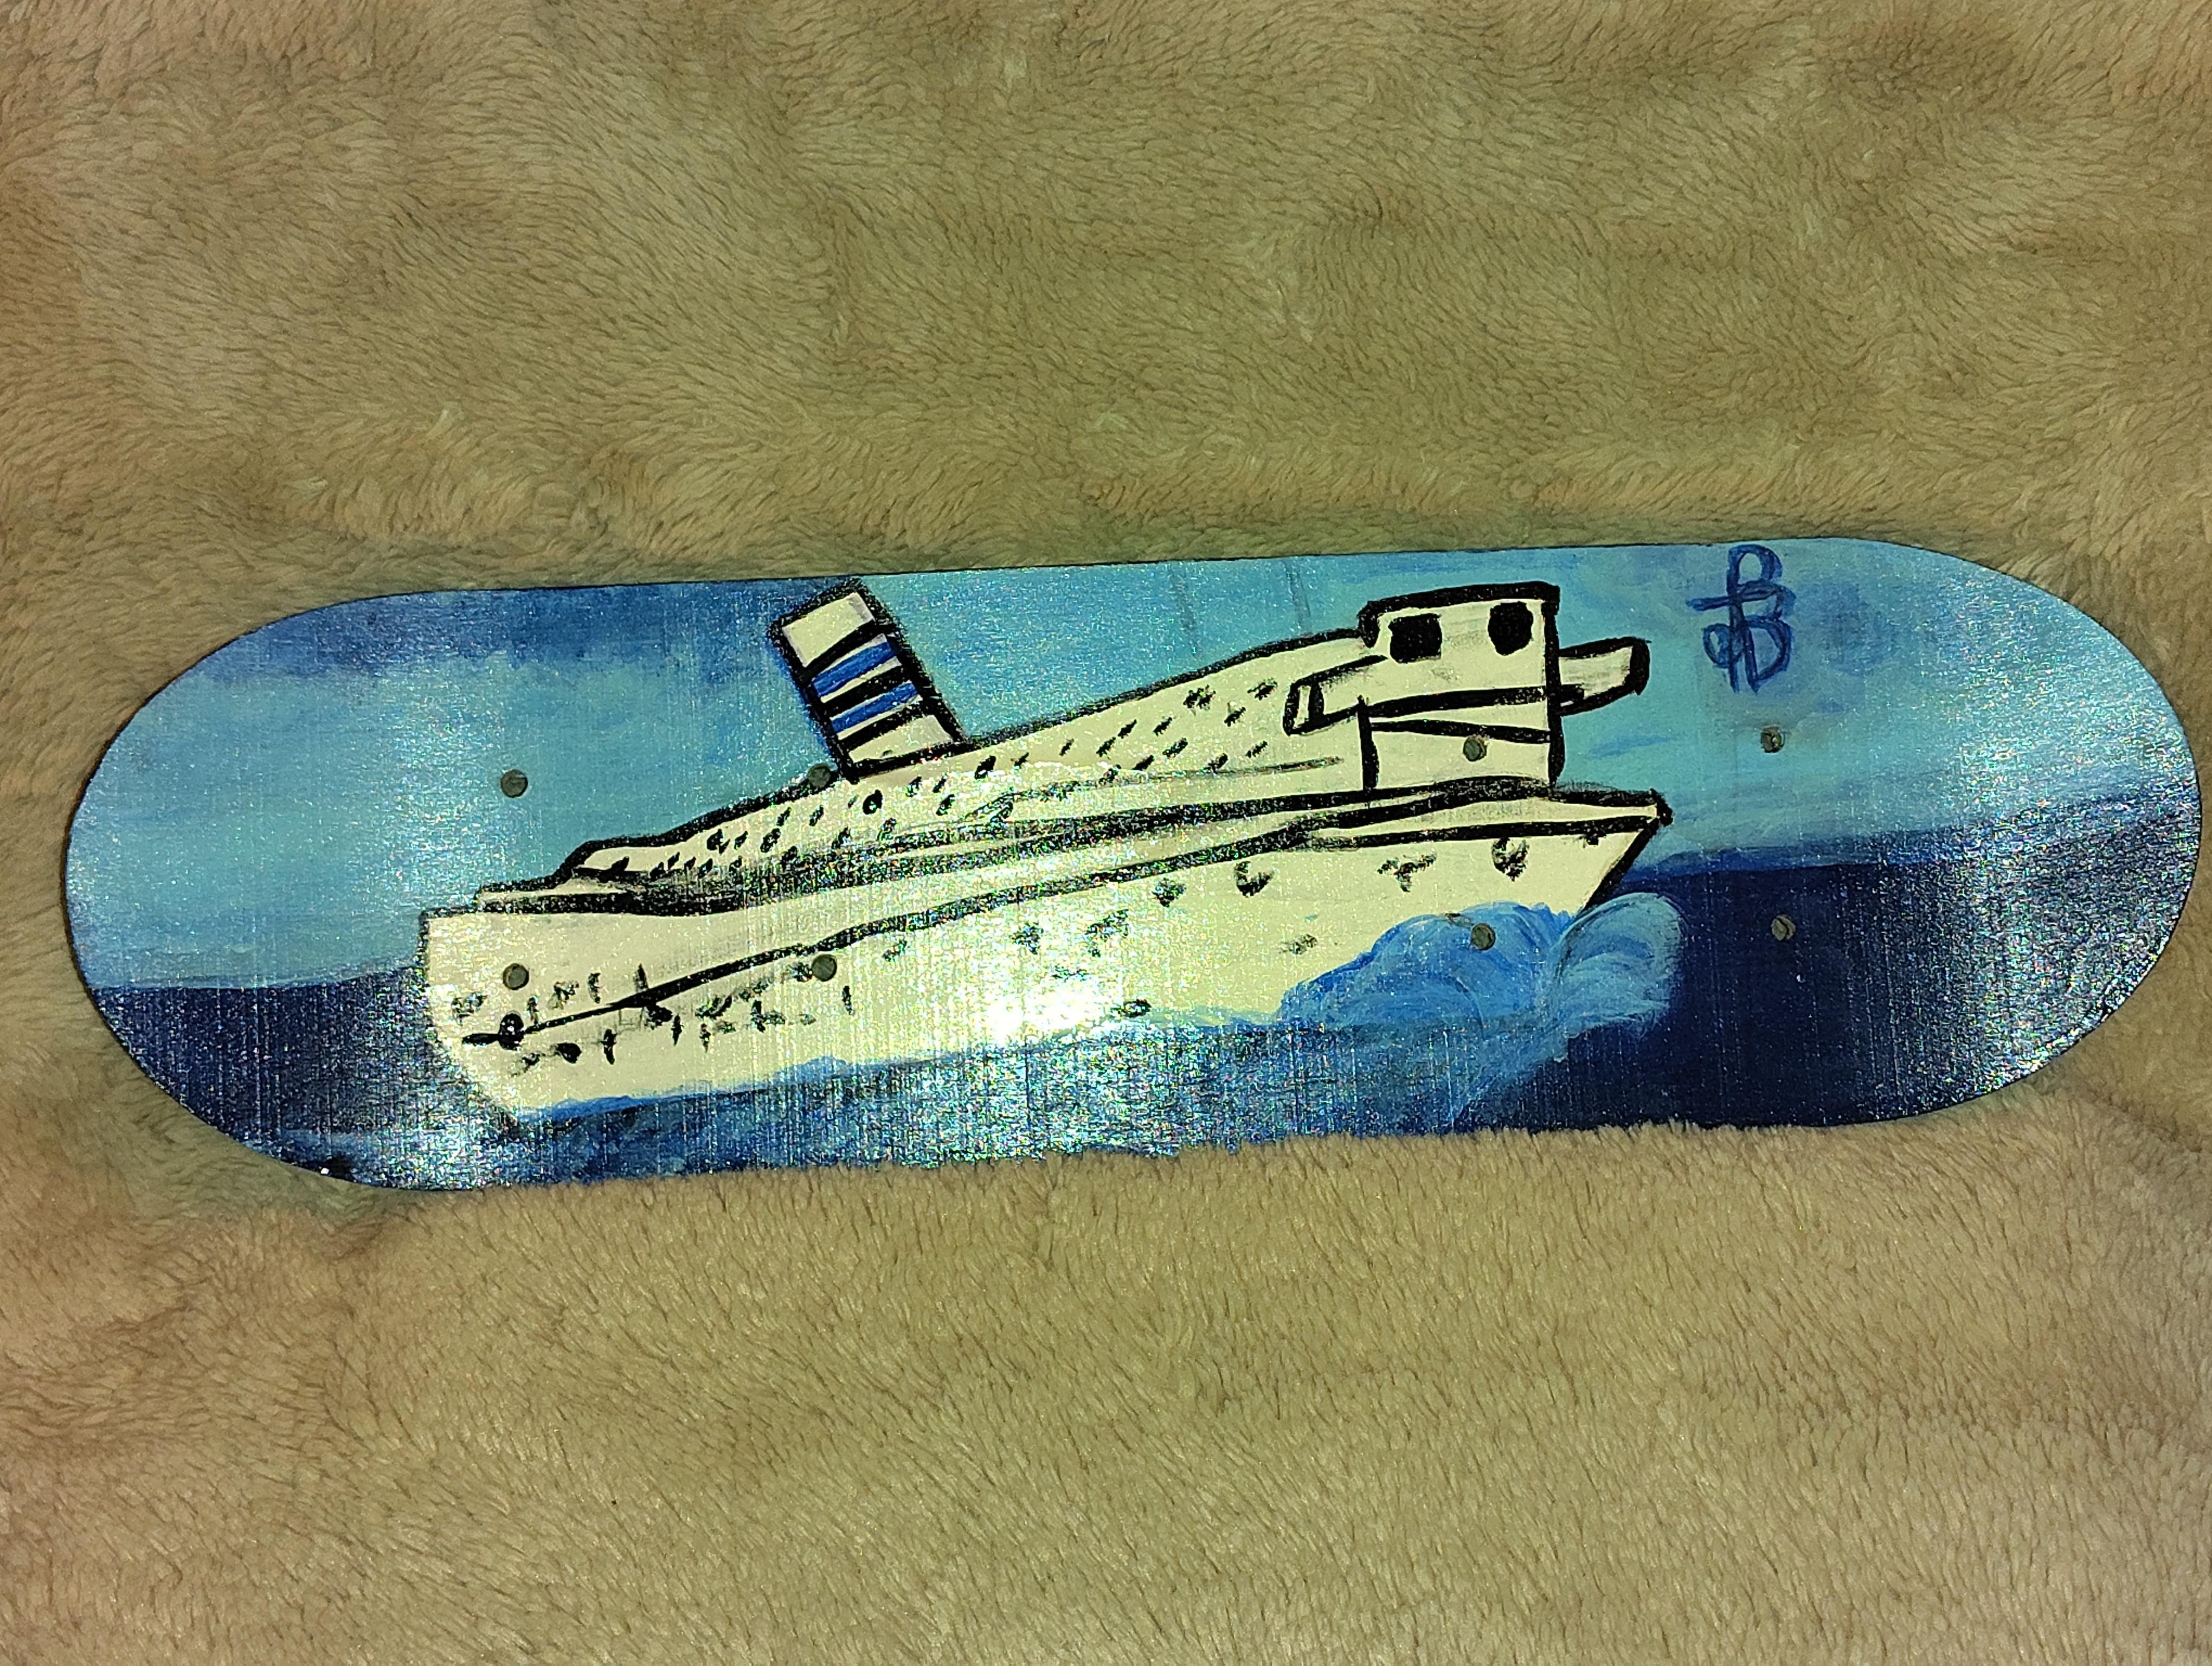
Thankfully I am able to create things that I am interested in and many of my projects are directly related to the mood and/or mode my autistic son is in. I am also thankful that he has interesting interests- never a dull moment. This week was a Nautical or Ship "mode". I have a passion for Skateboards since I was a kid, and becoming an artist is something that I and am still figuring out along with different painting techniques and styles. So, bada bing, bada-boom we combine it all and here we have our WATER deck, aka Ocean Voyages & Our Lady, Star of the Seas Skateboard Deck.
My son is very into ocean liners and classic cruise ships so I used one of his versions of the "RMS Queen Mary" inspired ship for the top of the deck. As for the other side; I seem to be drawn to pictures of the Virgin Mary since I can remember; which is fitting since she is also known as THE Queen Mary, Mother Mary, Our Lady and so many other endearments. Historically, there has always been a Saint for different groups and often there are different people and things they represent or meanings as to why people pray to them. When I found pictures of "Our Lady, Star of the Sea or Stella Maris." I knew it was meant to be and so the back of my deck became. Follow along with me and see how I created a collectible and decorative piece of art that would make any Skater, Sailor, Ship aficionado weather they are religious or not proud to display as part of a collection or be happy to receive as a gift.
I wont be getting into the exact painting steps for this project because I think it is better to create something more personal to you or the person you are making it for, and you will find it more enjoyable to make. Unless of course I have just inspired you and you want to use this as inspiration- feel free and have lots of blues ready! So with all of that said lets get our supplies together and get started.
Supplies
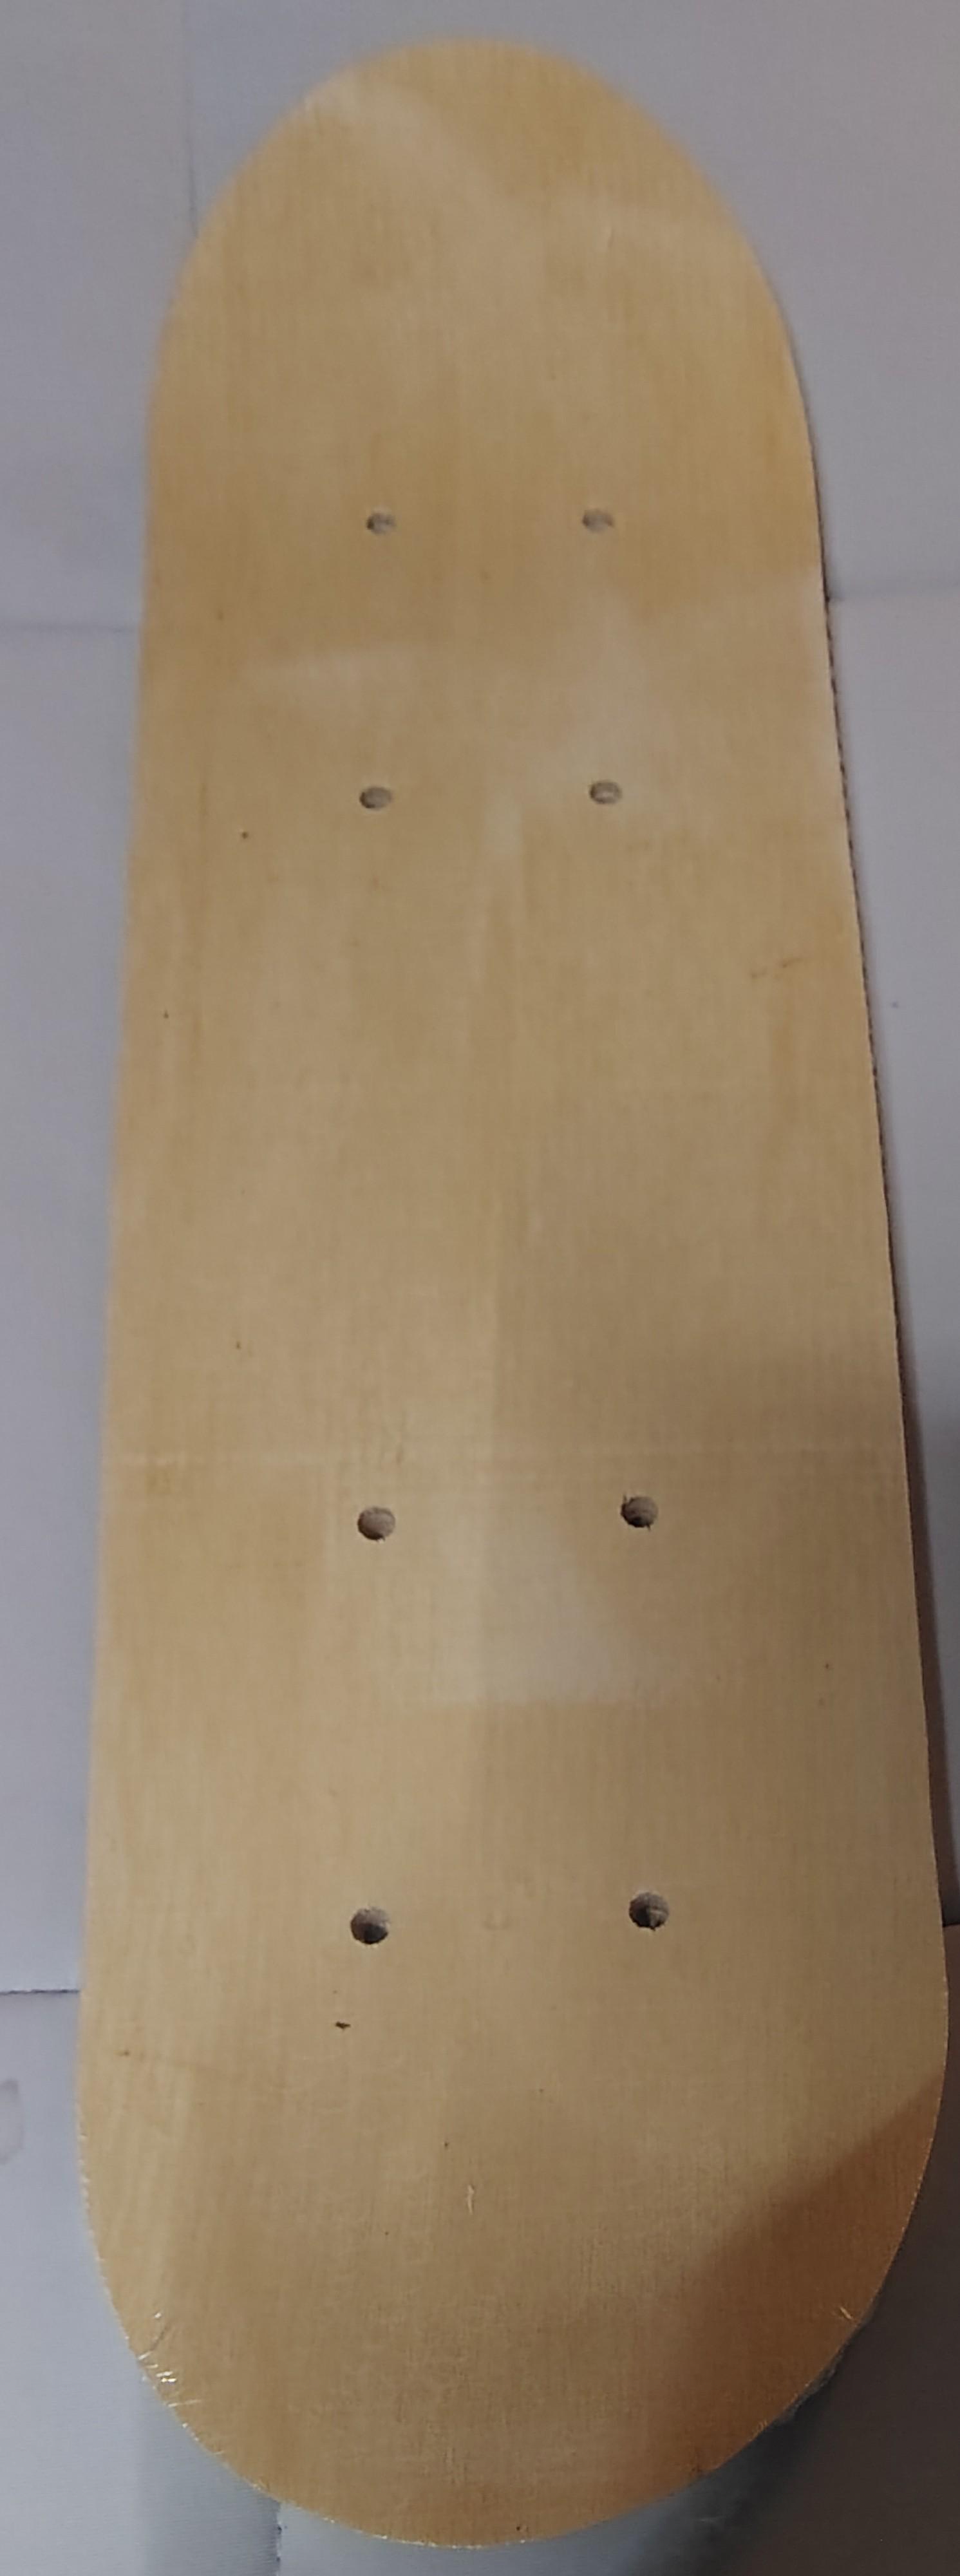
- blank skateboard deck/board
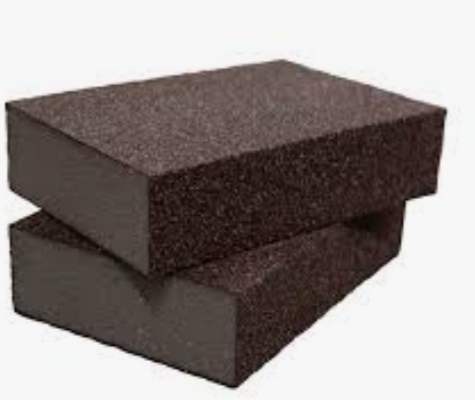
- sanding paper/block/file 150 grit or finer
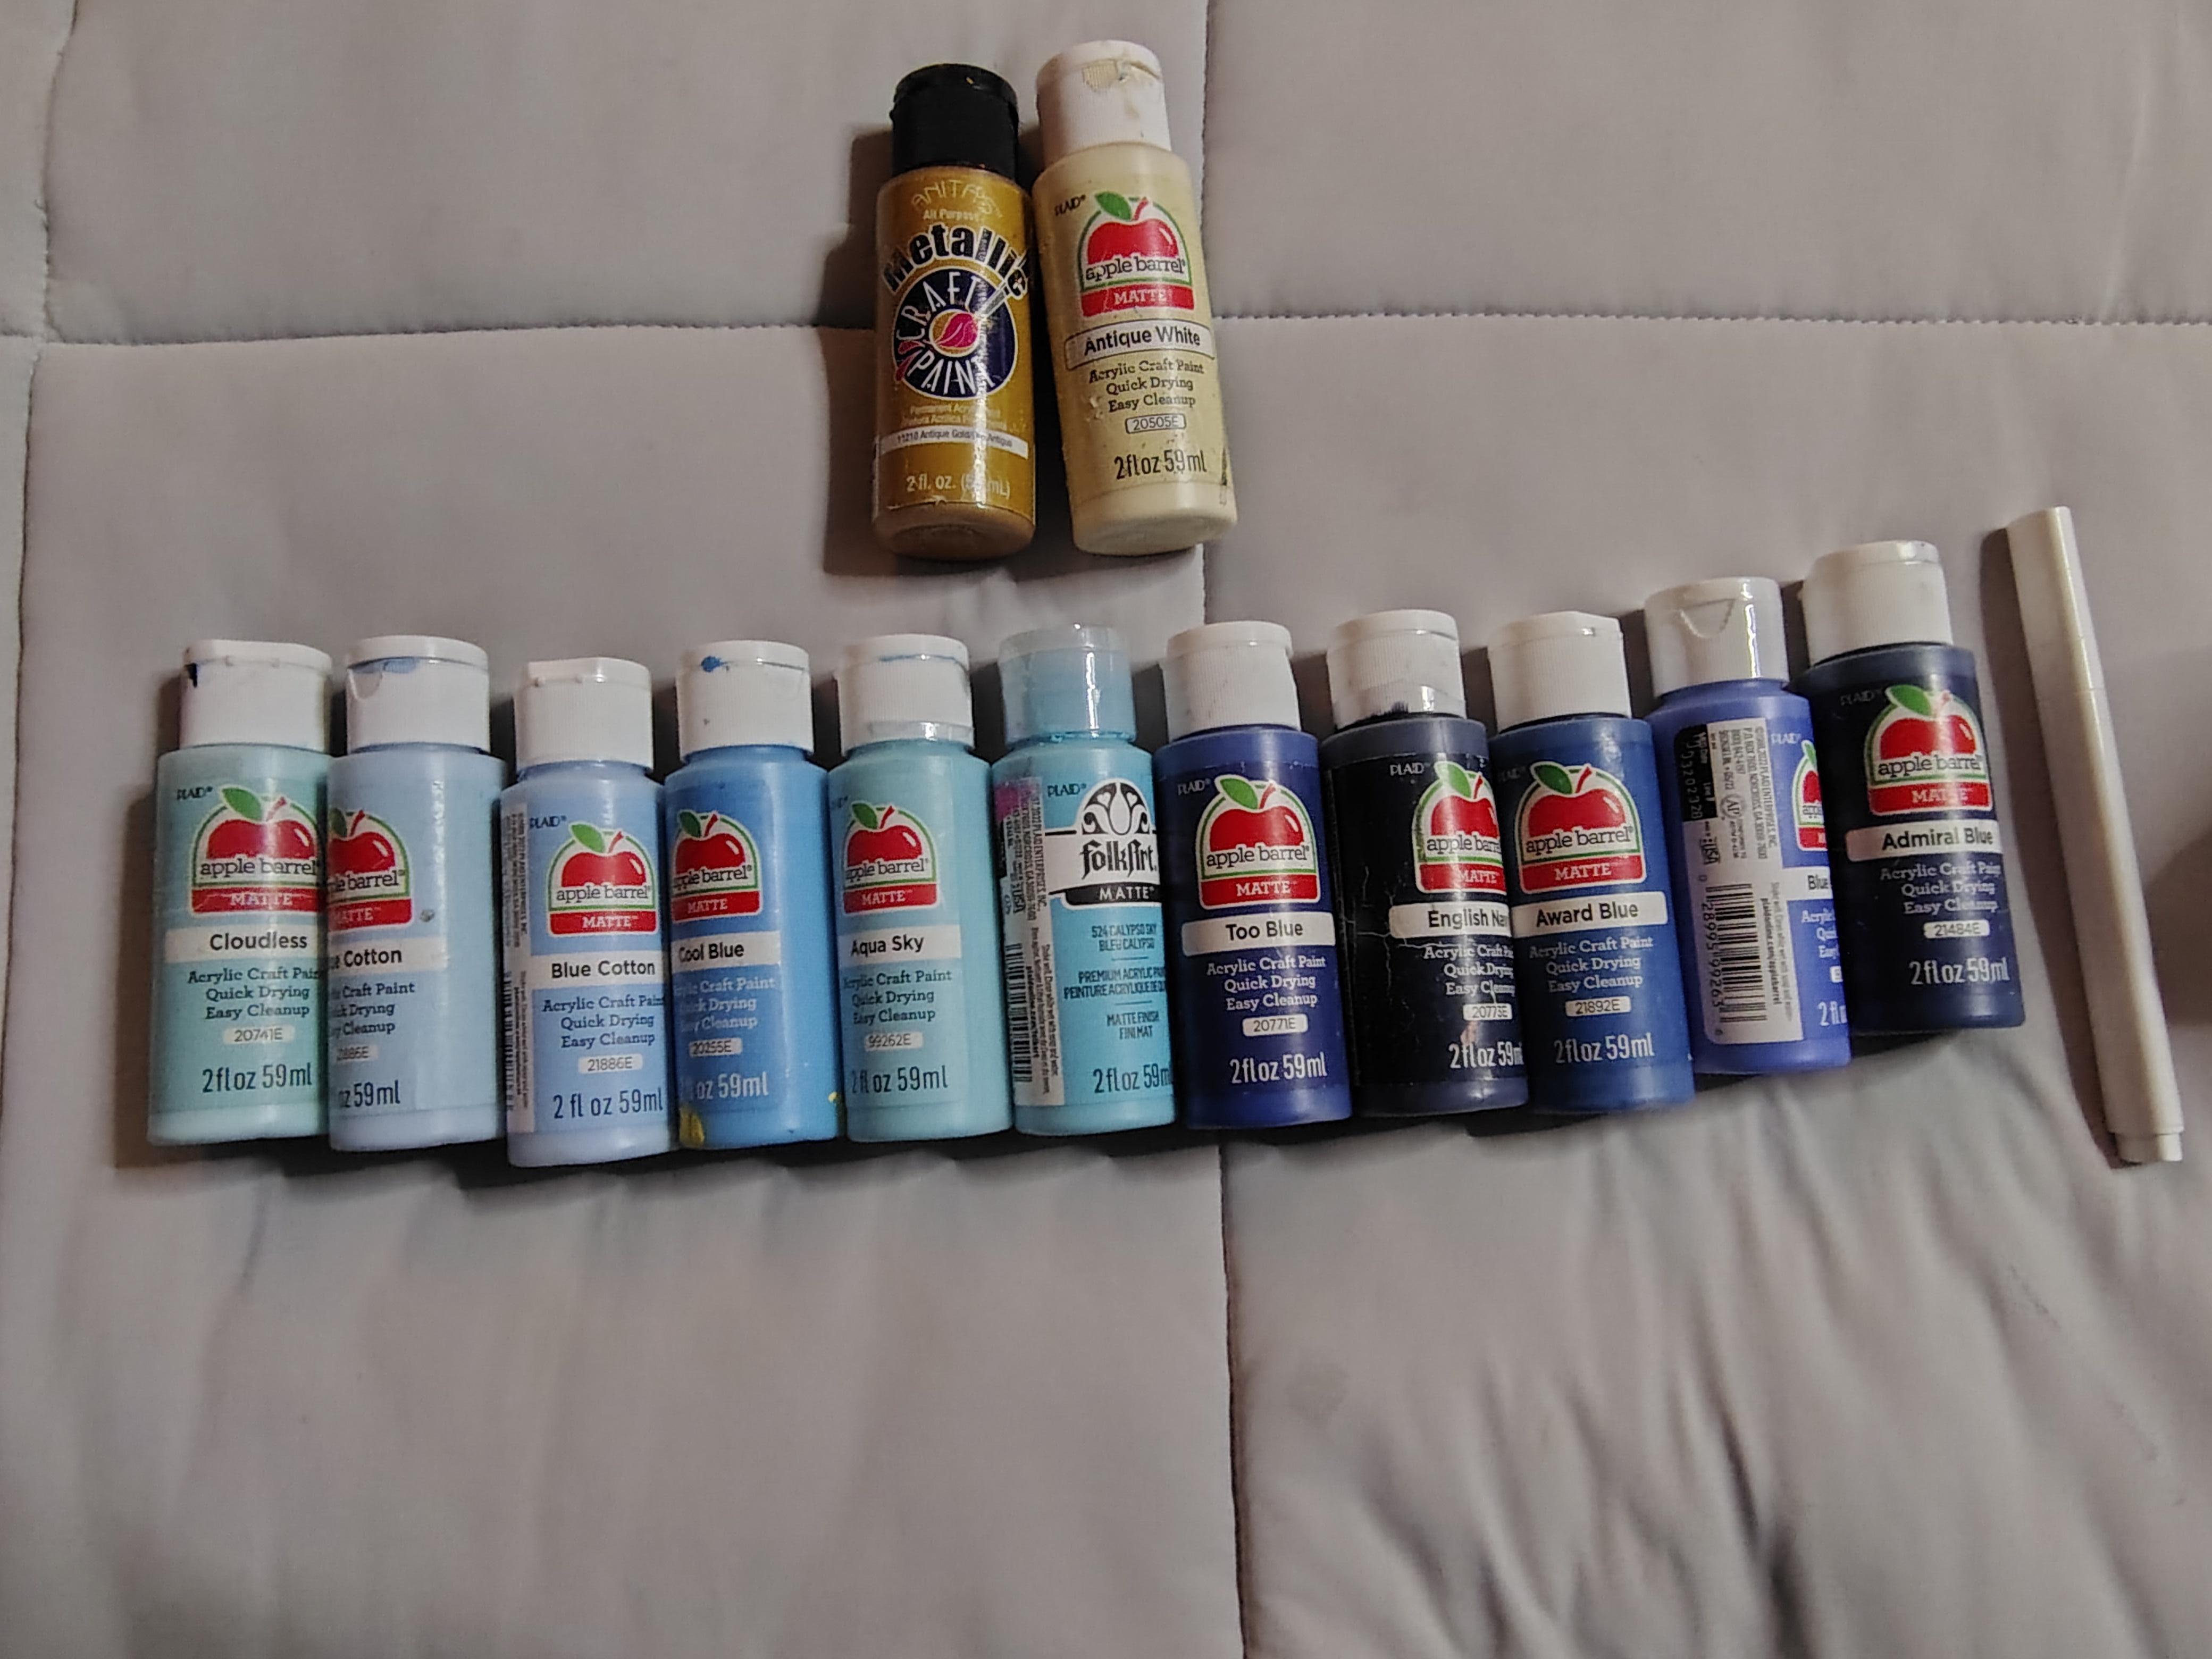
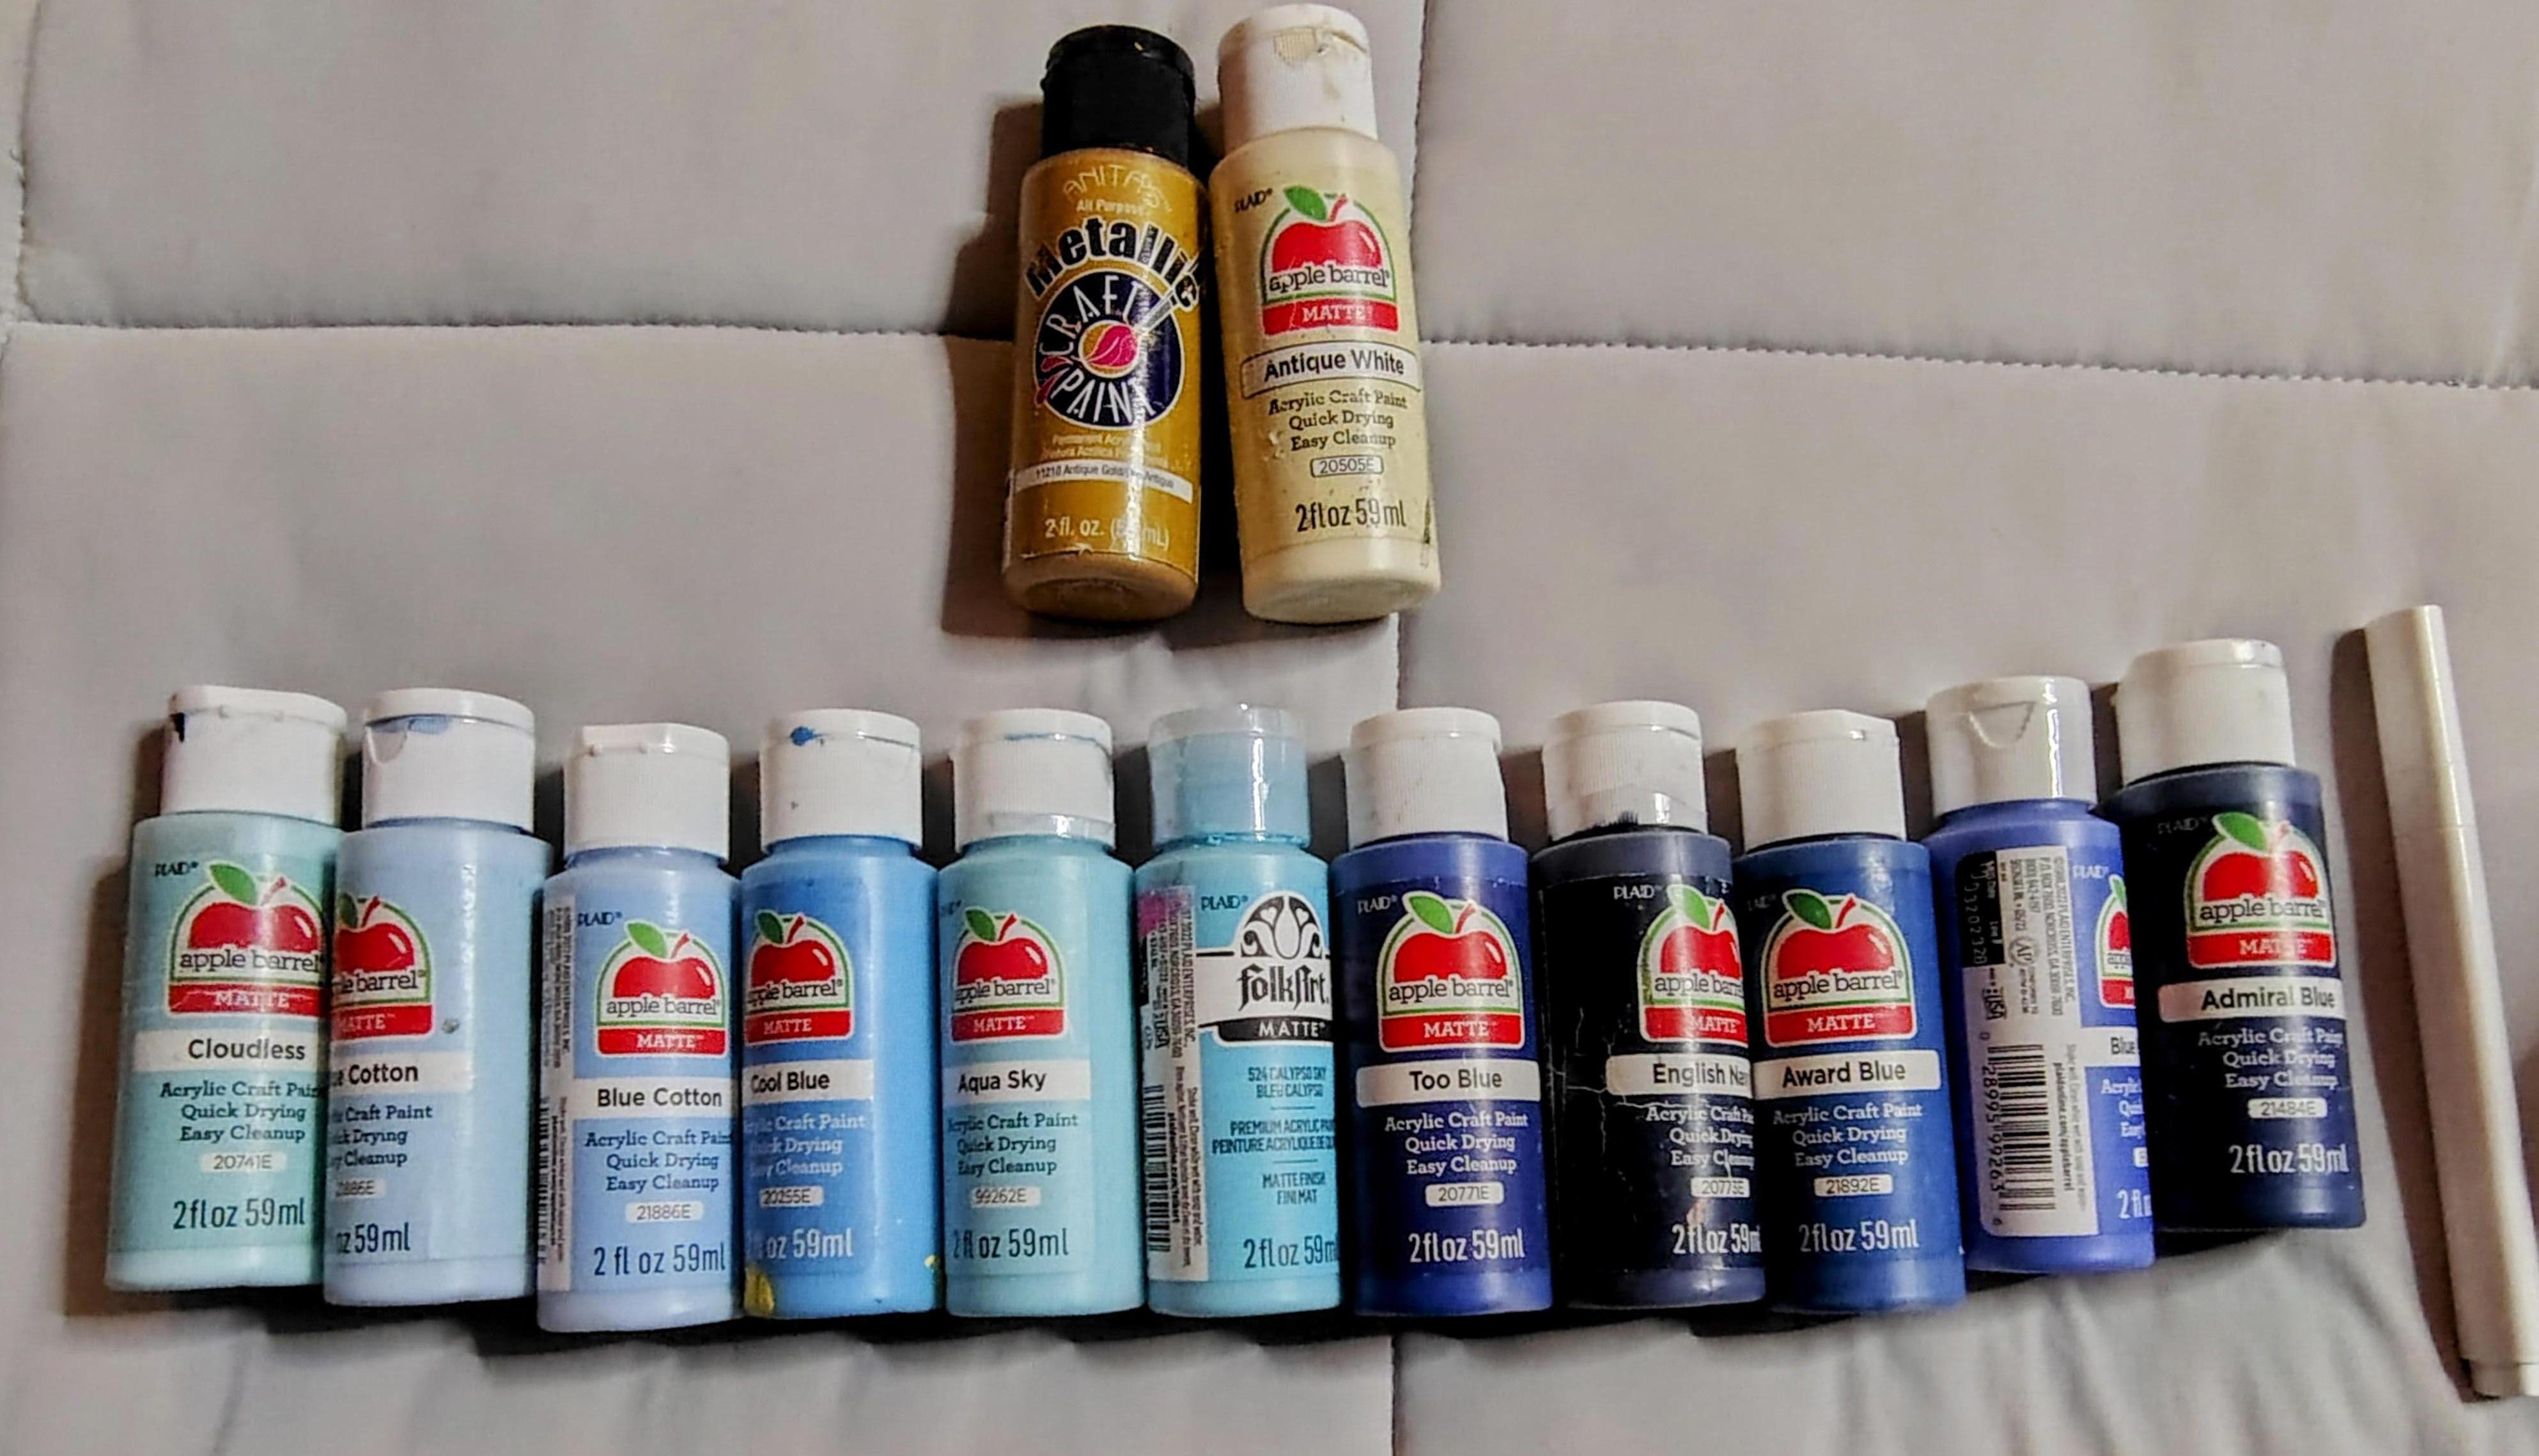
- craft paints (all colors you'll need to create your theme or vision)
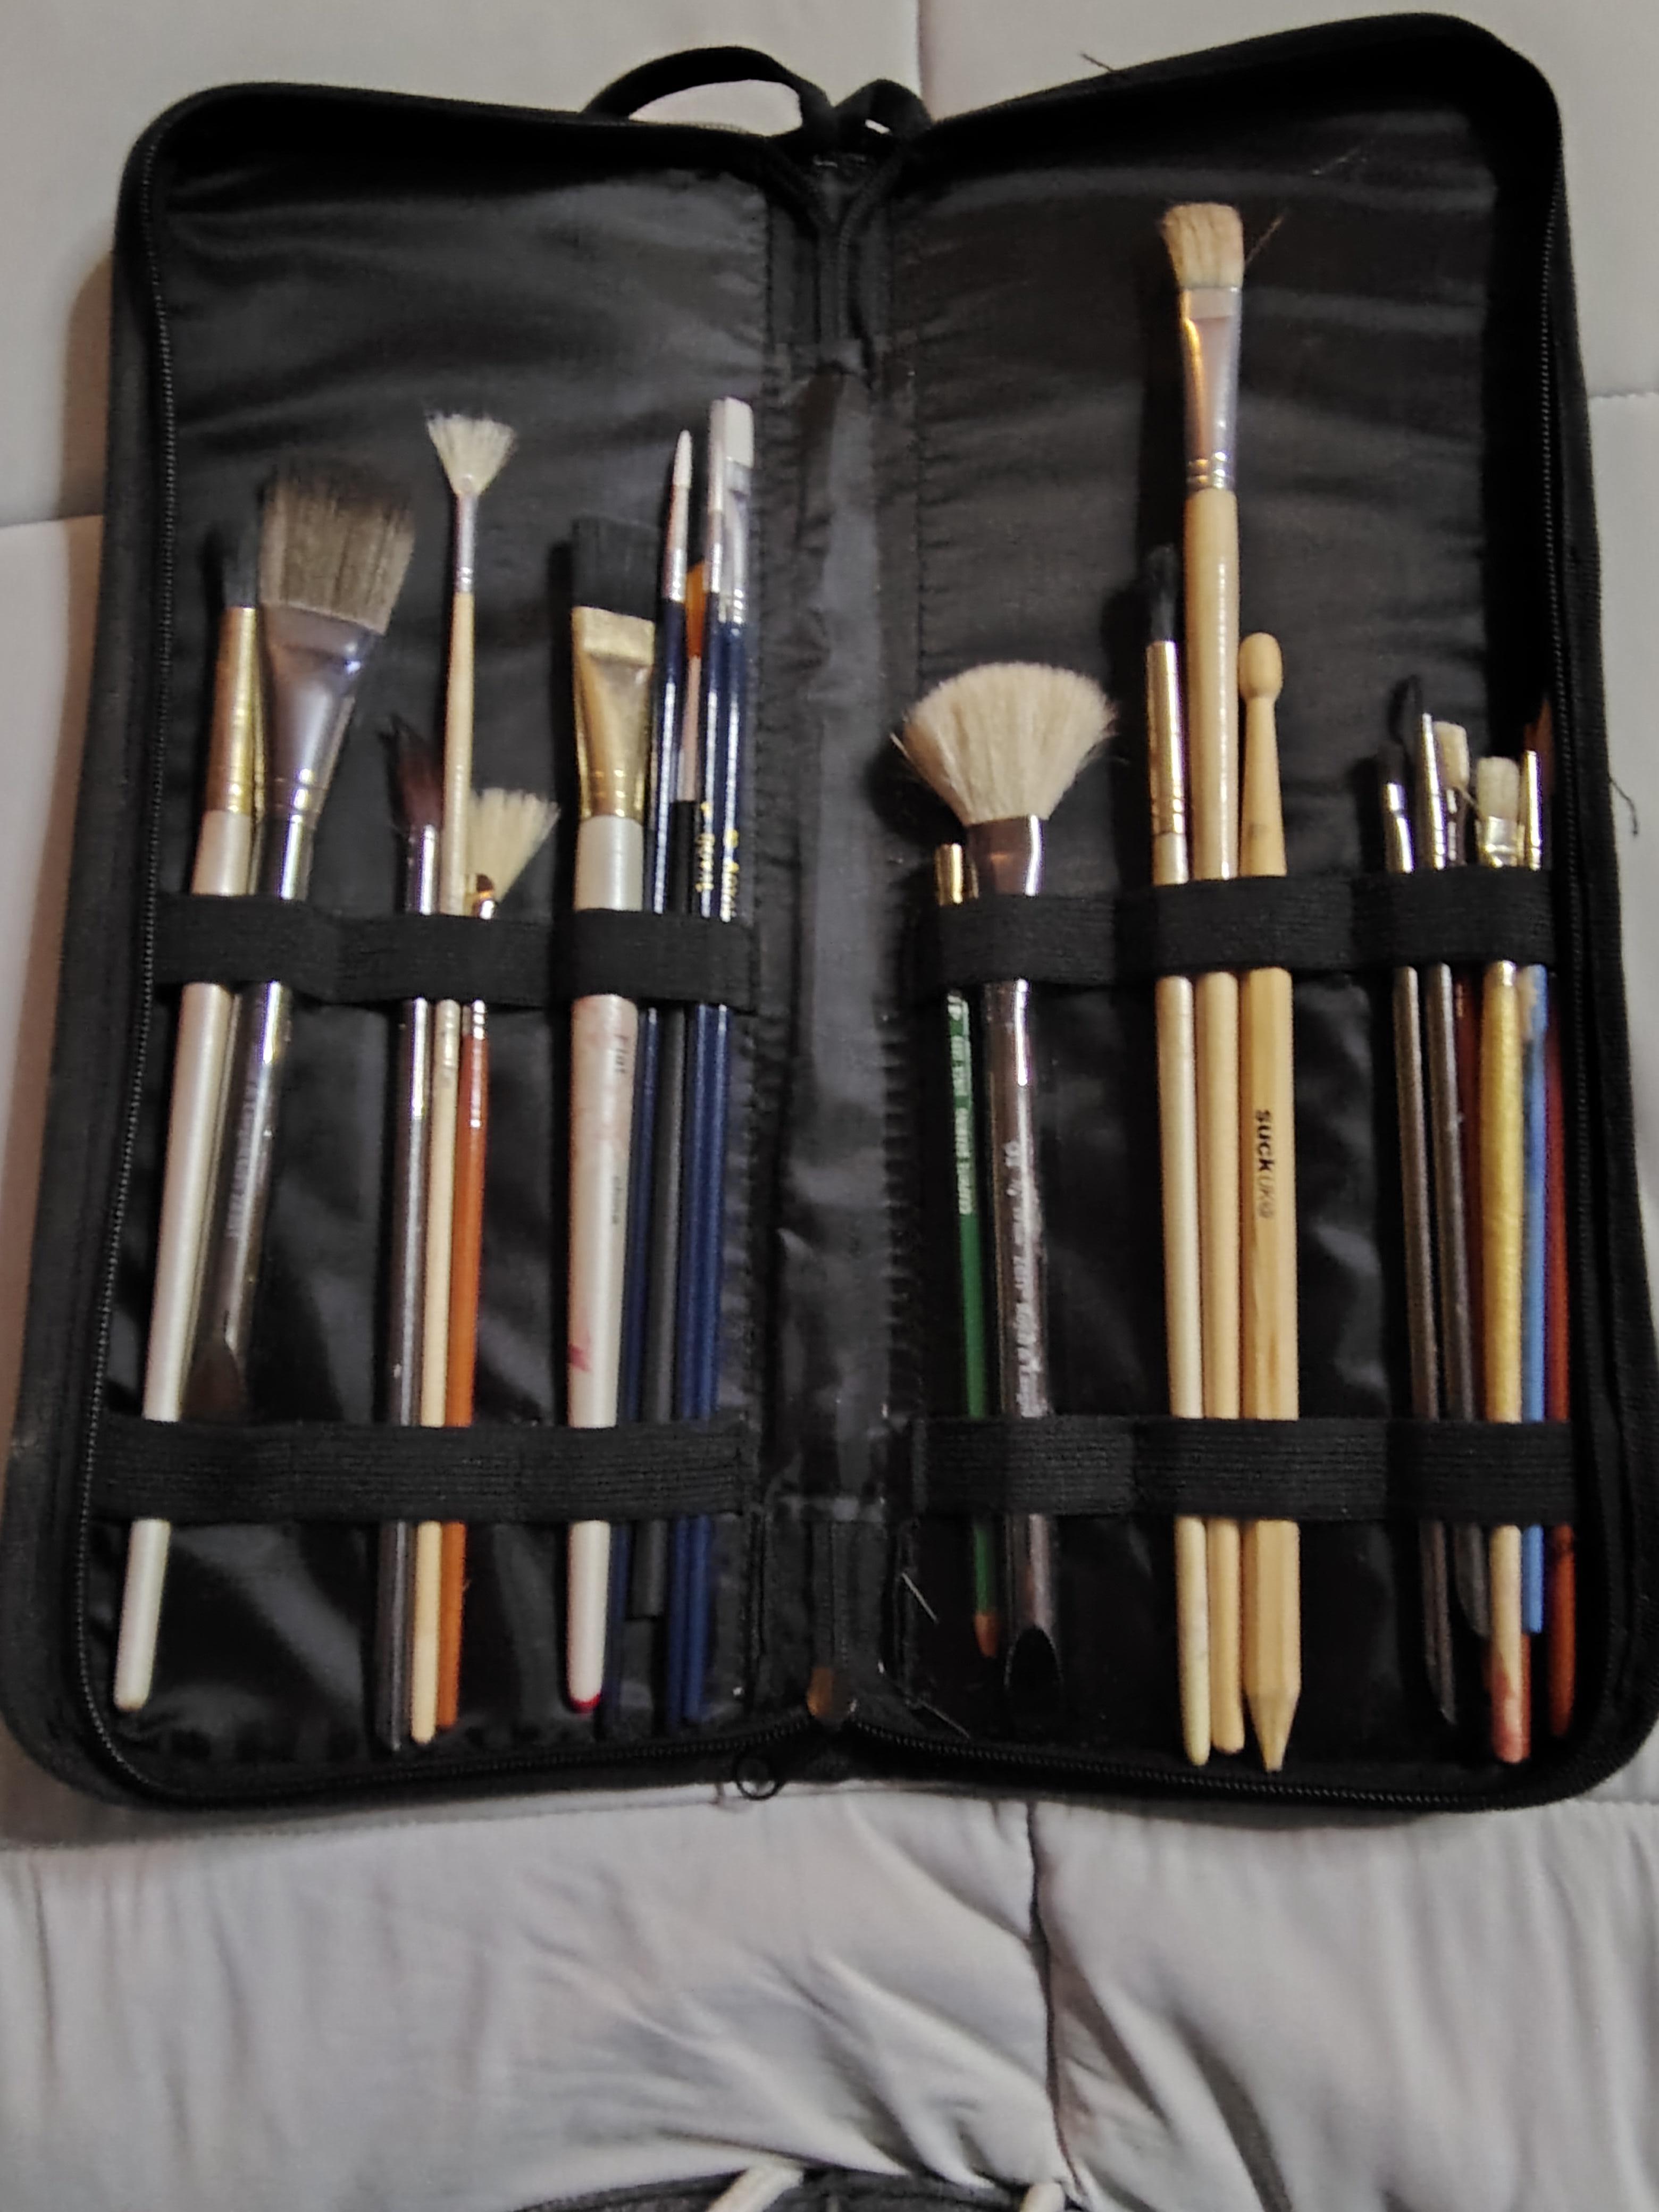
- paint brushes
- paper towels
- paint markers (for finer details and outlining)
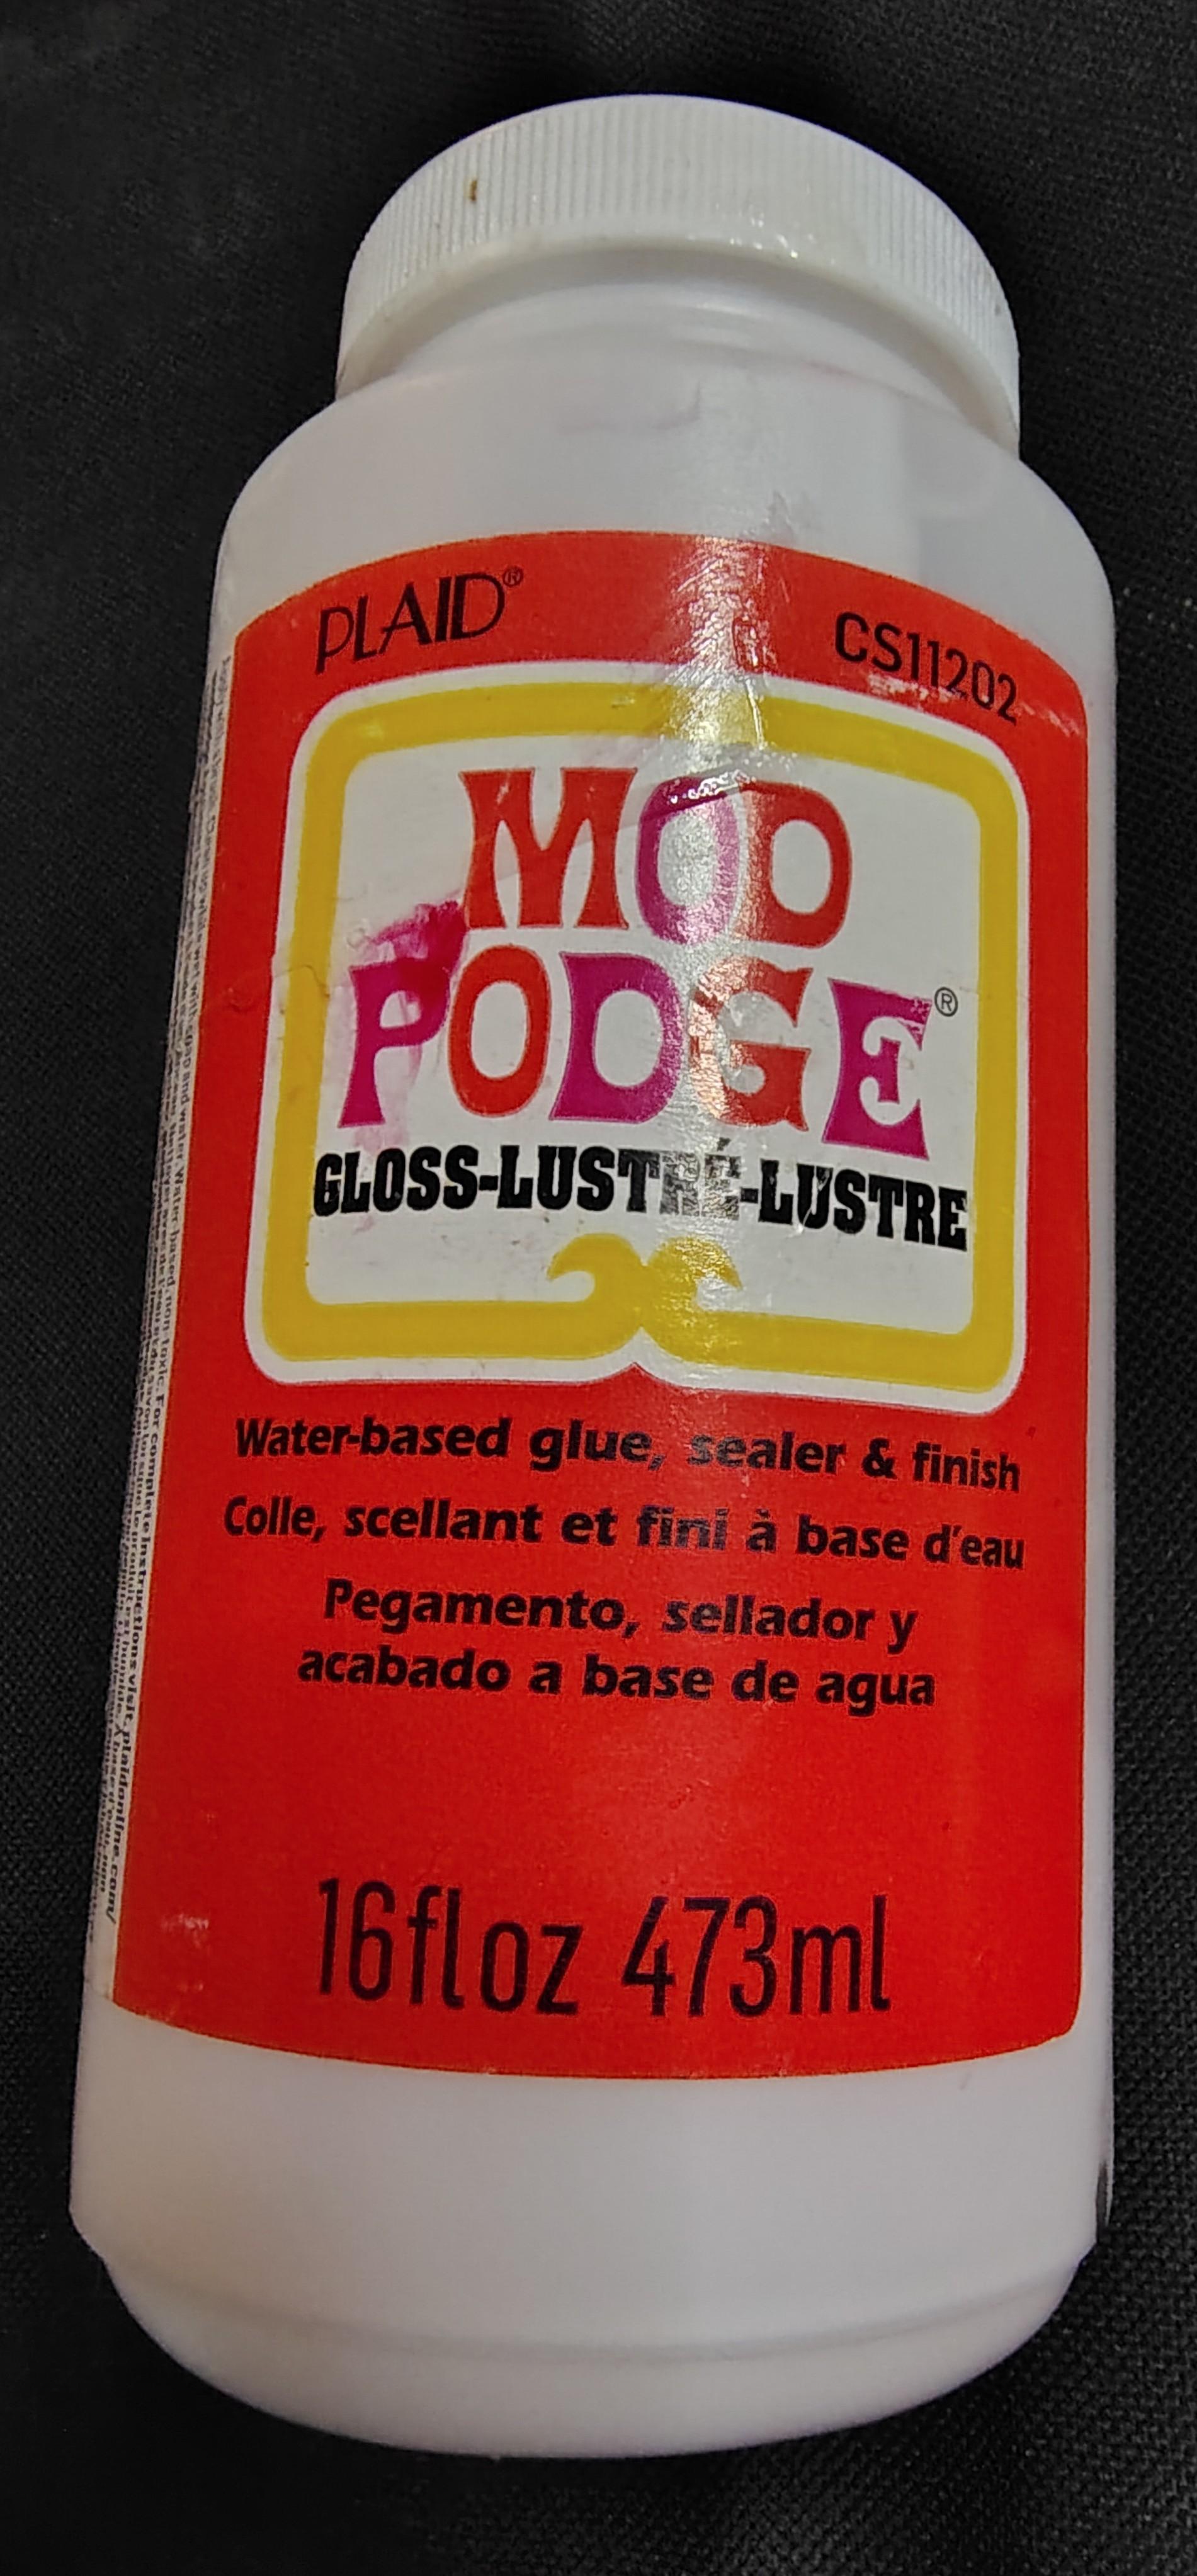
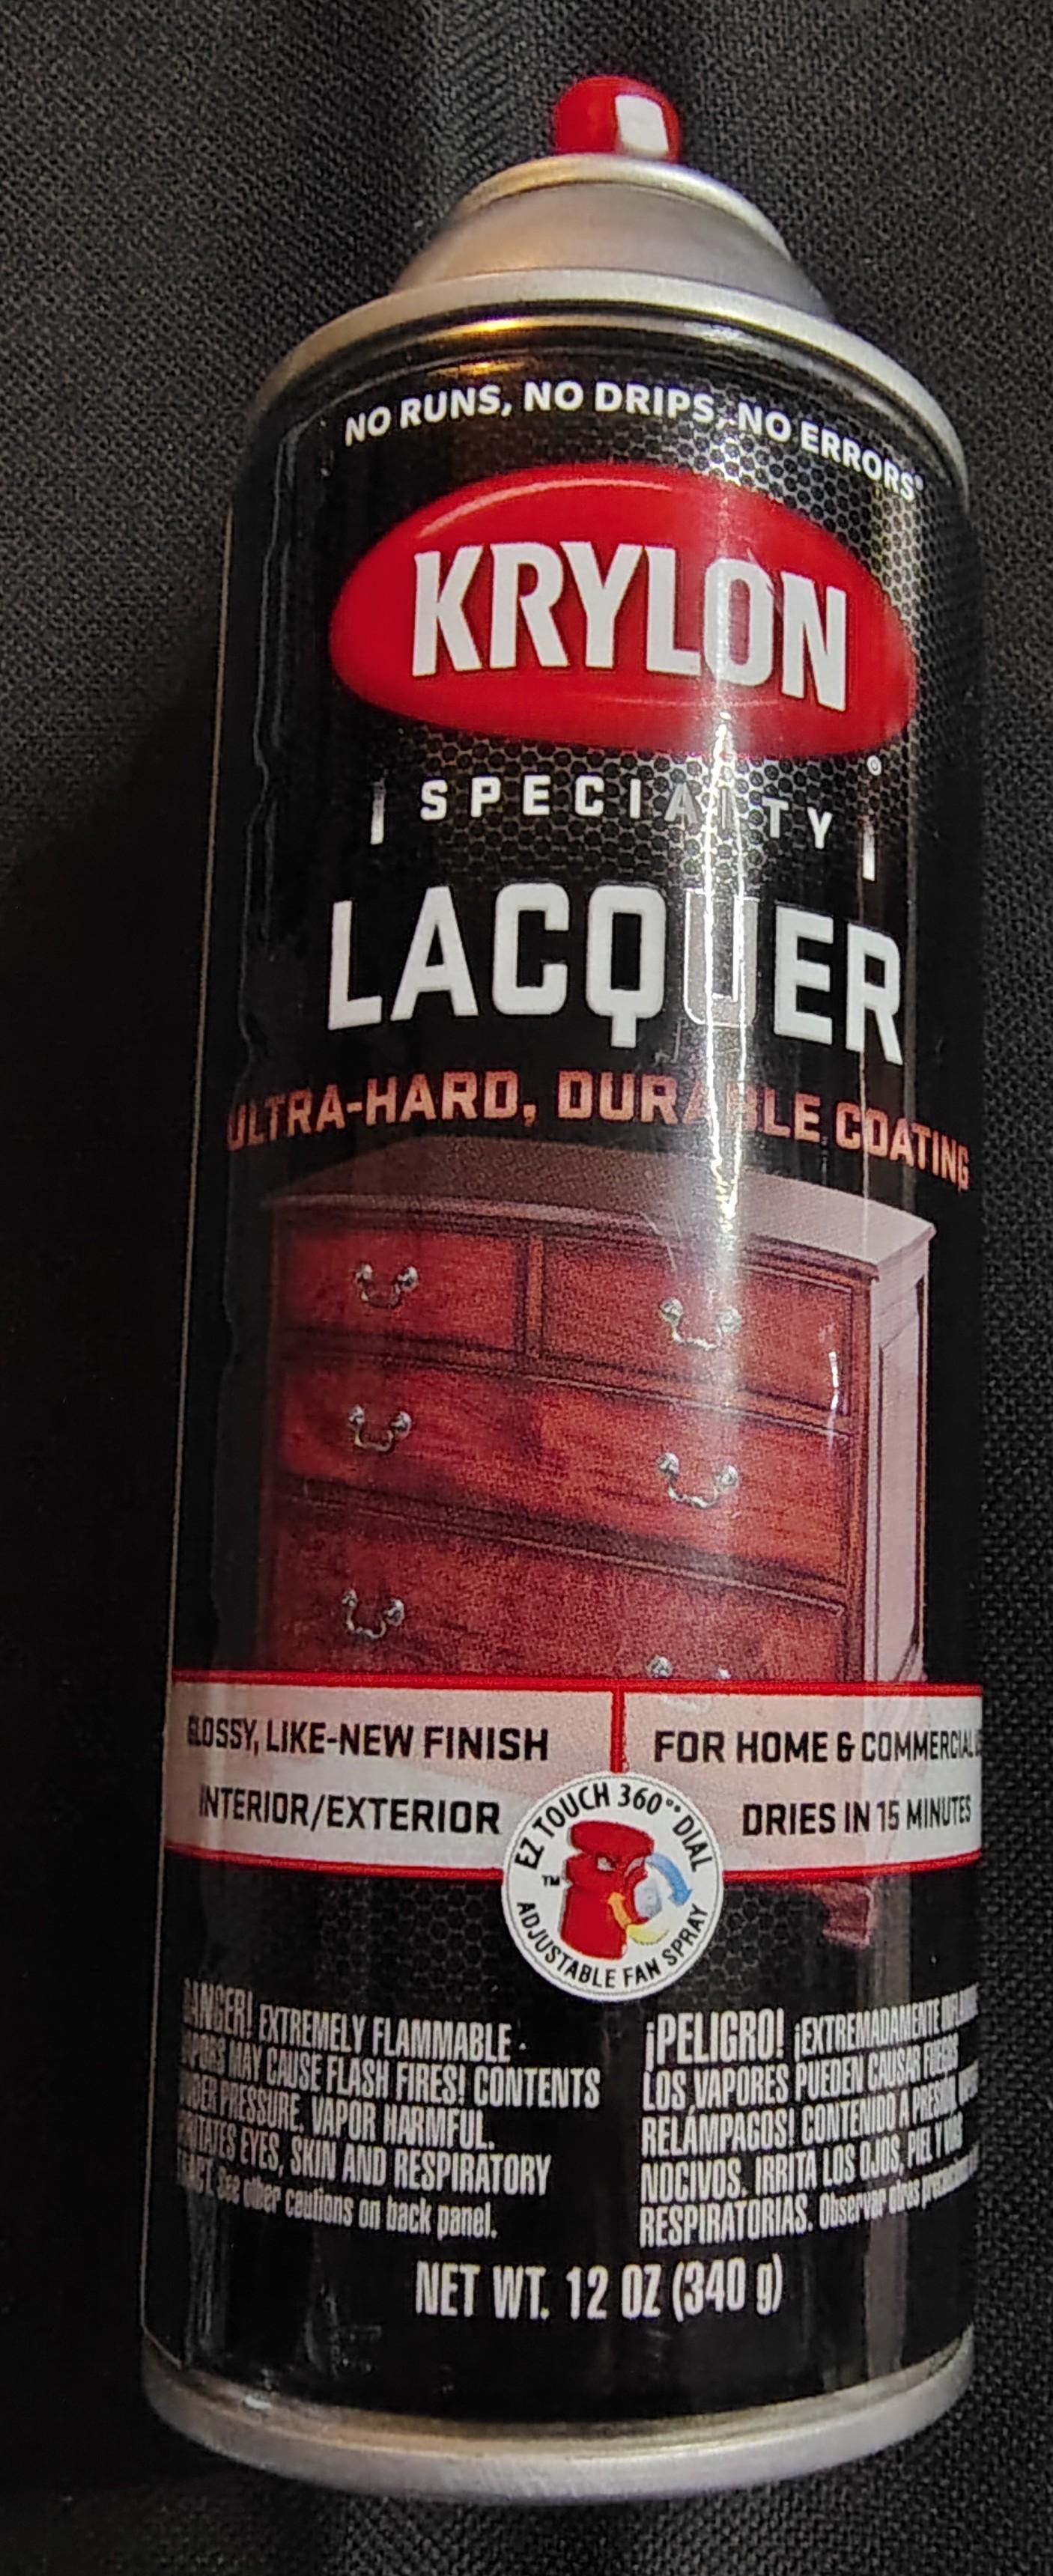
- clear spray paint sealant or Modge Podge to create a luster/gloss/sheen
- a picture to inspire you or a sketch of what you want on you deck this project was inspired by WATER
Optional but Suggested
- PPE Personal Protective Equipment, eye-cover, mask, gloves
- a clean workspace with plenty of room to work with fresh air
- Music or a good movie to keep you motivated and inspired
- A good Friend to work along with is my FAV option!
Smoothing Out Your Deck

You have your supplies and a clean work area, a theme or pictures for inspiration and your ready to get started. Your first step is going to be sanding your Deck aka Skateboard. I use a 150 grit sanding paper, sanding block or buffing stick (even a nail file/sander will work!) It is always a good idea to wear protective eye and breathing ware when sanding of any type- this is a smaller project so you may not see a lot of dust BUT there is nothing worse than dusty eyes or getting "choked-up" on your project. Trust me it's not a good kind of feeling.
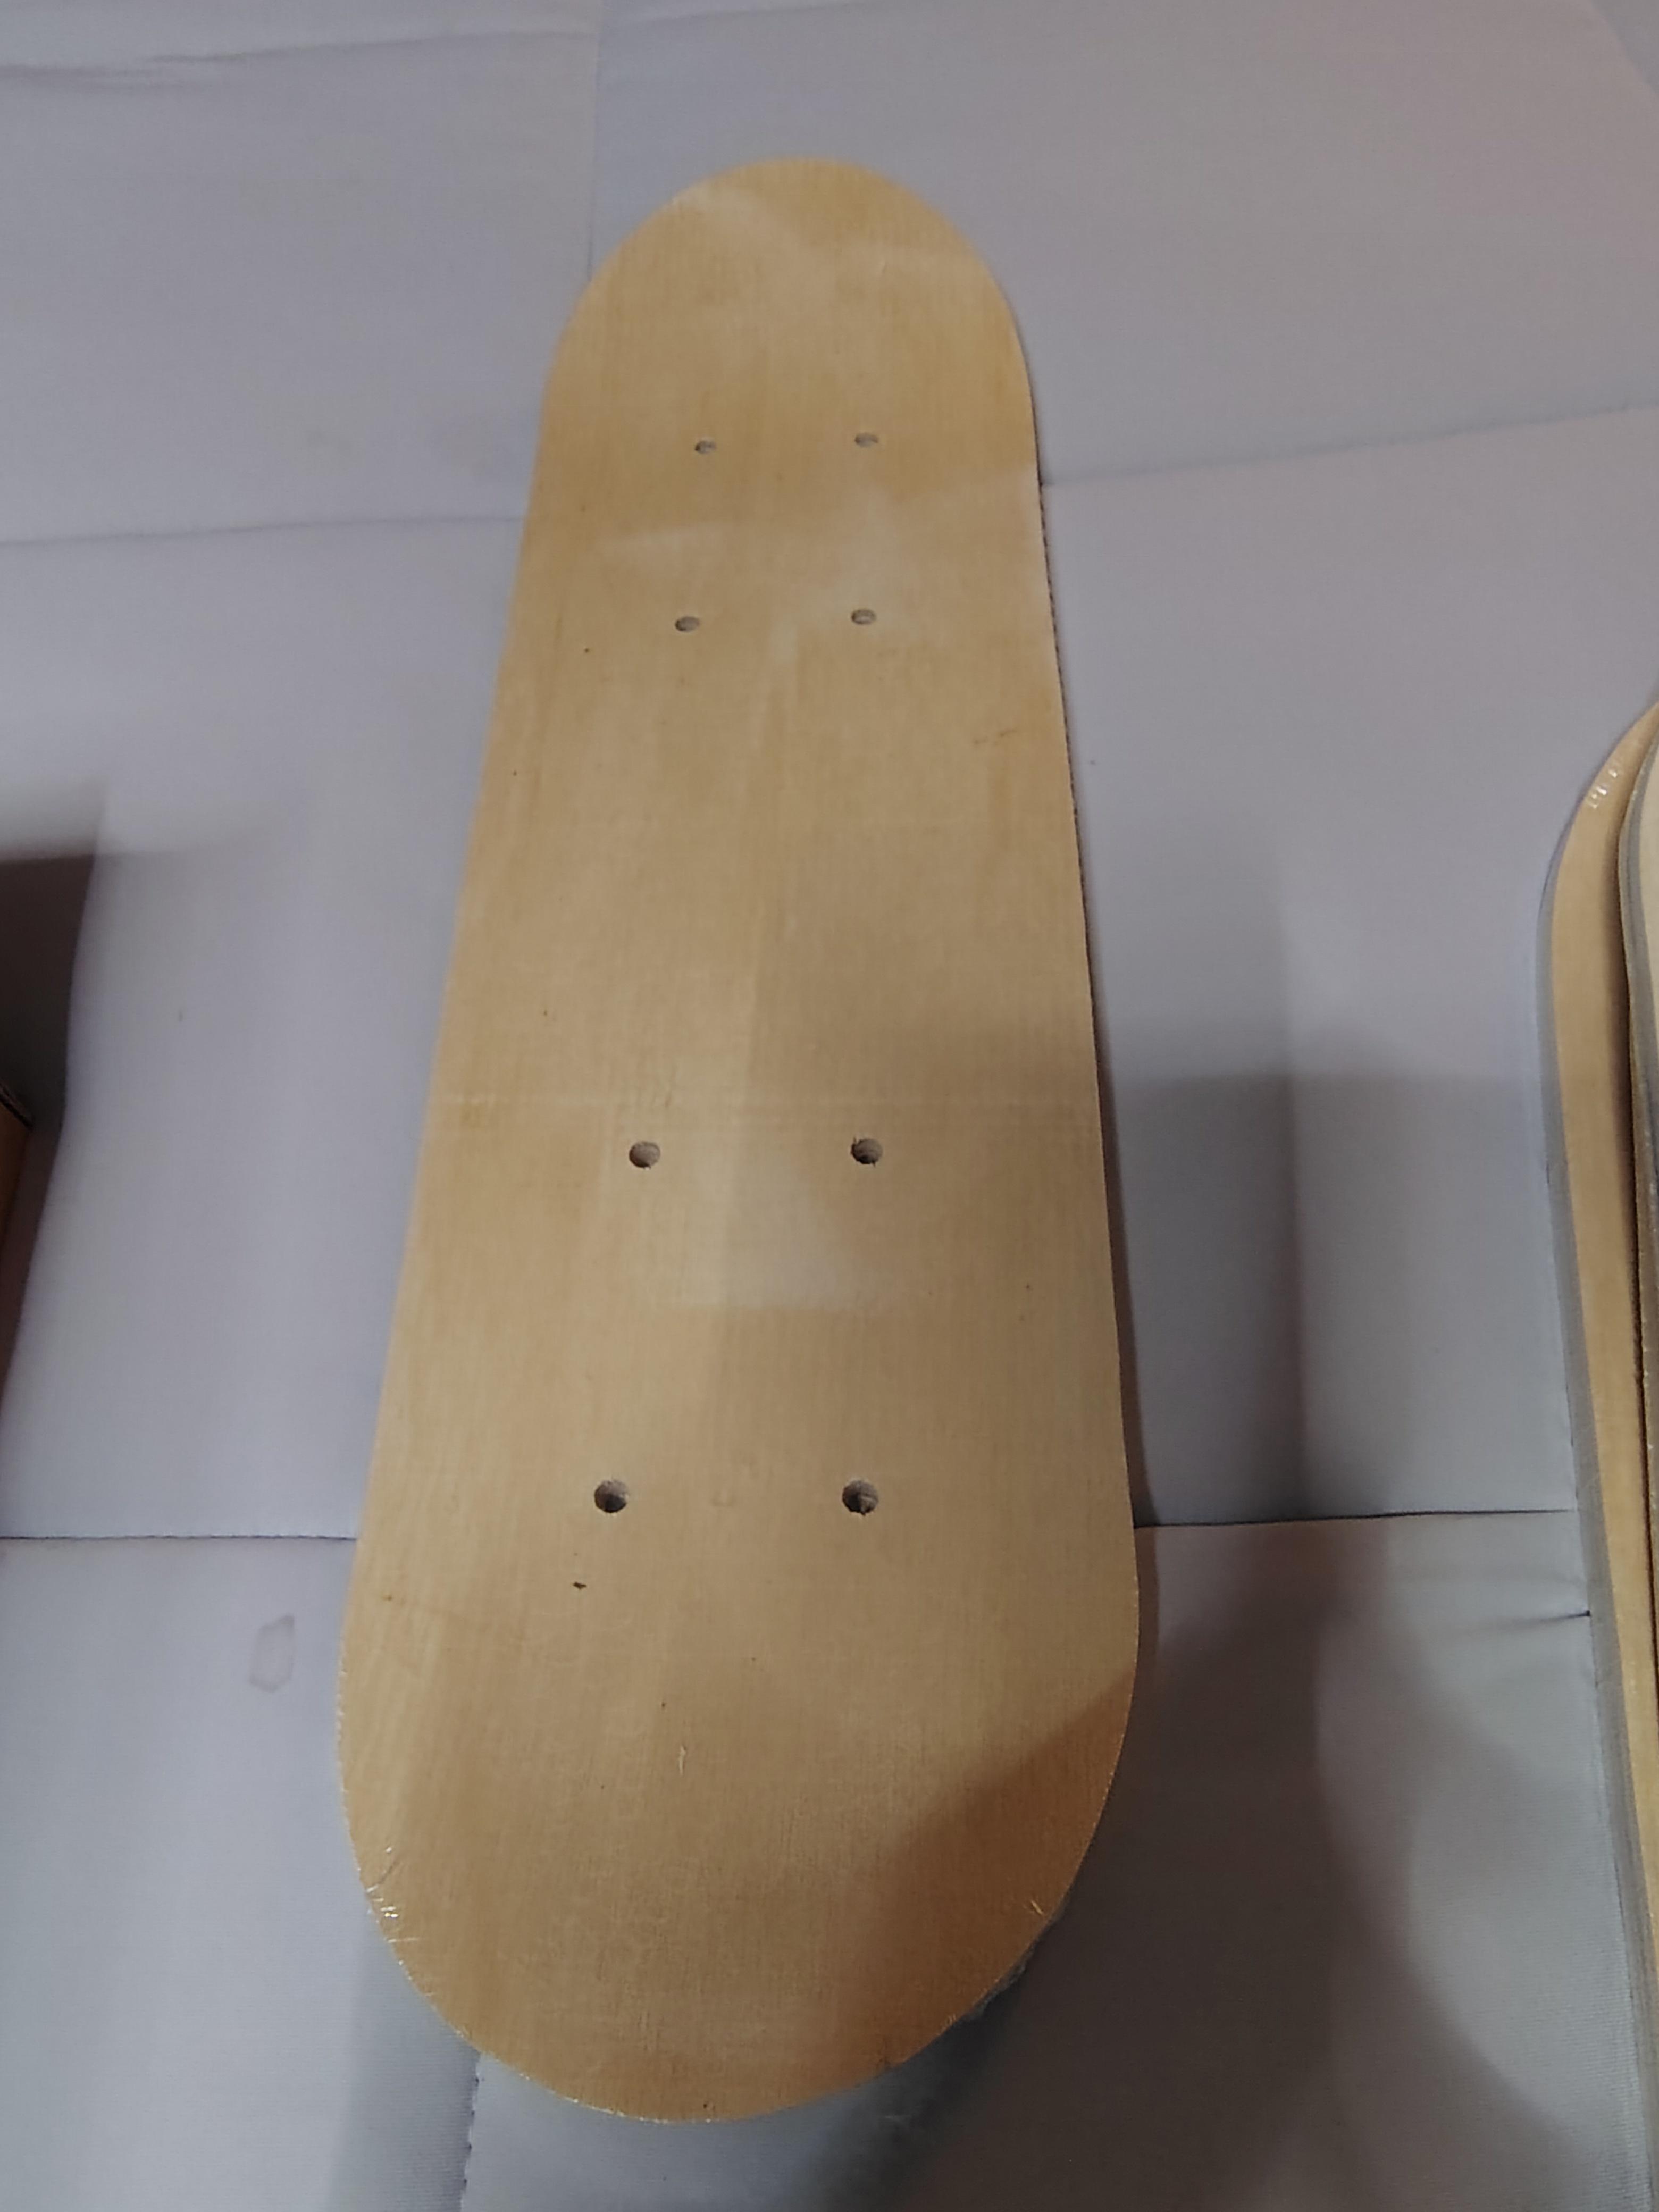
The decks usually come individually wrapped and "naked" or "raw" meaning that they haven't been treated or painted at all. They are sanded a bit- or at least they seem like they are. If you skip this step it wont ruin the project, it may however cause your paint to spread into places that could affect the way the final product looks.
When you sand the wood it is always a good idea to go with the grain, or follow the natural pattern of the wood. This process wont take too long- just sand the wood until the surface is smooth. You can totally tell the difference when your done. The next thing you want to do in this step is to grab a paper towl or a shop towel and wipe off the excess dust.
After your done sanding you will want to clean up the dust and throw it away or dump it outside- you dont want dust getting mixed into your paint and clumping things up.
Getting Down to the Fun

This step is the one that will take up the most time and is the most rewarding. You can use a pencil to lightly sketch out details of what you want to decorate your board with or you can just pick up a brush and start stroking along. From the easiest of designs to the most intricate there is no limit of what you can do here. For my deck, I had a sketch of my sons available (along with his permission of course), that I used and a picture that I found online of Our Lady.
After sketching a basic design I started painting away. For a water theme I had many blues available, I almost used every blue I owned but not quite.
Create! Have fun and enjoy.
Painting can take a while. This board took me about three days to get a finished product that I was happy with.
Dry Time
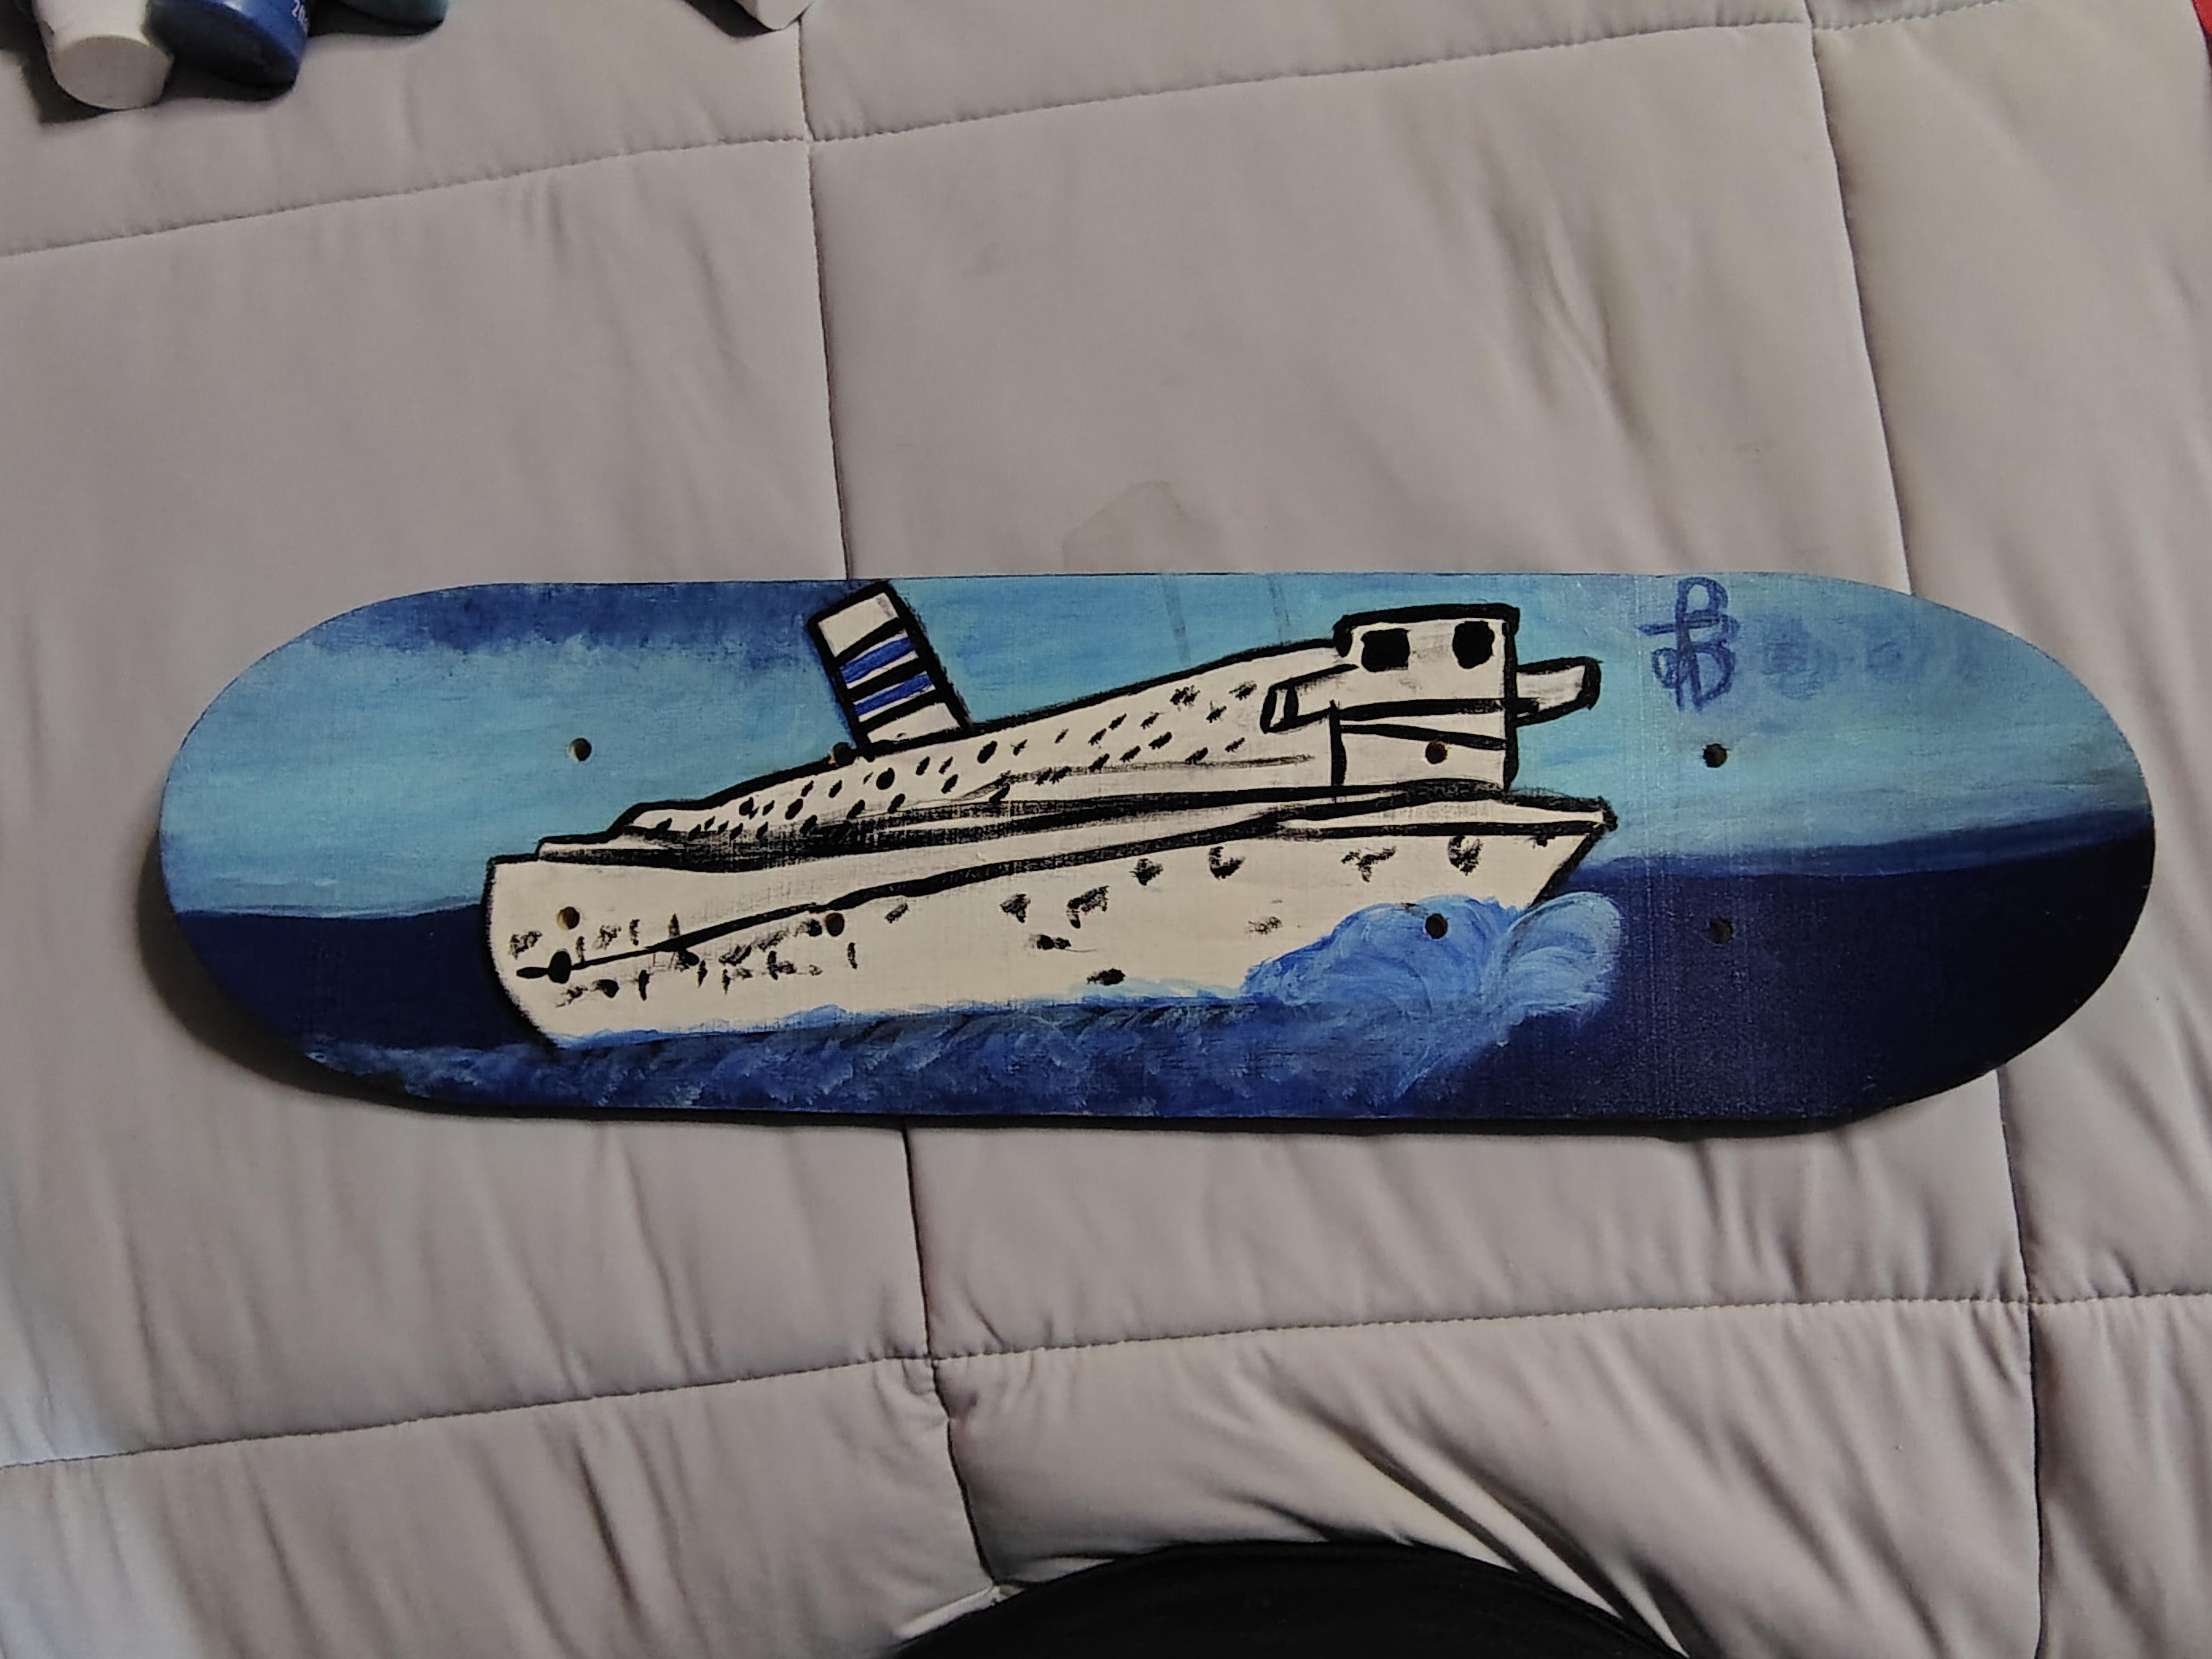
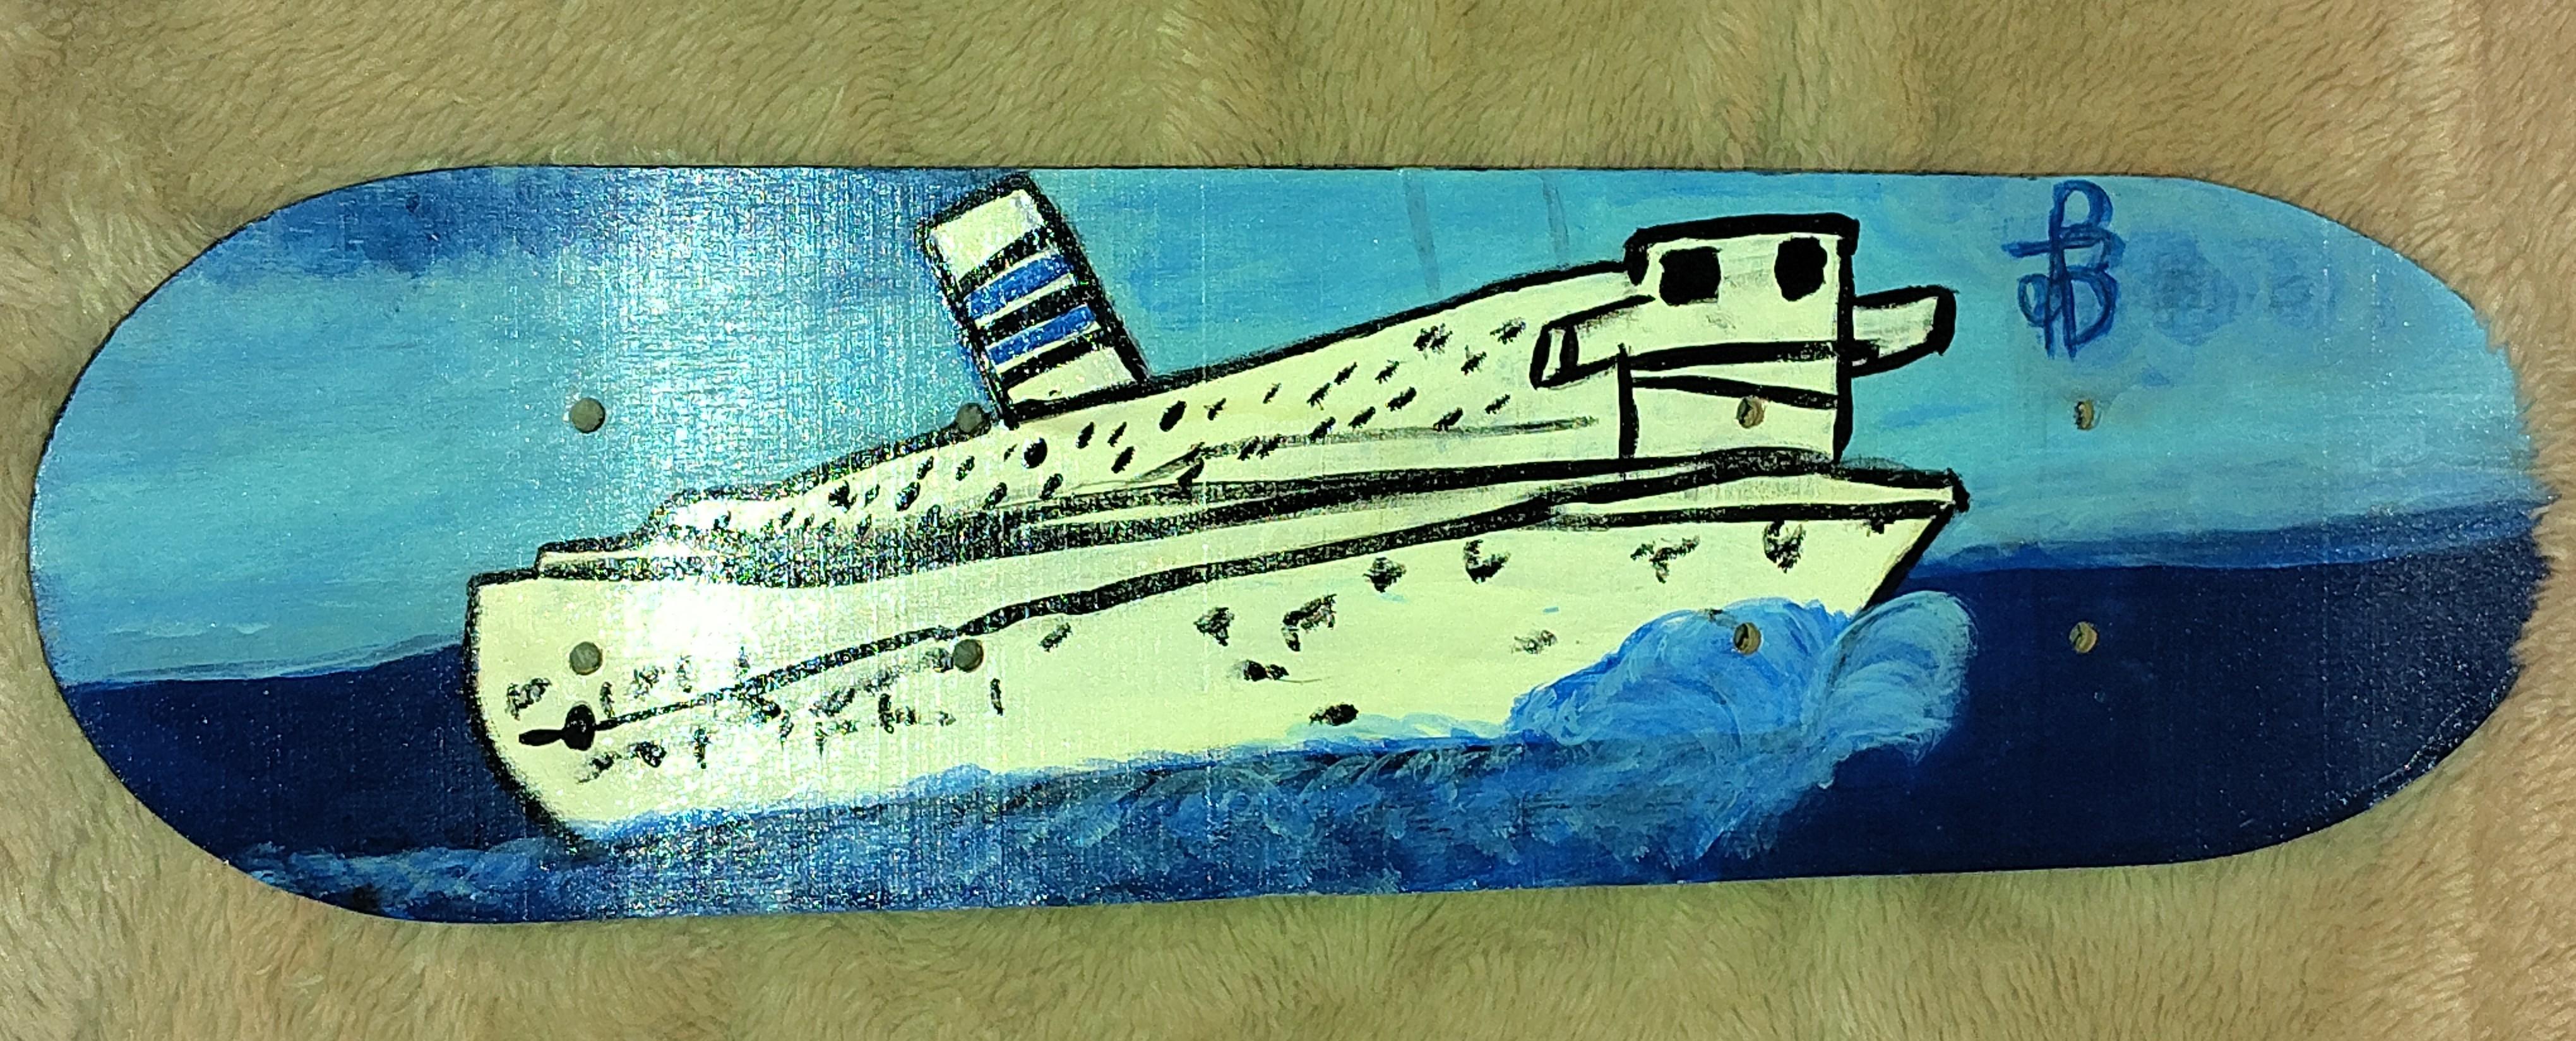
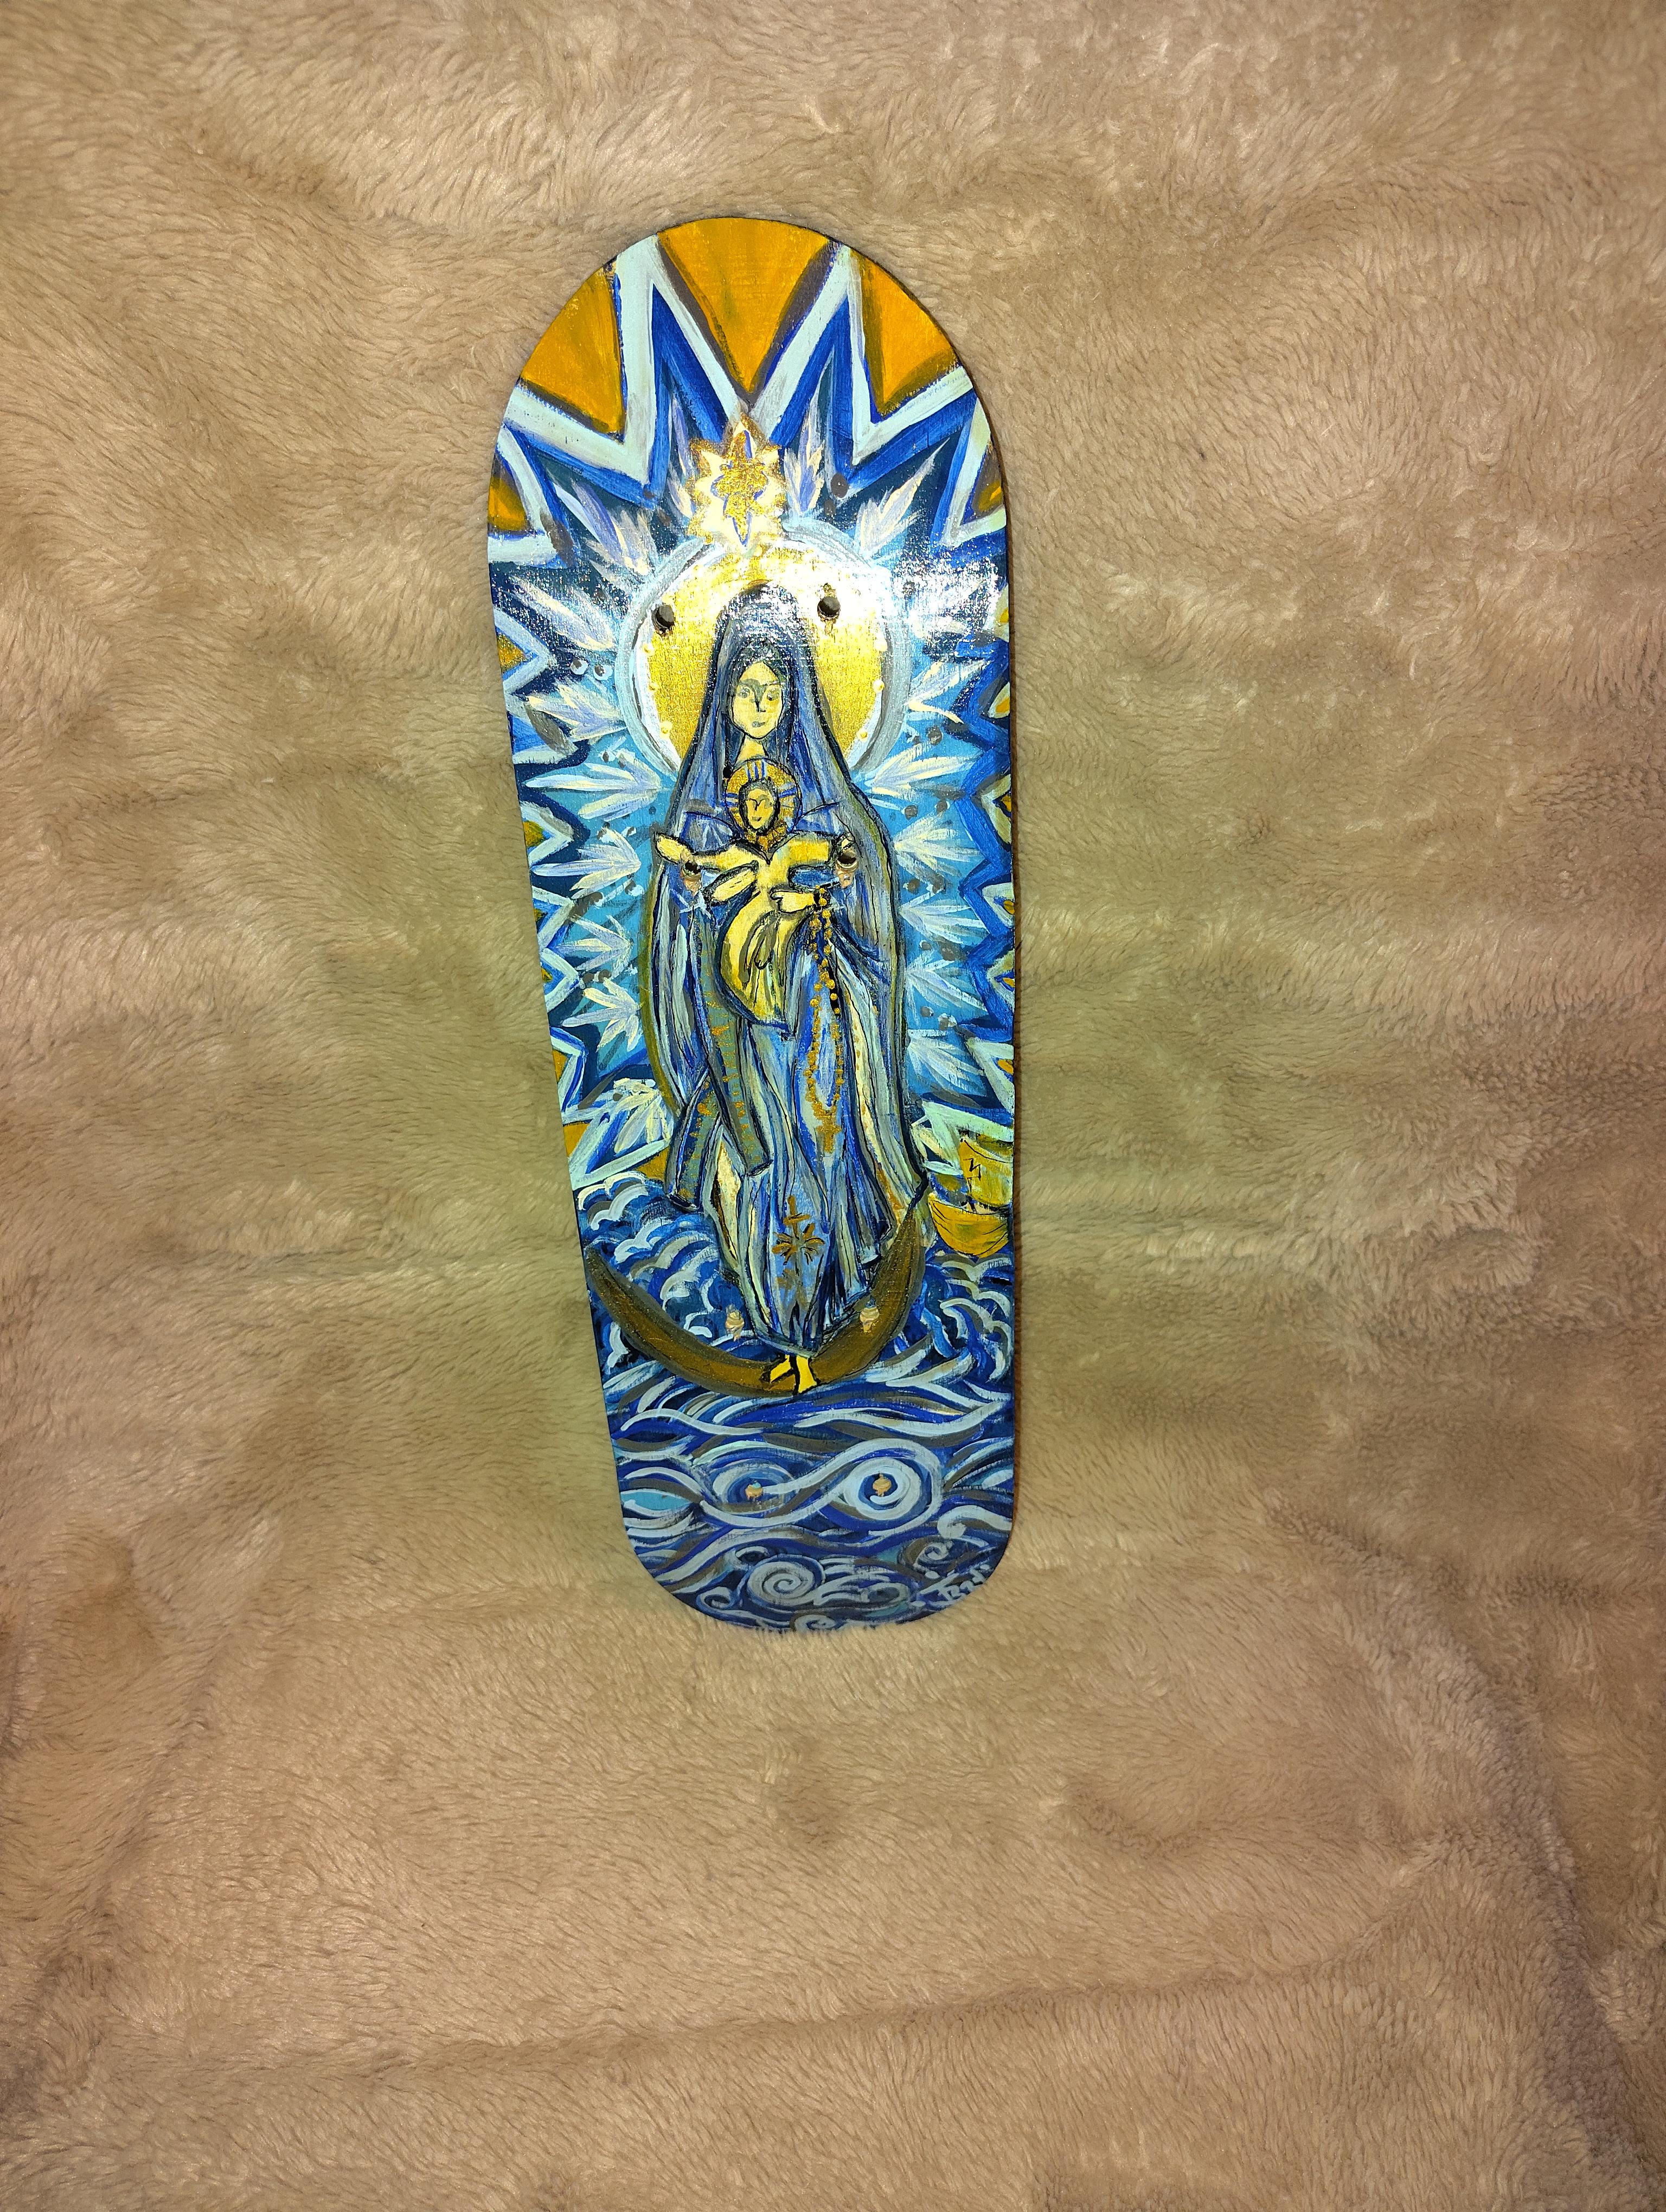
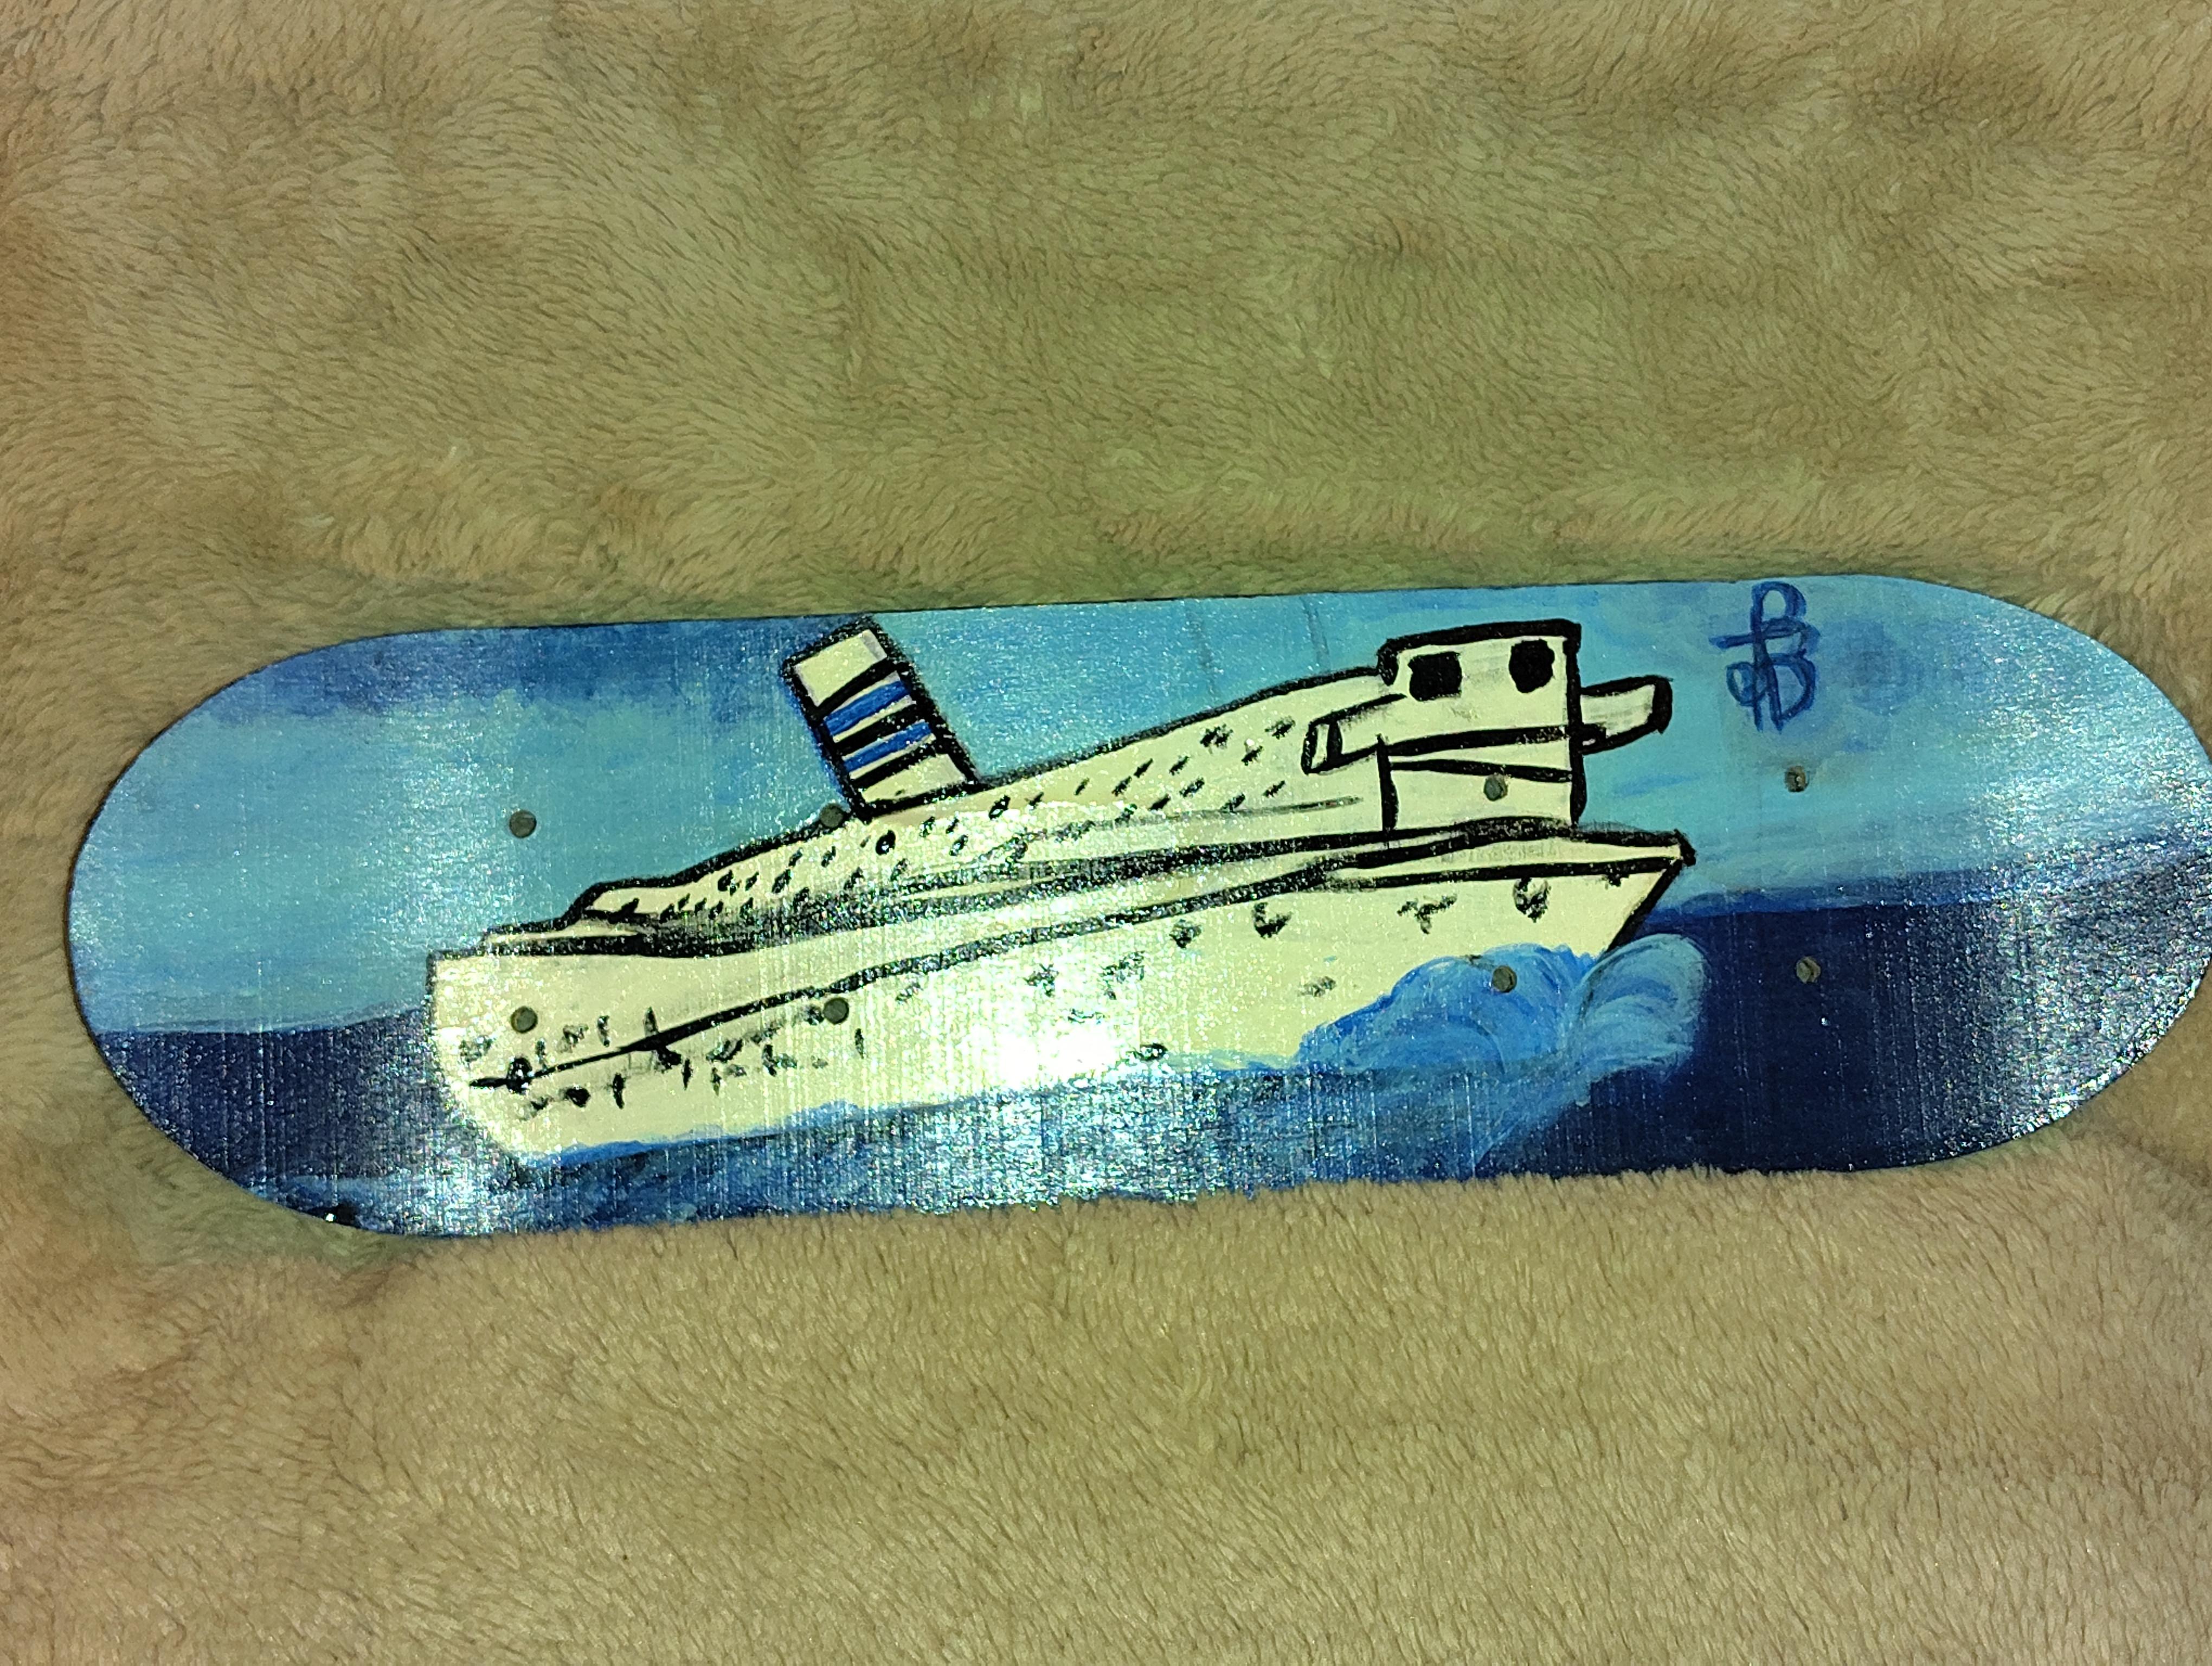
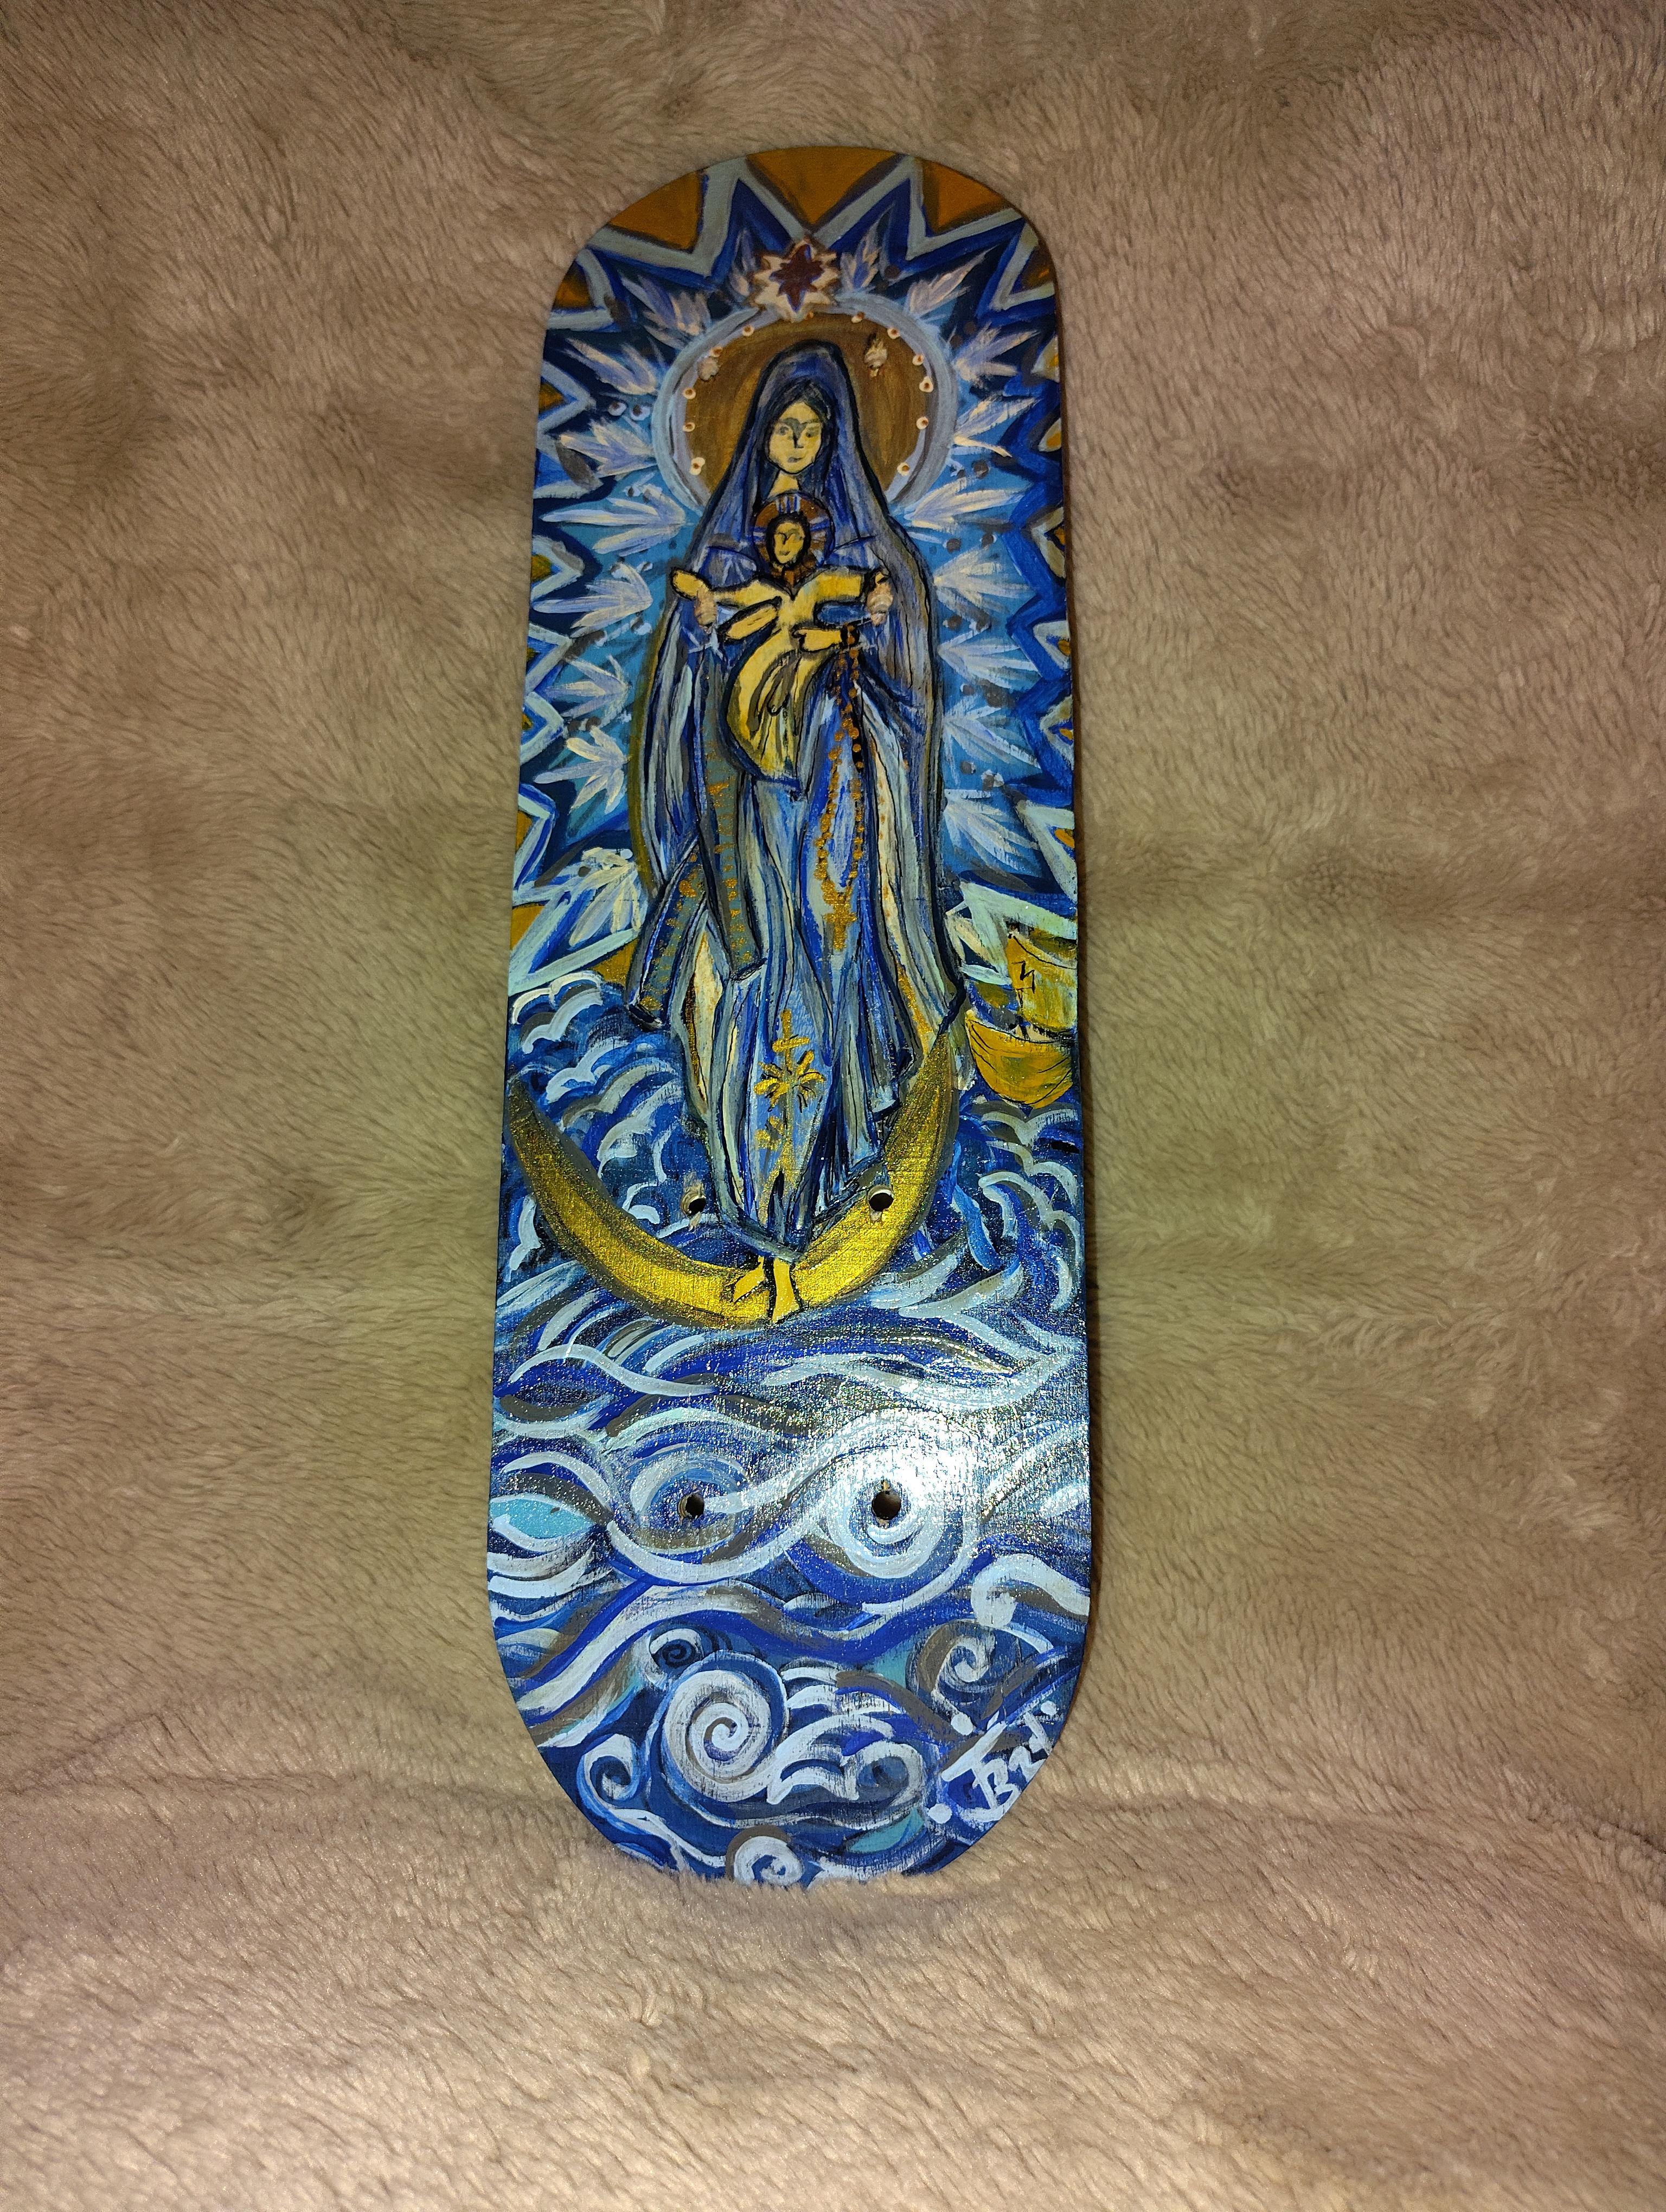
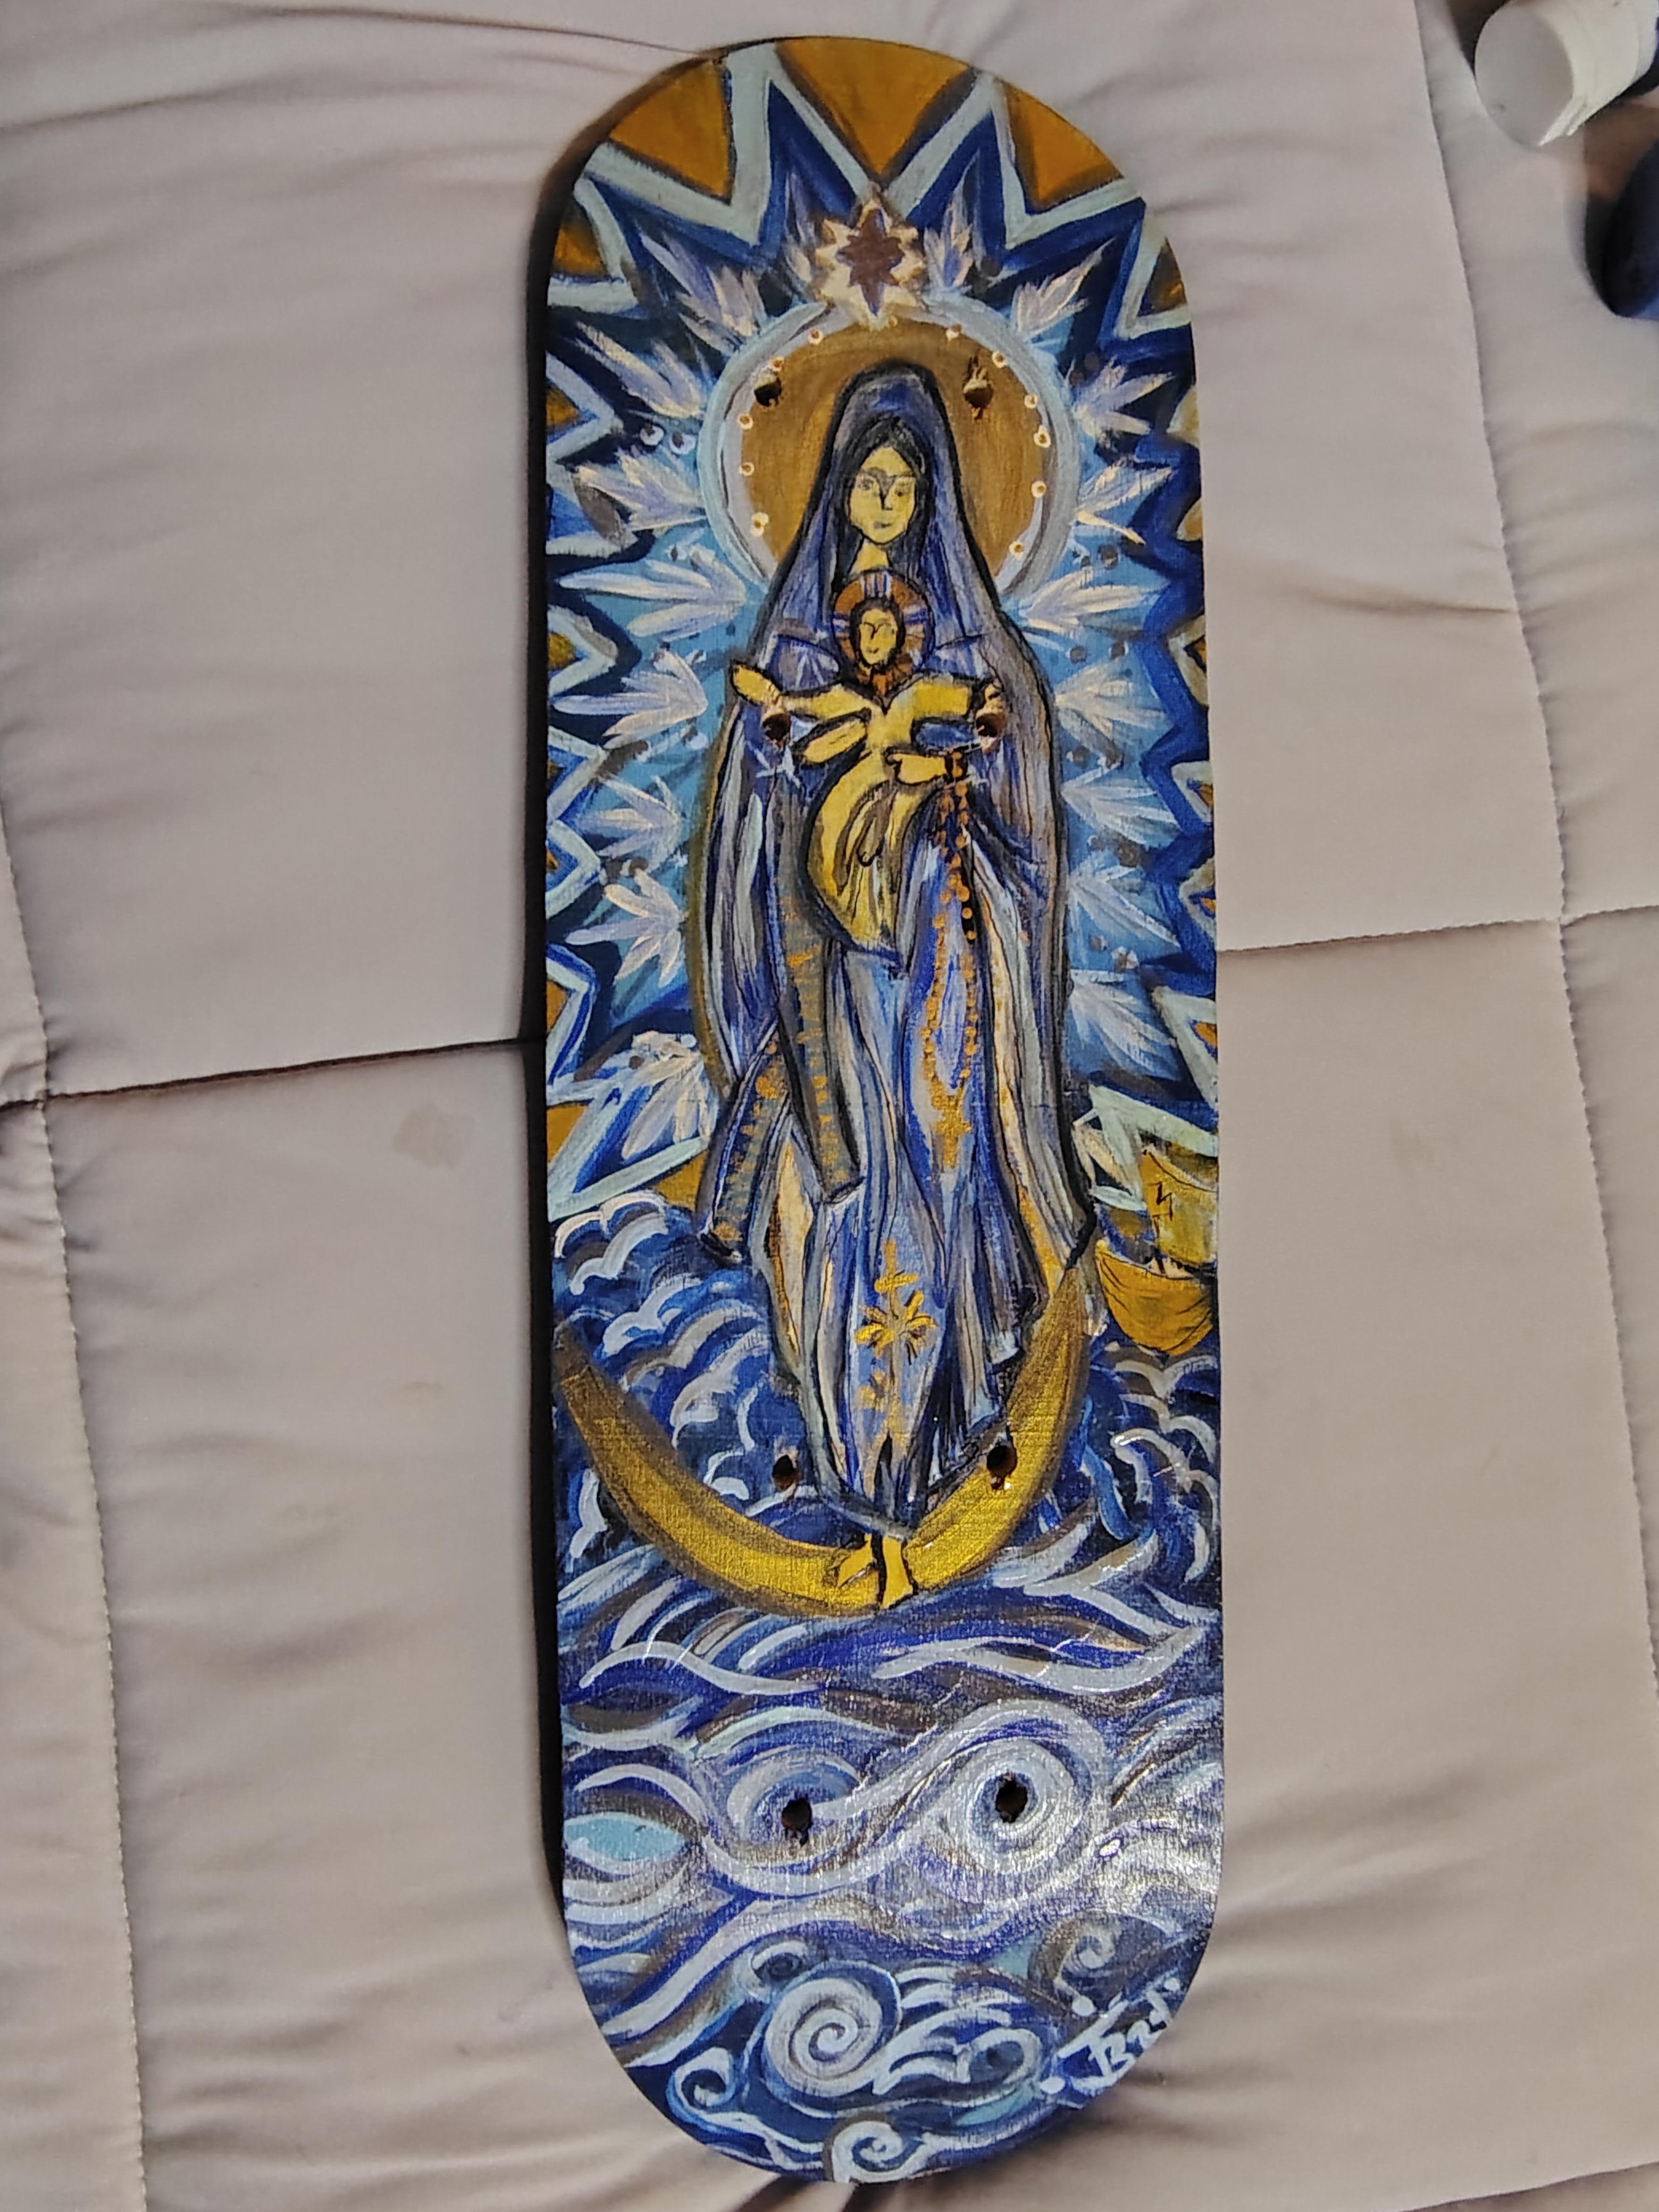
This step is exactly what it says, and you will want to allow your deck to dry at least 24 hours before you move on to the next step. Place in an area where things wont bump or be disrupted and make sure that things wont settle on your board during drying time.
Shine and Seal
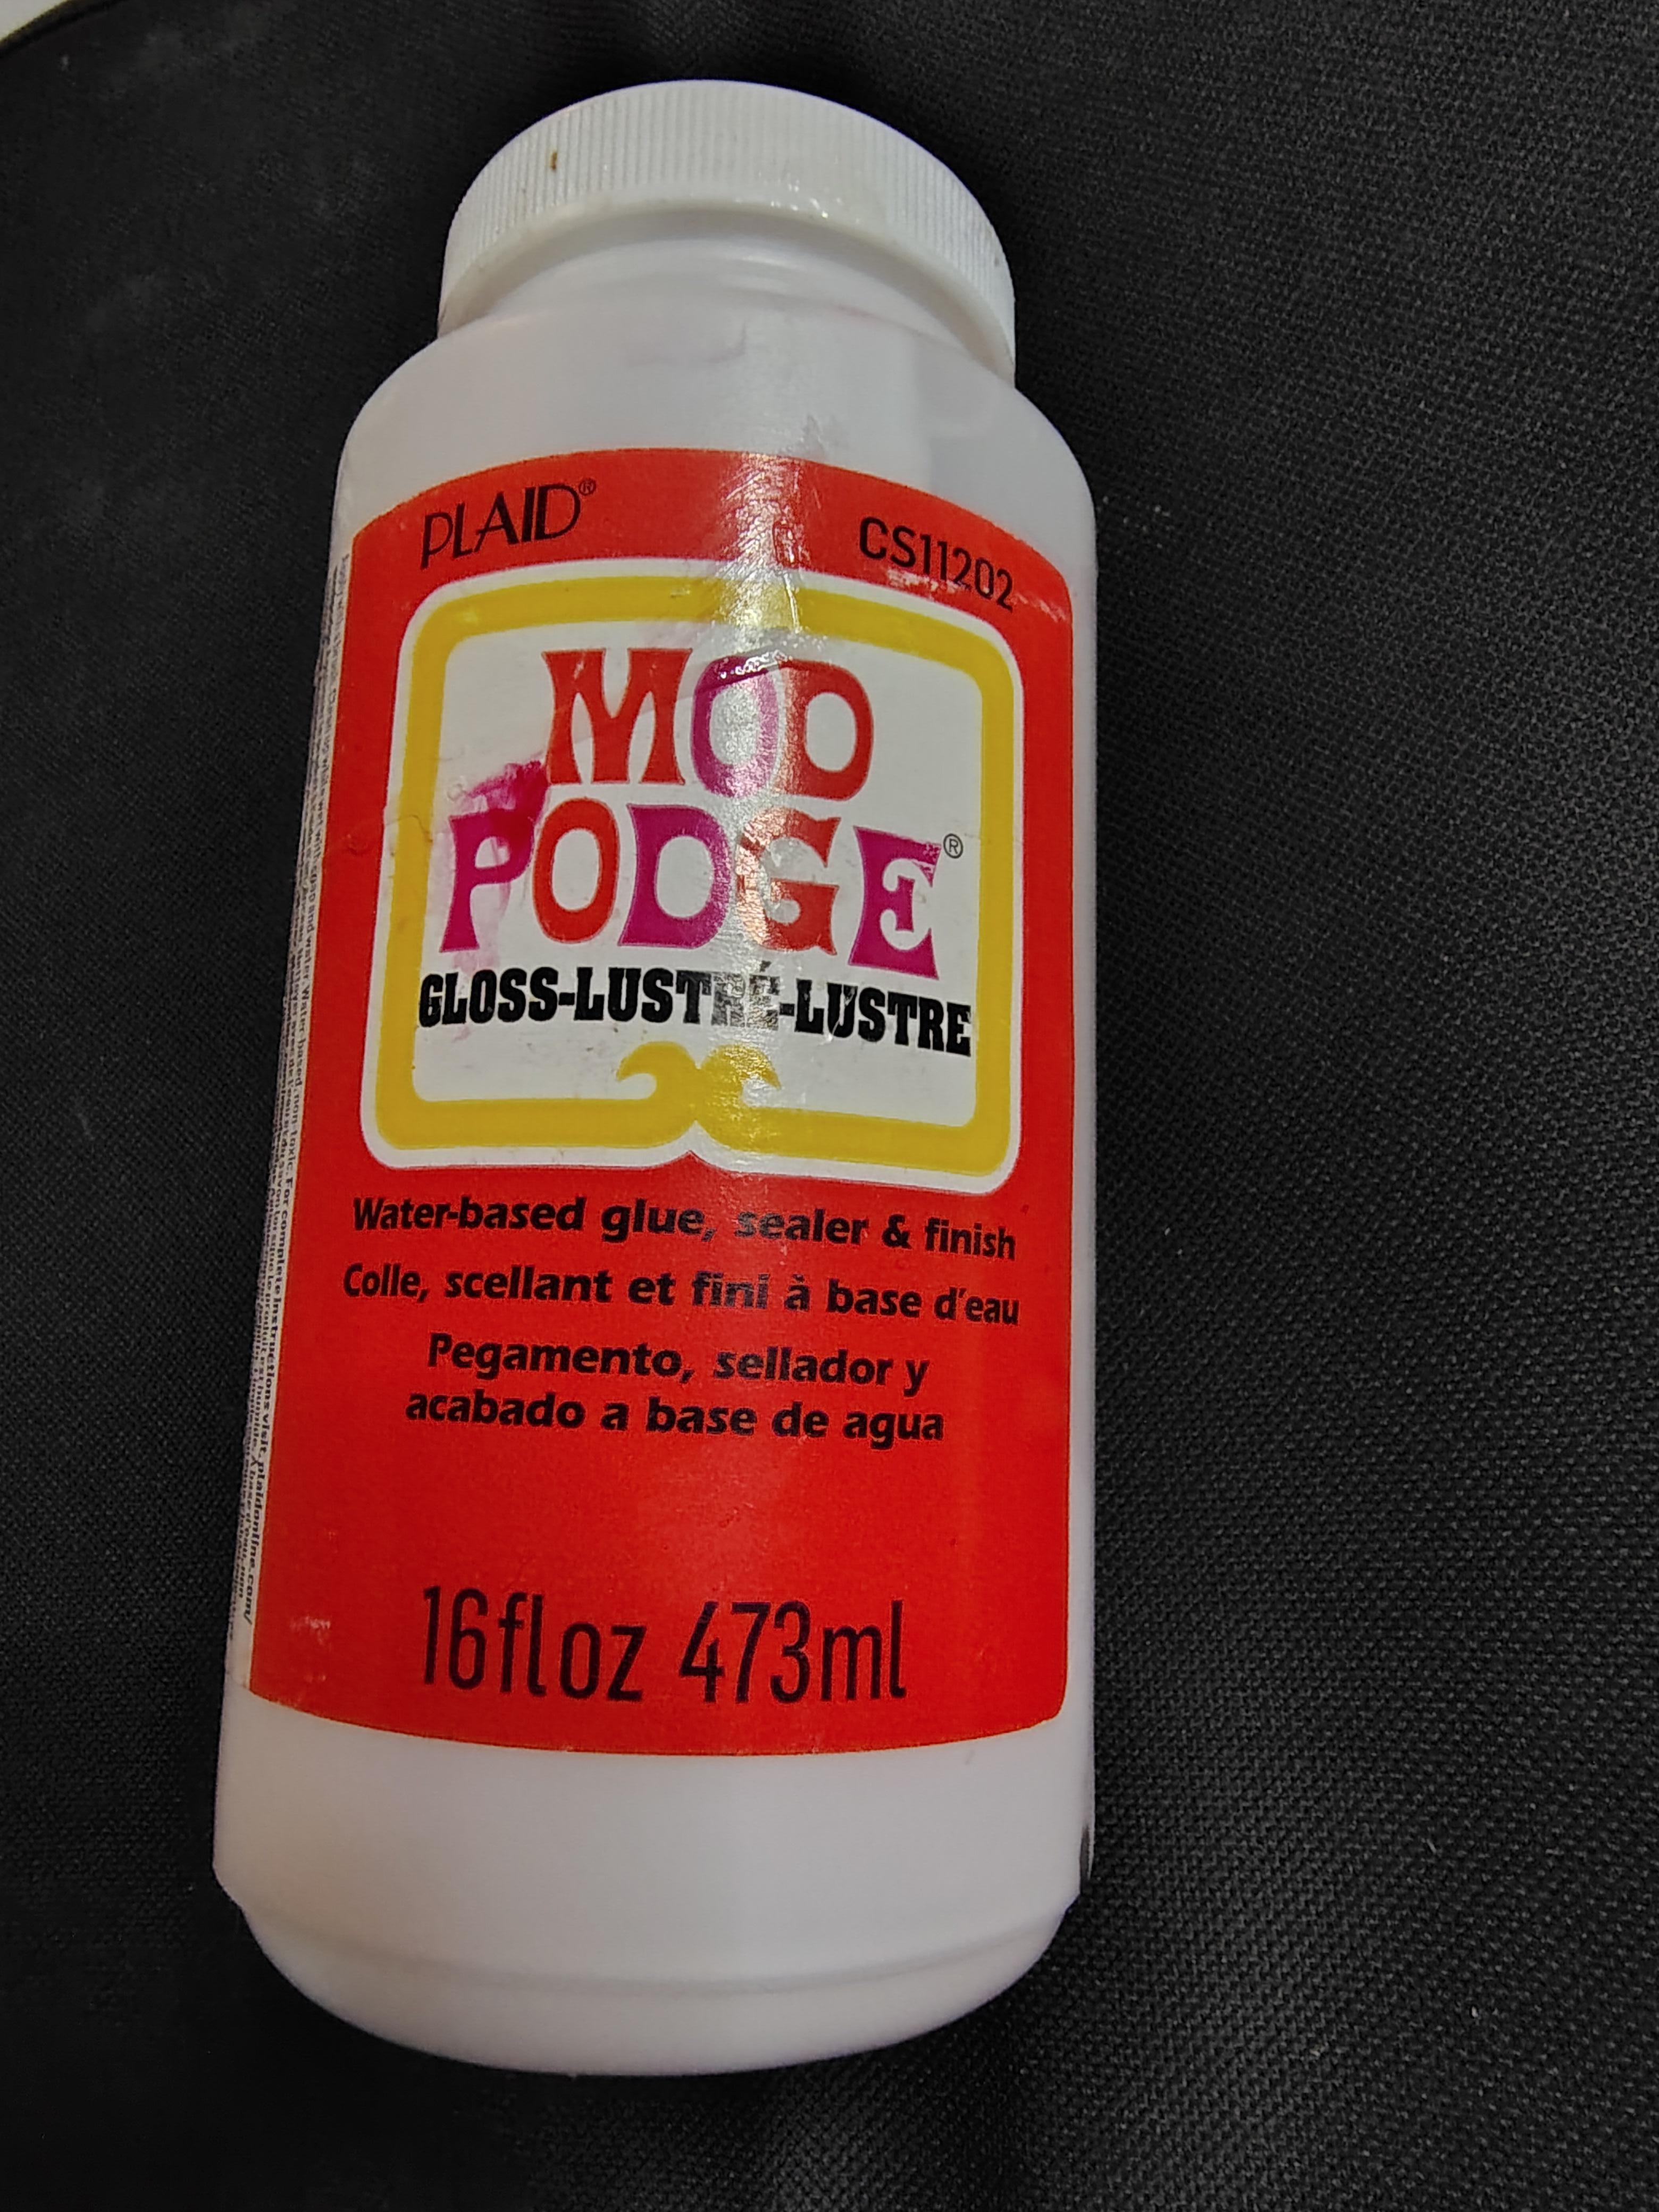
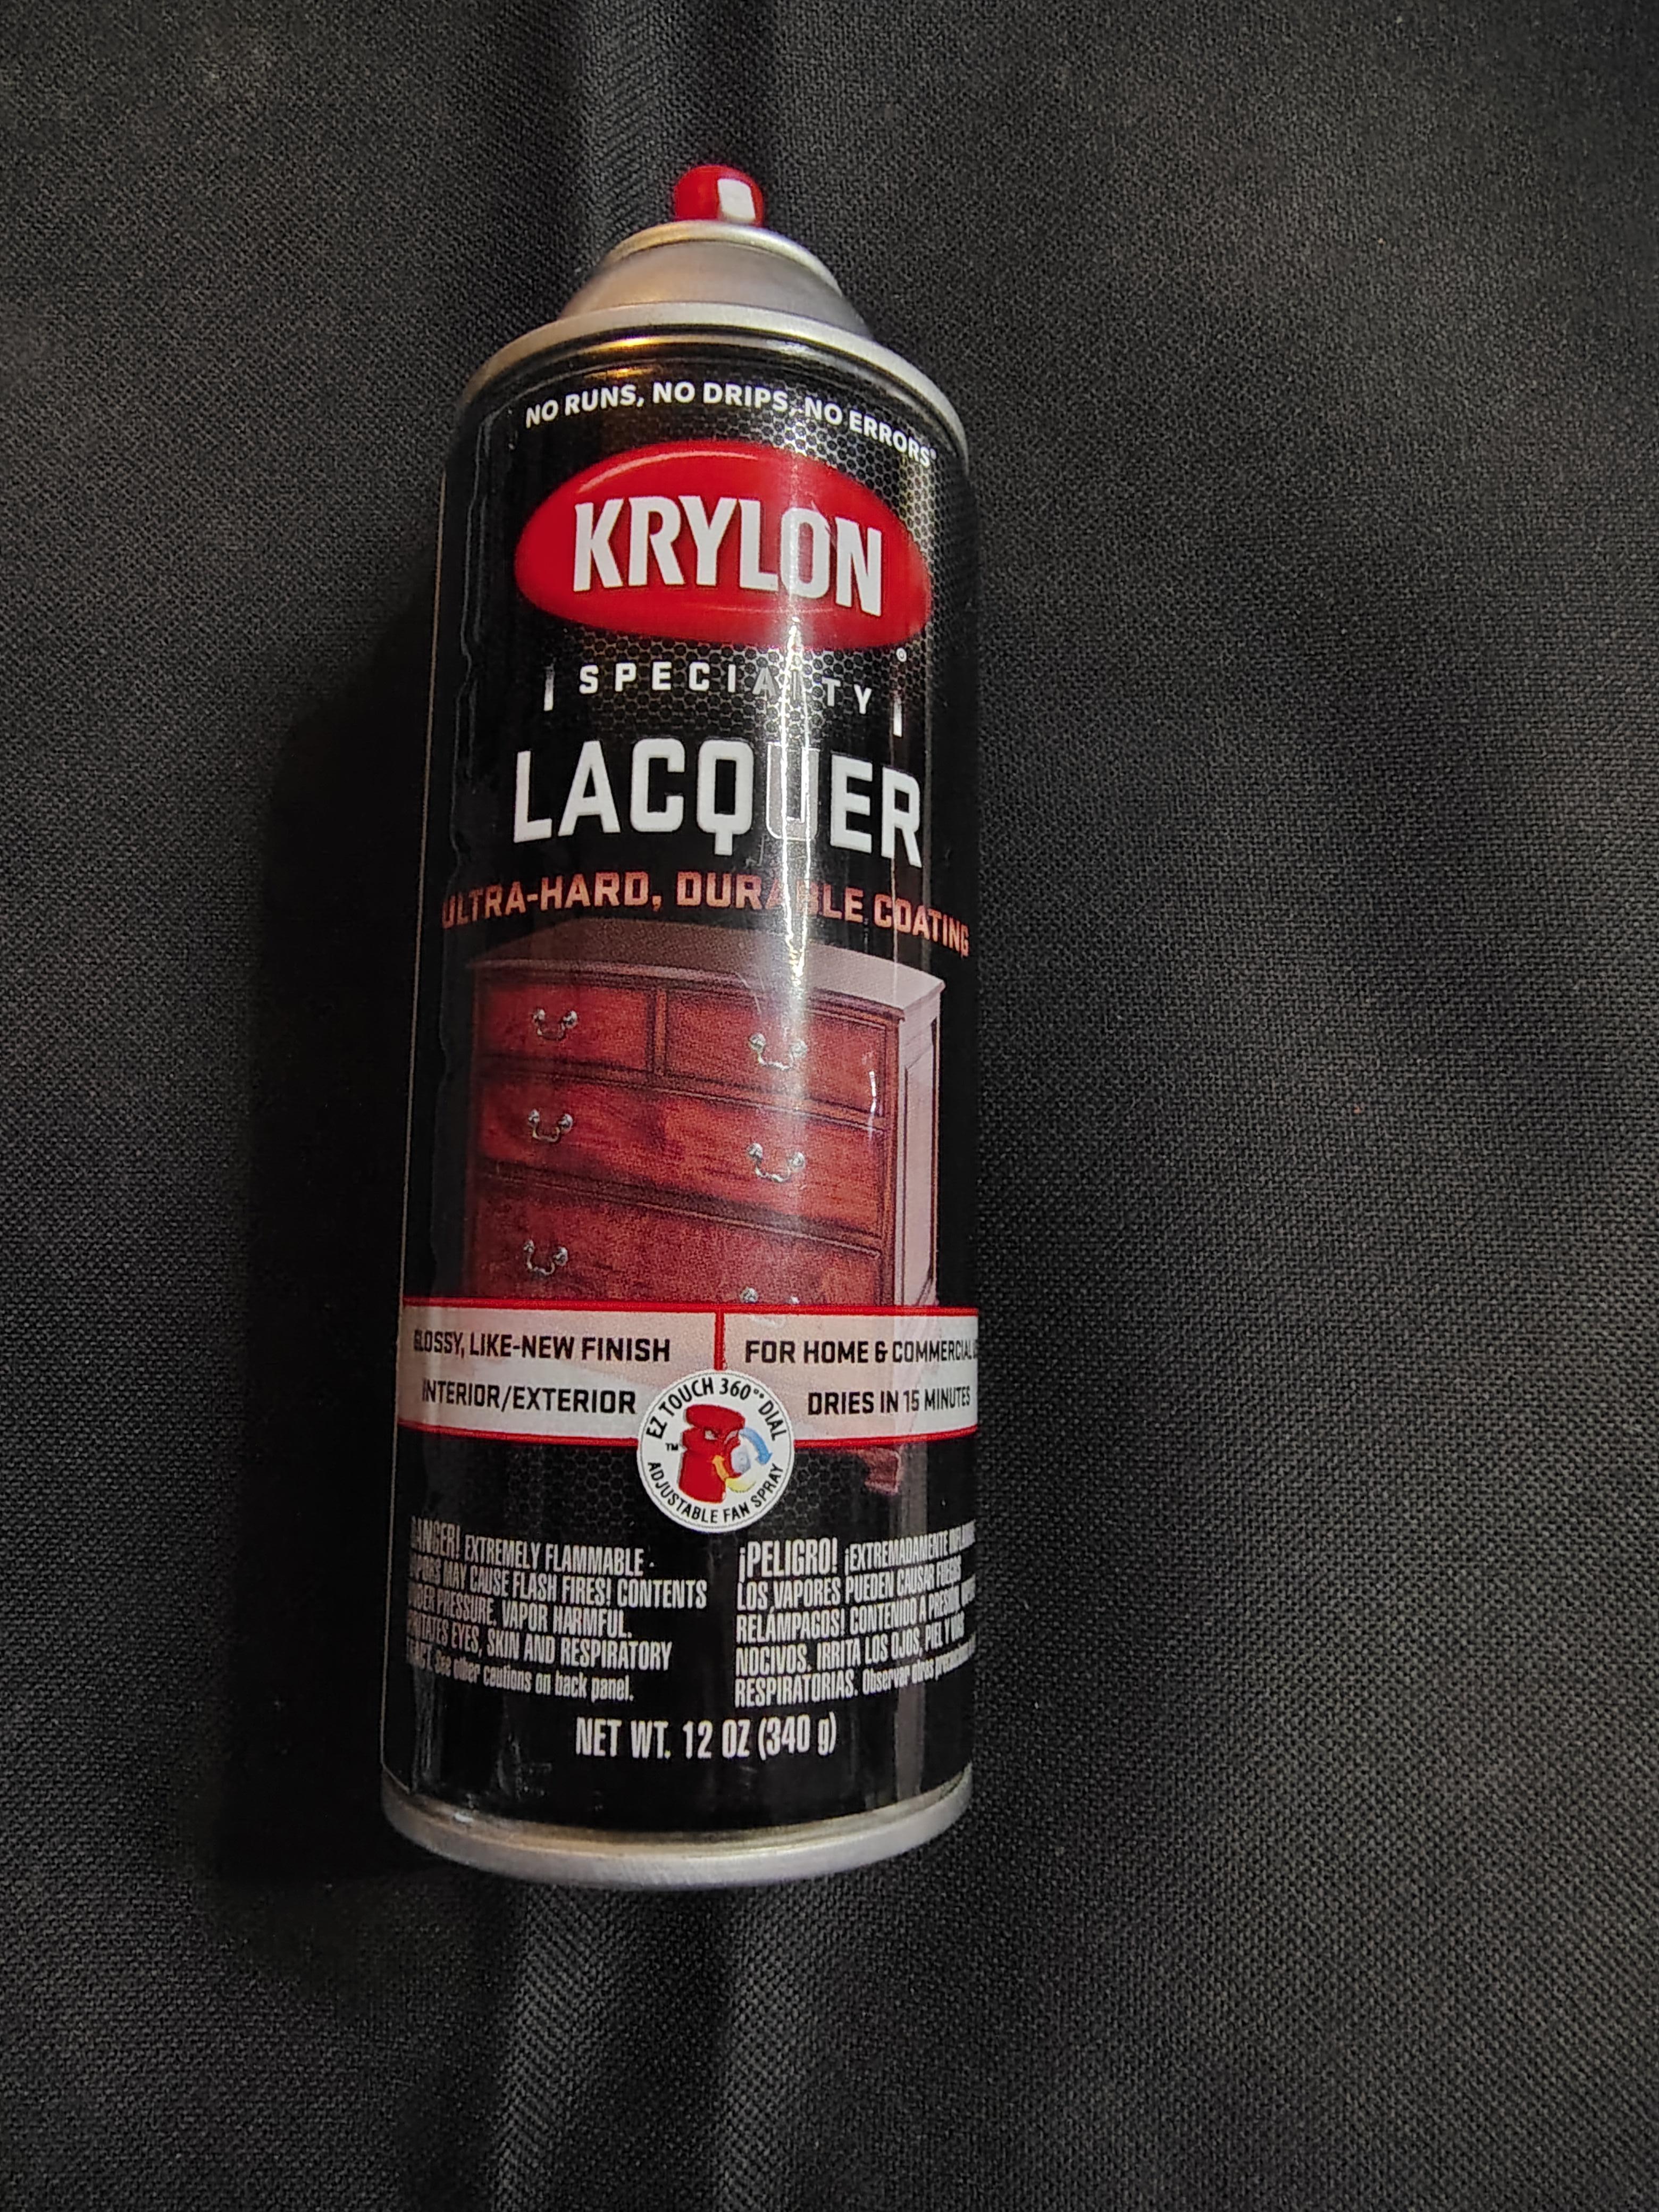
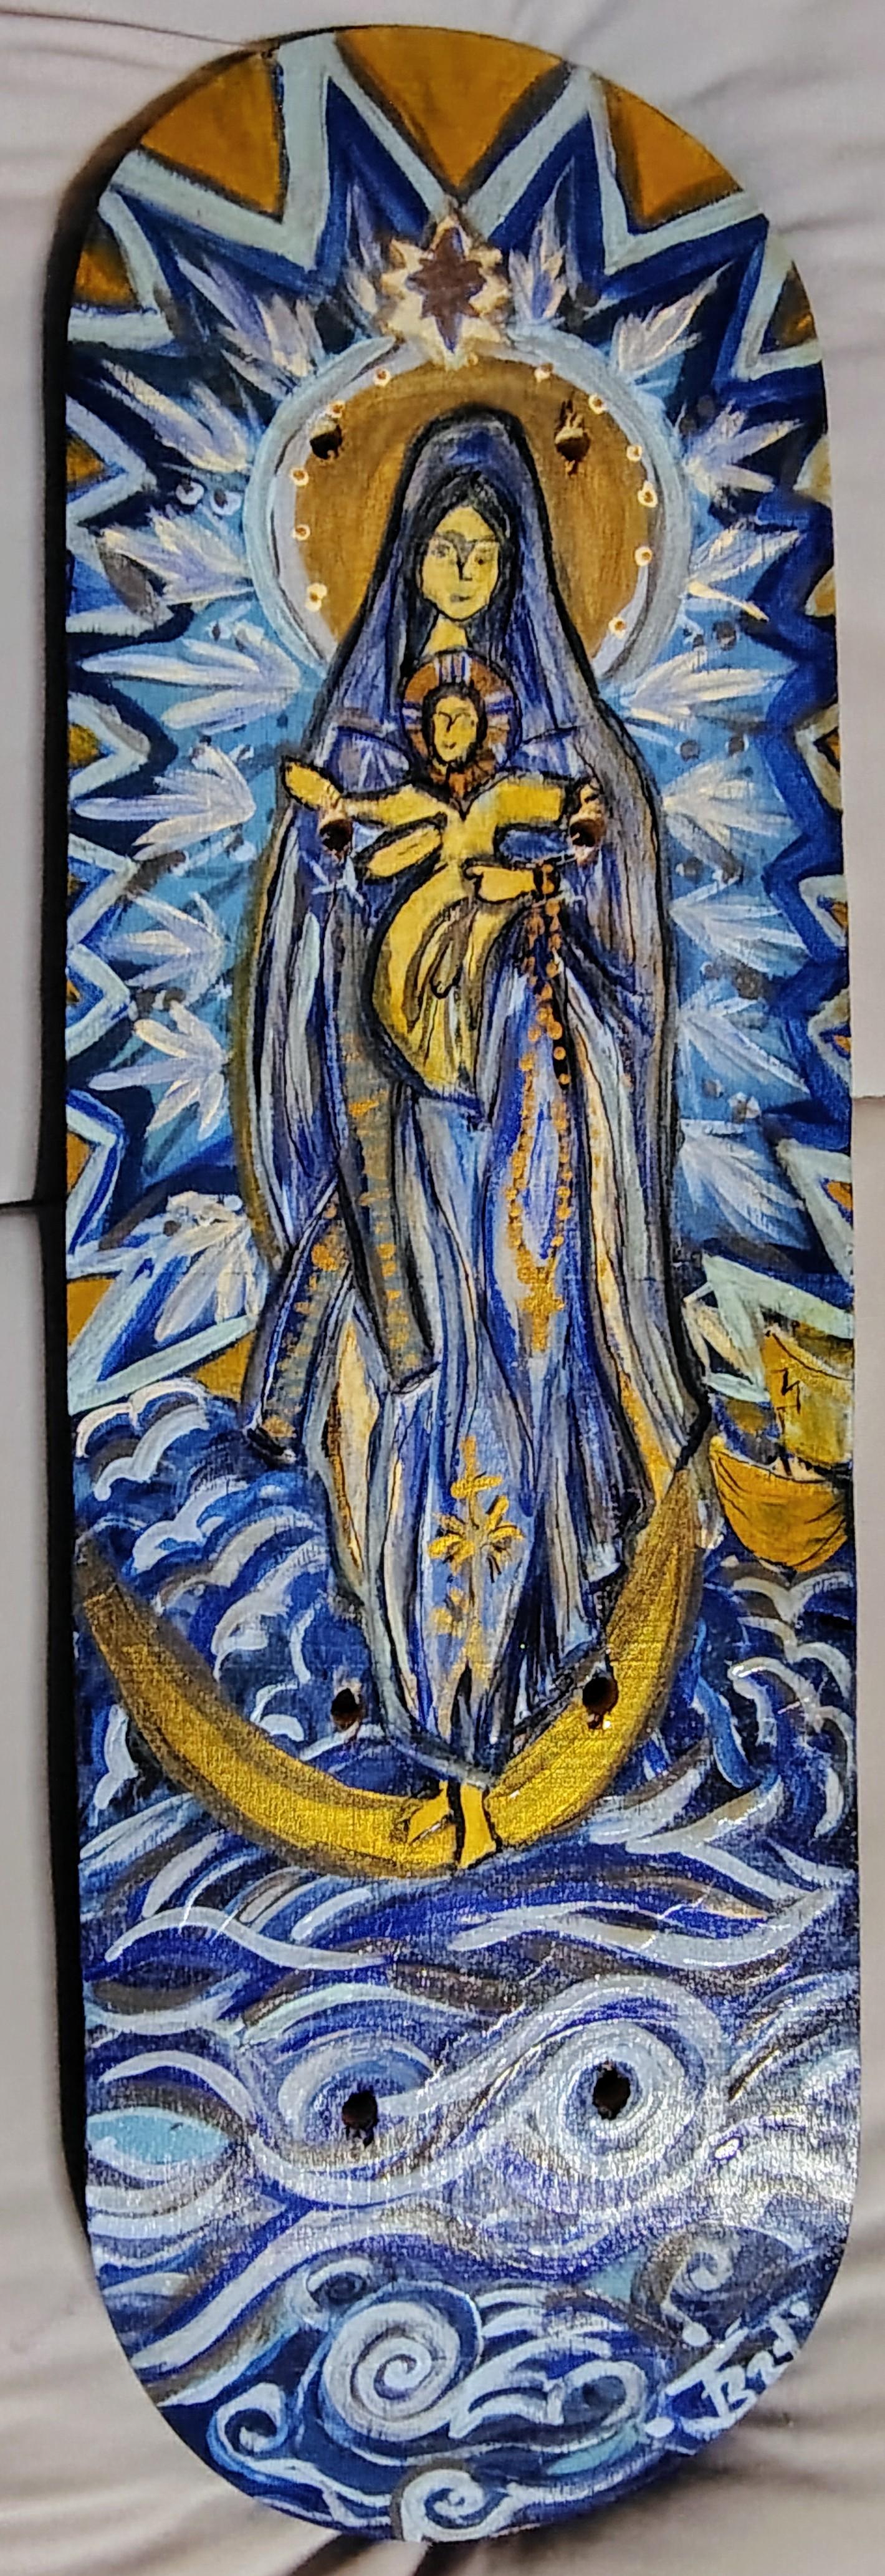
This step is no required but I suggest sealing with something. For this step what you will use is either a spray paint based shelac or sealant. A gloss seal.
For this you will make sure to shake the can for at least a minute before using. Once this is done, you will hold the can 8-10 inches (or whatever the can says) away from your deck and cover both sides and sides. Doing this will make your creation stand out and last longer. It makes it glossy and beautiful.
If you don't have a spray paint gloss you can use Modge Podge, just brush a even coat over your entire board and allow to dry.
I would wait 24 hours on this step also before moving, wrapping or hanging.
This completes the project! I hope you enjoyed and have a blast making.