Painting a Geometrical 12 Fold Rosette
by AbrarMulla in Design > Art
916 Views, 4 Favorites, 0 Comments
Painting a Geometrical 12 Fold Rosette

Most of the drawings we see are usually made of freehand. I am not an artist and can barely draw a straight line without a ruler and my circles always come out as ovals.
Here in this instructable, I will be using a 12 fold Islamic geometry rosette template to paint.
Here in this instructable, I will be using a 12 fold Islamic geometry rosette template to paint.
Selecting Paper
Since I am not an artist I did not have any fancy papers so I started with a normal a4 sized printing paper . the problem with this paper was it was too thin and would tear off when I applied the paint.
The second choice was to use cardstock paper but it had a certain texture that was not desirable.
The third and final choice was a chart paper. It was thick enough that I could apply paint twice and the texture was also acceptable.
The second choice was to use cardstock paper but it had a certain texture that was not desirable.
The third and final choice was a chart paper. It was thick enough that I could apply paint twice and the texture was also acceptable.
Selecting Paint

I tried different paint on the craft paper and metallic acrylic was the best choice. Initially, I wanted to use silver color but my acrylic paint was not that strong and I only could see small patches of silver sparkles. I tried gold pearl metallic color and it worked amazing.
Preparing the Base


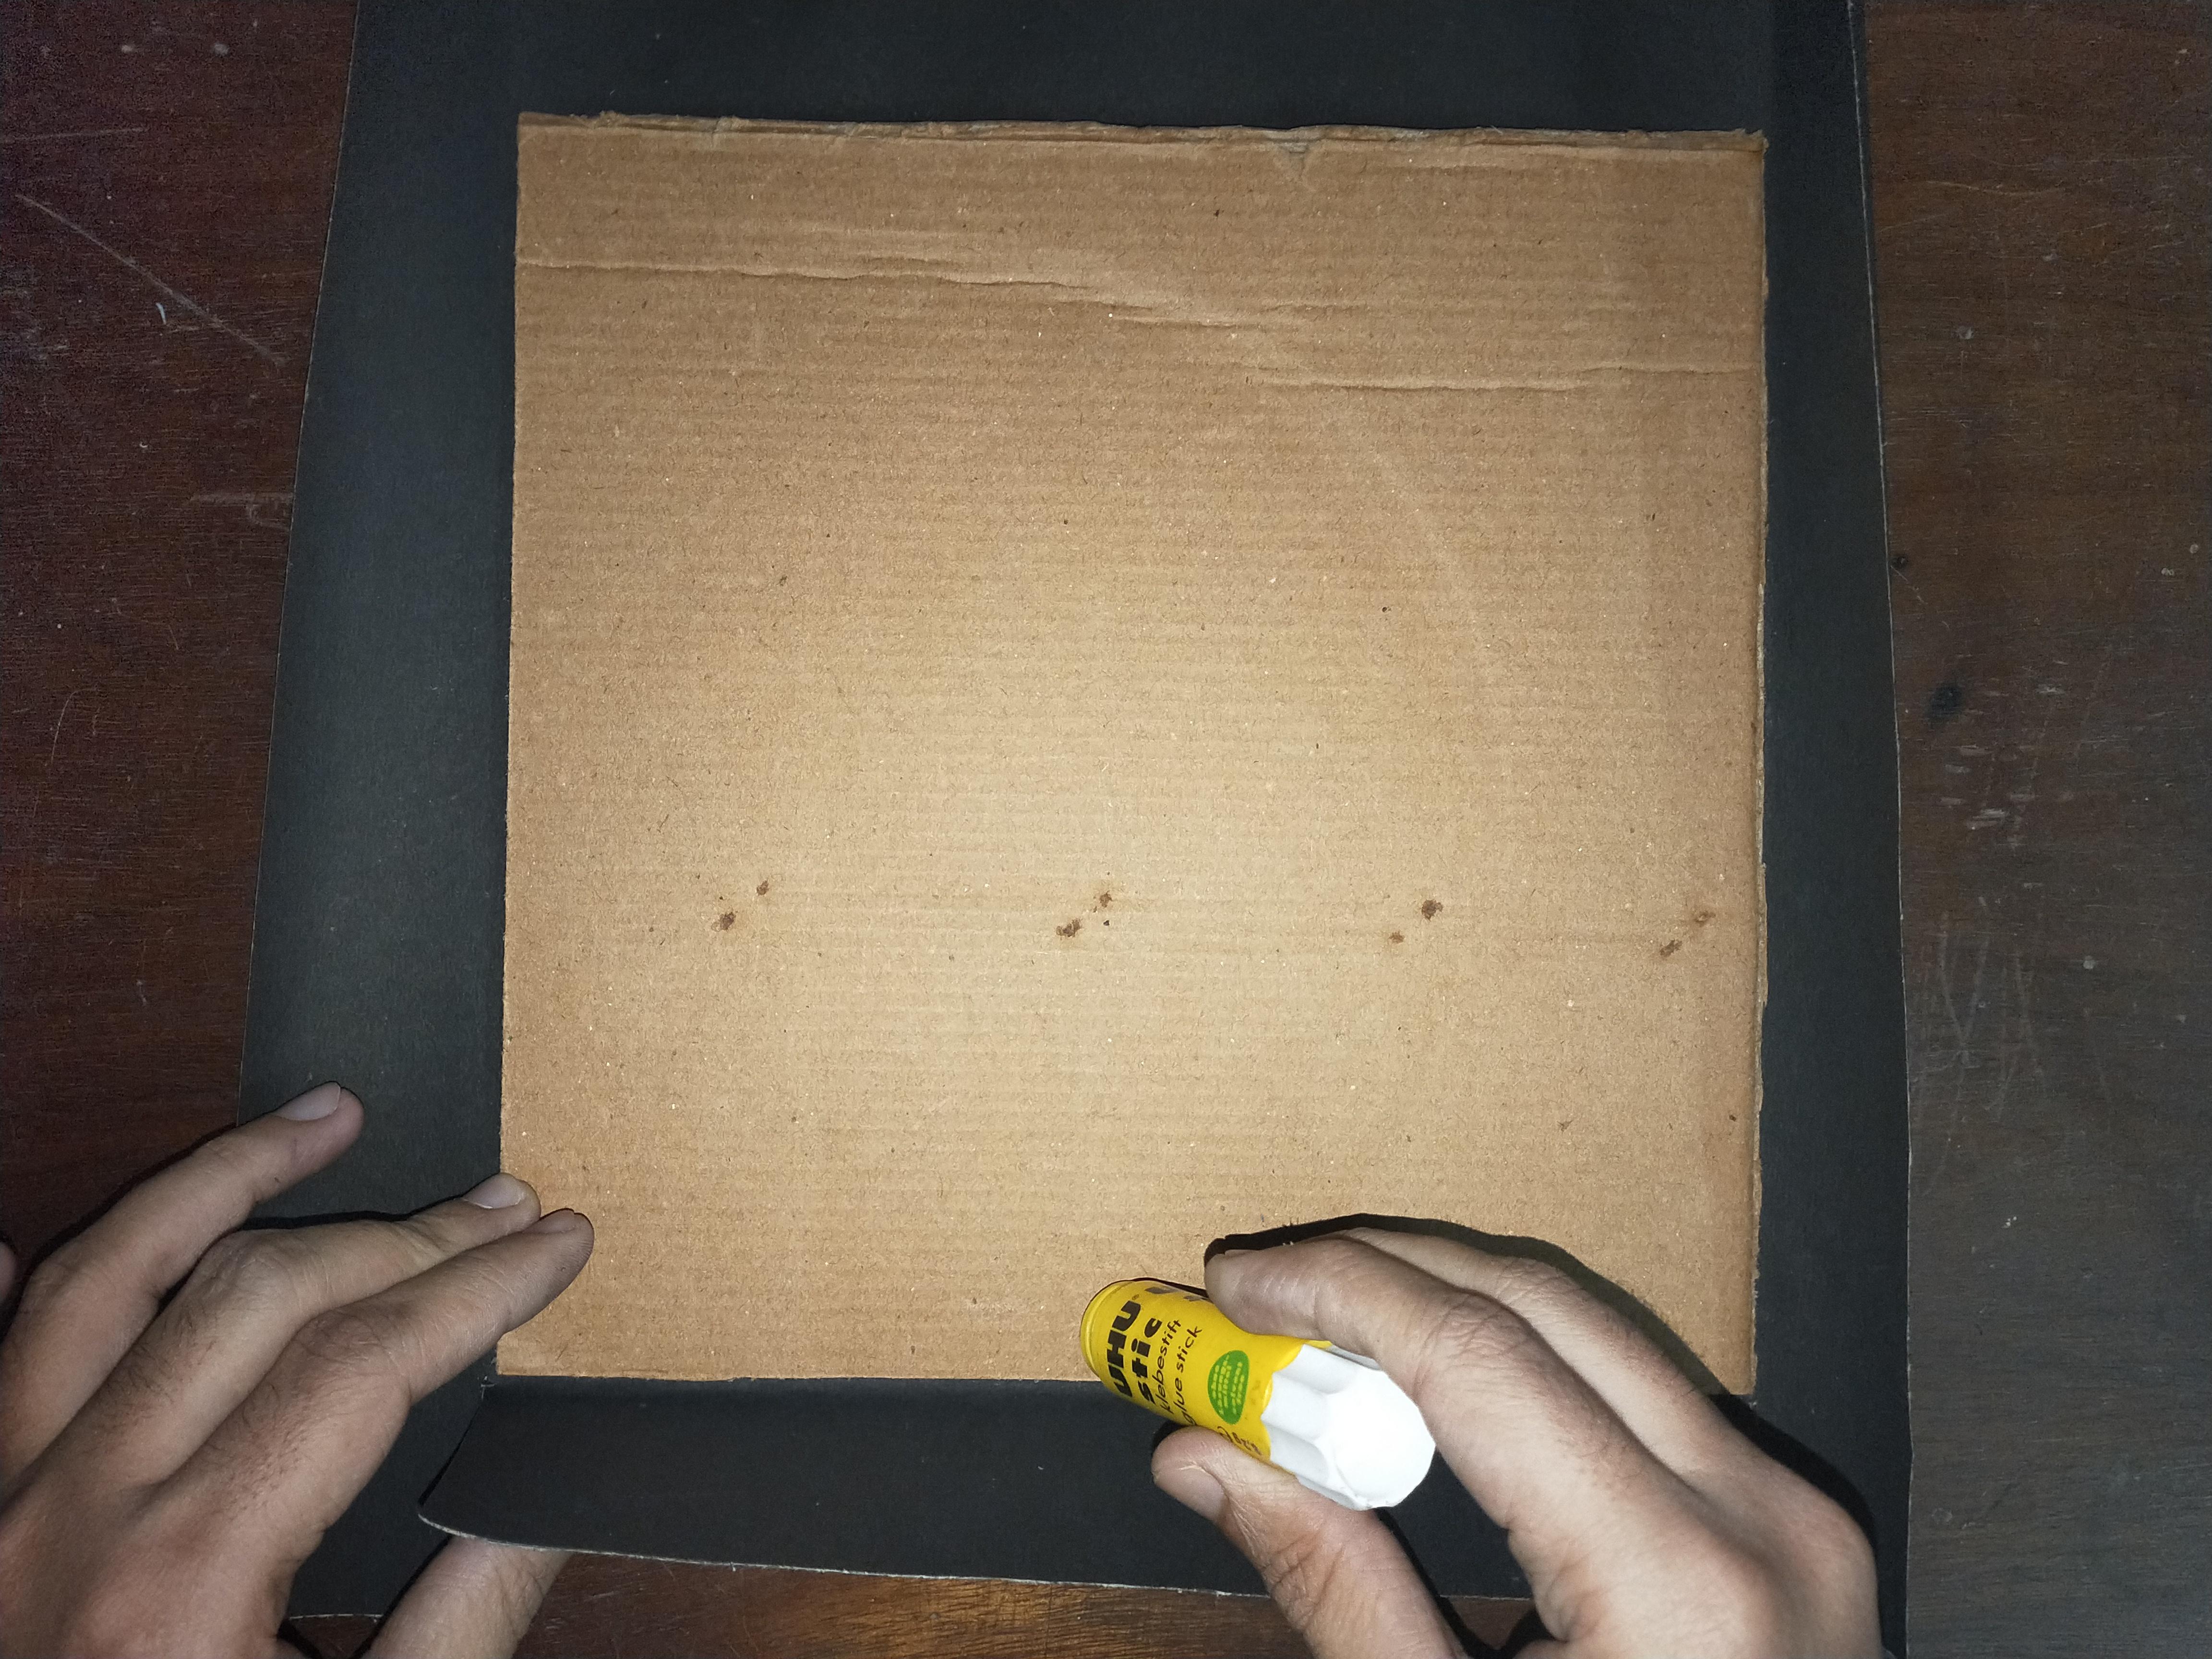

Glue the cardboard and stick the chart paper onto the cardboard. Here I have kept the chart paper a little bigger than the cardboard. Wrap the extra cardboard and stick it on the backside of the cardboard.
Cutting the Template
Using a hobby knife and a ruler cut the provided template. Make sure the blade is sharp and new for a proper clean cut.
Downloads
Dividing the Base


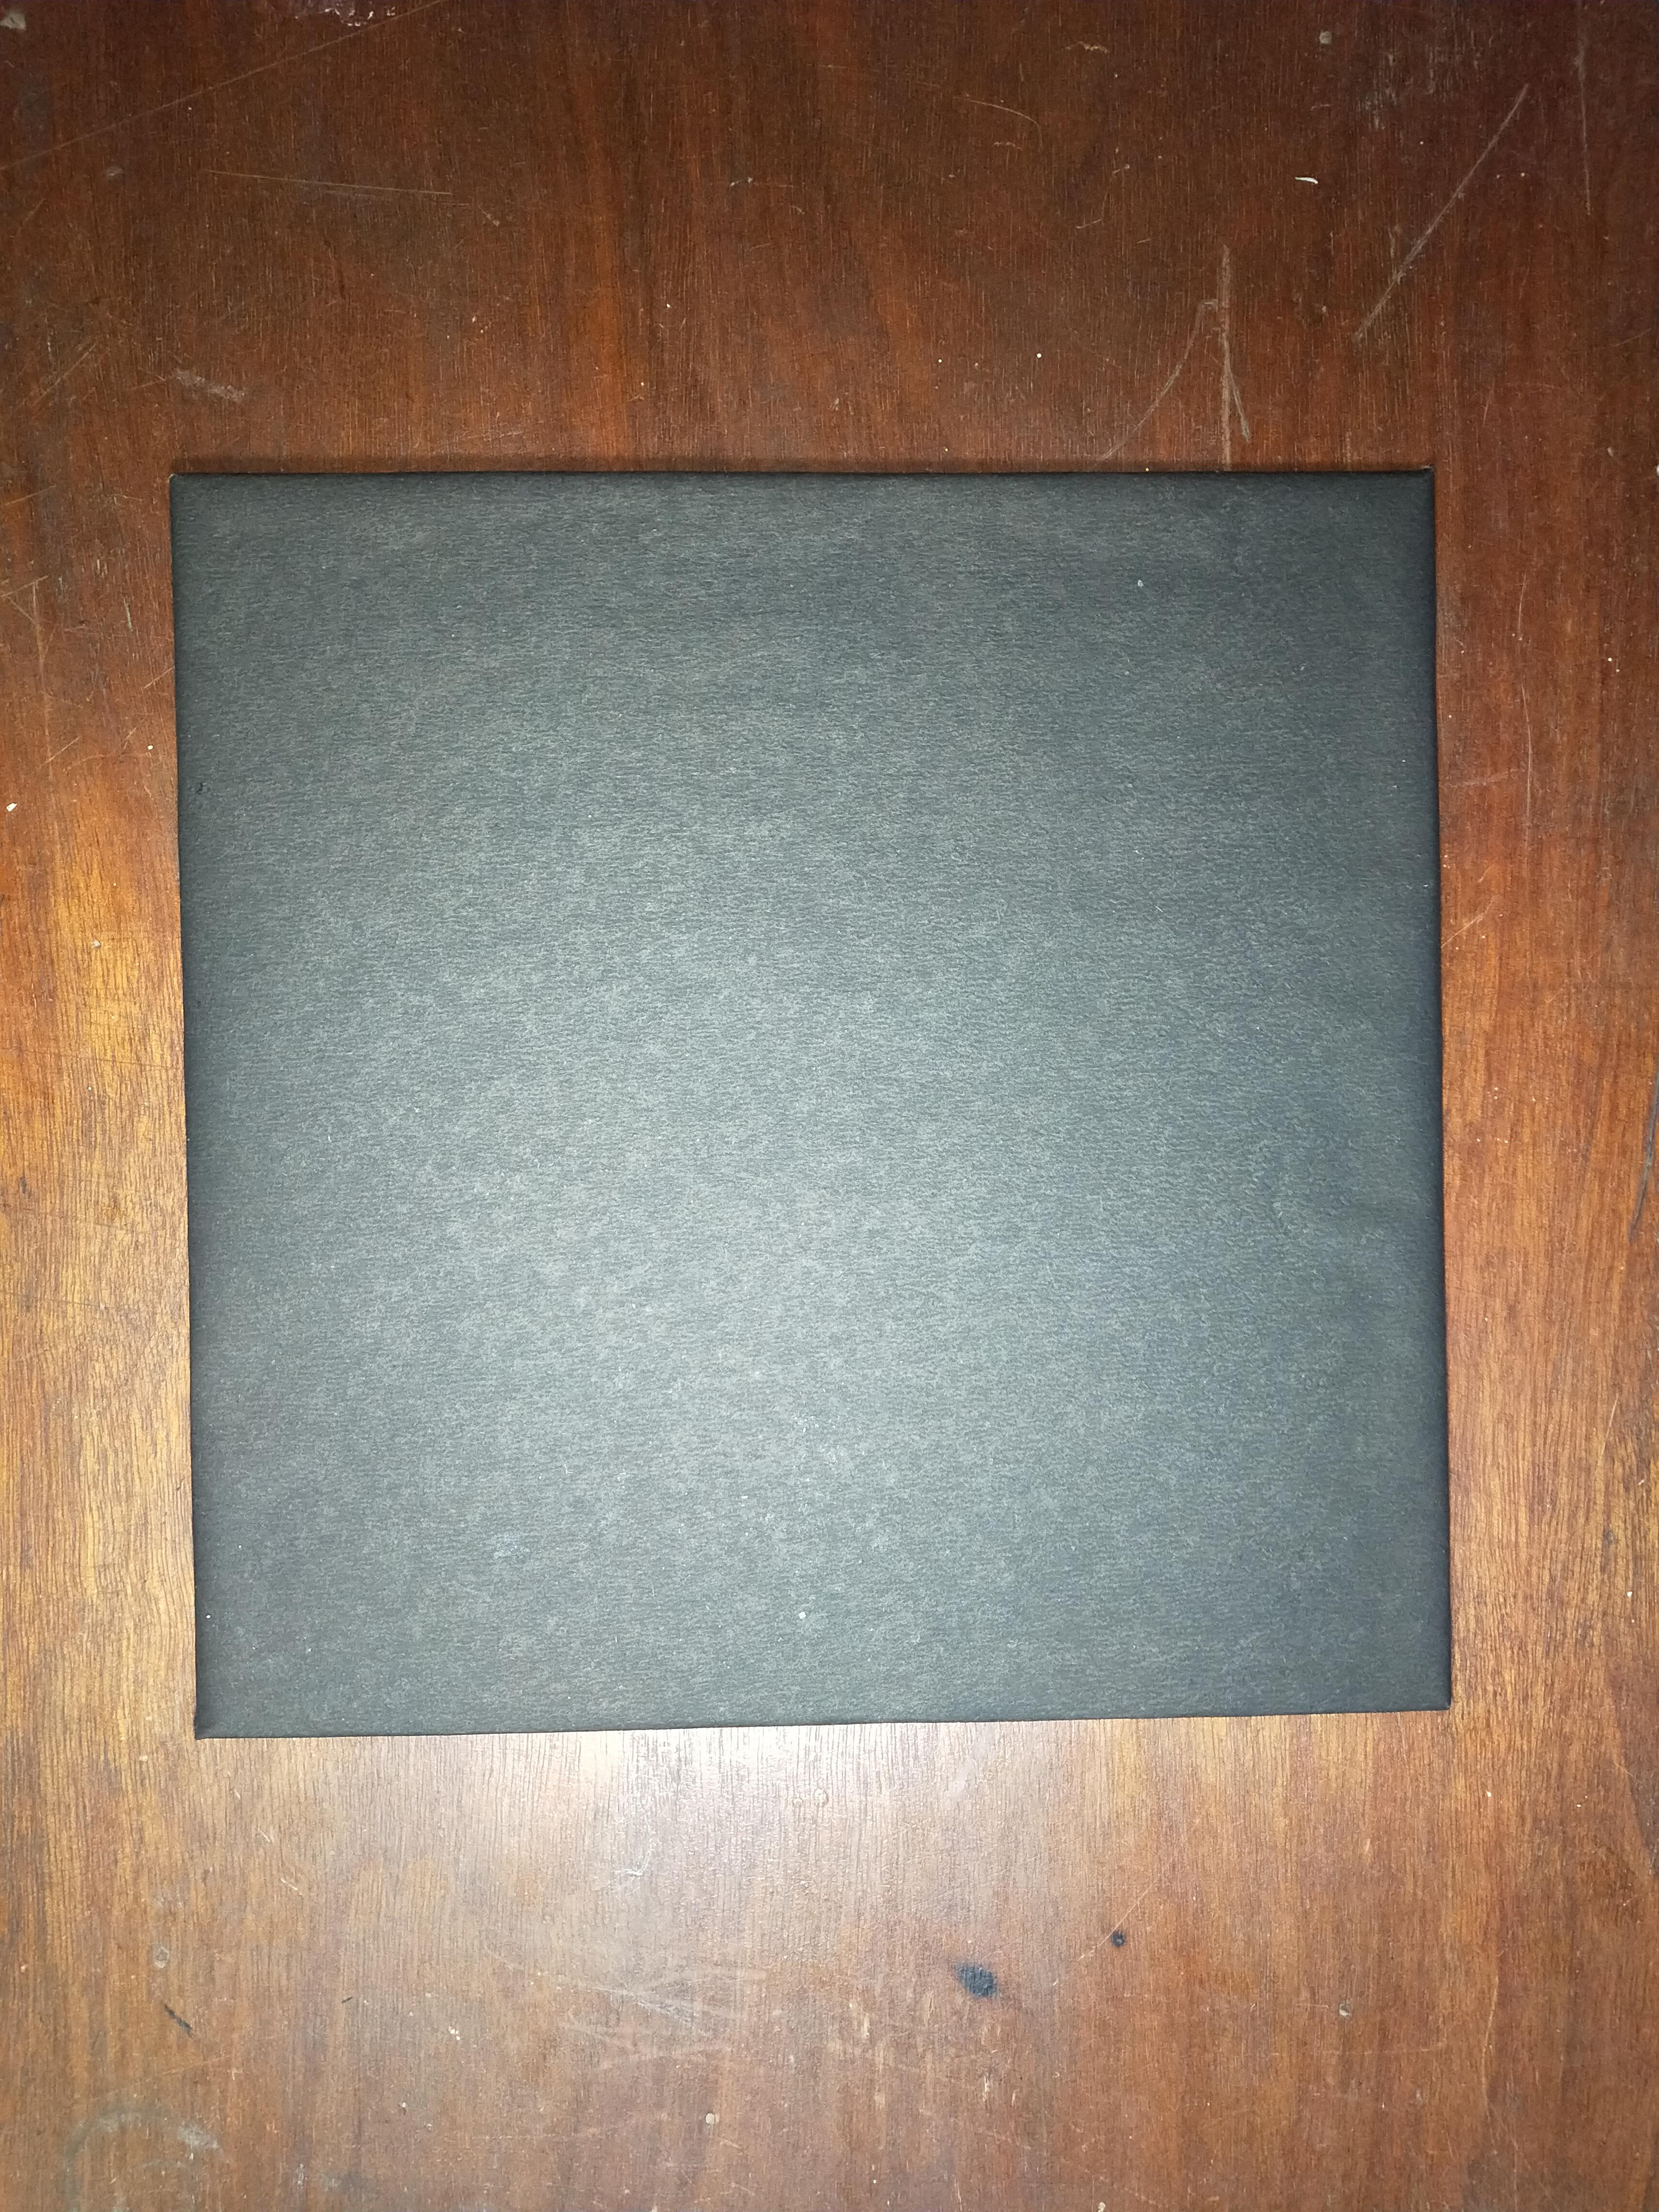
To properly align the template on the center of the cardboard mark center of the edges and draw a faint line dividing the cardboard into halves.
Sticking the Template


Using masking tape stick the template onto the cardboard. Make sure the template is aligned center to the cardboard by matching the center of the edges.
Tracing

Using a ruler and white/yellow colored pencil trace the cut template on the cardboard.
Removing the Template


Once all the lines are traced carefully remove the template by removing the masking tape. Make sure not to tear the chart paper on the cardboard base.
Marking the Missed Lines


If you have missed some lines use a ruler and draw the line using the template as a reference.
Painting


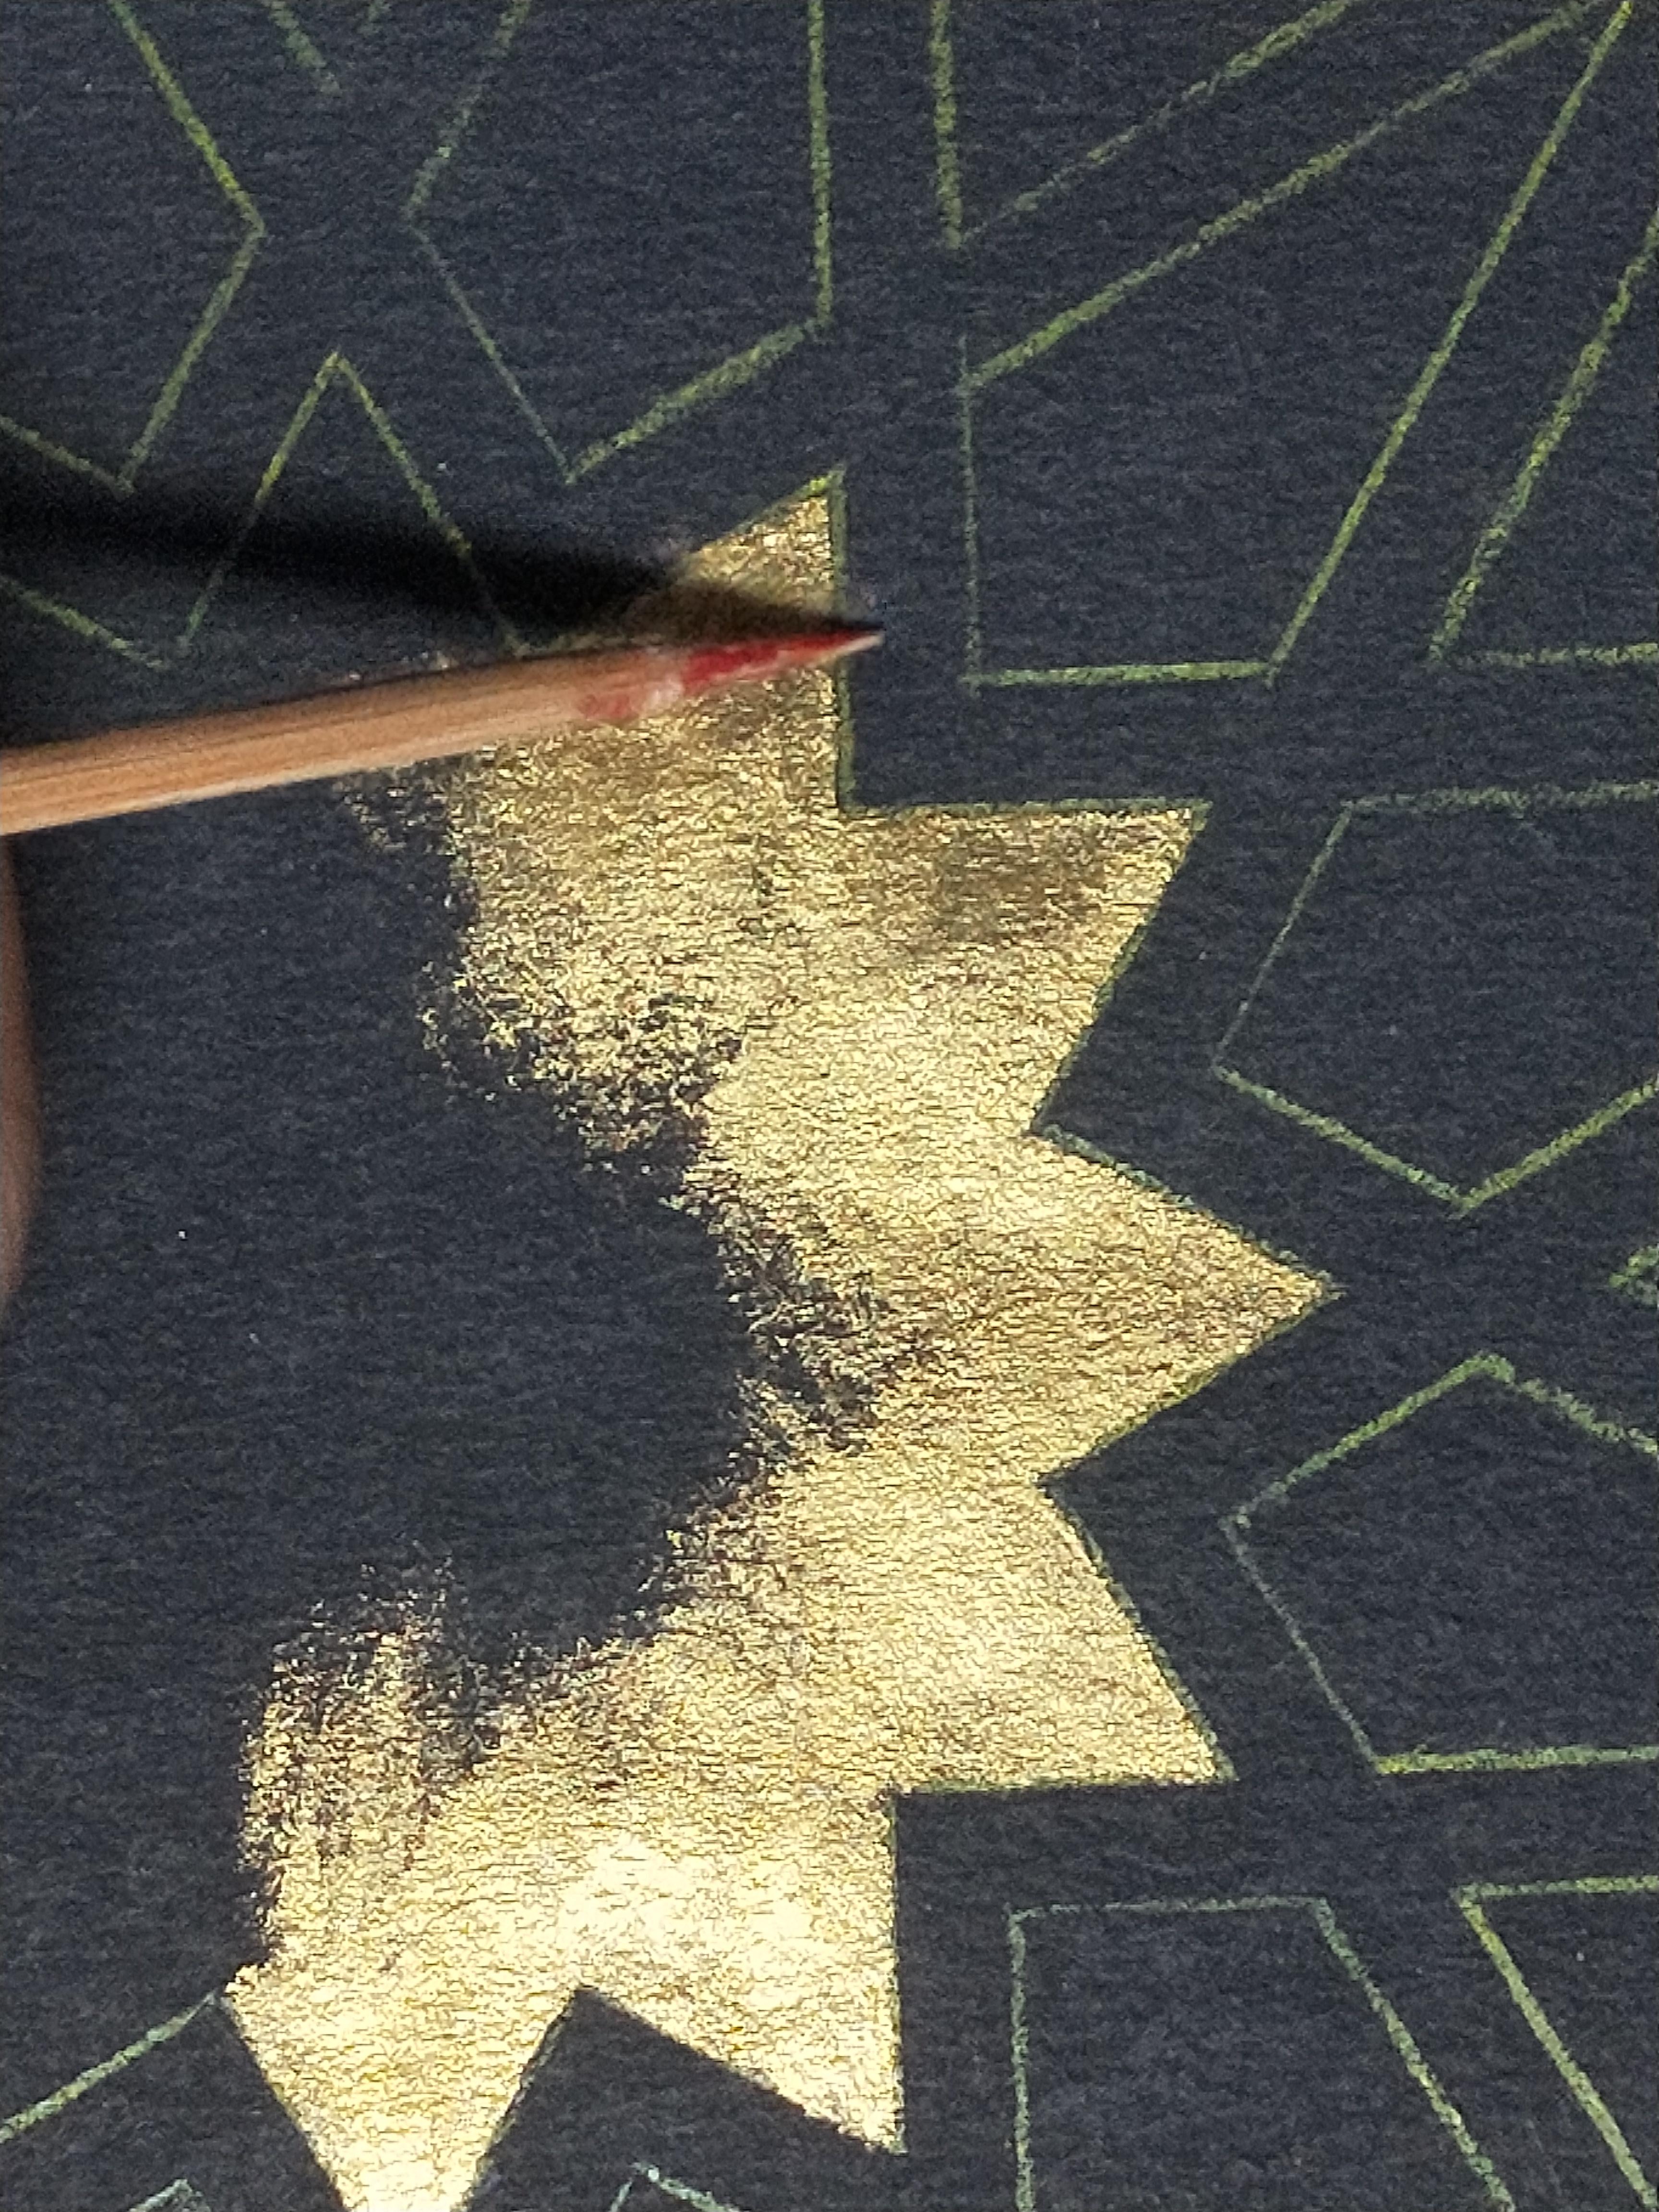

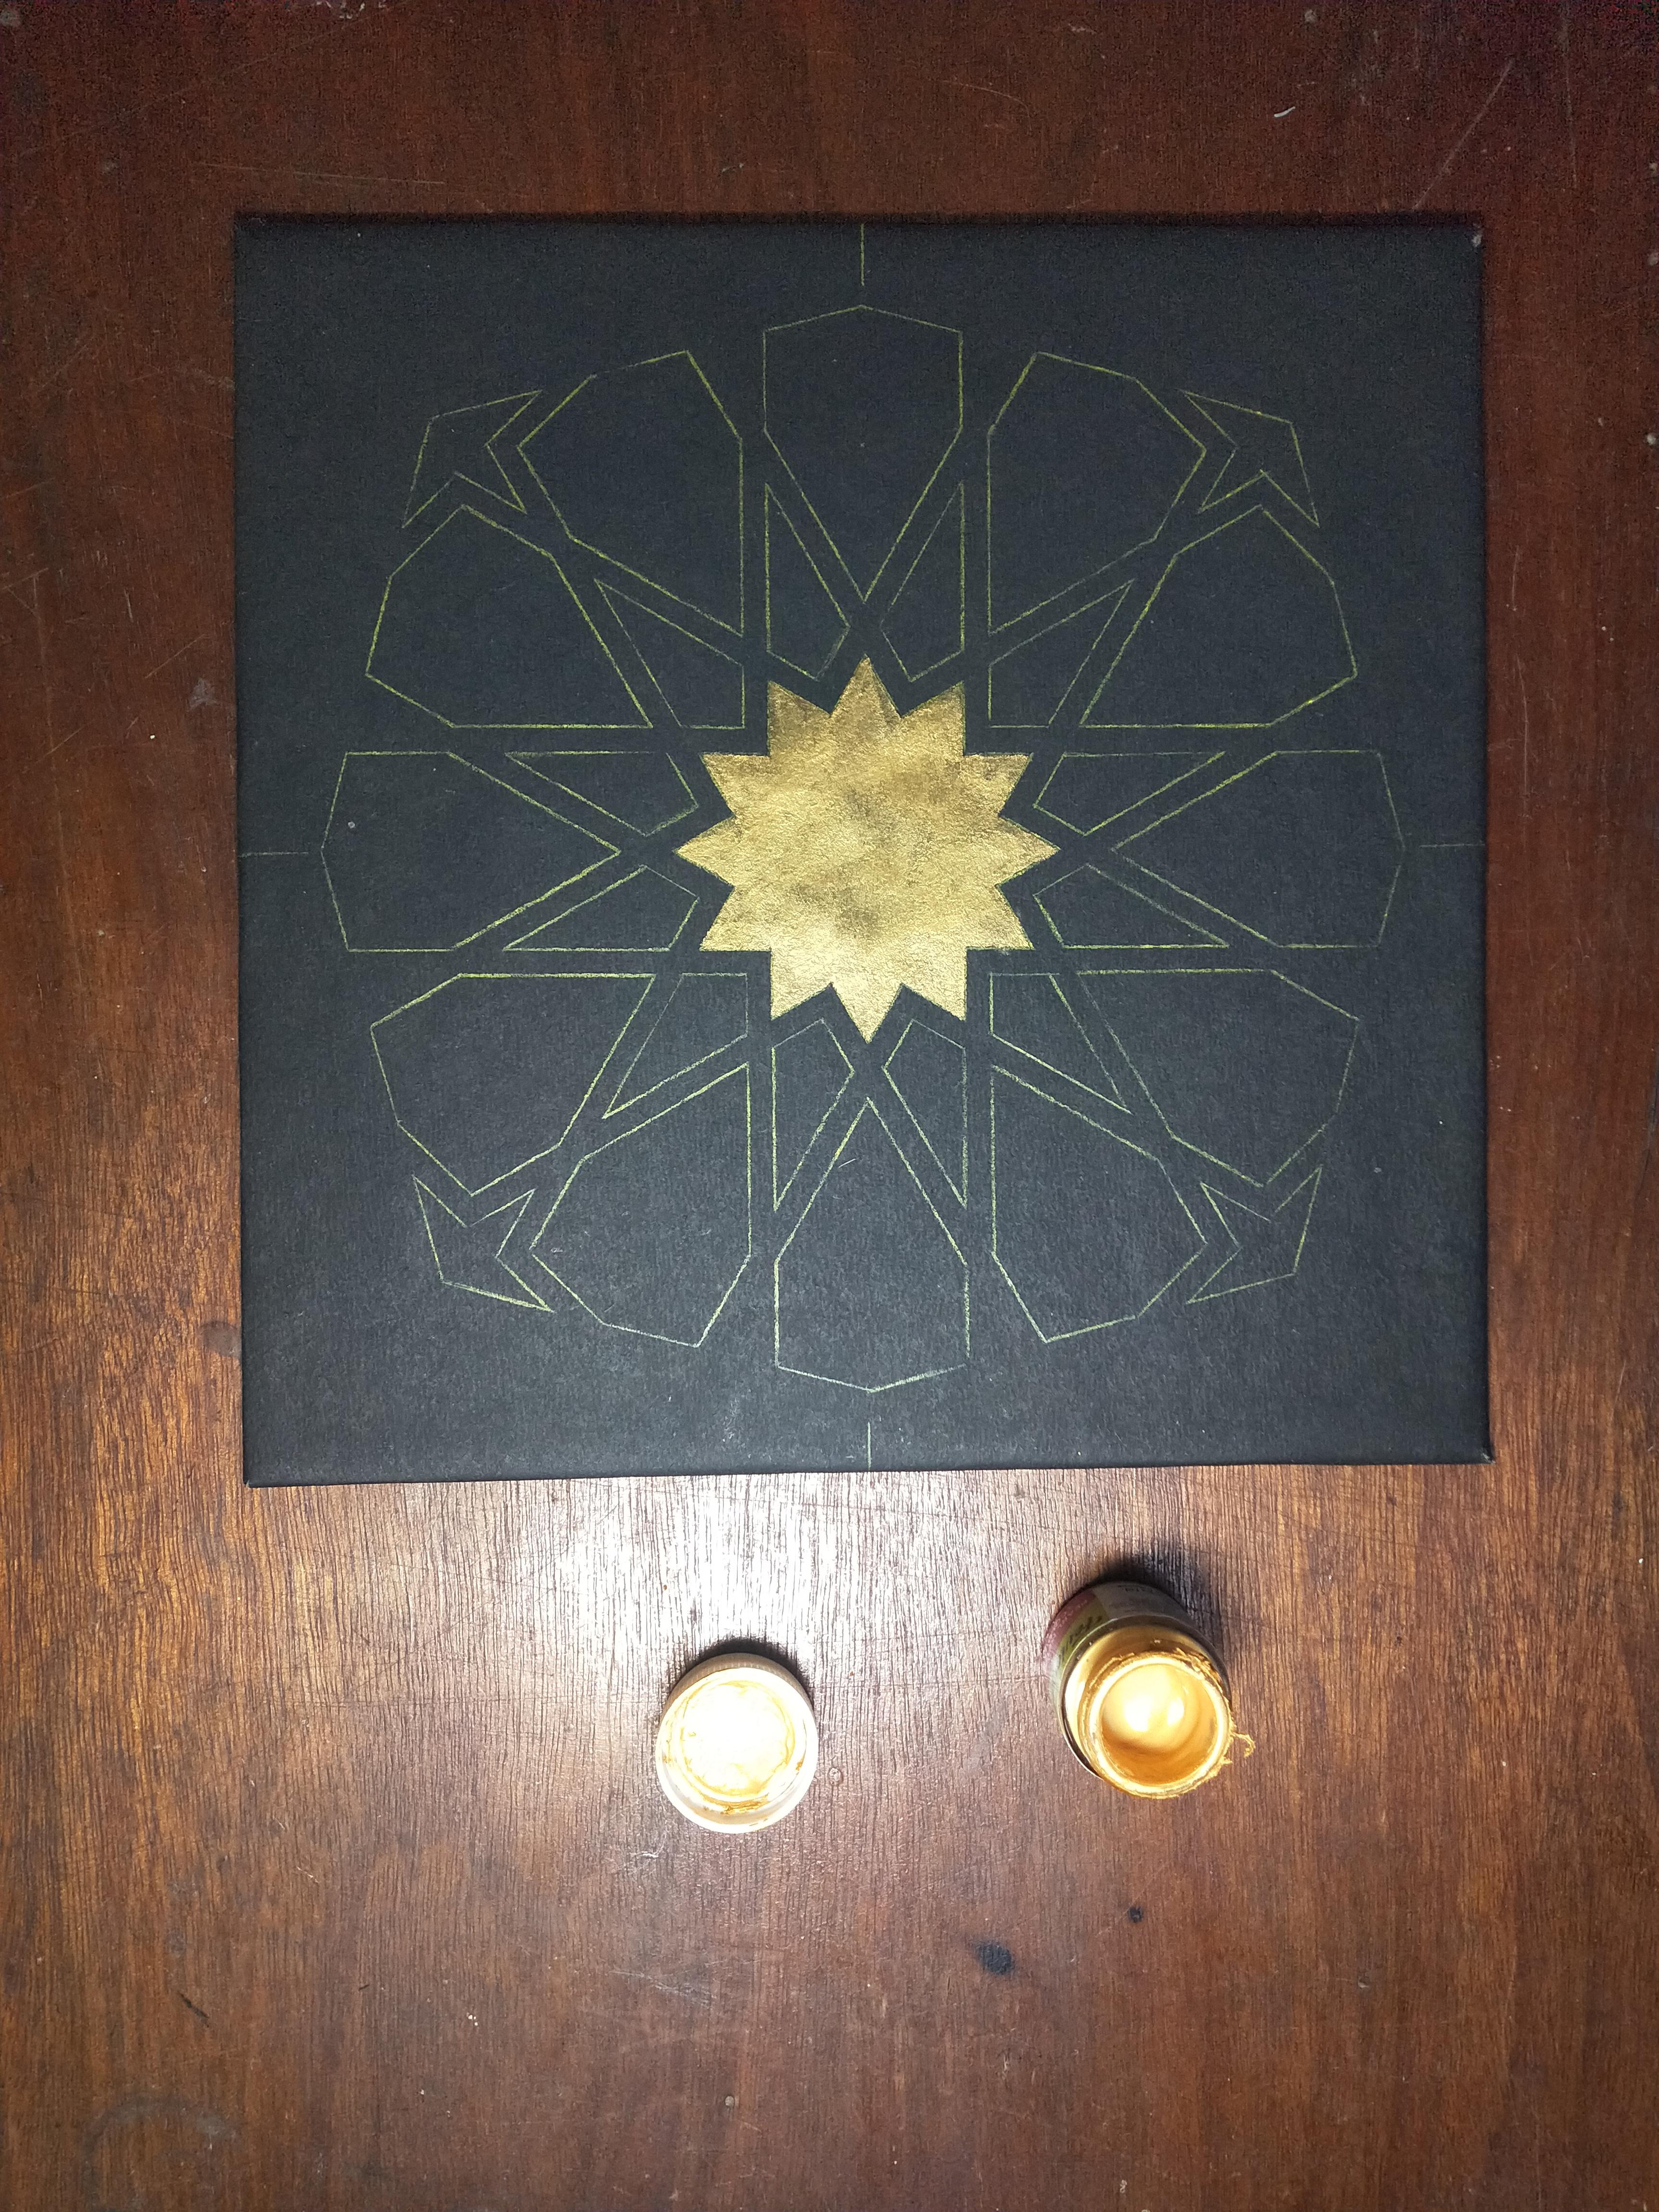


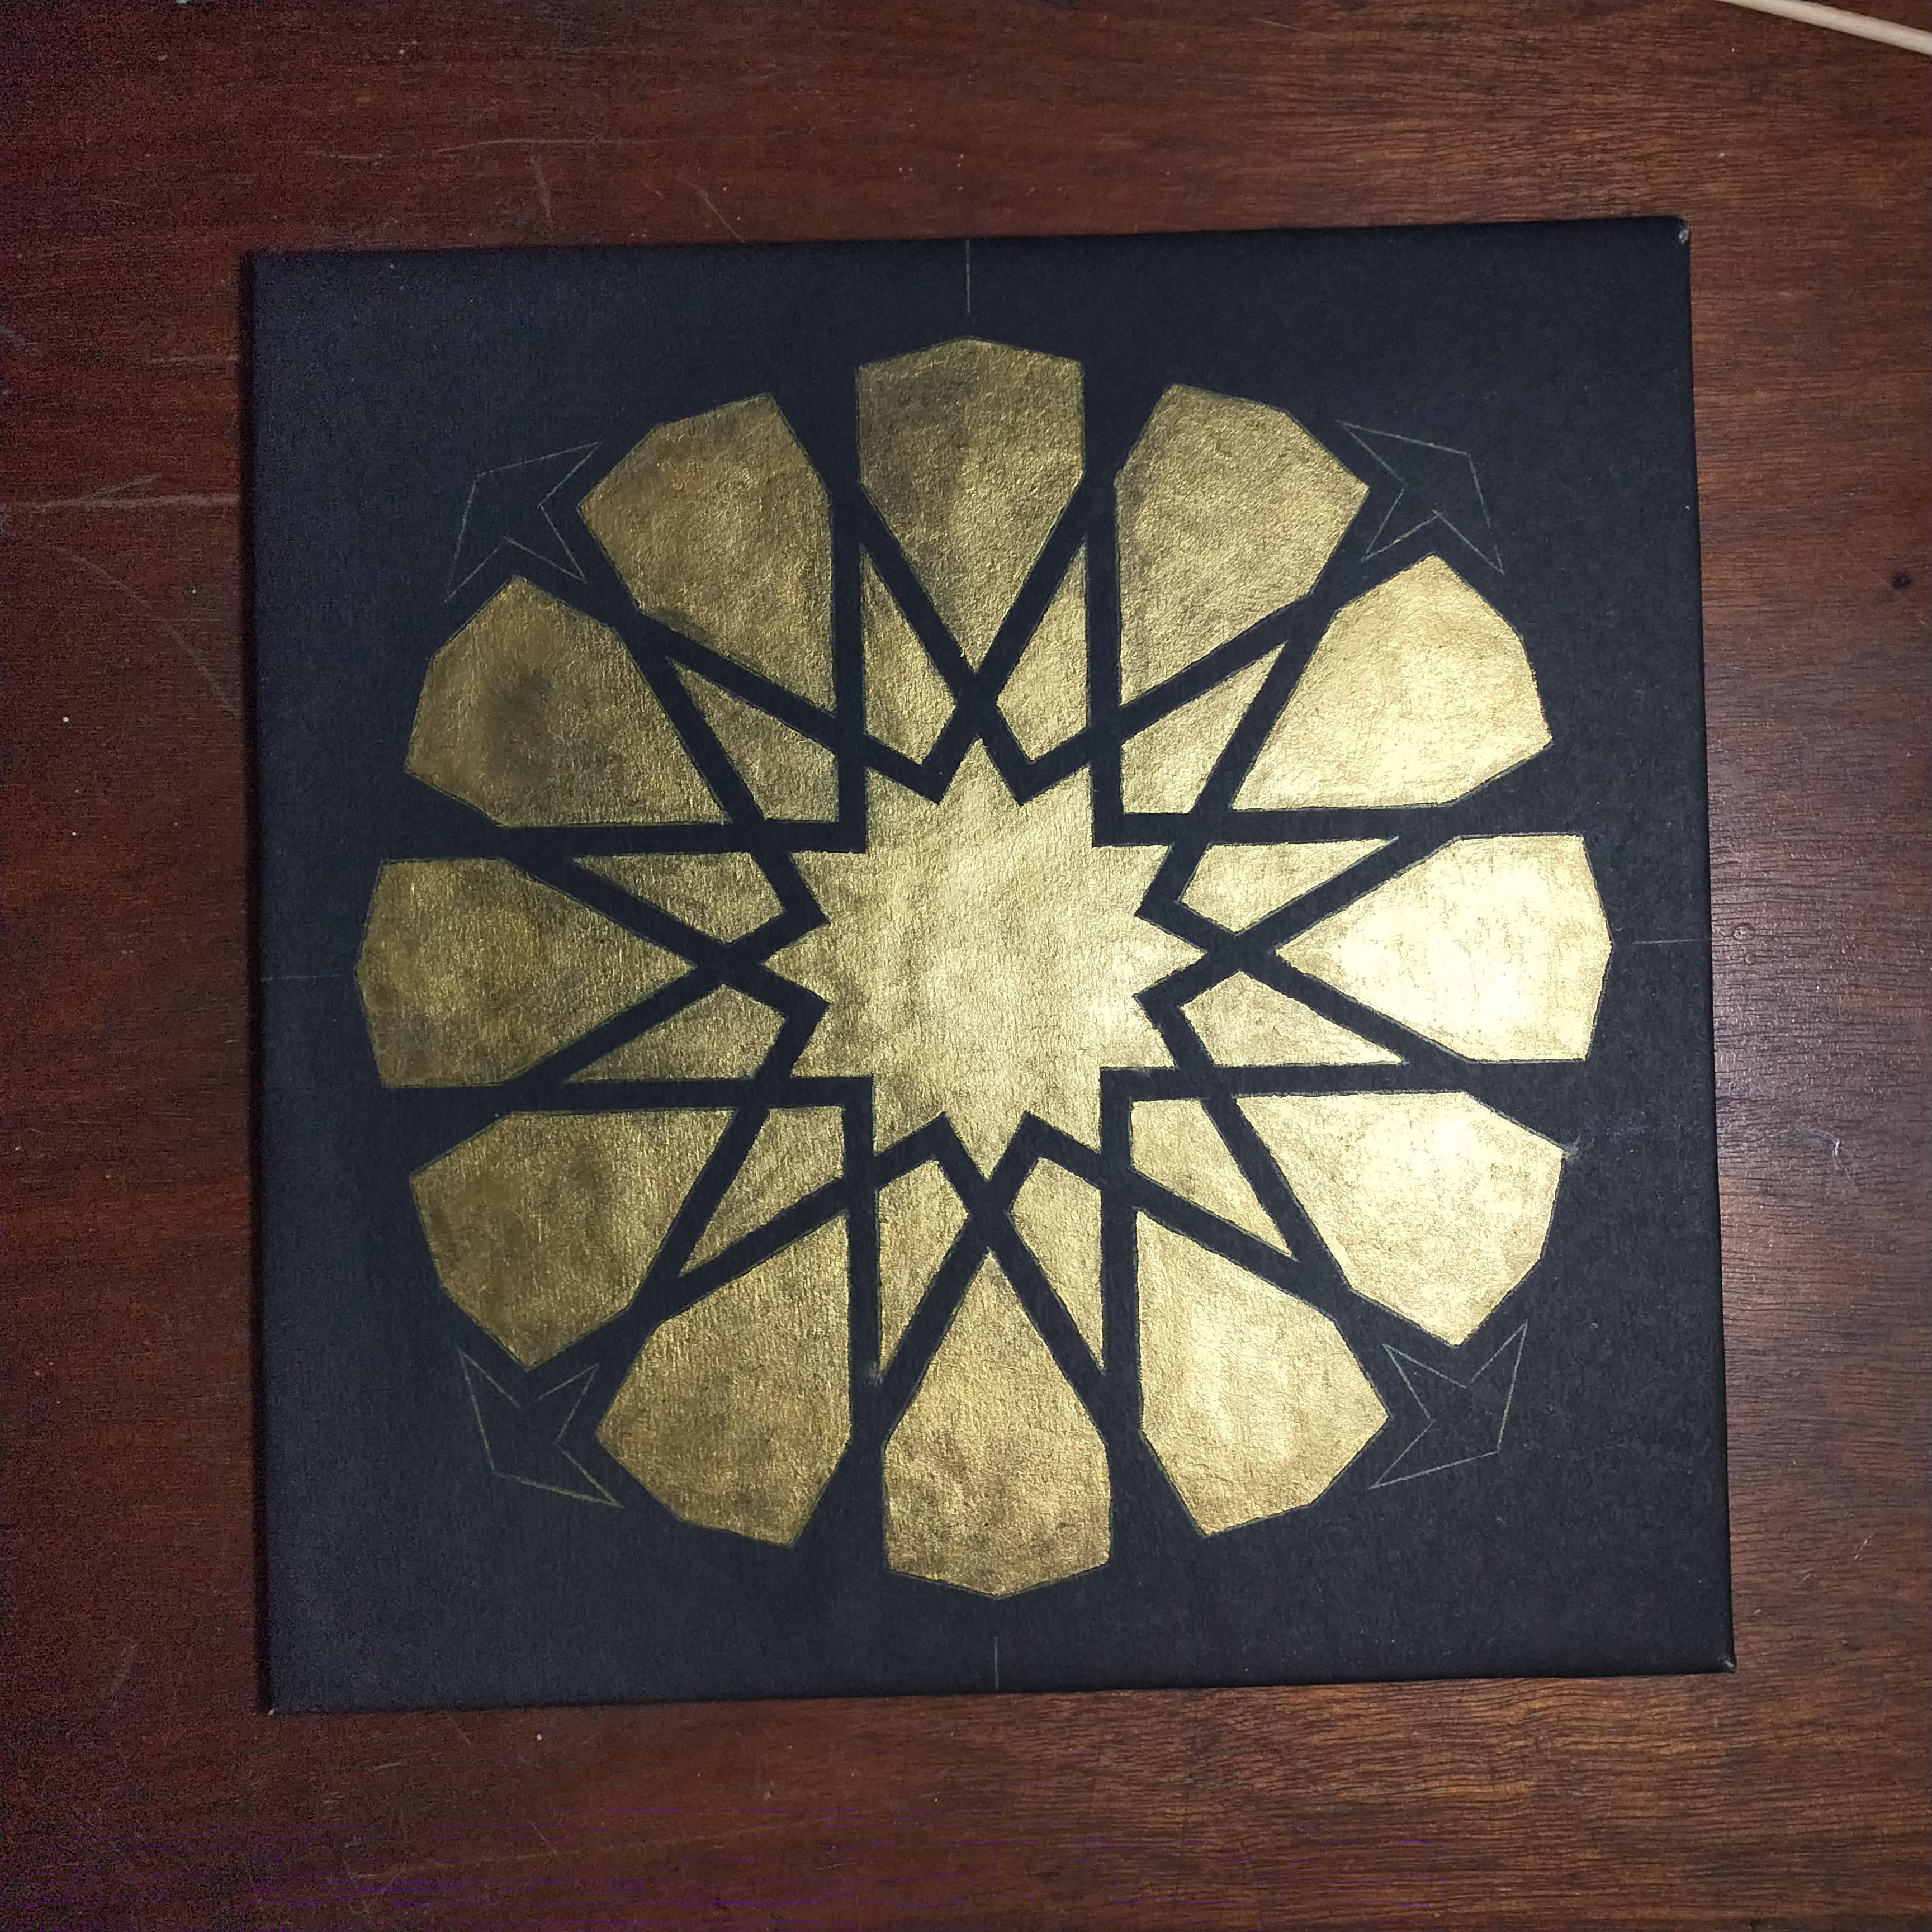
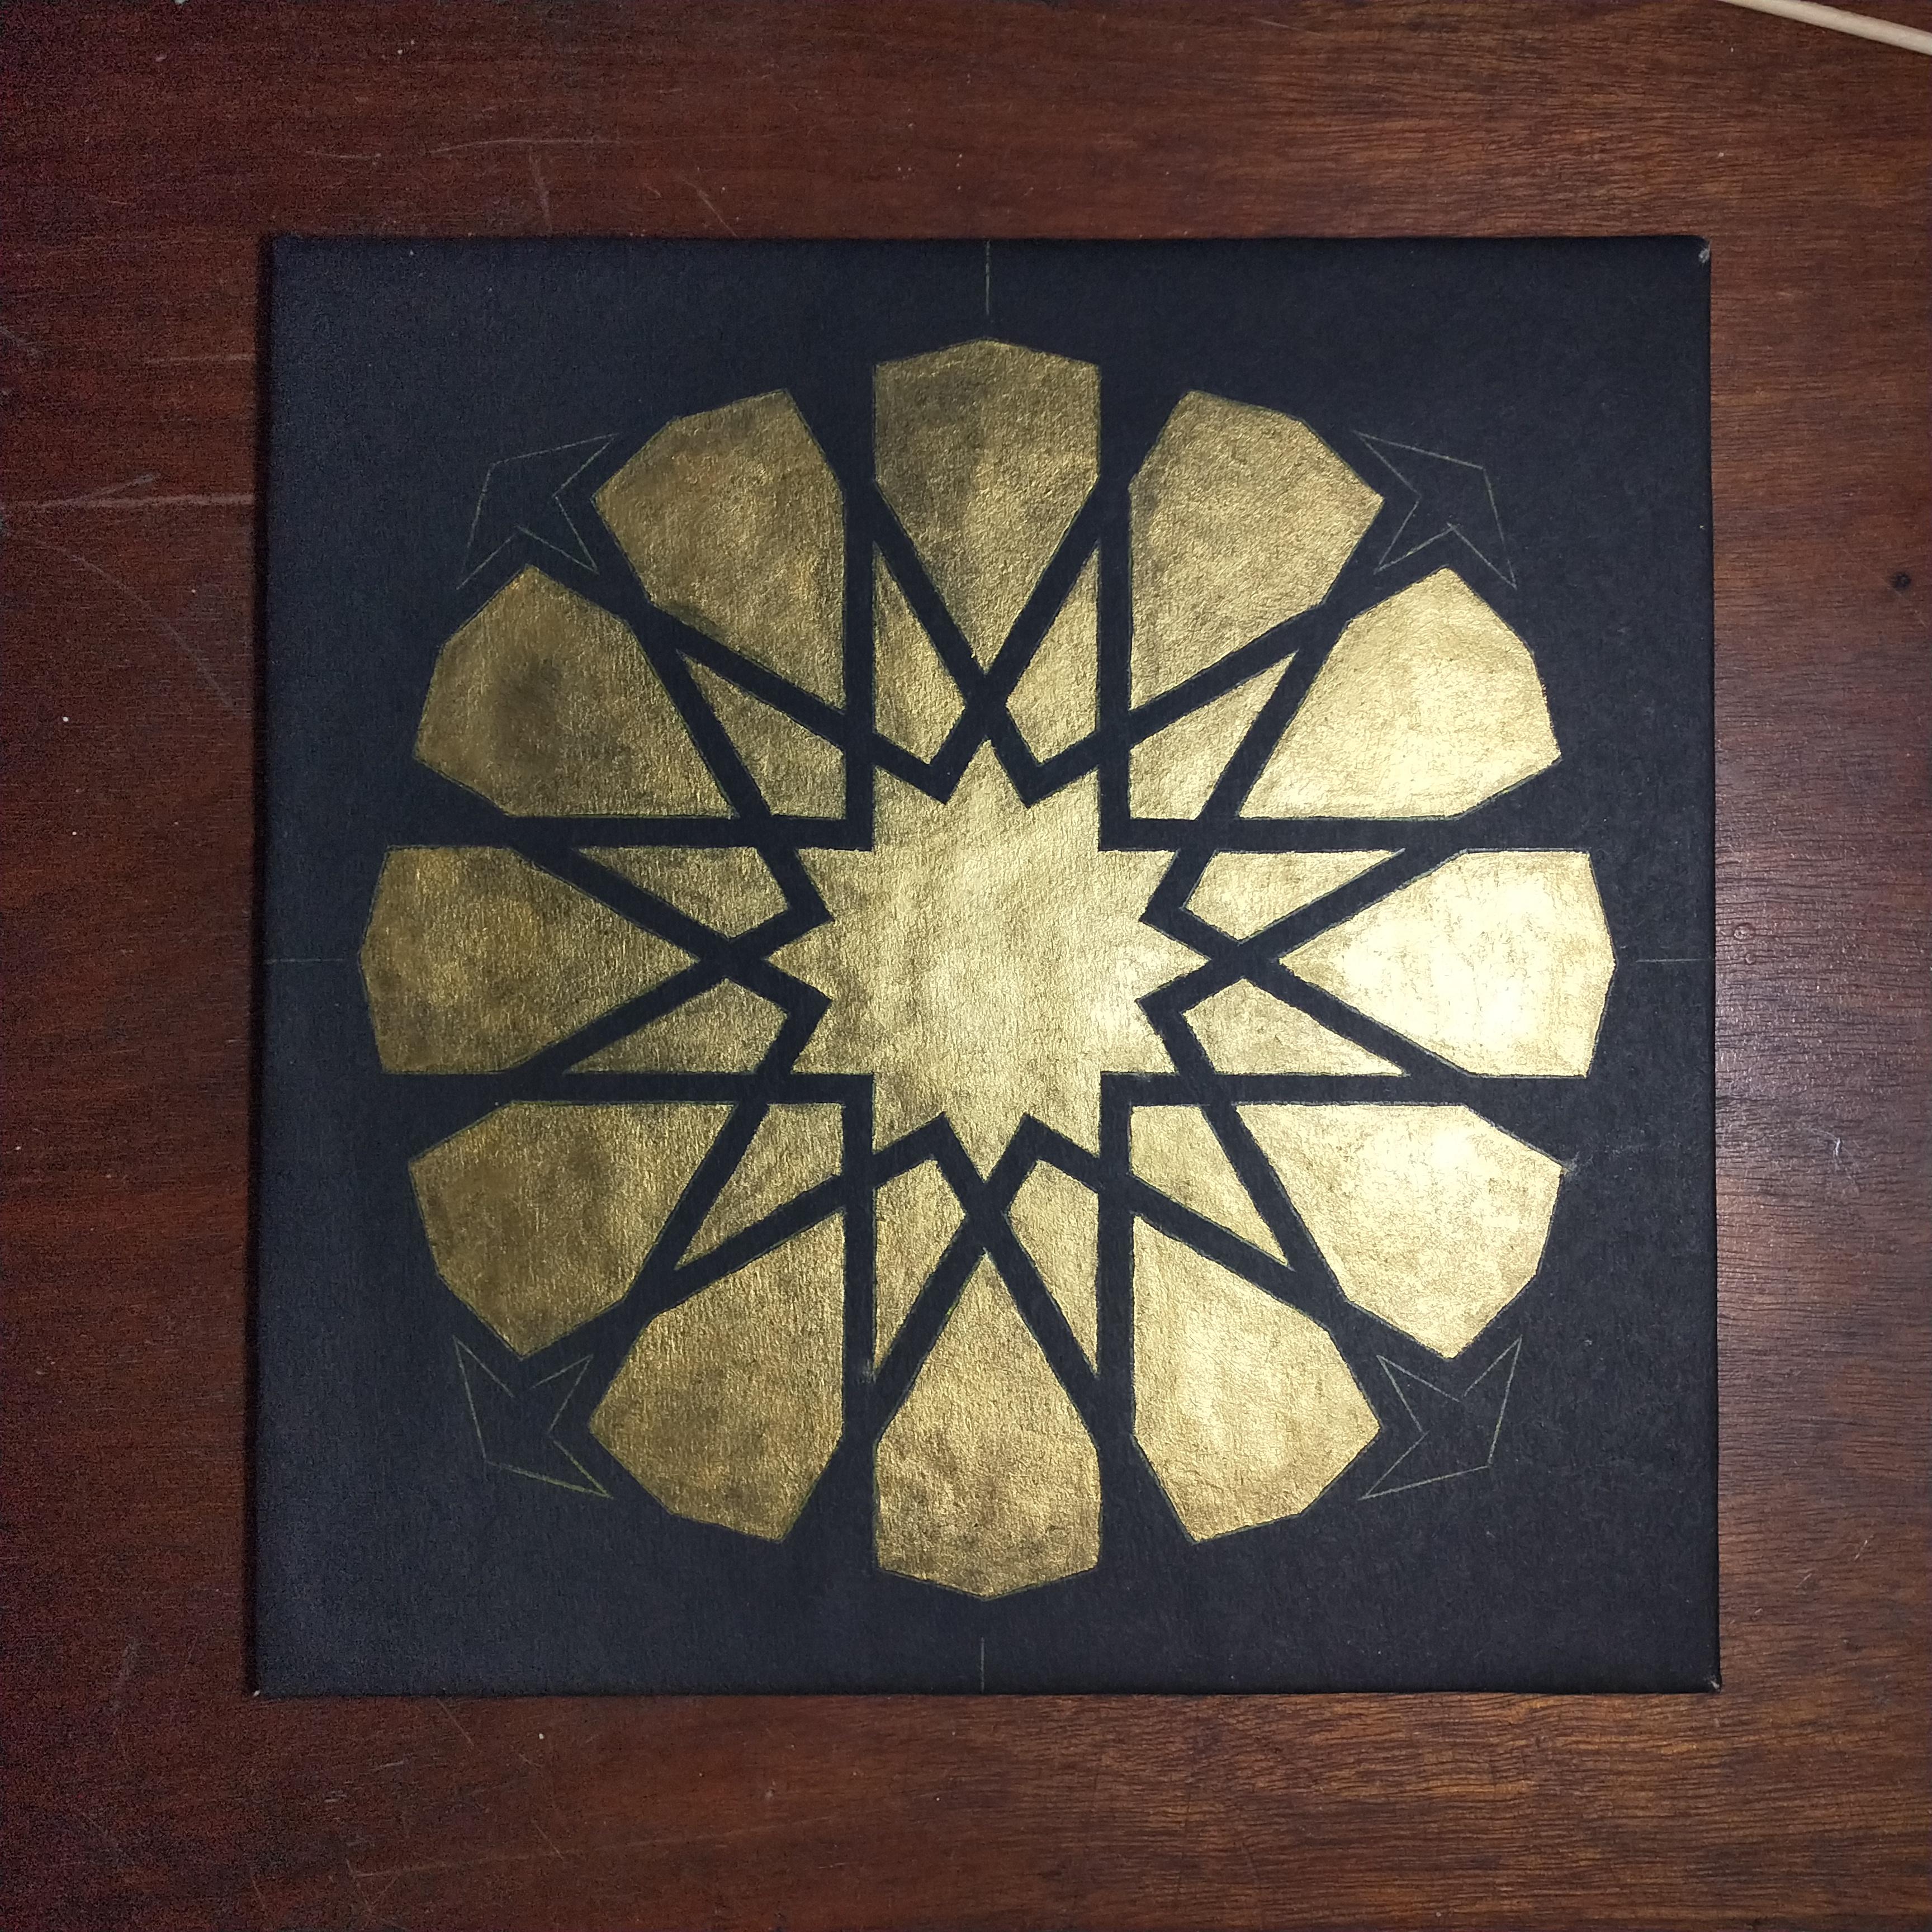
Start painting the central star first. Paint the edges first and then move for the central part.
Similarly, paint the rays and petals of the pattern.
Let the paint dry before moving to the next part.
Similarly, paint the rays and petals of the pattern.
Let the paint dry before moving to the next part.
Why Flat Brush?


I have used a flat brush since most of our drawing consists of lines the brush helps in painting lines easily.
A Second Layer

Paint a second layer of acrylic paint and let it dry.
Conclusion
You can use this painting to decorate your house or office.