Painting a 3D Printed Object
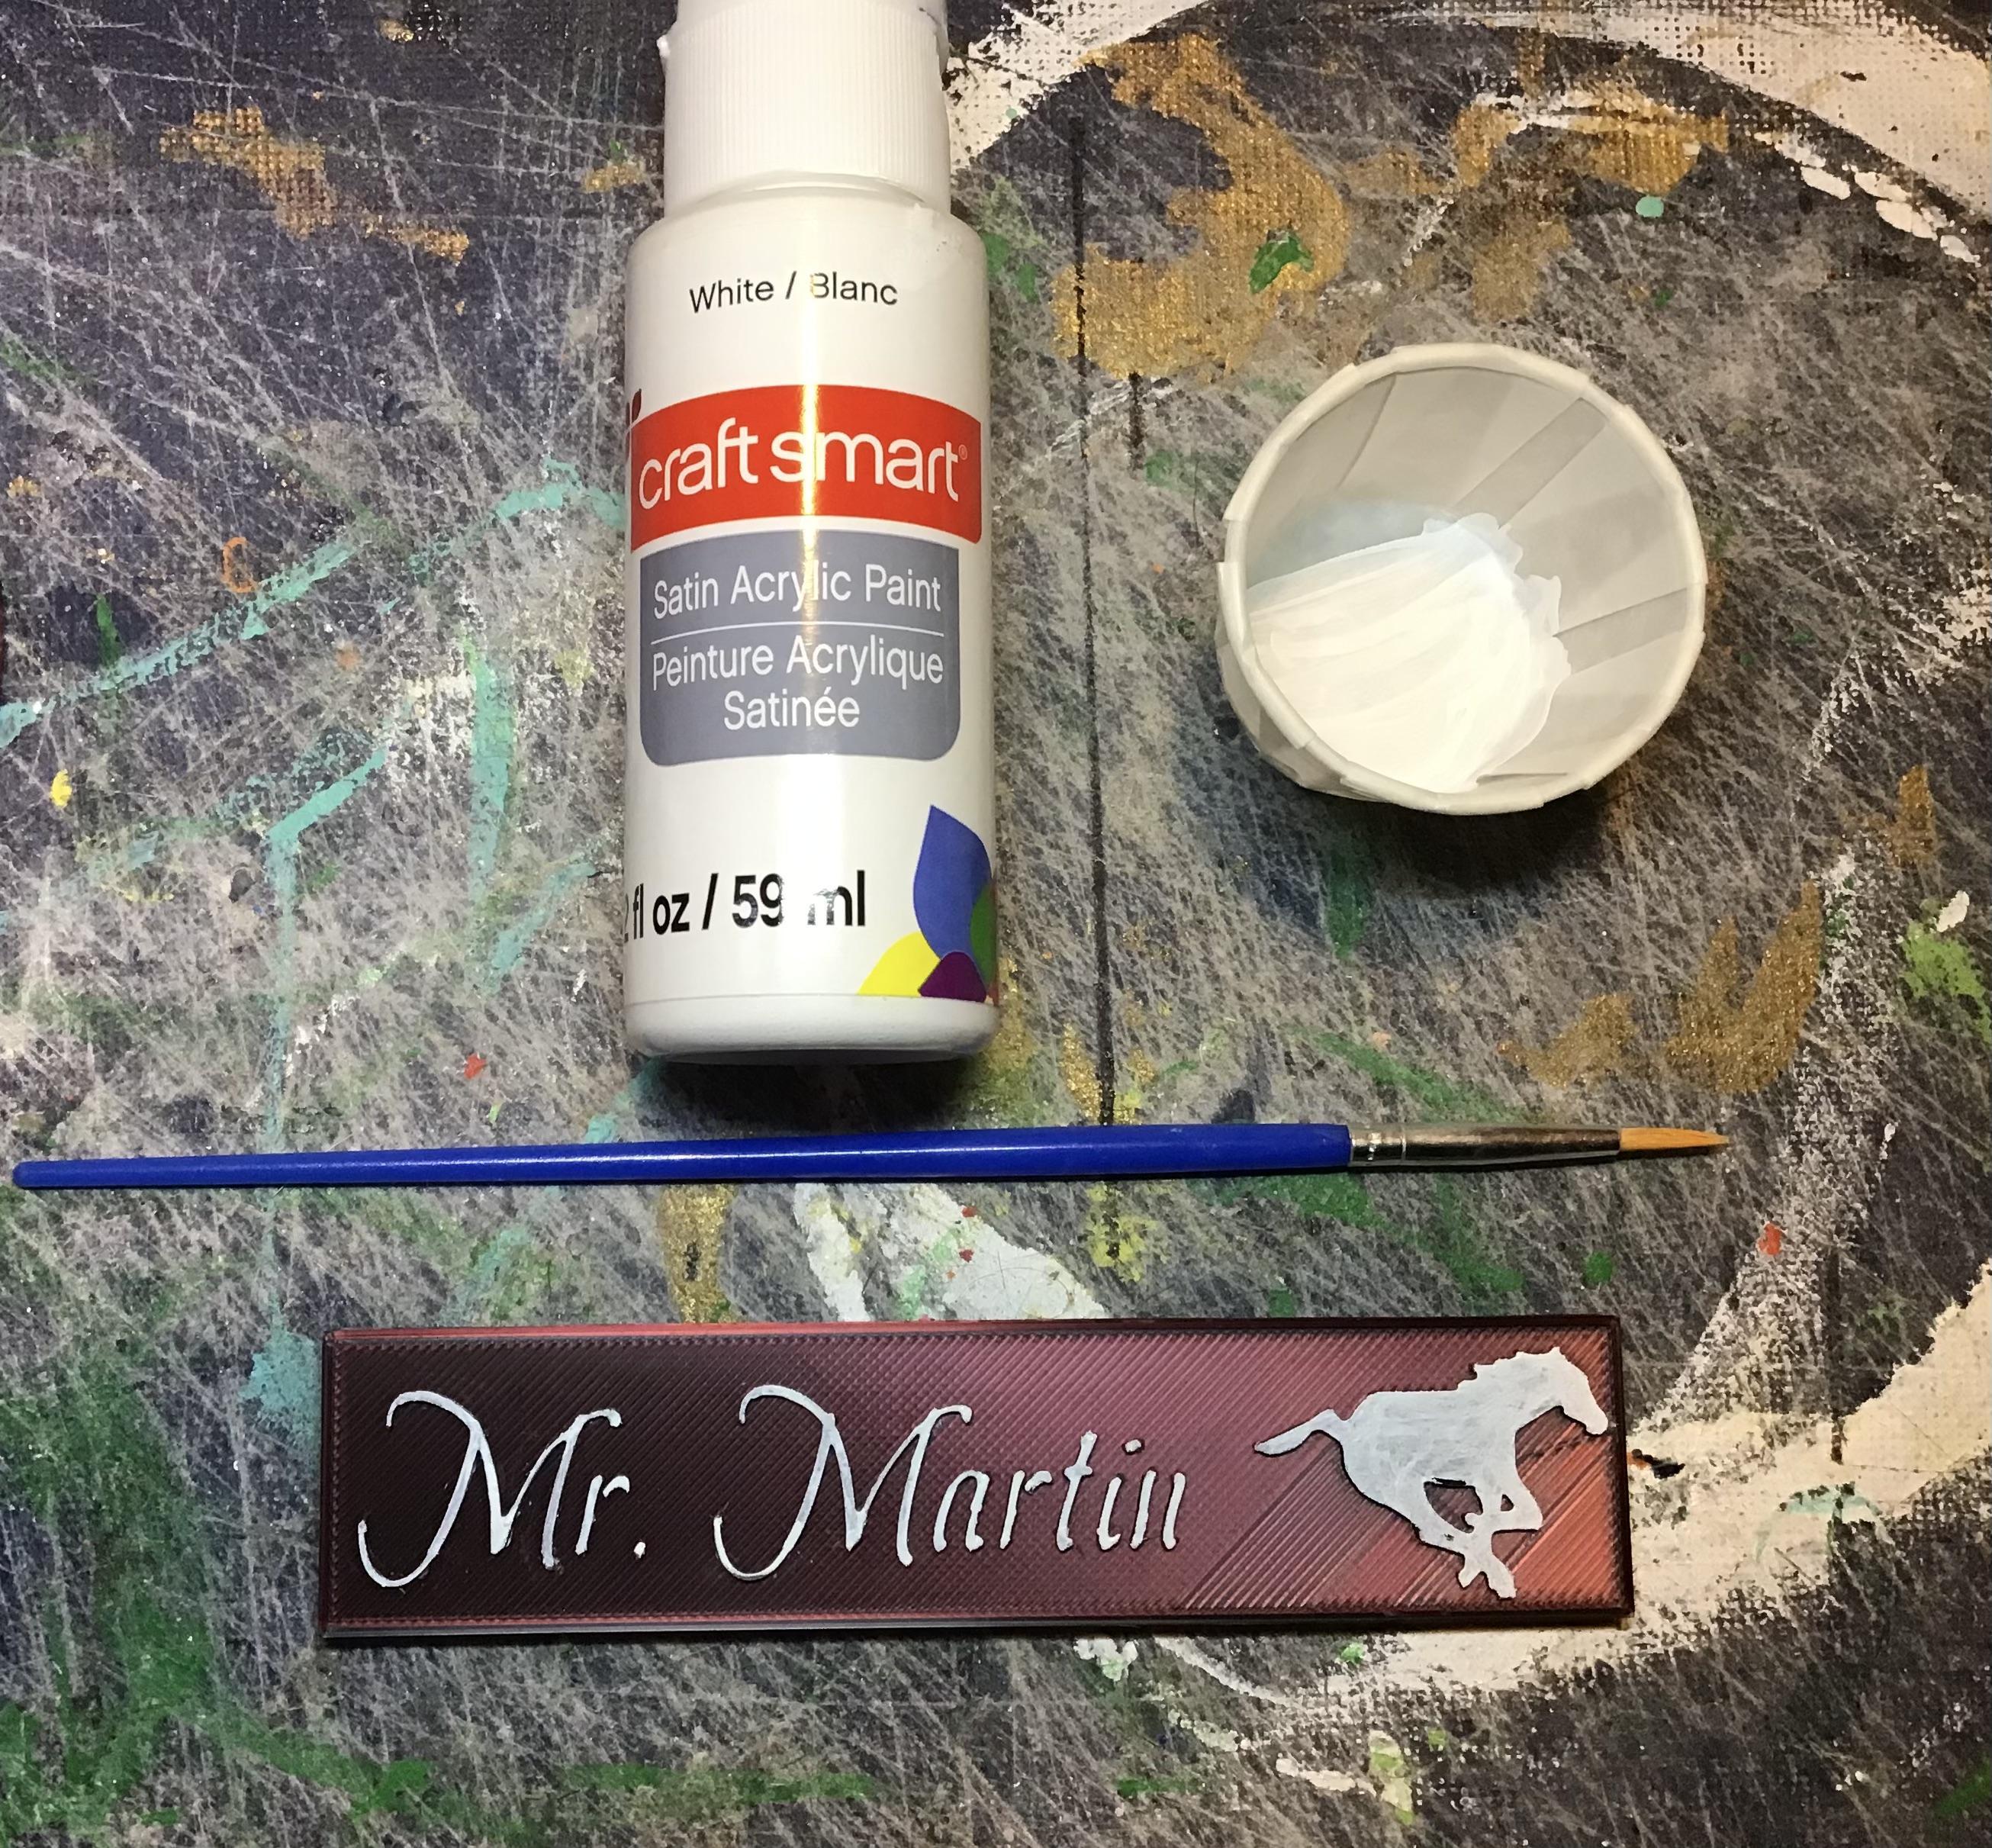
This is a painting your 3D Printed name tag tutorial for the Robotics and Fabrications class.
Supplies
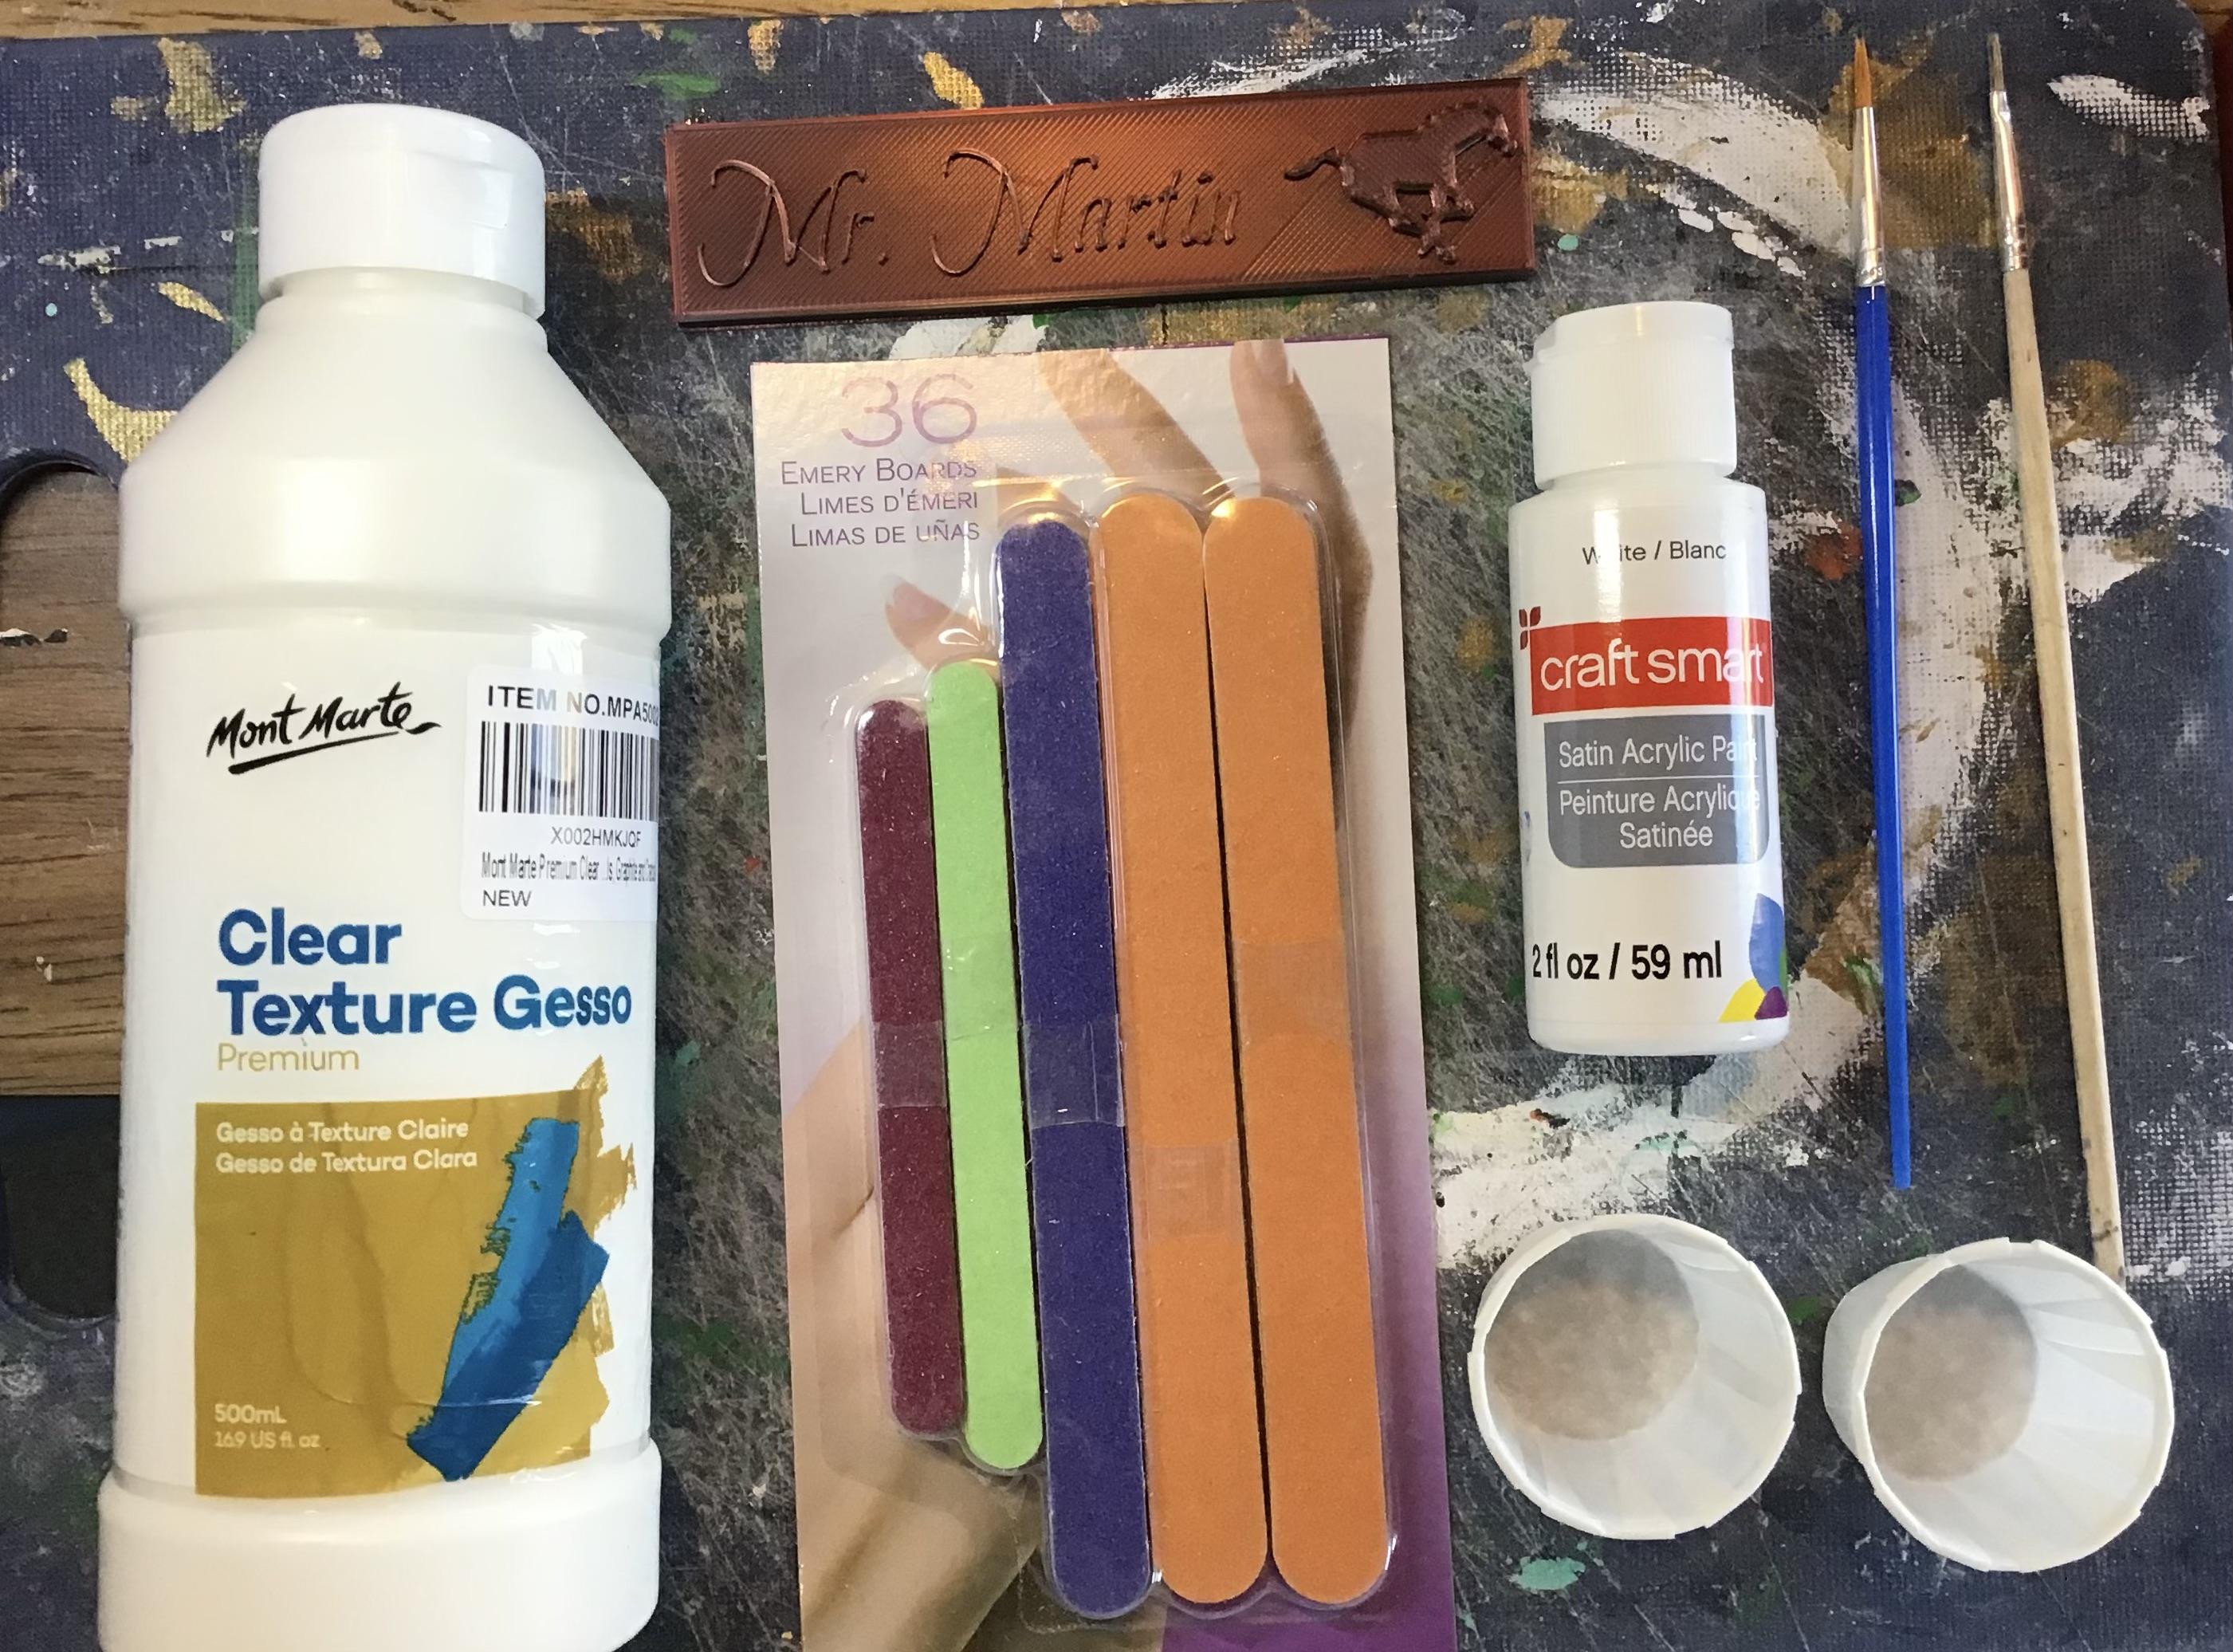
- Your 3-D Printed Project
- Different sizes of Nail Files
- Primer Paint
- Acrylic Paint (In your choice of colours)
- Paint Brushes, Small, And Medium
- Paint Dishes
Sanding Your Object
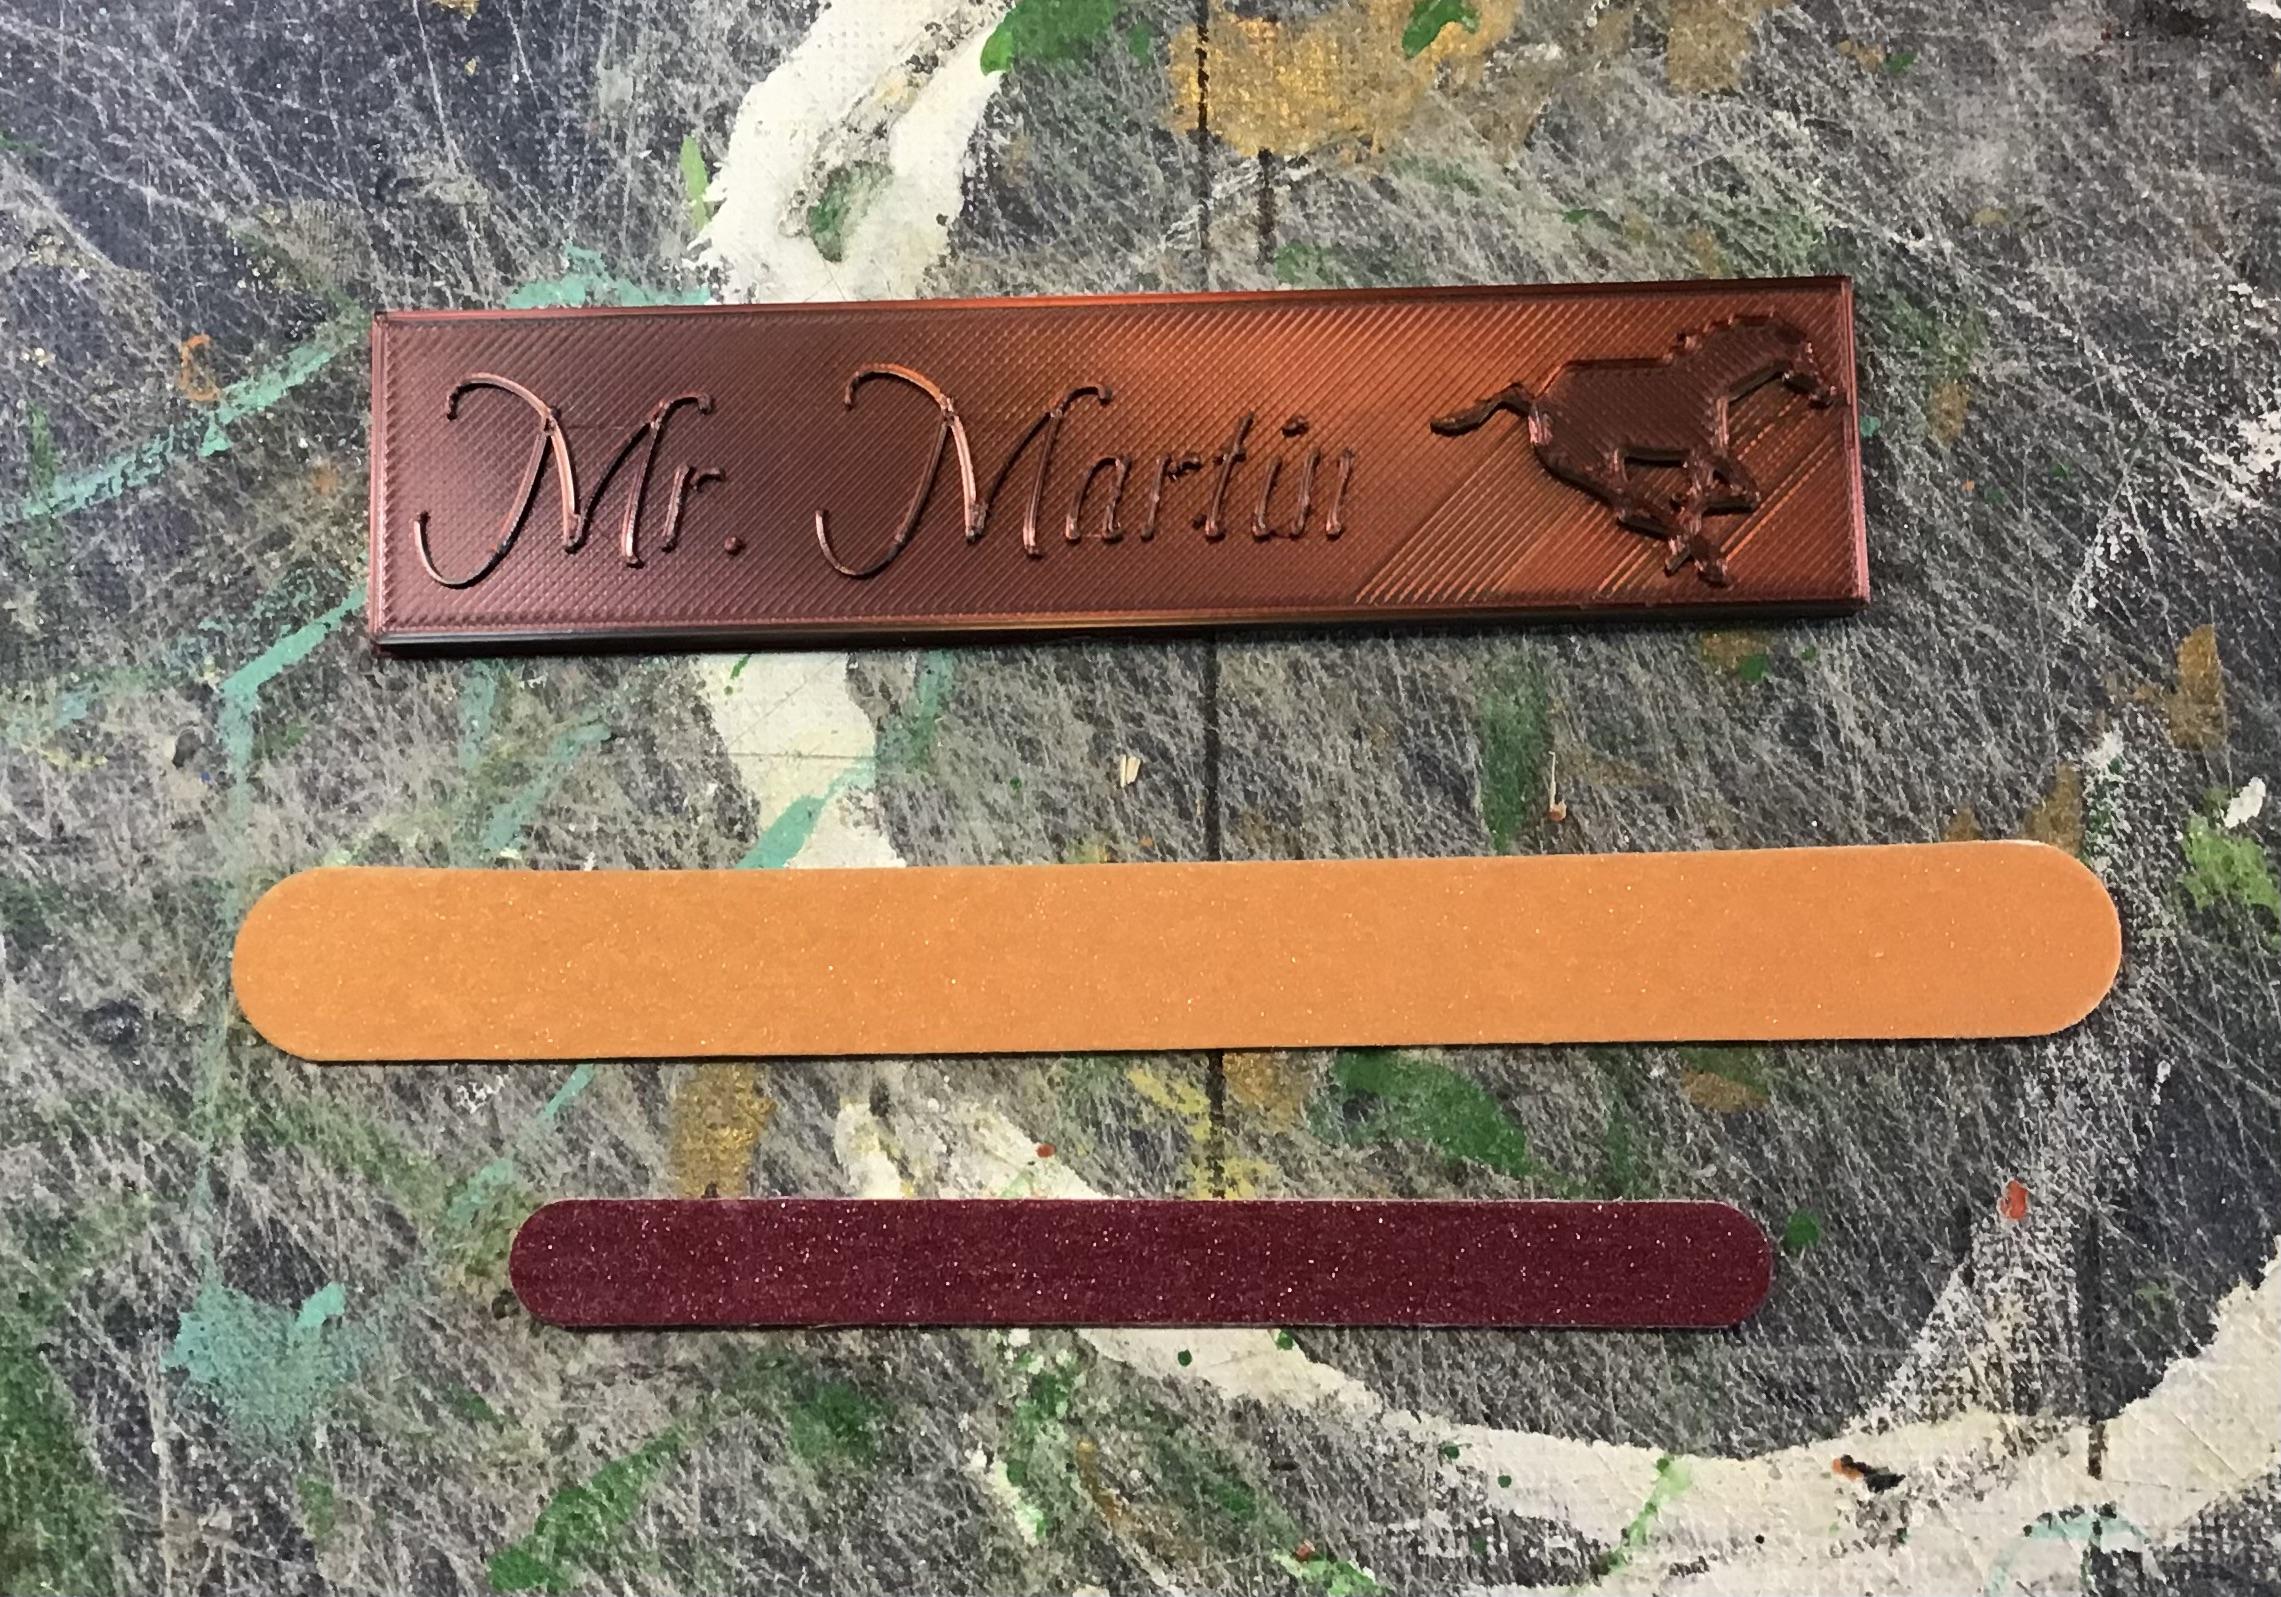
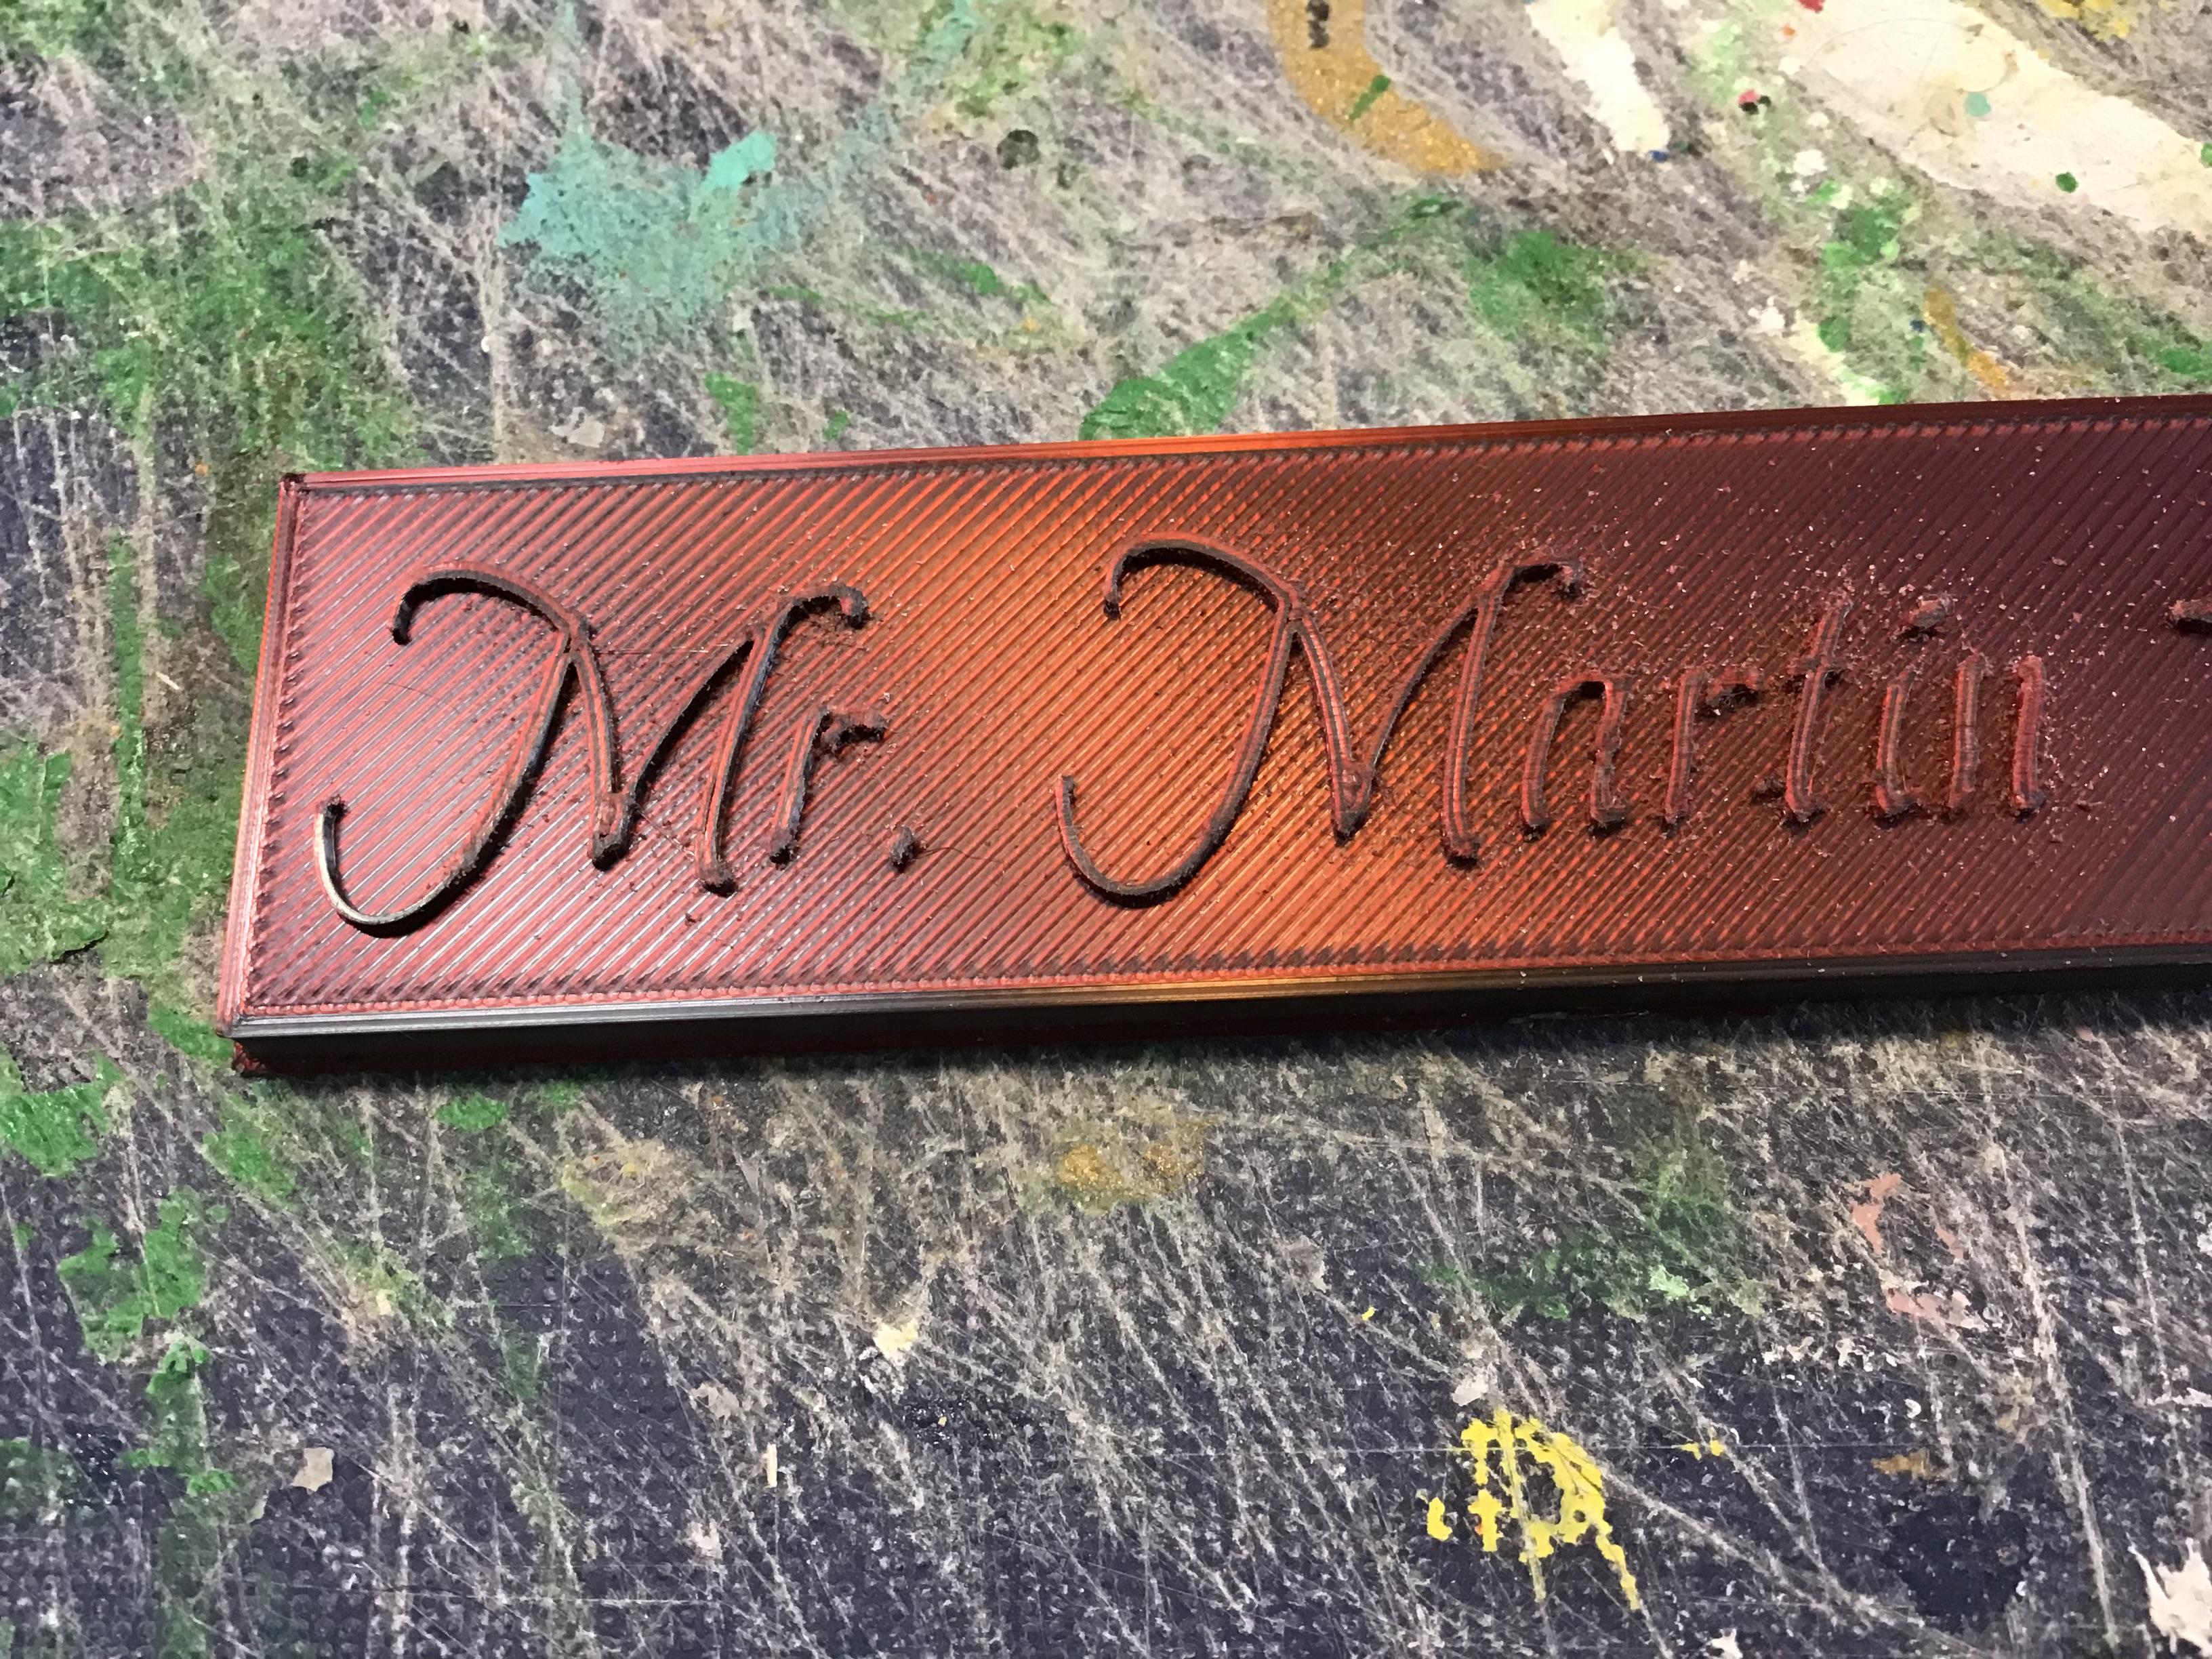
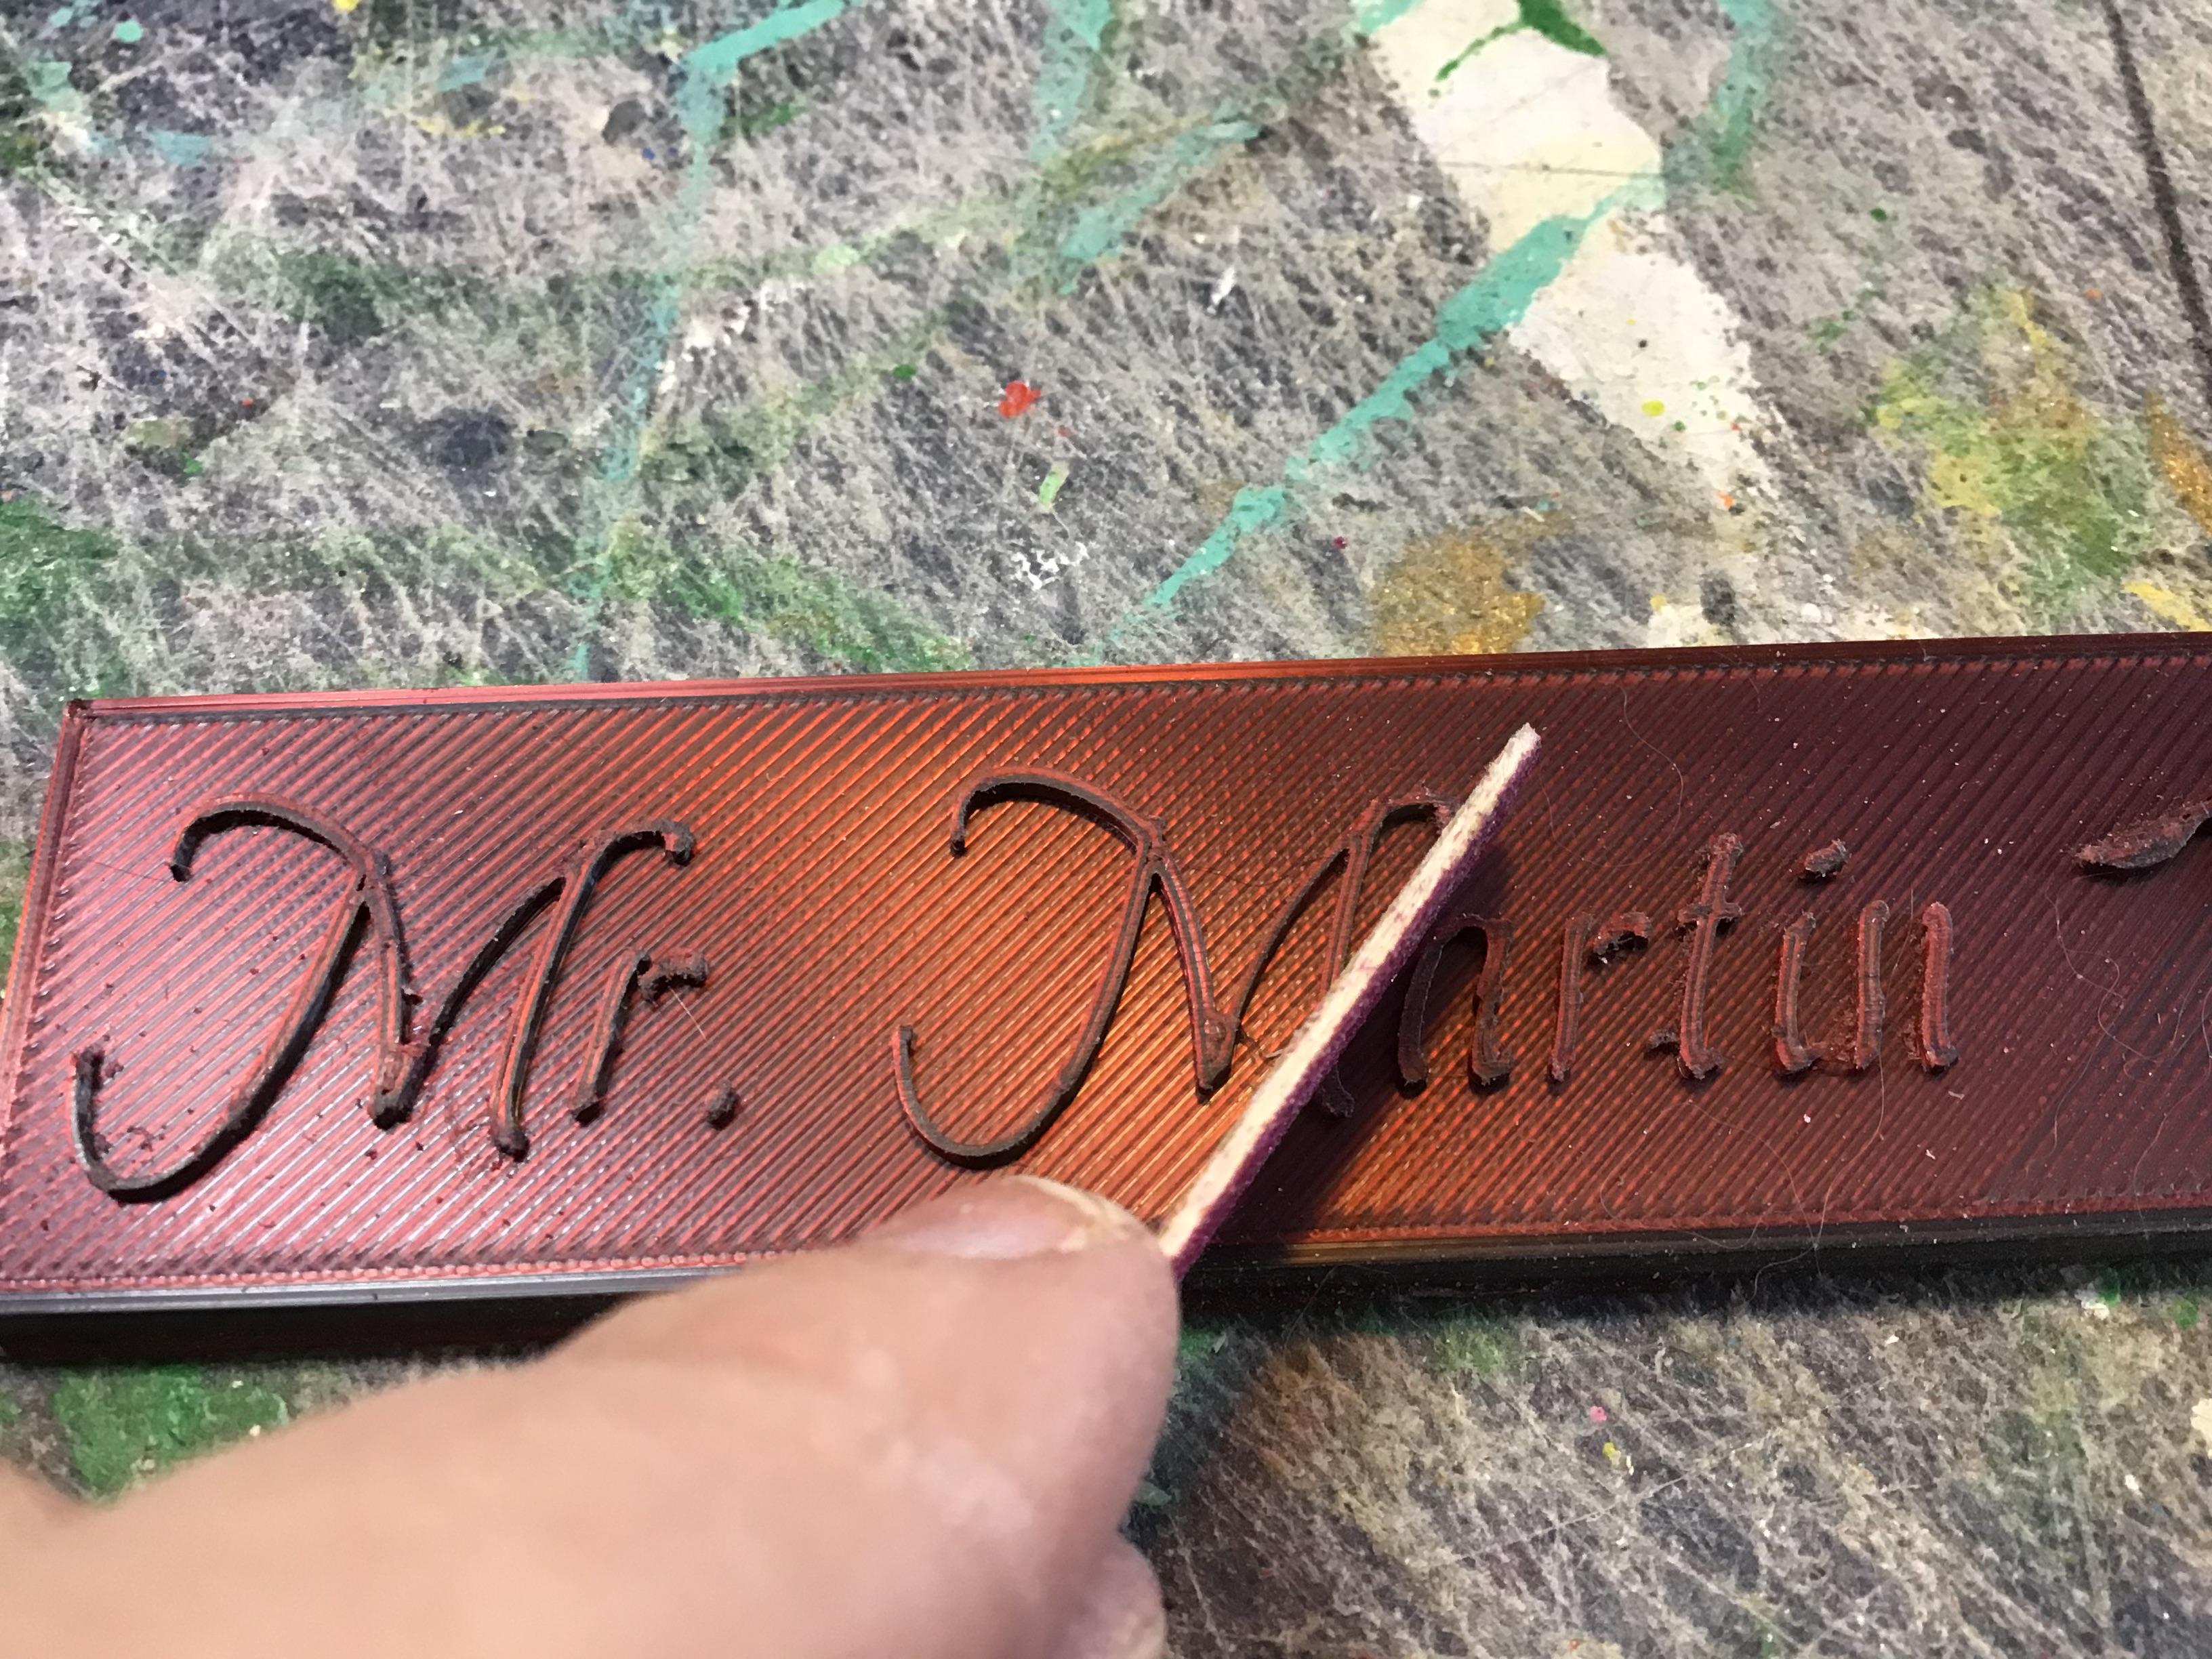
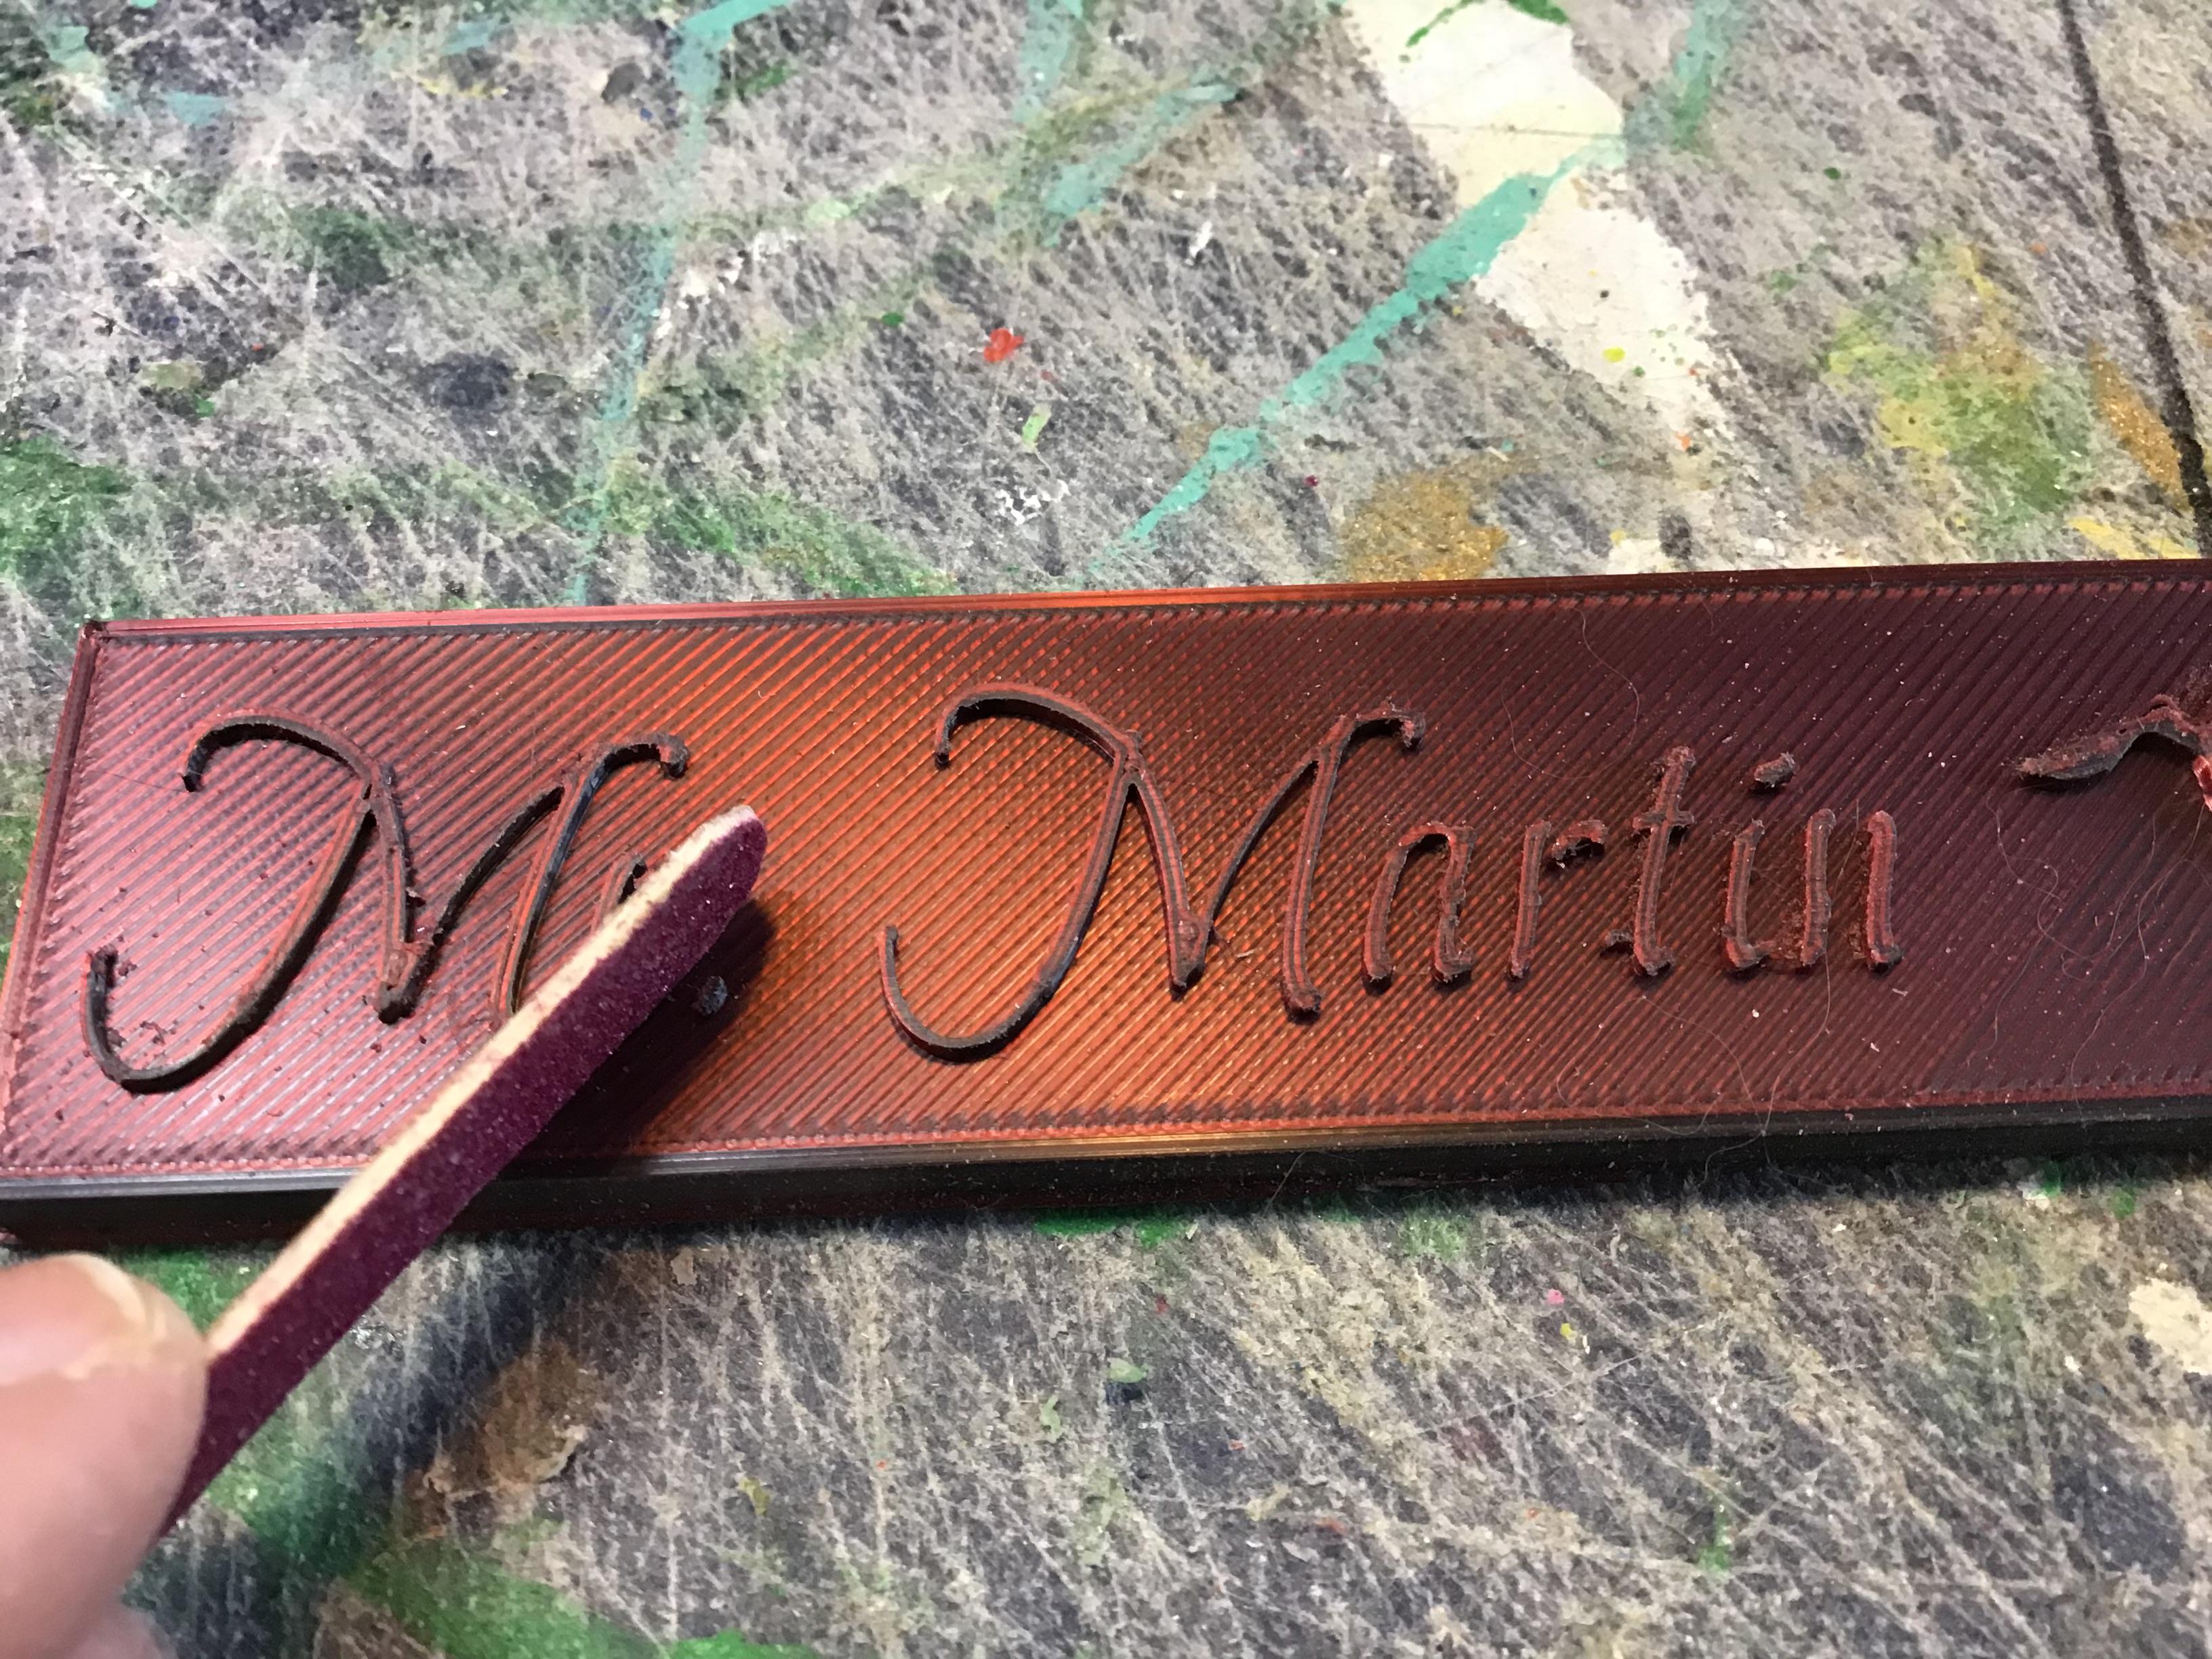
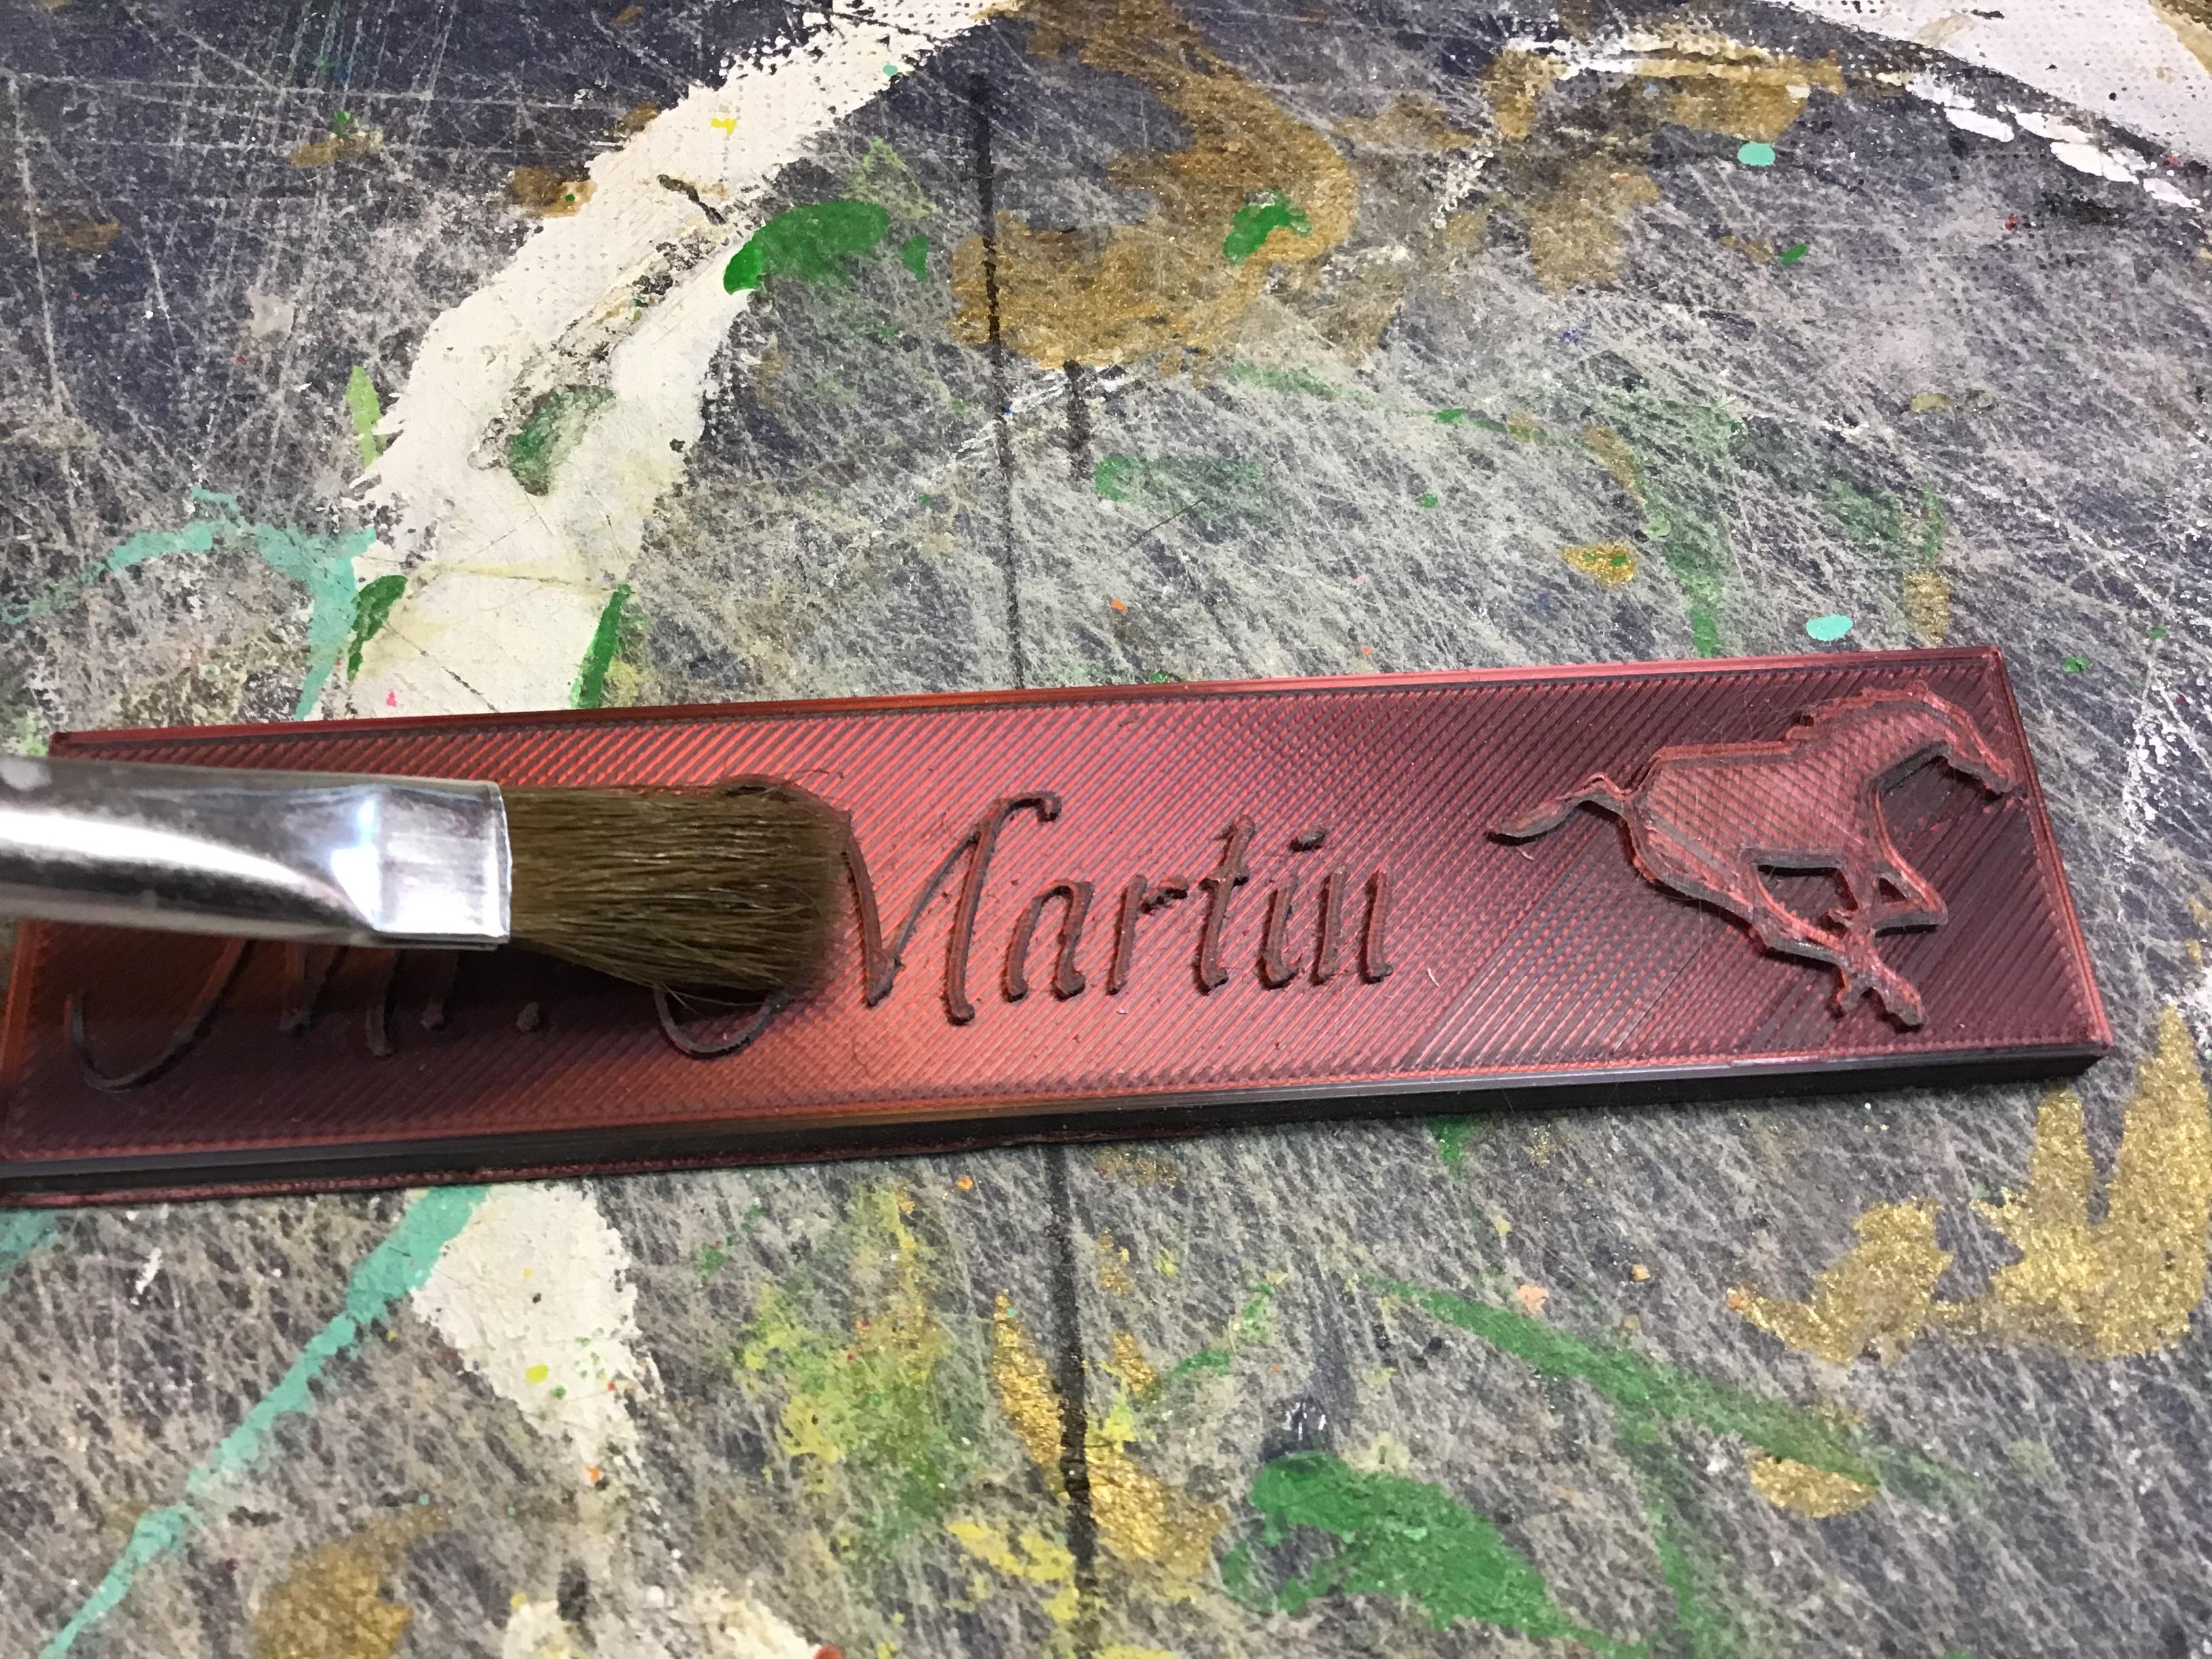
- For this task you will need:
-Your 3-D project
-large and small nail file
-Along with a medium paint brush (picture not included).
- Choose the size of nail file that you will be able to work with.
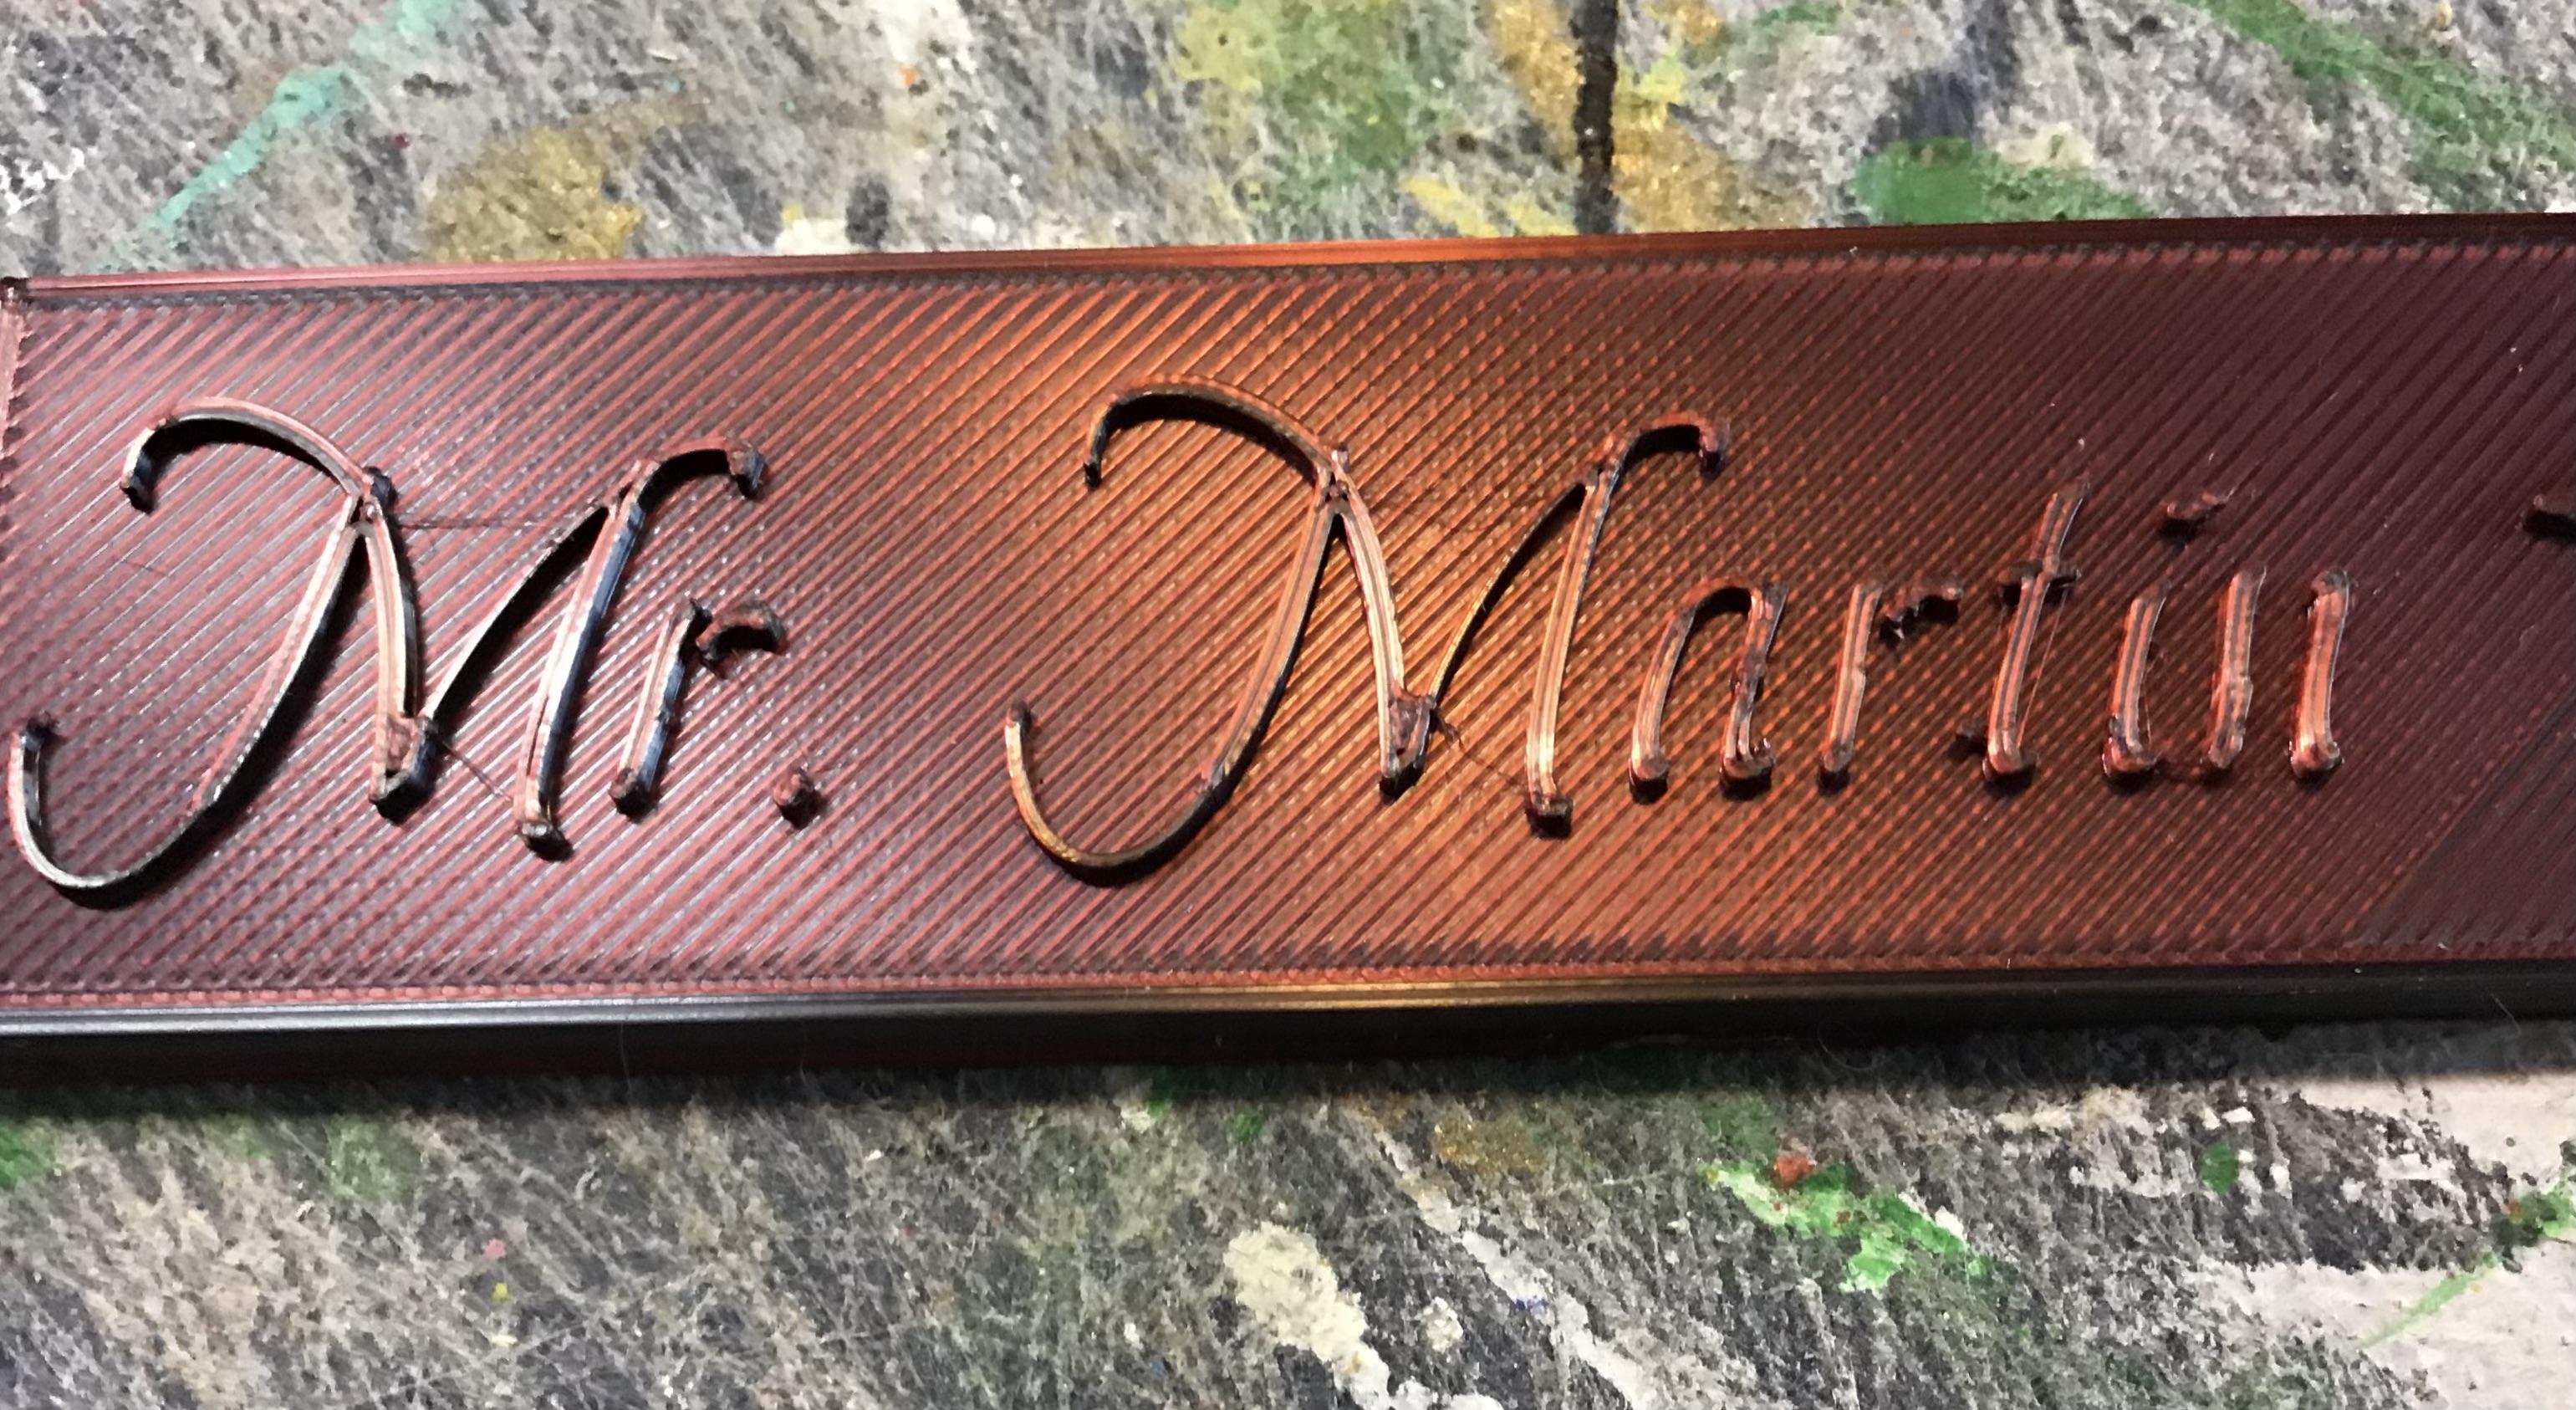
- File the sides of the letters as well as the top of the letter and or image.
- As you file you create crumbs which you will need to carefully remove with a soft flat paint brush.
- * Please note, It is extremely important to remove all the crumbs before you paint to ensure you have a smooth name plate (3-D project)
It’s Prime Time!
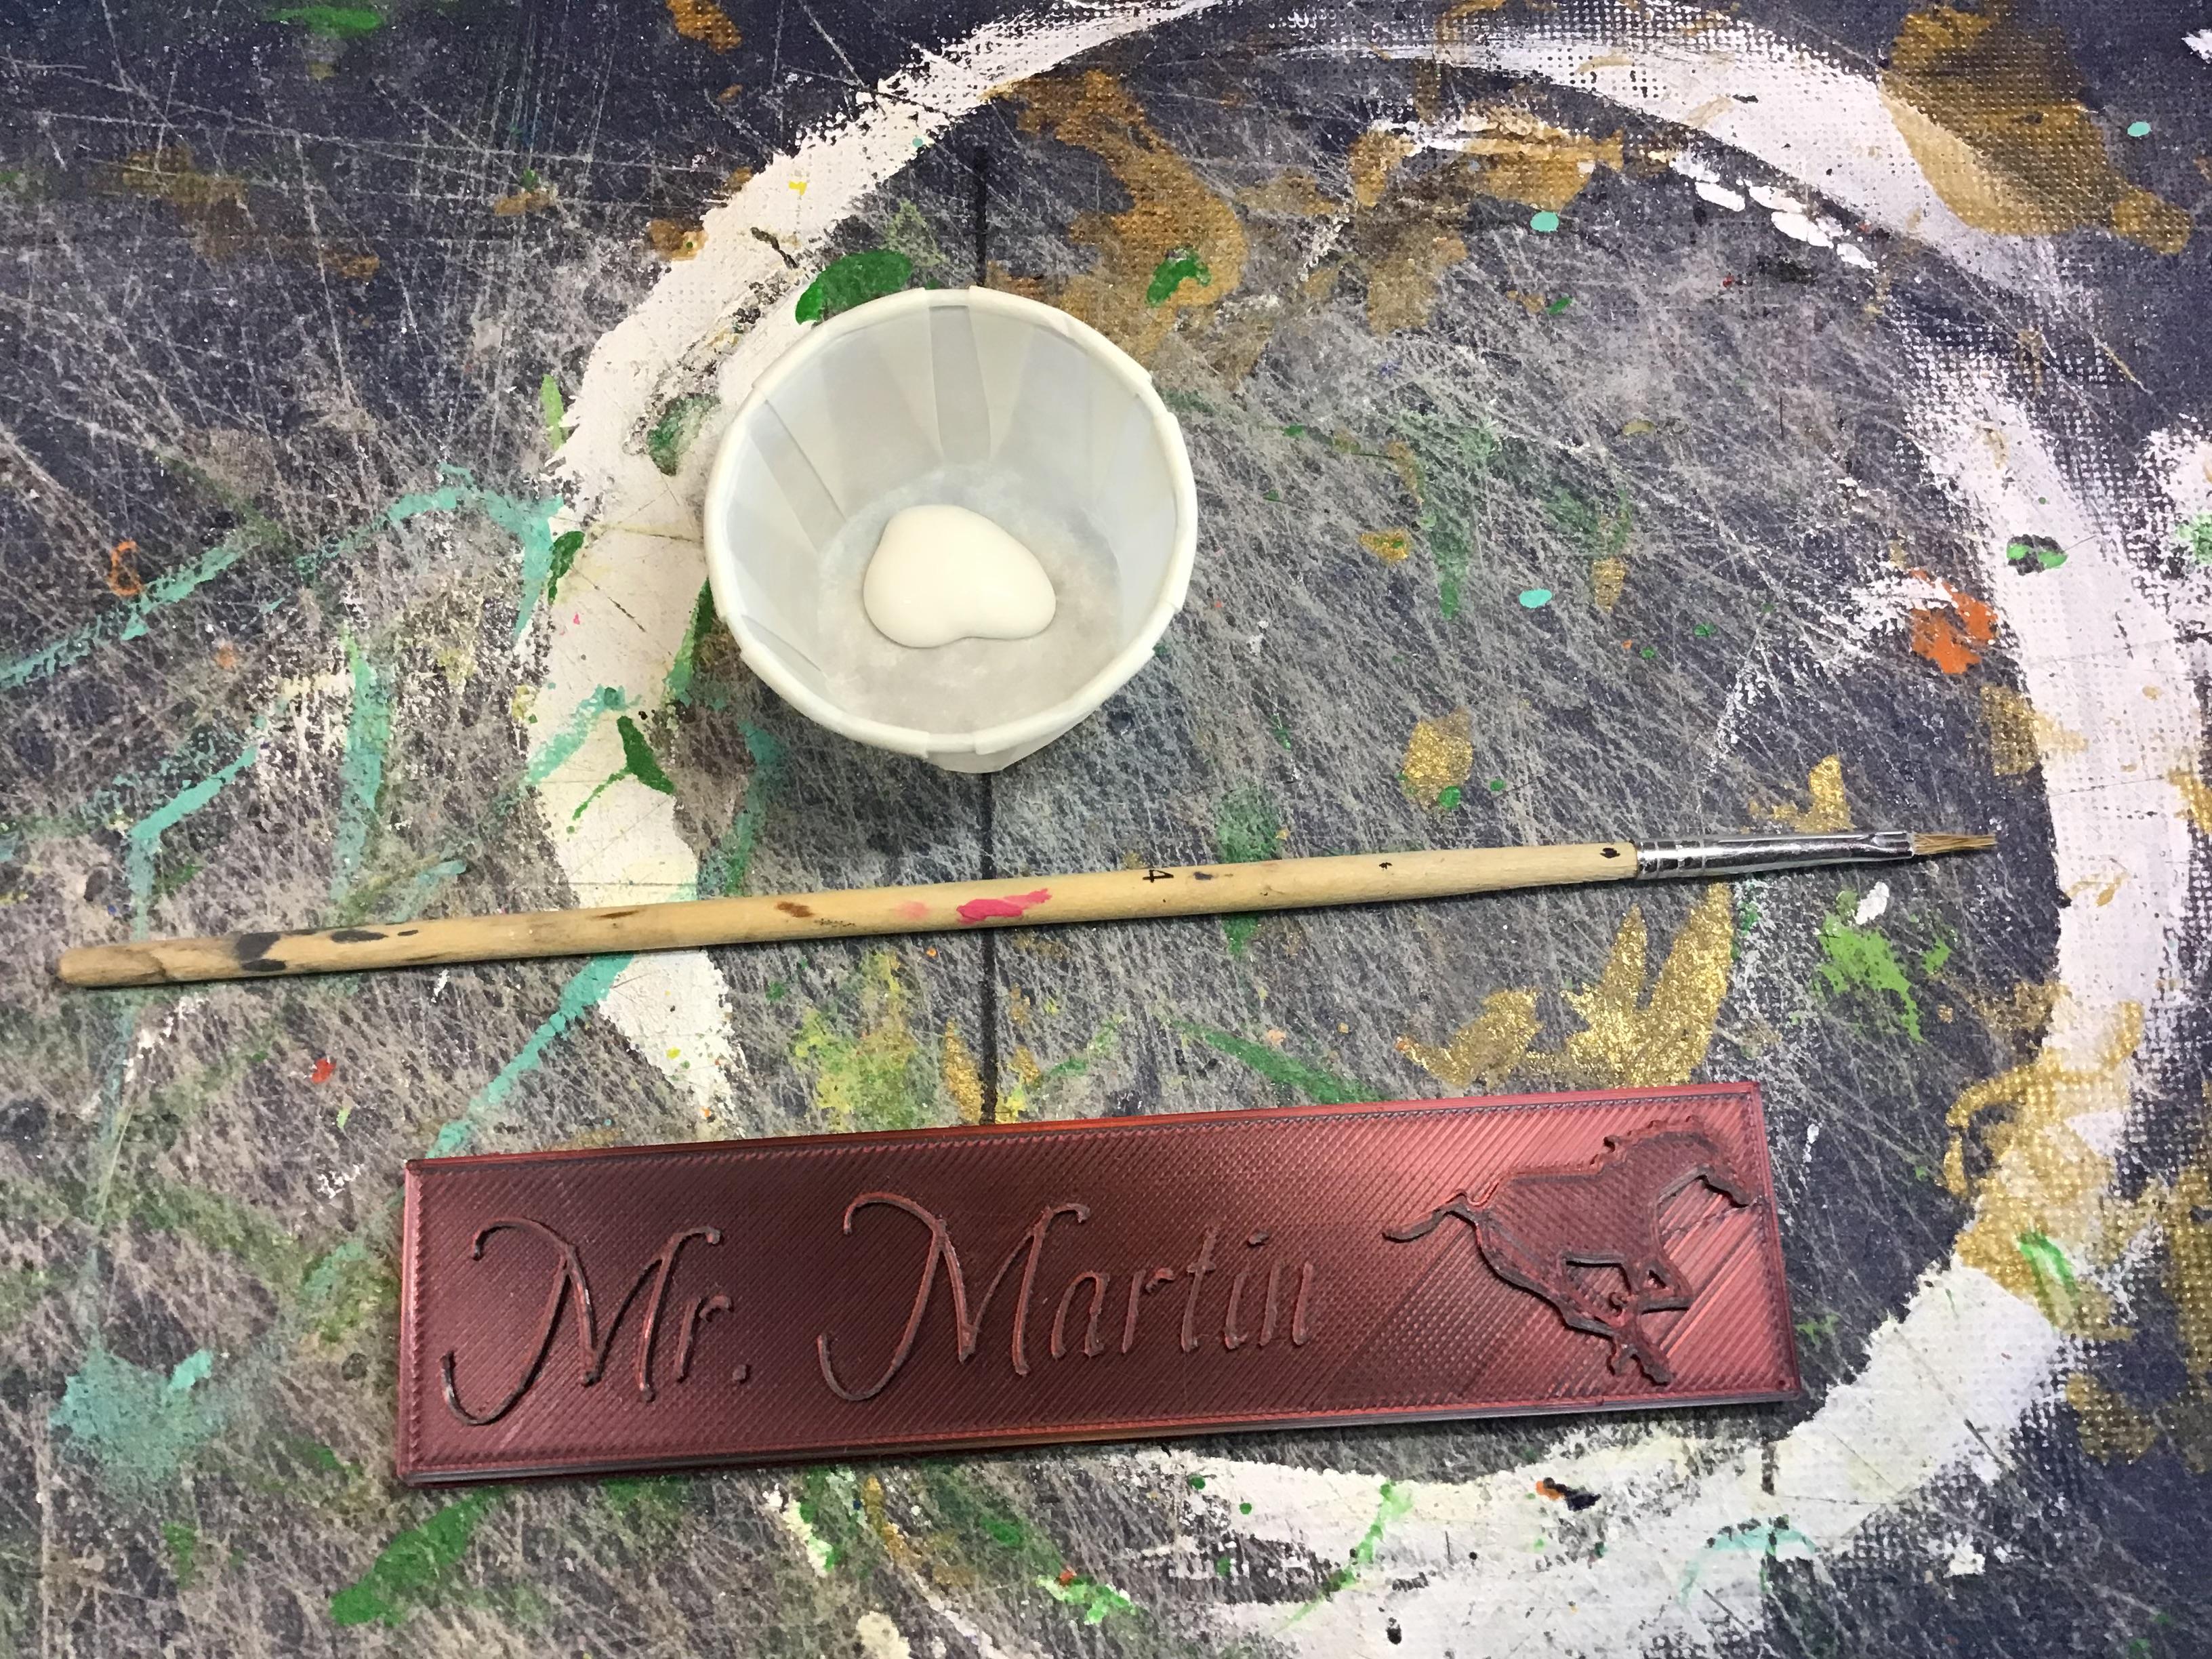
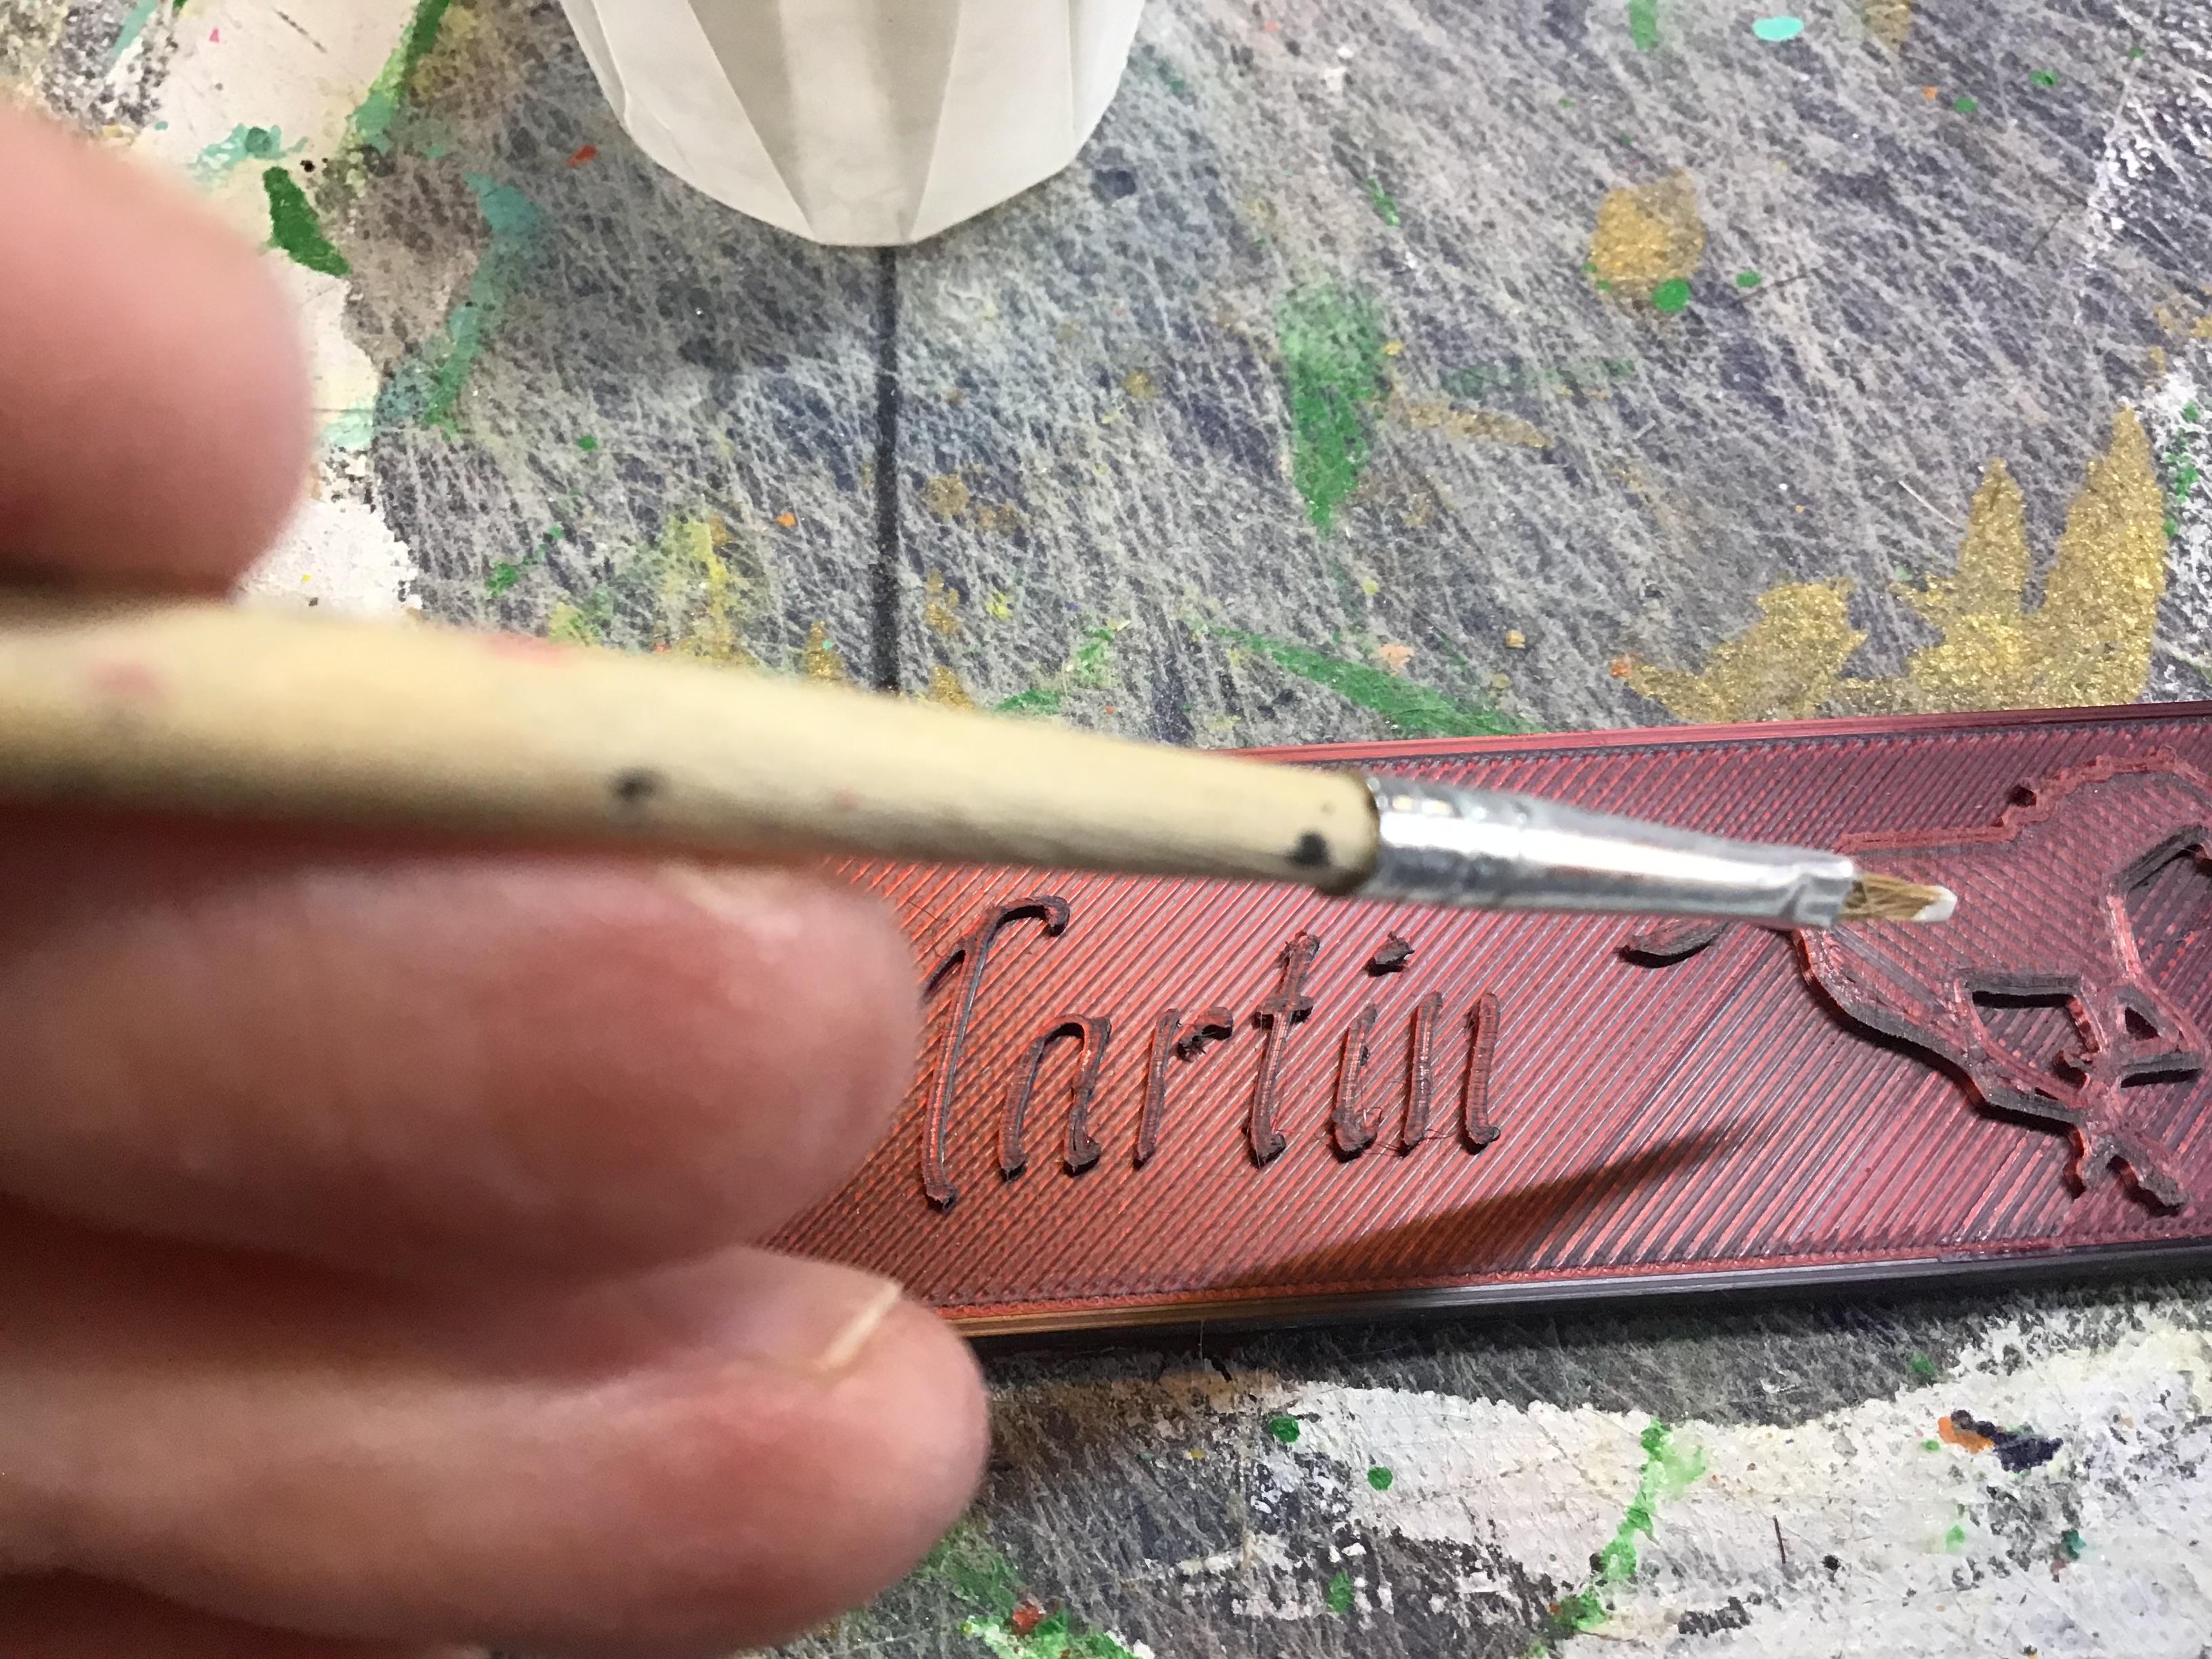
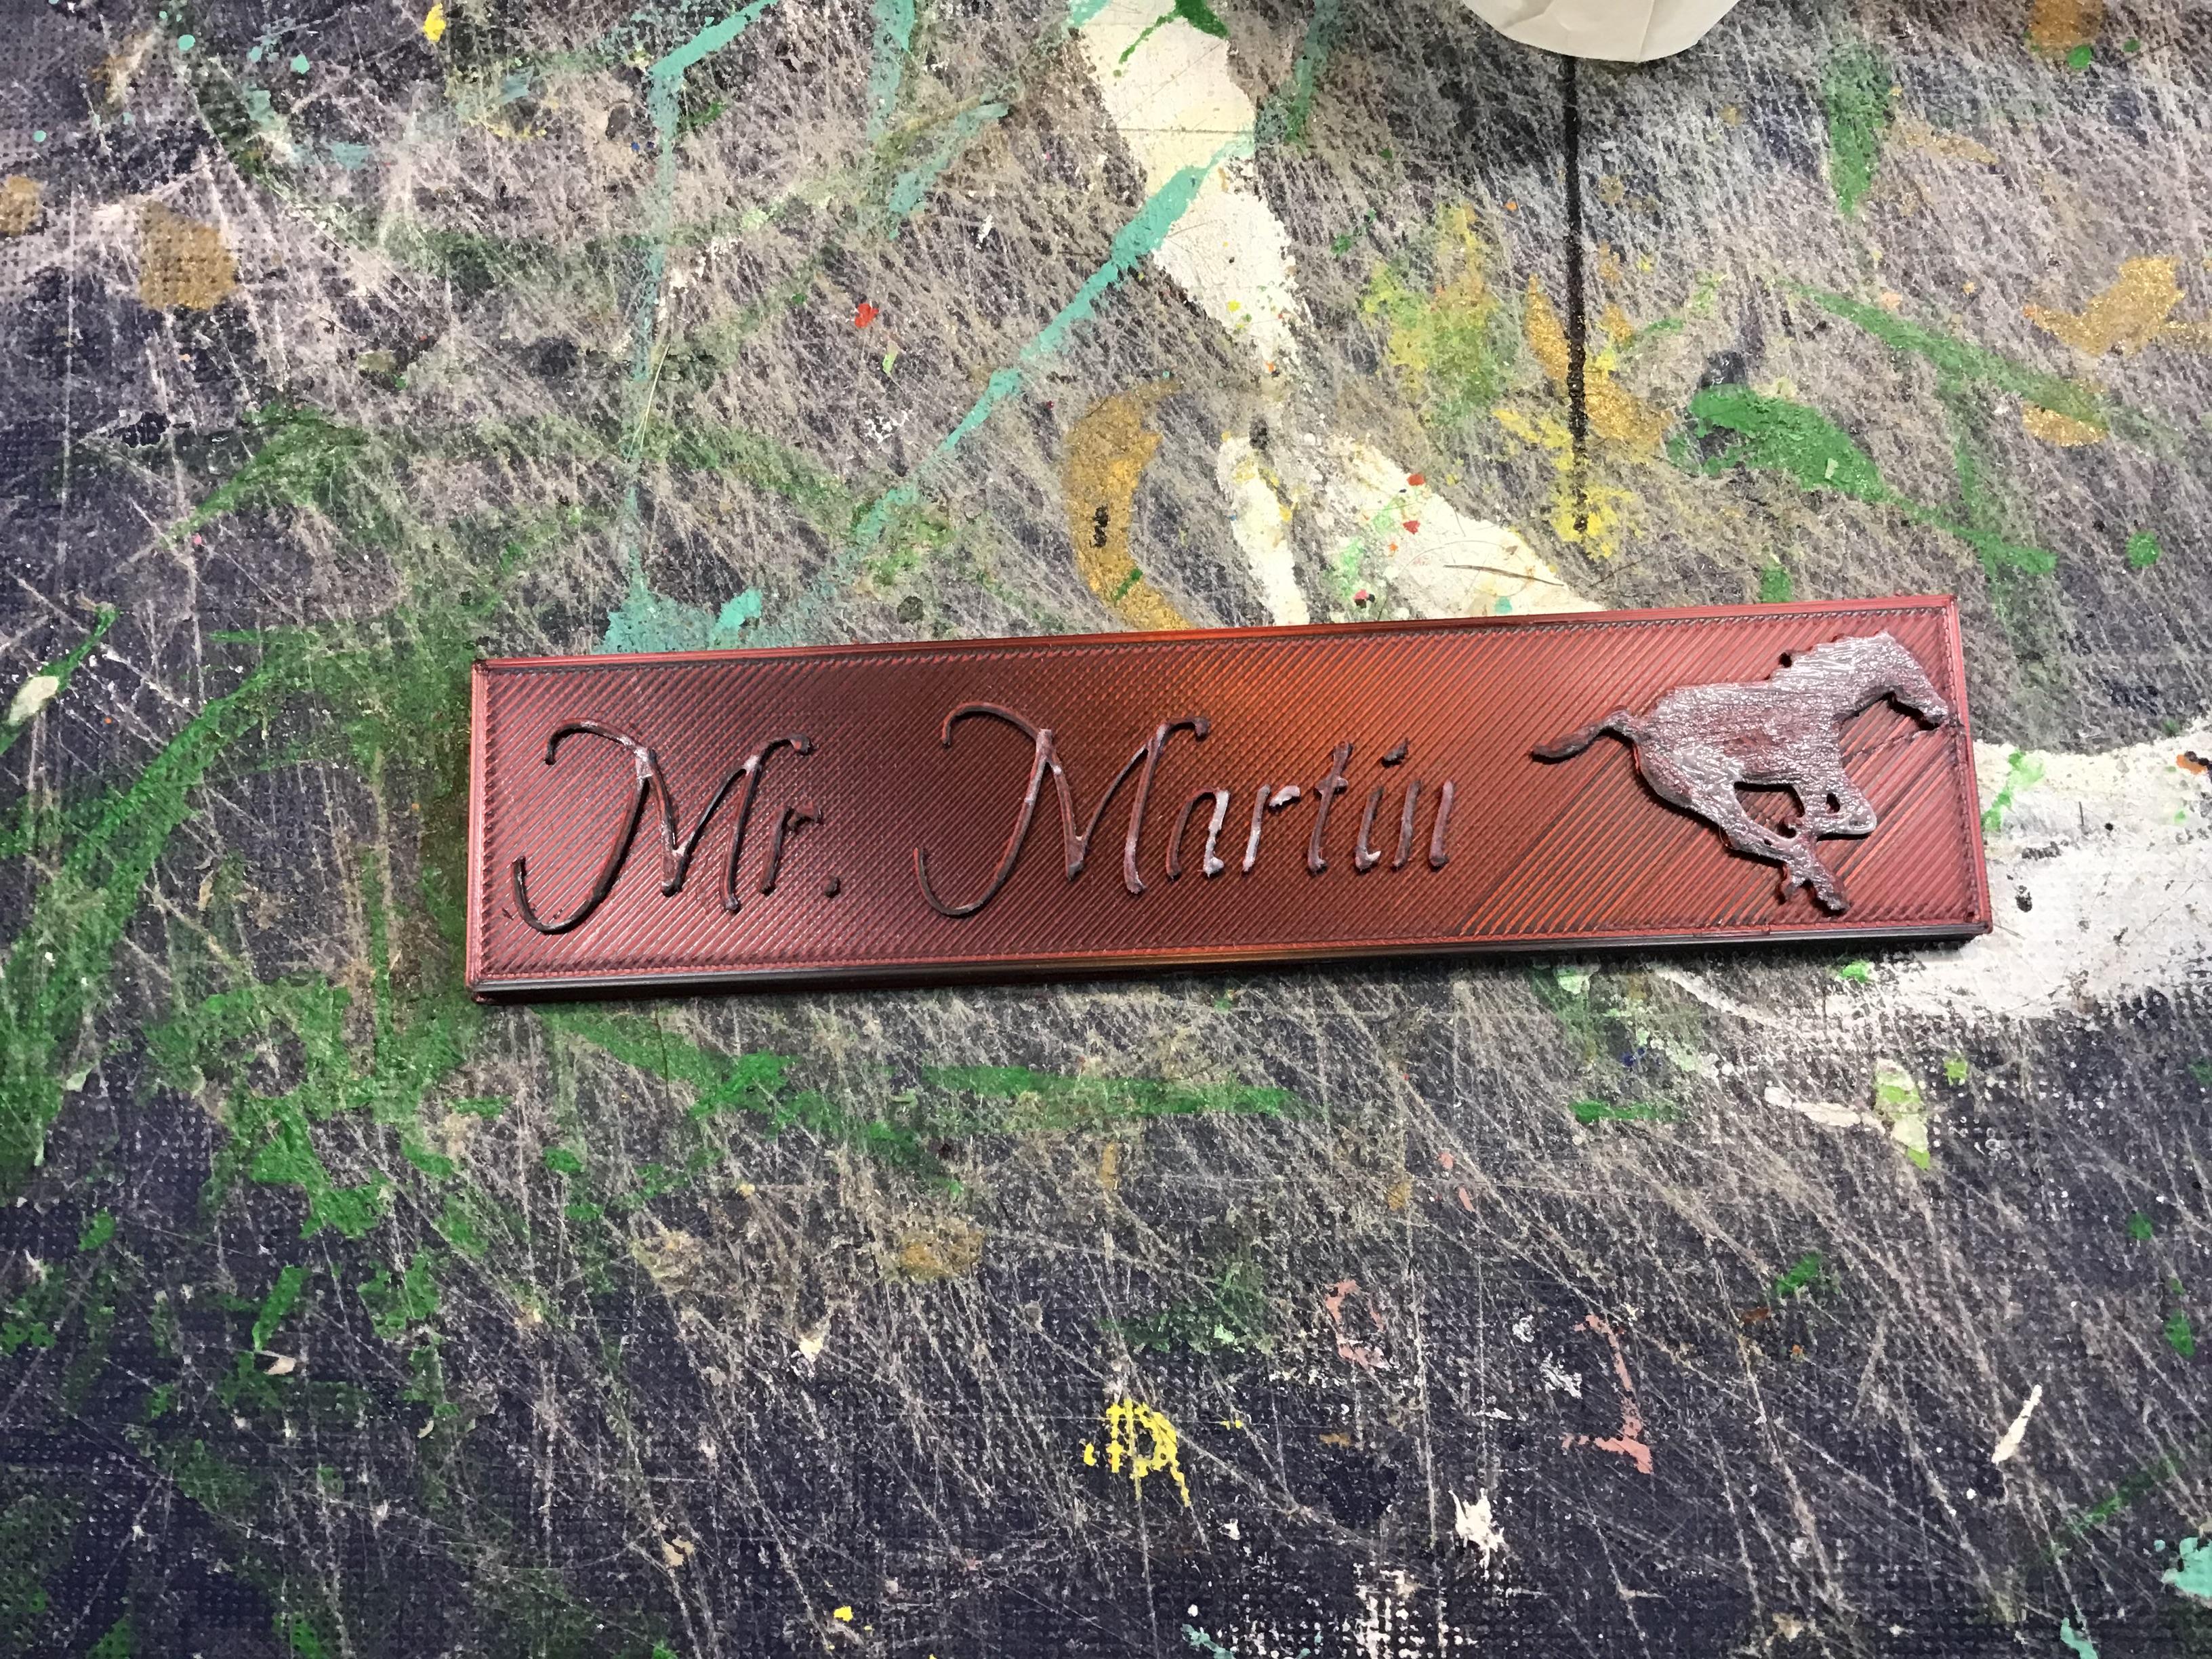
-For this task you will need:
-Small amount of paint primer
-Paint brush - small/ medium head
-Your 3-D Printed Project
- Paint a thin layer of primer that you wish to paint onto your 3-D project.
- Allow to dry.
Paint Time!
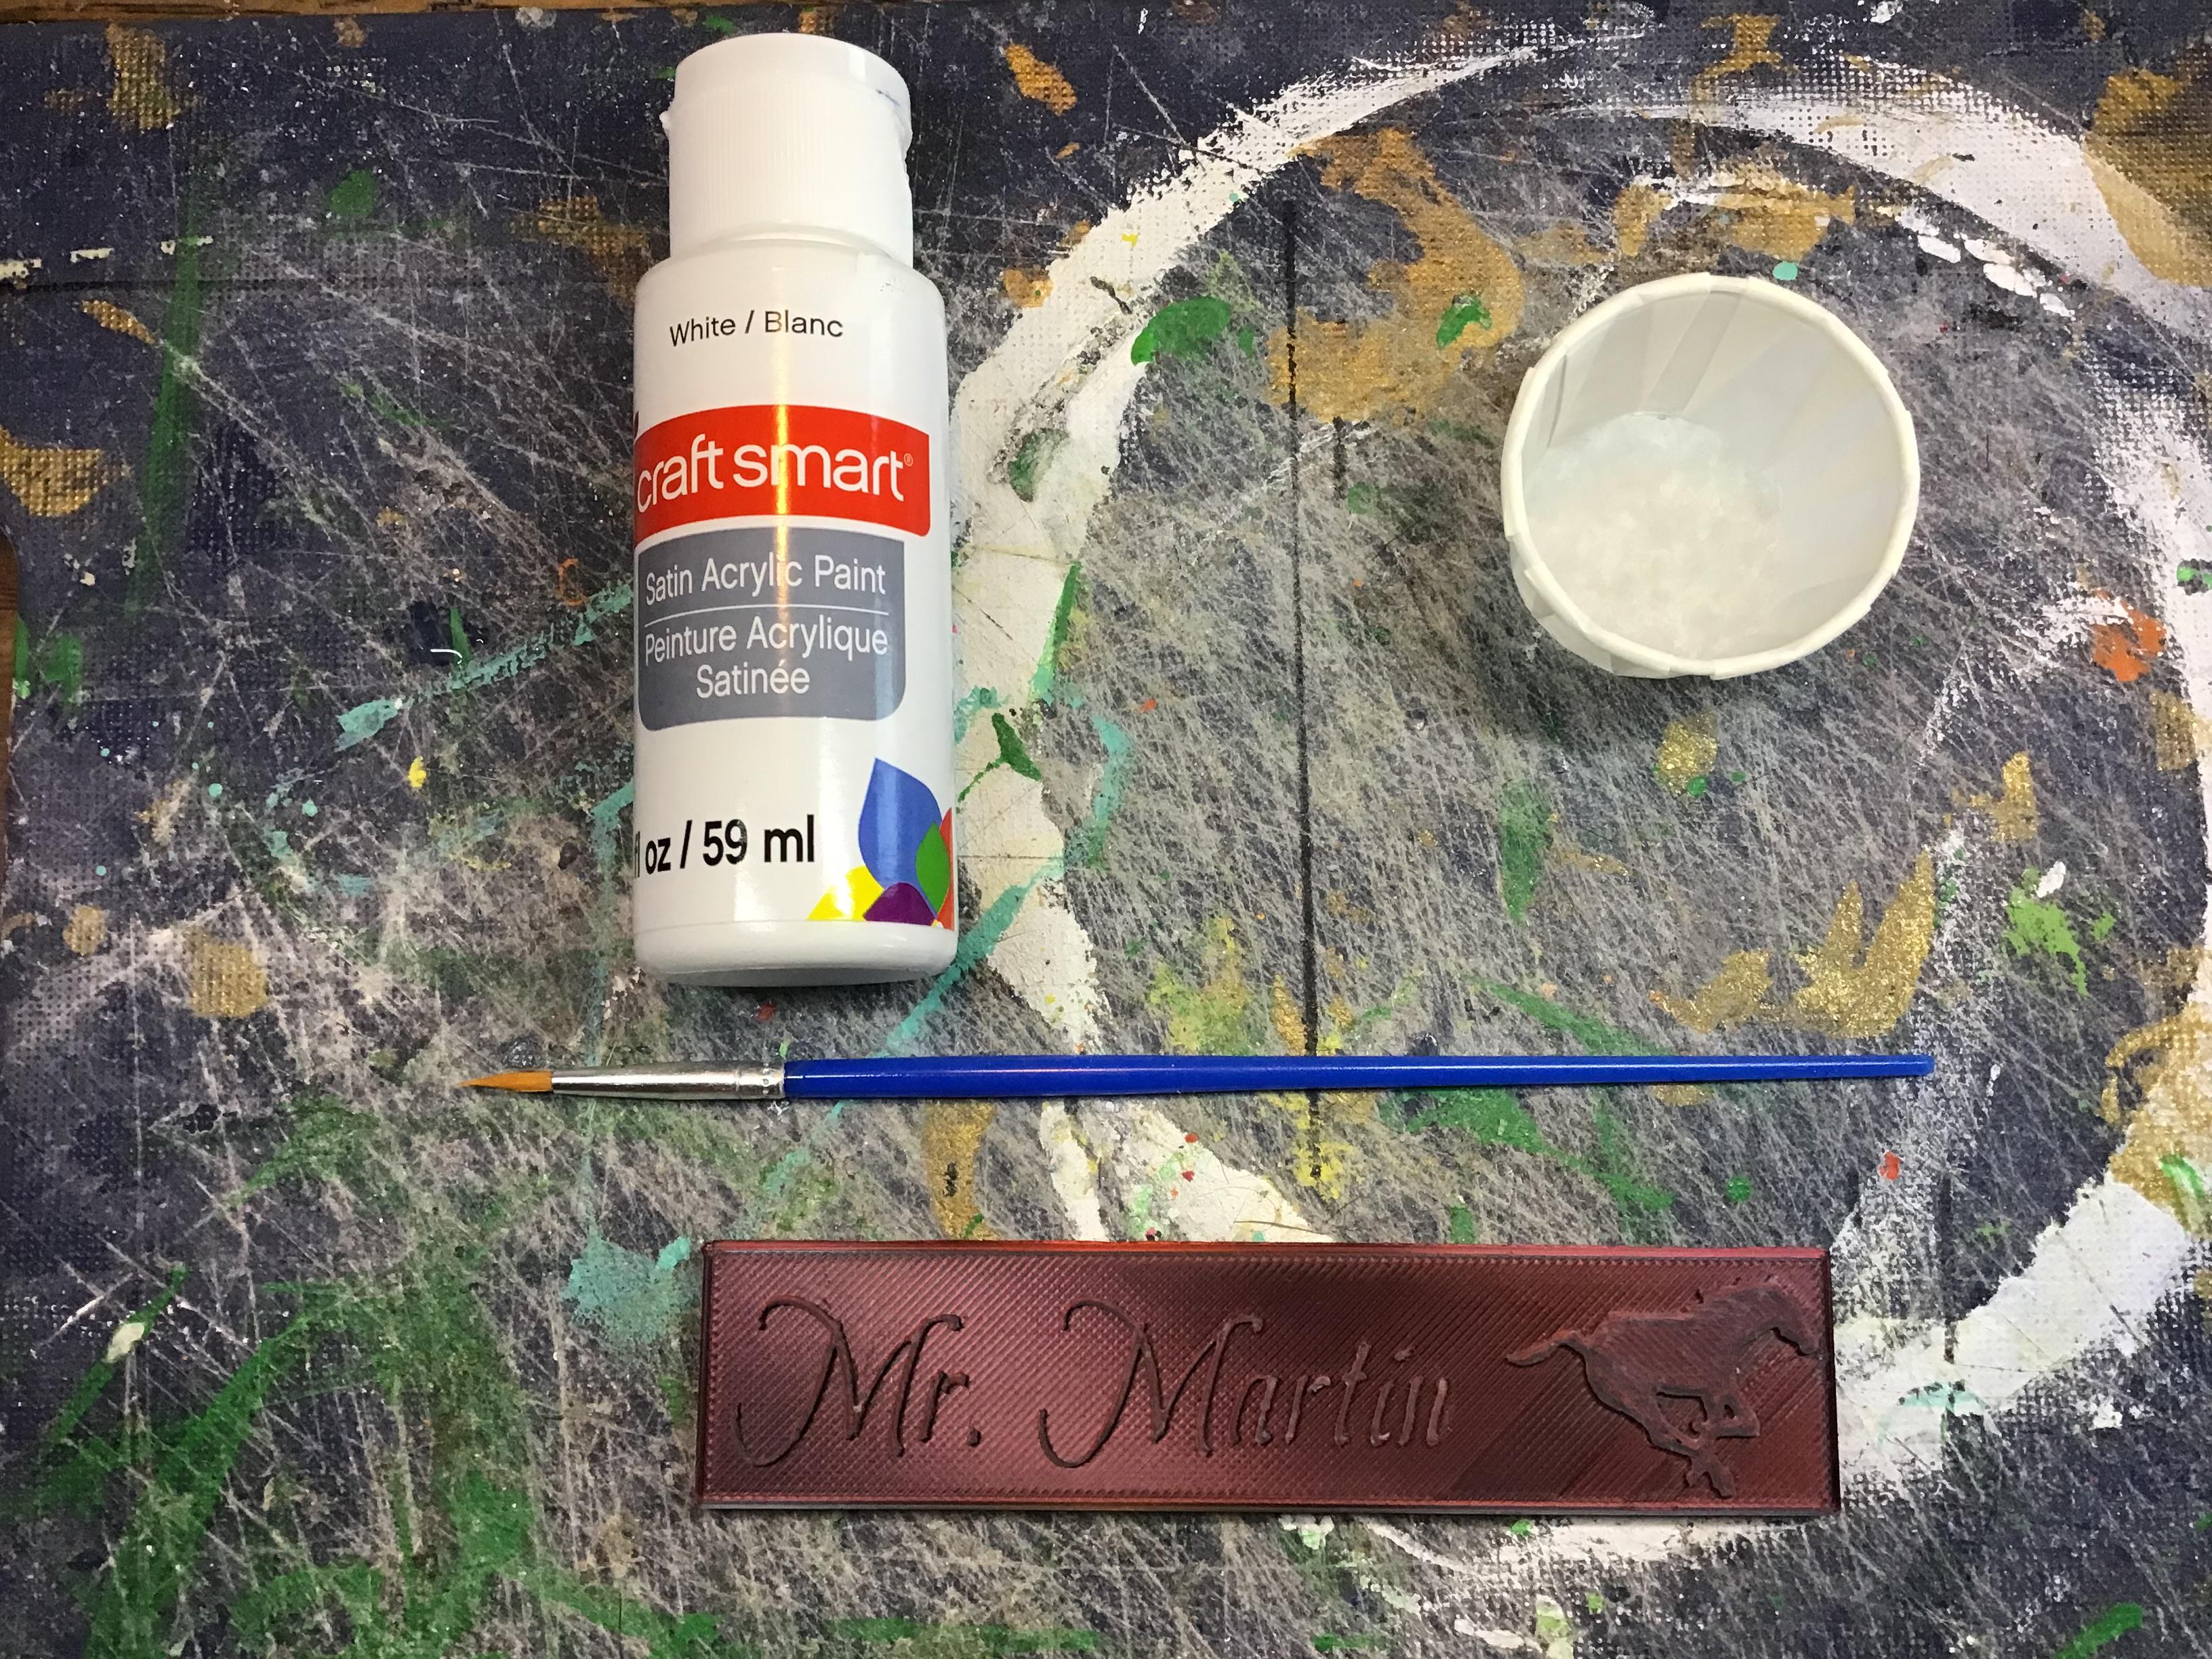
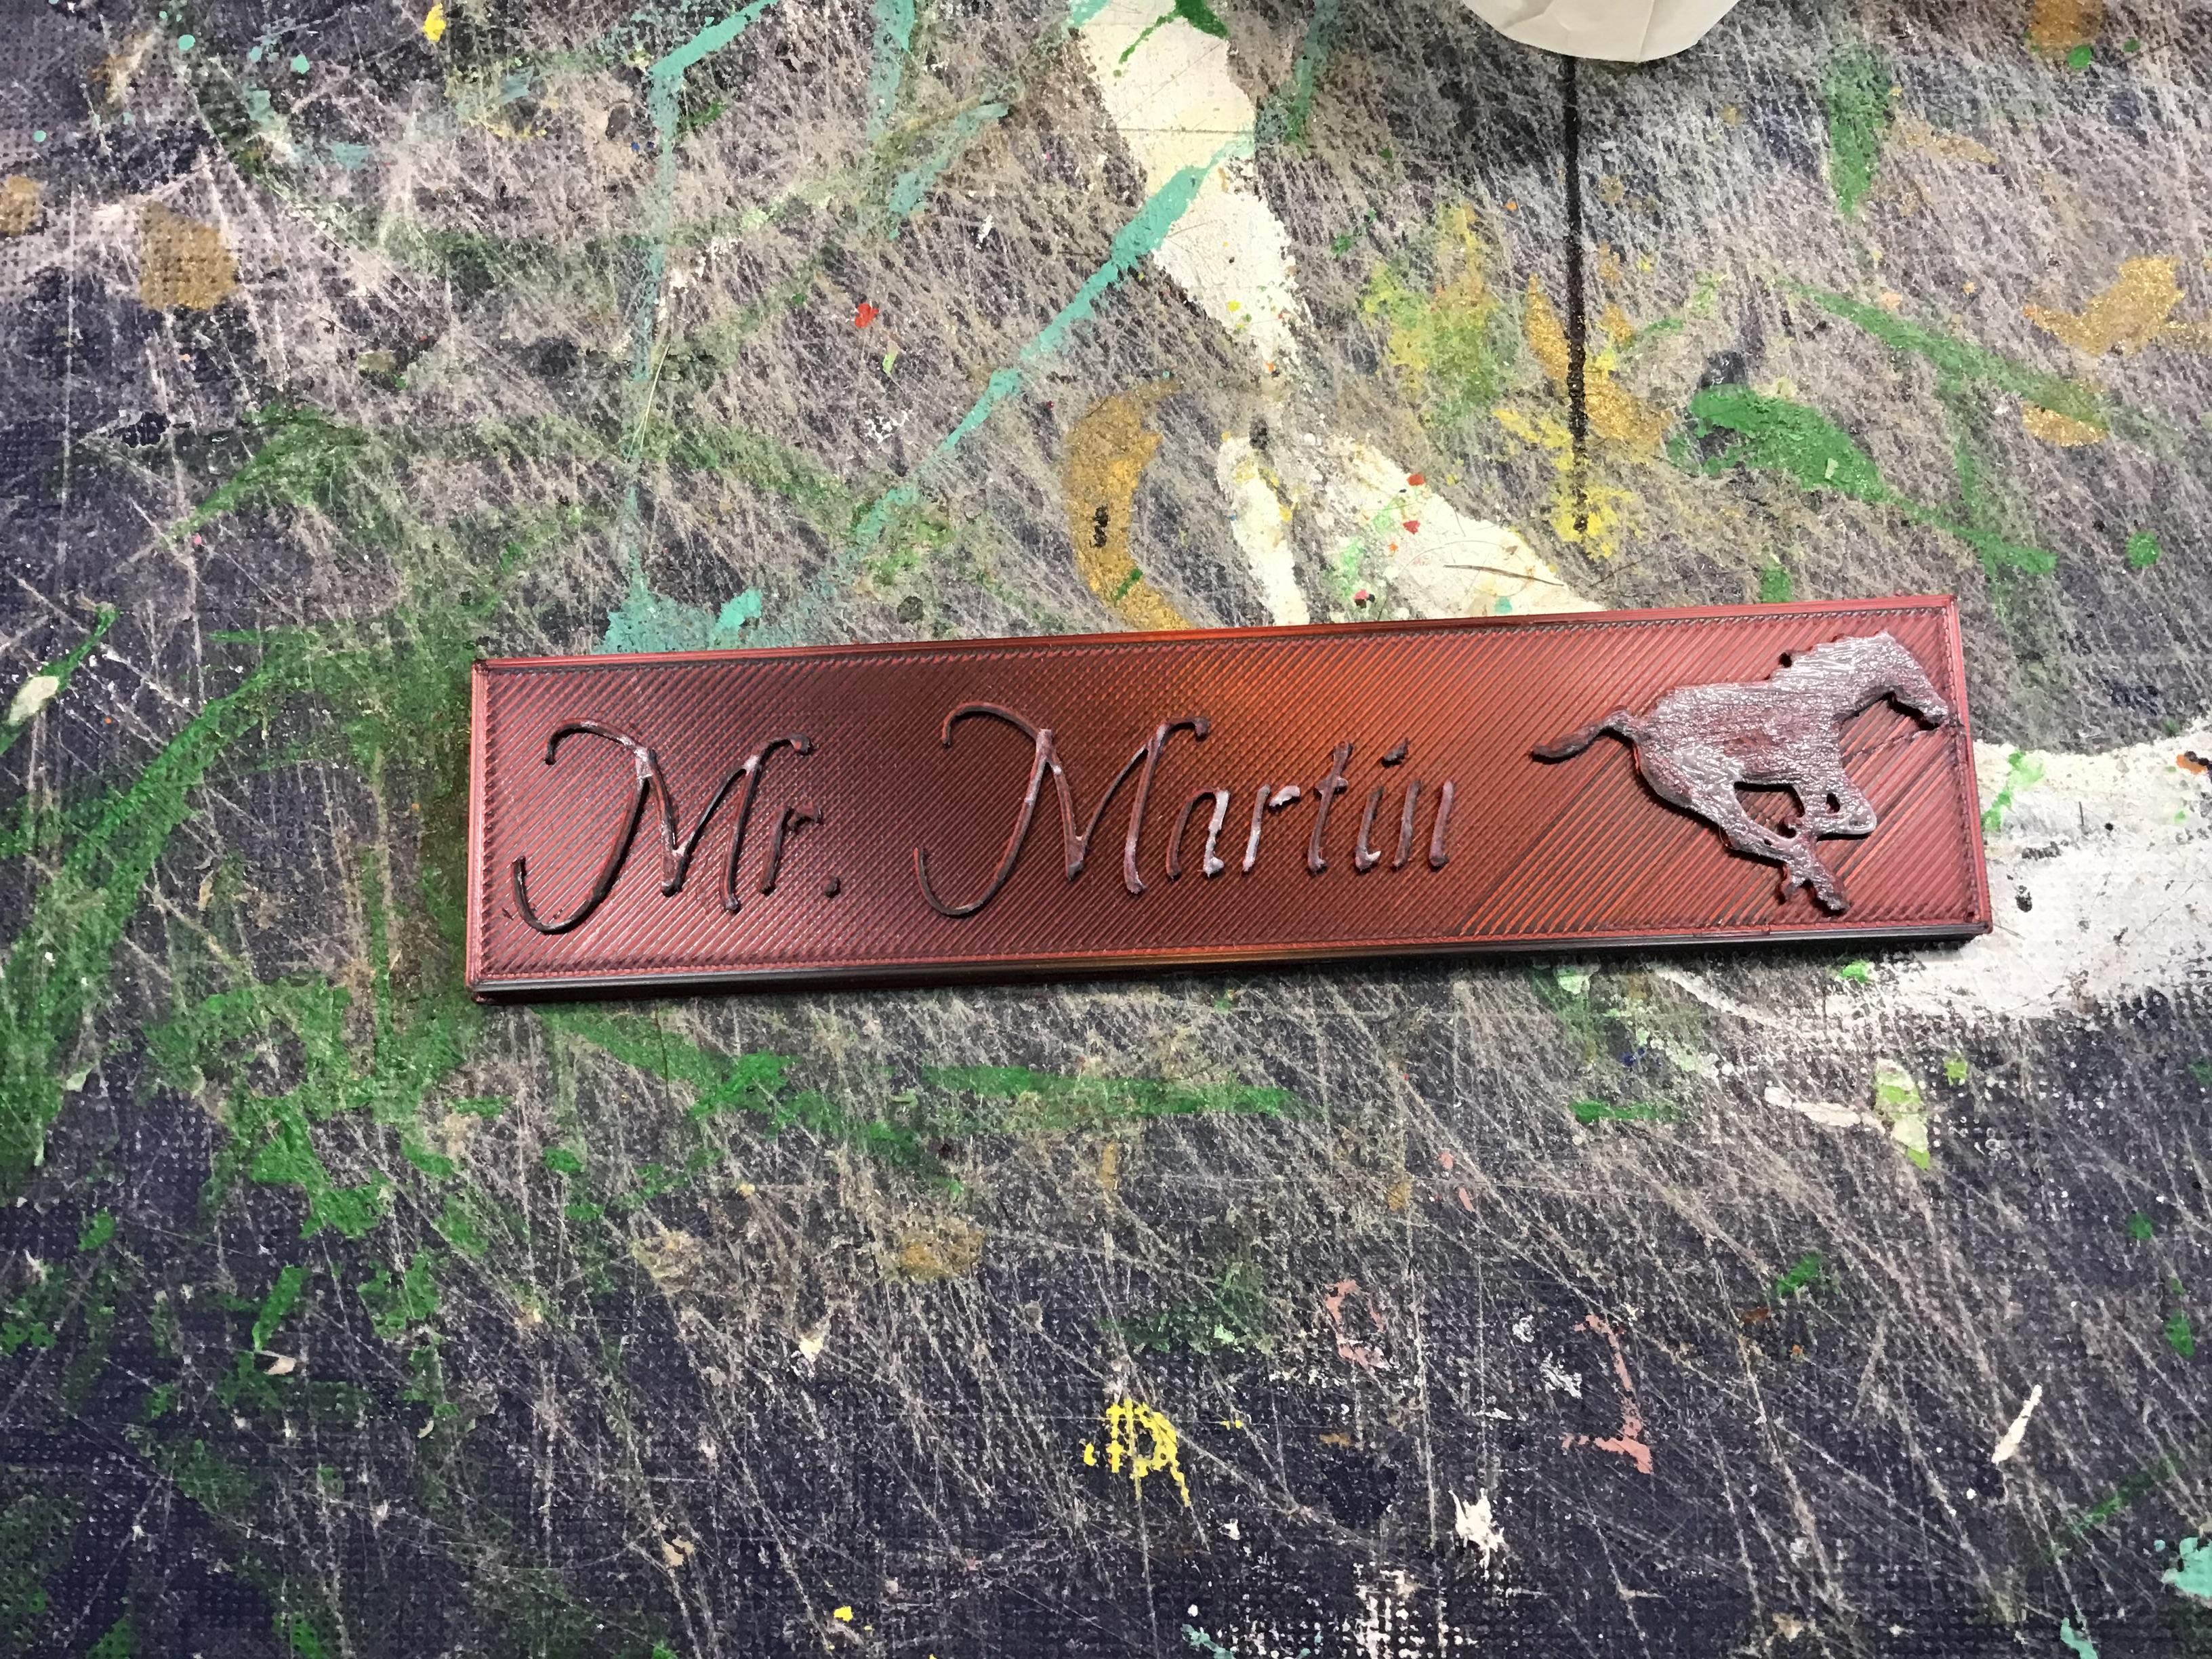
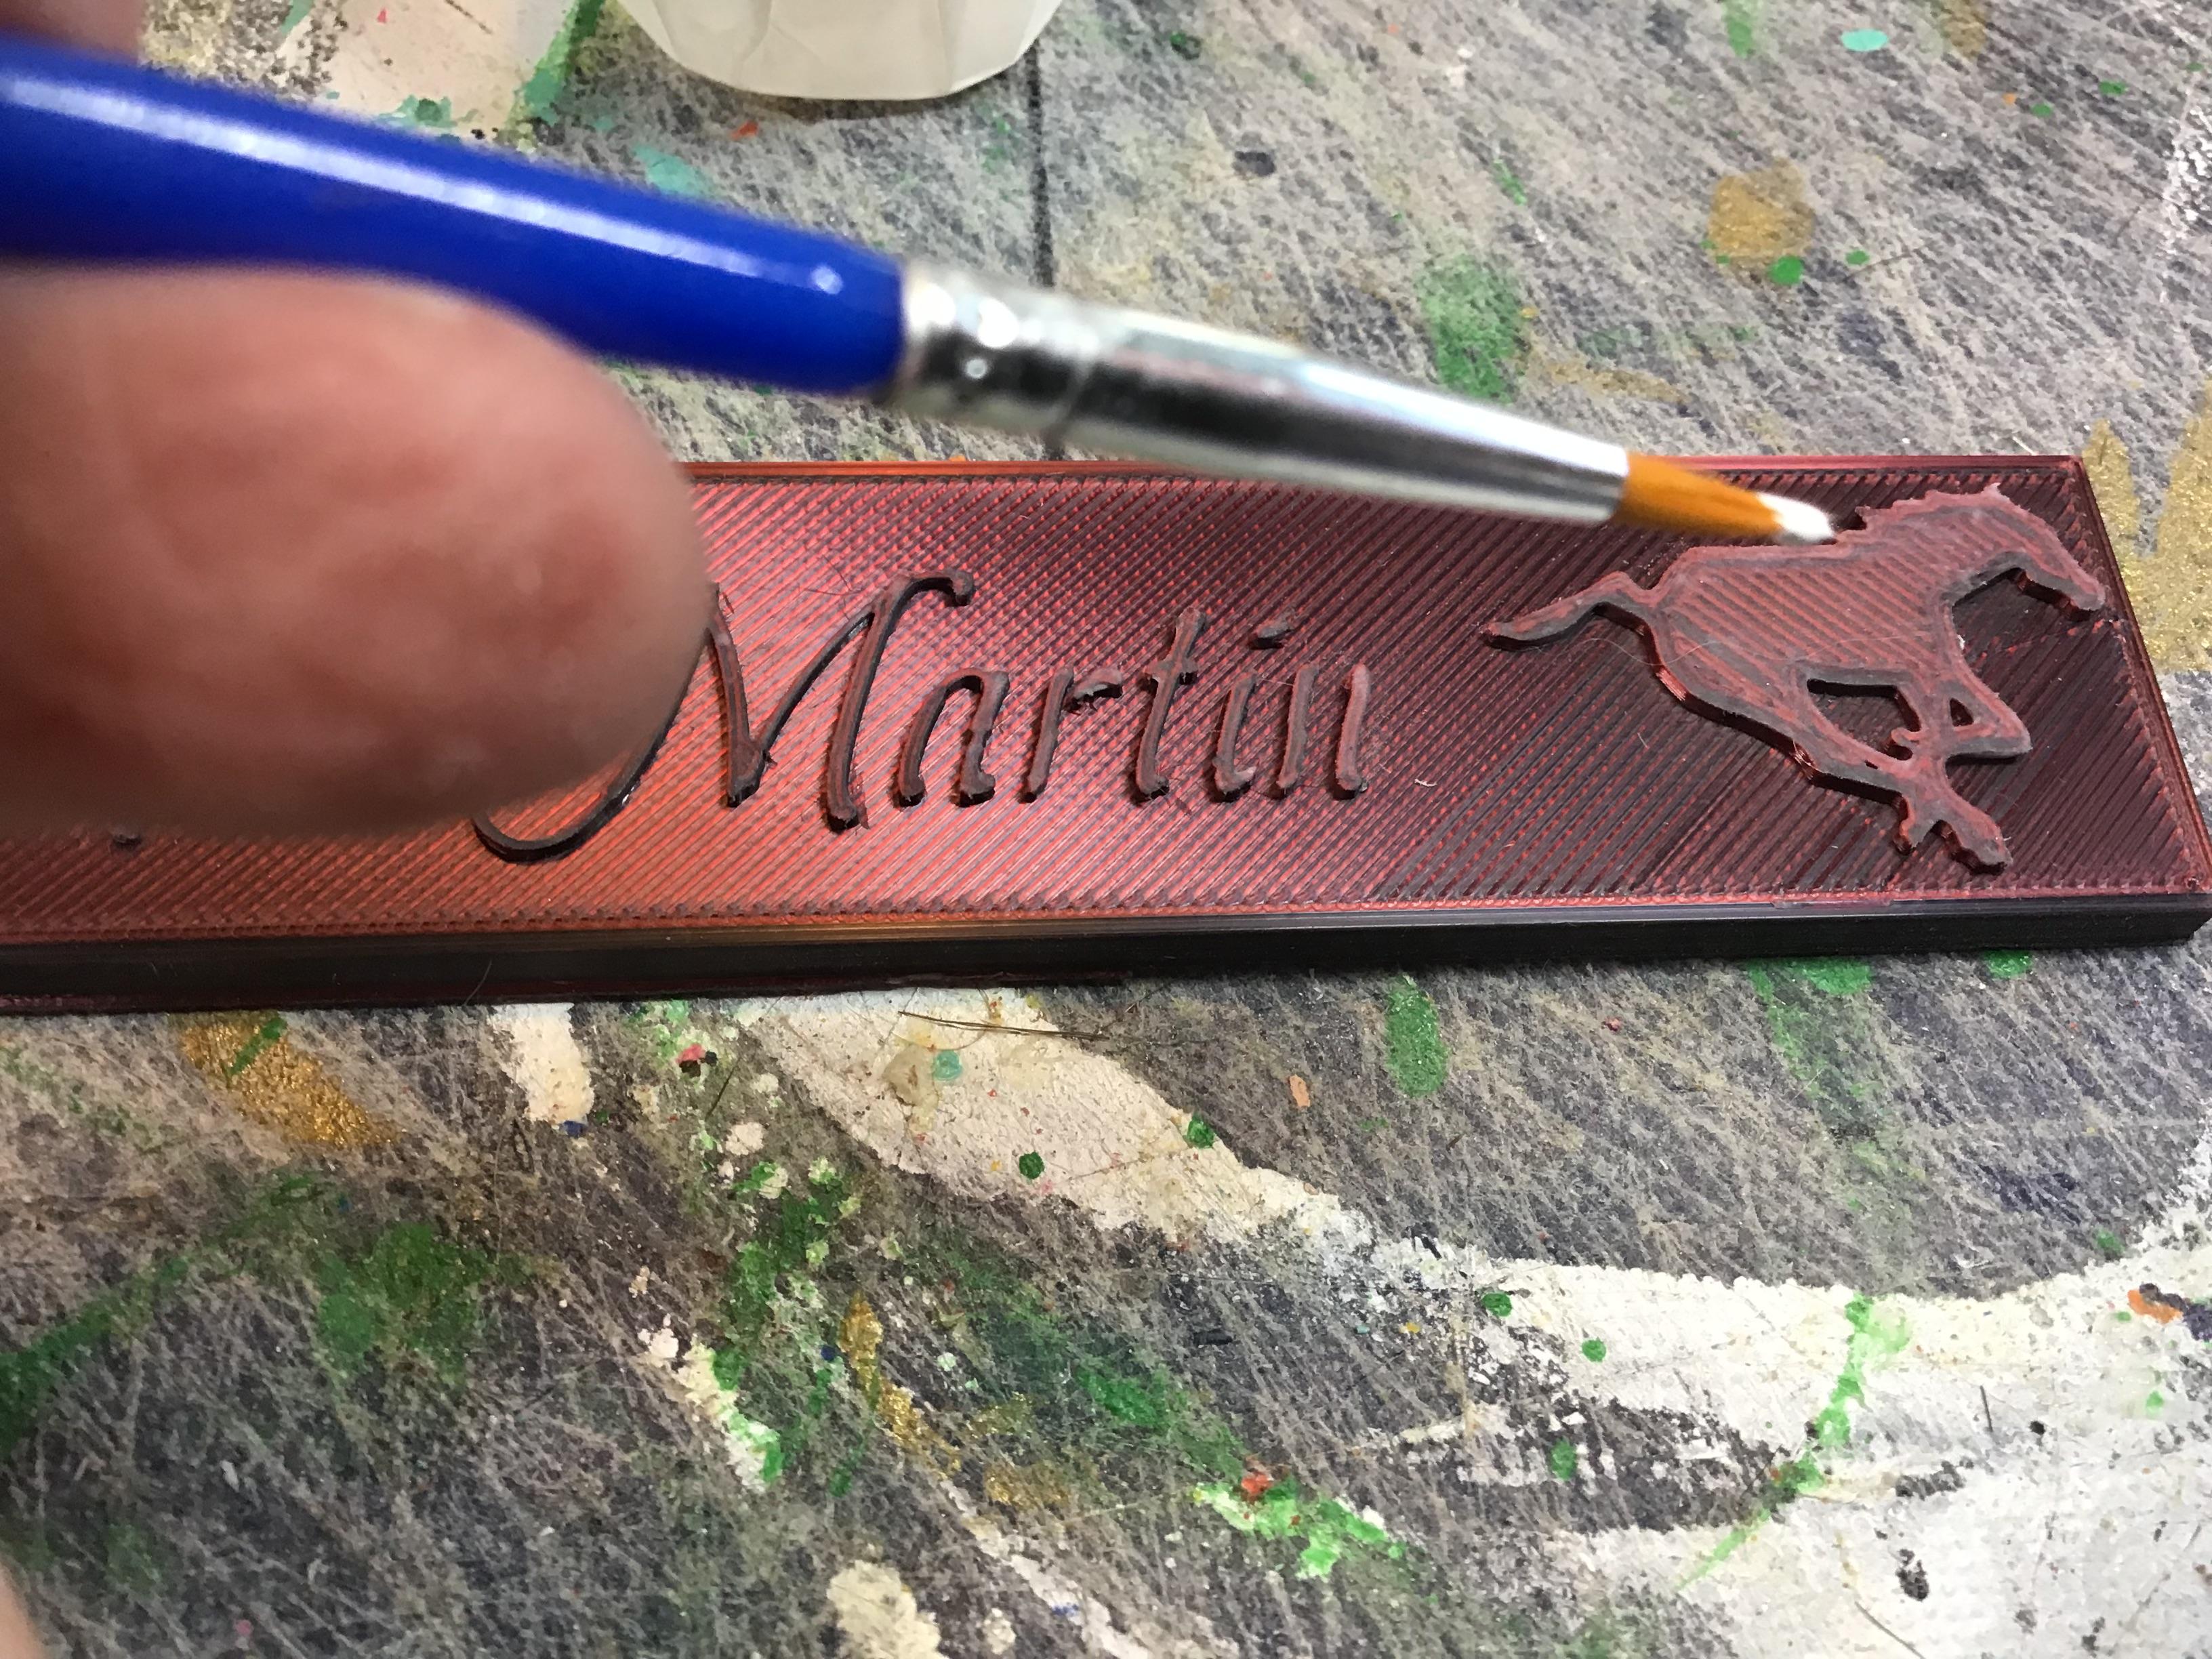
- For this task you will need:
-Your name plate that is already primed and dry.
-Paint brush - Choose a Small or Medium tip
-Paint of your choice
-Paint container
- Carefully paint your name plate (project )ensuring that little to no paint gets on the surrounding area other than the letters.
Take 2
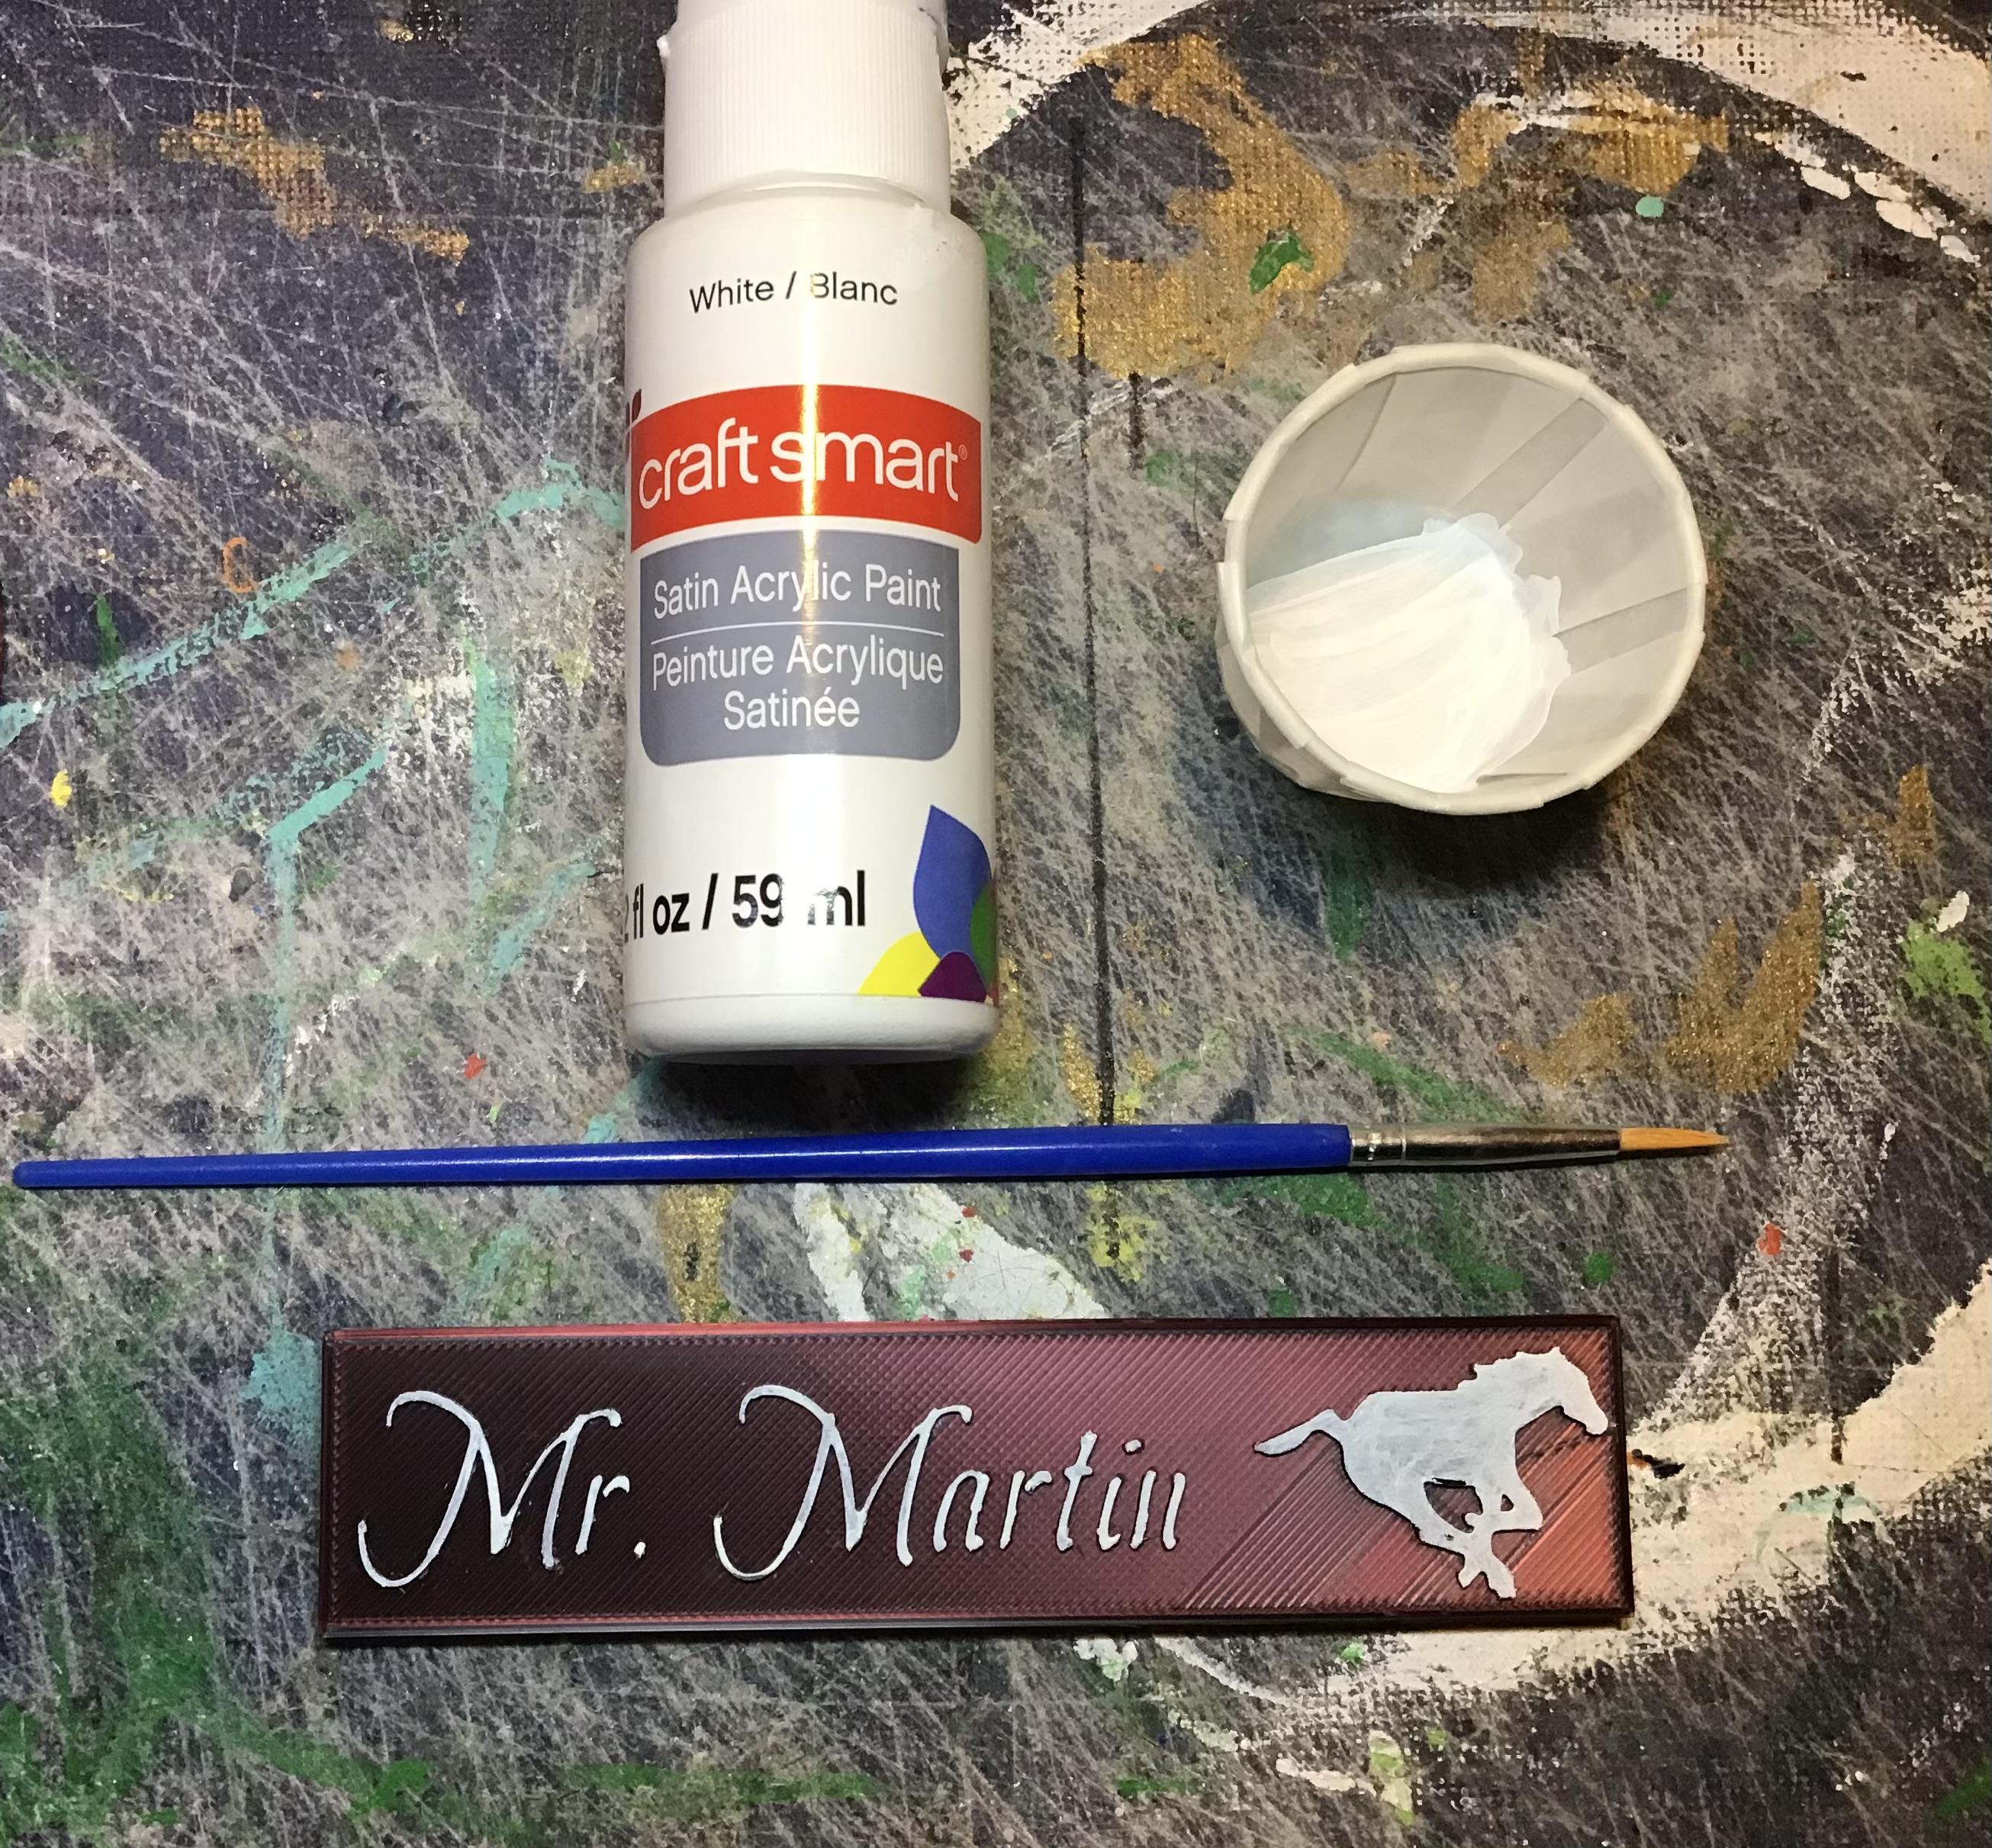
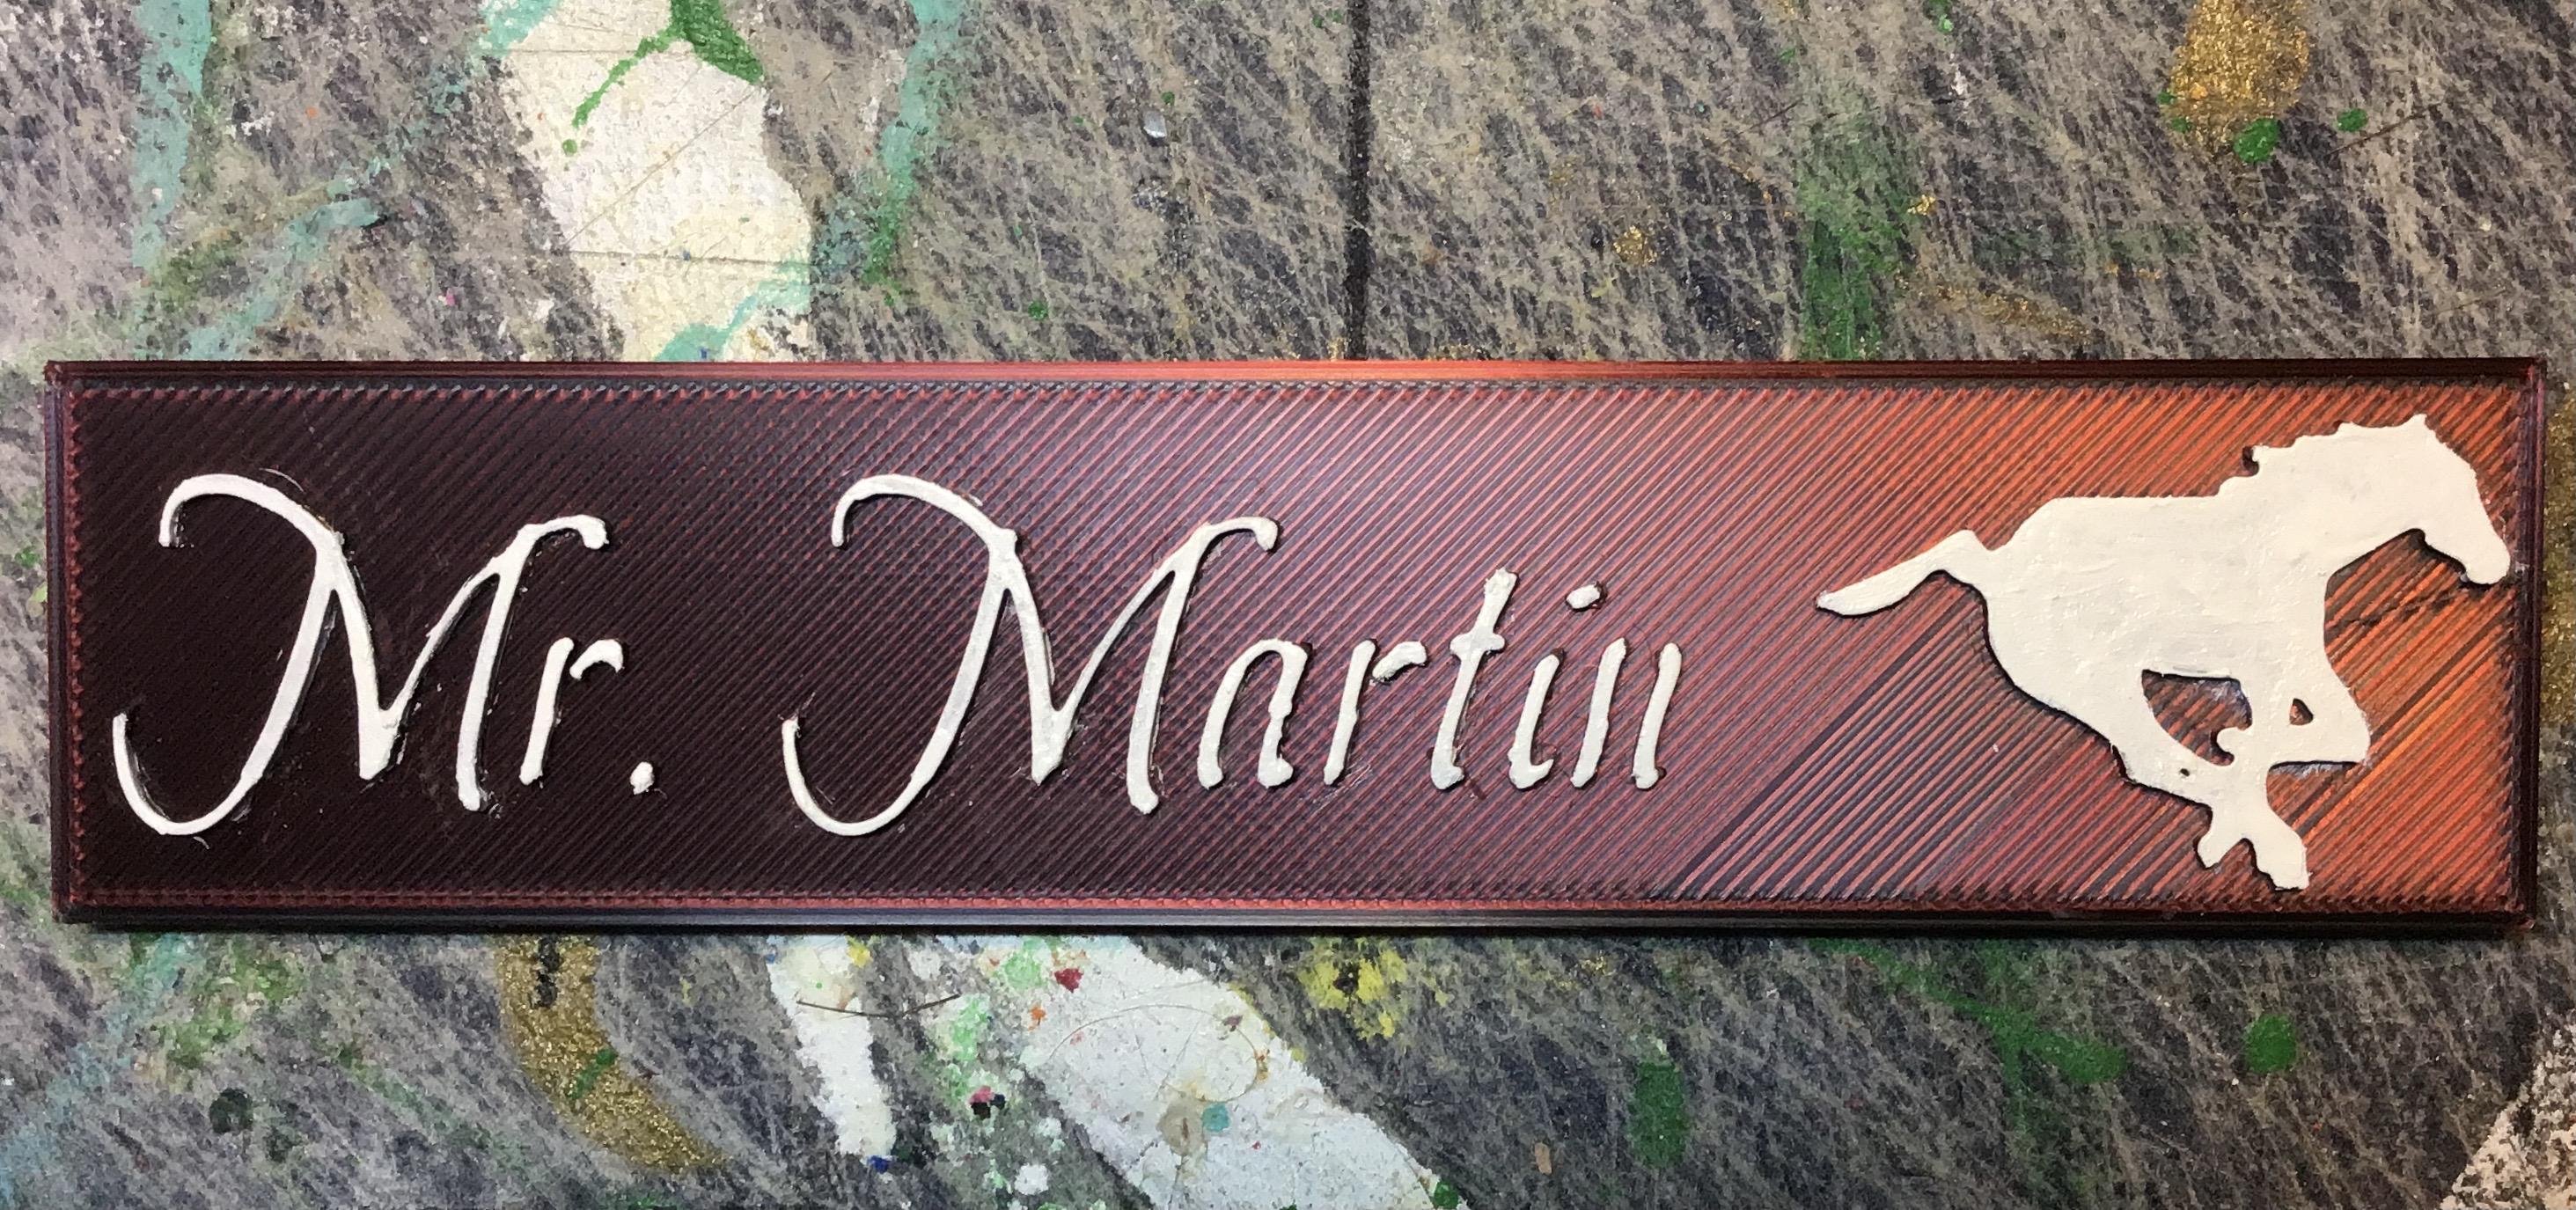
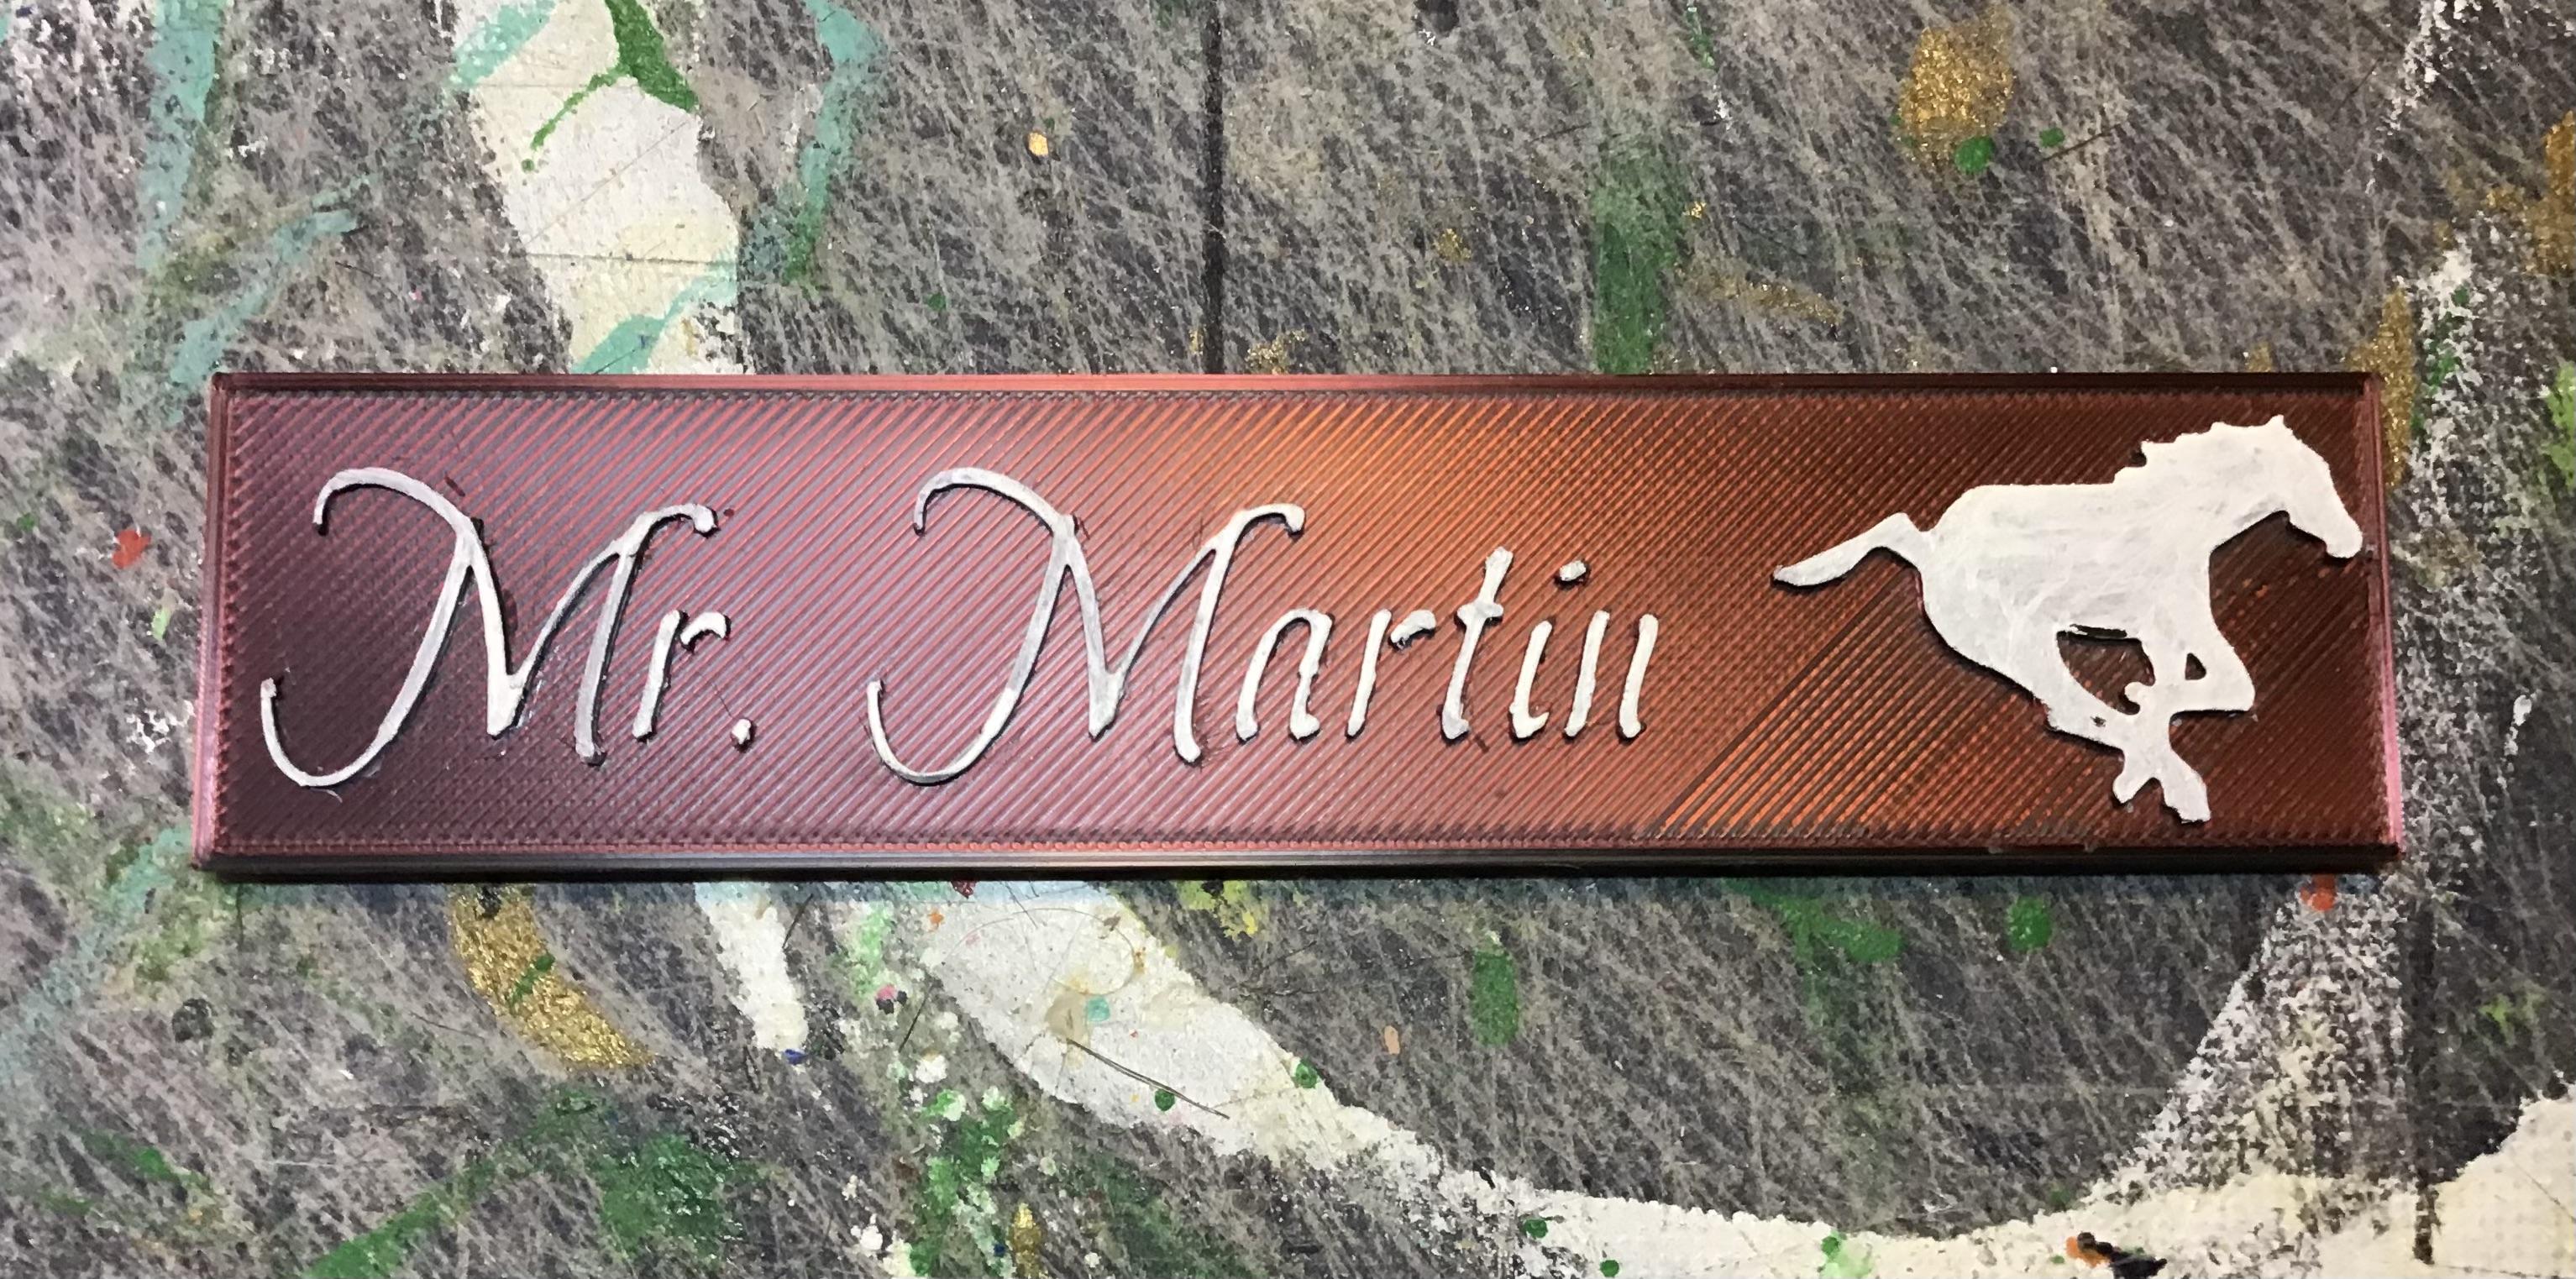
- You will need to paint a second coat on your 3-D printing project.
- For this task you will need:
-Paintbrush ( small/ medium head)
-Your 3-D printing project
-Paint
- Carefully repaint your project again. Allow to dry
Final Product
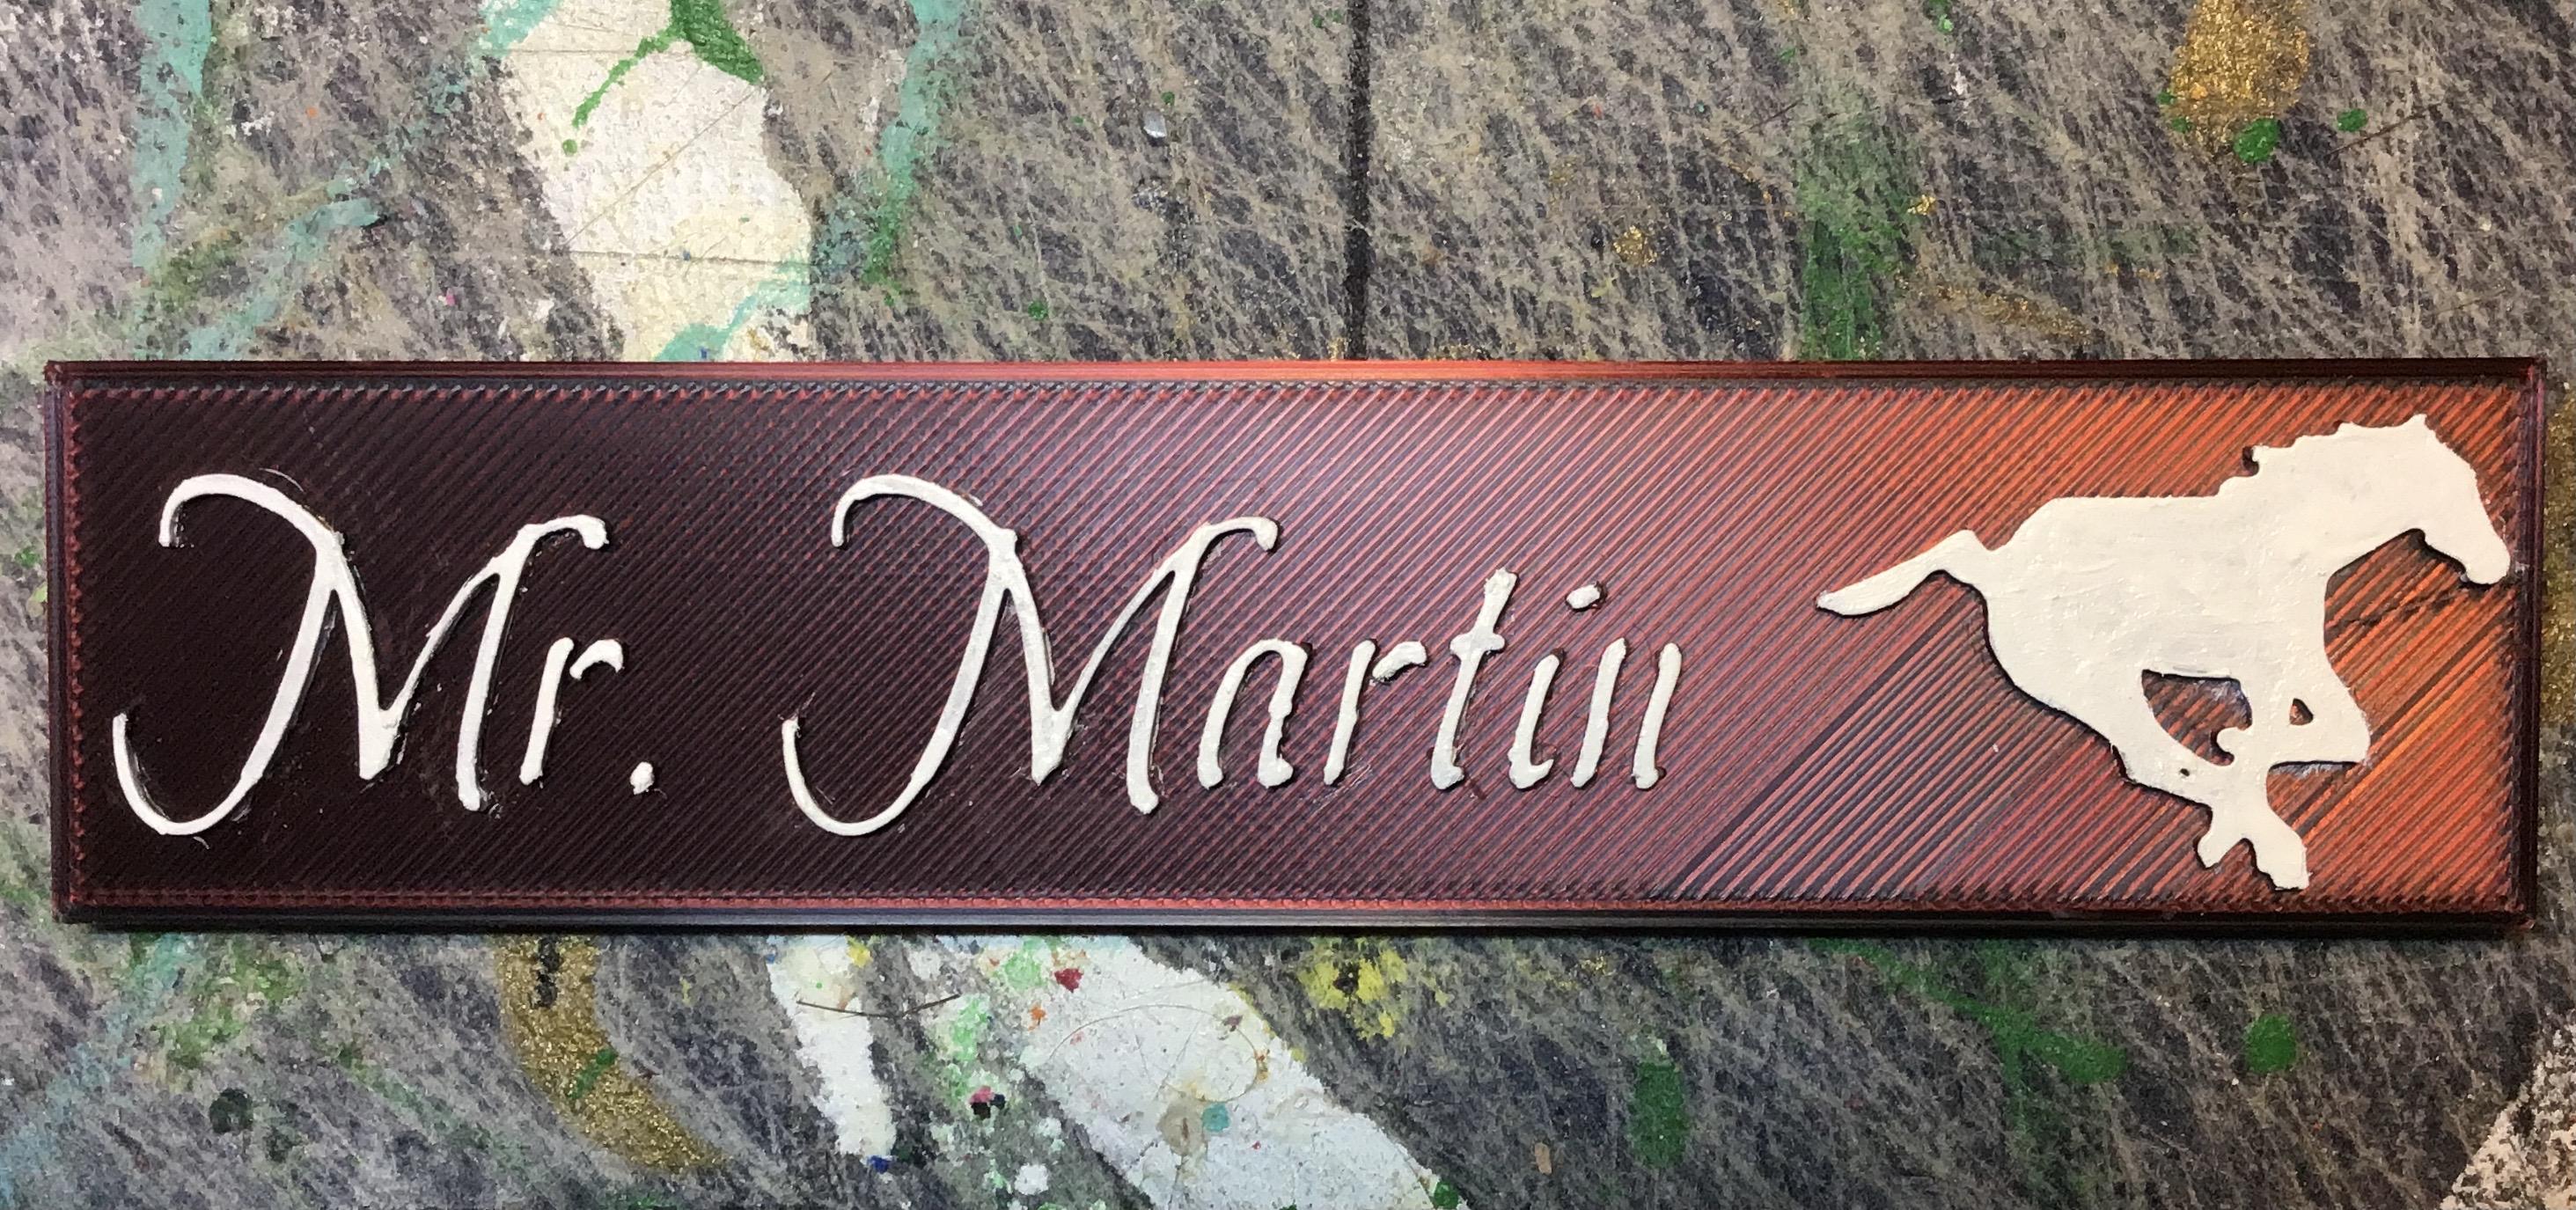
- Once you clean up your area and ensure your name is clear and easy to read.
- Attach the magnets from your teacher to the back and your name tag is ready to go up on the board!