Paintbrush Stylus: Detecting Color to Control Computer Cursor
by jfurnish in Circuits > Sensors
1932 Views, 6 Favorites, 0 Comments
Paintbrush Stylus: Detecting Color to Control Computer Cursor
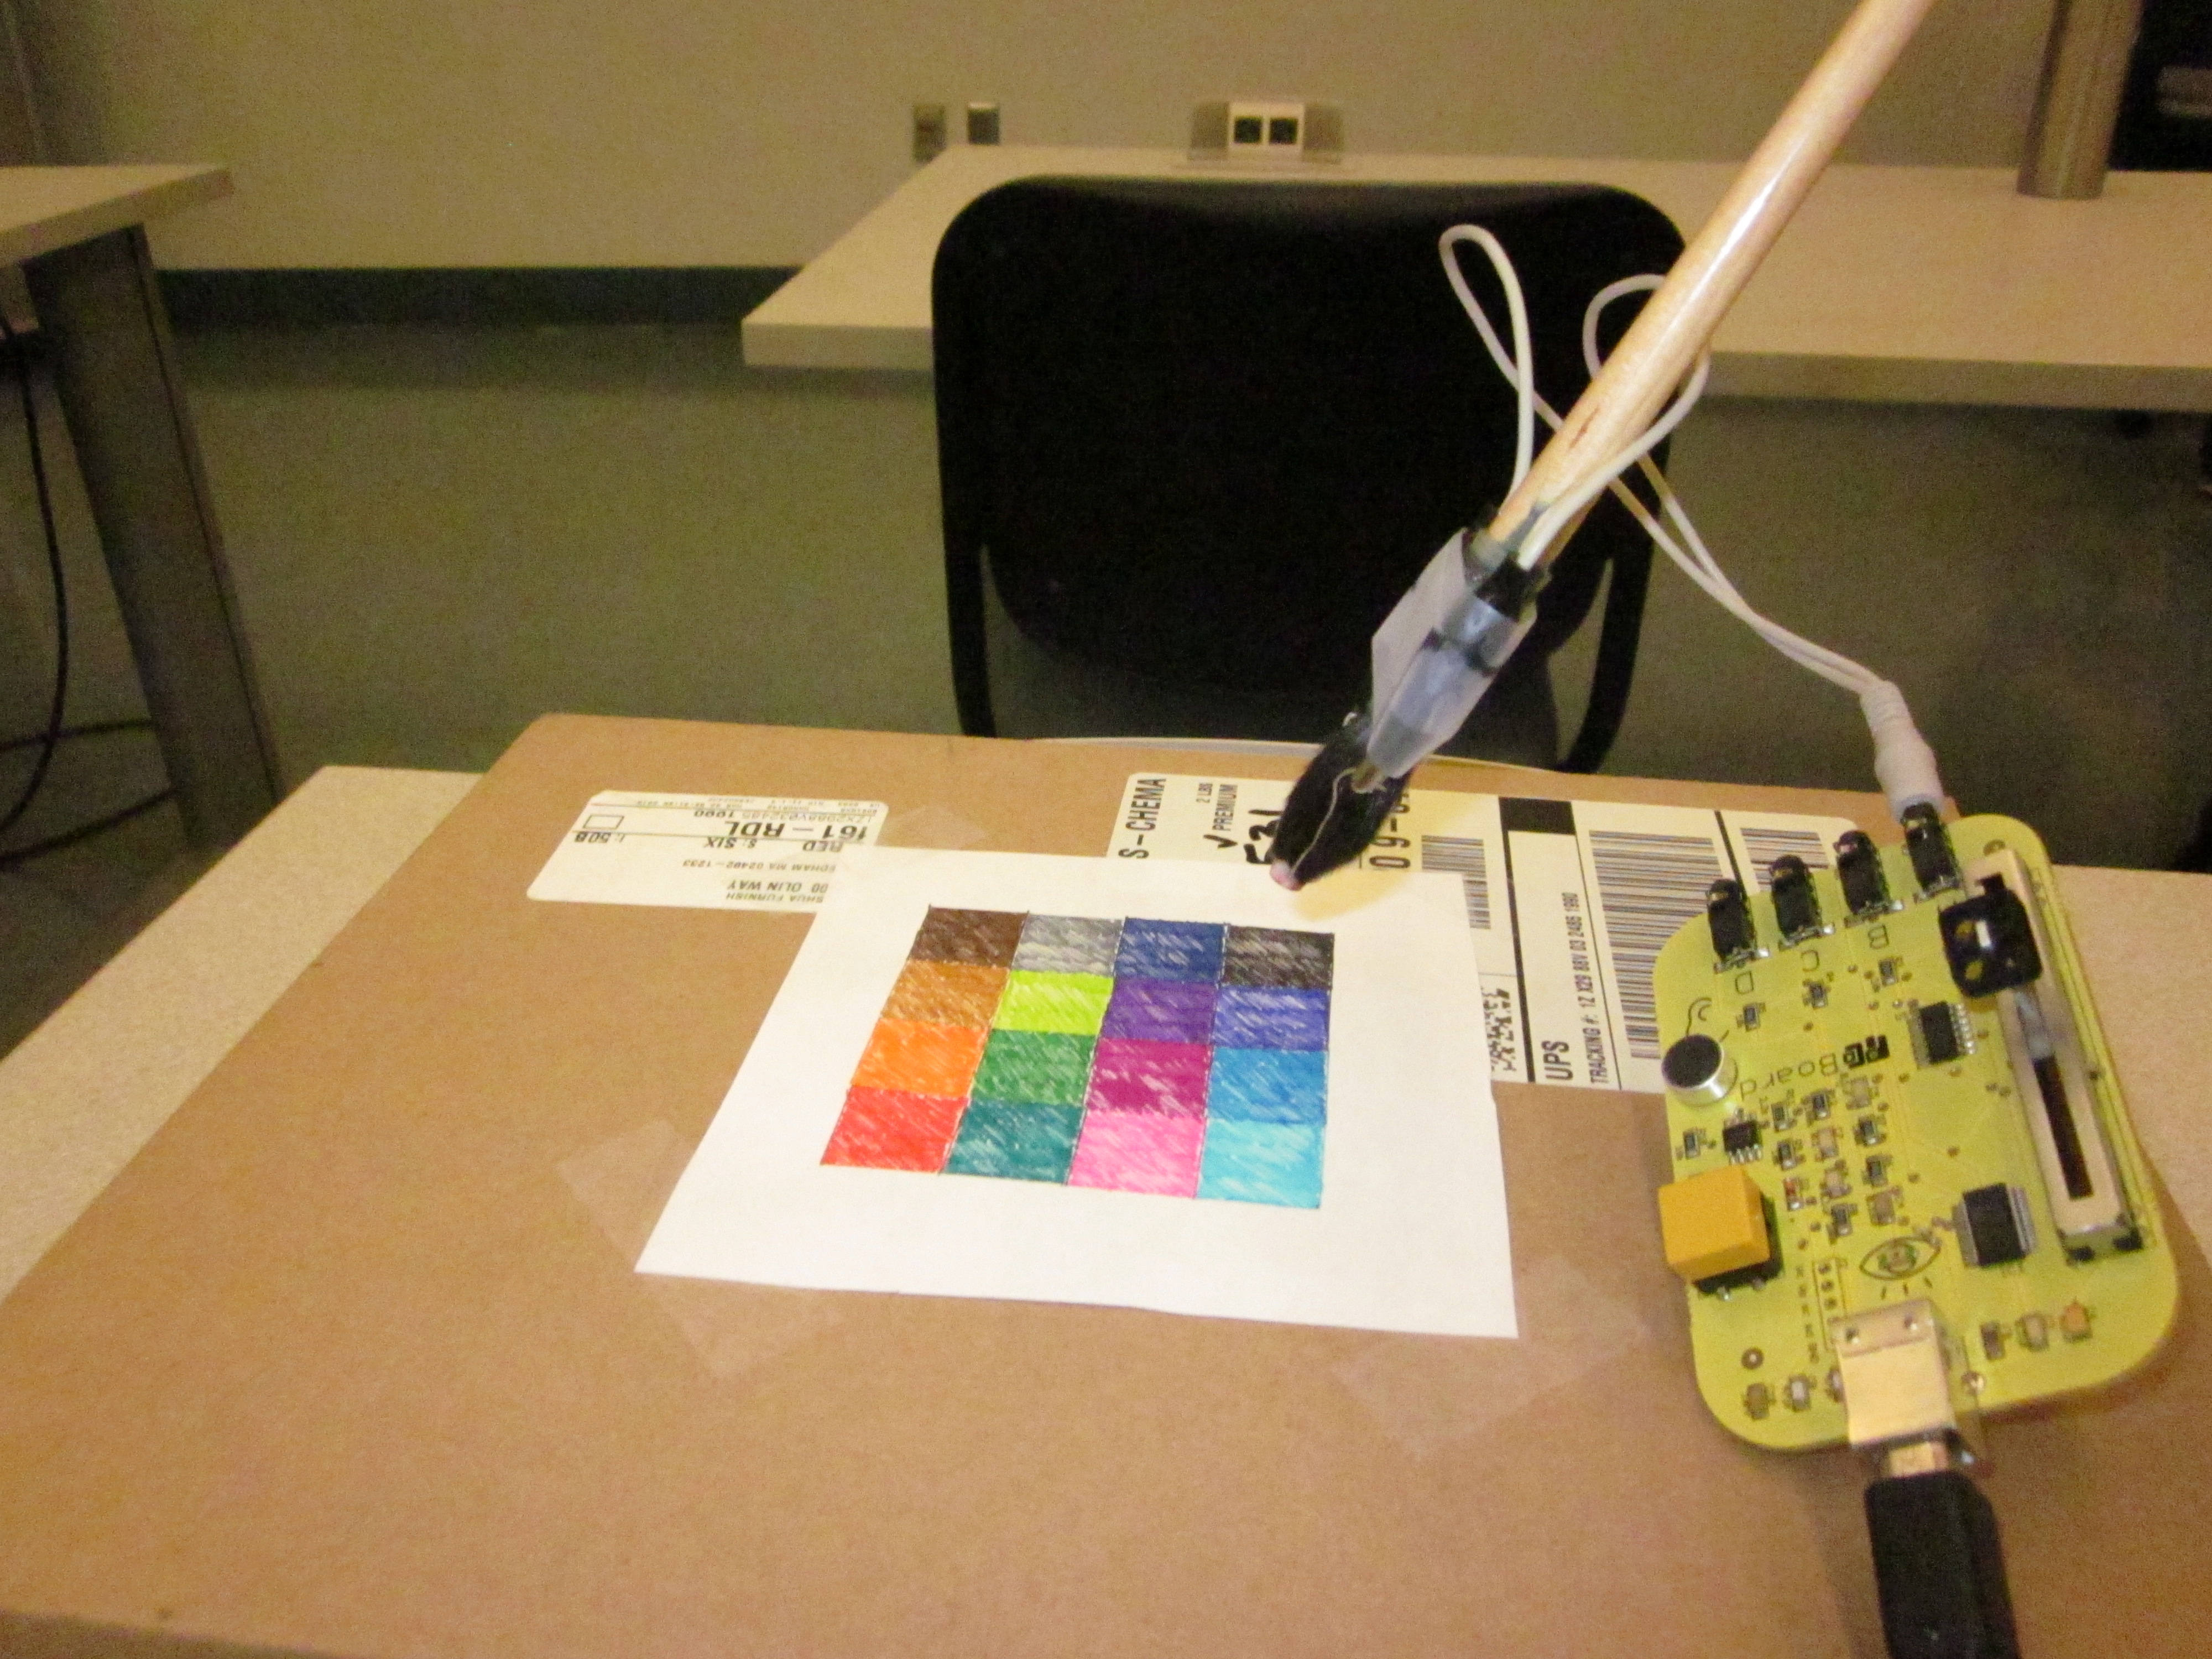
This project used a photo-cell mounted at the tip of a paintbrush to detect position on a grid of color. The photo-cell was linked to a Picoboard <http://www.picocricket.com/picoboard.html>, which interacted with a Scratch <http://scratch.mit.edu/> program.
Required Materials:
In order to complete this project, you will need a Picoboard, the USB cable for the Picoboard, a breakout-cable for the Picoboard, standard white printer paper, 16 different colors of marker or colored pencil or the like, a photocell, a run-of-the-mill paintbrush, and finally a computer.
Make the Color Grid
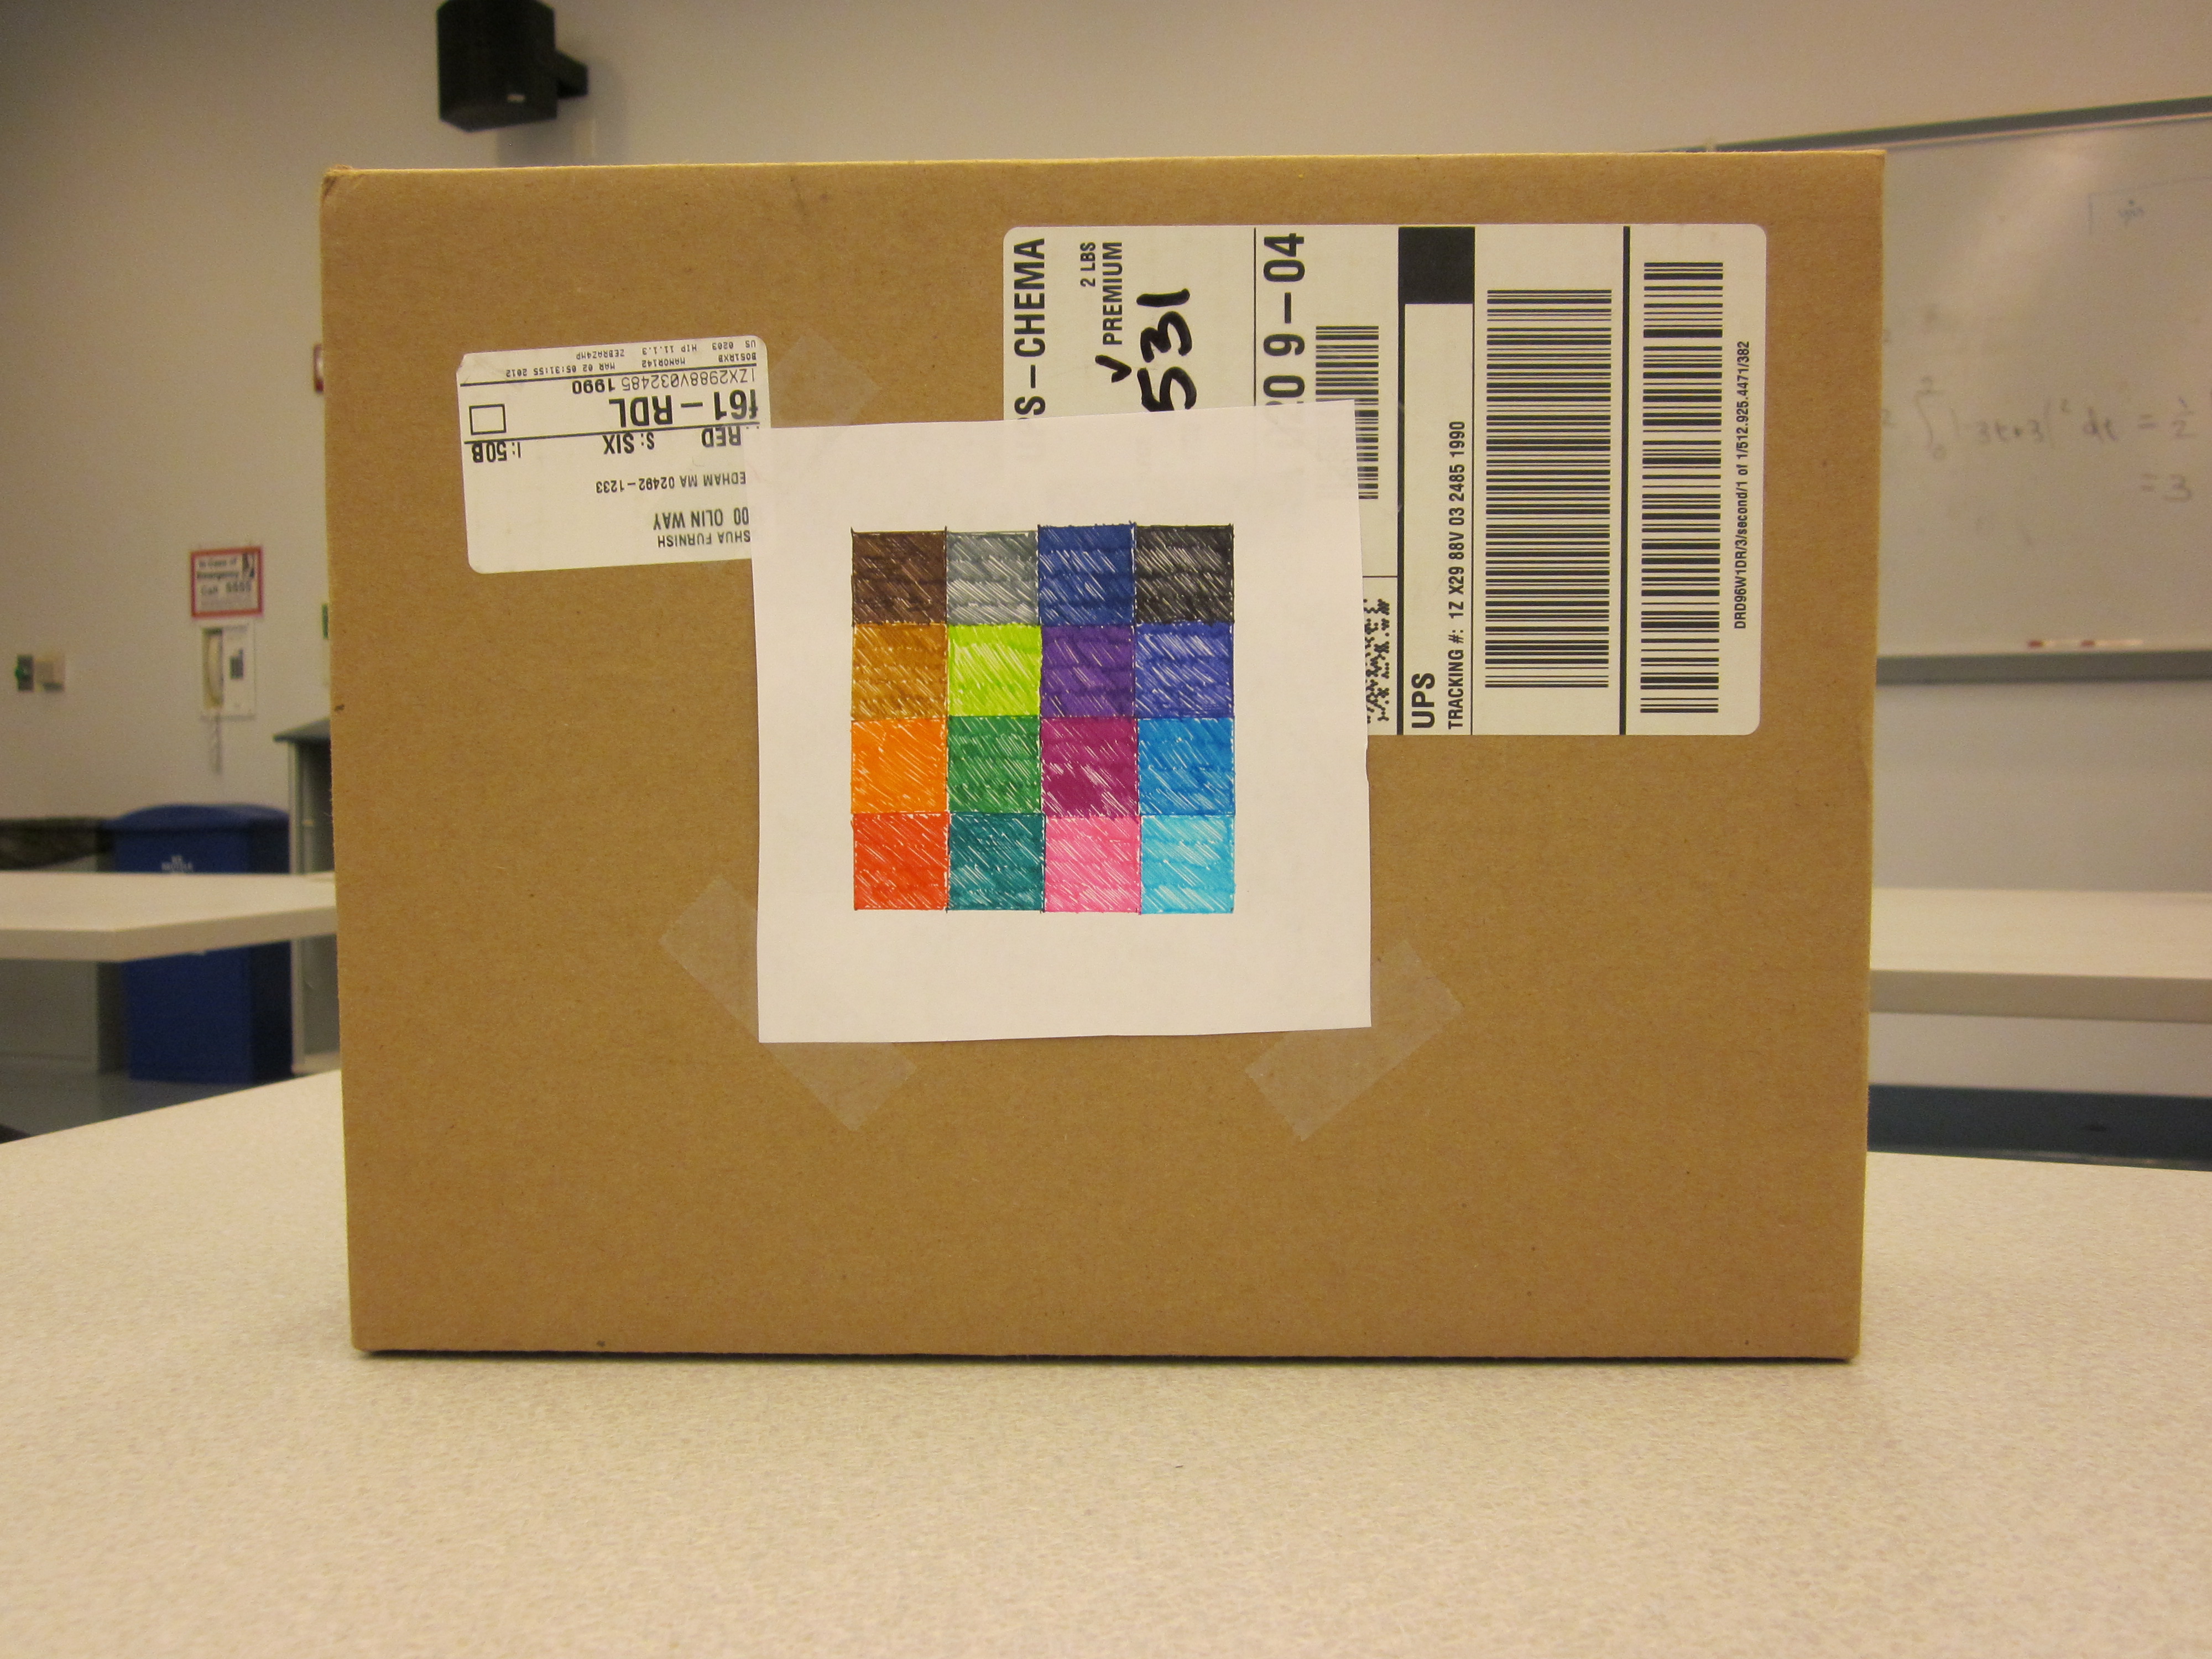
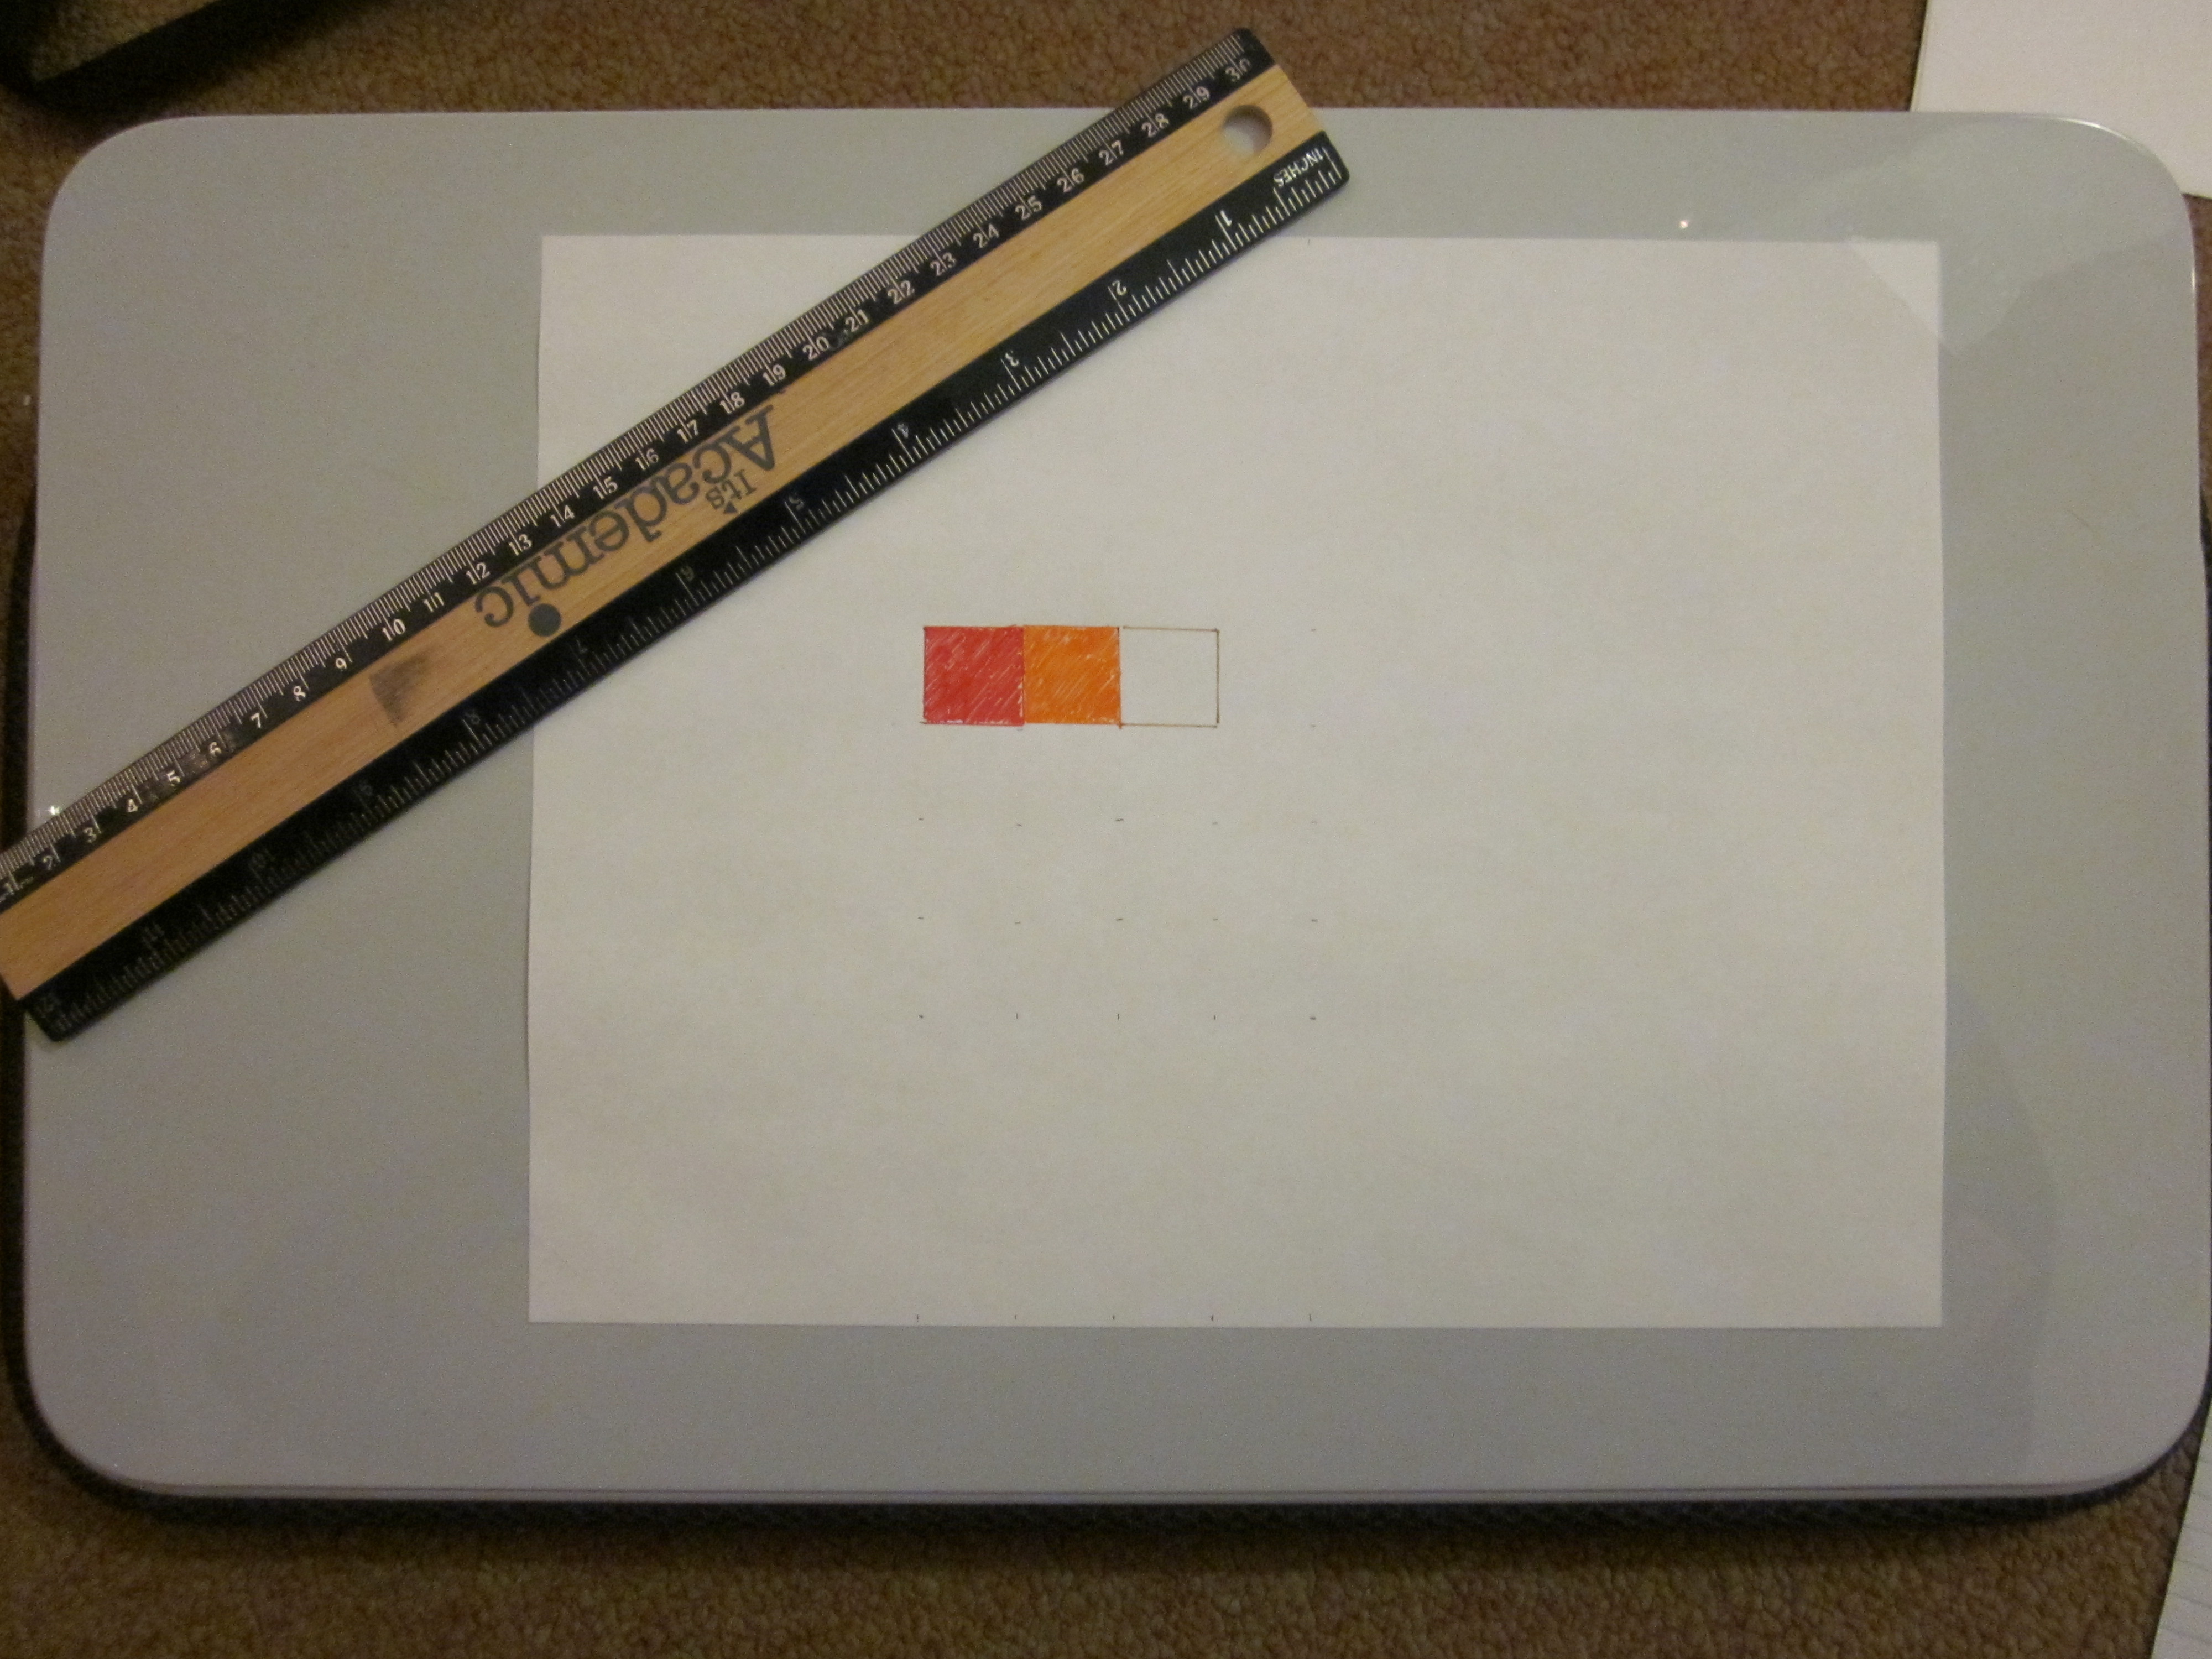
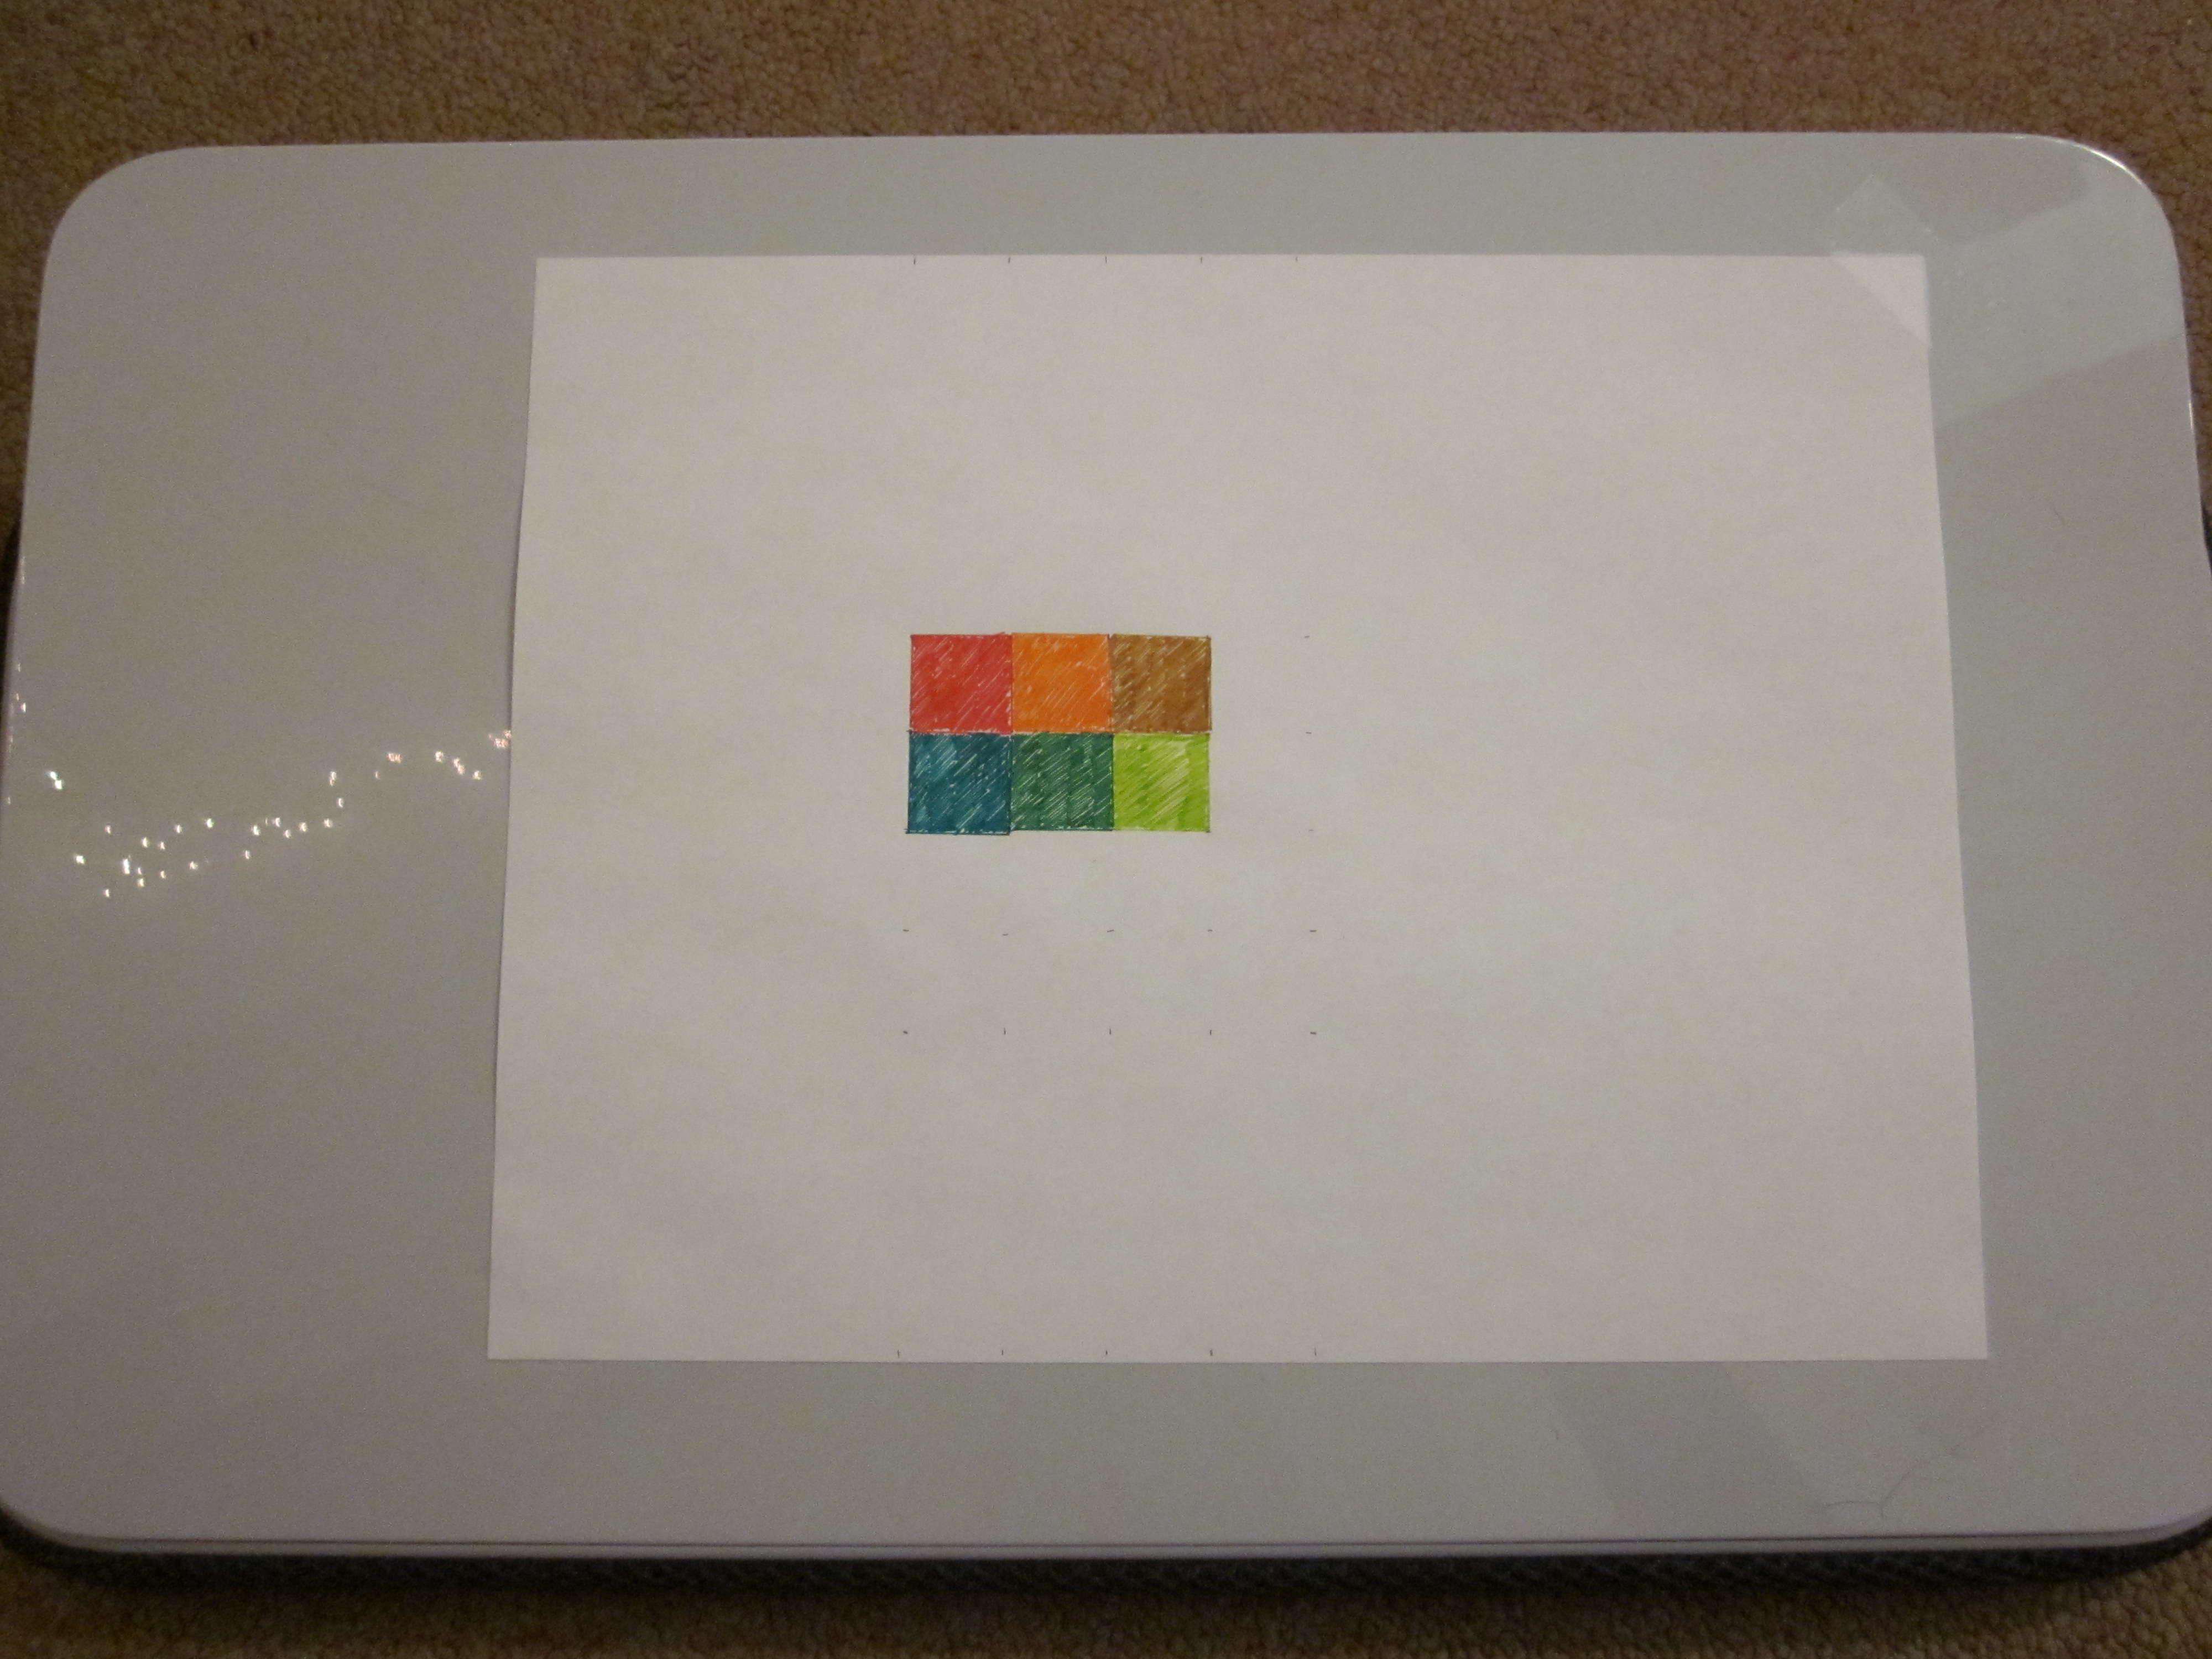
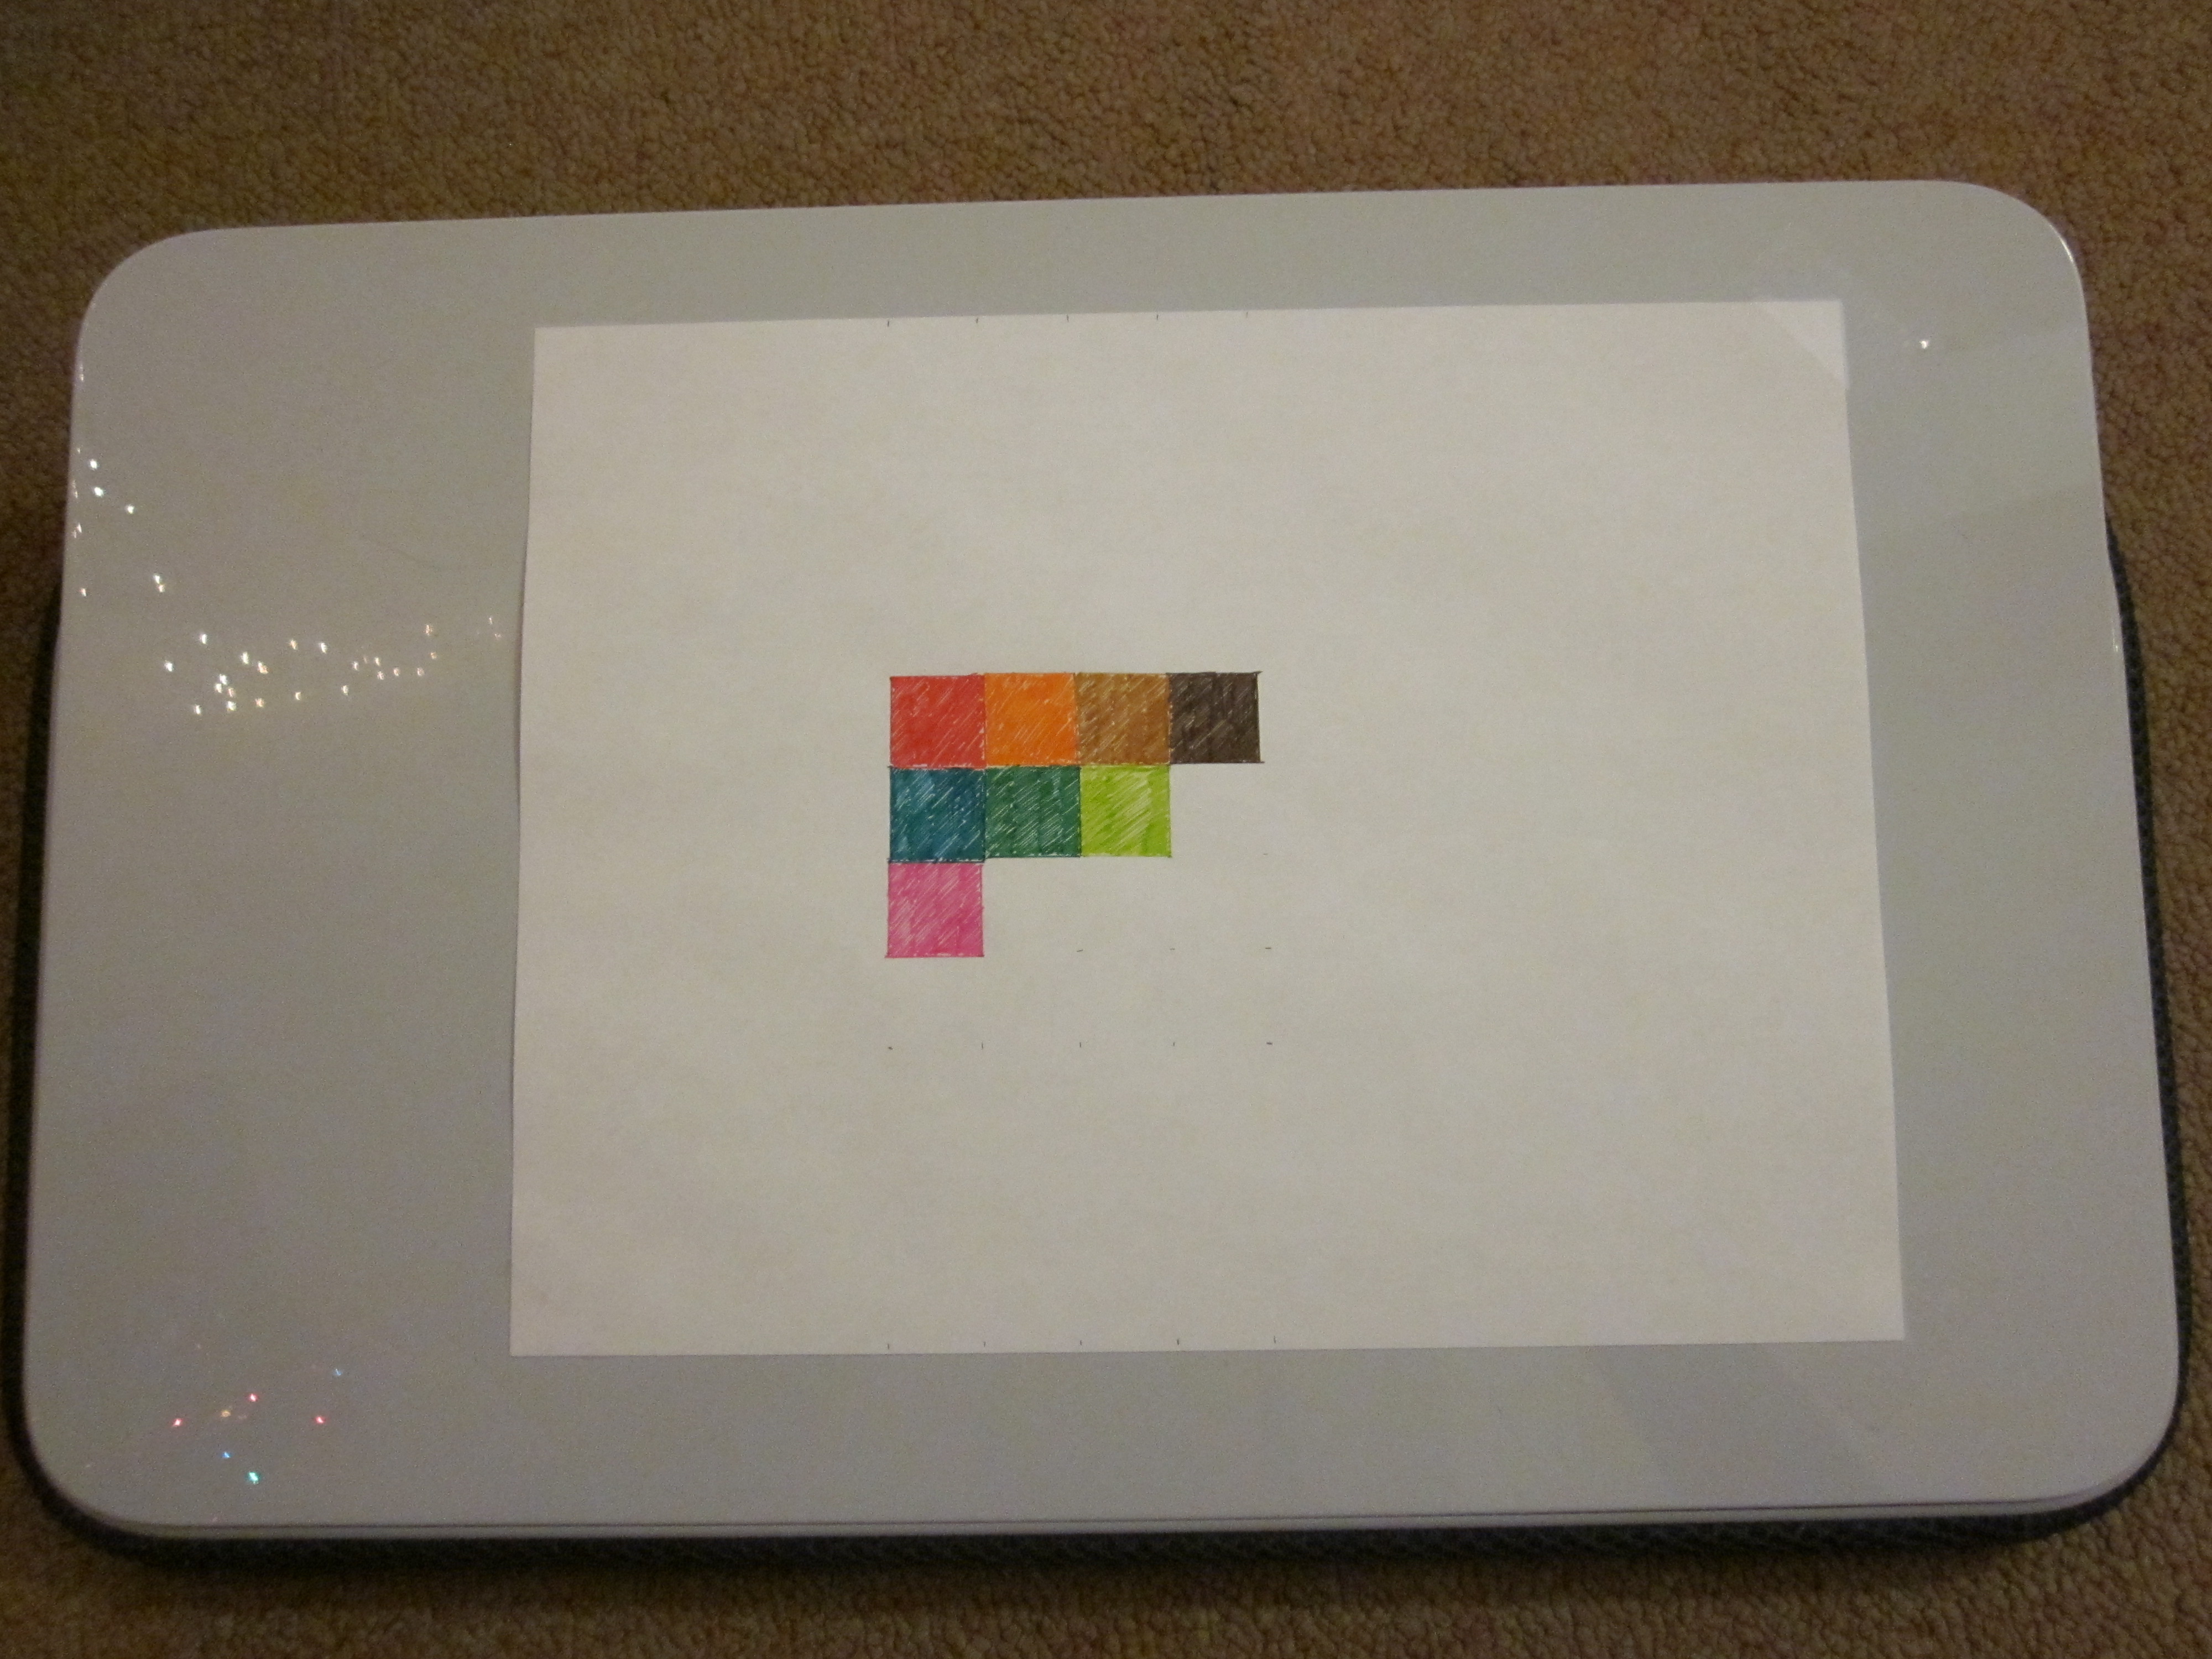
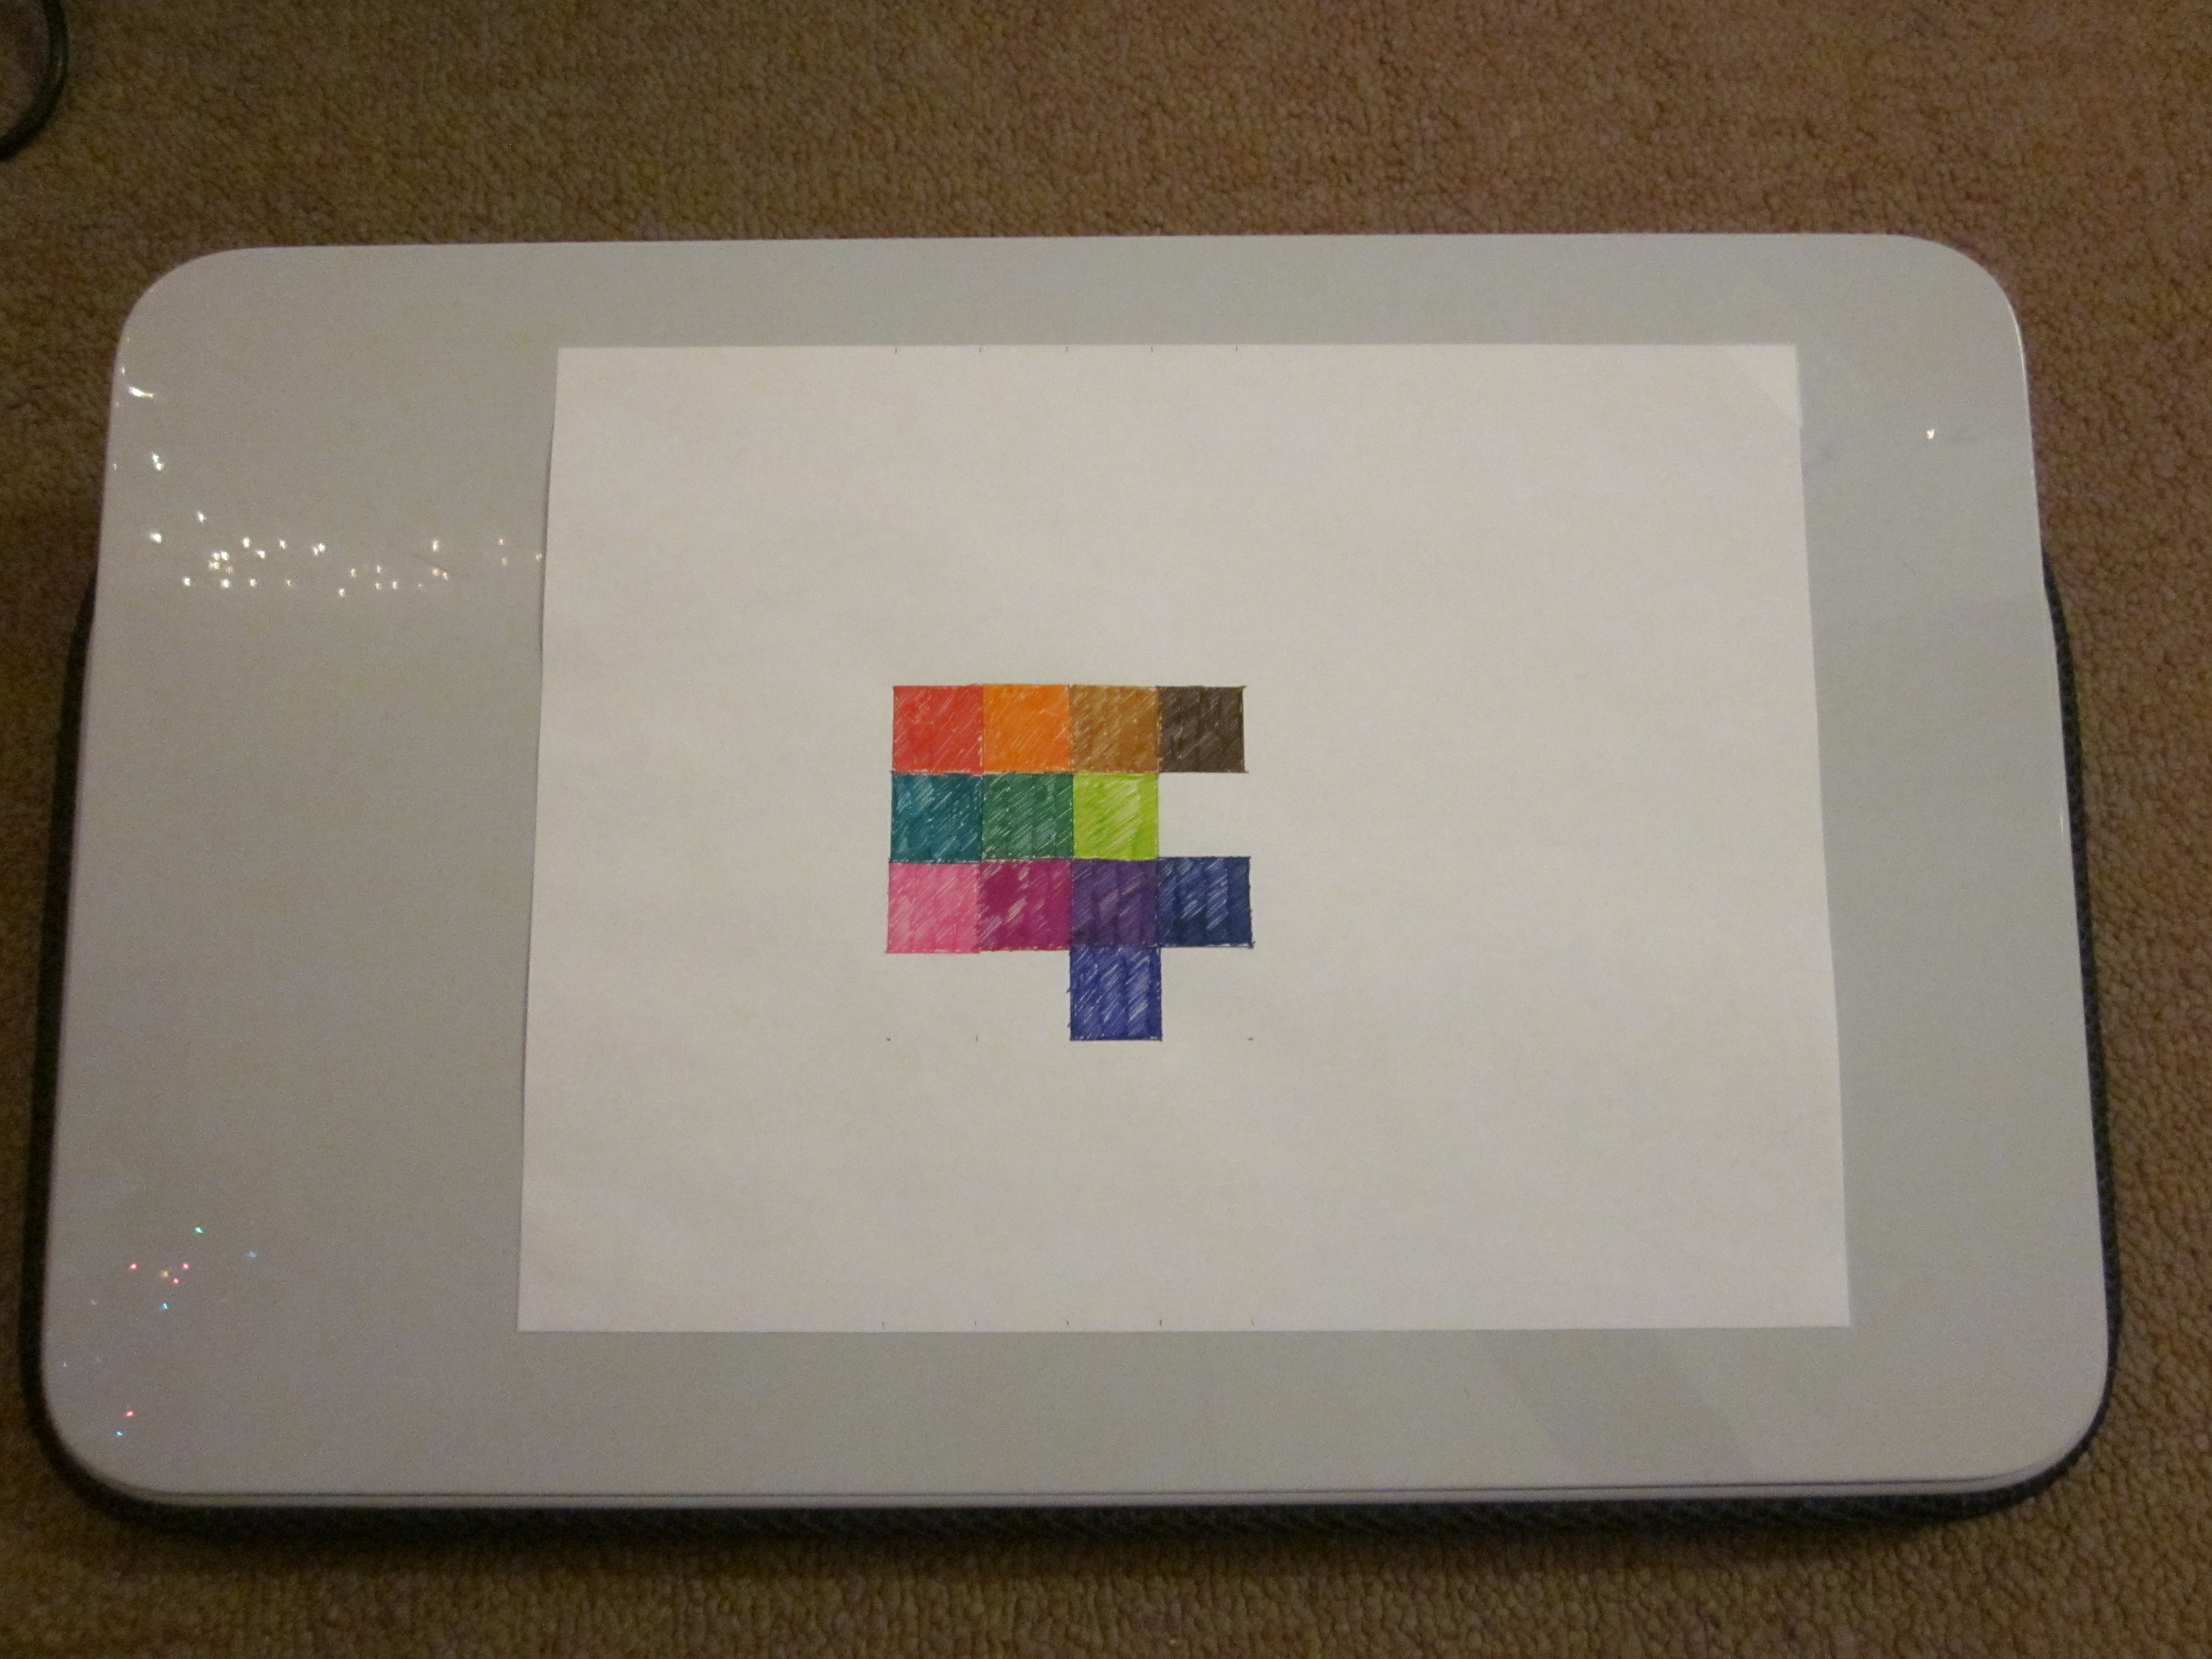
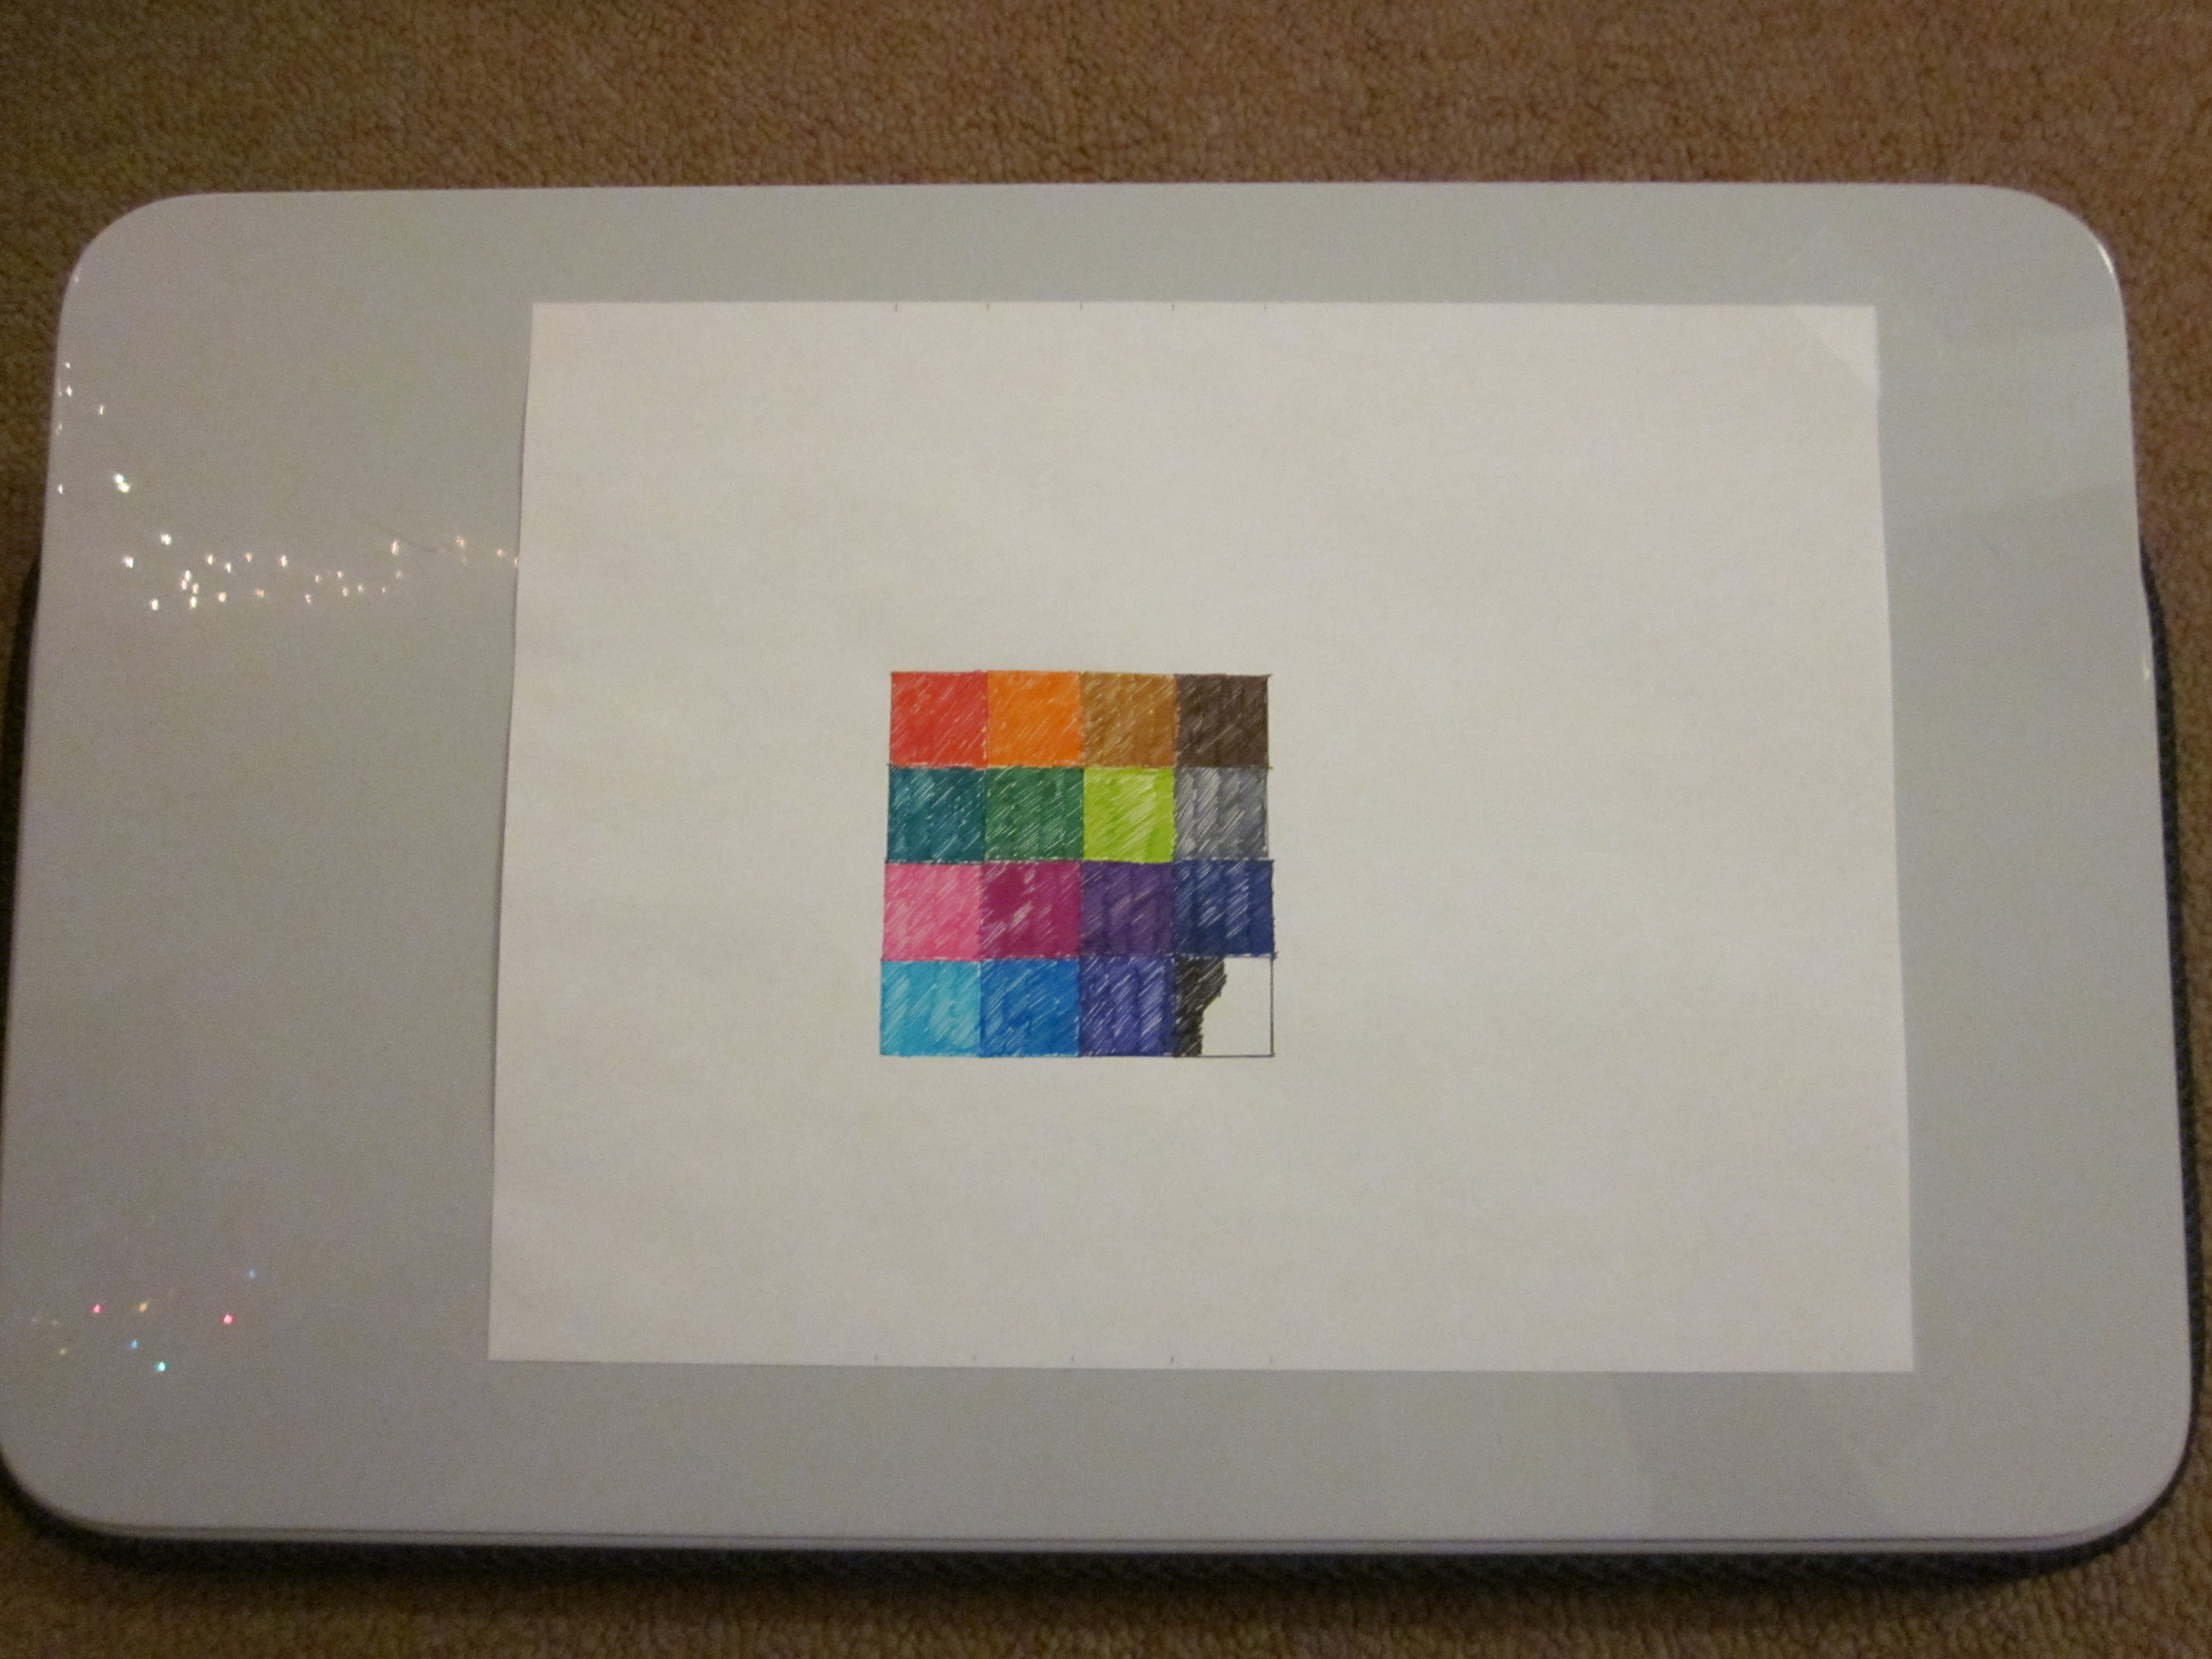
Obtain a sheet of plain white paper- something matter, not glossy. Select 16 colors of your favorite paints/markers/color pencils- again, matte colors, no bright sheens. Mark out a 4x4 grid (mine was 3/4" per side of an individual square). Color 'em in! While order doesn't matter specifically, you may find it helpful to place the black square in one of the corners so it can be used for orientation purposes.
Assemble the Stylus
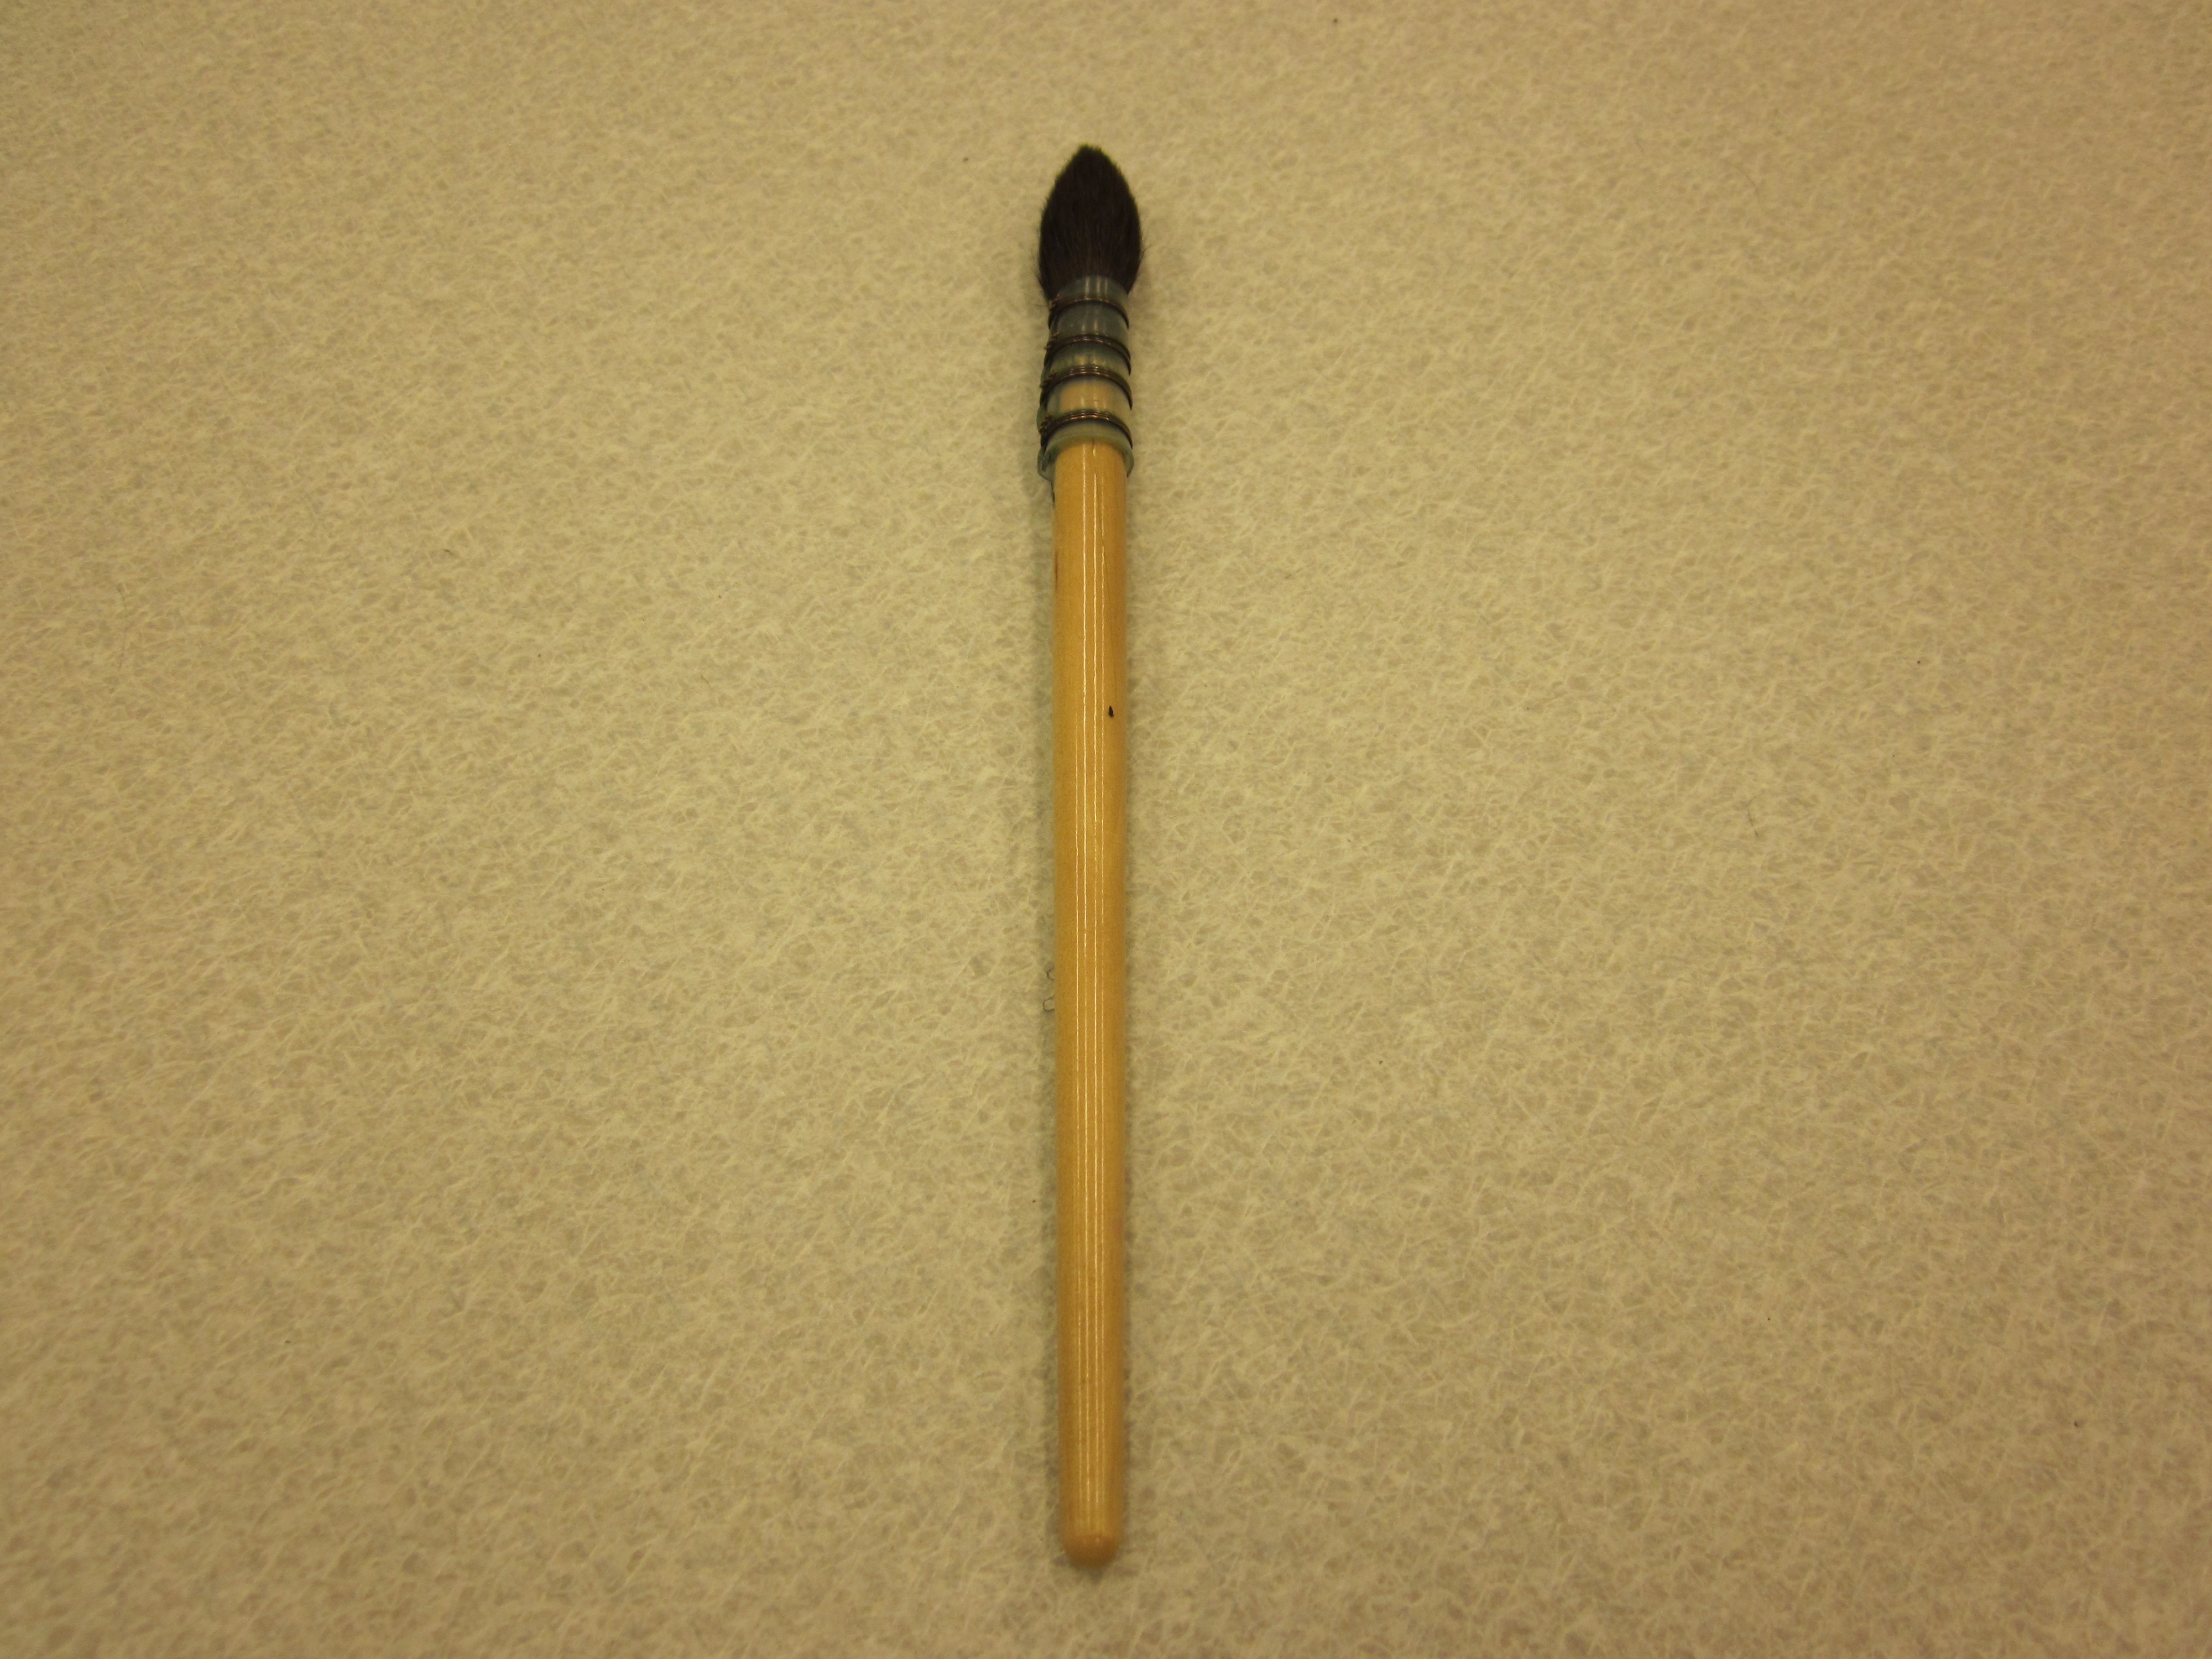
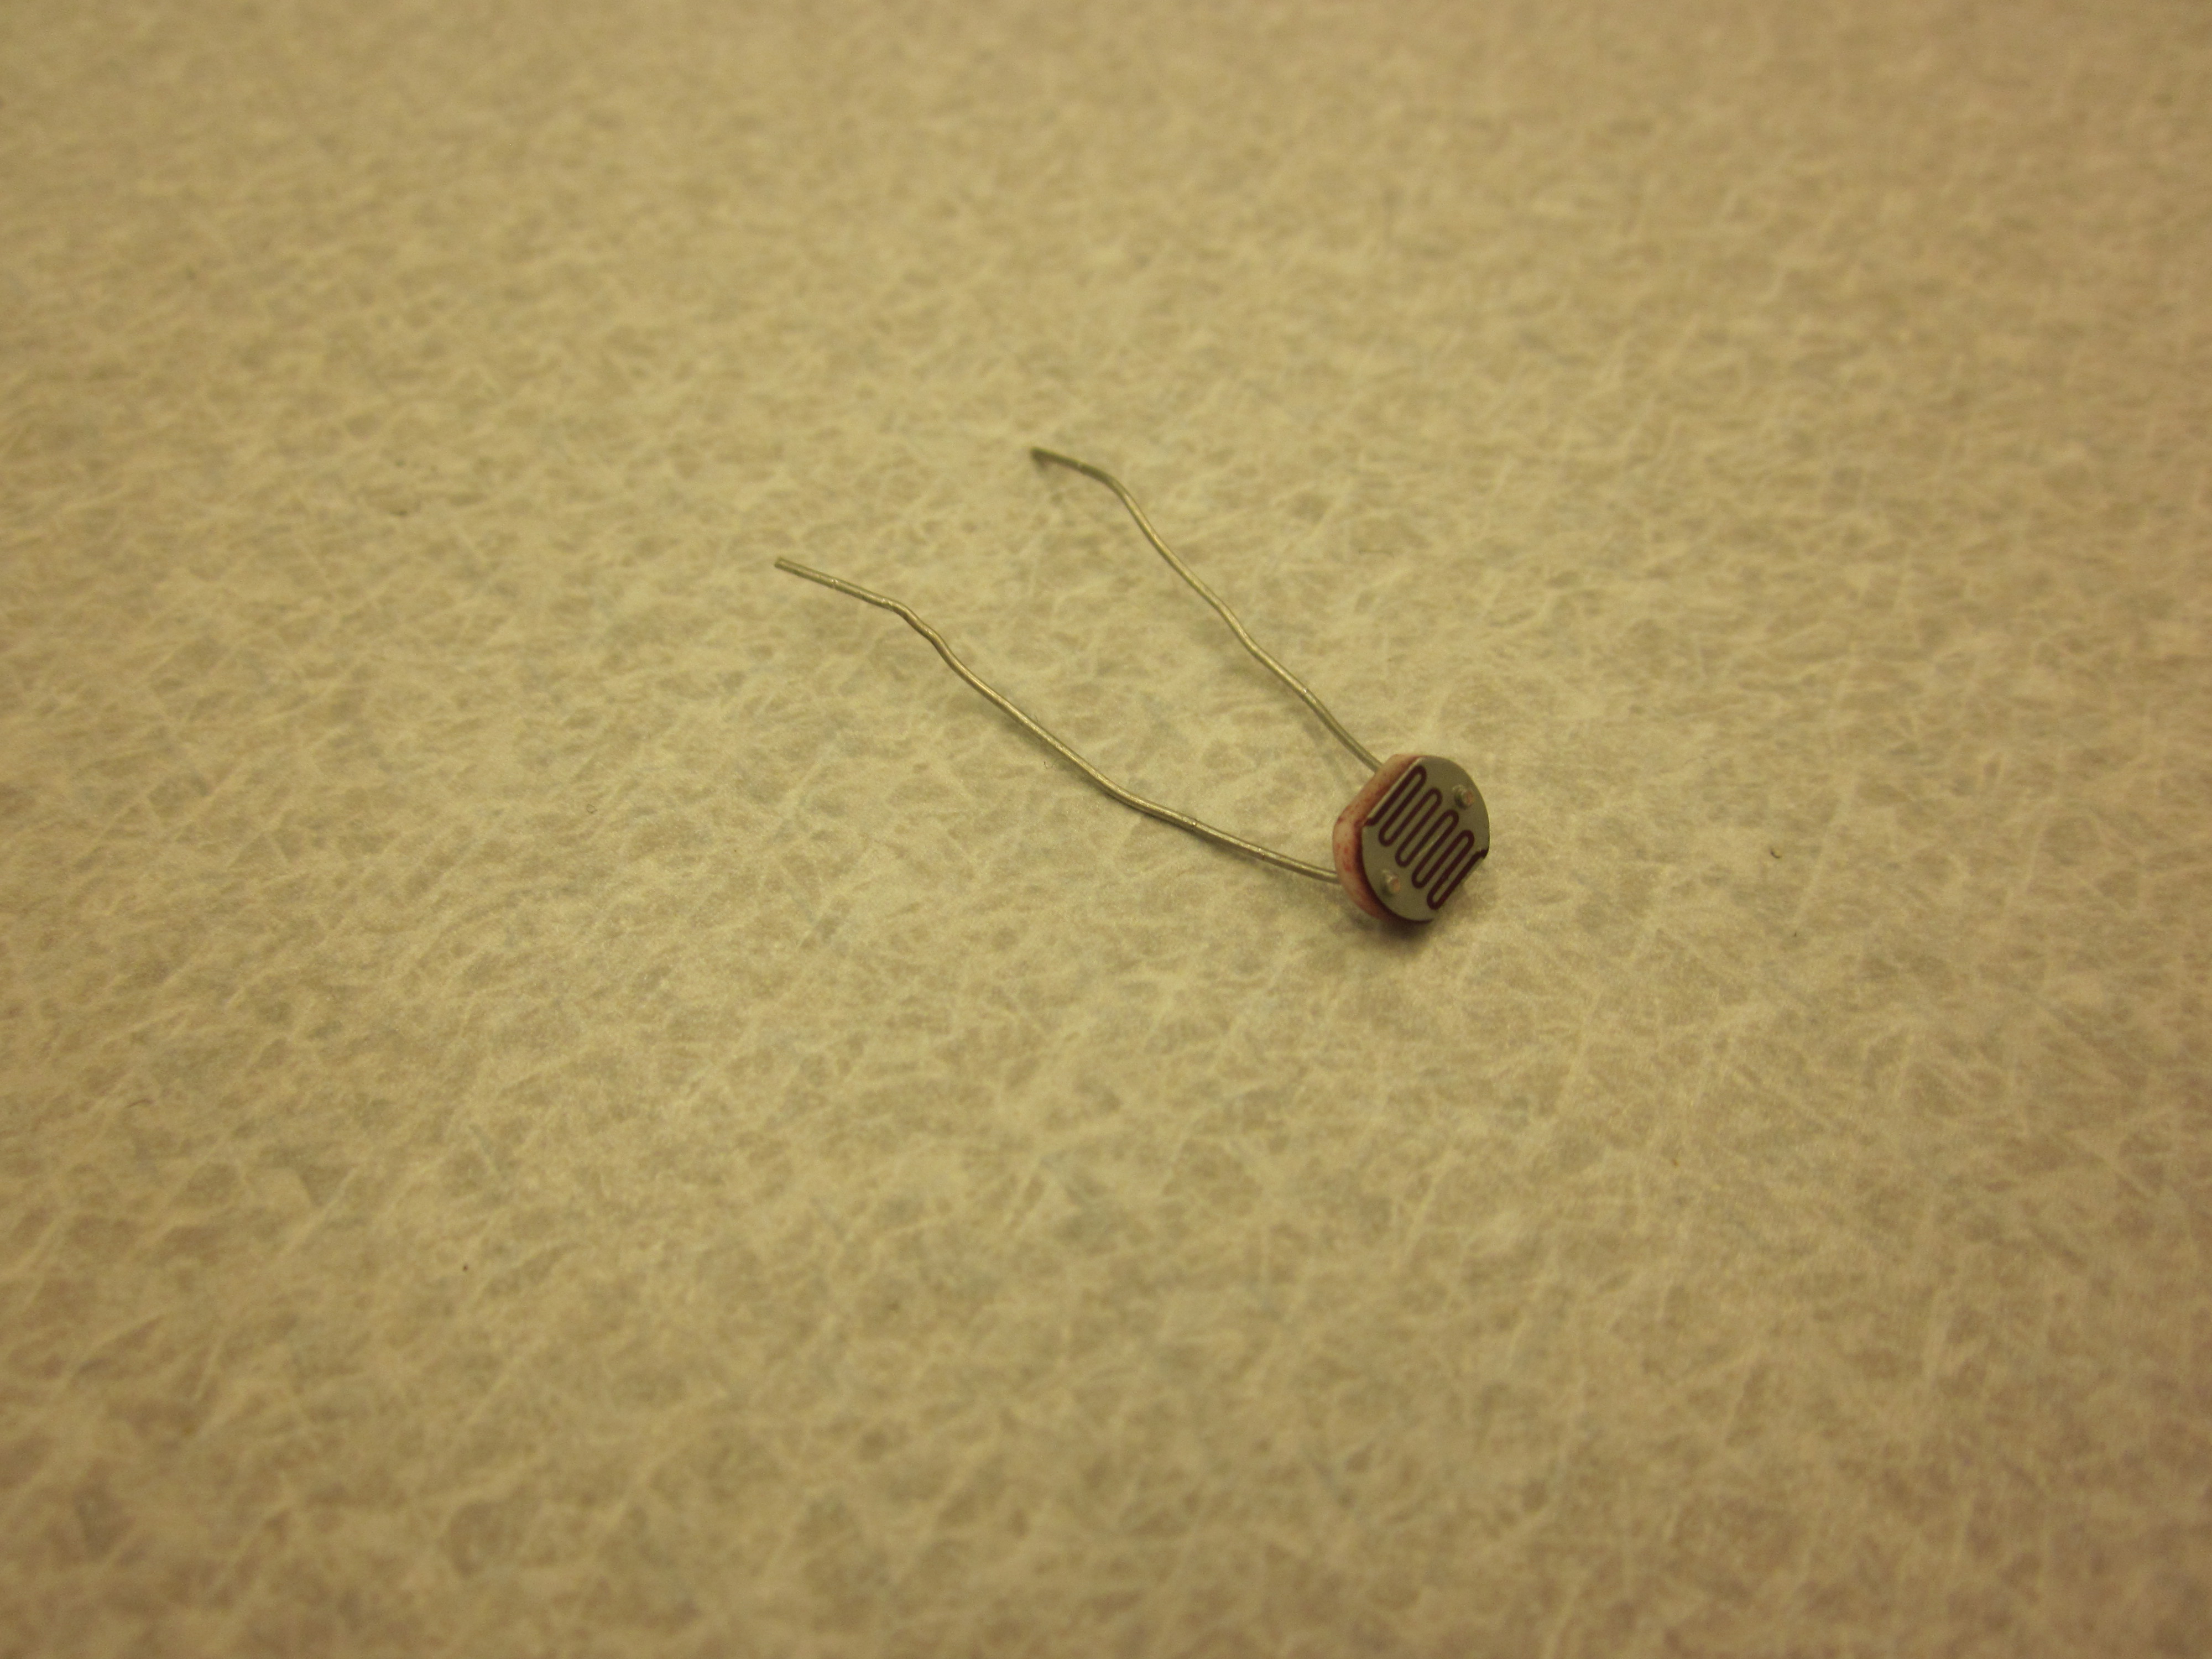
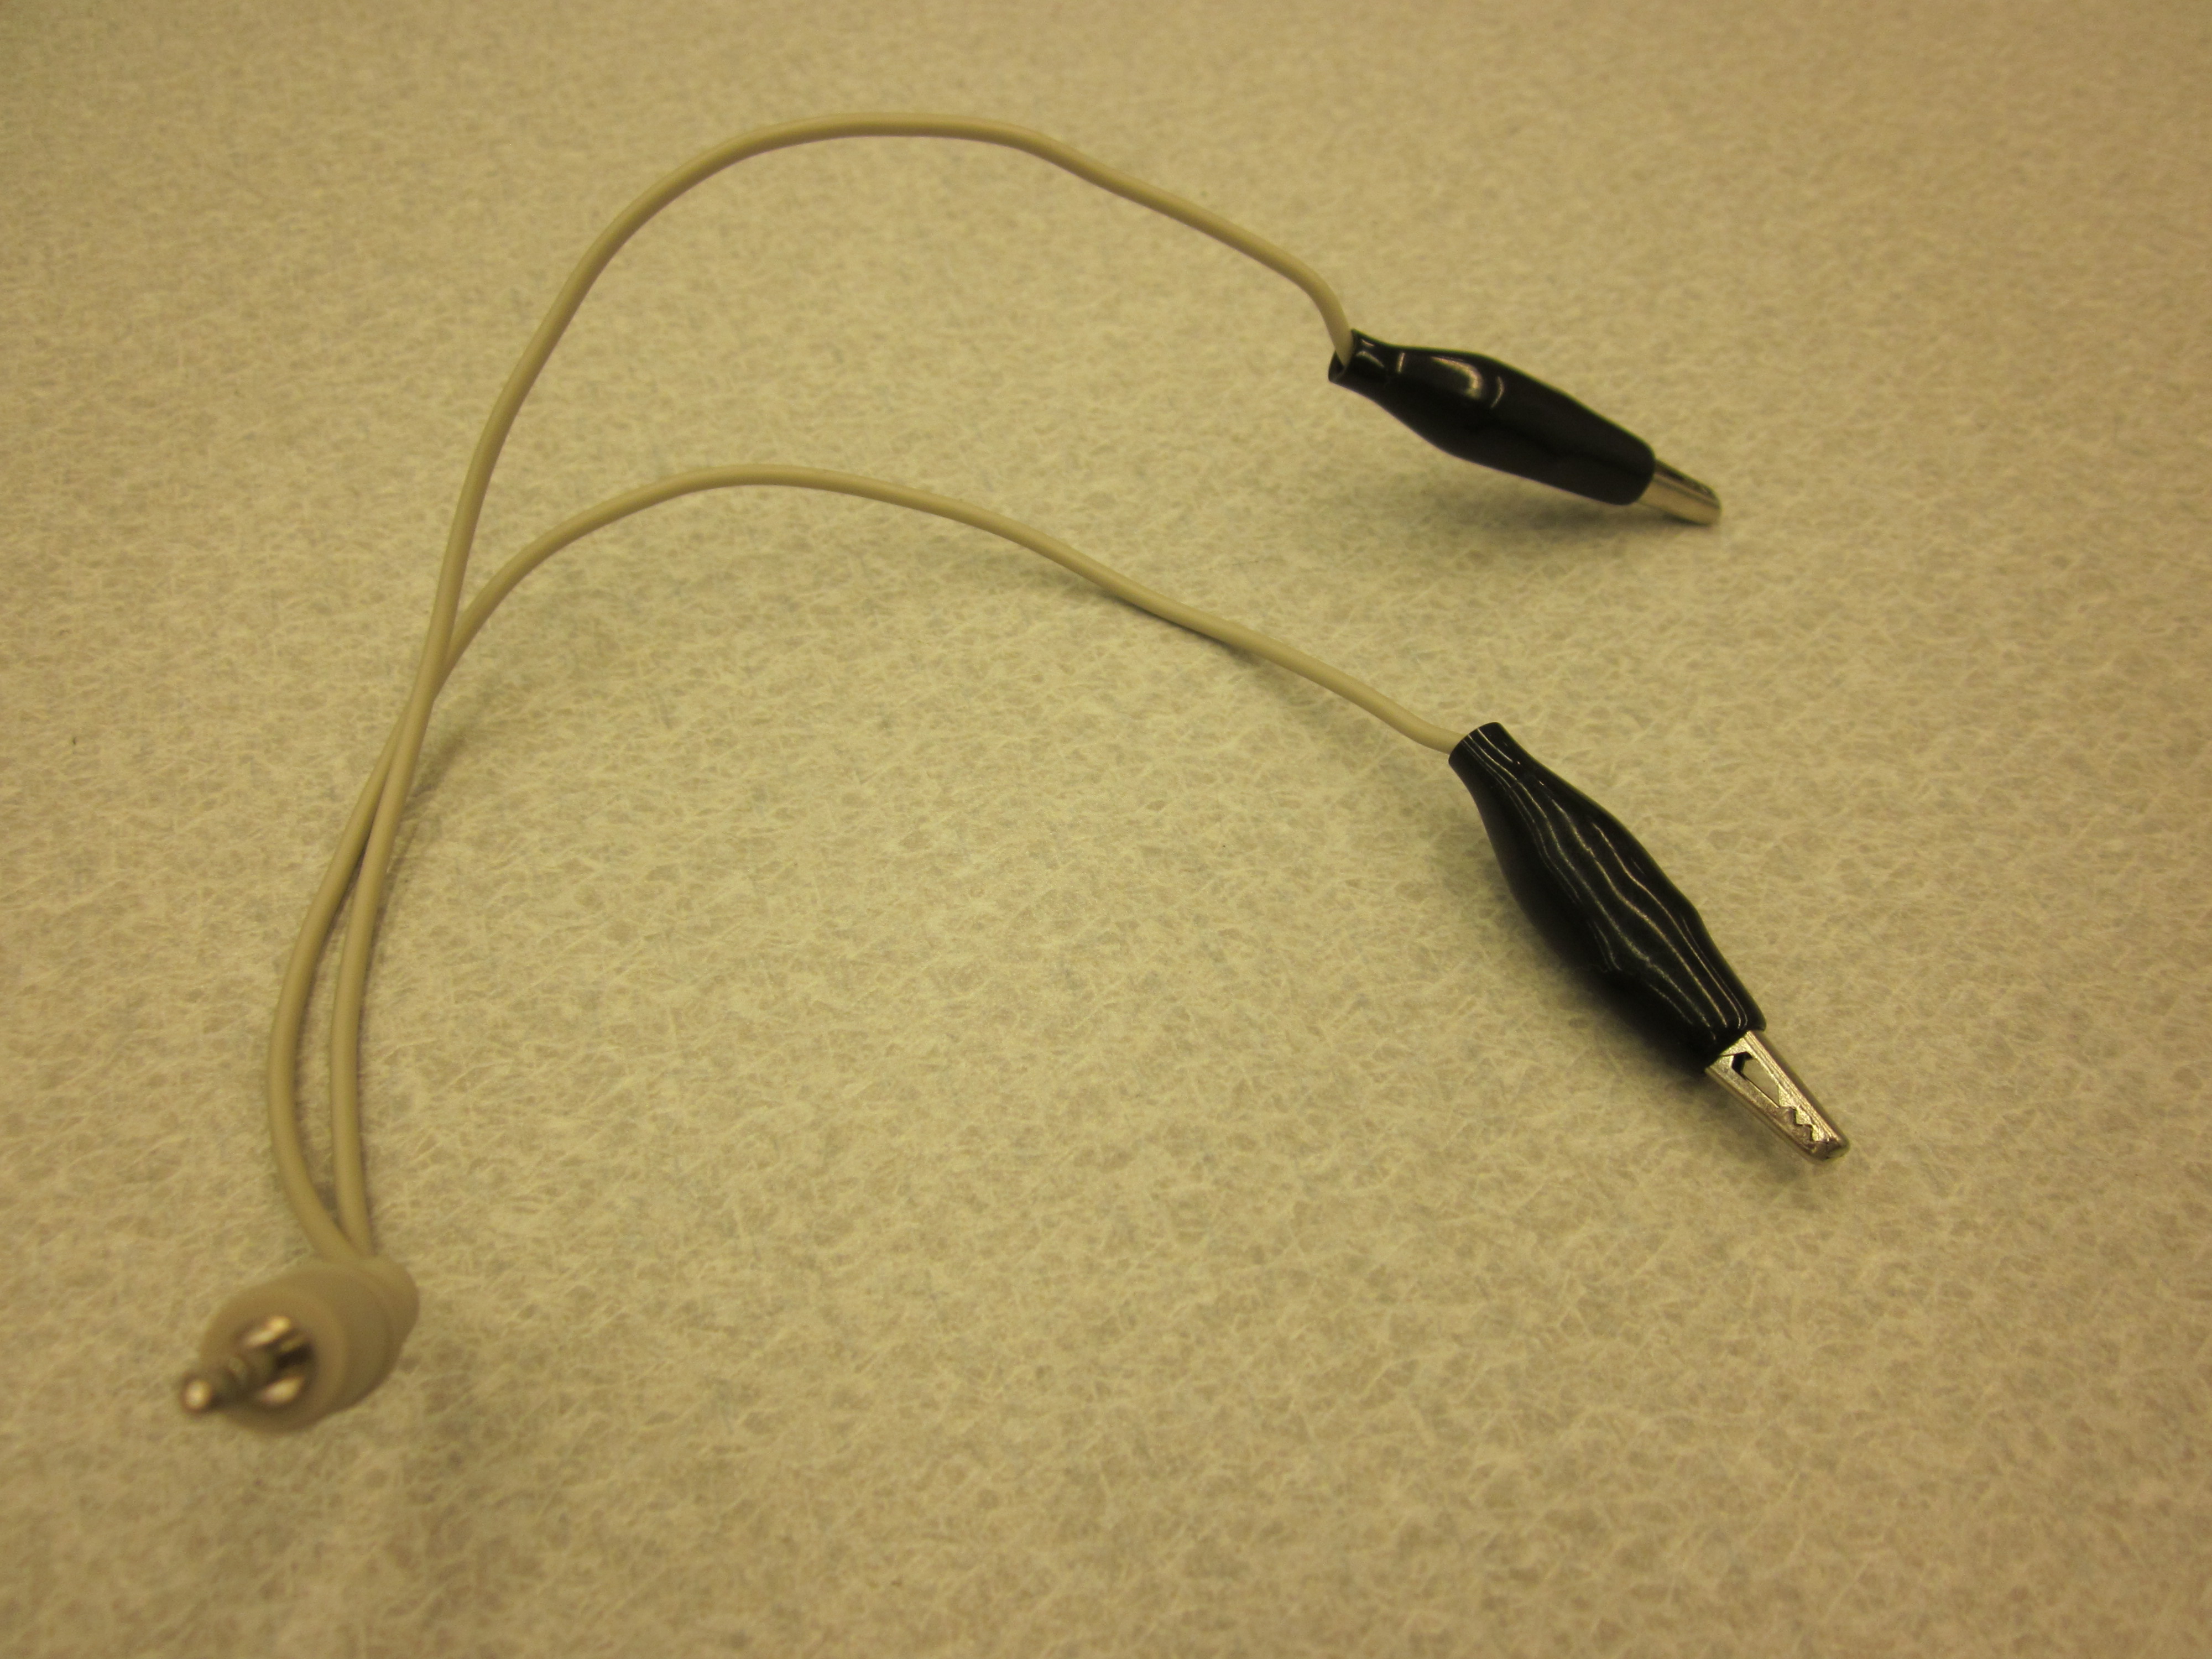
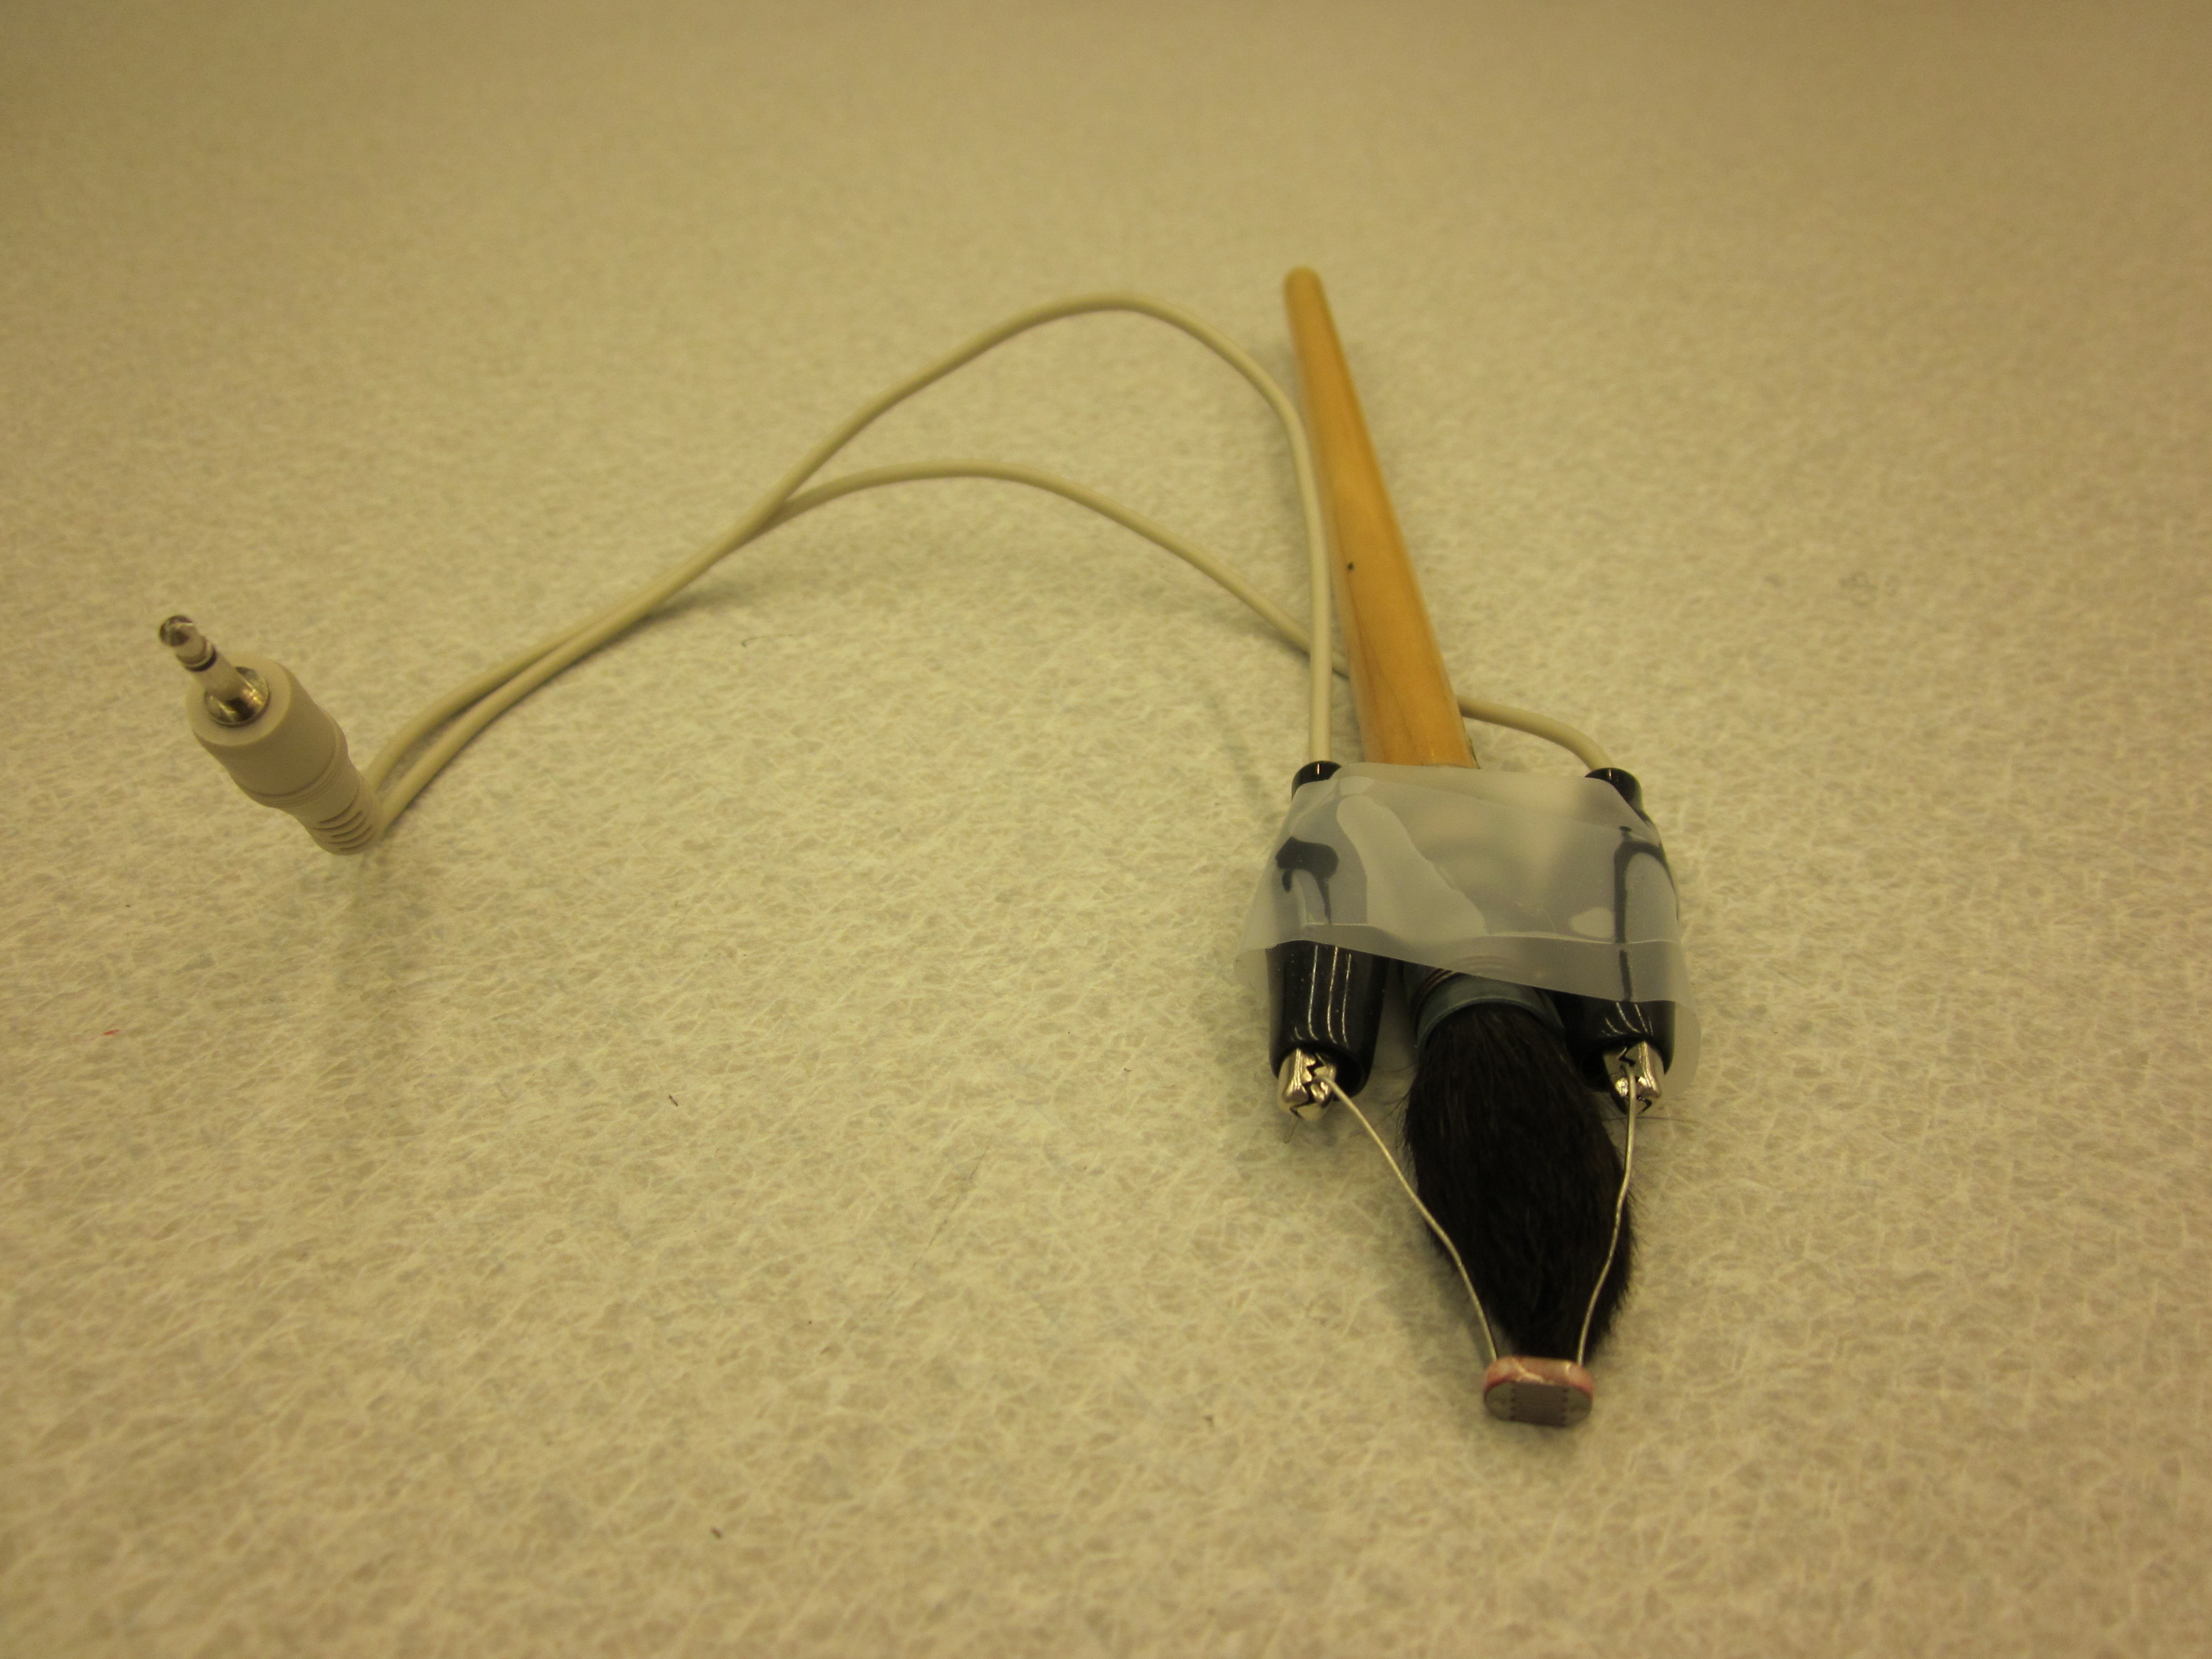
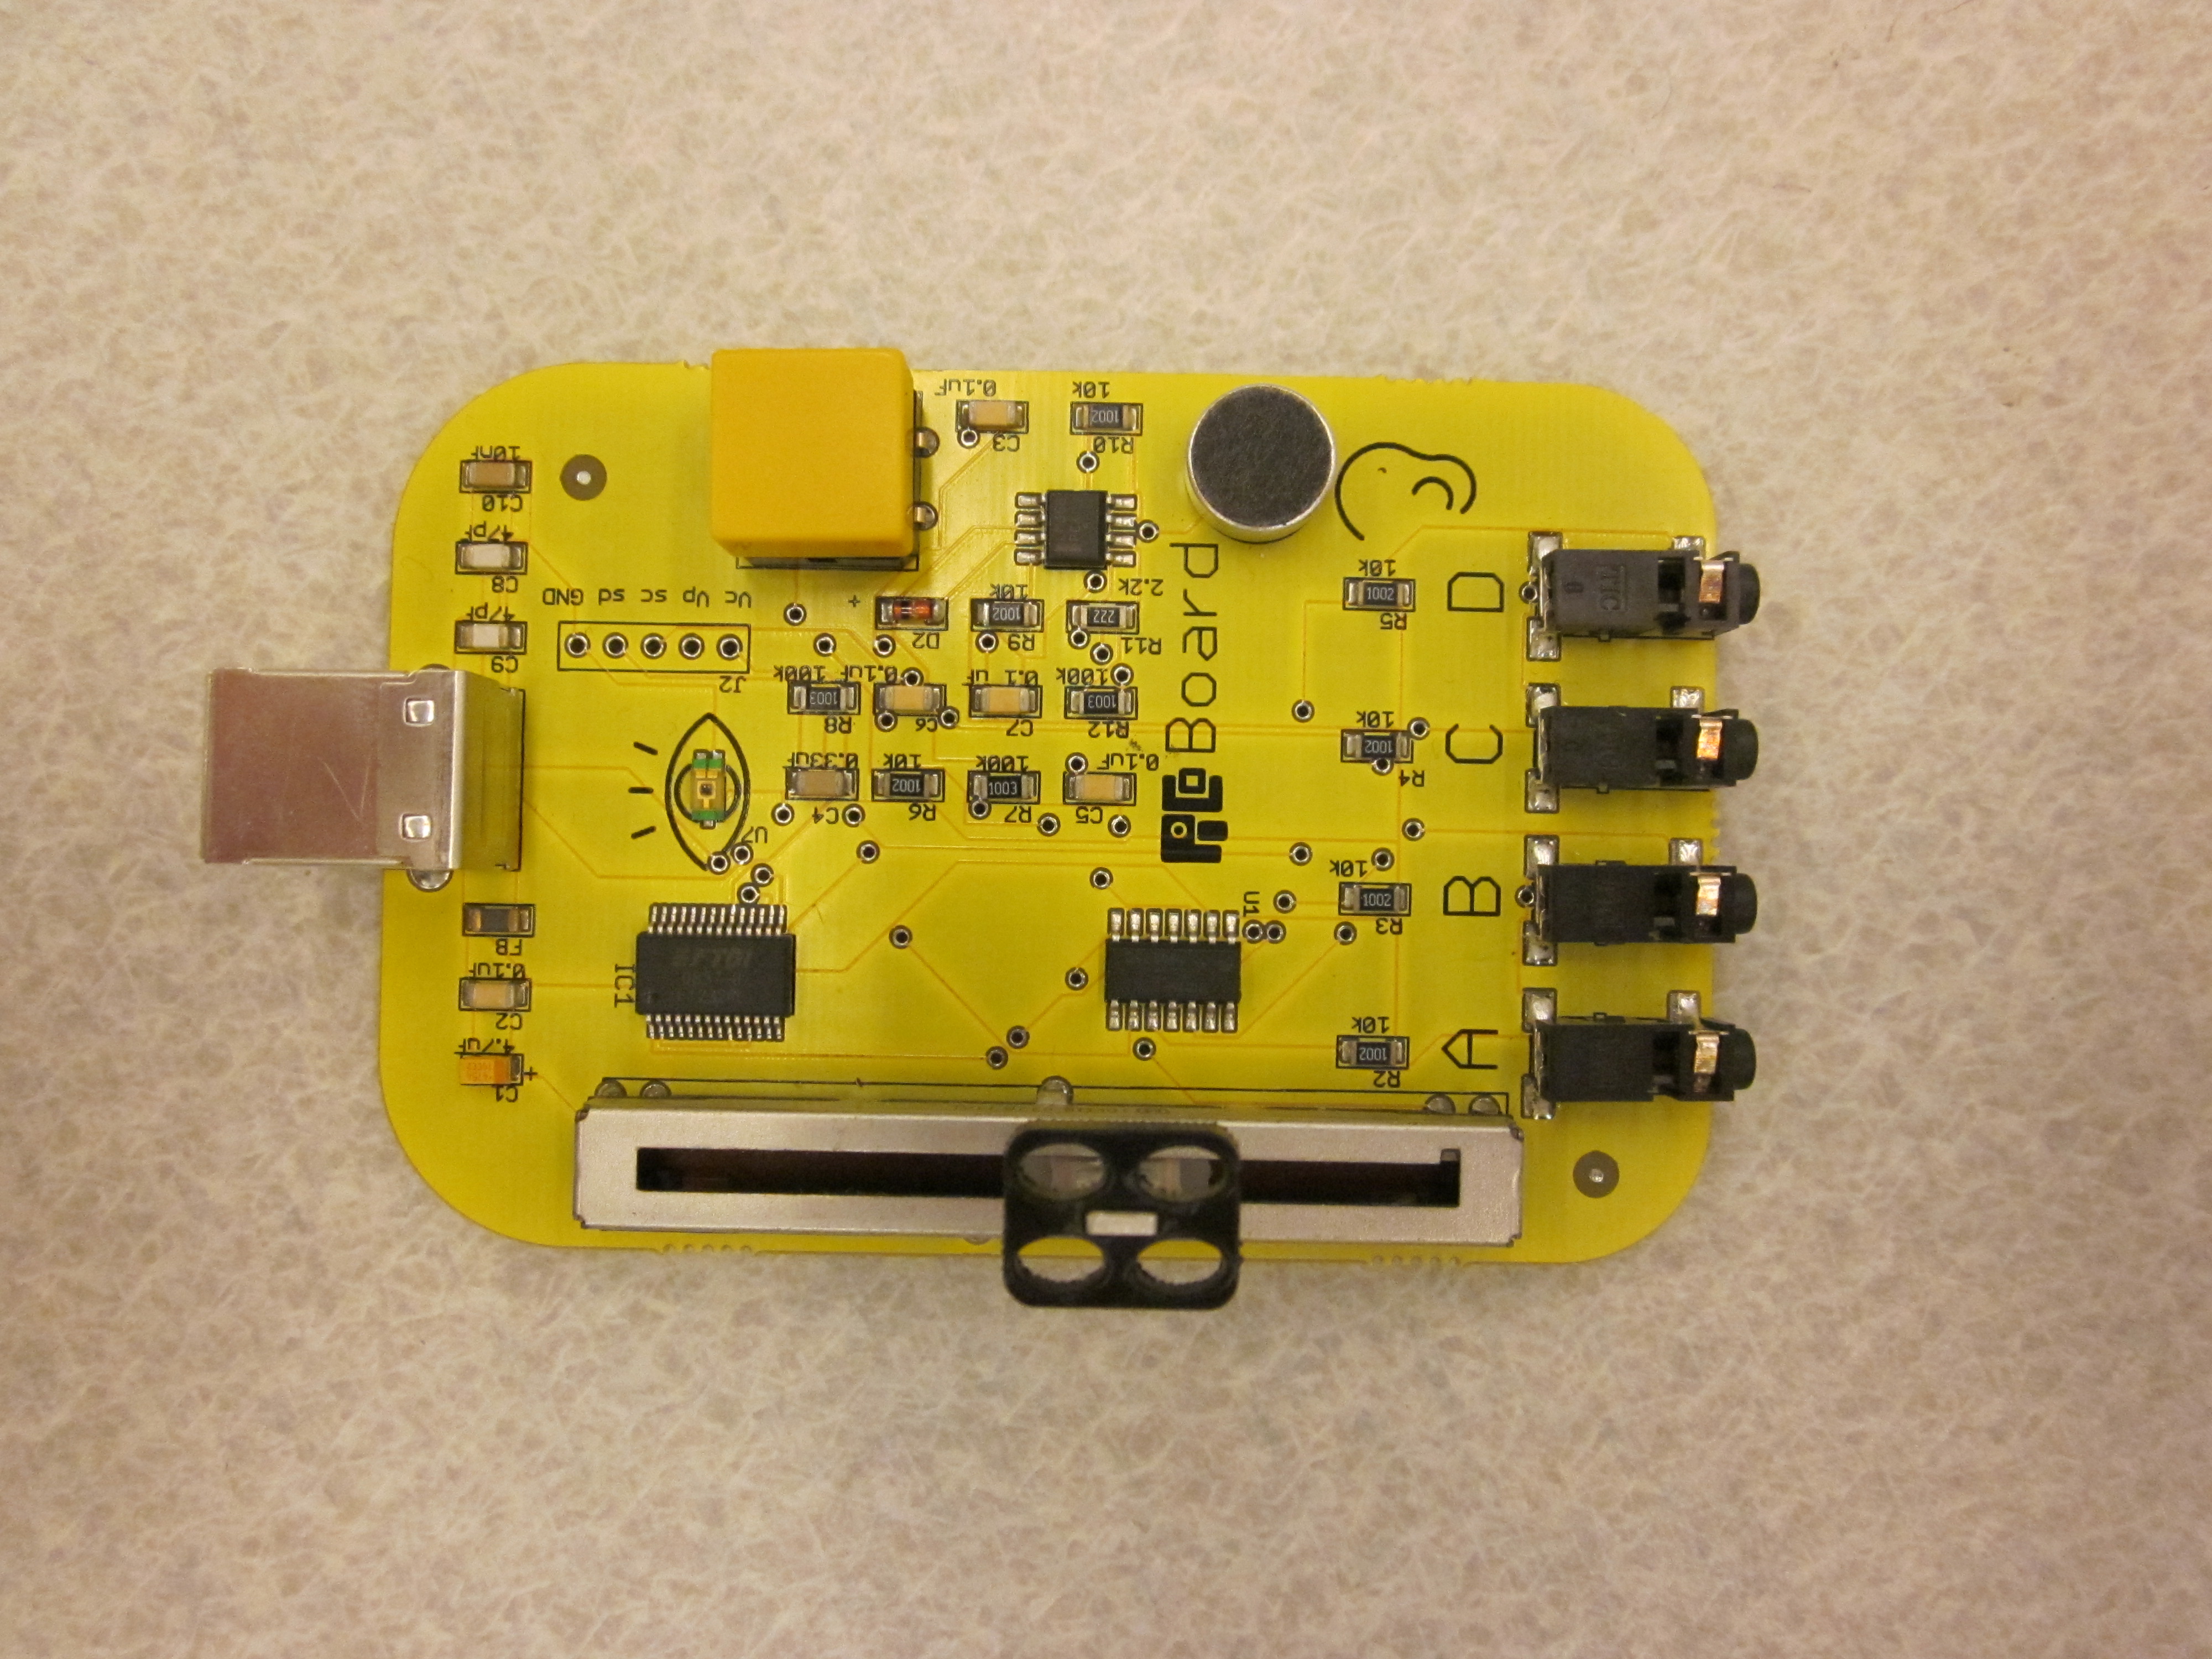
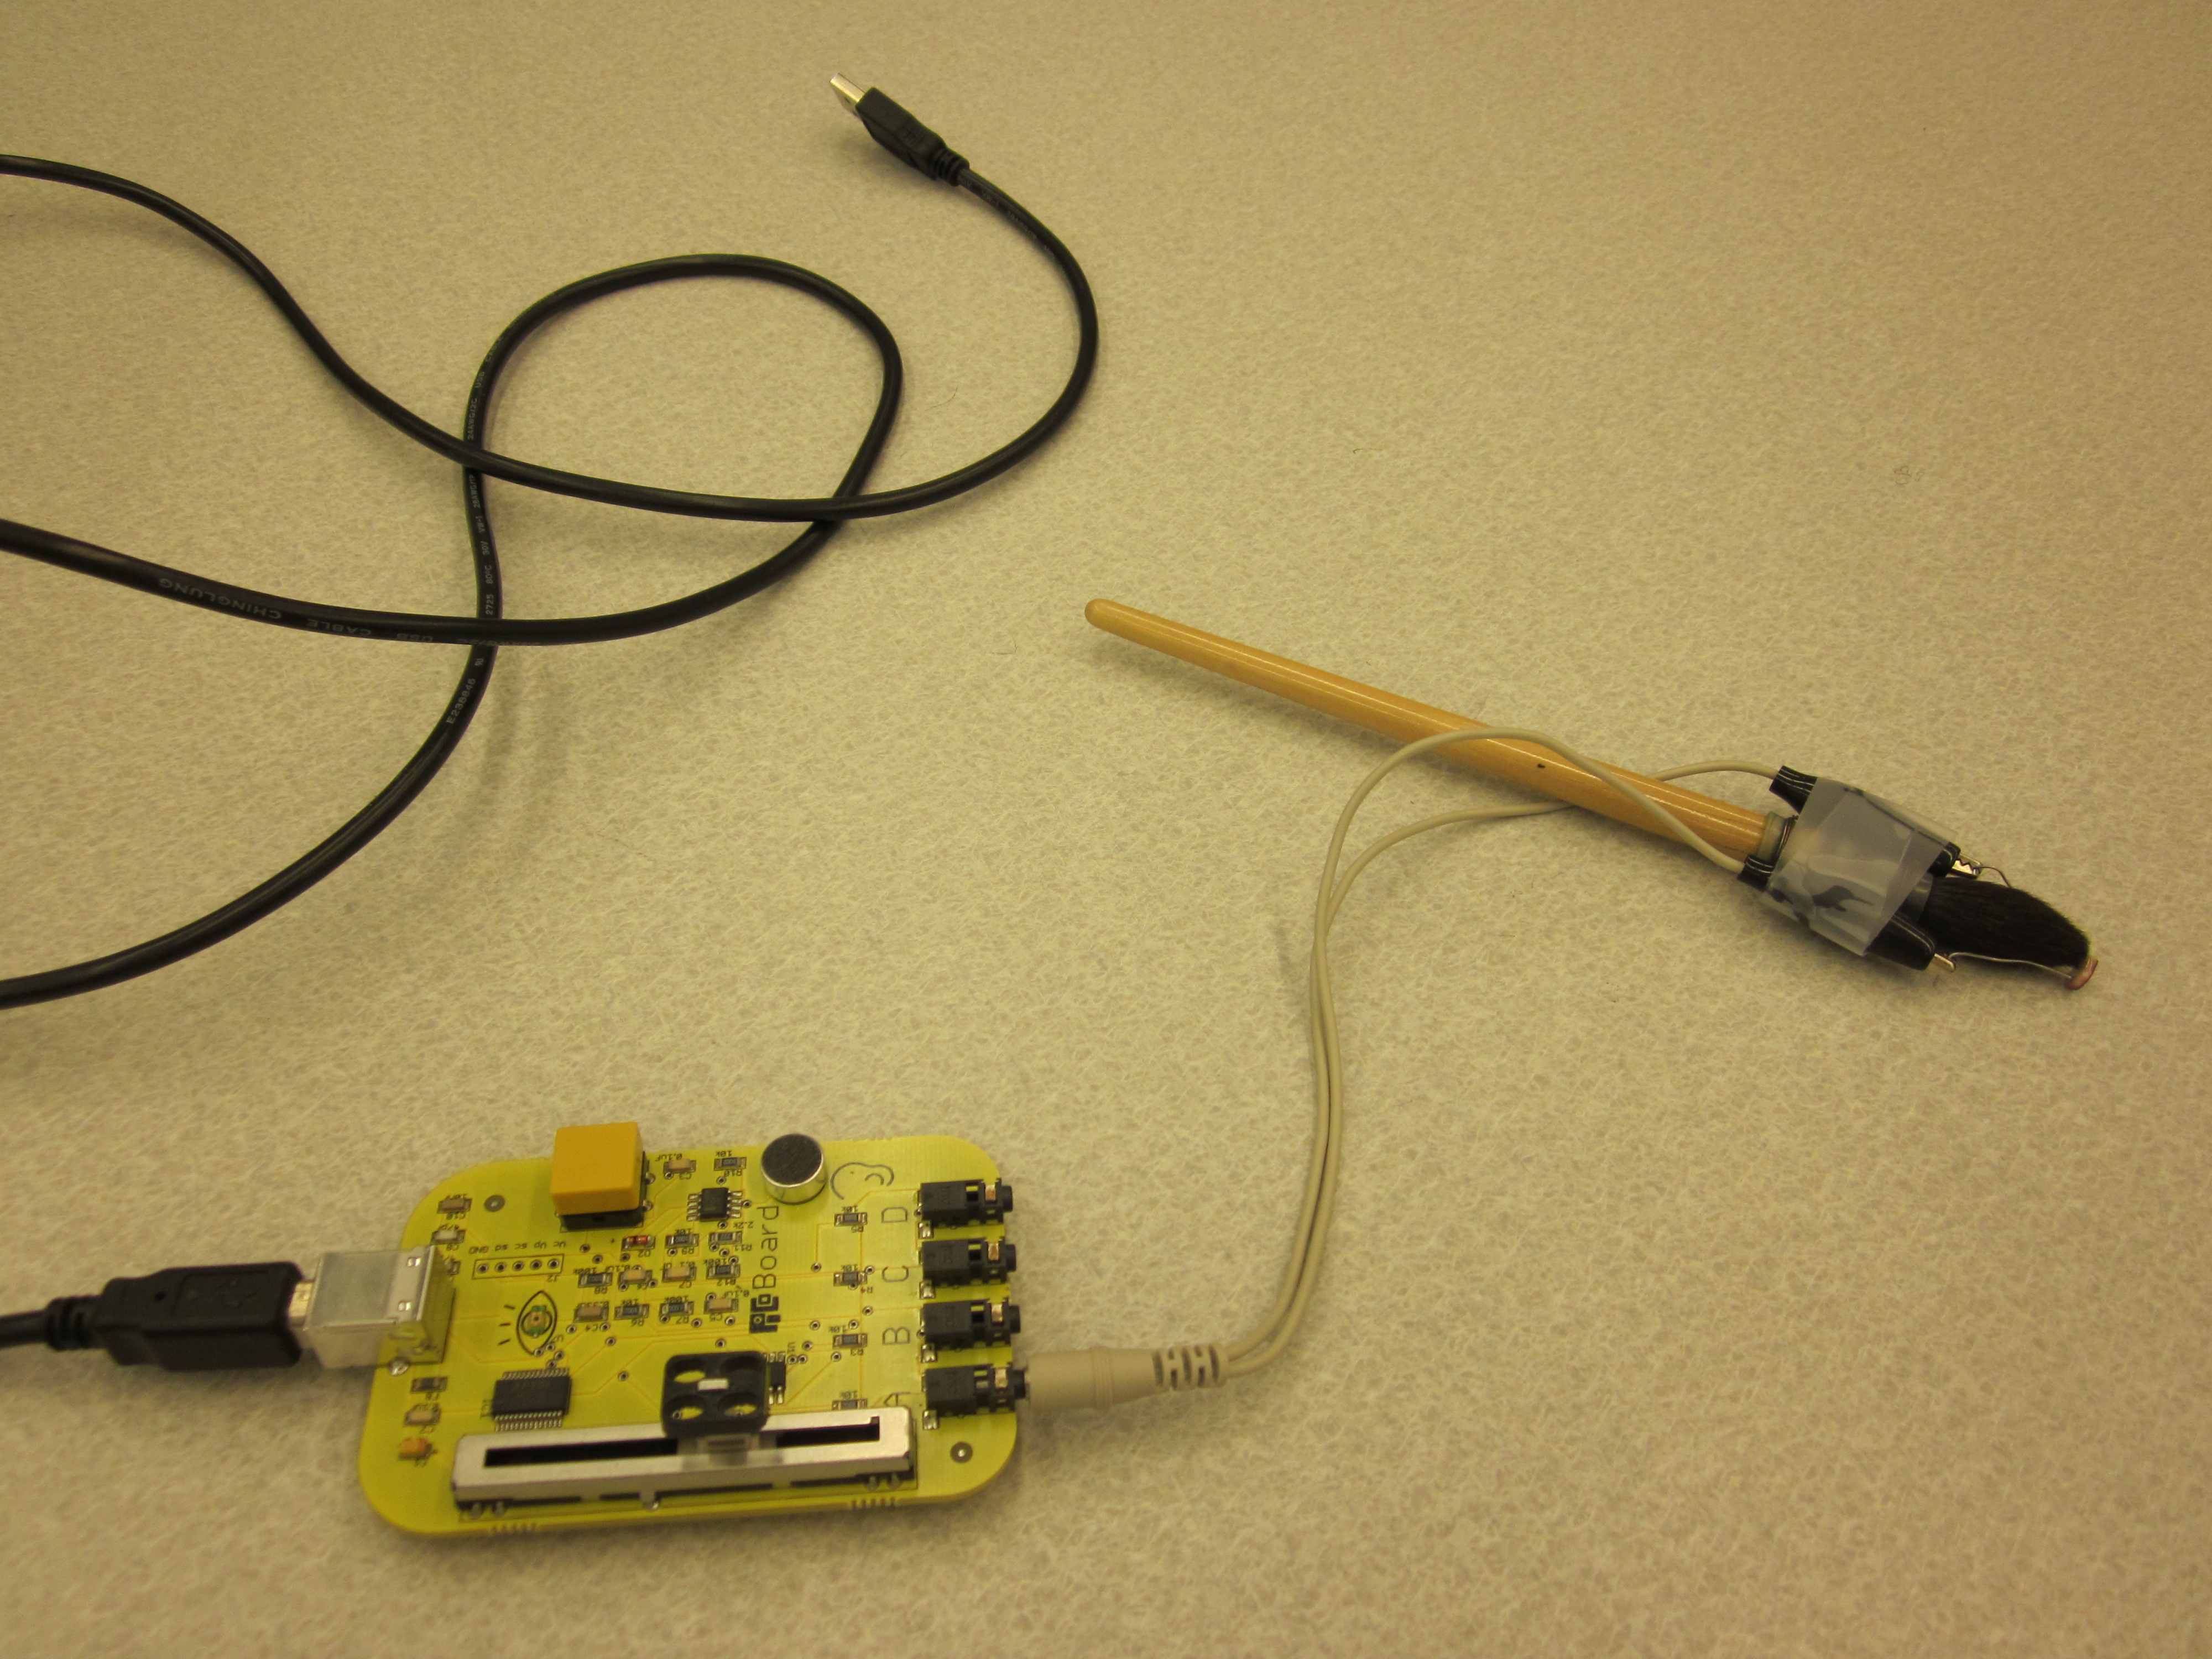
Attach a photo-cell to a break-out cable for the Picoboard, and mount a photo-diode at the end of a paintbrush. Plug the sensor-stylus into the Picoboard, plug the Picoboard into your computer.
Calibration & Coding (Scratch)
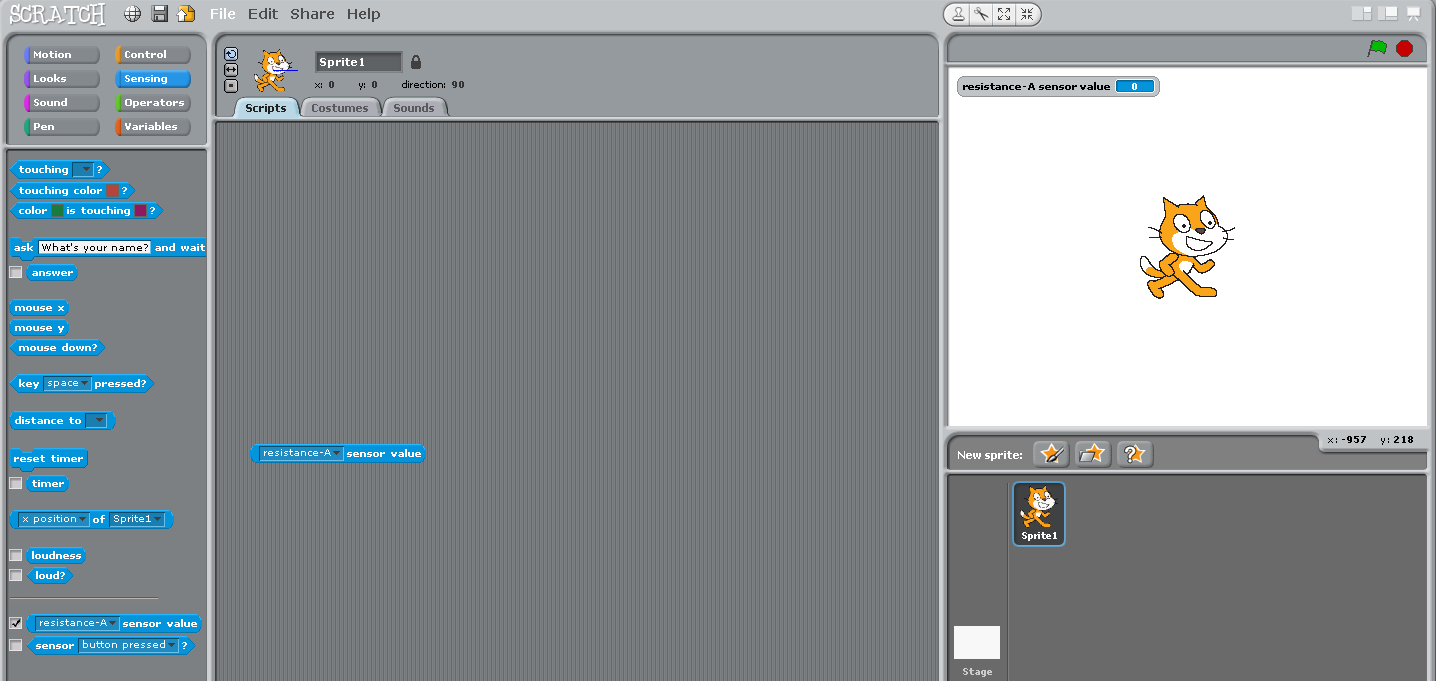
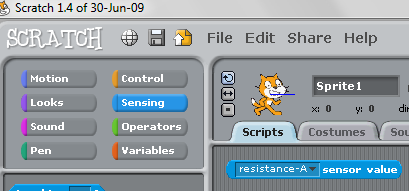
Download & install Scratch <http://scratch.mit.edu/>
Find the set of blocks titled "Sensing" and select the "slider sensor value" block, changing it to read "resistance-A" sensor value.
Proceed to get a sensor reading for all 16 color-squares (You will need to keep track of these, writing them down on a separate grid may be a good idea. Remember to maintain a record of your orientation).
Complete Code
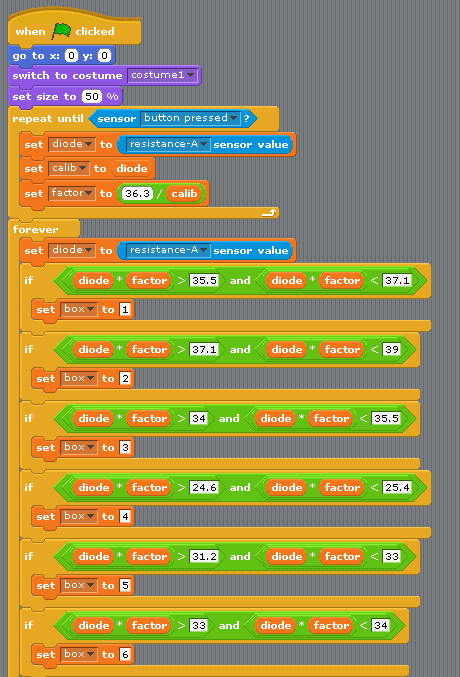
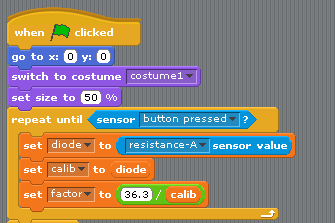

The complete behavior that I coded is as follows:
A paintbrush sprite moves around on the screen in one of 16 positions, based on where the physical paintbrush is hovering over the paper. When the button on the Picoboard is clicked, the paintbrush 'picks up' the color that the physical paintbrush is currently hovering over. Every time the green flag is clicked, the program resets with a clean paintbrush in the top left corner, and requires a calibration step. Below will be a series of comments explaining how to construct the Scratch code, in the same order as the included pictures.
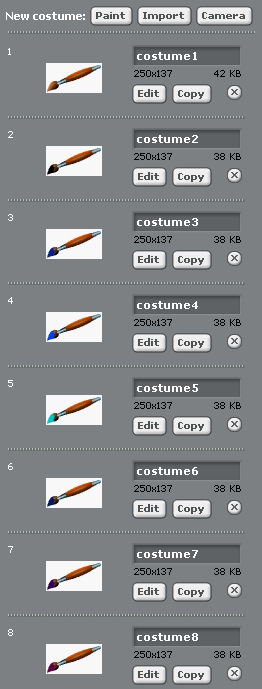
1) Find a paintbrush image to use for your sprite, and make 17 costumes for it. 1 for each color, plus one 'clean' brush.
2) Set up the 'reset' or initial case behavior. Put the brush in its proper position, change to its clean costume, and require the user to click the button on the Picoboard when the stylus is over the black square in order to calibrate all the values that where measured on the previous page.
3) Take the resistance values you measured on the previous page. Make brackets for them, so that from the lowest resistance measured to the highest resistance measured, you have a continuous map that tells you "If the resistance measured is such and such, the stylus must be over this block."
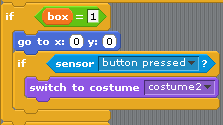
4) Construct a series of 'if' blocks that follow the same structure as in image #4, only map the numeric values in the text fields to correspond to the brackets you defined for each block. Note that my numbering system for the blocks is as follows, where number 1 is the black block:
1 2 3 4
5 6 7 8
9 10 11 12
12 14 15 16
5) Construct a series of nested 'if' blocks that both position the cursor correctly, and evaluate the state of the button to determine if the cursor should change color.
6) Link all the 'if' blocks from the previous two steps inside a single 'for' loop. Order technically doesn't matter.
7) Test it out!
Final Demo & Tips + Tricks
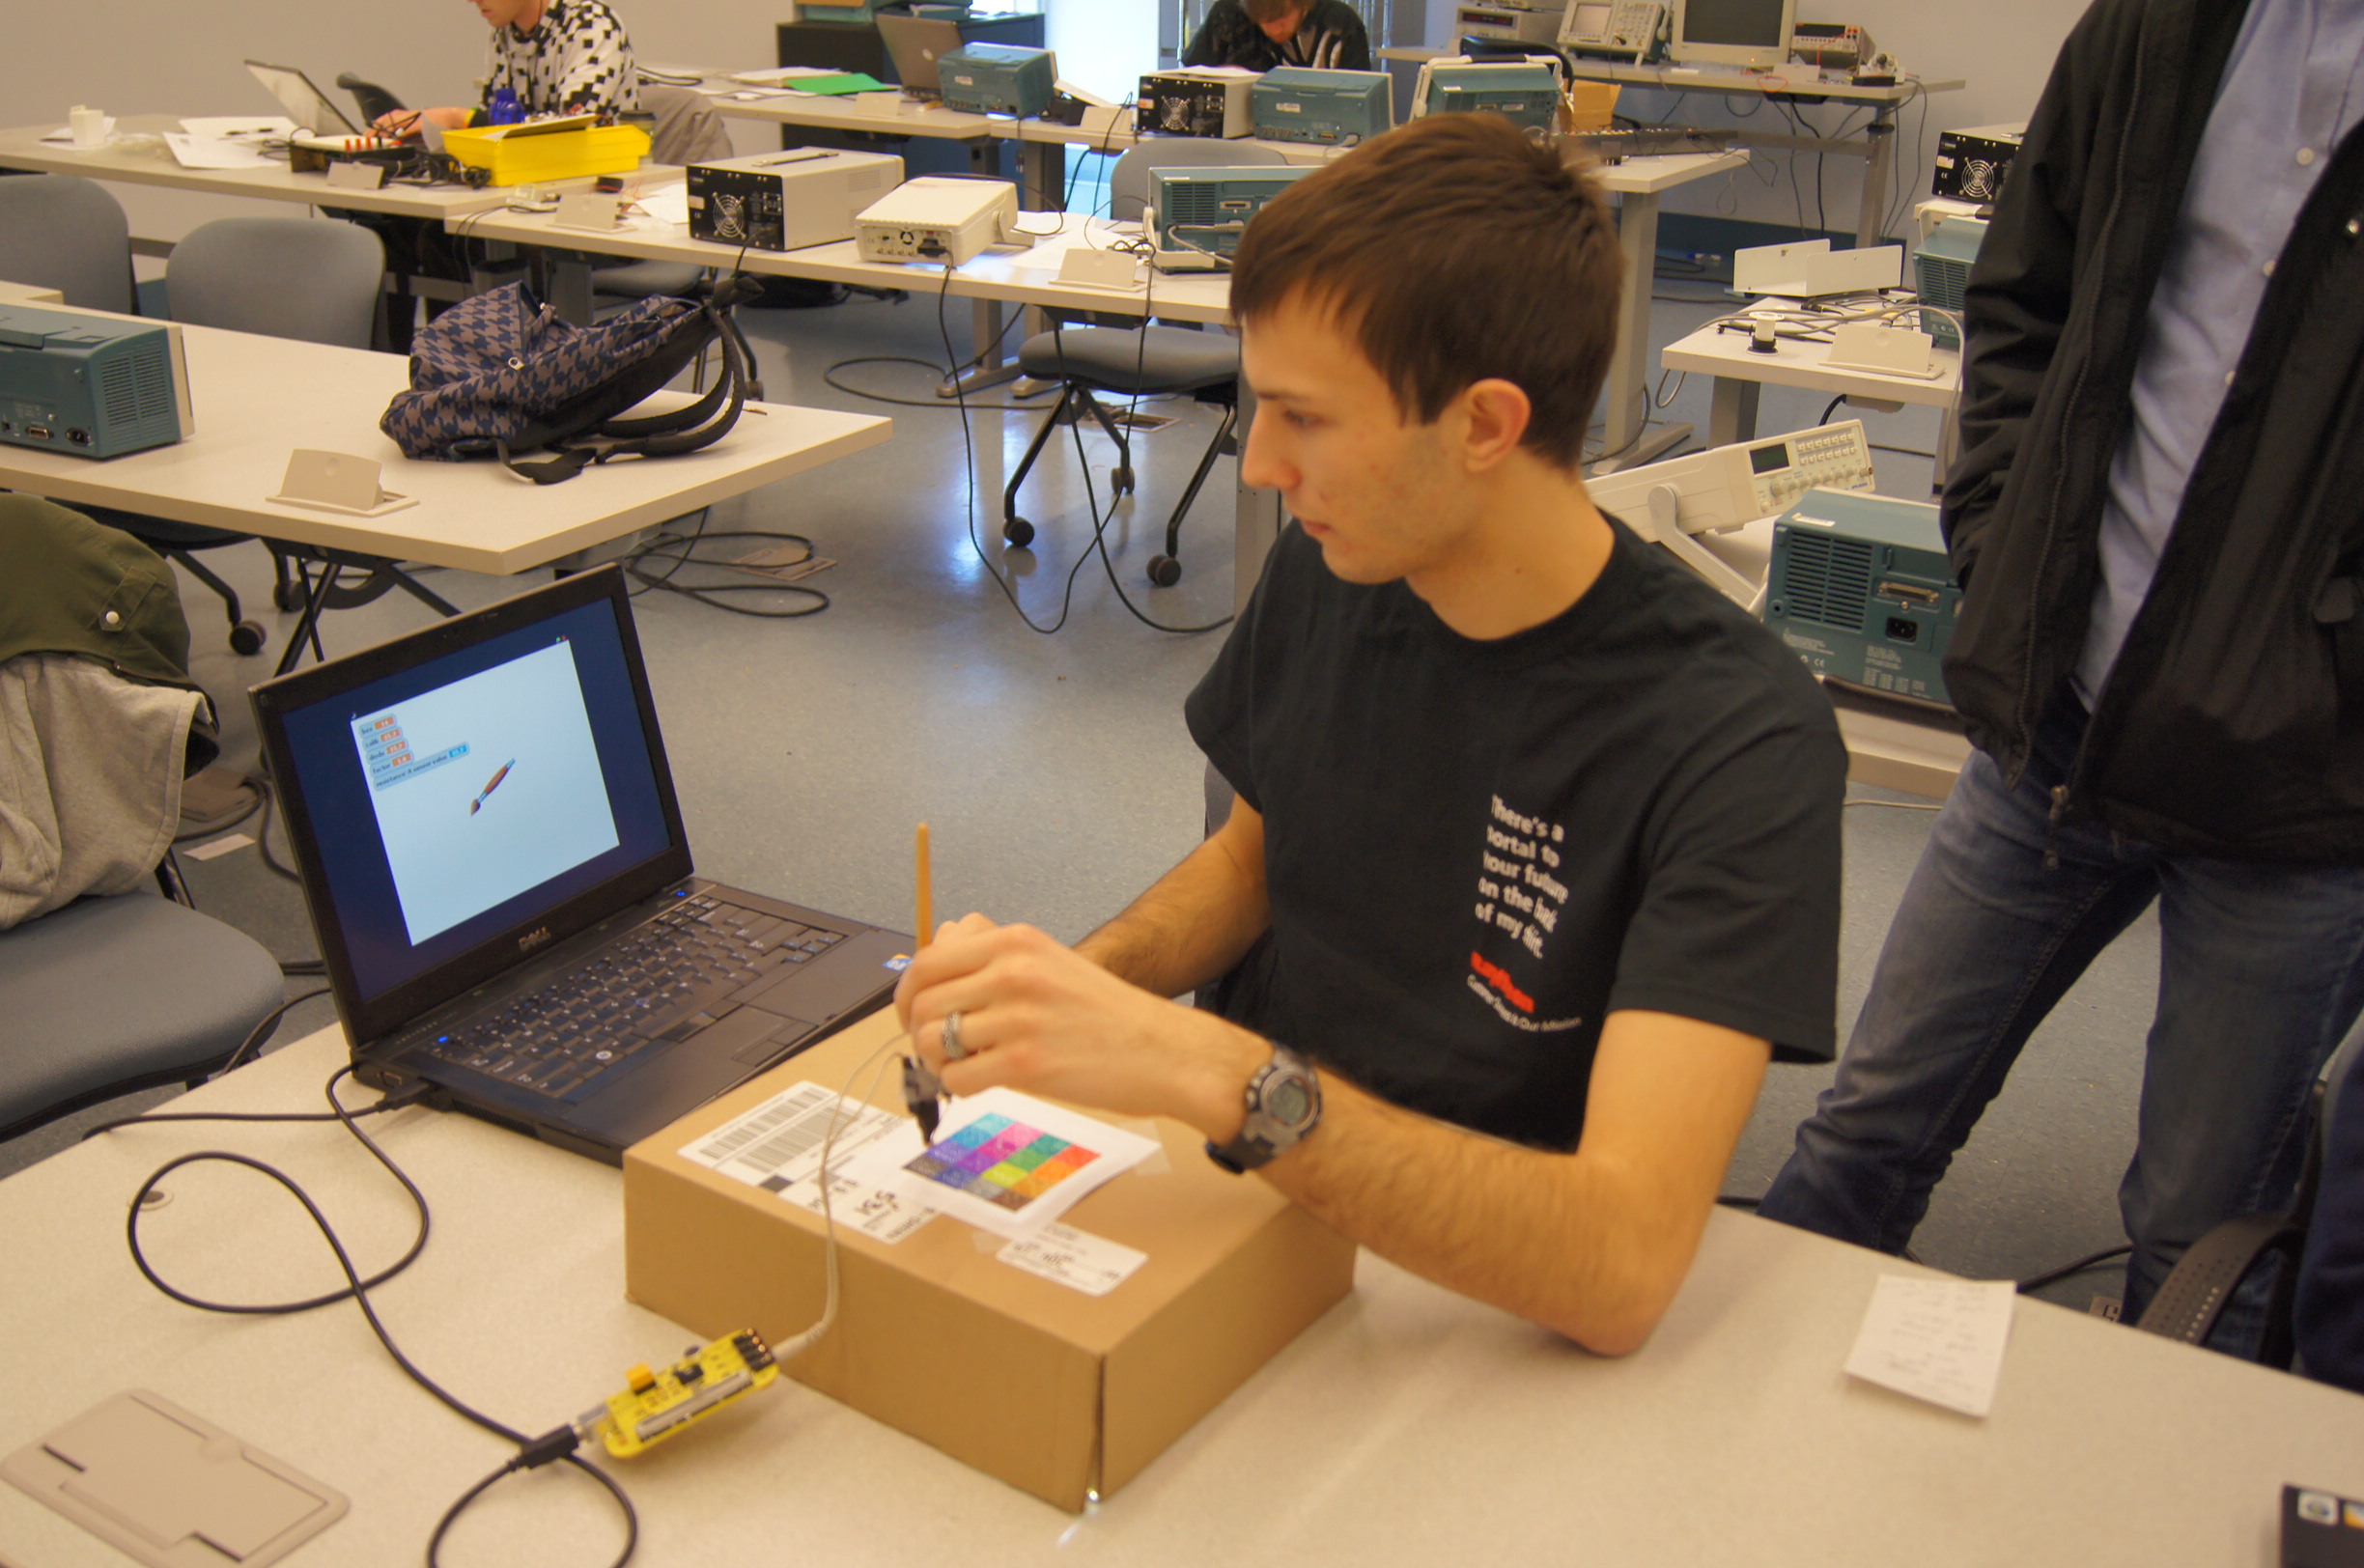
Attached is an image of the final project, as well as 2 videos demonstrating the functionality of the project.
A few final tips:
1) Change the ambient light in the room as necessary to get the best readings. You may find that at excessively dark or exceedingly bright levels of light your sensor doesn't work so well. If necessary, try putting a back light behind your project.
2) A steady hand = better readings. Try to maintain a constant altitude above the sheet as well.