PVC Trim Drawer Organizer
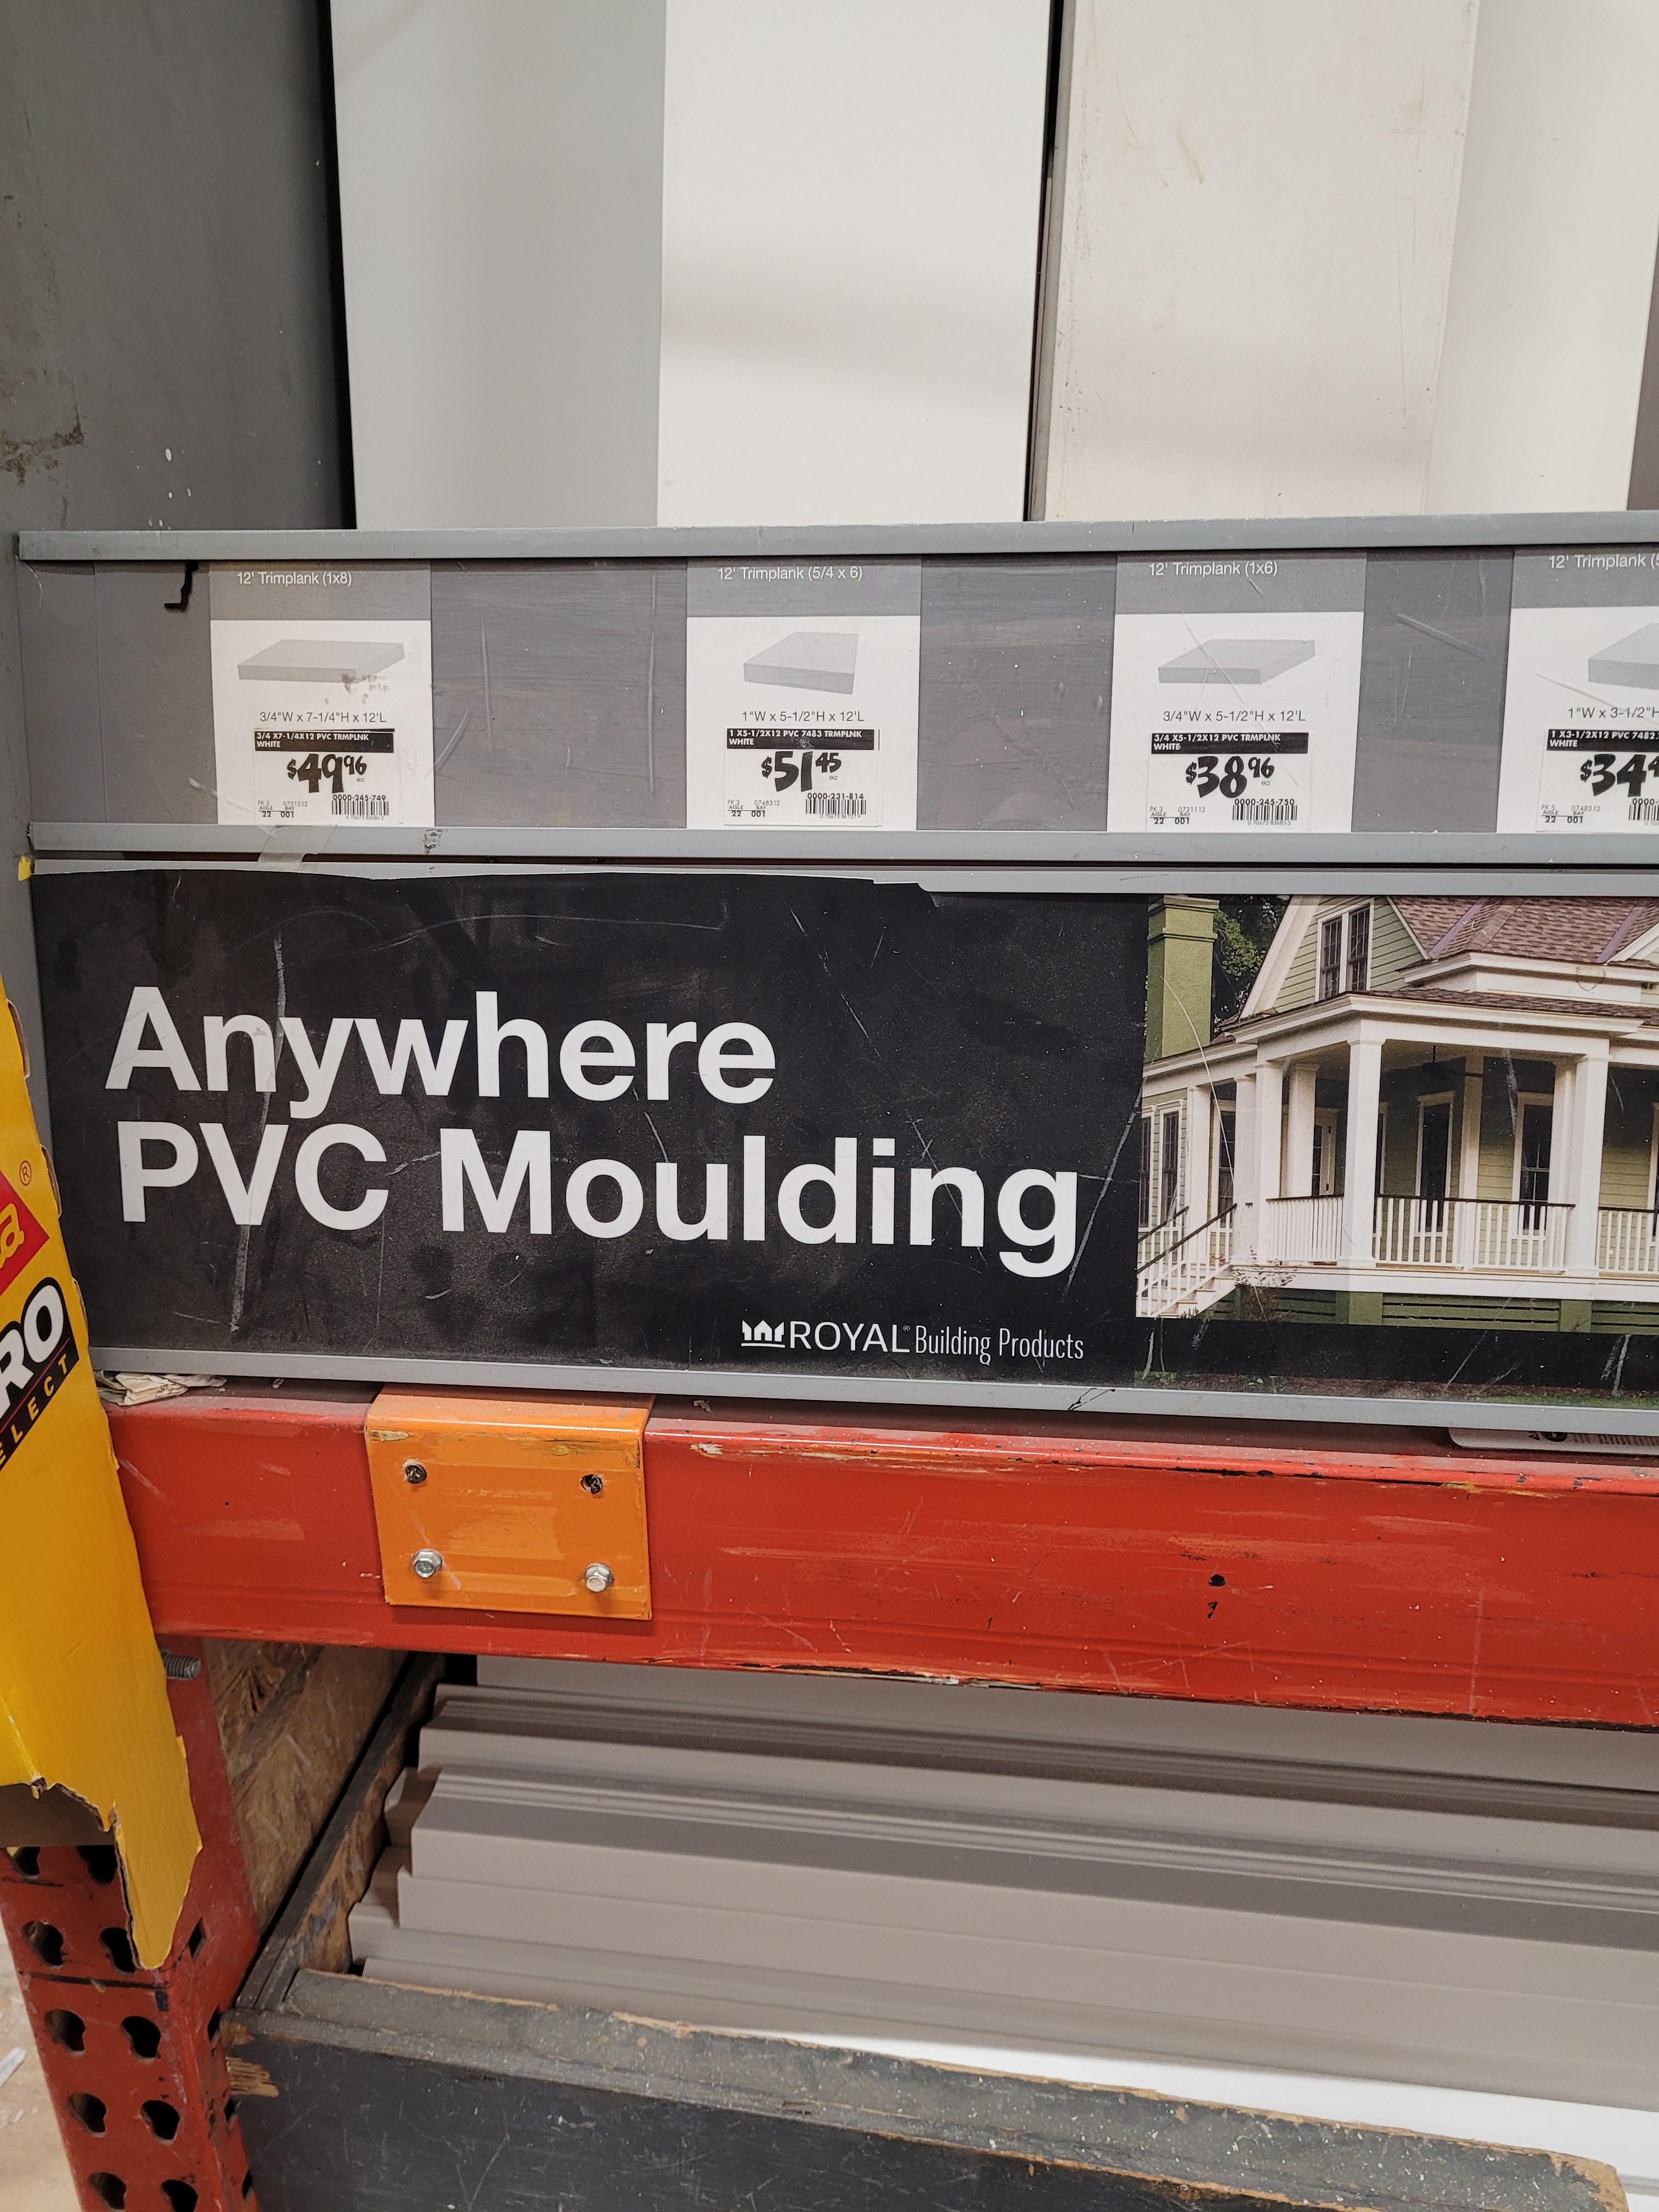
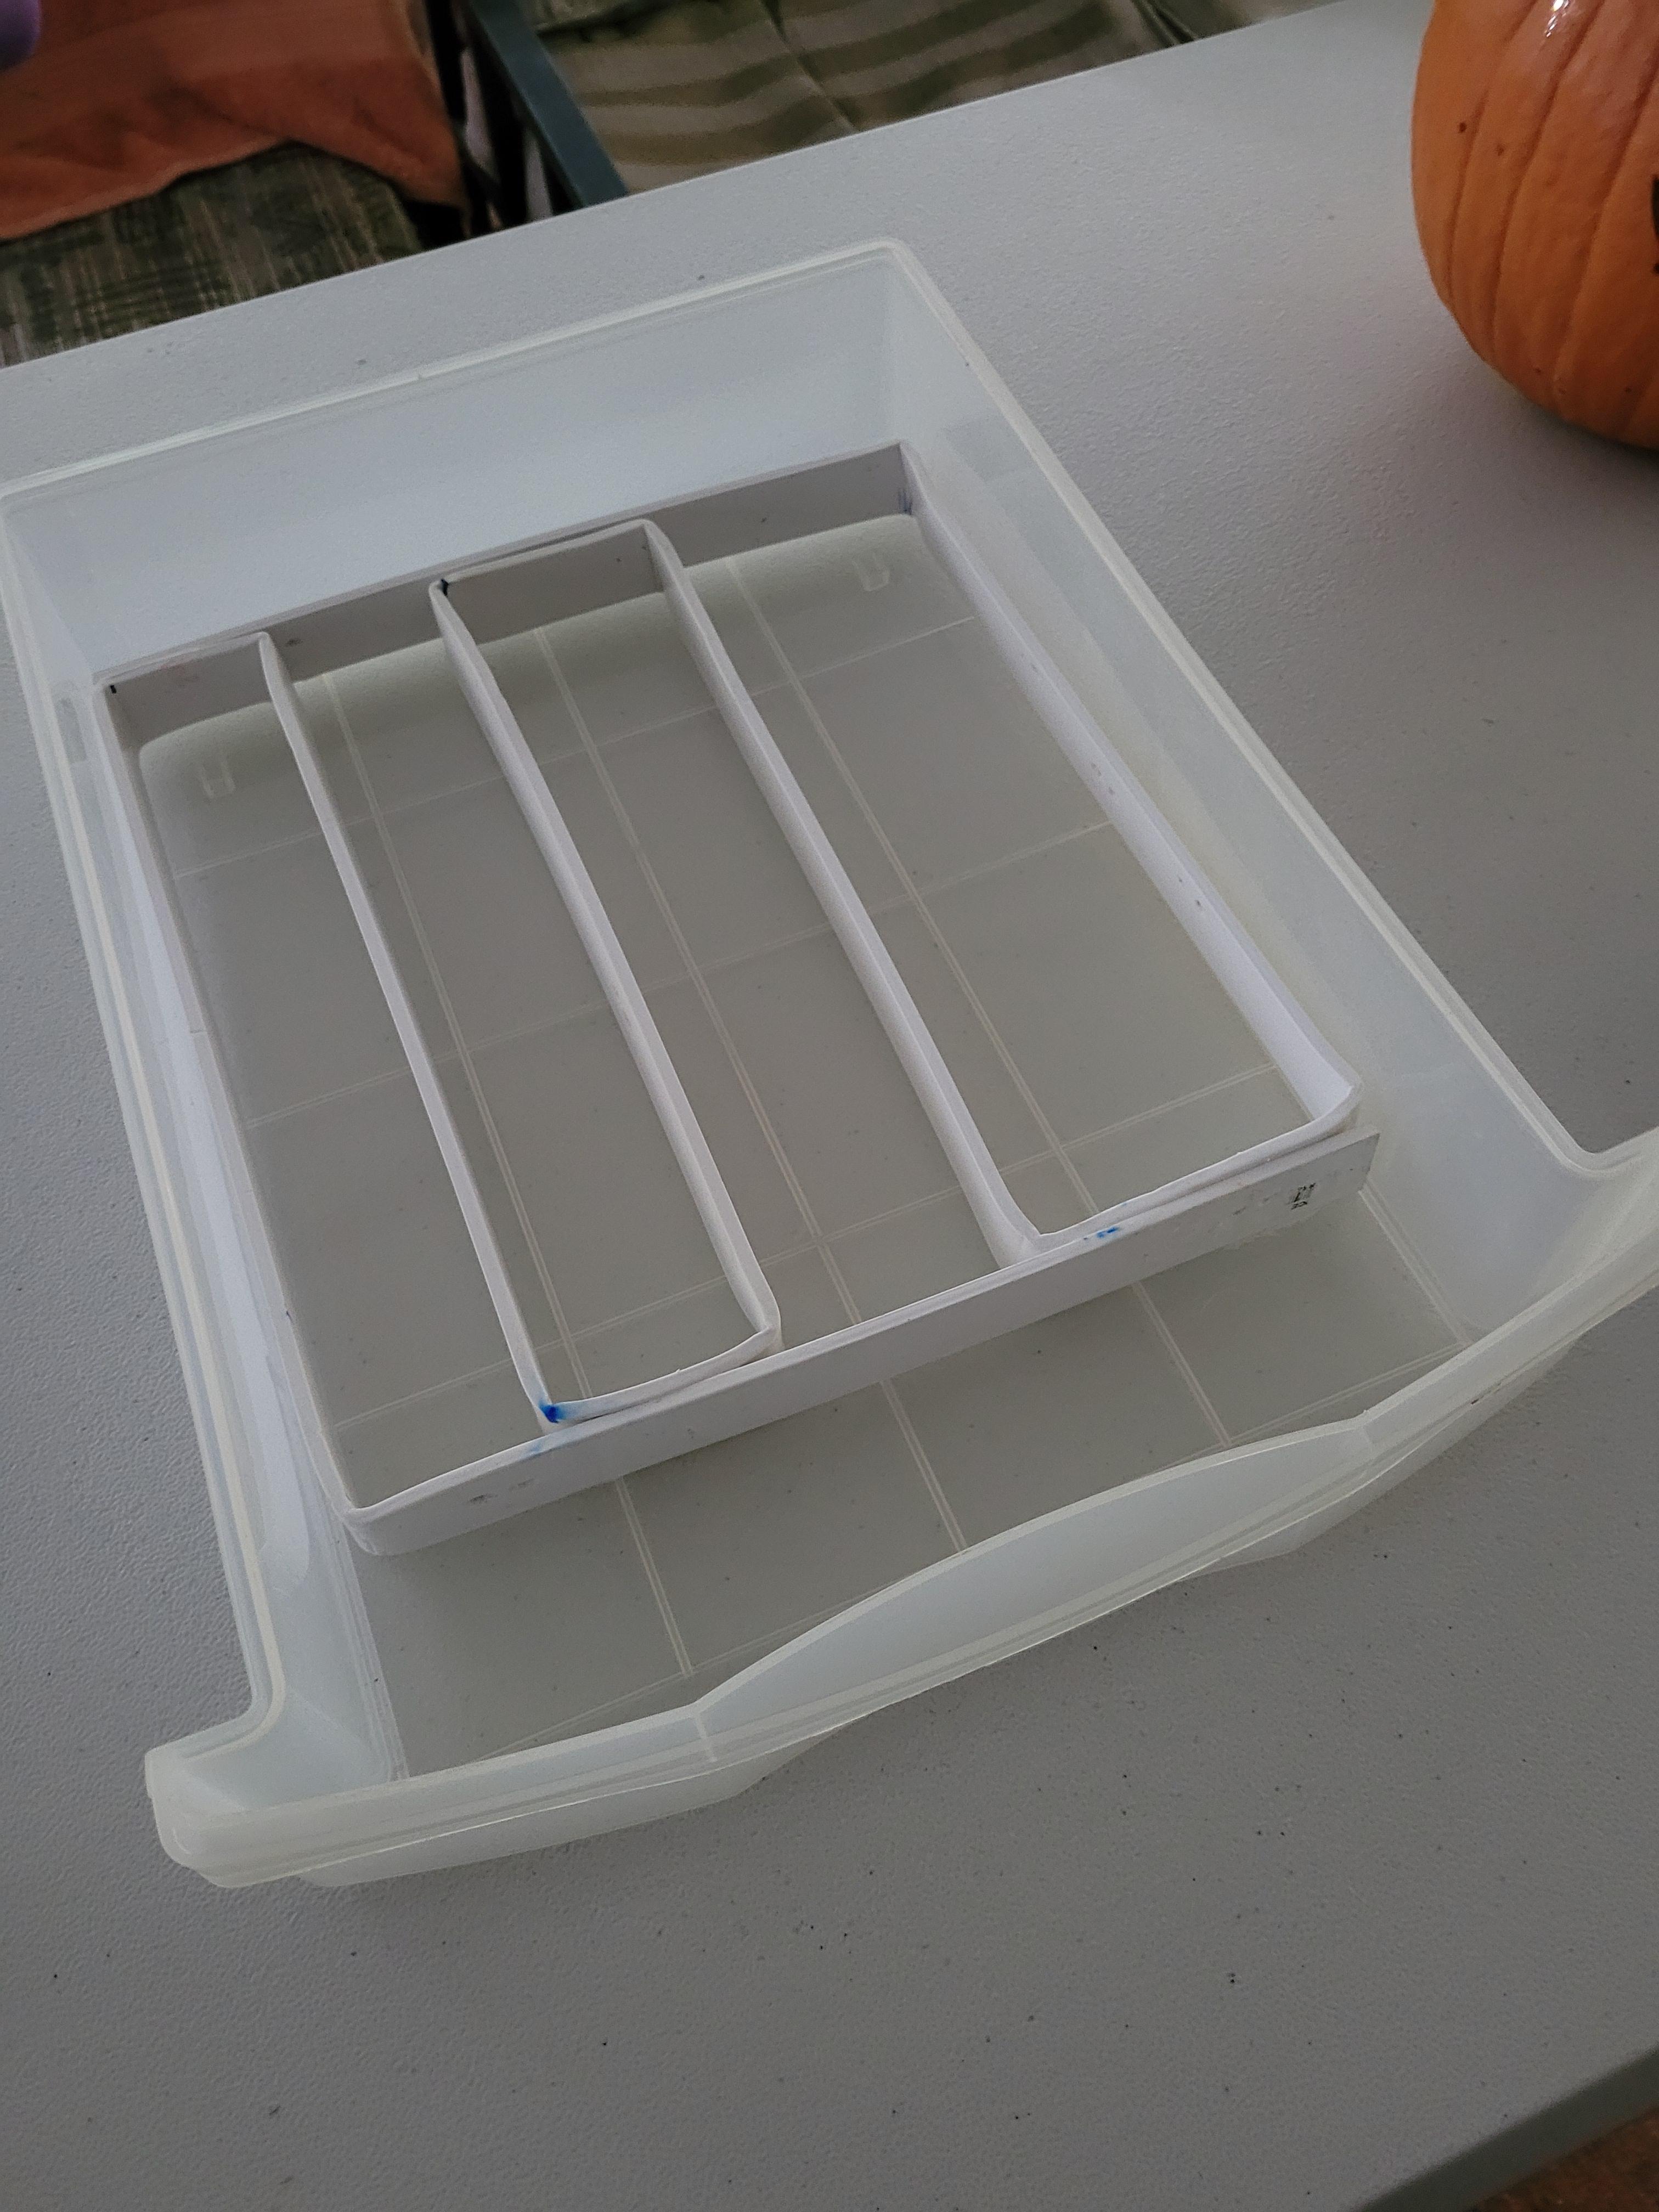
PVC Boards in the form of housing trim or moulding is an under utilized construction material for crafts and hobbies that can be found at your local hardware or DIY store. PVC Boards can serve as a light-weight plastic structure for a variety of costume or craft designs. They are able to be cut with power tools, hand saws, or even a utility knife (no heat knife needed). They are more flexible than Schedule 40 PVC piping or plumbing and can be found in a variety of designs. PVC Boards can easily be bent into any form or shape as required for your needs with or without heat applied.
This instructible will cover using PVC trim board to bend and glue into a plastic drawer organizer that can be used for tools or utensils. This instructible is a simple square version of the drawer organizer.
Supplies
1/4 in. x 1-3/4 in. x 8 ft. PVC Composite White Lattice Molding = $5.98 USD
8 oz. PVC Cement = $9.72 USD (NOTE: Any strong adhesive, epoxy, or glue rated for PVC can be used)
2 in. long Headless Nails
Scrap wood
Hammer
Heatgun
Utility knife or saw
C-clamps
Disposable gloves
OPTION 1: Measure, Design, and Mark Using Fusion 360

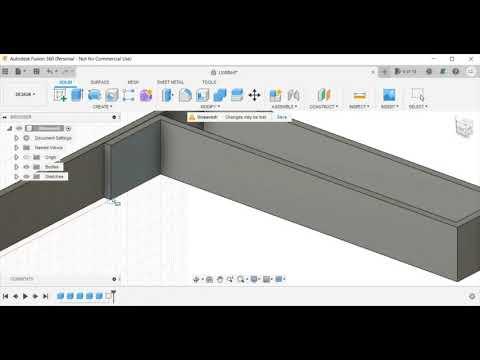
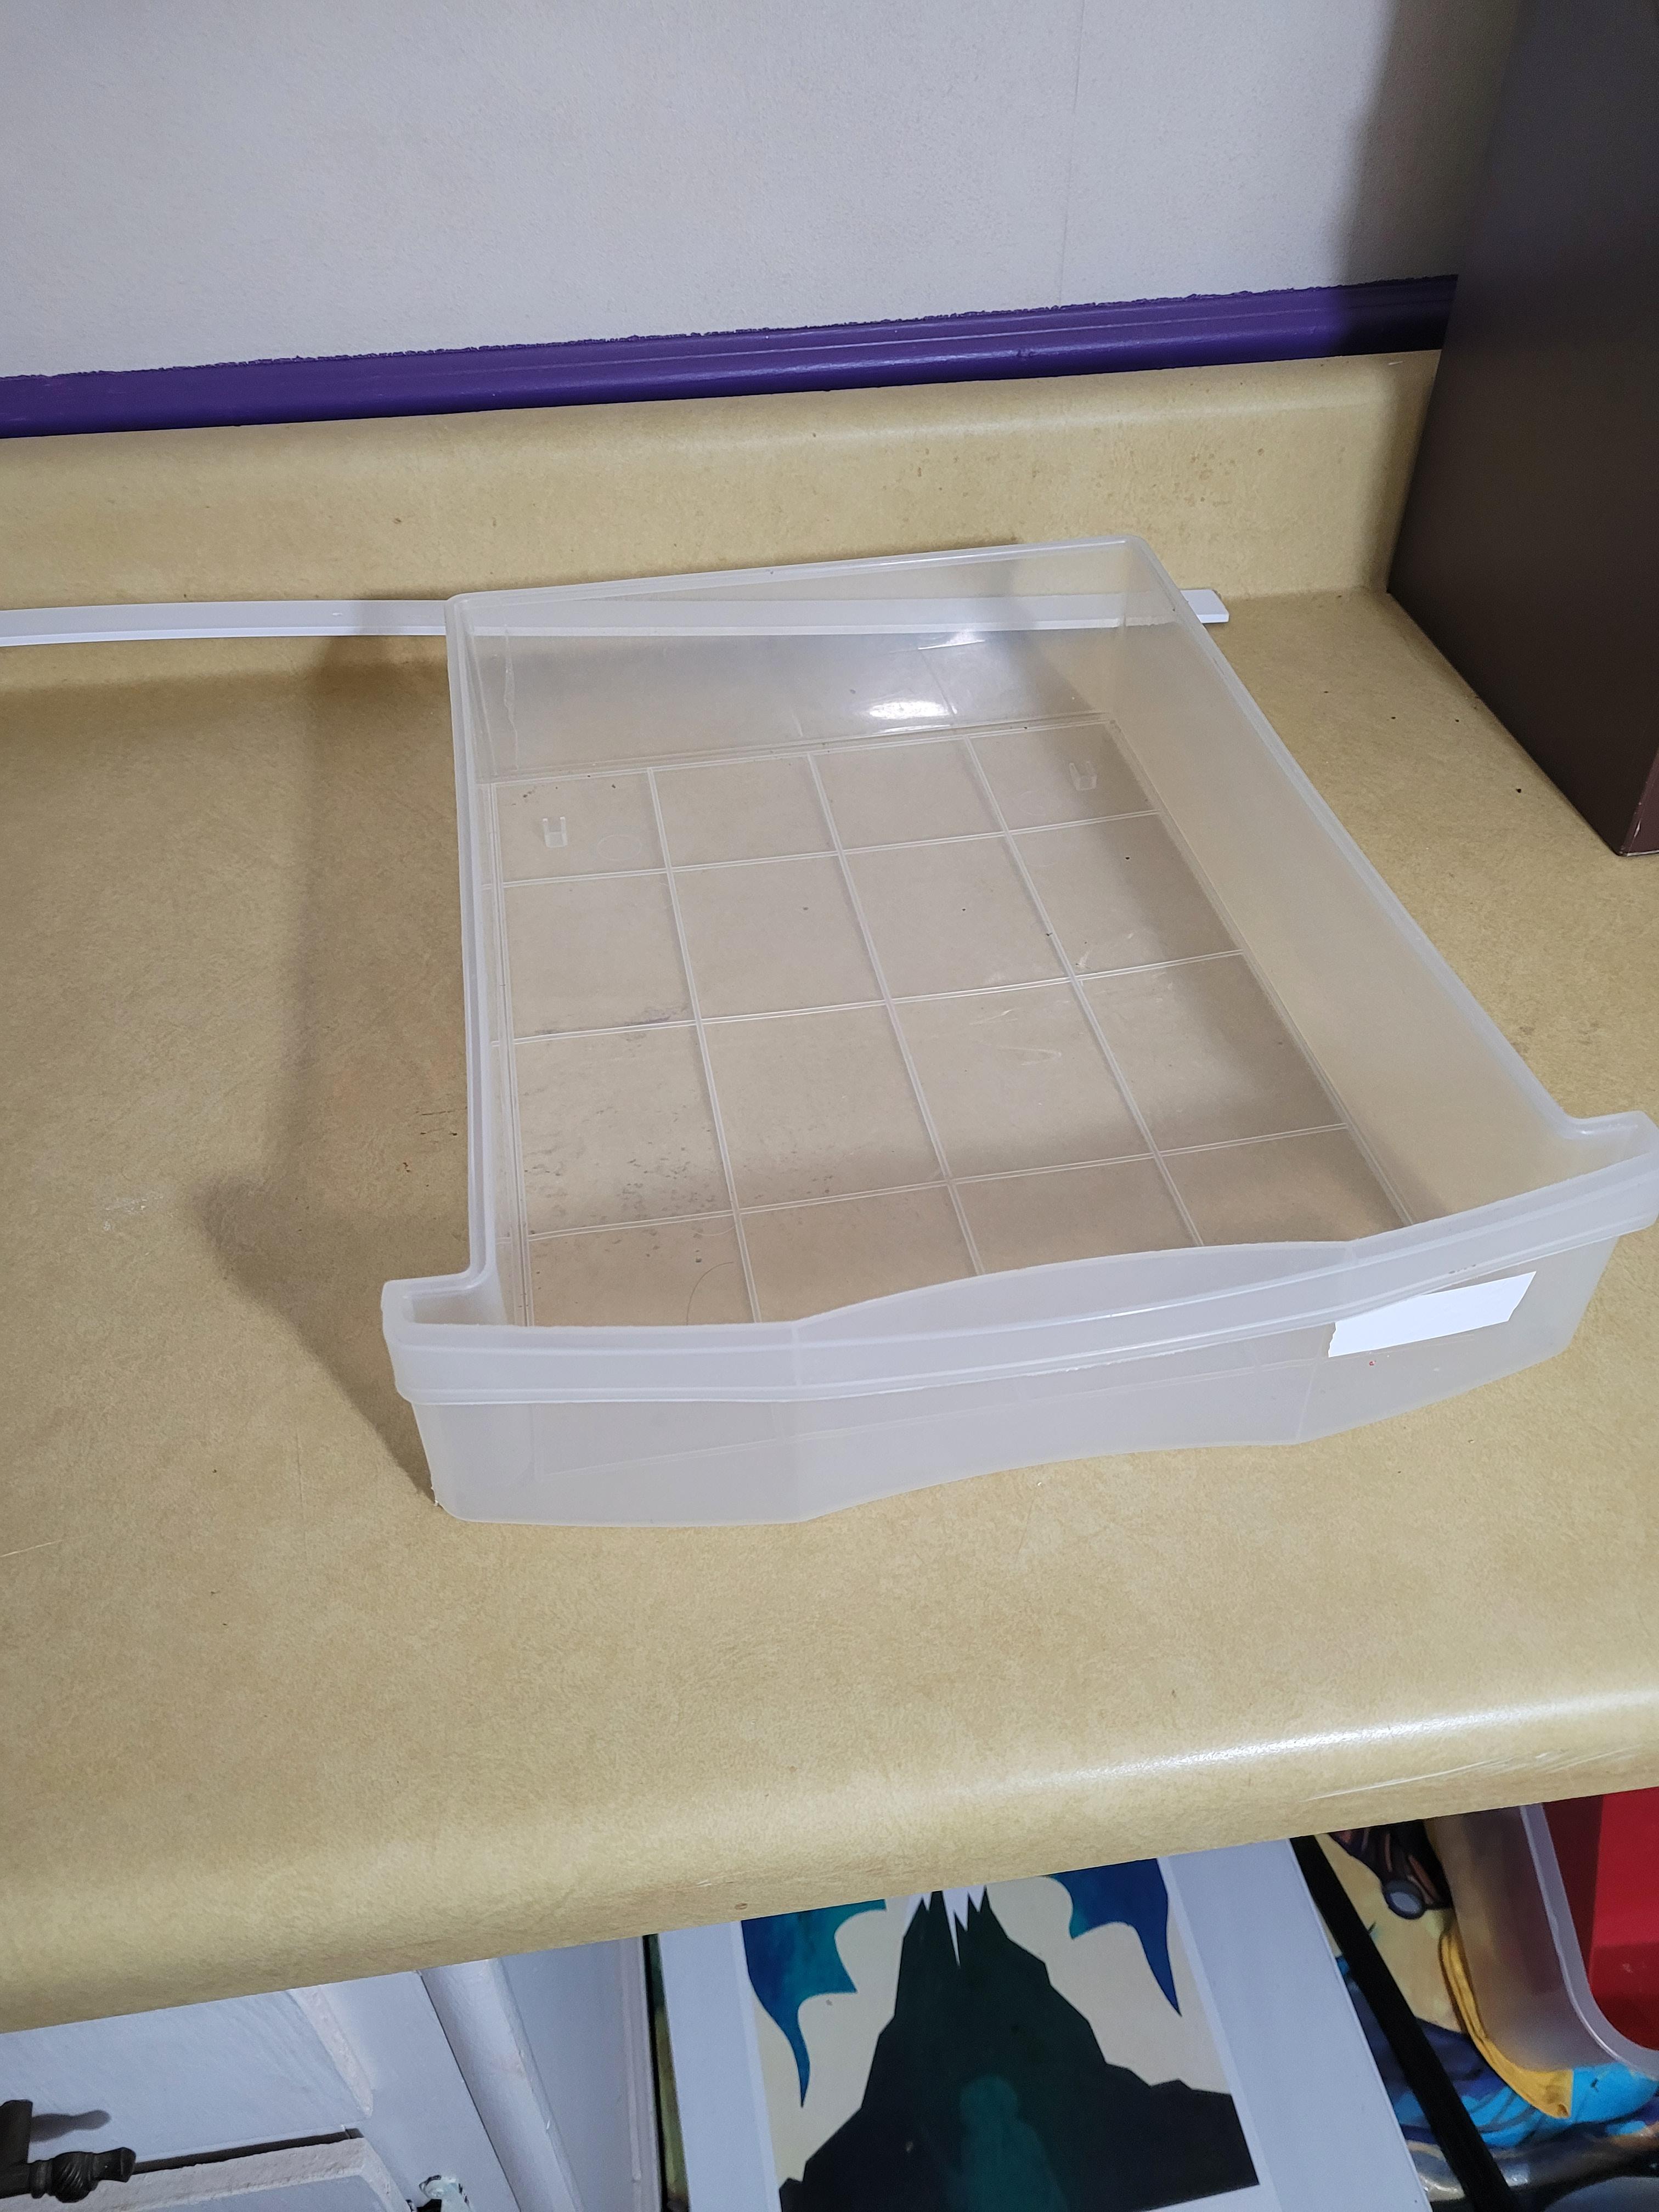
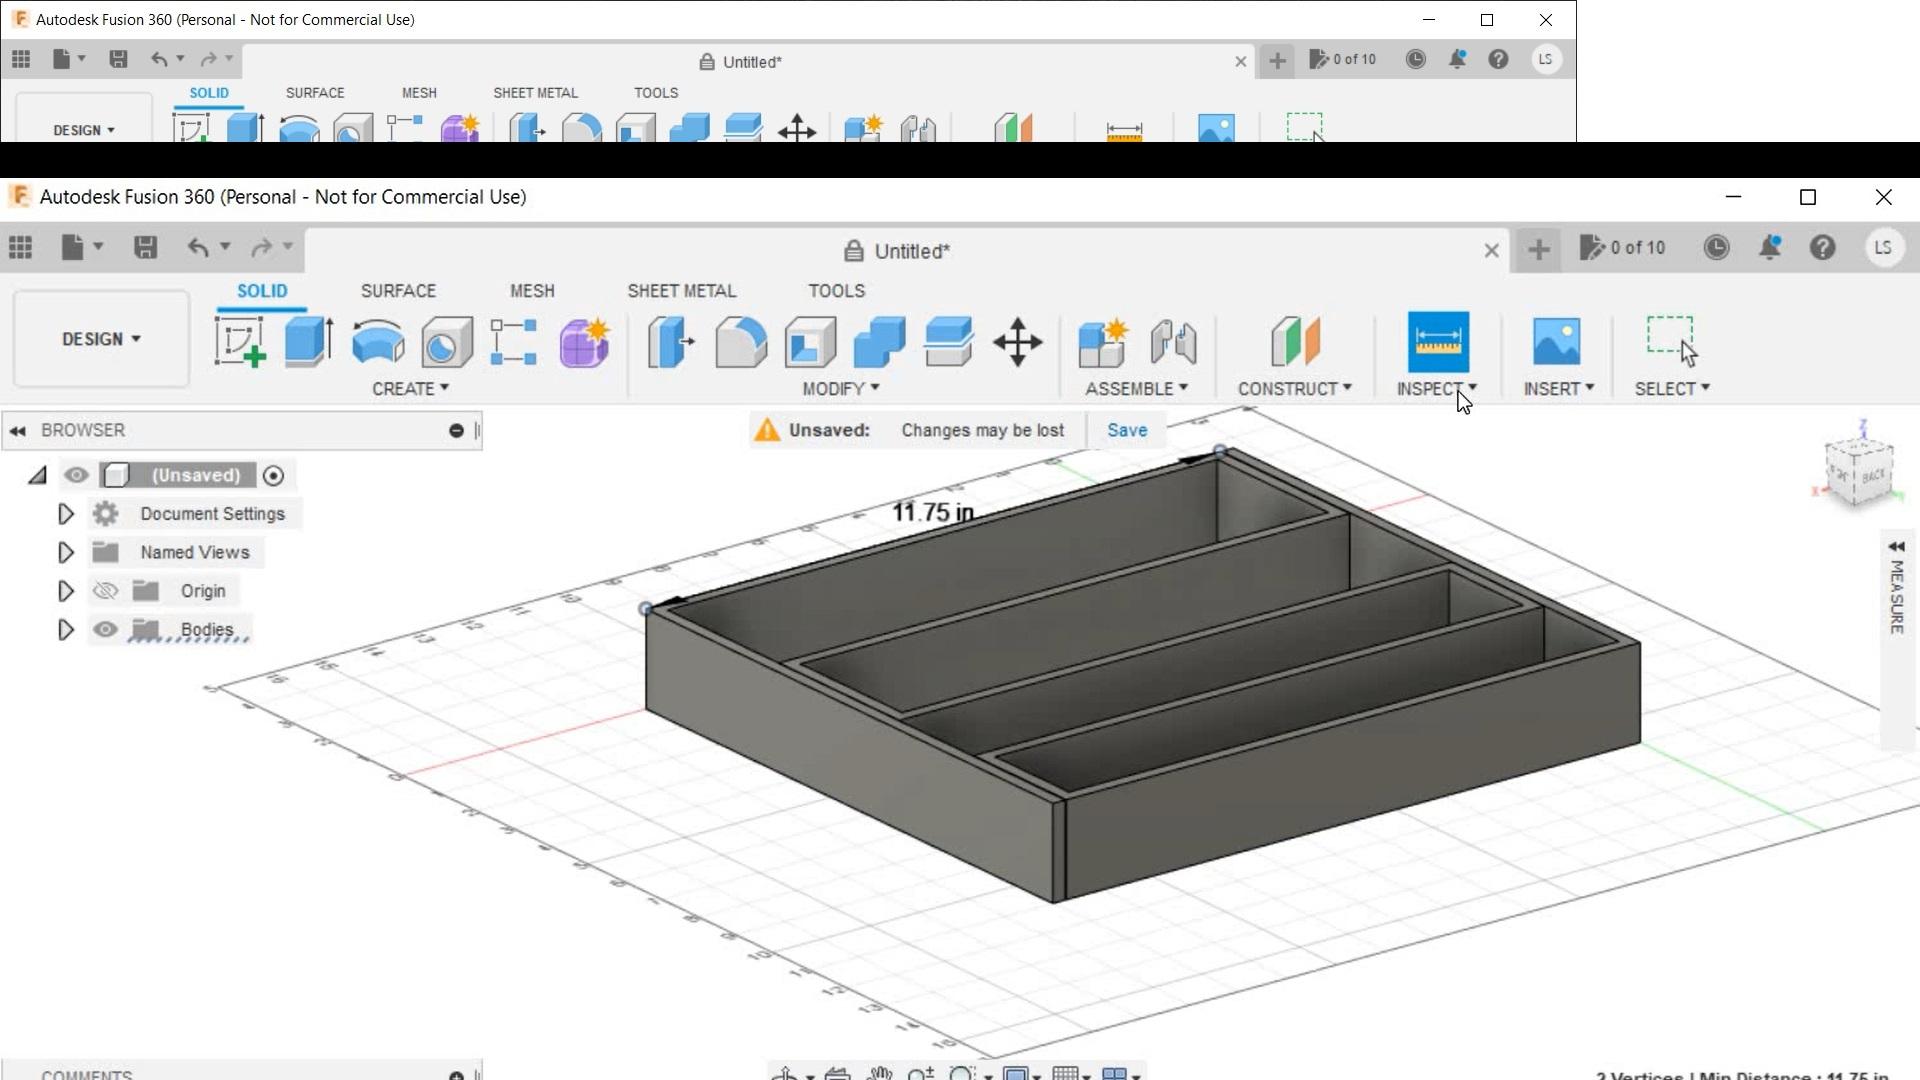
In this Instructible, we will use the Box Function, Extrude, Measure, Constrained Orbit, Pan, and Zoom to create a 3D model using Fusion 360. Refer to the video and the image example.
- Measure the intended organizing location. In this instance, measure the plastic drawer. The plastic drawer has a size of 11 inches by 12 inches. (NOTE: My first attempt identified that the PVC trim design of 11 inches by 14 inches was longer than the physical PVC trim. I had to reduce the size to 11 inches by 12 inches.)
- Download and install Fusion 360.
- Open Fusion 360 and select New Design.
- Select Create > Box
- Select face aspect based on your current view (NOTE: As you change faces during the tutorial and rotate the drawing, the object's length, width and height will change based on your perspective.)
- Select Create > Box.
- Select Face.
- Select bottom corner and draw box to size of trim.
- Input the values of the box to match the PVC trim. EXAMPLE: 11 in. x 1.75 in. x 0.25 in.
- Ensure settings on box function is set to Join.
- Draw the sides of the PVC trim similar to drawing a maze or light cycles from TRON or a classic game of SNAKE by drawing a box onto the side of the trim and extruding the box as needed.
- Starting with the first line, predict where to measure each bend. Try to make the measurements stay on one side of the PVC trim and not alternate between sides.
- When planning, make sure to subtract the width of the PVC trim from the overall value if the measurement is on the inside bend or inner diameter. If necessary, subtract more for each bend depending on the deflection or arc of the PVC. Fusion 360 will provide measurements from one point to another. Use the Measure feature to help measure along the vertices.
OPTION 2: Measure, Design, and Mark Using a Sketch
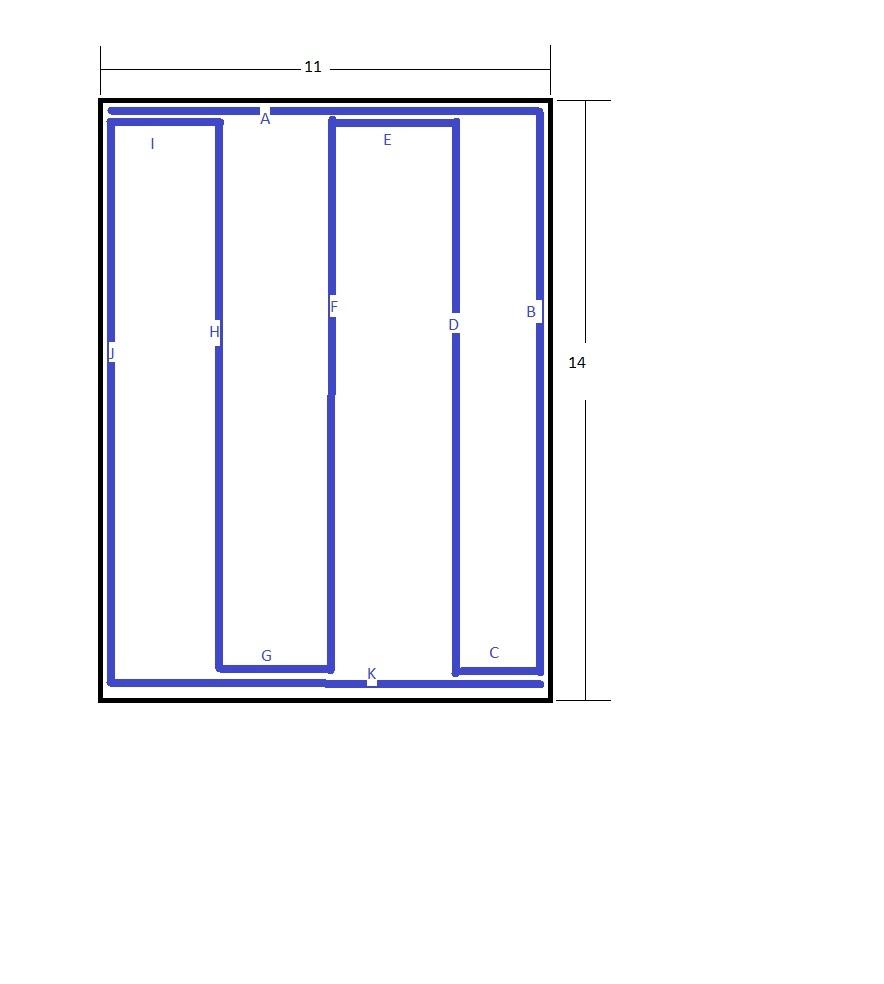
- Measure the intended organizing location. In this instance, measure the plastic drawer.
- Draw the dimension out to plan the bends of the PVC trim.
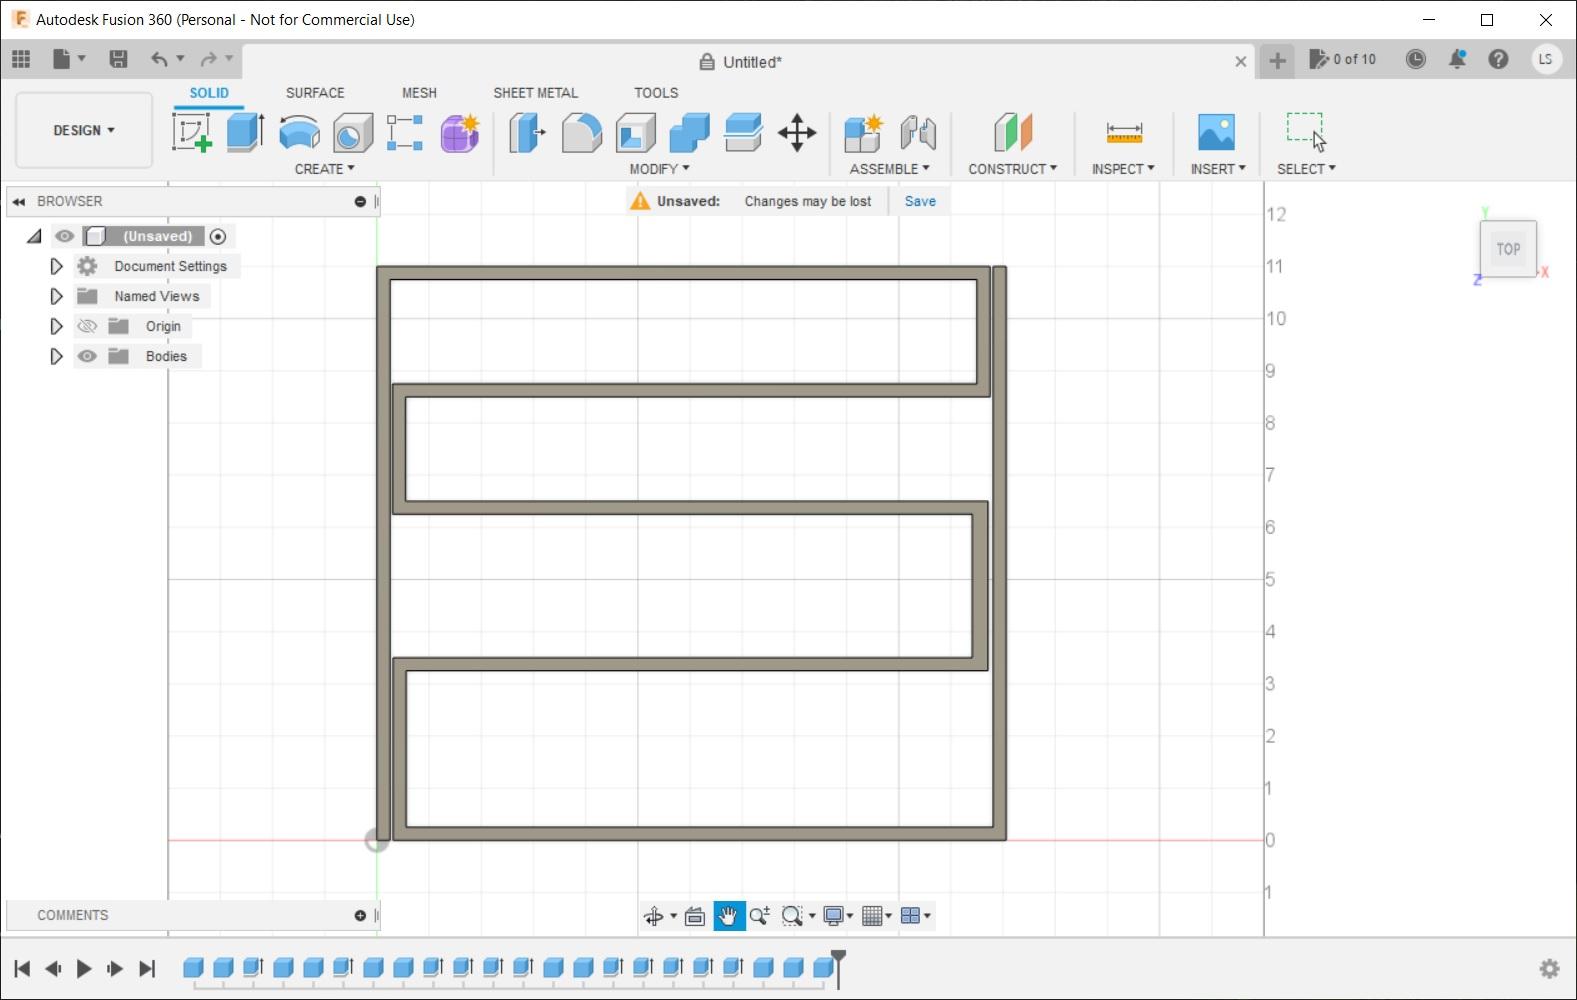
- Draw the lines of the PVC trim similar to drawing a maze or light cycles from TRON. This can be done as a sketch in Microsoft Paint or using Fusion 360. See example.
- Starting with the first line, predict where to measure each bend. Try to make the measurements stay on one side of the PVC trim and not alternate between sides.
- Make sure to subtract the width of the PVC trim from the value if the measurement is on the inside bend or inner diameter. If necessary, subtract more for each bend depending on the deflection or arc of the PVC. Refer to the example measured in inches.
PLAN 1
A= 11 - 1/4 = 10 3/4~ (roughly inside bend)
B= 14 - 1/4 - 1/4 - 1/4 = 13 1/4 (3 inside bends)
C= 2
D= 13 1/4 (NOTE: Equals B)
E= 2
F= 13 1/4 (NOTE: Equals B)
G= 3
H= 13 1/4 (NOTE: Equals B)
I= Value will vary to match drawer, place a 3 inch spacer to prevent movement
J= 14 - 1/4 = 13 3/4
K= 11
6. Add all values together and make sure measurements do not exceed 96 inches of PVC trim. Revise plan as needed.
7. PLAN 2 revised (shorter length used as 11 x 12 area)
A= 11 - 1/4 = 10 3/4~ (roughly inside bend)
B= 12 - 1/4 - 1/4 - 1/4 = 11 1/4
C= 2
D= 11 1/4
E= 2
F= 11 1/4
G= 3
H= 11 1/4
I= ?
J= 12 - 1/4 = 11 3/4
K= 11
Create Bending Jig
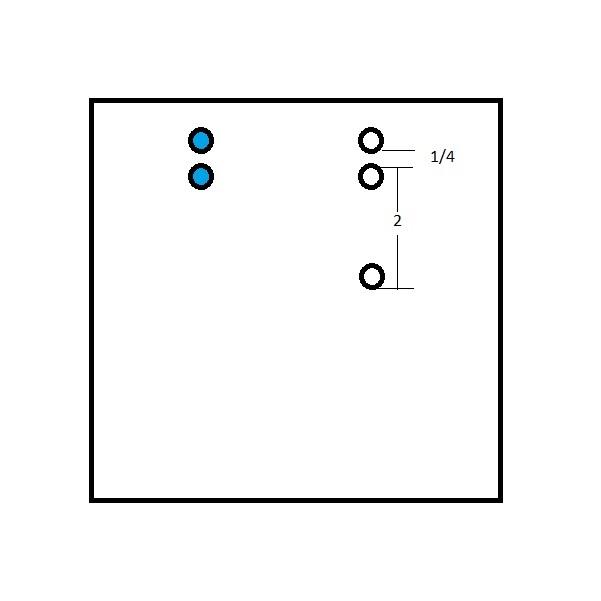
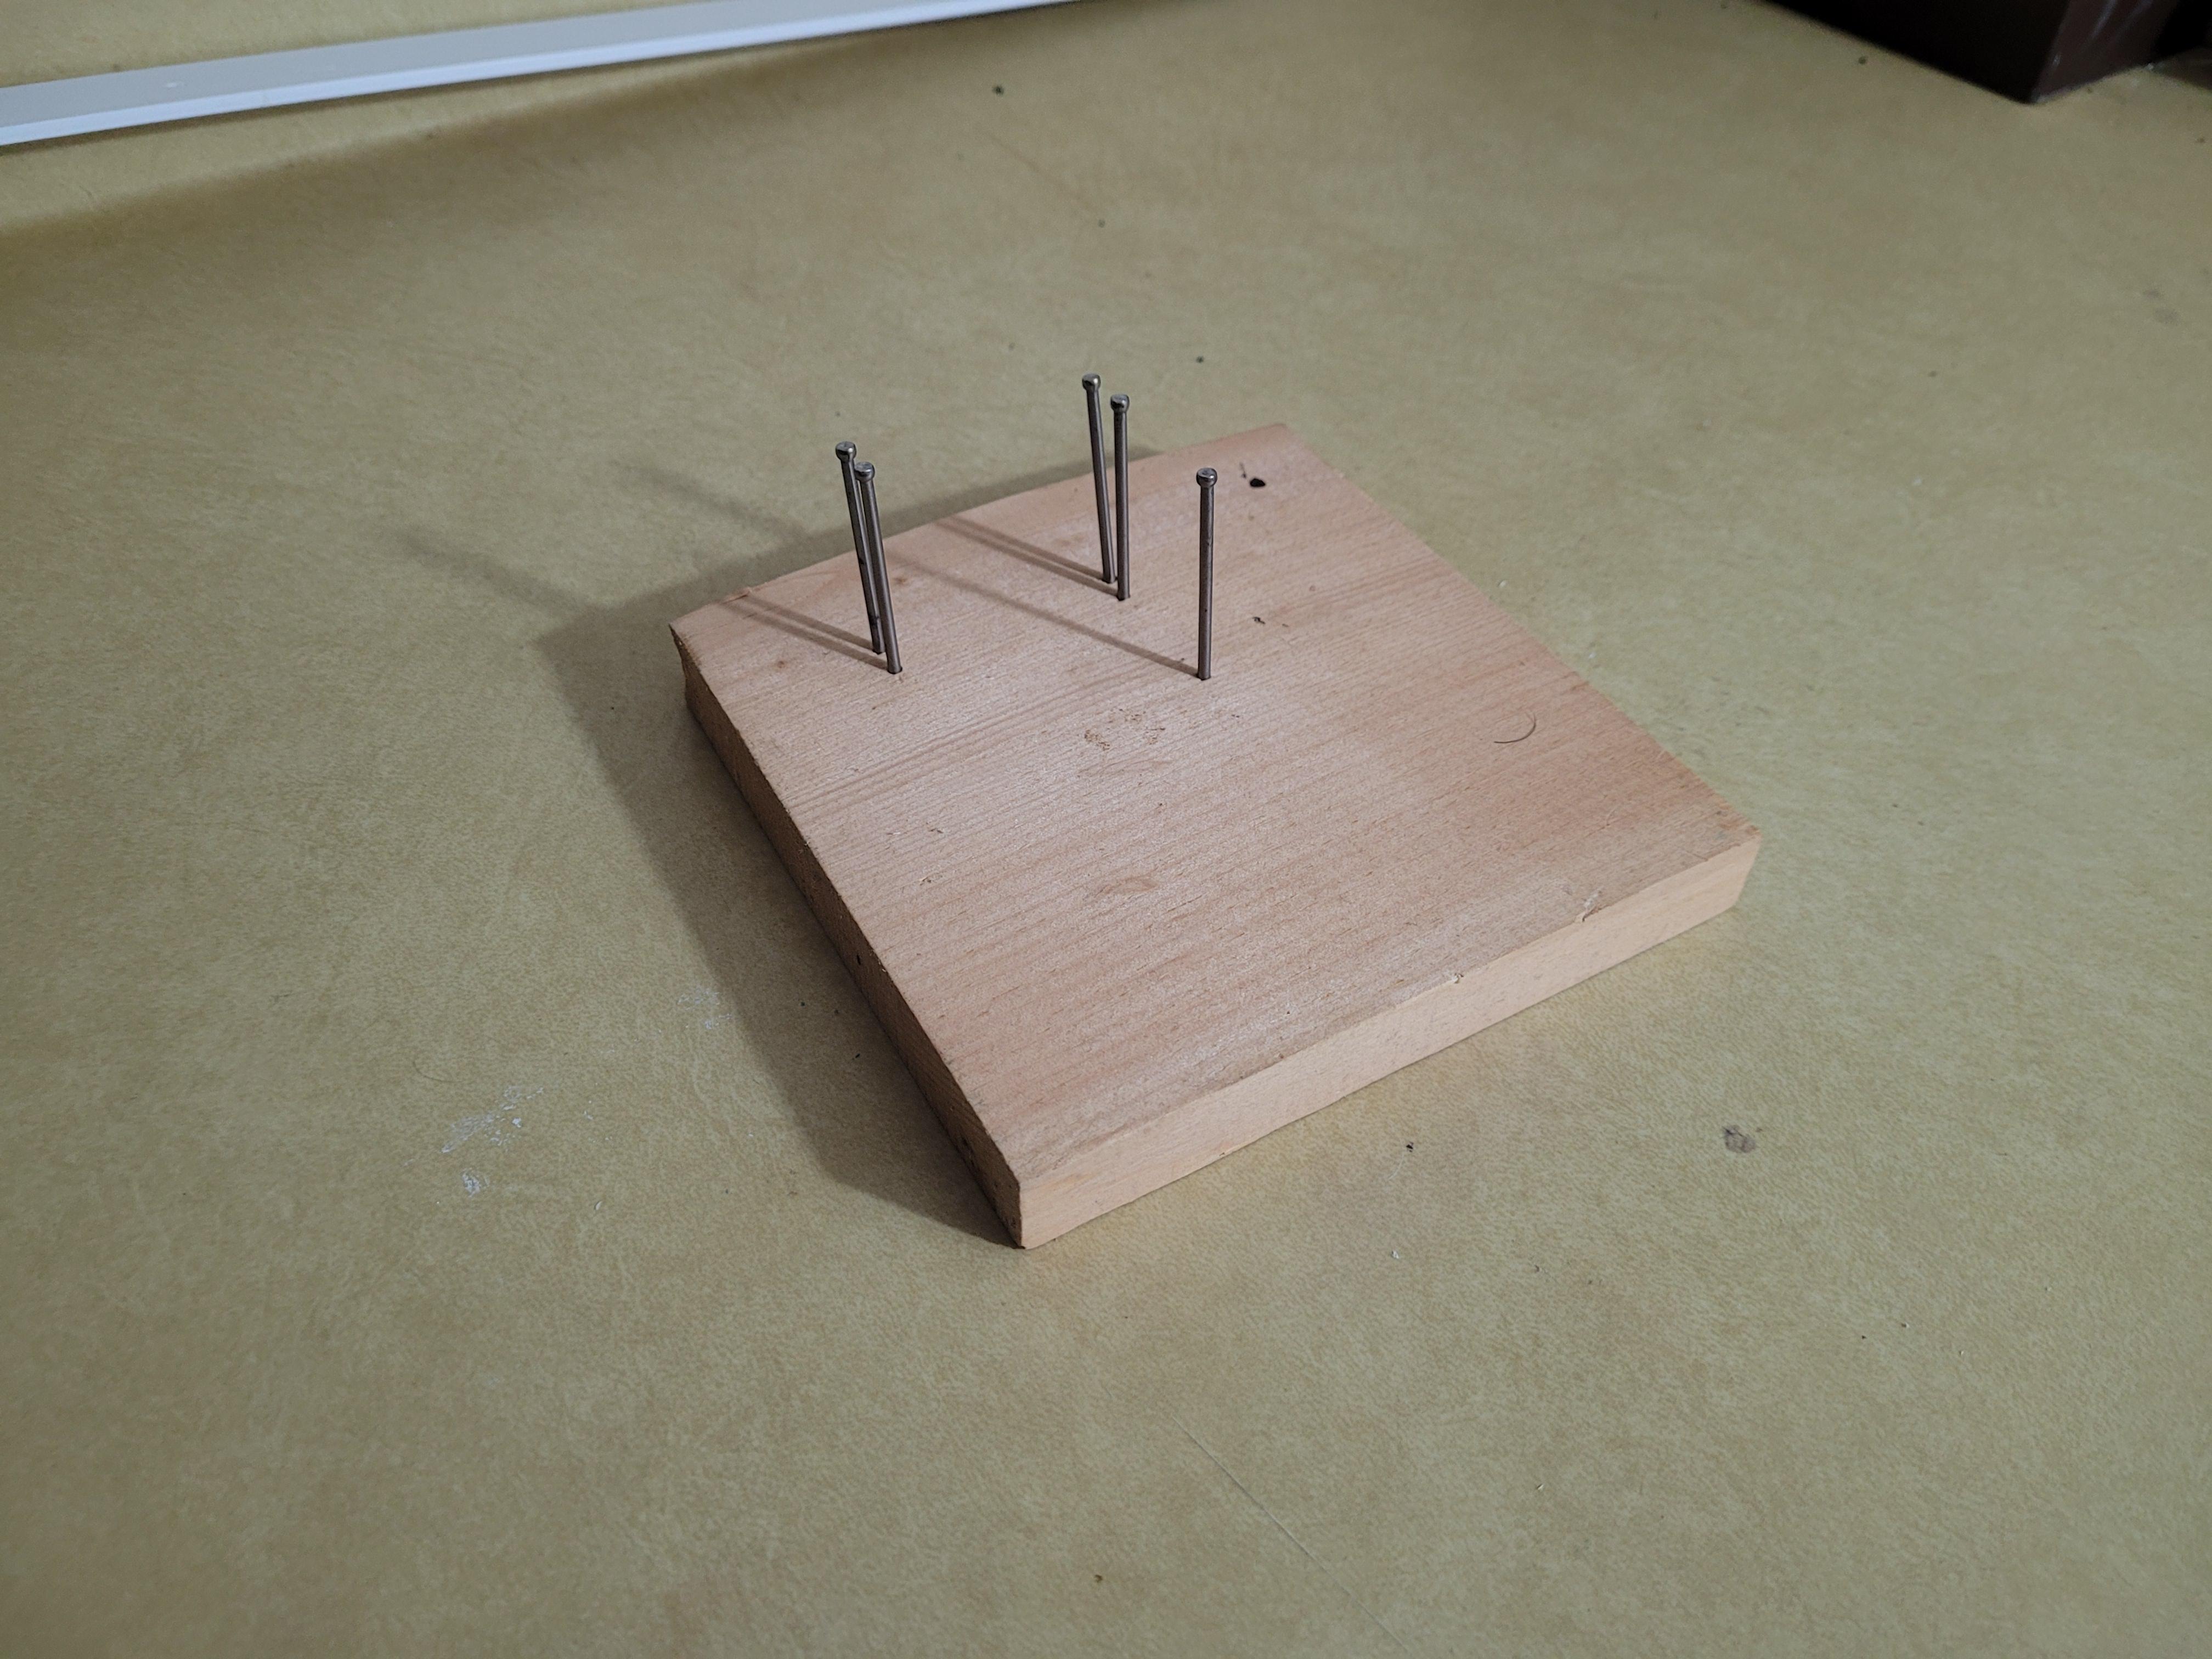
- Using a scrap piece of wood, install nails to serve as a bending jig to bend the PVC trim. Refer to example.
- Set distance between pair of nails to equal same width of PVC trim.
- Set remaining nail to match inside bend of inner compartment.
Heat, Bend, and Glue PVC Trim
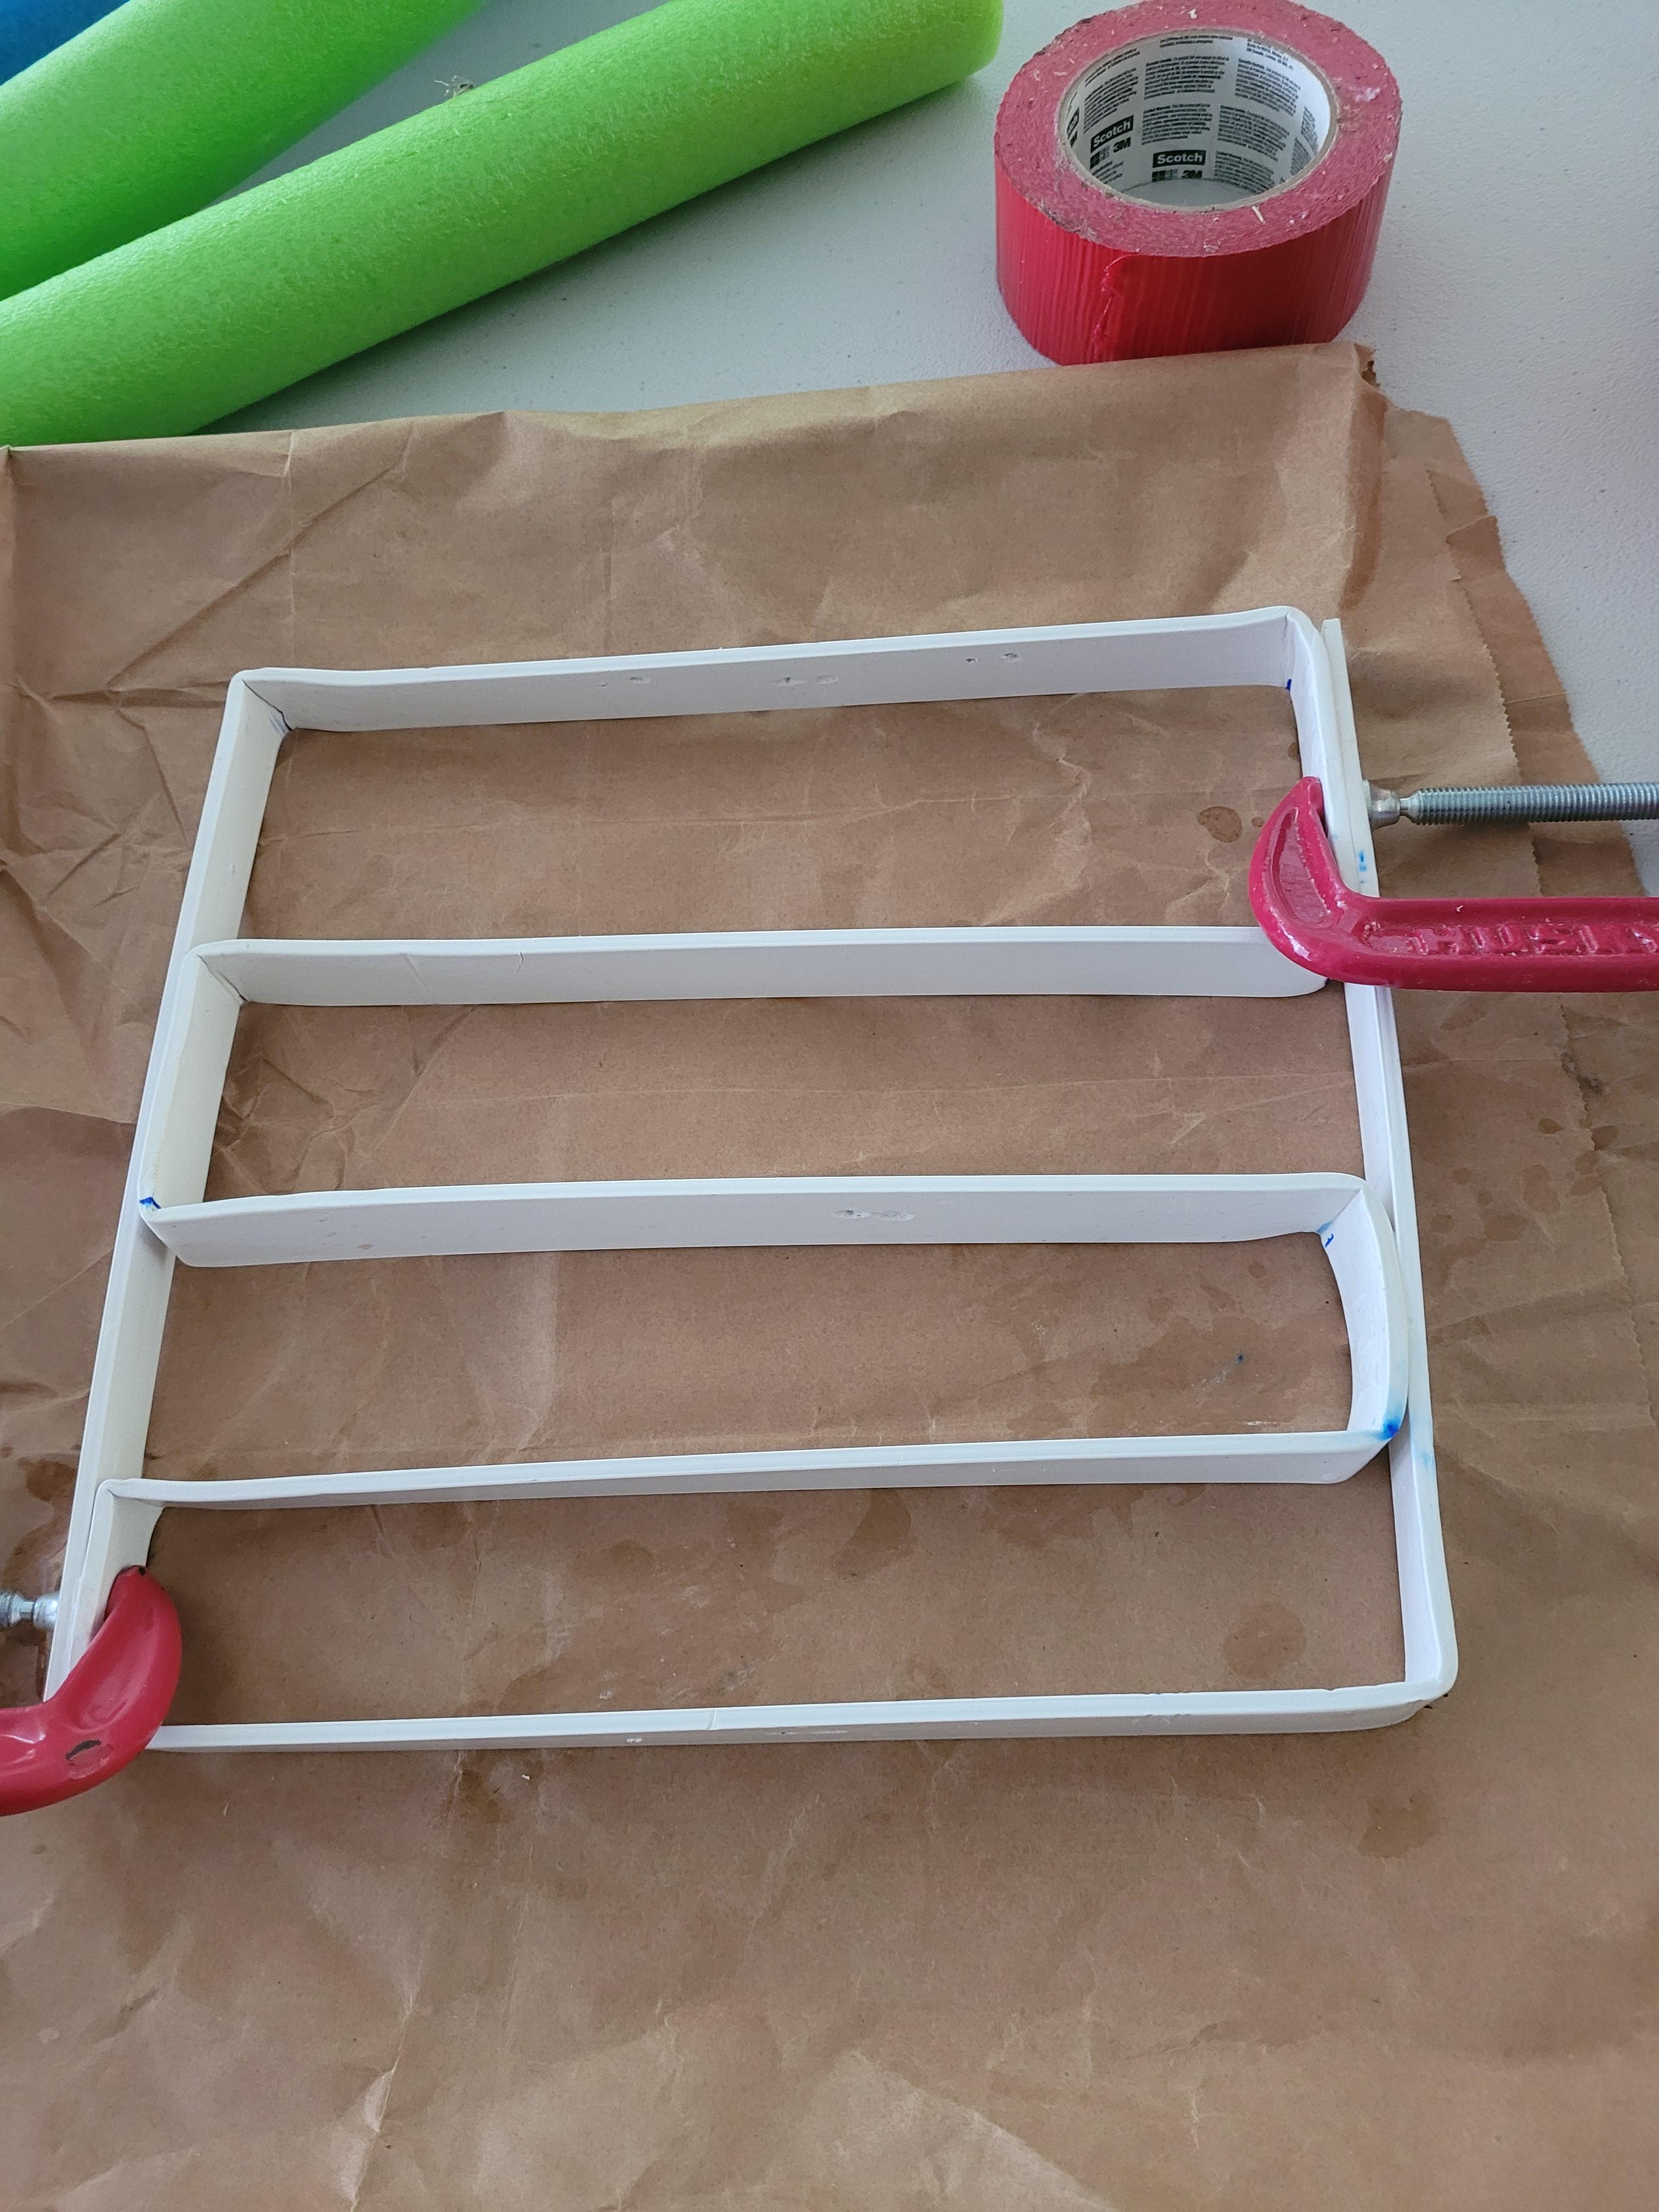

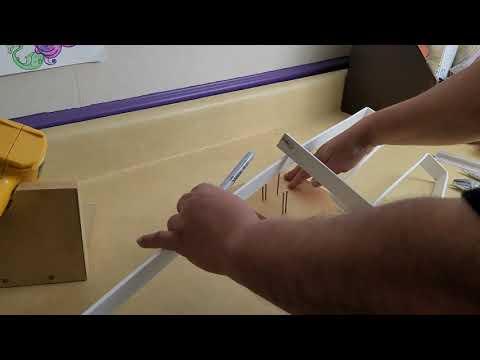
- Measure PVC trim to first bend.
- Insert into bending jig between pair of nails that are same width as PVC trim.
- Heat PVC trim using heatgun and bend into place.
- Reheat and rebend the corner as necessary.
- Allow time for the corner to cool.
- Repeat steps for next bend in PVC trim.
- Move to a well-ventilated area.
- Glue PVC trim together to add firmness.
- Use C-clamp to hold together until glue dries.
- Once complete, trim excess.
- OPTIONAL: Whittle notches into organizer and excess PVC trim to use as additional dividers. Bend the excess PVC trim as needed.