PUZZLE CUBE 3D With SketchUp 2013
by Mic100 in Living > Toys & Games
7435 Views, 10 Favorites, 0 Comments
PUZZLE CUBE 3D With SketchUp 2013
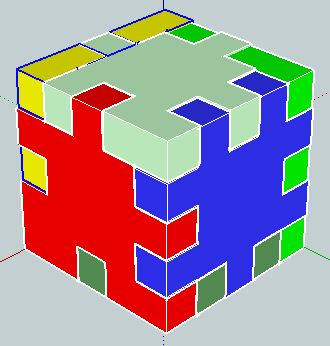
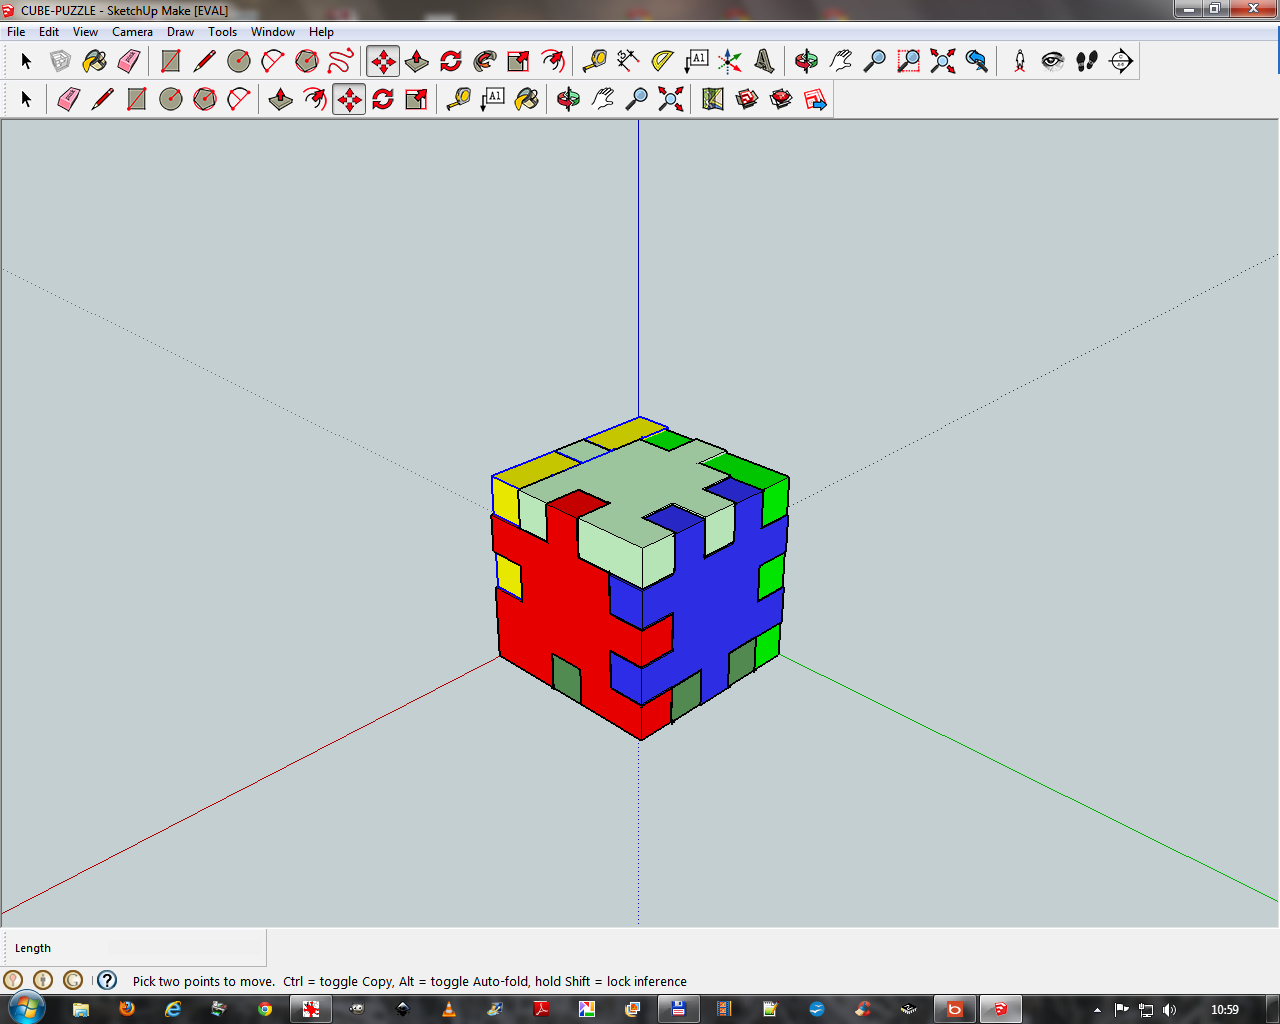
This instrutable how to create a puzzle in 3D with Google SketchUp
Example puzzle I built is not limited,
you can build your own puzzle very simply by modifying the square grid pattern
Sorry for my bad English
Create 50 X 50 Mm and 10 X10 Mm Squares
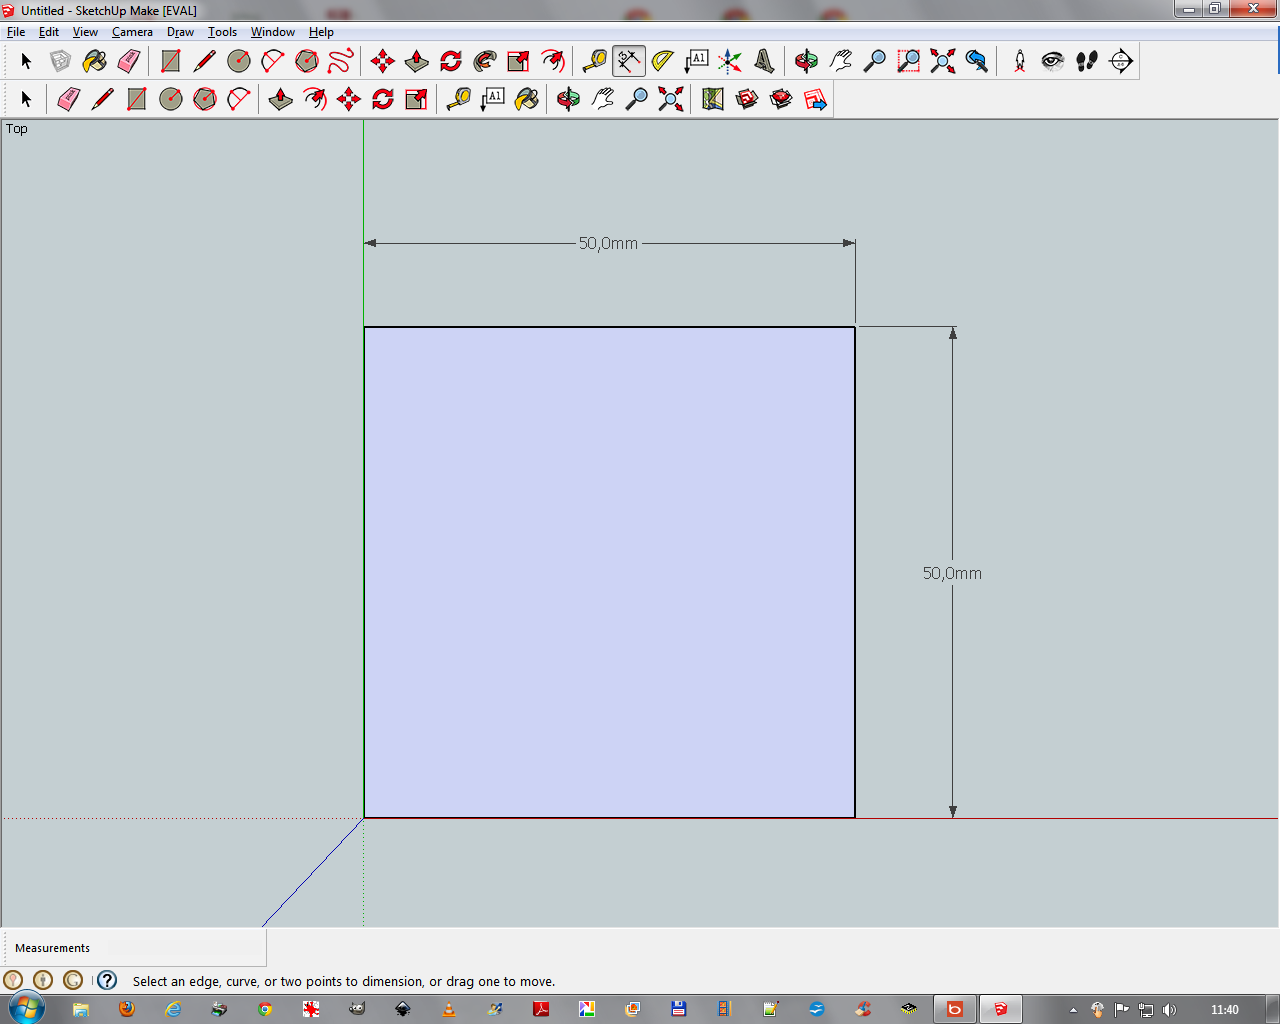
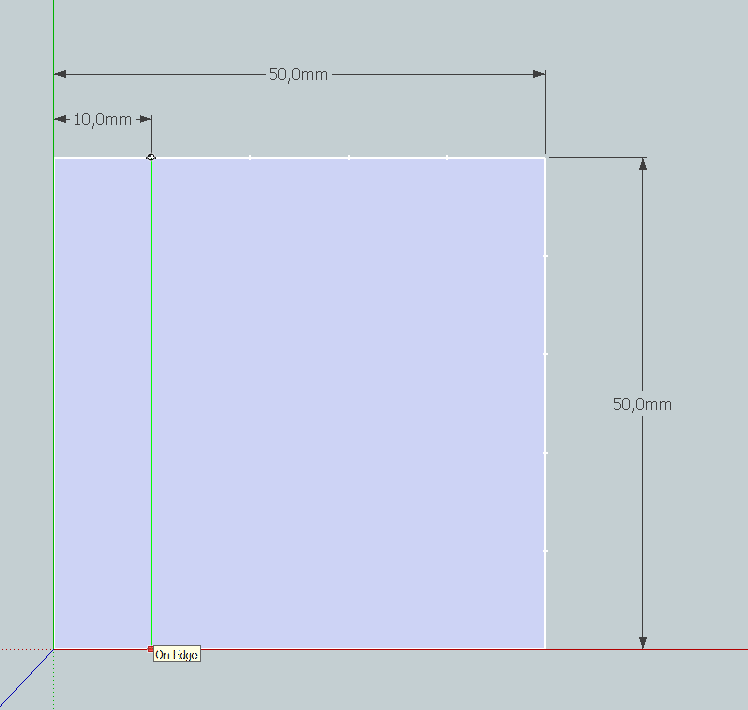
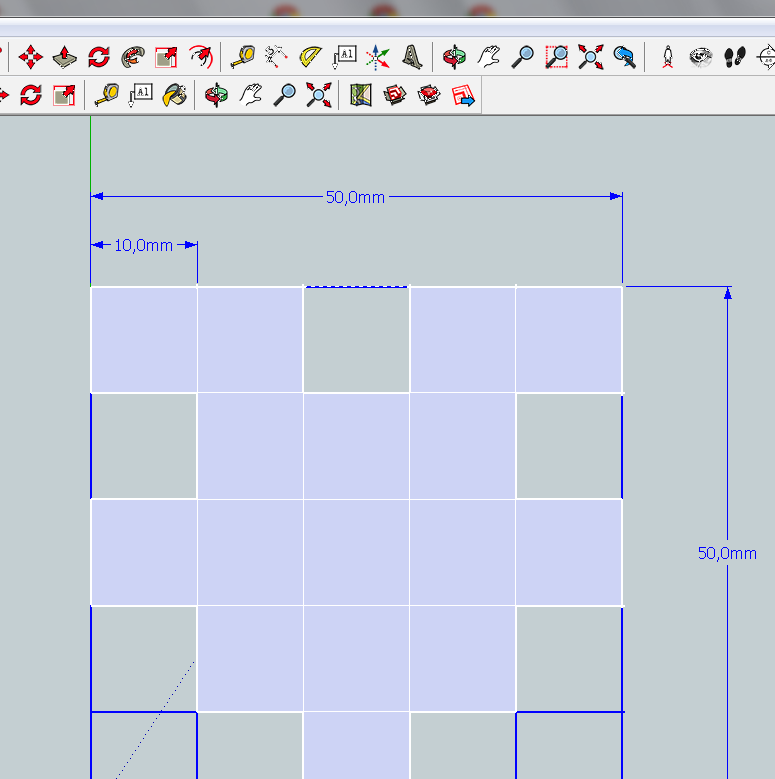
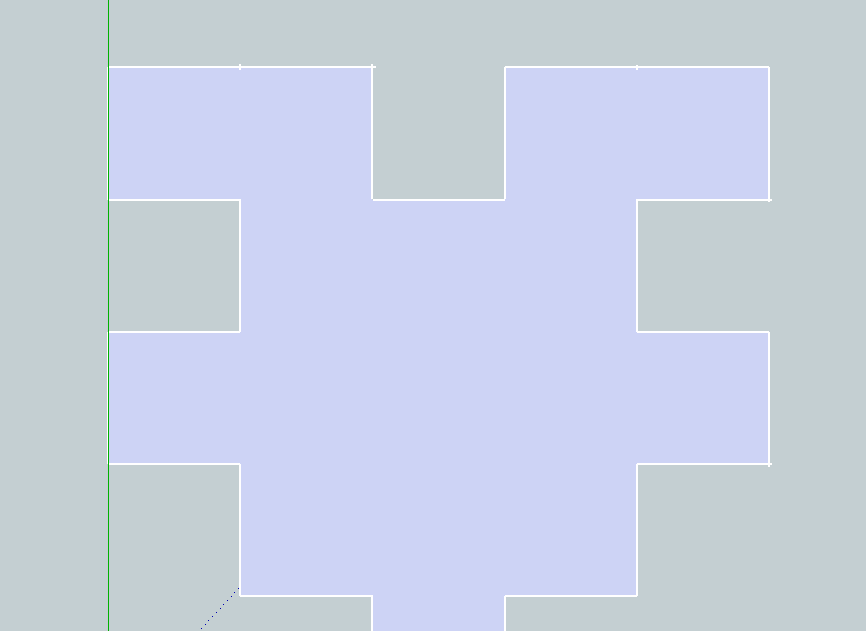
in the camera tab and then select above standard view
TIP: the size of your drawing is displayed at the bottom of the screen during the creation:
if you want accurate measurements while you create your rectangle, without releasing the mouse button enter the exact dimension X, Y on the keyboard for example the square you must type 50;50 and confirm with the Enter key
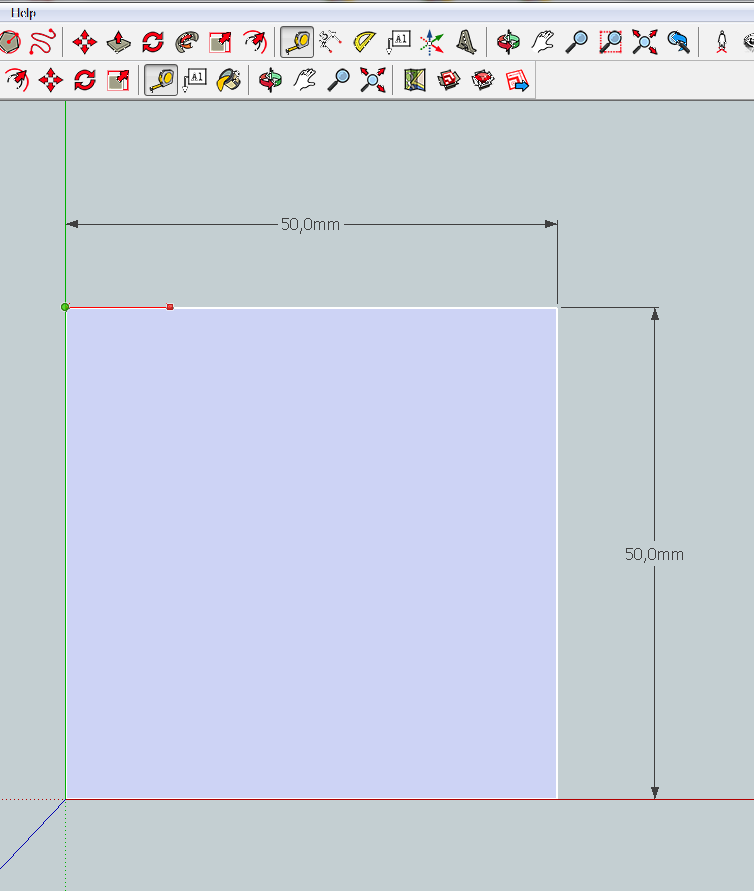
(this is the same for all sizes). and save the grid to be used for all faces of the cube.
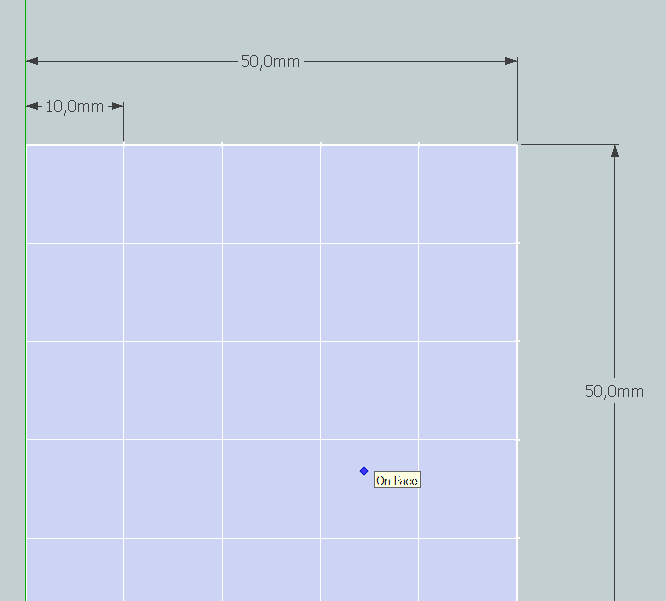
Use the Meter tool to create horizontal and vertical marks every 10 mm
With line tool join pins to create 10 x 10mm square
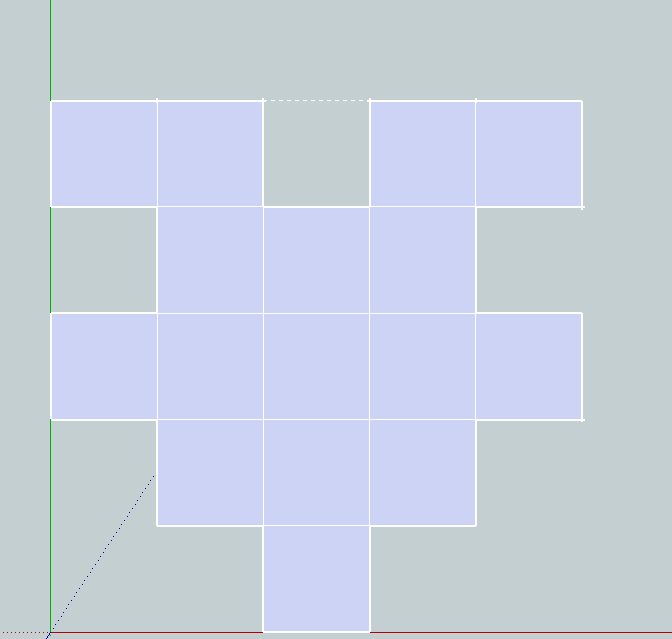
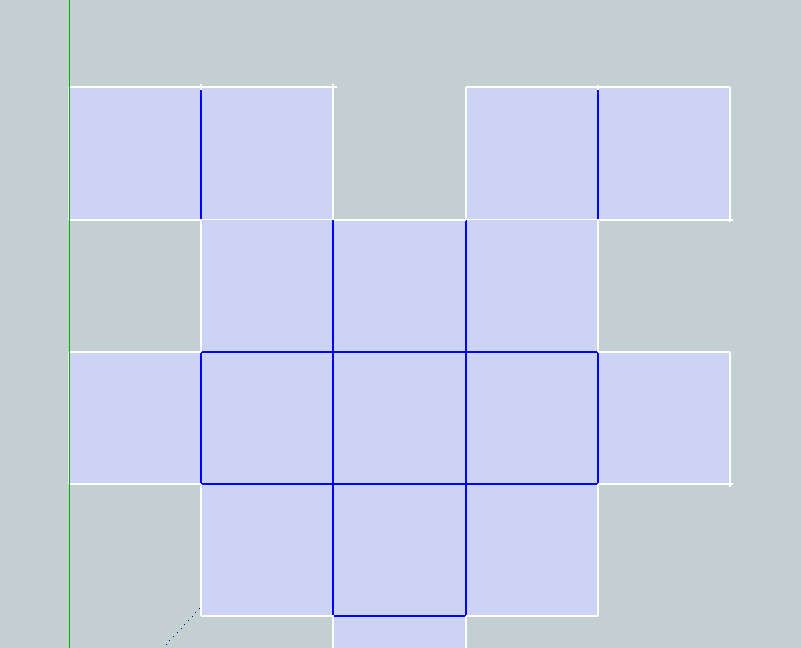
Draw your figure by selecting the faces and unnecessary edges and pressing
Del to delete or by using the Eraser tool.
TIP:Hold Shift Key to toogle the Faces or Edges it will select only the patterns to clear
Making 3D Face and Coloring
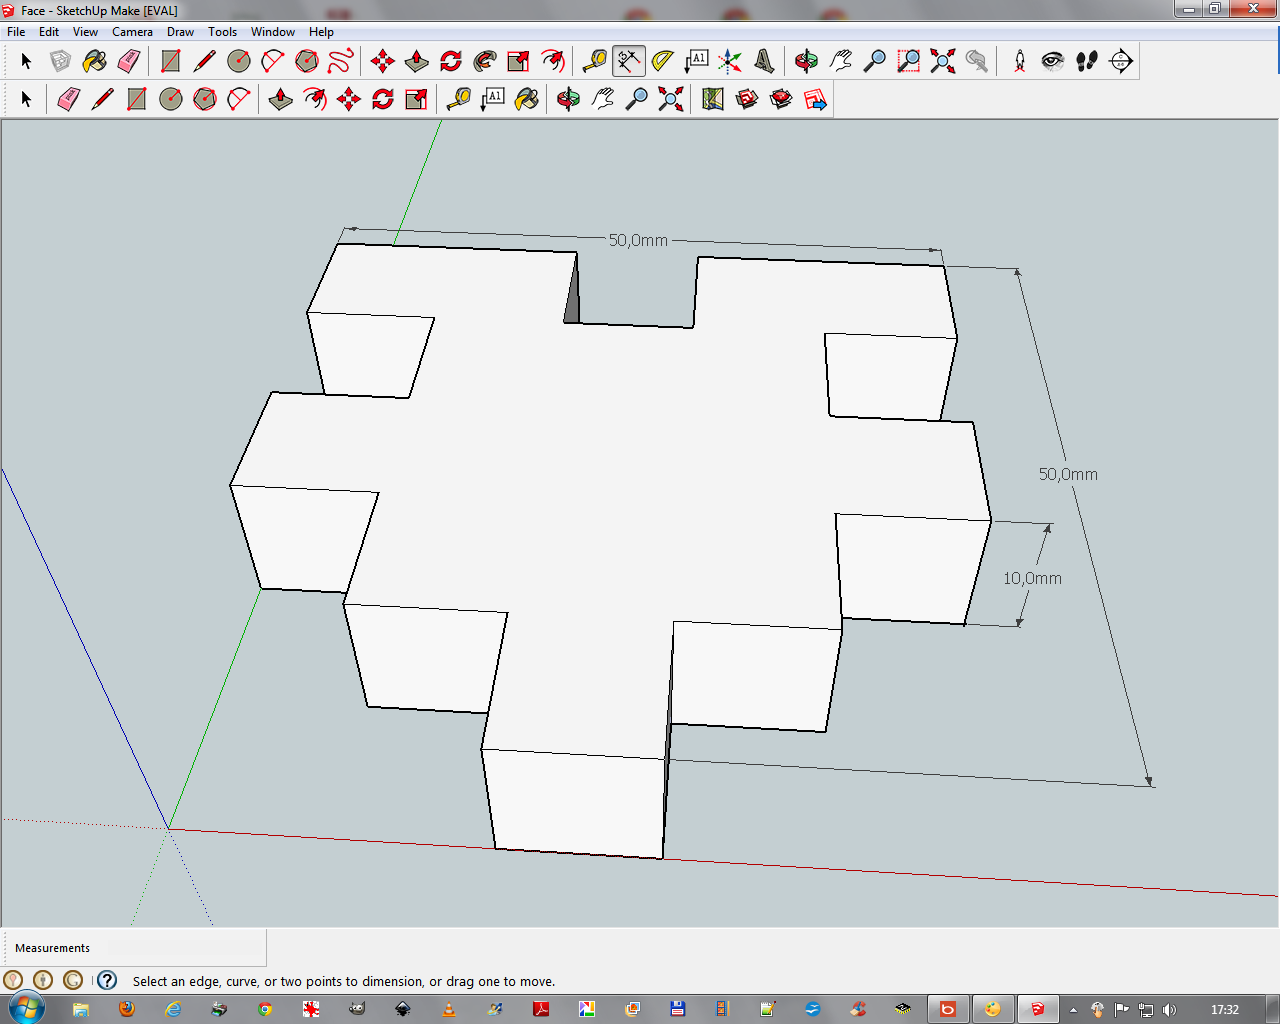
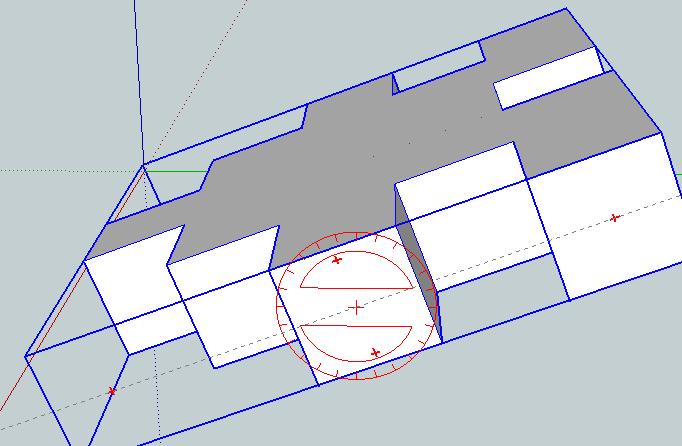
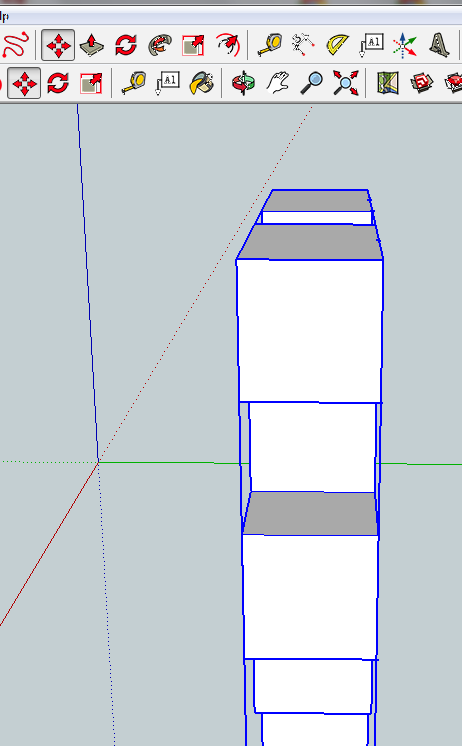
With push / pull tool create a 10mm height volume .
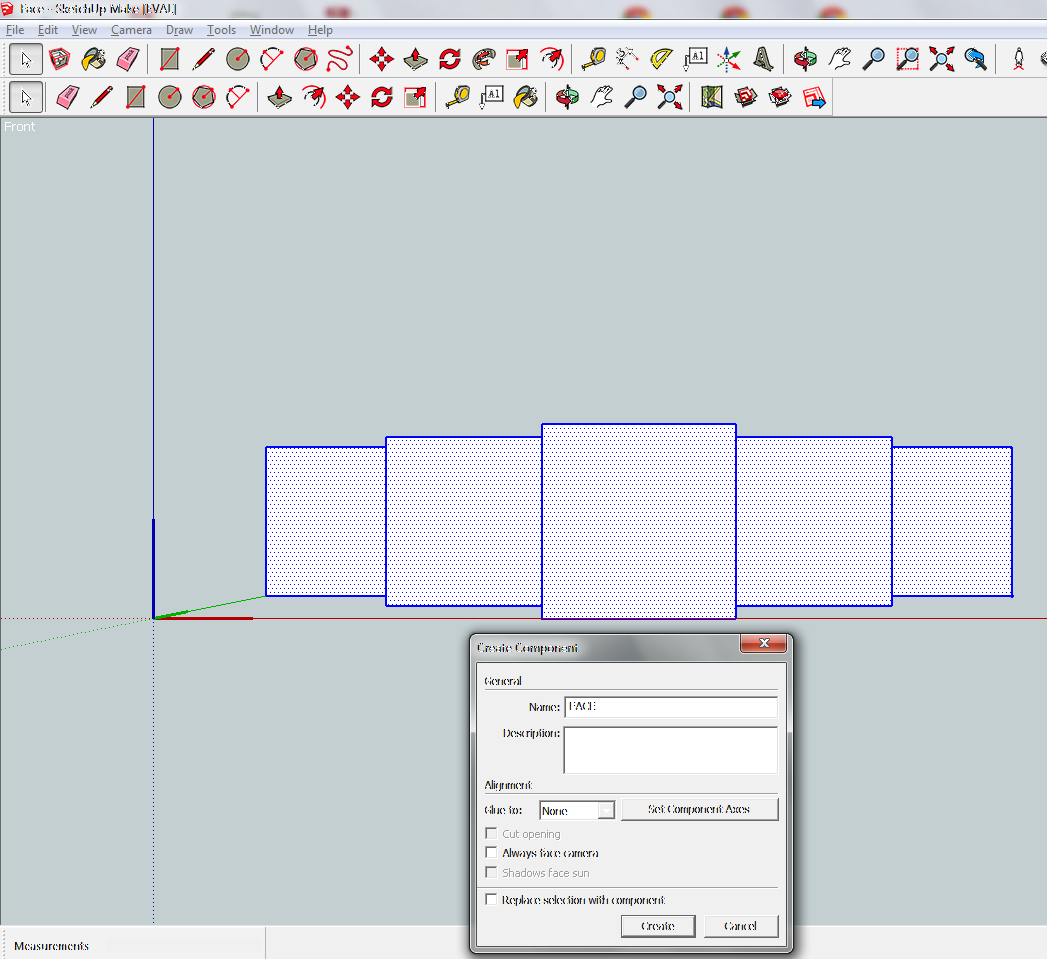
TIP: To rotate a volume is best to create a component
Select full volume dredging around a square with the left mouse button, click on its surface with the right component and click create, rename the FACE and click create
Now you can move or rotate your component in all directions with the move tool
when you place the tool on the component, small red crosses appear, they materialize the axes of rotation and a reporter appears, you can then rotate (left button) If you just want to move you move between the cross and left button to turn on the other axes, change standard view. As is the front view we create, I'll put it to the vertical:
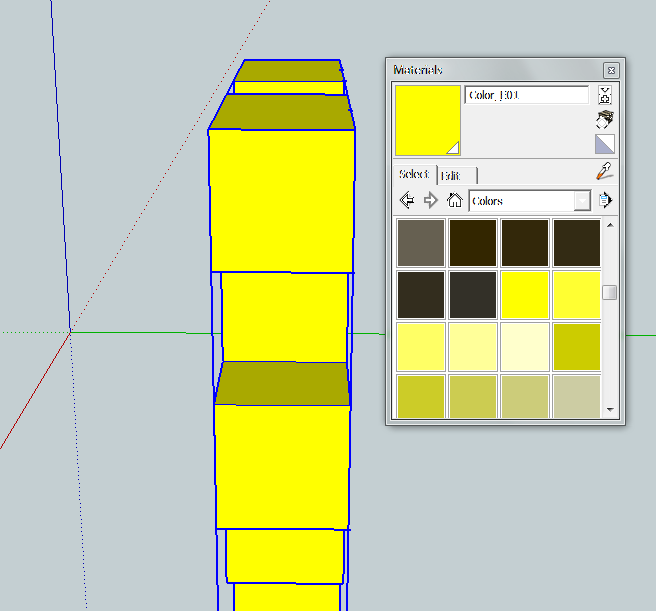
Then coloring with yellow color tool
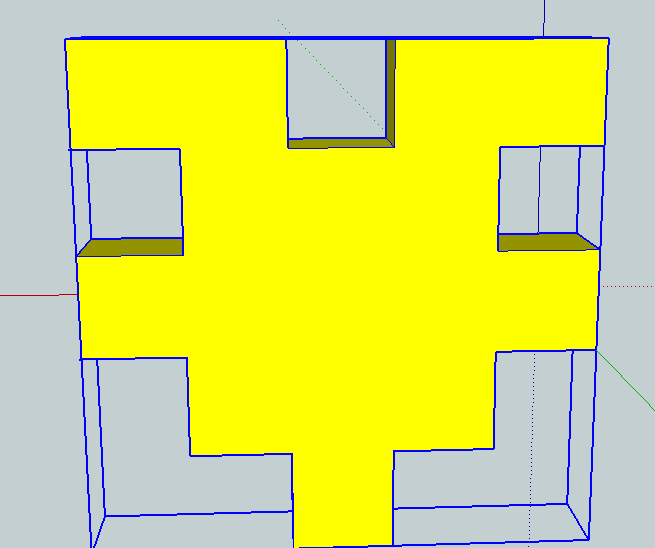
It Only Remains to Create the Others Sides
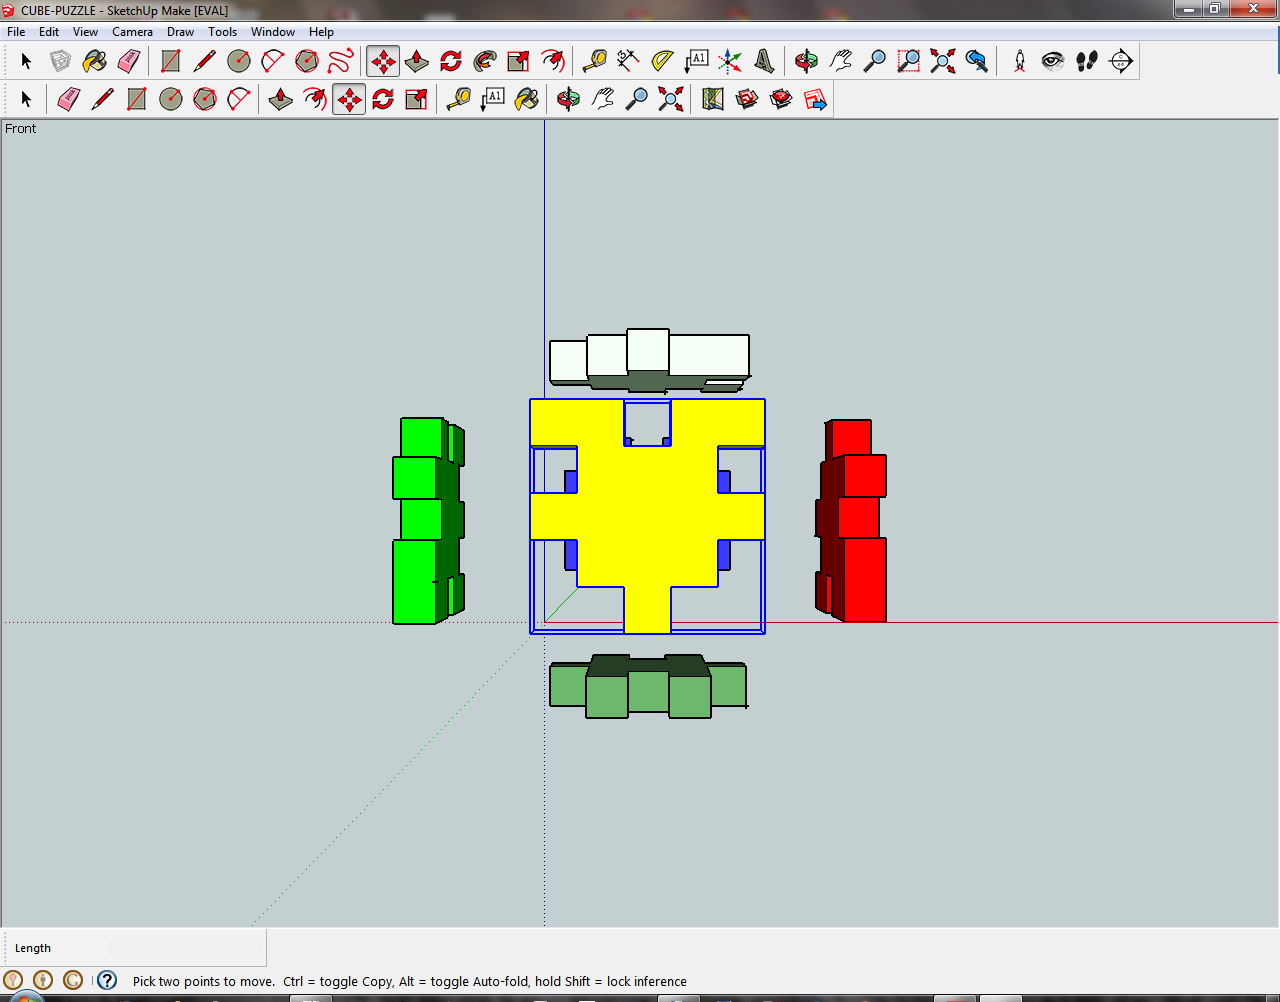
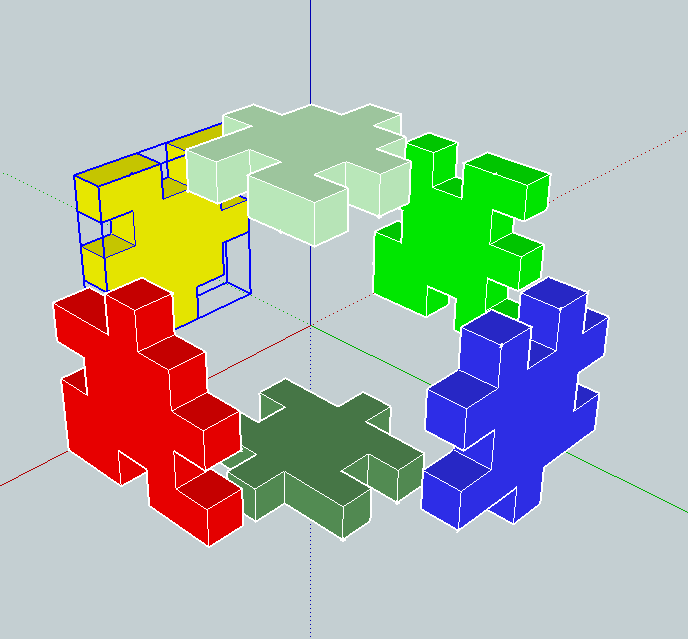
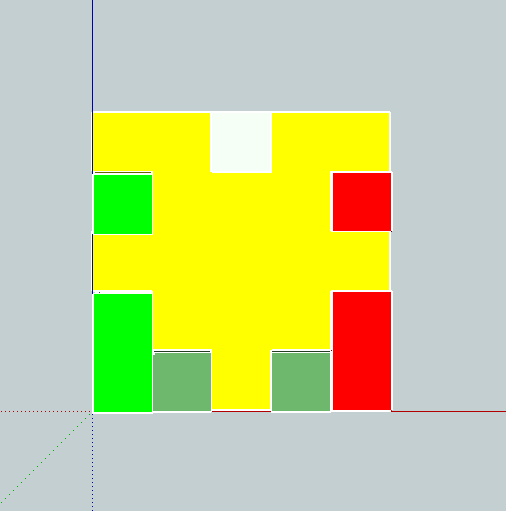
Now you can save the yellow FACE and start at step 1
Open the grid file and delete some cases remembering that the finite grid fits into the other faces
When the second face is finished you save as BELOW (for example)
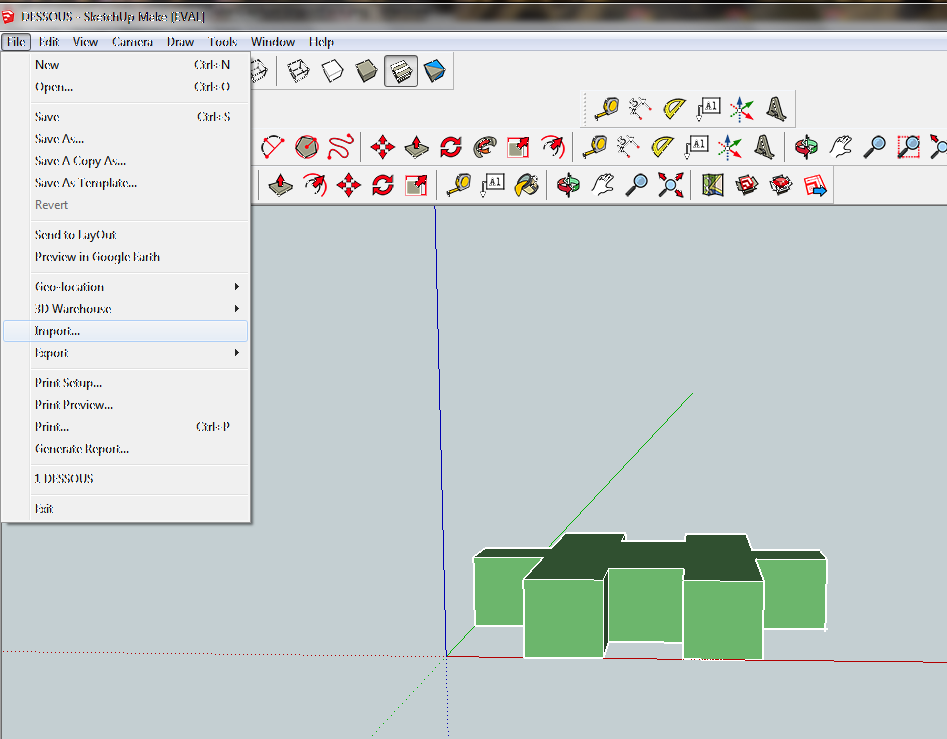
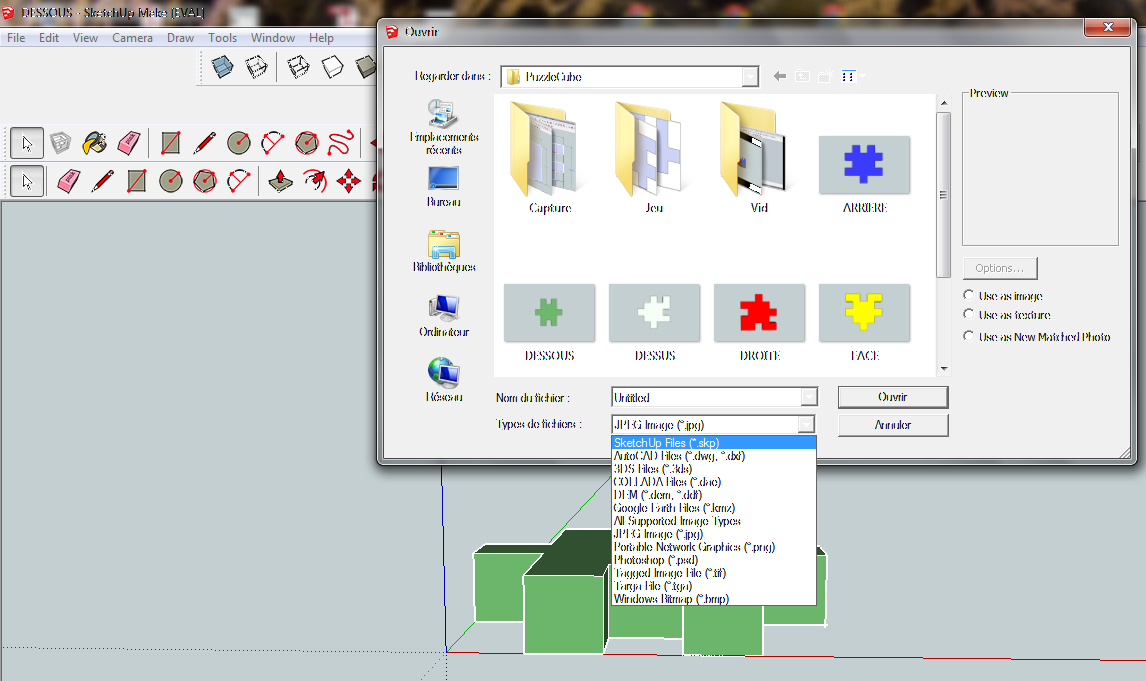
Now you can test if your two faces together well, then: select Import (in the File menu)
in the window choose File file type SketchUp (SKP *.)
and in the file name choice type FACE
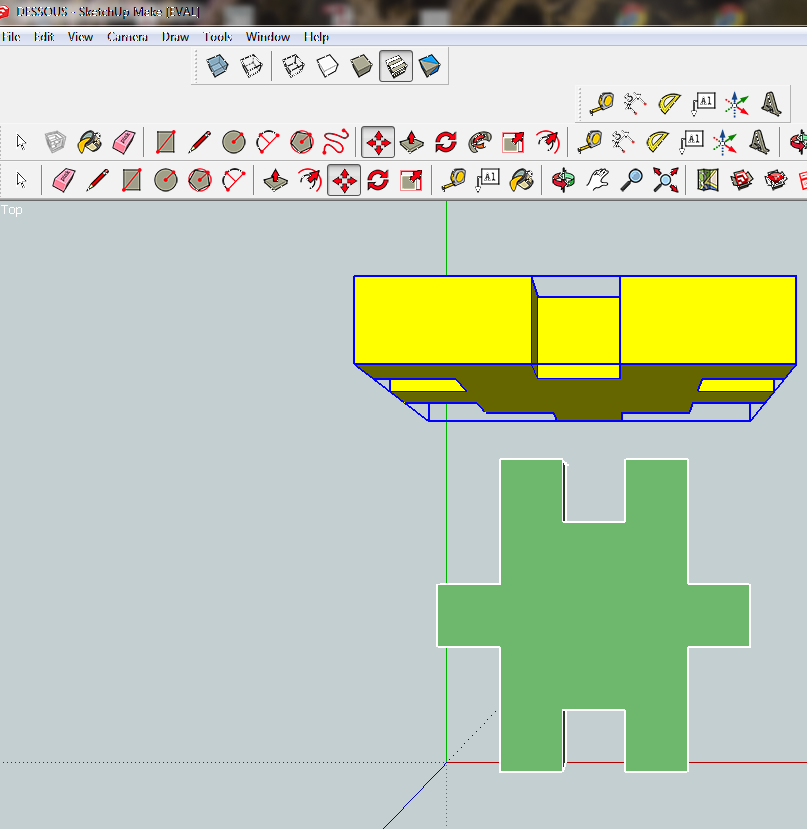
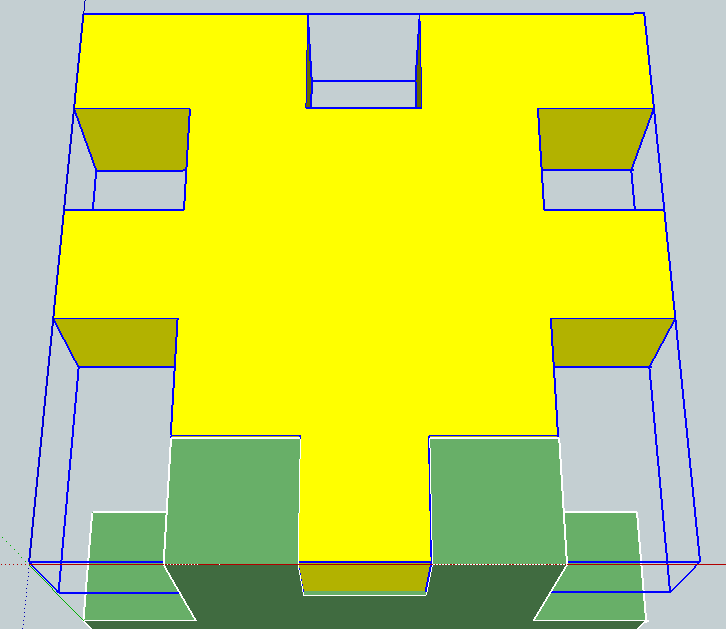
it only remains to orient the two sides and to follow:
If all OK go to the construction of the figure below or make your corrections.
All the other sides are constructed in the same way (save them one by one)
When all the figures are finished, you can import them (one by one) and adjust to form the Puzzle Cube.
TIP change the view through the camera menu (standard views) to make sure everything fits well
Have Fun :-)
Now you can print the grids of the face you drew
and paste them onto polystyrene or wood 10mm thick and build your puzzle. This will surely be my next Instructable
Construction in SketchUp
now you can make wooden puzzle cube at this link:
https://www.instructables.com/id/Wooden-Puzzle-Cube-3D-3D-Puzzle-Cube-constructed-w/