PHOTOGRAPHY GUIDE: Beginner to Advanced (With Photo Editing Tutorial)
by brandon_yen in Design > Photography
674 Views, 16 Favorites, 0 Comments
PHOTOGRAPHY GUIDE: Beginner to Advanced (With Photo Editing Tutorial)
If you’ve got a camera and want to start getting into Photography, this guide is for you. Over the course of this instructable, you’ll go from beginner to advanced. And, as a bonus, I’ll teach you how to edit your photos in Adobe Photoshop CC/CS.
Photography is an awesome way to express your ideas to the world. You might not always take the perfect shot, but with a bit of post-processing in Photoshop you can make it look better.
NOTE: I may refer to images. All images will be at the top of the step.
Let’s get started!
Things You'll Need
- A camera(preferably a DSLR) and an SD card
- You’ll need to know how to do basic camera operations, such as adjust the lens and take a picture
- A computer with Photoshop CC or CS(not elements)
-You’ll need to know how to use basic Photoshop tools(if not, learn about it first)
- Some imagination!
Basic Camera Terminology
Before we start, I need to discuss basic camera terms so you know what I’m talking about. If you want to skip this, go on to the next step.
- Optical Viewfinder: The small hole in DSLRs that displays the image through the lens
- Electric Viewfinder: The LCD that displays the image through the lens
- Shutter: The door that swings up or down to expose the sensor to light
- Sensor: The device that takes in light and transforms it into an image
- Lens: A device that changes the focus/range of an image.
- Pentamirror: The mirror that relays the image up to the optical viewfinder
- Shutter release: The button that you press to take the image.
- Resolution: The # of pixels by the # of pixels, ie 4000x3000.
- Megapixels: The resolution multiplied, then divided by 1 million. 4000x3000 is 12000000, divided by 1000000 is 12 megapixels.
- Shutter speed: How fast the shutter moves to expose the sensor to light
- Aperture: The spot in focus, also represented as f/no(number)
- ISO: How sensitive your sensor is to light
- AF: Autofocus
- MF: Manual focus
- Exposure: Shutter speed, Aperture, and ISO
A Quick Note Before We Start
I’ll be using a DSLR, the Canon T3i, but this guide is meant for anyone with a camera that has a manual mode. Auto or Program modes won’t work.
Setting Up a Shot
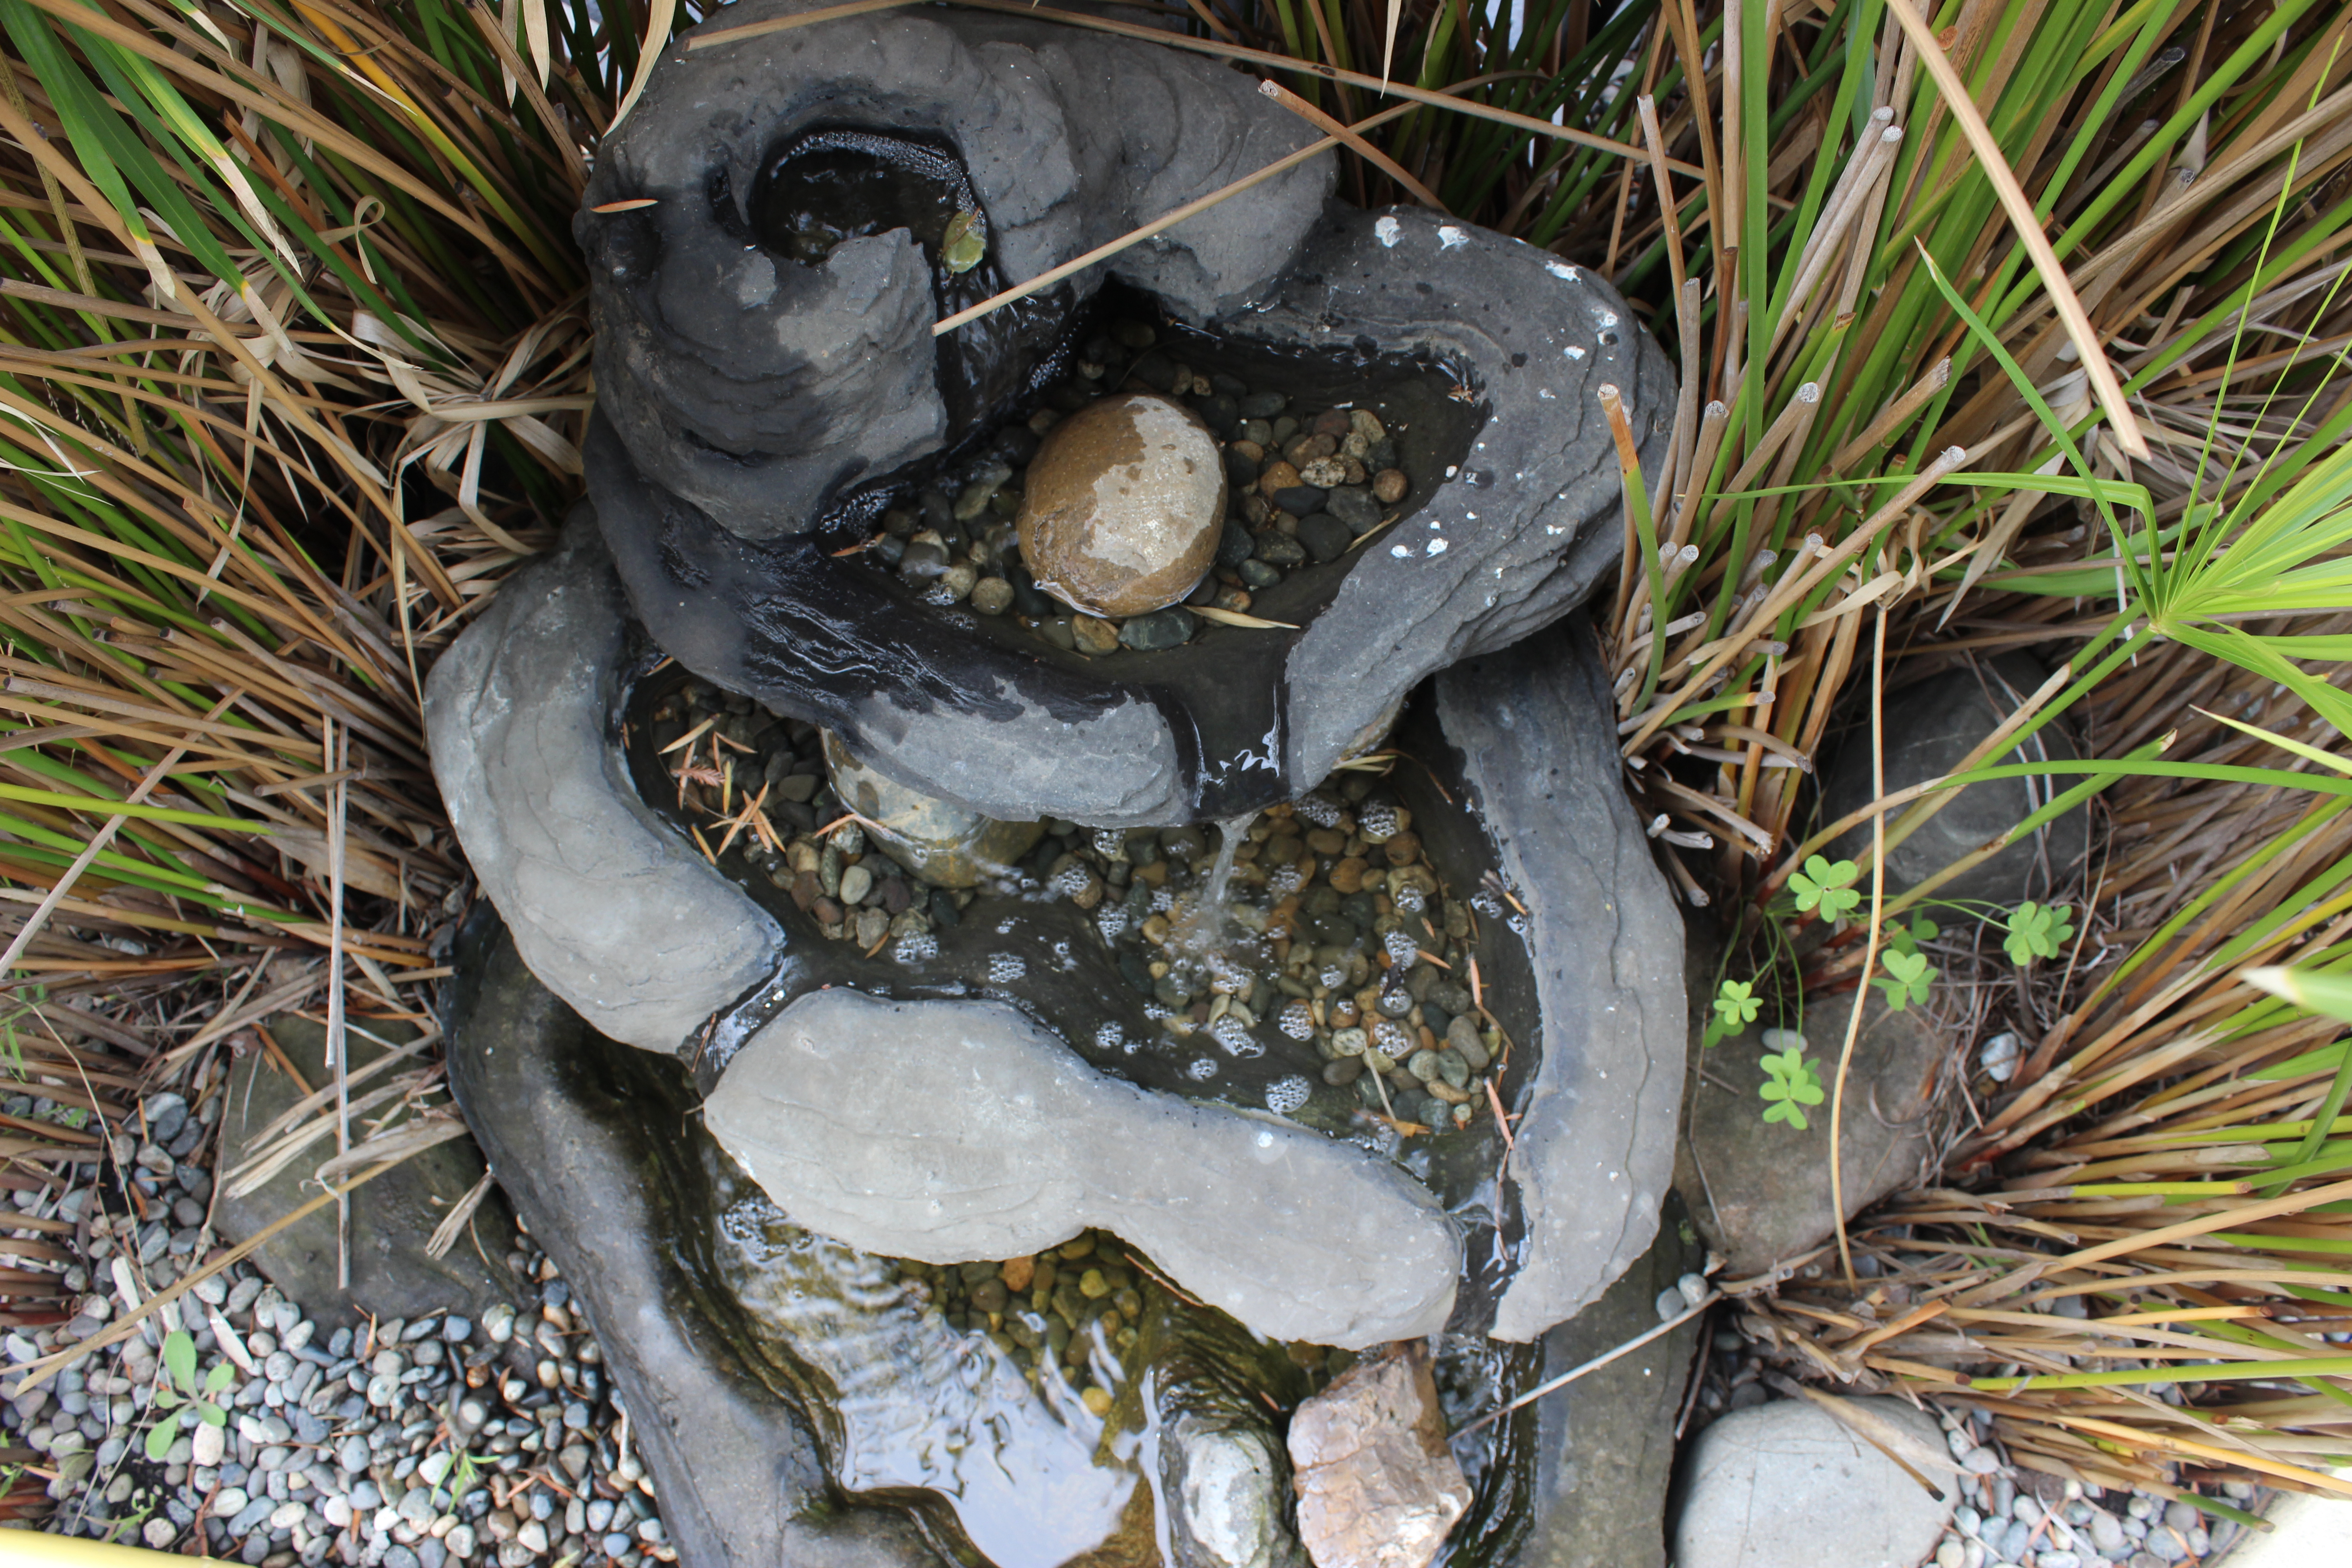
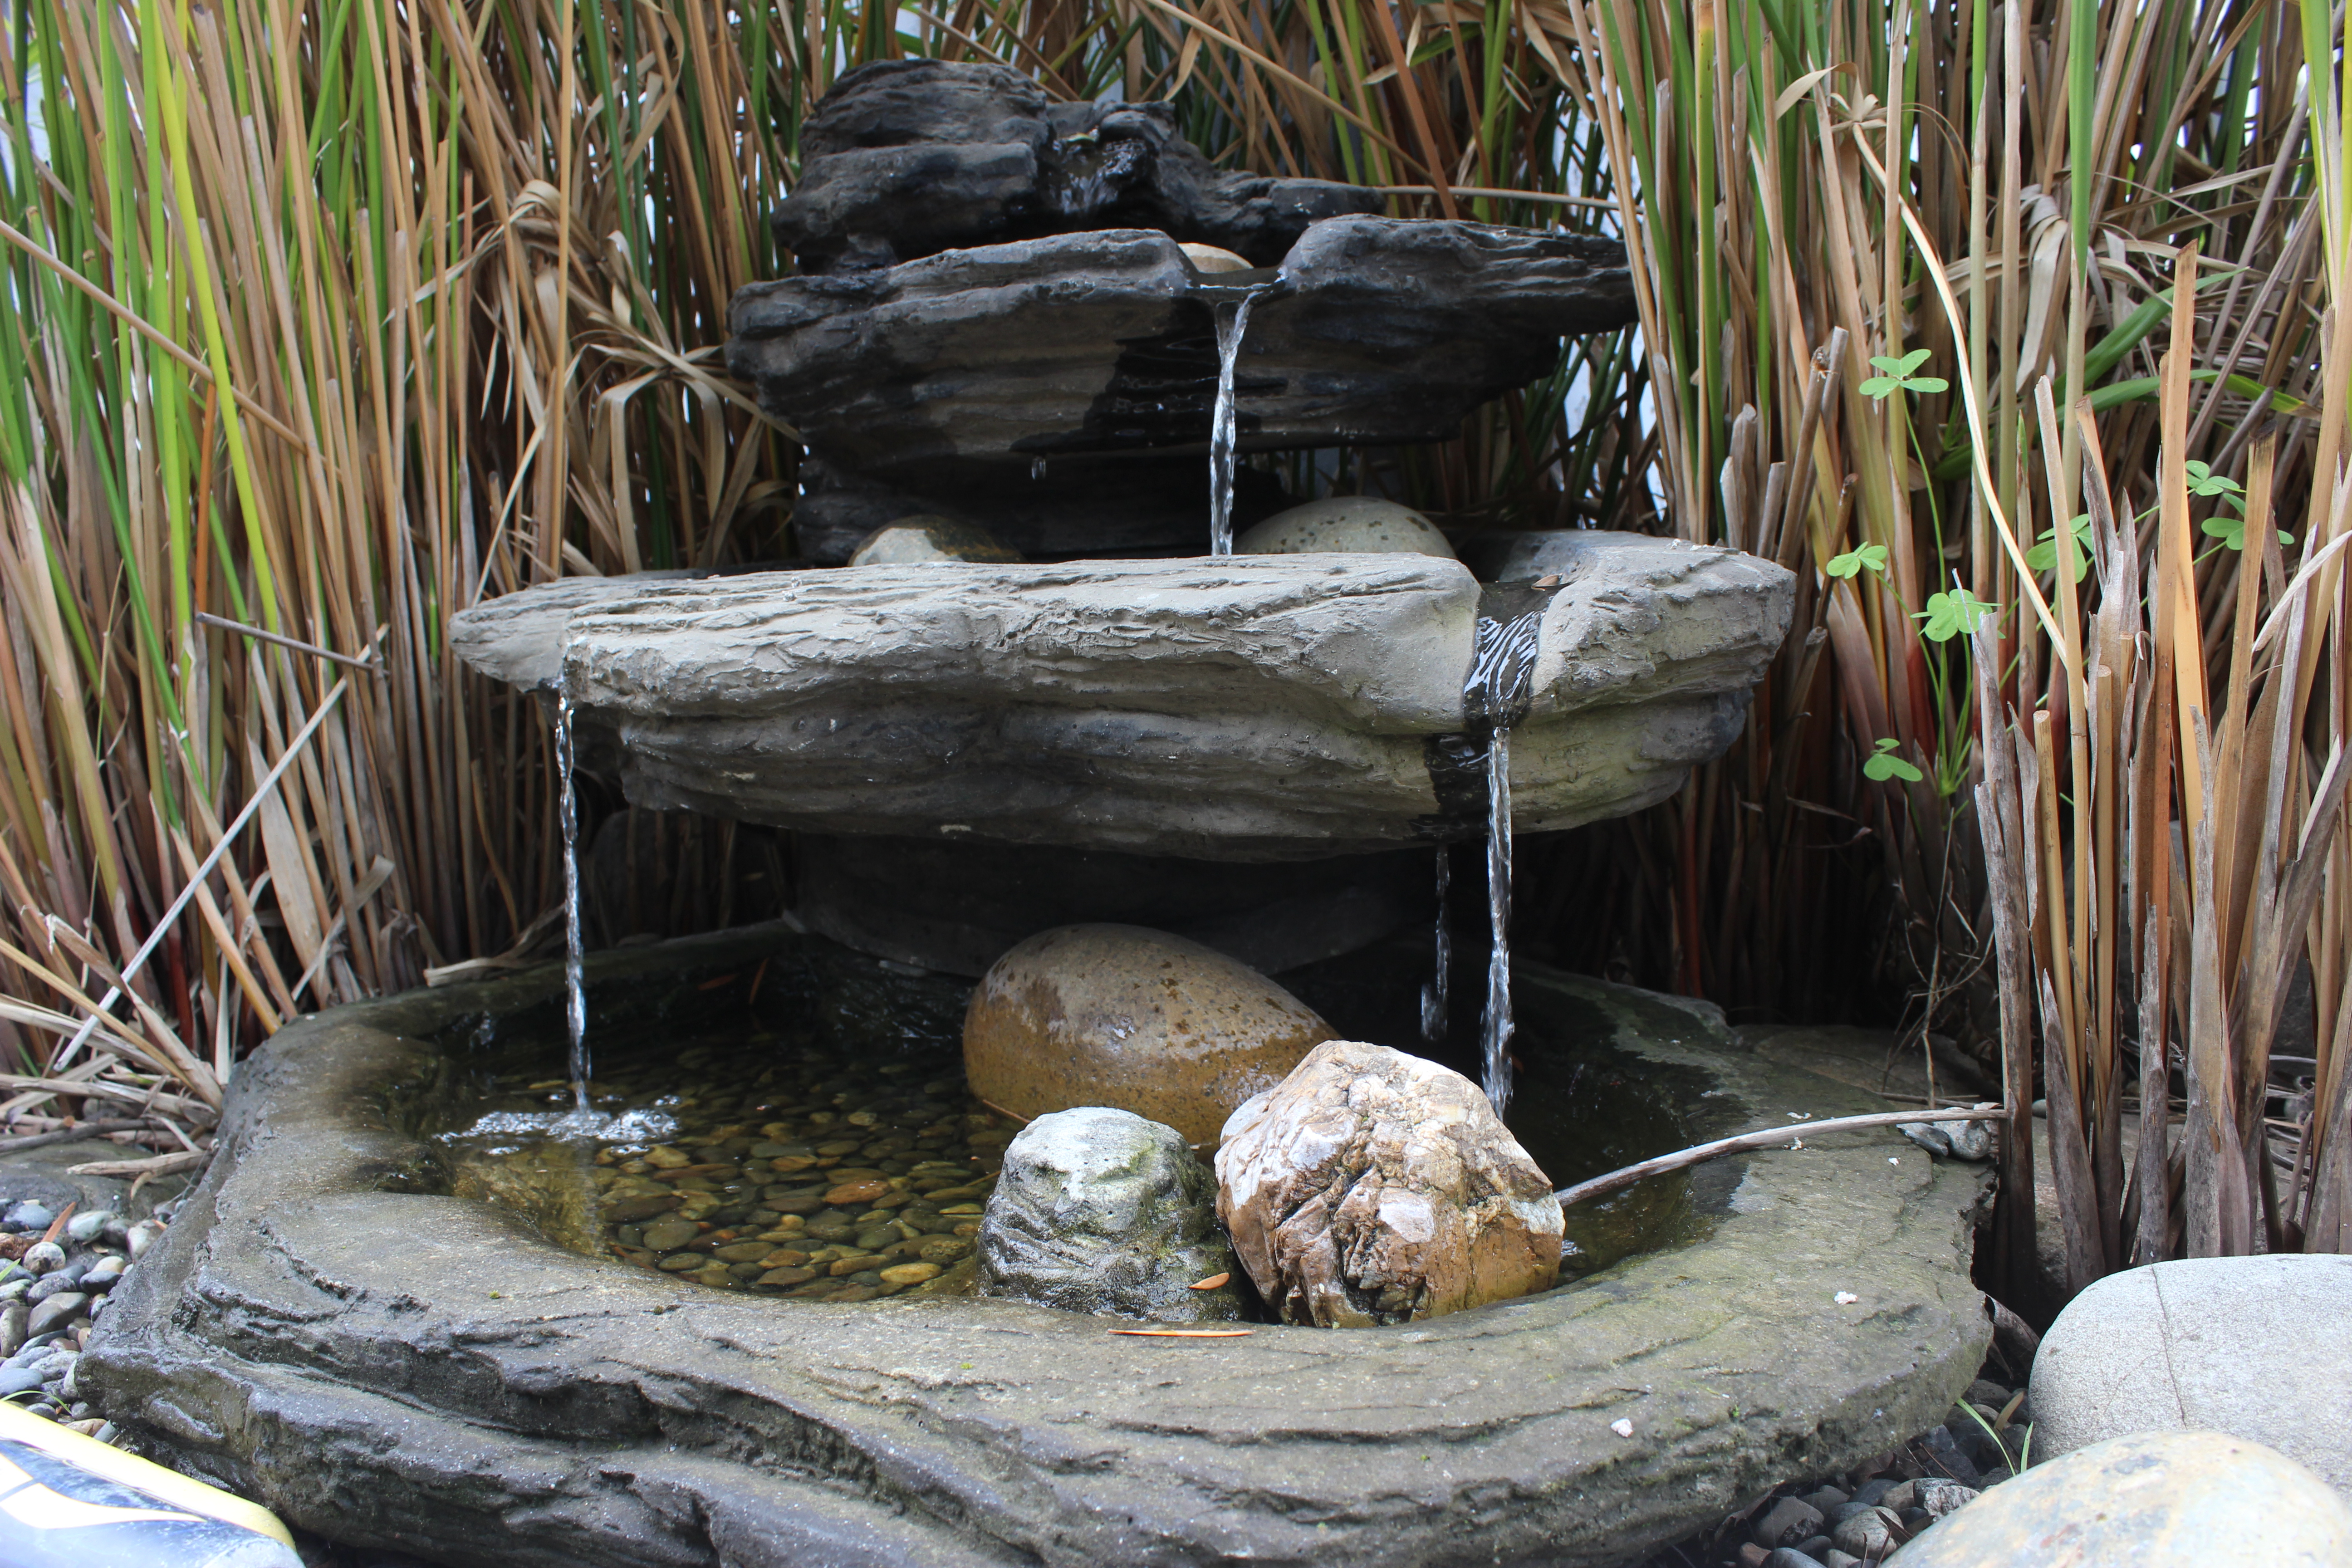
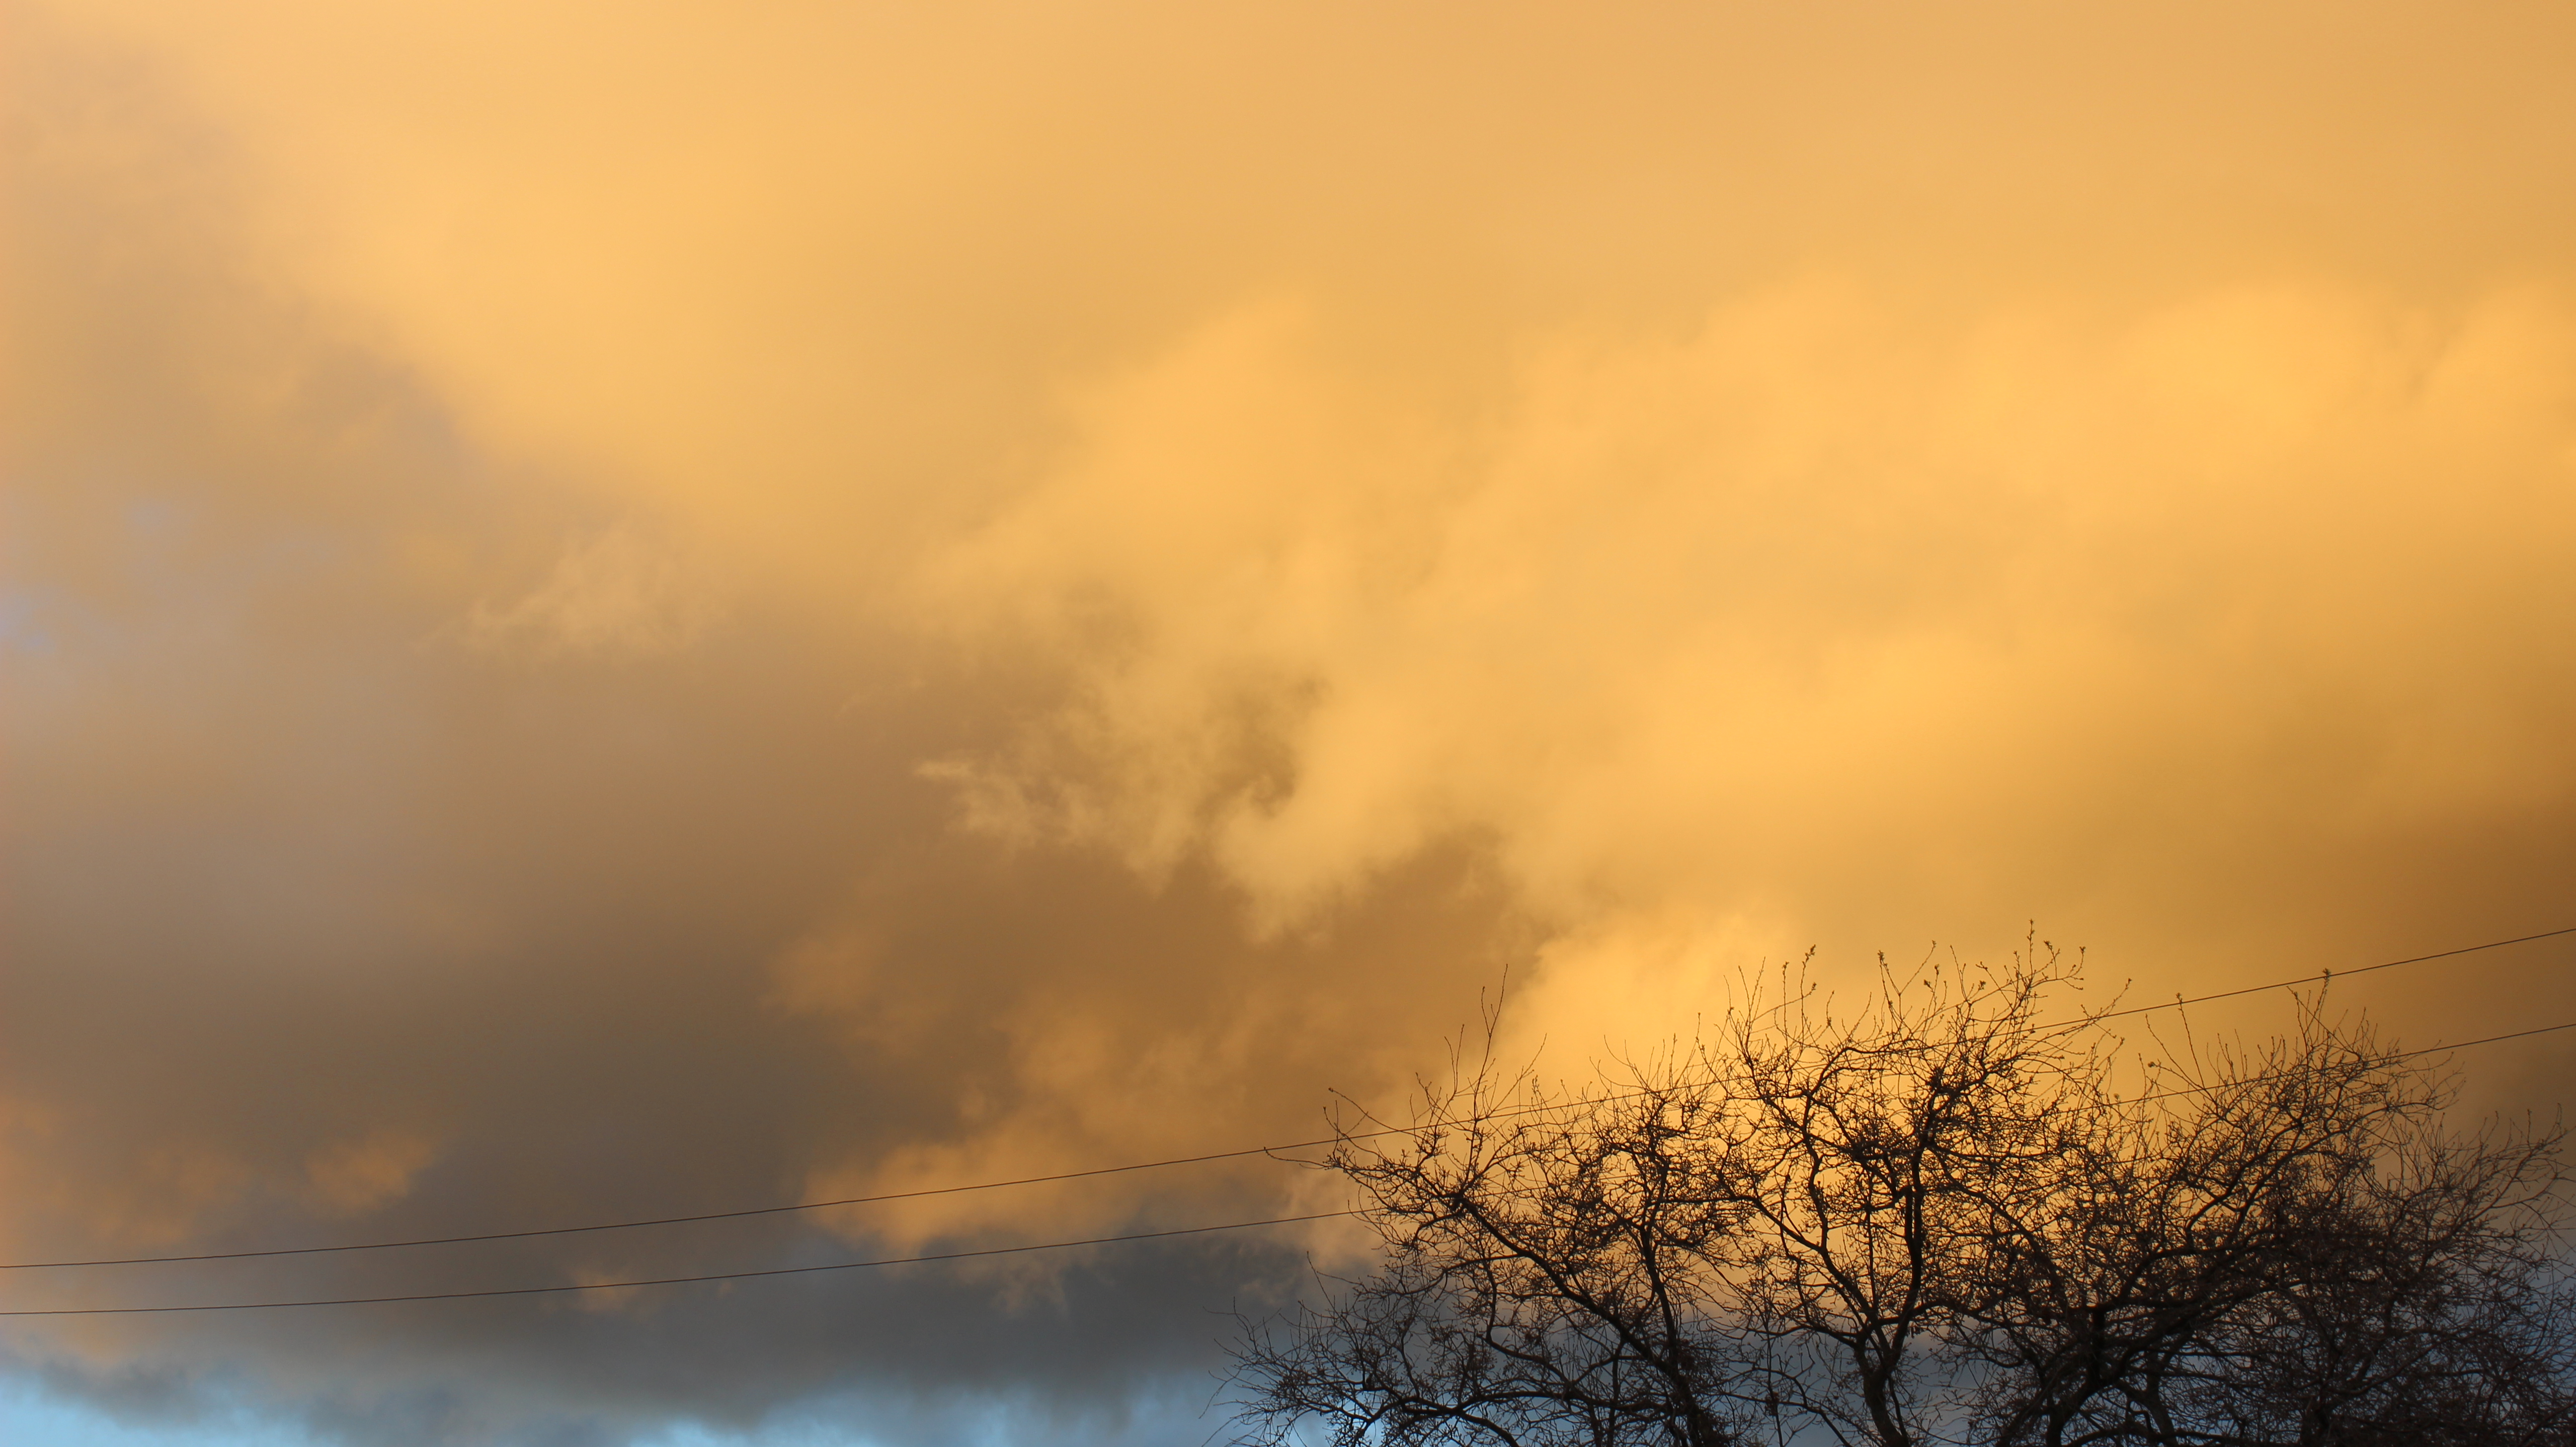
Let’s set up your camera settings before we start. Open up your camera’s menu, and change the image size to the highest quality possible.
First, you’ll need to find something to take a photo of. I’m going to be using this water fountain in my backyard. As a Photographer, you want to think about shots from creative angles, such as a perspective shot or a sideways shot. I’m going to do a perspective shot from the top and from the side.
Just to get some practice taking photos, switch your camera to auto mode and simply take the photo. Don’t worry about how it comes out, just focus on taking a shot.
Don’t forget to use the rule of thirds. There might be a setting on your camera where you can turn on grids. Basically, you want your subject anywhere where two lines meet.
I find auto mode to be helpful when I need to take a shot in that moment or I’ll miss it. Manual mode can often times ruin the shot if it’s too dark, and it takes too long to adjust the exposure to get the right shot.
Using Manual Mode
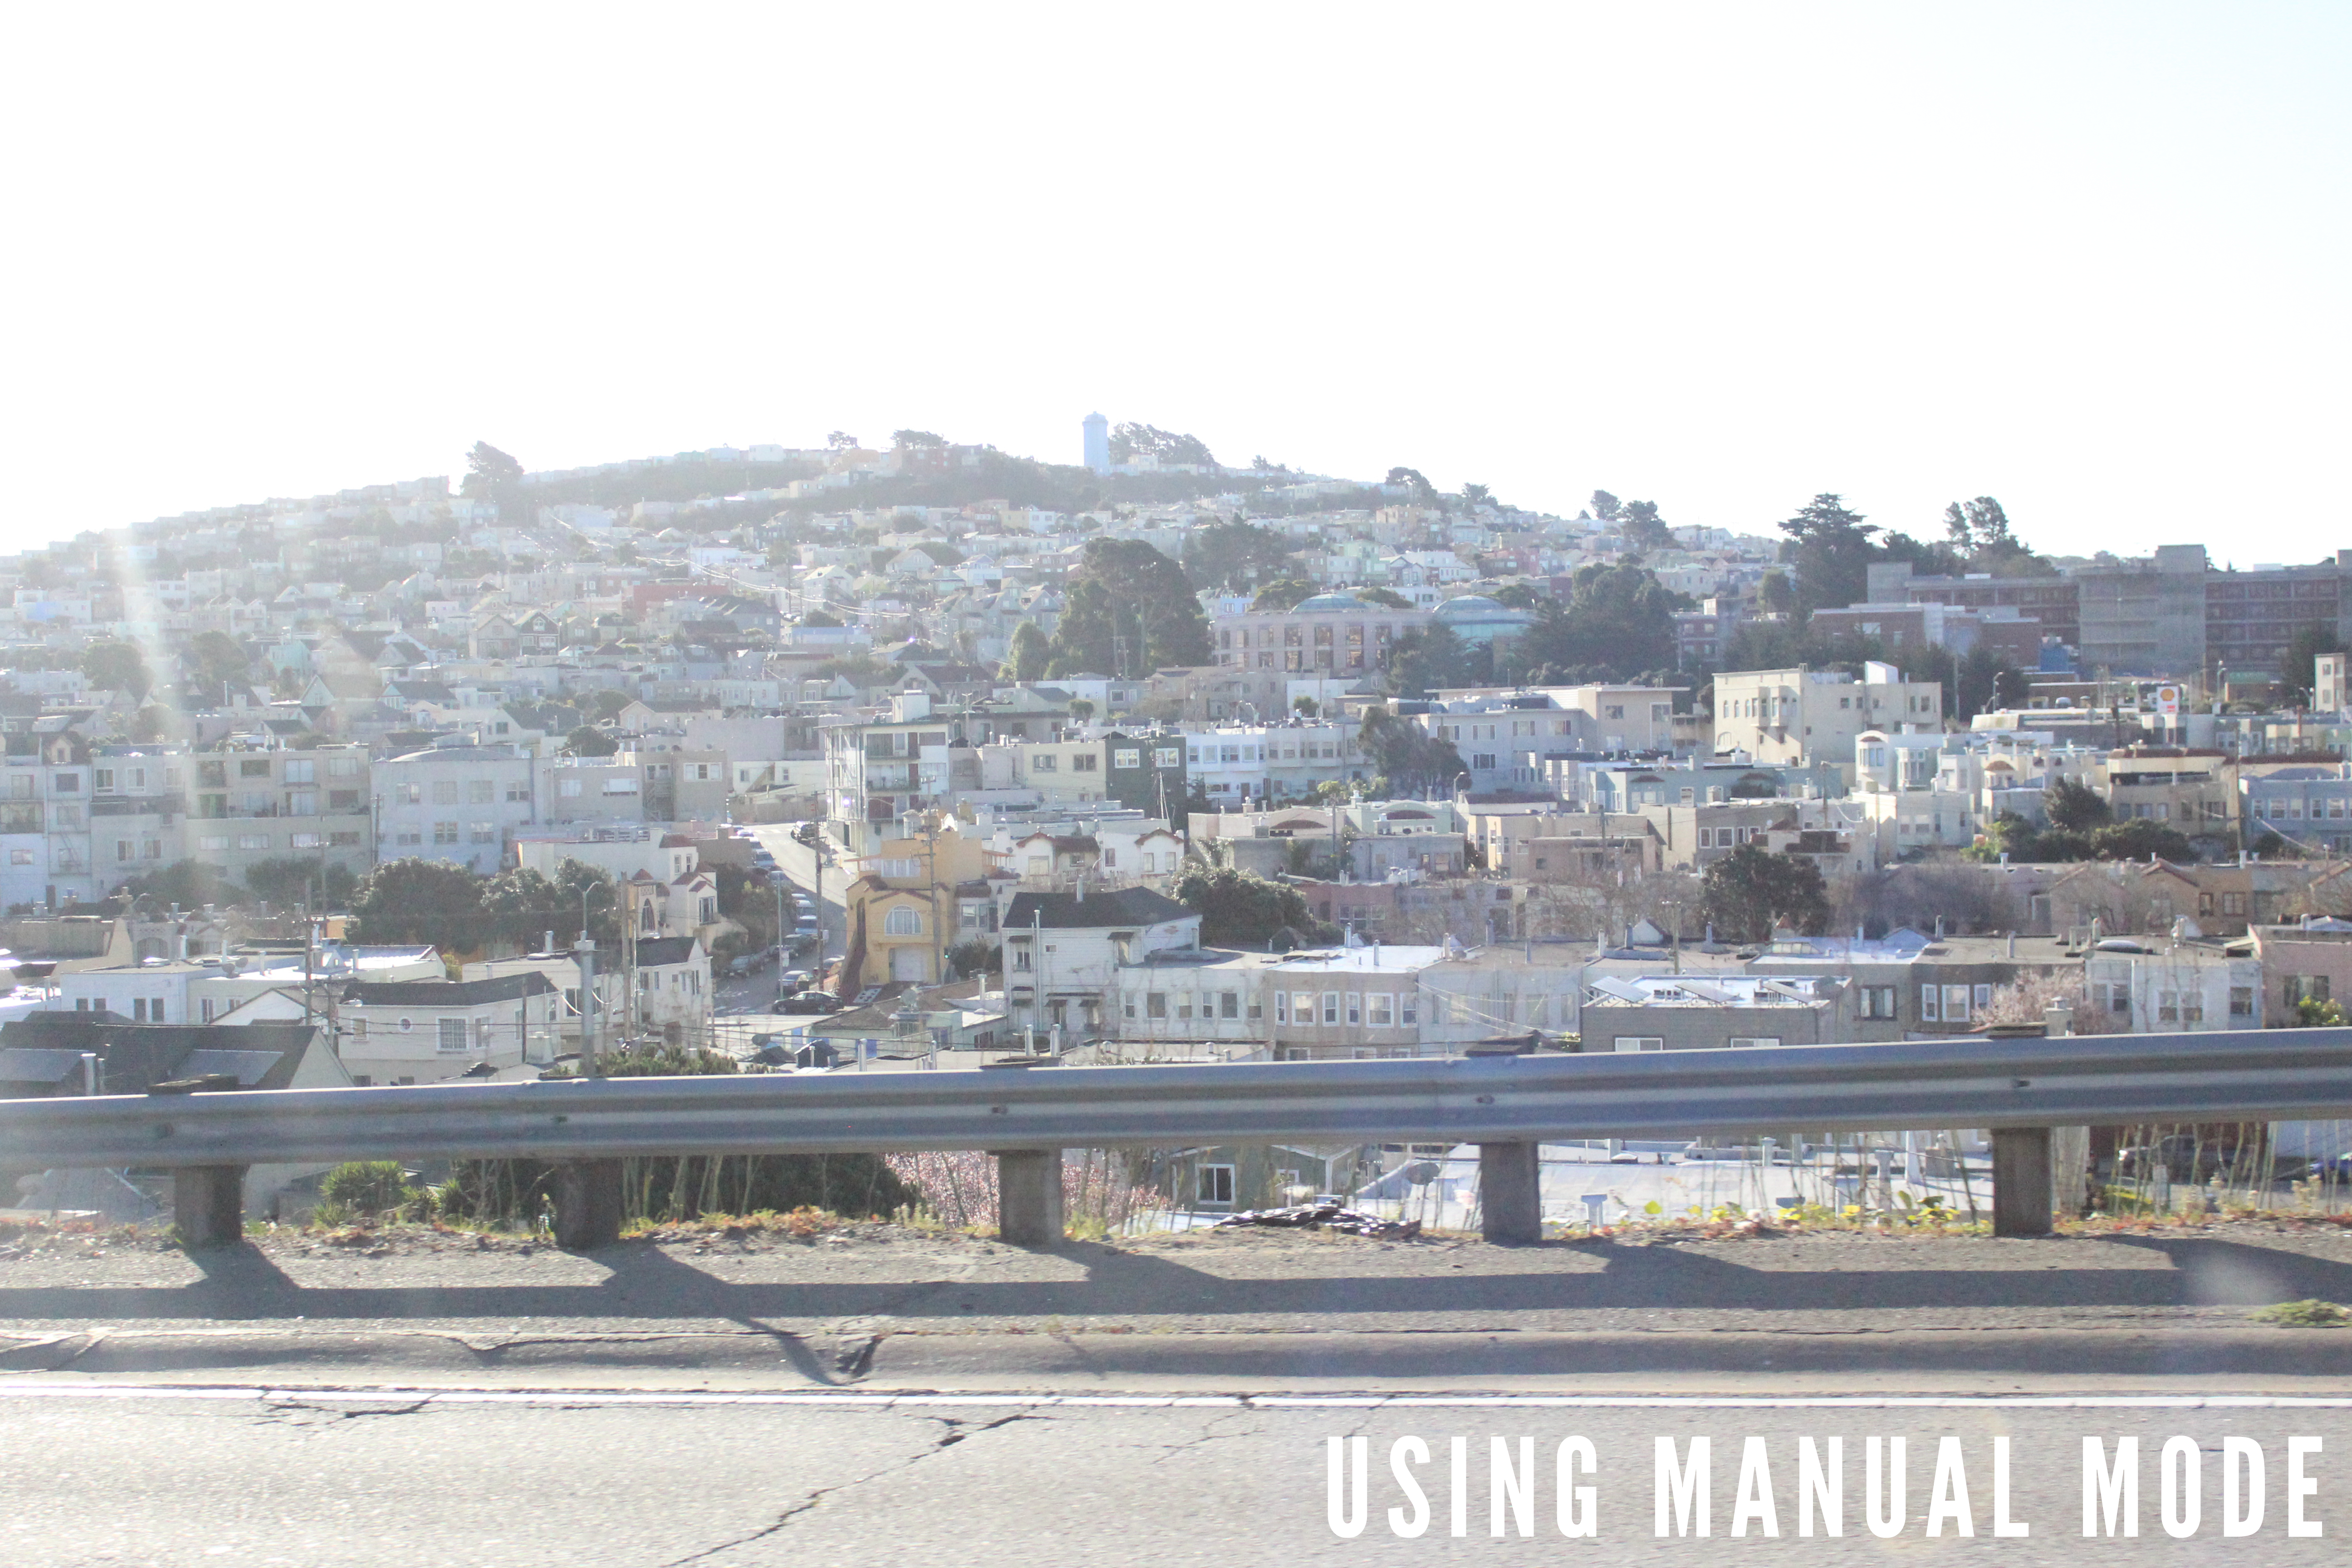
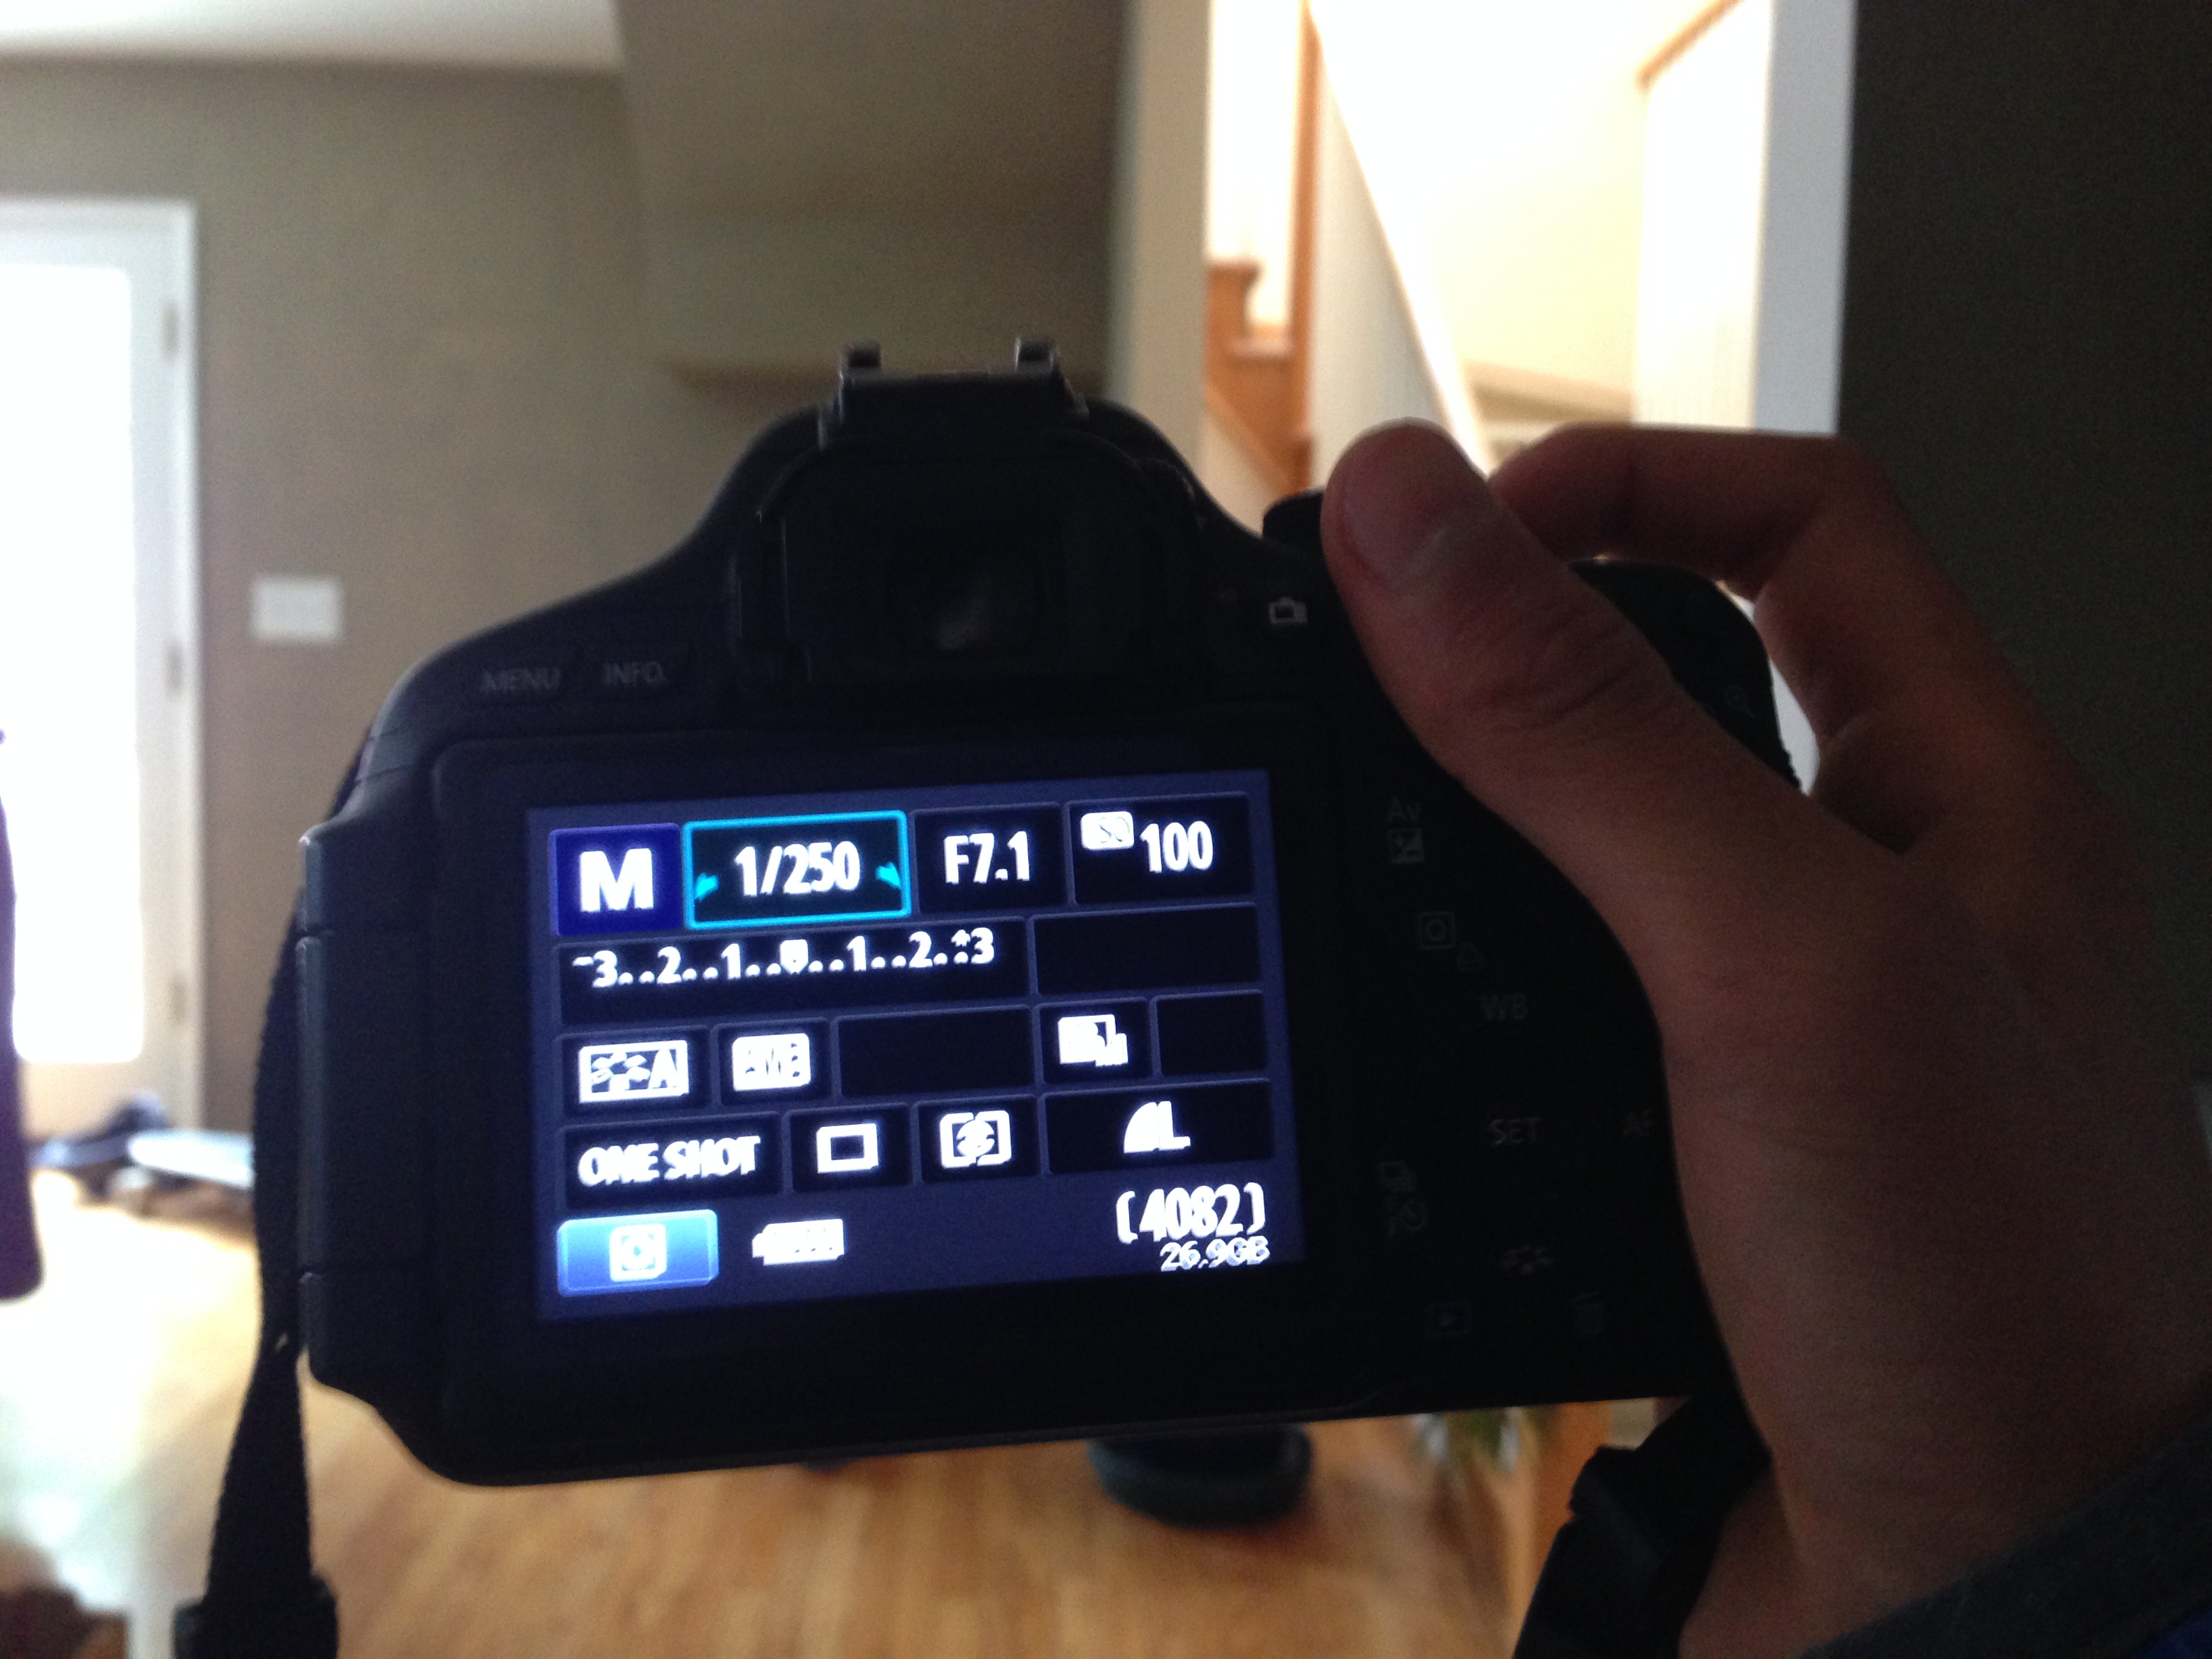
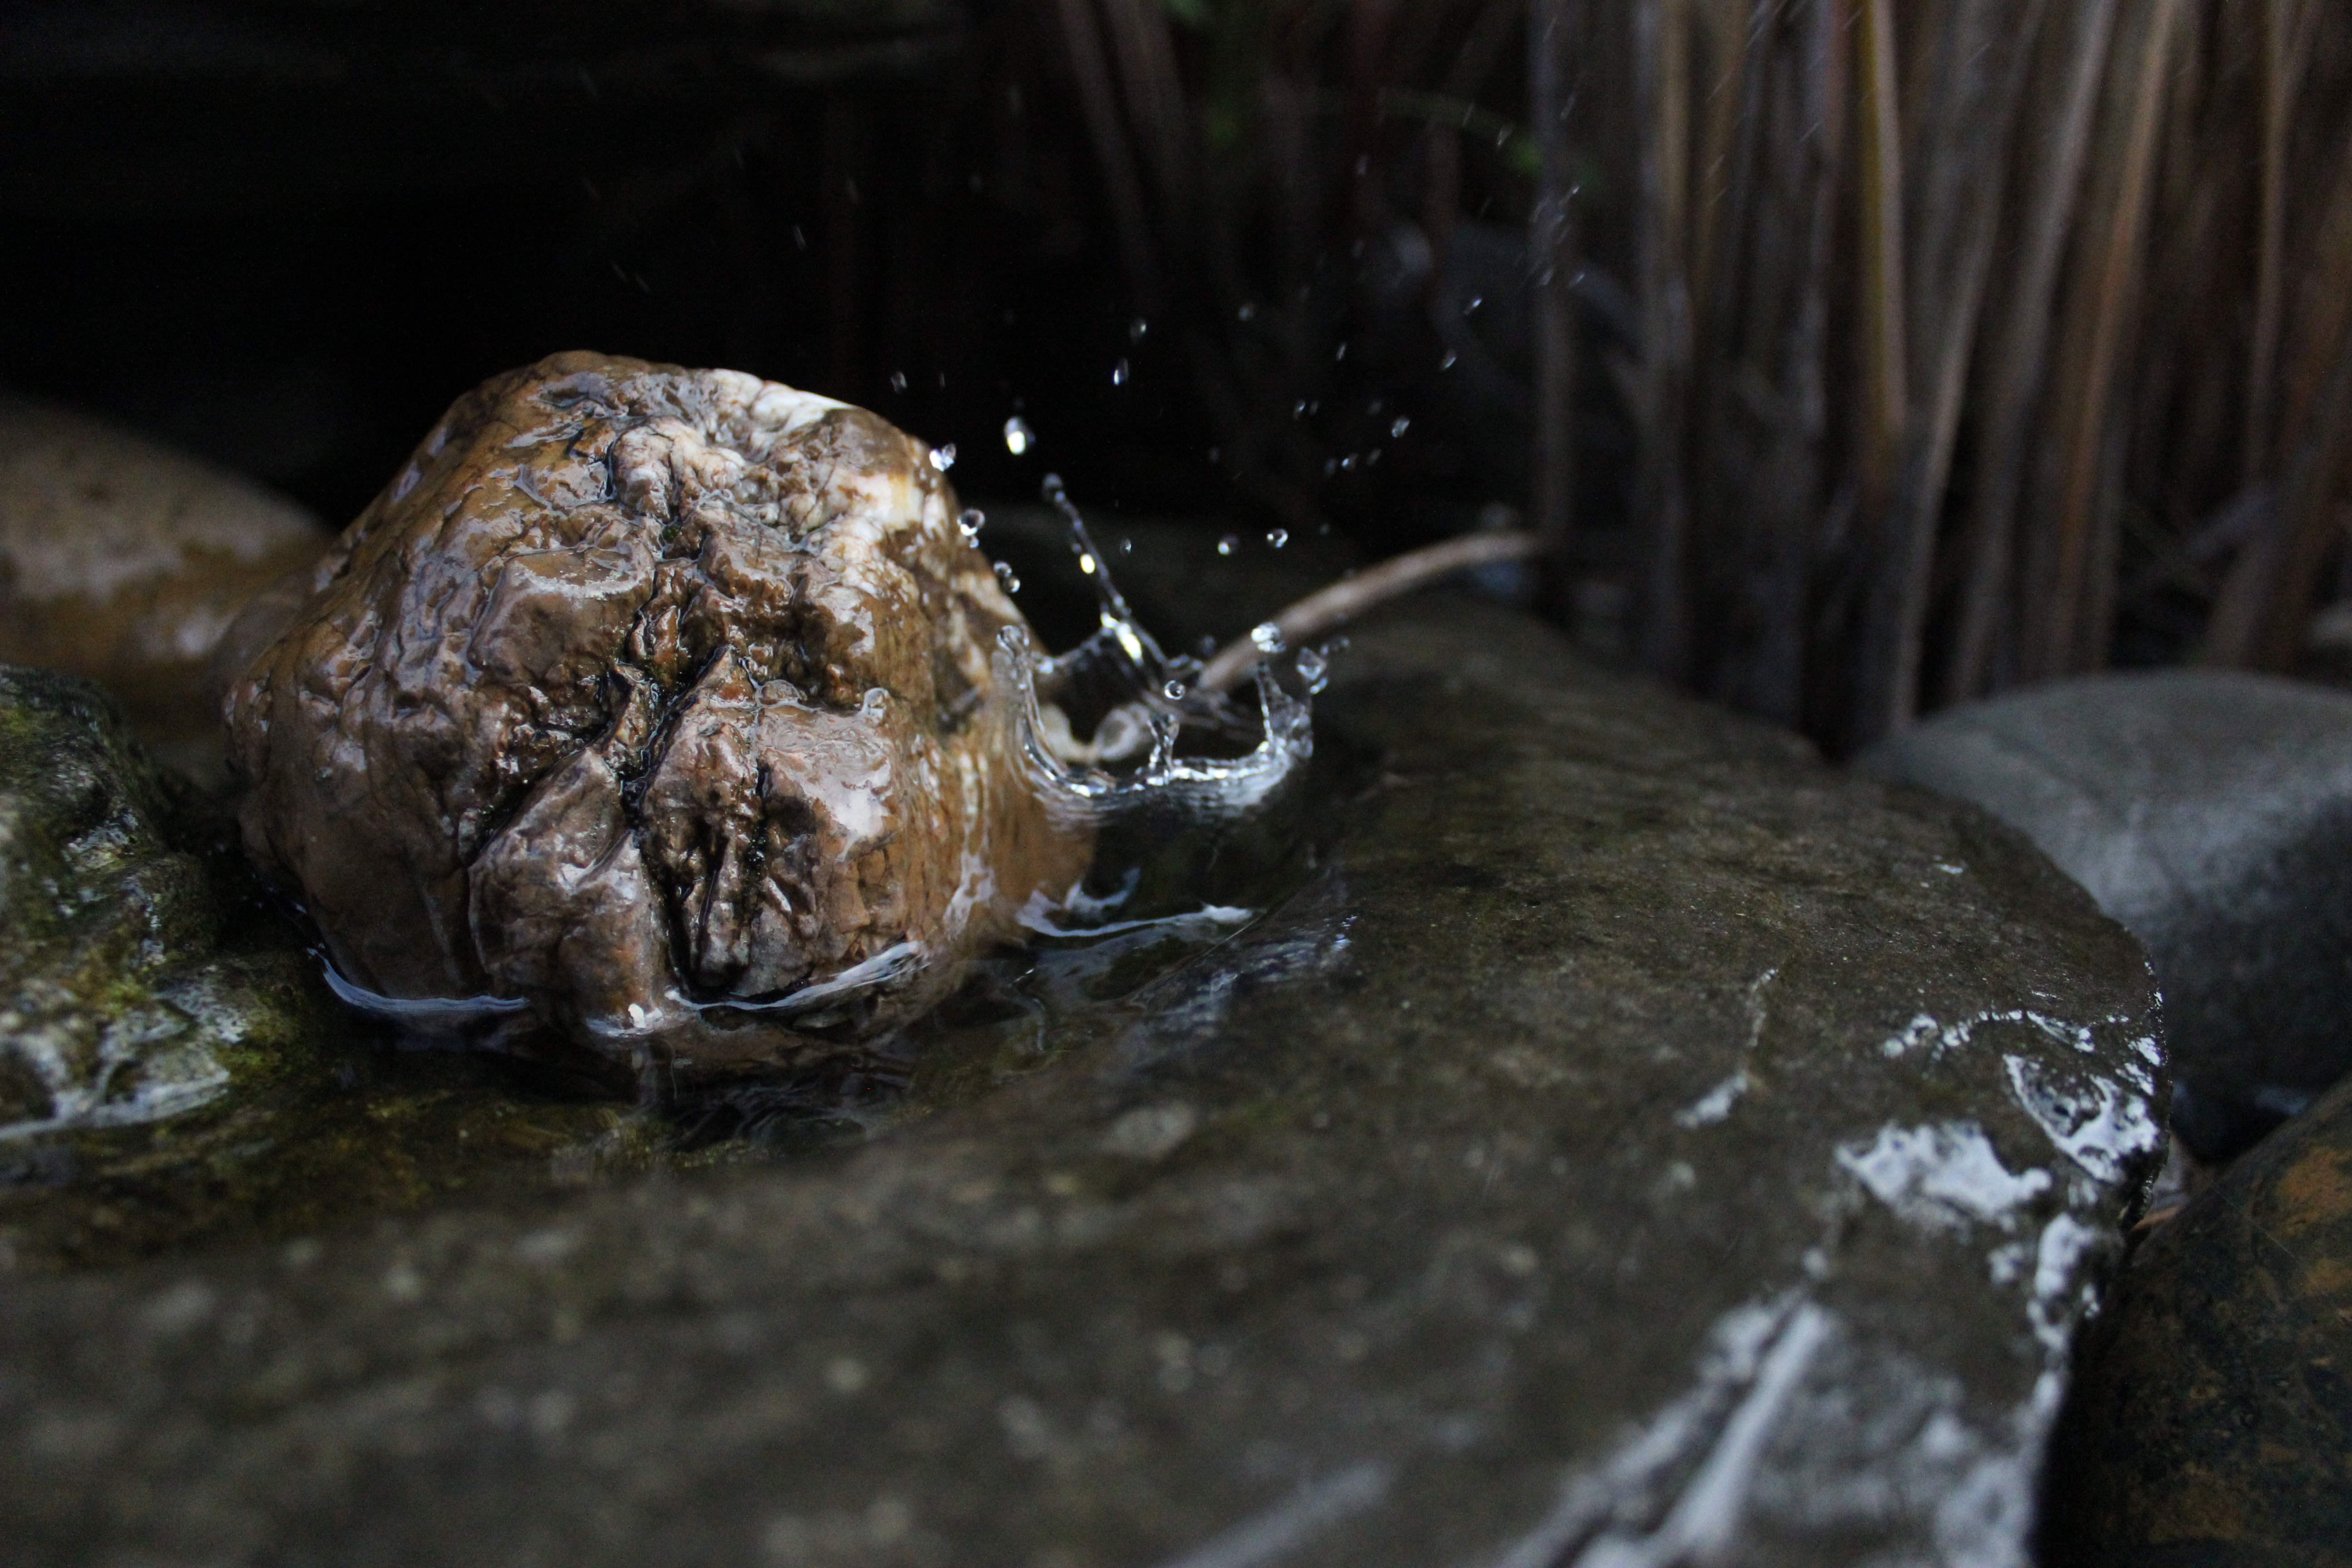
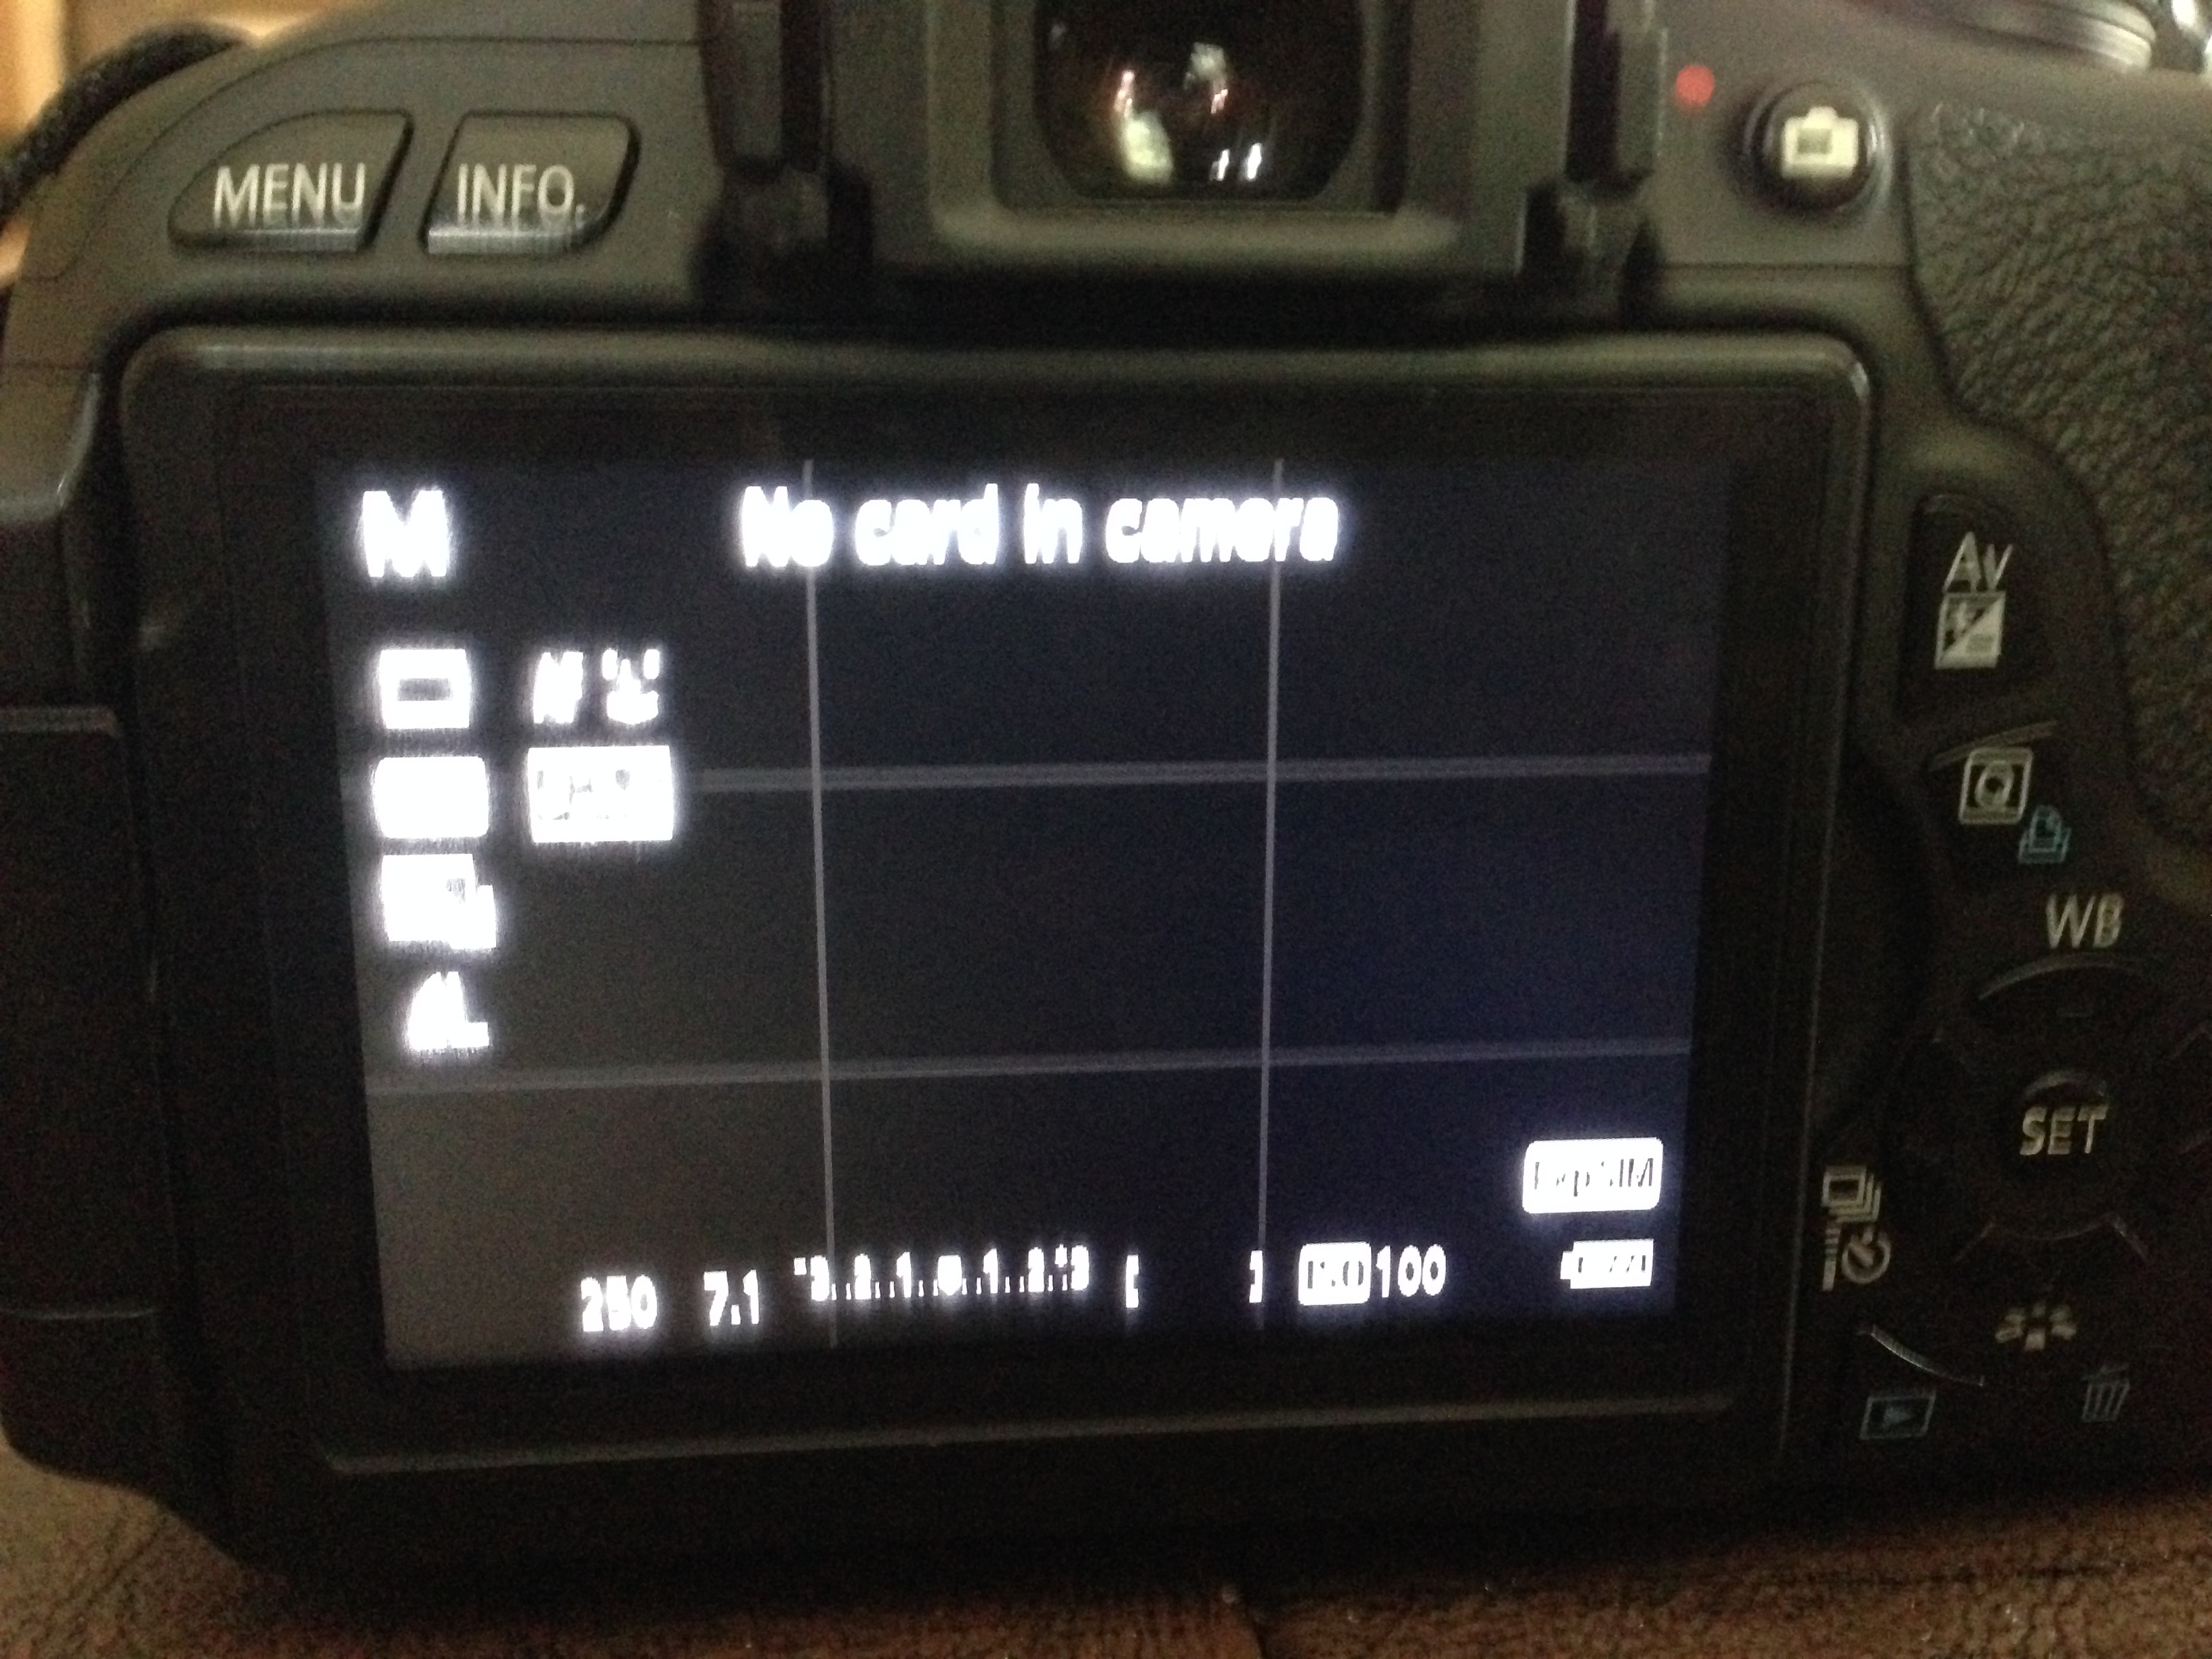
Next, let’s start using manual mode. Manual mode is much more powerful than Auto mode. Look at the images above to see my screen.
If yours doesn’t look similar to that, press the button to toggle between the optical viewfinder and the electric viewfinder. You want to see the image through the optical viewfinder and see the settings on the electric viewfinder.
There are three main things on this screen: Shutter speed(represented by seconds, like 3” or 1/400), Aperture(represented by f/no, like f/4 or F8.2), and ISO(represented by a number, like 400, 800, 1600, 3200, 6400, etc).
A slow shutter speed(like 1/10 or 3”) will make the image brighter, while a fast shutter speed will make the image darker. A low aperture, like f/3.5, will produce a bright image, while a high aperture, like f/22, will produce a darker image. A low ISO will make the image darker, and a high ISO will make the image brighter.
So, how do we use these to help control the dynamics of the photo?
I’ve found there is a set pattern for me that works well:
- First, adjust your lens and focus the photo
- Next, change your shutter speed. Don’t go below 1/400 unless you need to, and don’t go above 1/10 unless you need to.
- Then, change your aperture. There isn’t really a constraint for the range, but I try to stay in the f/3-10 range.
- Next, Change your ISO. Try not to go above 1600, but don’t go above 3200. A higher ISO will make the photo grainier.
- Finally, take the shot!
Practice taking your shots for at least 5-10 minutes.
---
If you want to take a picture of something moving or if you’re moving, then set your shutter speed to 1/1000-1/2000. This will make the photo clear, but also take an action shot.
Photo Editing
Photos don’t always turn out the way we want it to be. It might be a good shot, but not the right lighting or not enough effect. This is where Photo Editing comes into play.
The most commonly used tool is Adobe Photoshop. I’l be using CC 2018, but CS6 works as well. Do not use Photoshop Elements, though.
I’m going to be assuming that you know a little bit of Photoshop. This guide is going to be a basic editing guide, so don’t expect to be a complete master at it.
Here are the things we’ll be covering:
- Adjustment layers(B&W, Color correction, saturation, etc)
- Removing/moving parts of an image
- Editing part of a photo
Adjustment Layers
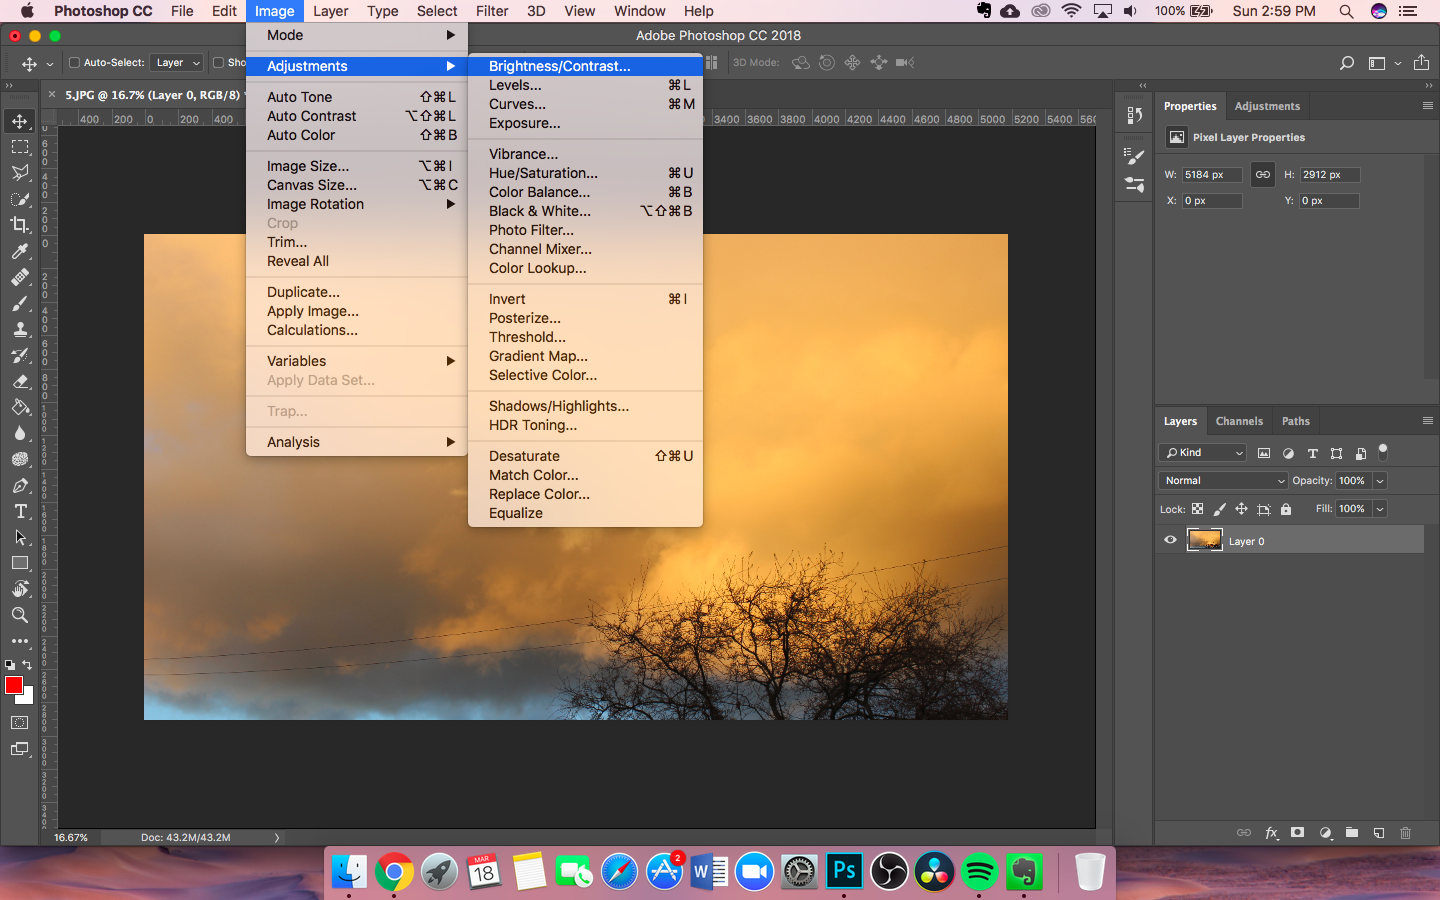
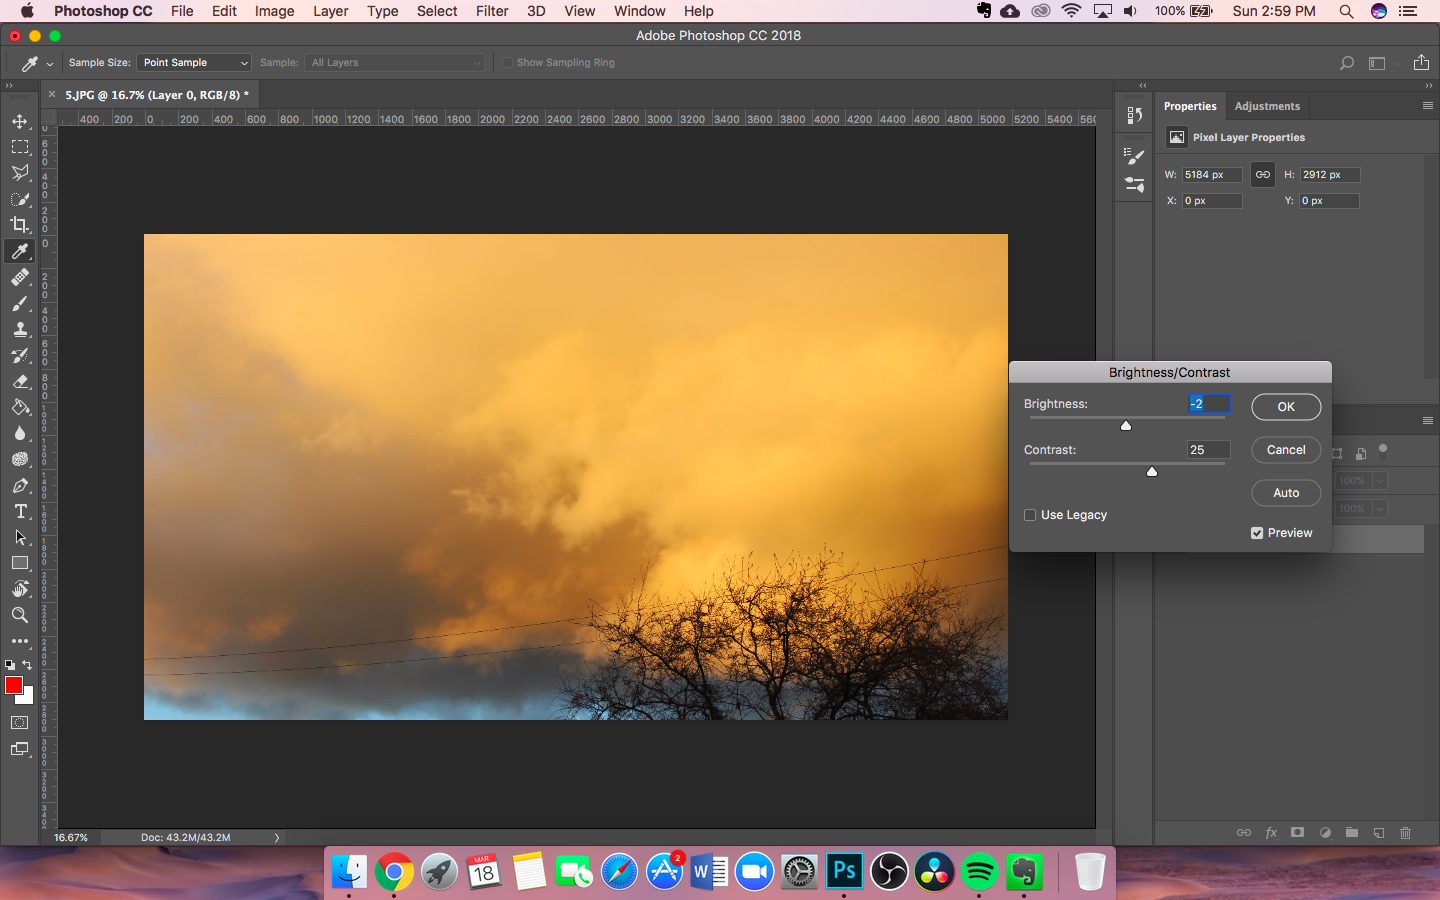
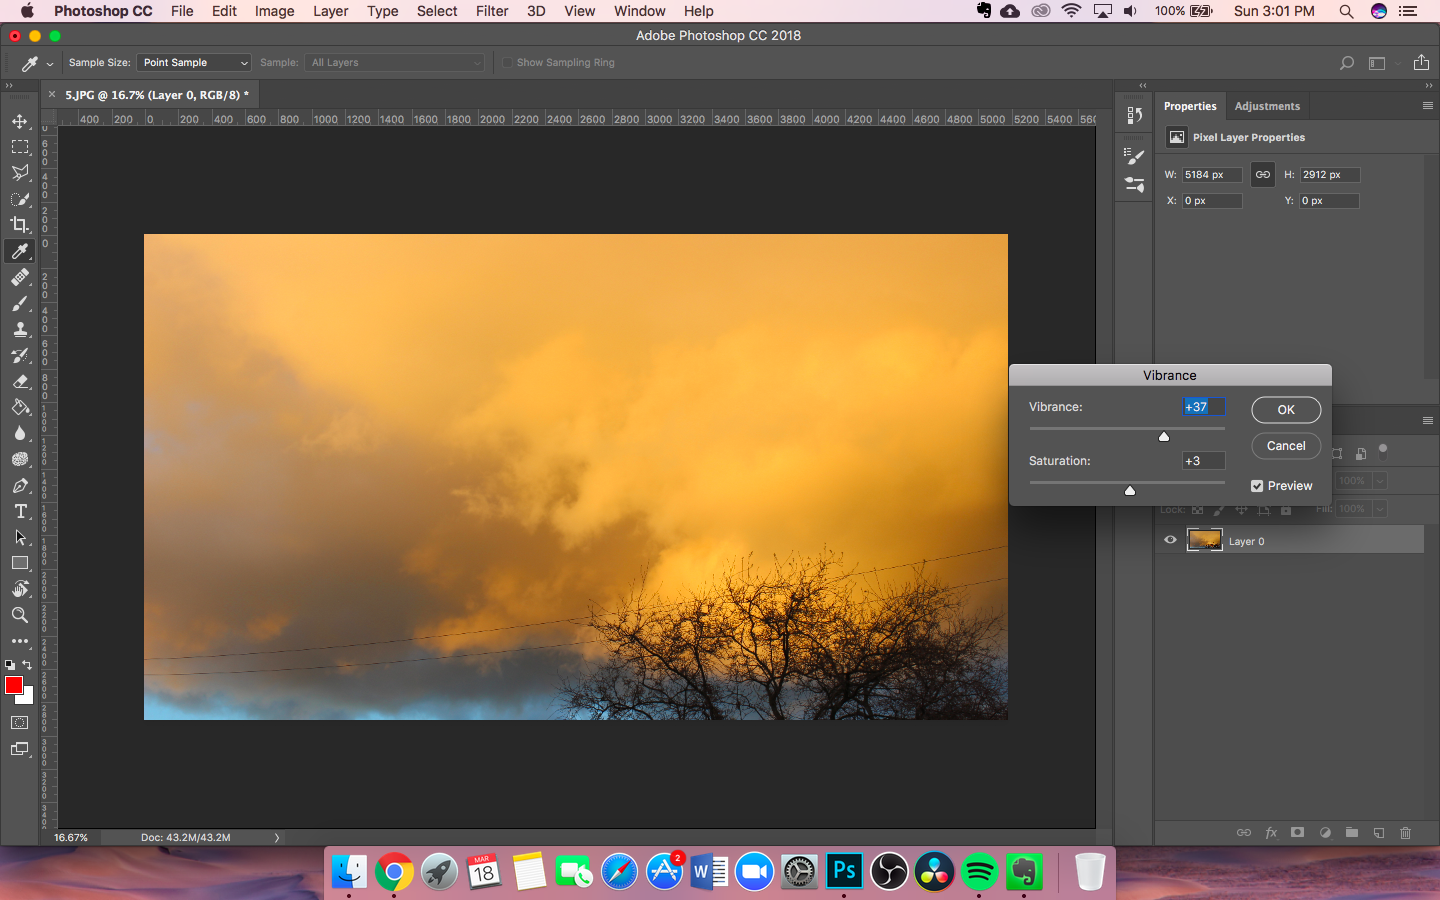
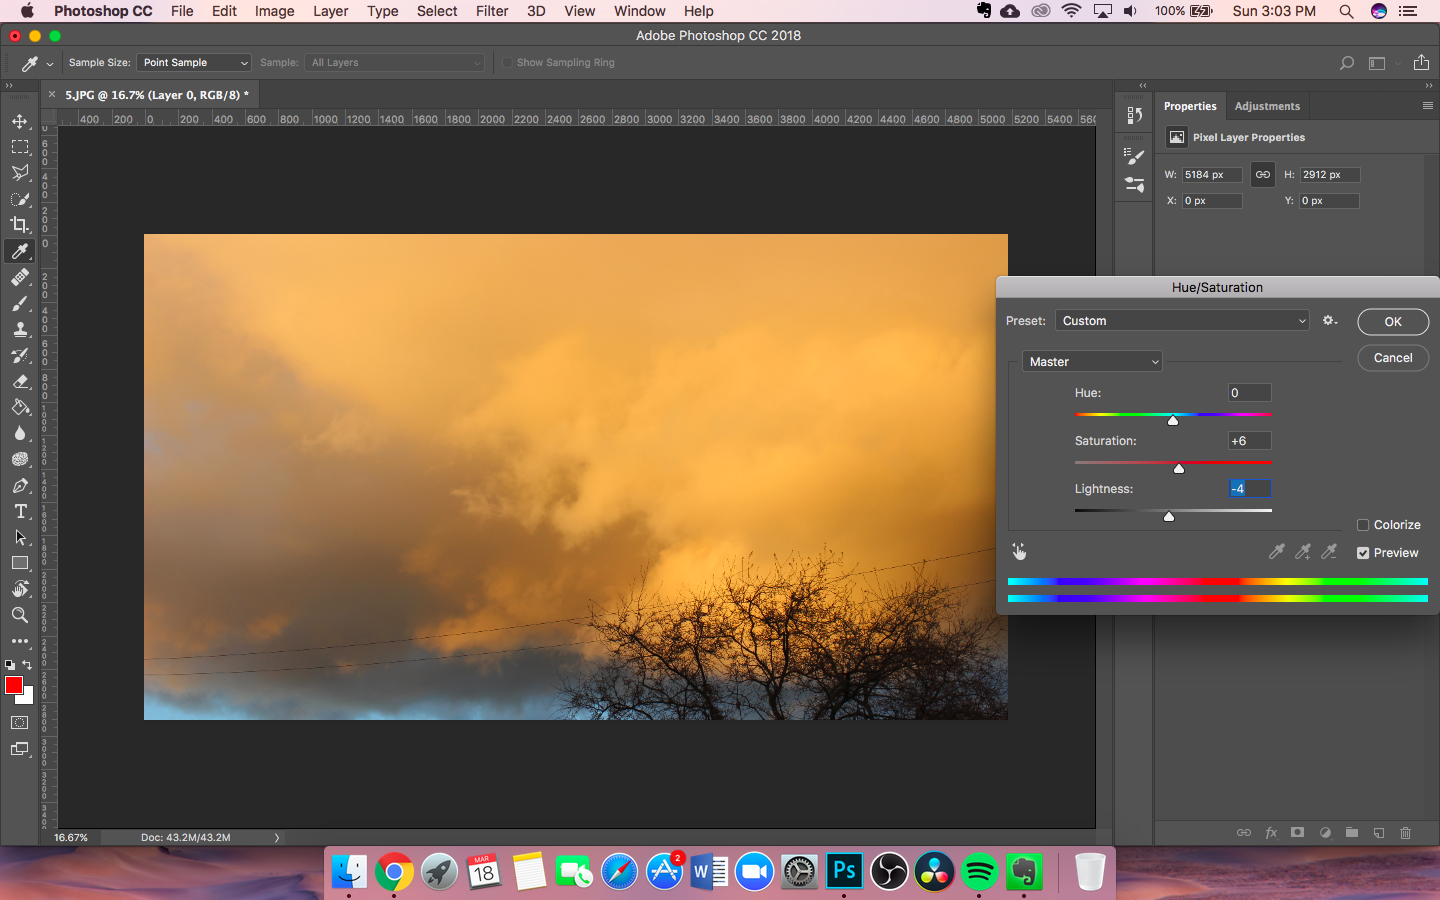
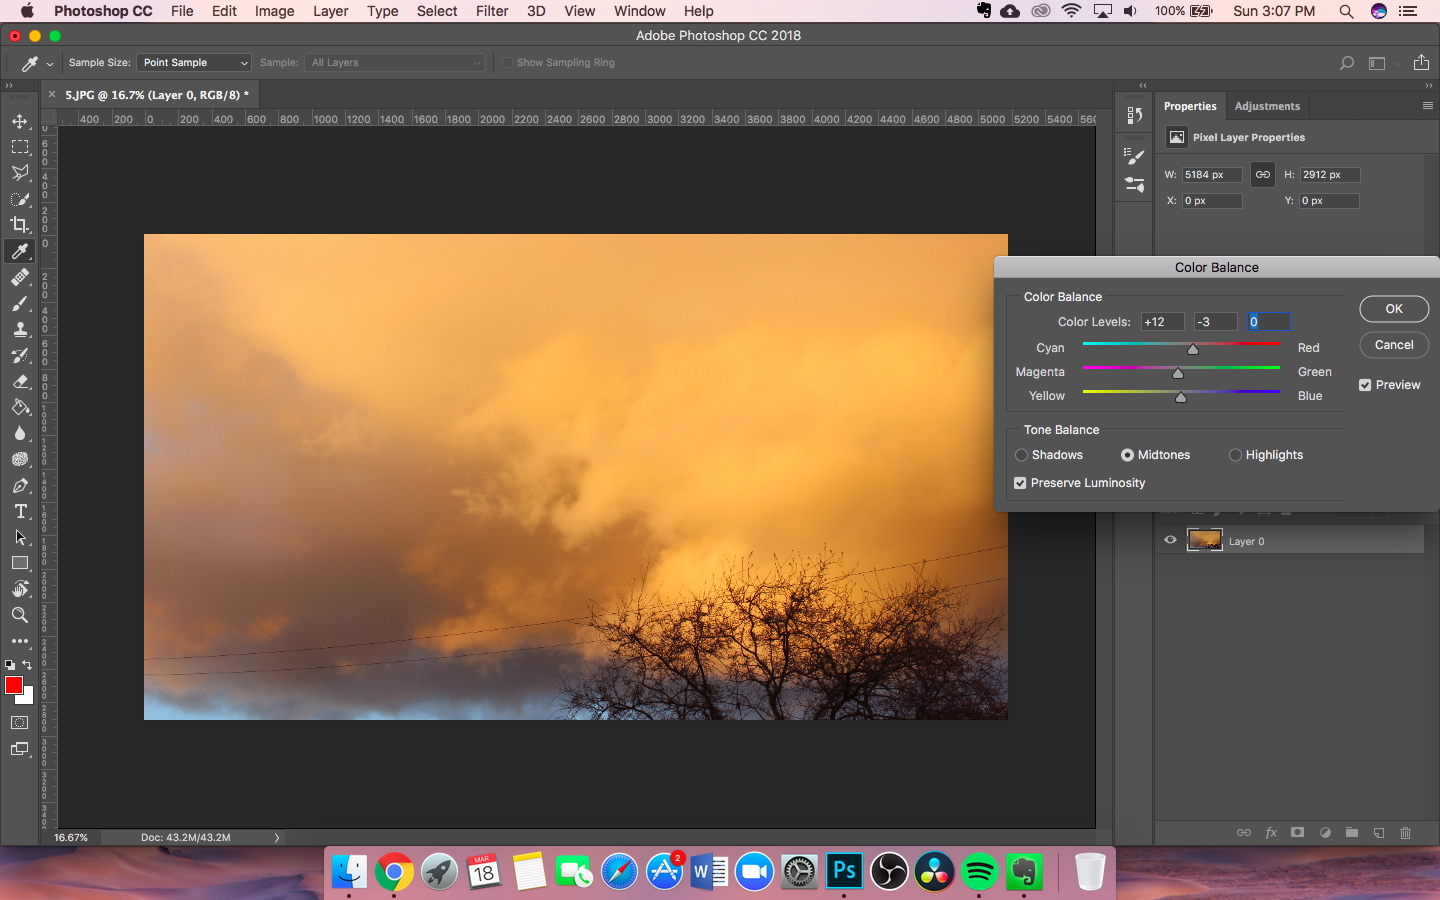
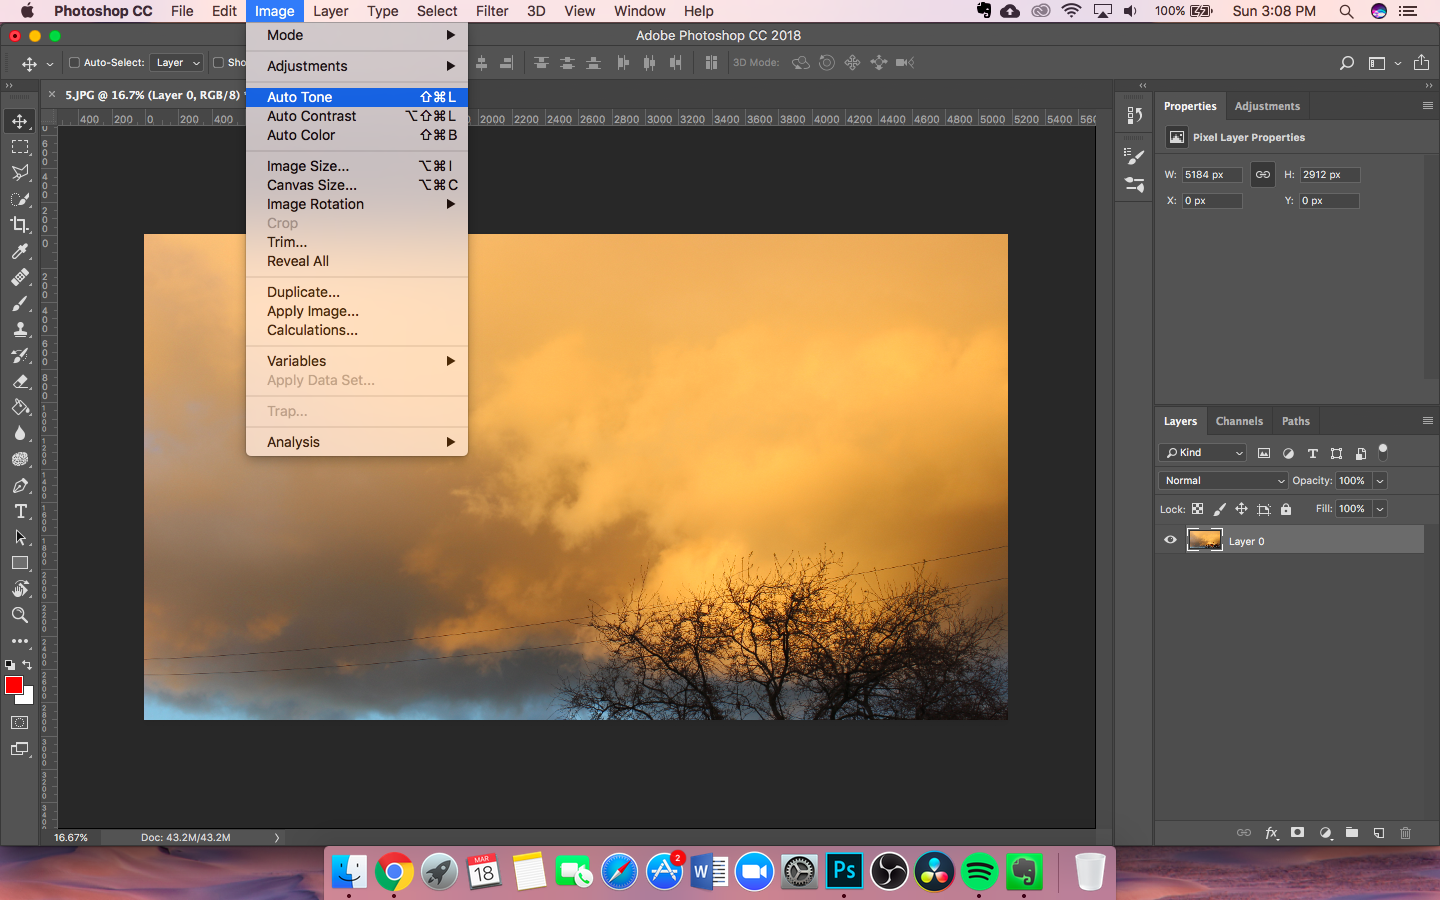
Adjustment layers are key tools in photo editing. You can access them by going to the top of the screen and selecting Image => Adjustments.
There are a ton of different adjustment layers, such as Vibrance, Black and White, Hue/Saturation, and many more. Here are the ones I’ll be going over:
Brightness/ContrastVibranceHue/SaturationColor BalanceAuto Modes(Not under the adjustment layer panel)
Open up a photo in Photoshop.
Navigate up to Image => Adjustments, and select Brightness/Contrast. Here, you can change the brightness of the photo as well as the contrast. Play around with it for a little bit.
The next adjustment layer we’ll be discussing is Vibrance. Vibrance changes the vibrancy of the photo. Try it in Photoshop.
The next adjustment layer on our list is Hue/Saturation. With hue, you can change how the tones in the colors look, and with saturation, you can change how much the color is intensified.
The next adjustment layer is Color Balance. This is key for color correction. In this menu, you can change the balance between Cyan and Red, Magenta and Green, and Yellow and Blue. Play around with this for a little bit.
Auto Modes can also do some of the work for you. Navigate to the Image tab and choose from the three options: Auto Tone, Auto Contrast, Auto Color.
Auto Tone tones the colors in the image. I don’t like this as much since often times it produces an image I don’t like. Auto Contrast is nice when you can’t decided what contrast level you want. Auto Color is especially helpful when you can’t find the right settings to use for color balancing.
Also, if you want to desaturate a photo to make it look black and white, select the layer you want and press CMD/CTRL + Shift + U.
There are so many more adjustment layers, so play around with them and see what you get!
(Re)moving Parts of a Photo
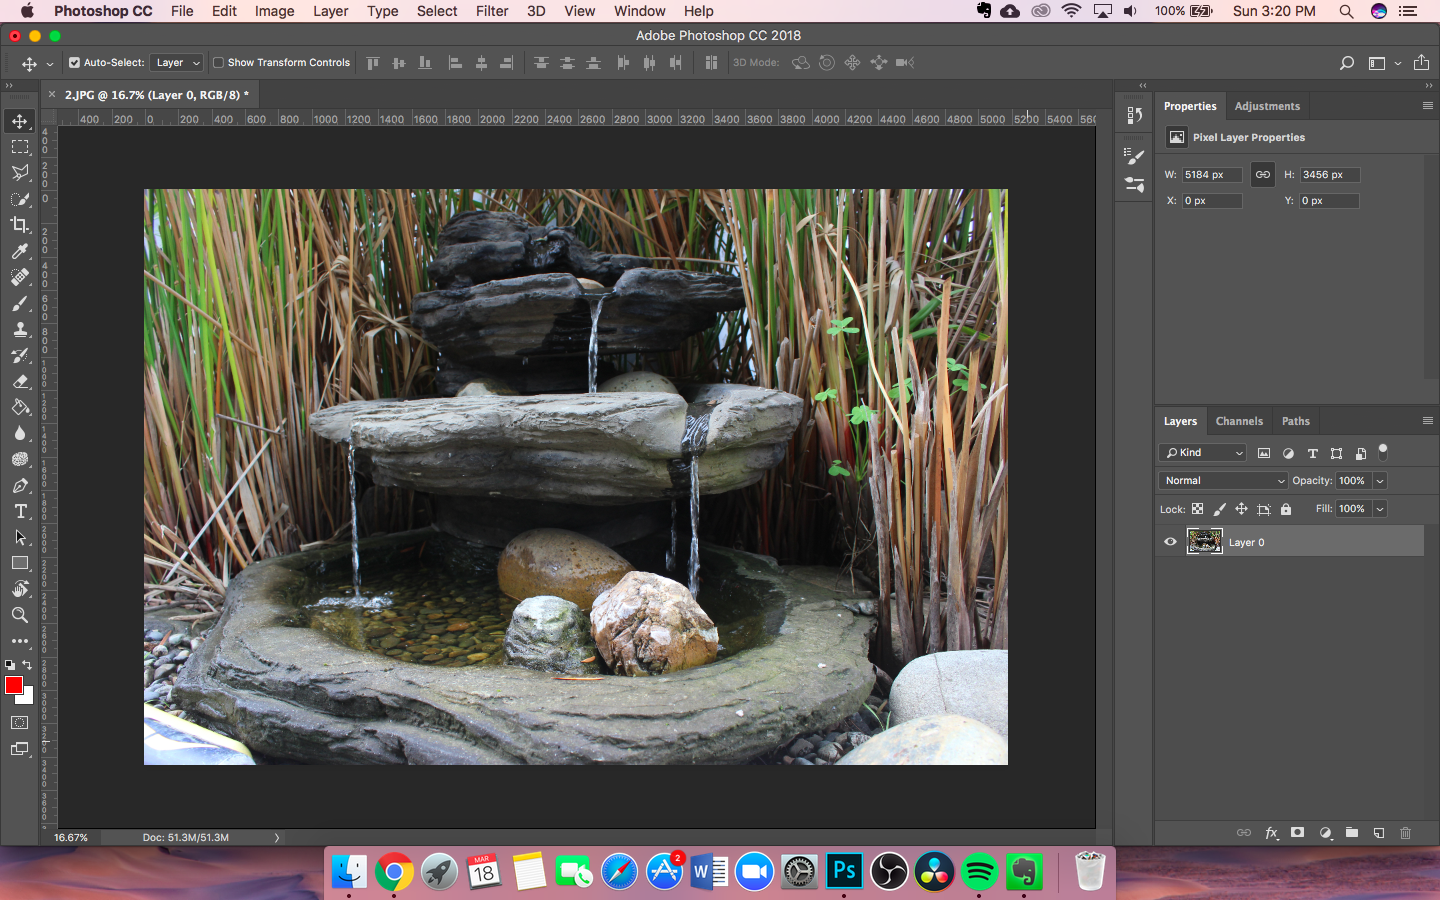
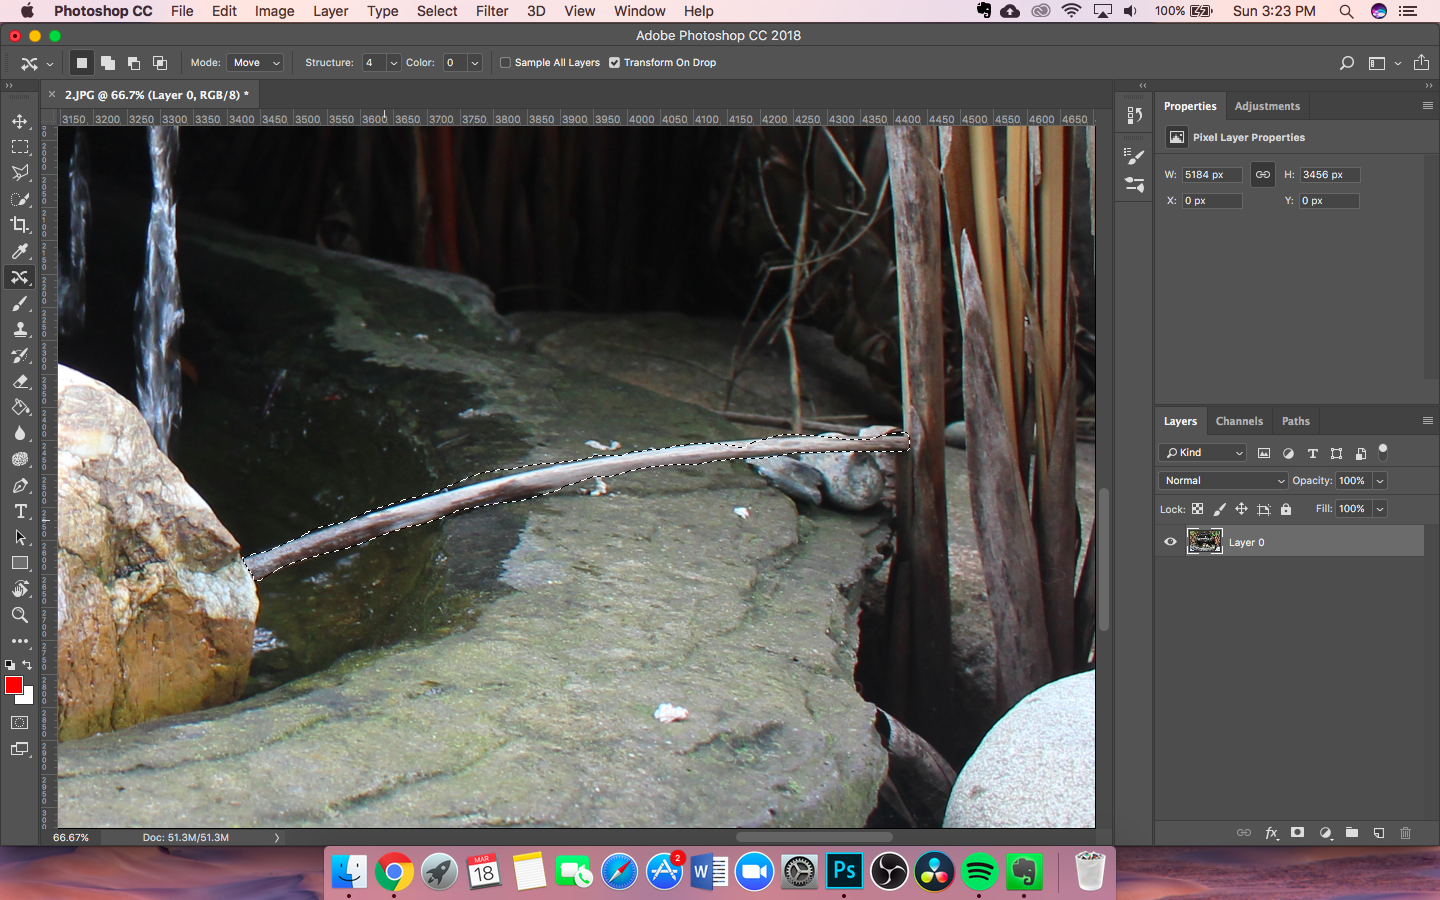
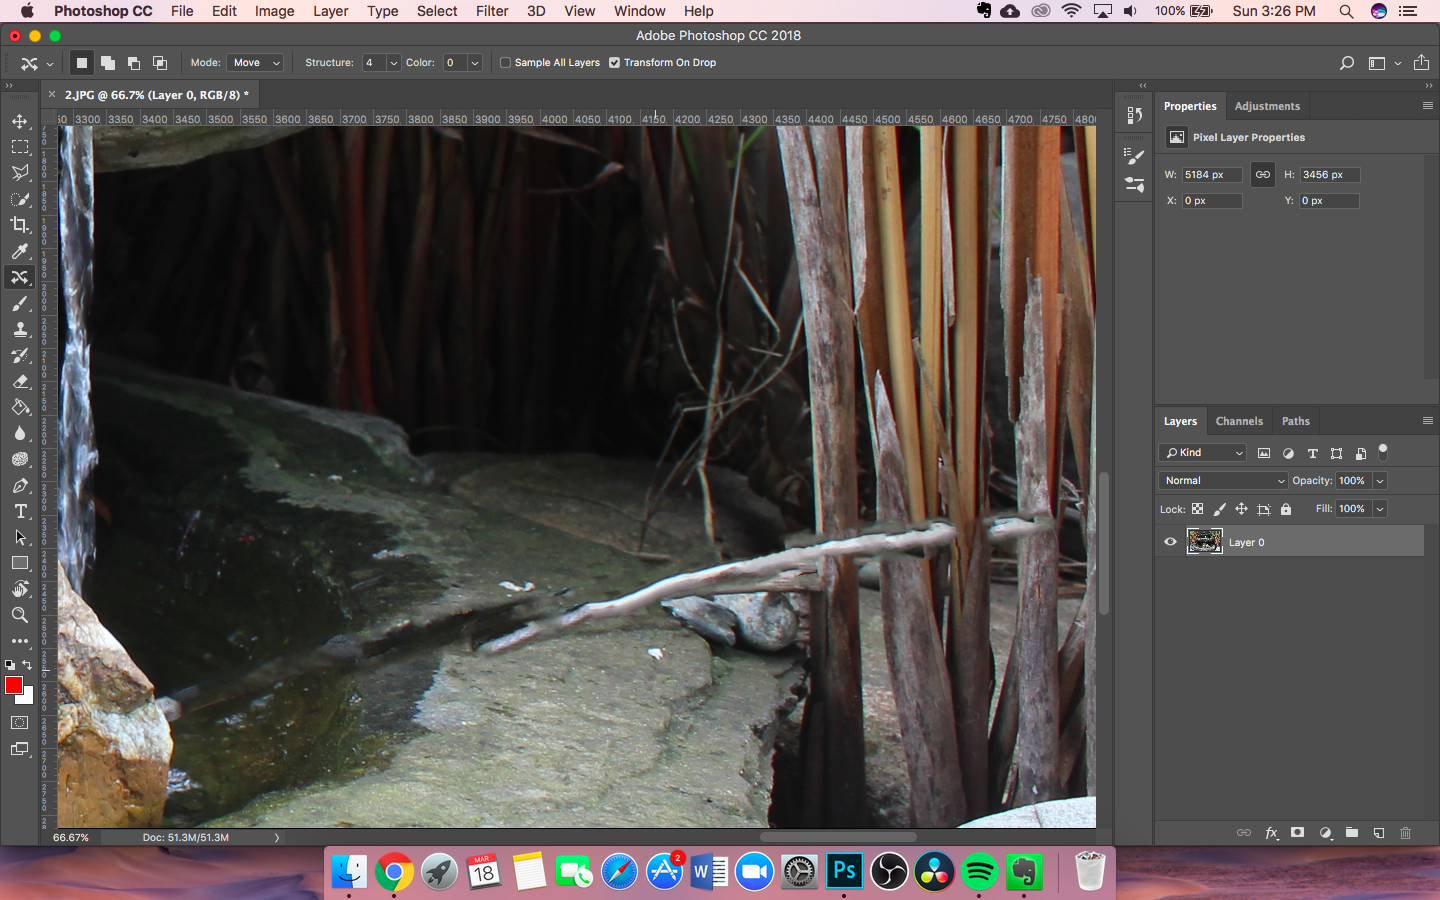
Often times there’s some part of an image that we don’t like or we want to move somewhere else. This can be done with a wide variety of tools, but I’m going to teach you the easiest ways. Let’s start with removing parts of an image.
In this image, I don’t like the stick that’s in the water fountain at the bottom. The easiest way to get rid of it is by using the Spot Healing Brush Tool.
Select it from the toolbar and make the brush size as wide as the item is thick. Don’t try to make the brush fit the entire object, just a small section of it. Make sure the brush is set to Content-Aware in the tool settings at the top.
Next, click, hold, and drag over the parts of the image you want to remove. Make sure you capture some of the background!
When you’re done, release your mouse. Photoshop will try its best to blend it in with the background.
Now, let’s discuss the best way to move a part of an image. The Content-Aware Move Tool is the best tool to use for this. Select it from the toolbar and make a selection around the object you want to move. Do not get the background in the selection, though.
After you’ve done that, move the object to the desired location, then press Enter. Photoshop will try to move the object and blend it in while blending in the background as well.
As you can see, it’s not perfect, but it’s good if you have a background that’s monotonous or simple.
Editing Parts of a Photo
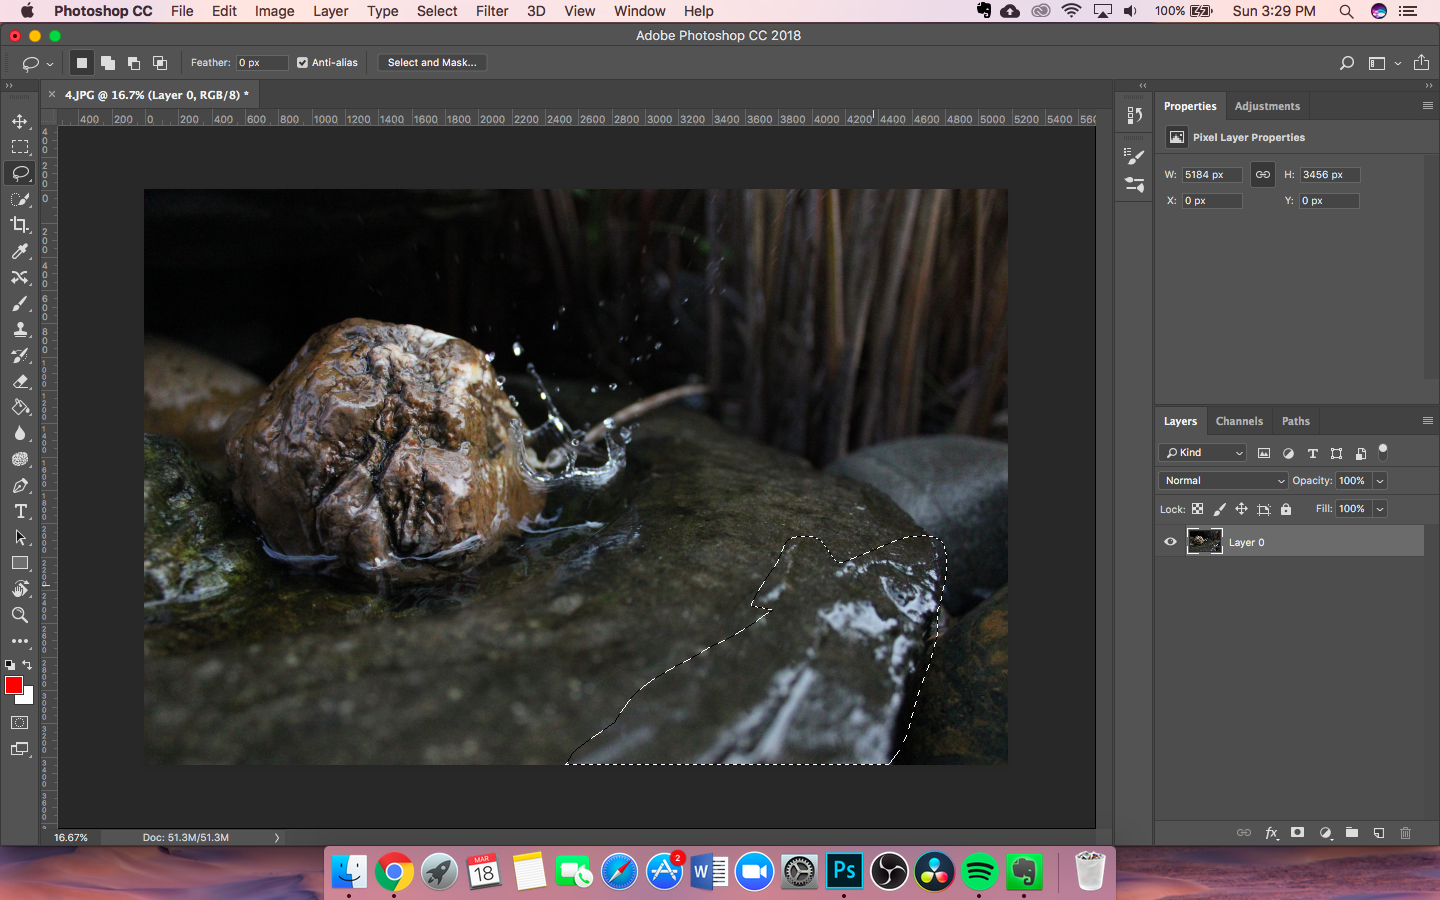
Sometimes we want to edit only a part of a photo without ruining the rest. This can be easily achieved.
First, select the part of the photo that you want to edit by using the Lasso Tool.
Now, you can add an adjustment layer, use a low-opacity brush to color it a different color, or add some effects to it. It’s that easy.
Conclusion
Here’s what you (hopefully) learned in this Instructable:
- You learned about the basic camera terms
- You learned about good shot compositions
- You learned about using Manual mode
- You learned about using the Exposure to control your photo
- You learned about how to use Adjustment layers
- You learned about how to remove/move parts of an image
- You learned about editing parts of a photo
I’d recommend going through this instructable again if you feel a bit confused about the topics discussed. If you feel like you’ve got it, great!
Here are some sites to set up a portfolio:
- Behance
- Adobe Portfolio
- Photo Contest Sites
- Unsplash(You’re allowing people to use your images for free, though)
Now you’re all set to take some great photos!