PCBot
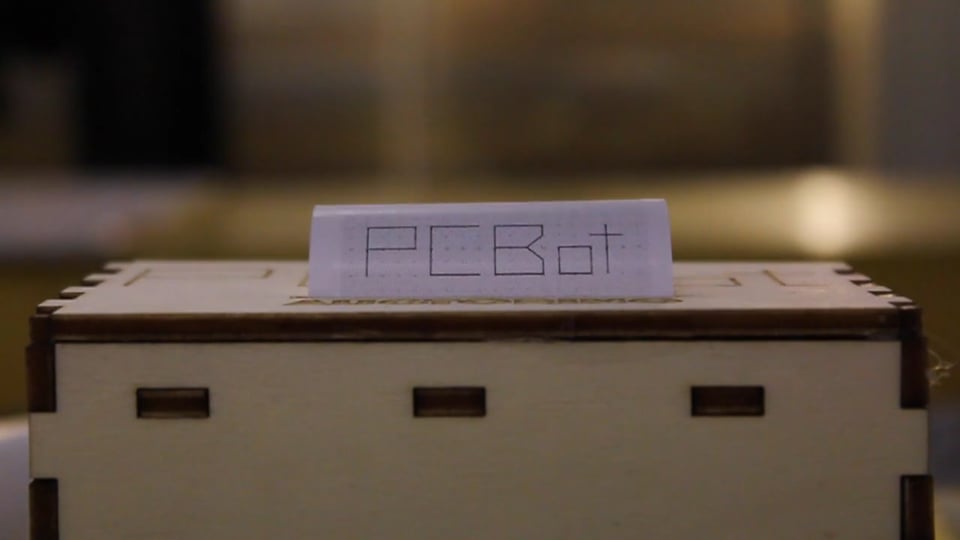
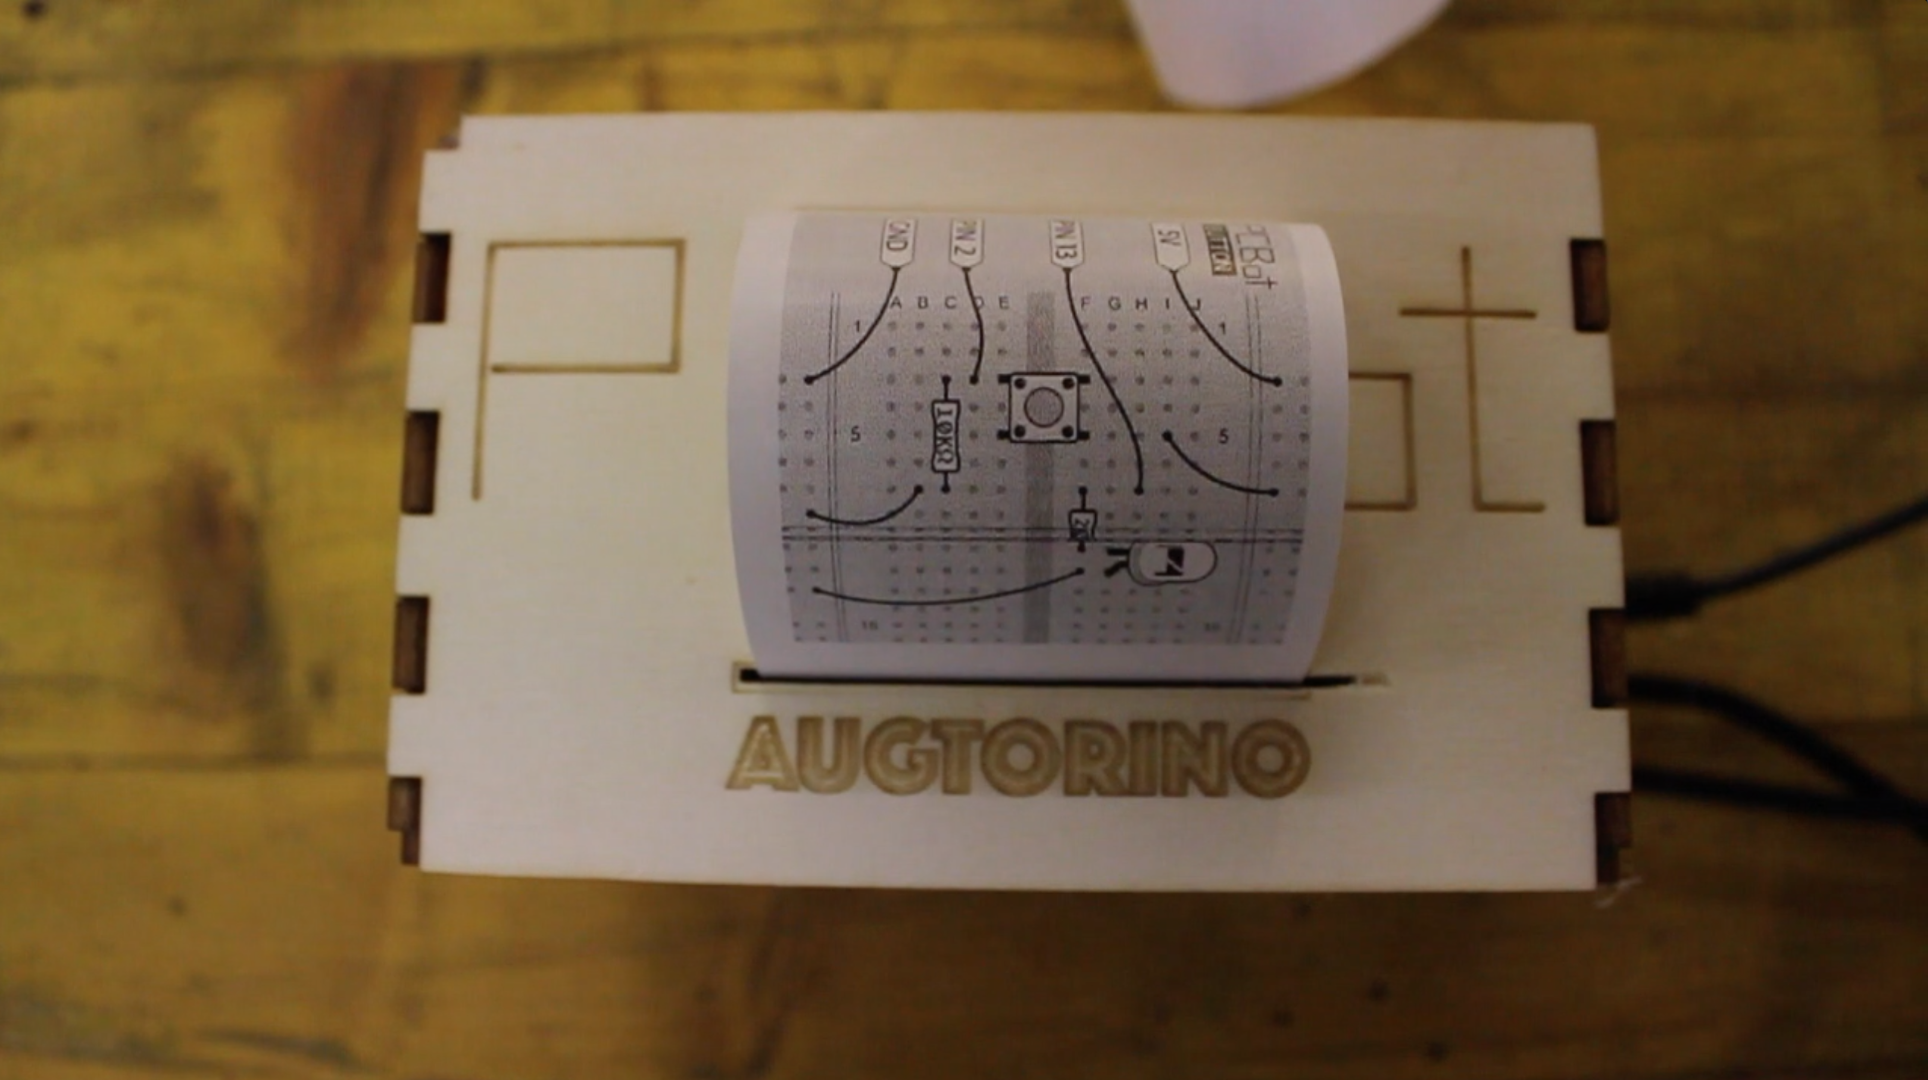
PCBot is an internet connected printer that helps you with electronics.
You can chat with it and ask to print a breadboard circuit layout or ask for other assistance in building your electronic project.
PCBot is based on Intel Edison hosting a Telegram bot written in python connected to a thermal printer.
Features:
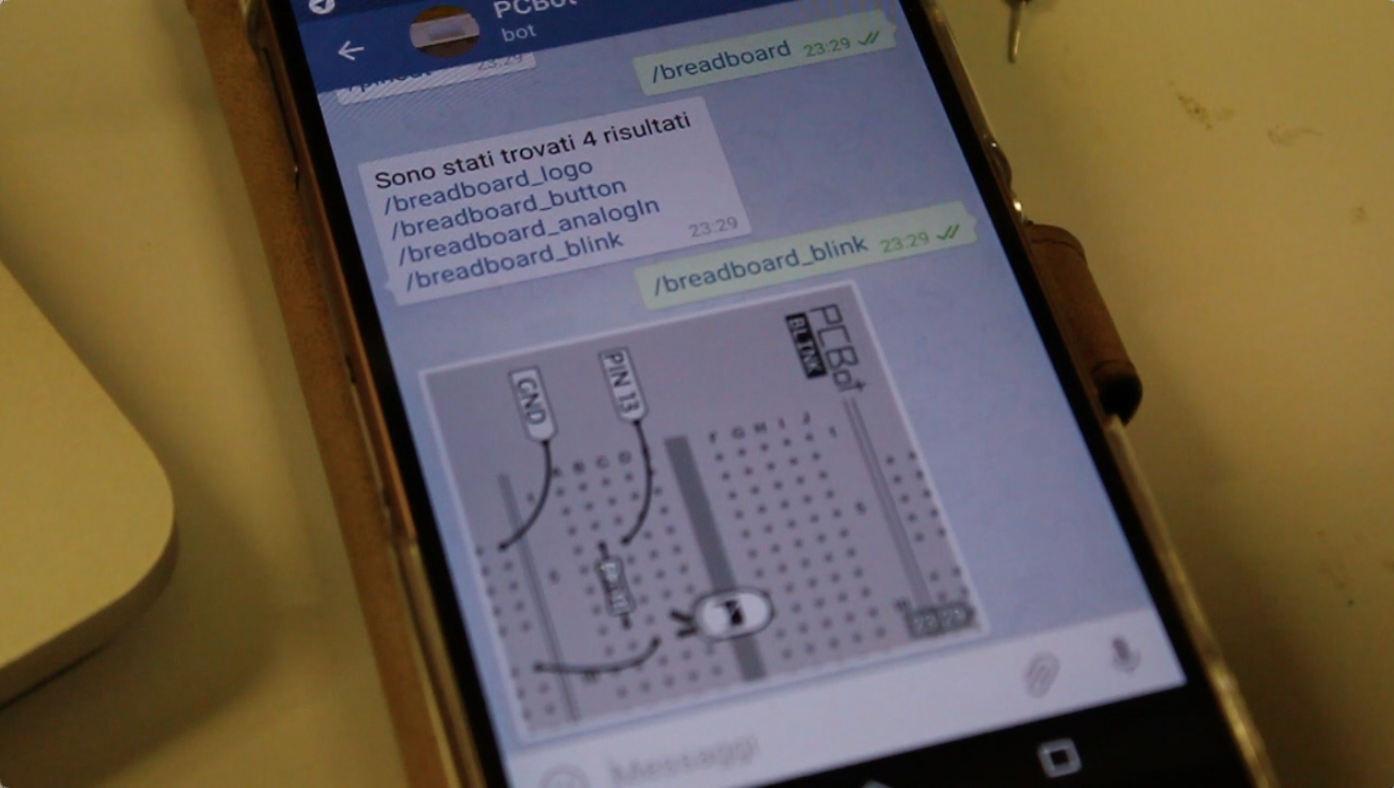
- Full-scale breadboard paper templates: put them on top of the breadboard and stick the components through the paper.
- Common electronic components and modules pinouts: you won’t need anymore to bring your laptop next to the soldering station or go crazy with multiple datasheet tabs on your browser.
- Just print any image: if you don’t find a component or a breadboard just send an image URL to the PCBot printer.
Share your breadboard template and help us to grow the images' database! WE ARE ON GITHUB
Part List
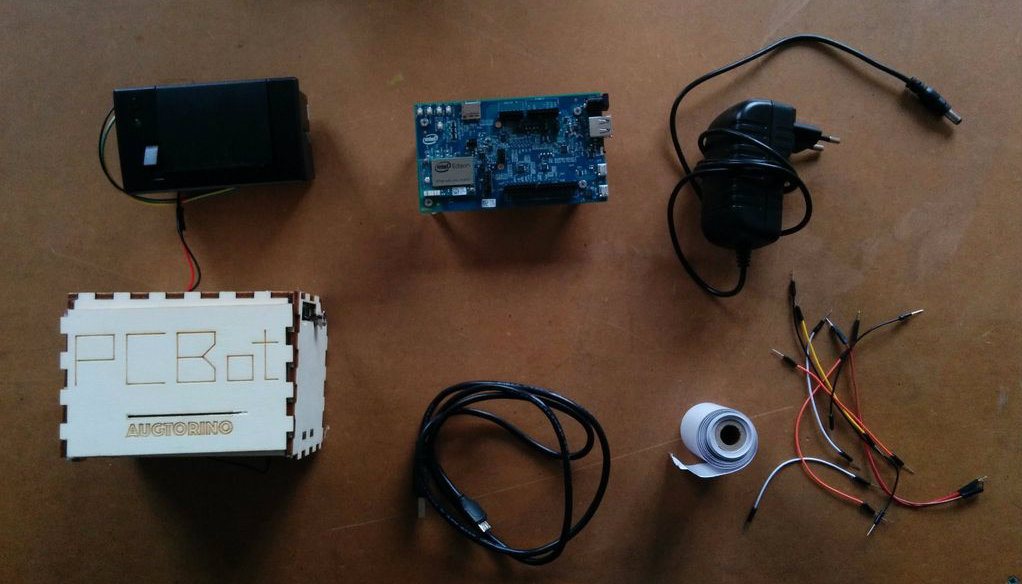
- Intel Edison Kit for Arduino
- Mini Thermal Receipt Printer
- Jumper wires
- 9V DC power supply
- Lasercutted parts for the printer enclosure (you can download the .dxf file from the github repo)
- Female DC Power adapter
- USB cables
Setup the Intel Edison Board
Connect the board to the local wifi
Set up a serial terminal and establish a network connection.
Check the official Getting Started guide from Intel, which covers all the steps needed for Mac OSX, Linux, Windows:
- Assemble your board and connect it to your system:
- Set up a serial terminal
- Connect the board to your local wifi Wi-Fi
Enable the ssh connection
While working on the board we realized that the ssh connection is quite low when the USB0 network is up and running.
If you want to smoothly connect to the board via SSH we suggest to stop the USB0 network interface and restart the WLAN0.
ifconfig usb0 down
ifconfig wlan0 down
ifconfig wlan0 up
Configure a SFTP client
If you are familiar with the terminal you probably won't need this.
However is very handy to setup a sftp client to visualize the files on your edison board and edit them on the fly.
For file transfer through SSH we are using Cyberduck on Mac OSX. For different operating systems, you can use WinSCP for Windows or filezilla on Linux.
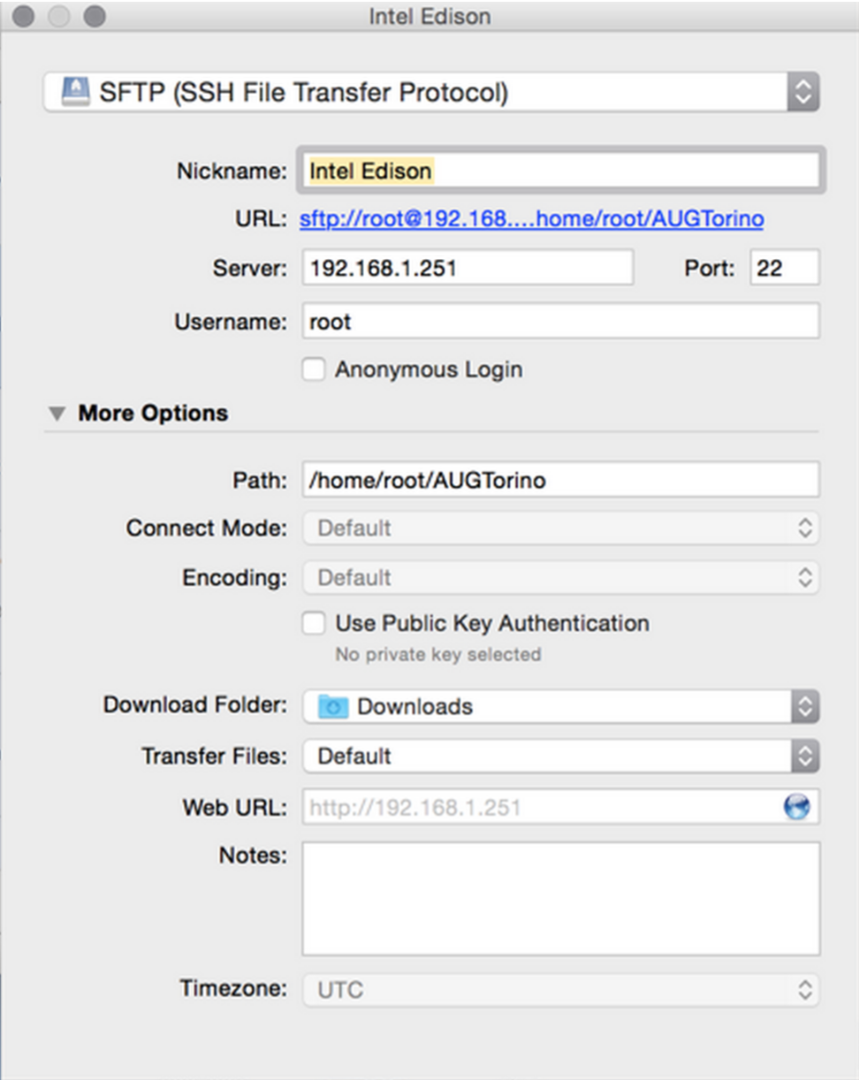
Type your Edison’s IP address into the “Server” box. Then type “root” as the “Username” and your password if you set one. Then hit “Connect.”
Cyberduck will present you with a file explorer. This will allow for an easy, graphical interace for managing your Edison’s files.
Install git
The easiest way to download the needed code to your board is directly clone the github repository.
Git is not installed by default in the edison board, you can use the edison package manager to perform the task.
$ opkg install git
Note: If you get the error Unknown package 'git', add this repo to the feeds
(vi /etc/opkg/base-feeds.conf)
src all  http://iotdk.intel.com/repos/1.1/iotdk/all
src x86  http://iotdk.intel.com/repos/1.1/iotdk/all
src i586  http://iotdk.intel.com/repos/1.1/iotdk/all
then run
opkg update
opkg install git
Connect the Printer
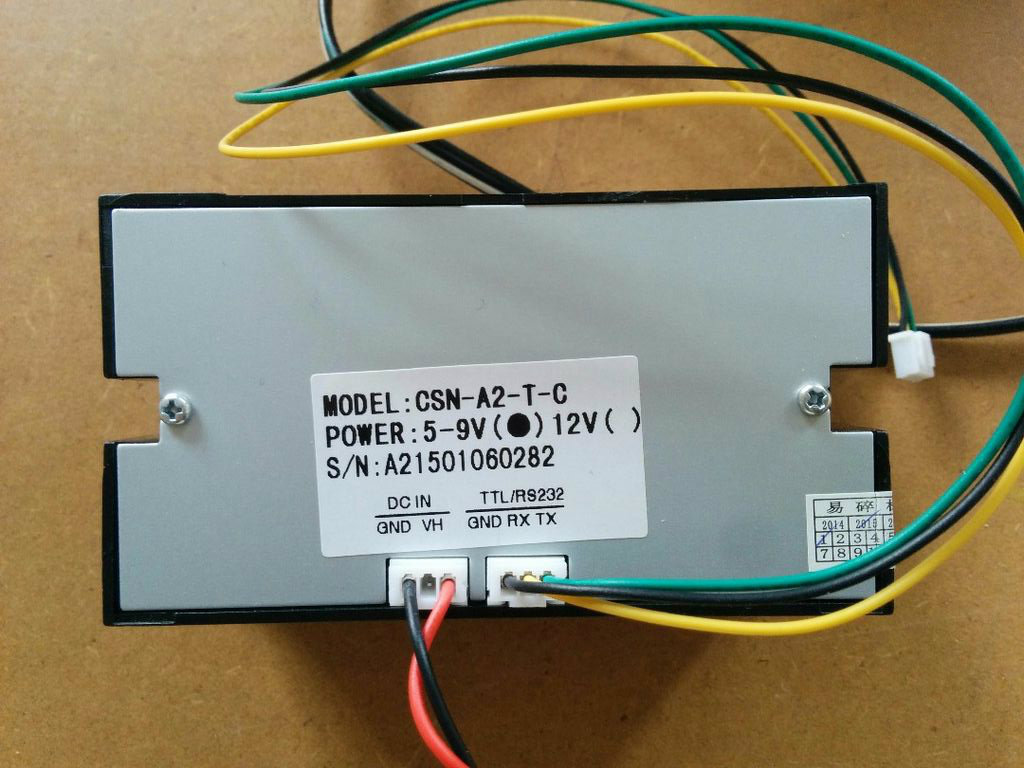
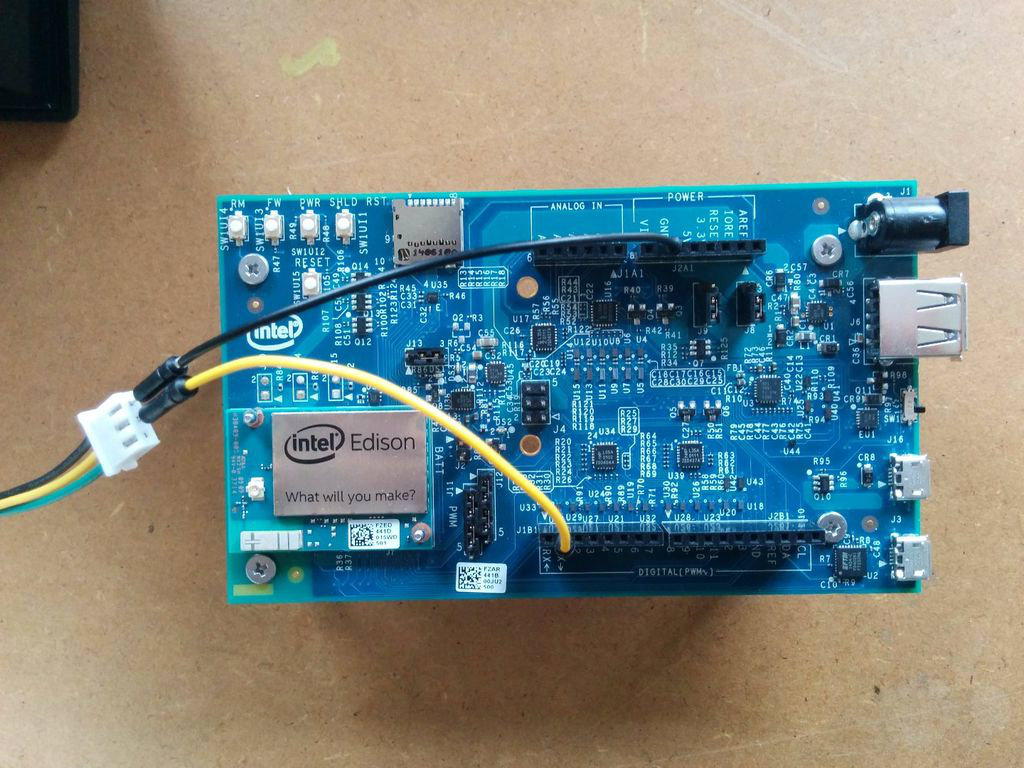
Wiring the printer to the Intel edison is quite easy:
The printer requires a 5 to 9 volts power supplier capable a minimum of 2Amp.
You can connect the power supplier directly to the barrel jack on the edison breackout board and then power the printer from VIN and GND of the breakout board.
The printer communicates to the edison via the serial port.
Connect the yellow cable to TX and the black cable to GND
Printer Test
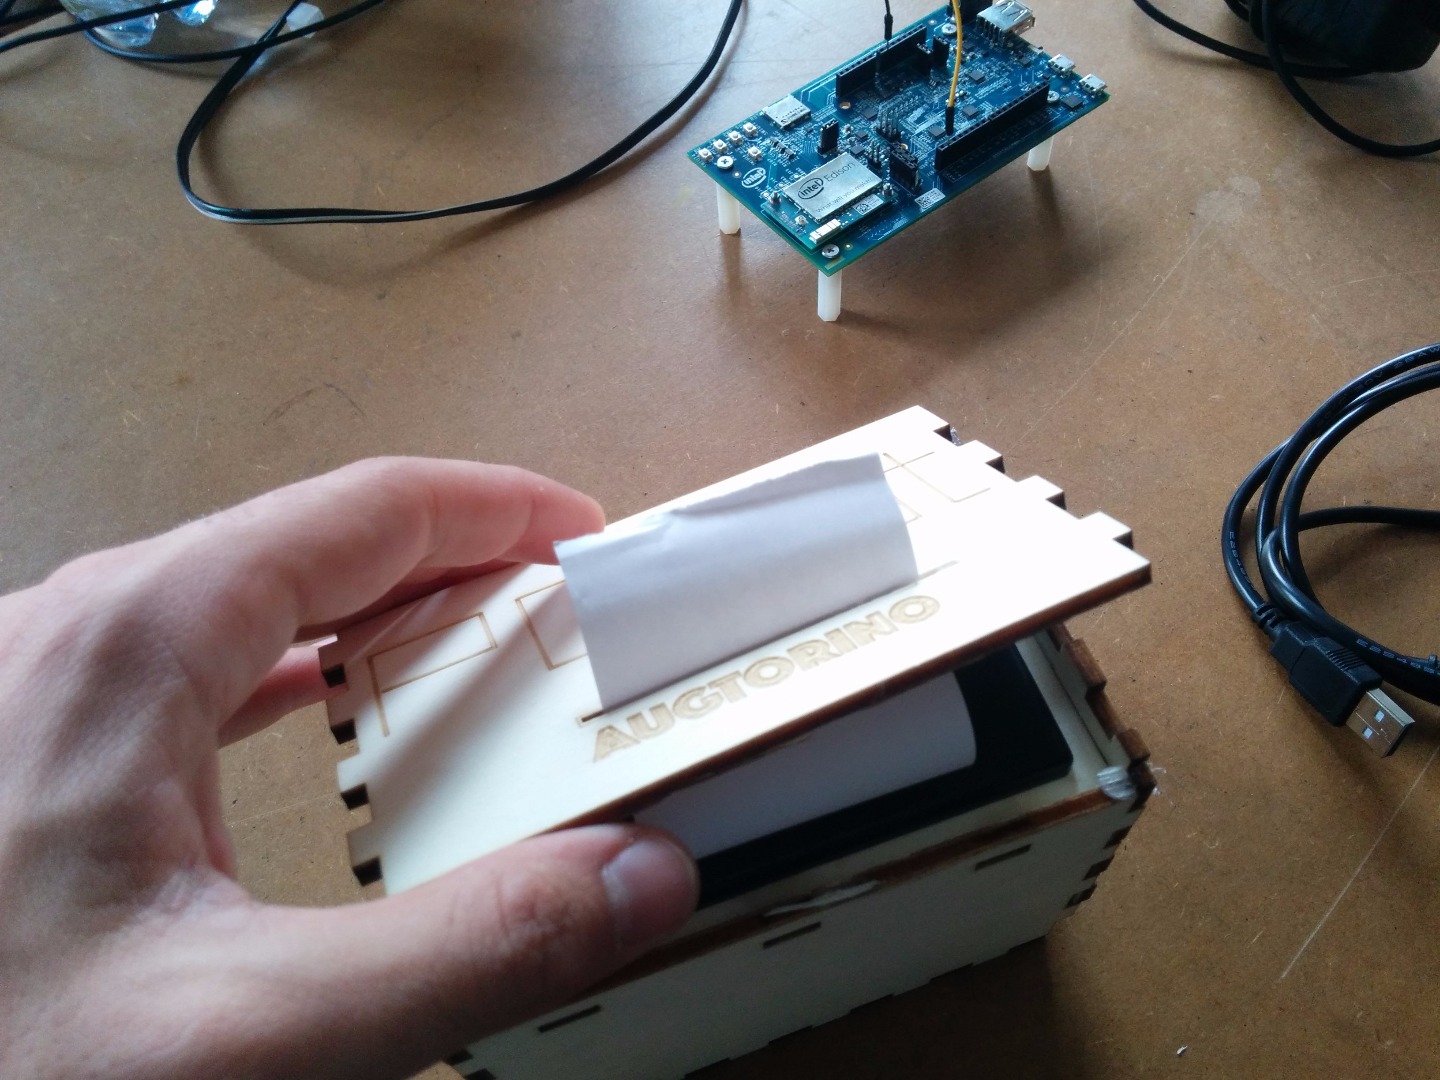
Download the printer library
Download the library from GitHub and copy the files on the Edison.
You could also use git to download the library directly to the Edison board.
git clone <a href="https://github.com/adafruit/Python-Thermal-Printer" rel="nofollow">https://github.com/adafruit/Python-Thermal-Printer</a>
Open the UART0 serial port
by default the GPIO's of the edison are disables.
You can enable them by programming the edison via the Arduino IDE or by using the MRAA library available for several programming languages.
To open enable the UART0 port, TX RX on the edison breakout board, open a Python shell in the thermal and write:
import mraa
x=mraa.Uart(0)
Install PYserial
you will need pySerial library to connect the edison to the printer. Once connected to the internet just run
pip install pyserial
First printer test
Now it's time to test that everything is working correctly.
First of all make sure you have some paper inserted correctly inside the printer, then go inside the Python-Thermal-Printer folder and run the printertest.py
cd Python-Thermal-Printer<br>python printertest.py
The printer should now perform a test-print.
If something isn't working please go back and make sure you have correctly followed all the steps.
Setup a New Telegram Bot
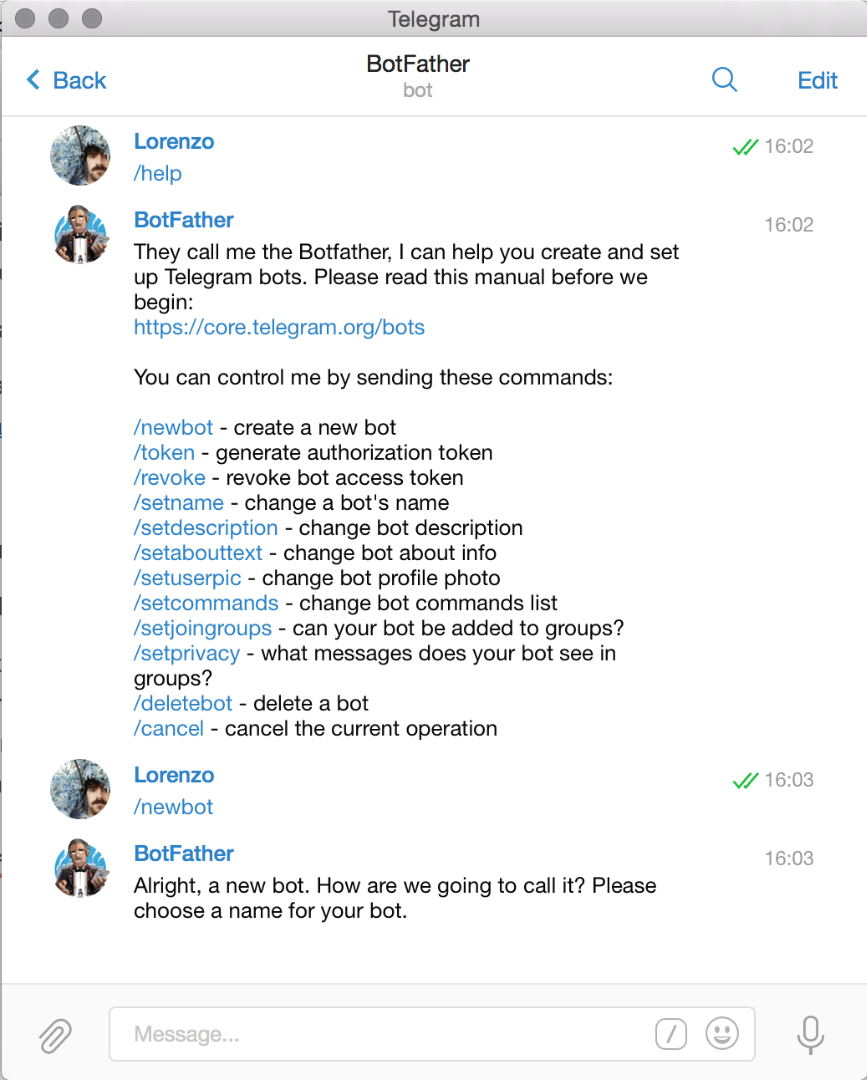
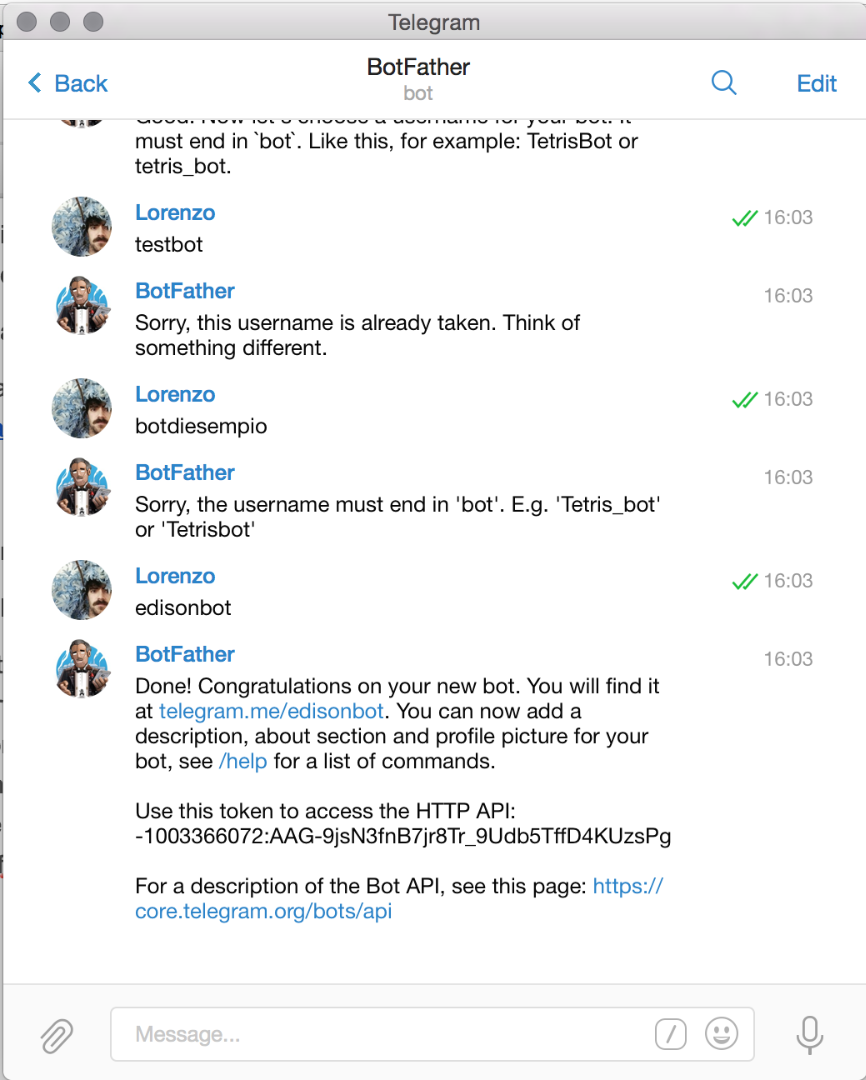
Telegram bots have been recently introduce as a new feature in the famous messaging app. You can create new bots that respond to commands and interact with the members of a chat.
You can find a complete documentation about setting the Telegram Bots here.
Library to easily program bots behaviours have been written in many programming languages. In this tutorial we are going to use the Python telegram bot library by Leandro Toledo.
Create a new bot:
BotFather is the one bot to rule them all. It will help you create new bots and change settings for existing ones.
Open a telegram chat and look for BotFather.
Use the /newbot command to create a new bot.
The BotFather will ask you for a name and username, then generate an authorization token for your new bot. The name of your bot will be displayed in contact details and elsewhere. The Username is a short name, to be used in mentions and telegram.me links. Usernames are 5-32 characters long and are case insensitive, but may only include Latin characters, numbers, and underscores.
Your bot's username must end in ‘bot’, e.g. ‘tetris_bot’ or ‘TetrisBot’.
The token is a string along the lines of 110201543:AAHdqTcvCH1vGWJxfSeofSAs0K5PALD saw that will be required to authorise the bot and send requests to the Bot API.
if you want to have fun programming your bots we suggest to start from the echobot example included in the Python telegram bot library. You can install it and run it from your computer or directly from the edison. Find a full references of what you can do with it on the github page of the library.
Download the Code and Required Libraries
Start by downloading the code from FablabTorino github repository.
The fastest way is probably cloning the repo directly on the edison board via git
git clone https://github.com/FablabTorino/PCBot.git
the project is composed of different files and folder:
- "Python-Thermal-Printer-master" is the printer library you already downloaded from adafruit github repo
- "data" contains a json file with names and path of all the images the PCBot can print (please help us grow the database)
- "printer enclosure" contains a dxf file ready to be lasercutted and use as an enclosure for the edison and the printer
- "tempData" is an empty folder that will be used by the software to download files
- "PCBot.py" is the main python app, here is coded the software logic, you can extend the feature of the bot by adding new behaviours here
- "printer.py" takes care of downloading images, scale them and send them to the printer.
- "privateData.py" contains your bot token, we added it in a separate file to avoid the inconvenience of accidentally share sensible data.
Install python dependencies
The software need some other python libraries to run. Install them with pip
pip install telegram
pip install urllib
Time to Run the Program
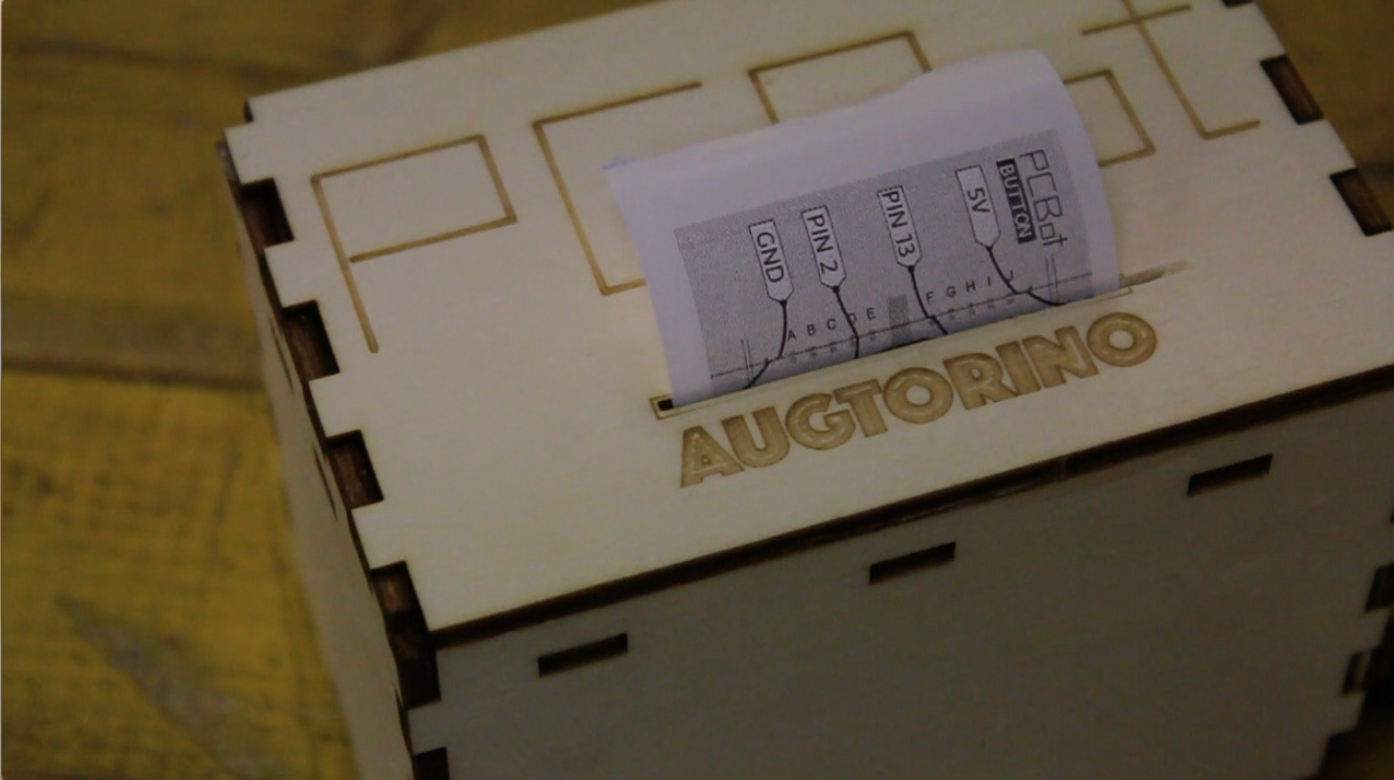
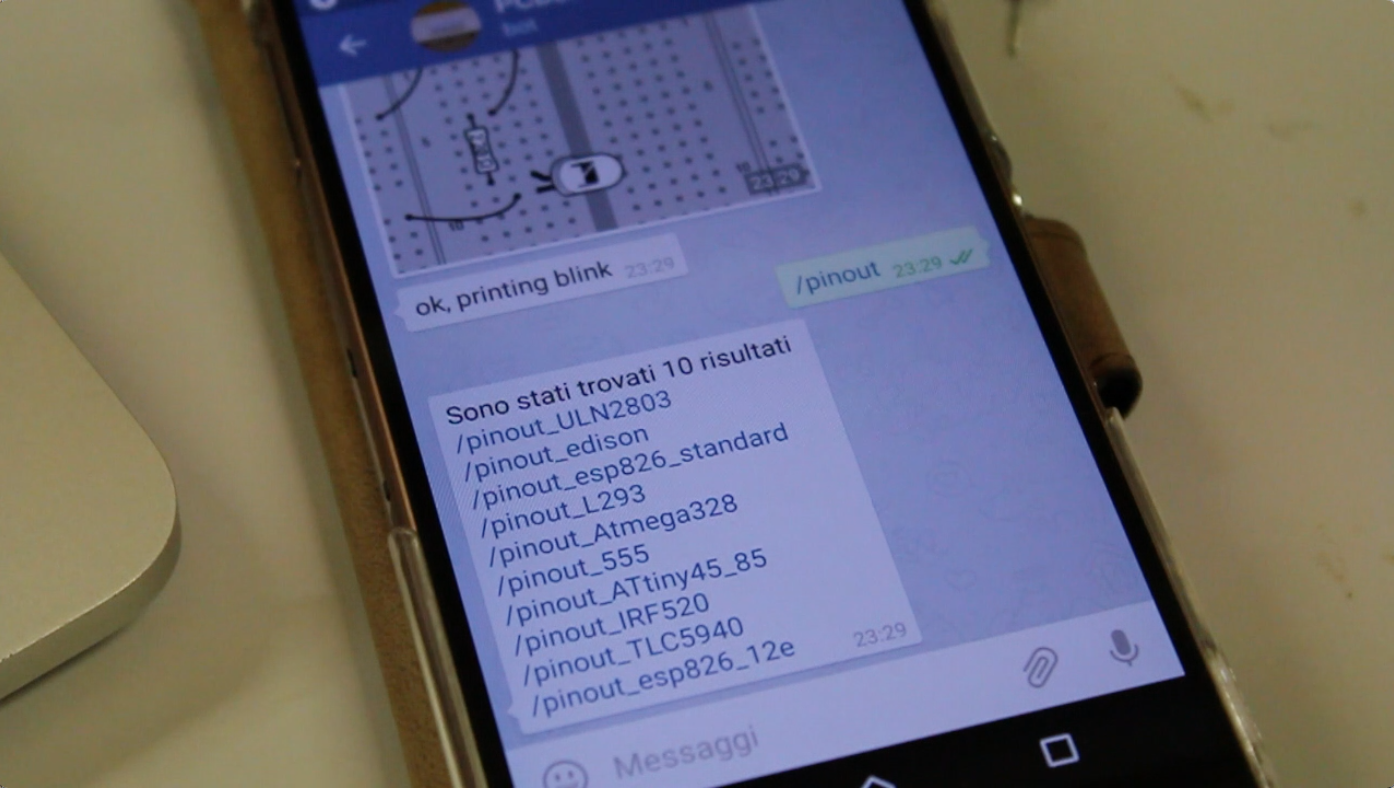
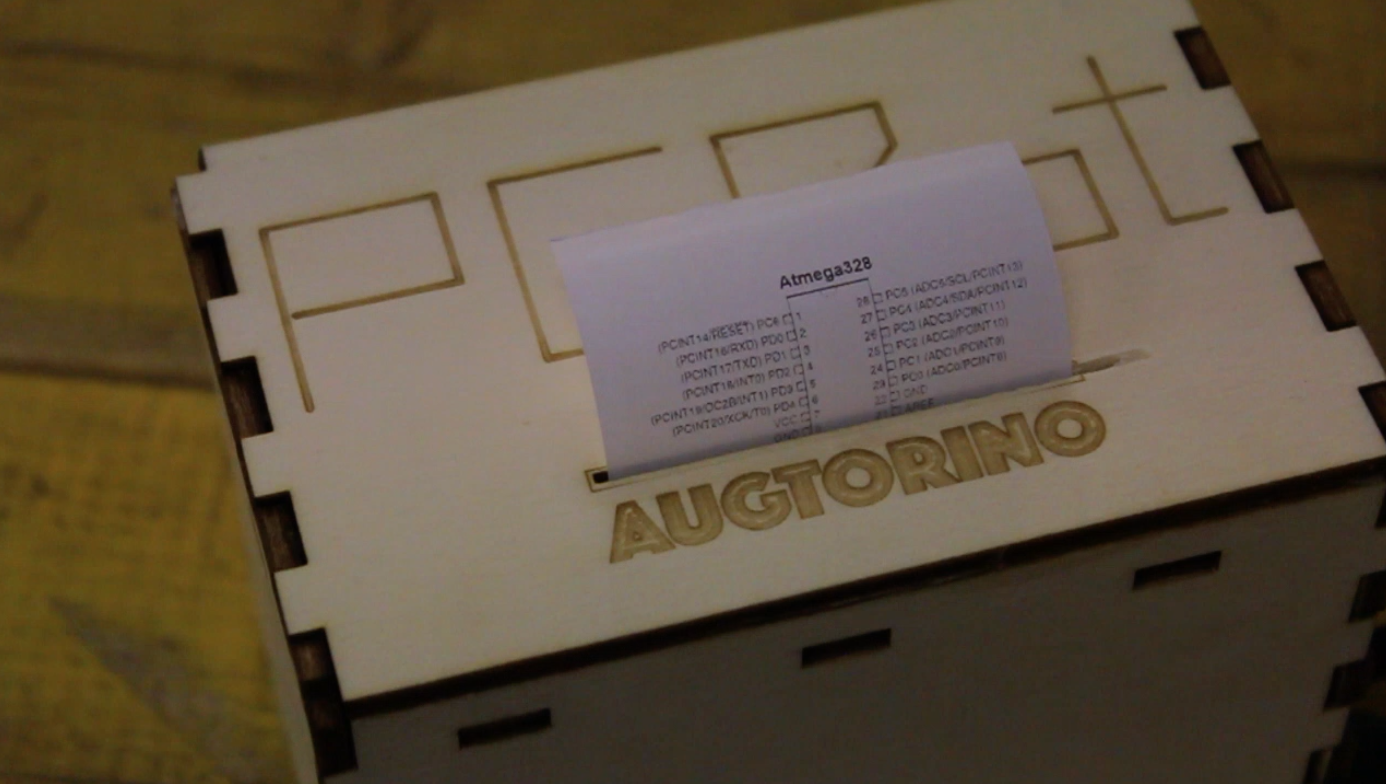
Before running the program remember to insert the token of the bot you registered inside privateData.py
now you should have all you need to run the software, just run
python PCBot.py
Chat with the bot
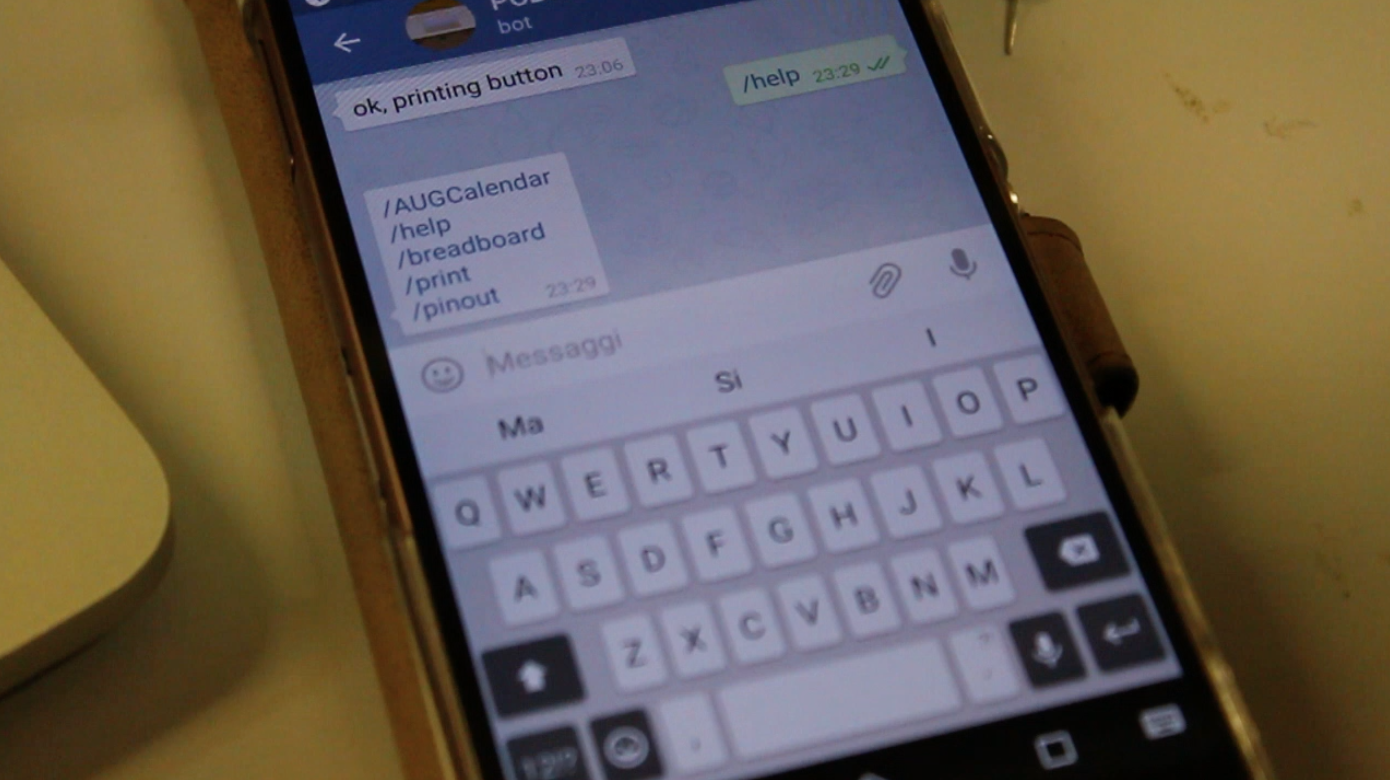
You can interact with the bot by chatting with it.
use:
- /help to get the list of available commands
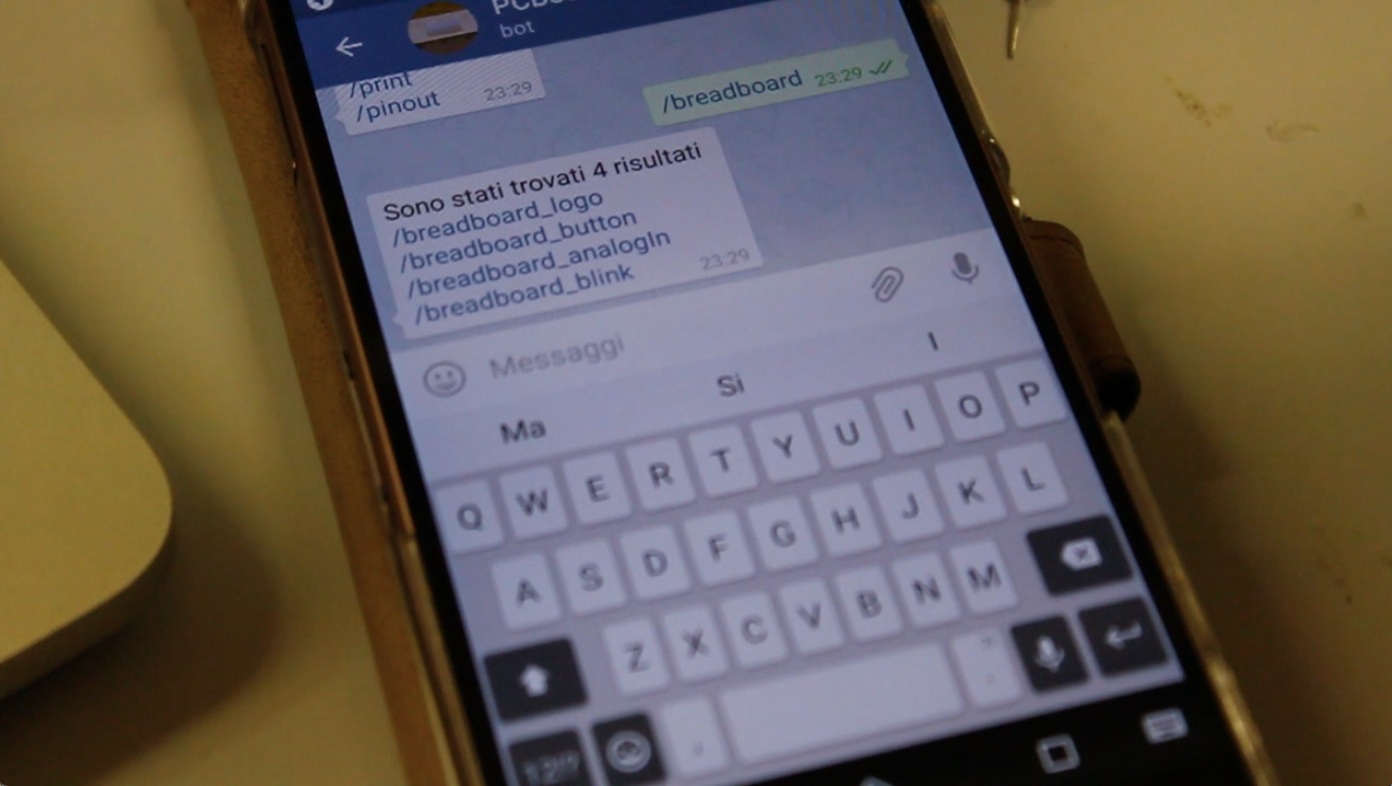
- /breadboard_list to get the list of available paper template
- /breadboard_<name> prints a paper template
- /pinout_list to get the list of available pinout
- /pinout_<name> prints the requested pinout
- /print followed by the url of an image will send the image to the printer