PCB Design & Etching Tutorial - Part 1
by Nematic! in Circuits > Electronics
1339 Views, 13 Favorites, 0 Comments
PCB Design & Etching Tutorial - Part 1
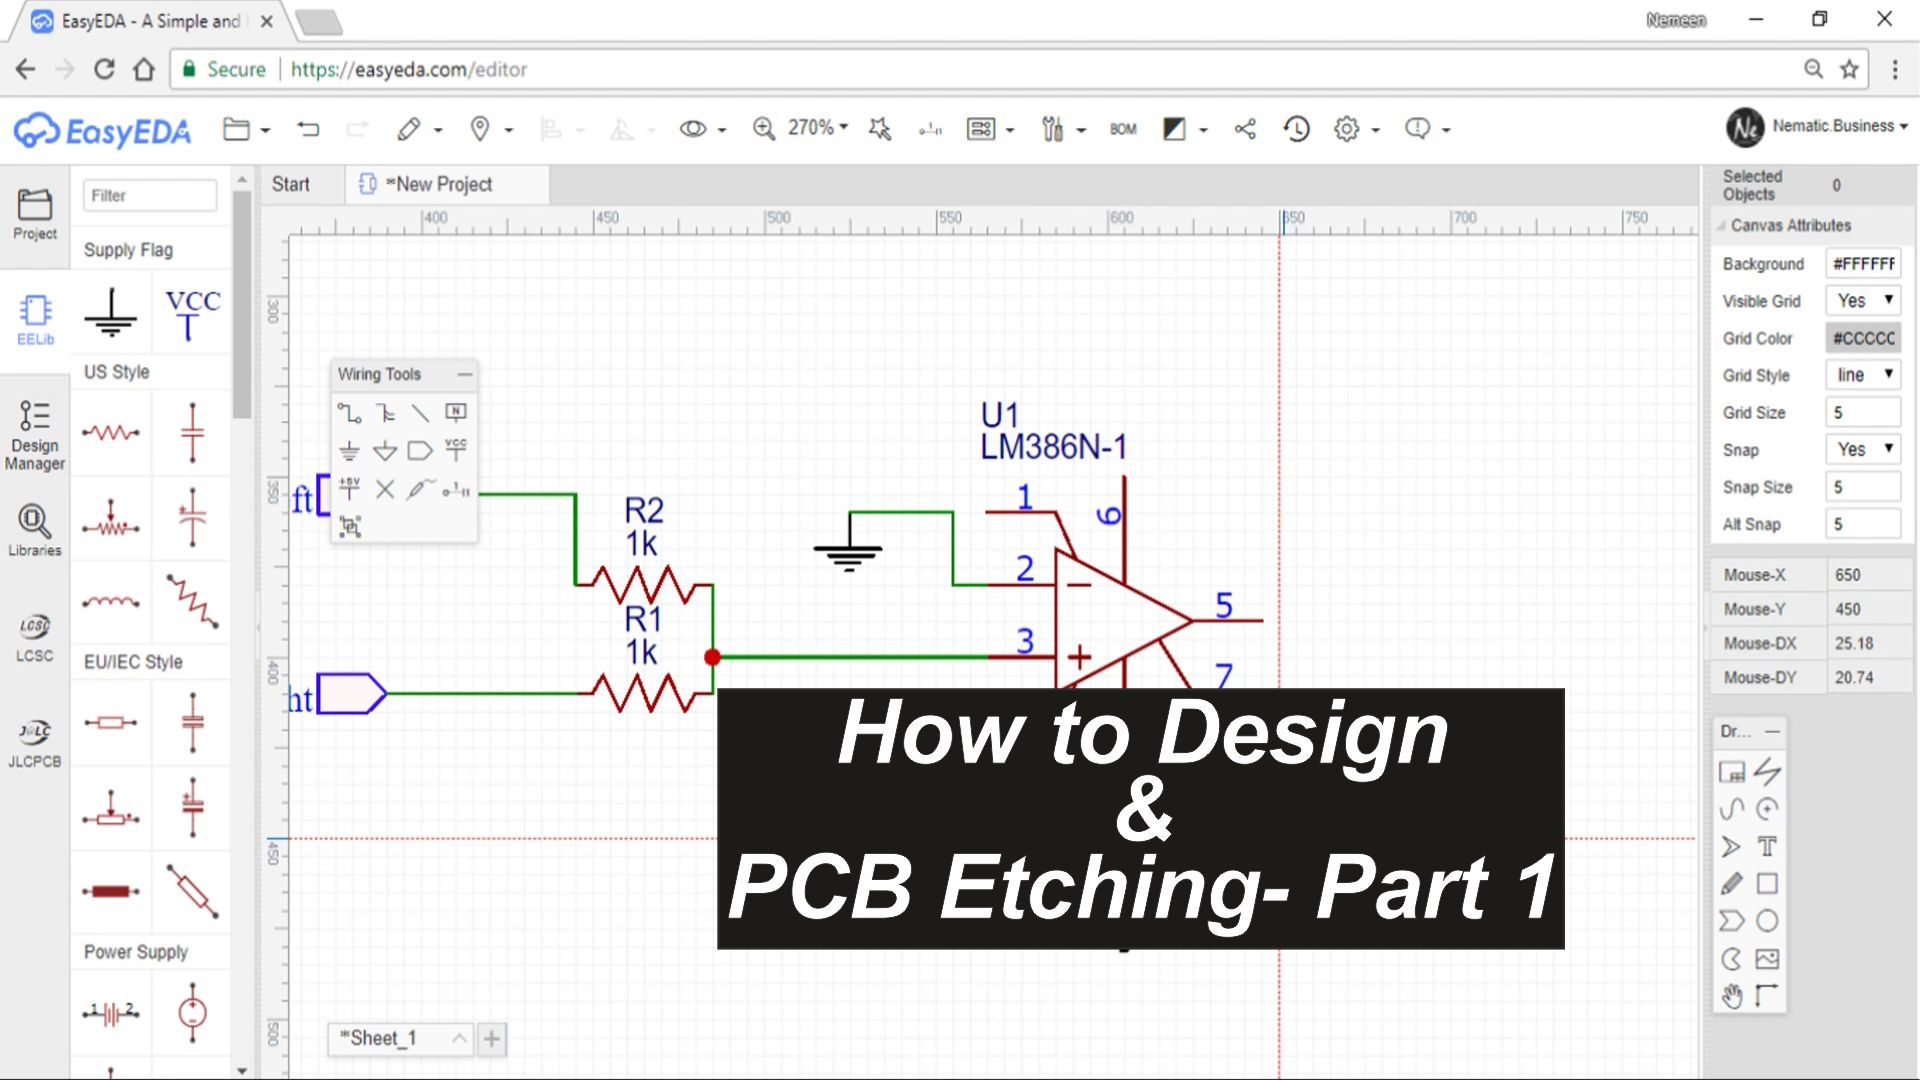
Hey guys in this videos tutorial I will show you the entire process of making a PCB right from designing as well as transferring it to copper clad
So lets get started !
Disclaimer !
This is not a paid Promotion or advertisement for any of the softwares shown in this tutorial, these are just my personal recommendation
Watch the Video!
If you don't want to read all the stuff you can watch Video on YouTube Click here
Software !
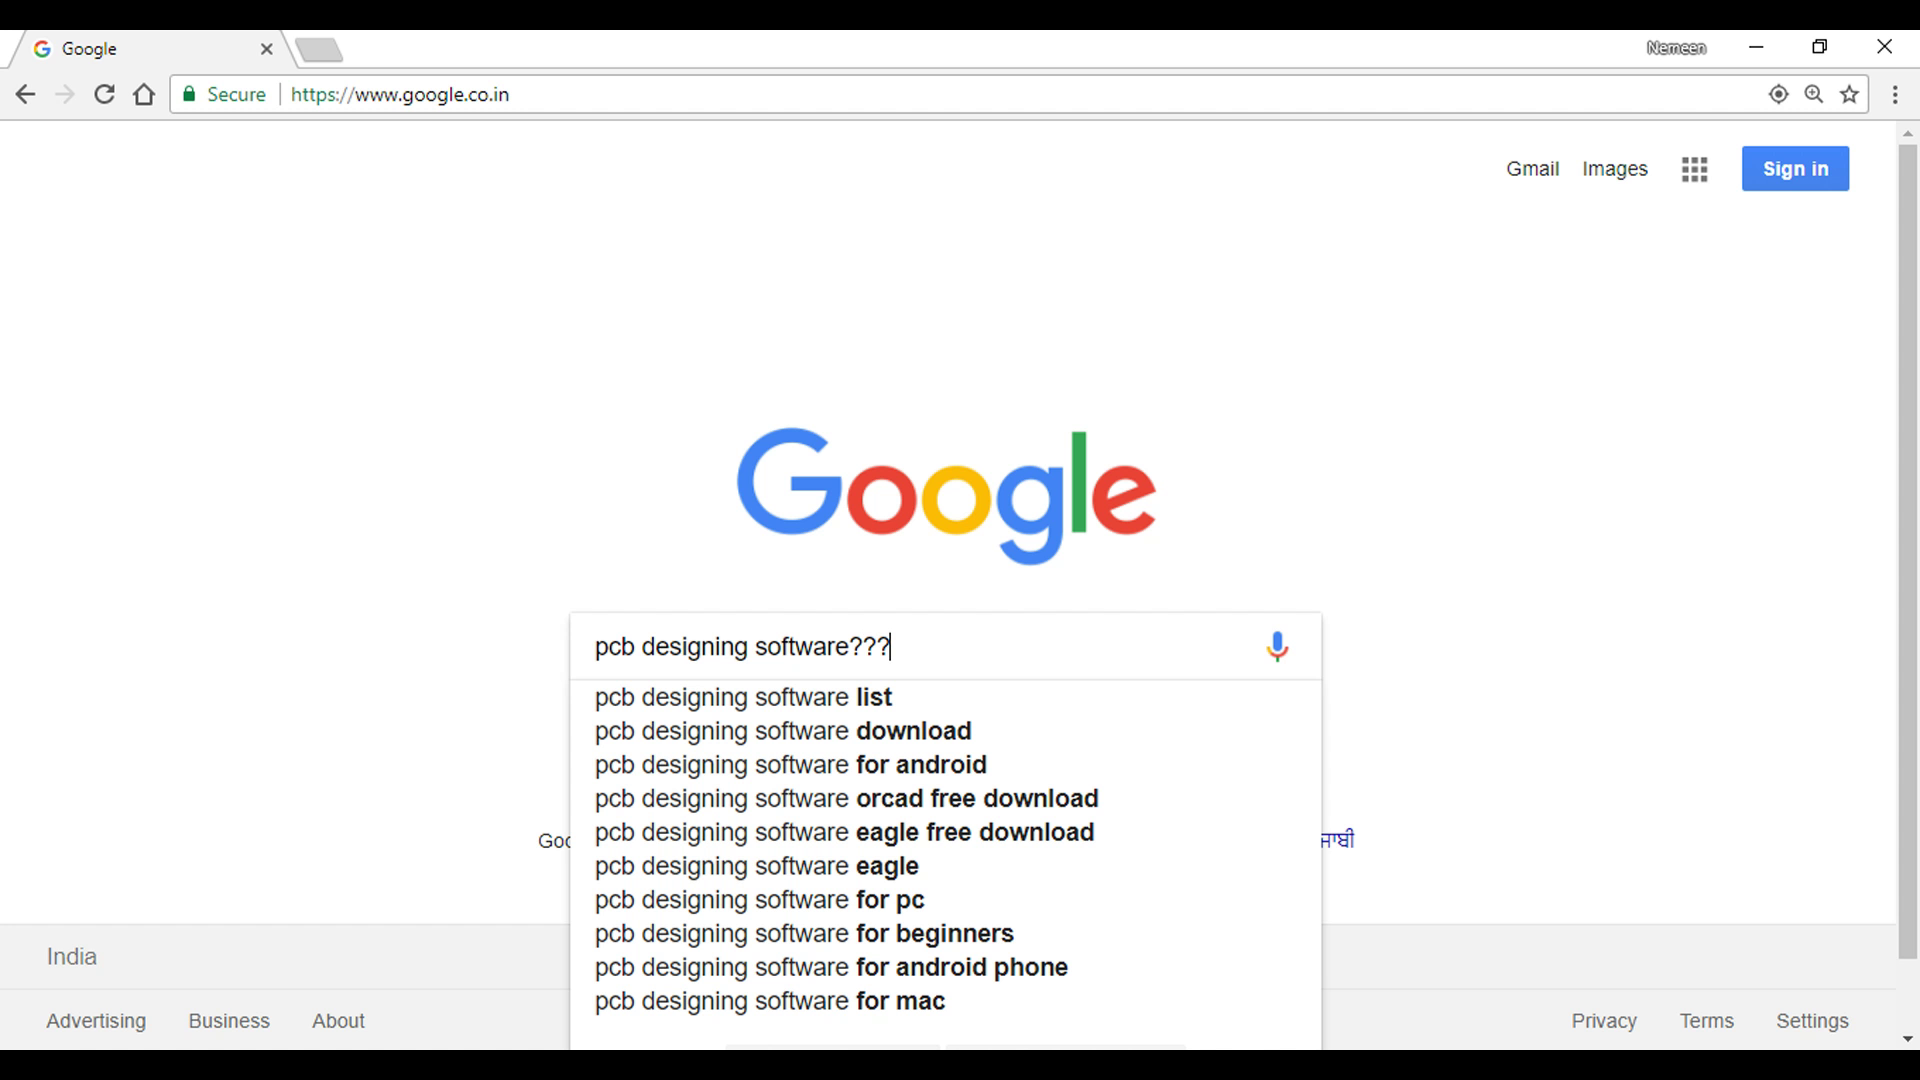
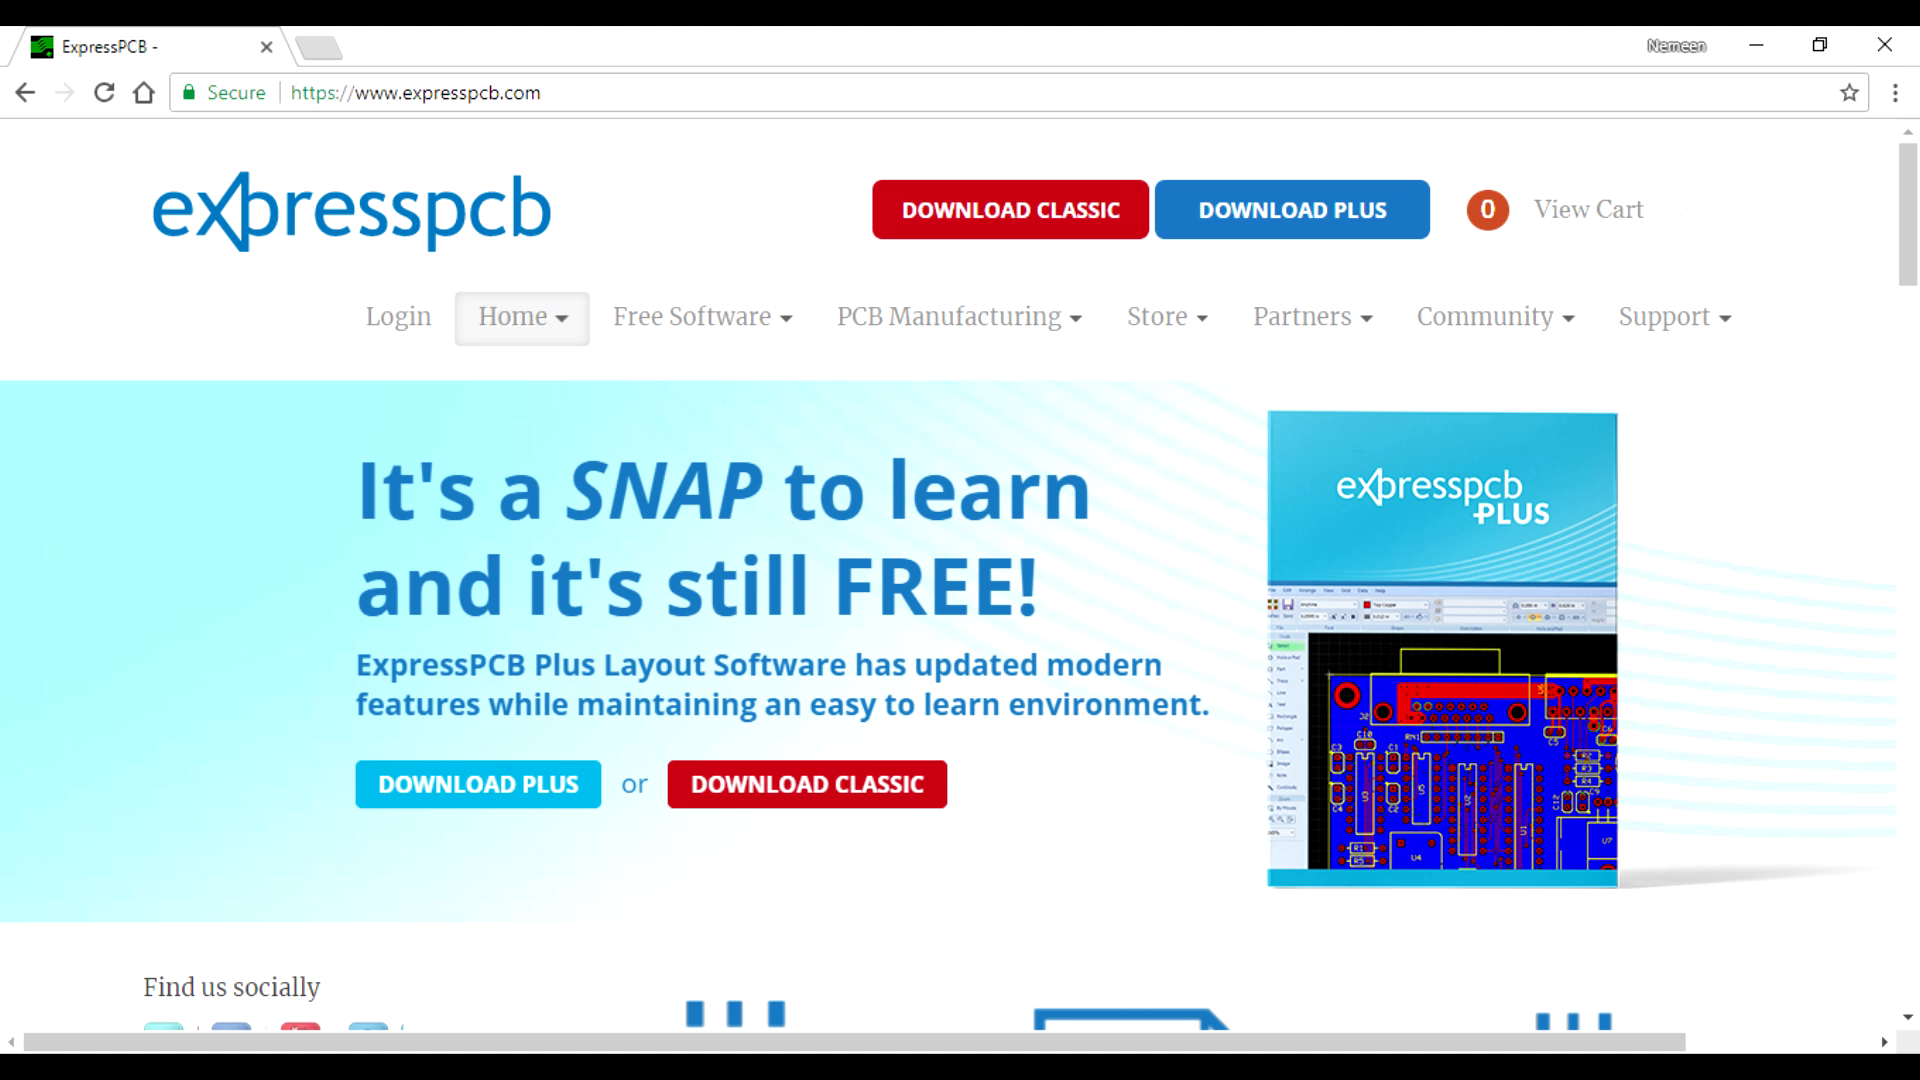
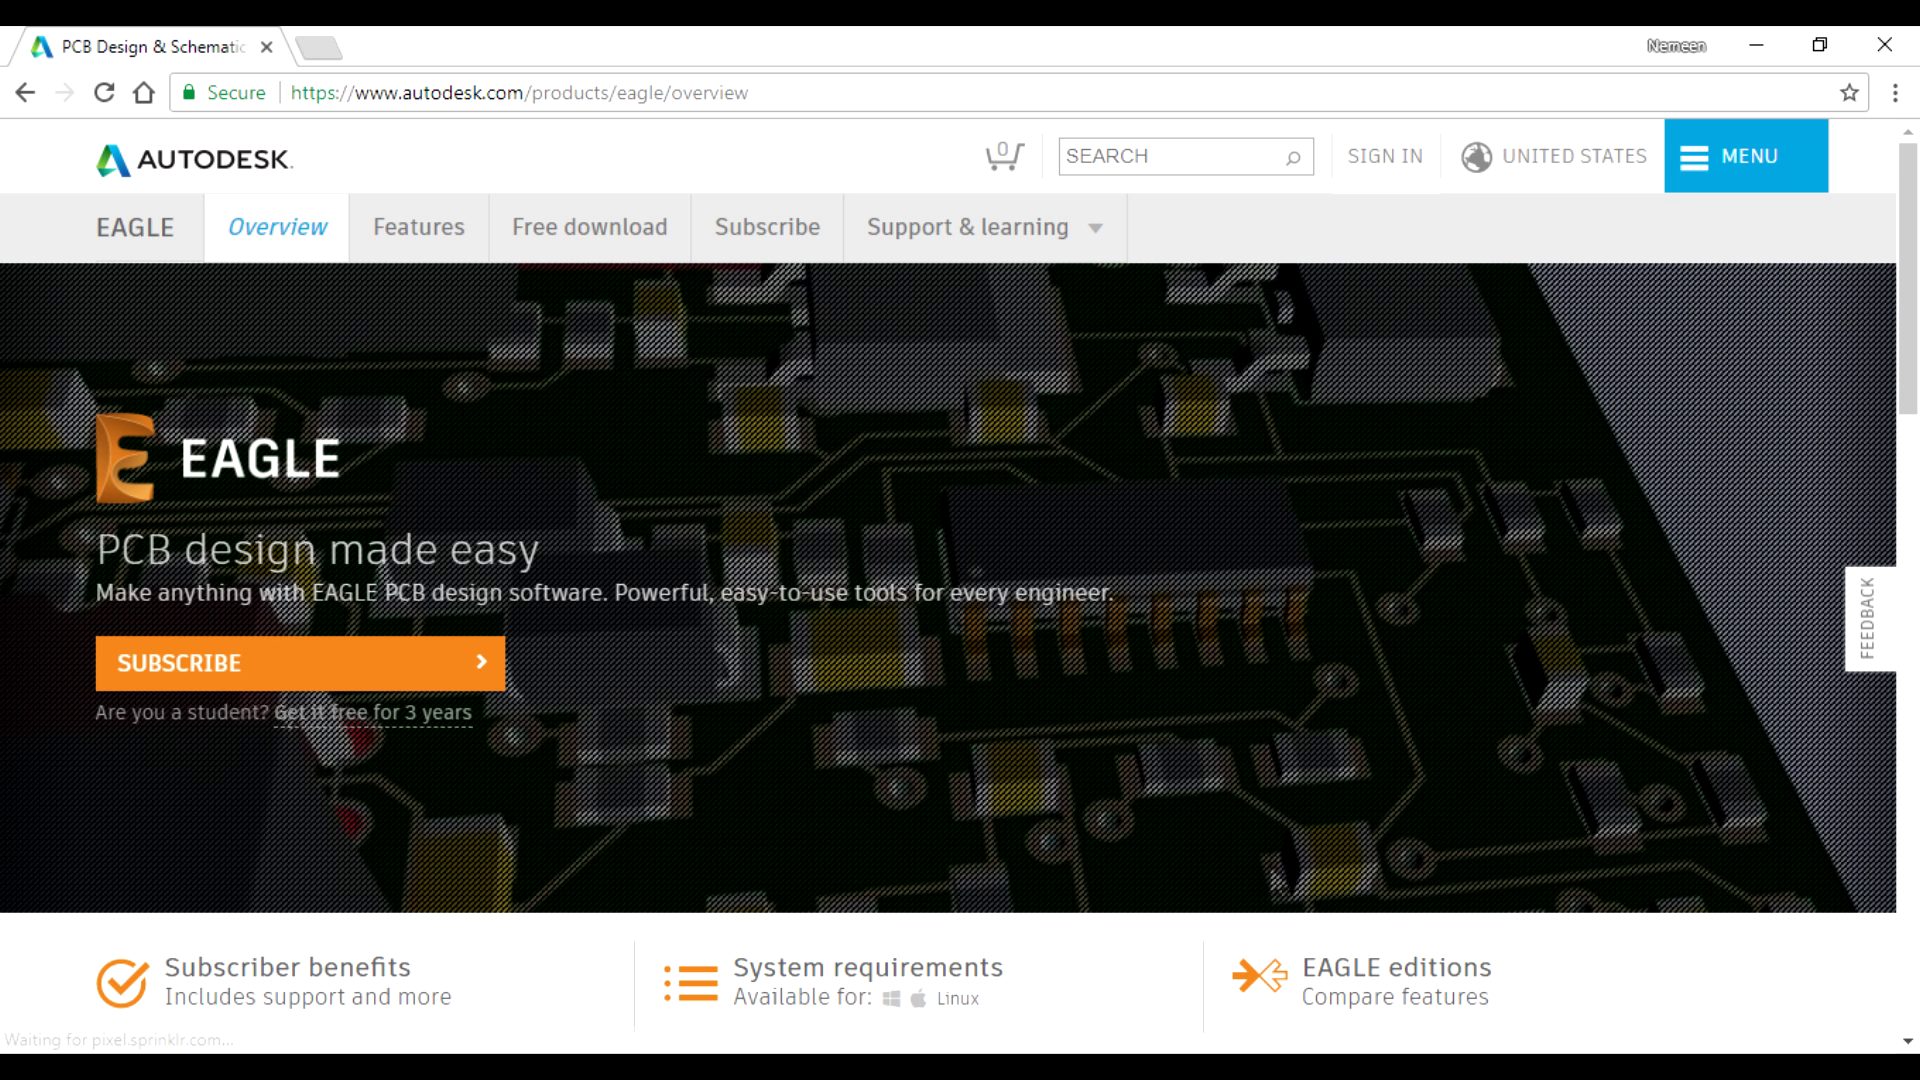
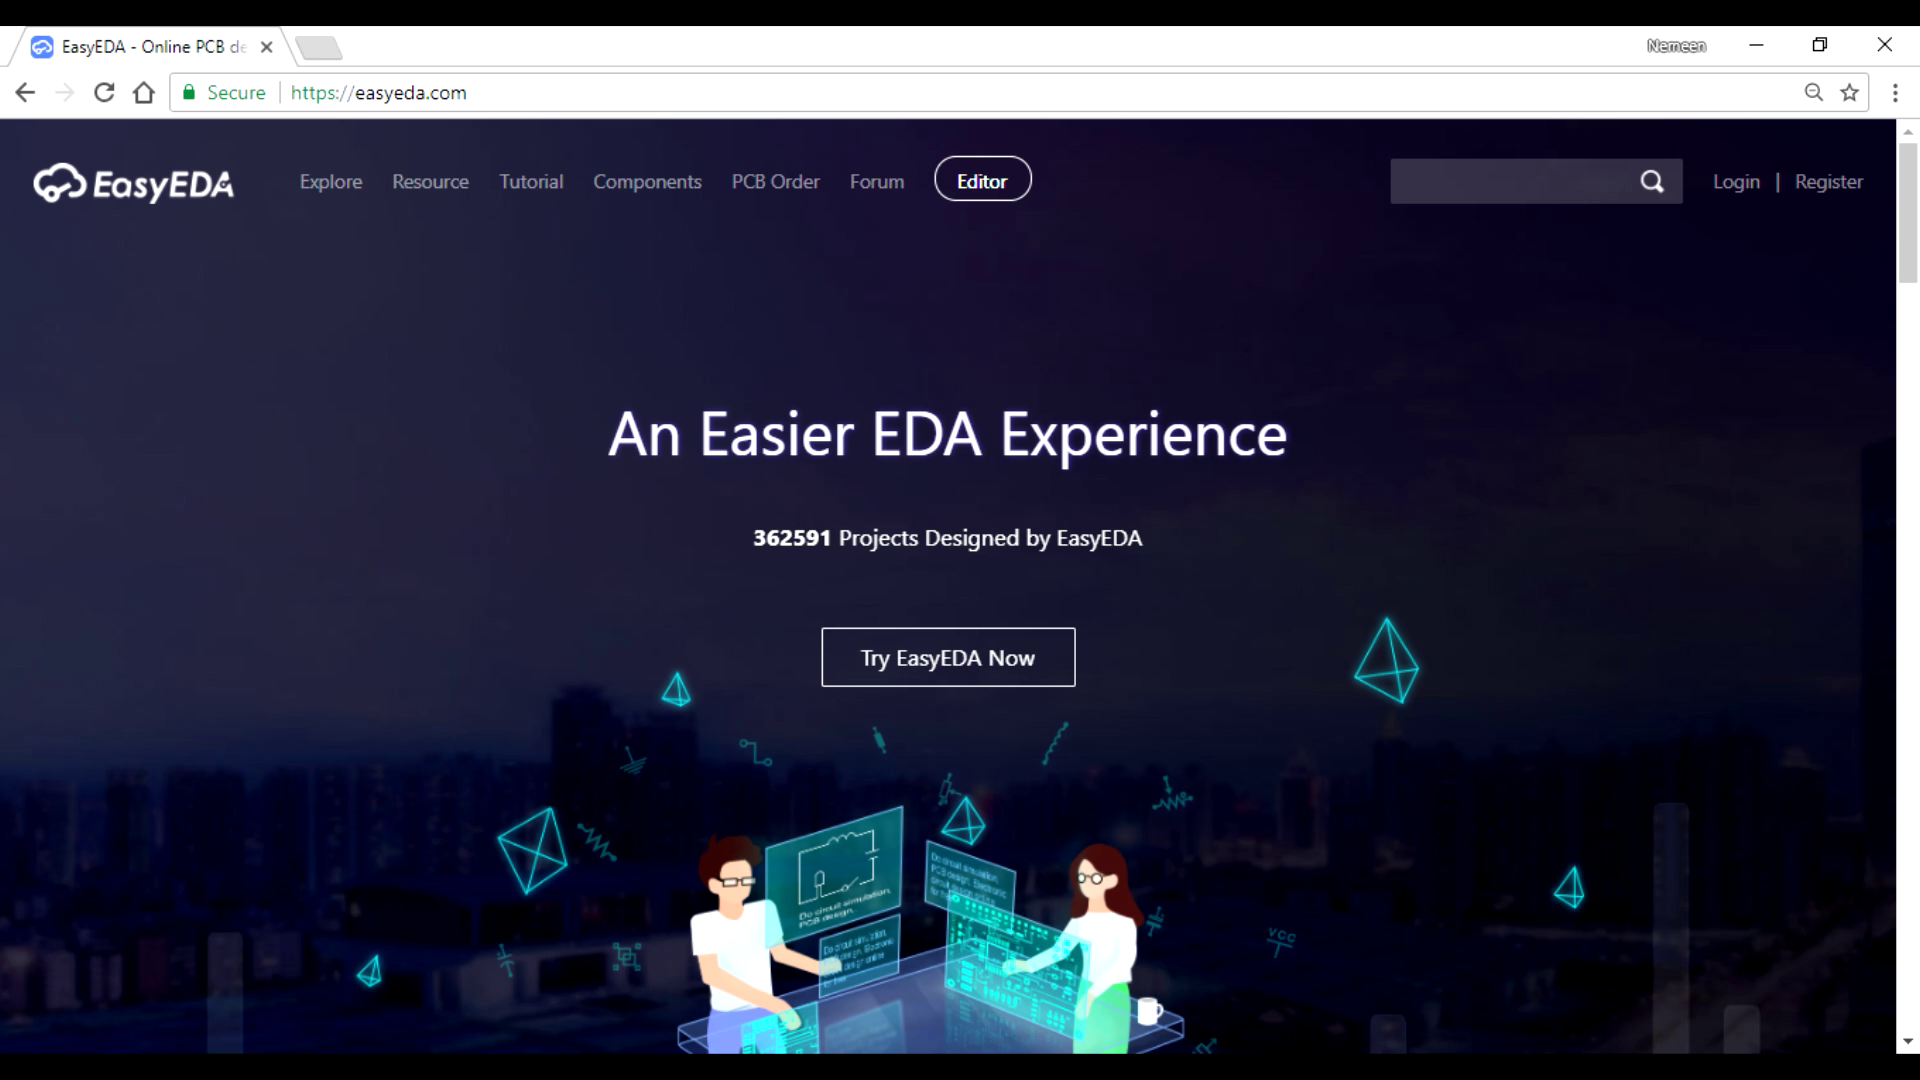
There are dozes of softwares of designing the PCB like
- Express PCB
- Eagle
- EasyEDA
But my personal favorite is EasyEDA because it is online so I don't have to download any kind of crap !
So now lets see How to design using it
Designing !
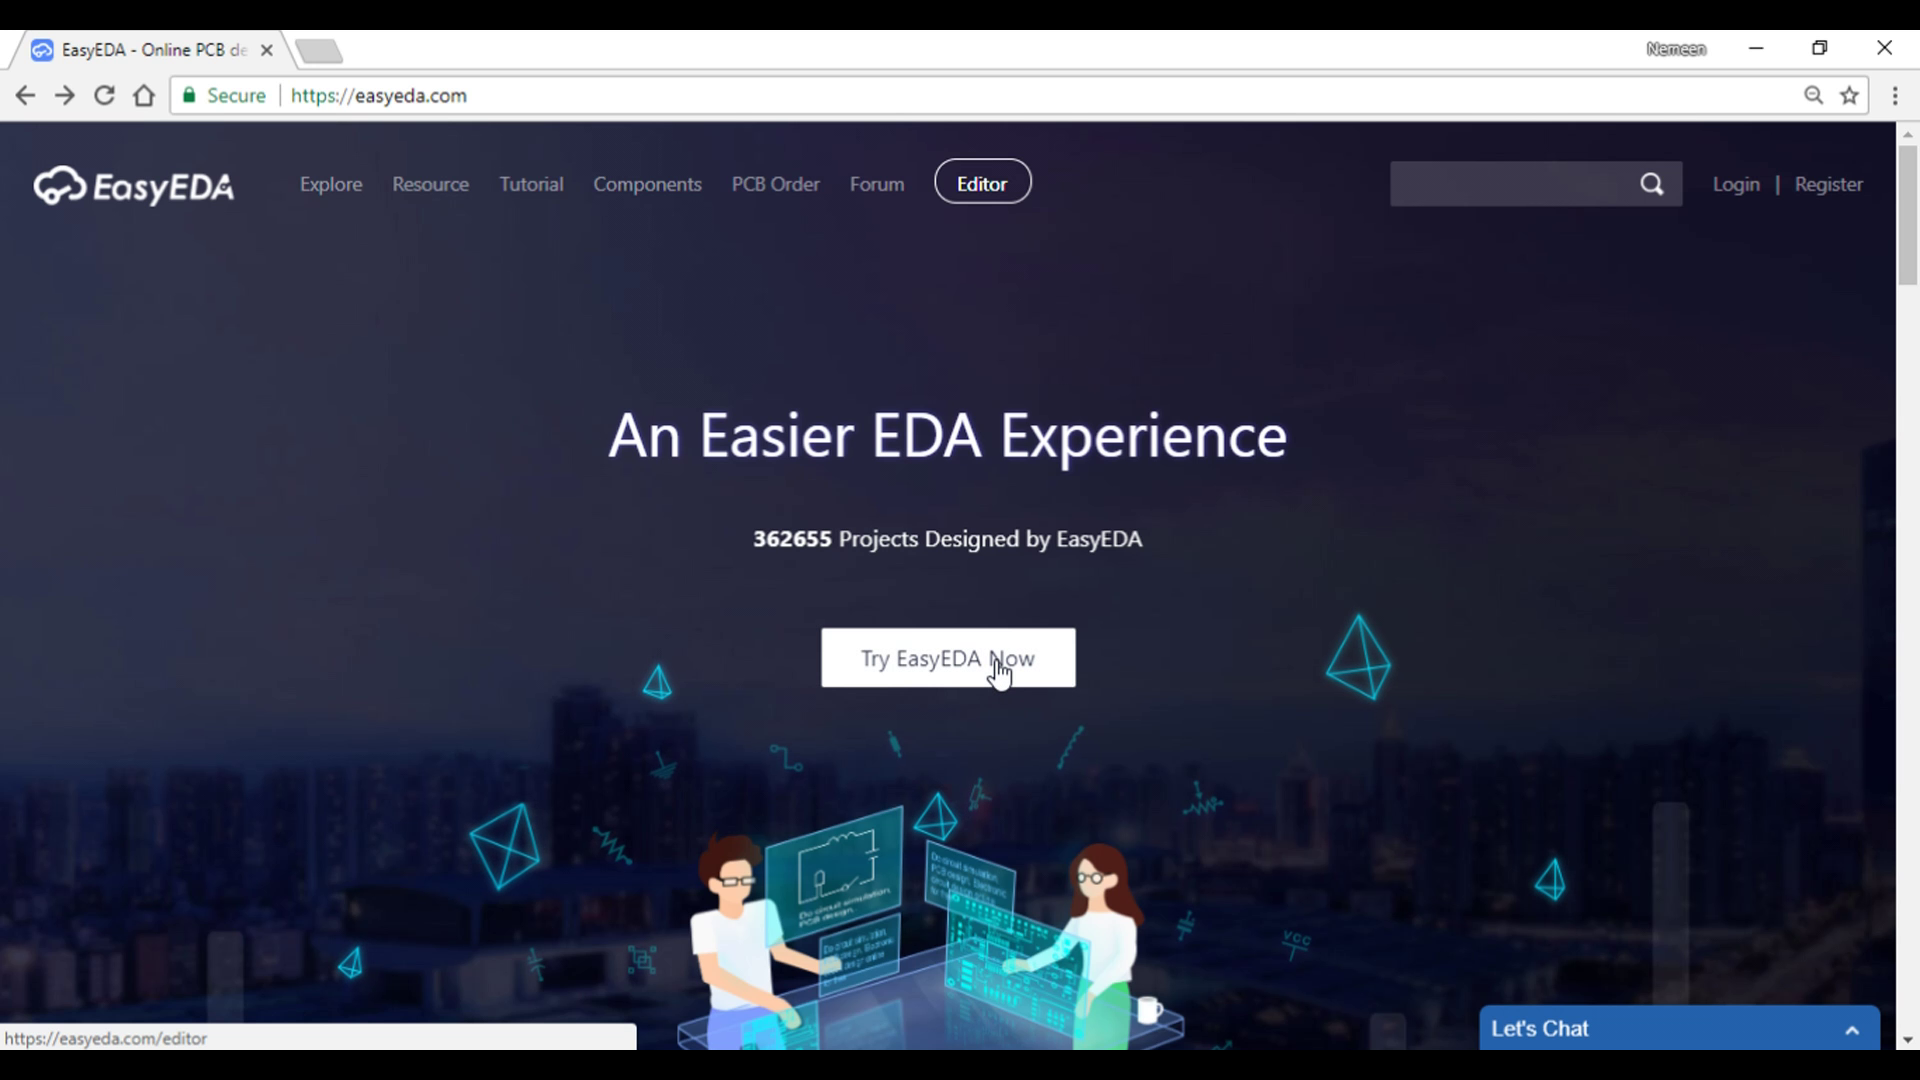
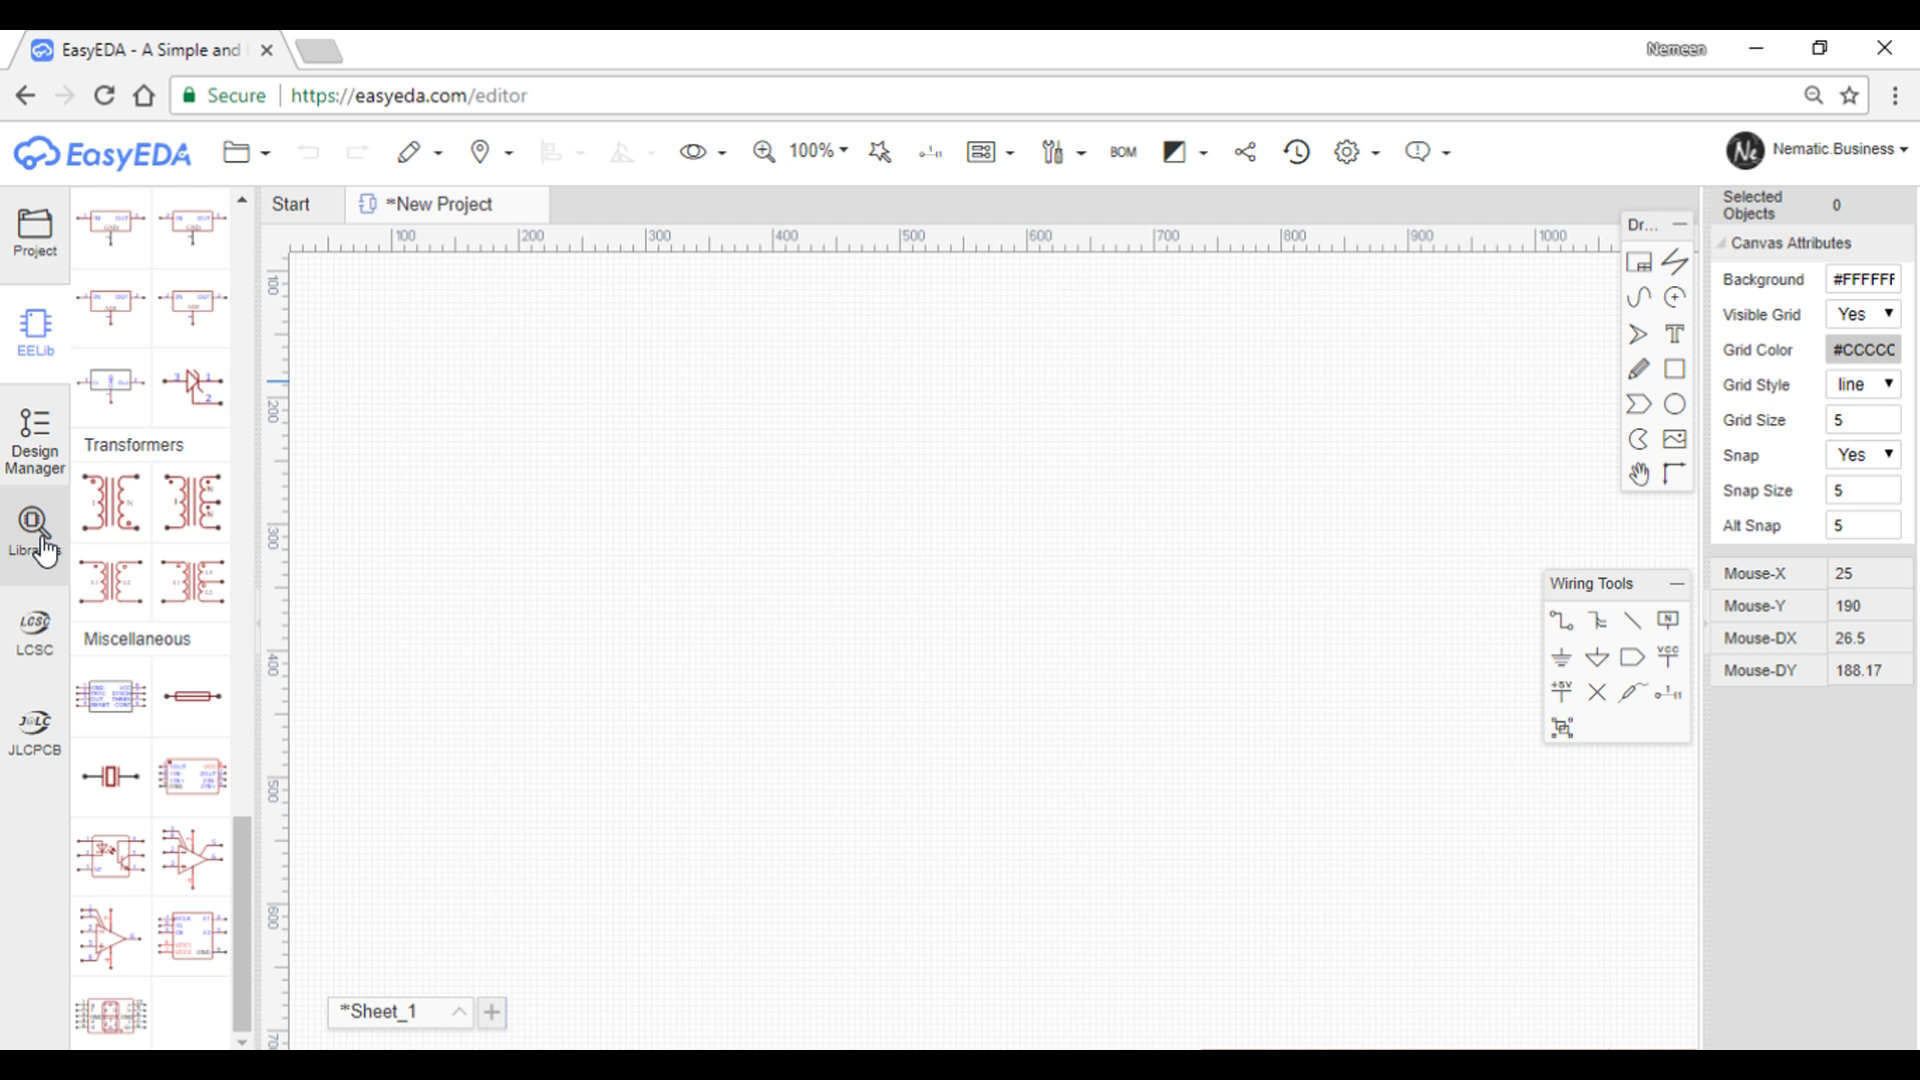
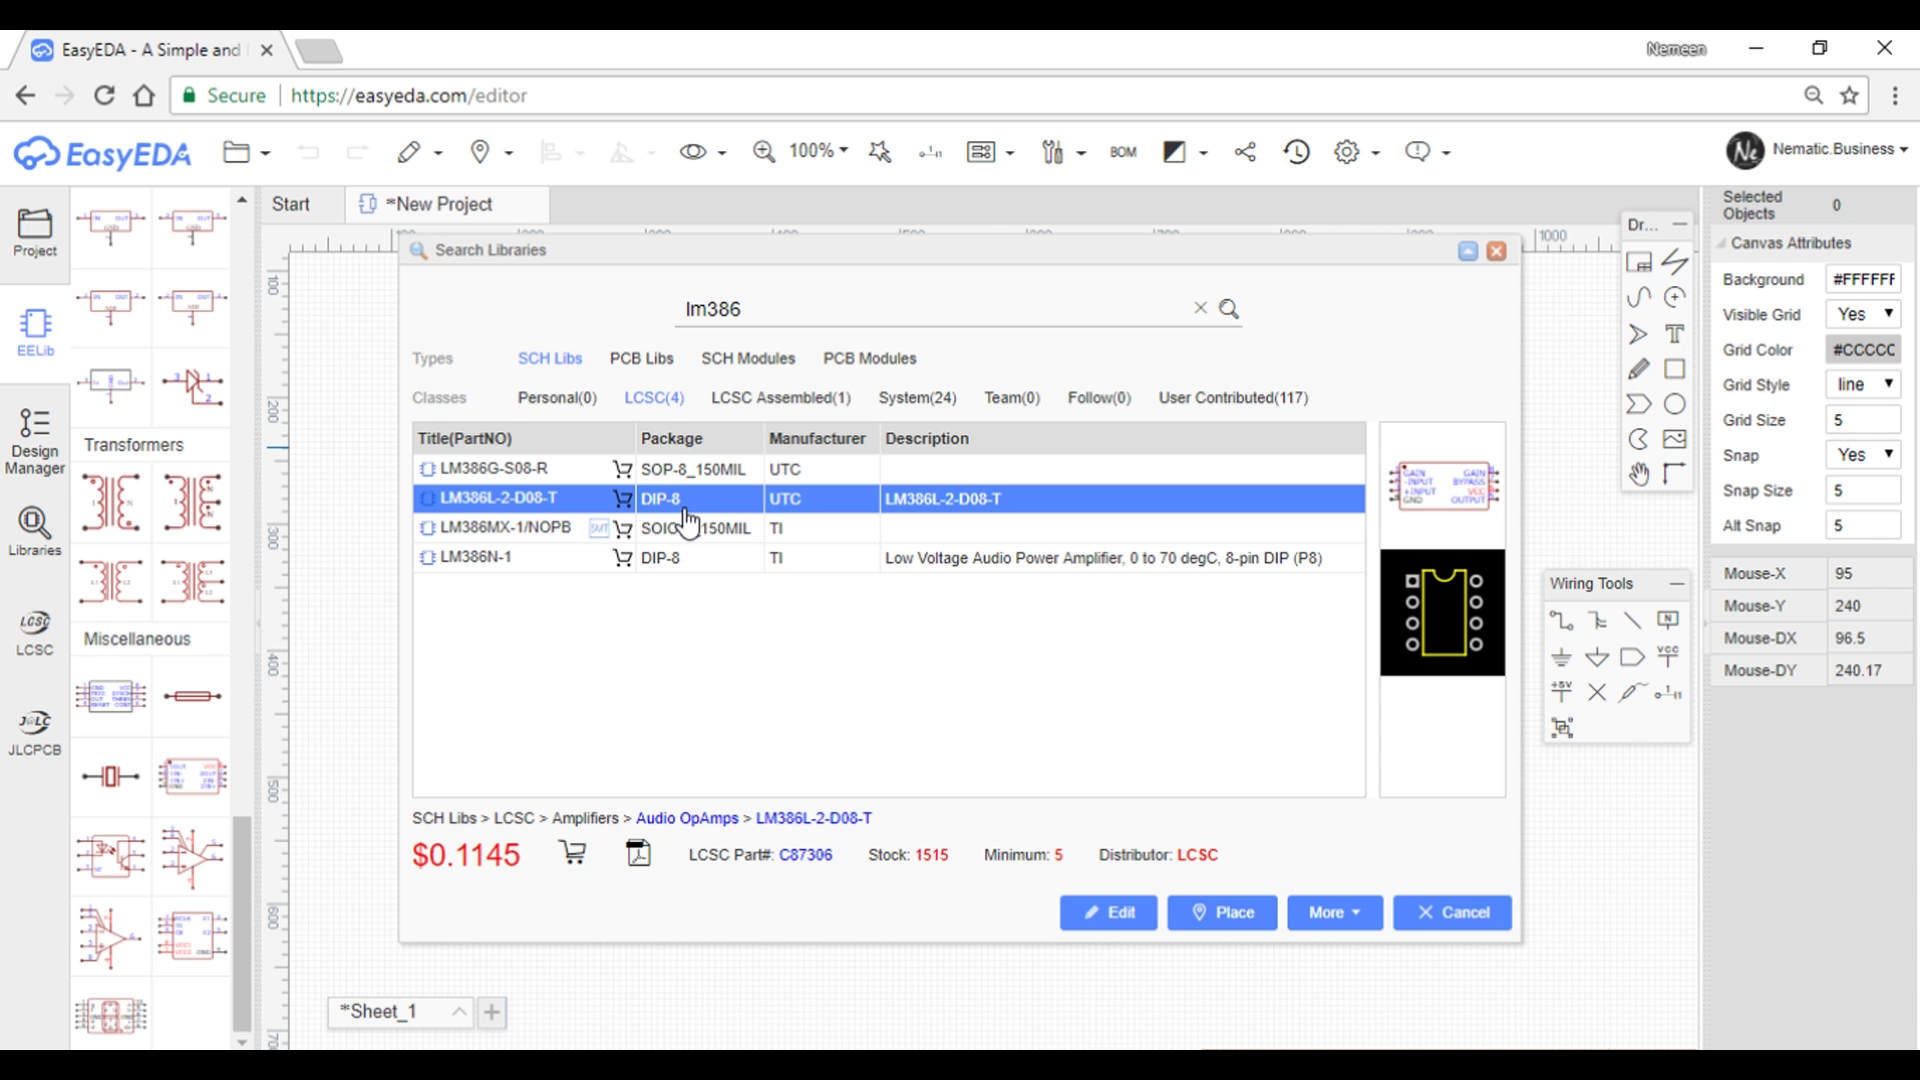
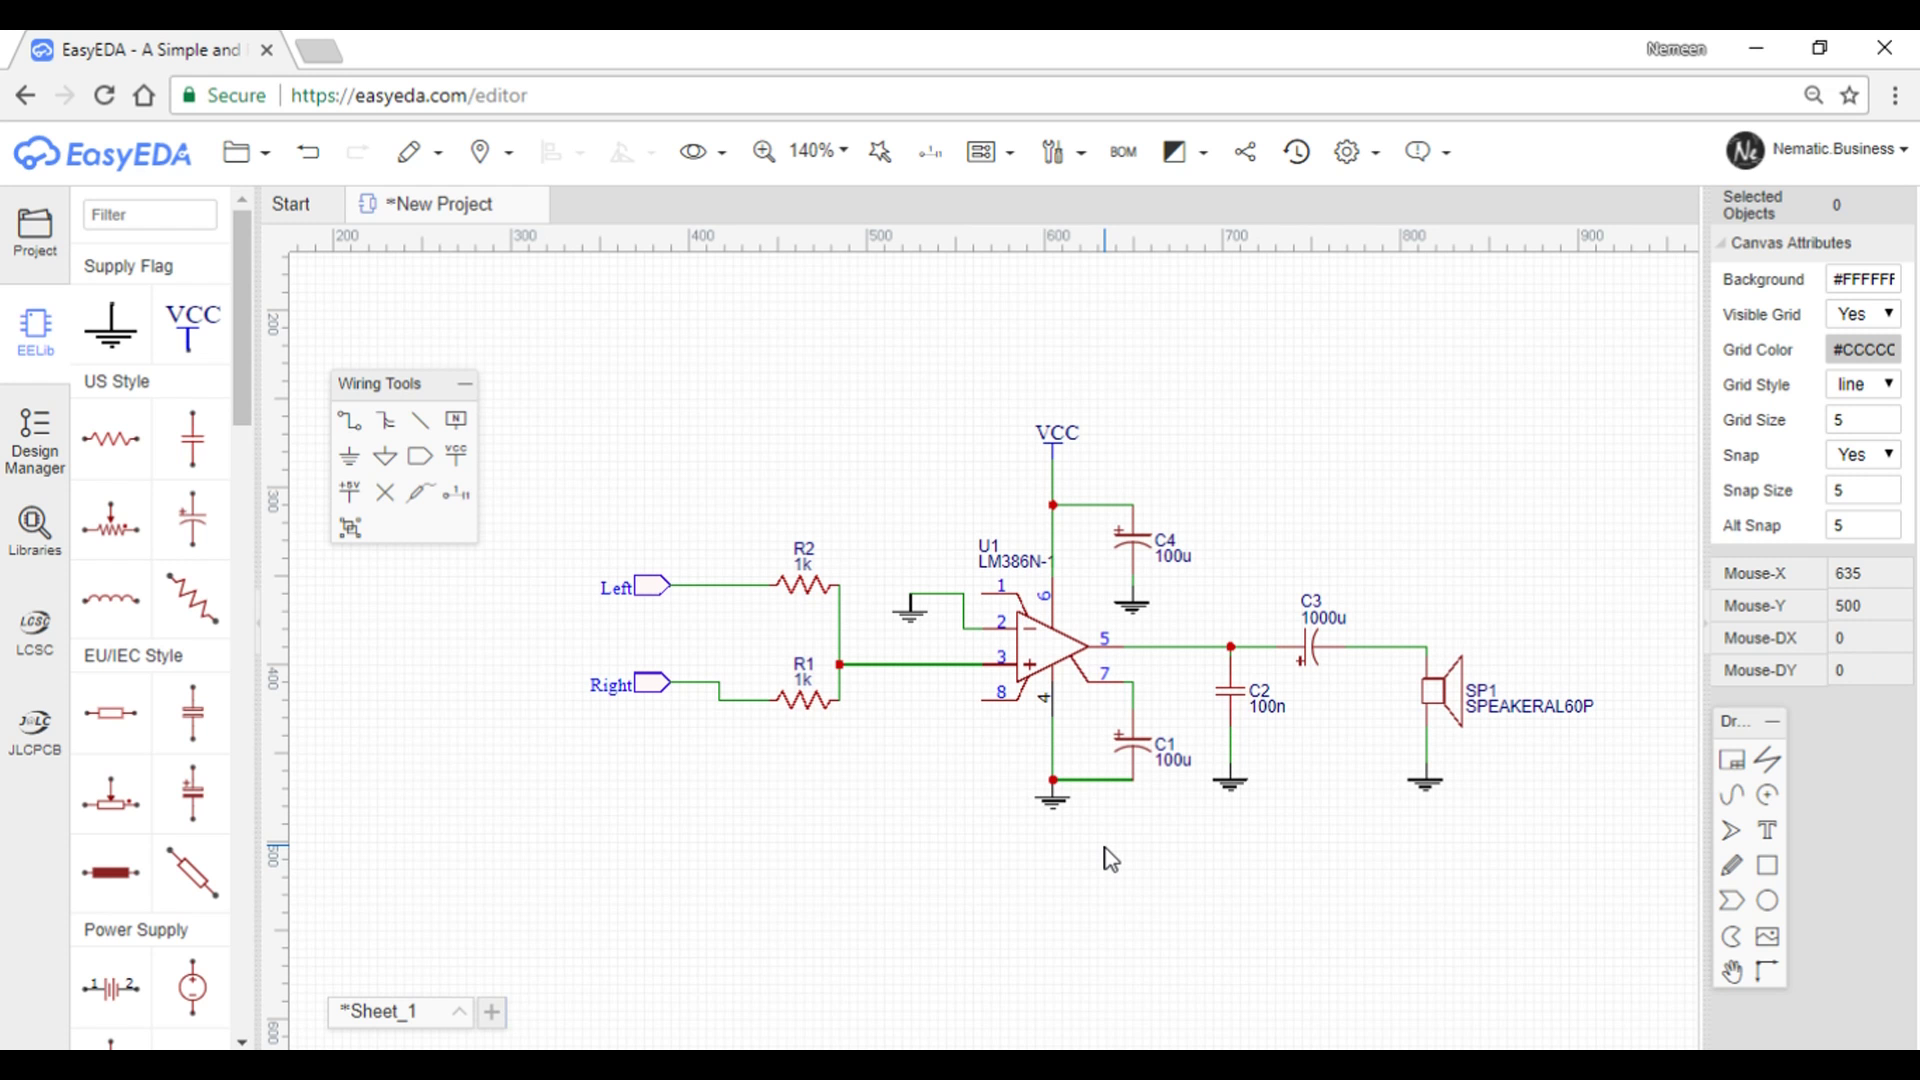
Once you are on the website, Click on 'Try EasyEDA Now'
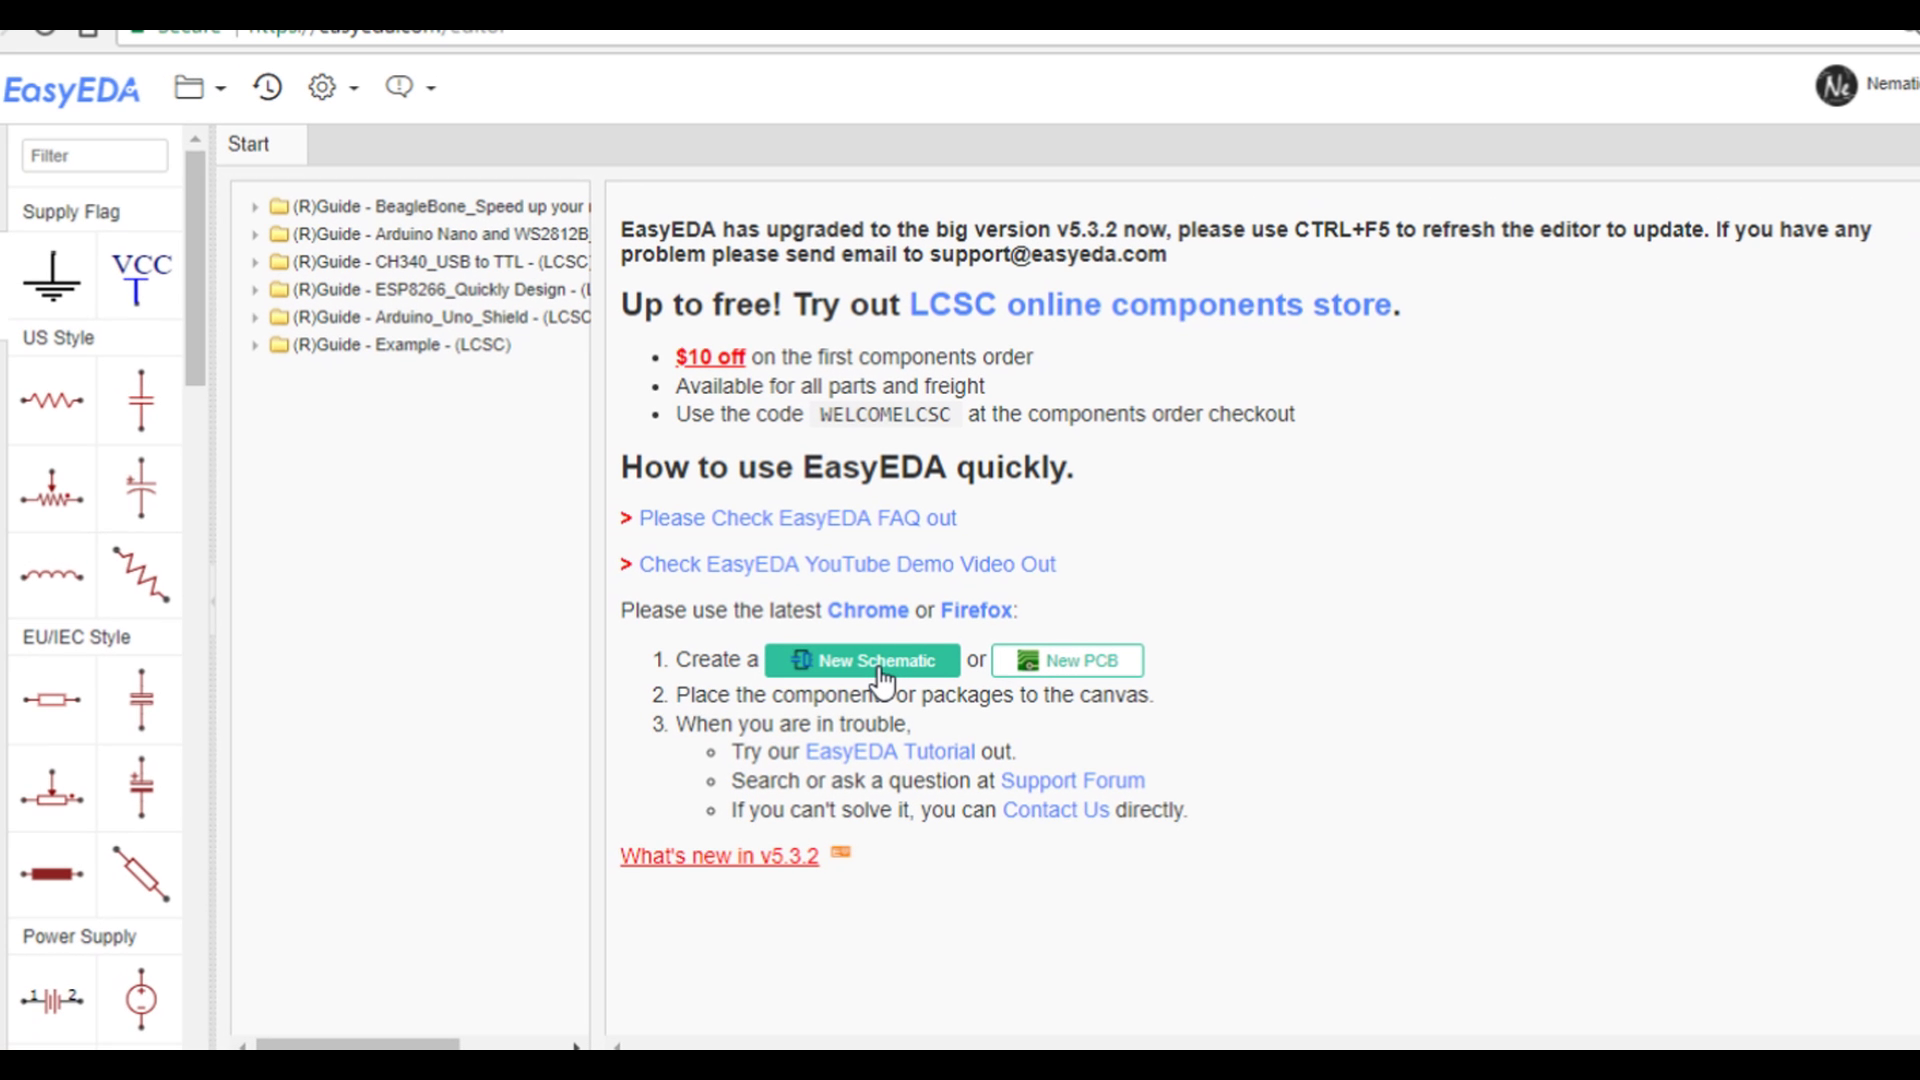
Then you will have this screen click on new schematic we need it before making PCB,
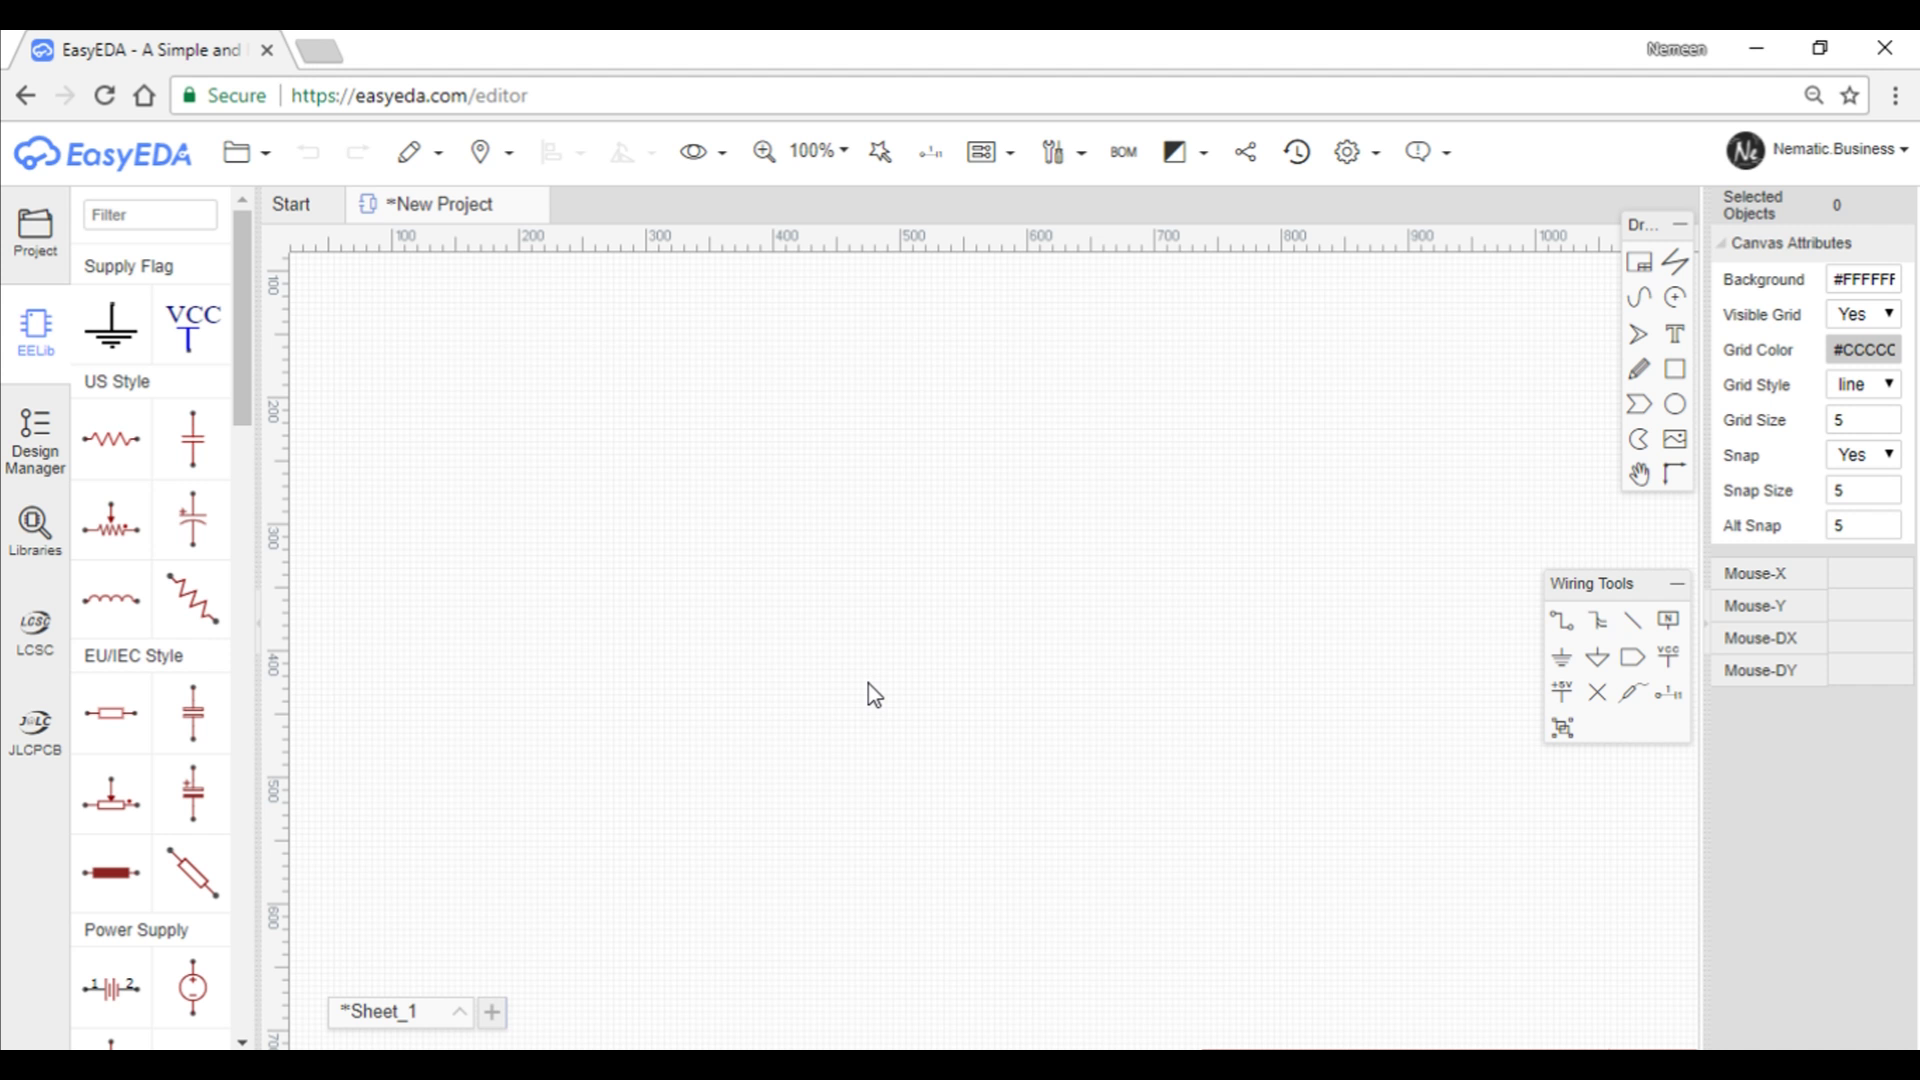
Next you will have new tab opened here you can fine all the basic components like Resistor, Capacitor, Diode etc, But if you are looking for something specific like any IC You will find it in the library Section.
Now built your schematic !
Converting to PCB !
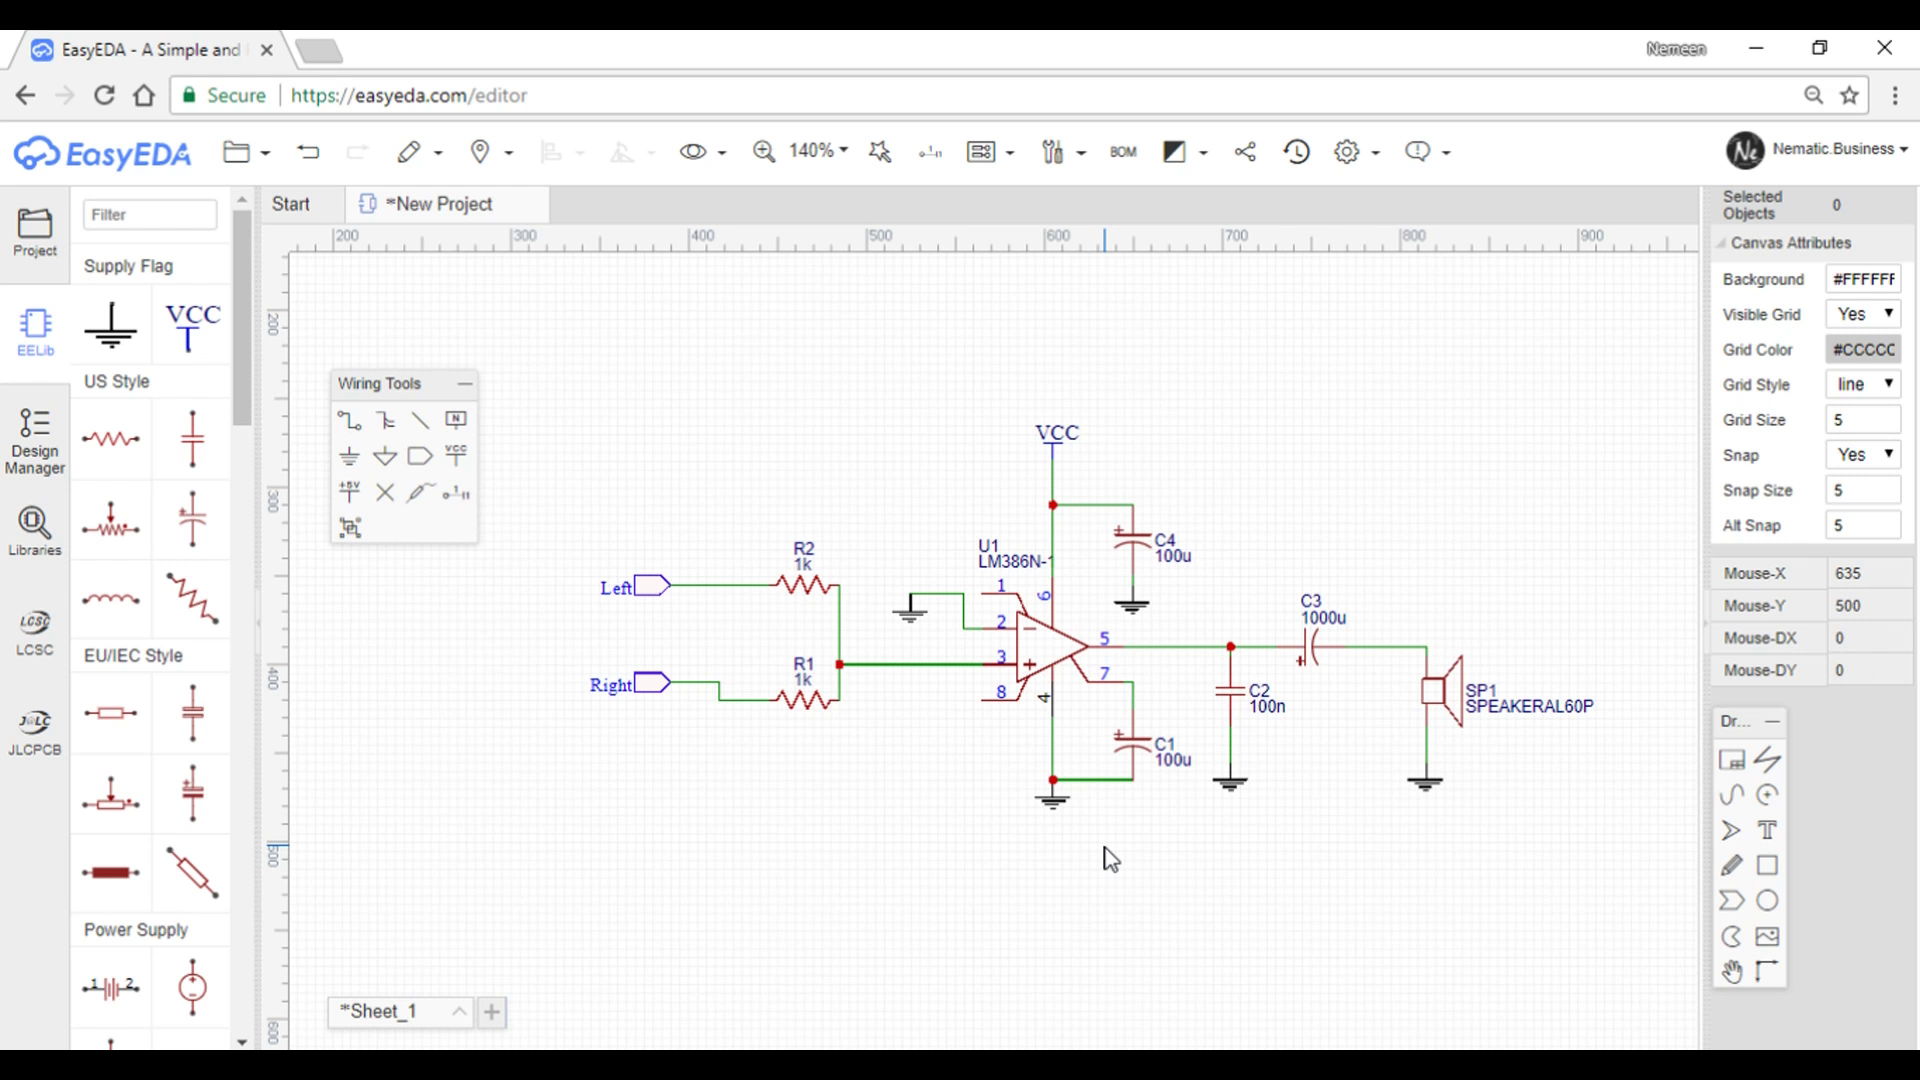
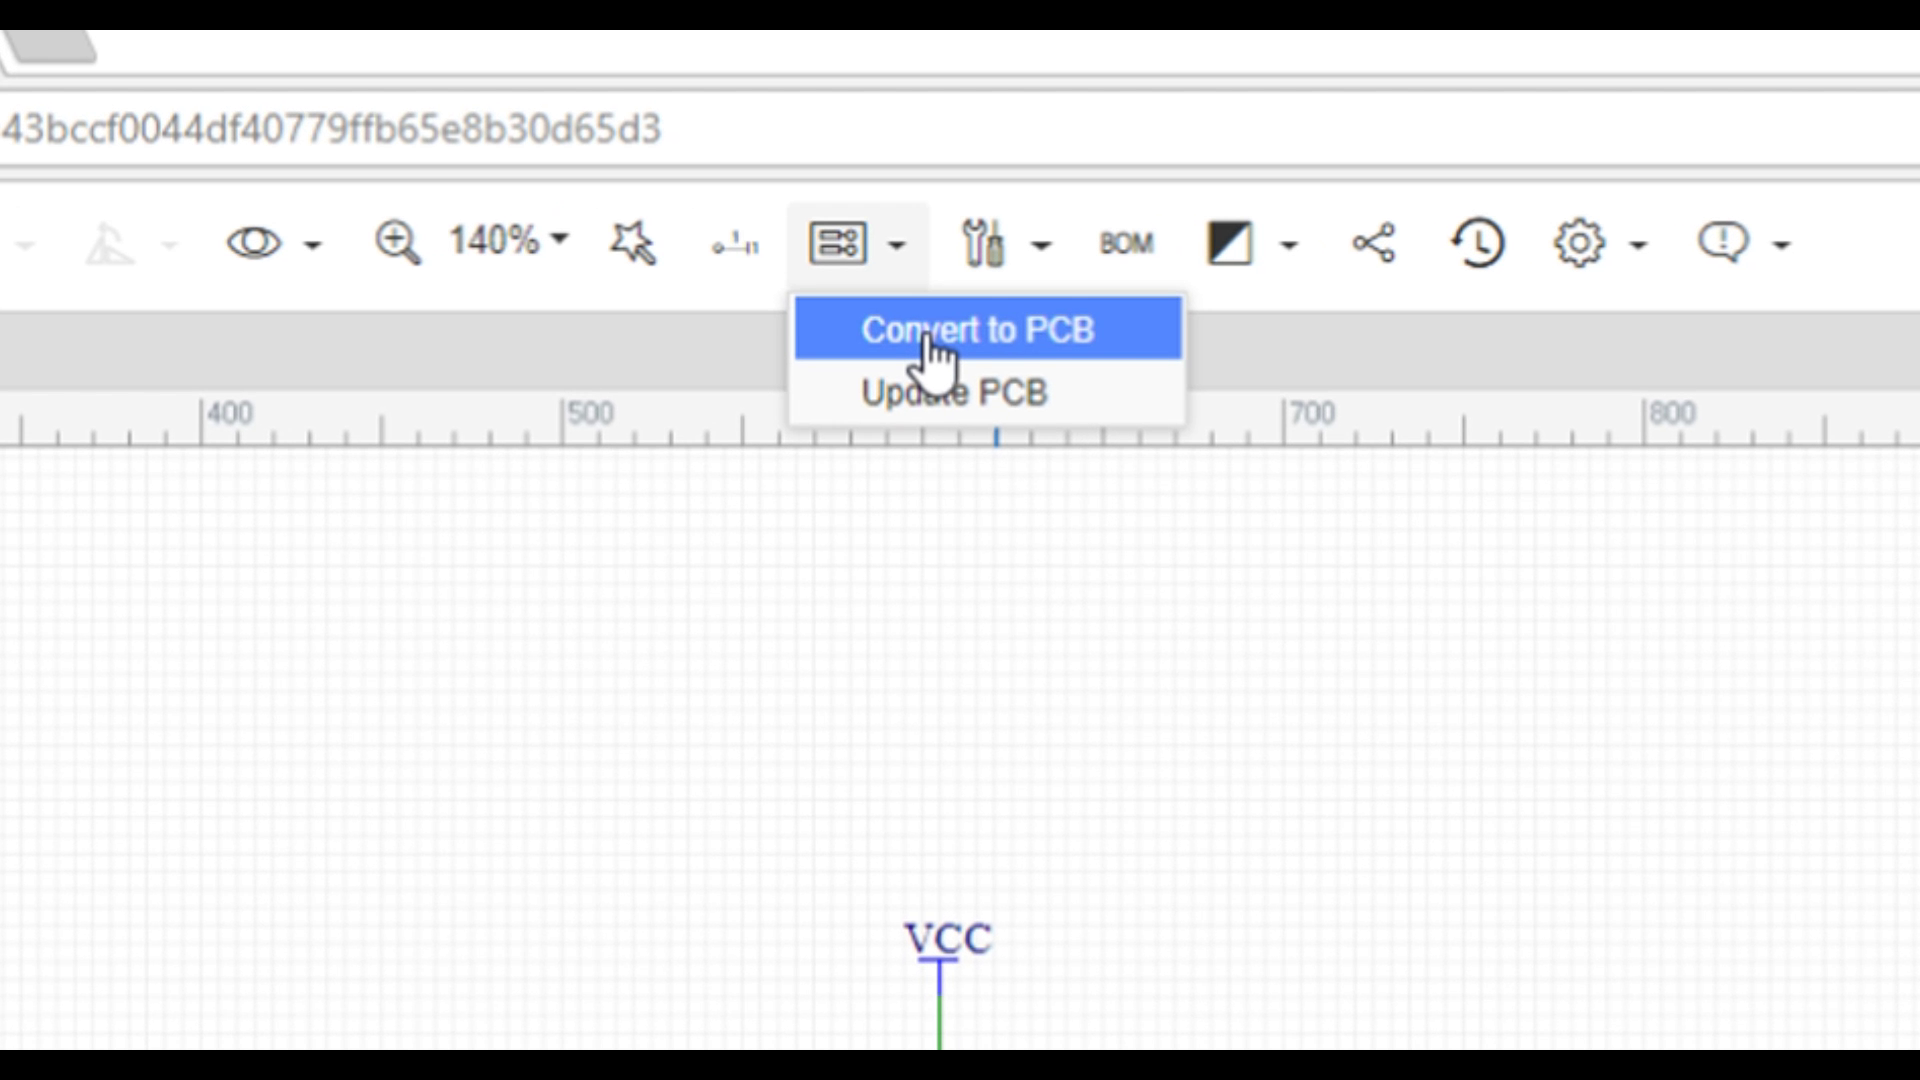
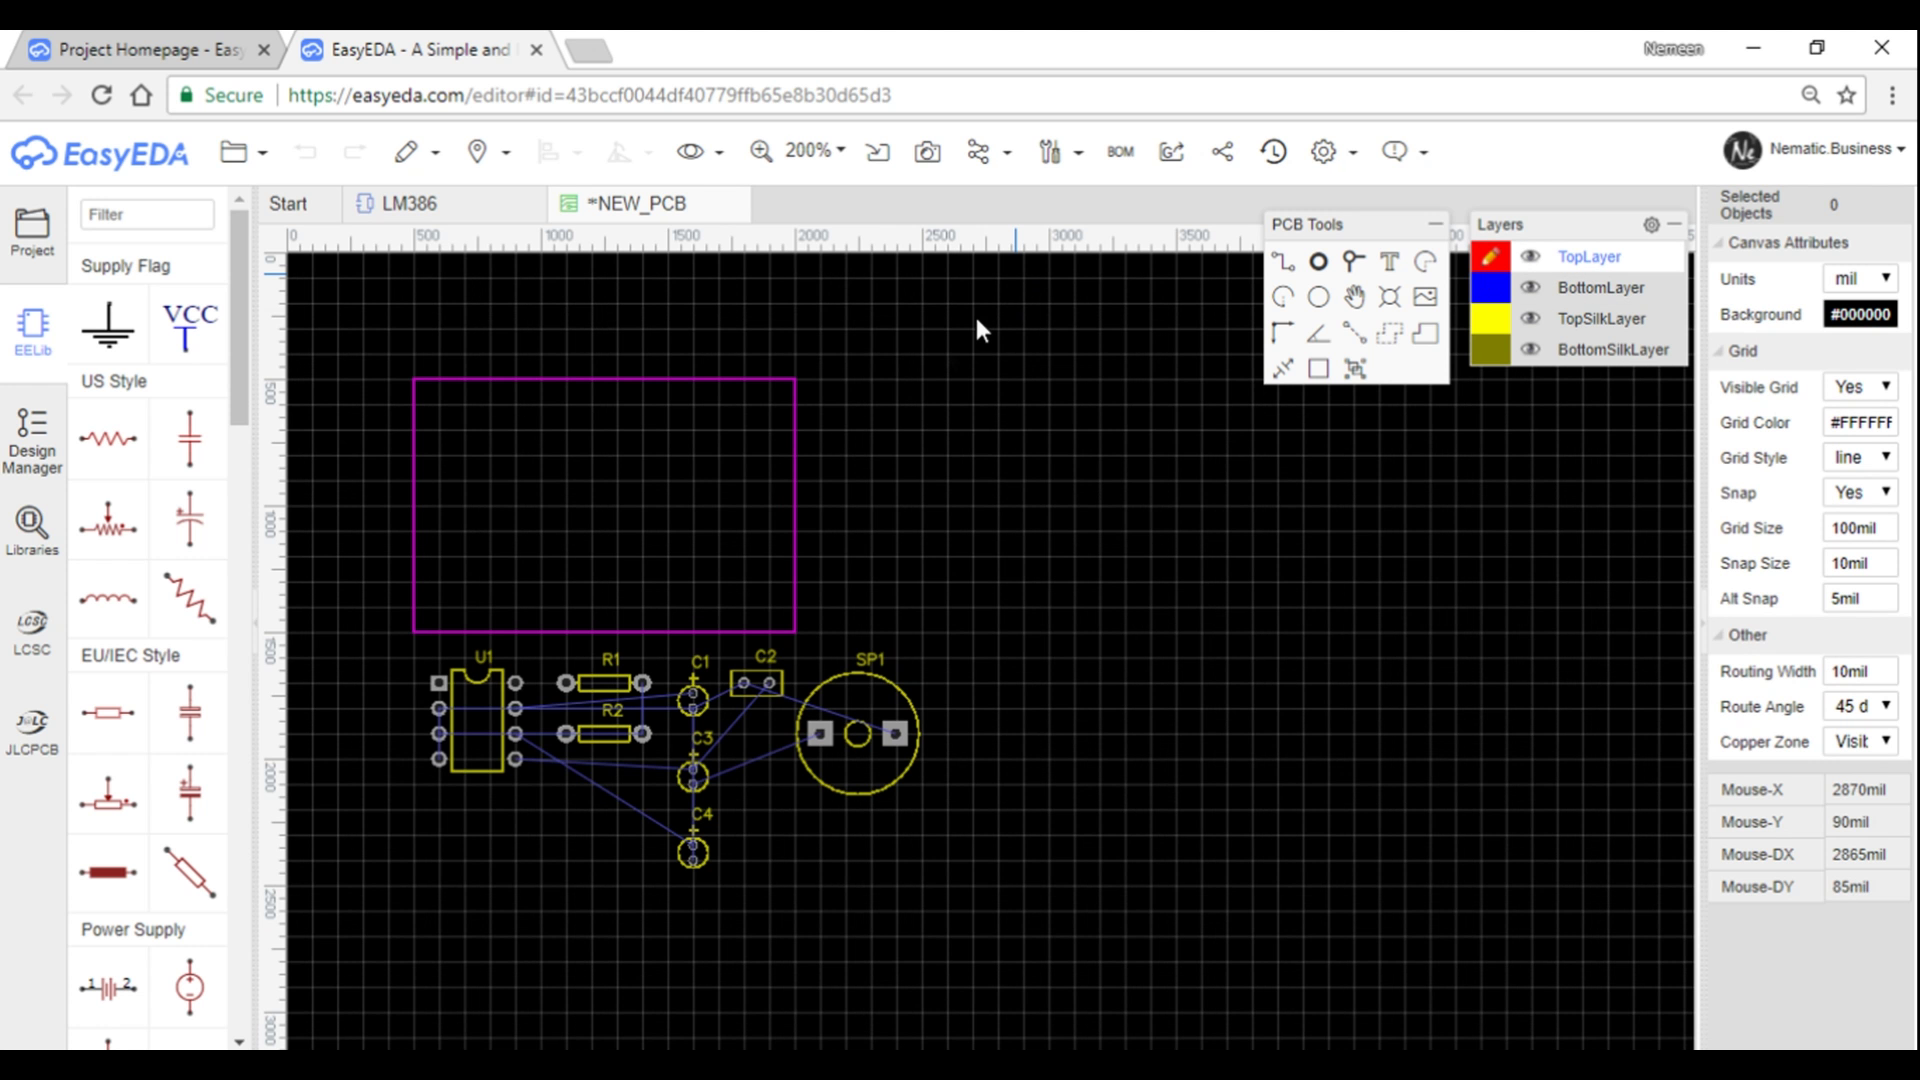
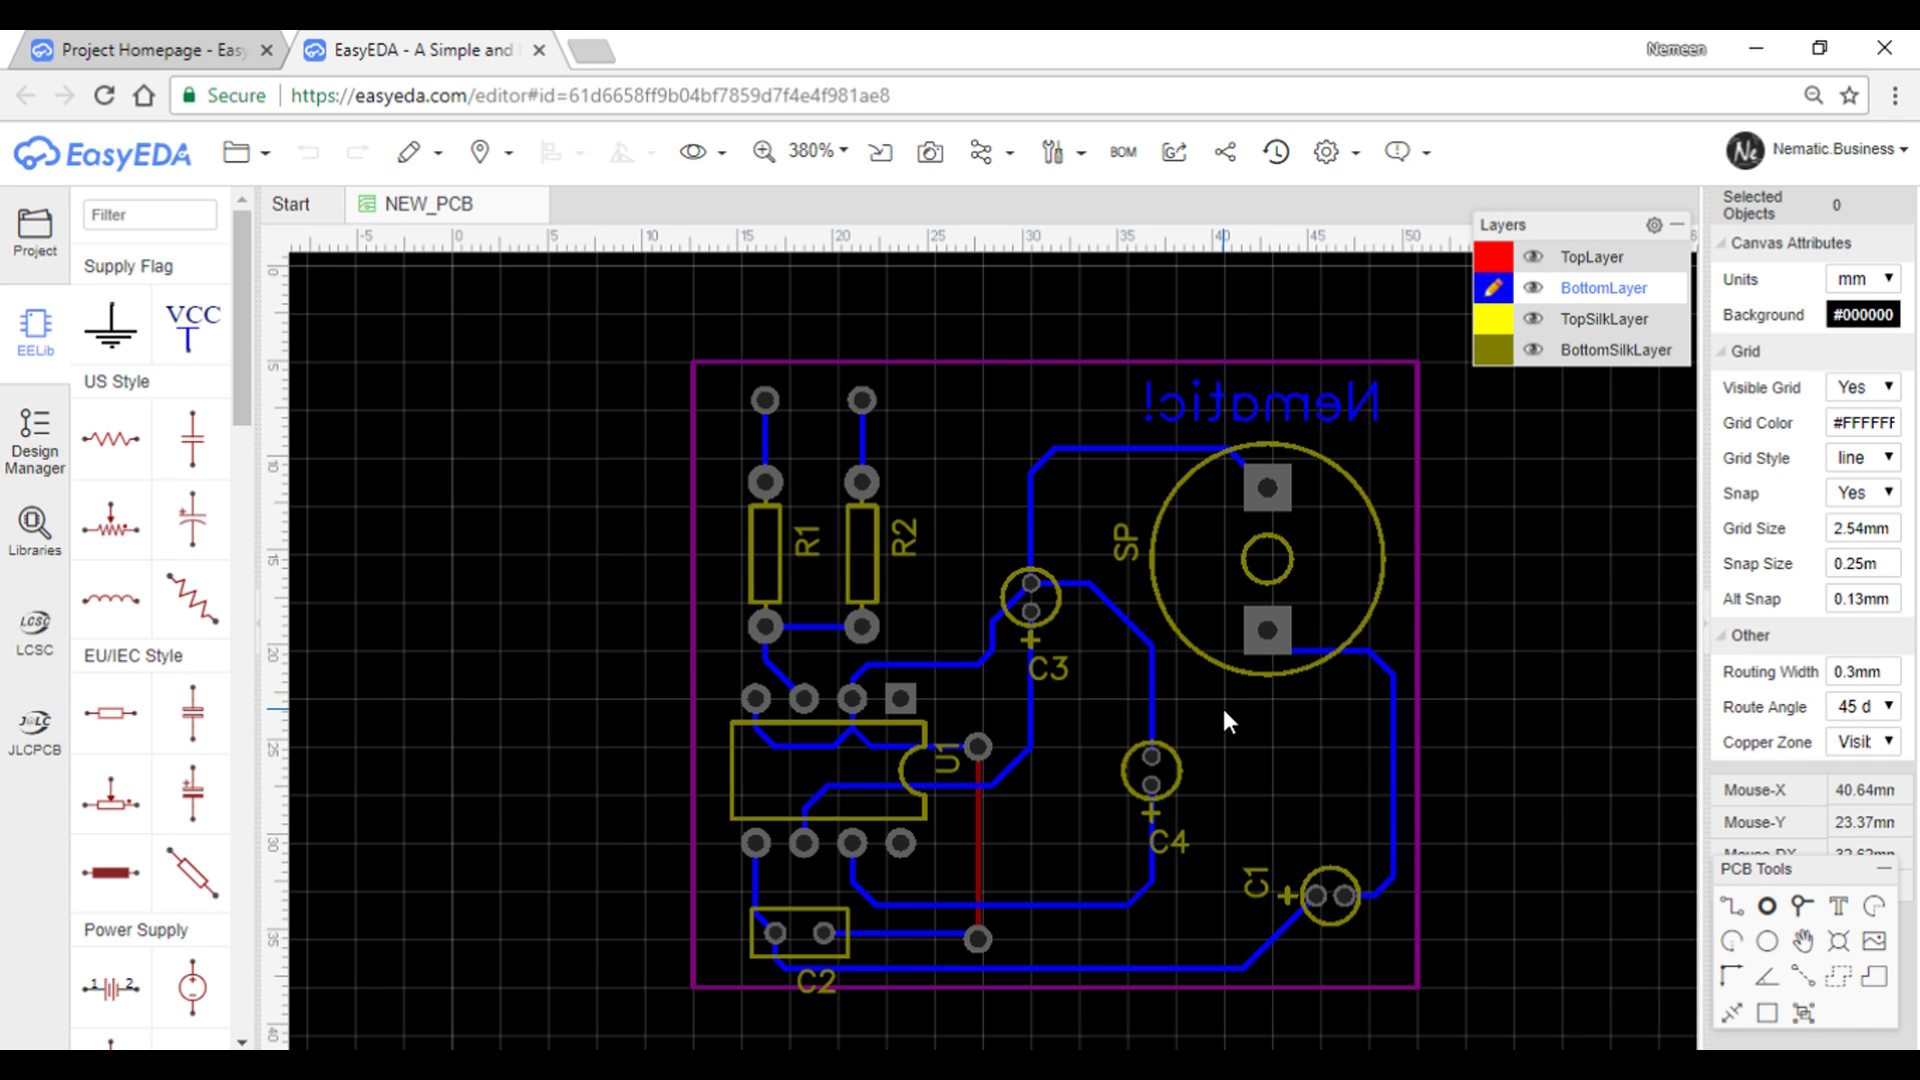
Once you have your schematic ready, save it and go to the options and click 'Convert to PCB'
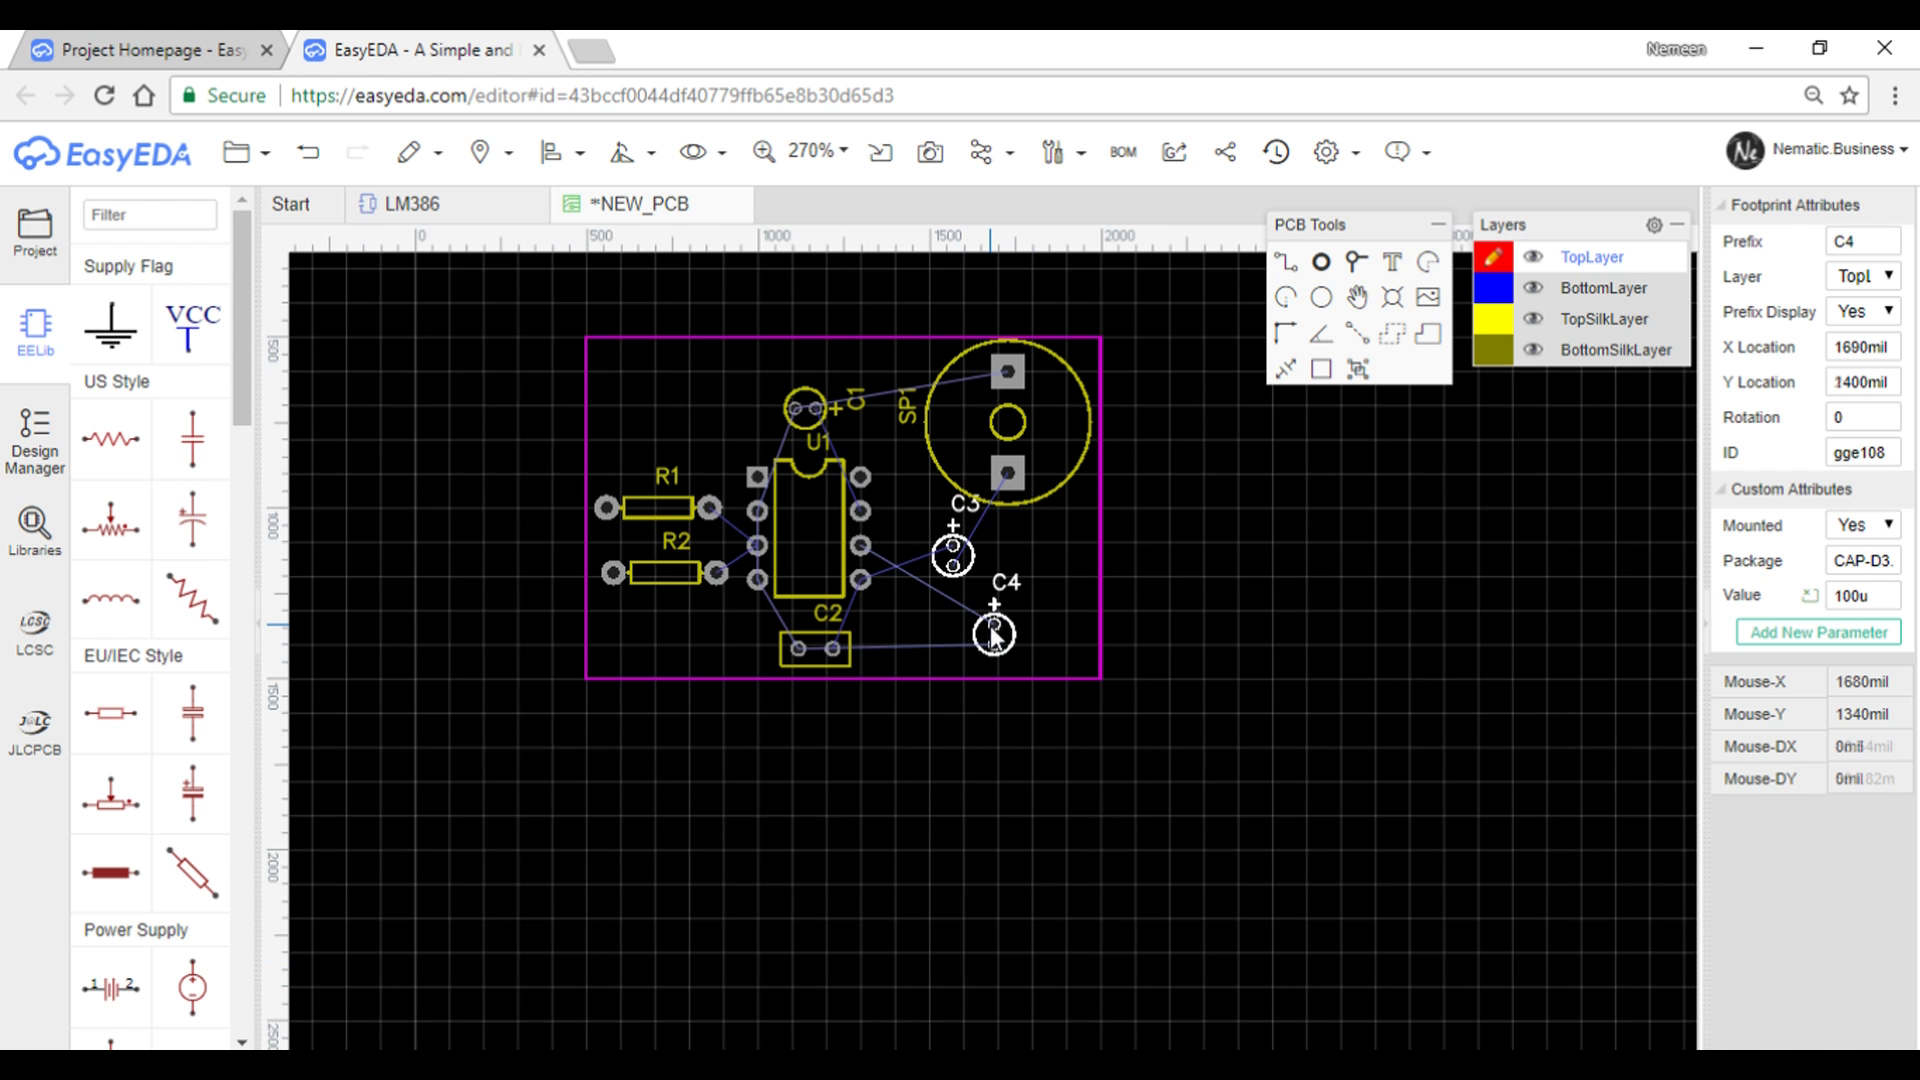
A new tab will open up here you can start building the PCB trace! Place all the components according to your wish but make sure they don't interfere with each other
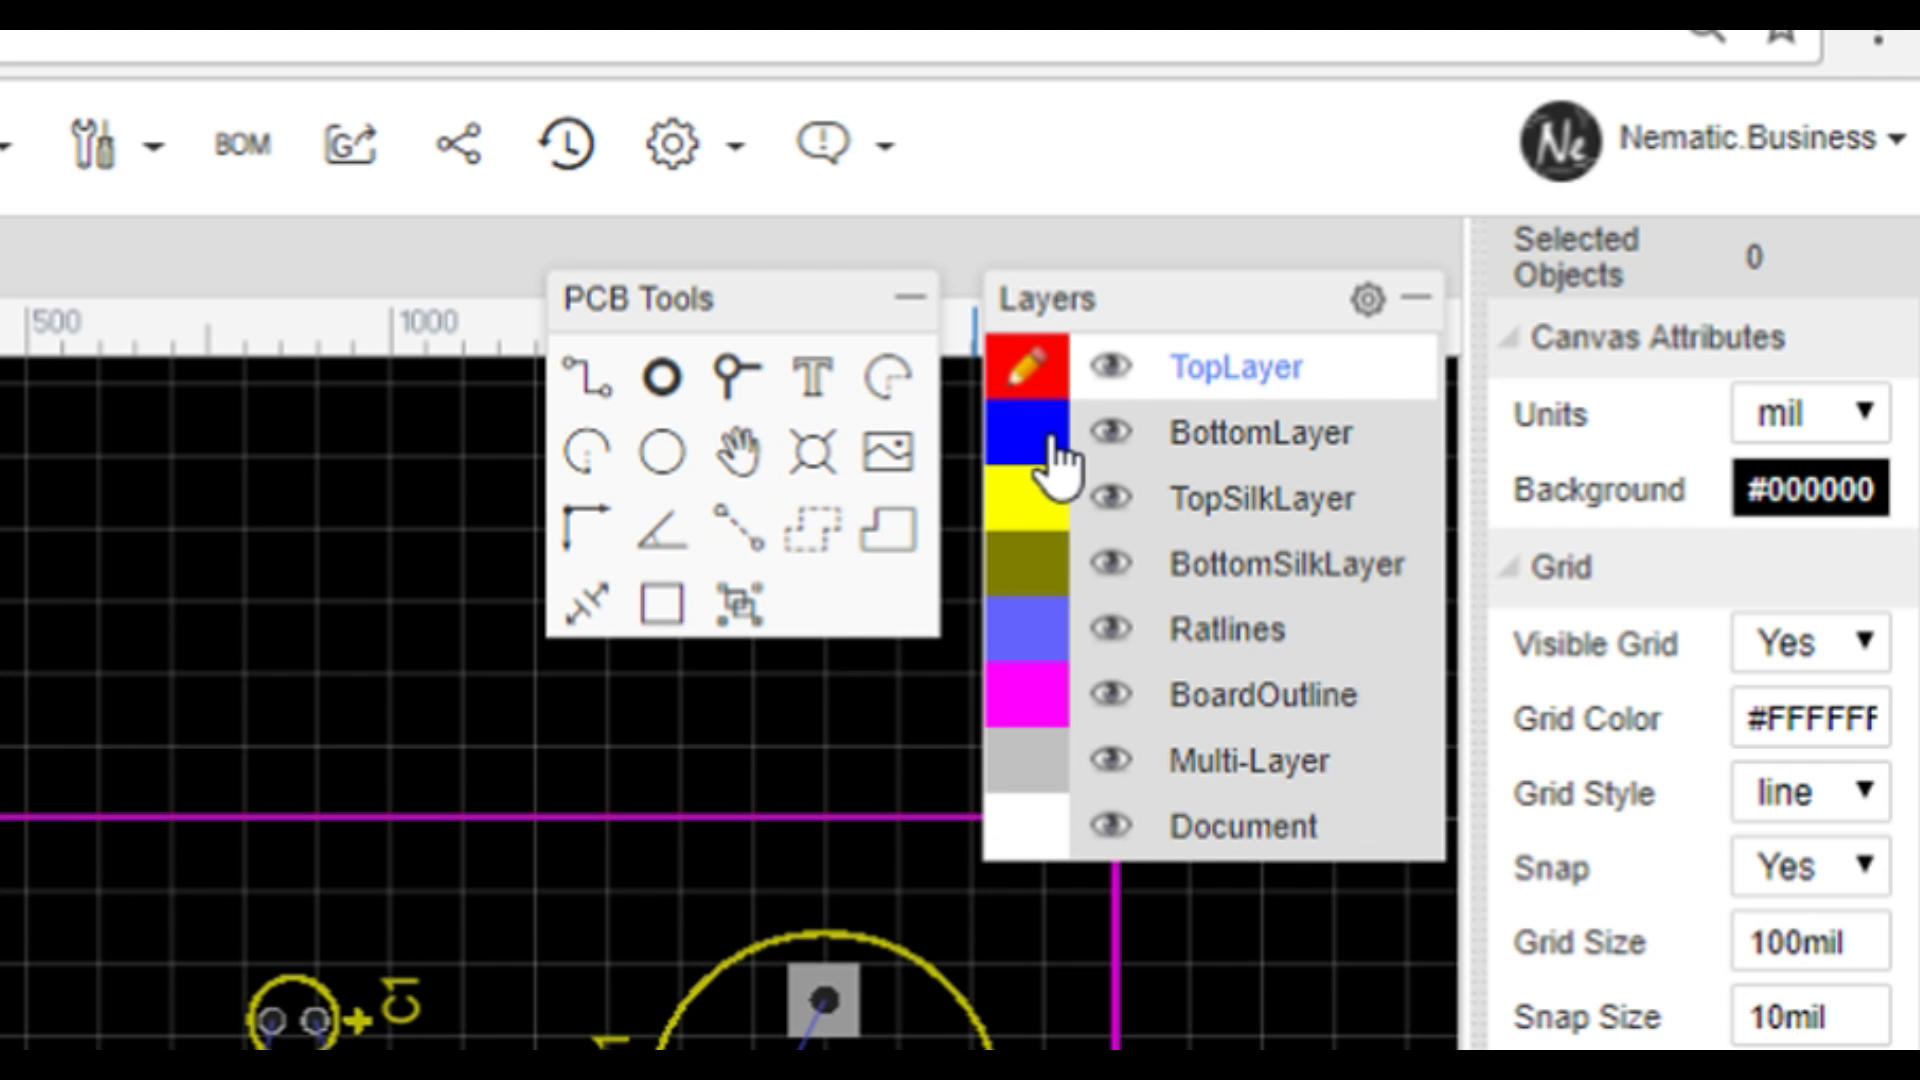
Next select the bottom layer and using the trace tool connect all the components !
and trace will be ready !
Export !
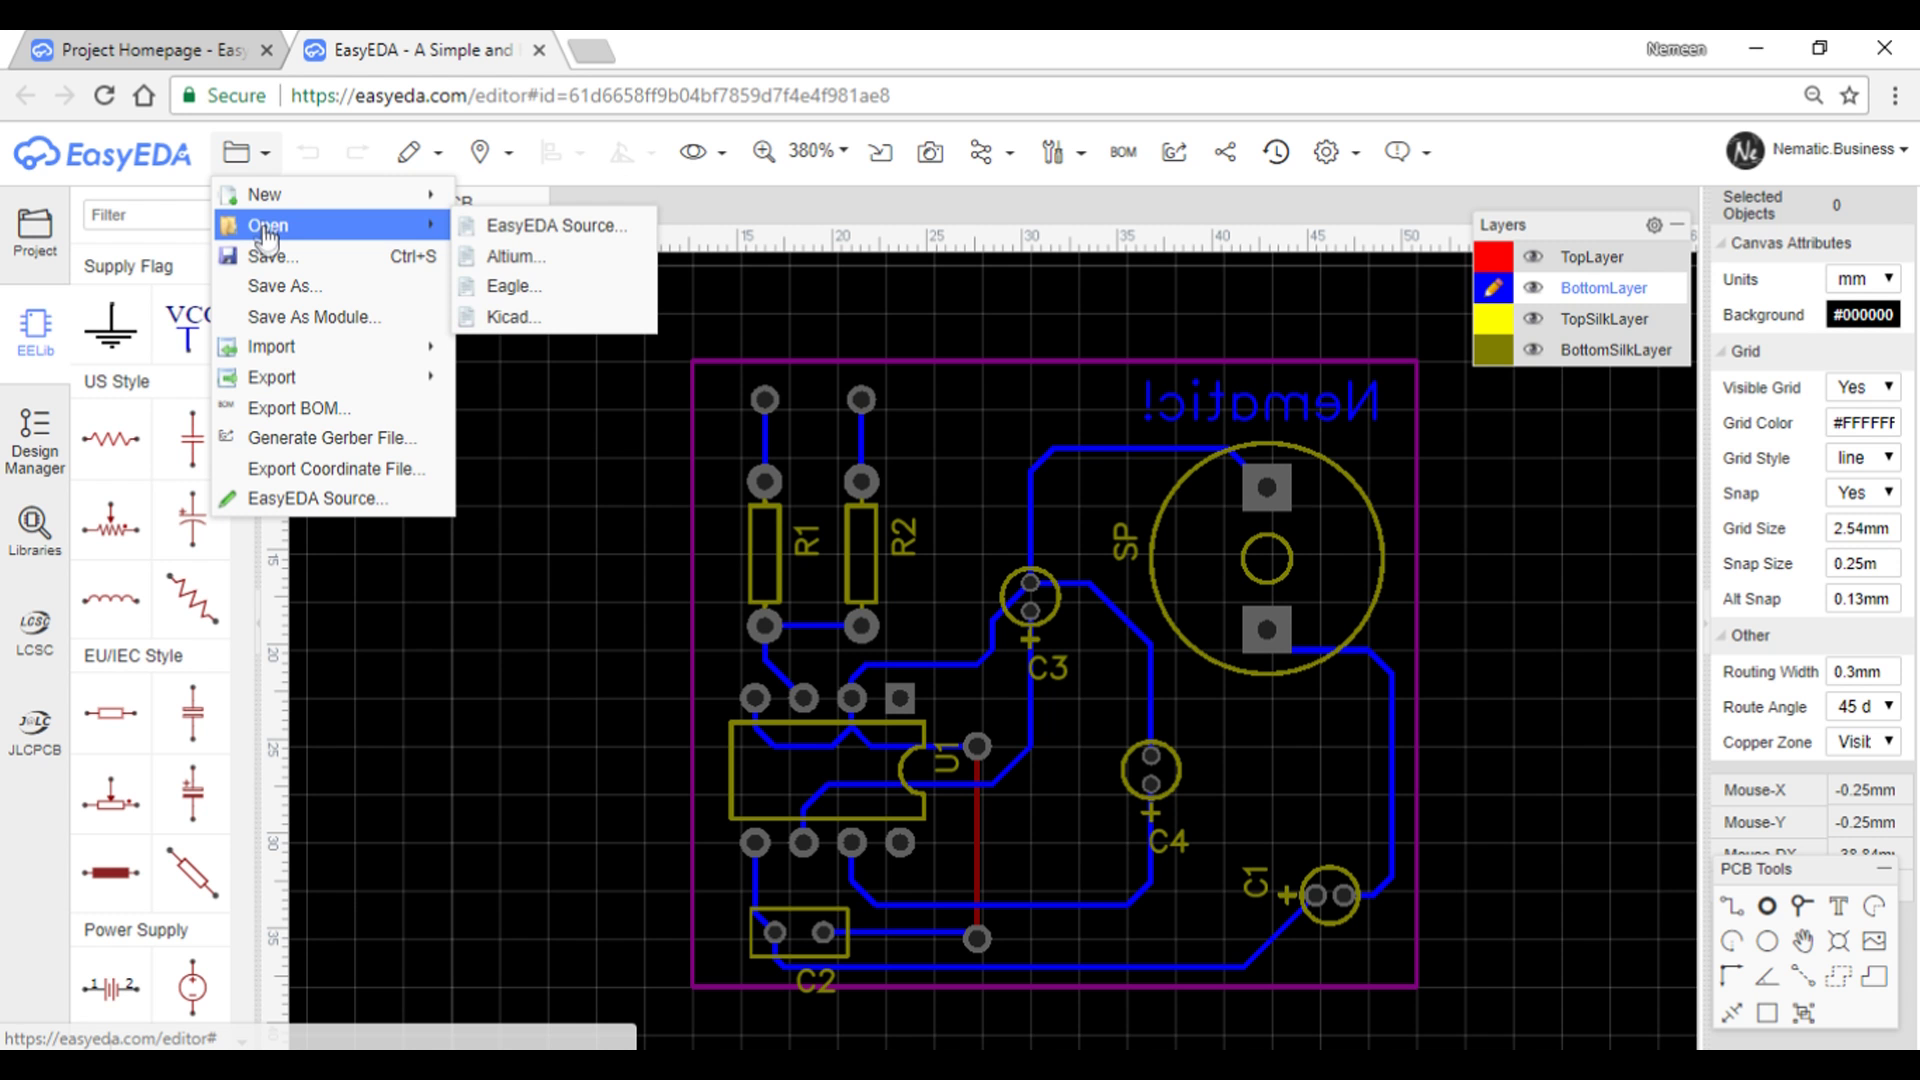
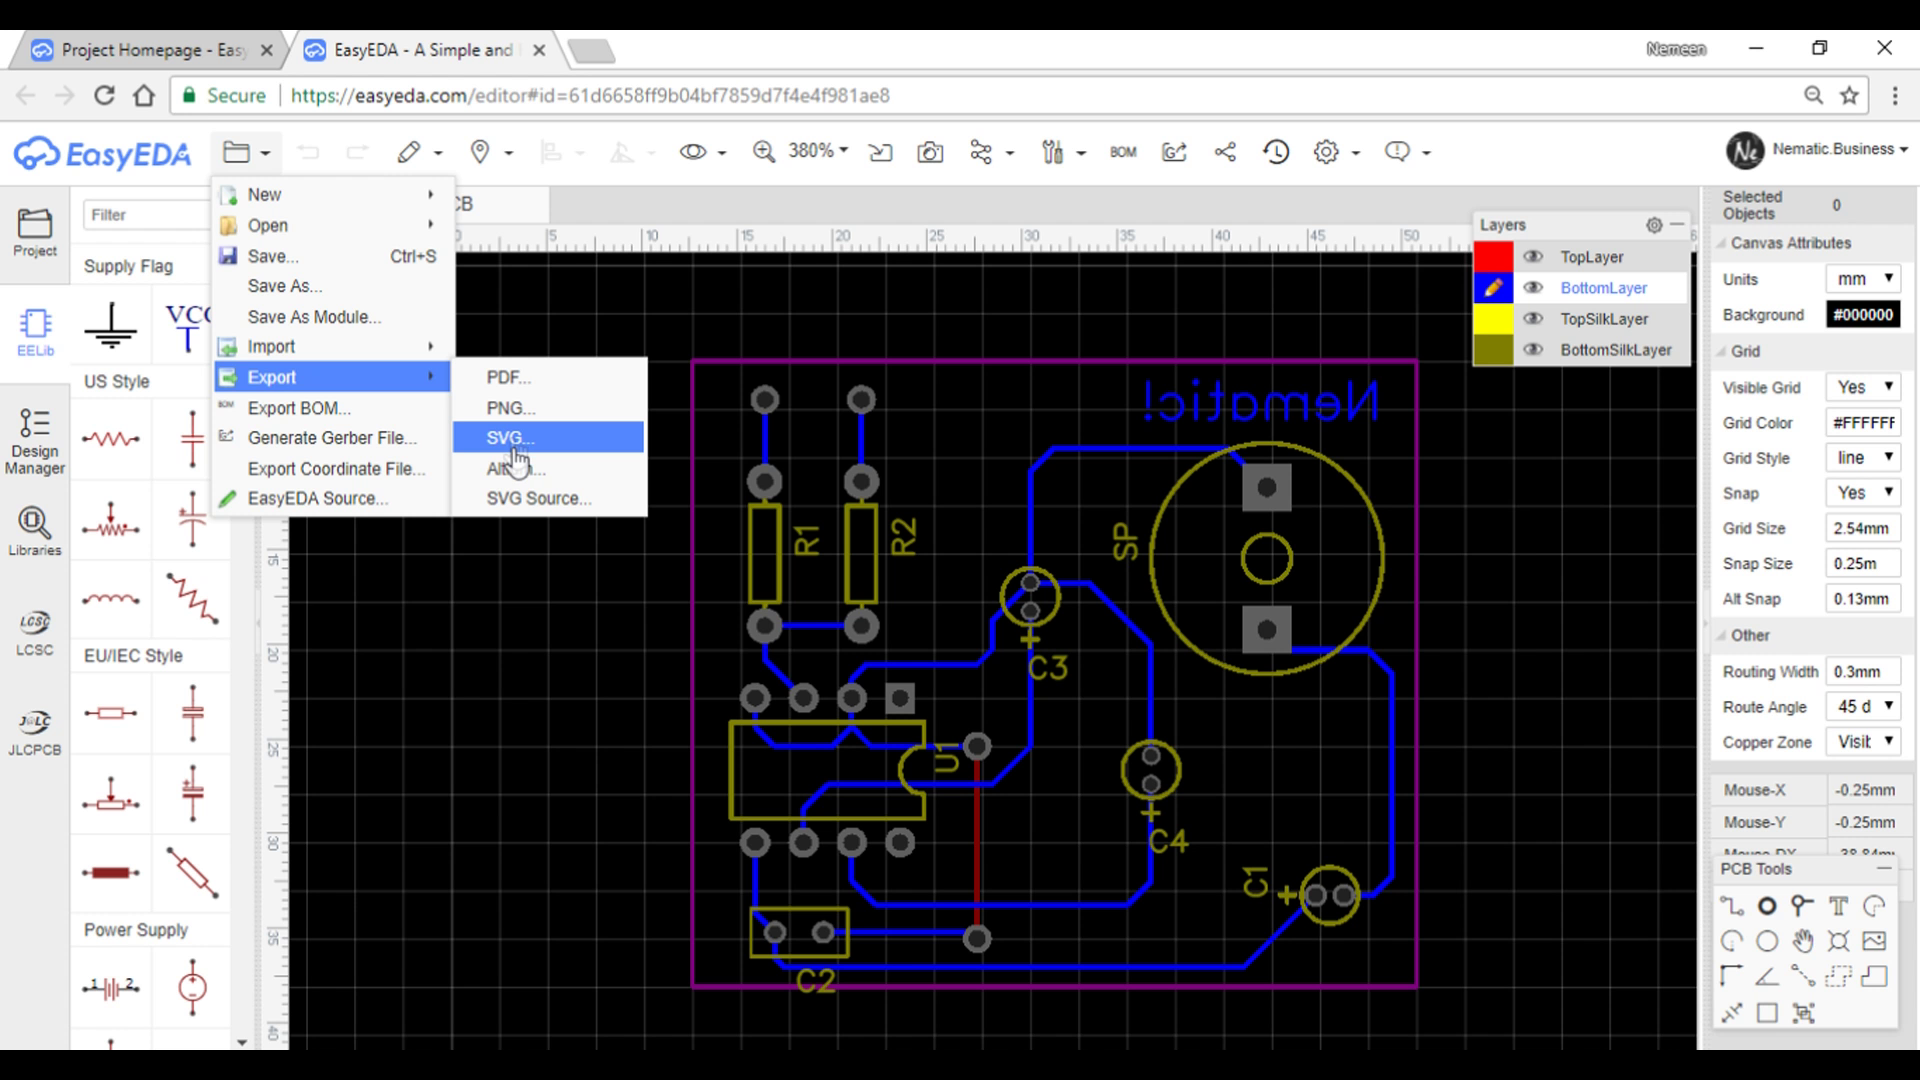
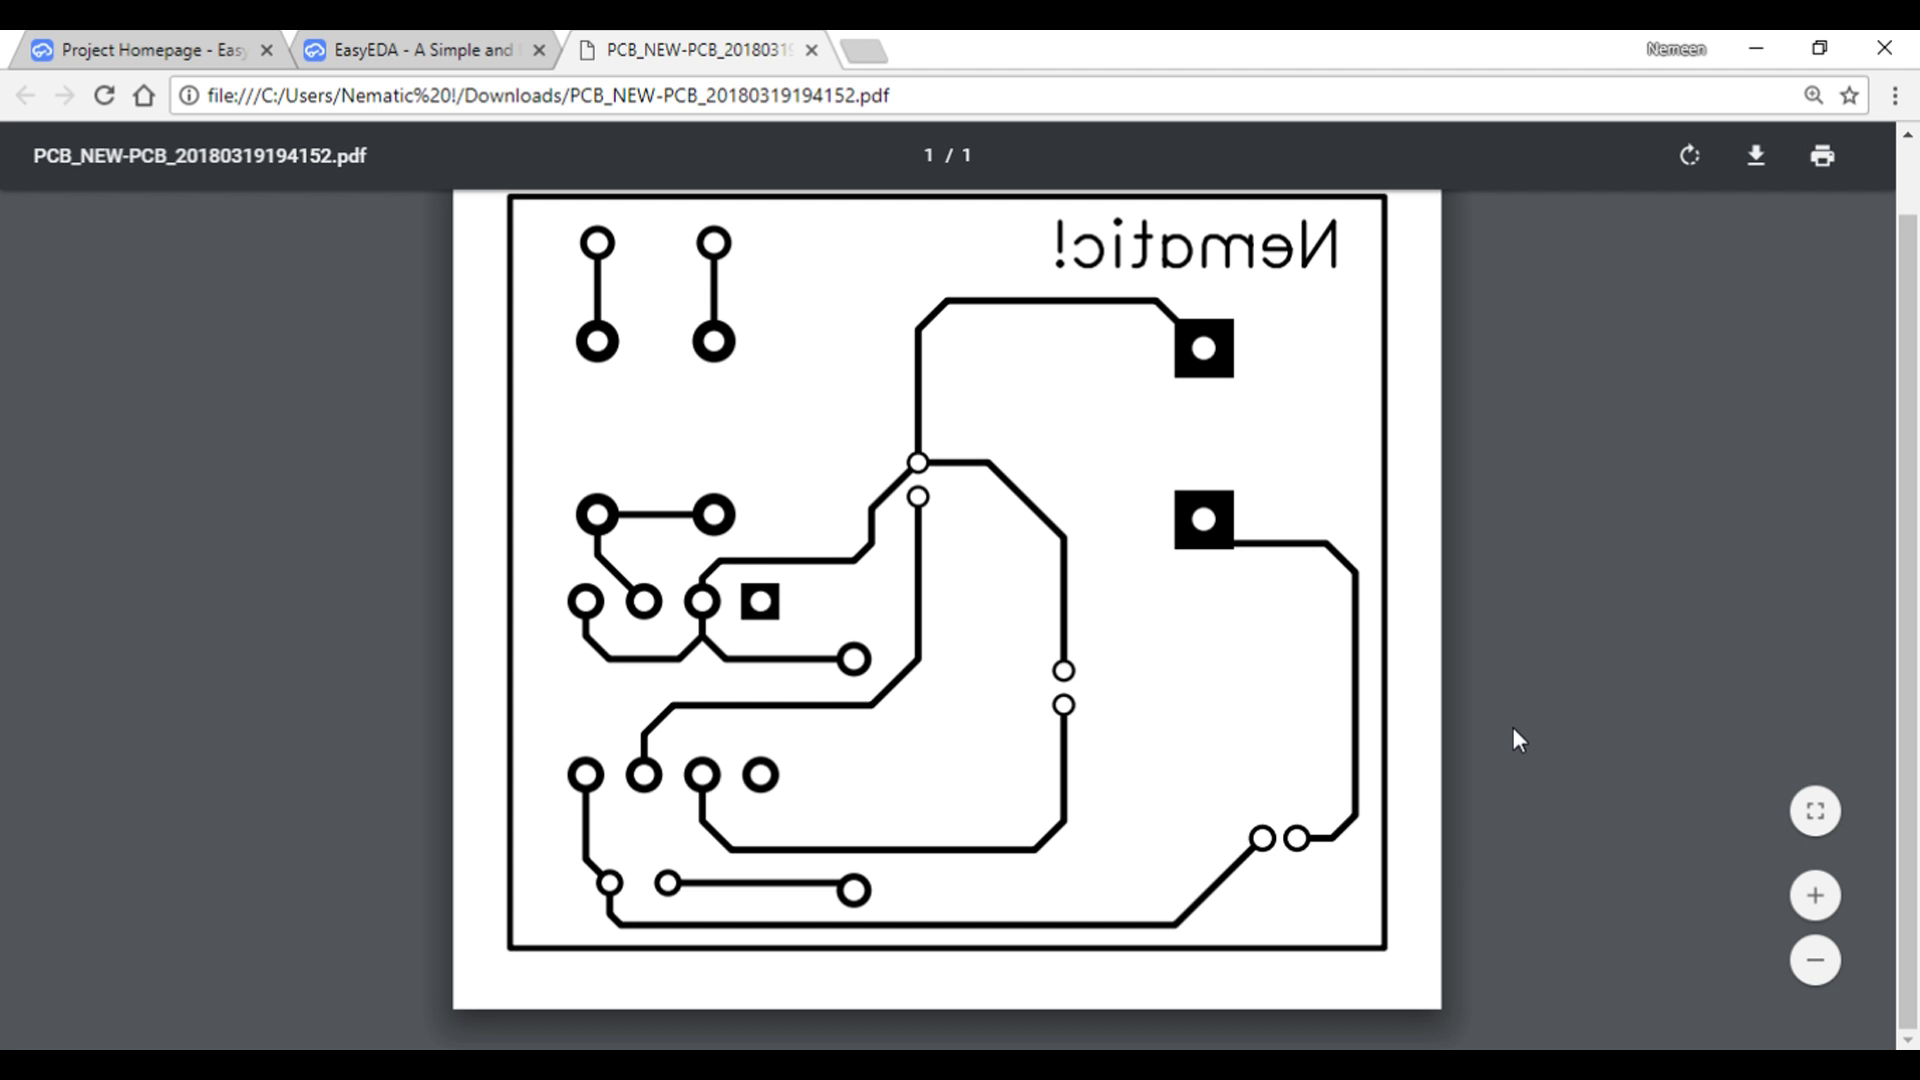
To export your project go to the options and select Export
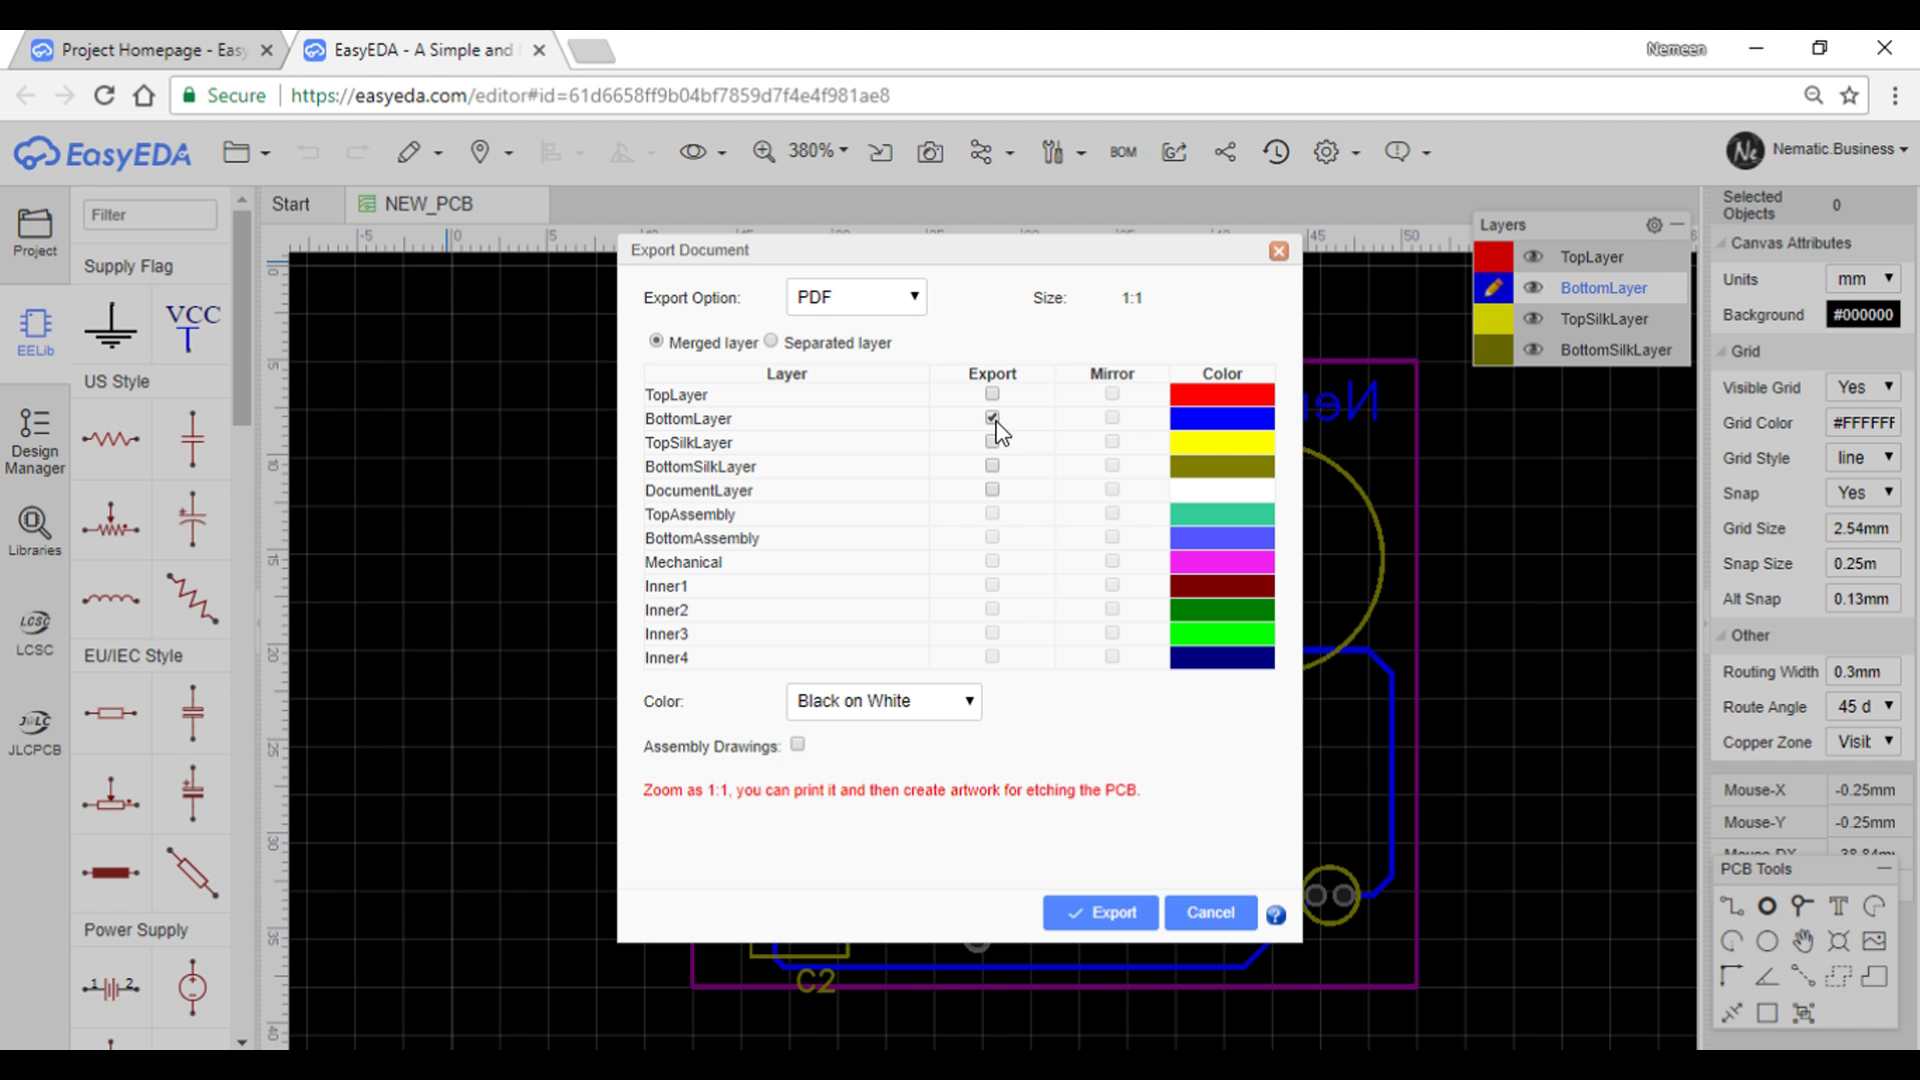
I prefer PDF, then select the bottom layer and do not mirror it and don't forget to color it as Black on White !
Thank You !
In the next part I will show you how to transfer trace on Clad until then
If you like my work
Feel free to check out my YouTube channel for more awesome stuff: https://www.youtube.com/c/Nematics_lab
You can also follow me on Facebook, Twitter etc for upcoming projects
https://www.facebook.com/NematicsLab/