PC Step by Step
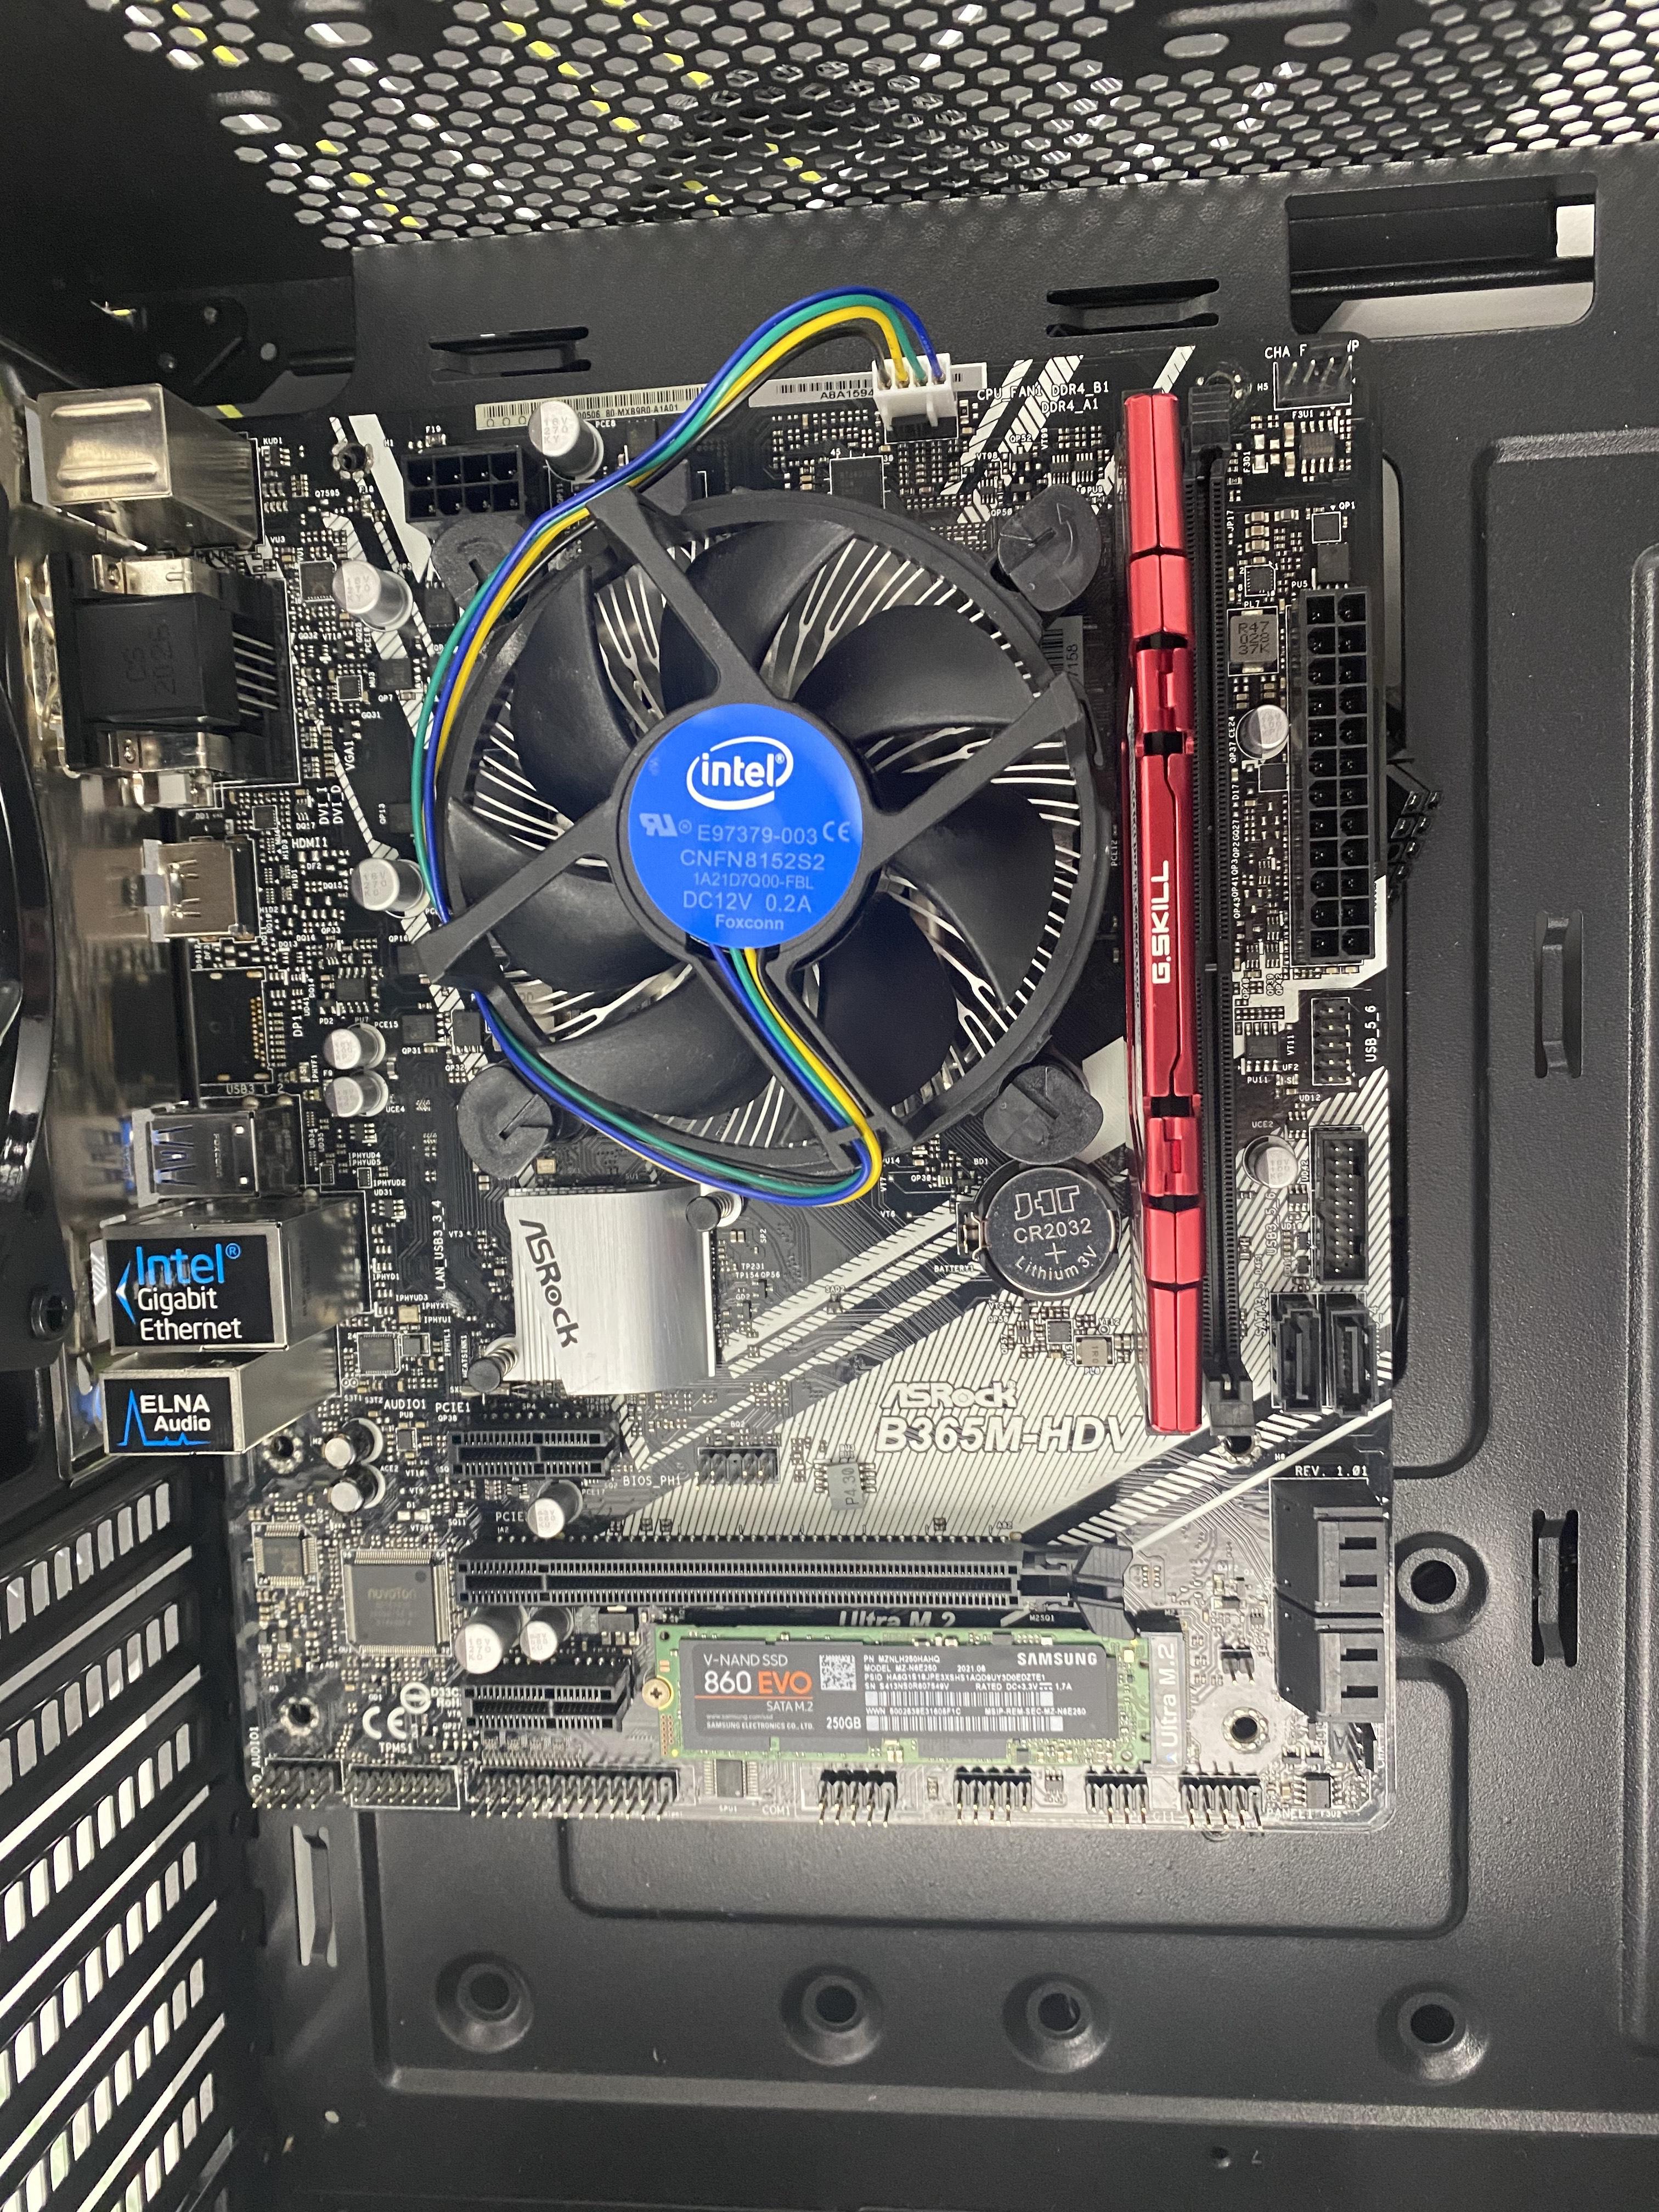
Step by Step PC Build.
Supplies
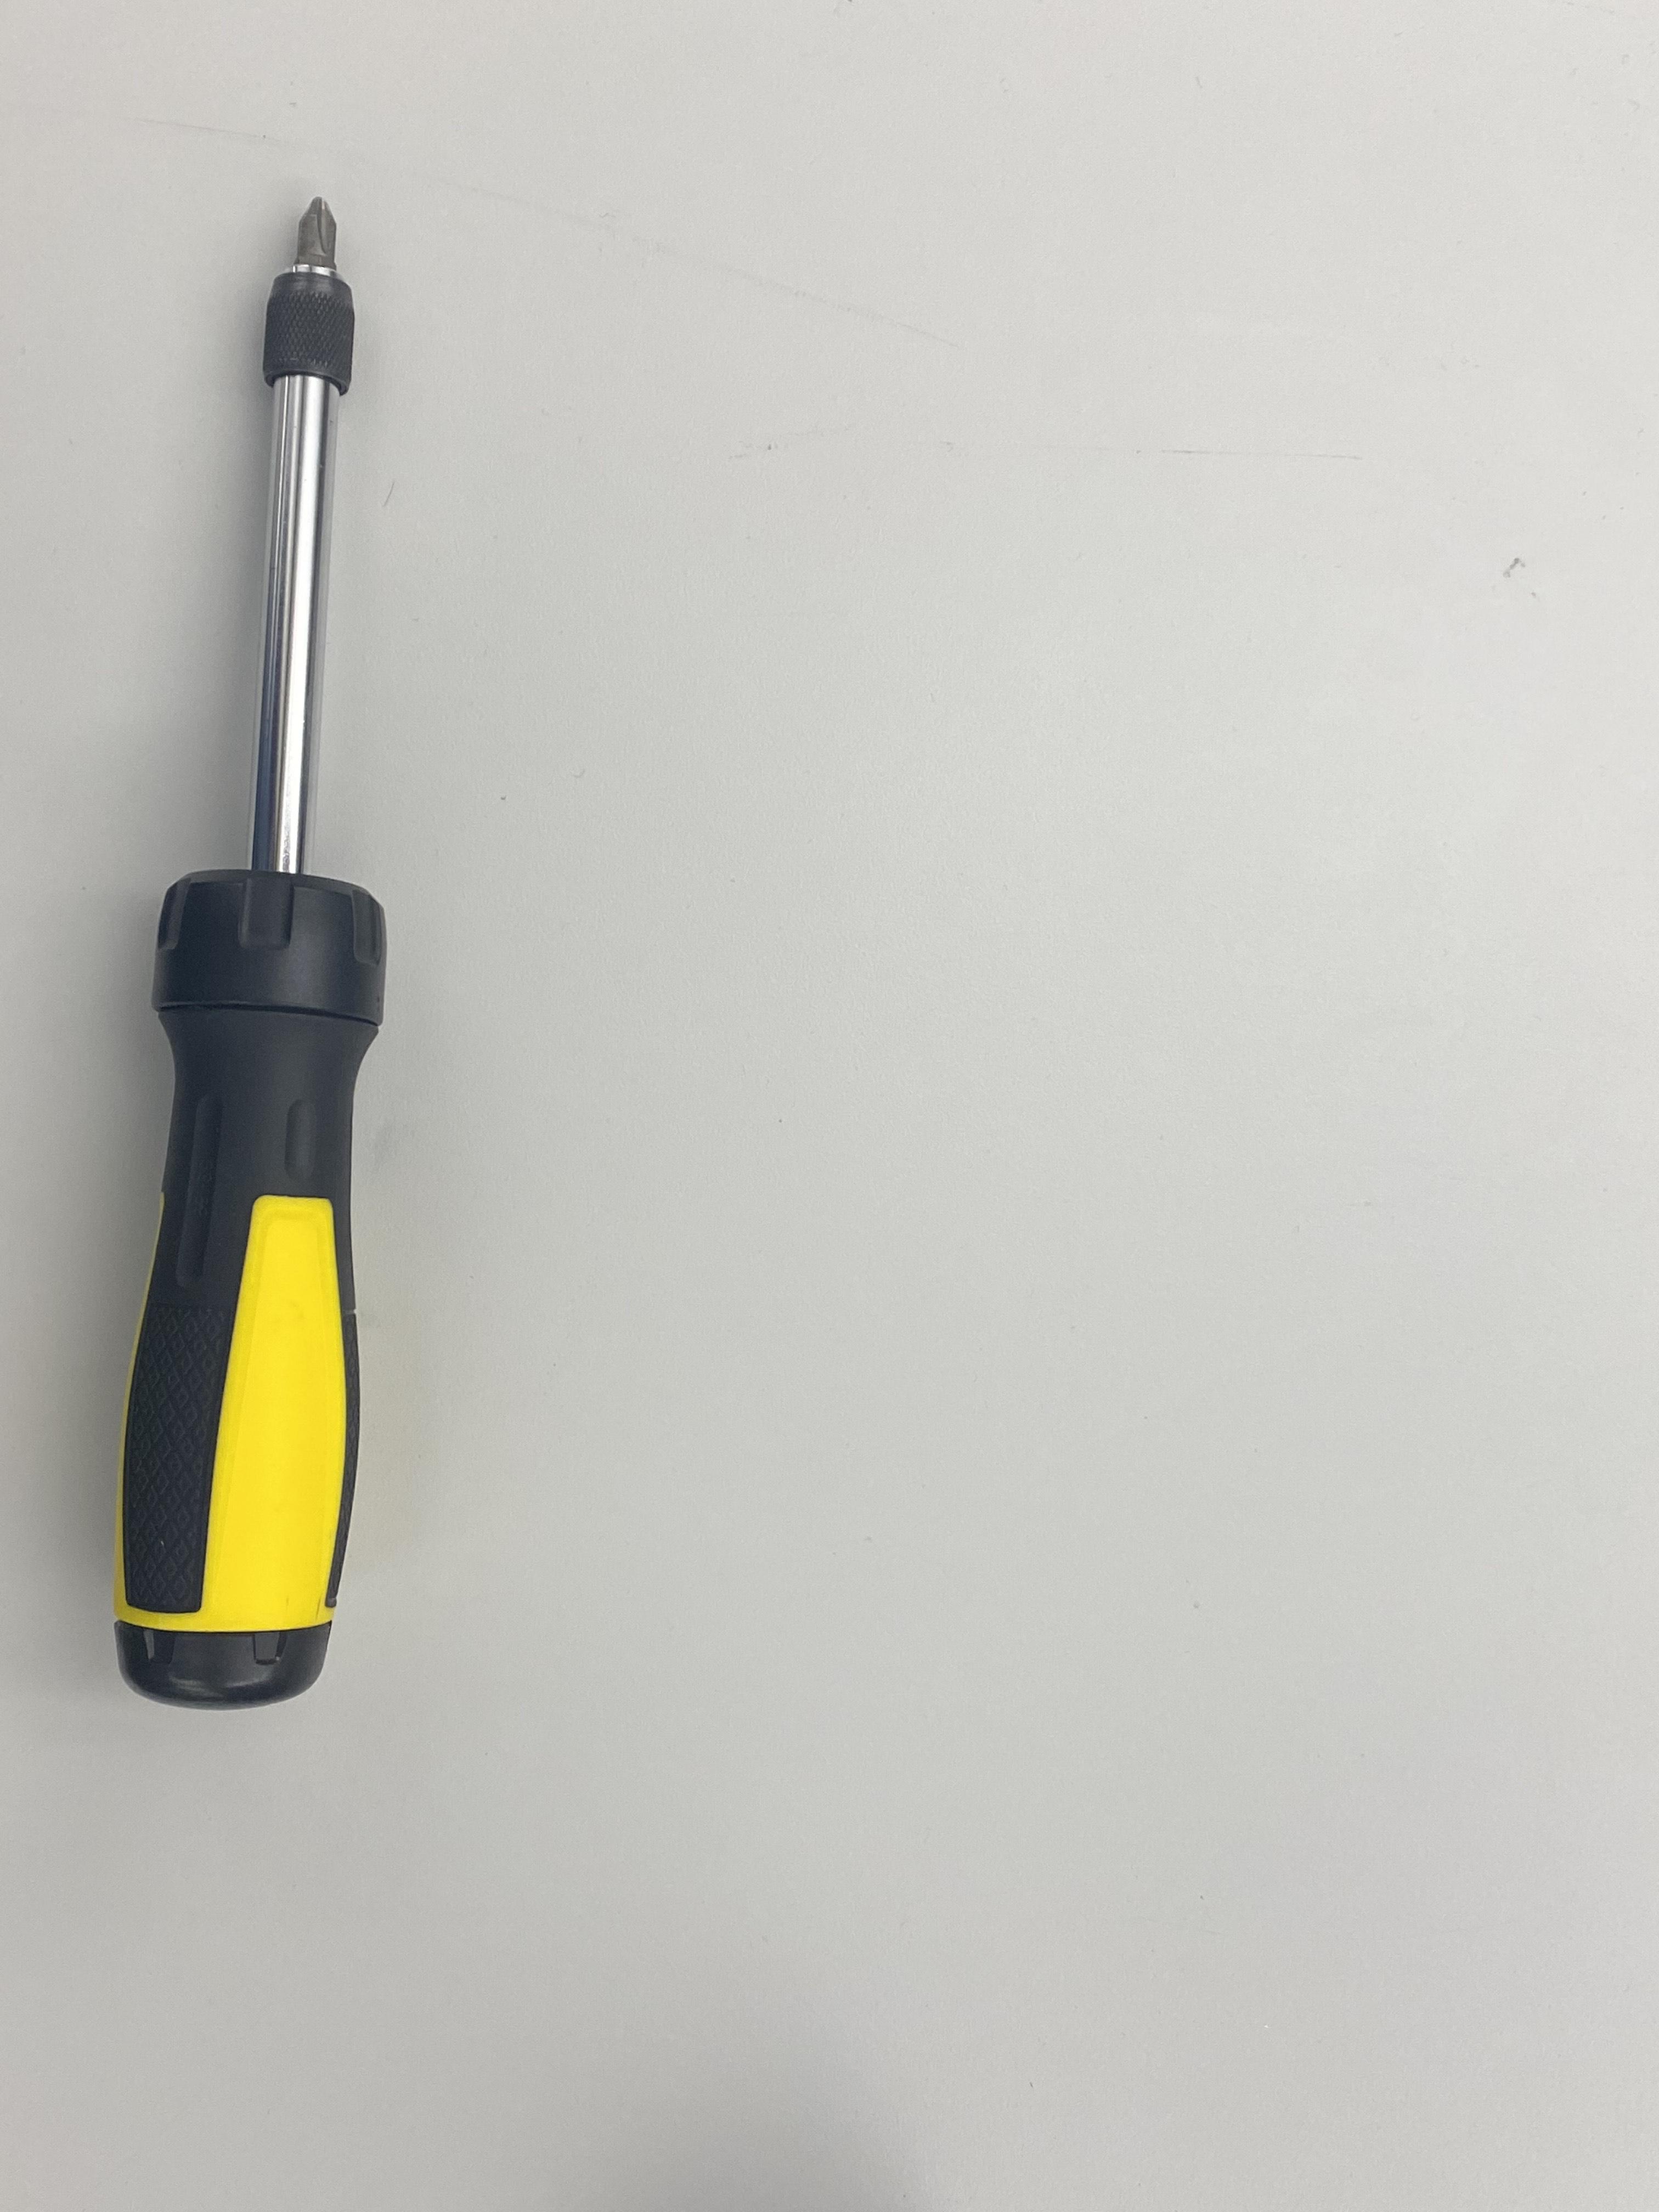
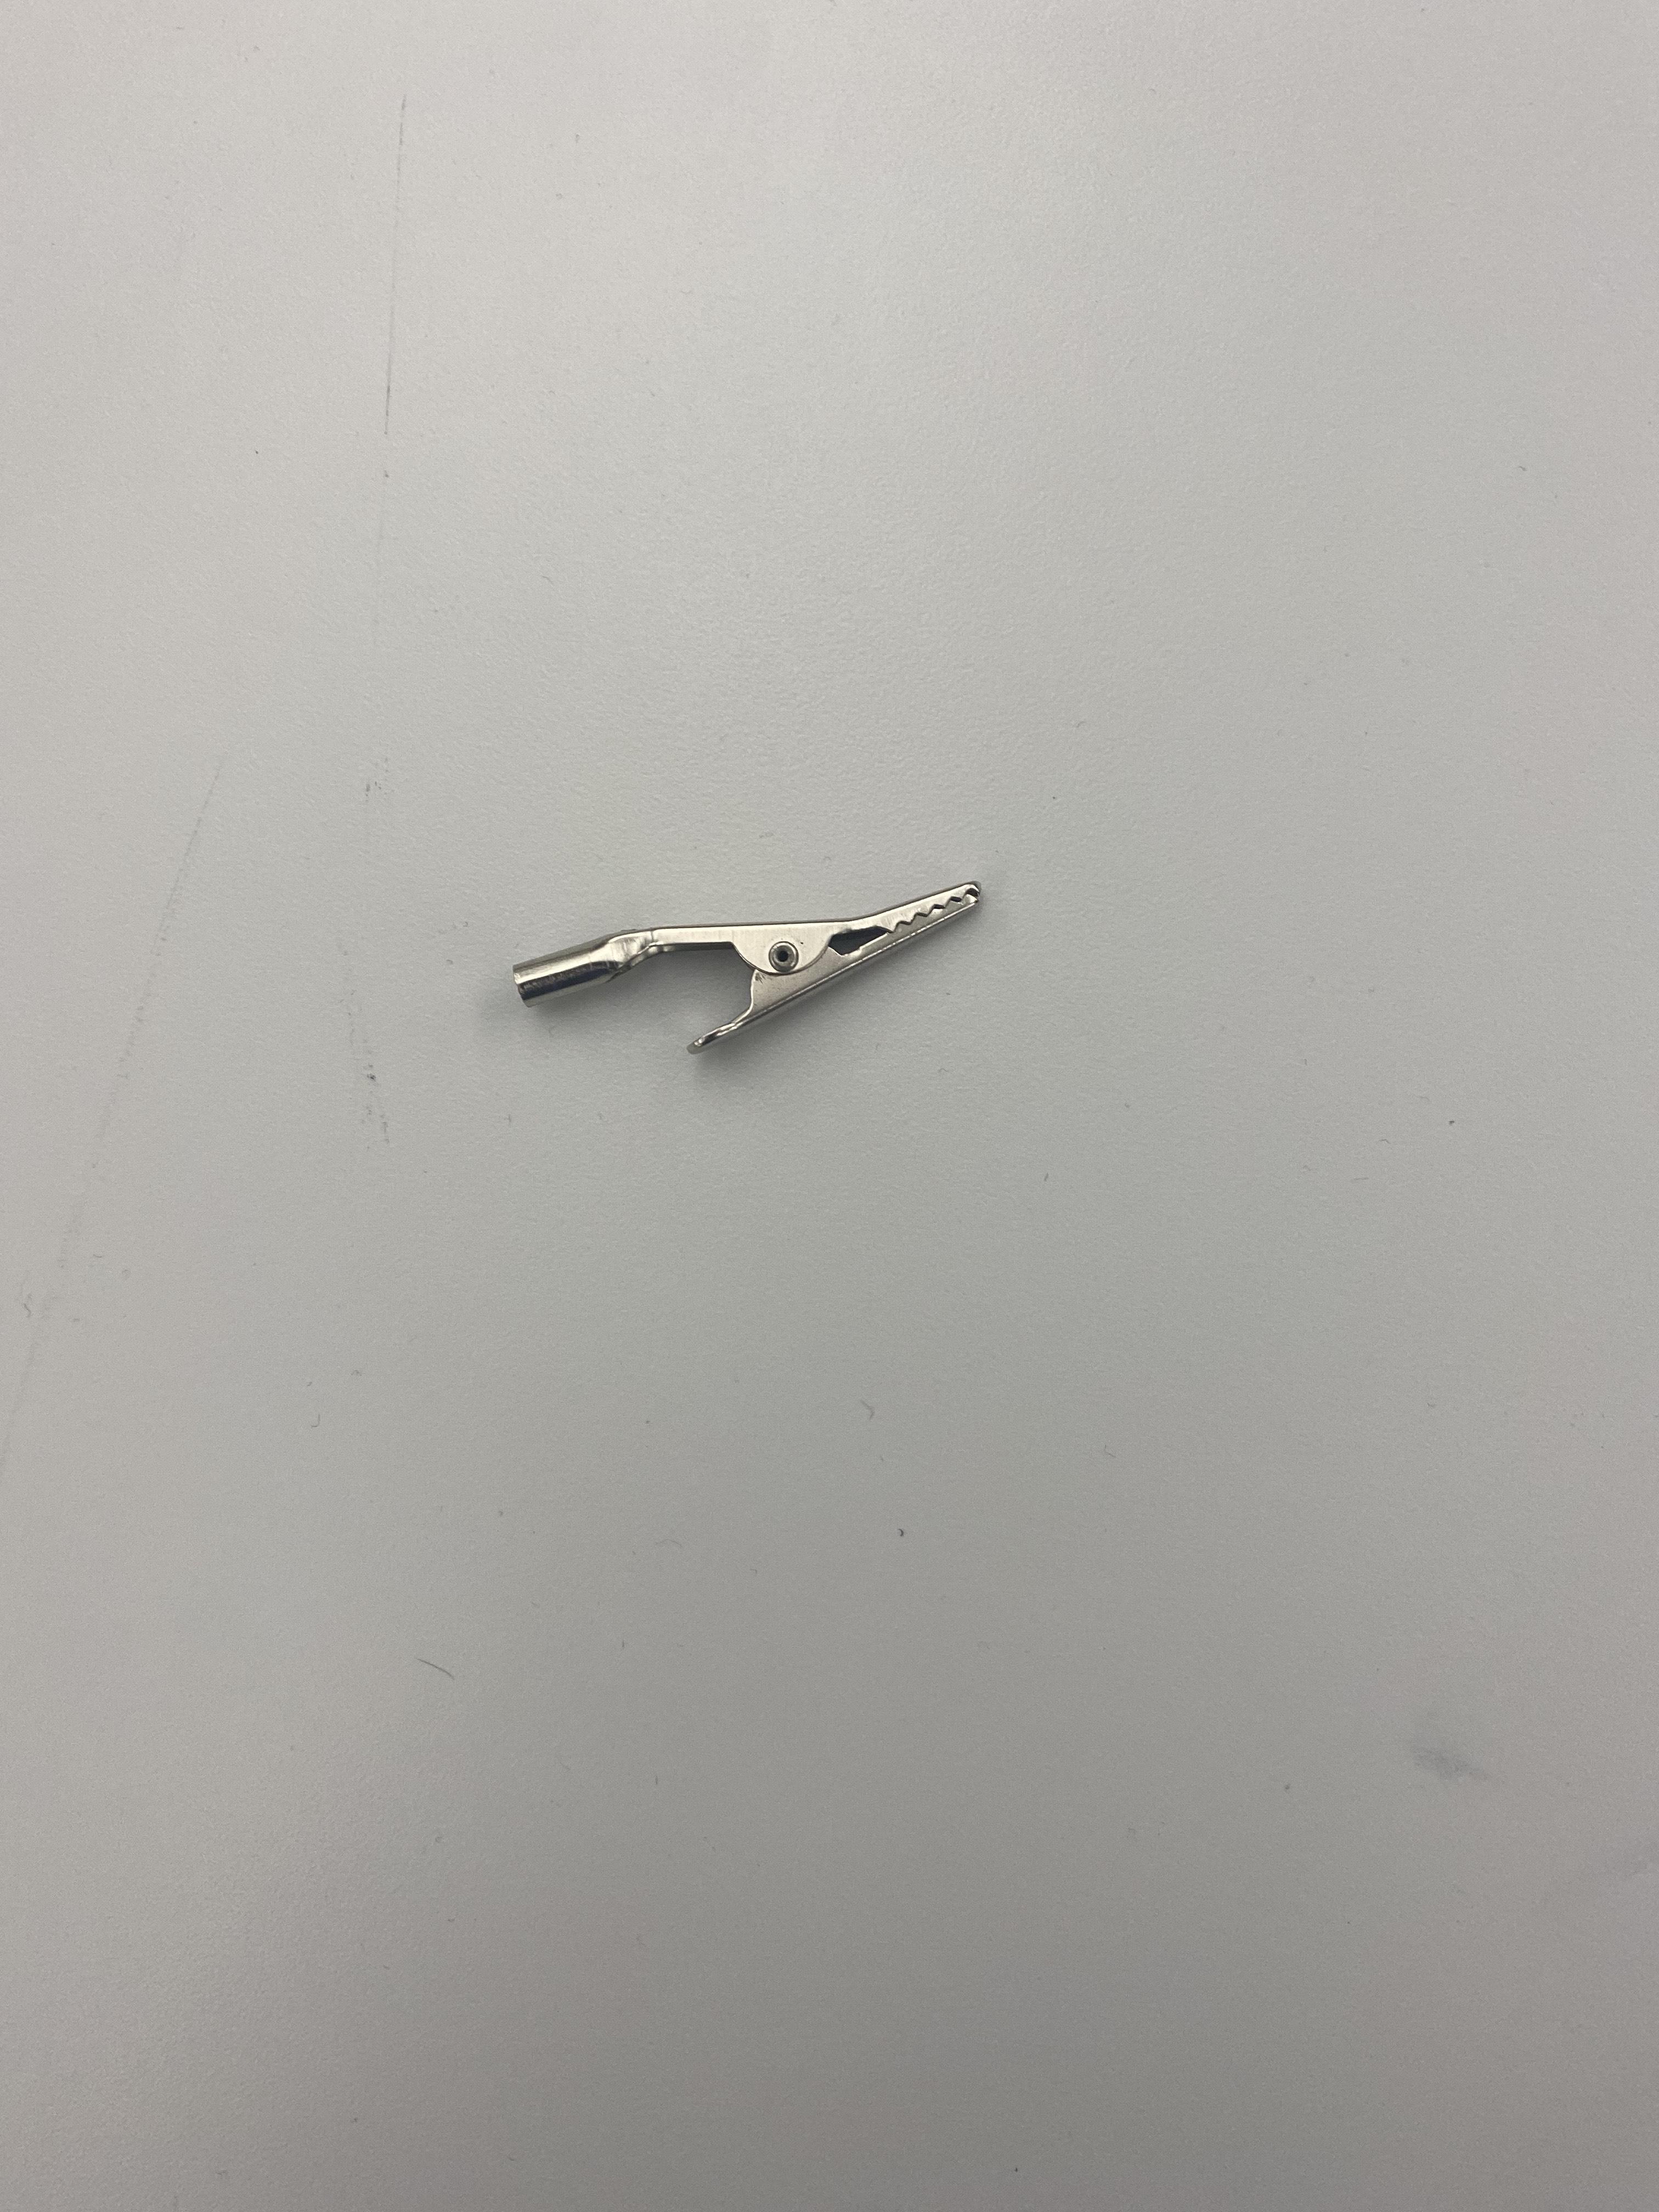
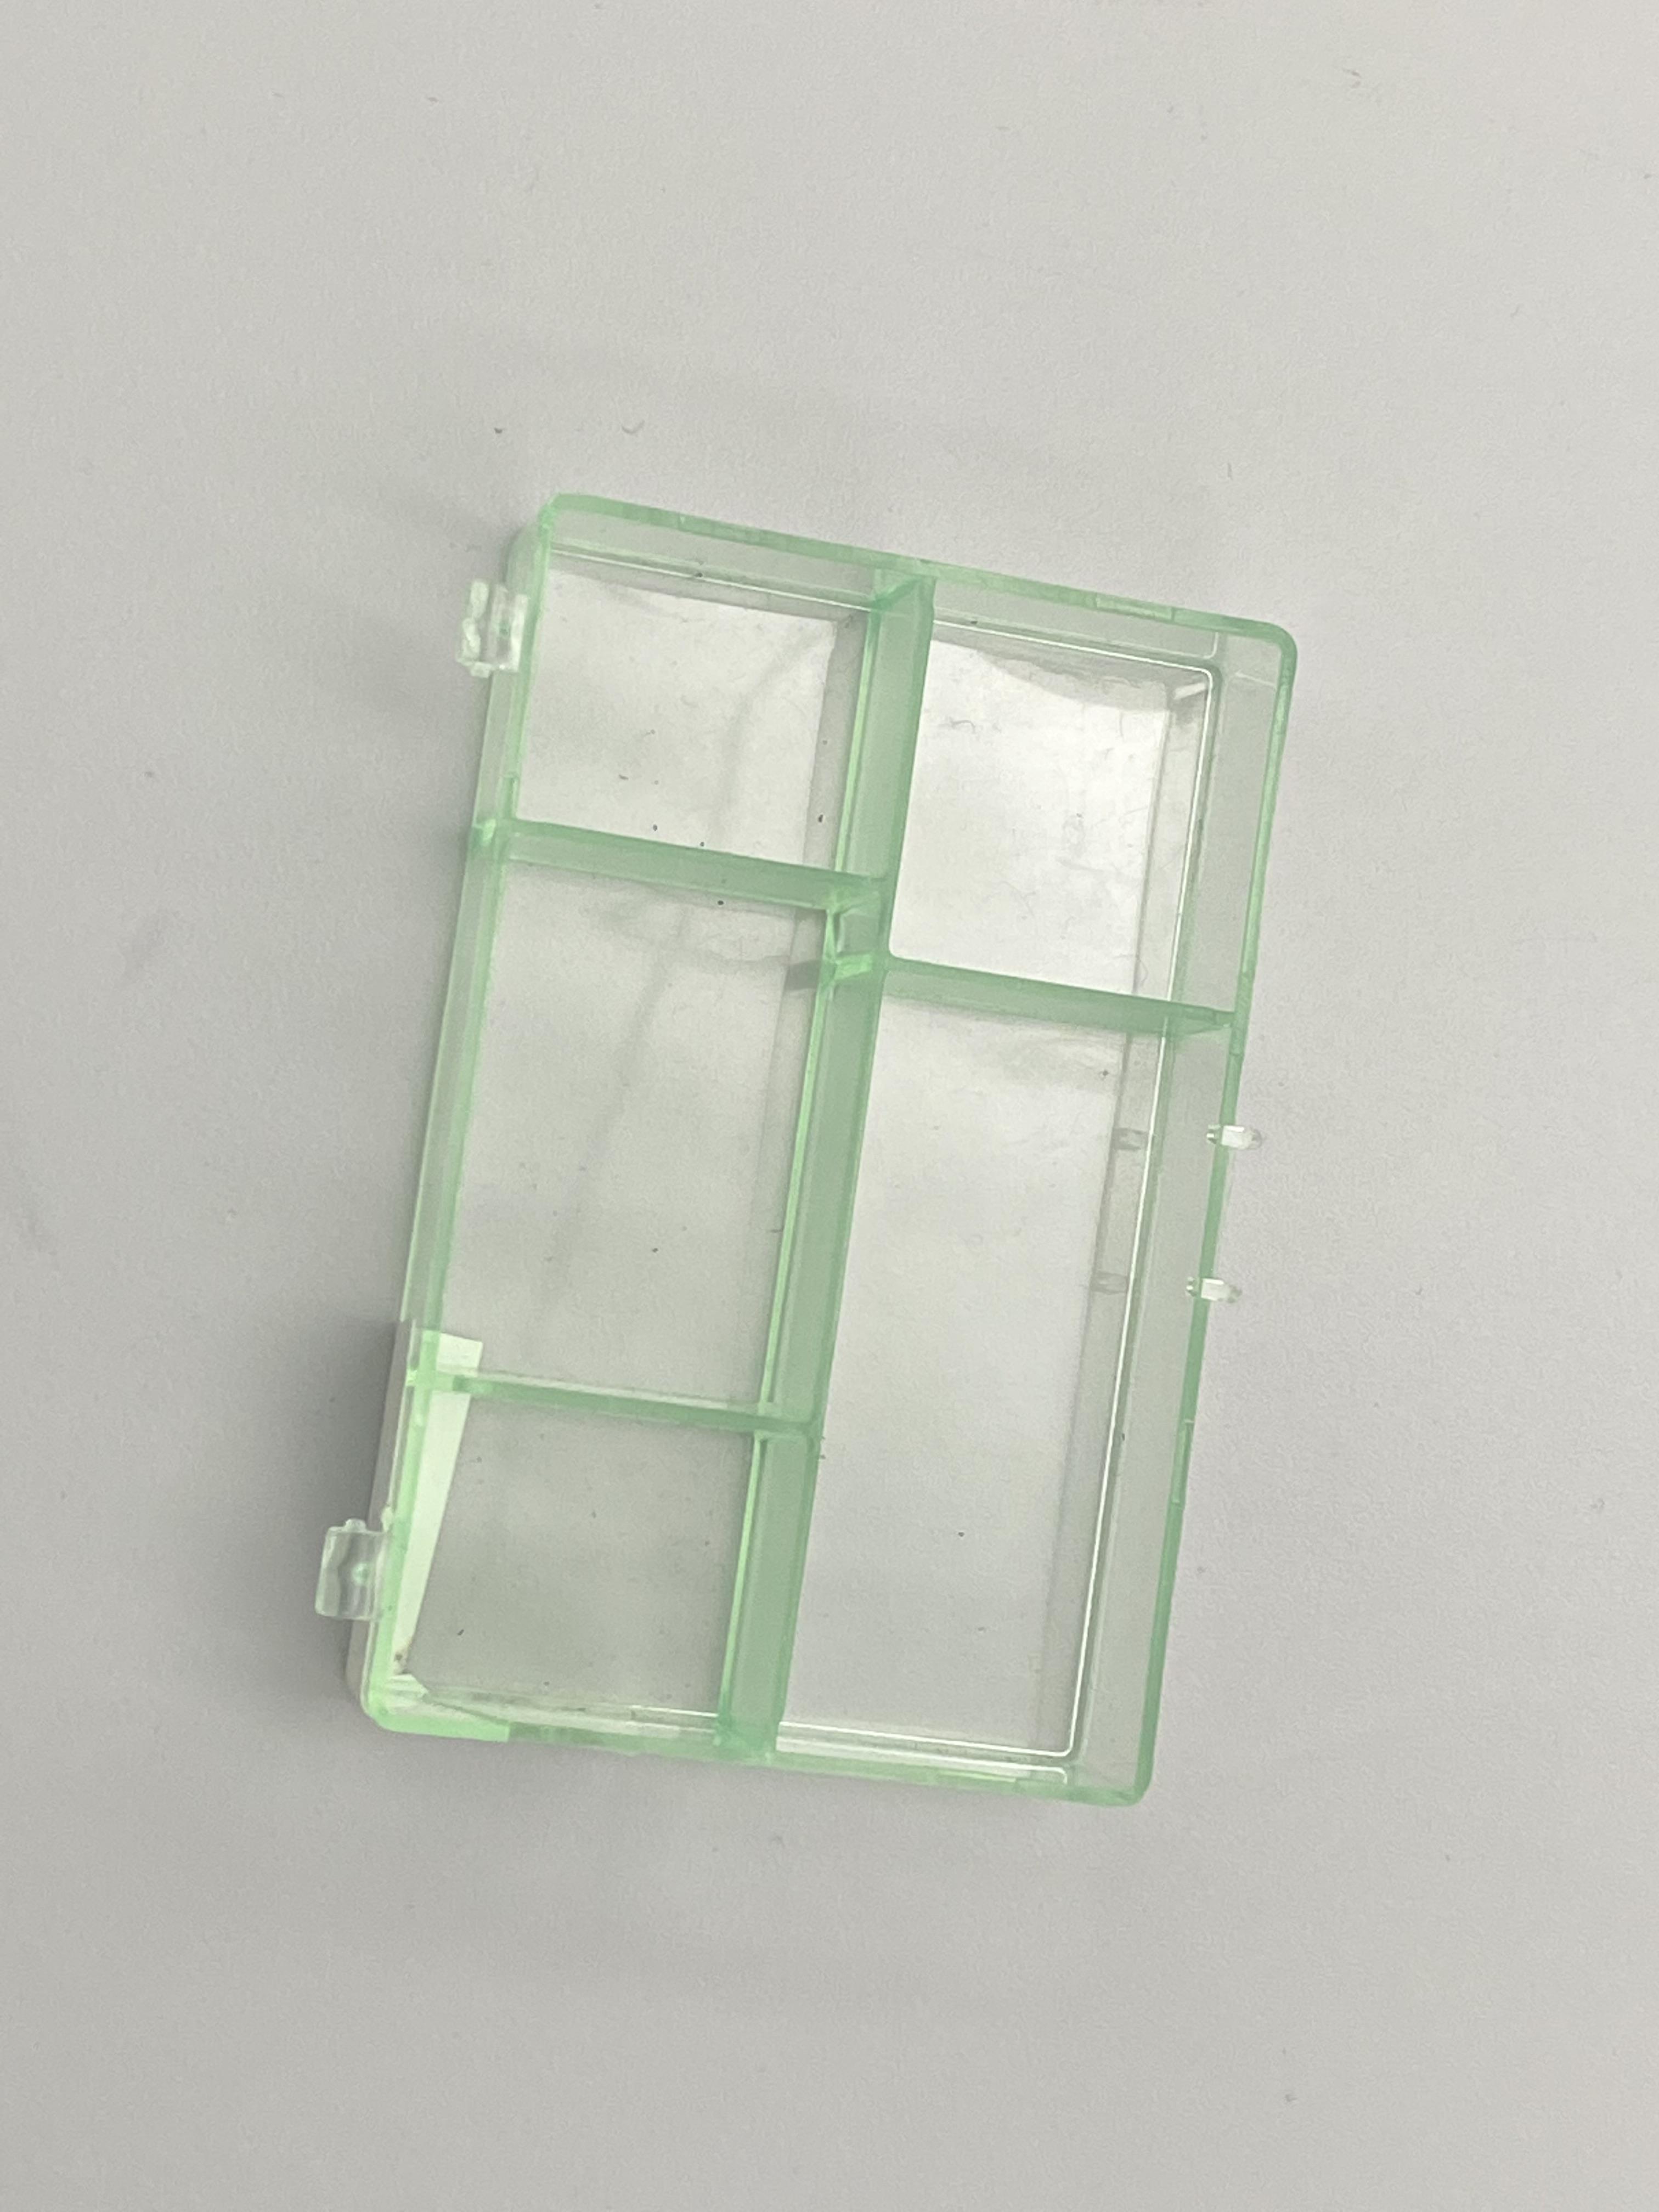
You will need three tools. A Philips head screwdriver, A screw tray and an Anti Static wristband, you don't need this but if you would like it is optional.
The Case
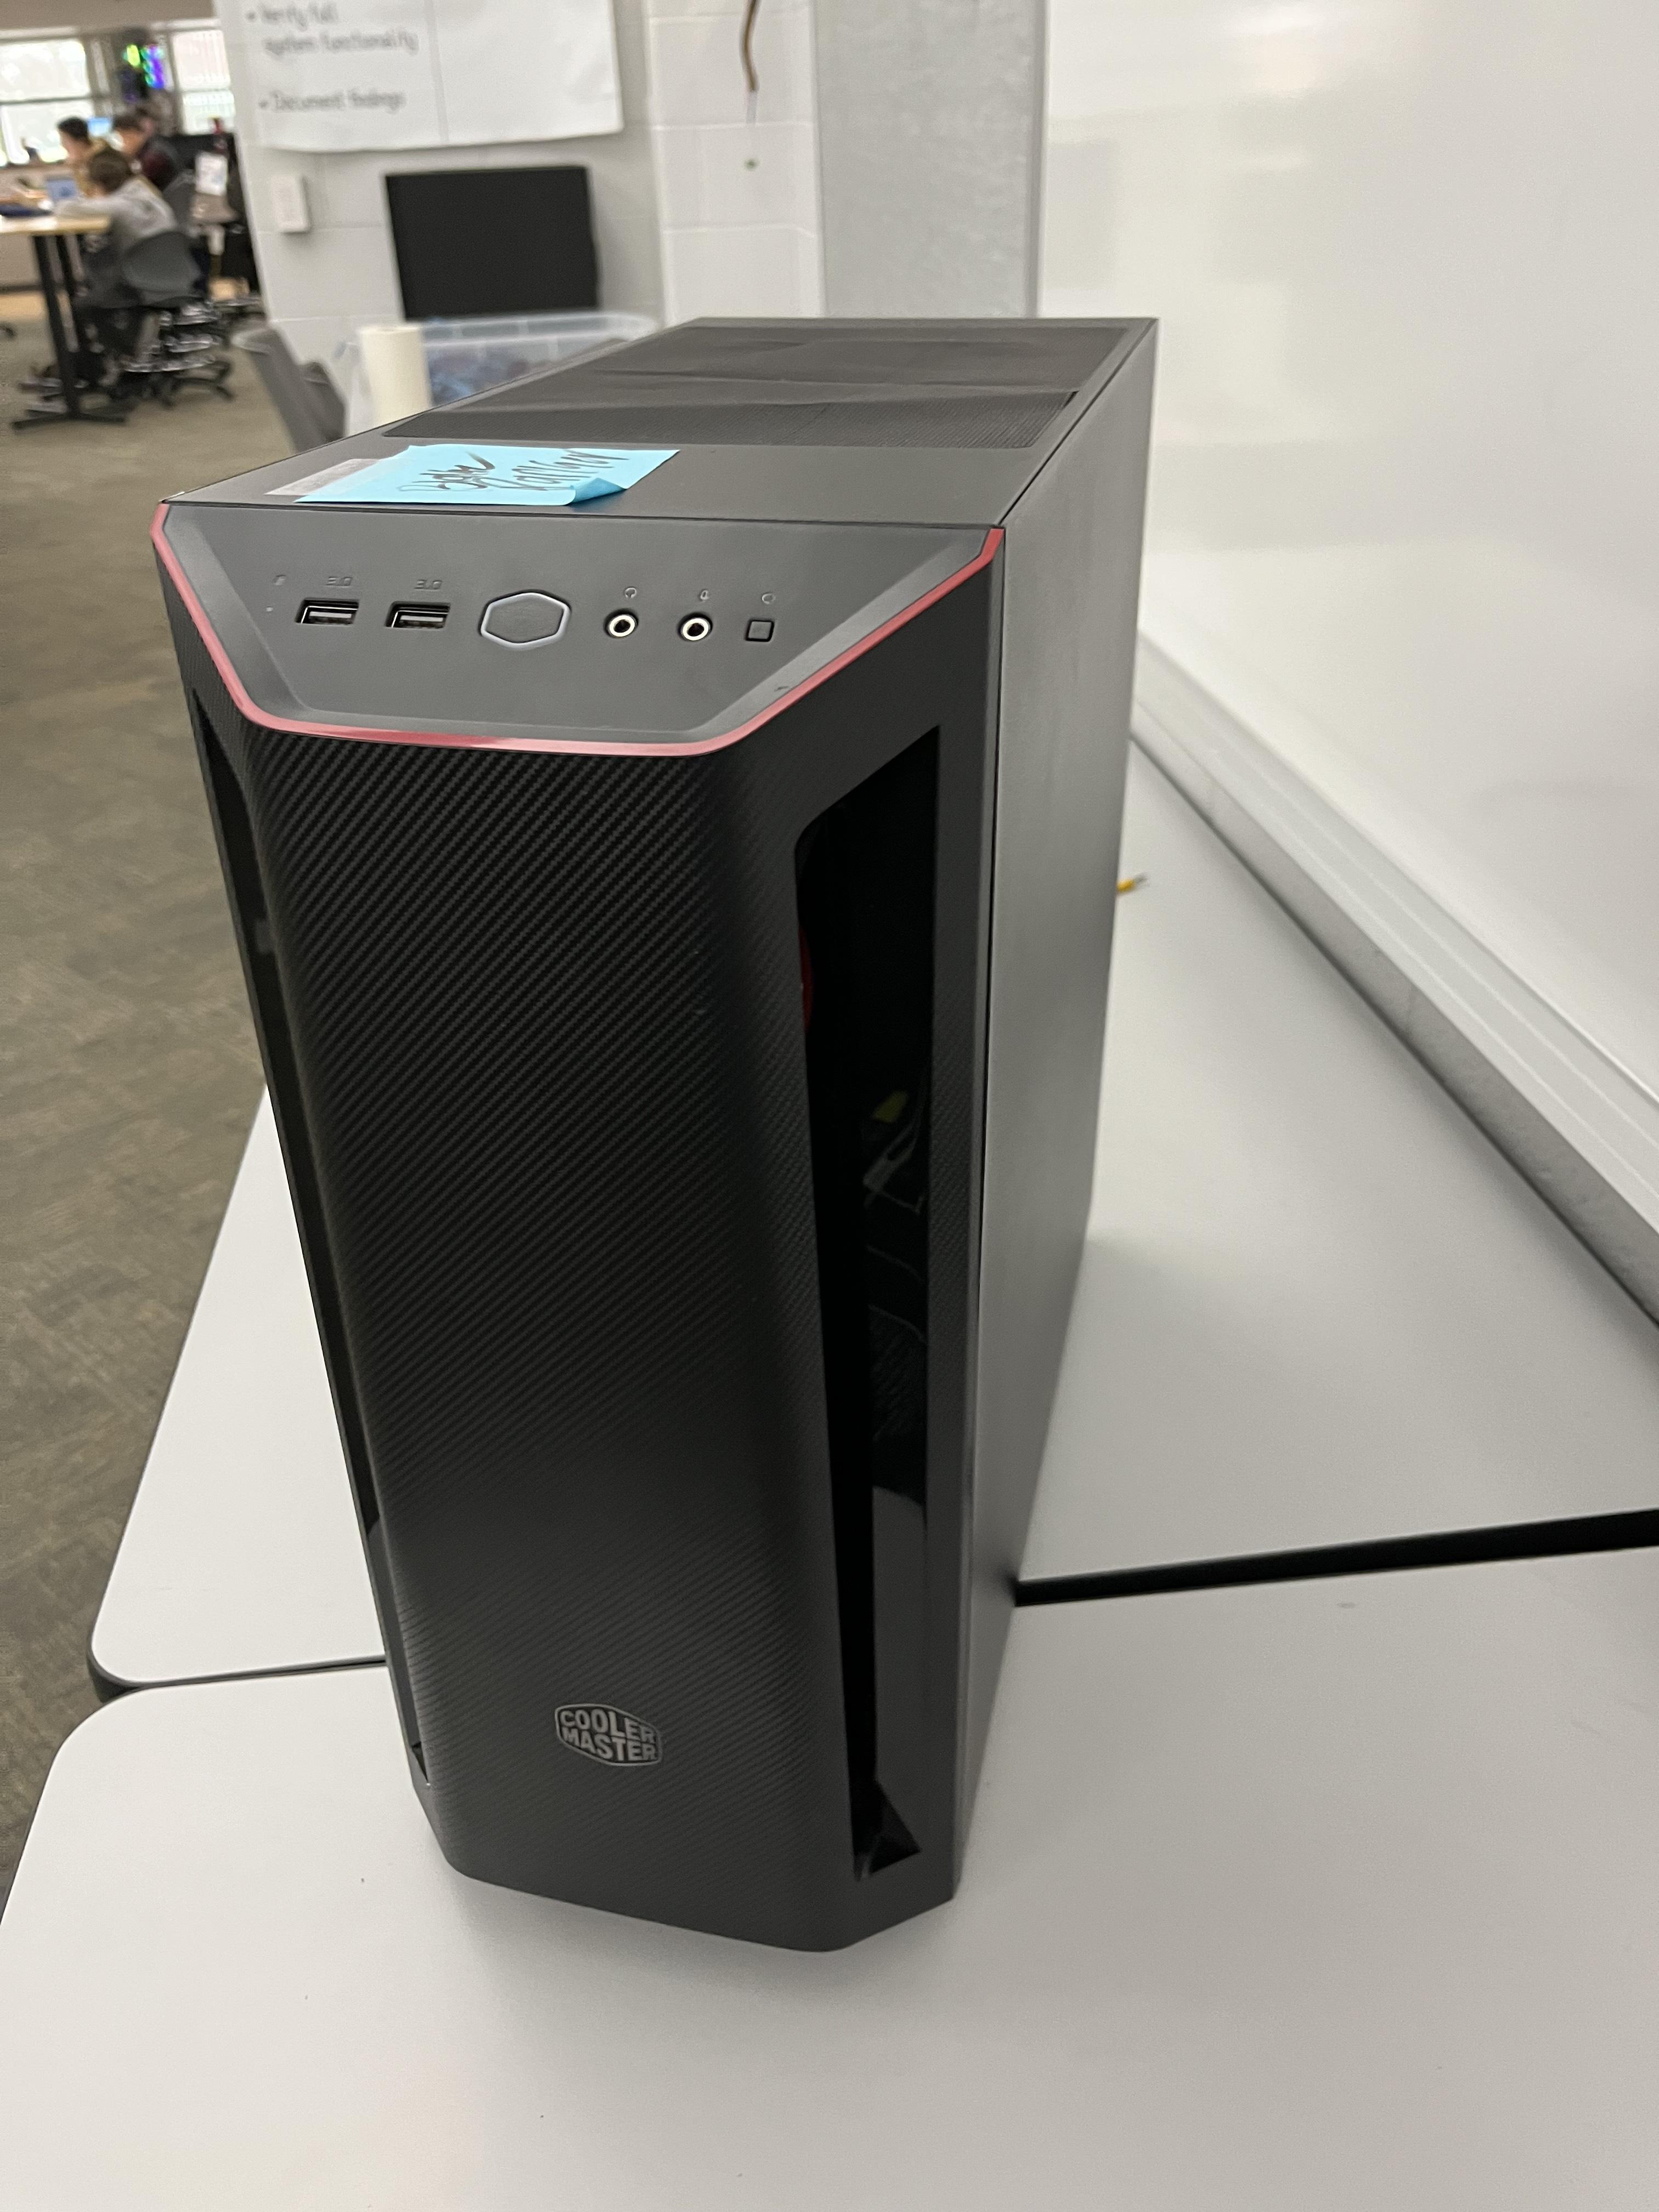
This Is your case. This case holds all the components for a computer arranging from Motherboard, GPU, Power Supply, Fans, etc.
Motherboard
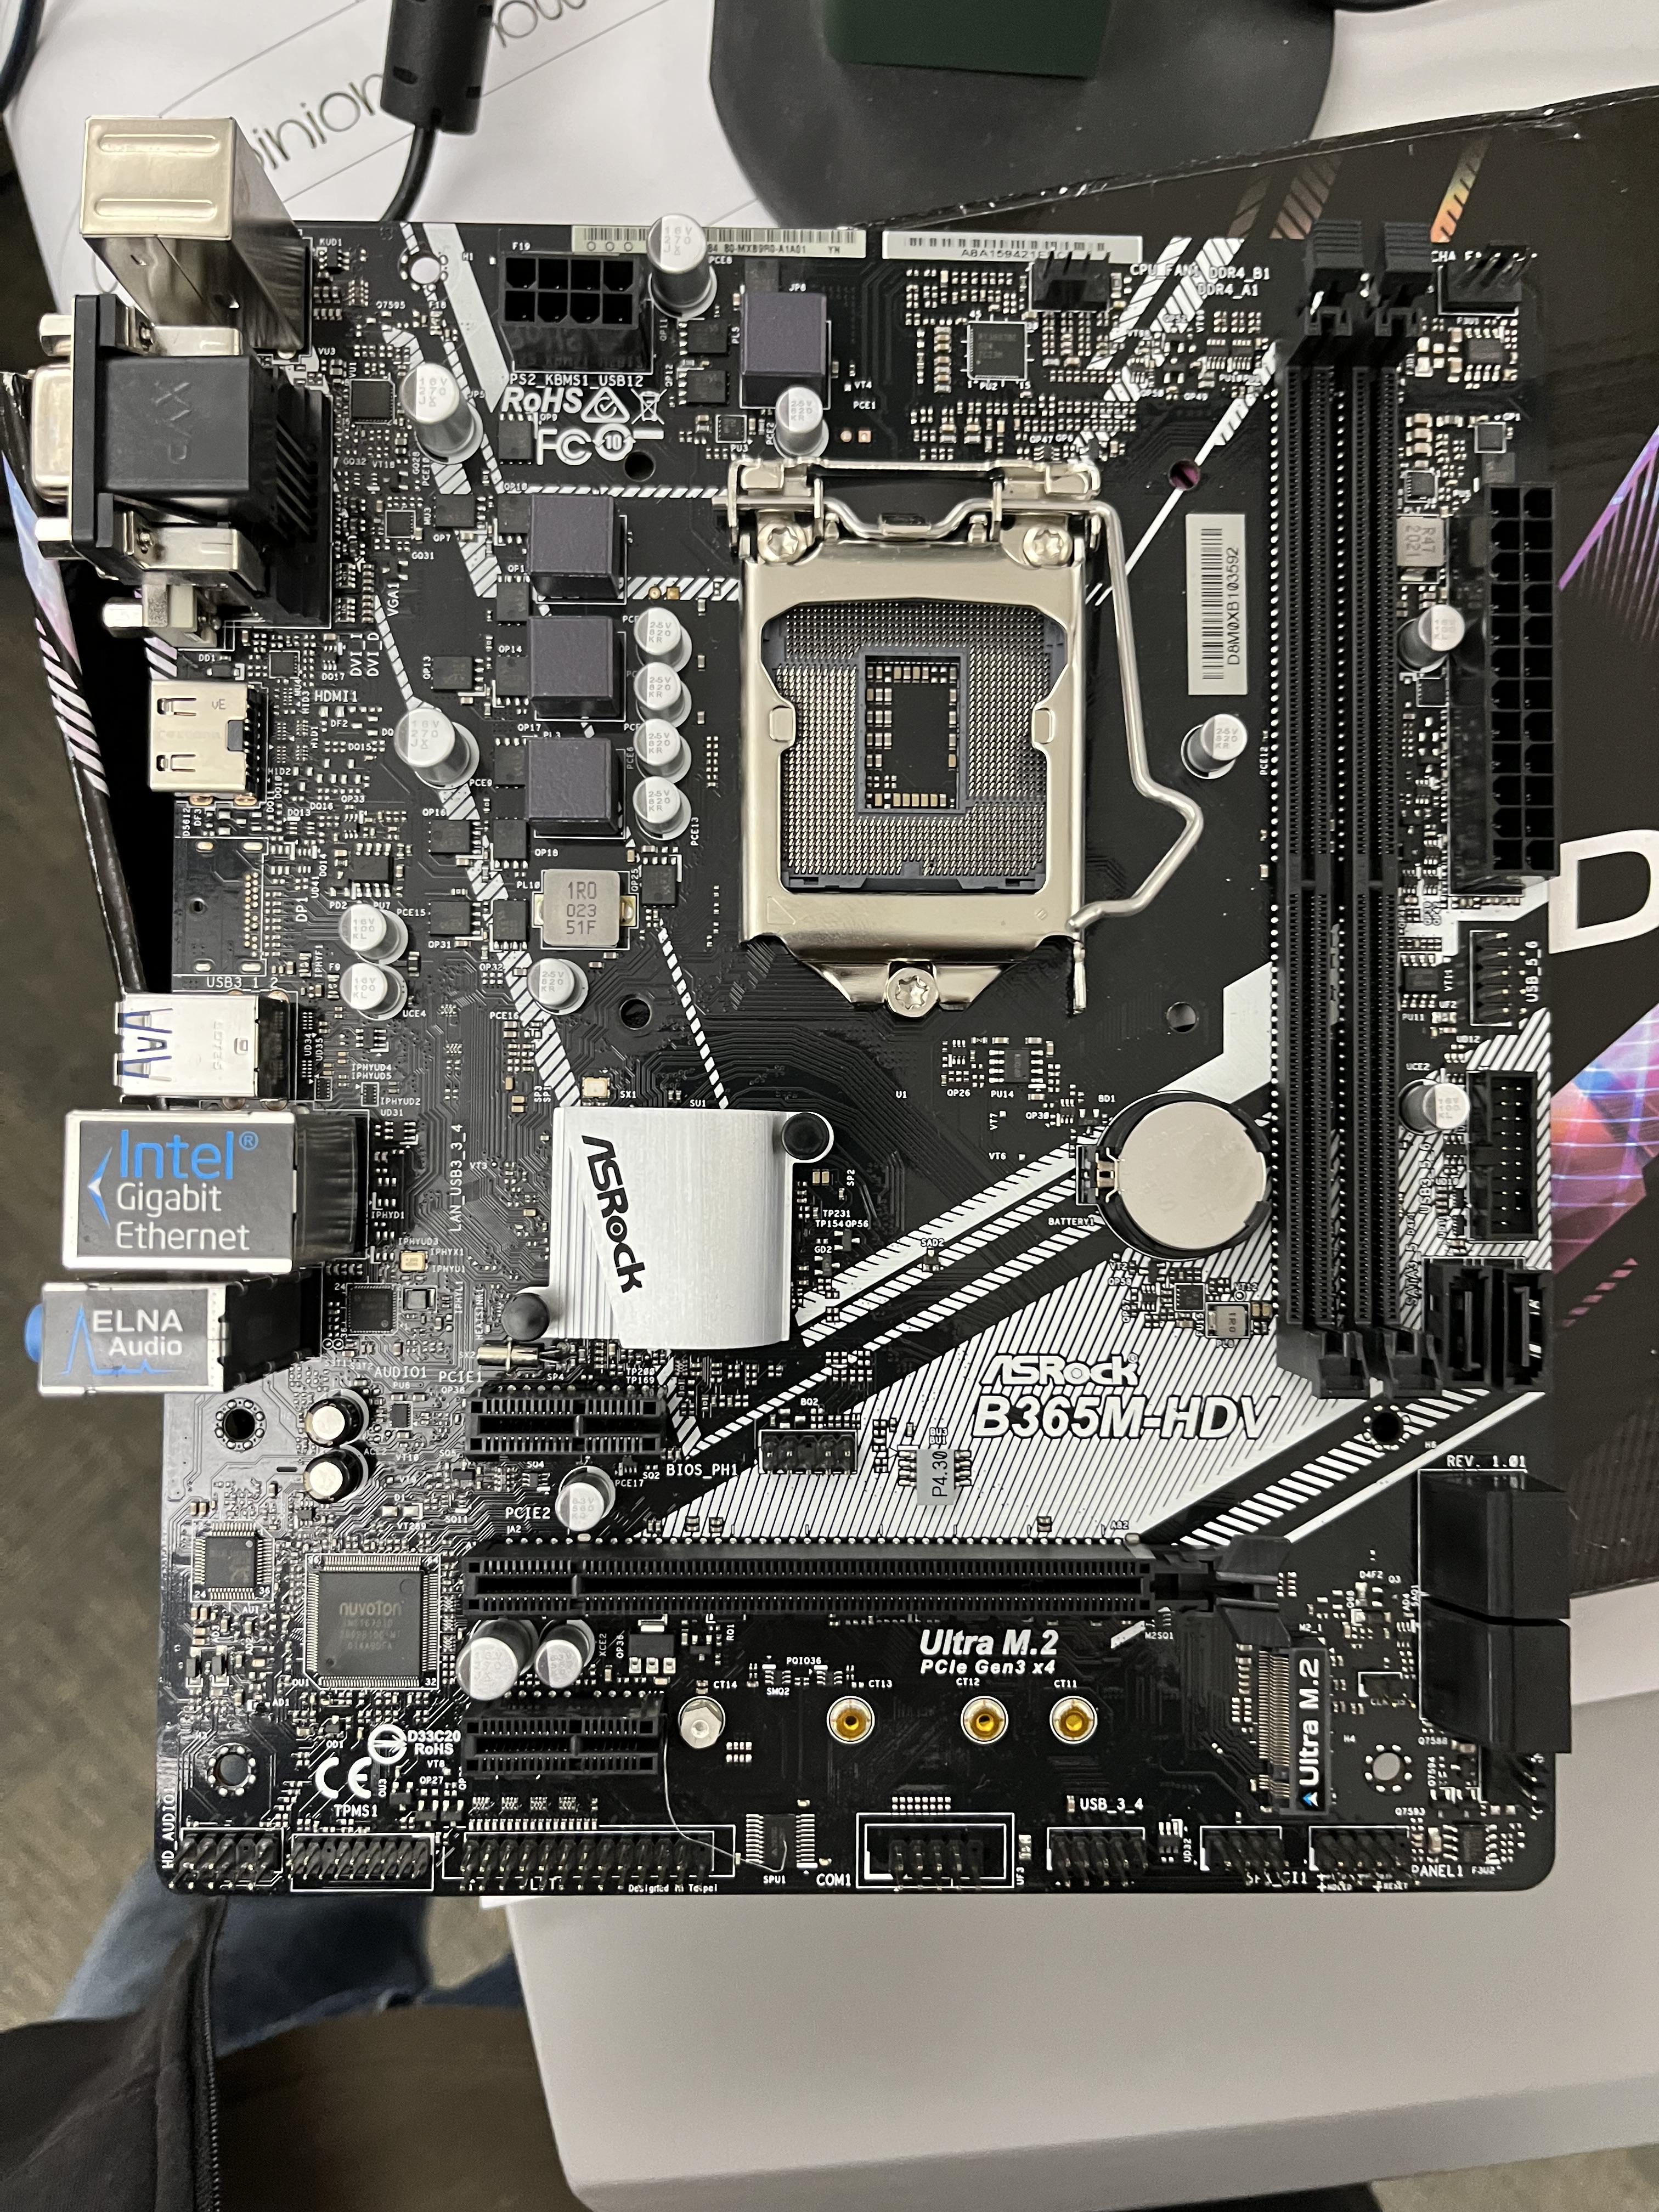
This is the main central station for your computer. The motherboard holds your CPU (Computer Processioning Unit) , RAM (Random Access Memory), SSD (Solid State Drive), GPU (Graphics Card), VRM's, CMOSS battery and the BIOS. Place it on the top left of the case where the IO will stick out and then screw in the standoffs (Screwing in all standoffs is optional).
Installing the CPU and Adding Thermal Paste
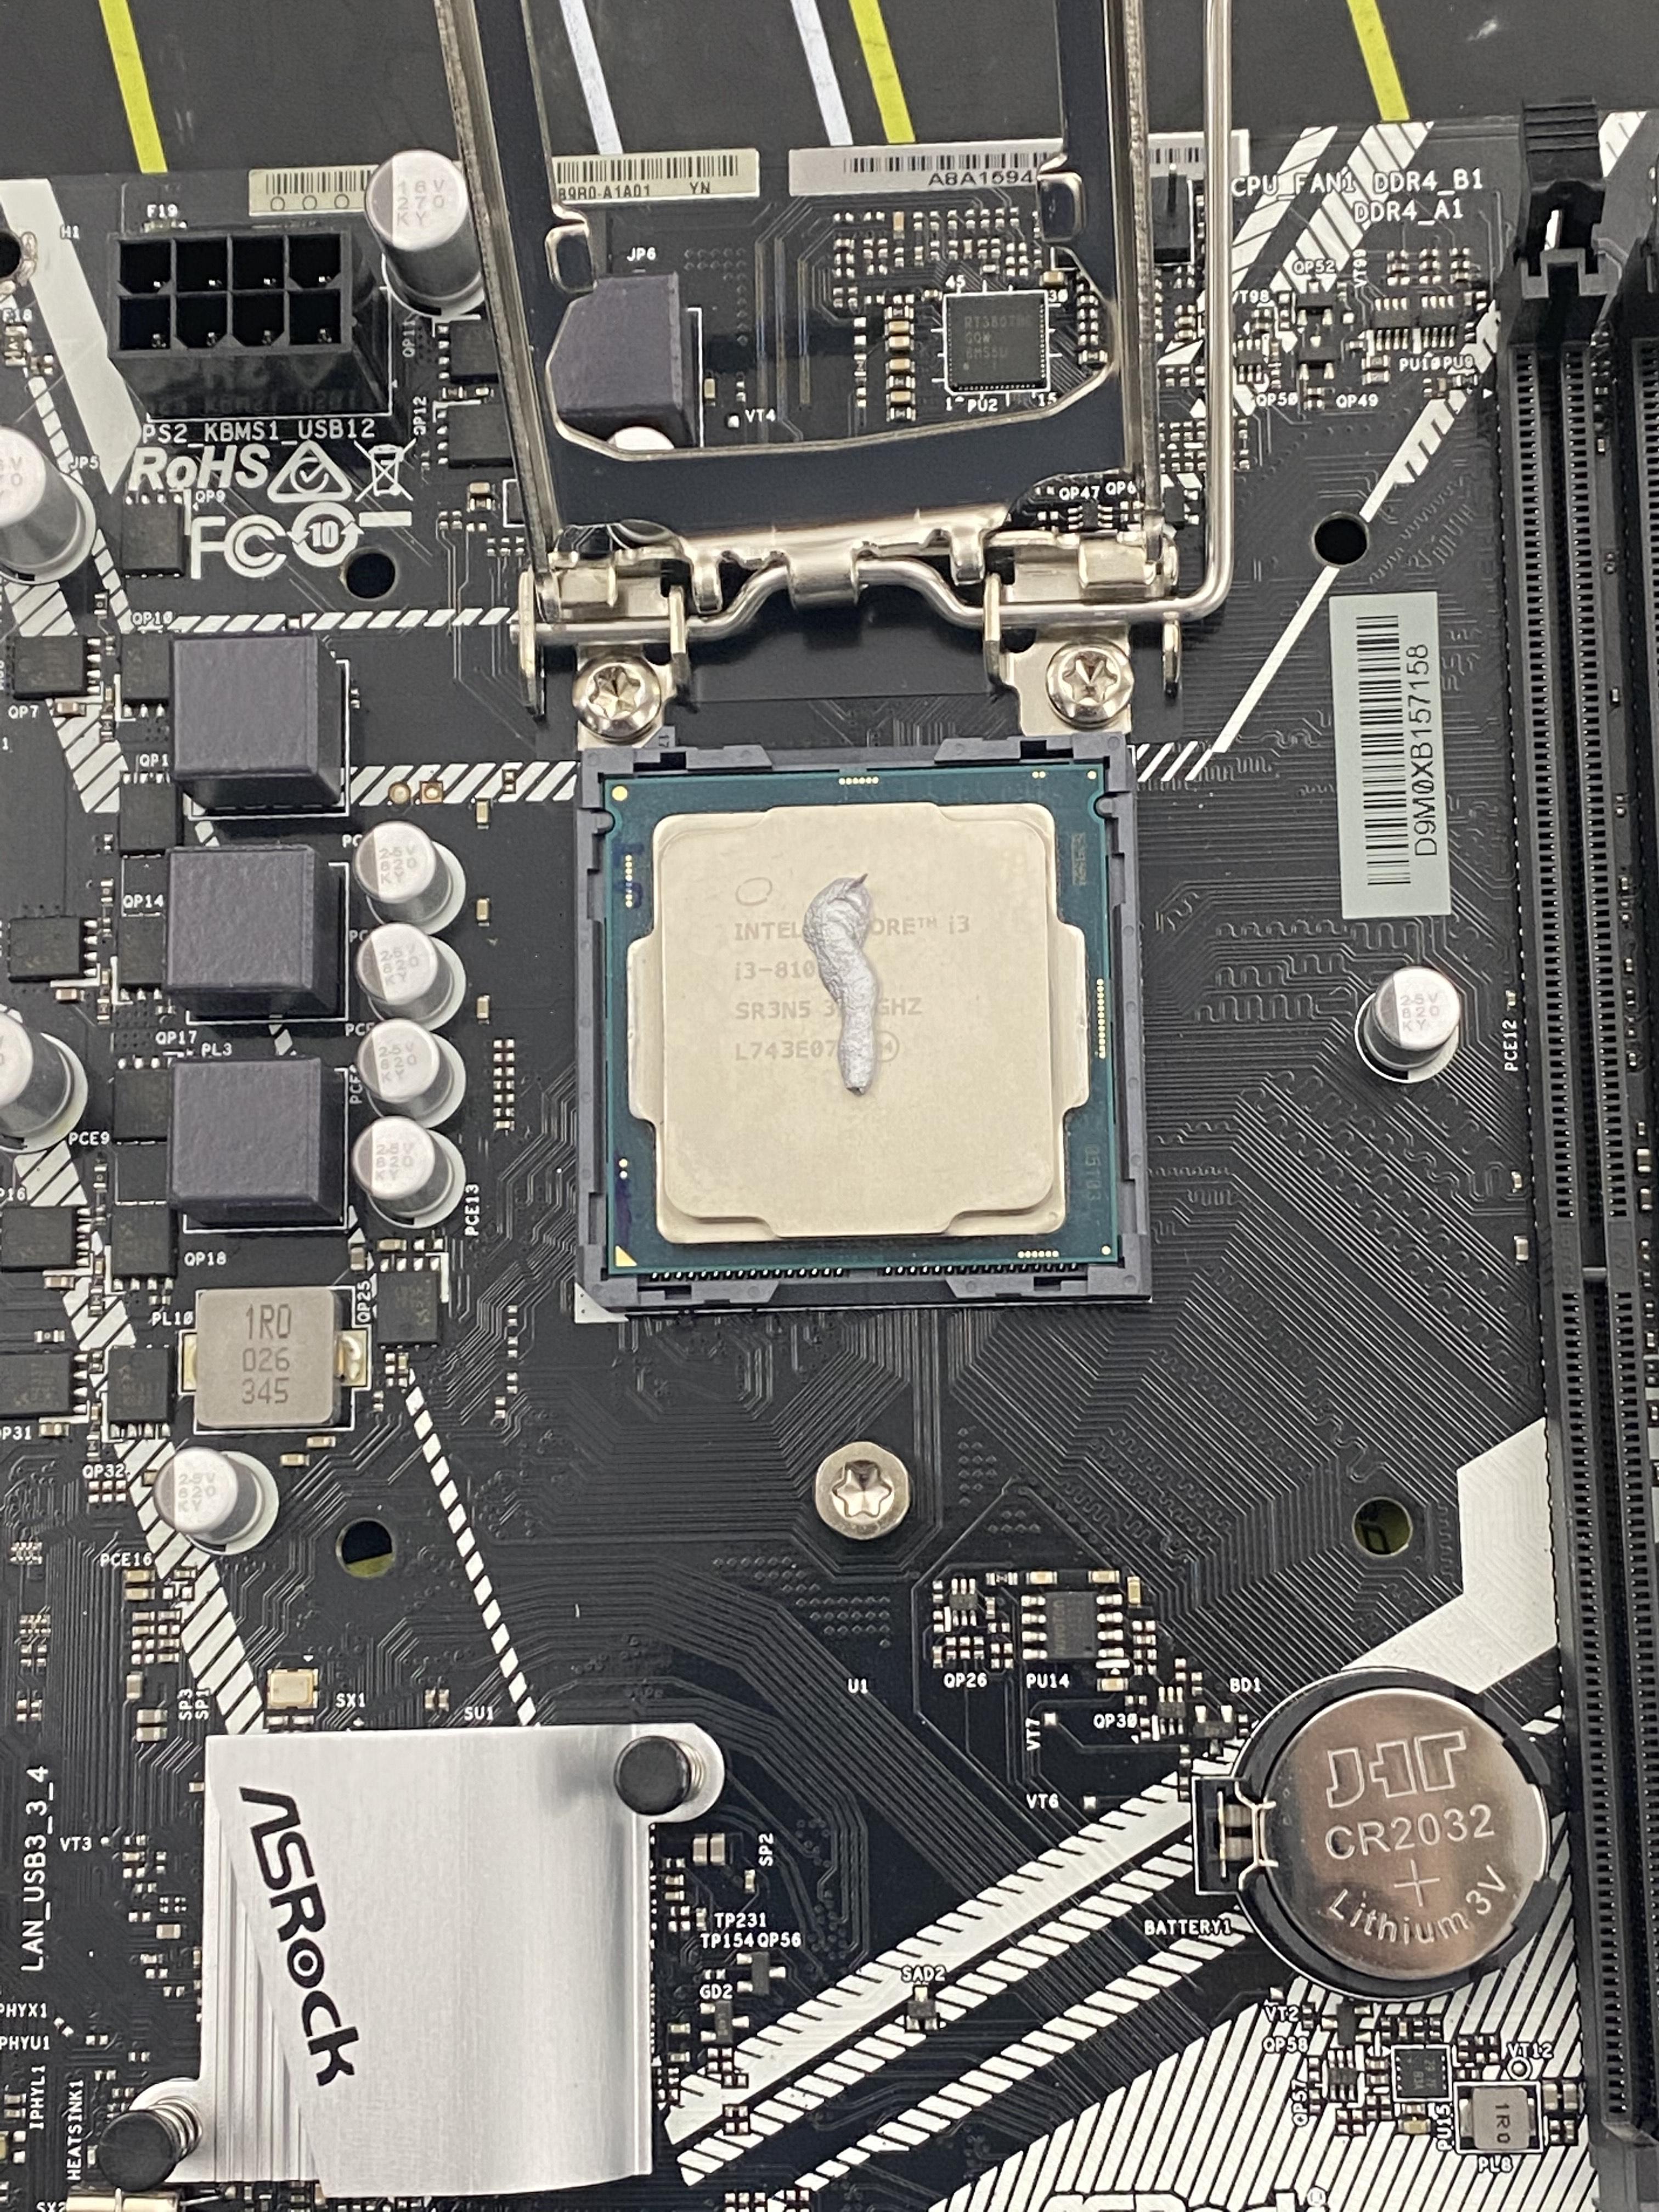
The CPU is what gives the Computer Functionality and without the computer will not post. Locate the gold triangle on one of the CPU's corners, Gently place it into the motherboard sockets and give ZIFF (Zero incretion force). Once it is placed drop the chip holder in place and drop the metal lever down, give a bit of force as you put it on. Next you want to put your thermal paste on, DONT Give it a lot of paste, only give about a grain of rice.
CPU Fan
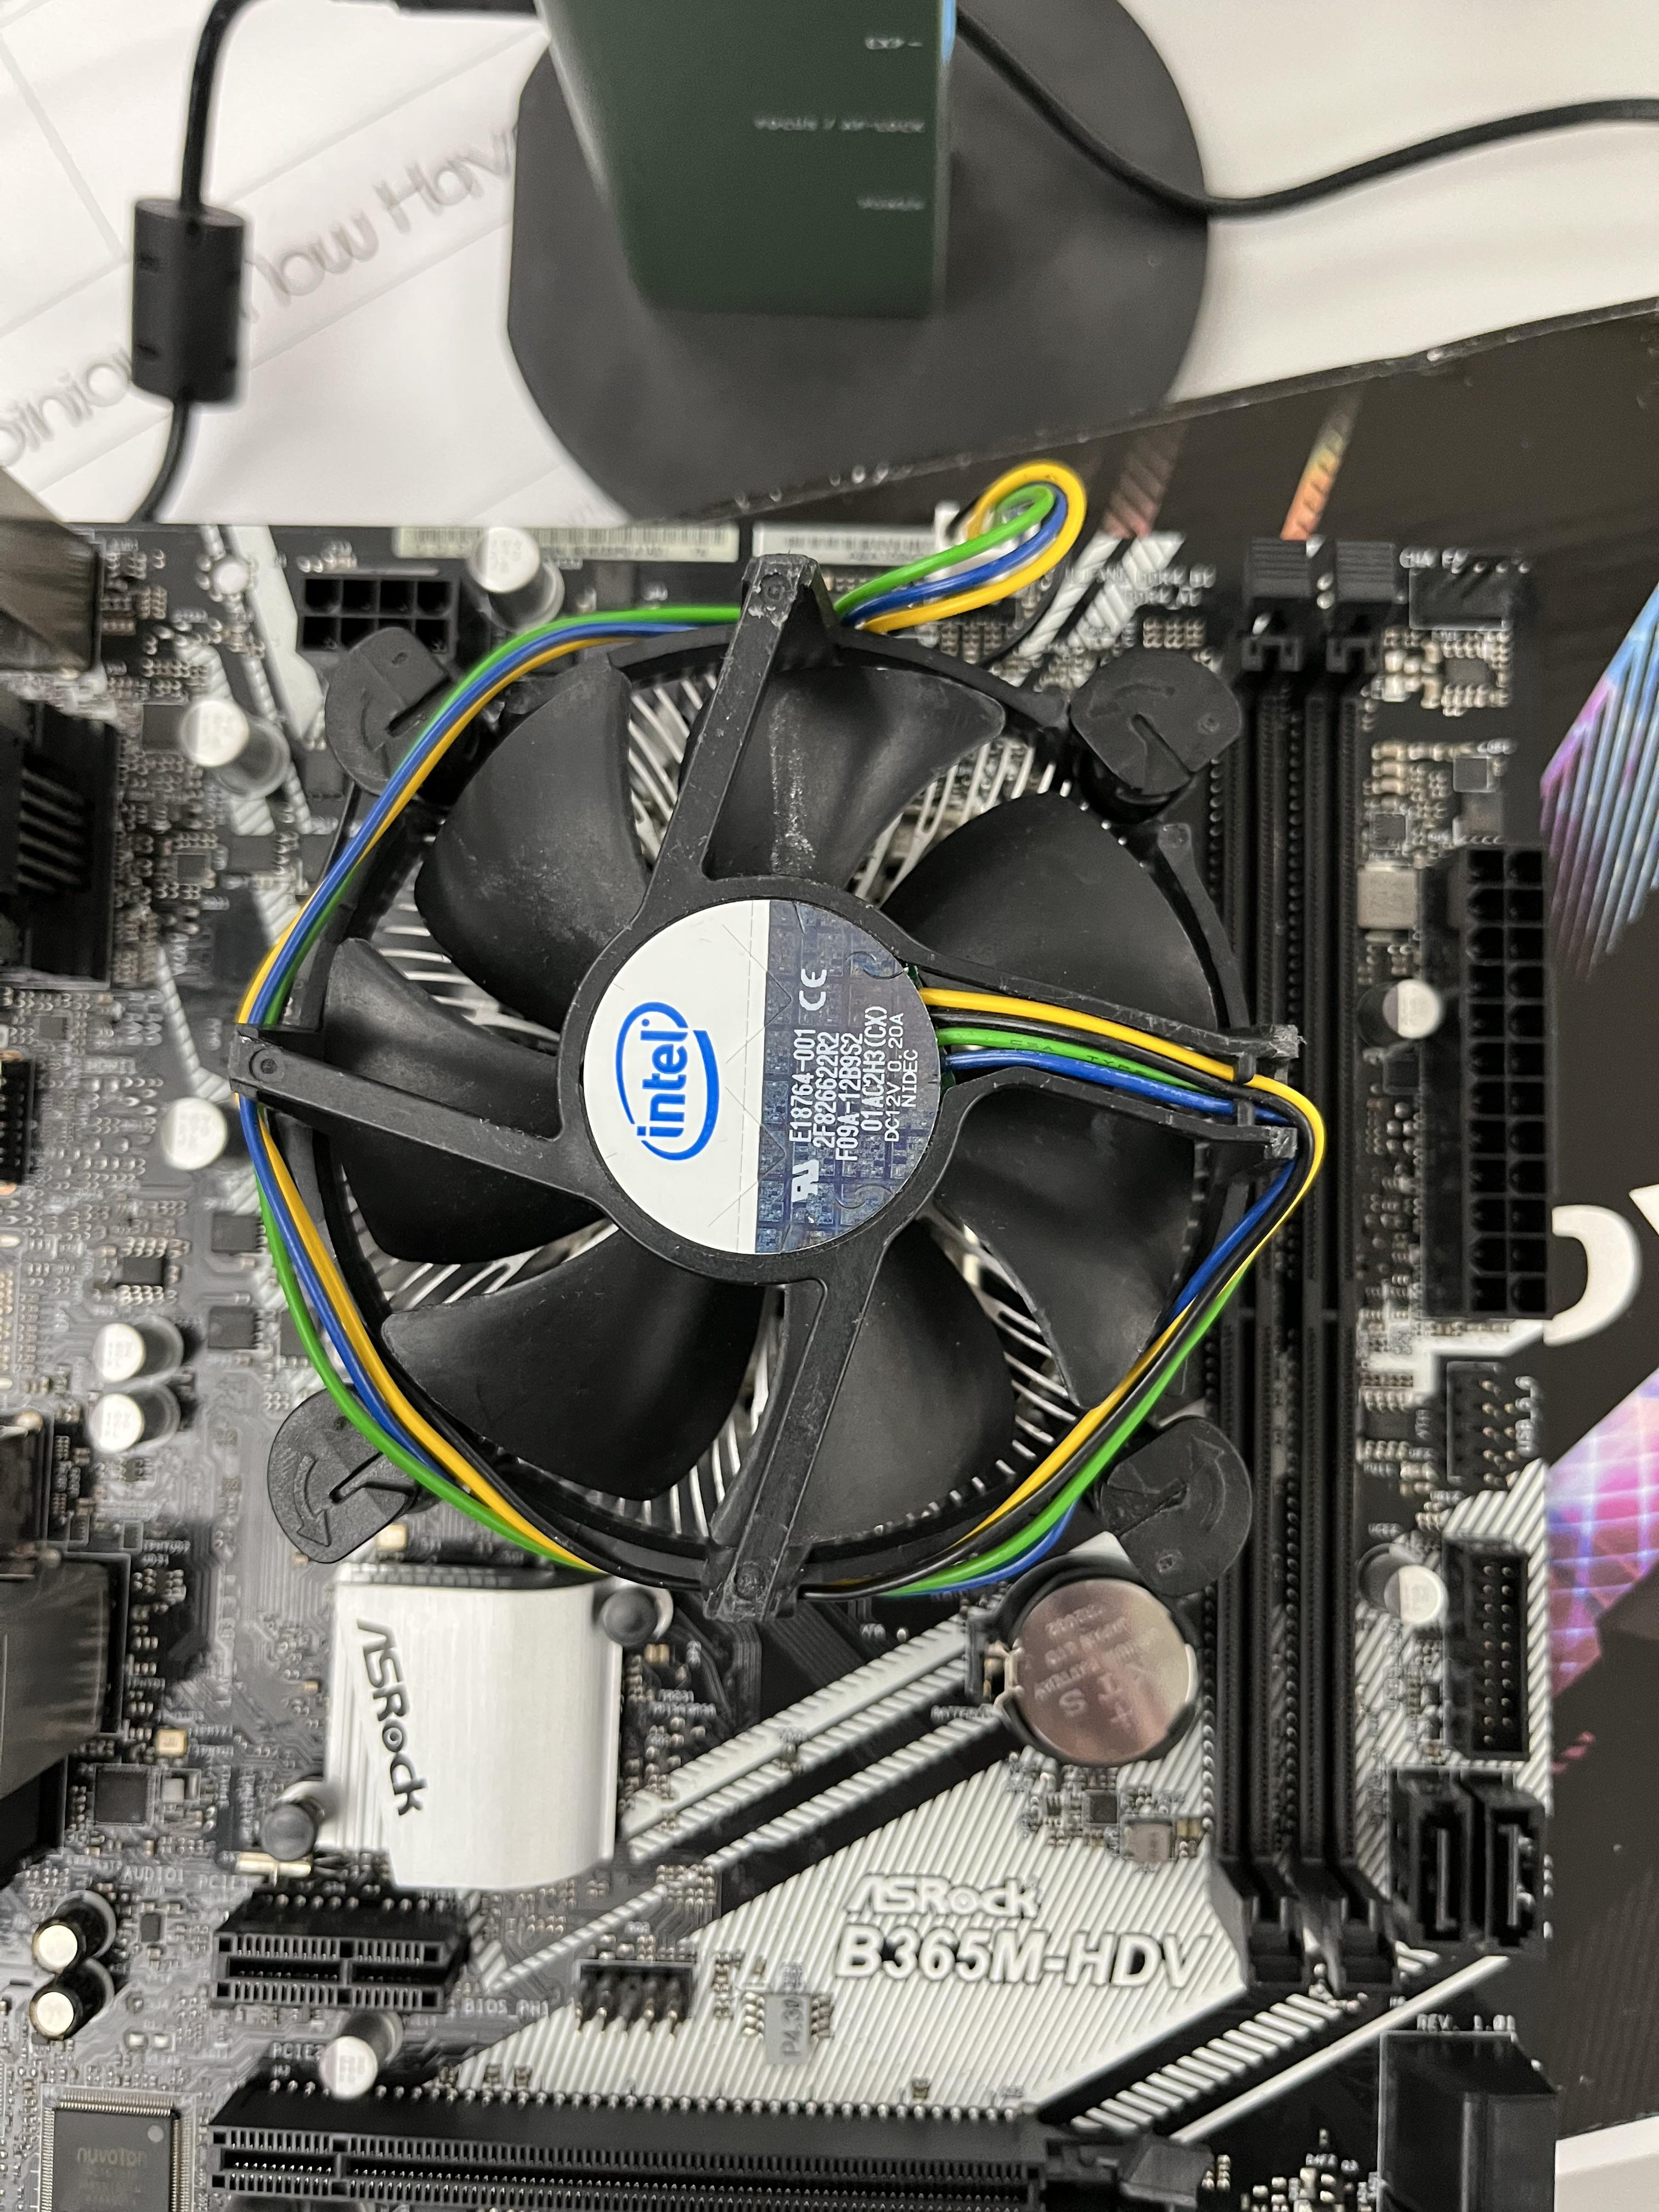
Place the fan on top of the CPU and lock it in by Turing the pins so the arrows face outwards and then press down on both sides on different angles for easier instillation and Positive pressure. (Make sure you have enough room for the 4 pin connecter and you have your cooler's backplate on). Depending on what CPU you use your cooler will vary from instruction.
RAM Instillation
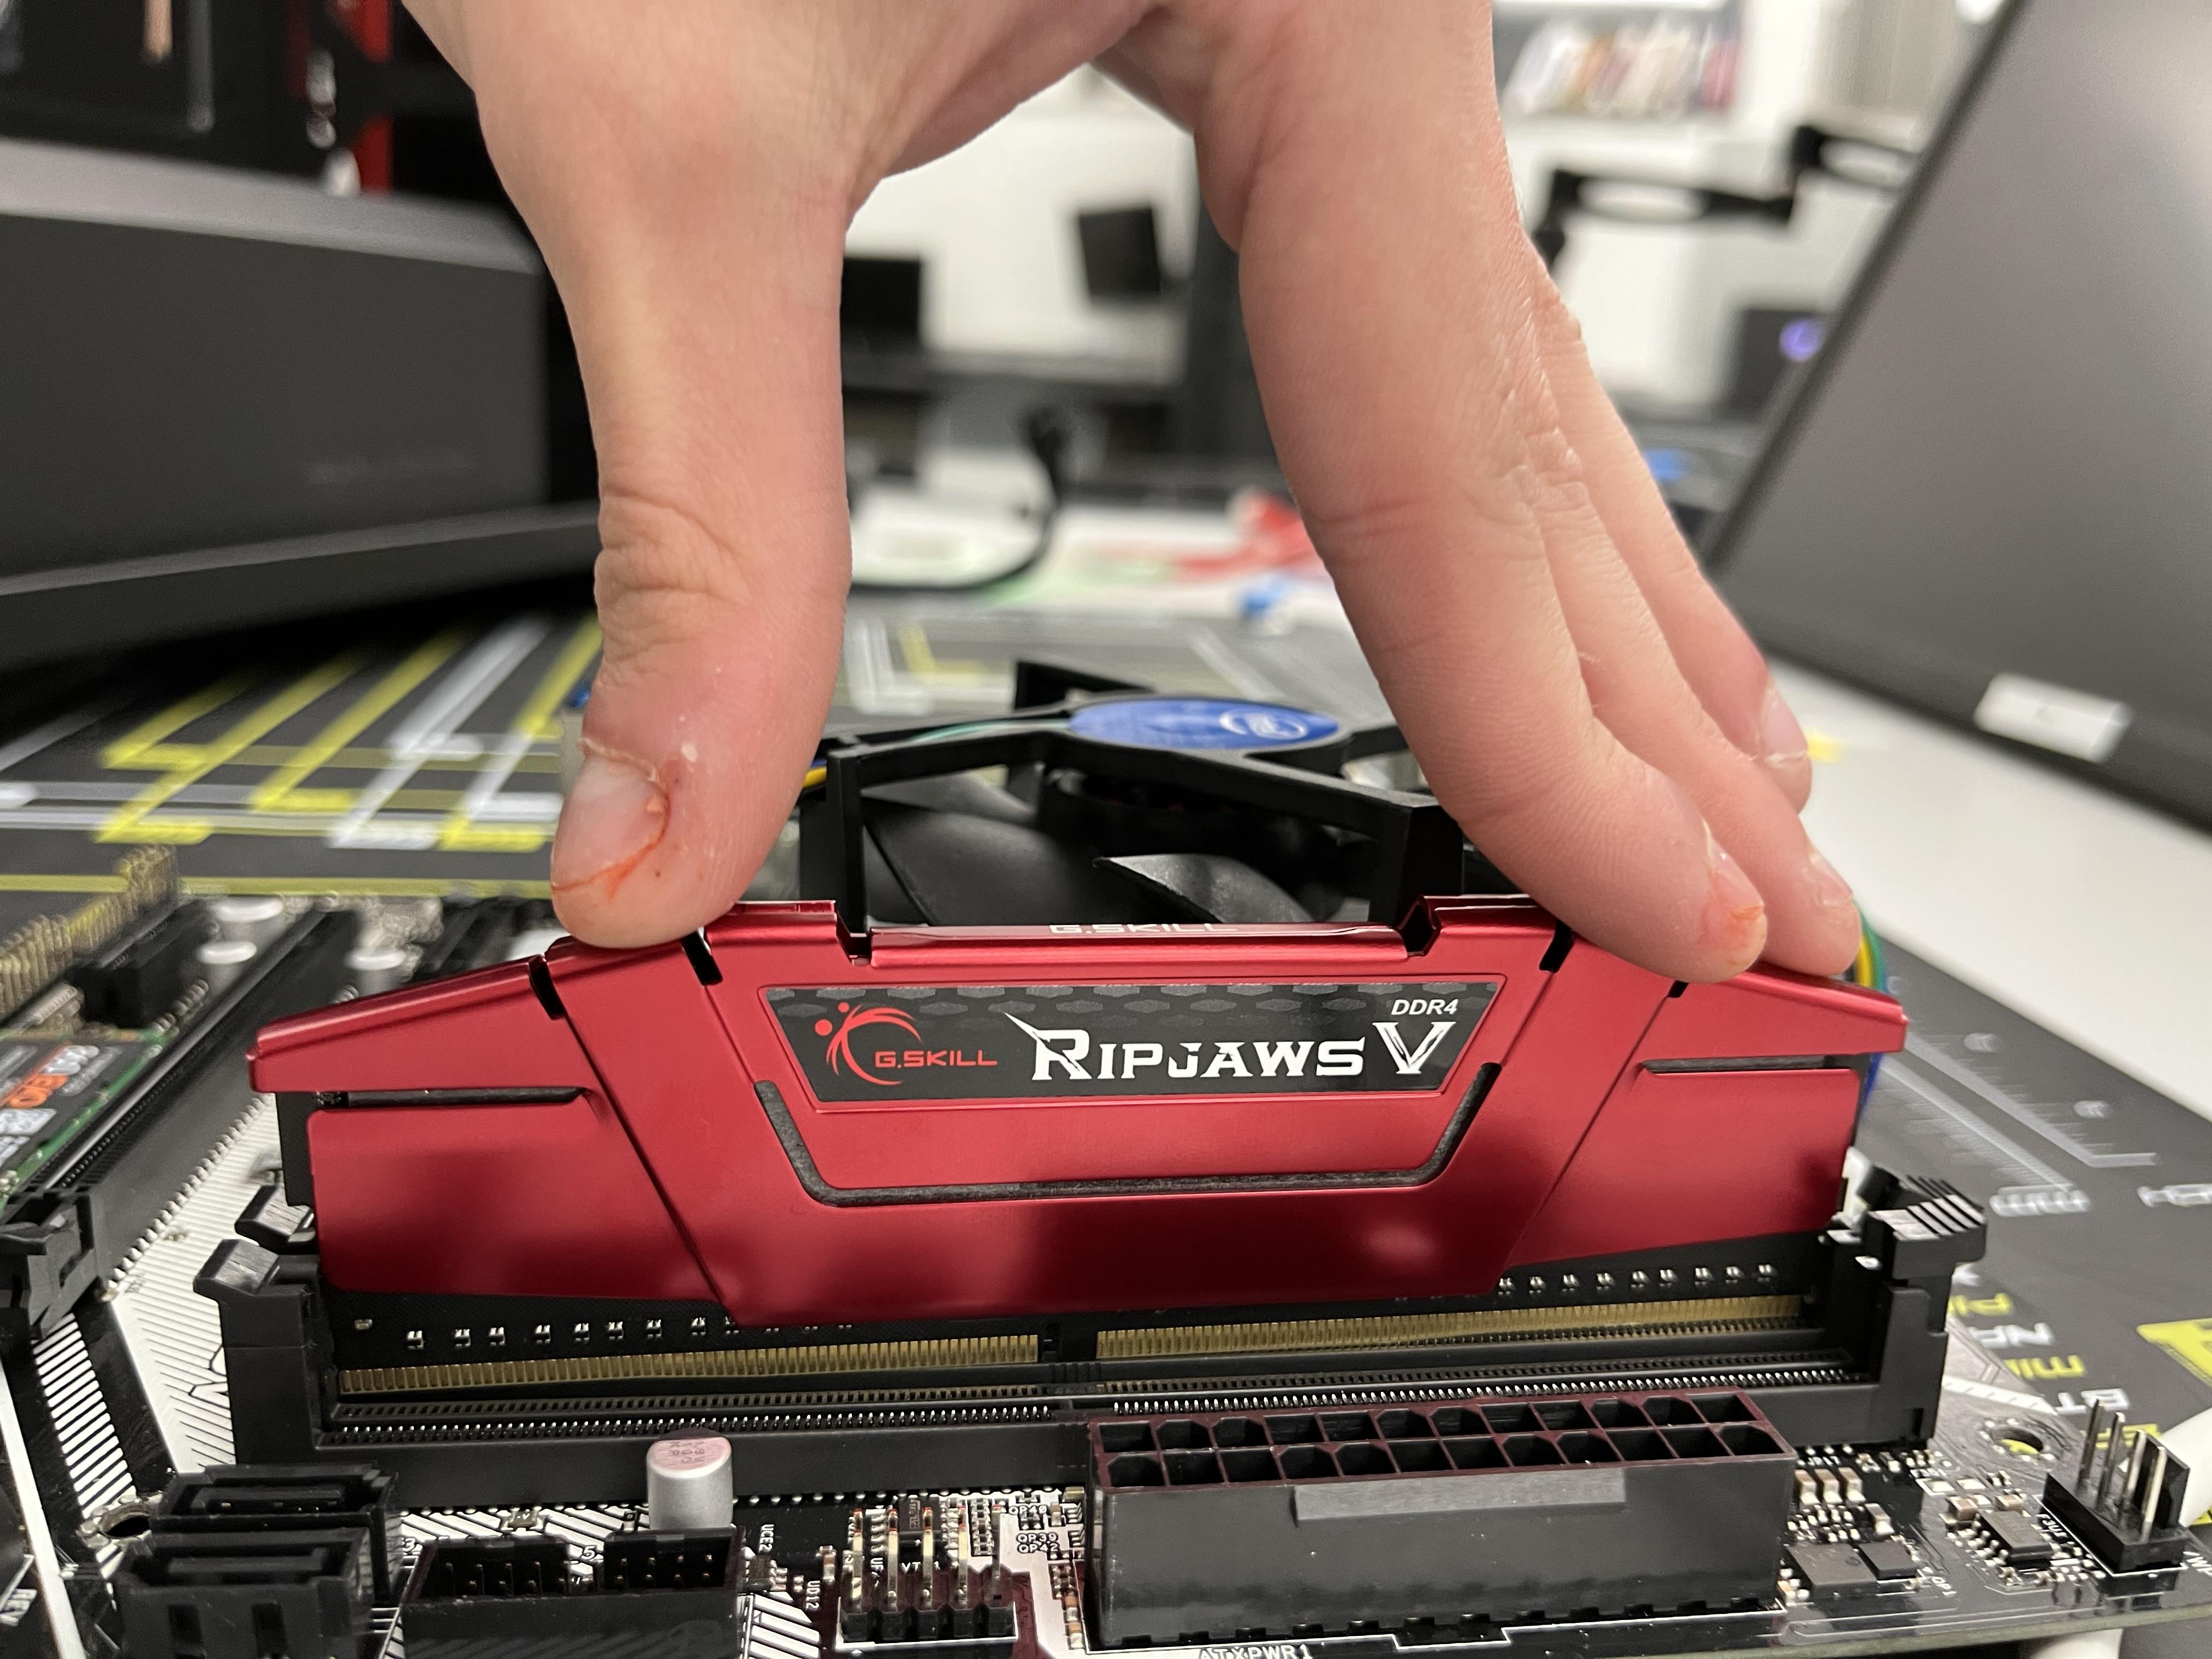
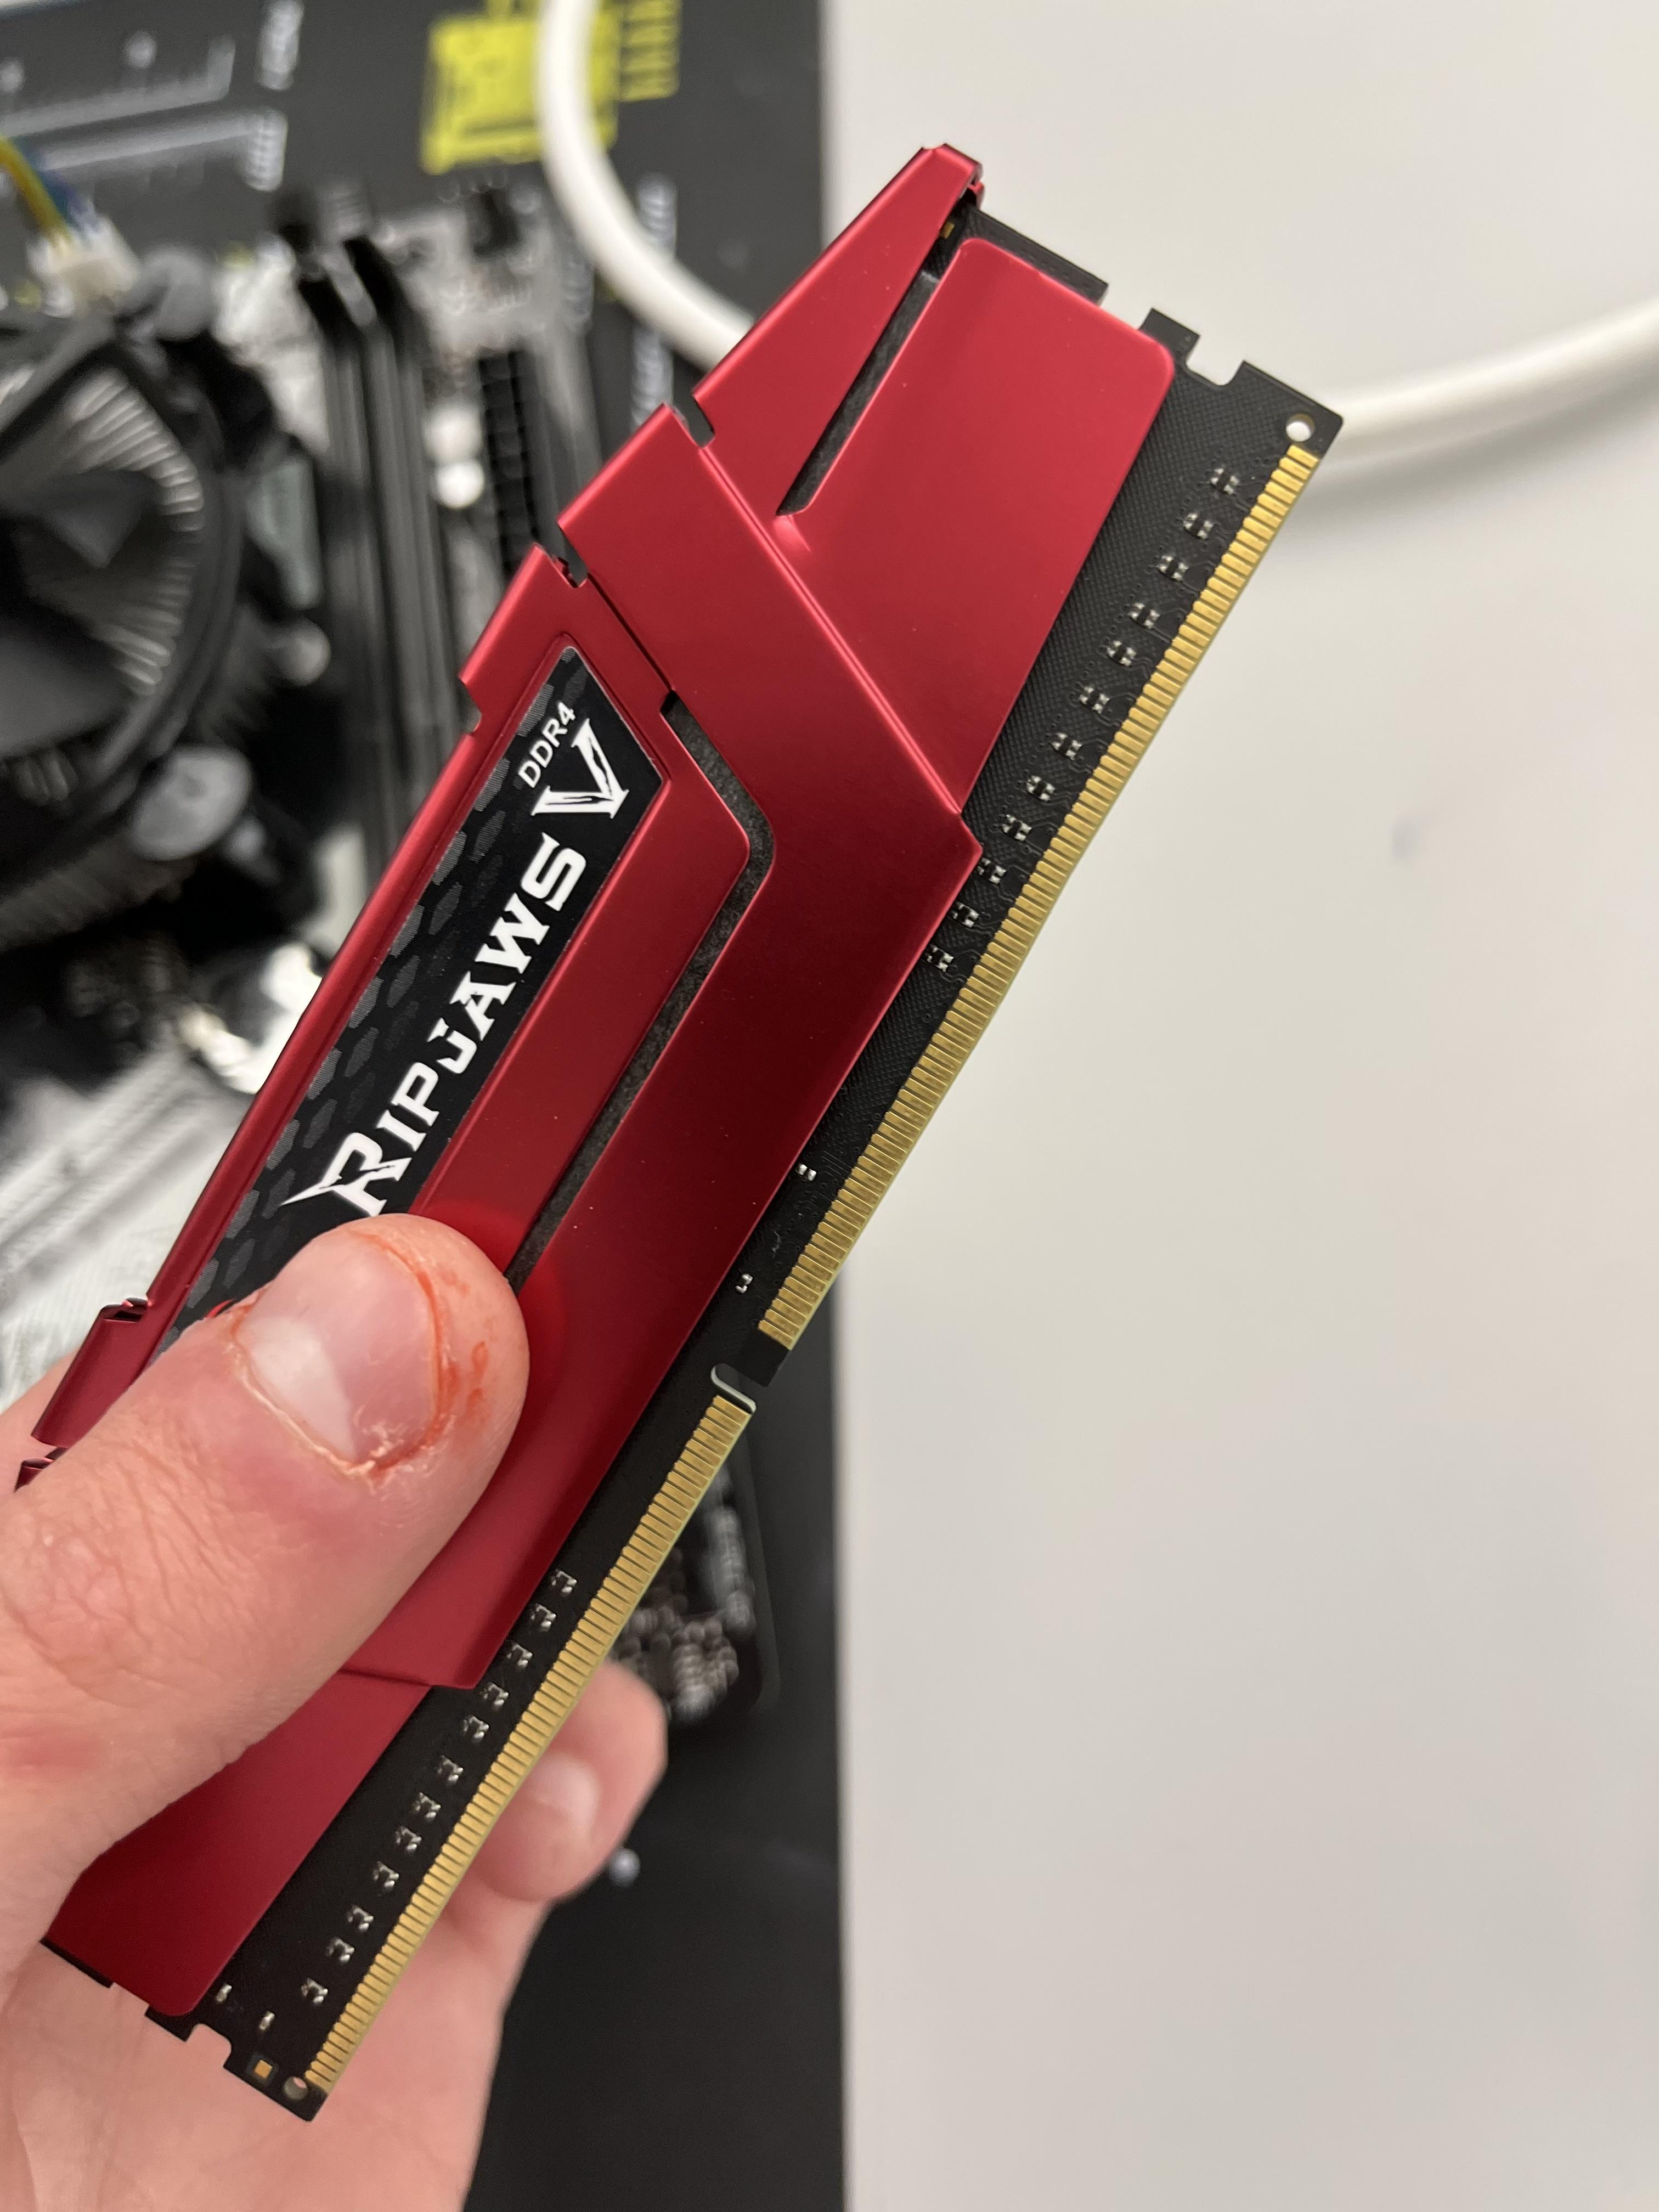
Grab your stick of RAM and look at the bottom of the stick and look for the keyed connection, place the stick in the way the keyed connection will fit in the motherboard. Give pressure to both sides of the stick and press down till you hear a double click. Note: If you have 2 sticks of ram in a board with 4 RAM slots do either (Slot 2 and 4) or (Slot 1 and 3).
Place the Case on Its Feet
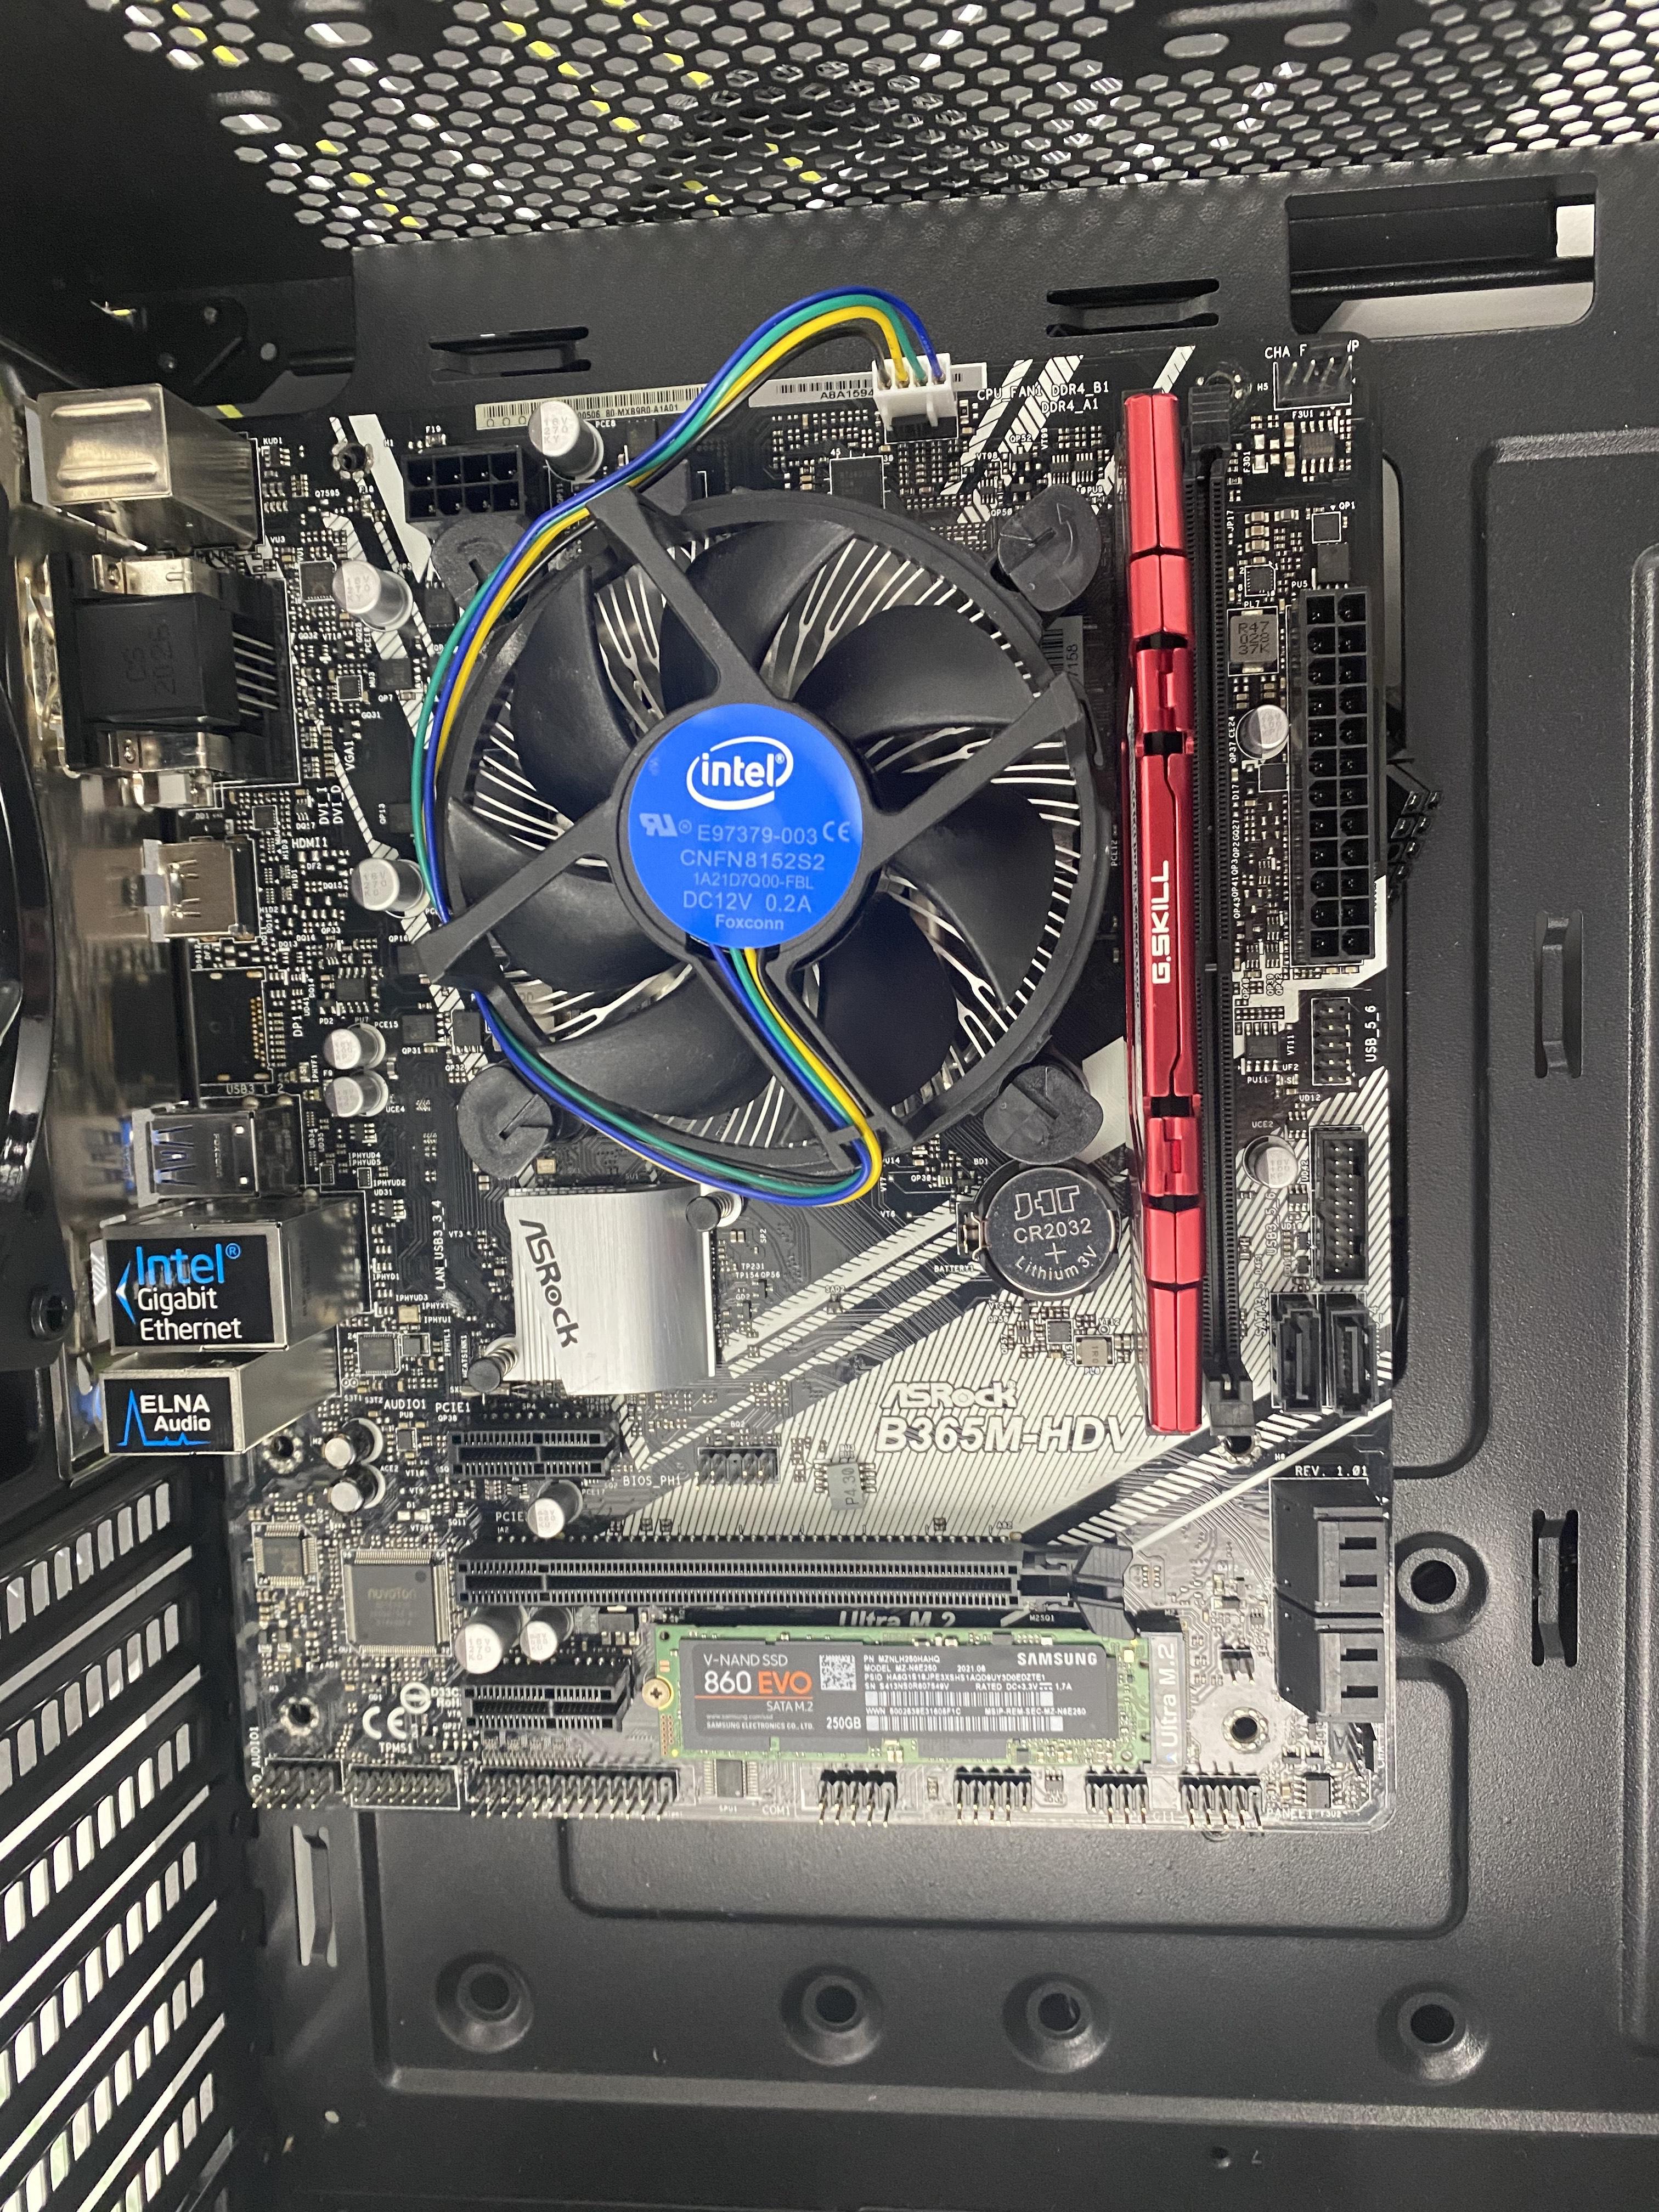
Place the case on its feet and continue forward.
Graphics Card
We have no Graphics Card, but if you do not have one you can use the onboard graphics IF your CPU supports it.
Power Supply
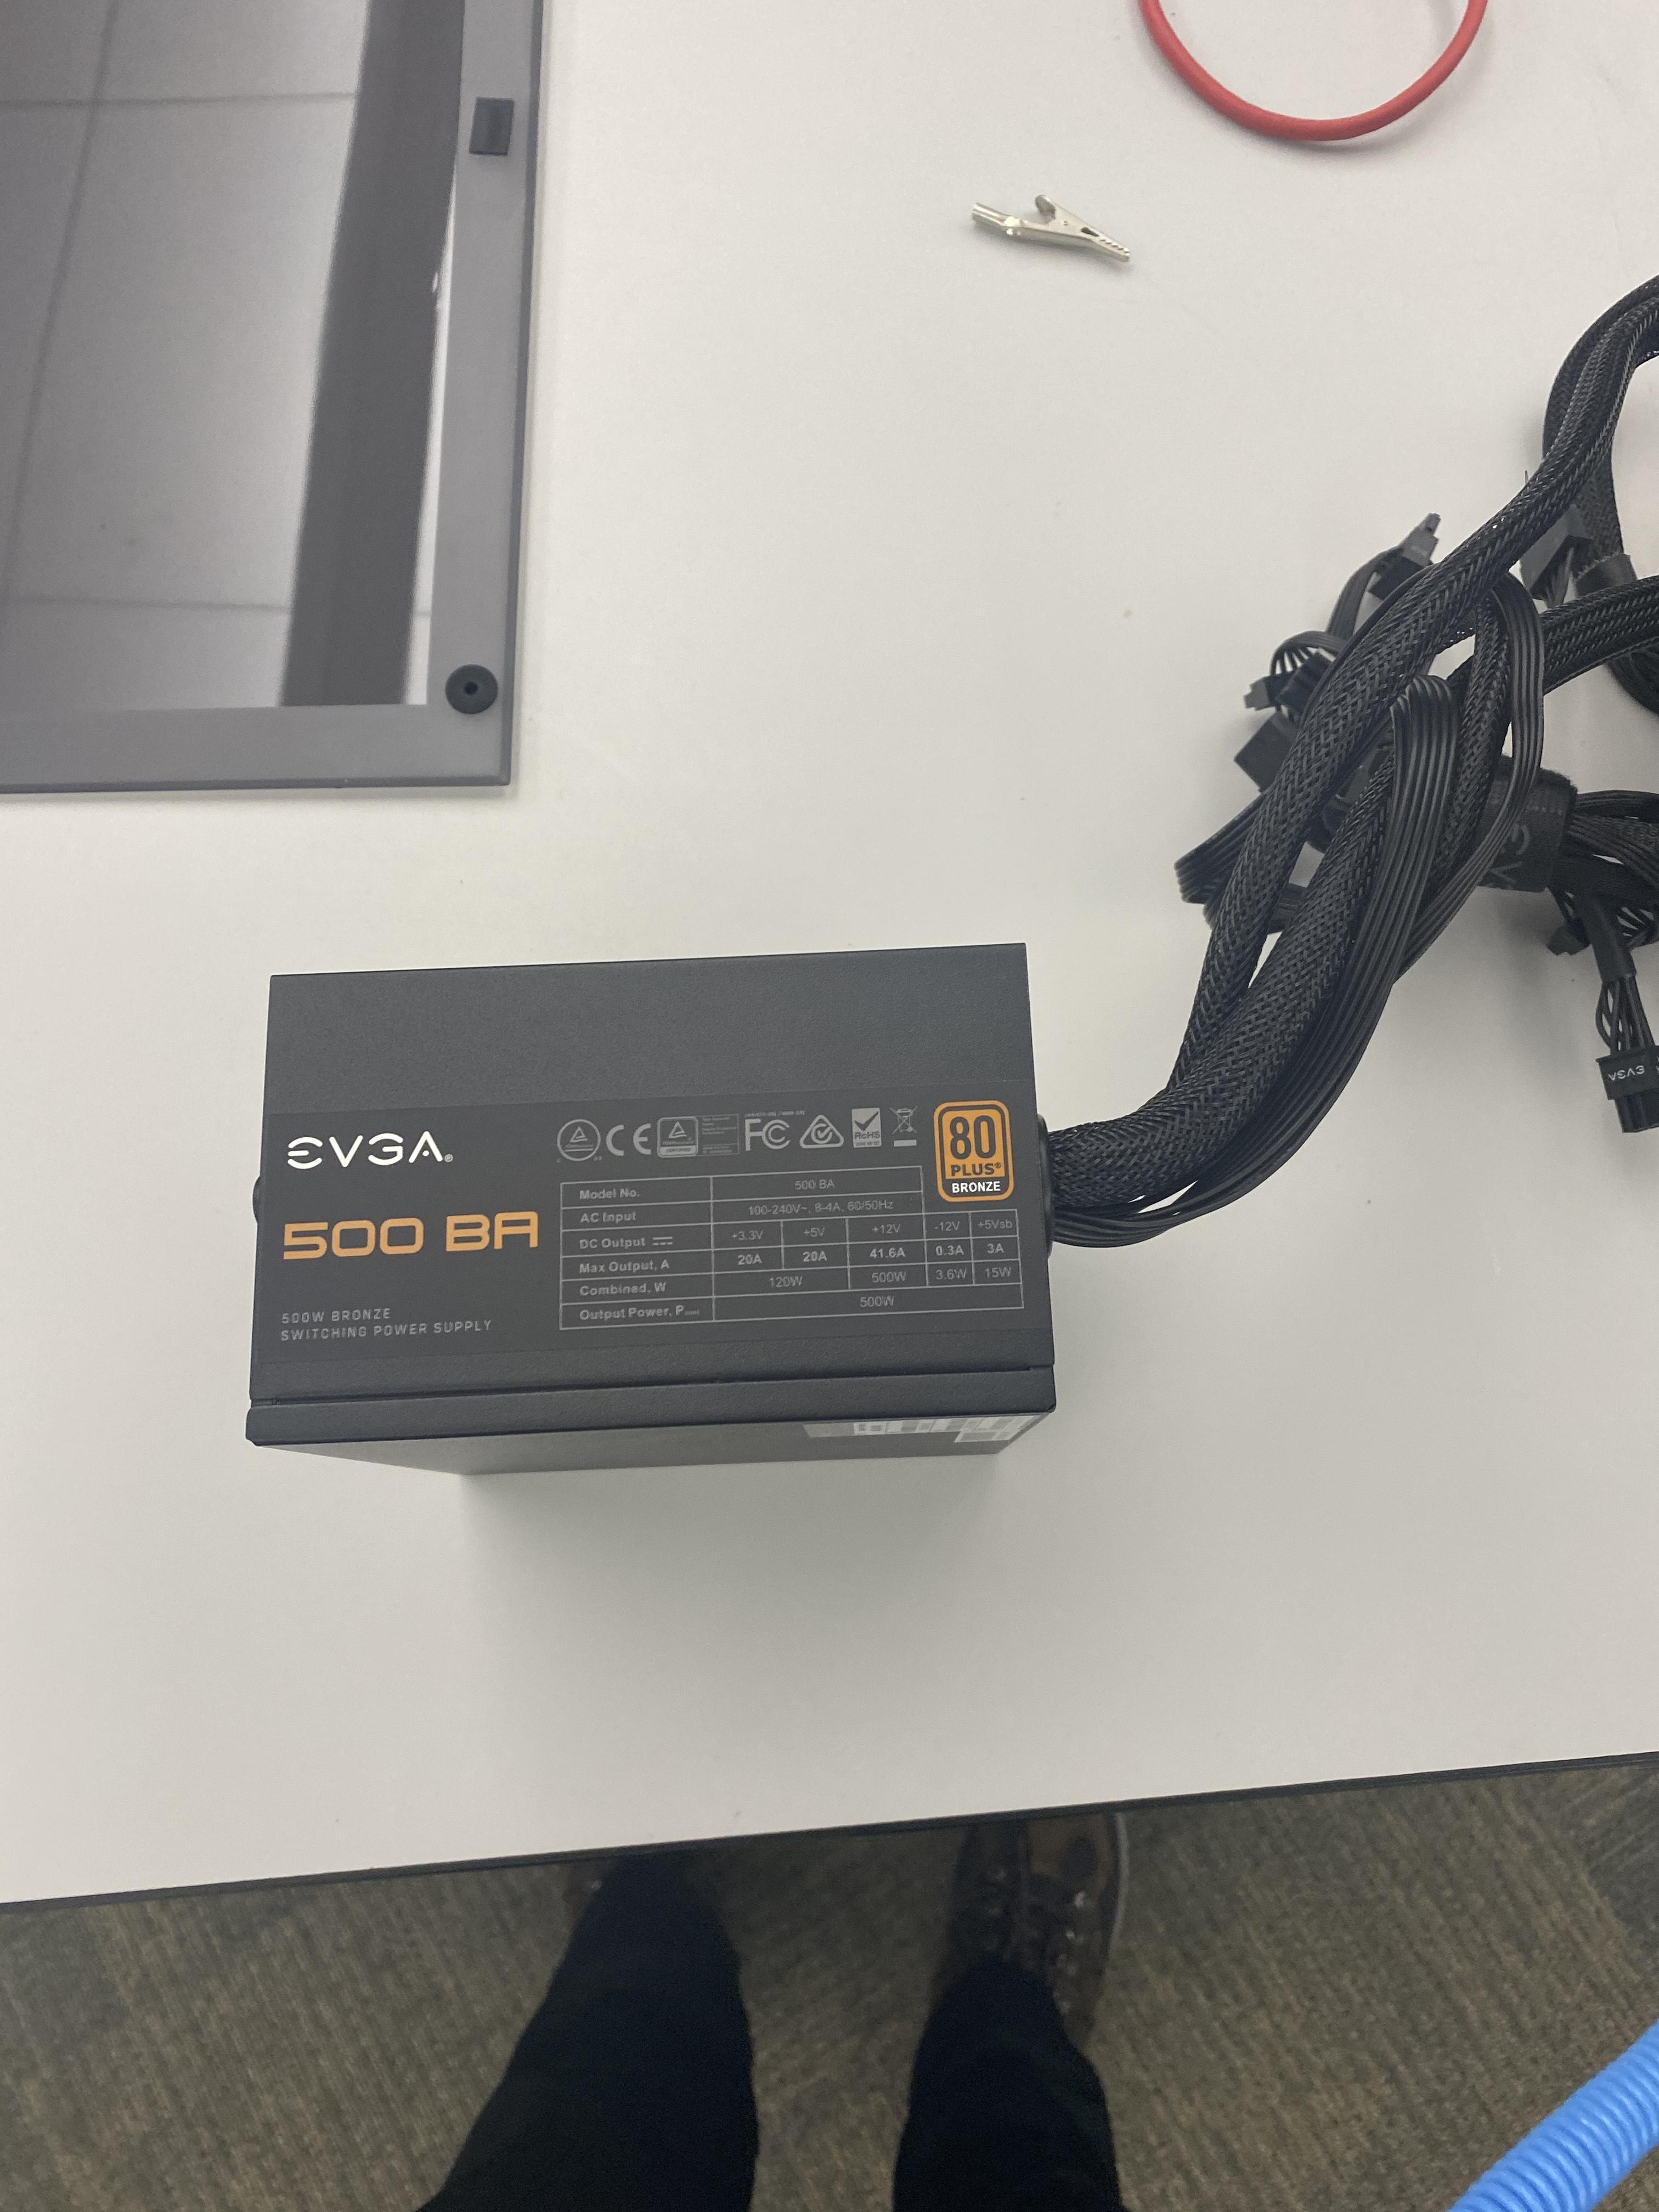
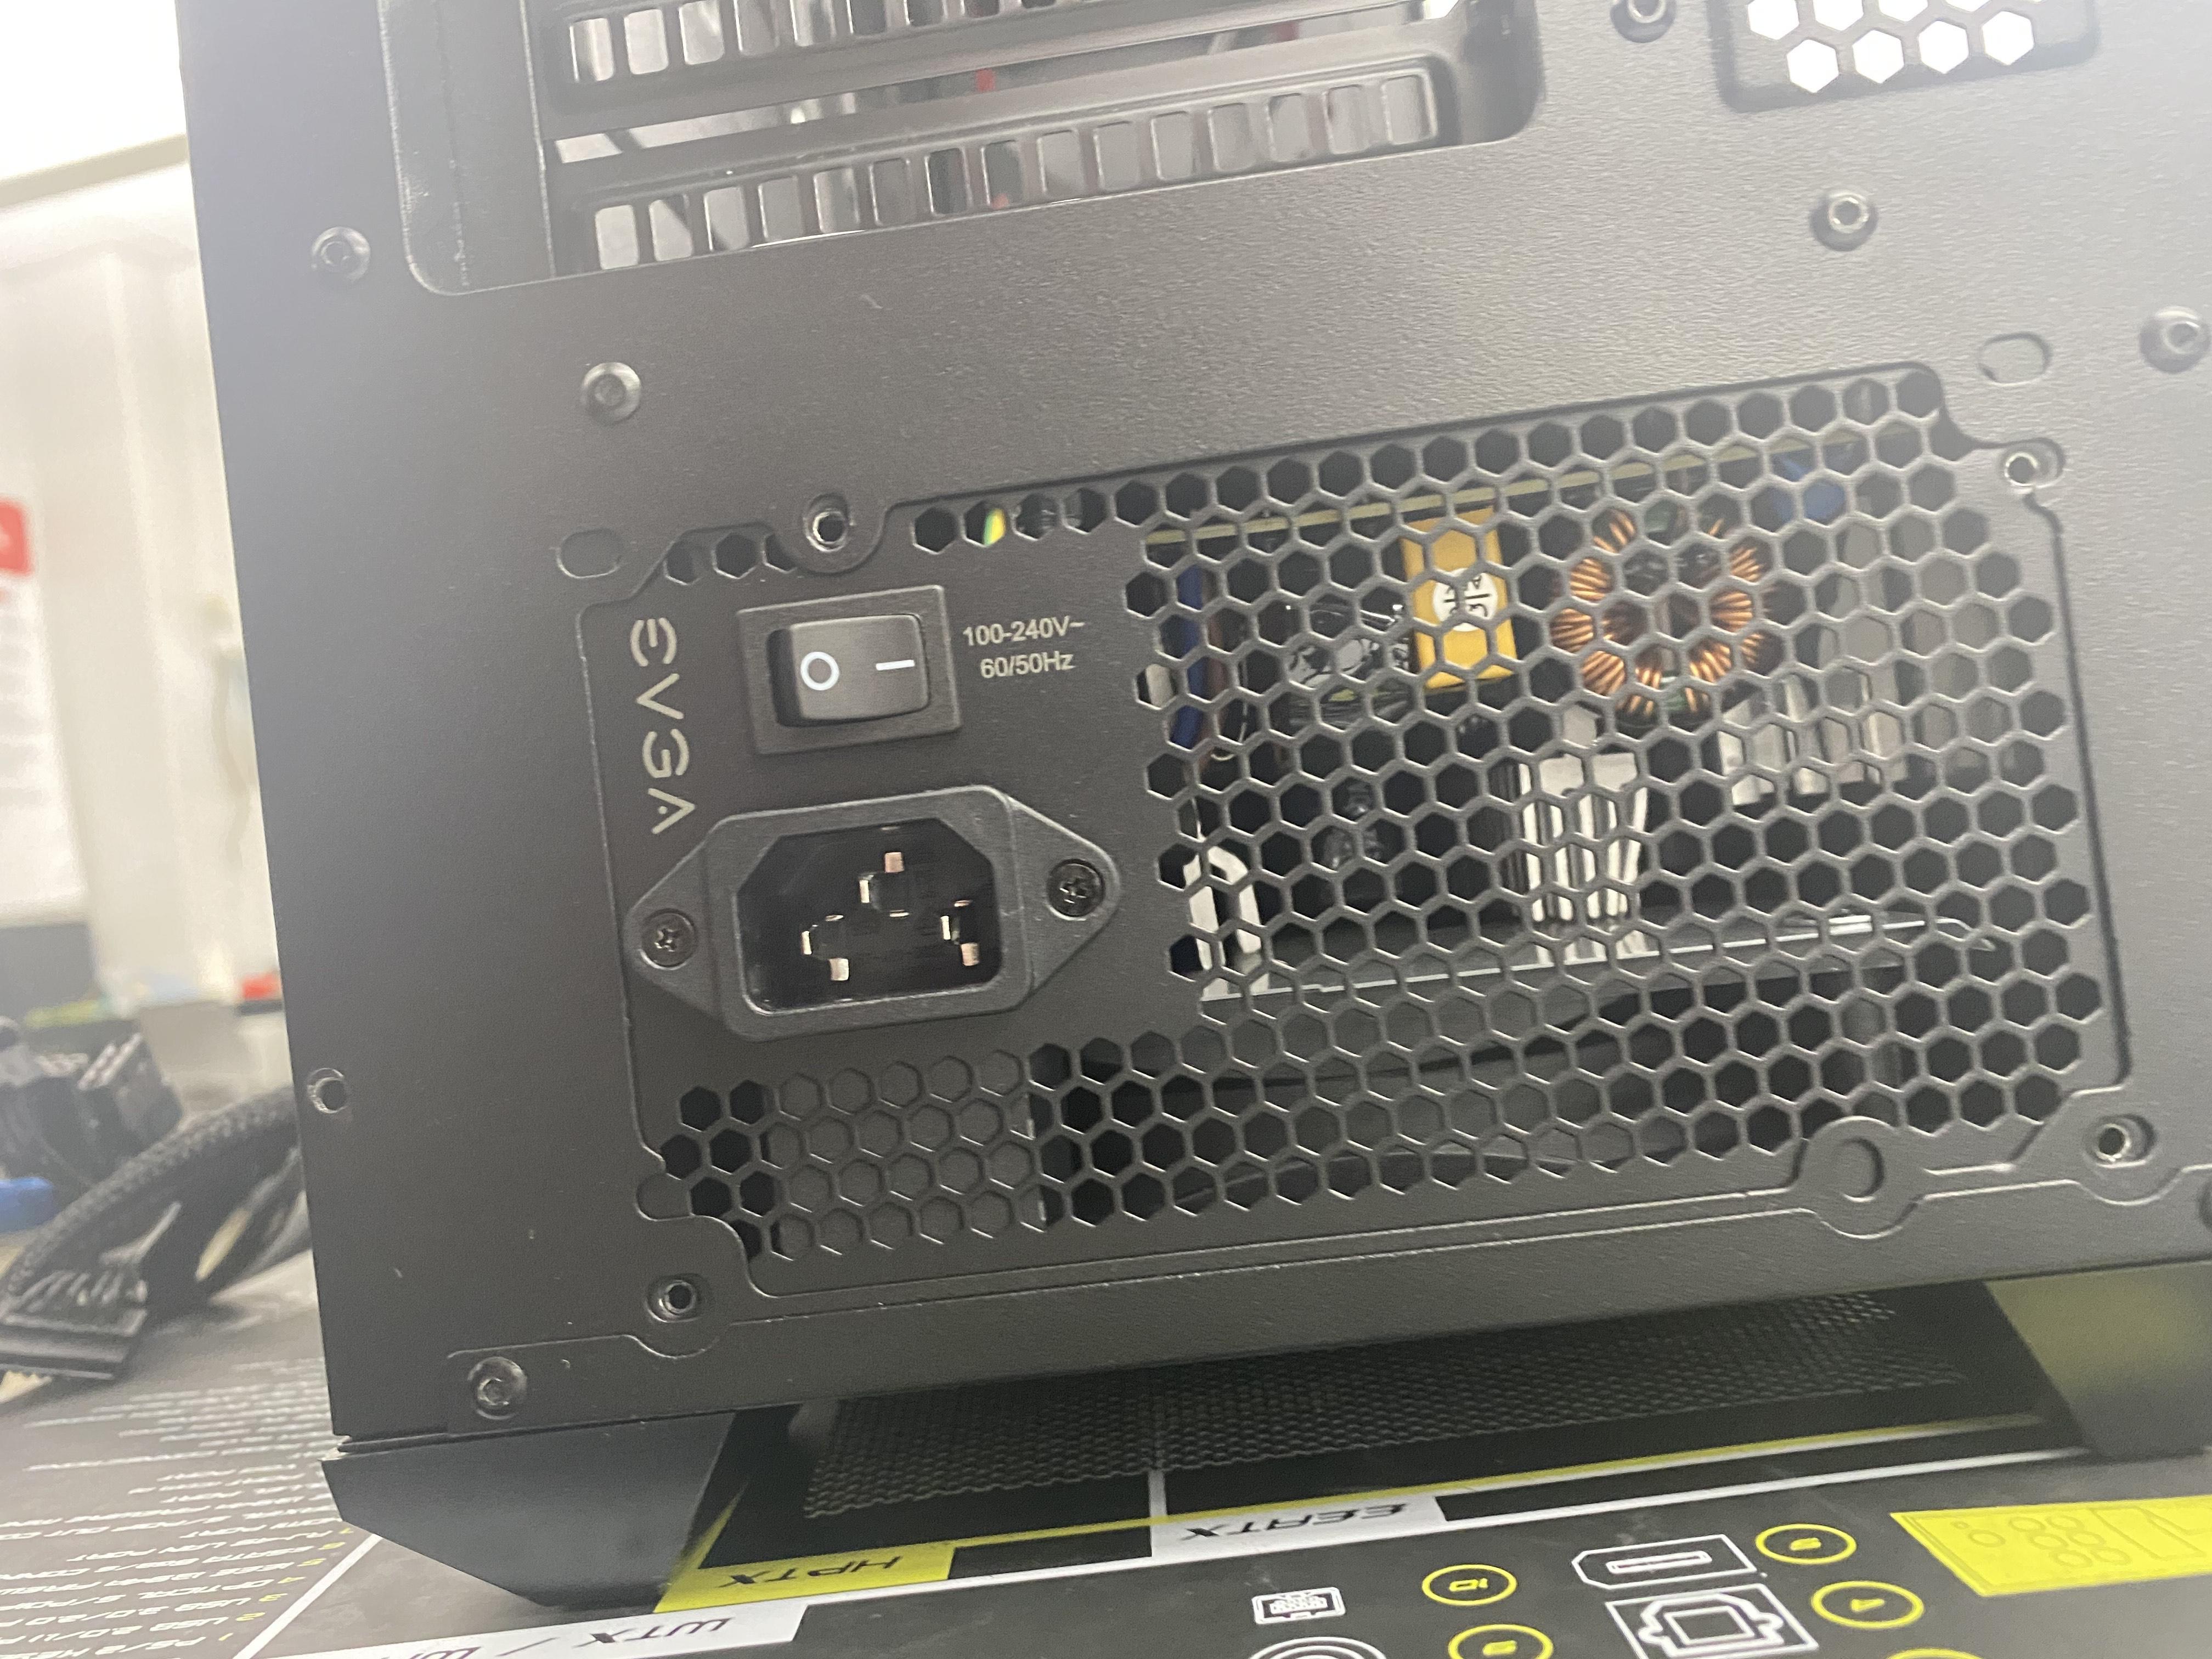
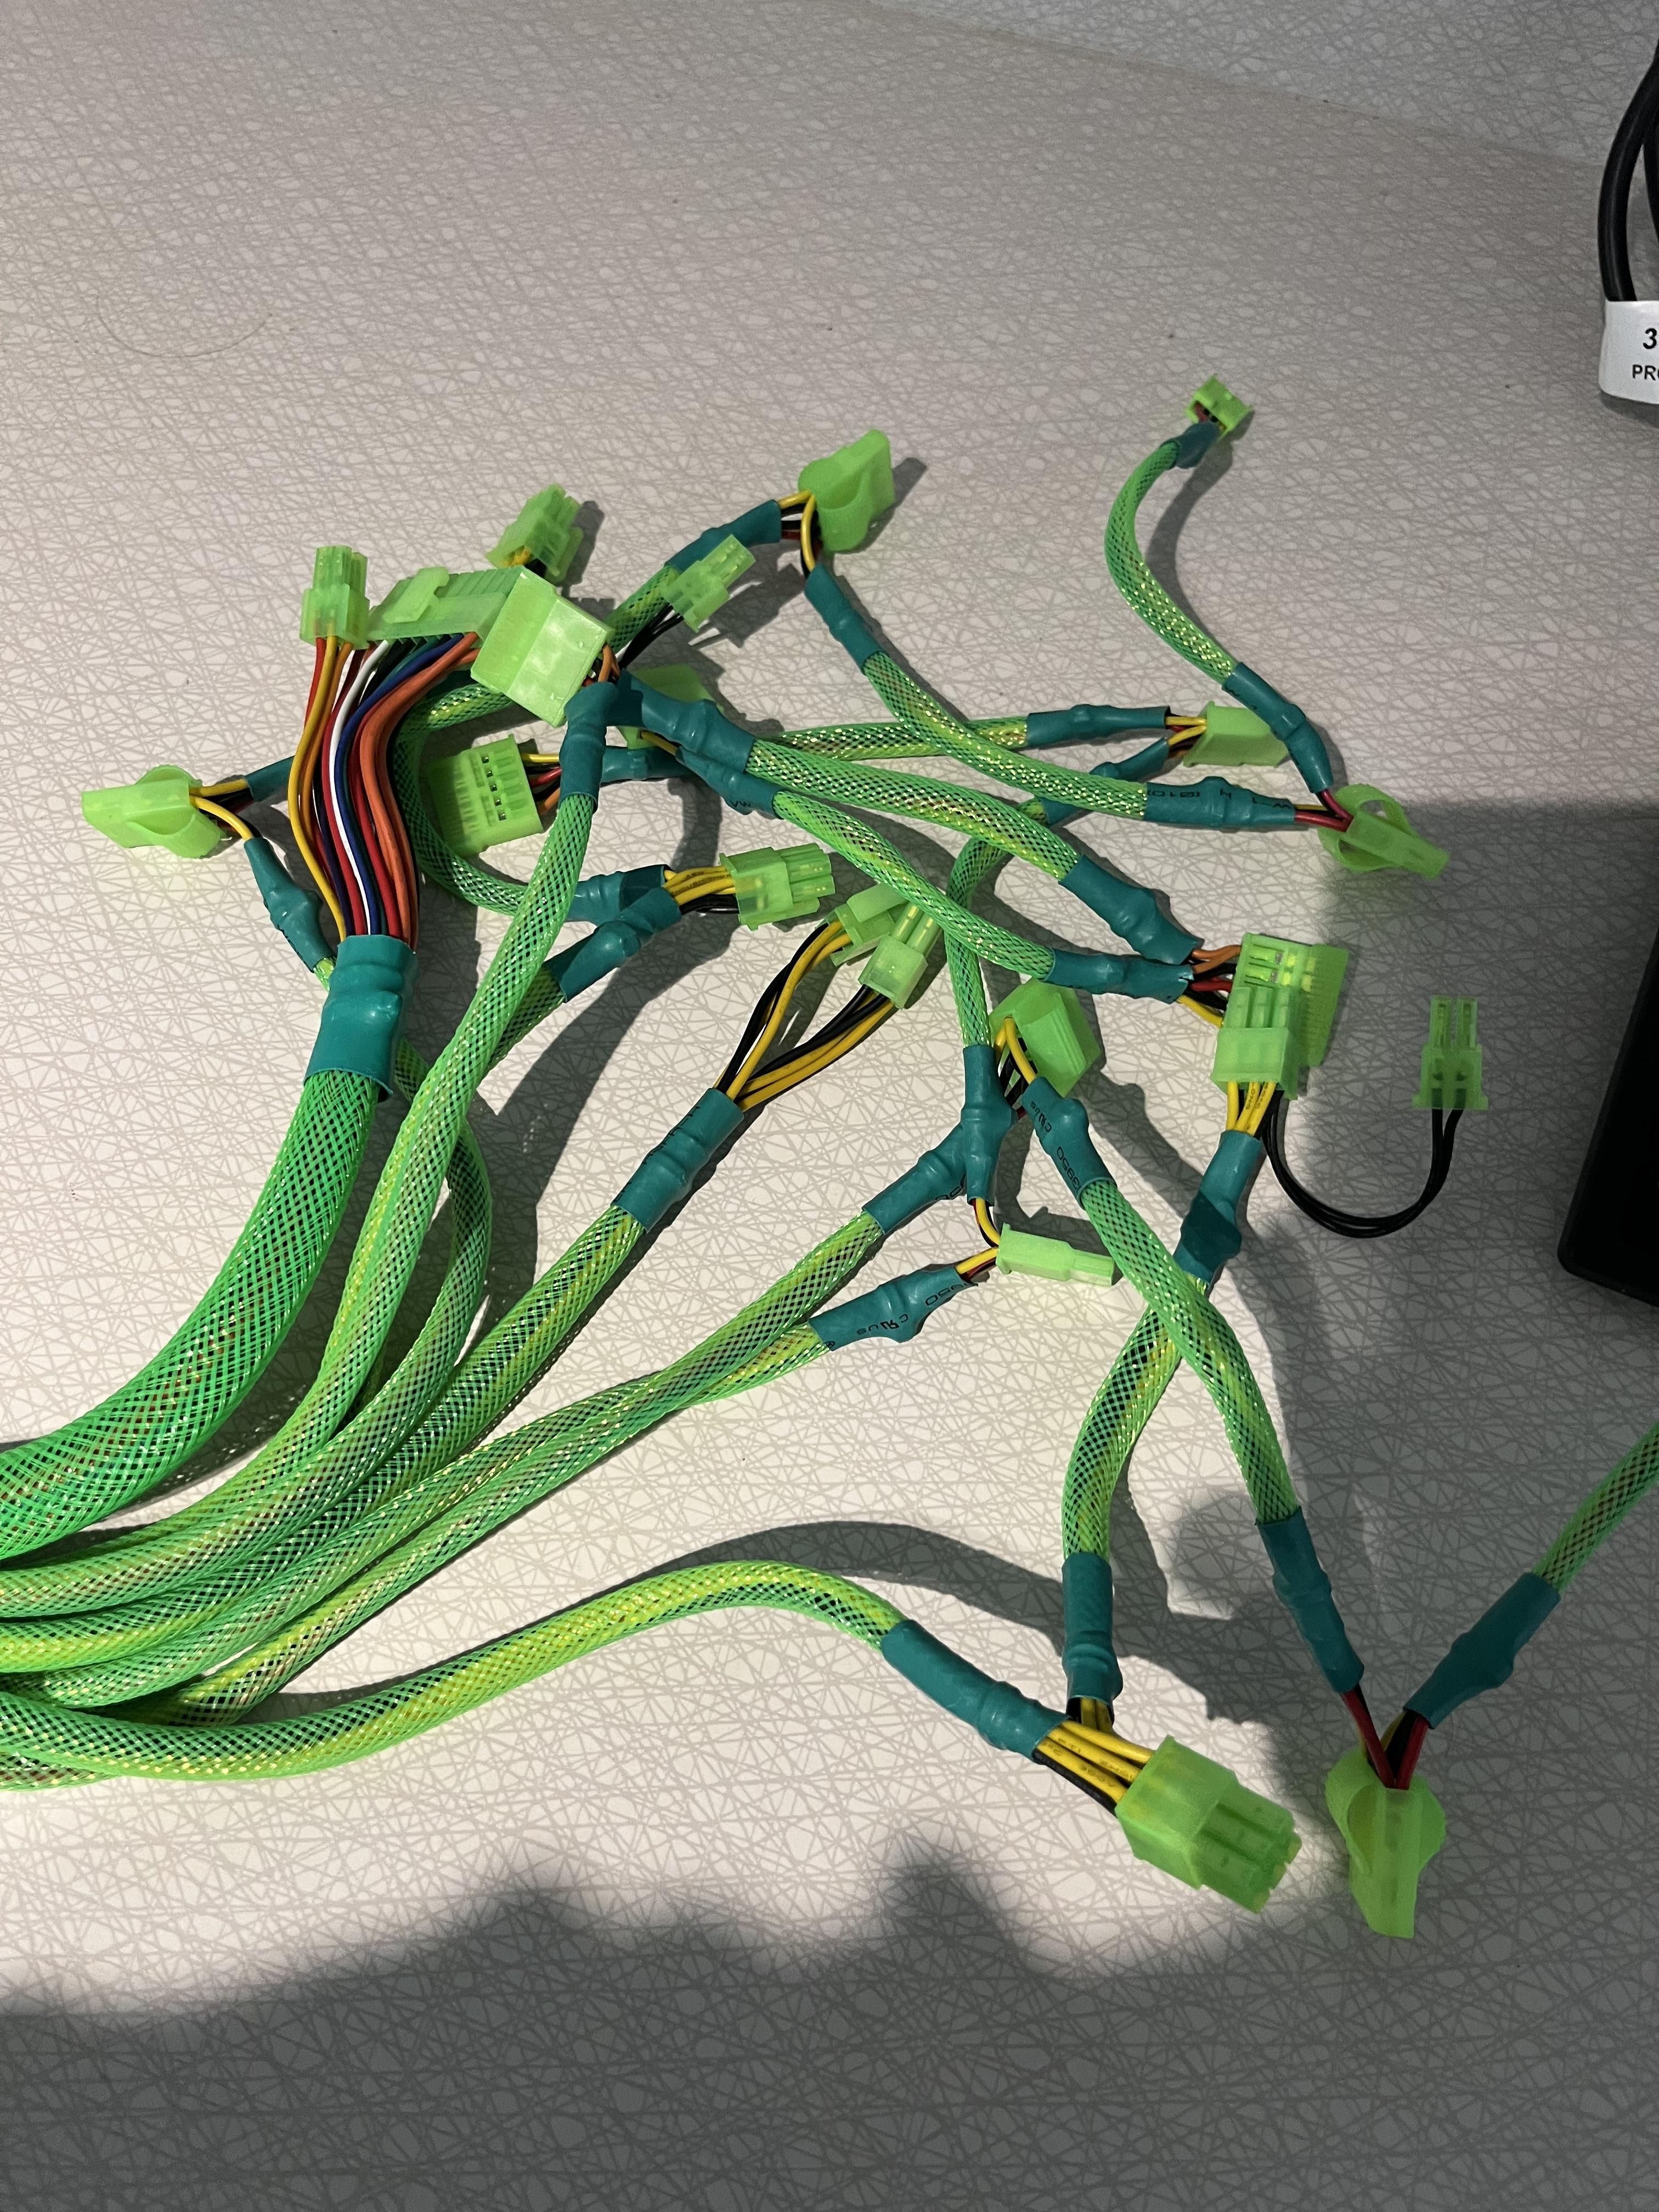
Your Power Supply powers the components in your PC, whether that be Drives, CPU, GPU, Fans, etc. Open the back panel of your case and place this on the bottom where the AC power port is facing out of the case. Once placed in screw in the 4 screws on the back (Doing 4 screws is optional).
If you have a Non Modular Power Supply you will have the following
- 24 Pin Connecter for Motherboard
- 8 Pin Connecter for CPU
- 2+ Molex Connecters
- Berg
- 6-8 Pin Connecters for GPU'
- ETC
(These will depend on what Power Supply you have).
Fans
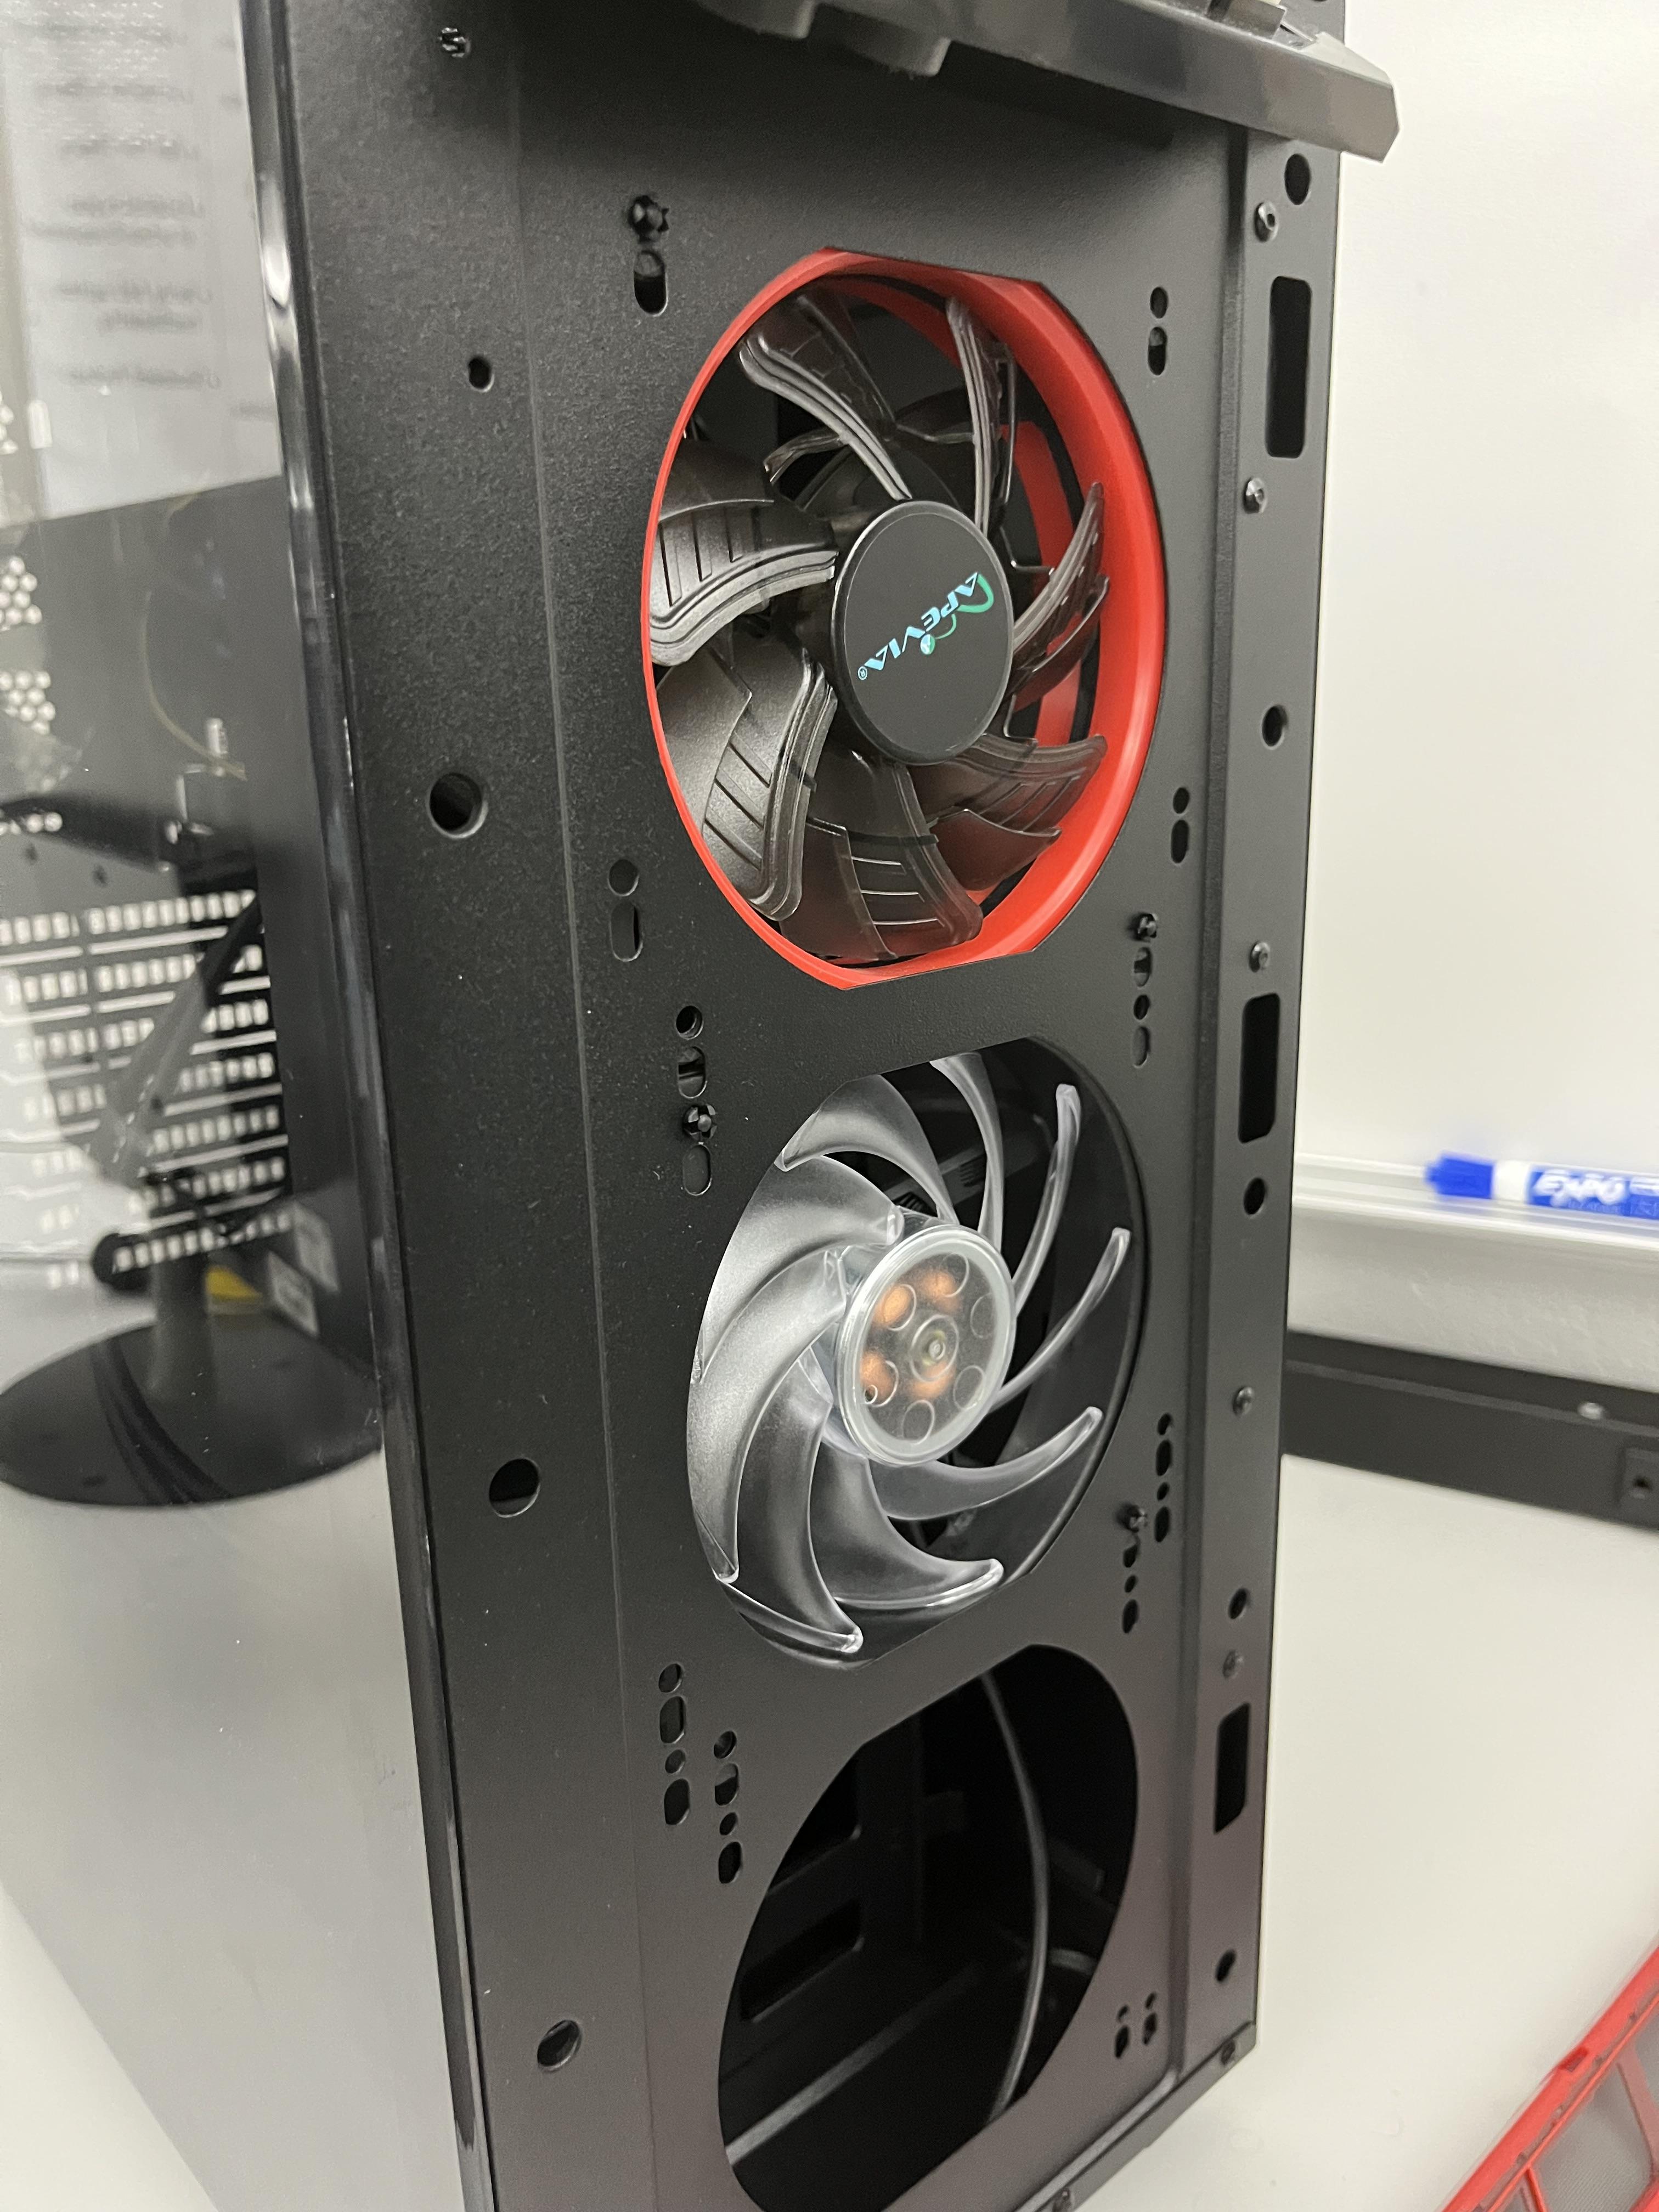
These can be in the front or back of the case, assuming you have the right size fans. Install them with the push pins and washers that are included. Intake fan is where the blades point inwards to the case, and outtake is when the fan blades point outwards of the case.
Post, Bios and UEFI
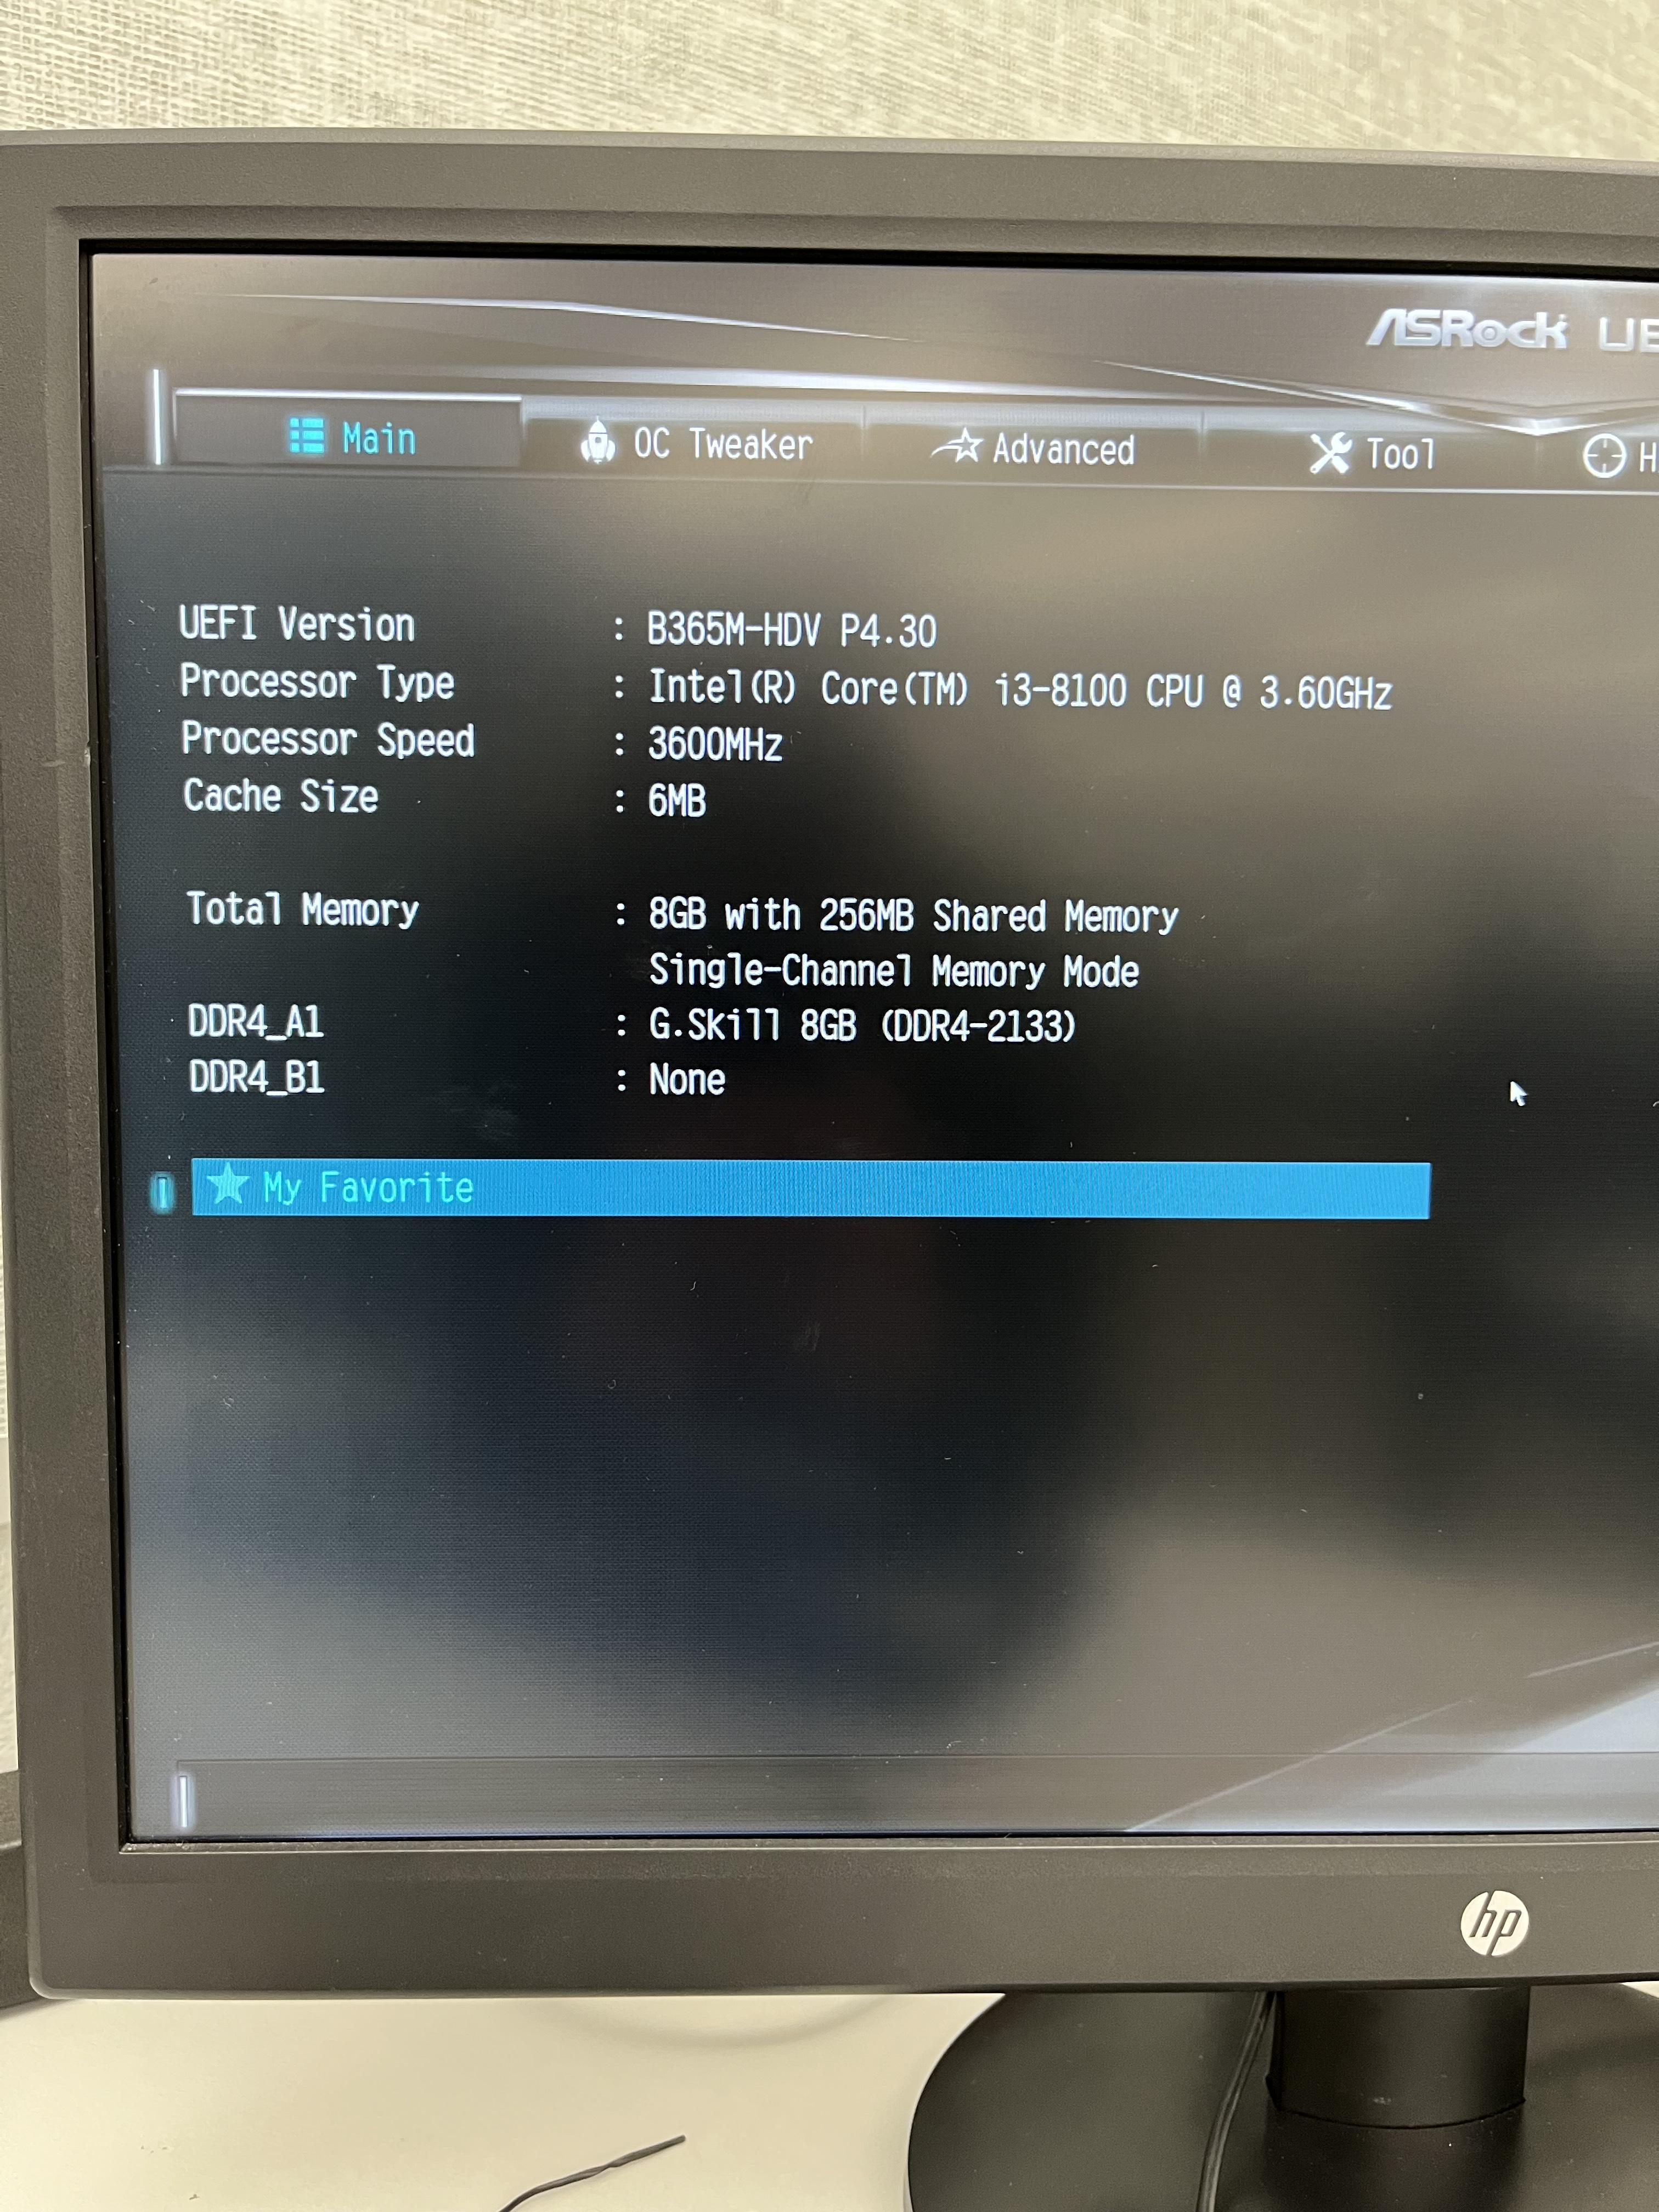
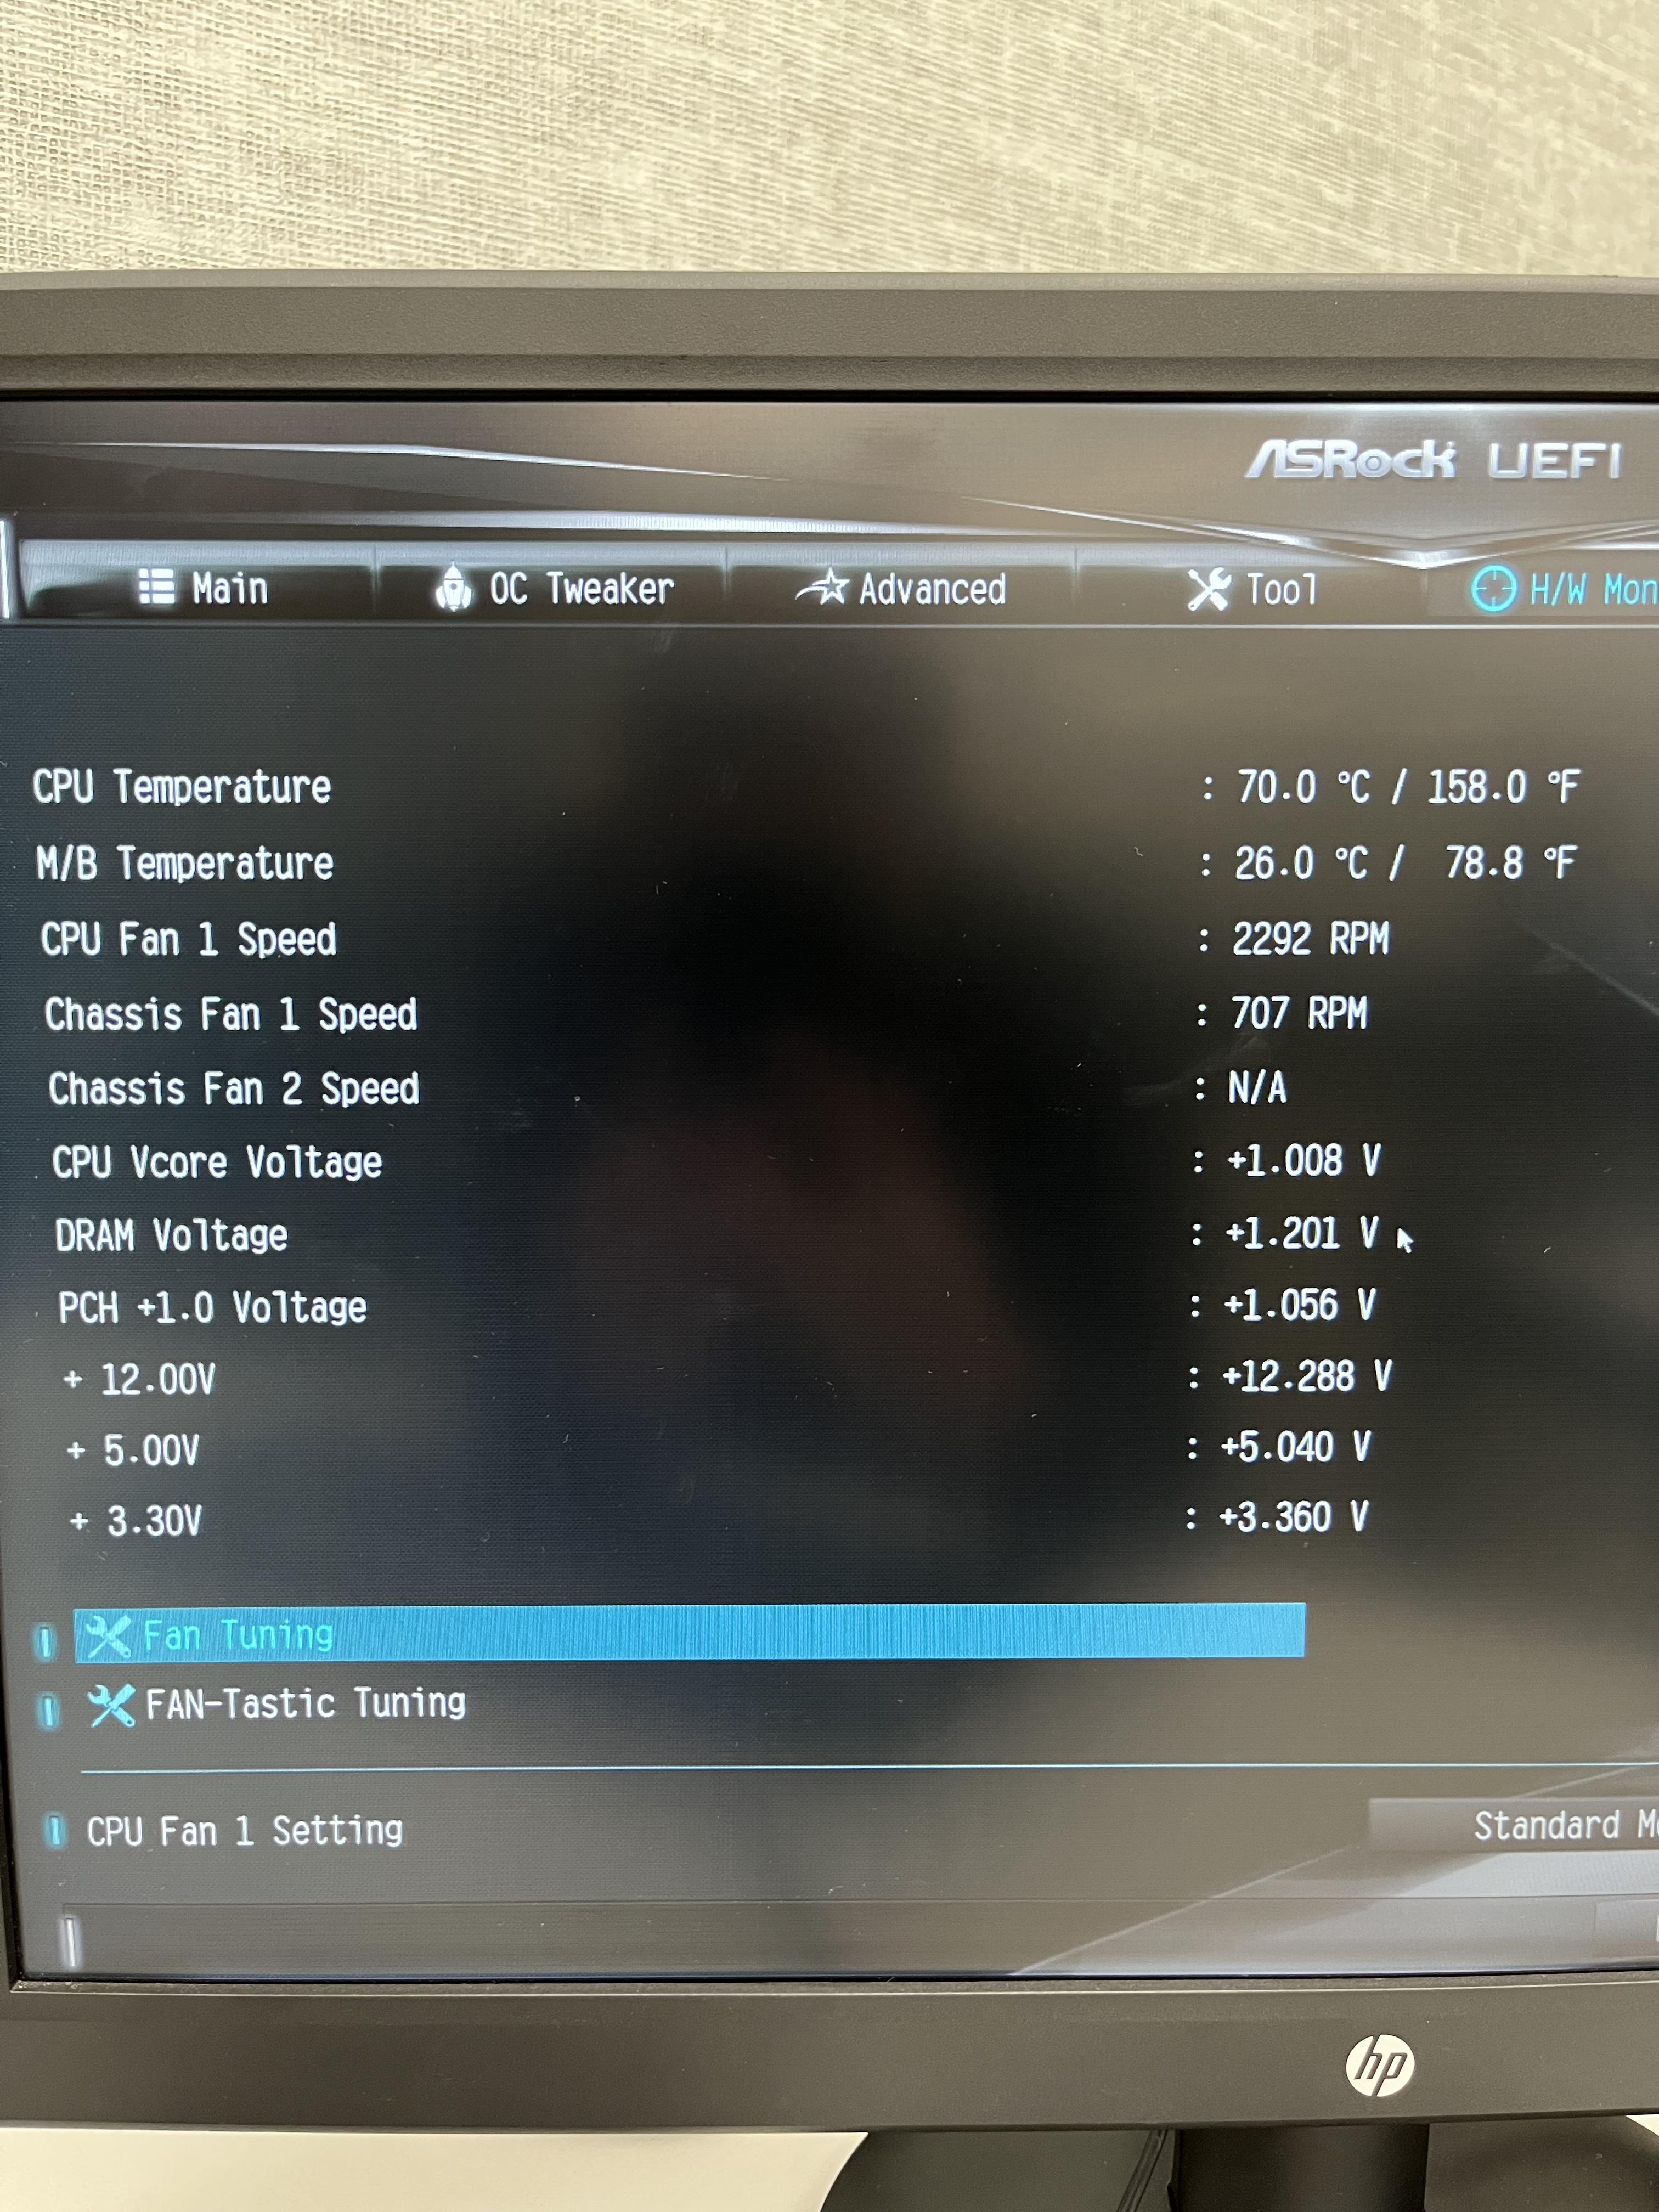
Once your computer is all set grab a power cord, display cable (VGA, DVI, HDMI or Display Port) Keyboard and optional a mouse. Plug everything in and then power the PC on. Once power on press F2 or the DEL key to enter the BIOS or as of known now it is the UEFI. In the BIOS you can see what is in your computer, if everything in your computer is working and you can make changes to the components. You can choose what device you want to boot from so you will want to boot off a fresh copy of windows or any OS. Optional: You can also overclock here and make your components stronger, but as you overclock past they become more unstable so do at your own risk.
Finished or Might Need Troubleshooting
If every step is followed correctly you will have yourself a working PC, if not done correctly repeat the steps over and try again and troubleshoot.