PC Building Instructions
How to build a PC
Supplies
You will need the following parts to complete your pc build
- Motherboard
- CPU
- Heat sink + Fan
- RAM
- Computer Case
- Hard Drive
- Power Supply
- Graphics Card
Install the CPU
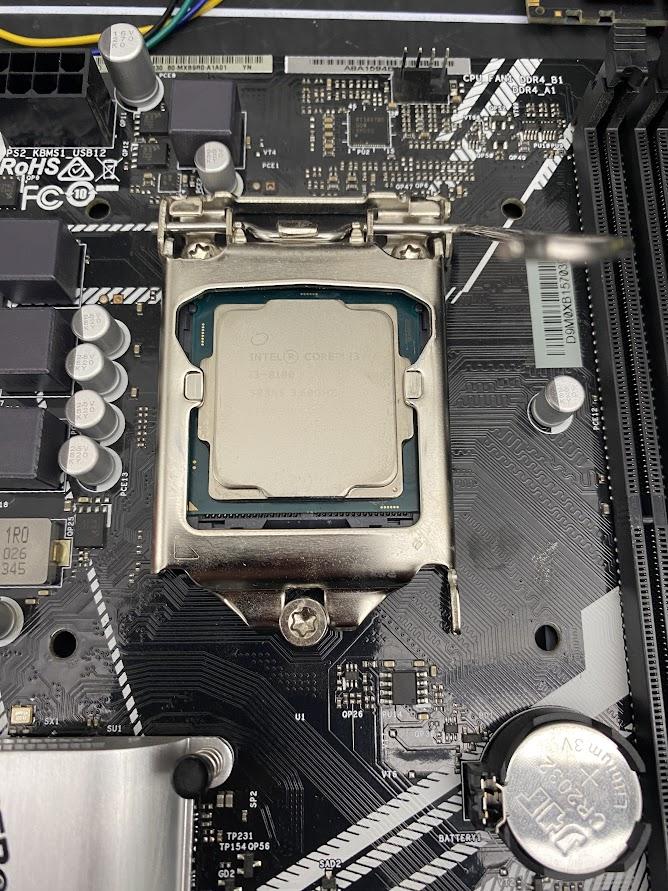
Pull up the CPU lock down arm
Align the CPU using the golden triangle.
Be careful not to force the CPU into the socket.
It should just drop in without any resistance.
Push down the CPU lock down arm.
Thermal Paste
Apply a pea sized dab of thermal paste in the center of the CPU
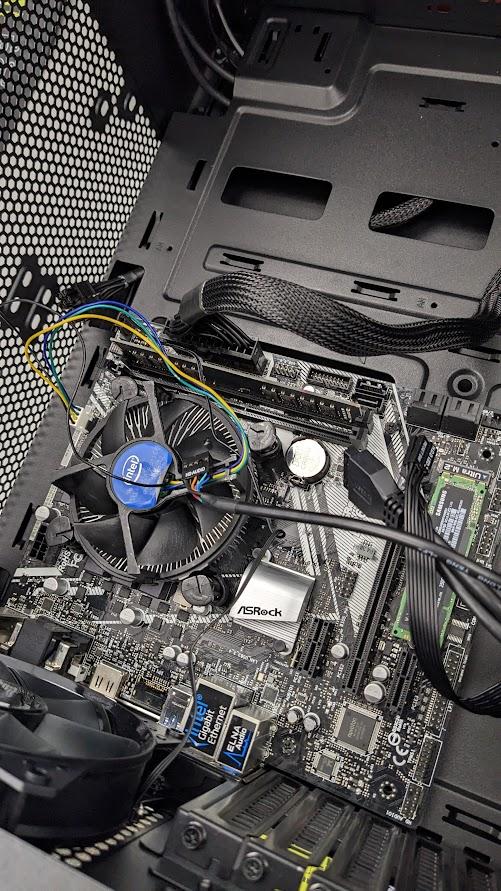
Install the Heat Sink
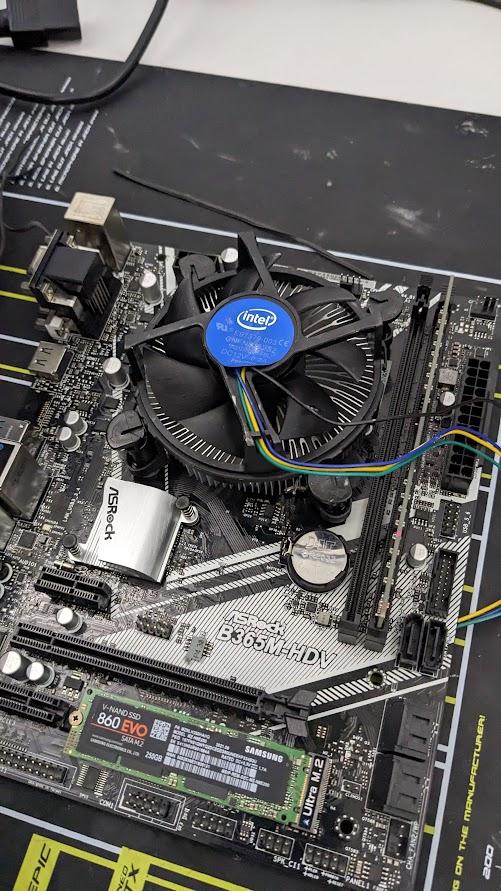
Align the clips and lock down the heat sink
Install the RAM
.jpg)
Align the notch on the RAM module wit the notch on the motherboard's DIMM slot.
Press down until you hear a click.
Install the Standoffs and I/O Shield
Install the standoffs to match your corresponding motherboard.
Install your I/O shield with the proper orientation.
Be careful not to cut yourself on the sharp edges.
Install the Motherboard
Align the motherboard with the standoffs and put in the screws
Install Your Power Supply
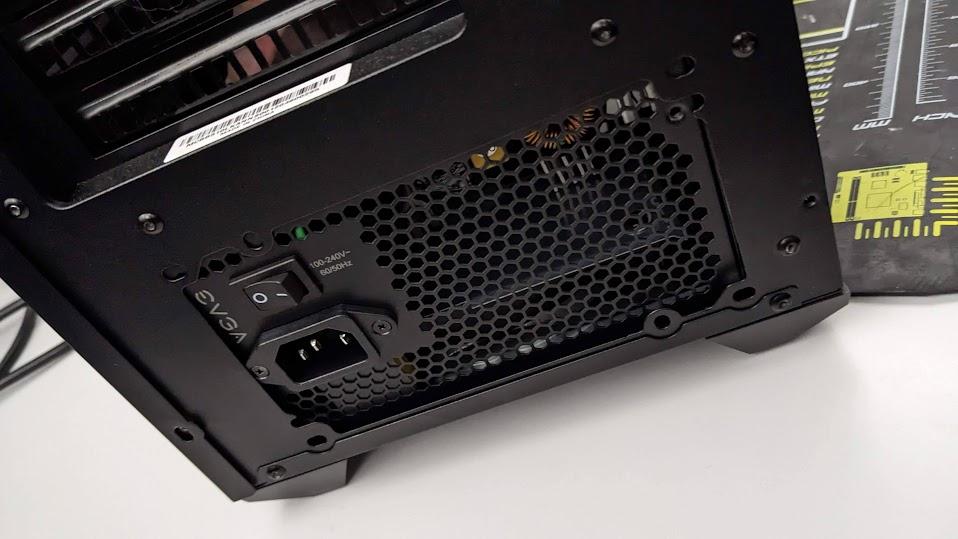
Align the power supply and insert the 4 screws at the back of the case.
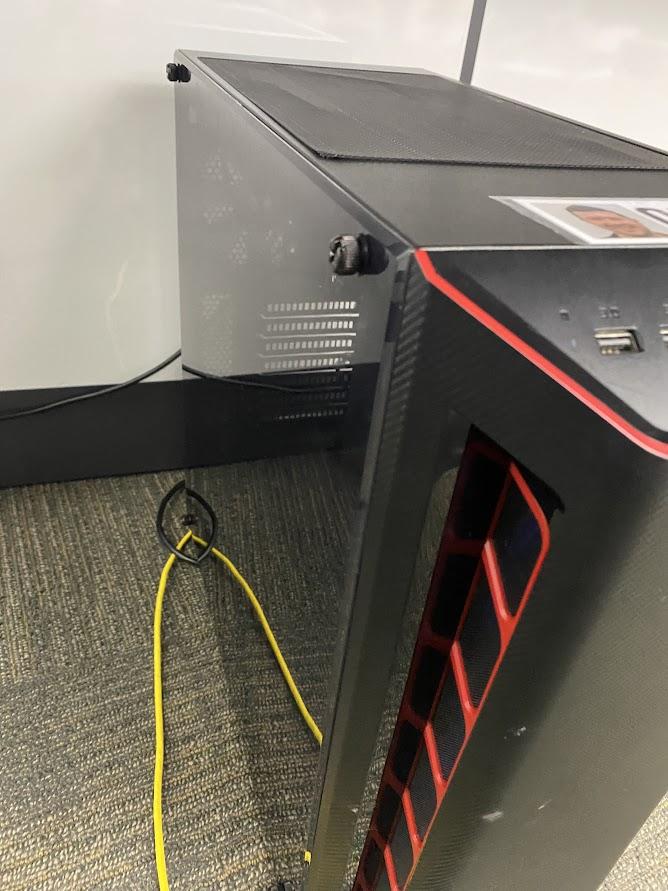
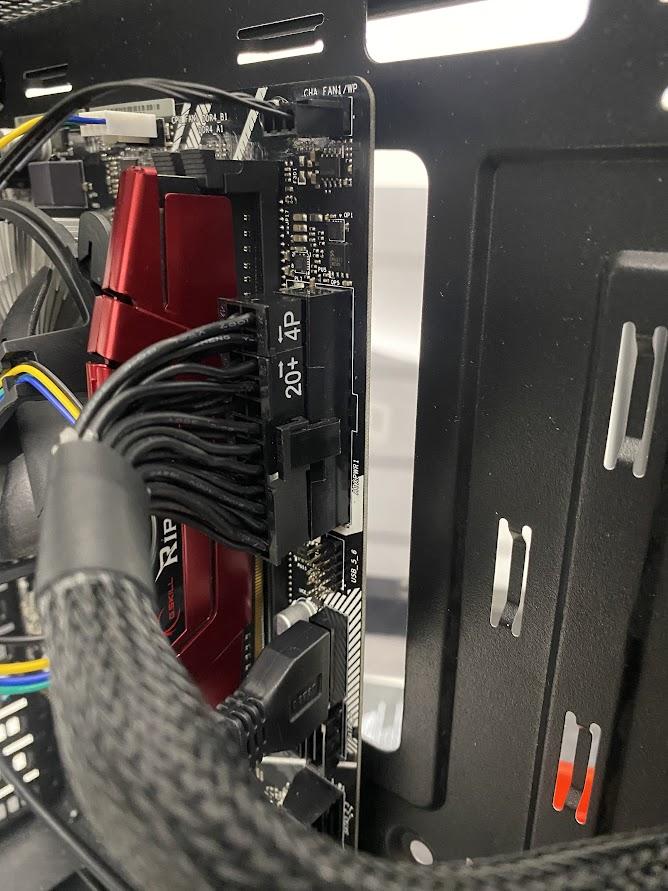
Cables
.jpg)
Connect the front panel cables, 24pin power cable, 4 pin cable, and speaker
Tuck away as much of each cable as you can
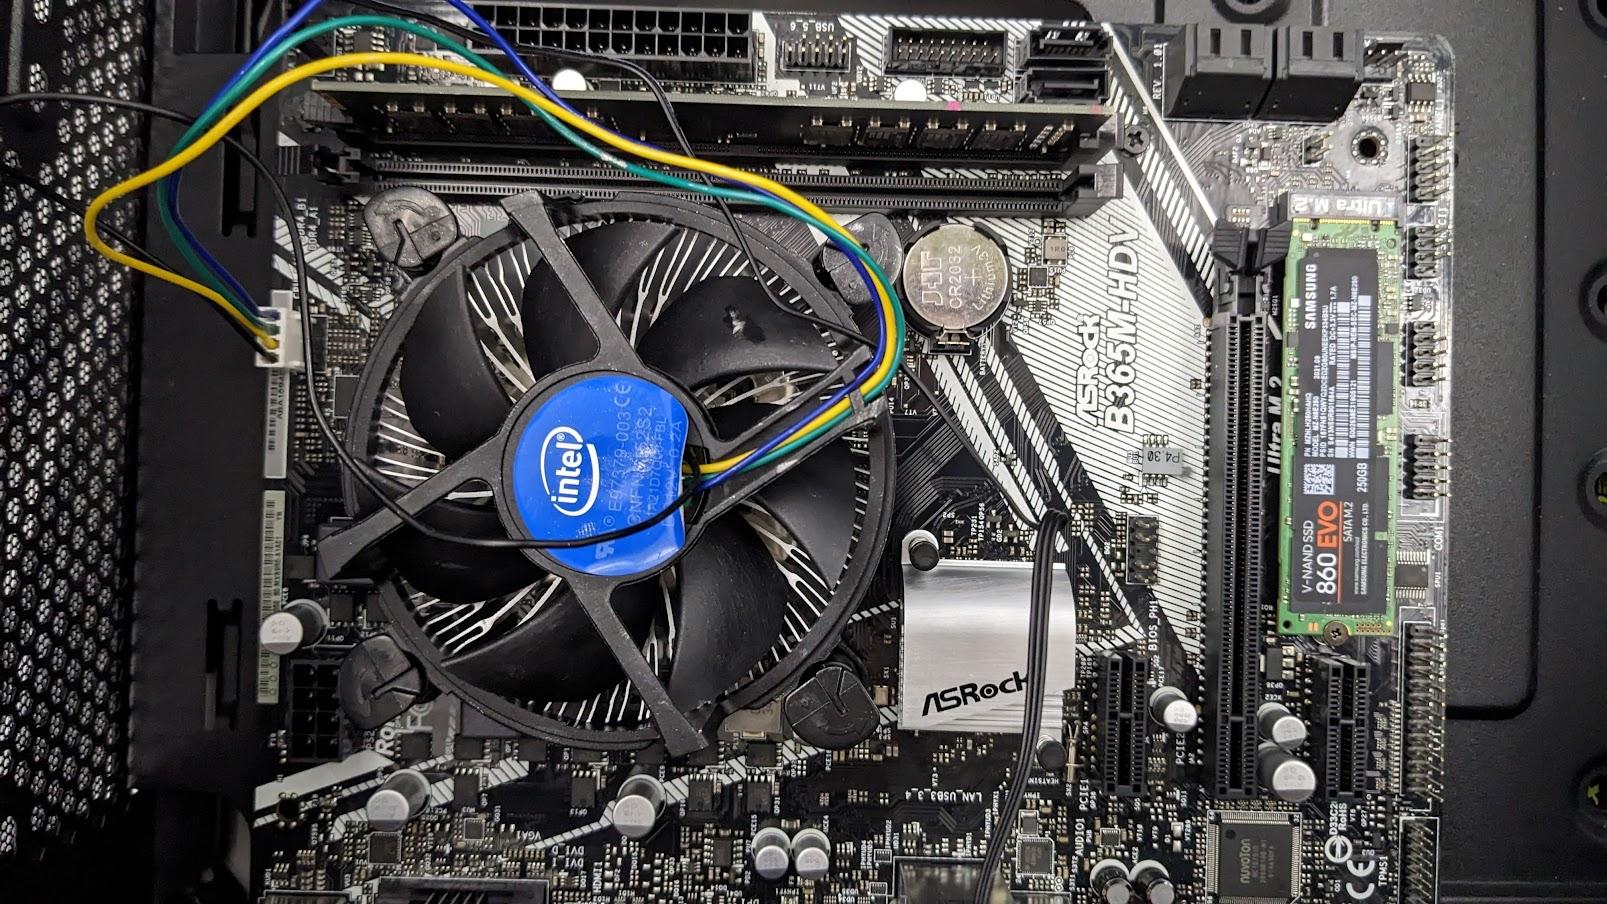
Install Chassis Fan
Screw in the fan with the label facing the outside of the case.
Plug the chassis fan into the System_Fan_1 pins.
Appreciate Your Build
All done!