PC Build
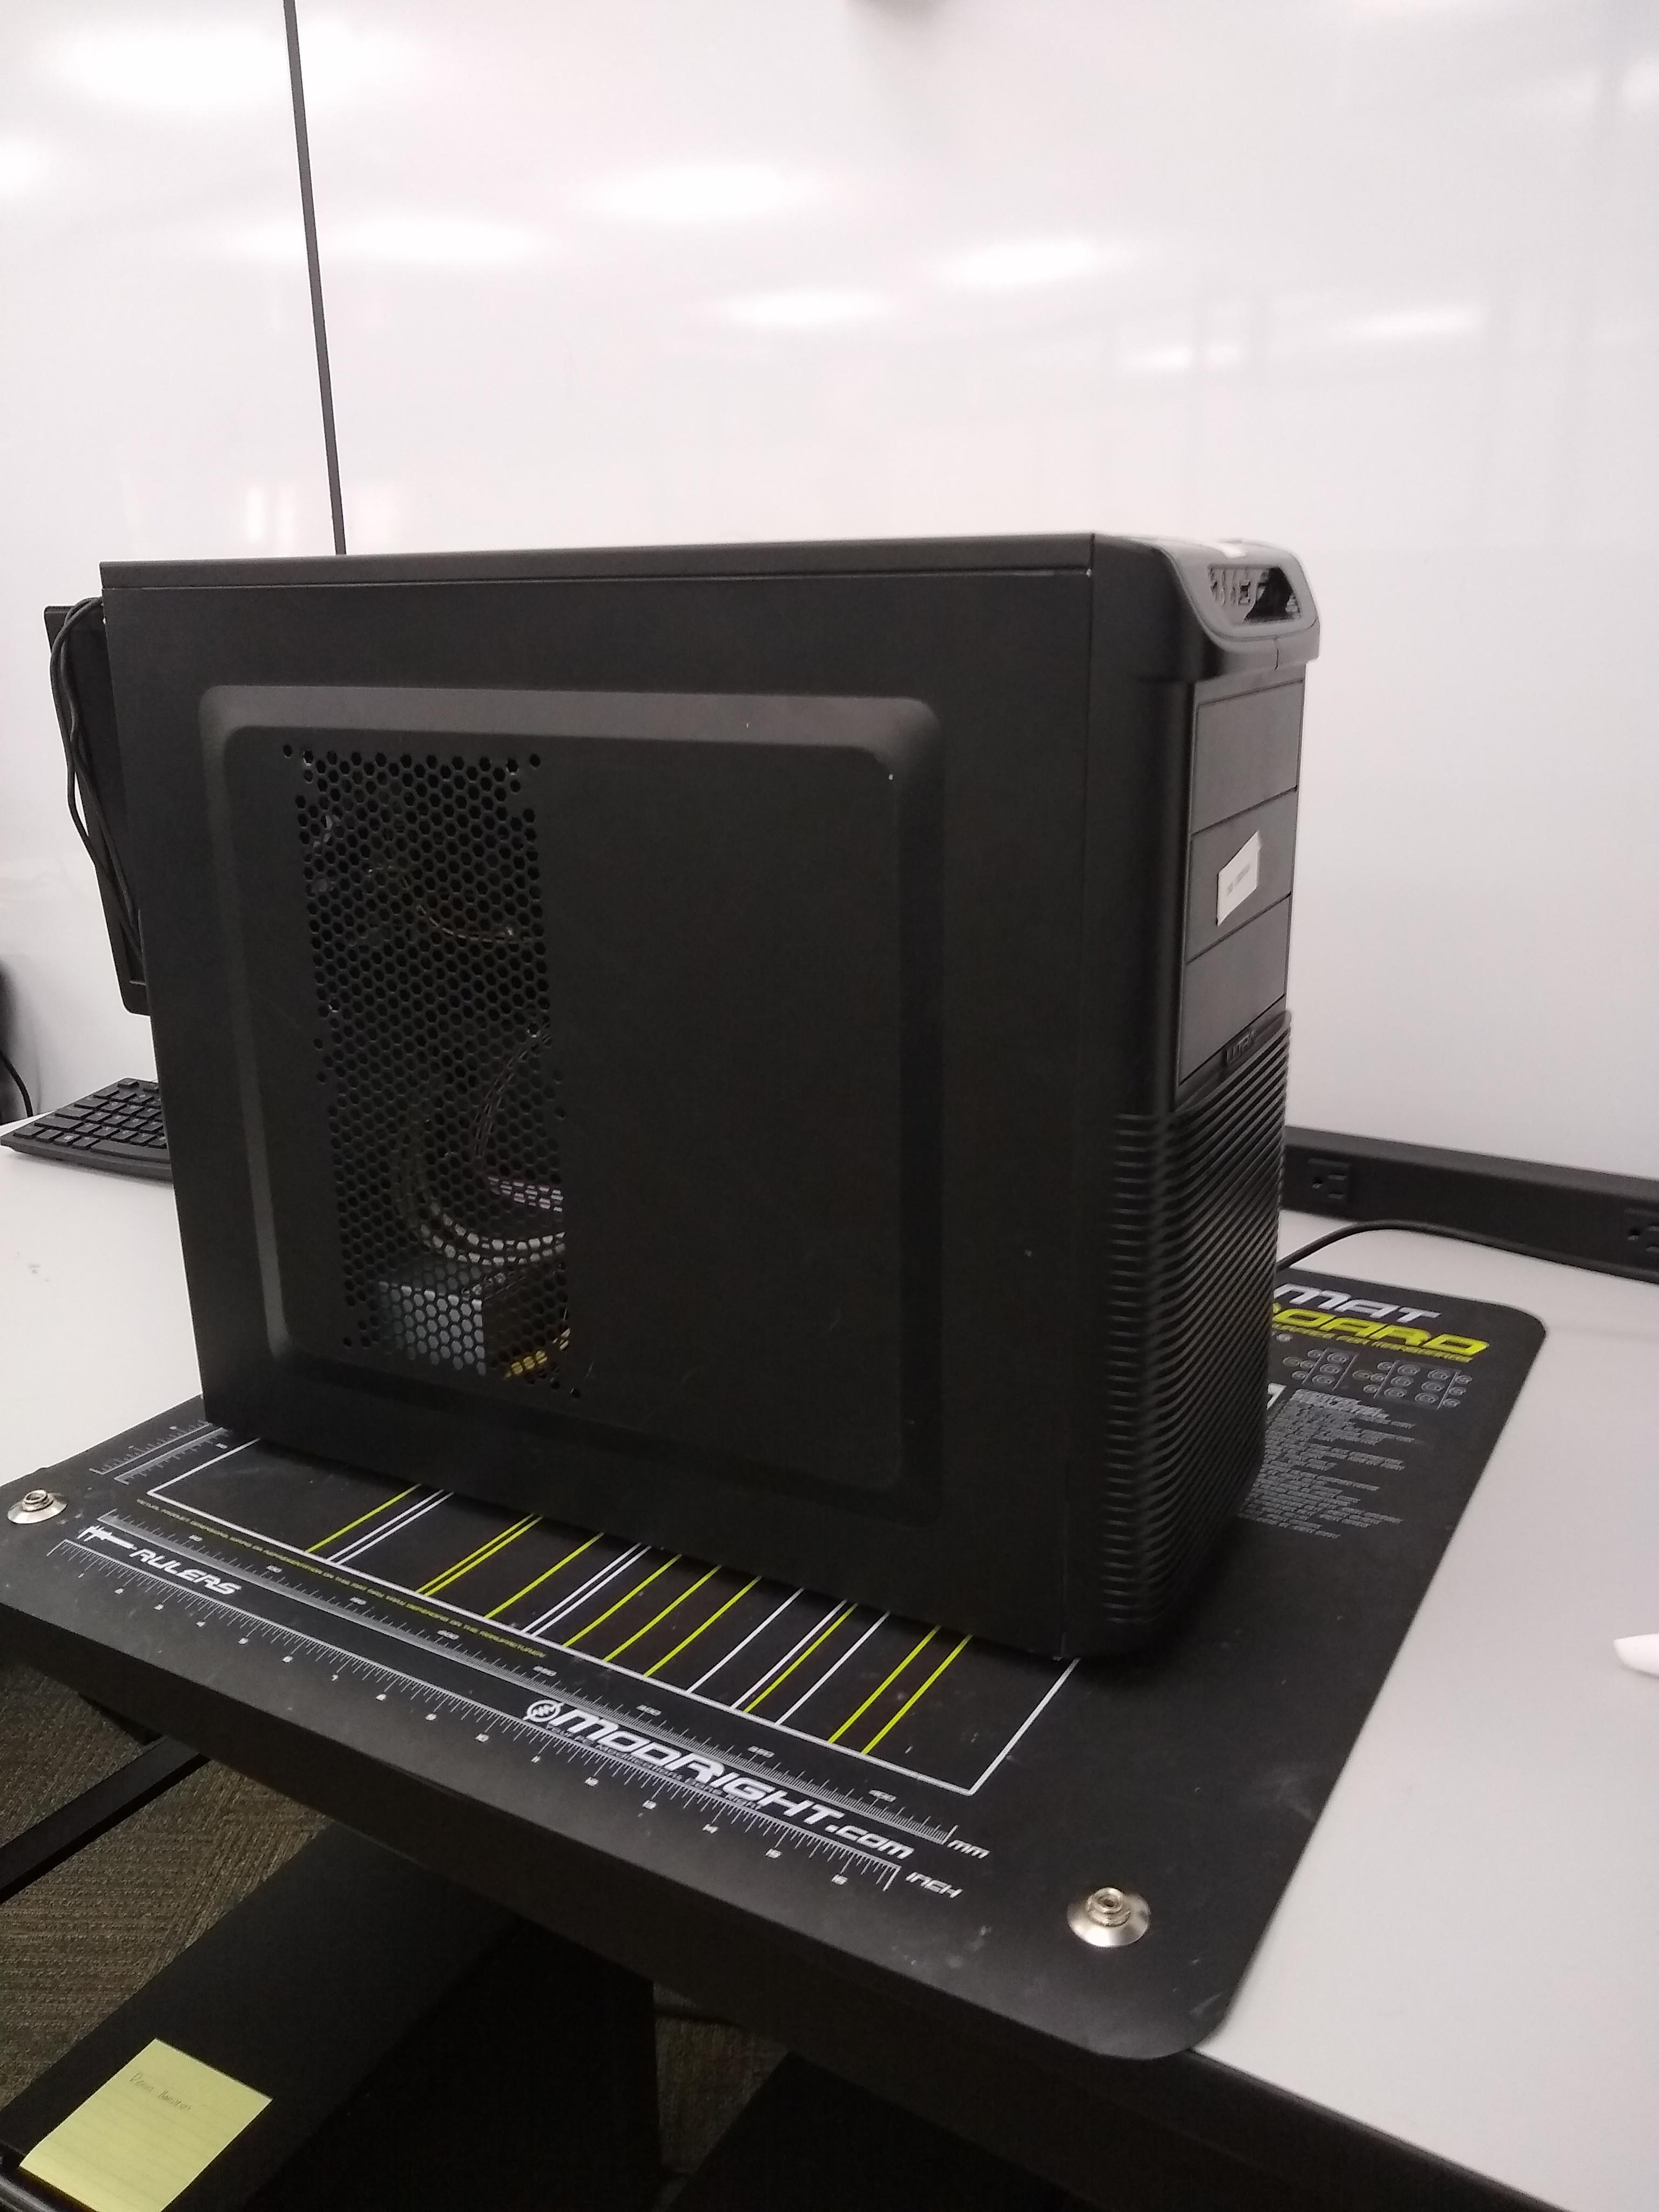
Today you will be building your own computer.
The components you will need are:
- Motherboard
- RAM
- CPU
- Heat Sync
- Hard Drive or SSD
- Power Supply
- Case Fans
- GPU
There are many benefits to building your own computer such as it being cheaper, easier to upgrade, gives you experience, lets you get a higher quality PC for the same price or cheaper of a pre-built, allows for more customization, and allows you to choose the operating system for the pc.
Motherboard Assembly
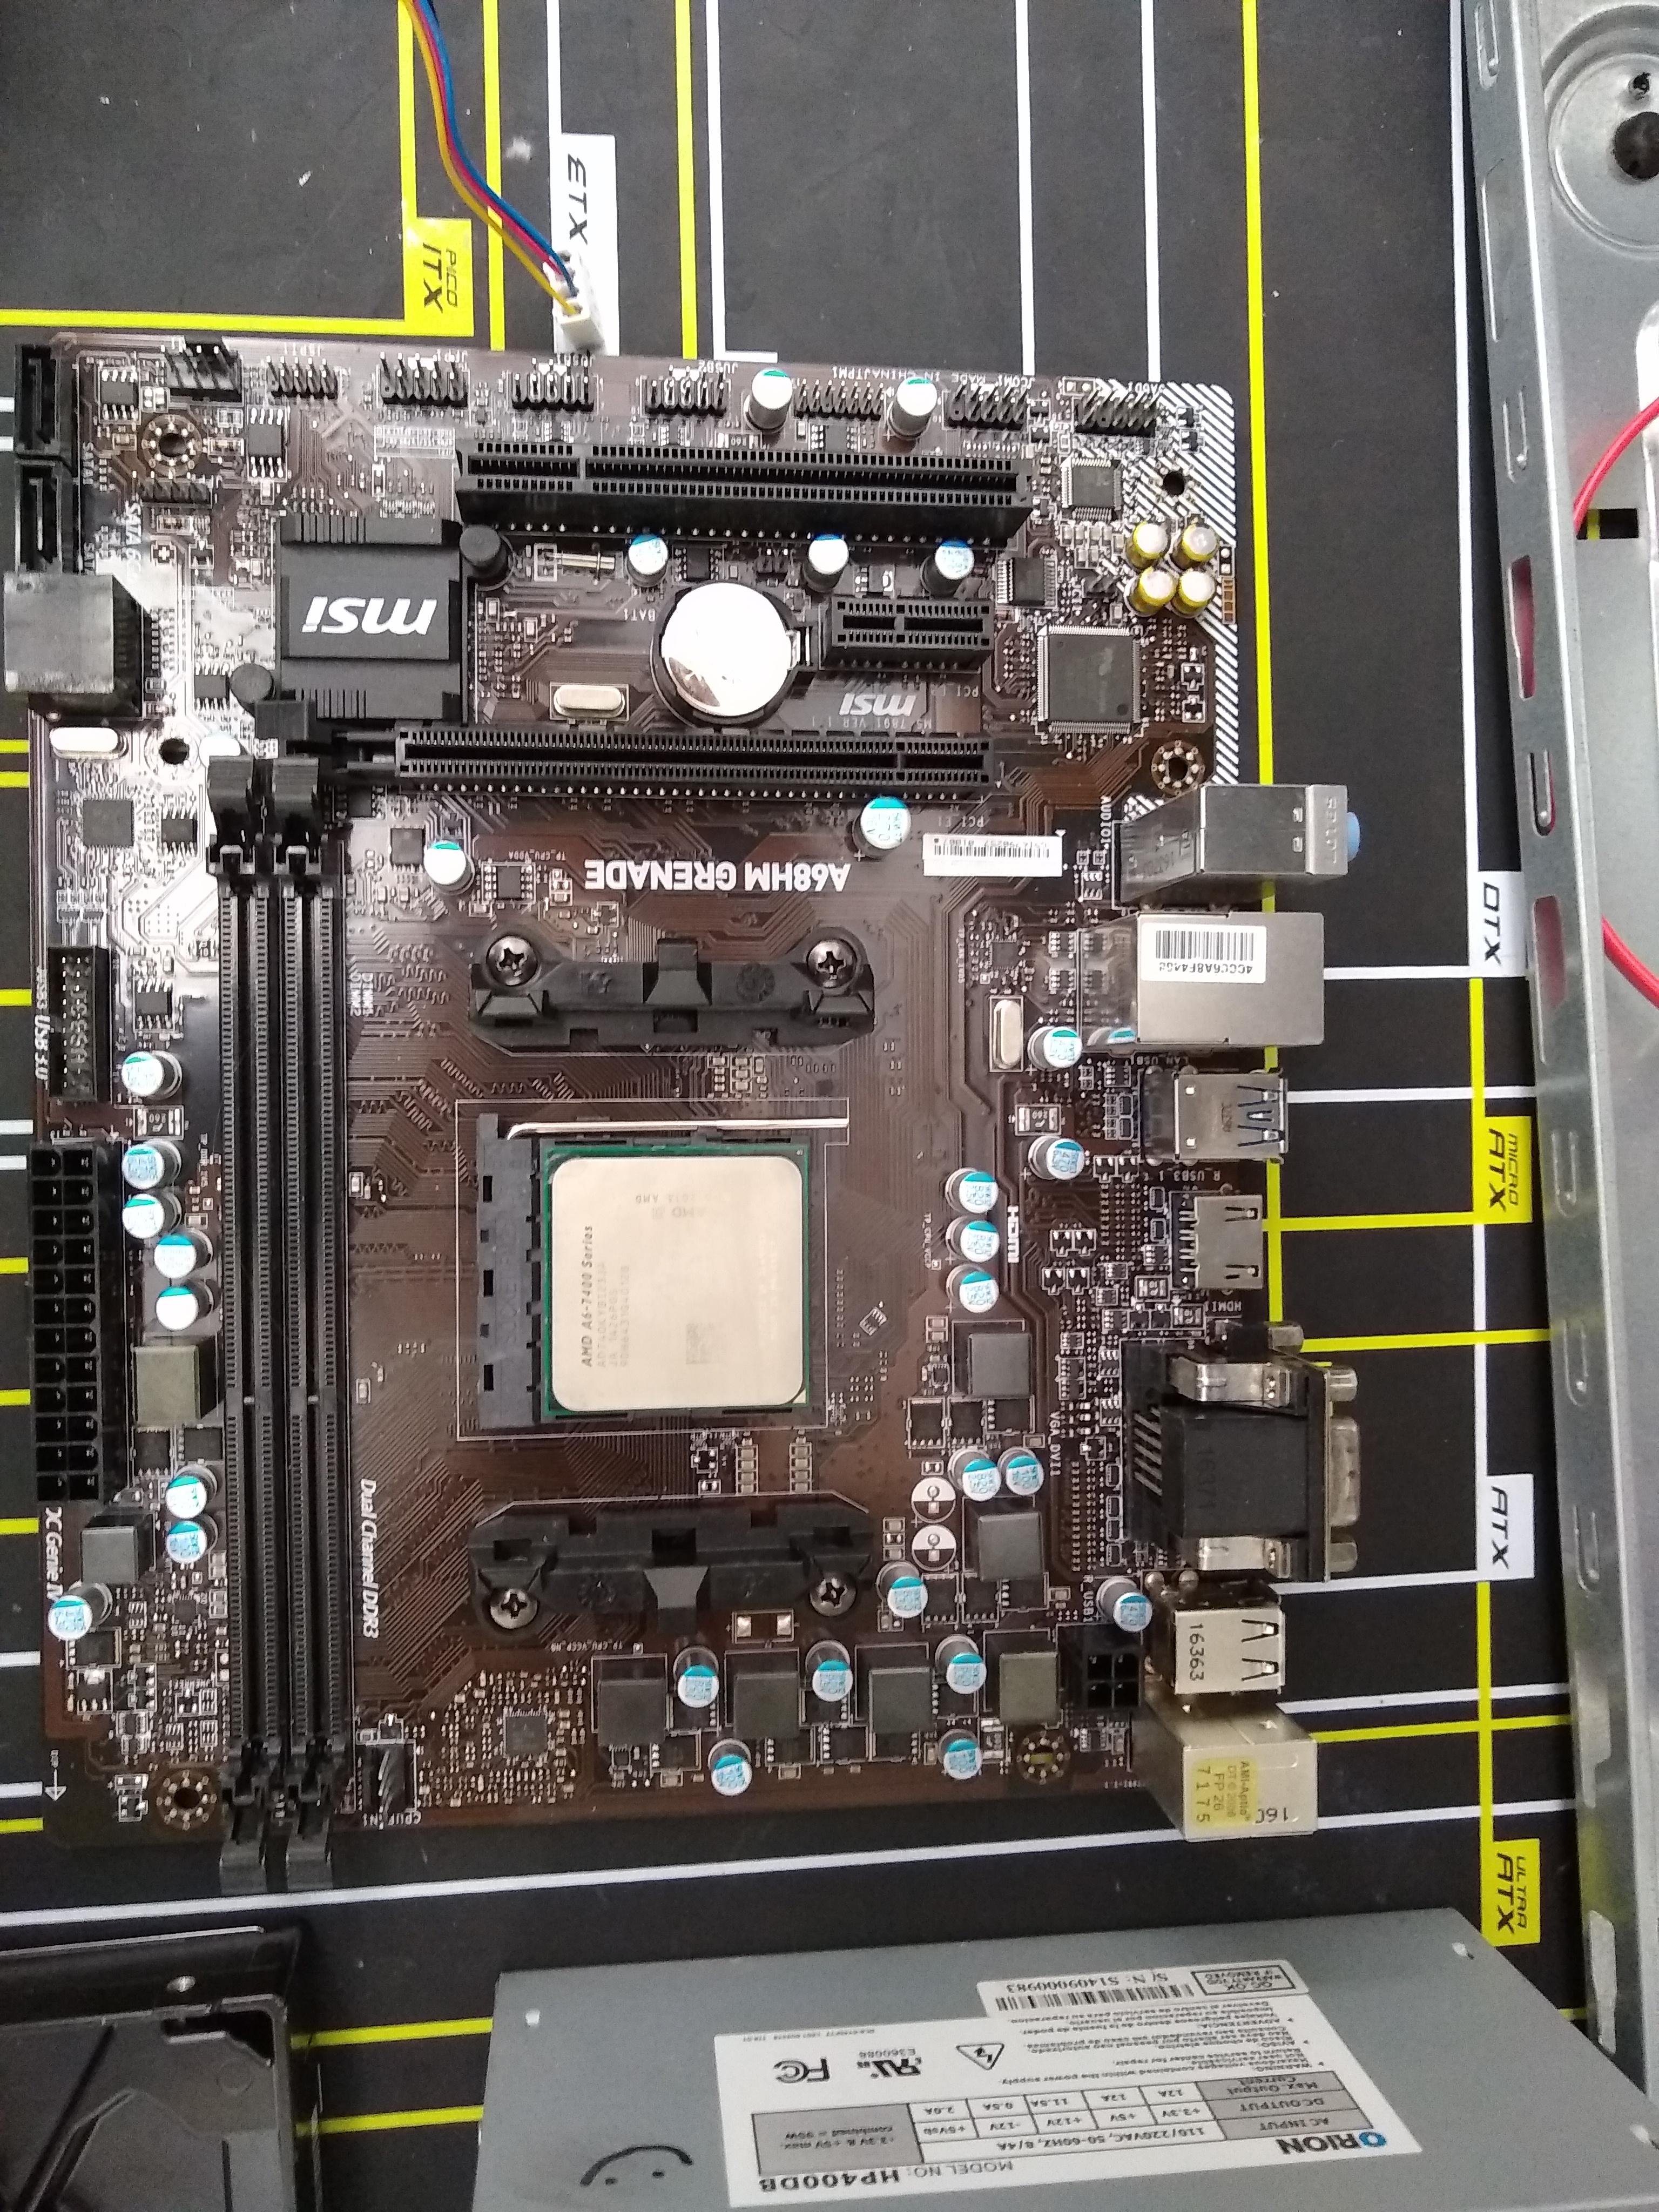
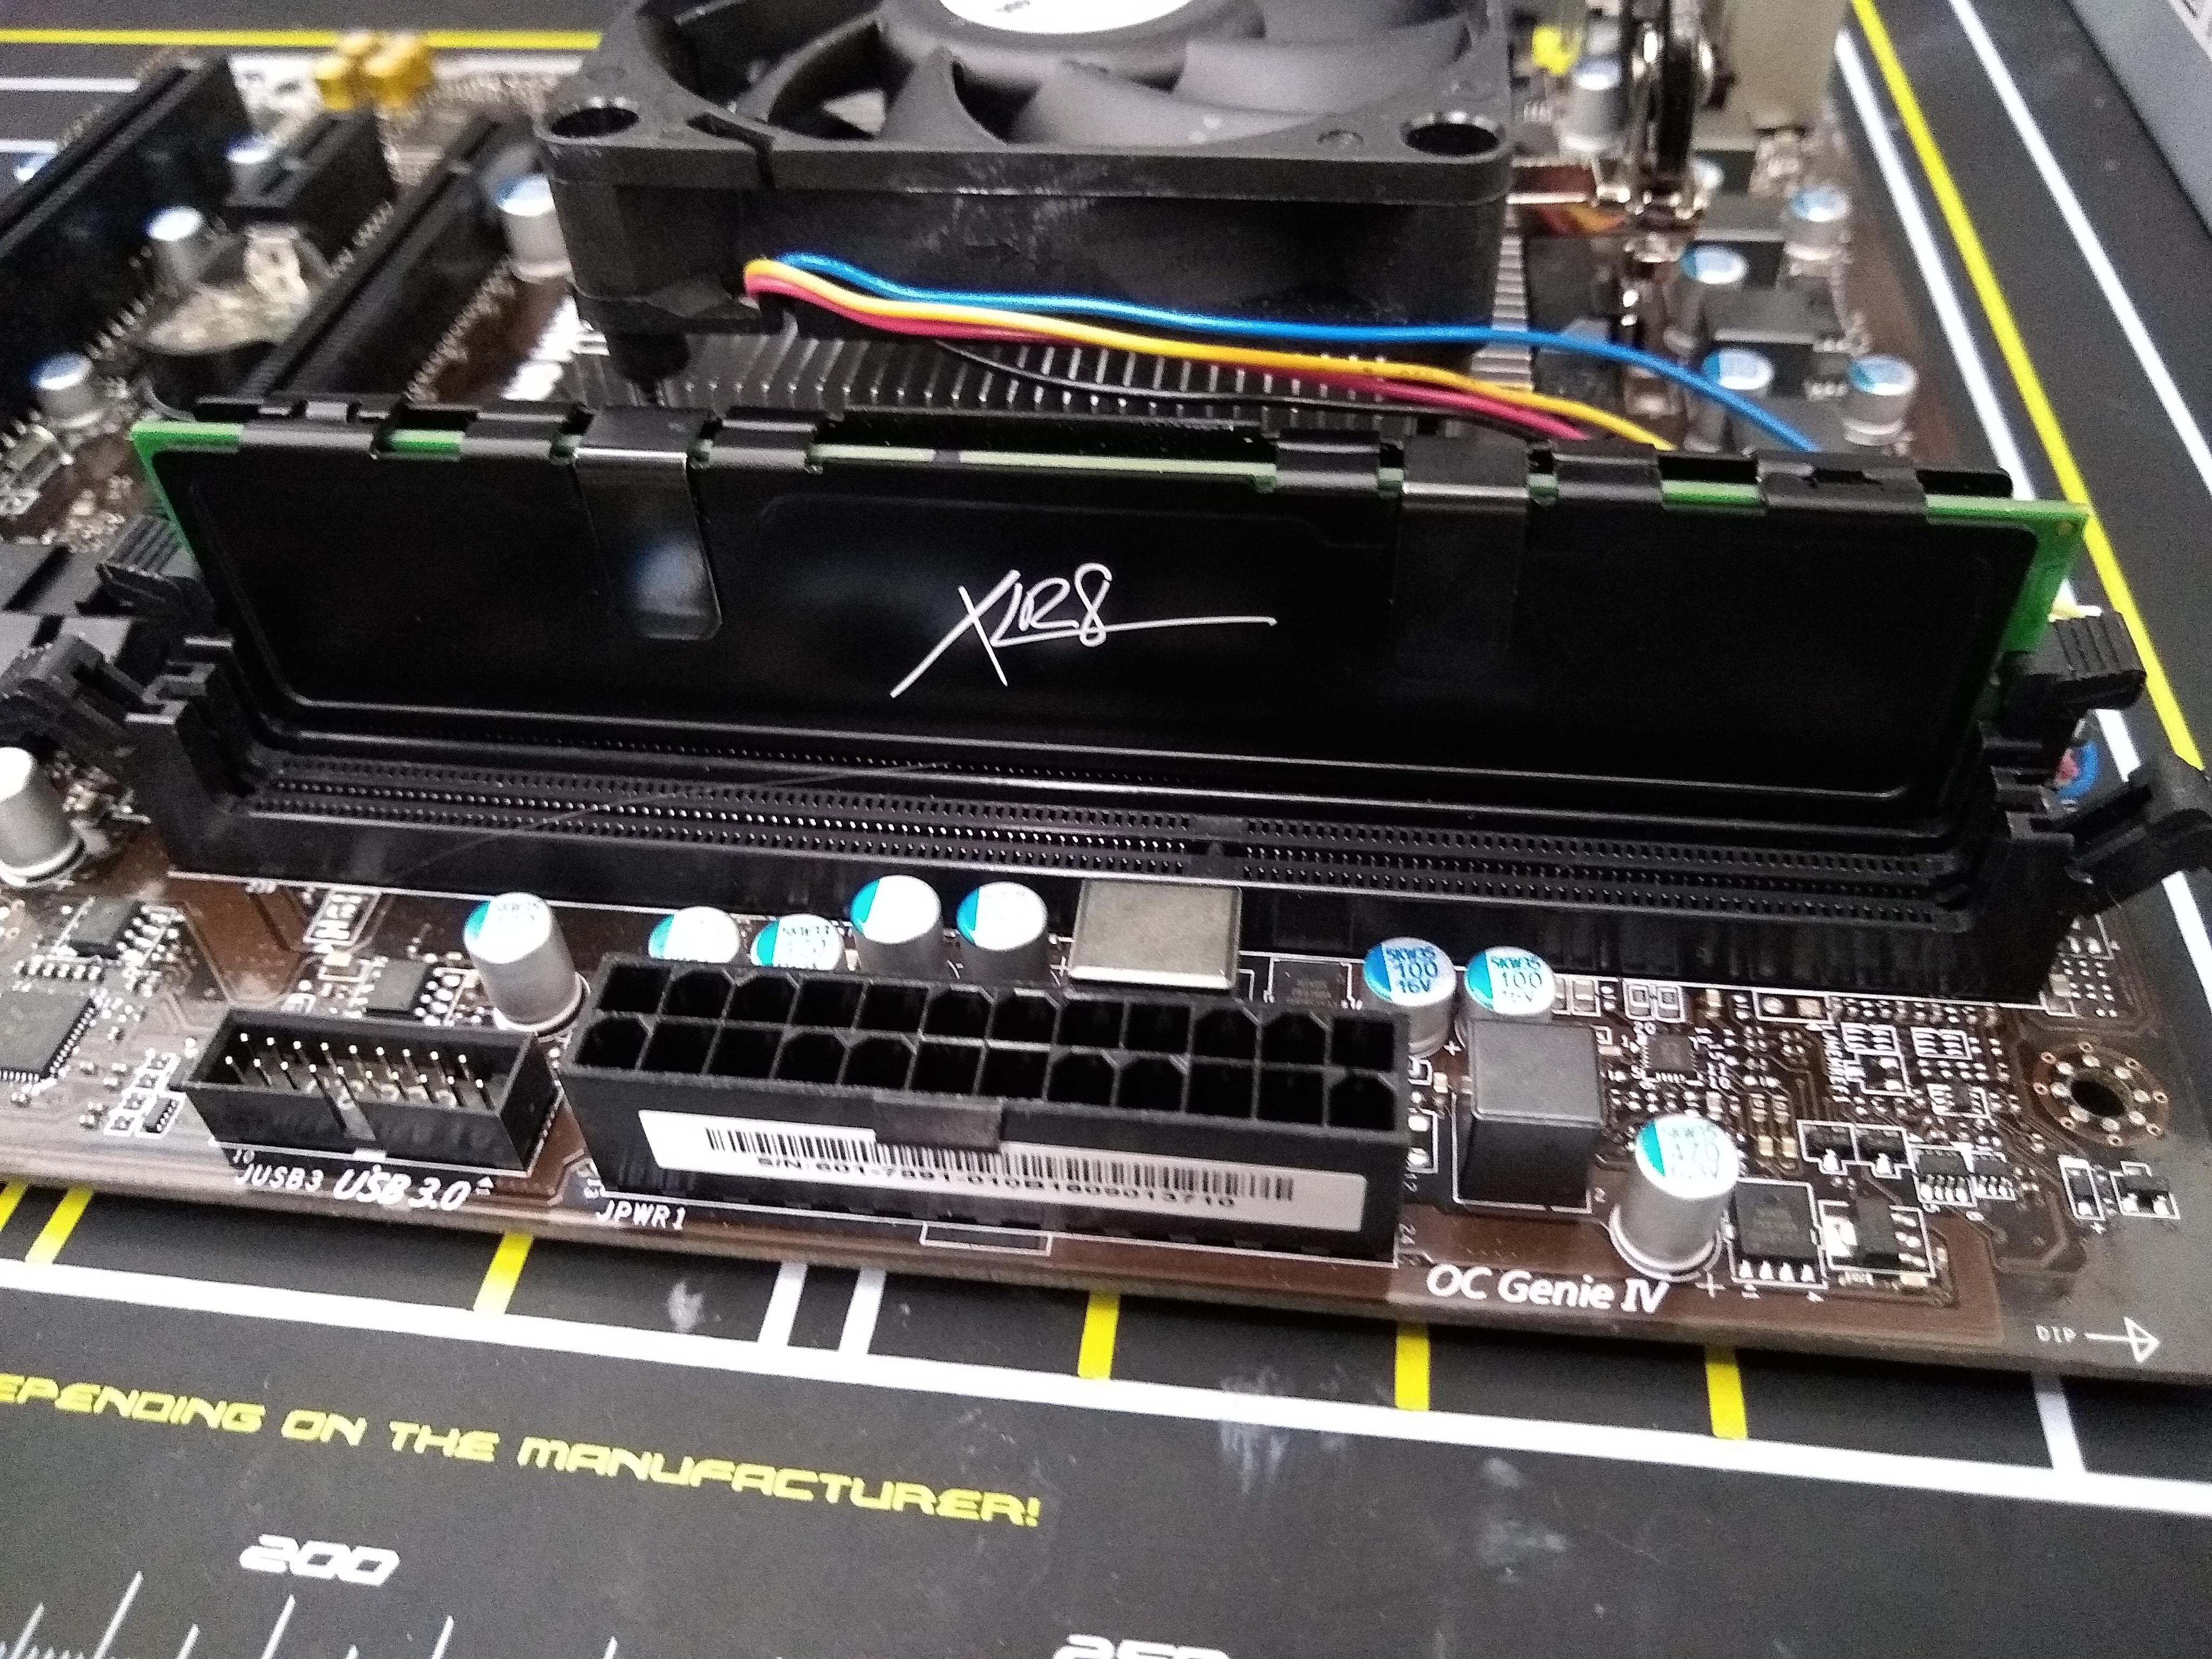
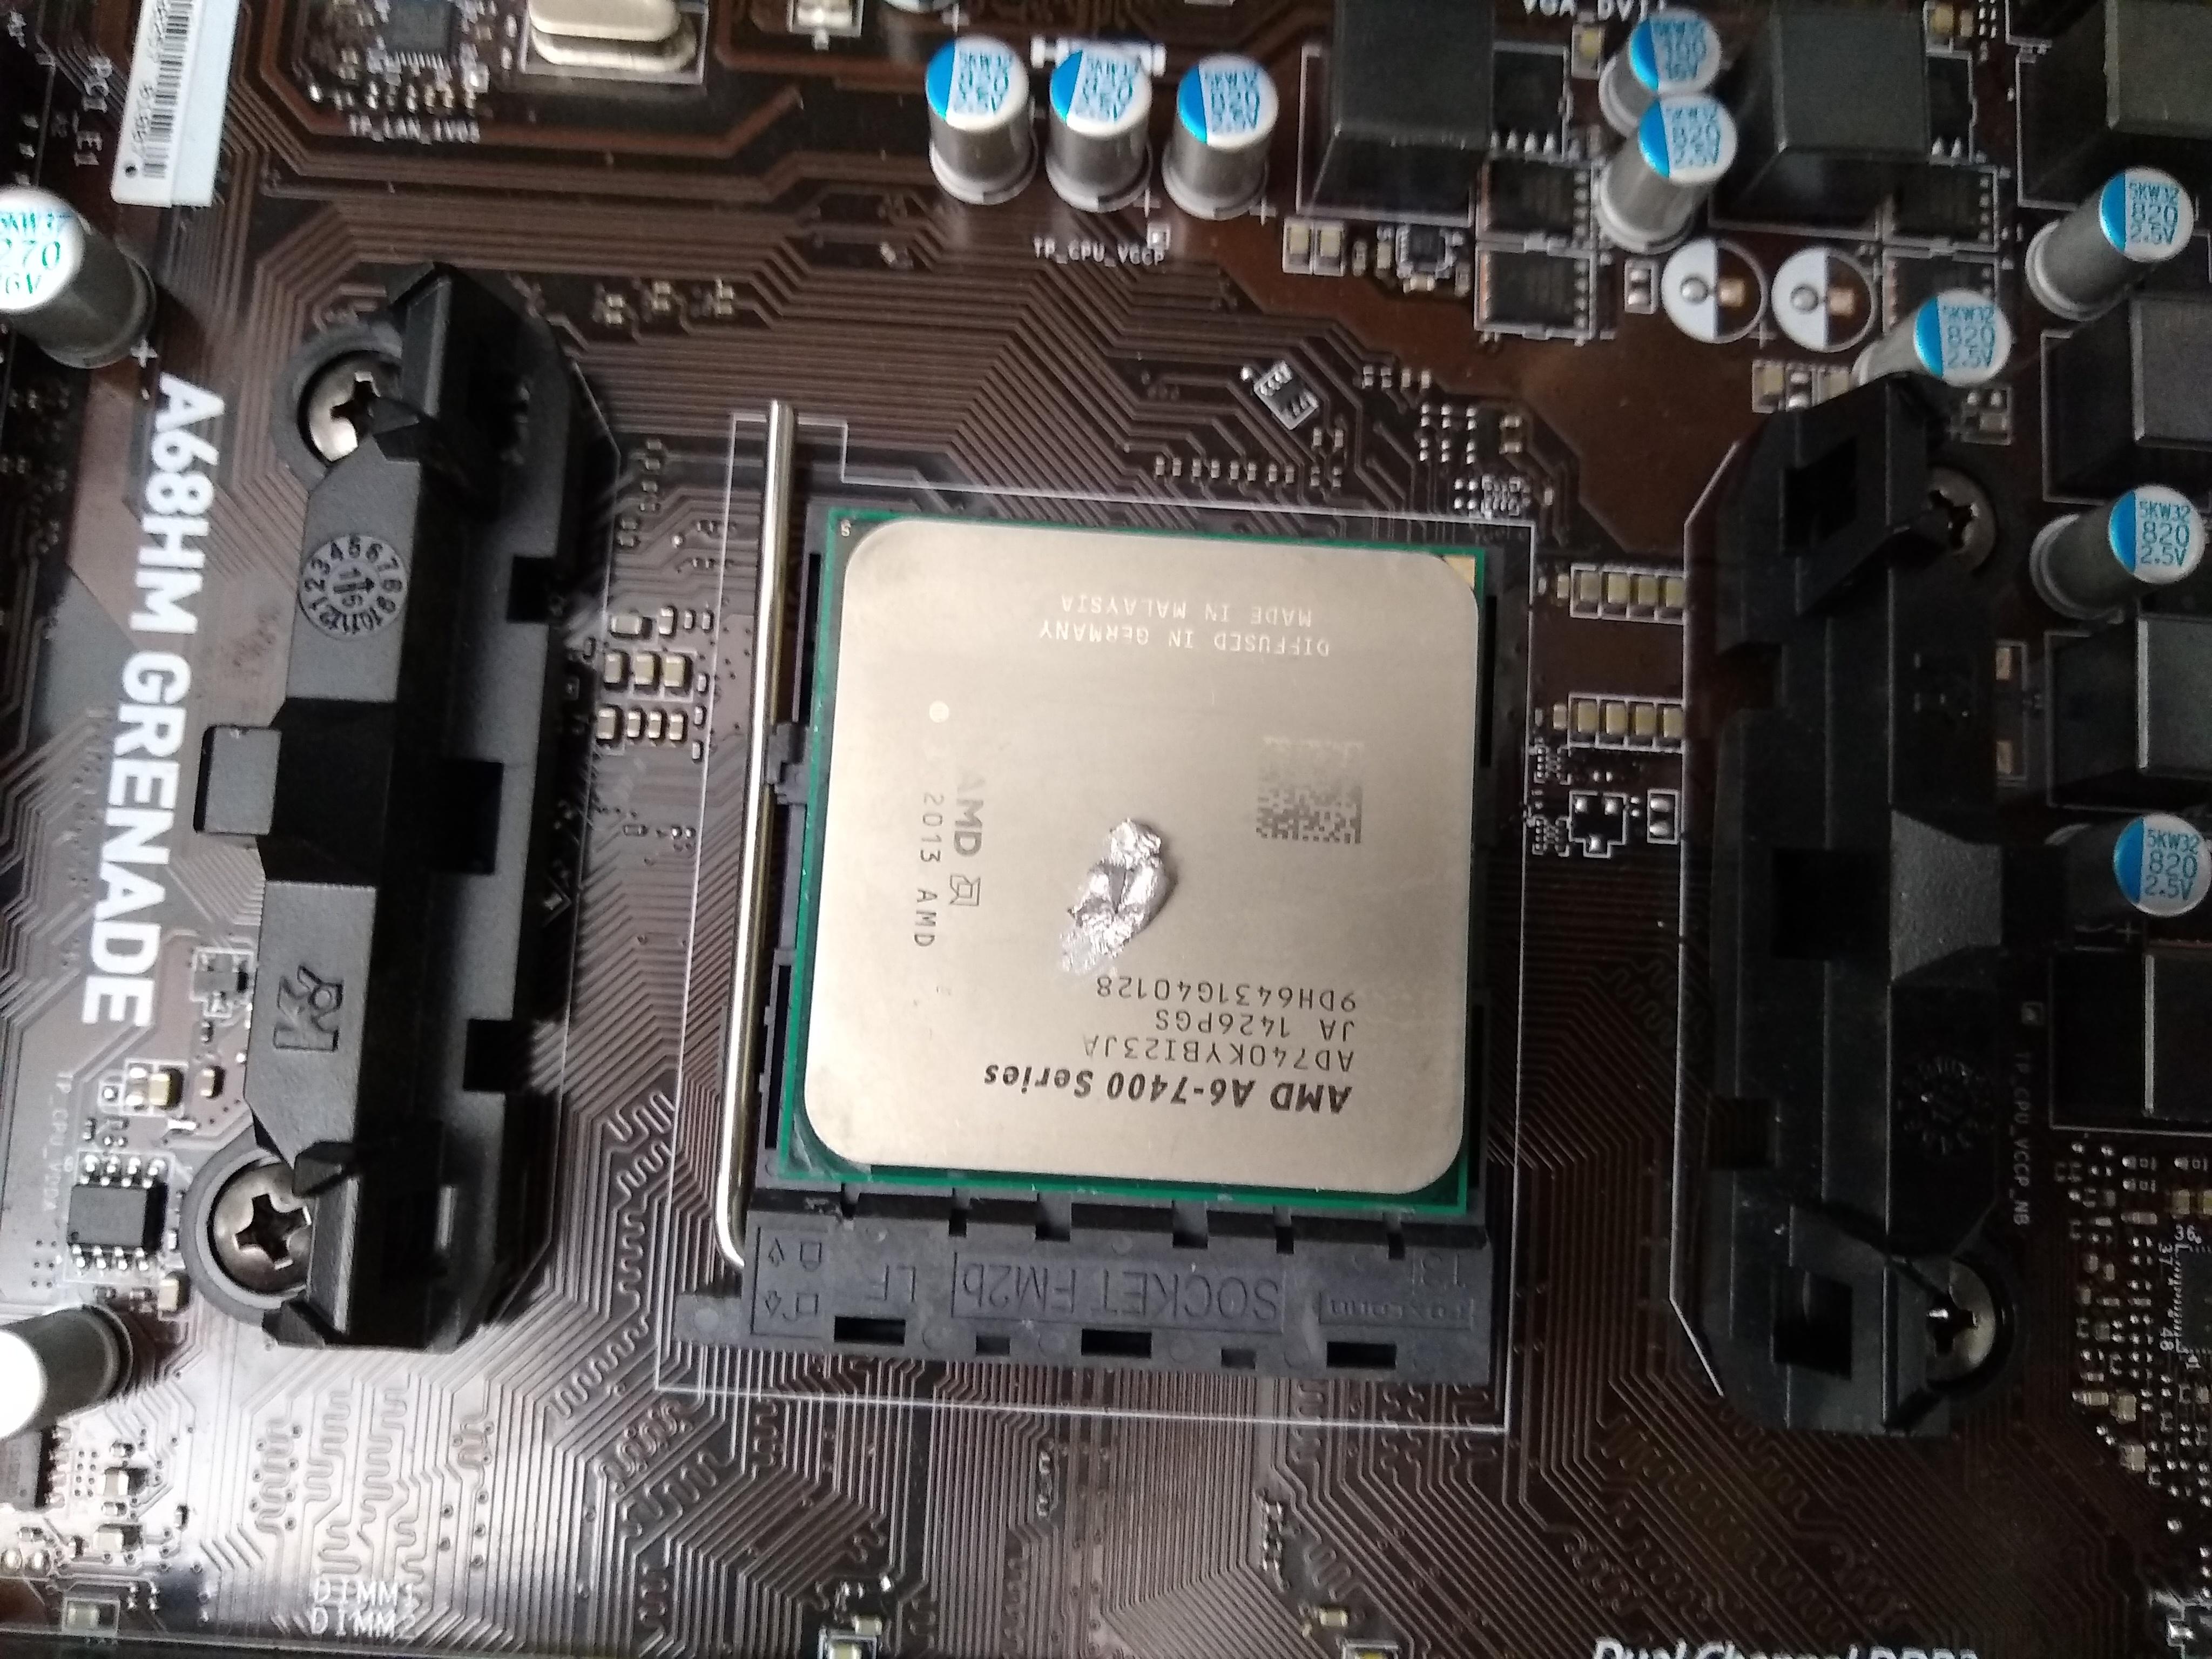
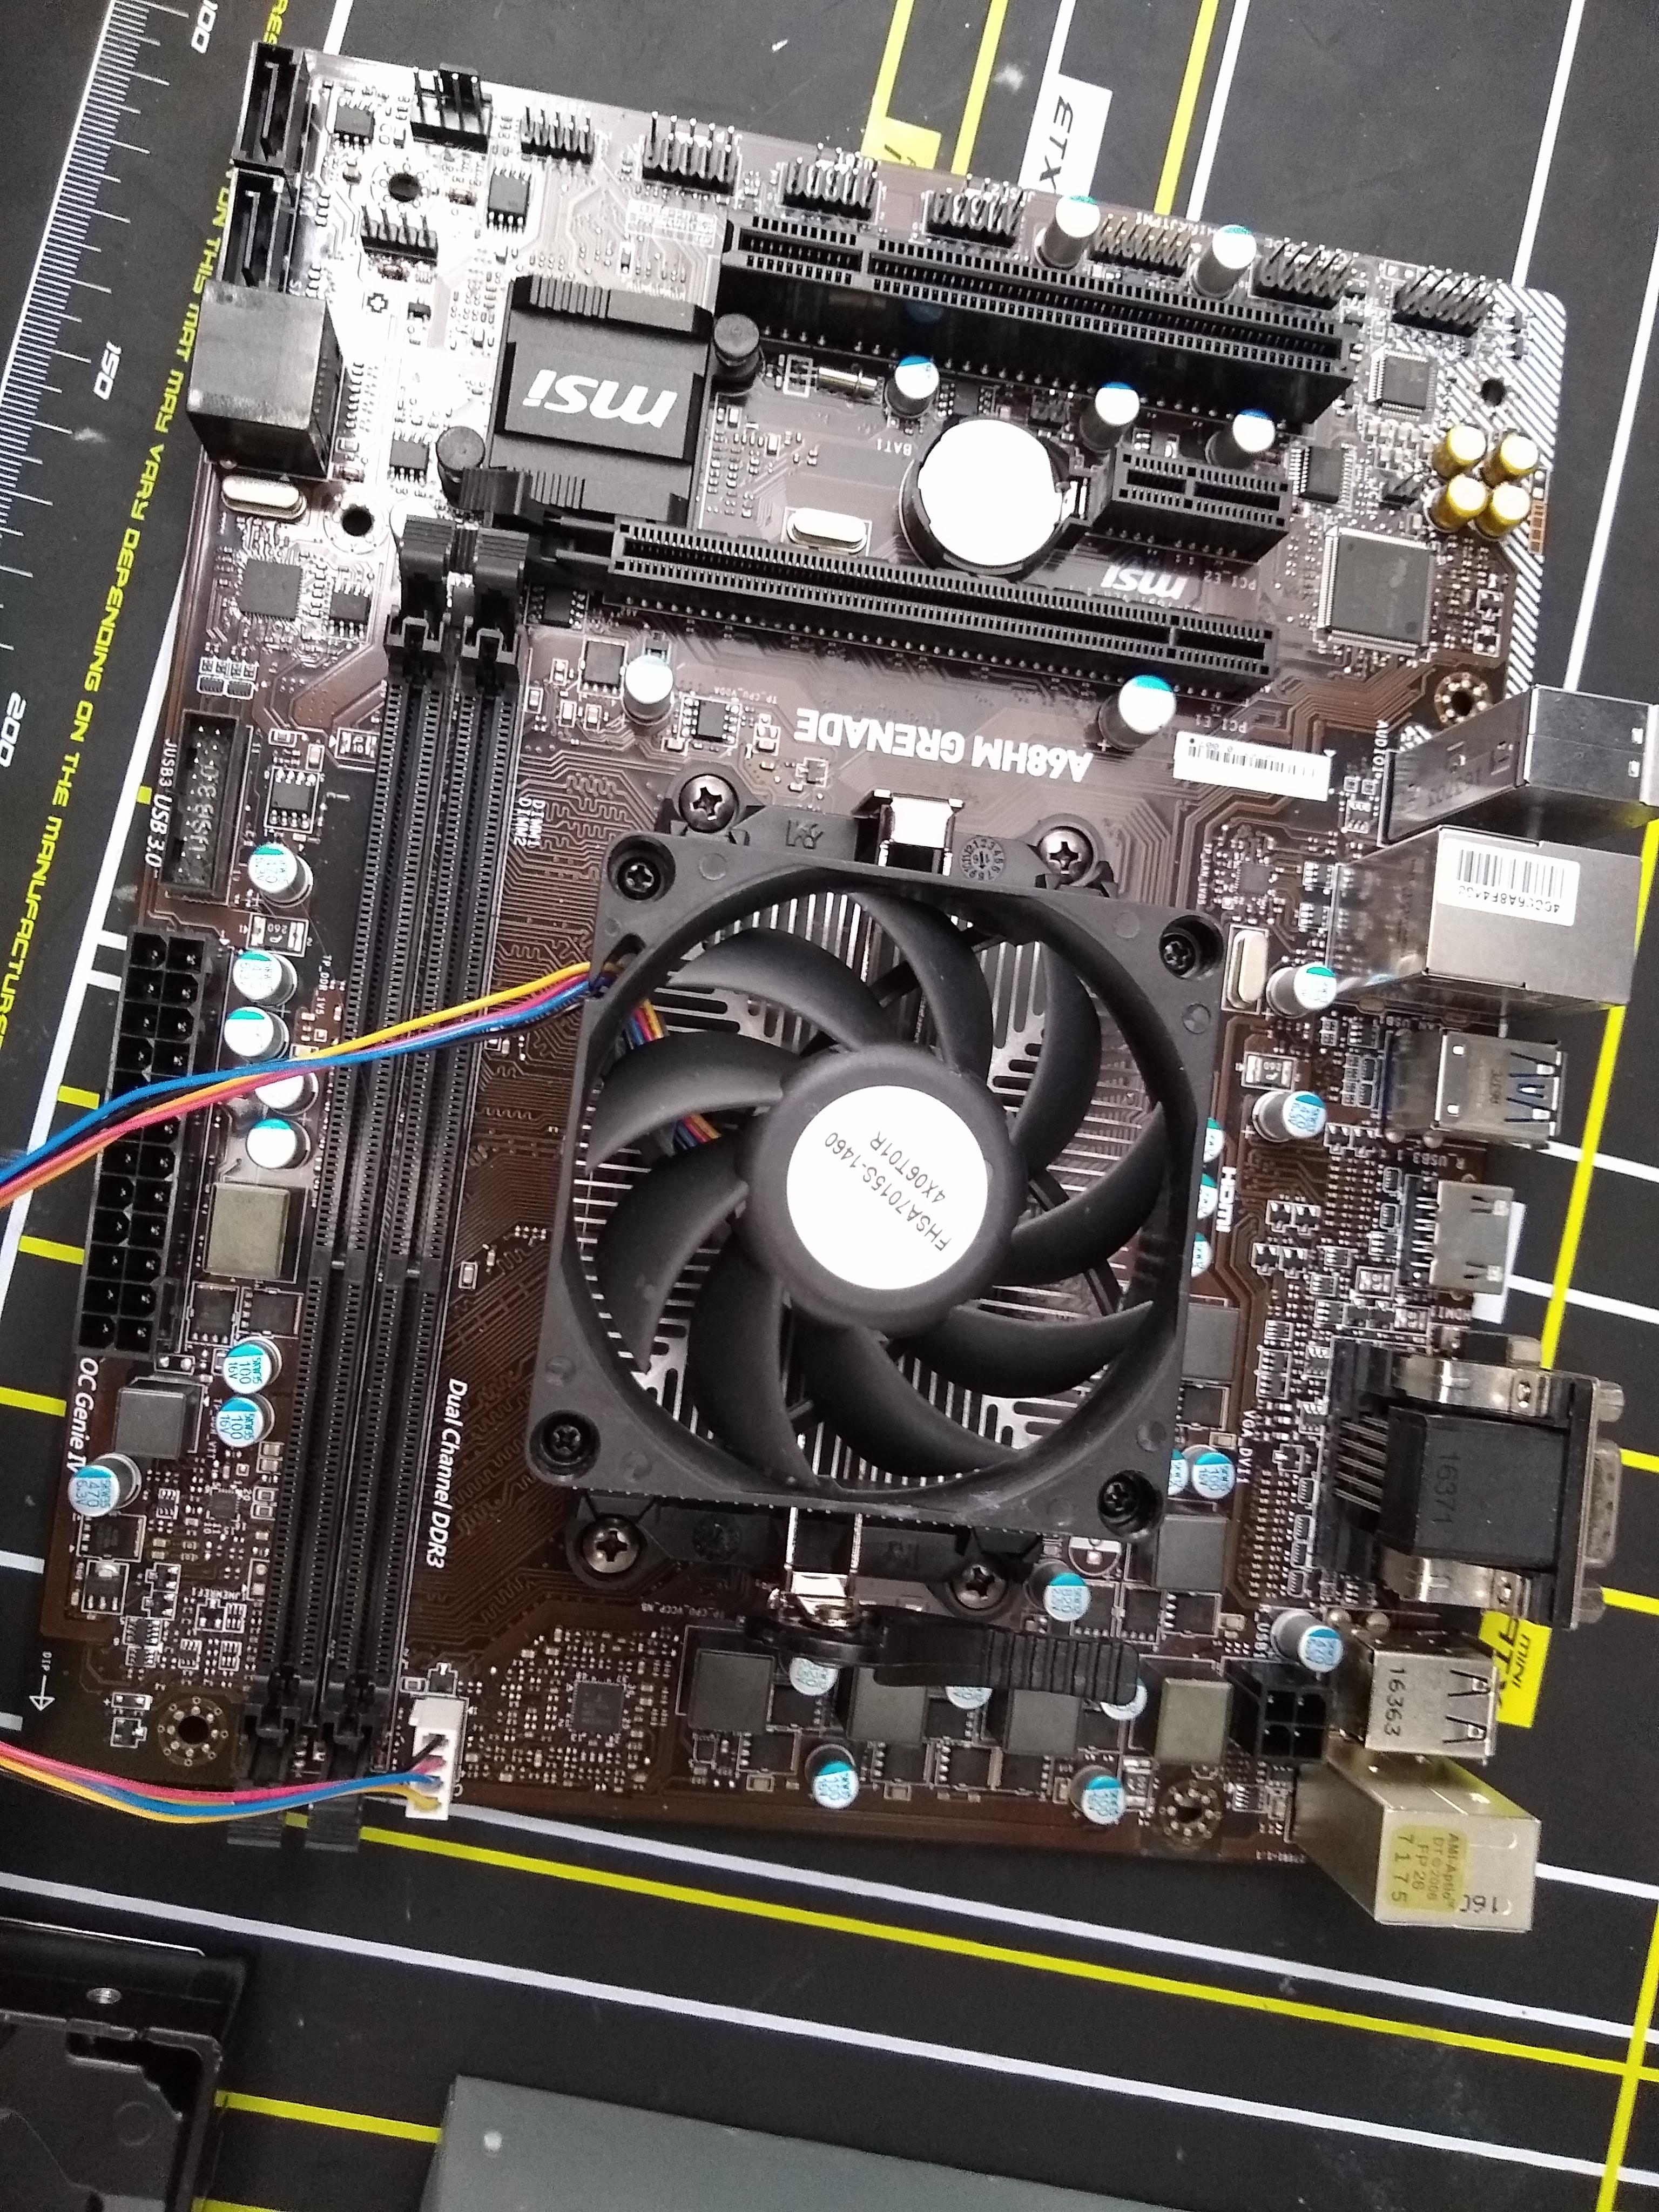
- Take your motherboard out of the box and set it on top of the box
- Take your CPU and set it into the CPU socket GENTLY to make sure you don't bend any pins
- Push back the tabs on the dimm slots and insert your RAM (make sure the notch in the dimm slot is aligned with the notch on the RAM or it will not go in) make sure to press down on the RAM until you hear a click signaling that the RAM is secured
- Put a thermal paste the size of a pea on the top of the CPU and set your heat sync on top of the CPU and screw heat sync into CPU brackets and plug heat sync into motherboard
Pre Test
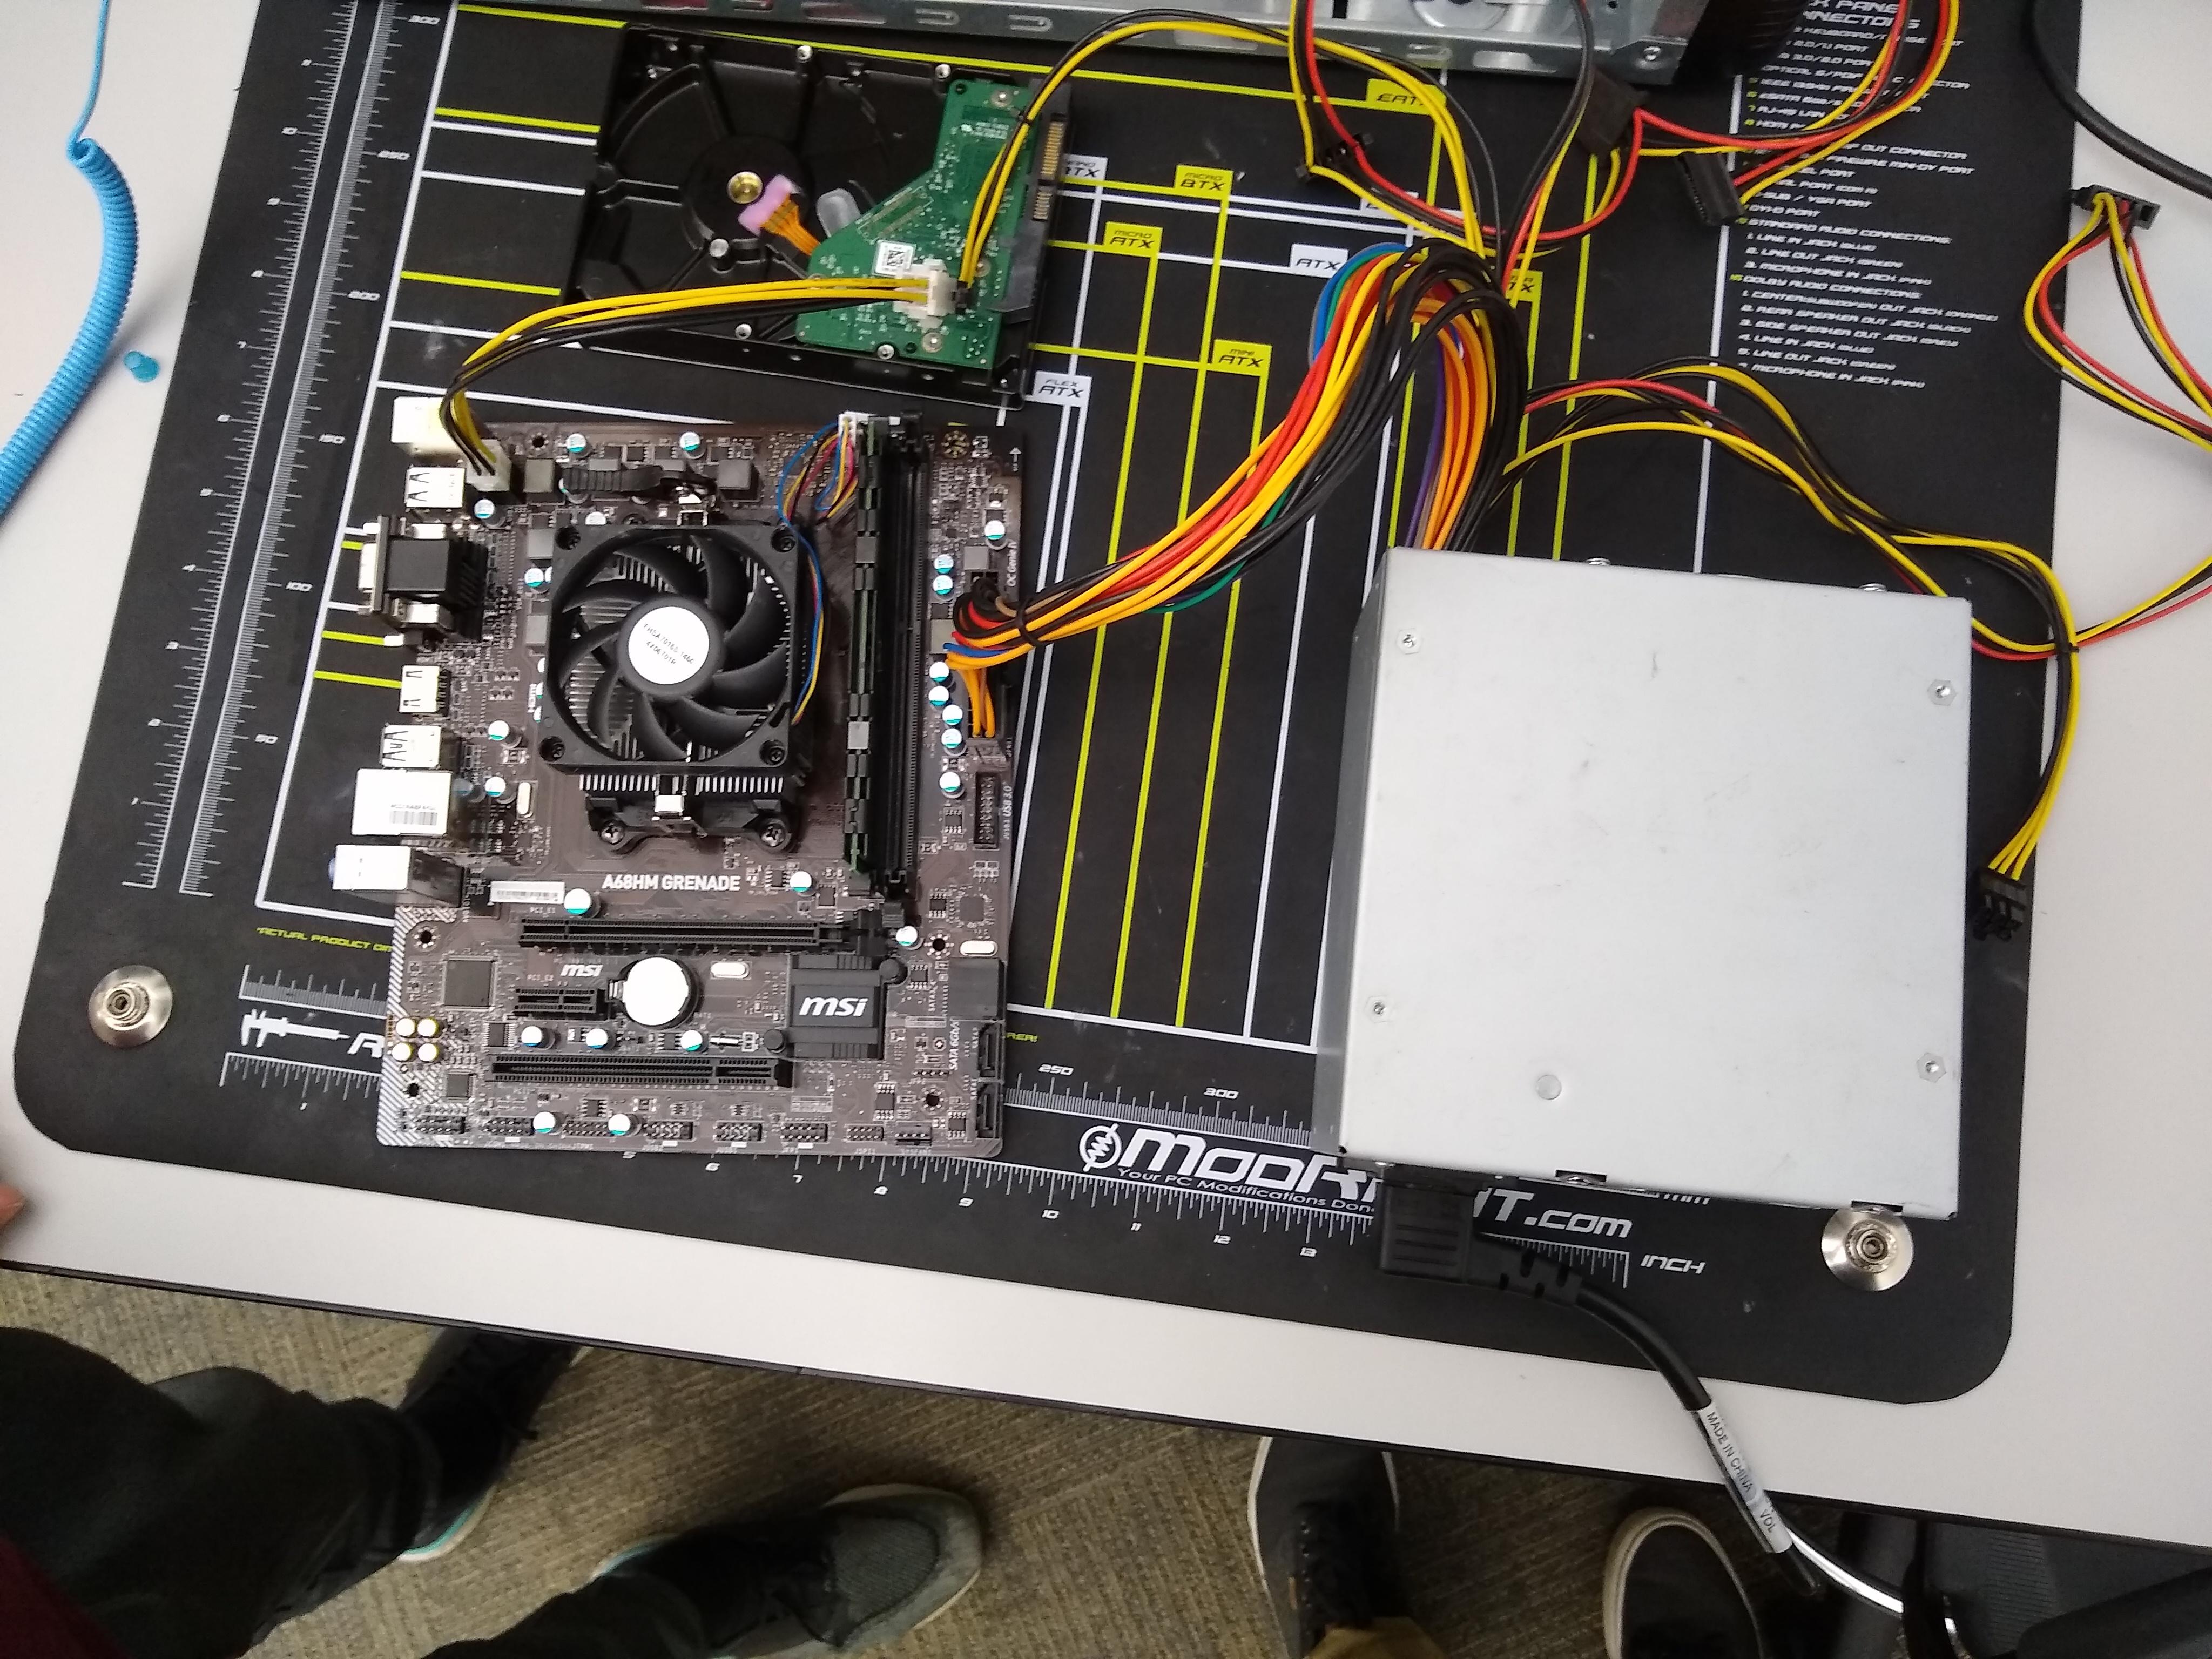
Before putting the mother board into the case plug power into the motherboard and power it on and listen for the beep. If you don't hear the beep then something is not working correctly and you need to go back and figure out what it is that is causing the problem.
Case
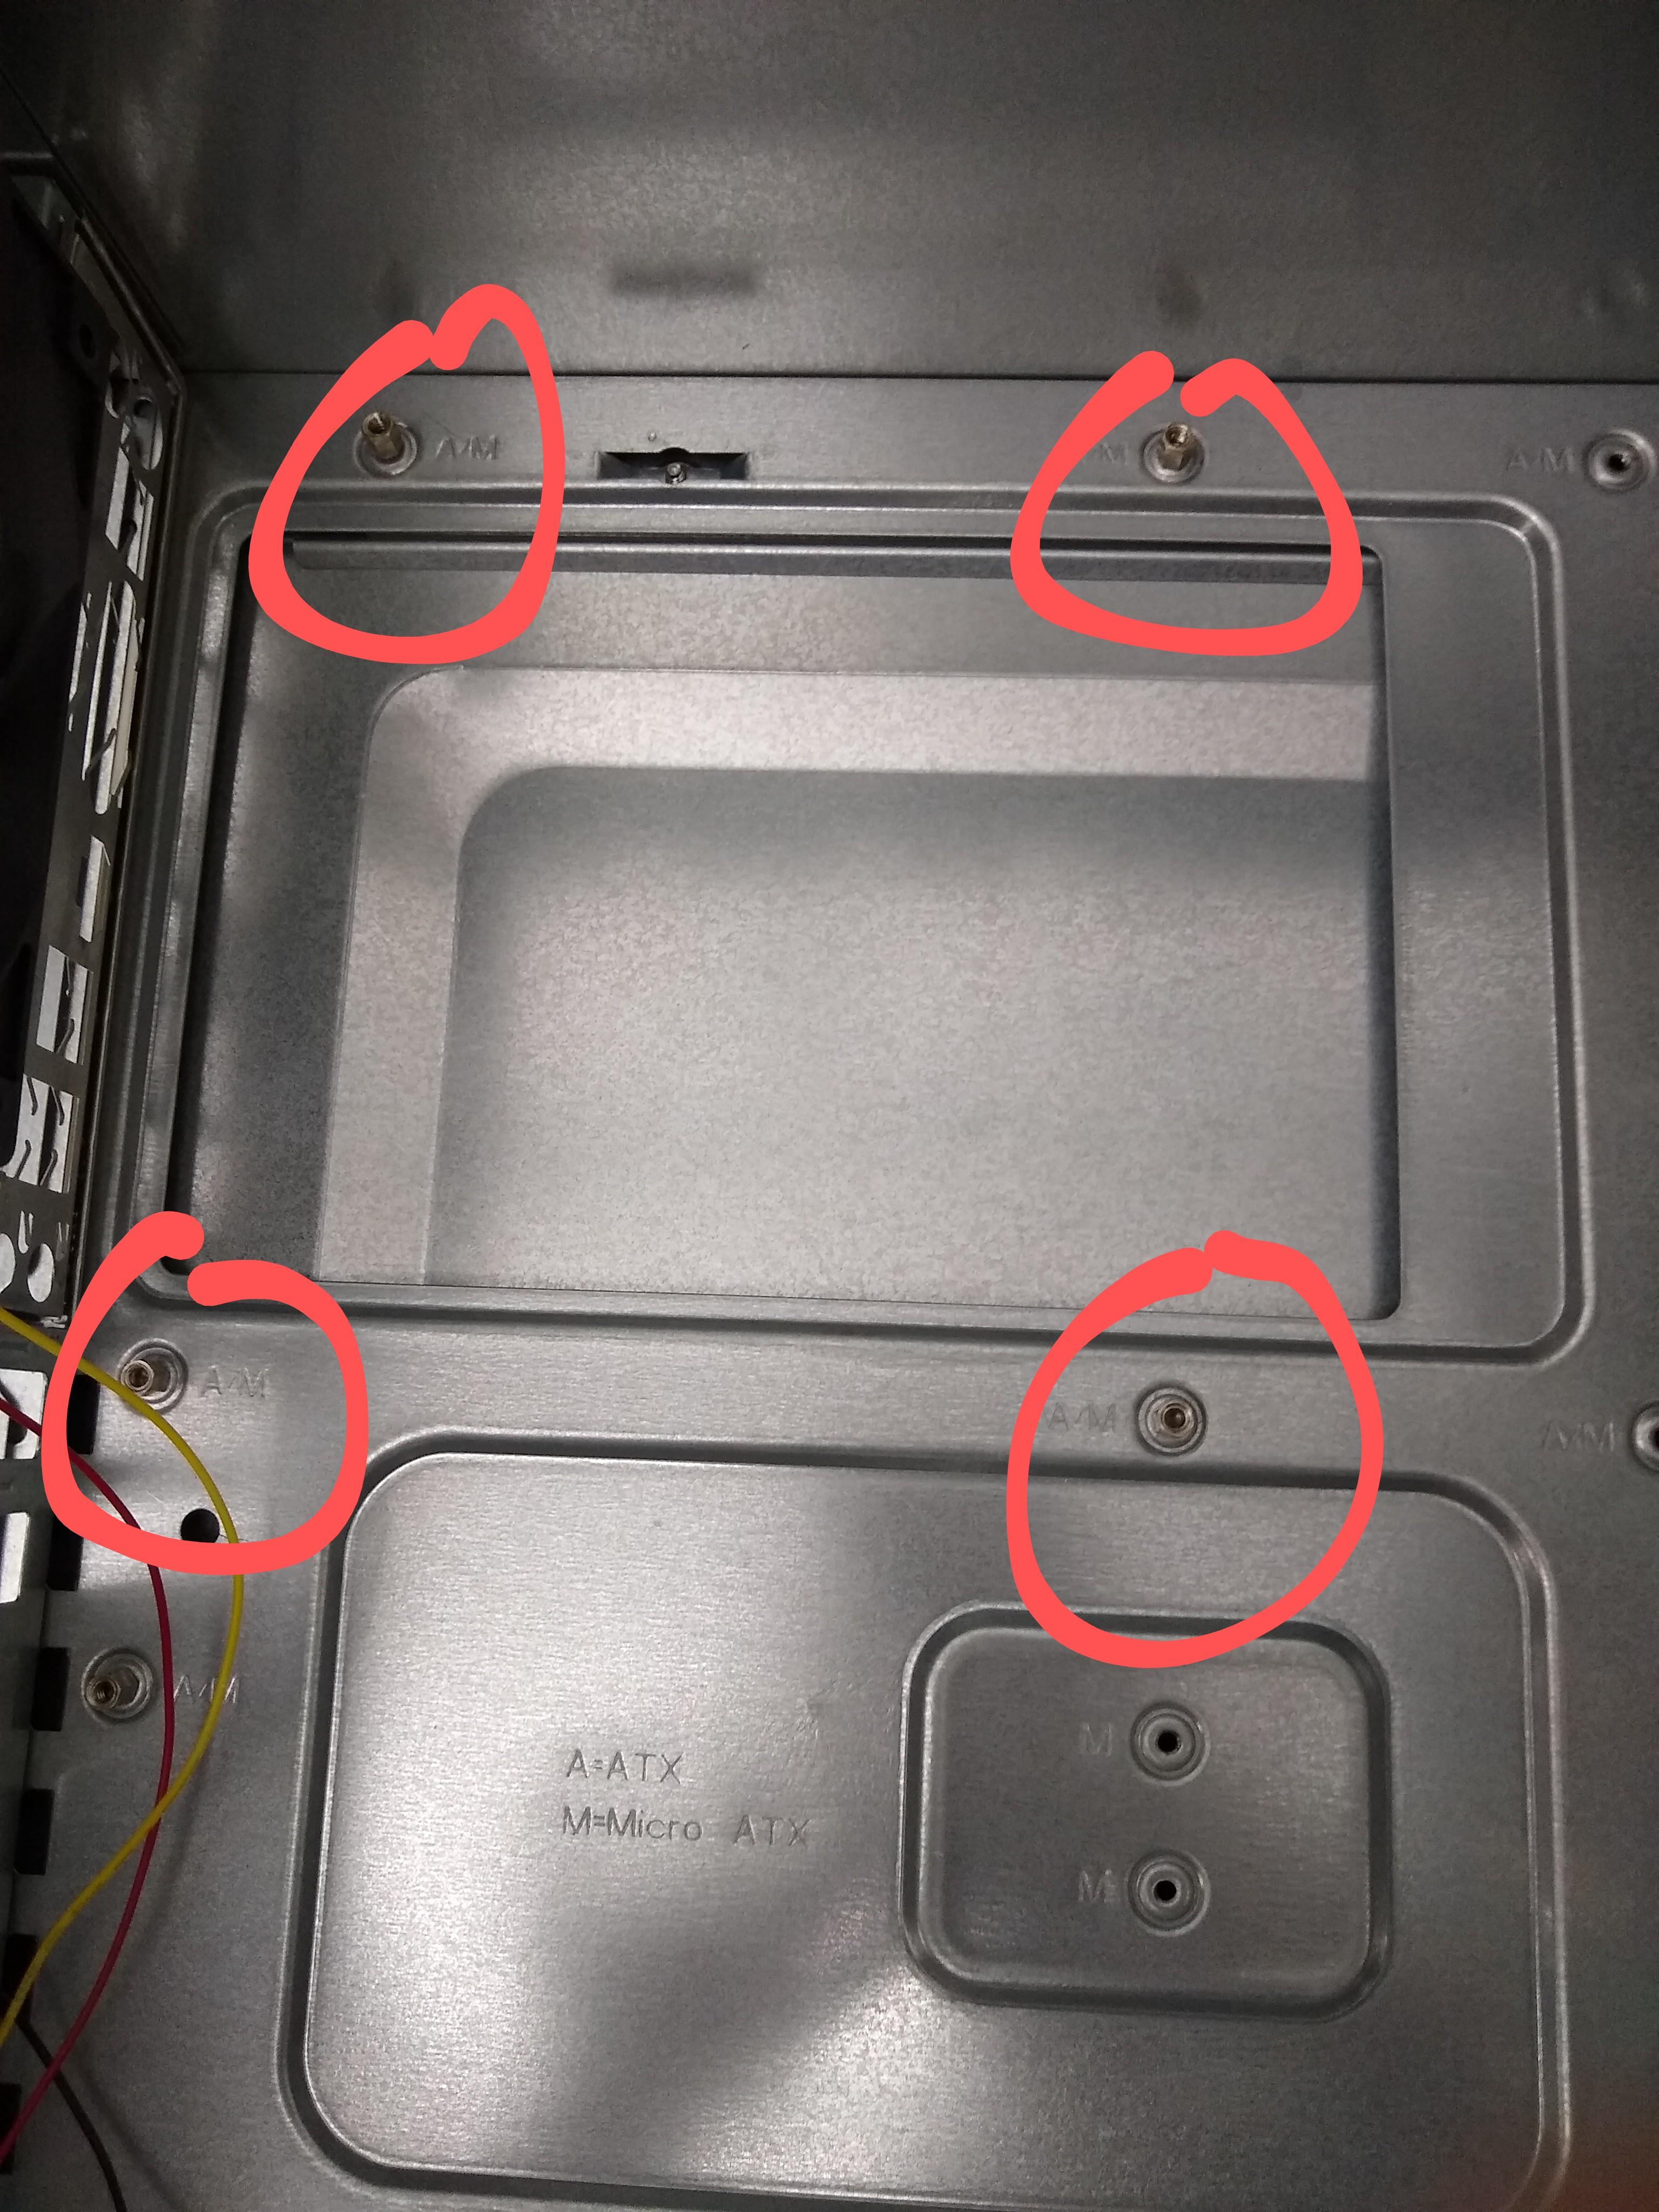
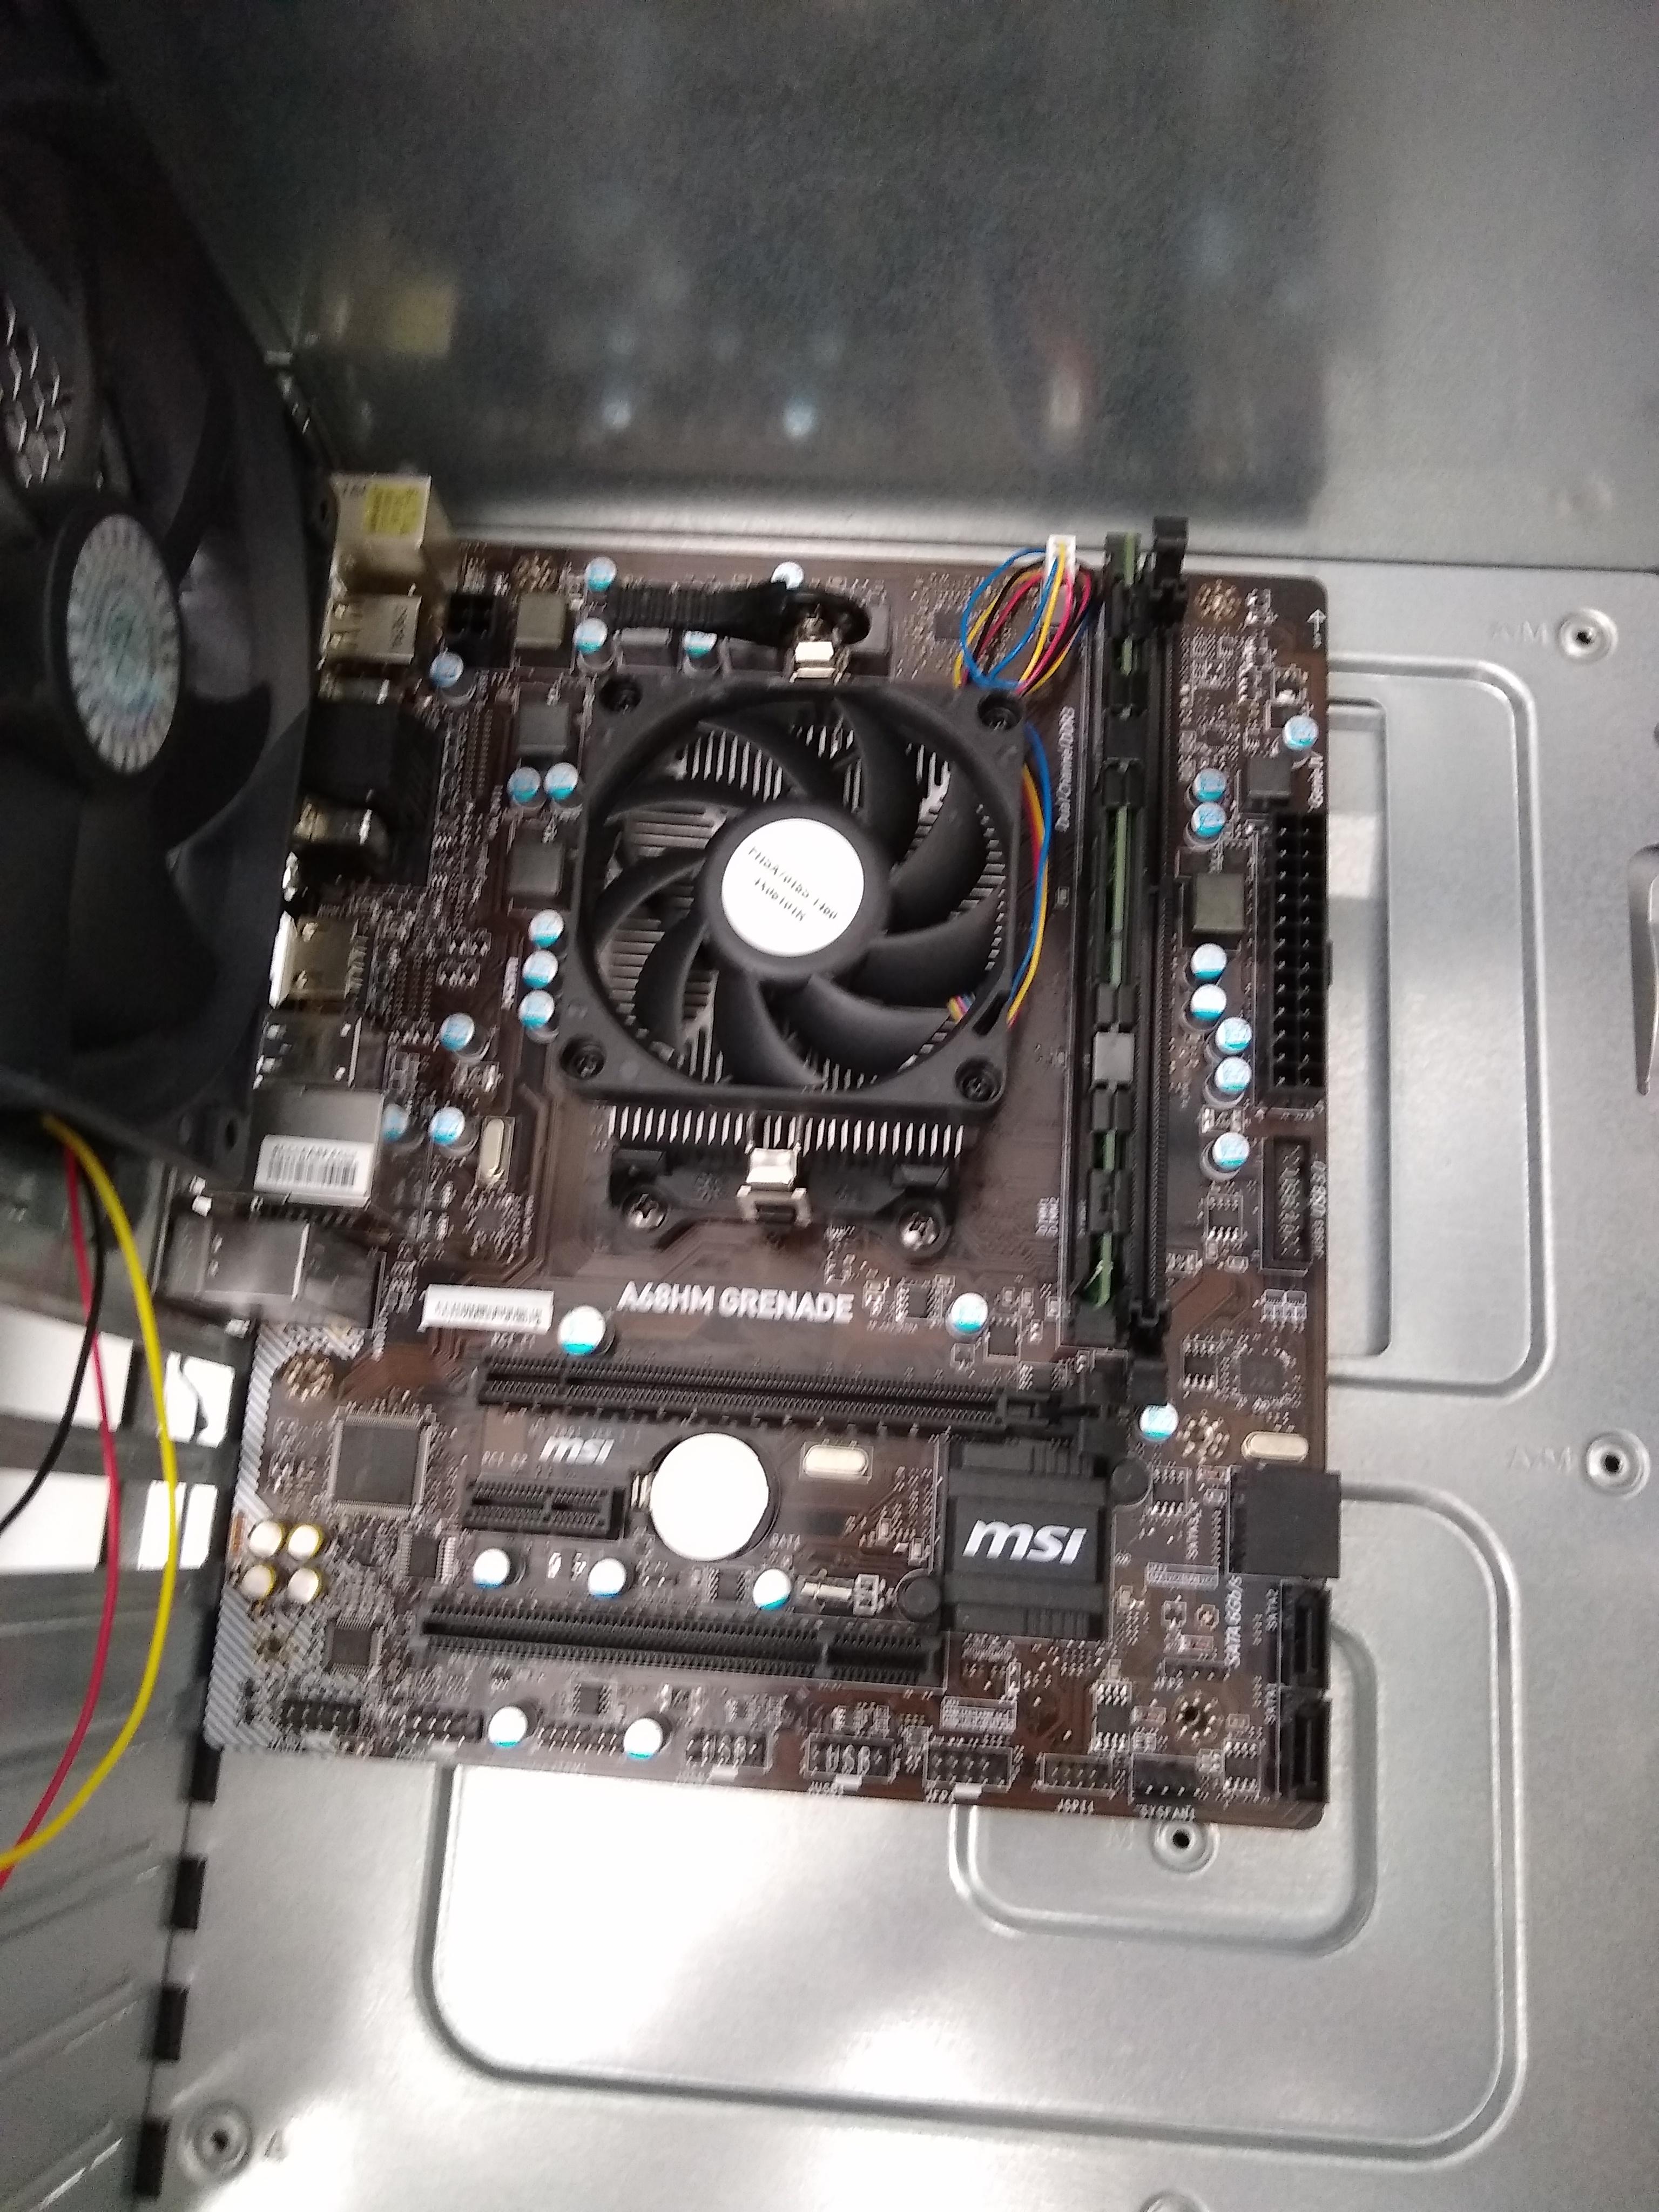
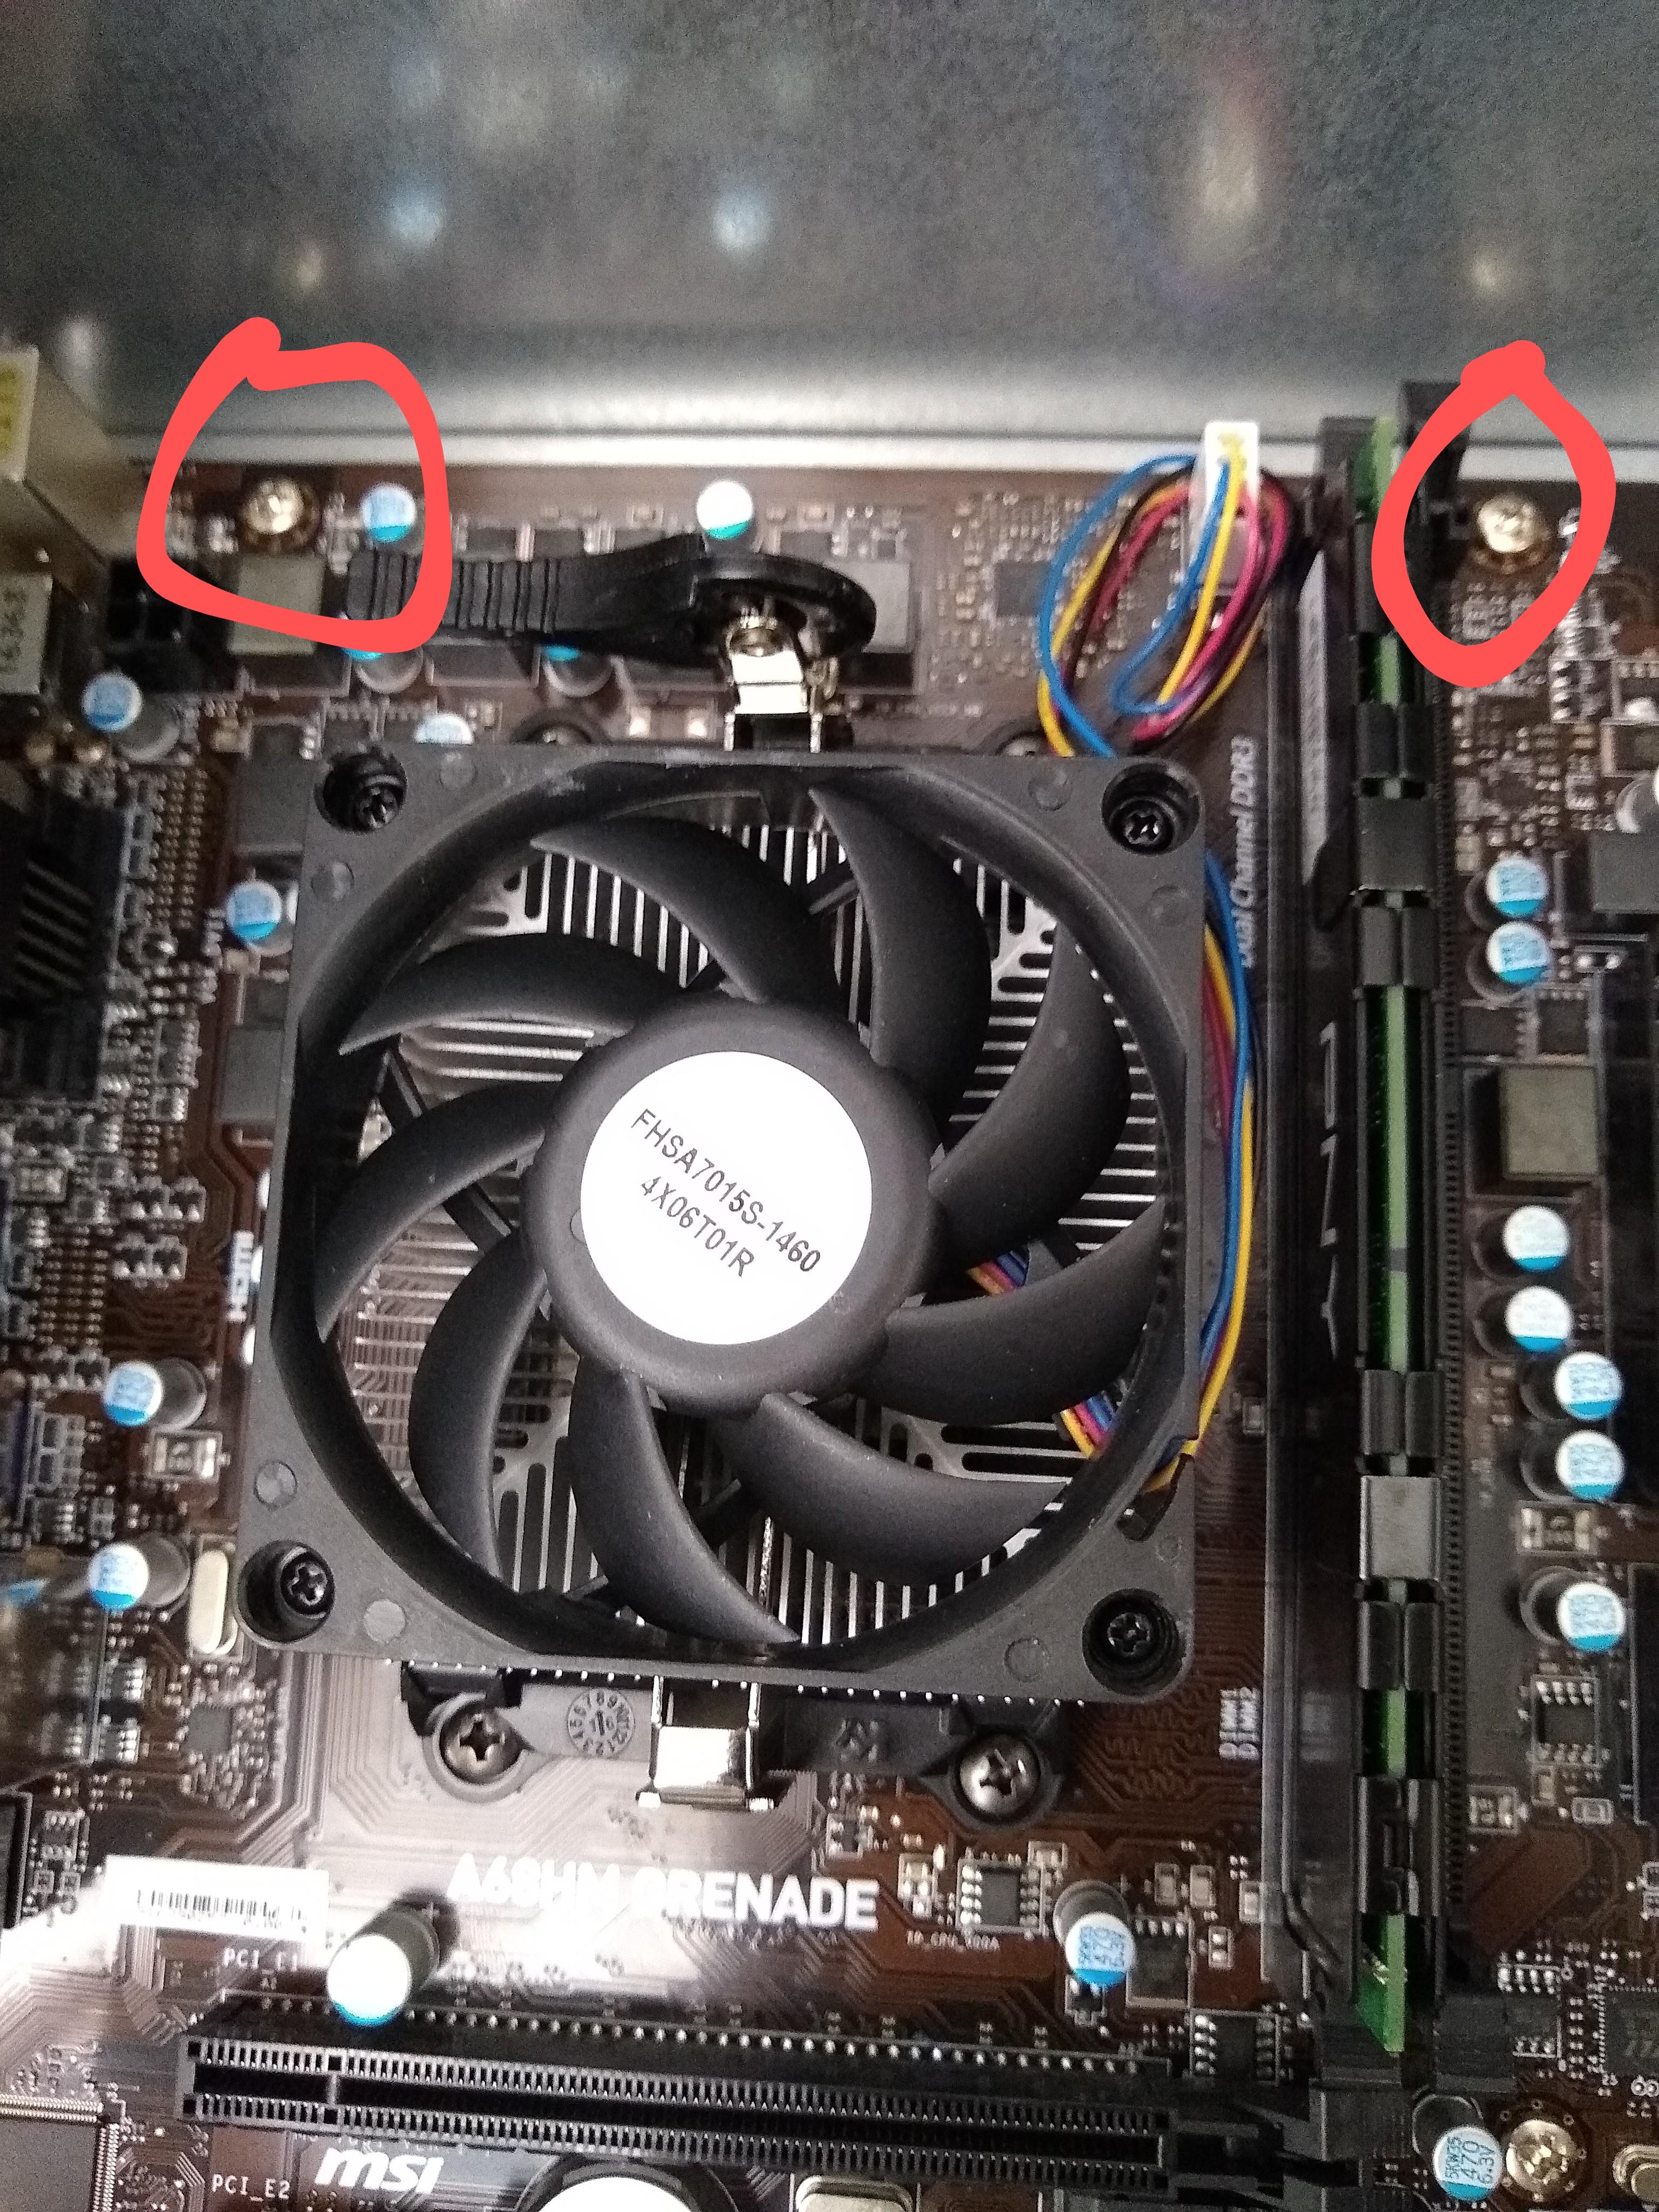
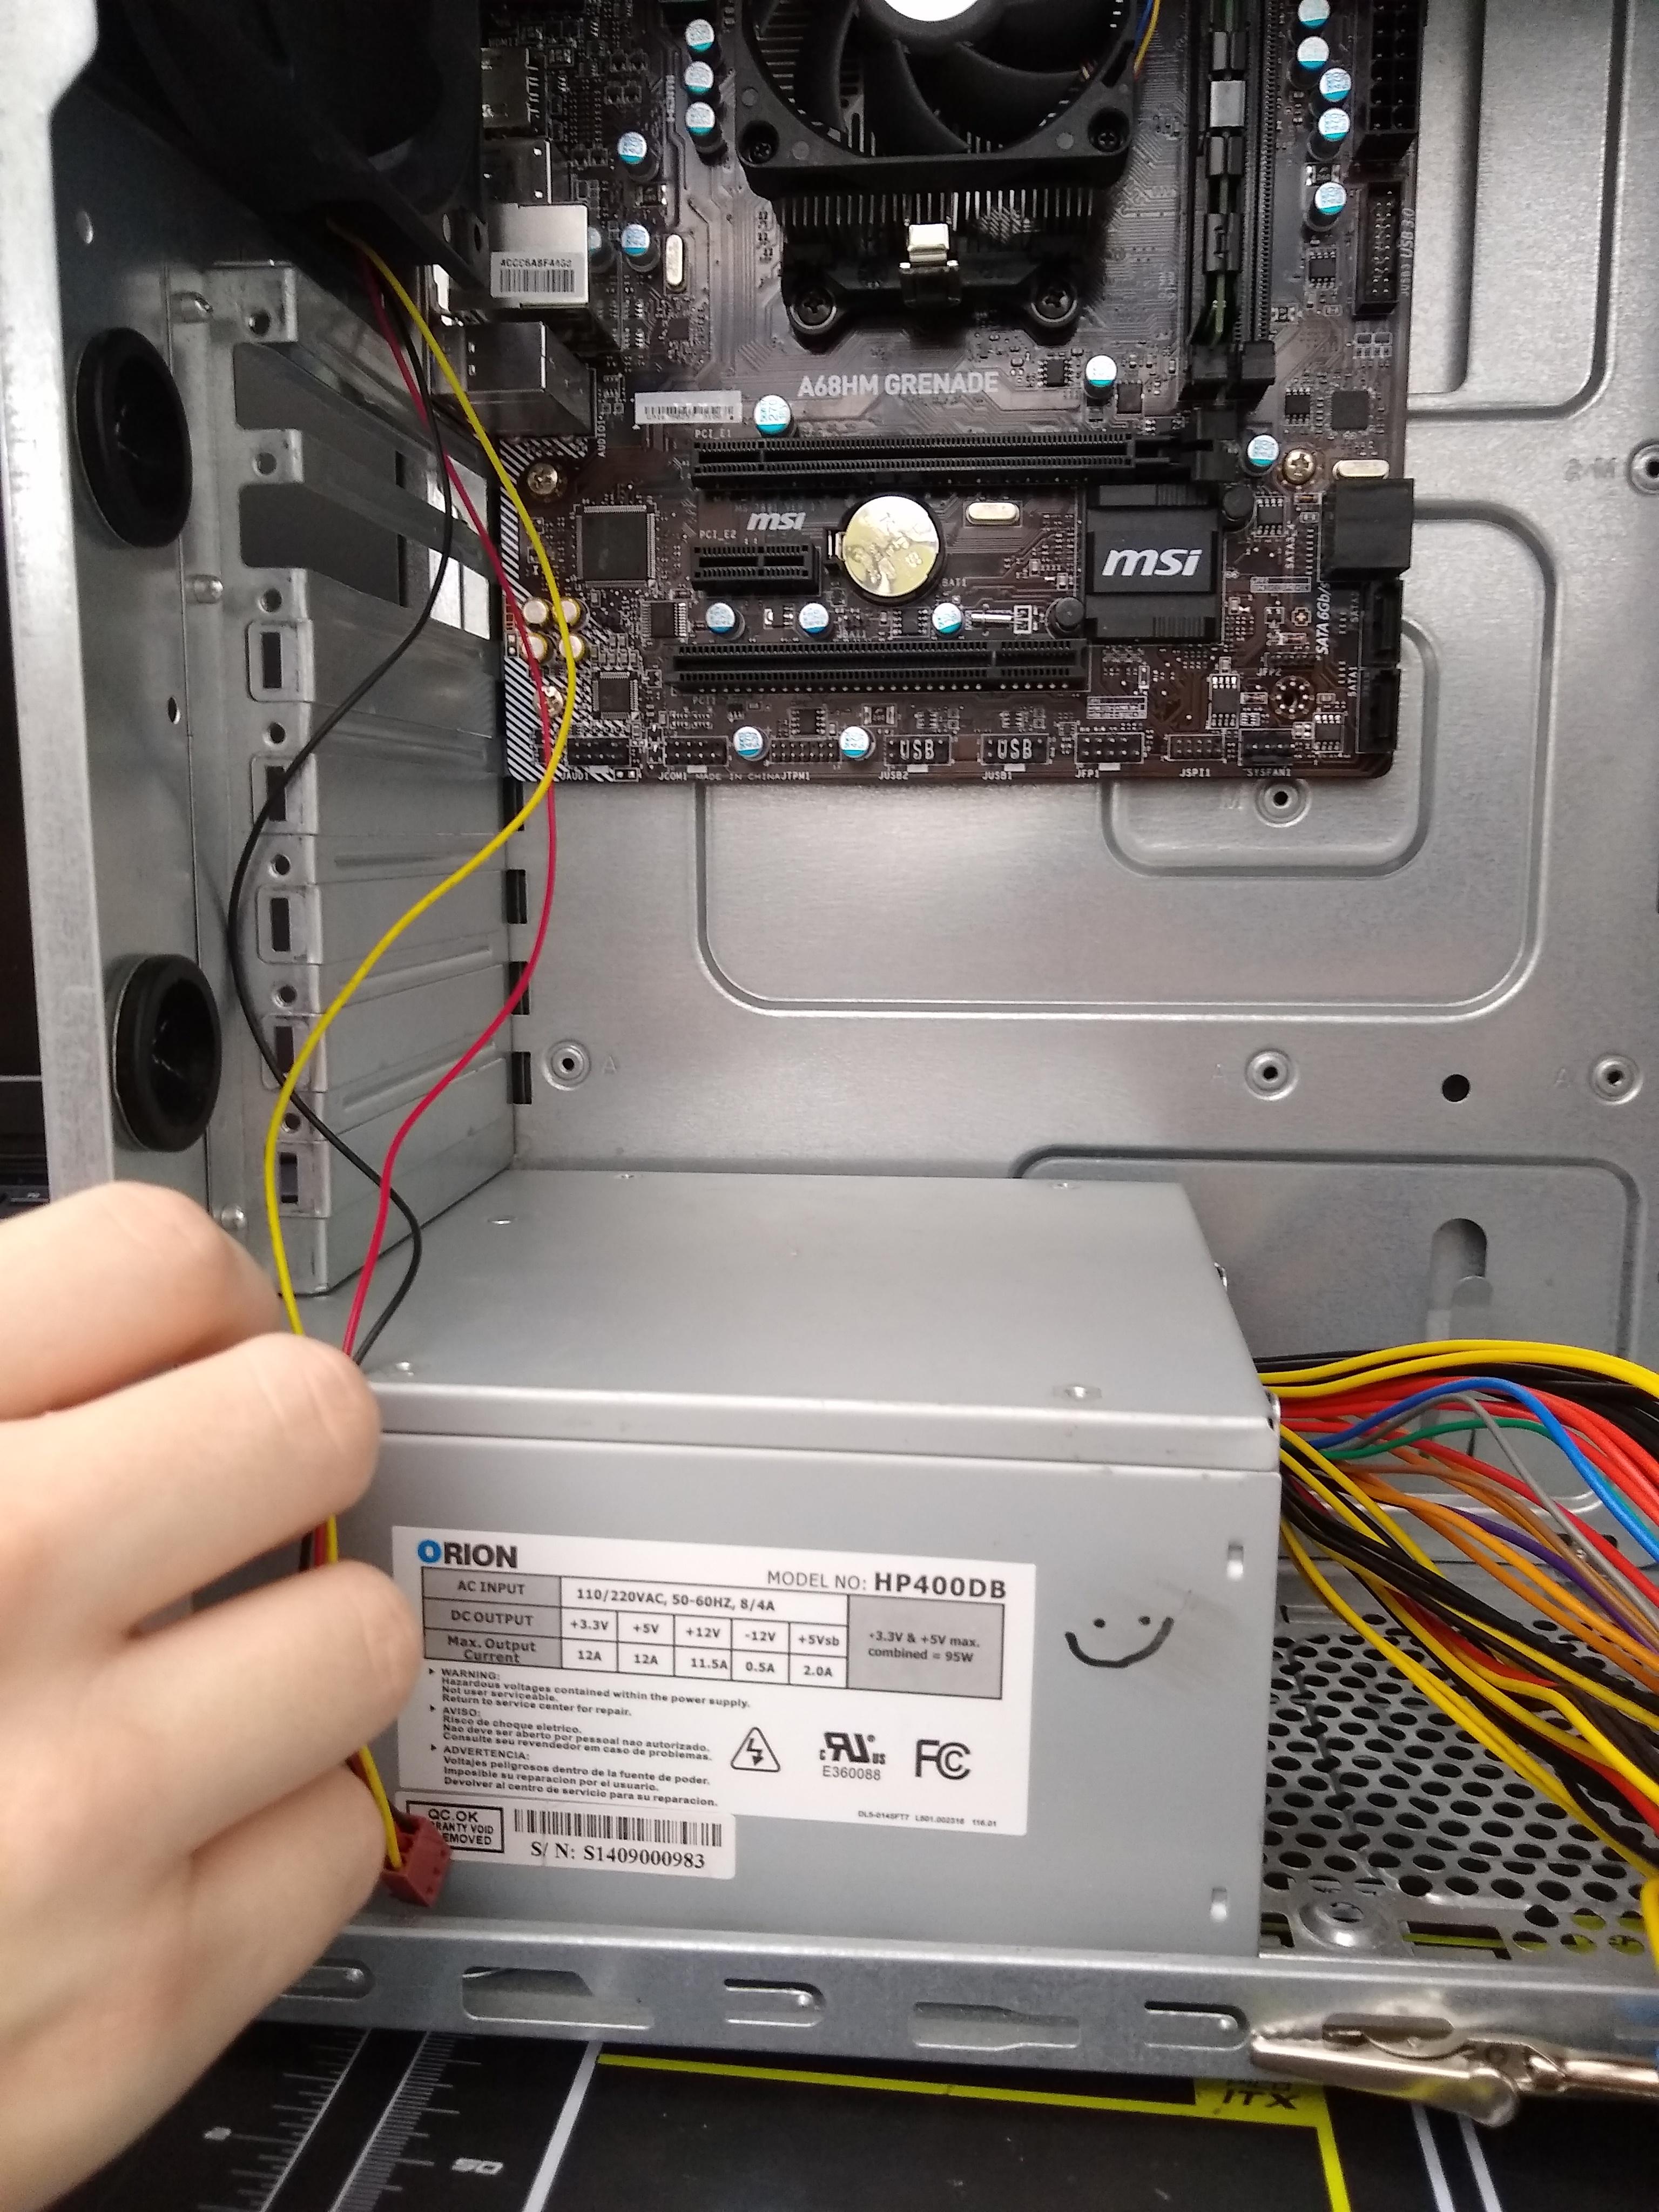
Now you are ready to put your motherboard into the case.
- Install standoffs in the case
- Install IO shield
- Gently place motherboard onto standoffs
- Once motherboard is properly on top of standoffs screw the motherboard into standoffs through the standoff holes in motherboard
- Add your power supply into the case and screw it into place
- Install hard drive into hard drive bay and connect to motherboard via SATA cable
- Add GPU via PCI_EI slot on motherboard (if you have one)
- Install case fans in the rear, front, top of case (where you install fans varies depending on your case). To do this just screw in the fan to the case and plug it in to the socket labeled system or case fan. (most times case fans will come pre installed)
Power
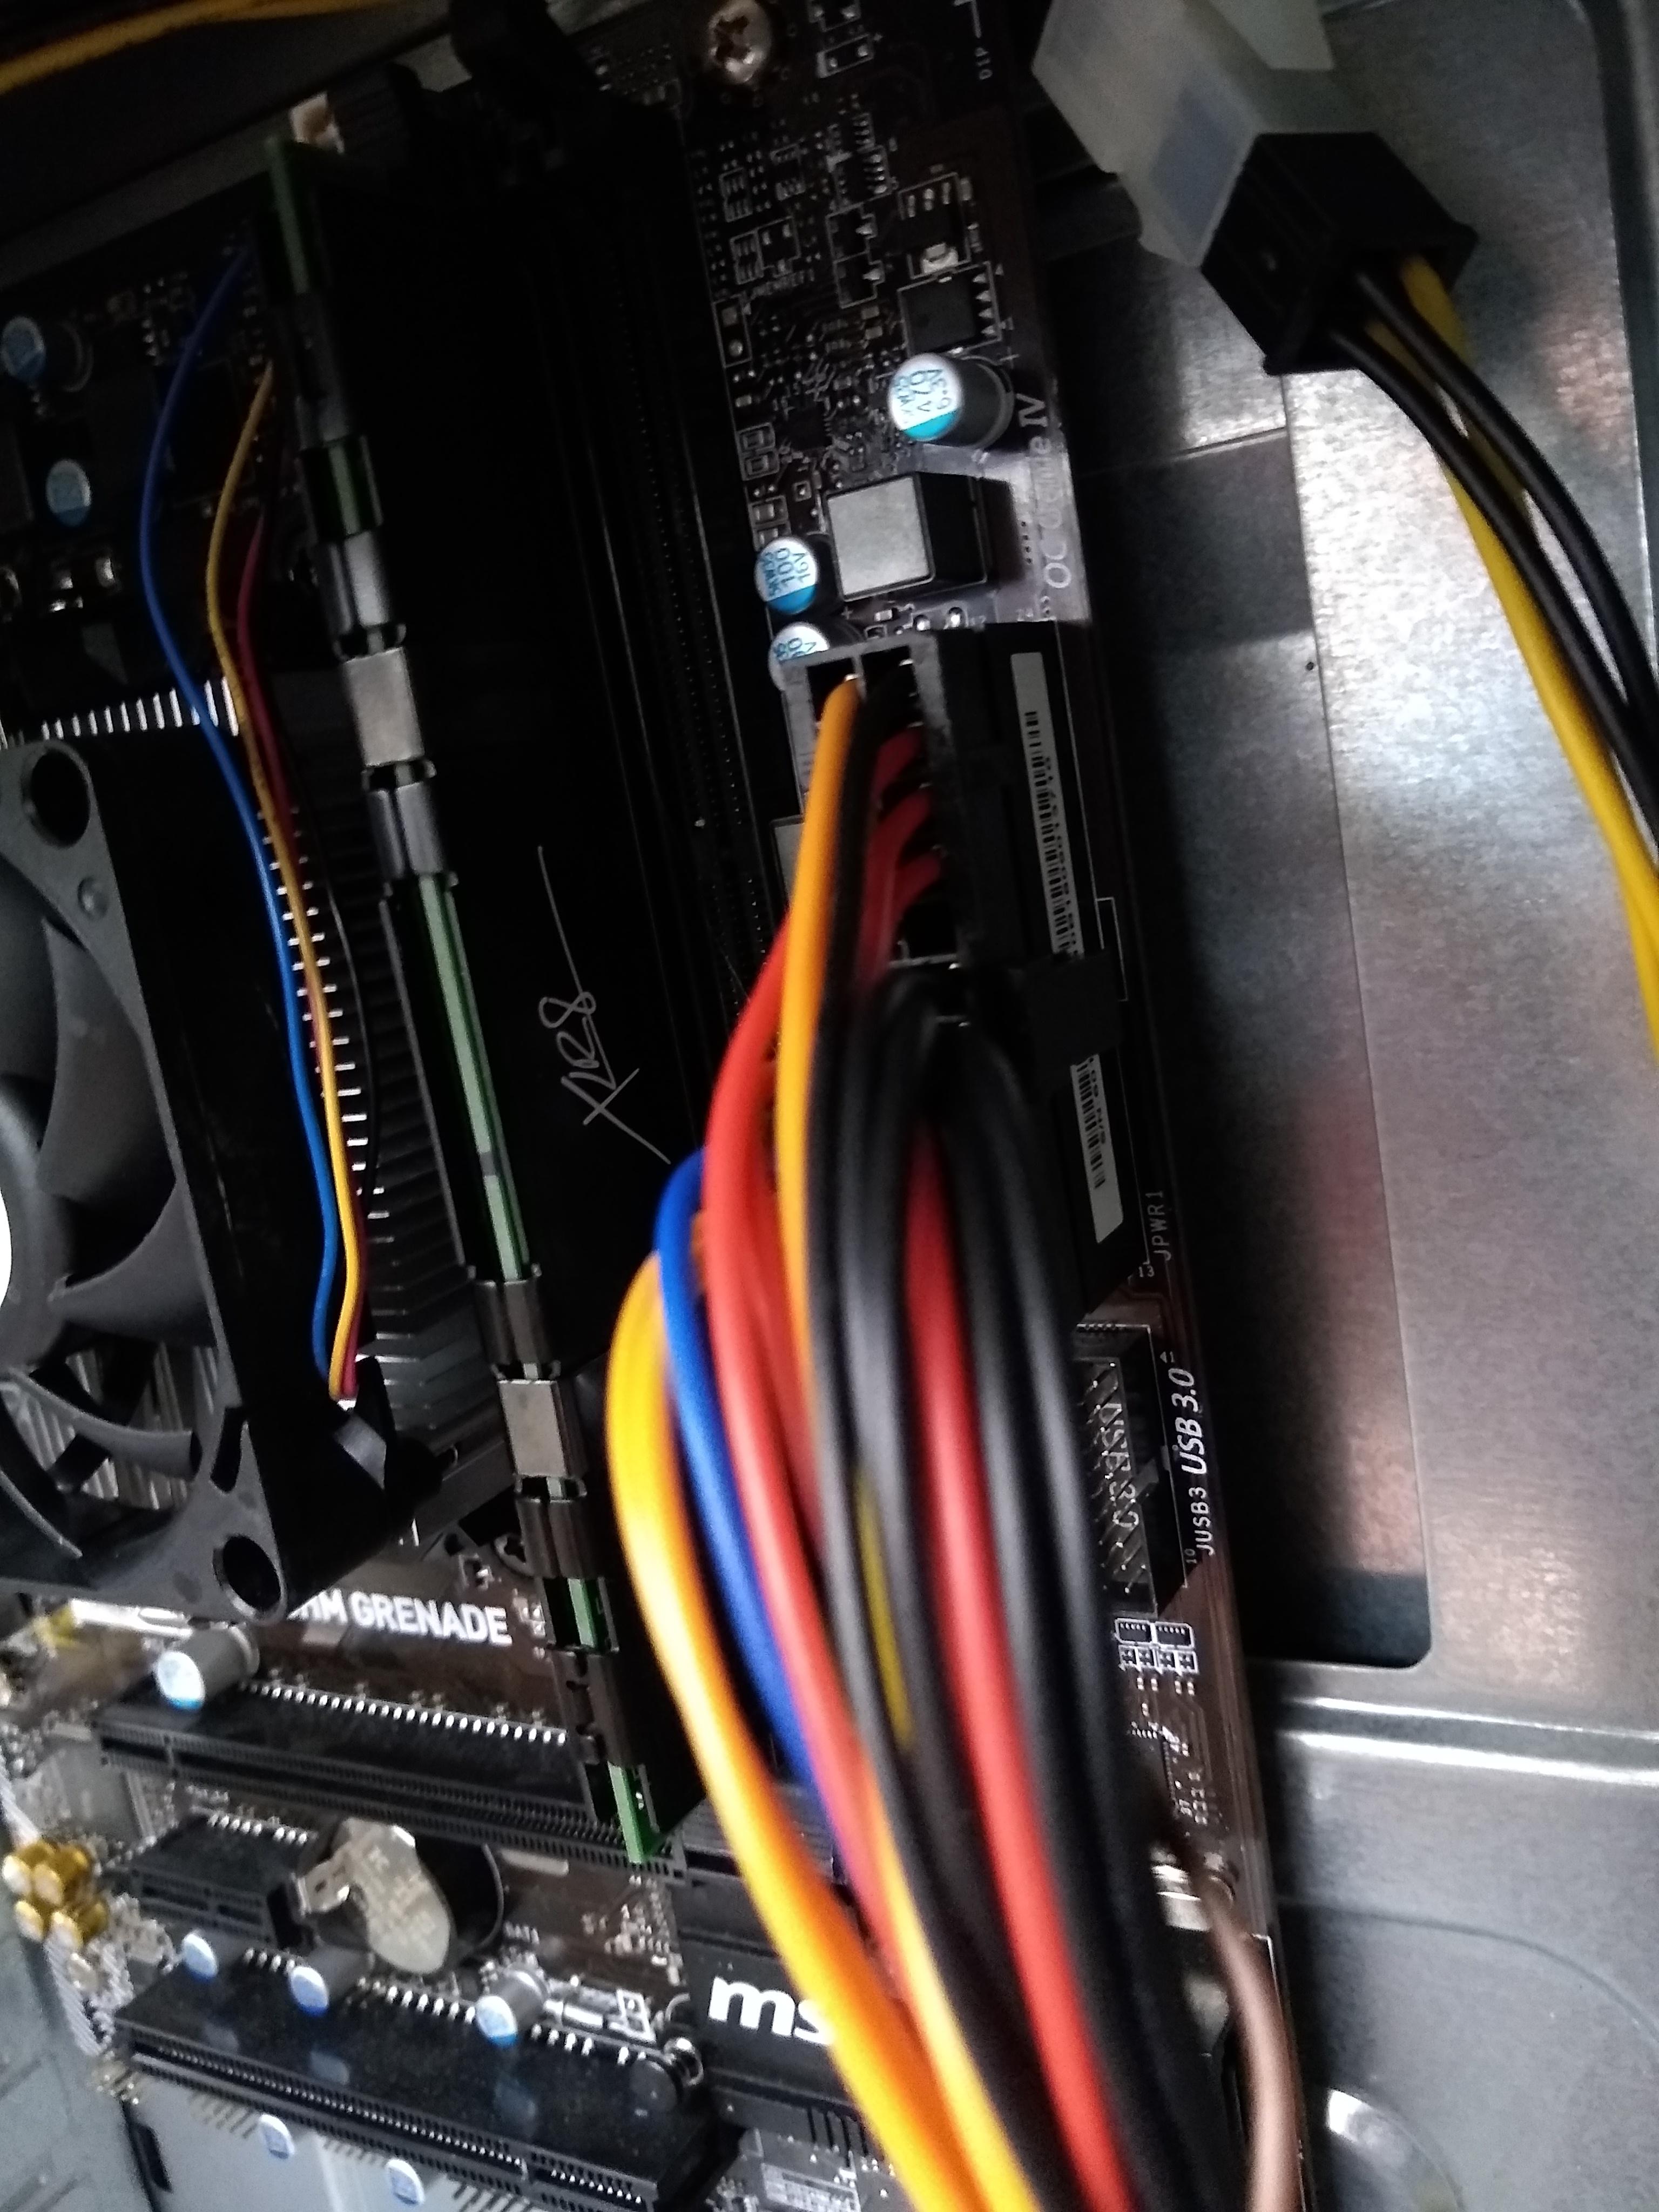
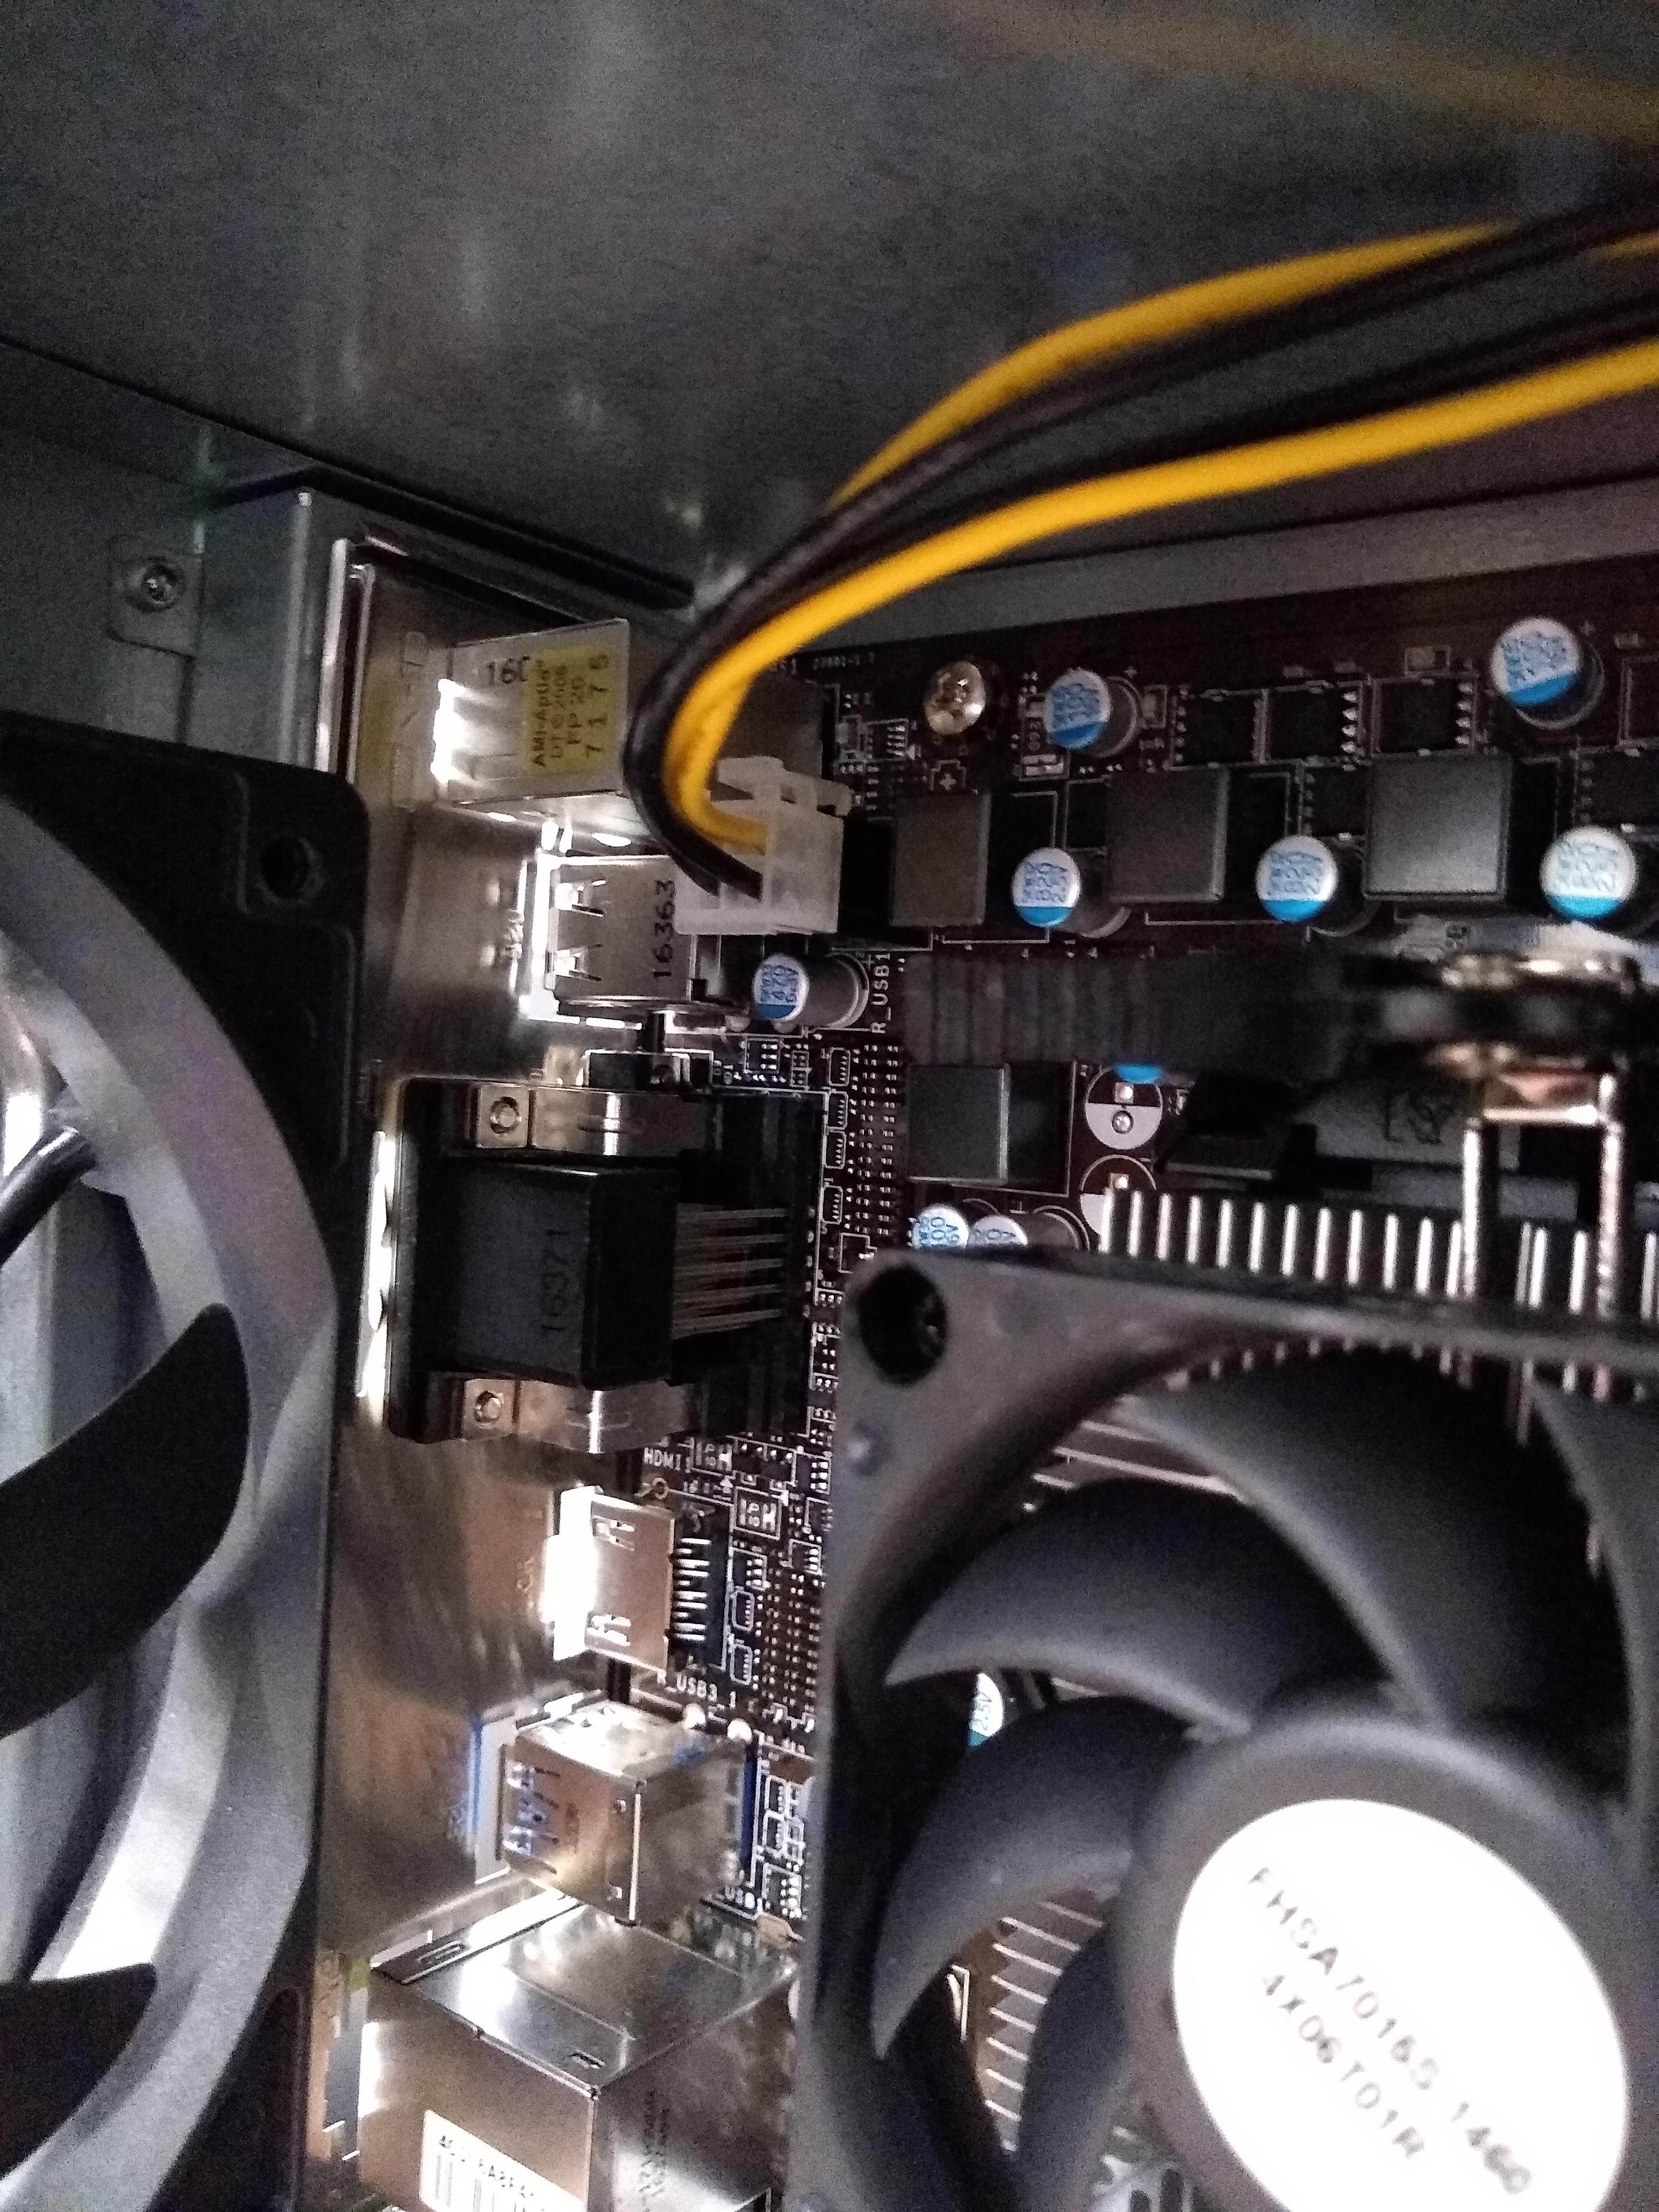
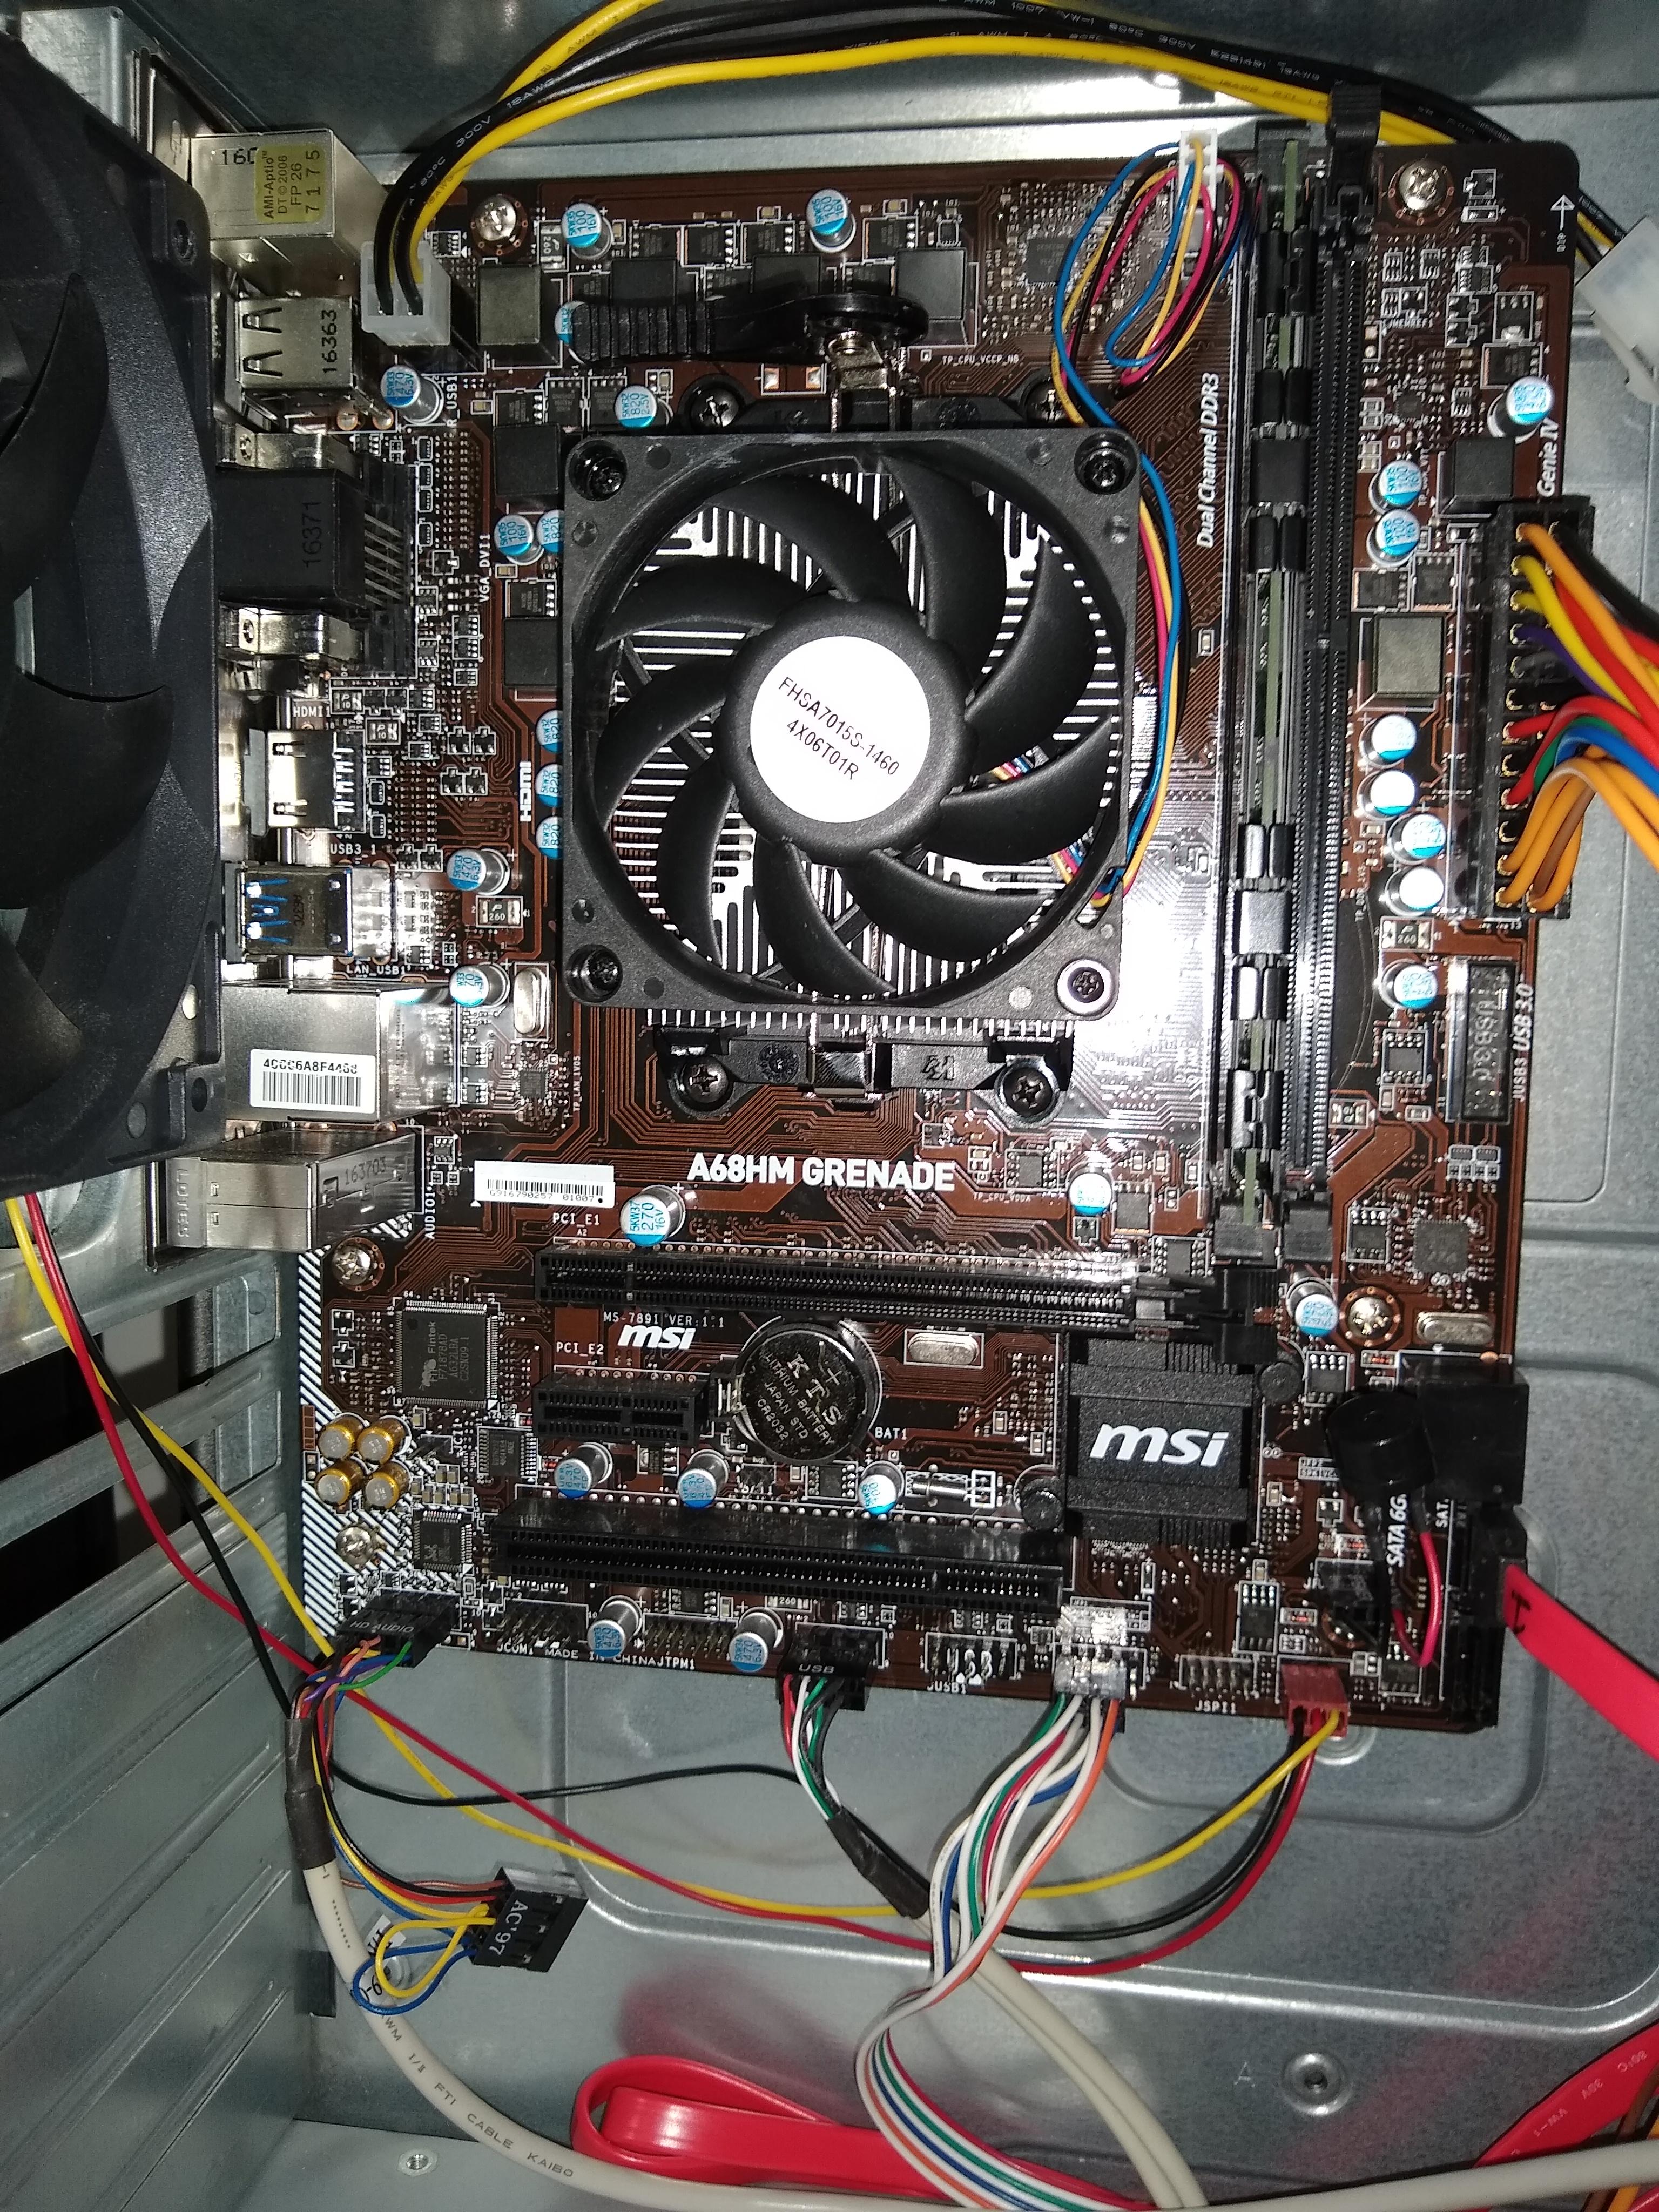
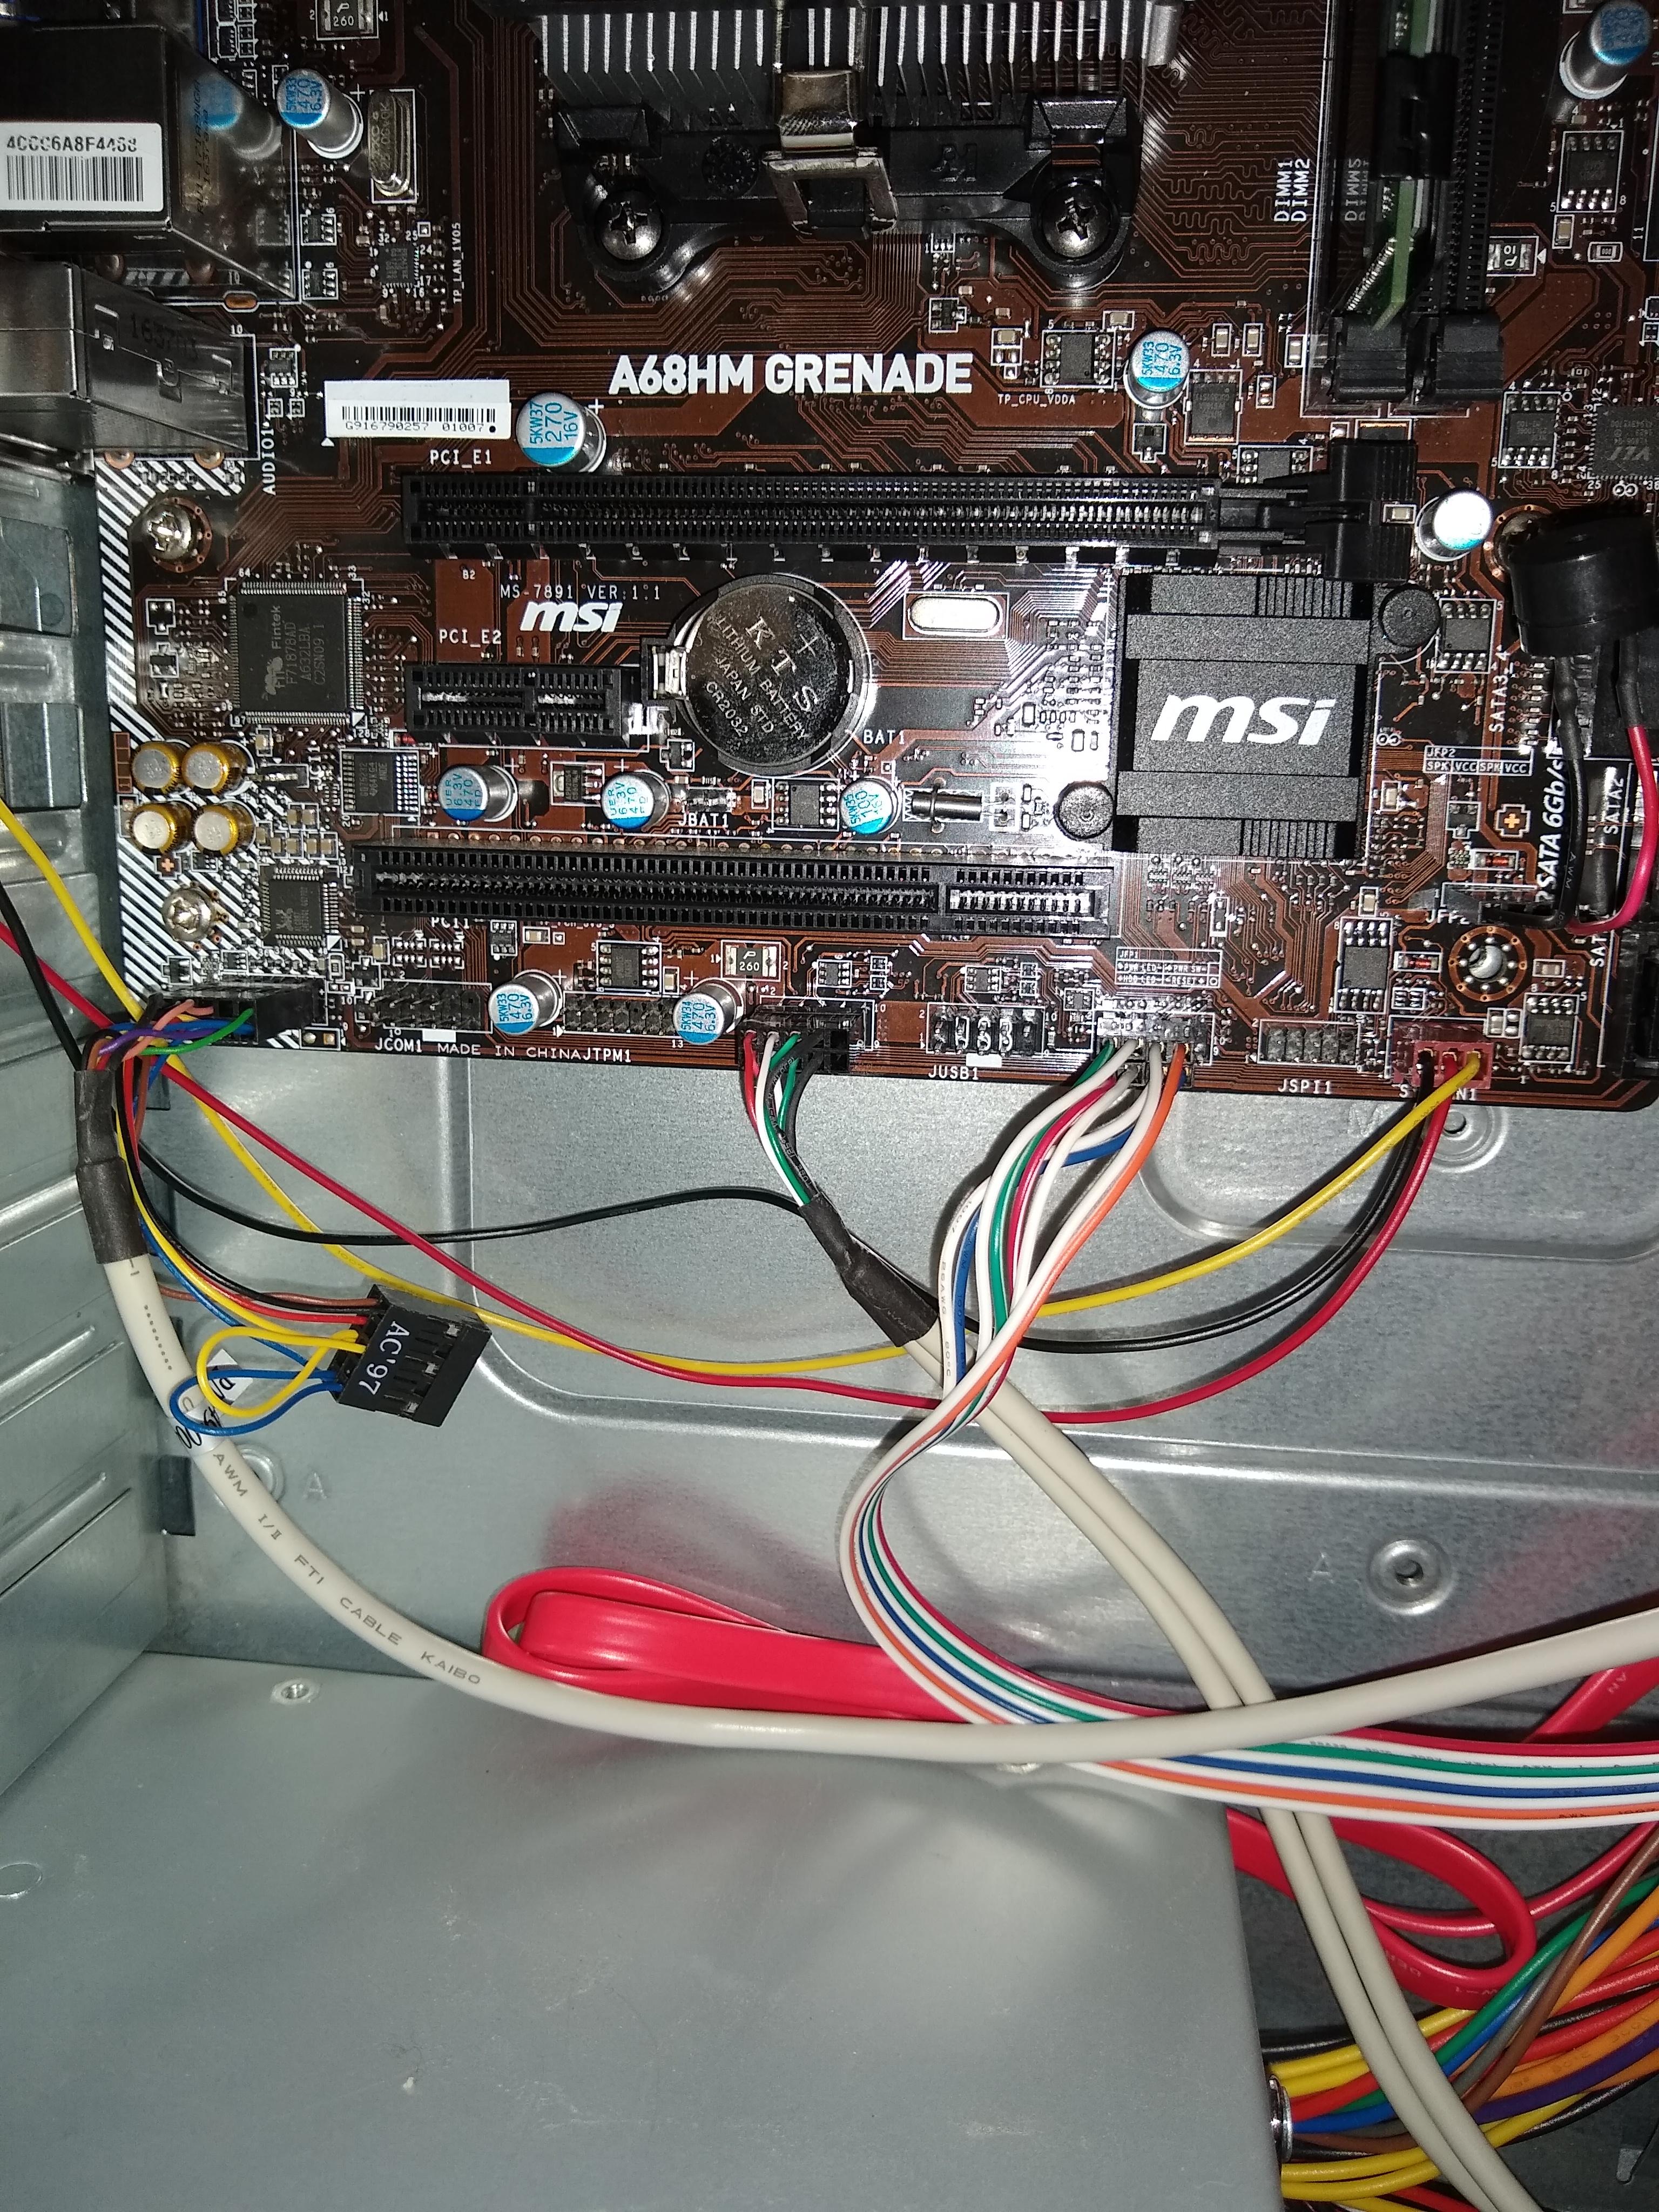
Next step is to add power to the motherboard
- Plug in the motherboard by with the 24 pin power connector the socket is located to the right of the dimm slots
- Plug in the CPU with the 4-8 pin power connector, the socket is located in the top left corner of the motherboard right next to the ports
- Plug in front panel usb, audio connectors, and front panel connectors to motherboard, the sockets for these will be located on the bottom of the motherboard
Post
Once you turn your pc on you should hear a beep signaling that everything is good with your system and that it is ready to boot into bios or your operating system. If you don't hear a beep or you hear more than one beep you can go to the beep codes section in the motherboard manual to see what the problem is.