Outdoor Photography: Understanding Light
by LuisiJ in Circuits > Cameras
4800 Views, 97 Favorites, 0 Comments
Outdoor Photography: Understanding Light
.jpg)
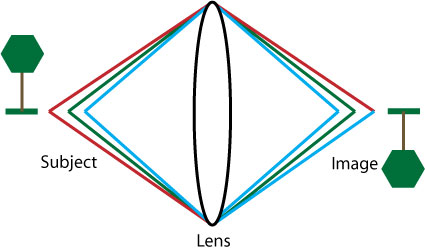
Imaging systems, cameras and sensors have become so common place many would take them for granted without ever thinking how they work. The human eye, a fetal sonogram, a radio telescope or a electron microscope have no apparent relationship, but are all connected by the same principles in the function. Whether it is sound, light, or other electromagnetic spectrum, imaging systems detect the properties of waves moving through space and type, displaying the captured moment as a visual representation. Photography requires understanding light and how your equipment handles it. Light is a electromagnetic wave, normally in everyday life we do not need to consider how it travels. A photographer needs to 'see the light' as it travels to capture the moment. Any light based camera is a few simple components:
- Lens to focus light
- Aperture to restrict light
- A sensor to capture light
Equipment: Lens and Sensor Type
.jpg)
.jpg)

.jpg)
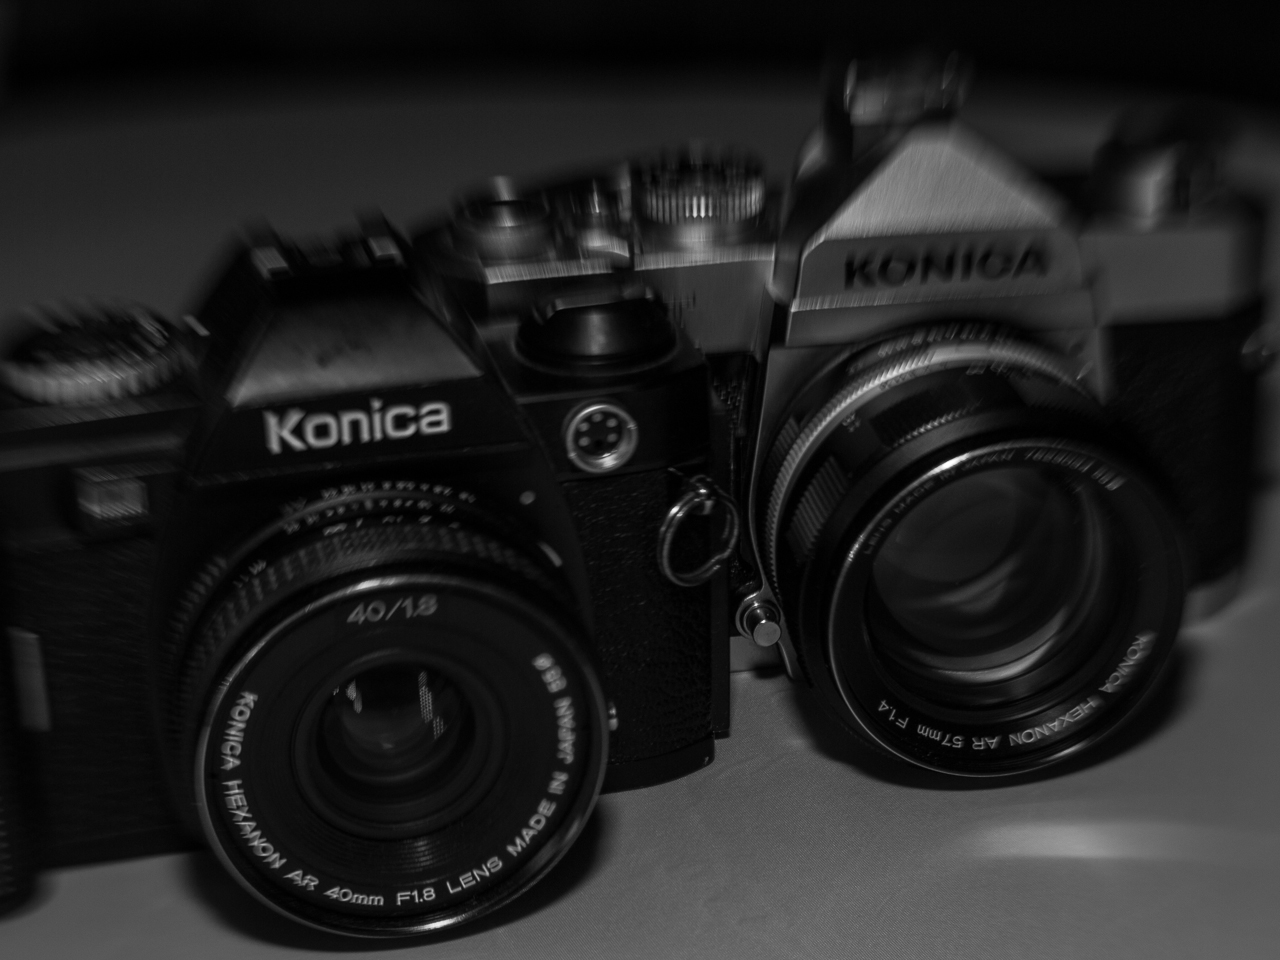
Lenses are mostly made of glass, but some are simple as a pinhole. All lenses act to focus light onto the sensor. Important aspects of your lens are the F-stop focus distance, and zoom.
F-stop is the ratio of light let into the sensor. A F2 lens would let in half the light, while F4 is only a quarter. More light translates to faster shutter speeds for sharp photos.
The focal distance is how far from the lens will an object be in focus when reproduced on the sensor. Macro lenses would focus inches or less from the lens. A telephoto will focus on distant objects, feet to miles away.
Zoom is a useful feature to frame your shot, but the more you zoom optically the less light you have. Prime lenses have no zoom but are faster lenses. Wide angles allow more to see, but can distort your view. Zoom lenses compress the scene and take a small slice in.
Macro lenses let you find small elements like the spider. Custom lenses like tilt shift allow to play with the focus plane.
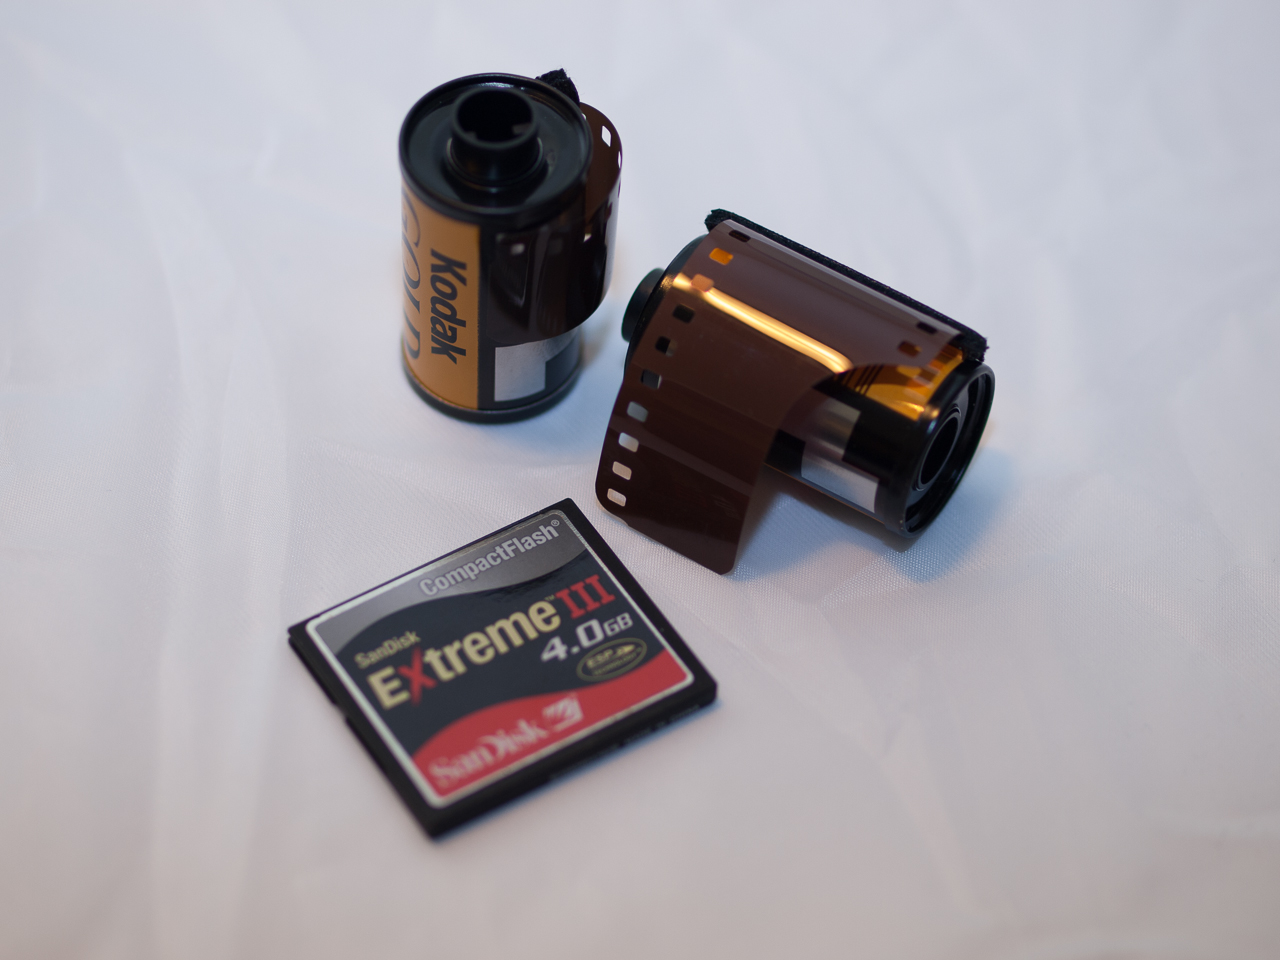
Your sensor is going to be either a digital sensor, or old school film. The real advantage to digital is the speed of which you know what shot you took and how to adjust.
Filters
.jpg)
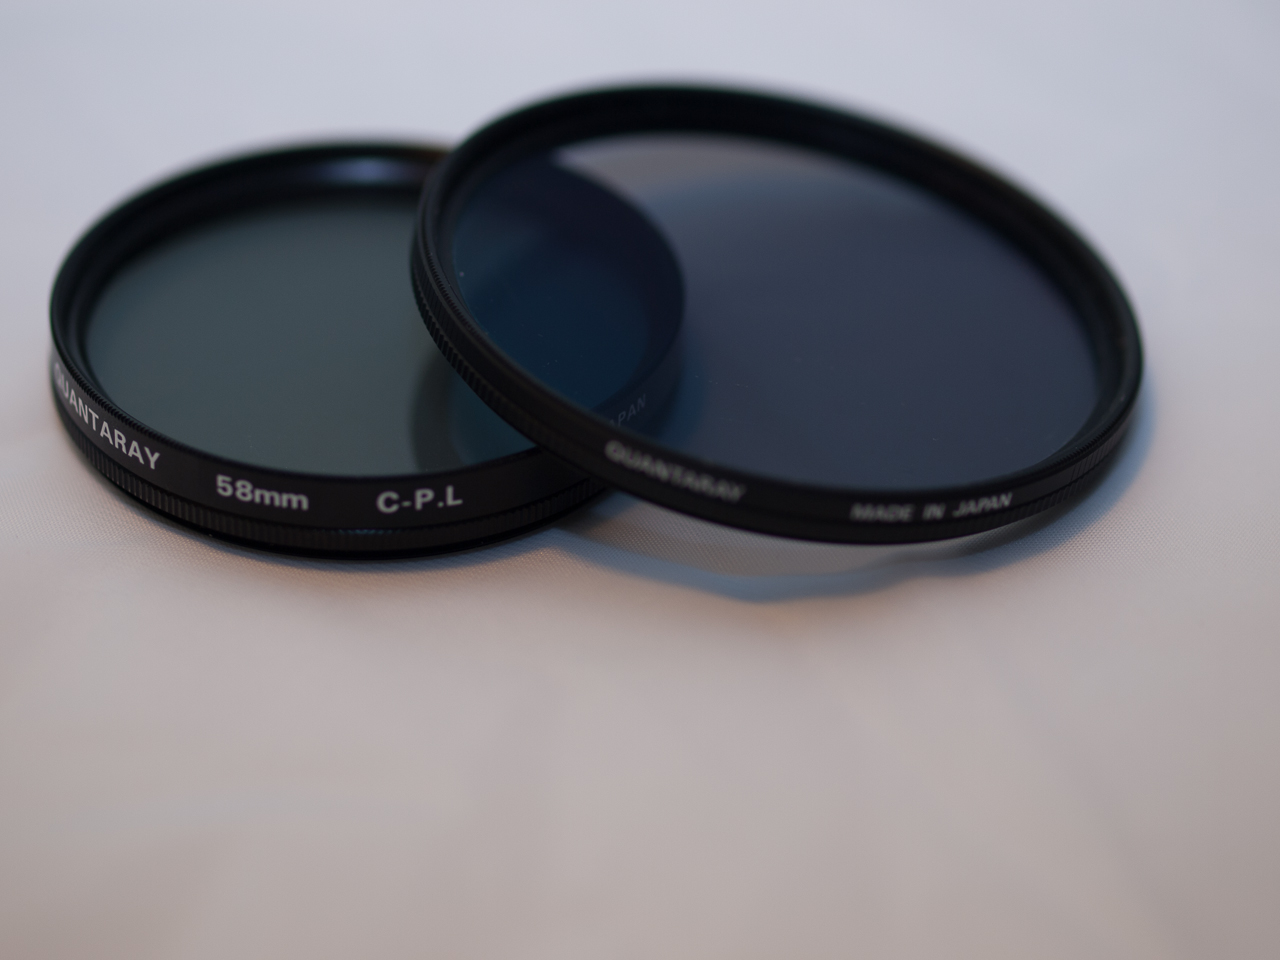
Most filters are going to be threaded onto your lens. Common filters include:
- UV: blocks some glare in the camera, most people use it to protect the lens from dust and dirt
- Polarizer: restricts light into one plane of direction. AKA it helps block reflections, and you can see through windows or water
- Neutral Density: these filters stop some light in, 'slowing down your lens'. use these filter in bright conditions where you want a longer exposure with a wider aperture.
- split or graded ND filters has part clear and part ND filter. allows exposure of two different regions in image
Light Sources
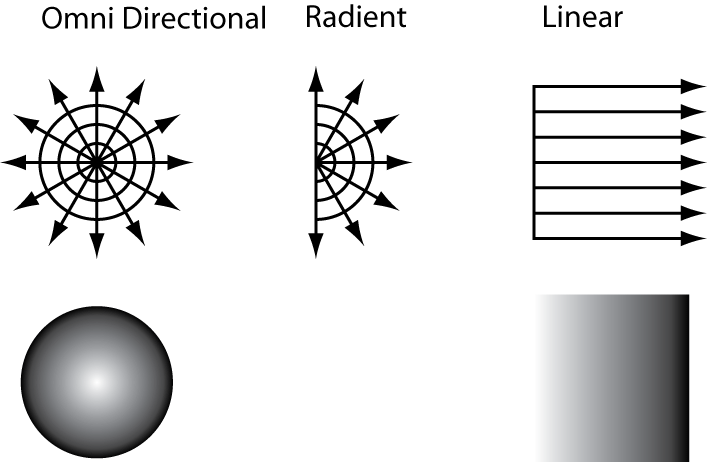
Knowing your light source(s) determines how you need to set the camera. Light will travel from the source in a linear wave and decay in strength with distance.
- A omni directional light source spreads in all directions. The light falloff is exponential. The further away the less light you will see. When an object is close to a source the shadows will diverge. Also this type of light will create a circular bright spot when focused, or spread when at an angle. An uncovered light bulb or candle would produce this effect.
- Directional/spot light sources limit light sources to spread radially in a prominent direction.
- When you are far enough from a source, or diffused enough, the light becomes a linear plane. This is the diffusion of sunlight.
The light source is natural, artificial, or modified and can change your image properties.
Bright Natural Light
.jpg)
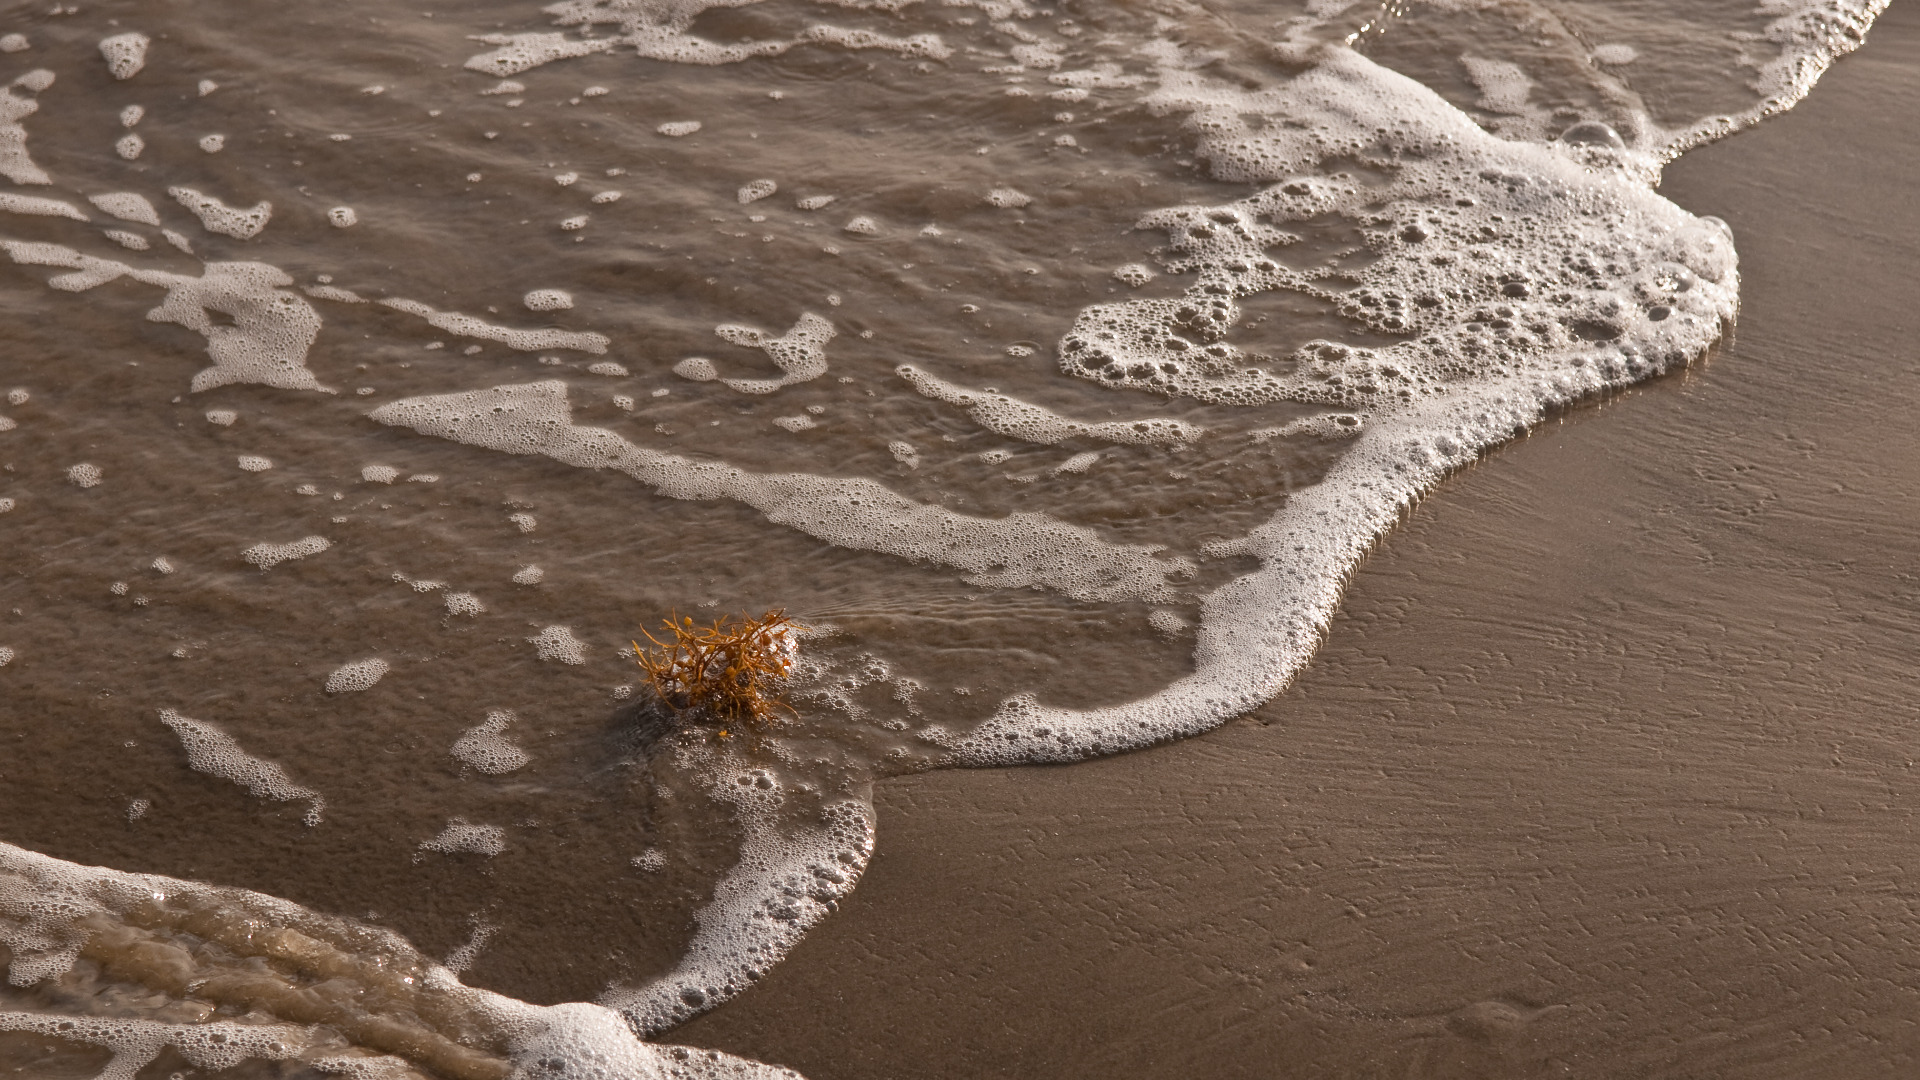
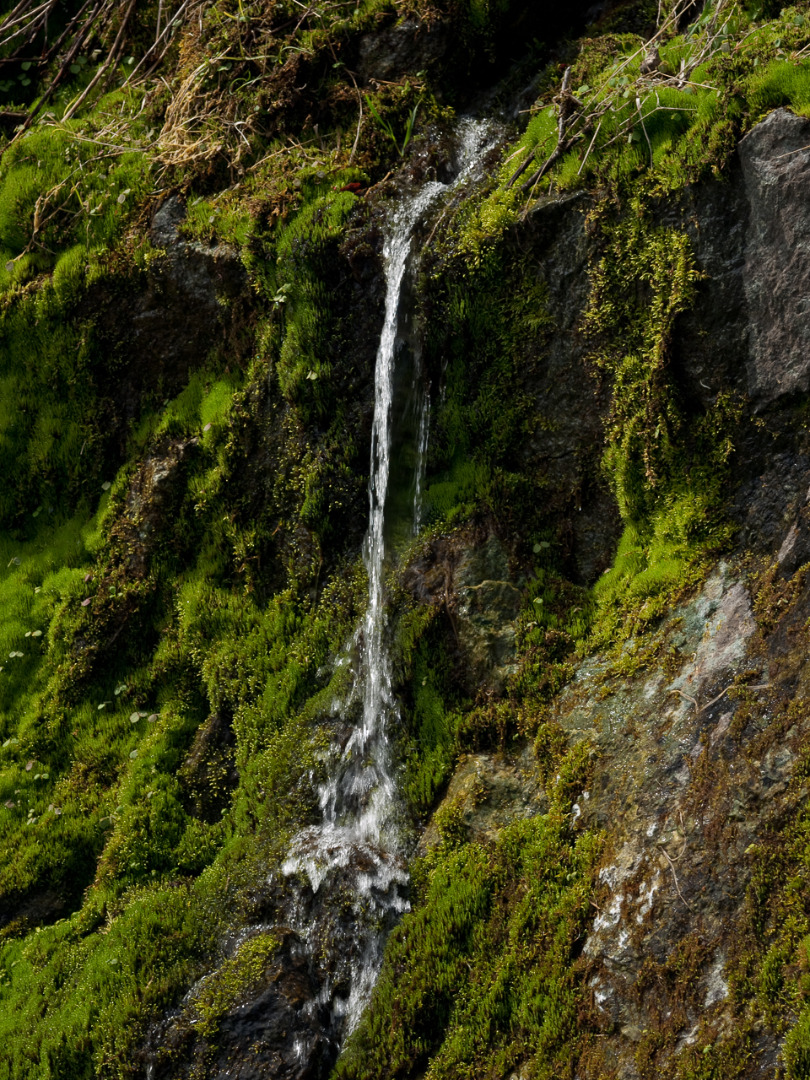
With natural light A bright sunny day, or a sunset would have different properties. Bright cloudless days have no diffusion. When the sun is high in the sky there is harsh light with contrast in shadows. Fast exposure times and small apertures help.
This can require exposure correction filters Neutral Density (ND) or polarizer filter. The polarizer helps cut down unwanted reflections from metal, glass or water that overpower you dynamic range. An added bonus is it makes the blue sky pop.
An alternative approach is to overcome the difference with multiple exposures and HDR imaging. By over and underexposing an image you can blend the components together to preserve the highlights and shadows.
Downloads
Low Natural Light
.jpg)
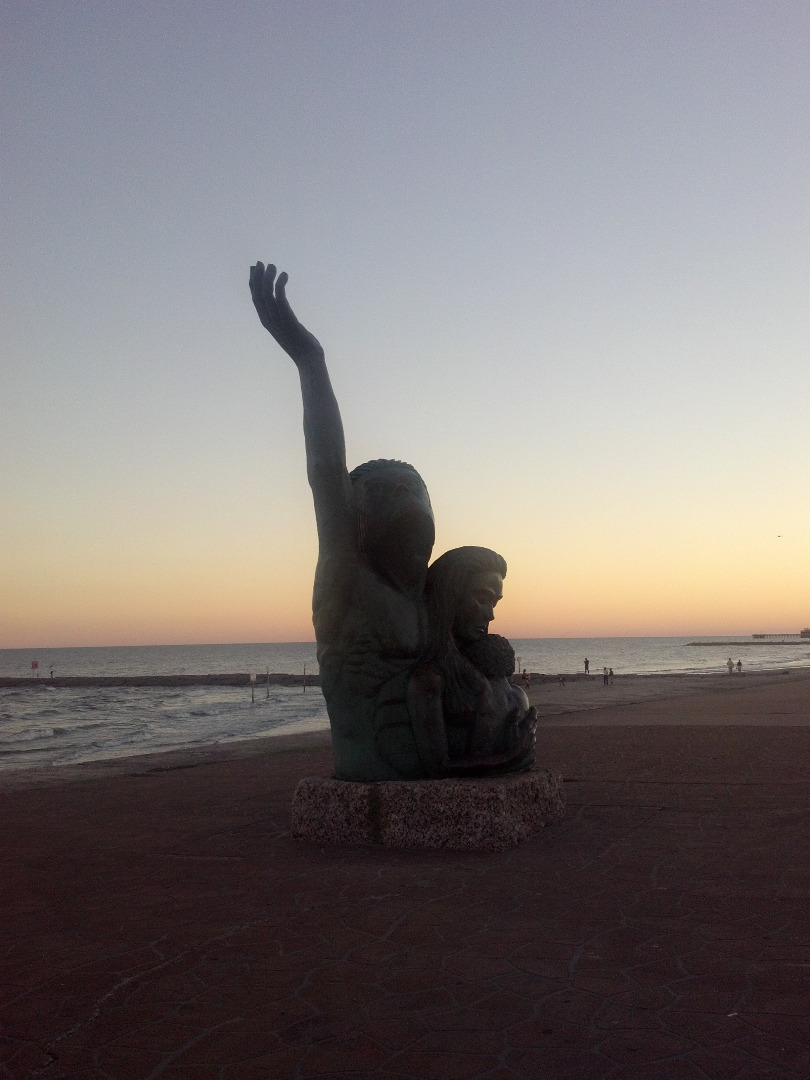
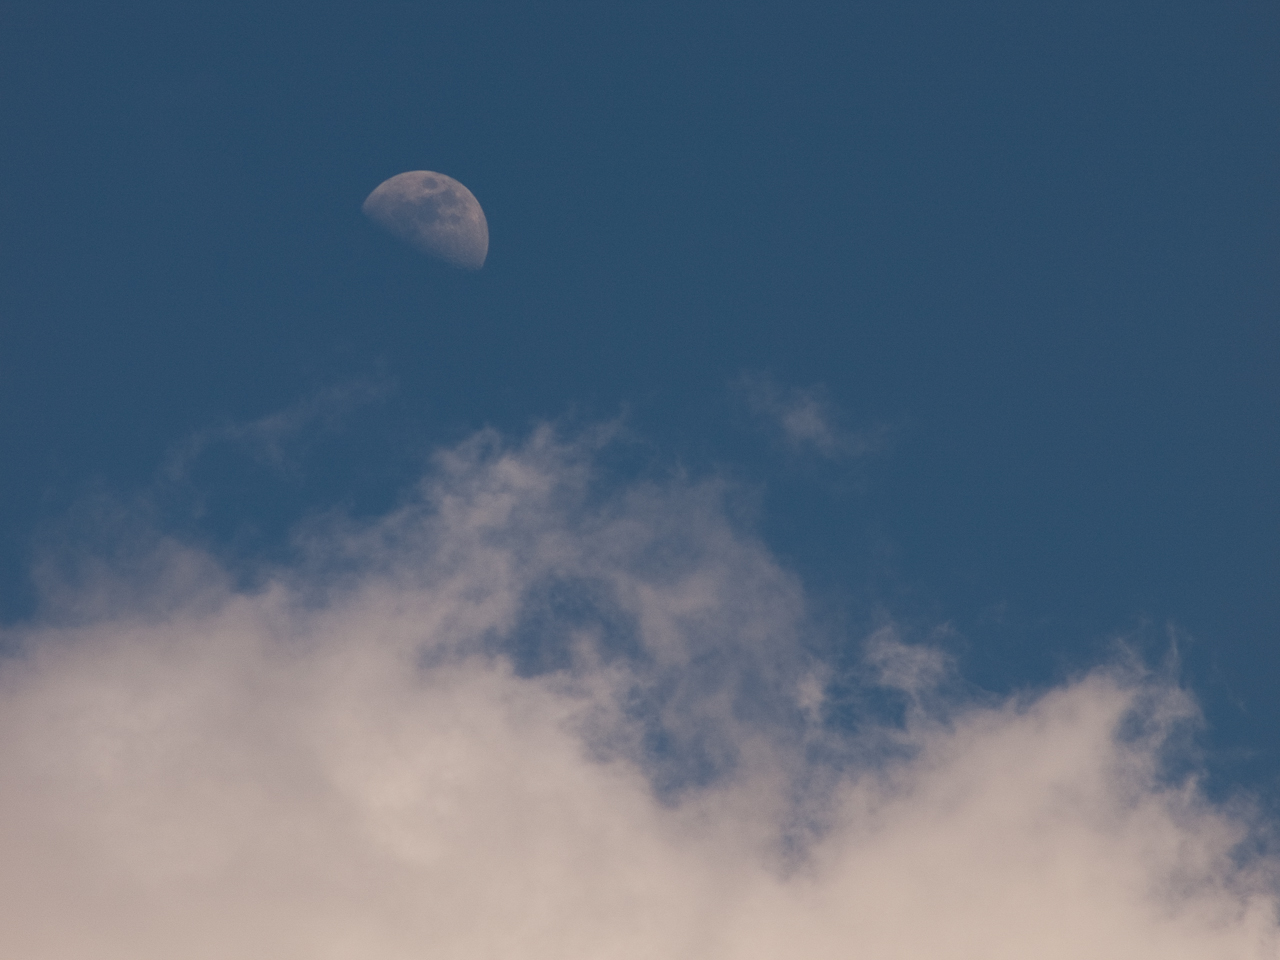
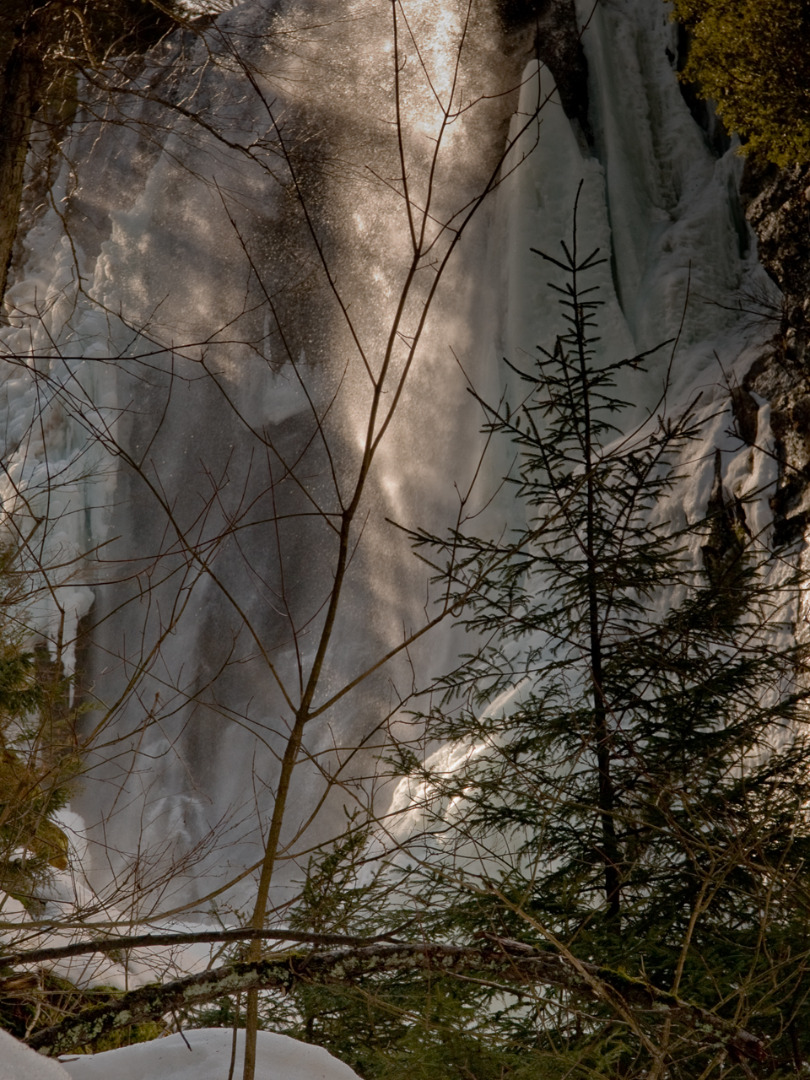
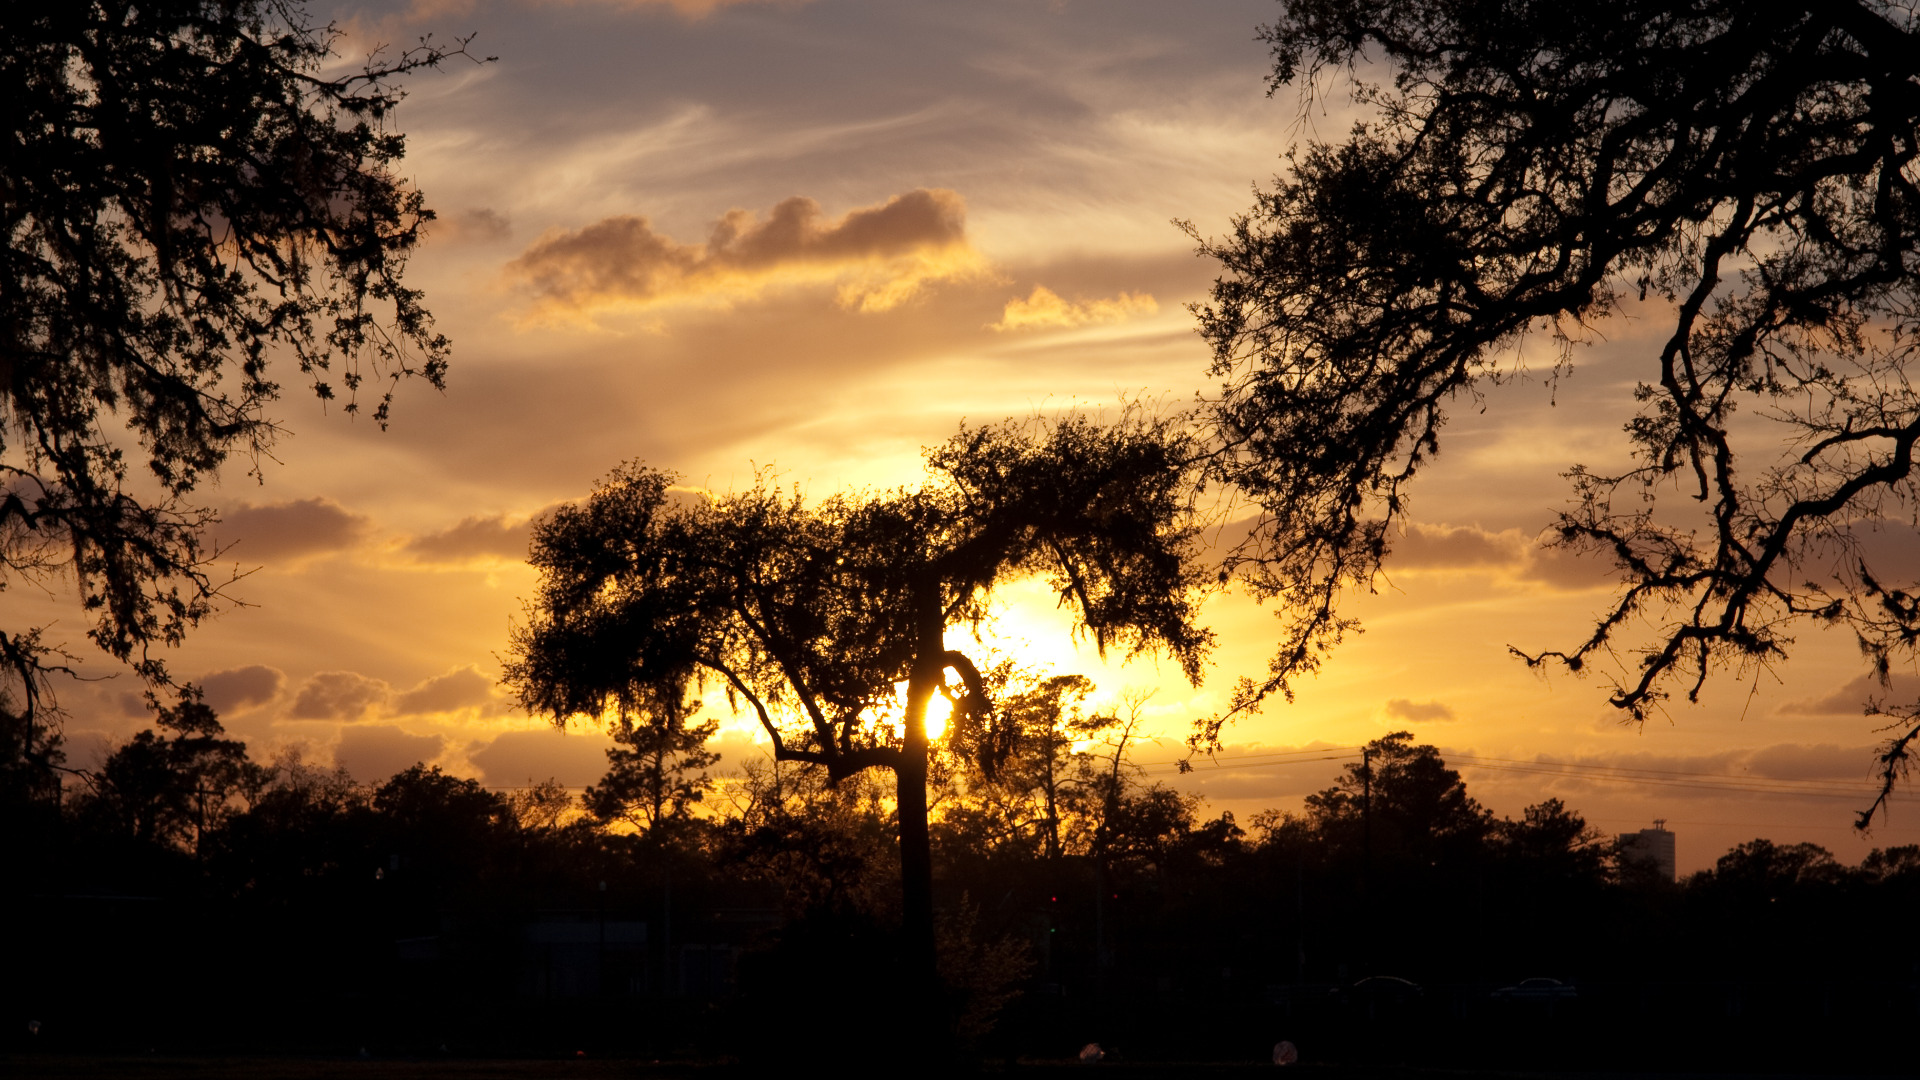
The hour around sunrise and sunset are often considered the best times for photography, the "golden hour". In this time you can capture the red shift in light as the light is scatted through the atmosphere. At sunset you have less light, so slower shutter speed would be required if you want higher apertures. Stabilizing the camera is often a good idea to keep the image sharp. A polarizer can help bring out some of the colors. A Graduated ND filter would make the sky darker to expose for the land. A solid ND filter can help slow down the light as well.
Downloads
Diffuse Light
.jpg)
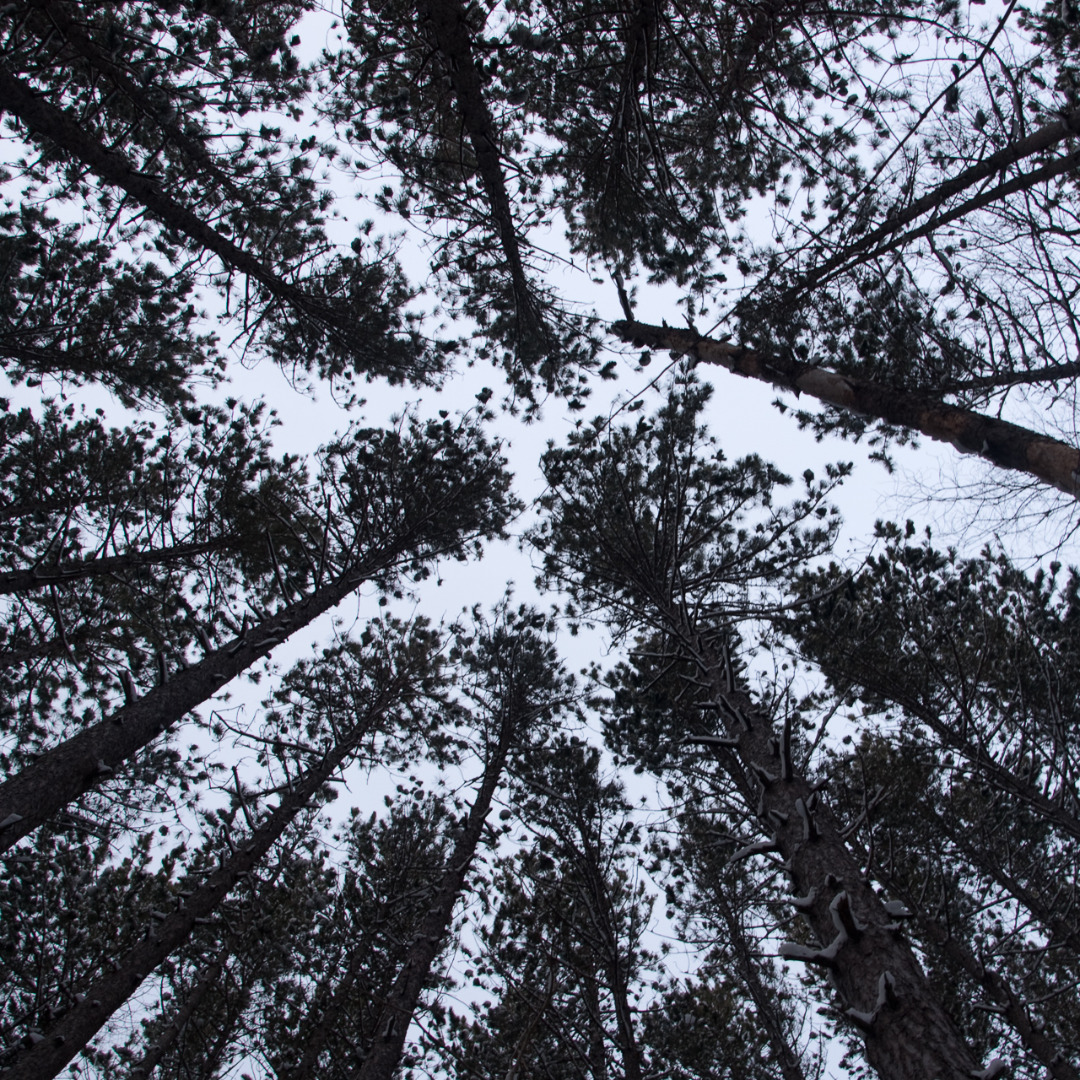
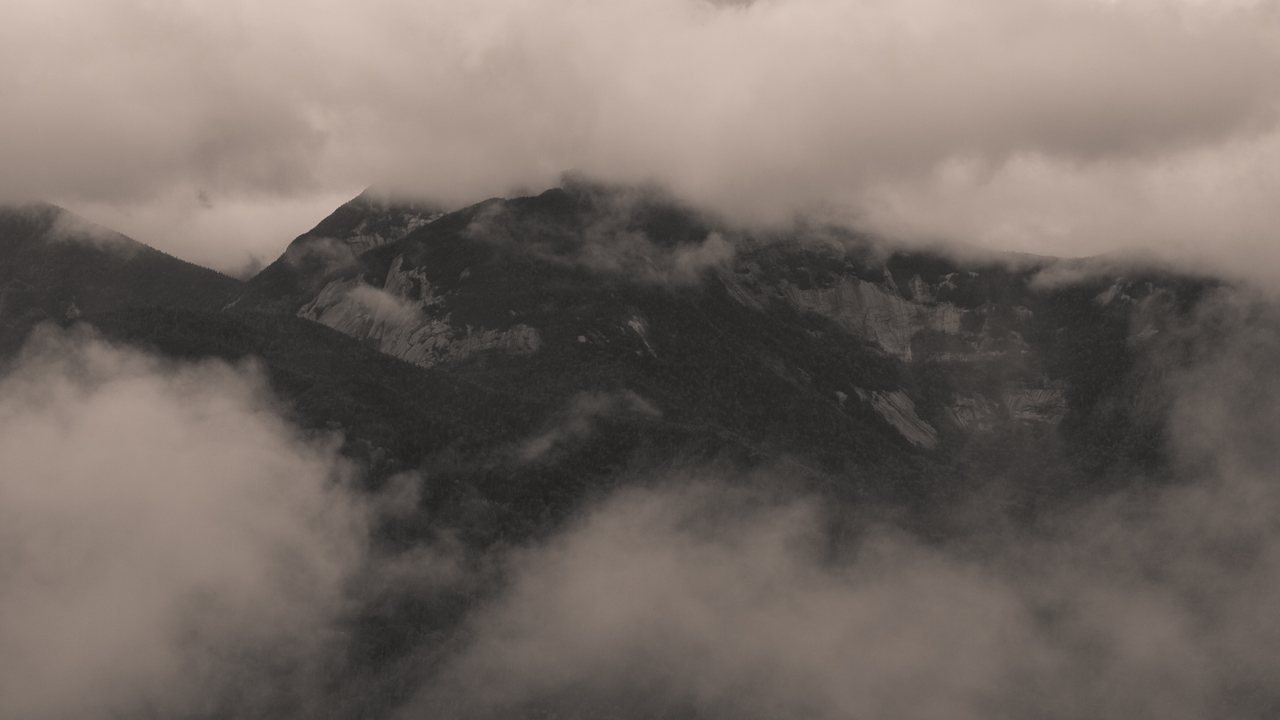
A cloudy day will have few shadows and the light will be soft from the diffusion. The light might be 'cold' so warm it up with a filter or in post. Diffused light is calm and can allow slow shutter speeds and small apertures
Downloads
Flash and Other Lights
.jpg)
.jpg)
.jpg)
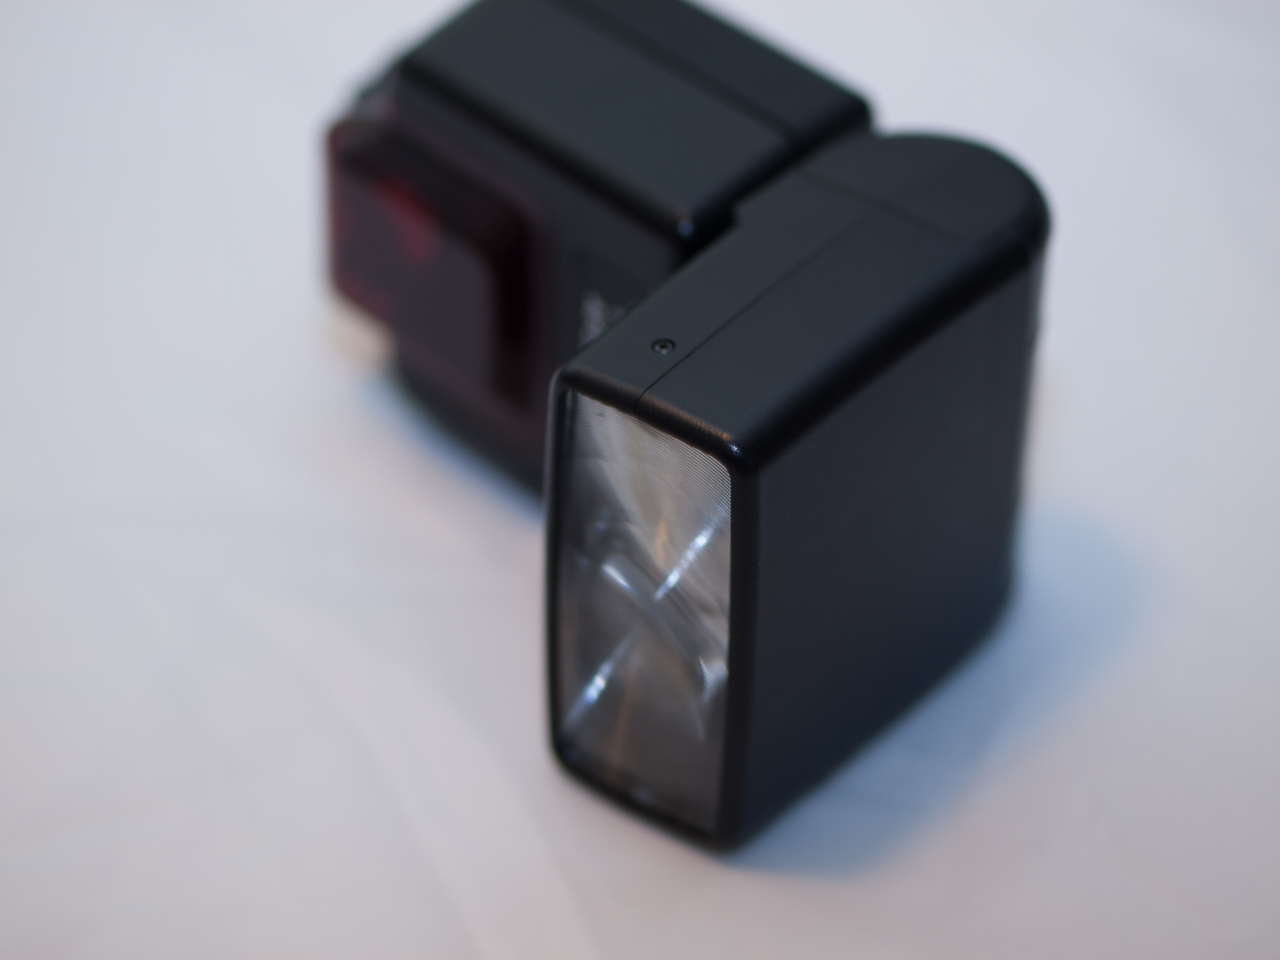
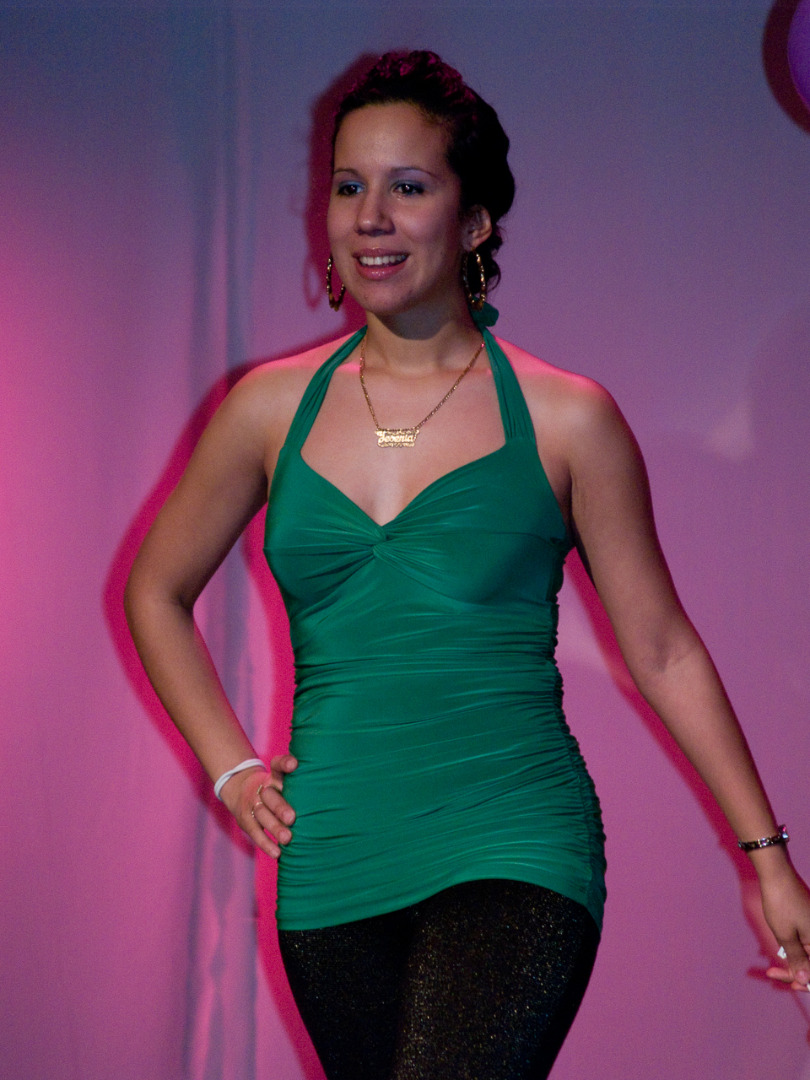
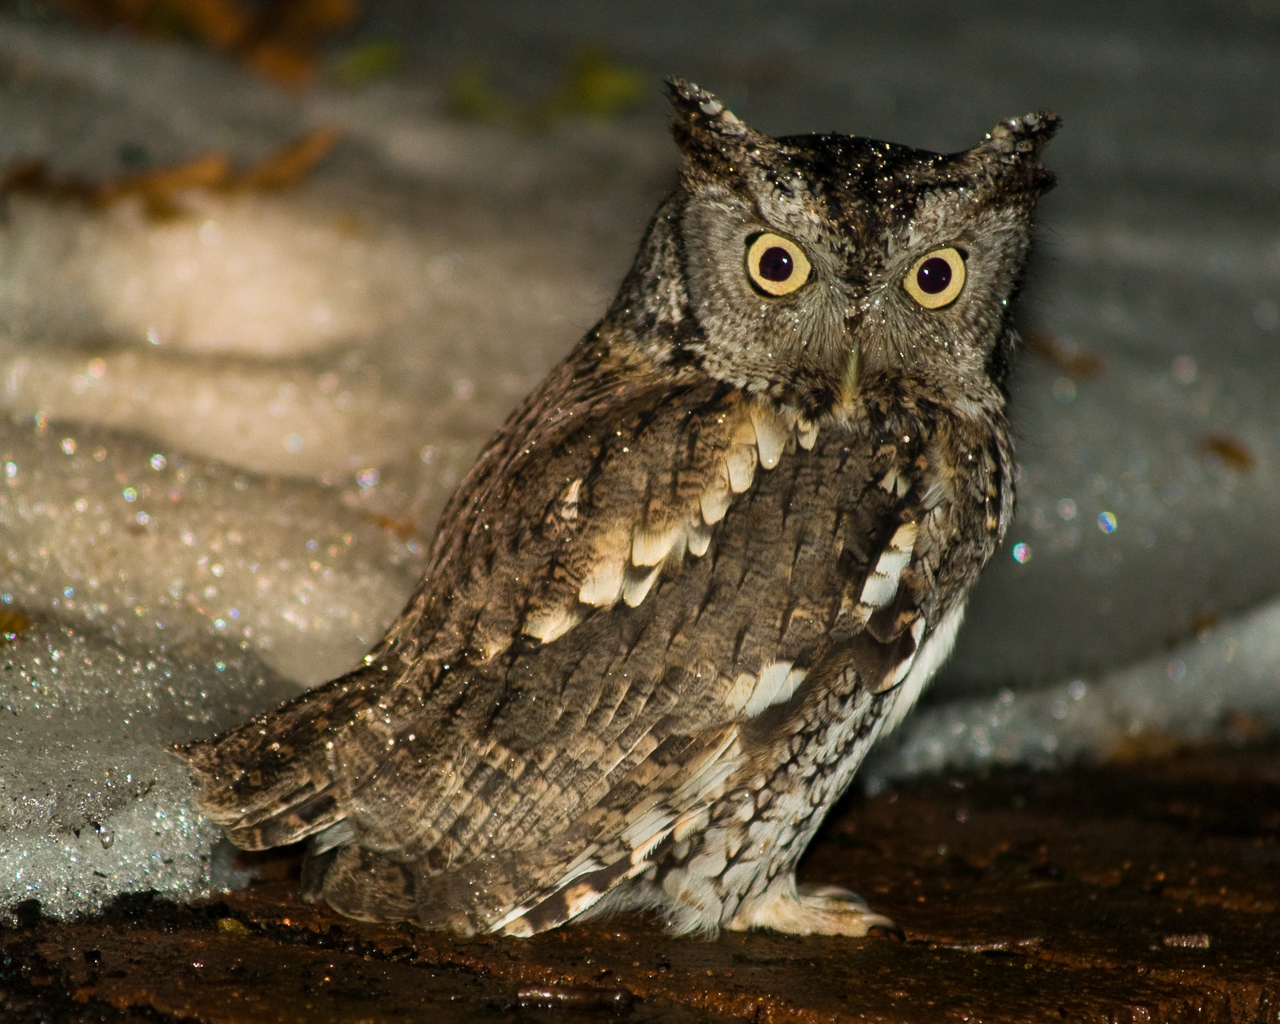
When it is dark out you can add lights by artificial means. Most commonly the answer is to use a flash unit or strobe. A 'hot light' is named as incandescent bulbs produce heat. Flash units are good for stopping motion, or filling in shadows on bright days. Spot lights can create bright focused lights to highlight a subject and sharp shadows. The direct light of a flash or spot can be harsh. To correct that they can be bounced or diffused through a opaque material.
Downloads
This is not conclusive but is an idea to understand a bit of what different situations call for. Studio lighting and other environments can be adapted for. Most of this photography was taken on the go with a kit of one wide and one telephoto lens.
Sometimes don't try and adjust for every detail and let the image go its own way