Ouroboros Throne

Welcome to my Instructable on how to build an Ouroboros Throne.
When I was a kid my dad was given a dinning room set that was quite large, heavy, and kind of regal looking. I remember looking at the high backed chairs thinking "One day, I'm going to turn them into fancy thrones, fit for royalty".
Thirty five years later, they sit broken and warn in my garage. I've kept them all this time because I cannot bear to get rid of such potential. It's about time I turned my childhood dream into reality.
I chose the Ouroboros for my first (of 6) thrones because I have always been drawn to the symbol, and wanted to make this throne a little 'extra'. I knew my first throne would be riddled with imperfections, so I wanted it to have an element of uniqueness to compensate.
I learned a lot making this project and feel that my next ones will only get better. This is a long Instructable, but fairly simple, even if you don't have many tools.
Supplies
An old chair, preferably with a high back
Material of your choice (mine was a single panel, thick, purple curtain I bought at the liquidation center for $12)
Press board for the back, thin nails and a hammer
Foam (the black foam I used for the back was 2" camping foam and the seat was a 3" heavy mattress foam I bought as a scrap precut for only $4)
Circular base for the Ouroboros (I found this one years ago in the craft section of the dollar store)
Air dry clay, 6 buttons, a black sharpie marker and gold spray paint
Gold cord (I used two different sizes, 3mm and 4mm width, 4 meters of each)
A skill saw, hot glue gun/glue sticks, scissors, and a light duty craft staple gun/staples
Ready the Old Chair


The first thing you need to do is get the chair ready for it's transformation.
First, remove the old, upholstered back and seat. The back of this chair came off with one good kick, but the seat needed to be unscrewed.
The upholstered part of the back can be discarded. The fabric and old foam from the seat needs to be removed and discarded as well. Some the fabric on the bottom was so well attached I could not remove it all, but it's facing the floor and will not be seen.
Clean the chair. Some of the grooves will be covered permanently and you don't want to trap in the dust, animal hair, or any mysterious substances that may have found its way into the nooks and crannies over the years.
When the chair is clean and dry, flip it over and spray paint the bottom section gold. Don't worry about the top as it will be completely covered with fabric.
Cut the Pressboard and Foam


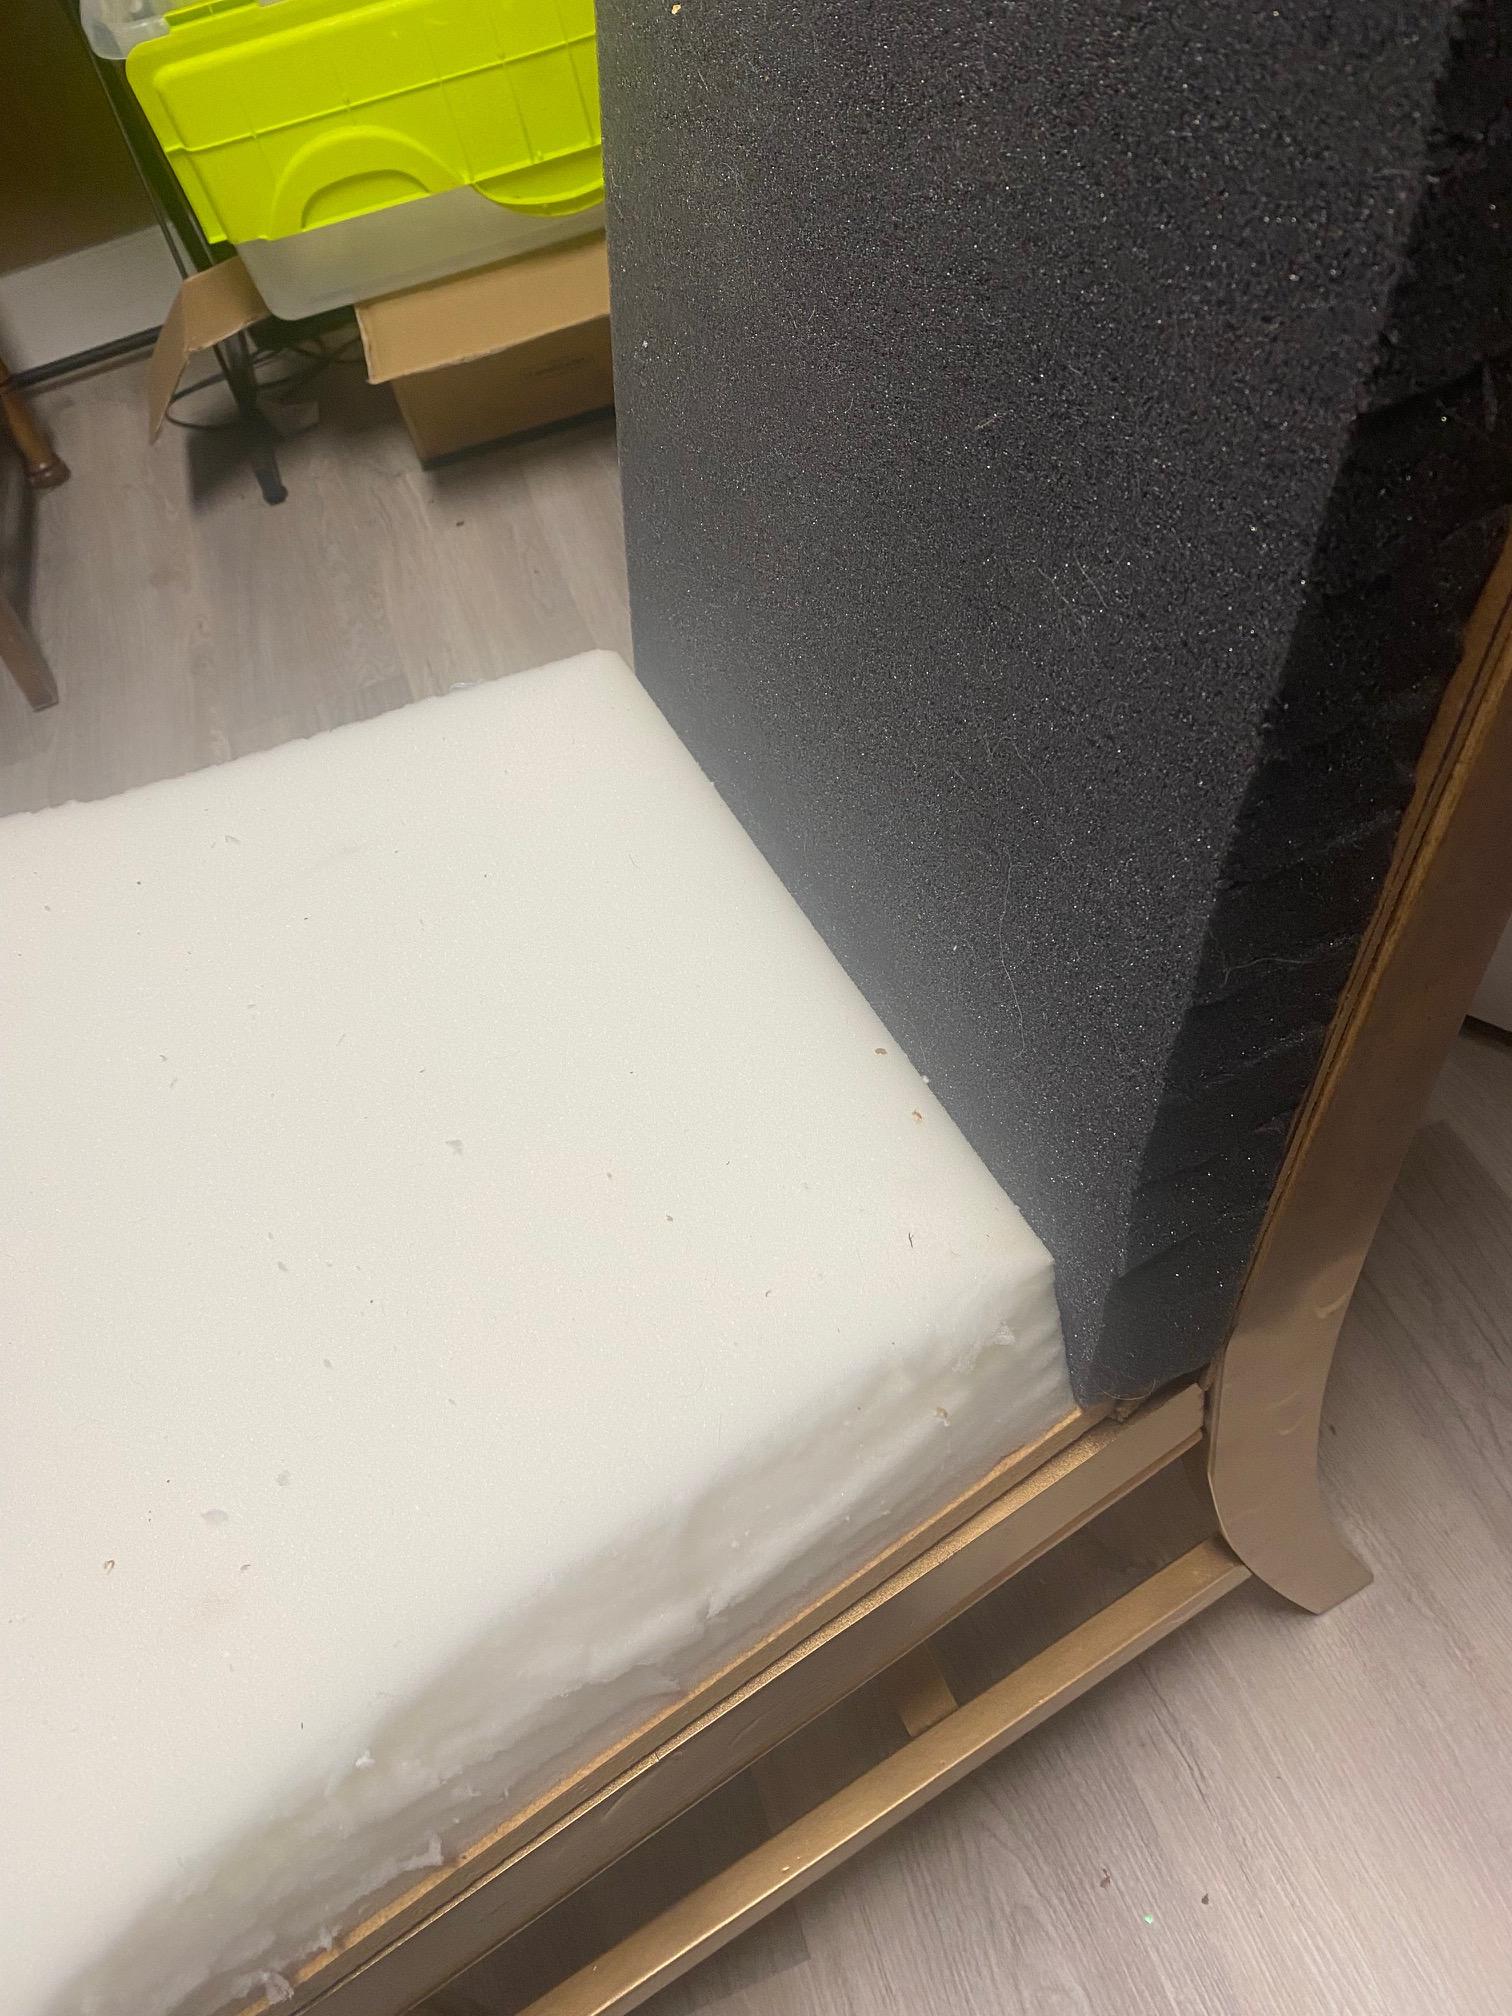
Using the skill saw, cut out the desired shape for the back of the chair. Mine measured approximately 38cm across by 95cm high, with a tapper starting at 75cm to form the rounded top. This makes the front structure.
For the back structure, cut the board the same, but with an additional 5cm in length as the back needs to be slightly longer than the front.
Only the front will have foam. Taking the cut pressboard, place it over the camping foam and trace the pattern onto the foam with a sharpie. At the foam shop I was advised to cut this with a serrated knife but that was very messy. I had more success (and cleaner lines) with scissors.
The scrap foam I bought for the seat was about 5cm too short, but with the foam on the back going all the way down, it fit together perfectly (as shown). Place the seat on the foam and trim the edges to match the shape of the seat itself.
Upholster and Attach the Seat


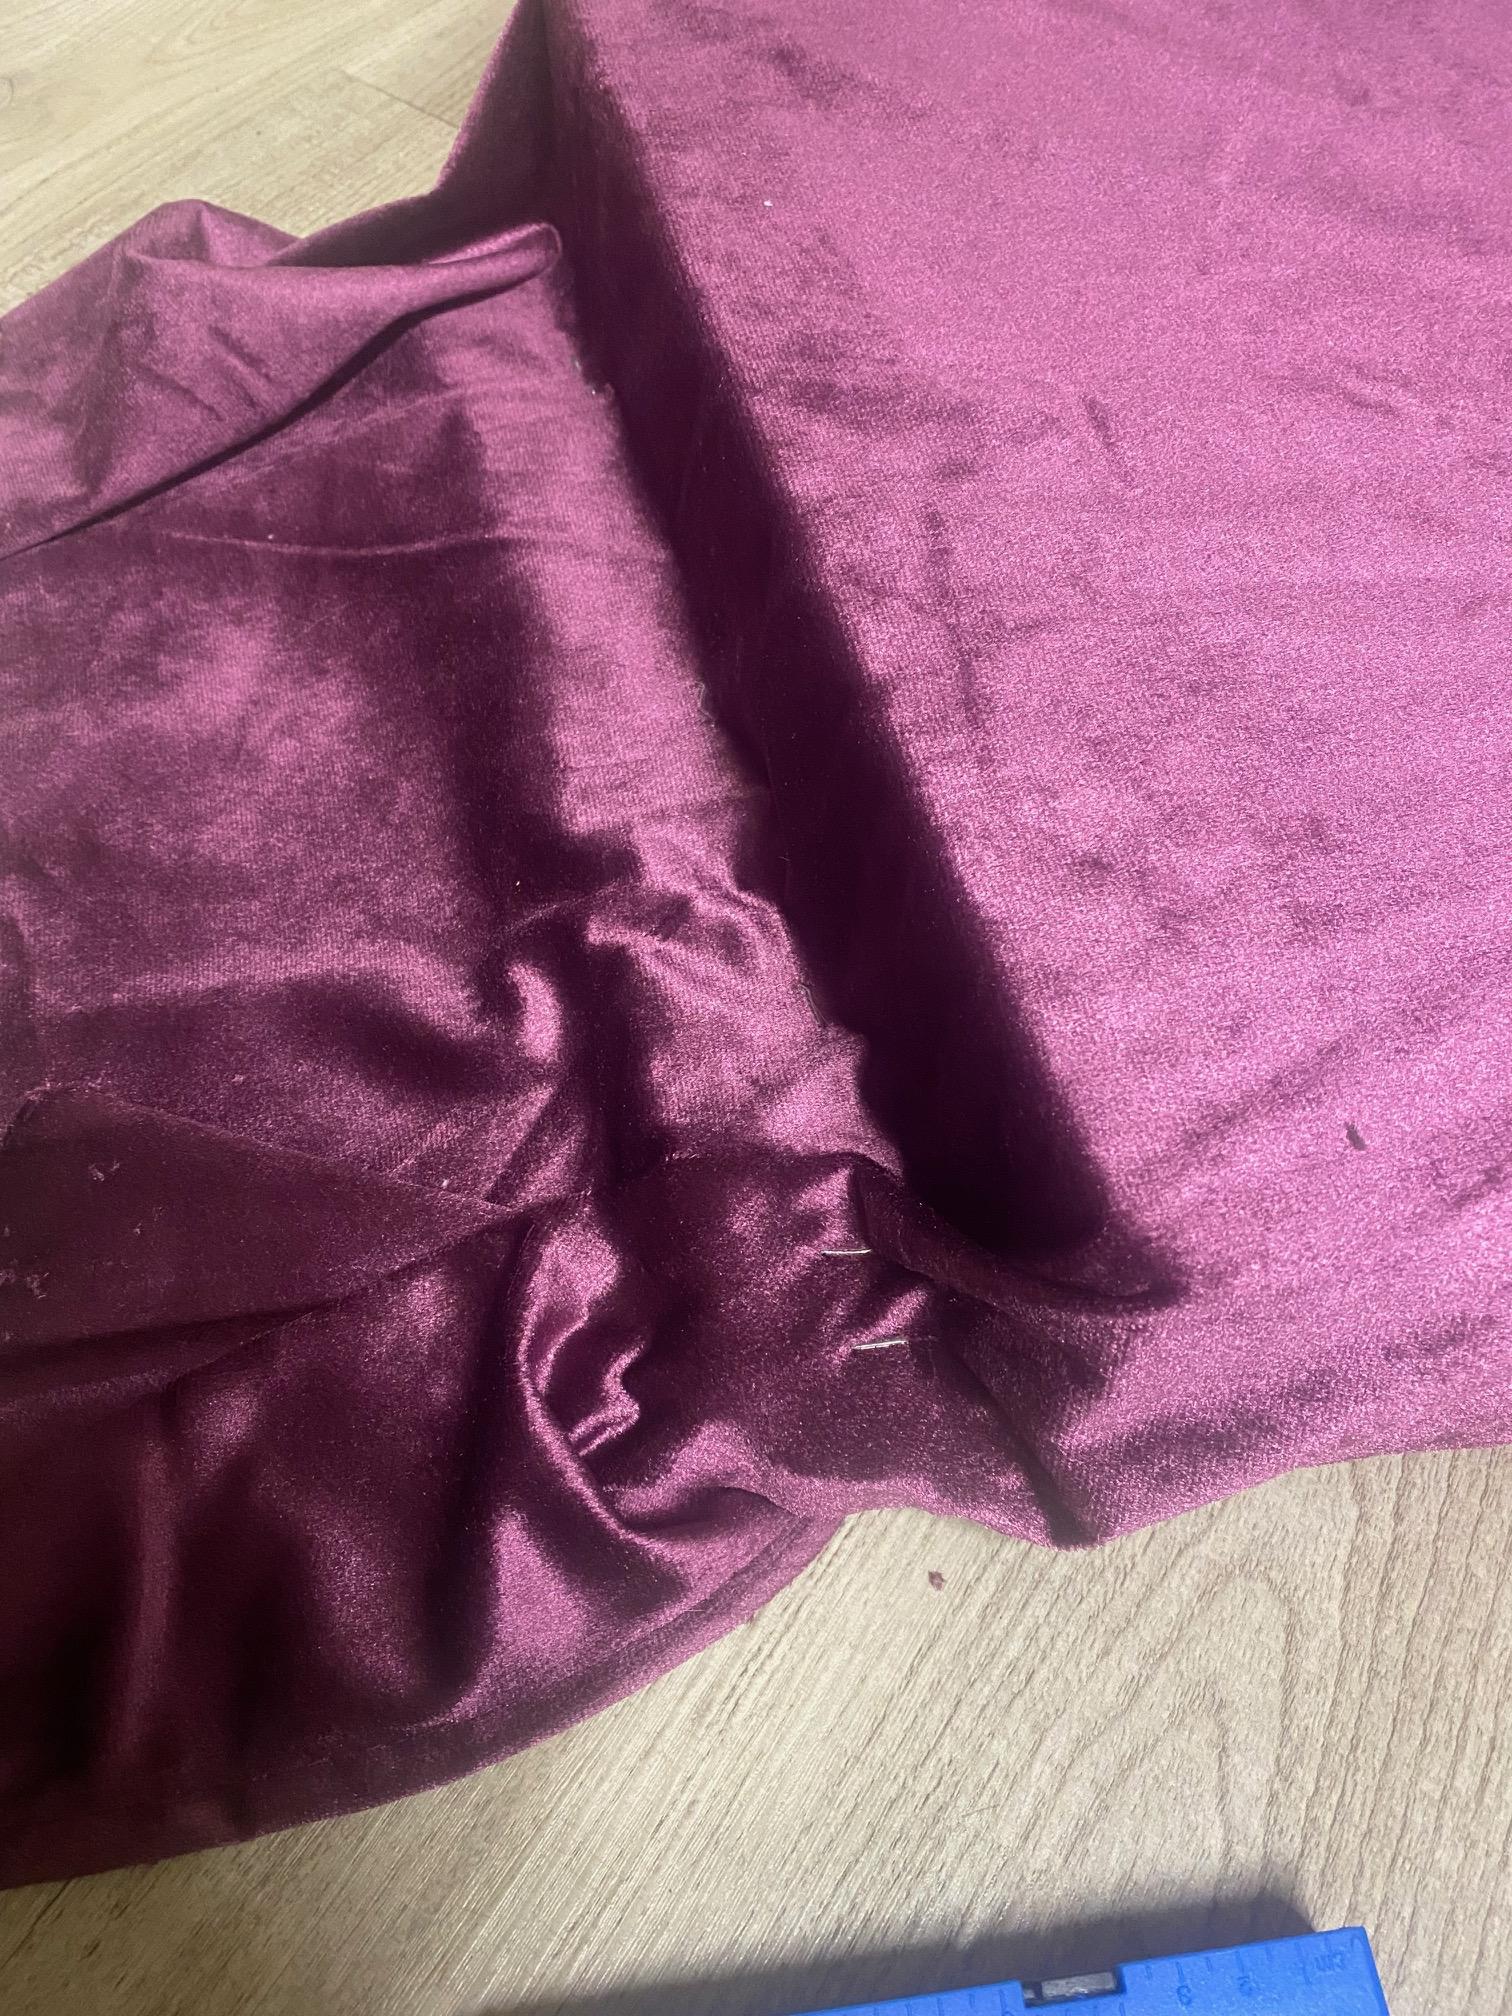
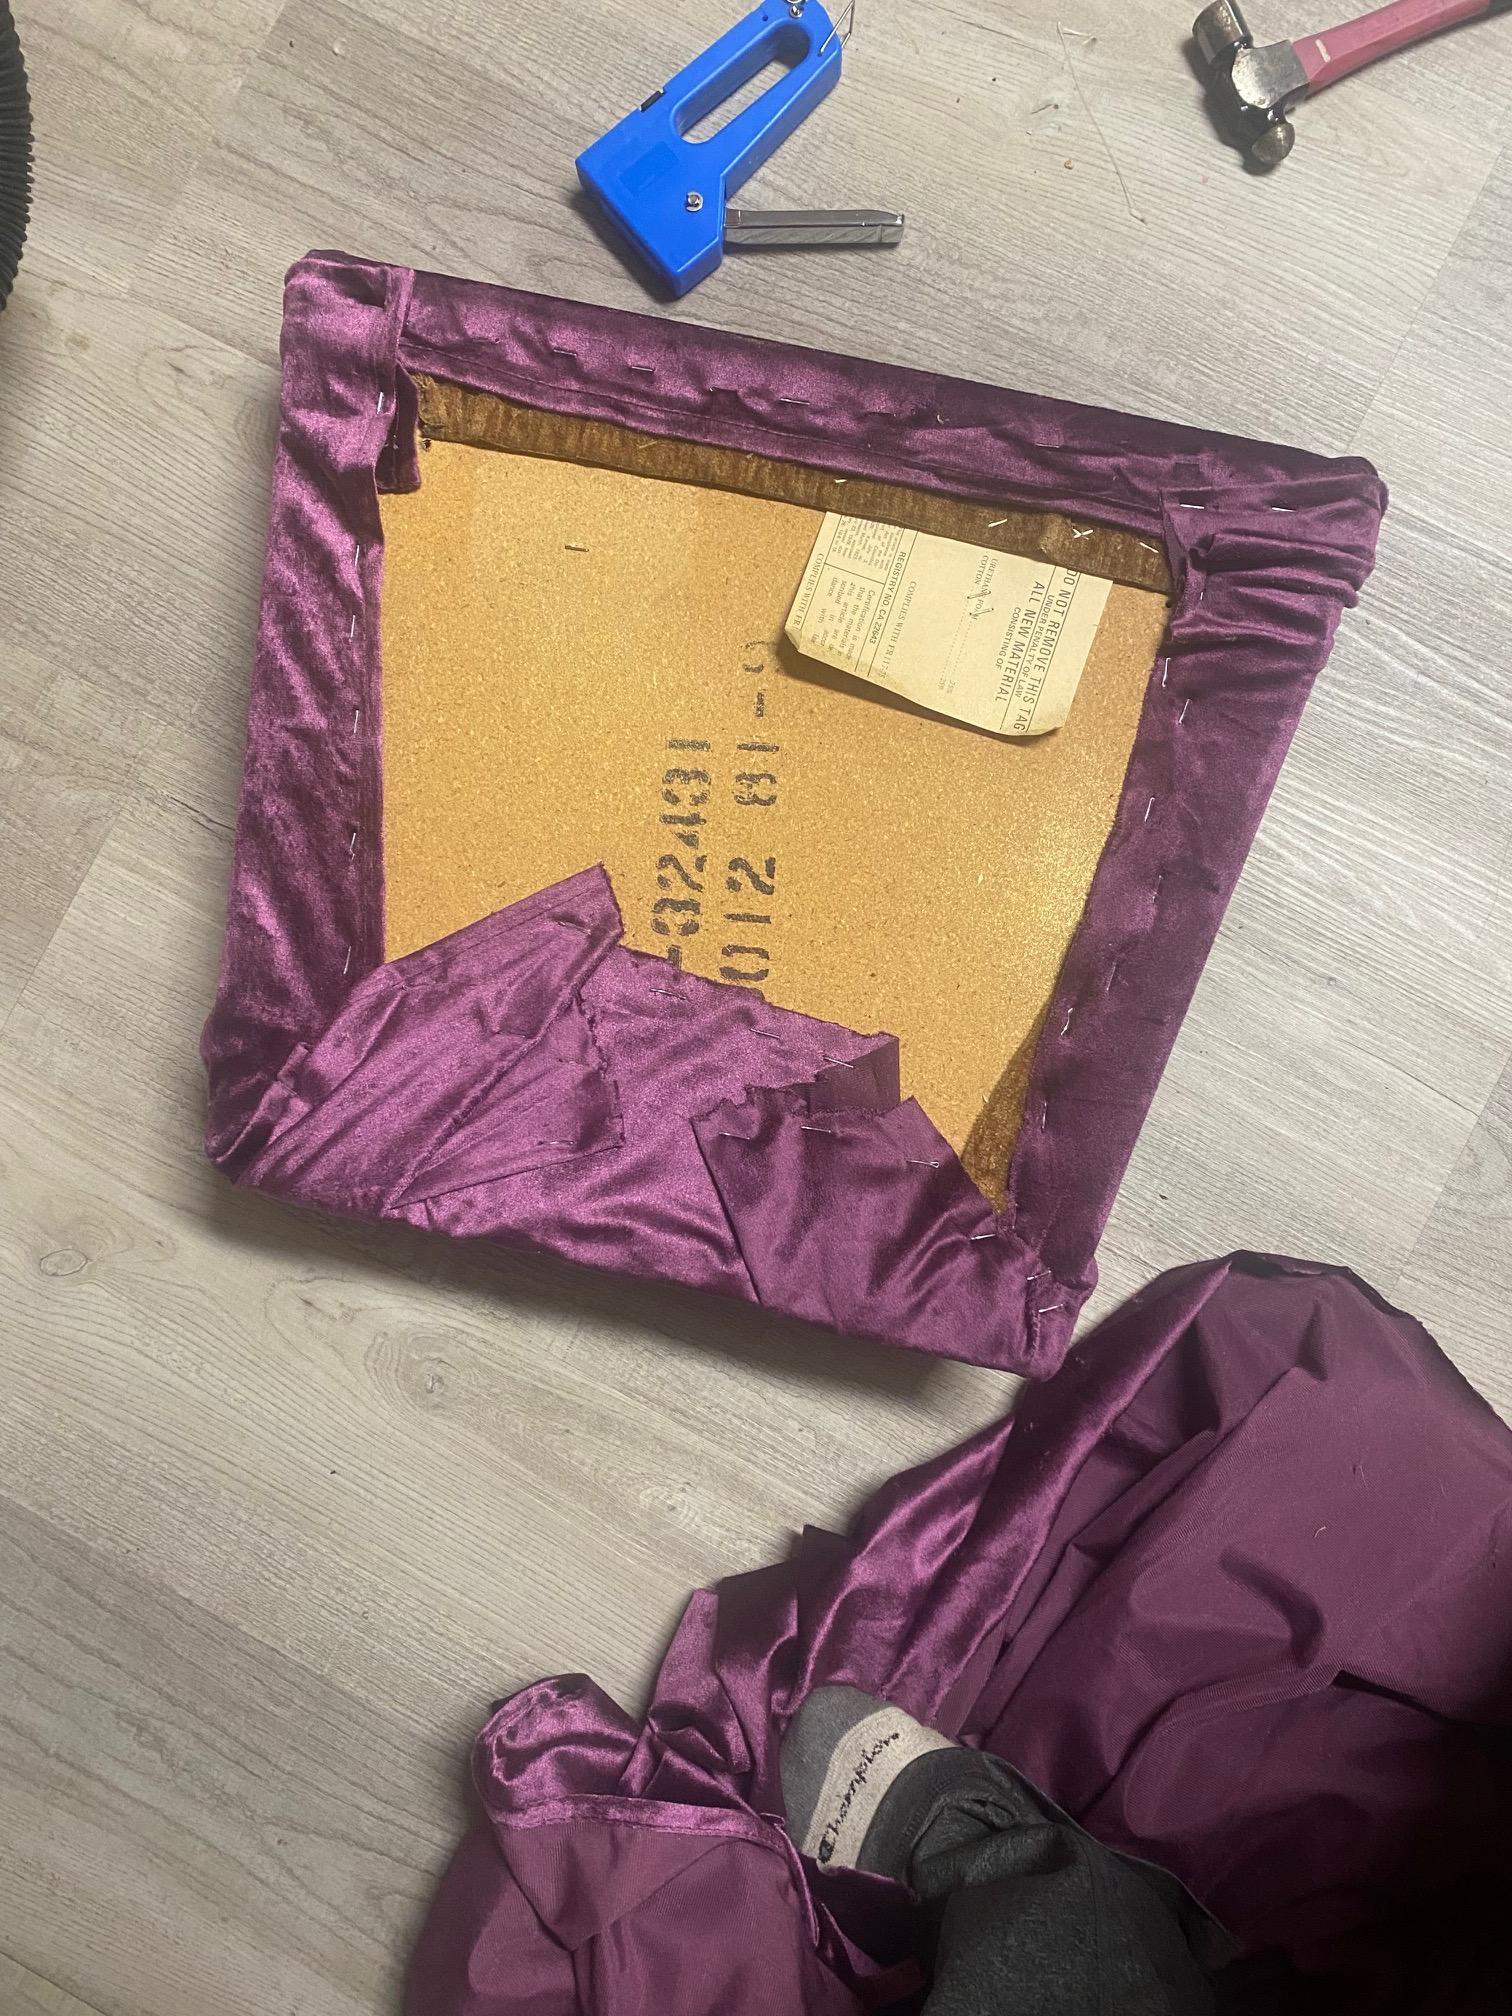
Use hot glue to attach the foam to the seat board.
Flip the seat, foam side down on the fabric and cut out enough fabric to cover the top, the sides, and a few inches over the edges.
Pull the fabric tight and staple it firmly to the bottom of the seat.
Staple the fabric tight where the end of the seat meets the bottom of the back. Then fold the remaining fabric and staple it to the underside.
Make the Back


Take the cut camping foam and place it over the cut press board. With everything upright, mark with a sharpie marker where the buttons and the Ouroboros will go.
Using your scissors, cut out button holes and the large circle. Place the Ouroboros base in the hole to make sure it will fit and be held with pressure.
Set the foam aside.
Attach the Back to the Chair


When you have the foam cut and know everything will fit, set the foam aside.
Flip the chair on it's back and place the cut board over the front. Using a hammer, nail the board to the supports of the chair.
Using a scrap piece of the campers foam, cut a strip long enough to follow the curve of the top of the chair, reaching from one side to the other. Glue this foam in place.
Attach Fabric to the Front


Glue the cut foam from step 4 onto the press board.
Lay the fabric over the top of the seat. You should have enough to cover the top and the sides, leaving about 5-10cm to fold over the back. Trim the excess fabric.
Staple in the center of each button hole then pull the fabric over the sides and staple to the back of the chair. Staple around the circle made for the Ouroboros.
For the top of the chair, staples will not hold on foam, so hot glue the fabric pulled to the back.
Make the Back of the Chair


The back of the chair is quite simple.
Lay the pre cut pressboard overtop the fabric. Cut out the fabric leaving 5-10 cm overlay.
Pull to overlay towards the top of the pressboard and staple in place.
Flip the chair front down and nail the backpiece to the supports on the chair.
Sculpt the Ouroboros


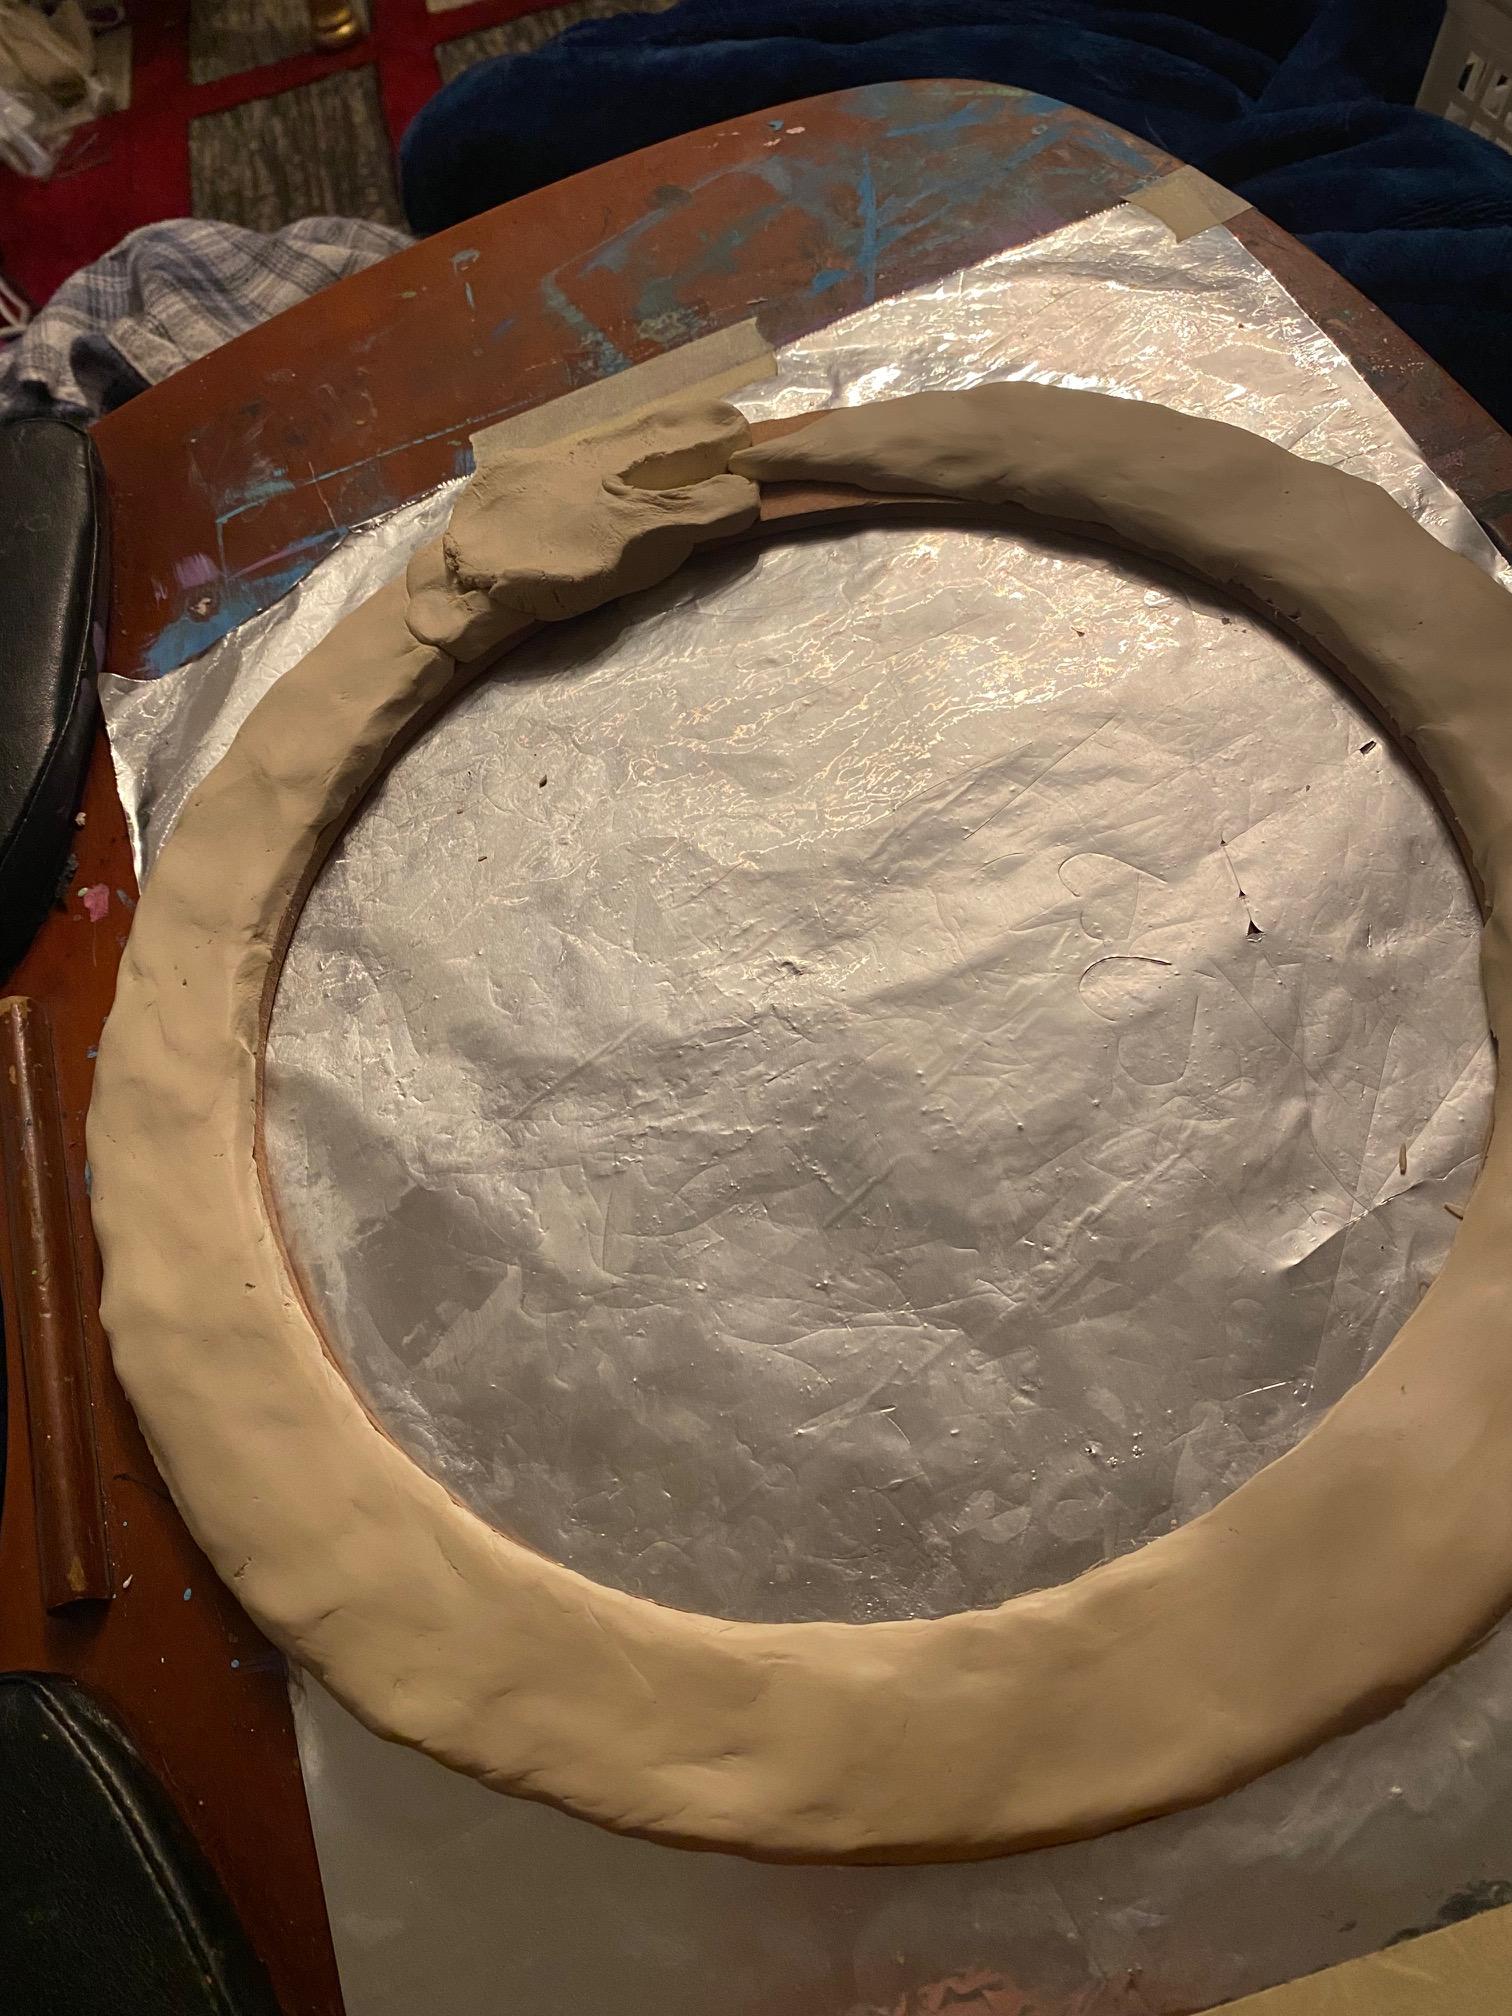


Use a circular base for the Ouroboros, start by smoothing a thick layer of air dry clay around the base.
When you reach the end, pinch one side of the clay into a messing triangle for the tail and ad another layer to the other side and sculpt into a snake head with an open mouth. Smooth the head out to slightly cover the tail.
Scales can be made by hand sculpting each one, pressing a fabric or mold over the clay, or pushing a small circle into clay many, many times.
I chose the latter and bent a sculpting loop for my scales, but you can do the same thing with an open pen back, or a folded wire.
When the scales are done, roll a small cone of clay and smooth it into the mouth so it covers the tail, as shown.
Adding Buttons and Trim
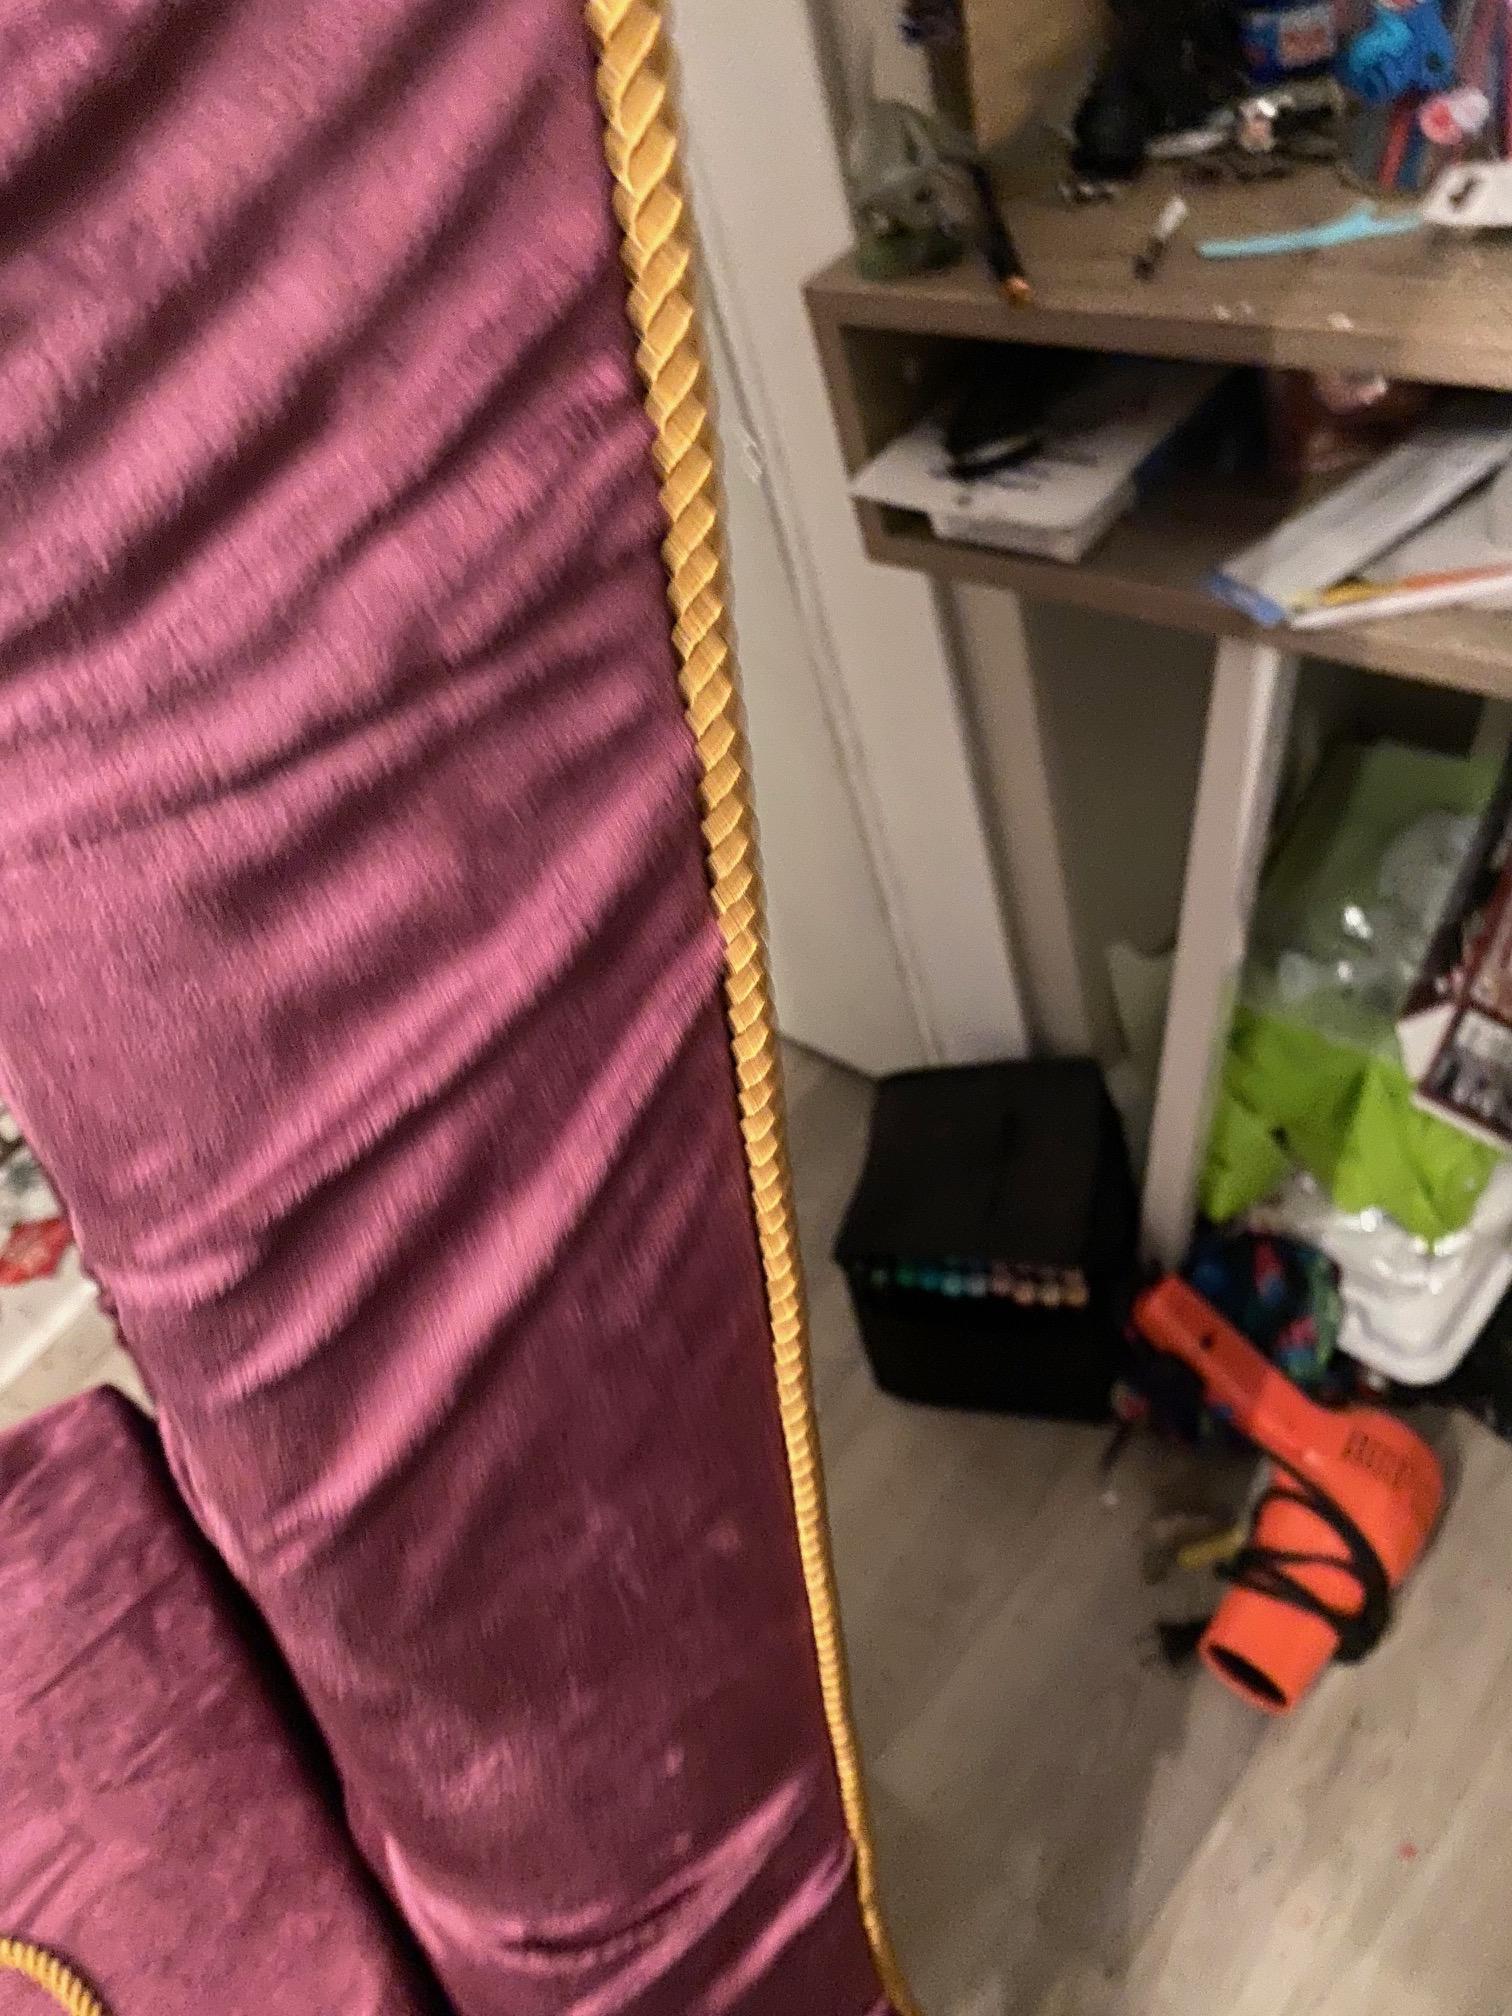


Using the 4mm gold cord, trace the seam of the chair back from one side the other, securing every few cm with a dollop of hot glue.
With the same technique, cover the area where the seat meets the painted wood.
Spray paint the buttons to match the gold of the chair and hot glue each one into the designated hole.
(I spray painted a door knob gold as a last minute addition and cut a small hole at the top of the chair to insert the screw and secure with hot glue).
Using the 3mm gold cord, trace another line up and over the back of the chair, circling around the knob at the top, all the way to the opposite side. Secure every few cm with hot glue.
**The hot glue may look a bit messy but can be cleaned up at the end by trimming loose "hairs" and chunks.
Center the Ouroboros


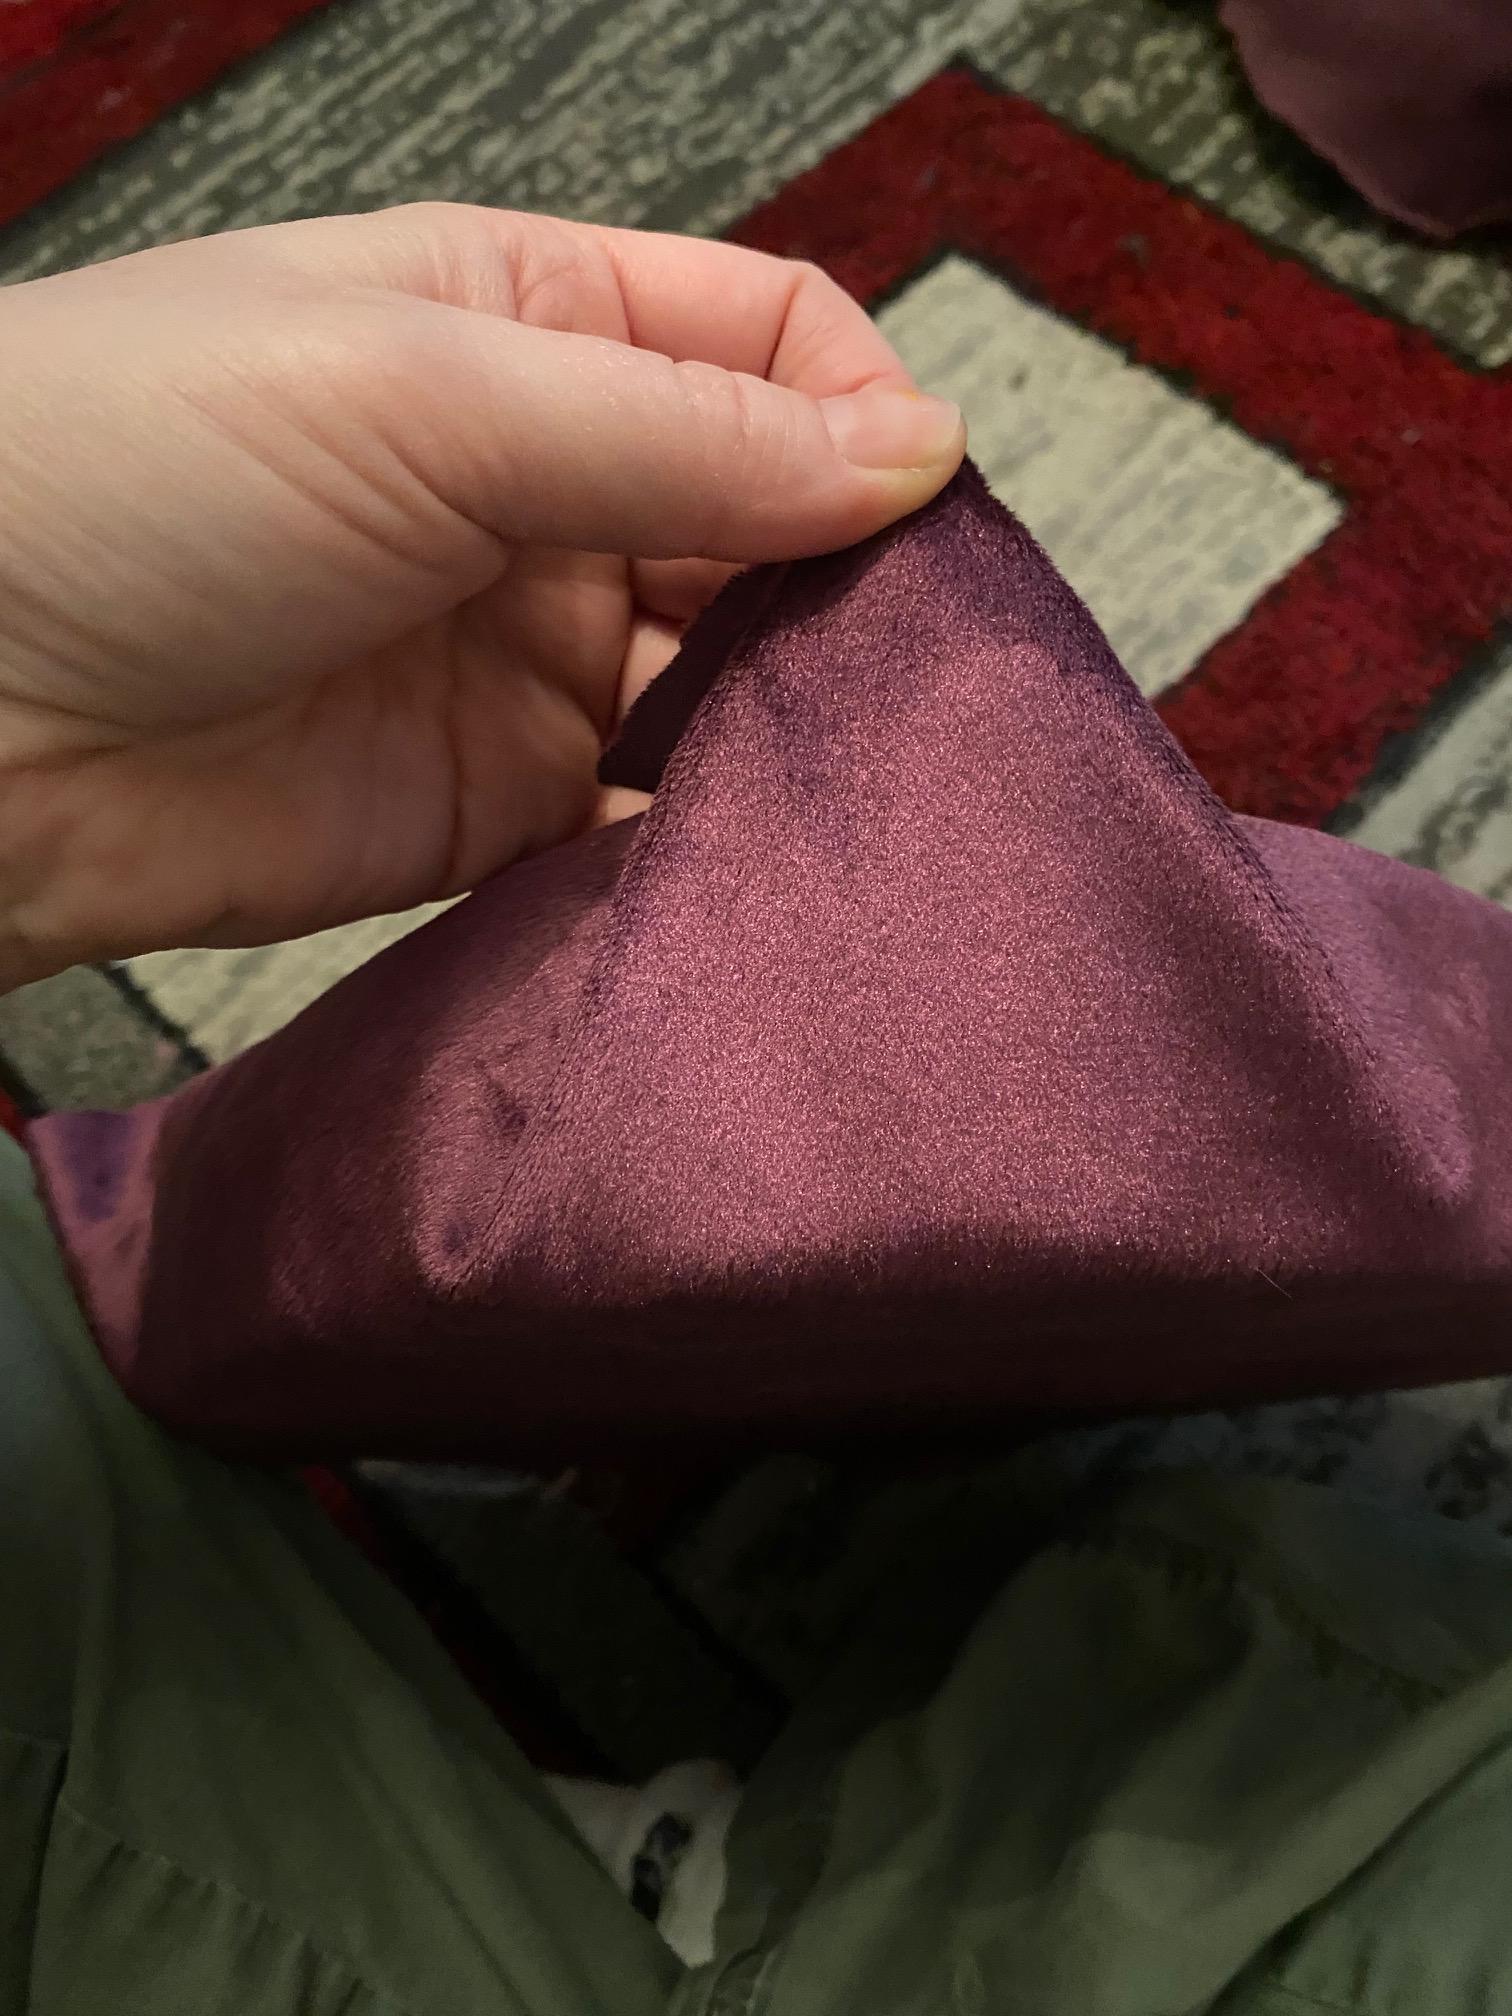
Take the dried Ouroboros and place it over a scrap of the campers foam. Trace the inside of the Ouroboros and cut it out with scissors.
Place the cut foam overtop the fabric and fold the ends over, using hot glue to secure them to the back of the foam.
*** Notice my dried Ouroboros has what looks like bracelets now? This is because the airdry clay cracked when in dried so I had to hot glue a section back onto it's base, then wrap a layer of clay around the snake in several spots to keep it in place.**
Attach the Ouroboros

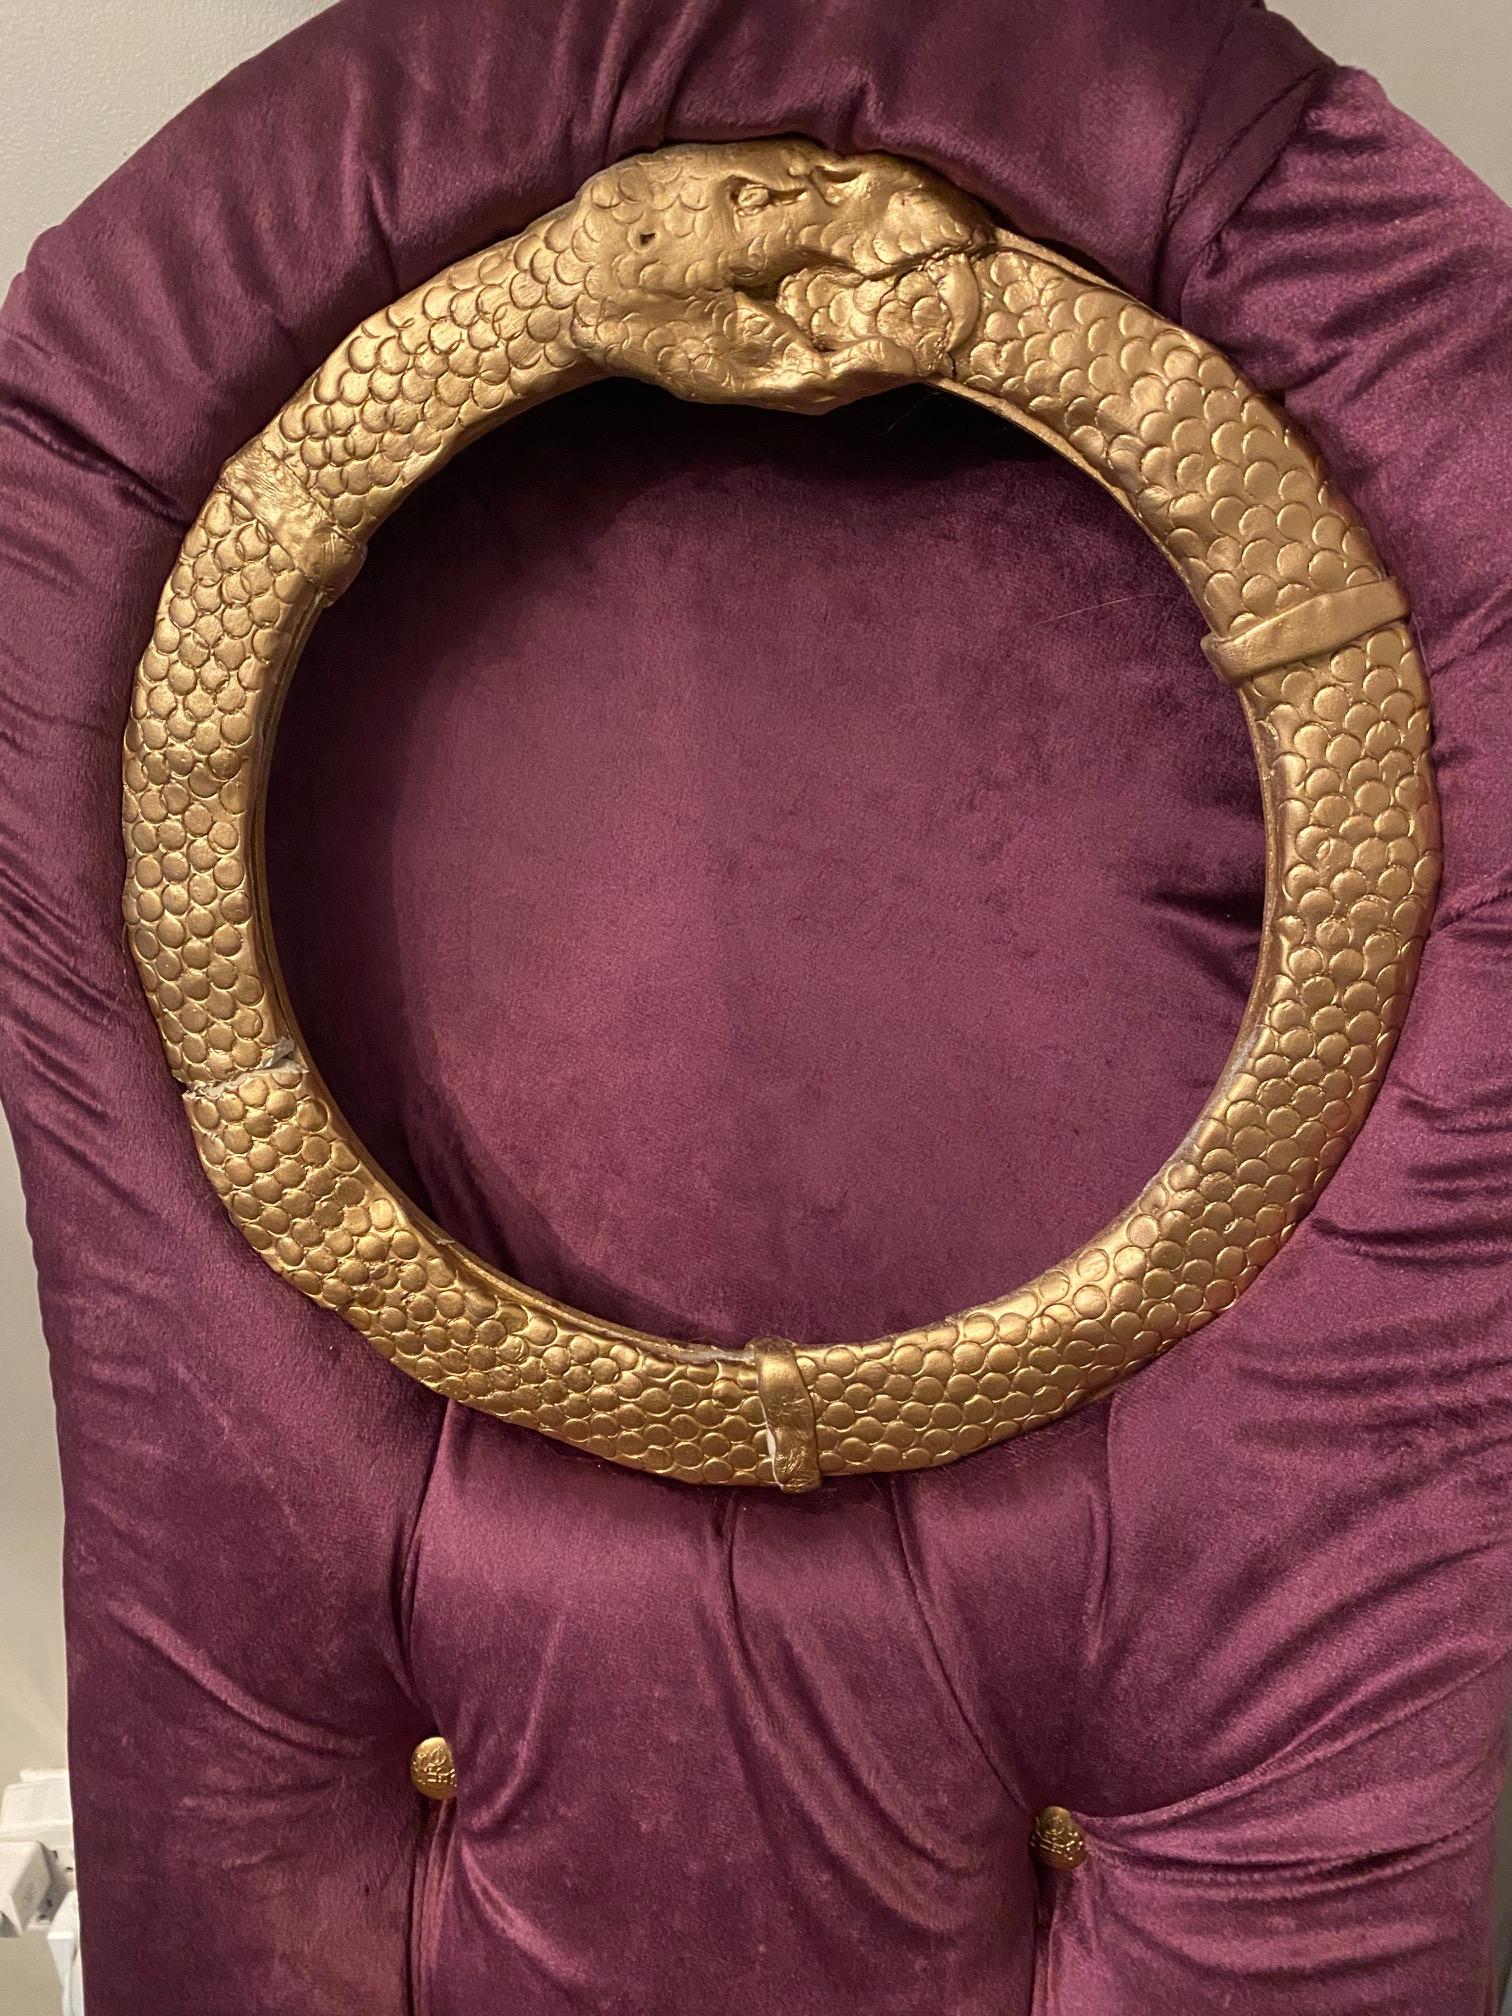


Spray paint the Ouroboros gold. Wait for it to dry thoroughly.
Press the Ouroboros into the circle at the top of the chair and secure the hot glue on the backside.
Glue the back of the circle and place the formed and covered foam into the center.
Once the glue is dry, your throne is officially done and ready to use!