Oscilloscope How To
by amandaghassaei in Circuits > Electronics
668374 Views, 462 Favorites, 0 Comments
Oscilloscope How To
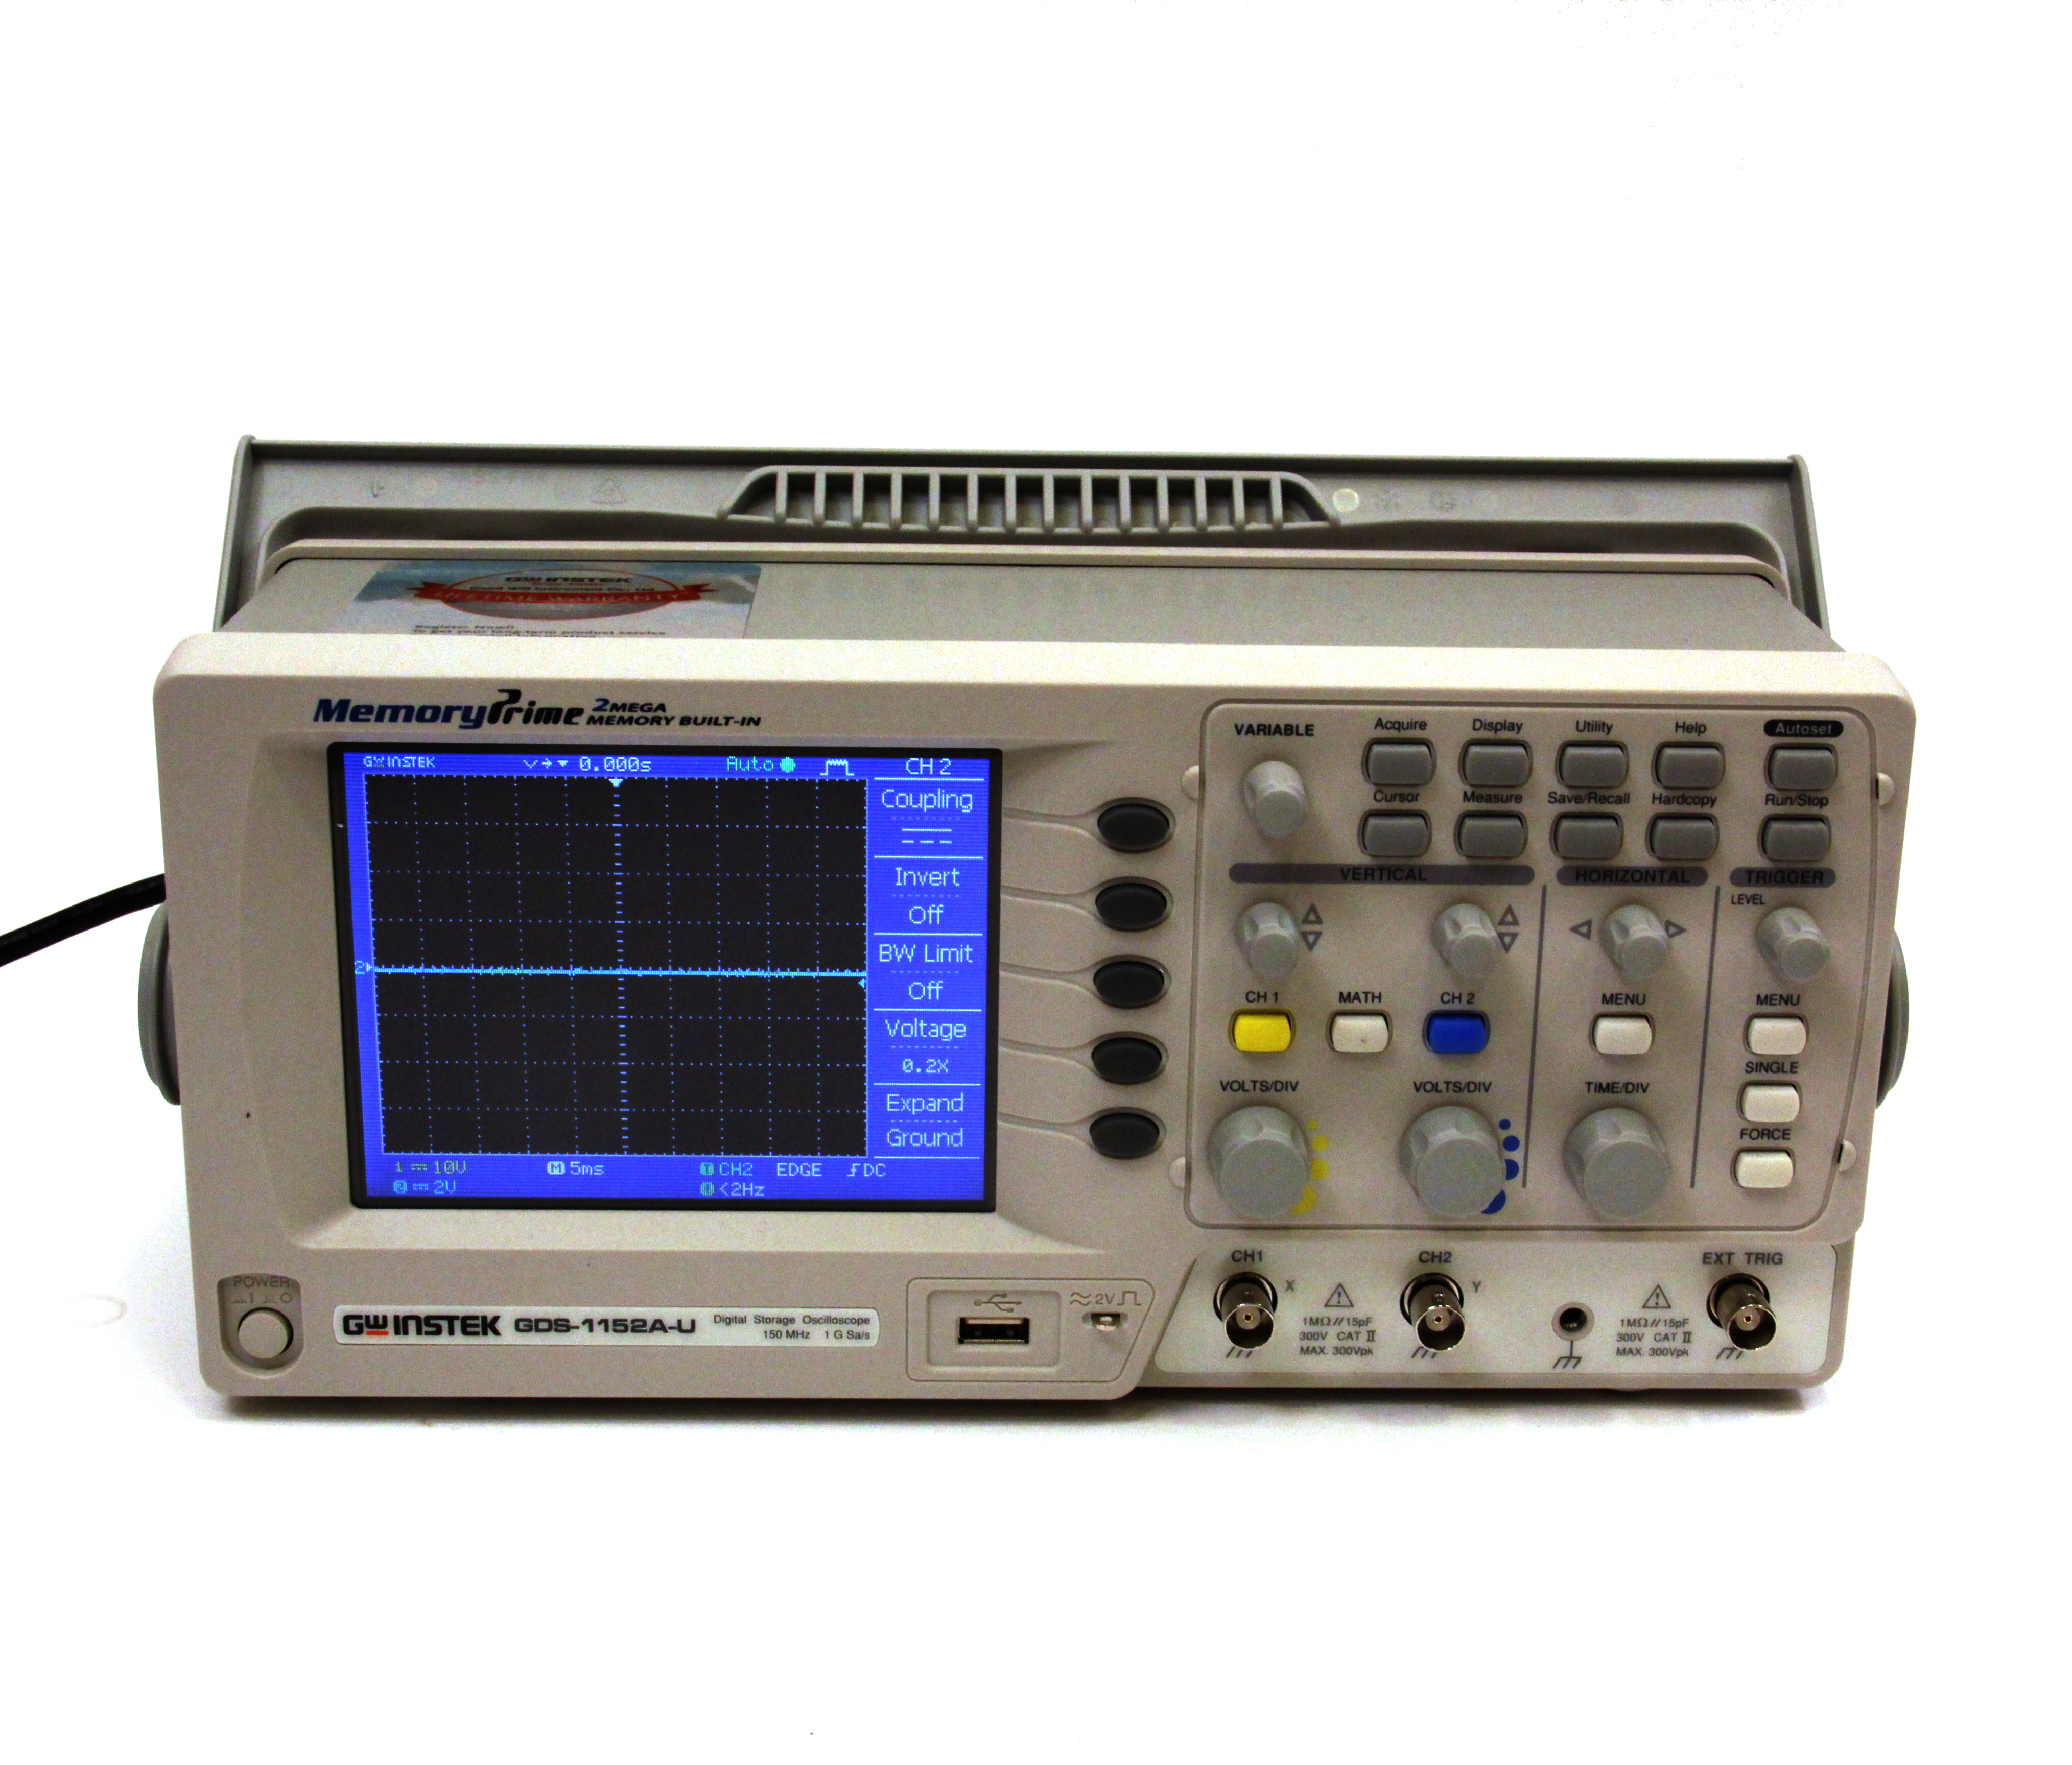
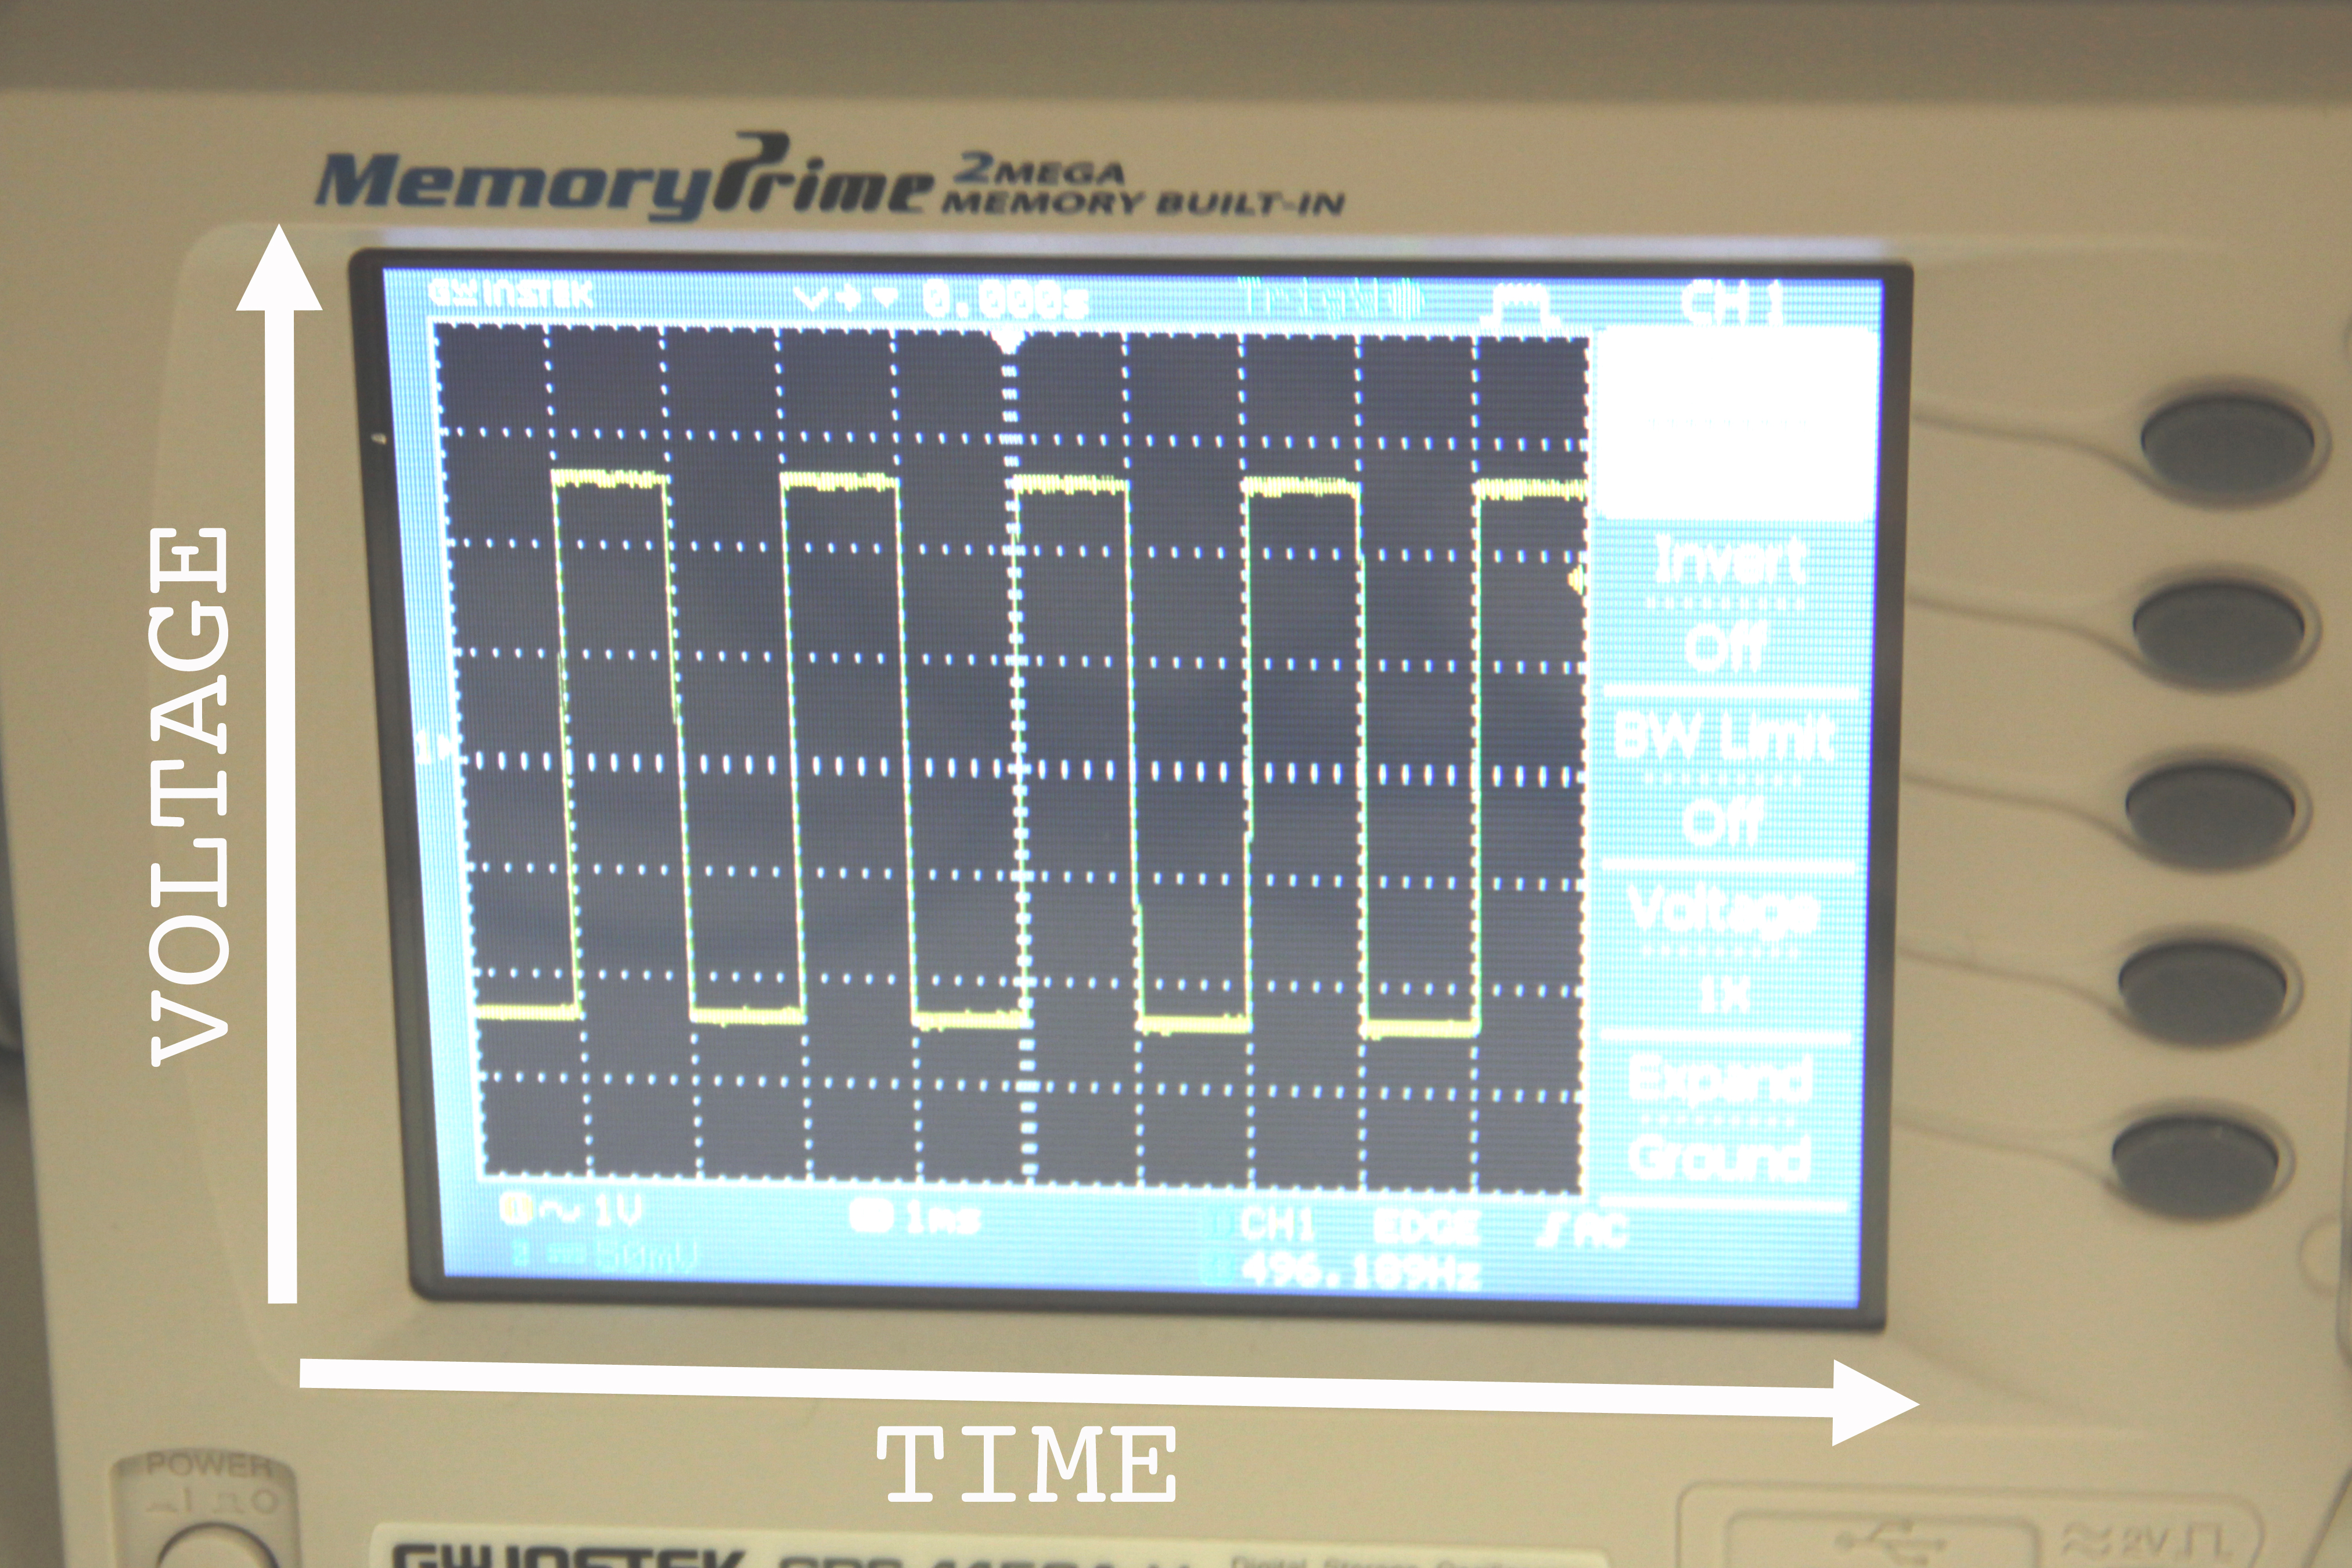
This tutorial will guide you through the basics of using an oscilloscope, it is meant for someone with very little or no experience with electronics or oscilloscopes. There are many types of oscilloscopes out there, and each is a little different, so I'm going to focus on the essential components that are found in all oscilloscopes and are the most useful when getting started.
Oscilloscopes are useful for looking at very fast changes in voltage over time, things that we could not measure with a multimeter. Usually when you make a measurement with an oscilloscope, you will see a line that stretches from one side of the screen to the other; this line is actually a graph of voltage vs time (fig 2), where voltage is measured along the y axis and time along the x.
Oscilloscopes come in two varieties: analog and digital(I'll be using a digital scope in this tutorial). The controls on both types are basically the same; be aware that the digital scopes may hide some of there controls in a menu on the LCD display instead of using knob or button.
Controls Overview
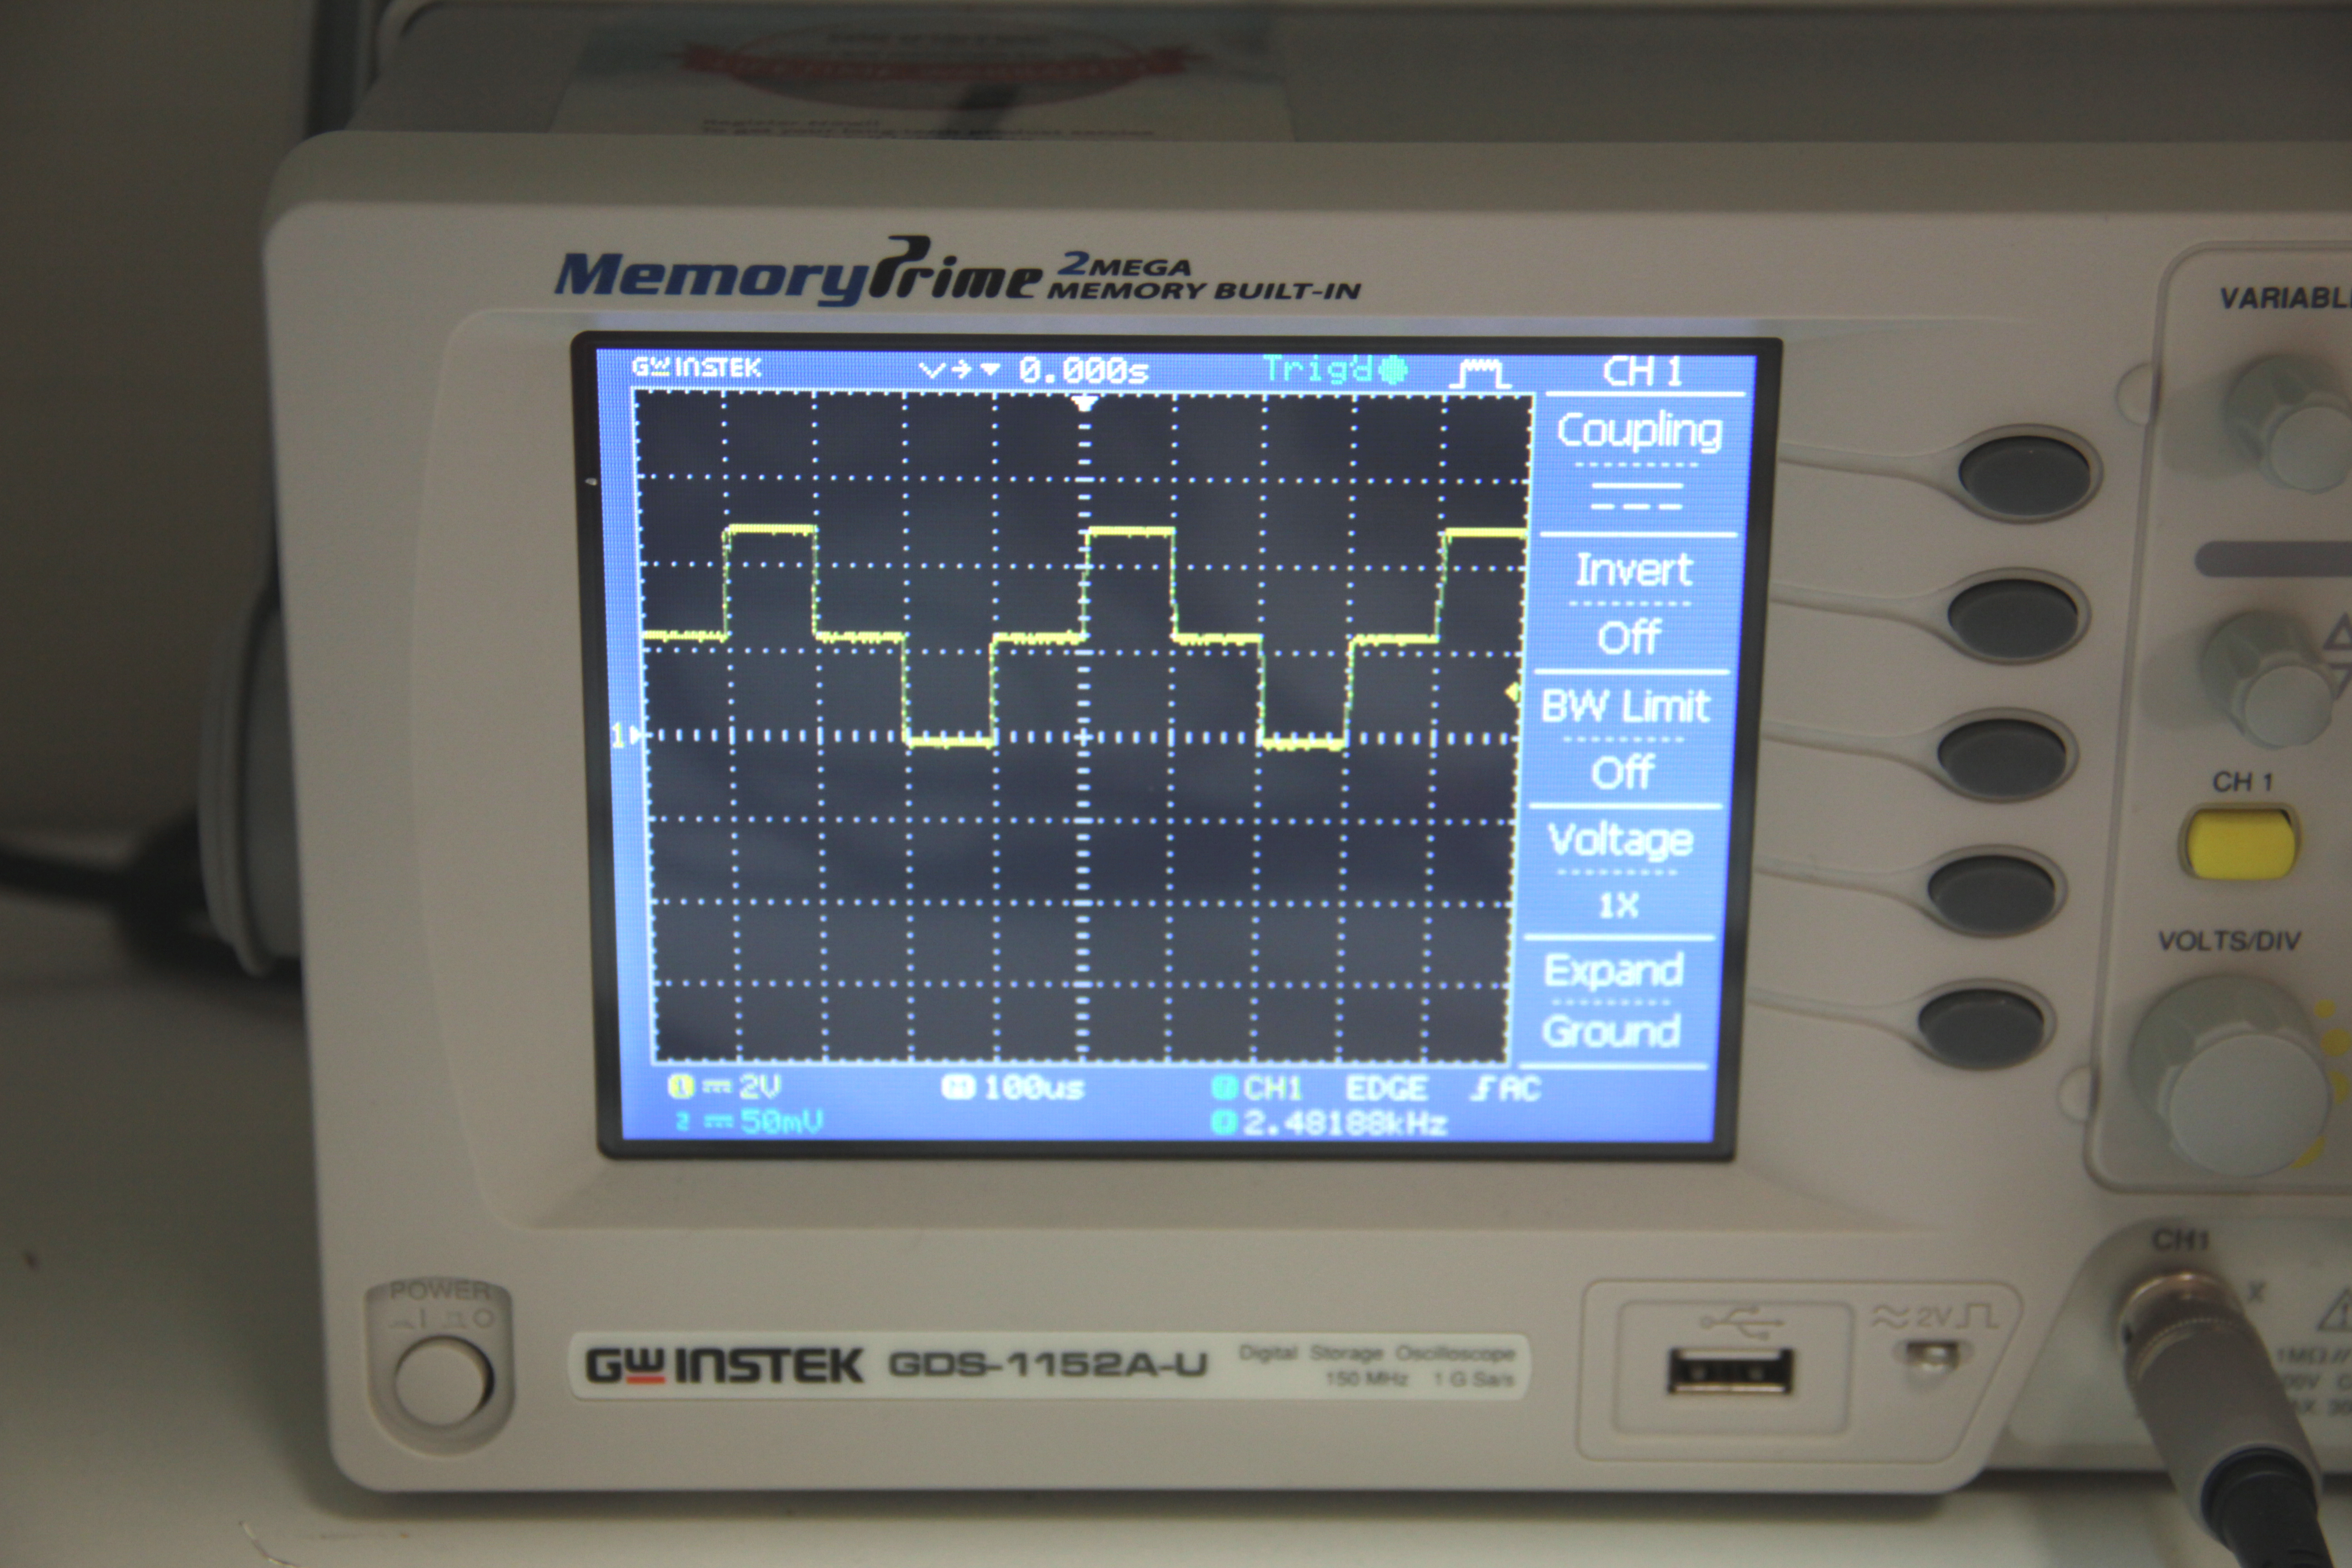
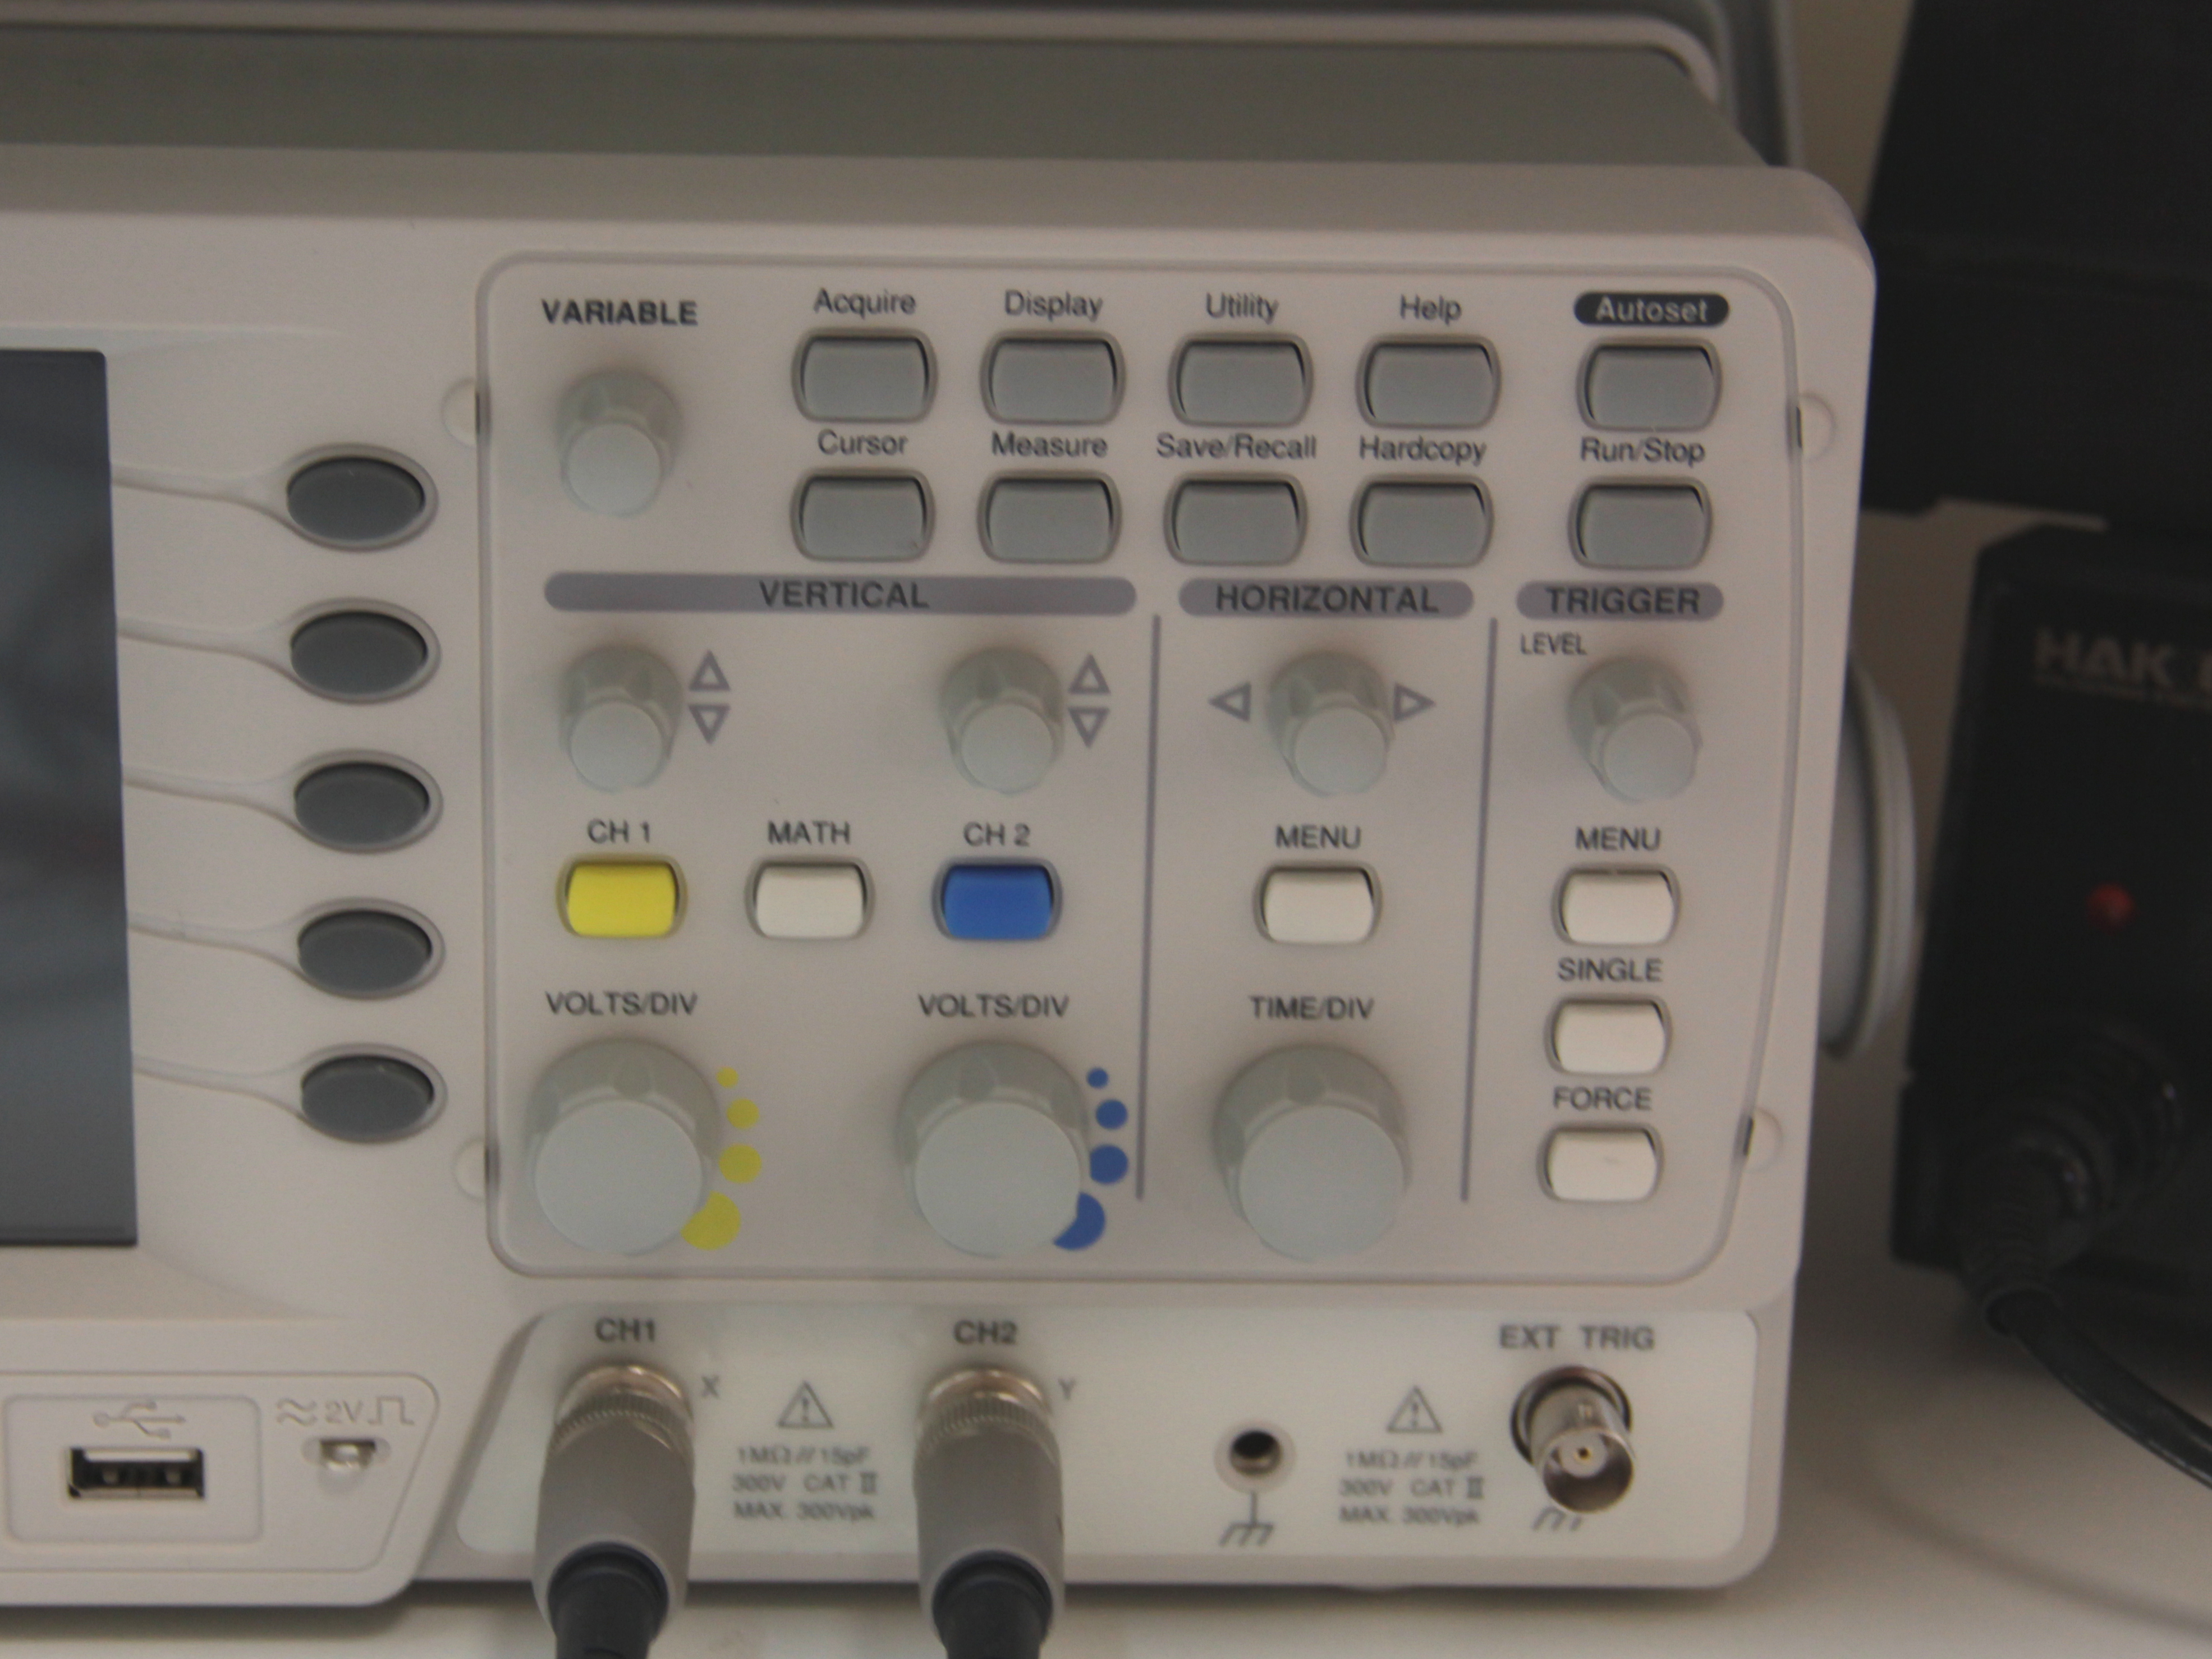
All oscilloscopes have some basic controls in common, be sure you can identify these controls on your oscilloscope:
- at least one input where an oscilloscope probe (also called a coaxial cable) can be attached (be sure you have one of these cables)
- screen with a grid overlay- this grid is useful when you want to make measurements using the scope
- volts/div- this control lets you change how many volts are represented by each vertical increment of grid overlay on the screen. Basically, it allows you to zoom in and out along the y axis.
- time/div- this control lets you change how much time is represented by each horizontal increment of the grid overlay on the screen. It allows you to zoom in and out along the x axis.
- vertical position/offset- lets you move up and down in the y direction
- horizontal position/offset- move left and right
- trigger level- this is a tool that allows you to stabilize your waveform on the screen, I'll get into the details later on in this tutorial
See the images above for examples.
Setup

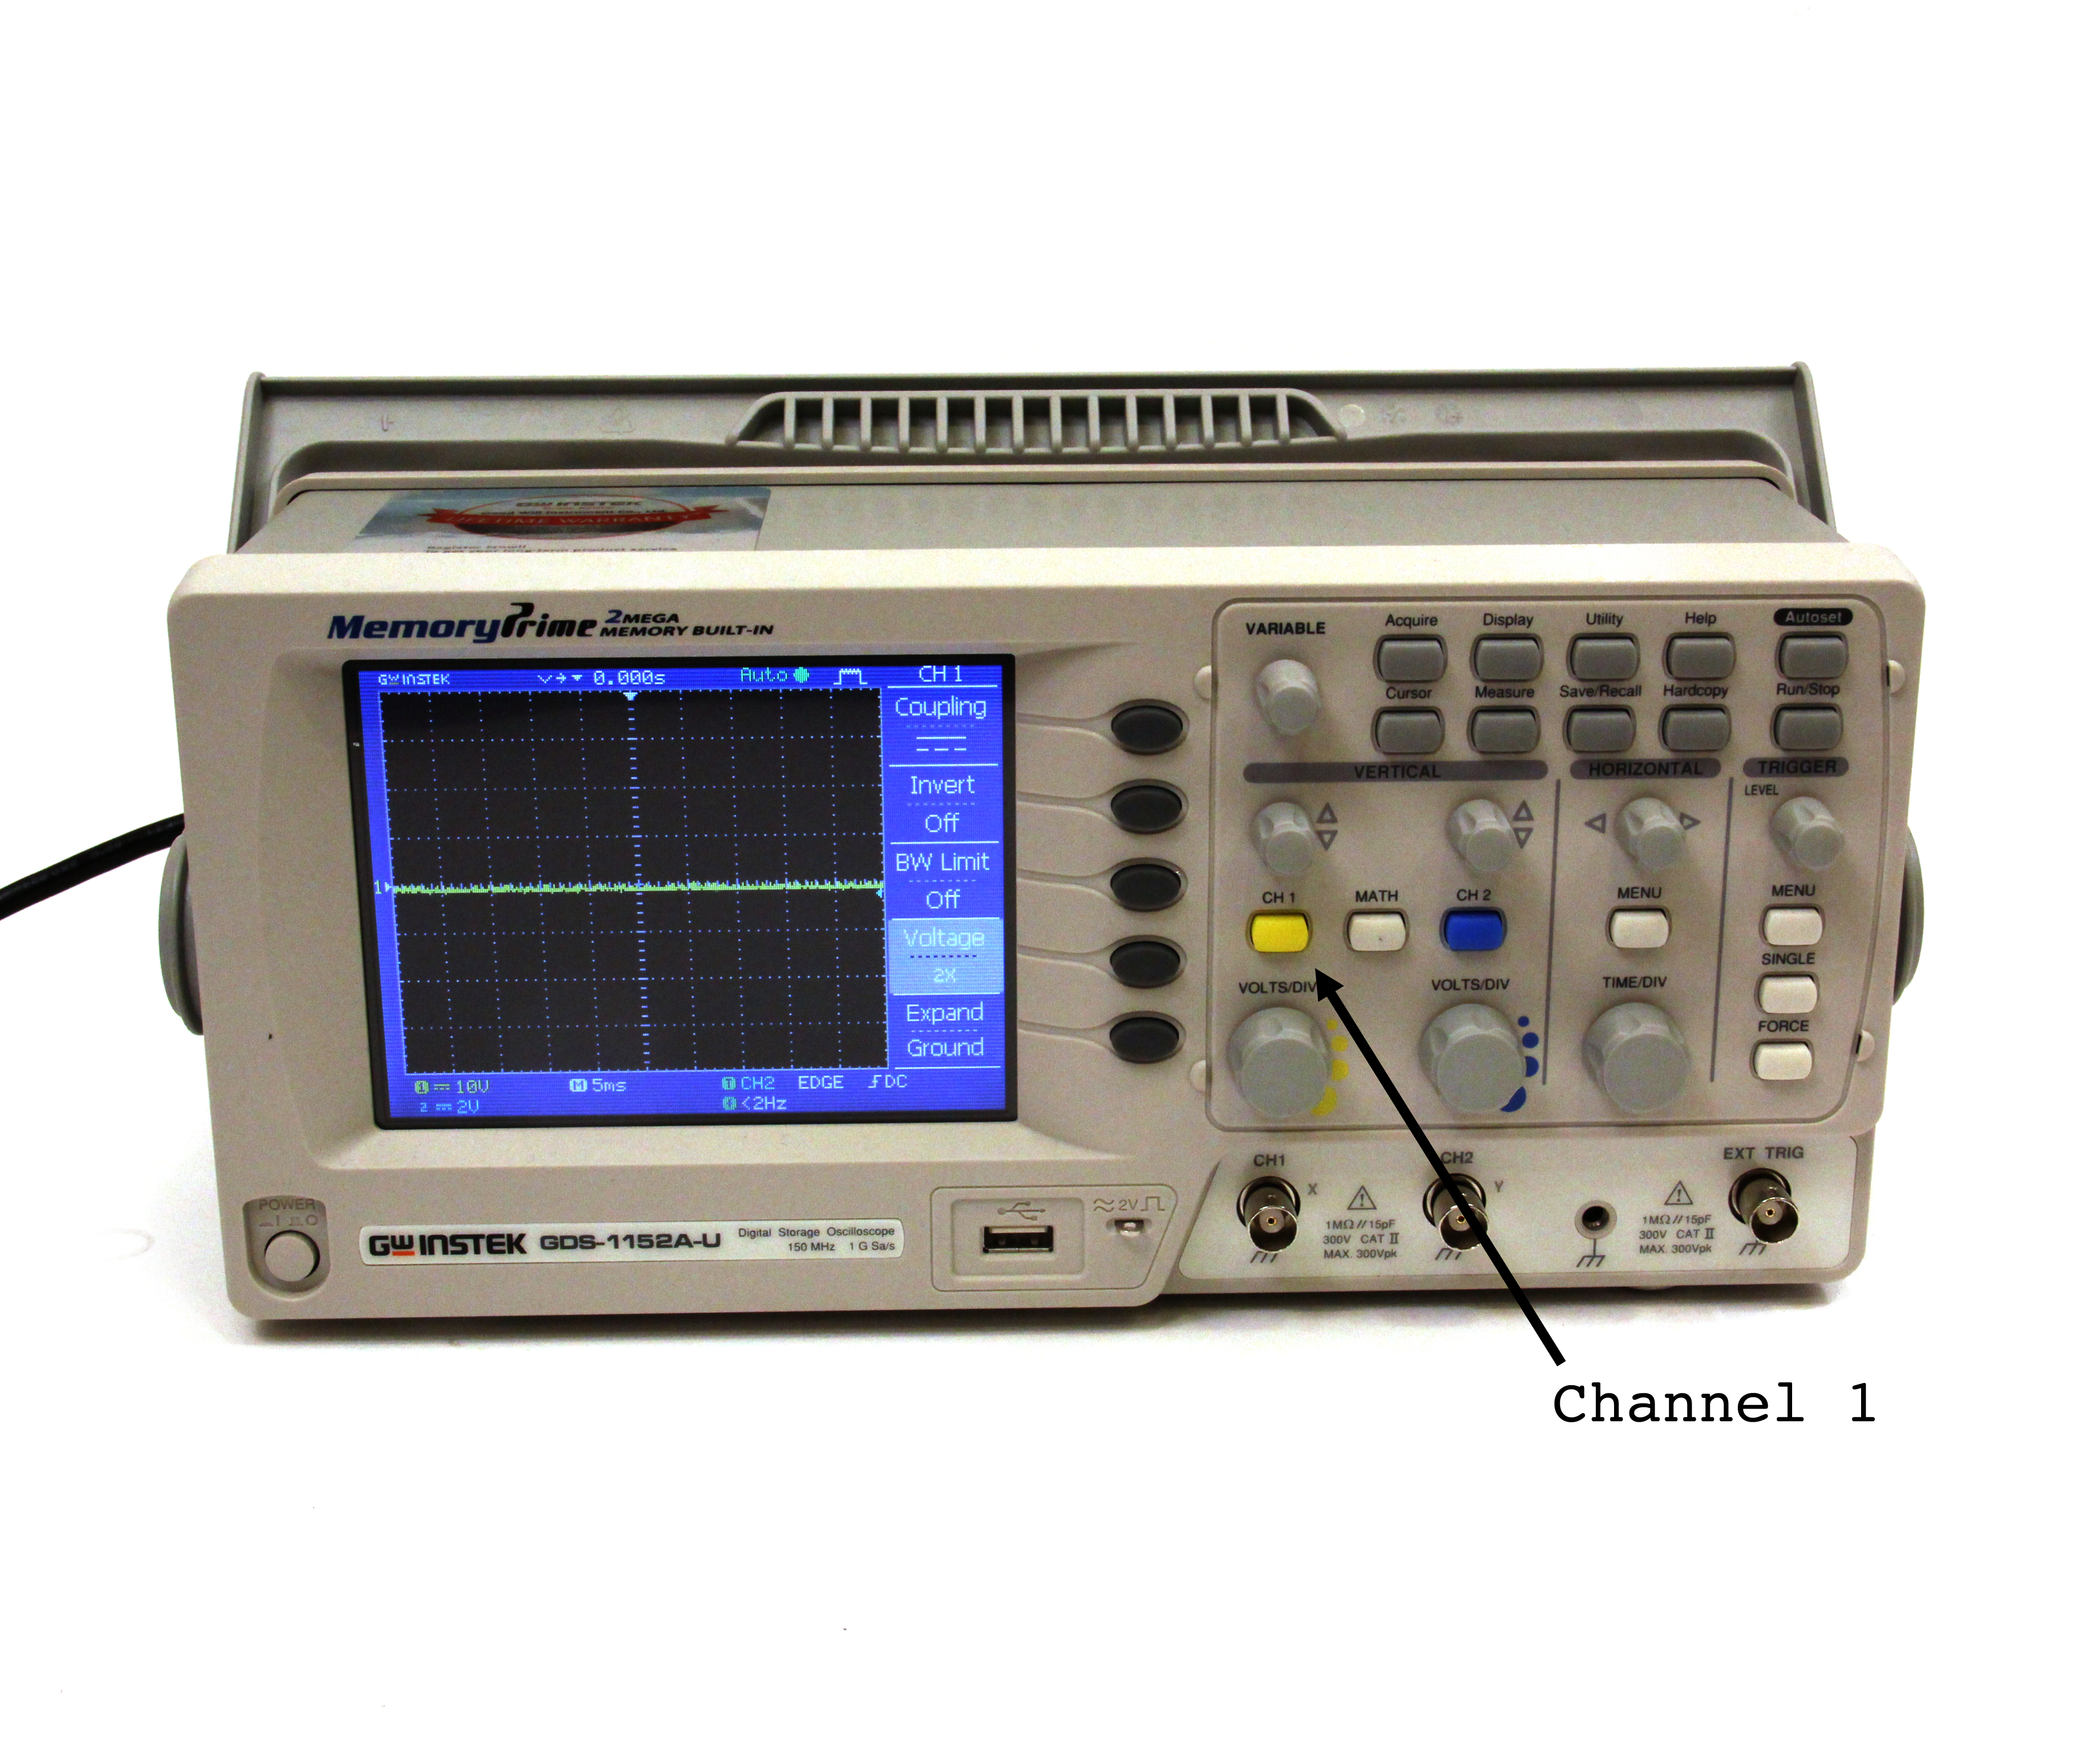
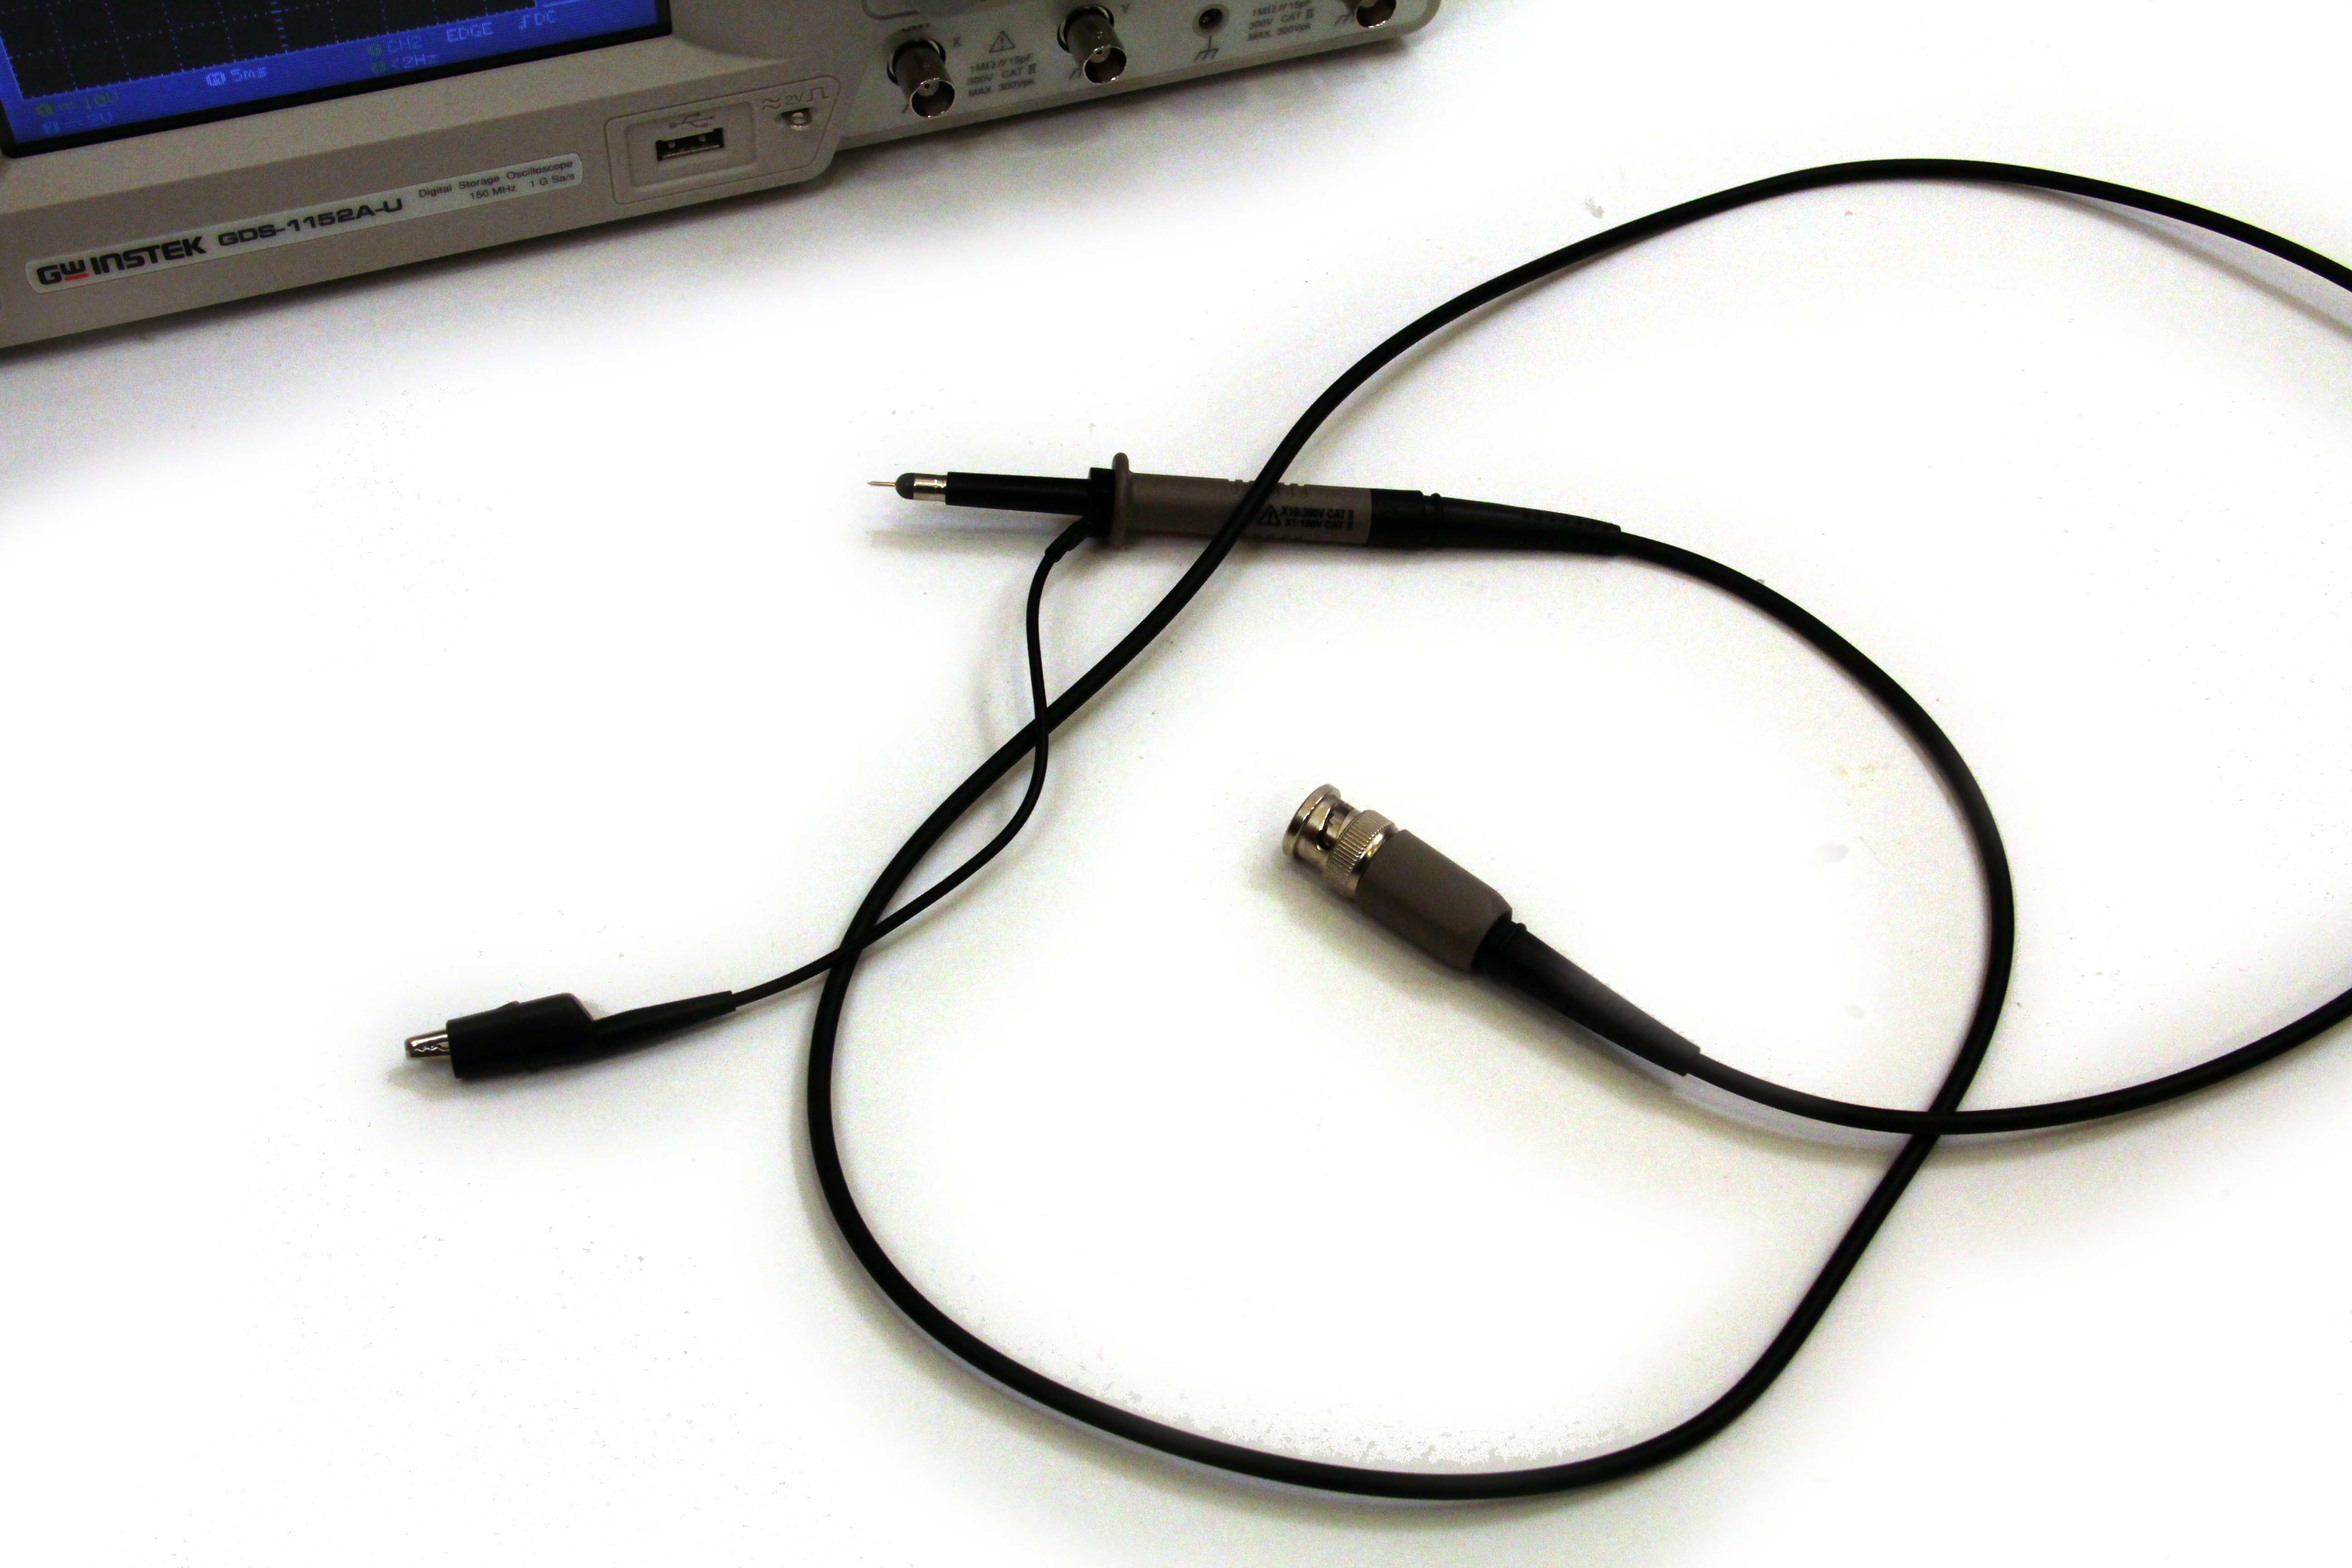
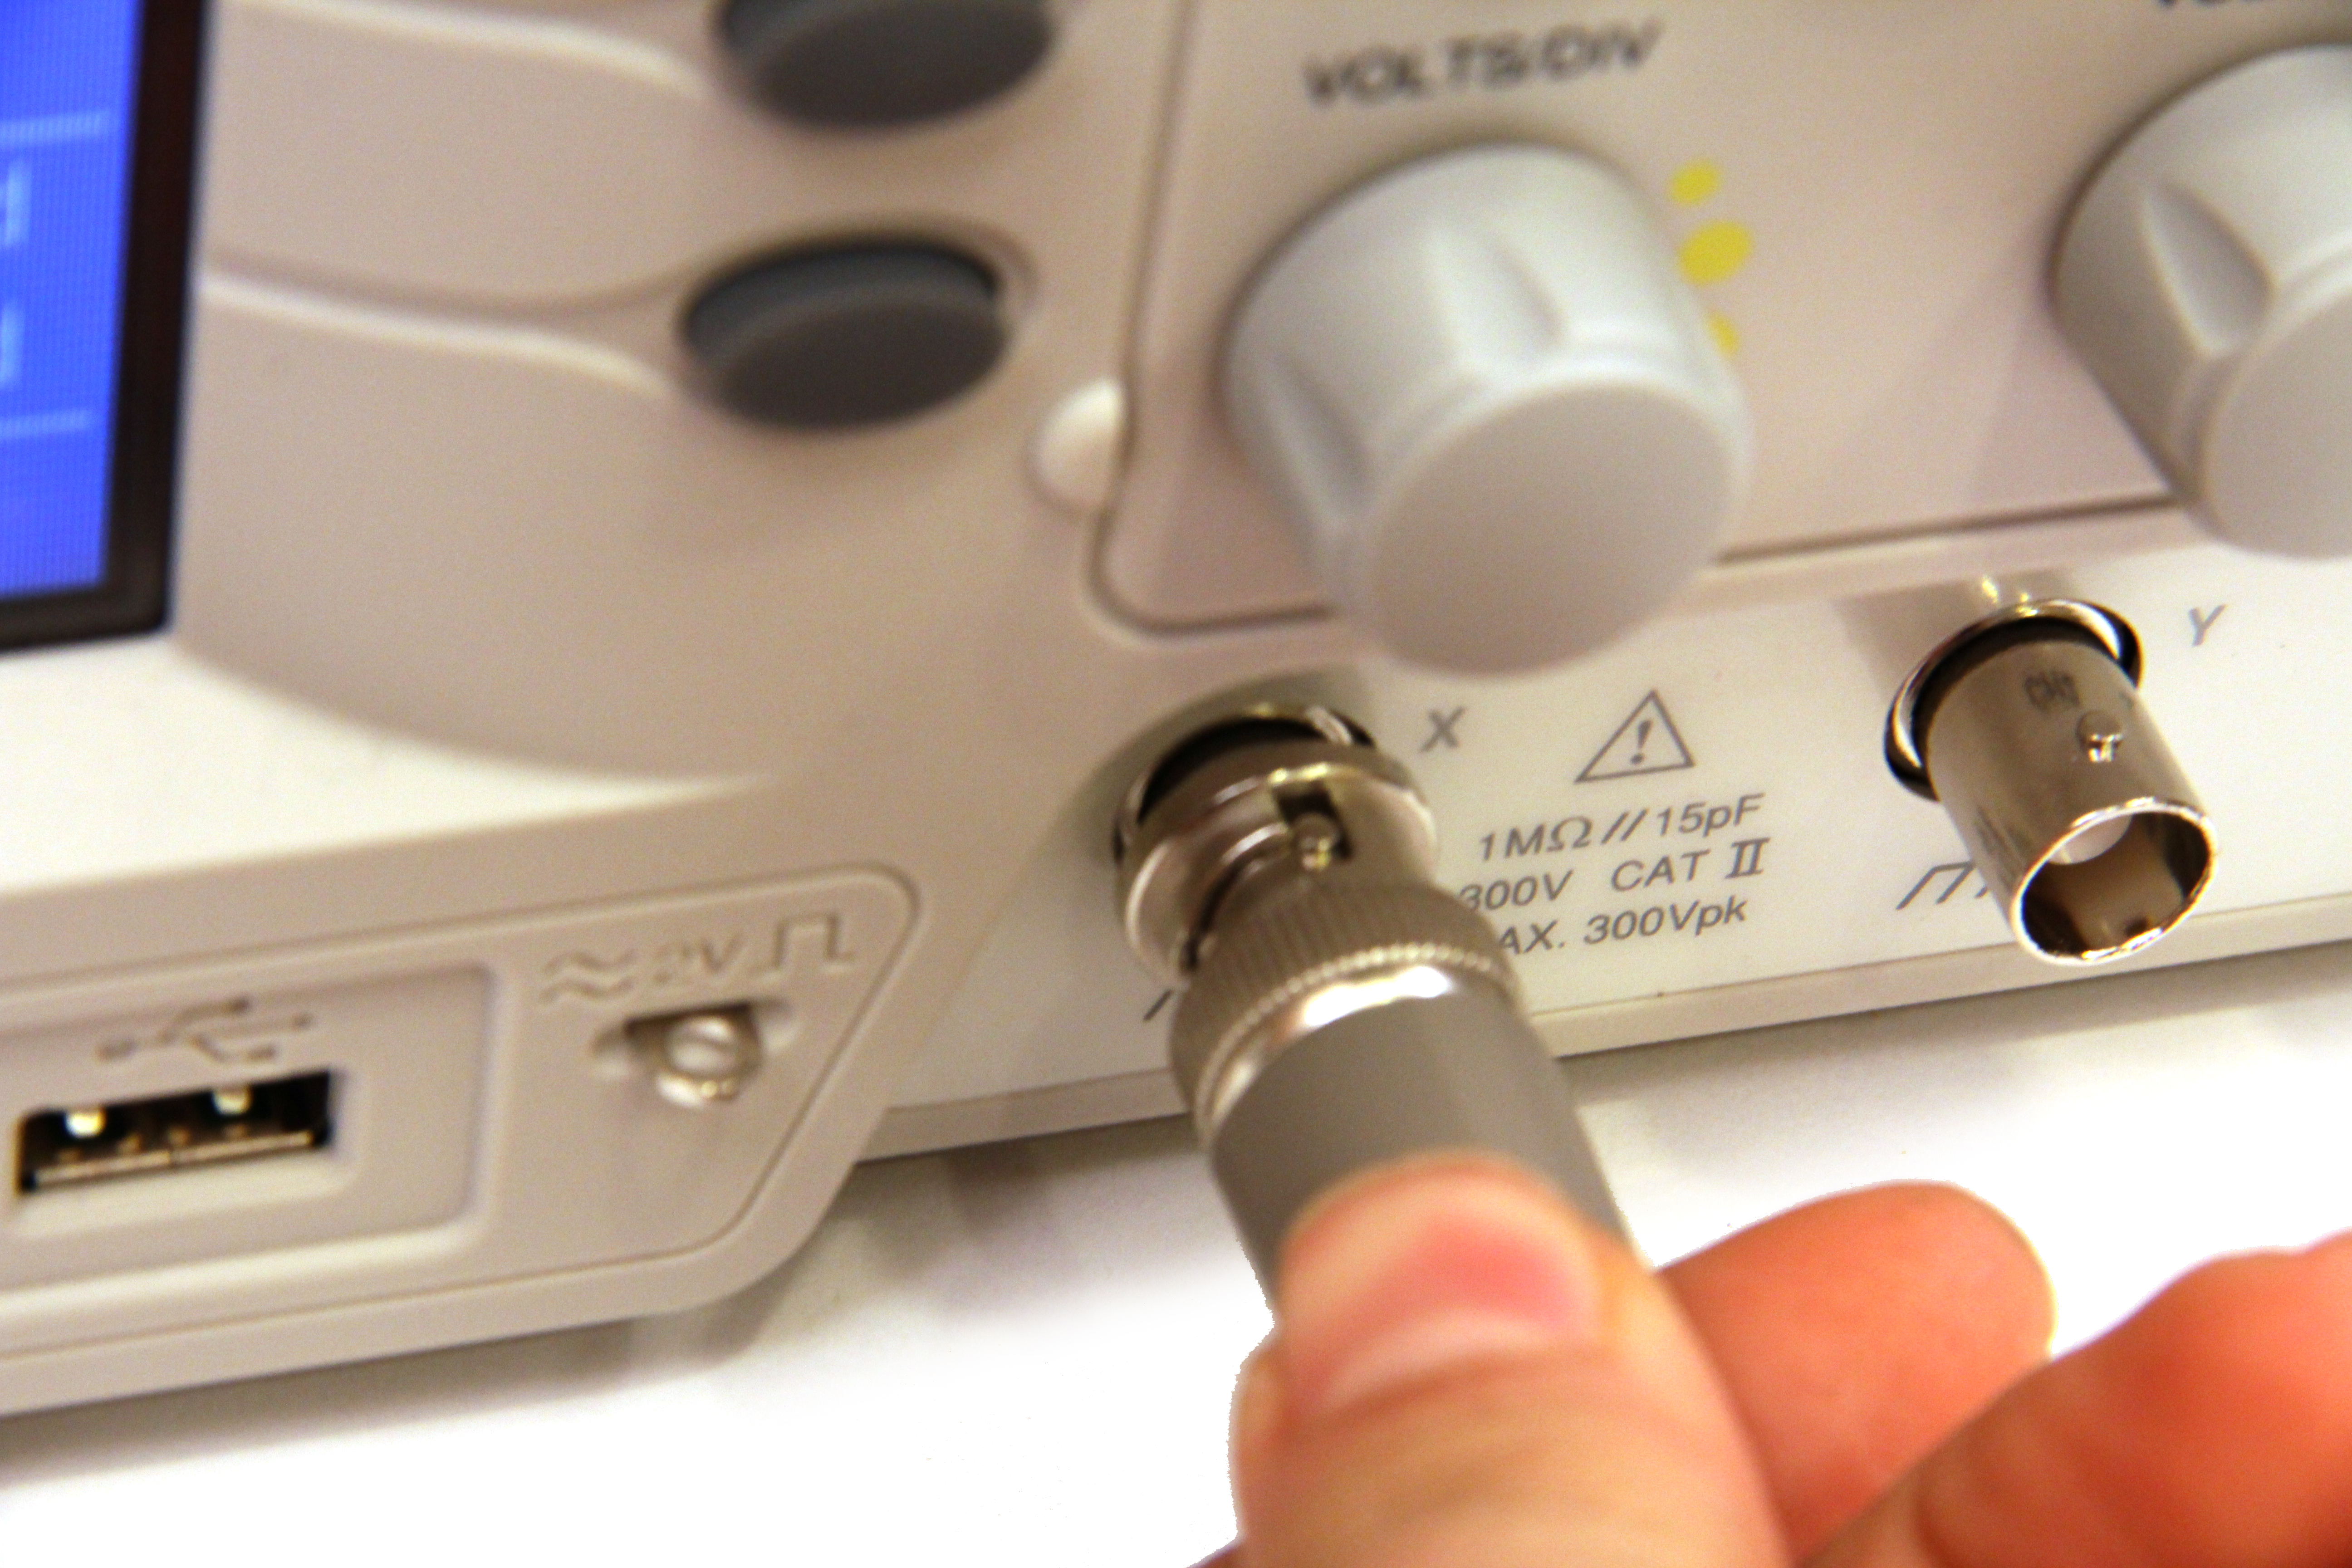
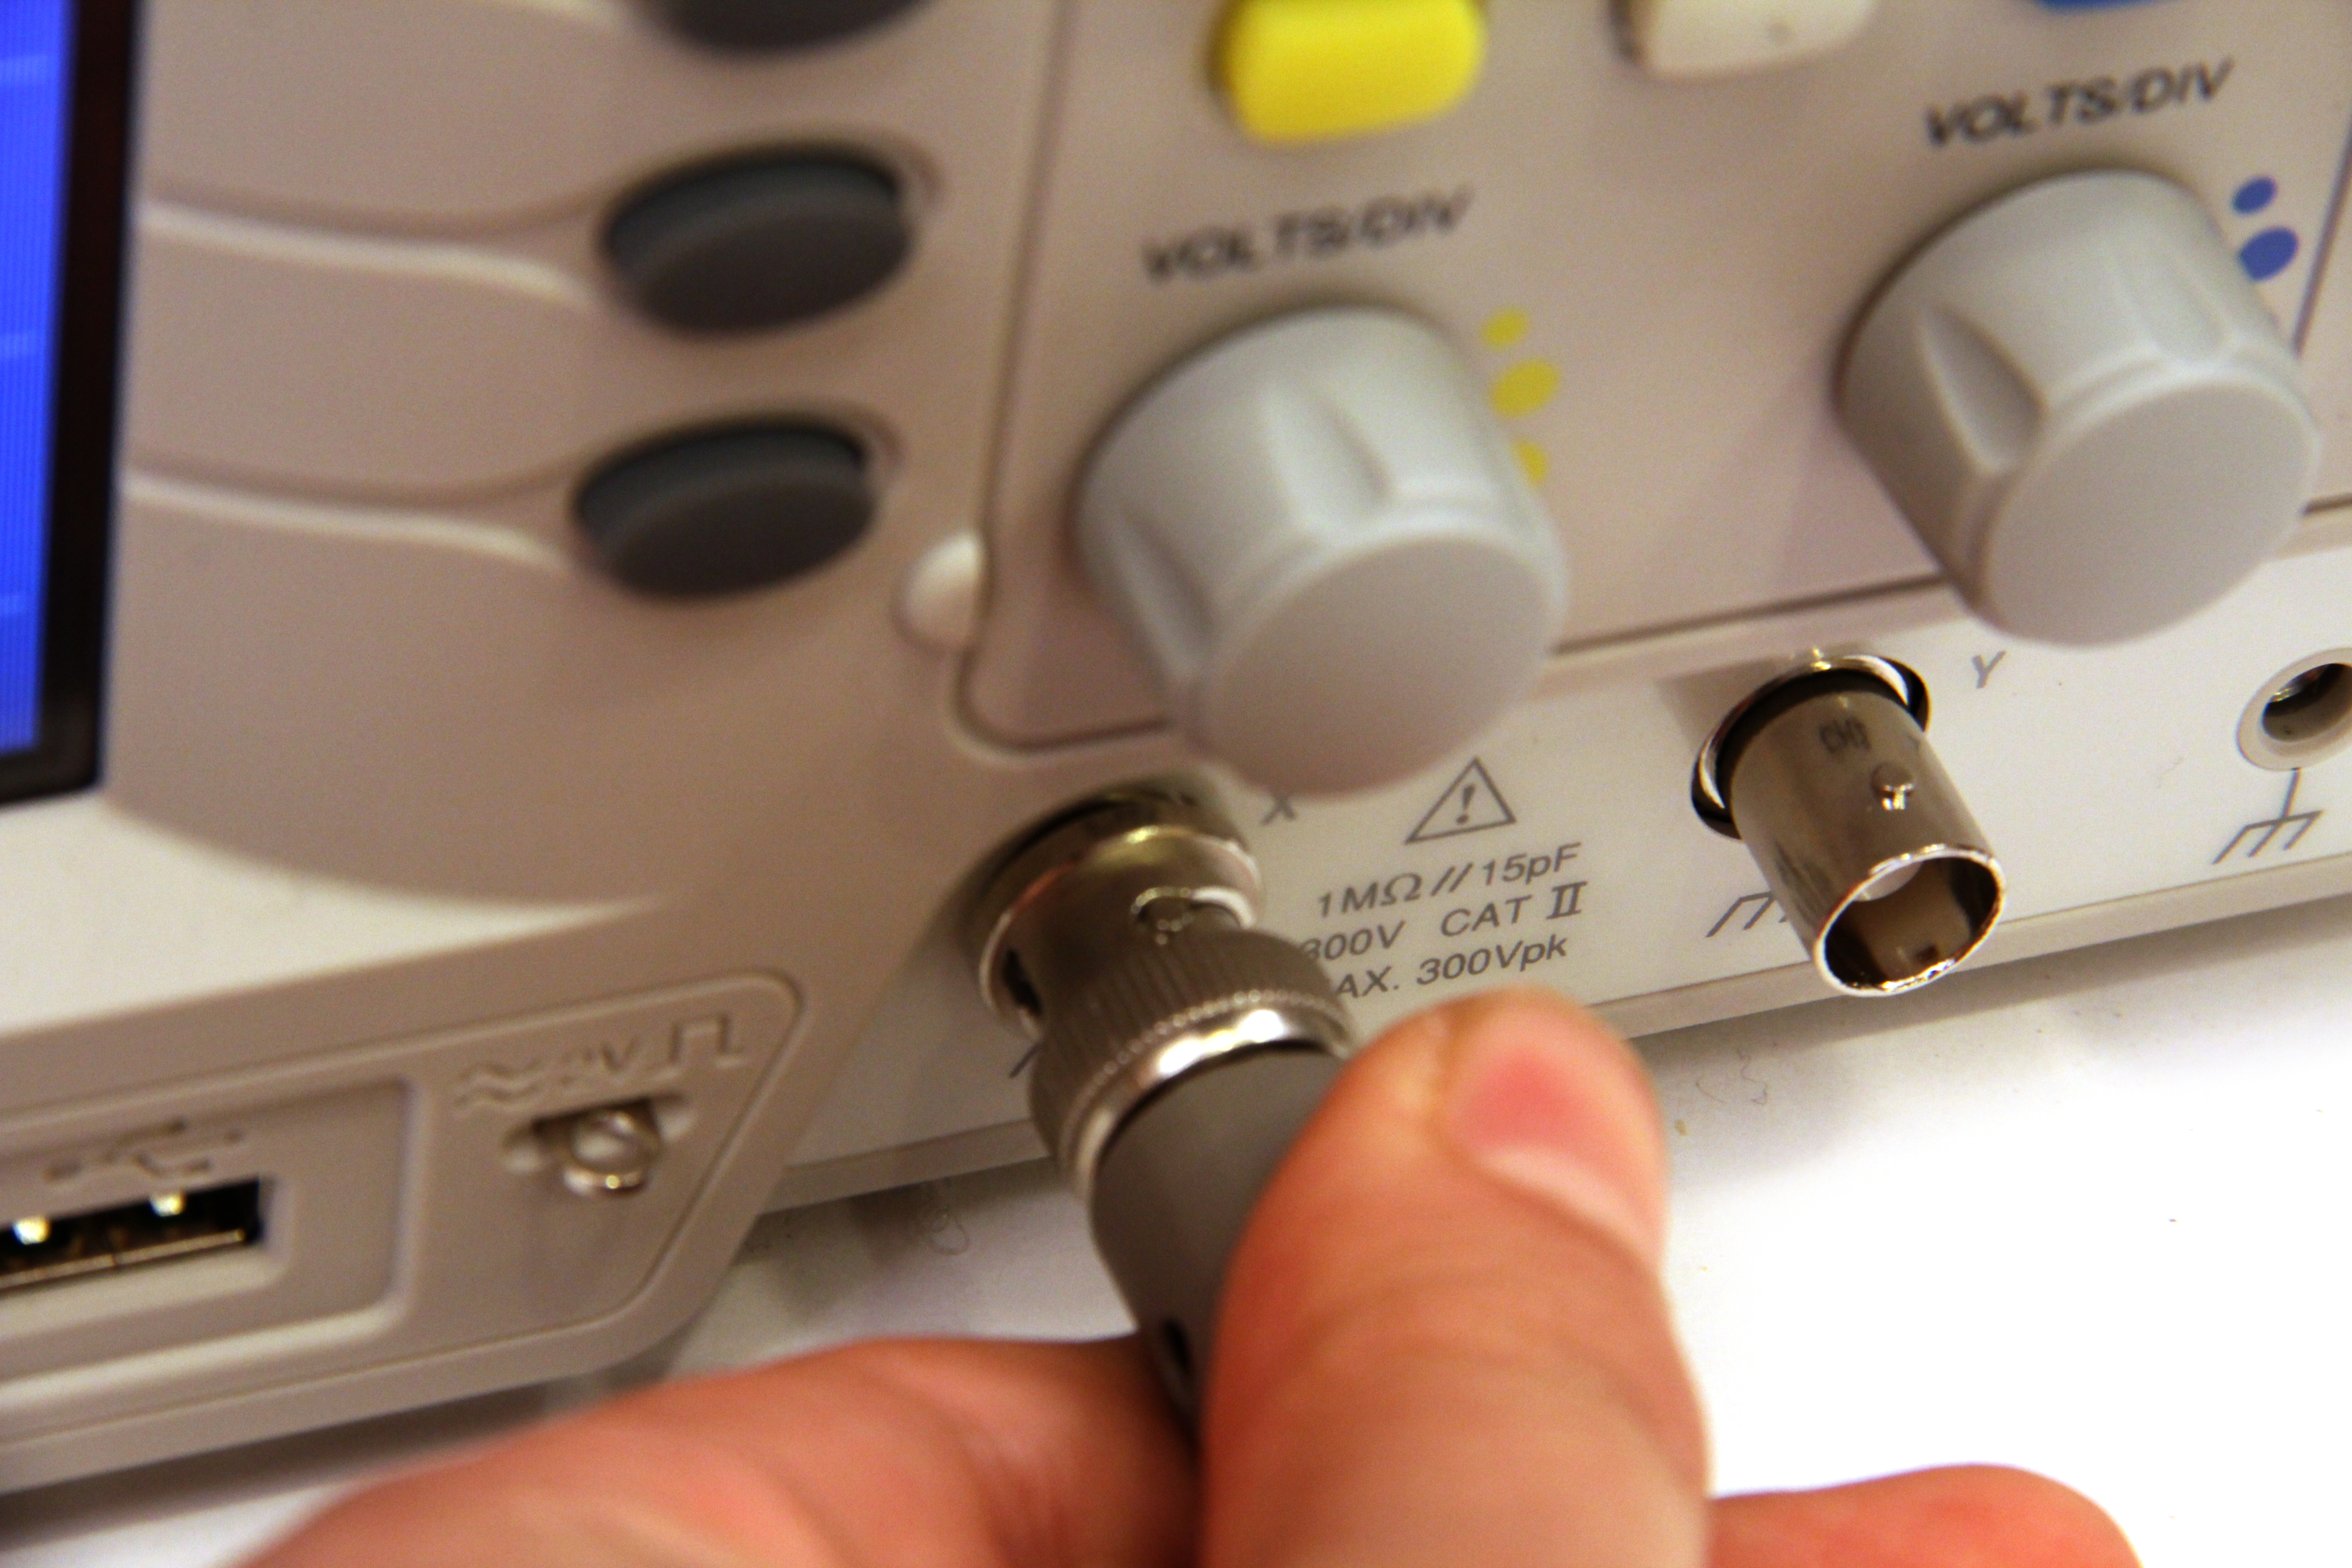
Turn on your oscilloscope. If nothing is plugged into the oscilloscope you should to see a flat line, this means that the voltage of the input is not changing over time. If you see a line that is not flat, try disconnecting the probe from the oscilloscope. If the screen is blank try the following (remember all oscilloscopes are a little different, don't worry about pressing buttons if you're not sure, you won't break anything):
- my oscilloscope is a dual channel scope which means it has two inputs. As shown in figure 2, pressing the "channel 1" button causes that input to display on the screen in yellow. Pressing it again will cause it to disappear. Pressing channel 2 will display that input in blue. Your oscilloscope may only have one input (no channel buttons), or it may have more than 2. Analog scopes will not display separate channels as different colors, it's all green.
- you may be zoomed in tight on some blank space, try turning the volts/div knob counterclockwise to zoom out, also try turning the vertical position control until you get a flat line centered in your screen.
- make sure you scope is not in x y mode
Use the volts/div and vertical position controls to center your horizontal line in the screen and set the volts/div to ~1V and time/div to ~1ms to start.
Connect to Oscillating Signal
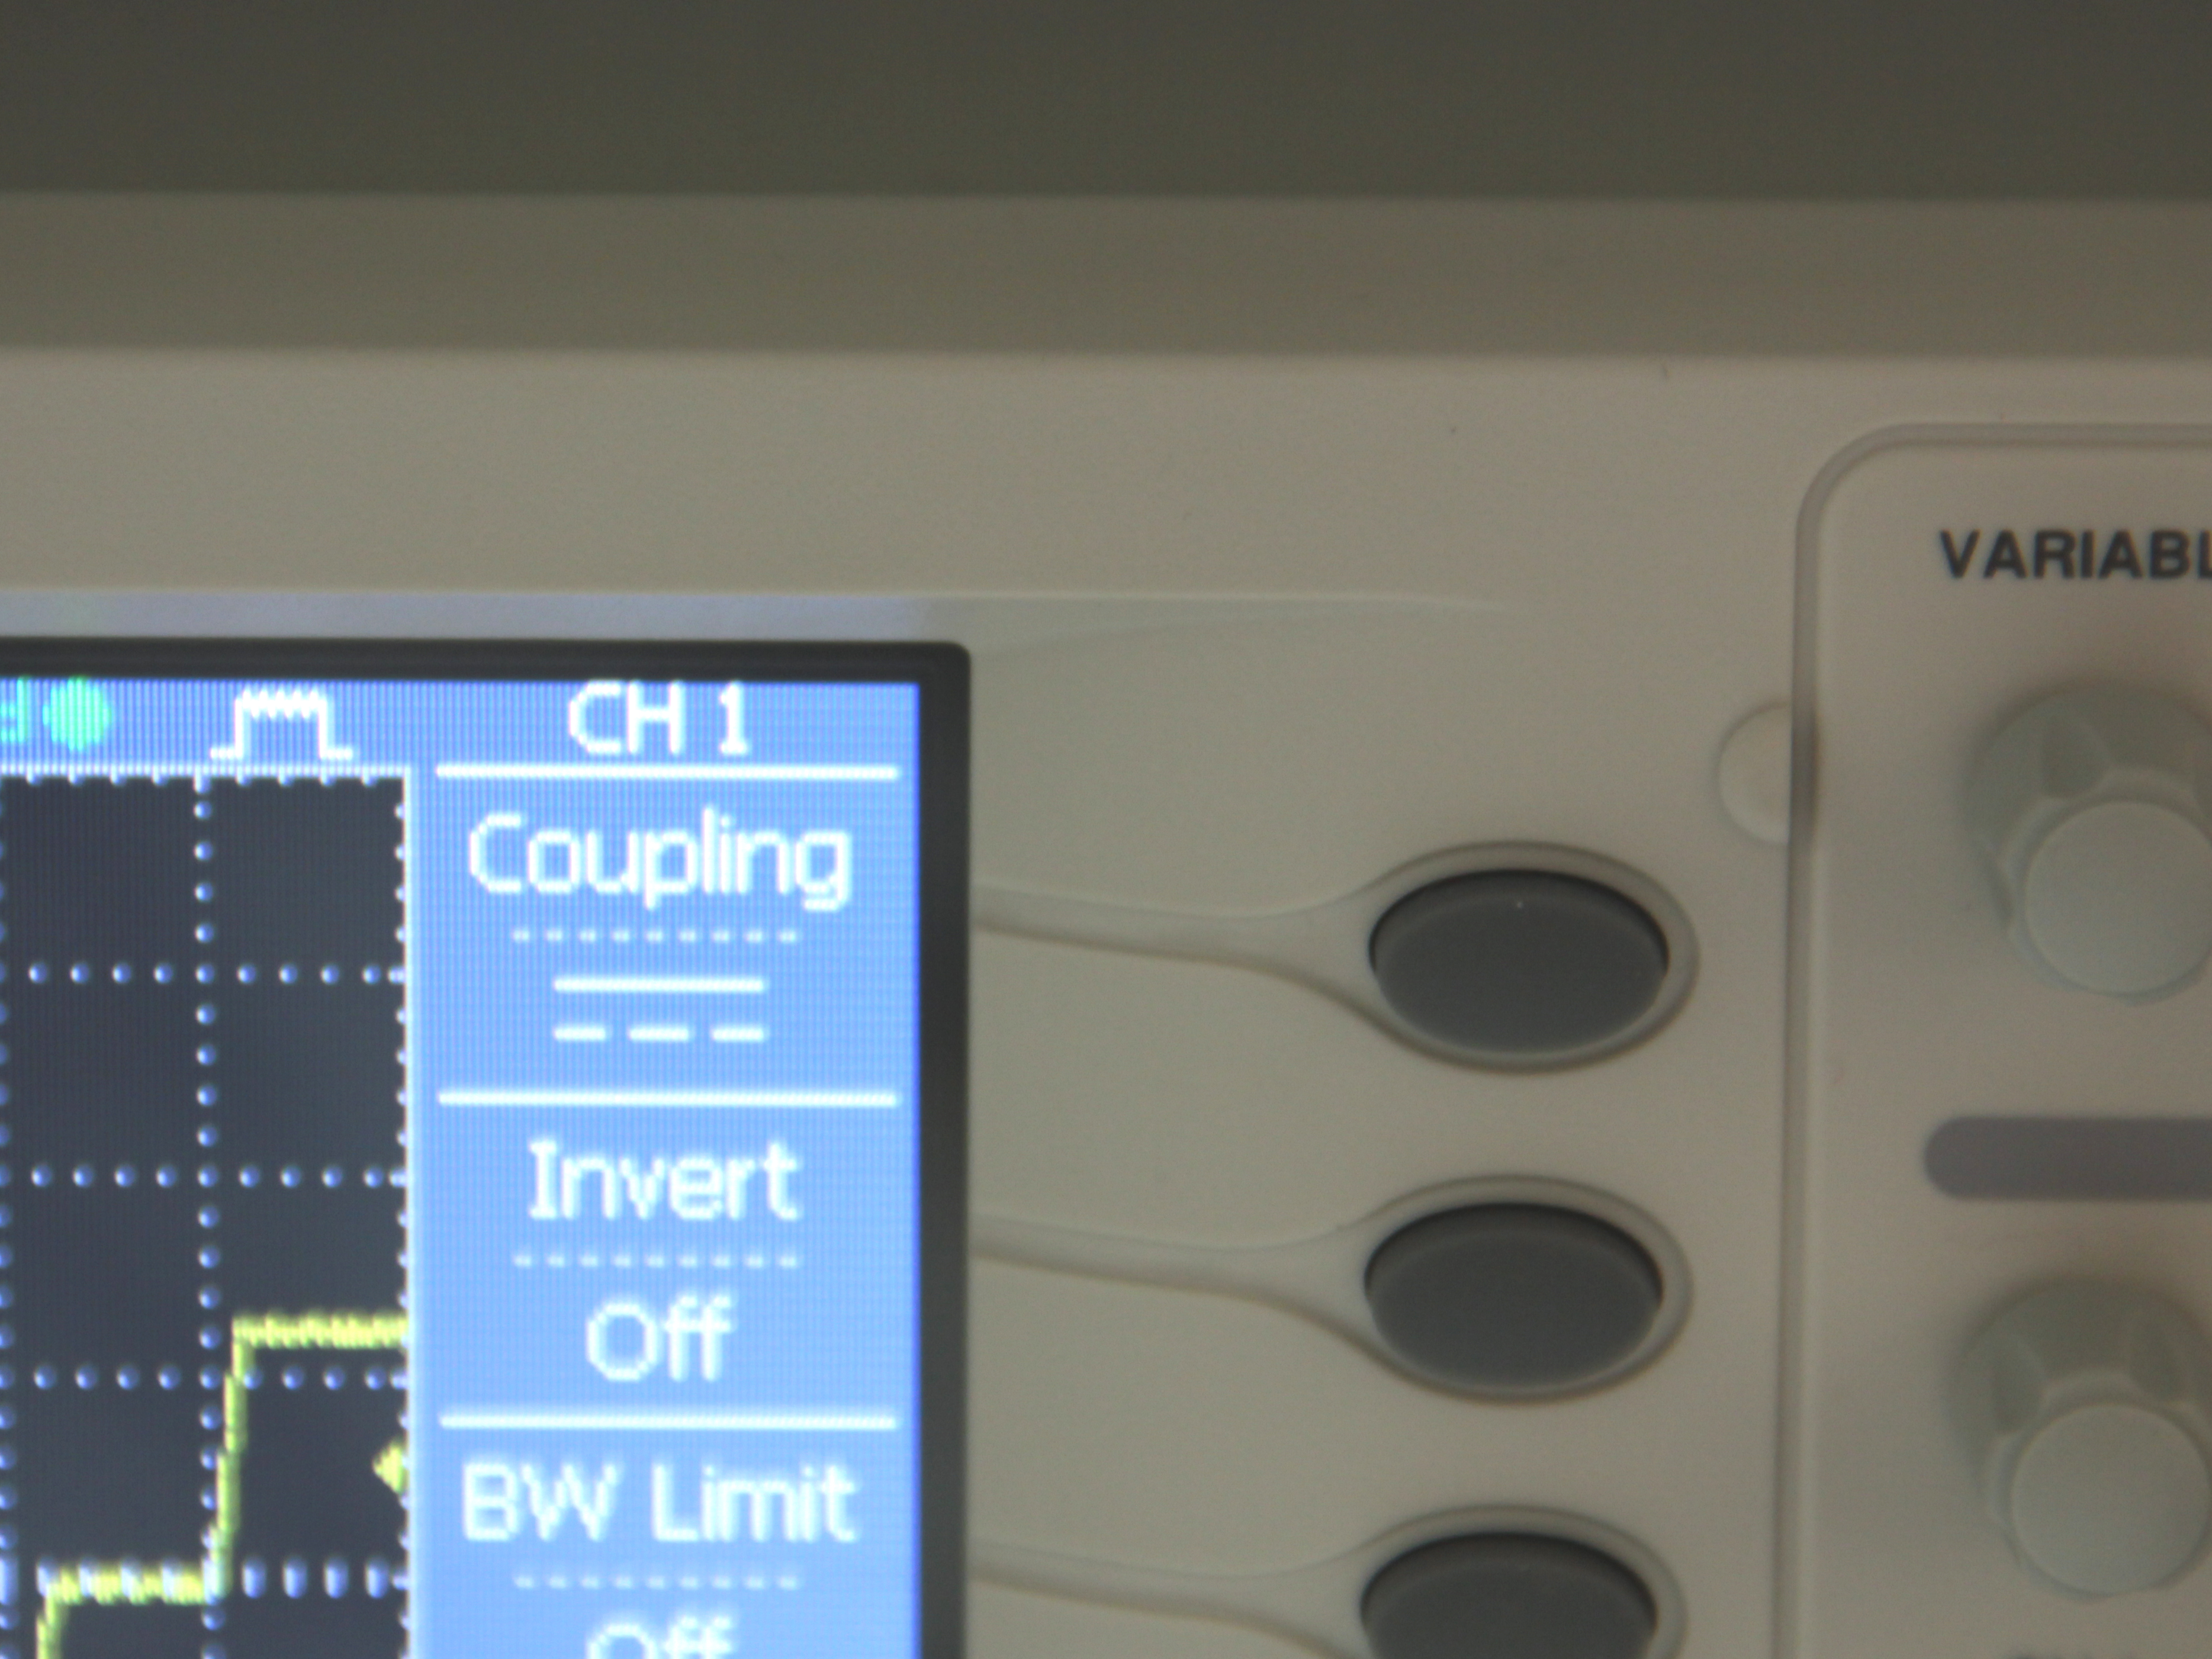
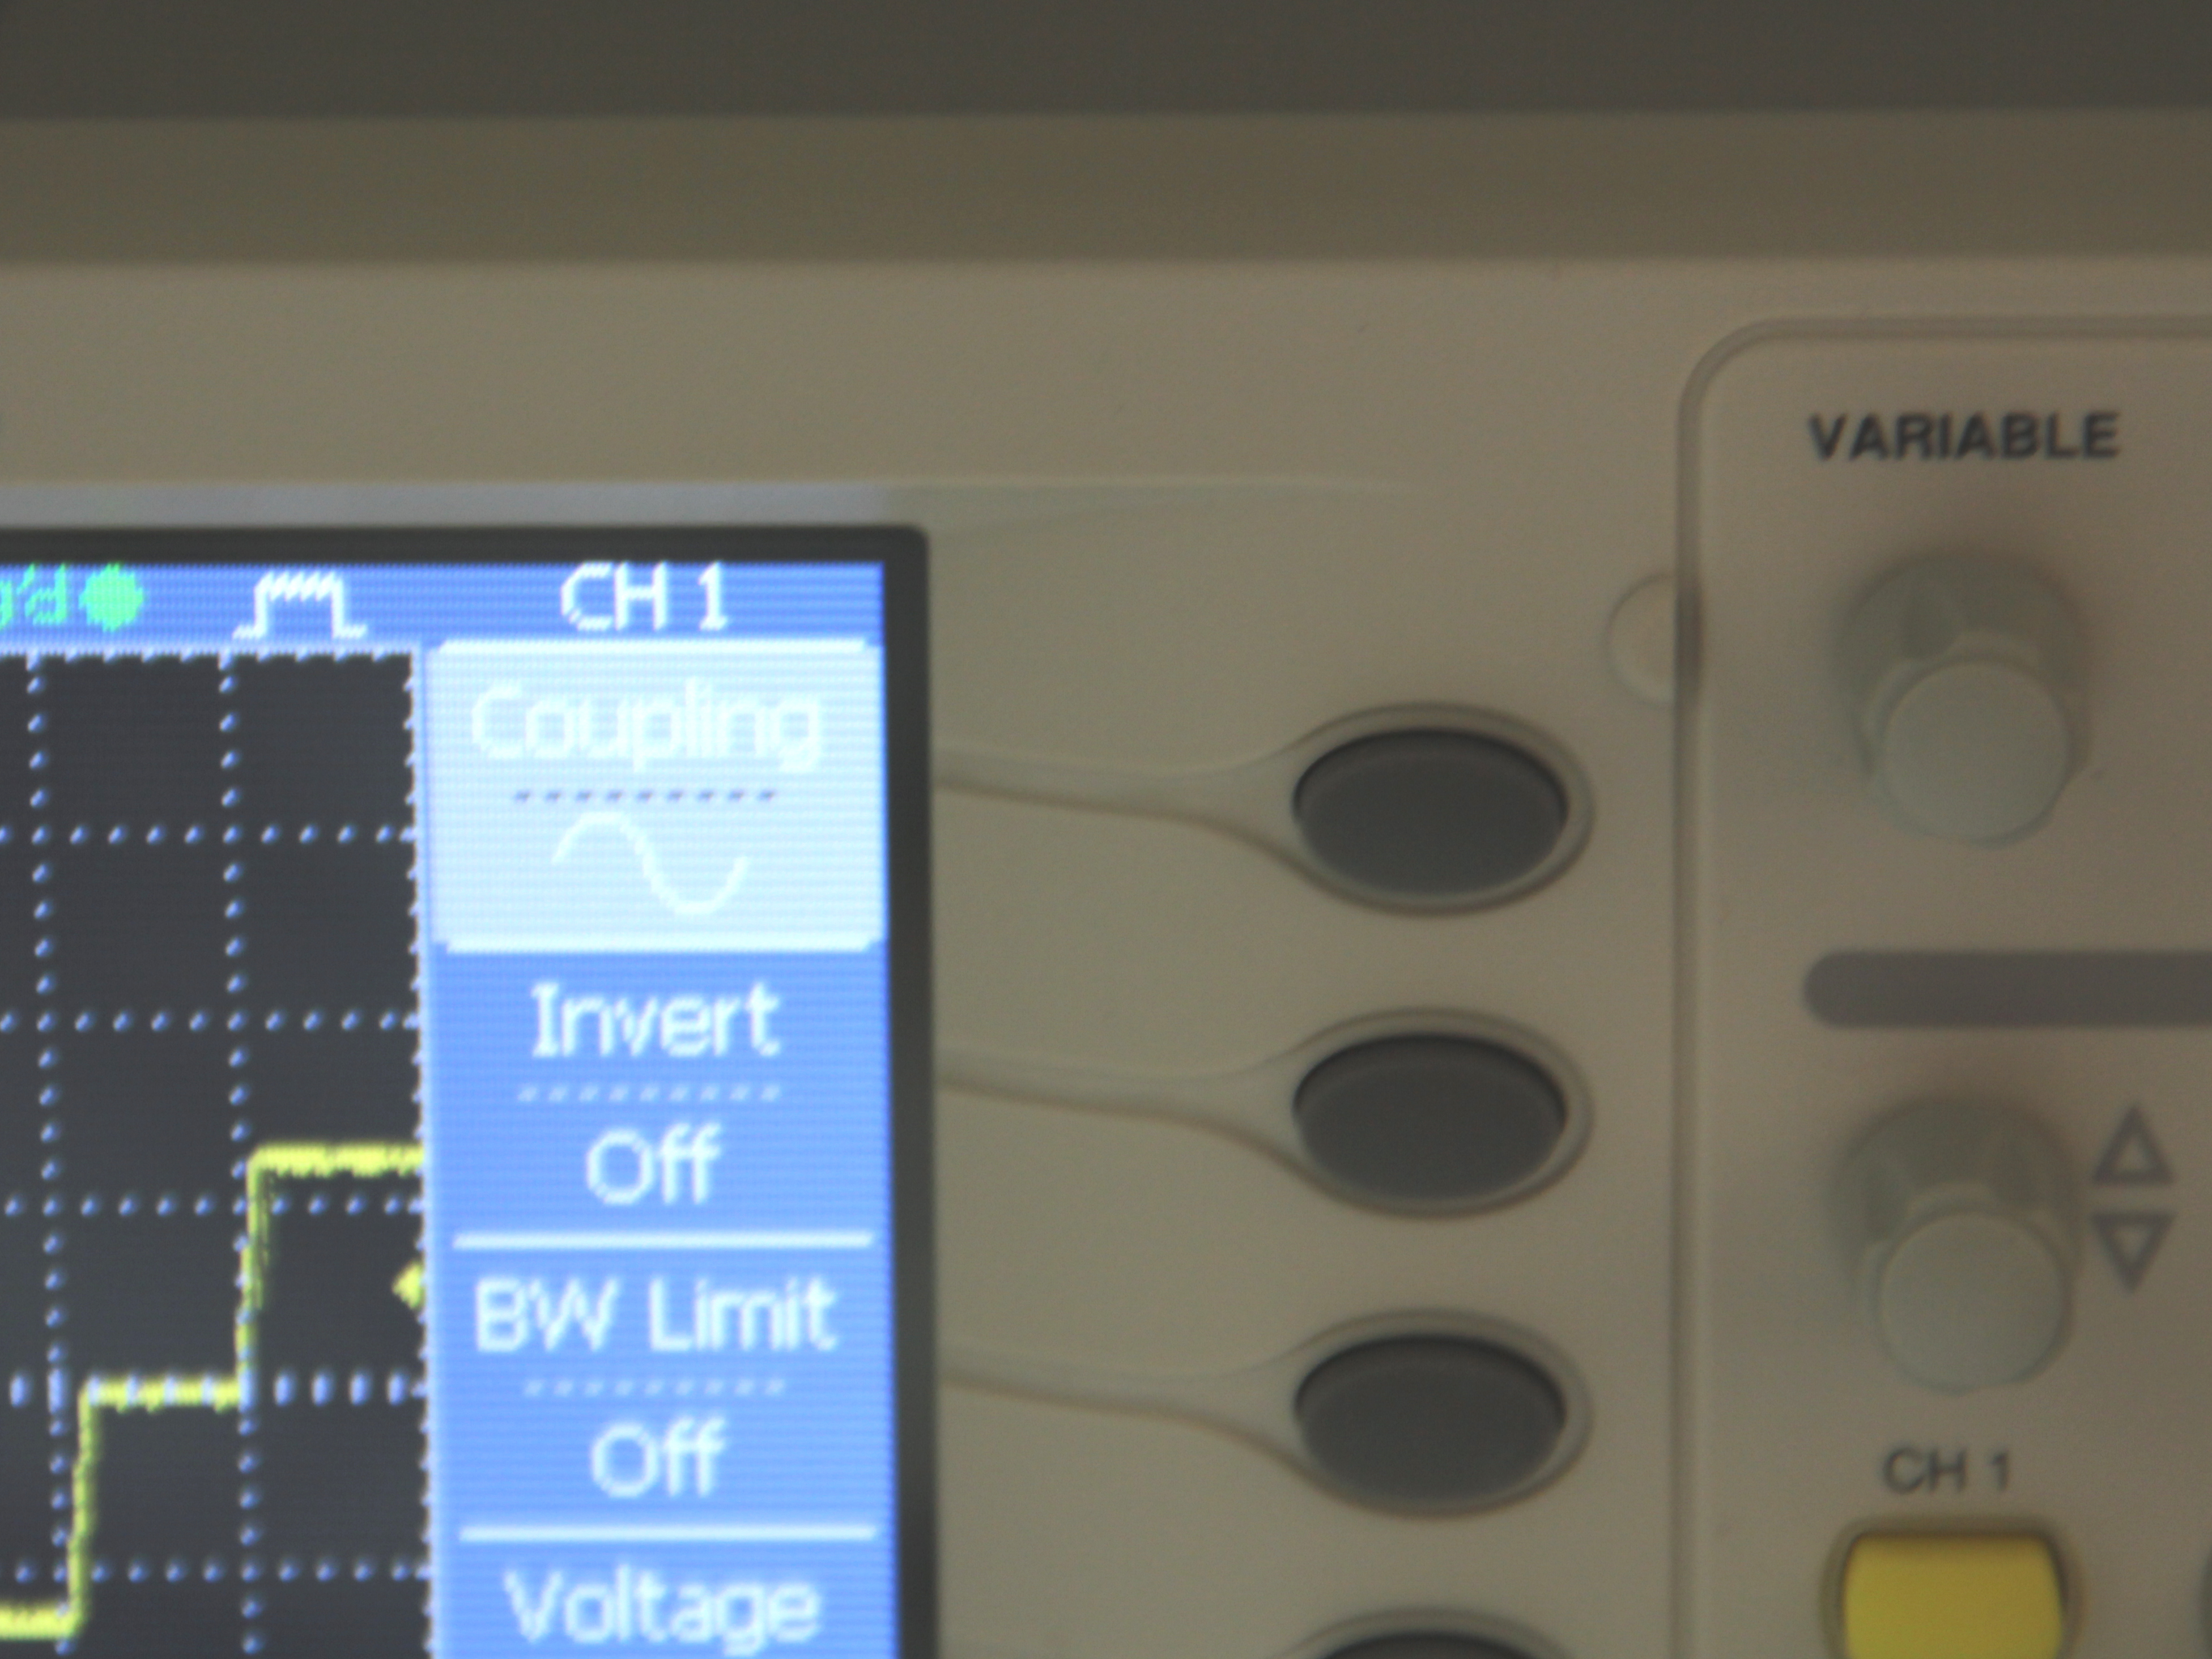
For this next step you will need a steady signal of constant frequency. If you have a waveform generator you can use that, set it to a pulse or aquare wave with 2.5V amplitude at 500Hz. If you don't have a waveform generator, consider one of the following options:
arduino- if you have an arduino handy, load the code below onto it, it will generate a square wave from digital pin 8 that oscillates between 0 and 5V with frequency = 500Hz (I chose this option)
555 timer- wire up a 555 timer to pulse at ~500Hz
Plug your coaxial cable into the oscilloscope. Connect the center (axial) portion of the cable to the signal, and the side (usually an alligator clip) to ground.
Set the oscilloscope to AC coupling for now (I'll explain a little bit more about this at the end of the tutorial)
Set Trigger
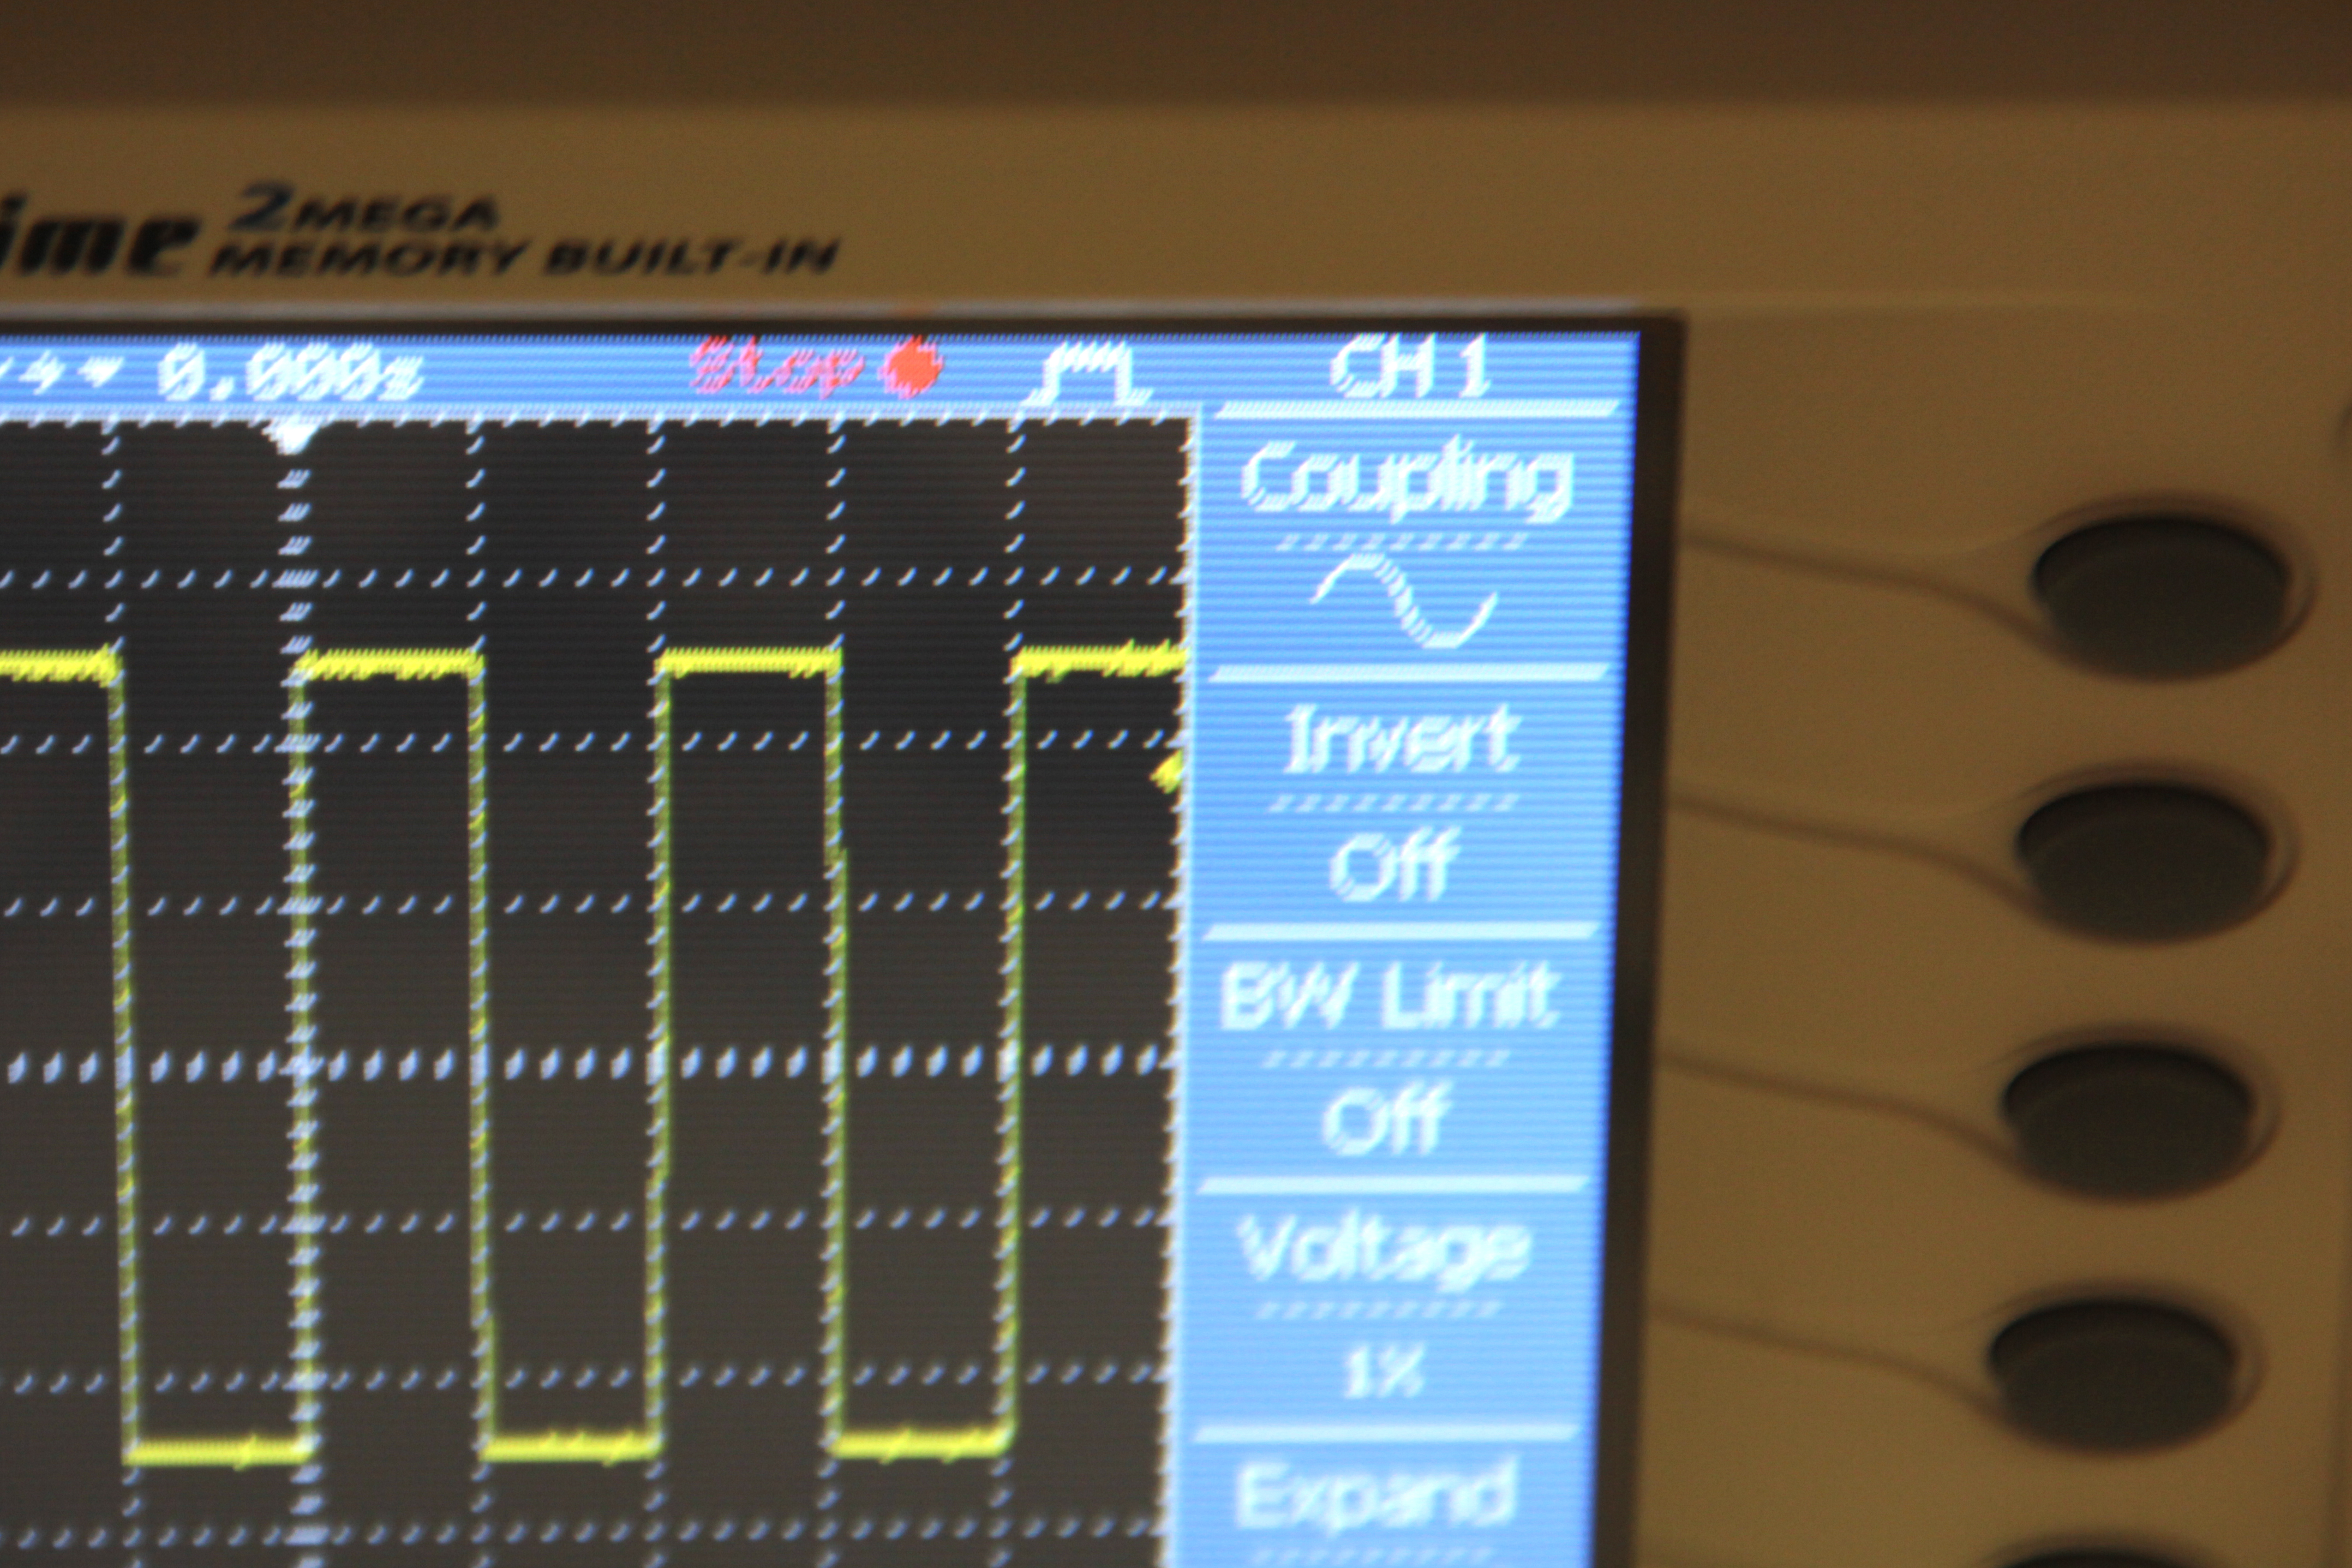
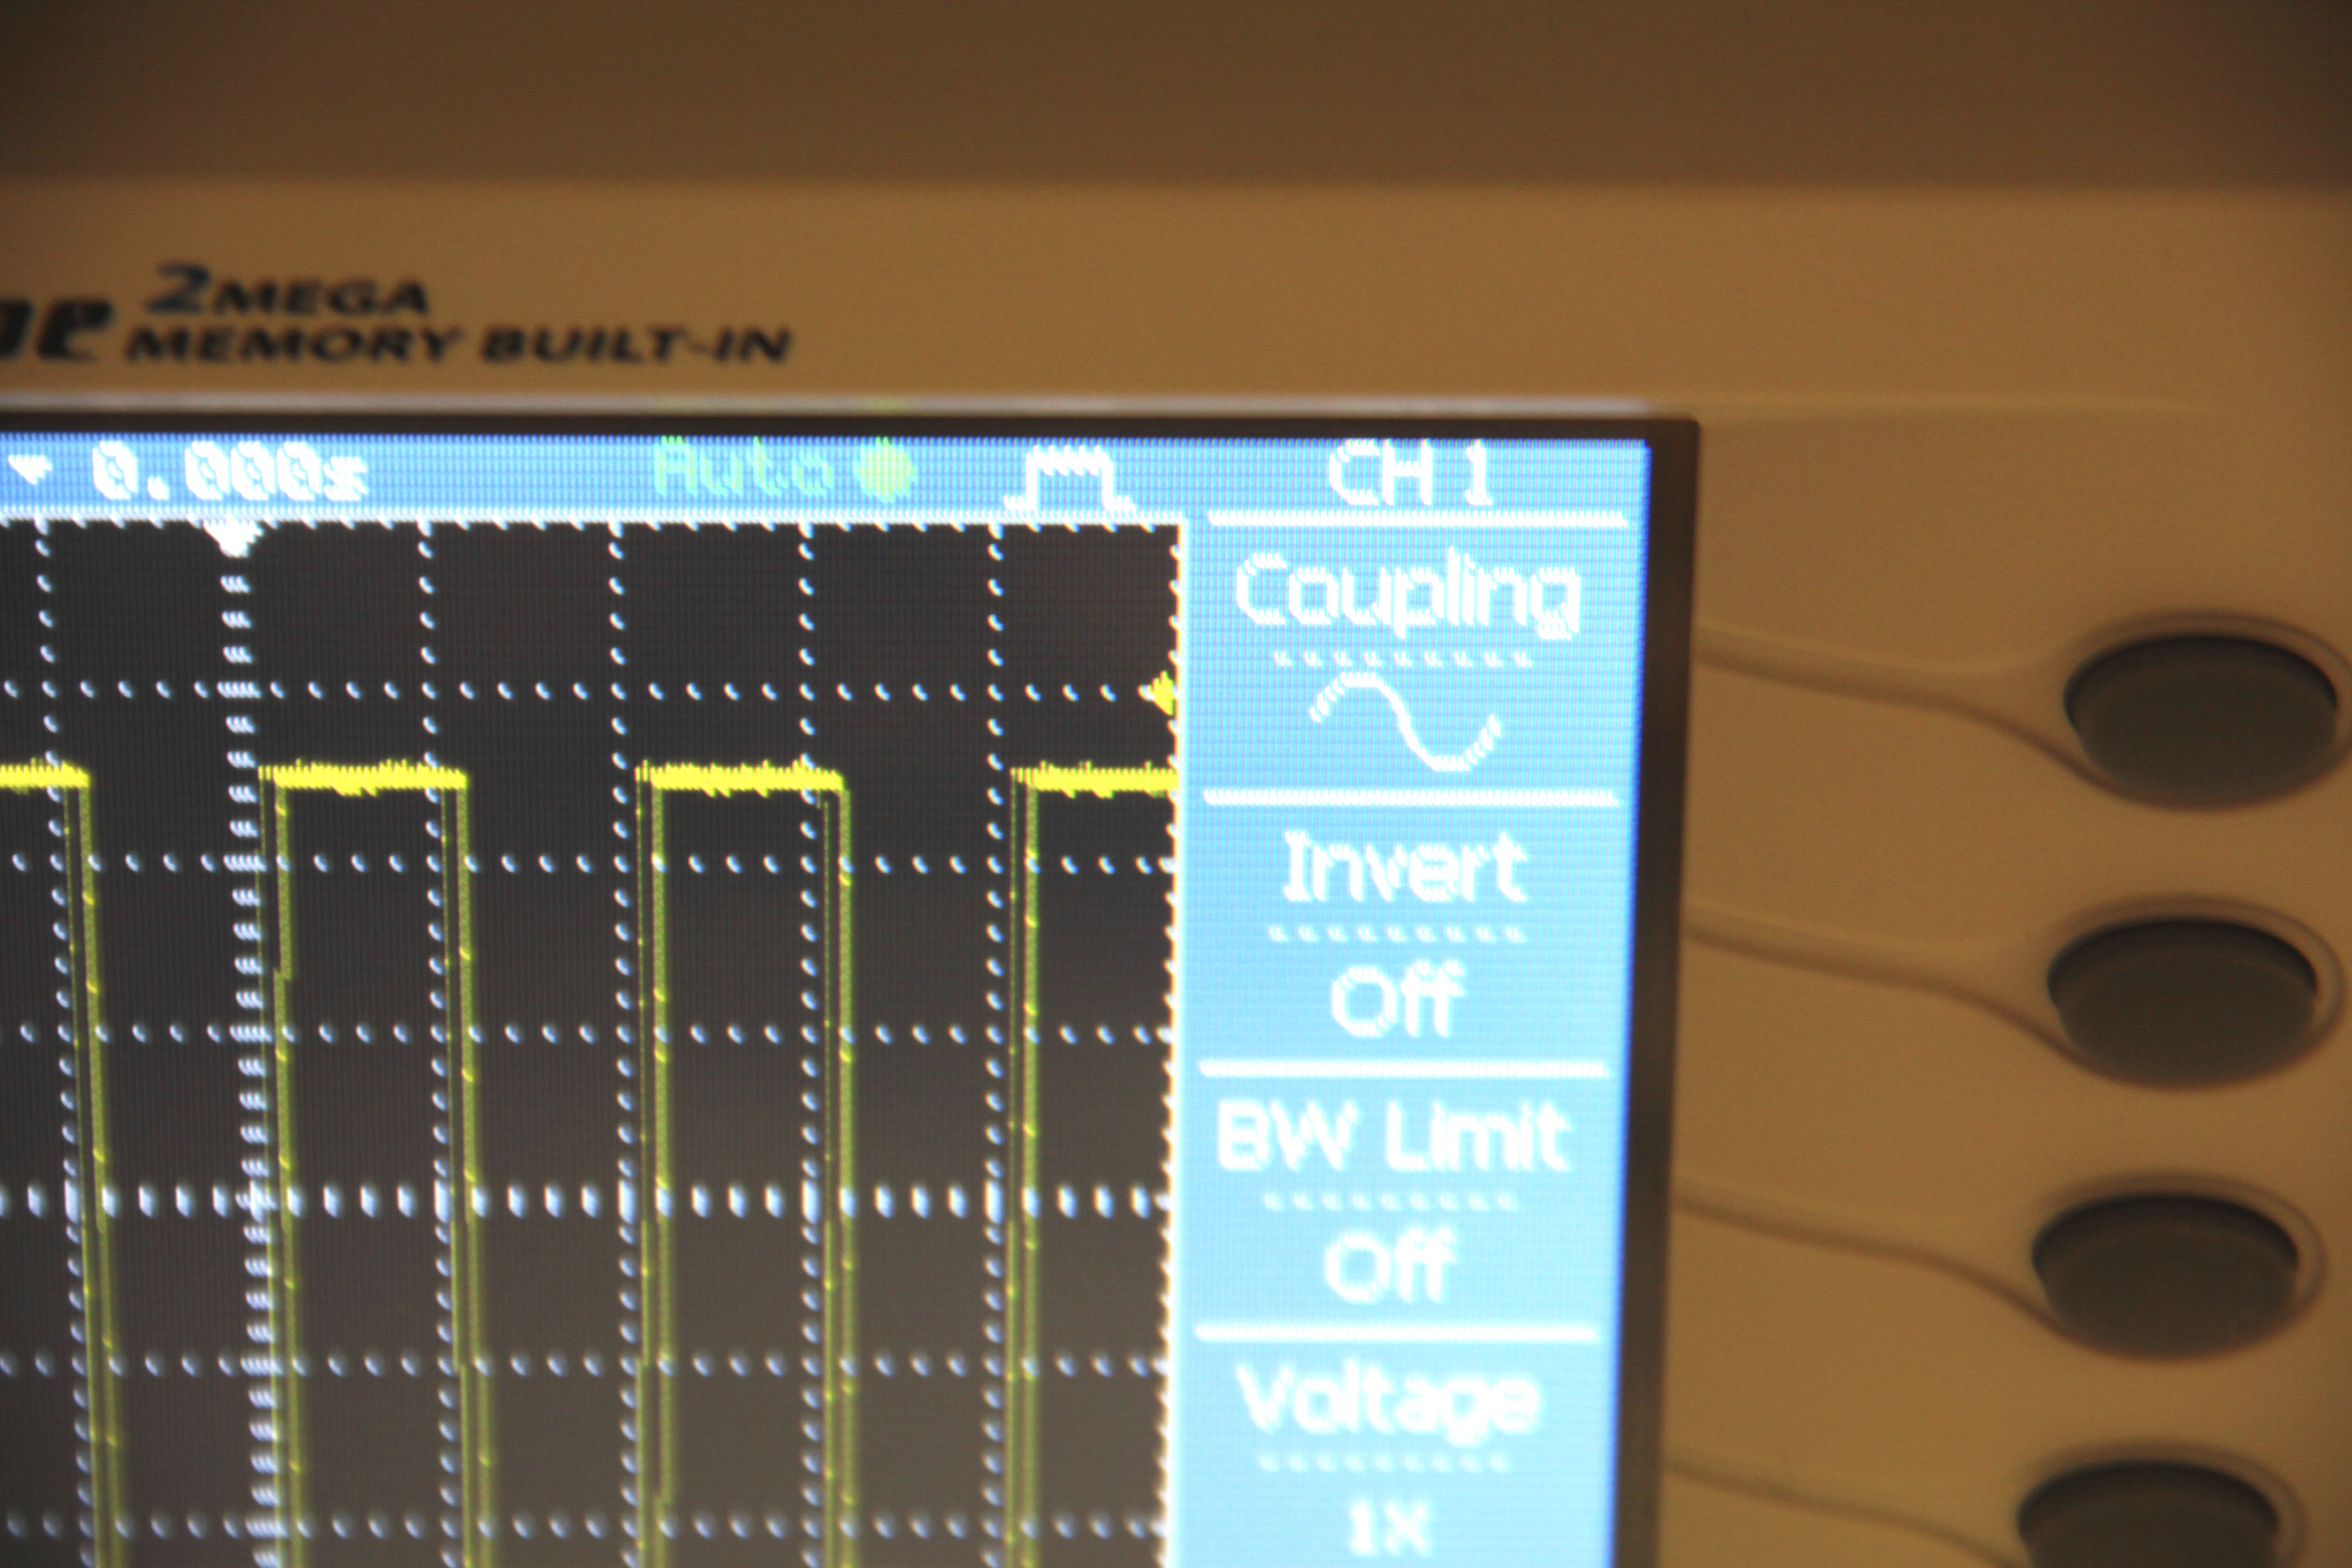
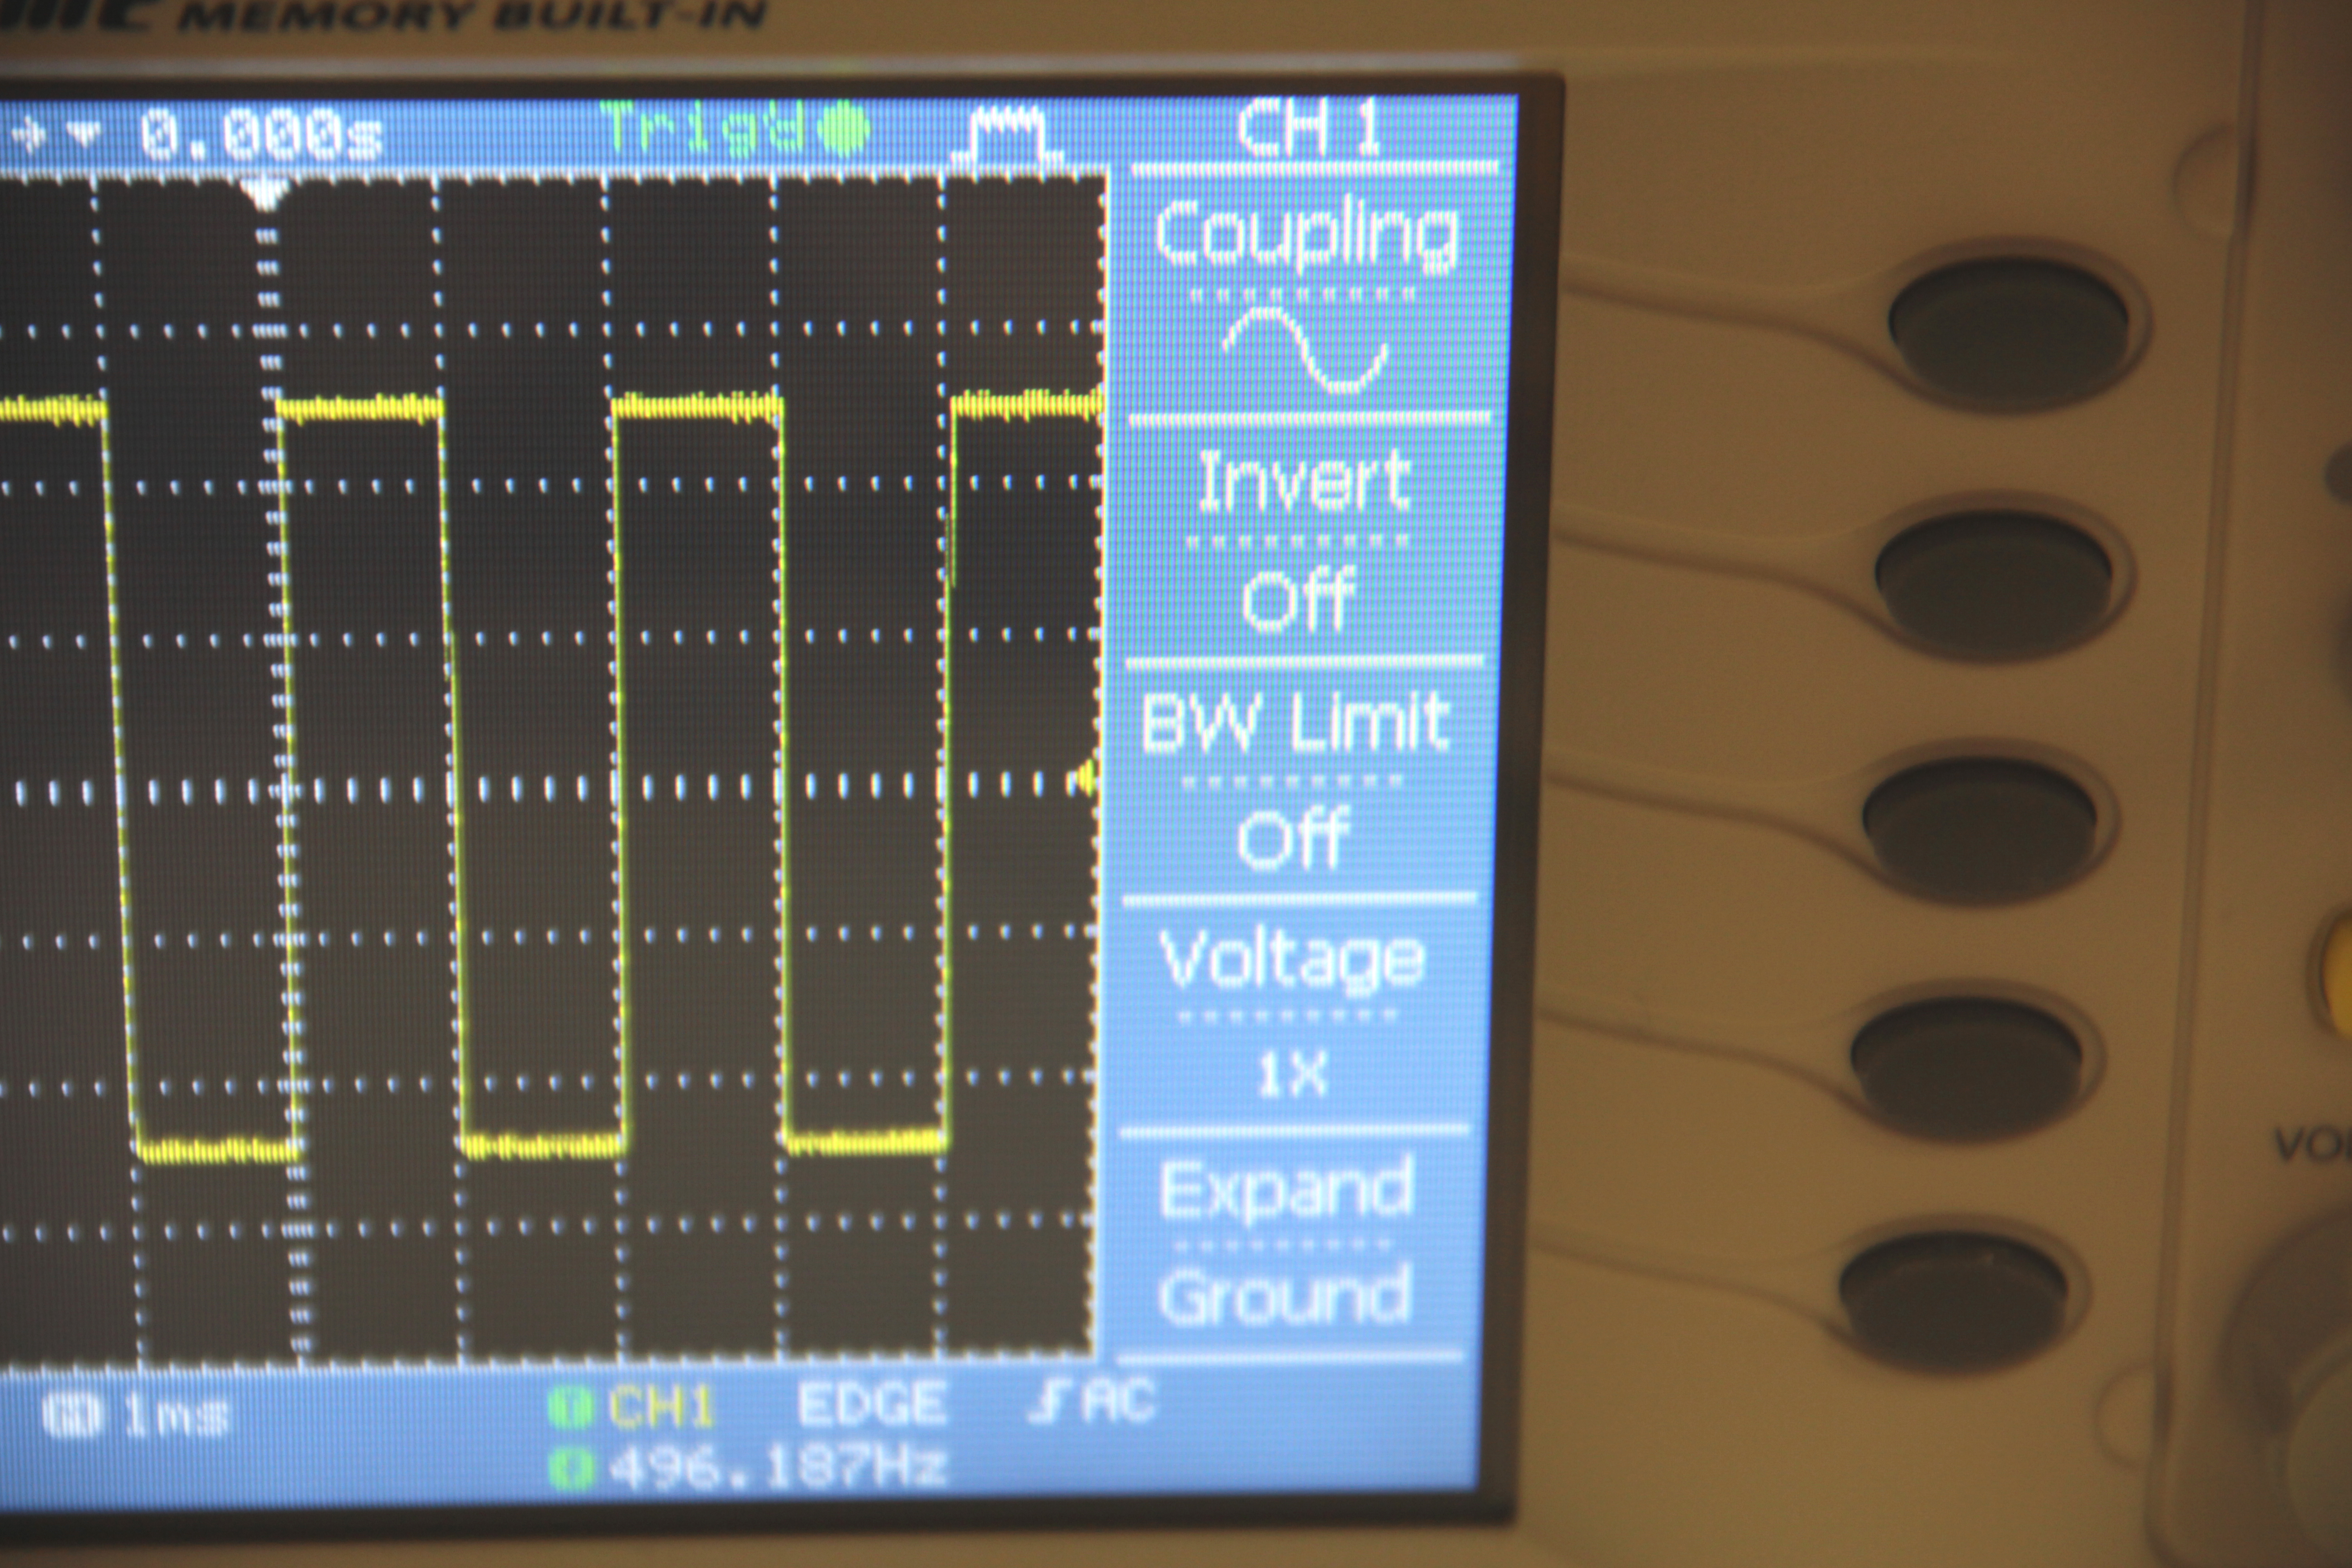
Once you connect to your signal, you should see the flat line turn into a waveform of some kind. Adjust your time/div so that you can see separation between the oscillations, adjust the volts/div and vertical position so that the waveform oscillates within the limits of the screen. Your wave may be hard to see and appear somewhat unstable, as shown in figure 2. If it is not, turn the trigger level dial until this happens (if your oscilloscope has more that one channel, make sure the trigger is set to the appropriate channel, on my scope this can be set by pushing the trigger menu button and following the directions on the lcd menu, look for the words "trigger source").
While turning the trigger level dial, you'll see a trigger level indicator move up and down the screen (the small yellow triangle on the right side of the screen in the images above). Notice that when the trigger level exceeds the height of the waveform, the signal becomes unstable. The trigger level is essentially a voltage level that your oscilloscope compares the incoming signal with, which allows it to stabilize a repeating waveshape or capture voltage spikes on the screen. Triggering can get fairly complex, there are occasions when people use external trigger sources and specify special trigger modes. However, for most applications you will find that this is not necessary, and simply setting the trigger level to some voltage within the bounds of your incoming signal will suffice.
Before continuing on the to next step, set your trigger level to the center of the screen as shown in fig 3.
Scale
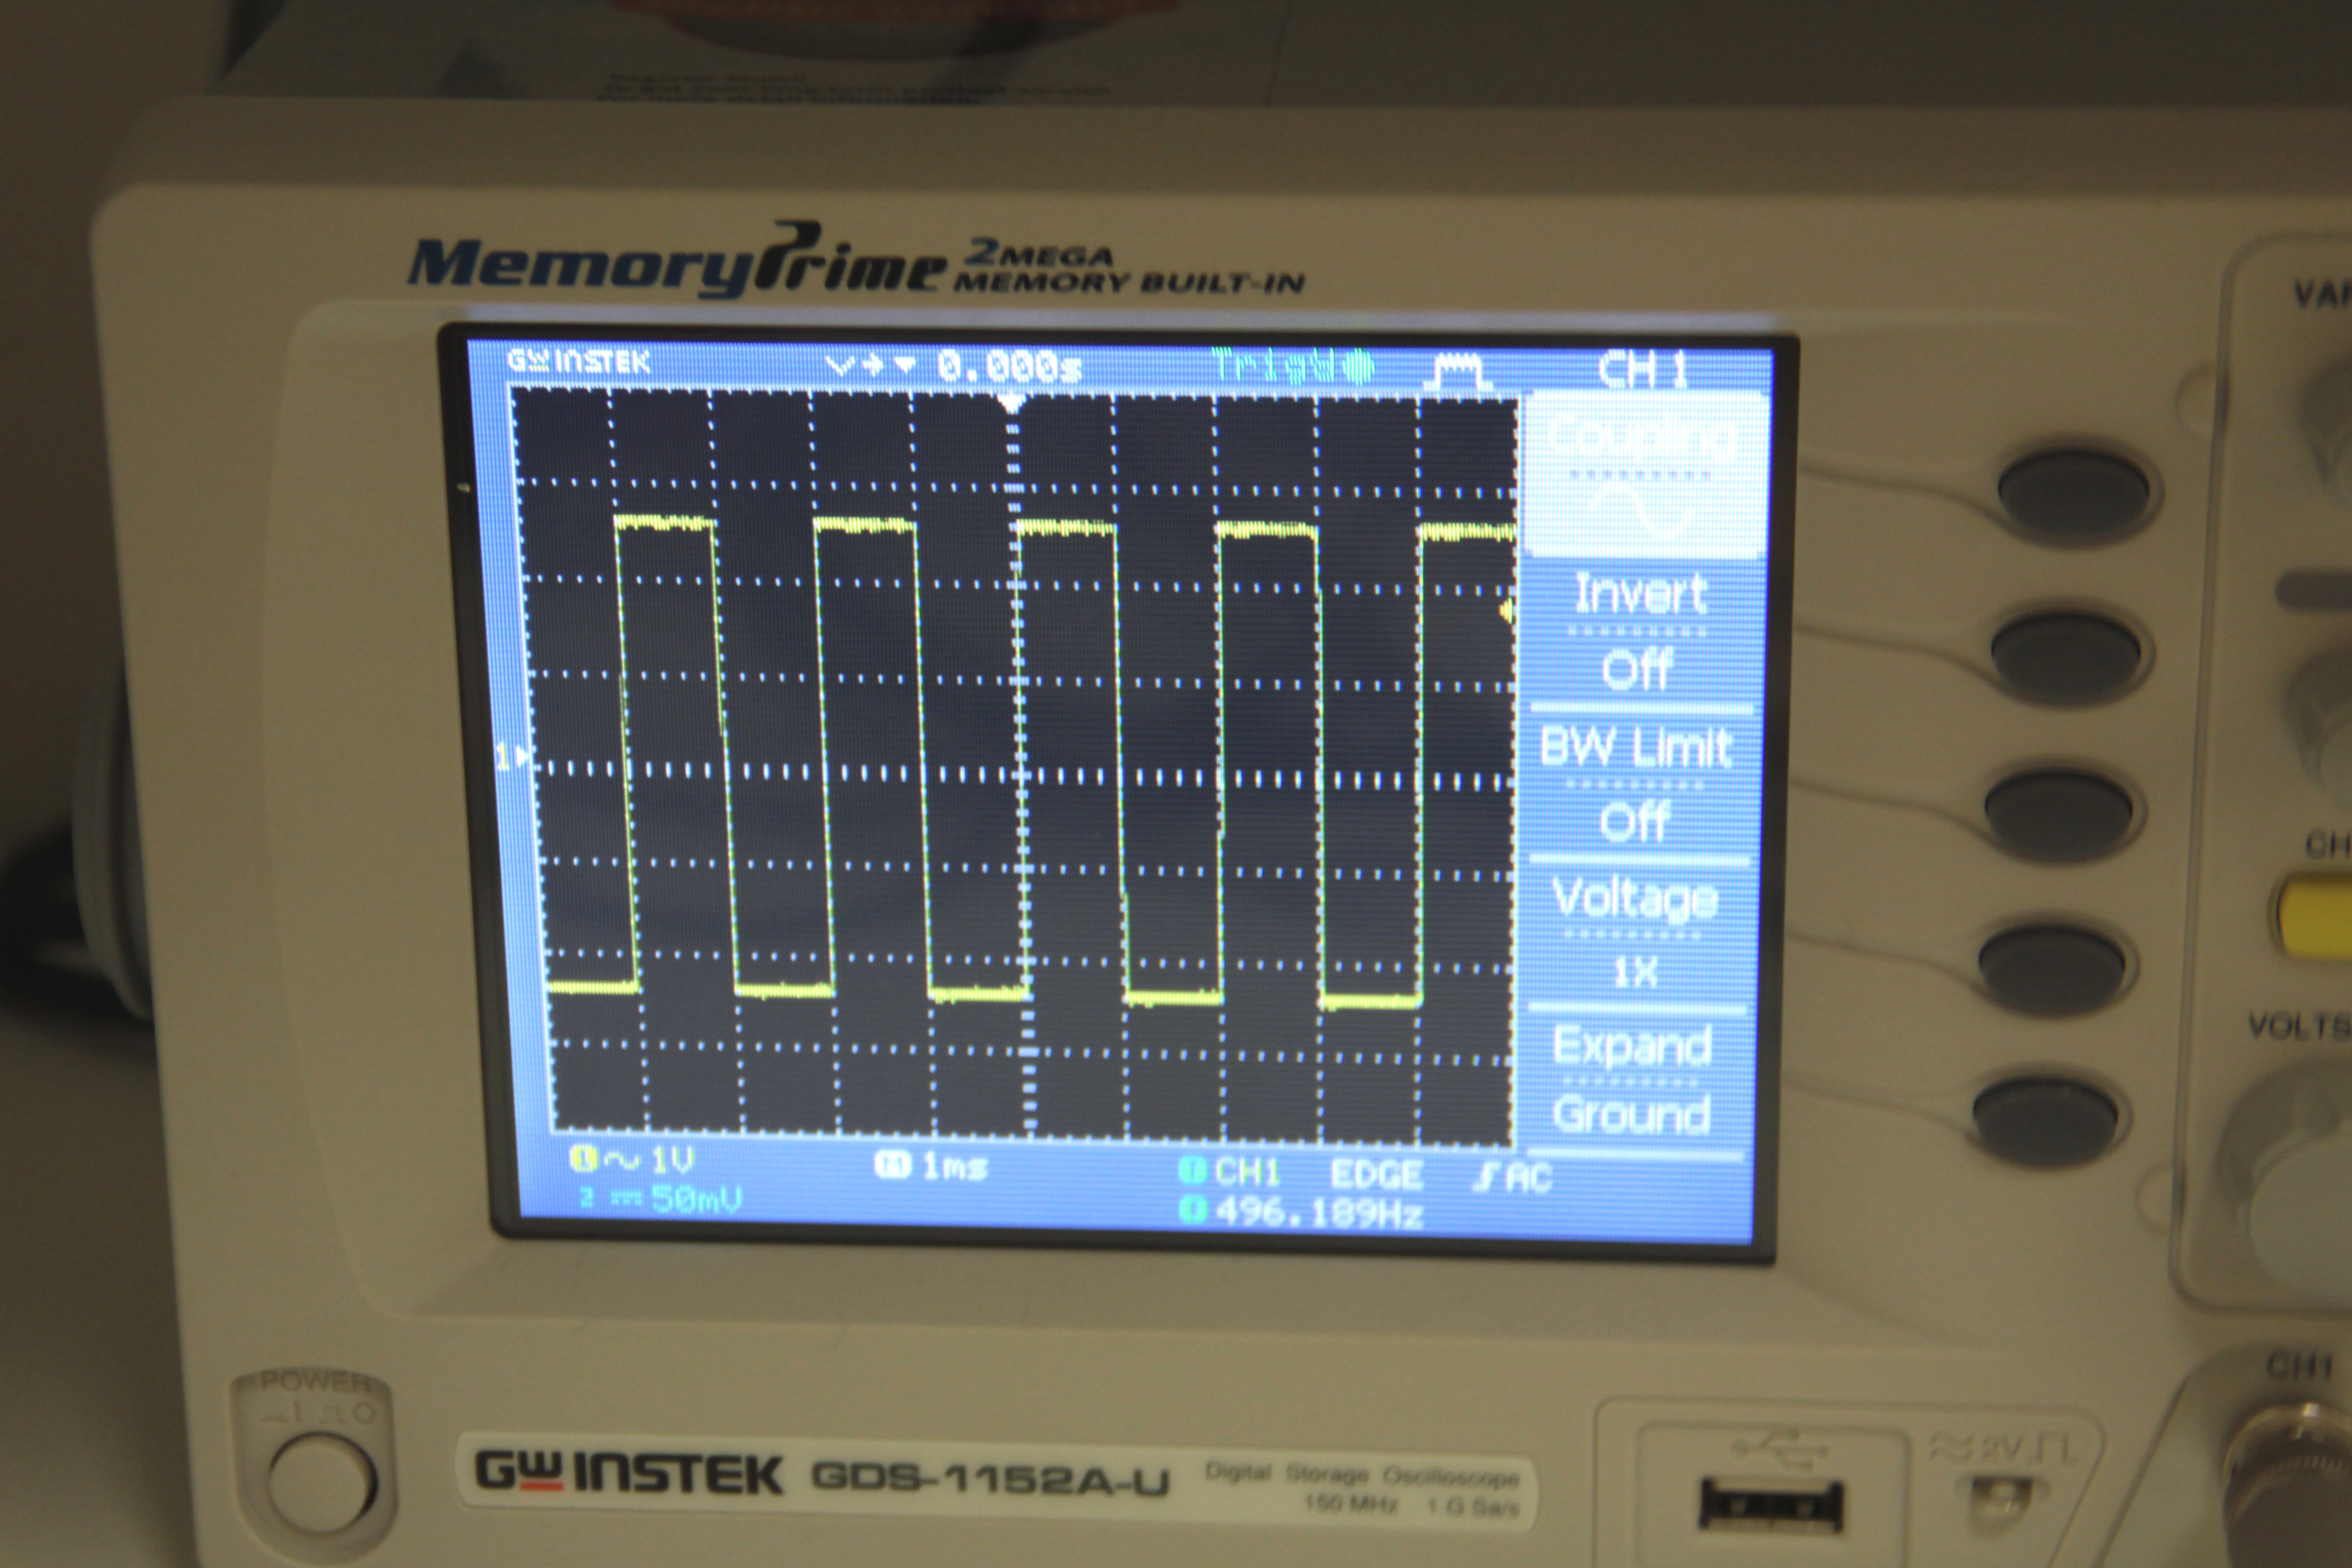
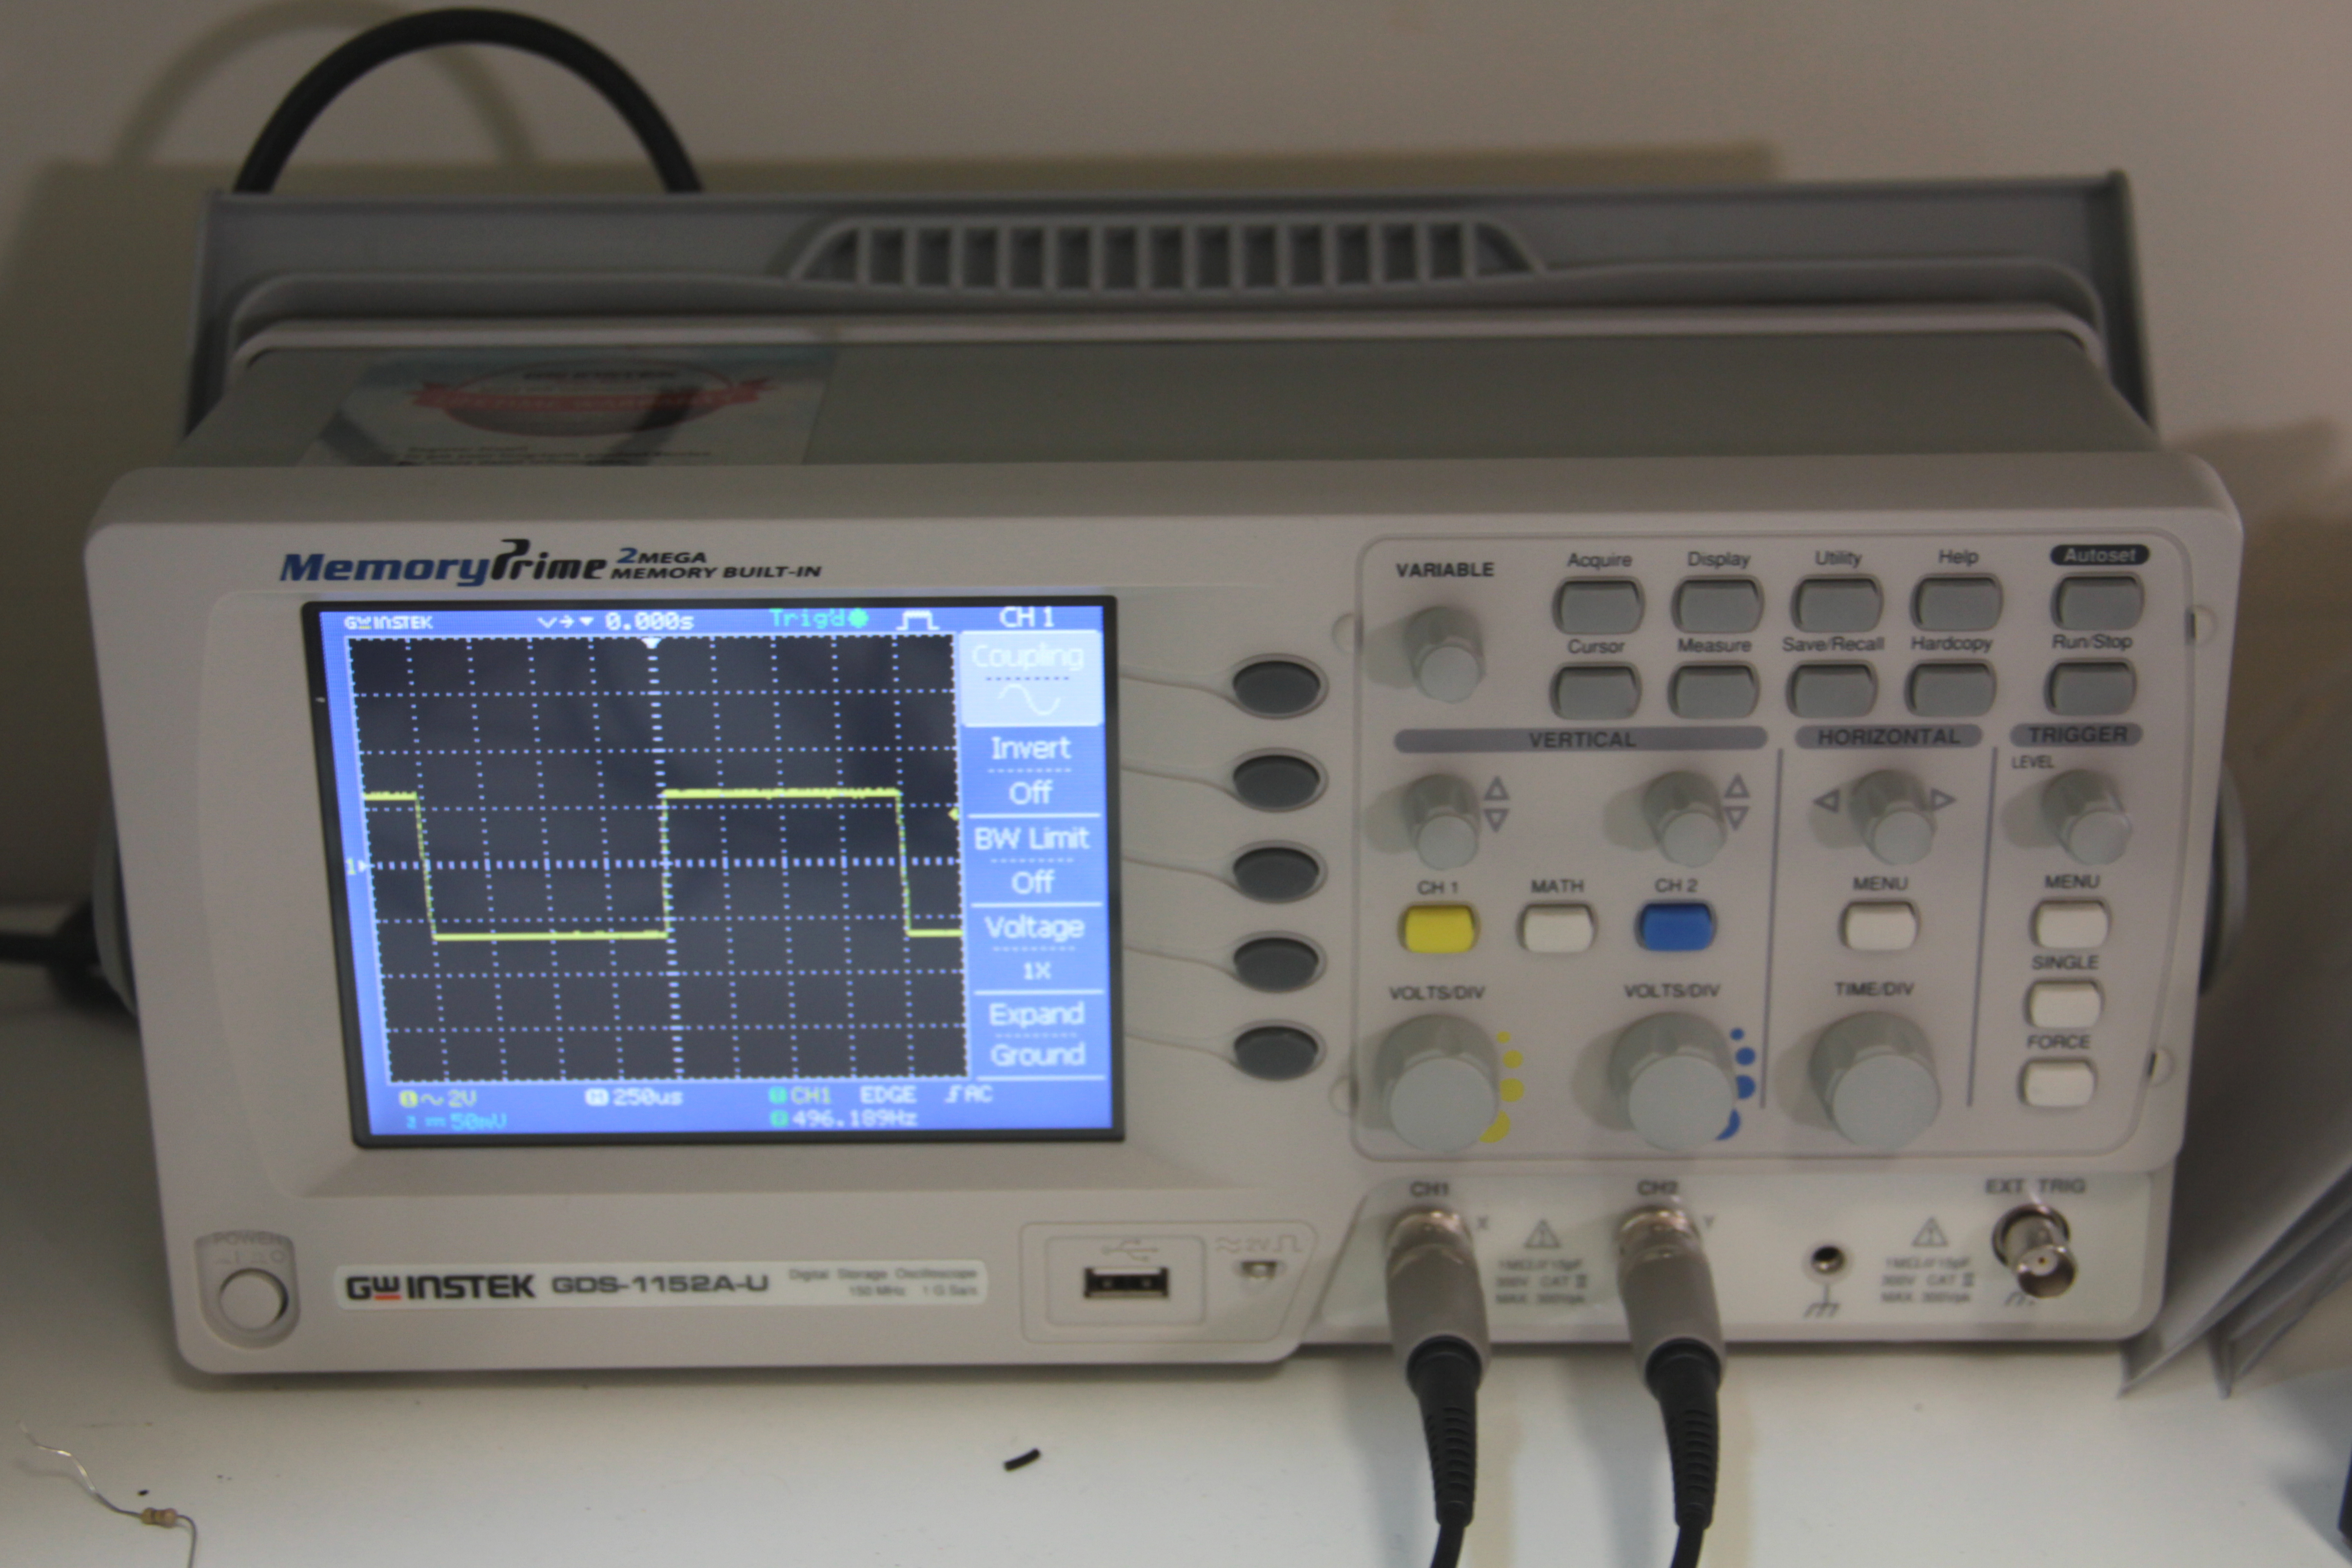

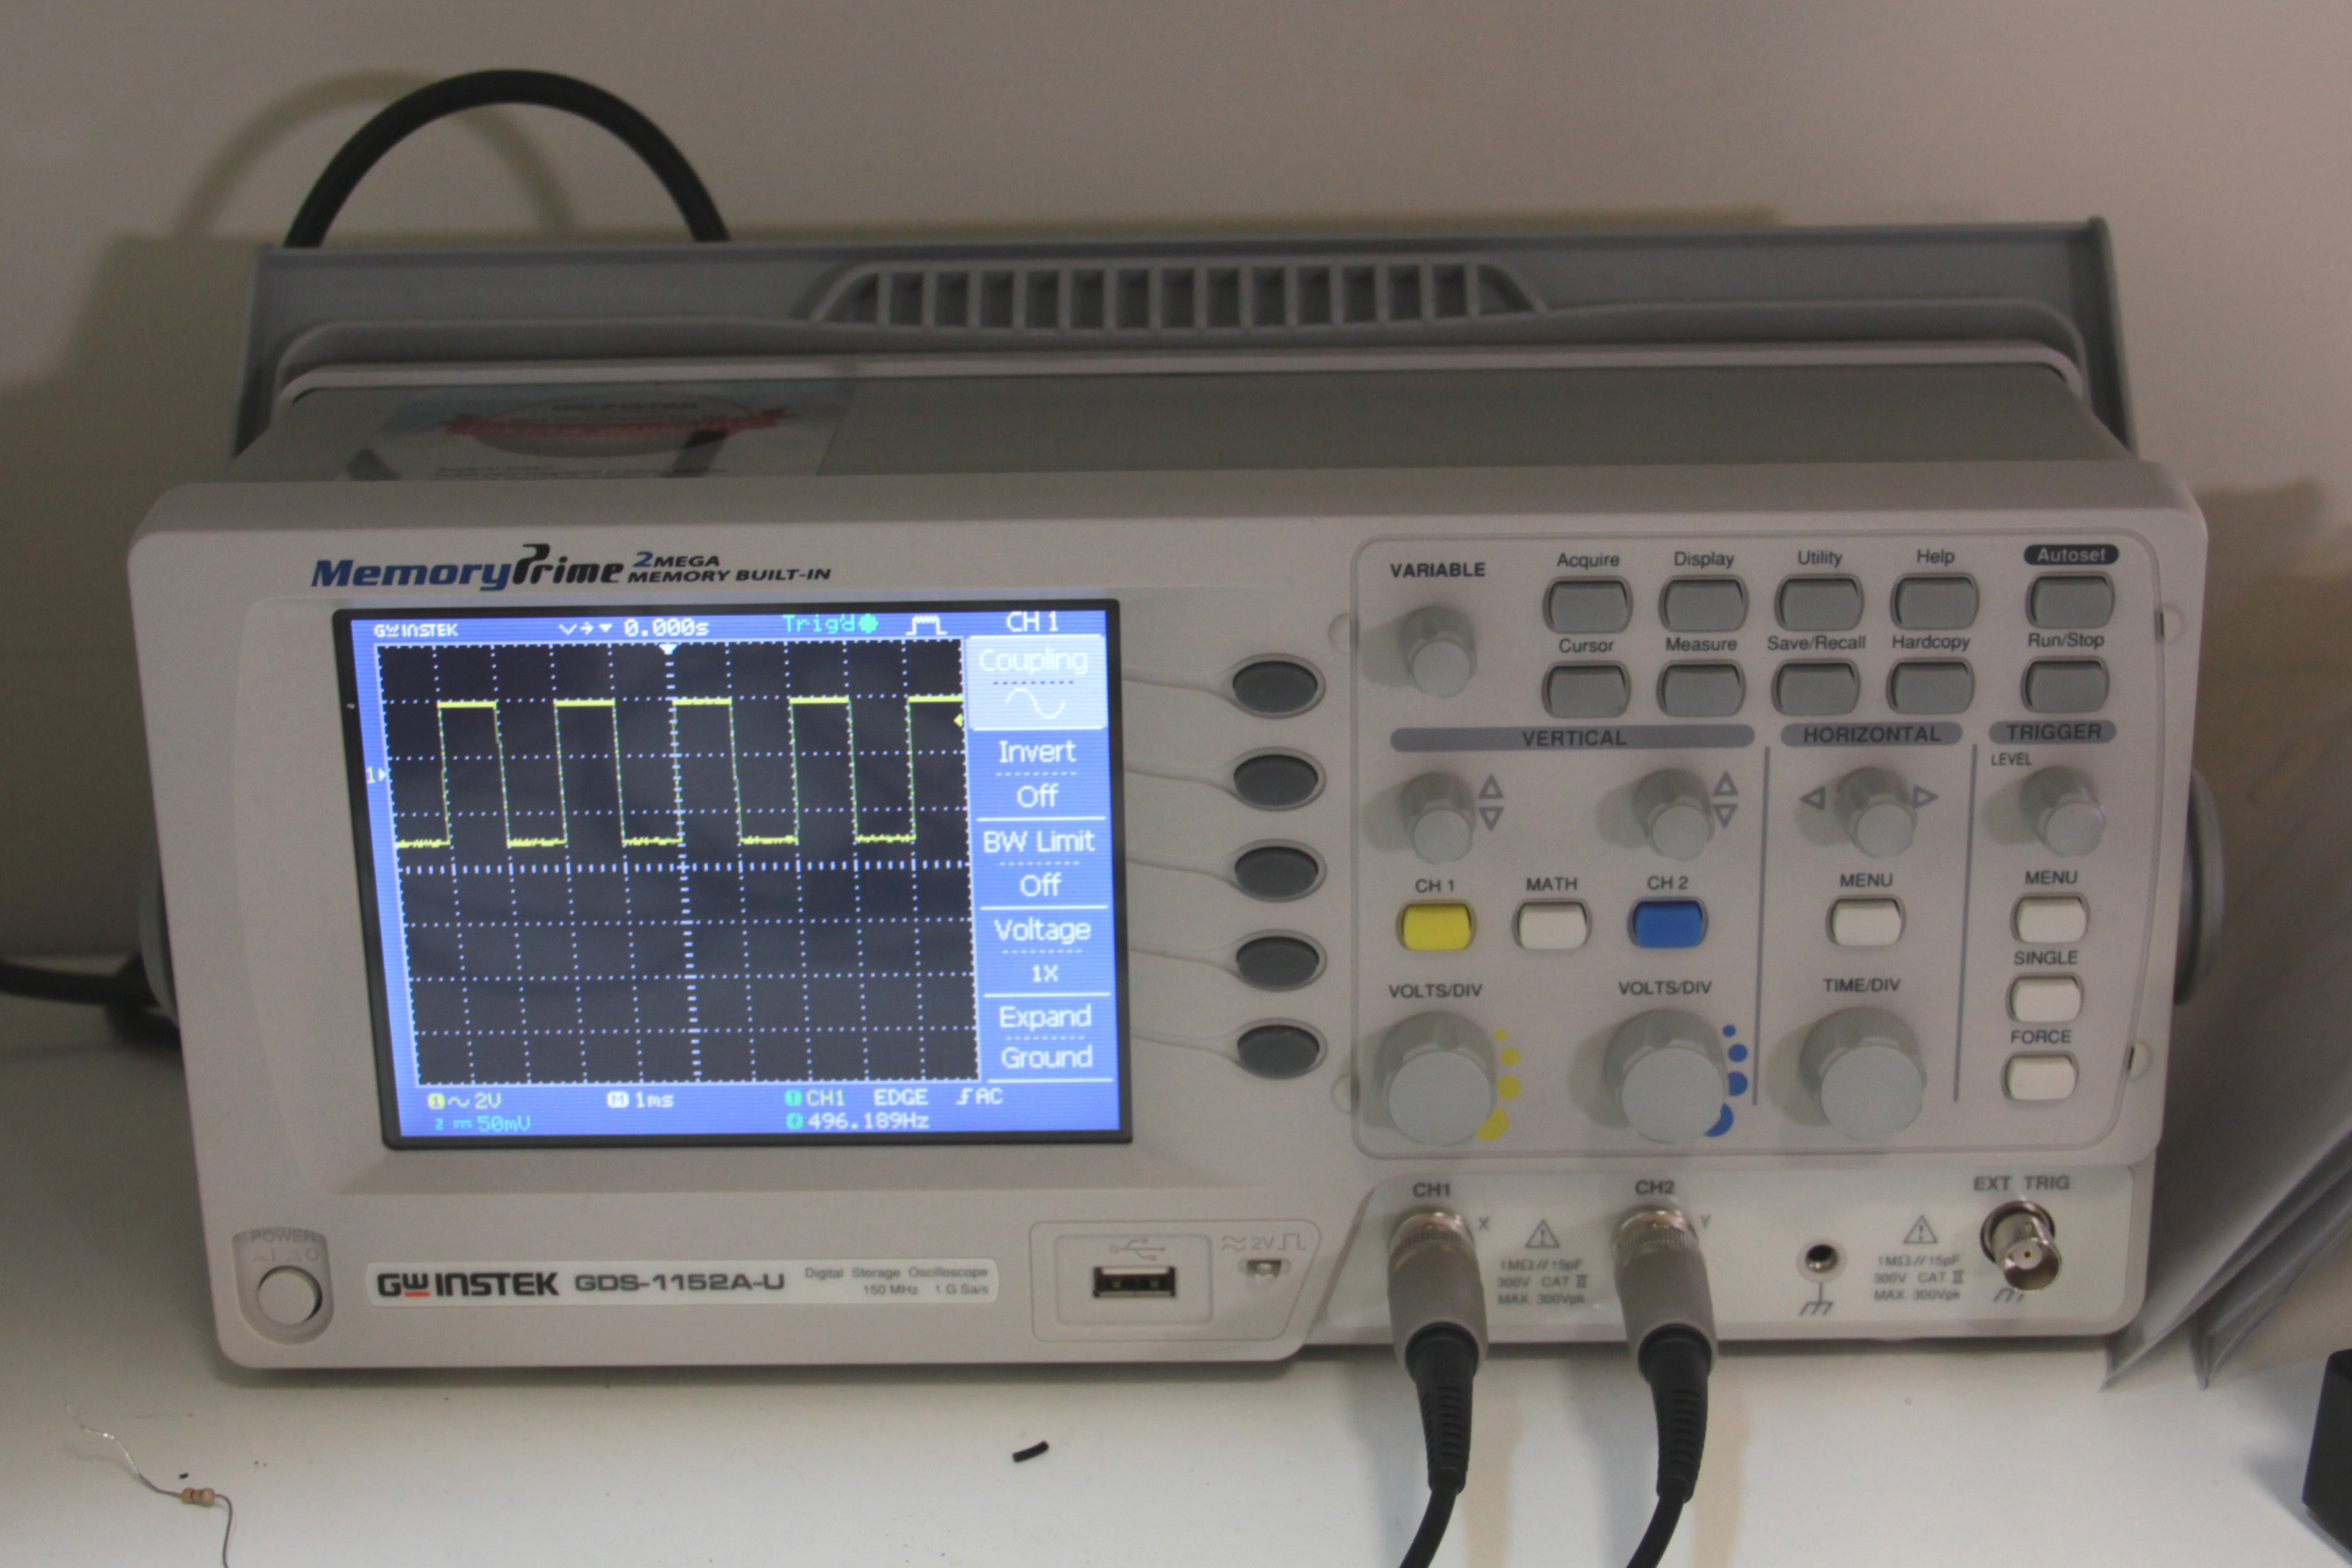
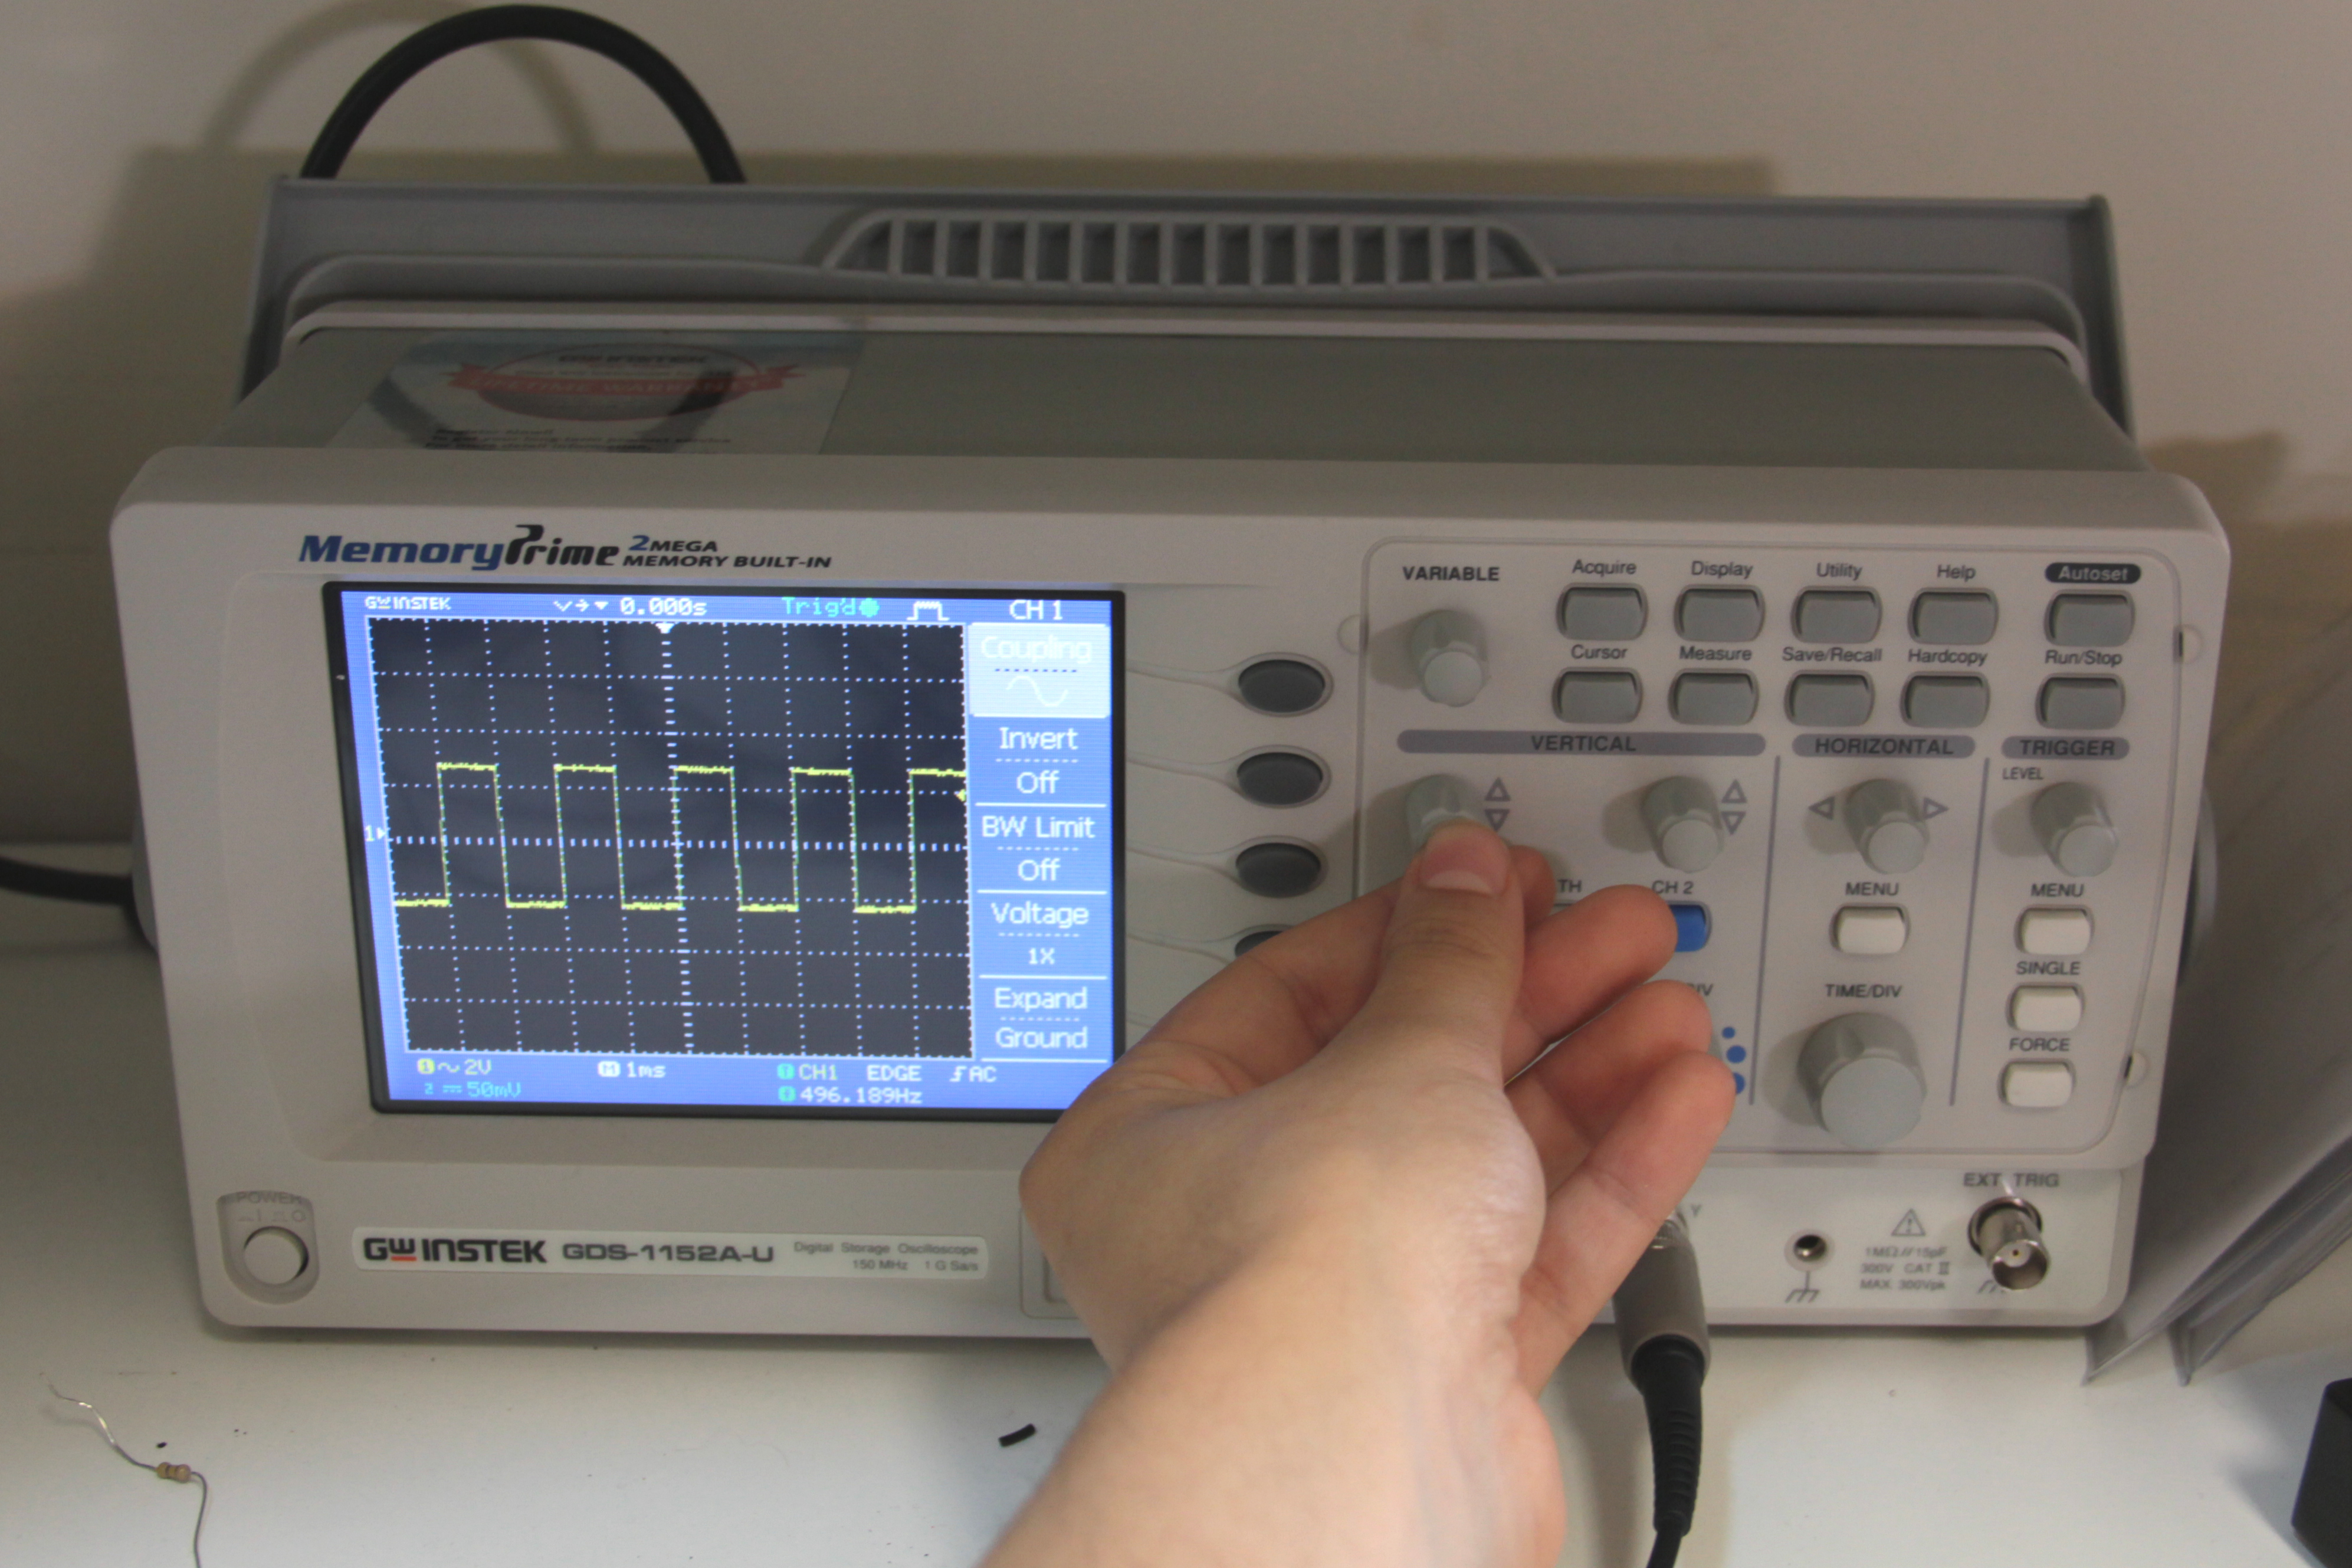
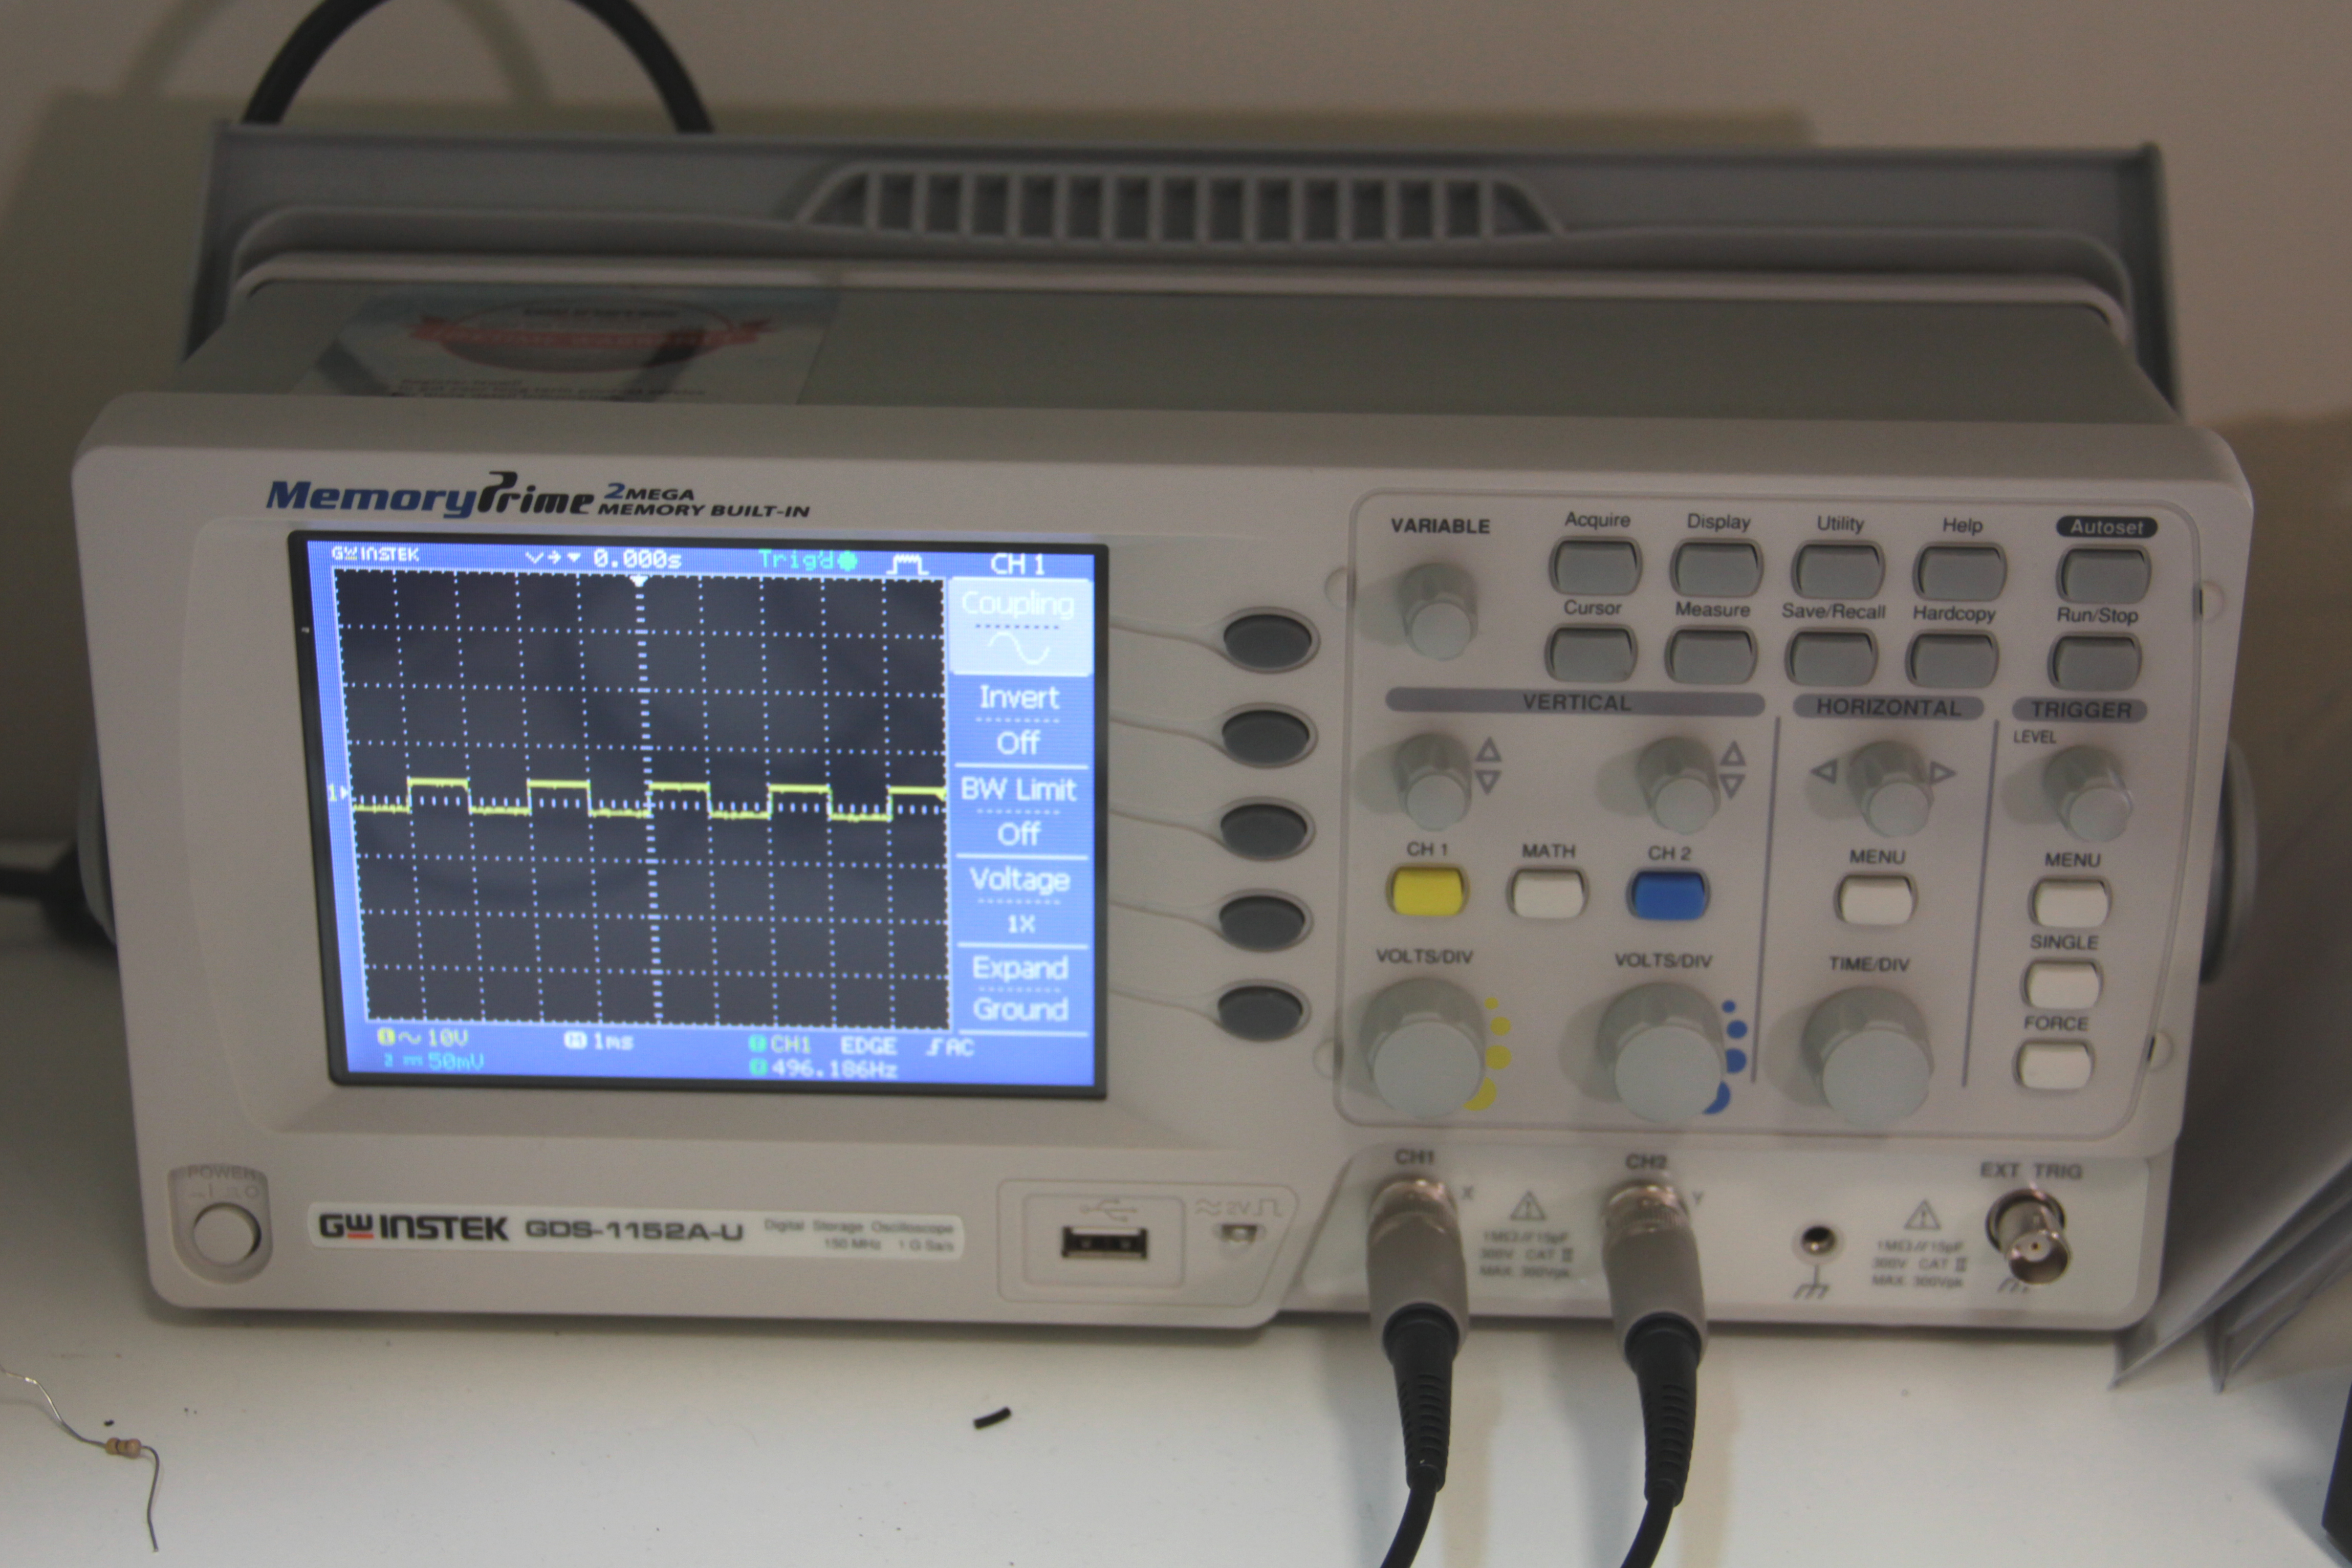
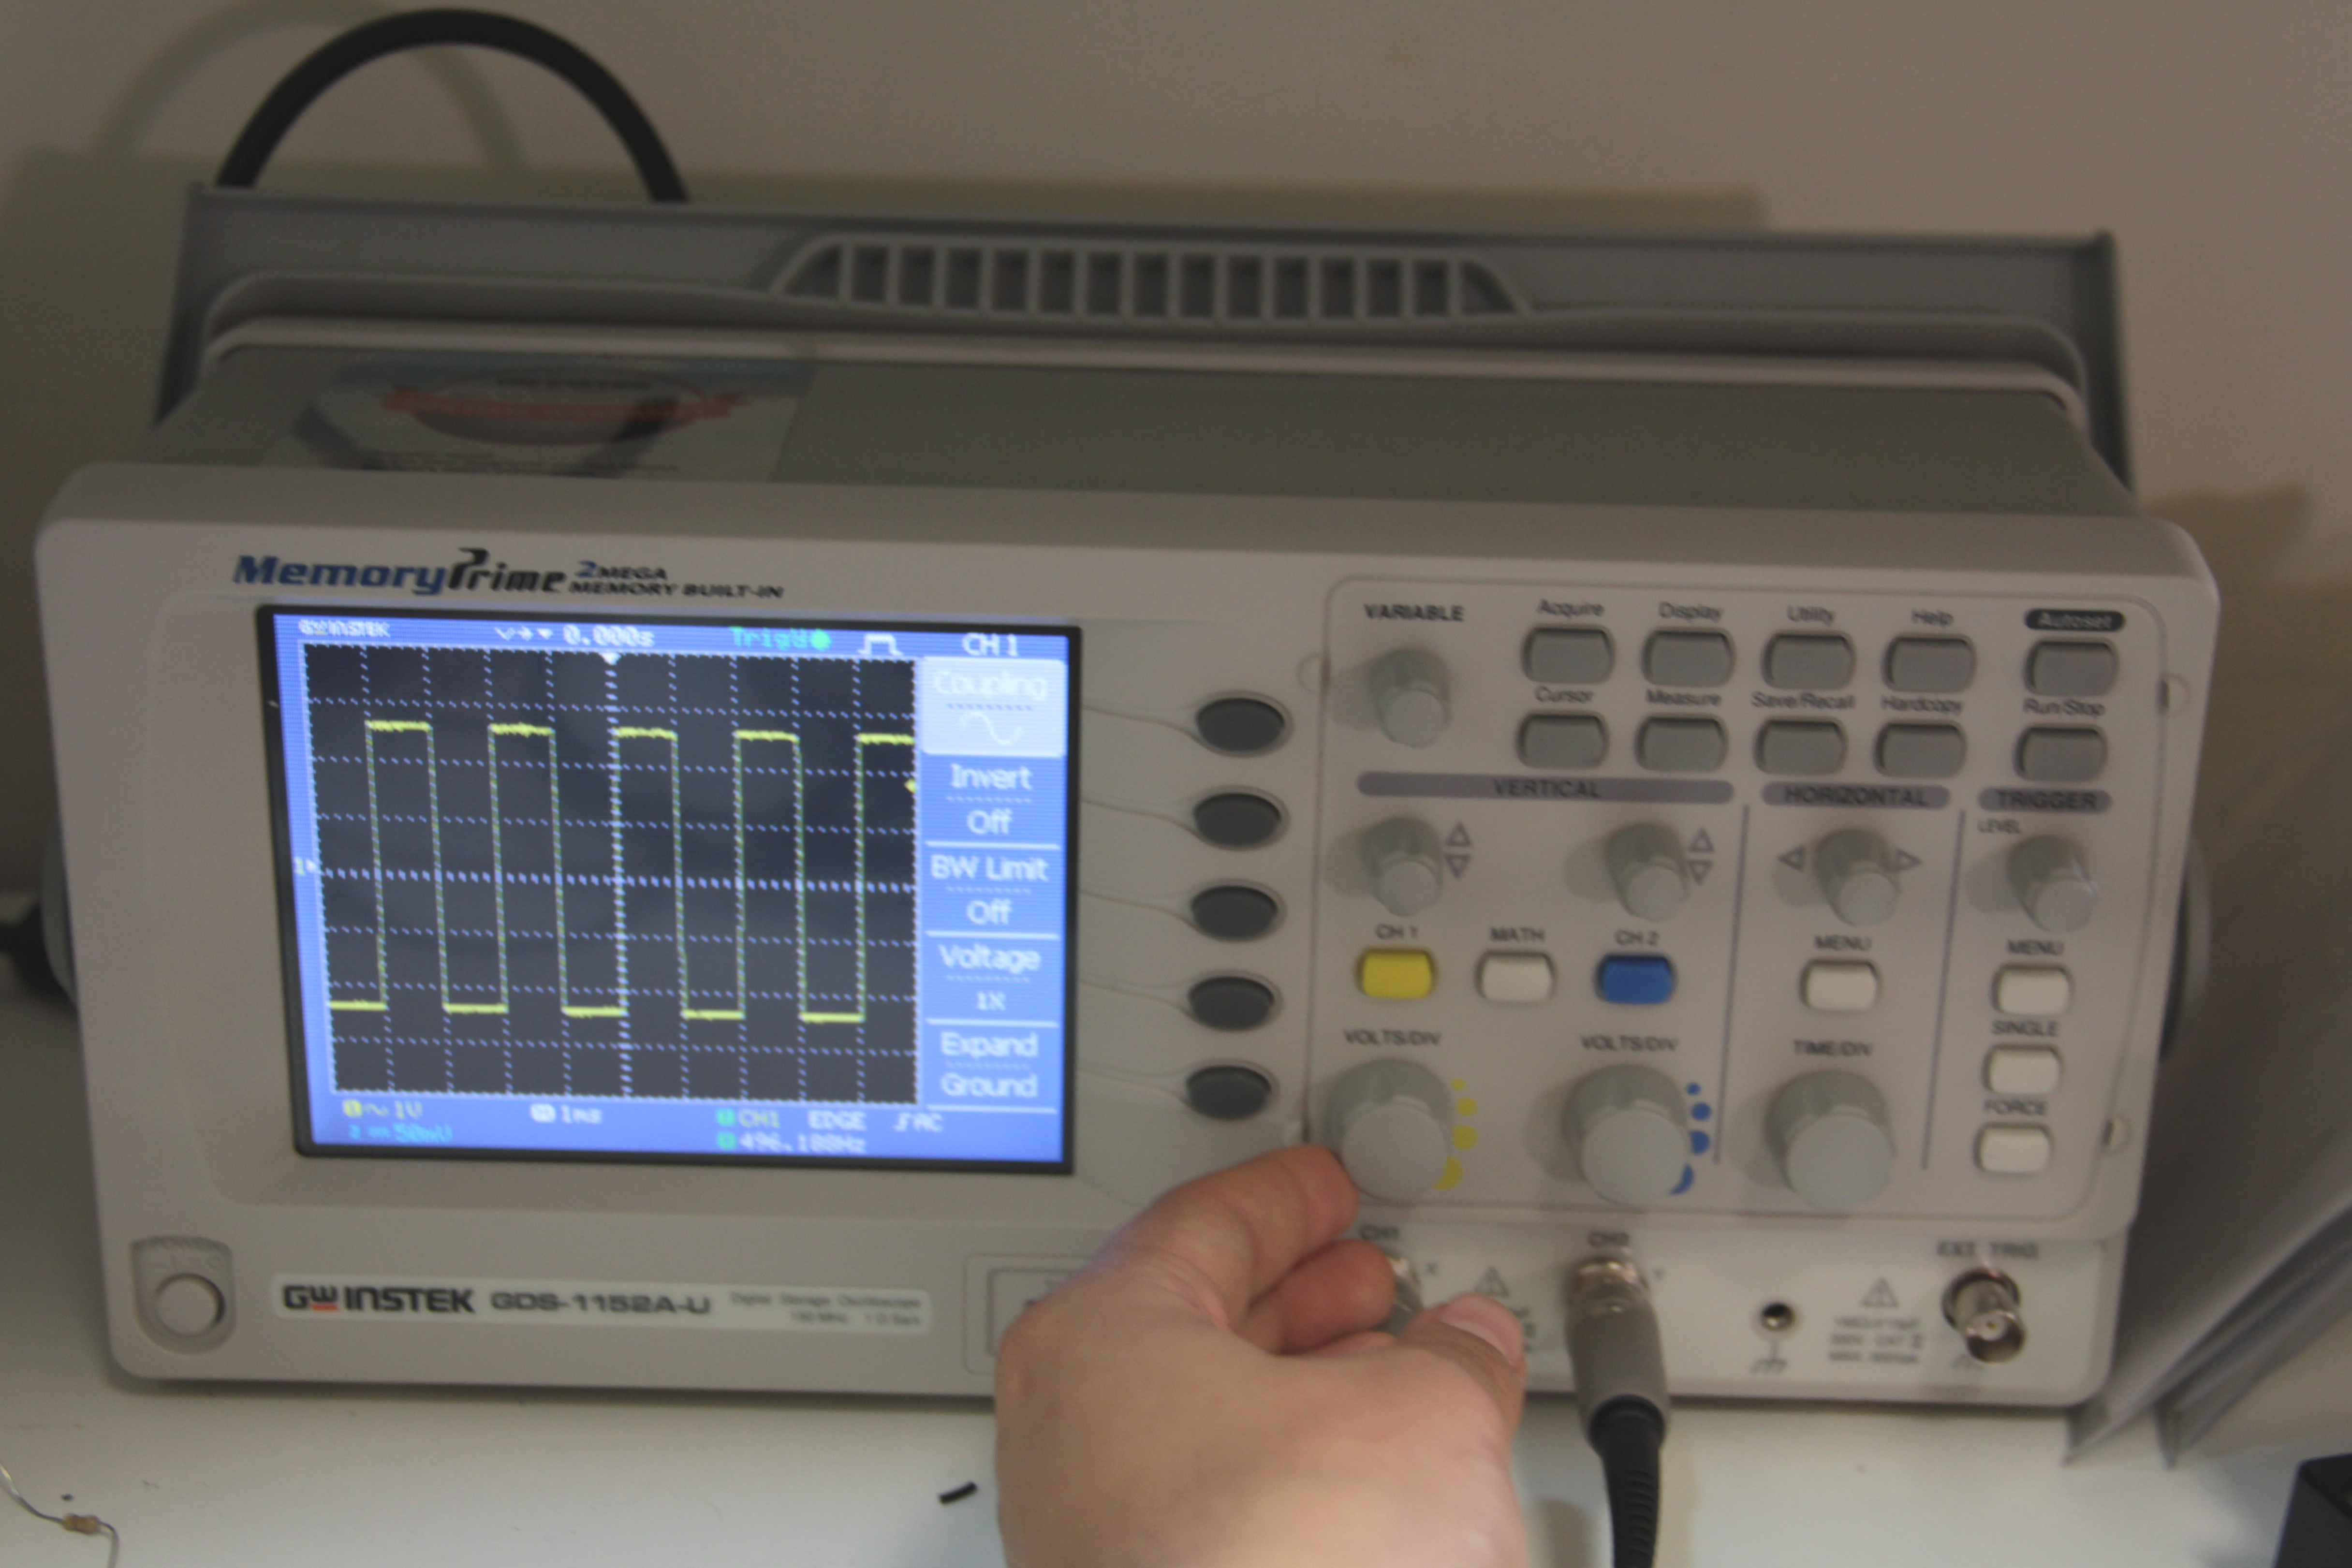
Adjust volts/div, time/div, and vertical position until you frame the wave on the oscilloscope screen as shown in the first image above.
I used the following parameters (for the incoming arduino signal)
Volts/div = 1V
time/div = 1ms
adjust vertical position until wave oscillates around the center of the screen
Play around with these three controls so you get a sense of how they work. The images above also provide some more detail.
Also try adjusting the horizontal position so you get an idea of how that works.
If you are having major problems finding your wave or centering it on the screen, ask yourself the following:
-are you in AC coupling mode?
-is the probe connected the to the oscilloscope?
-is the probe grounded (is the side alligator clip attached to ground)?
-is the wave generator/arduino/555 timer on?
-are you looking at the correct channel?
Some things to try:
-zoom all the way out along the y axis- set volts/div to its max value
-set vertical position to zero
-toggle the channel
Measure Amplitude
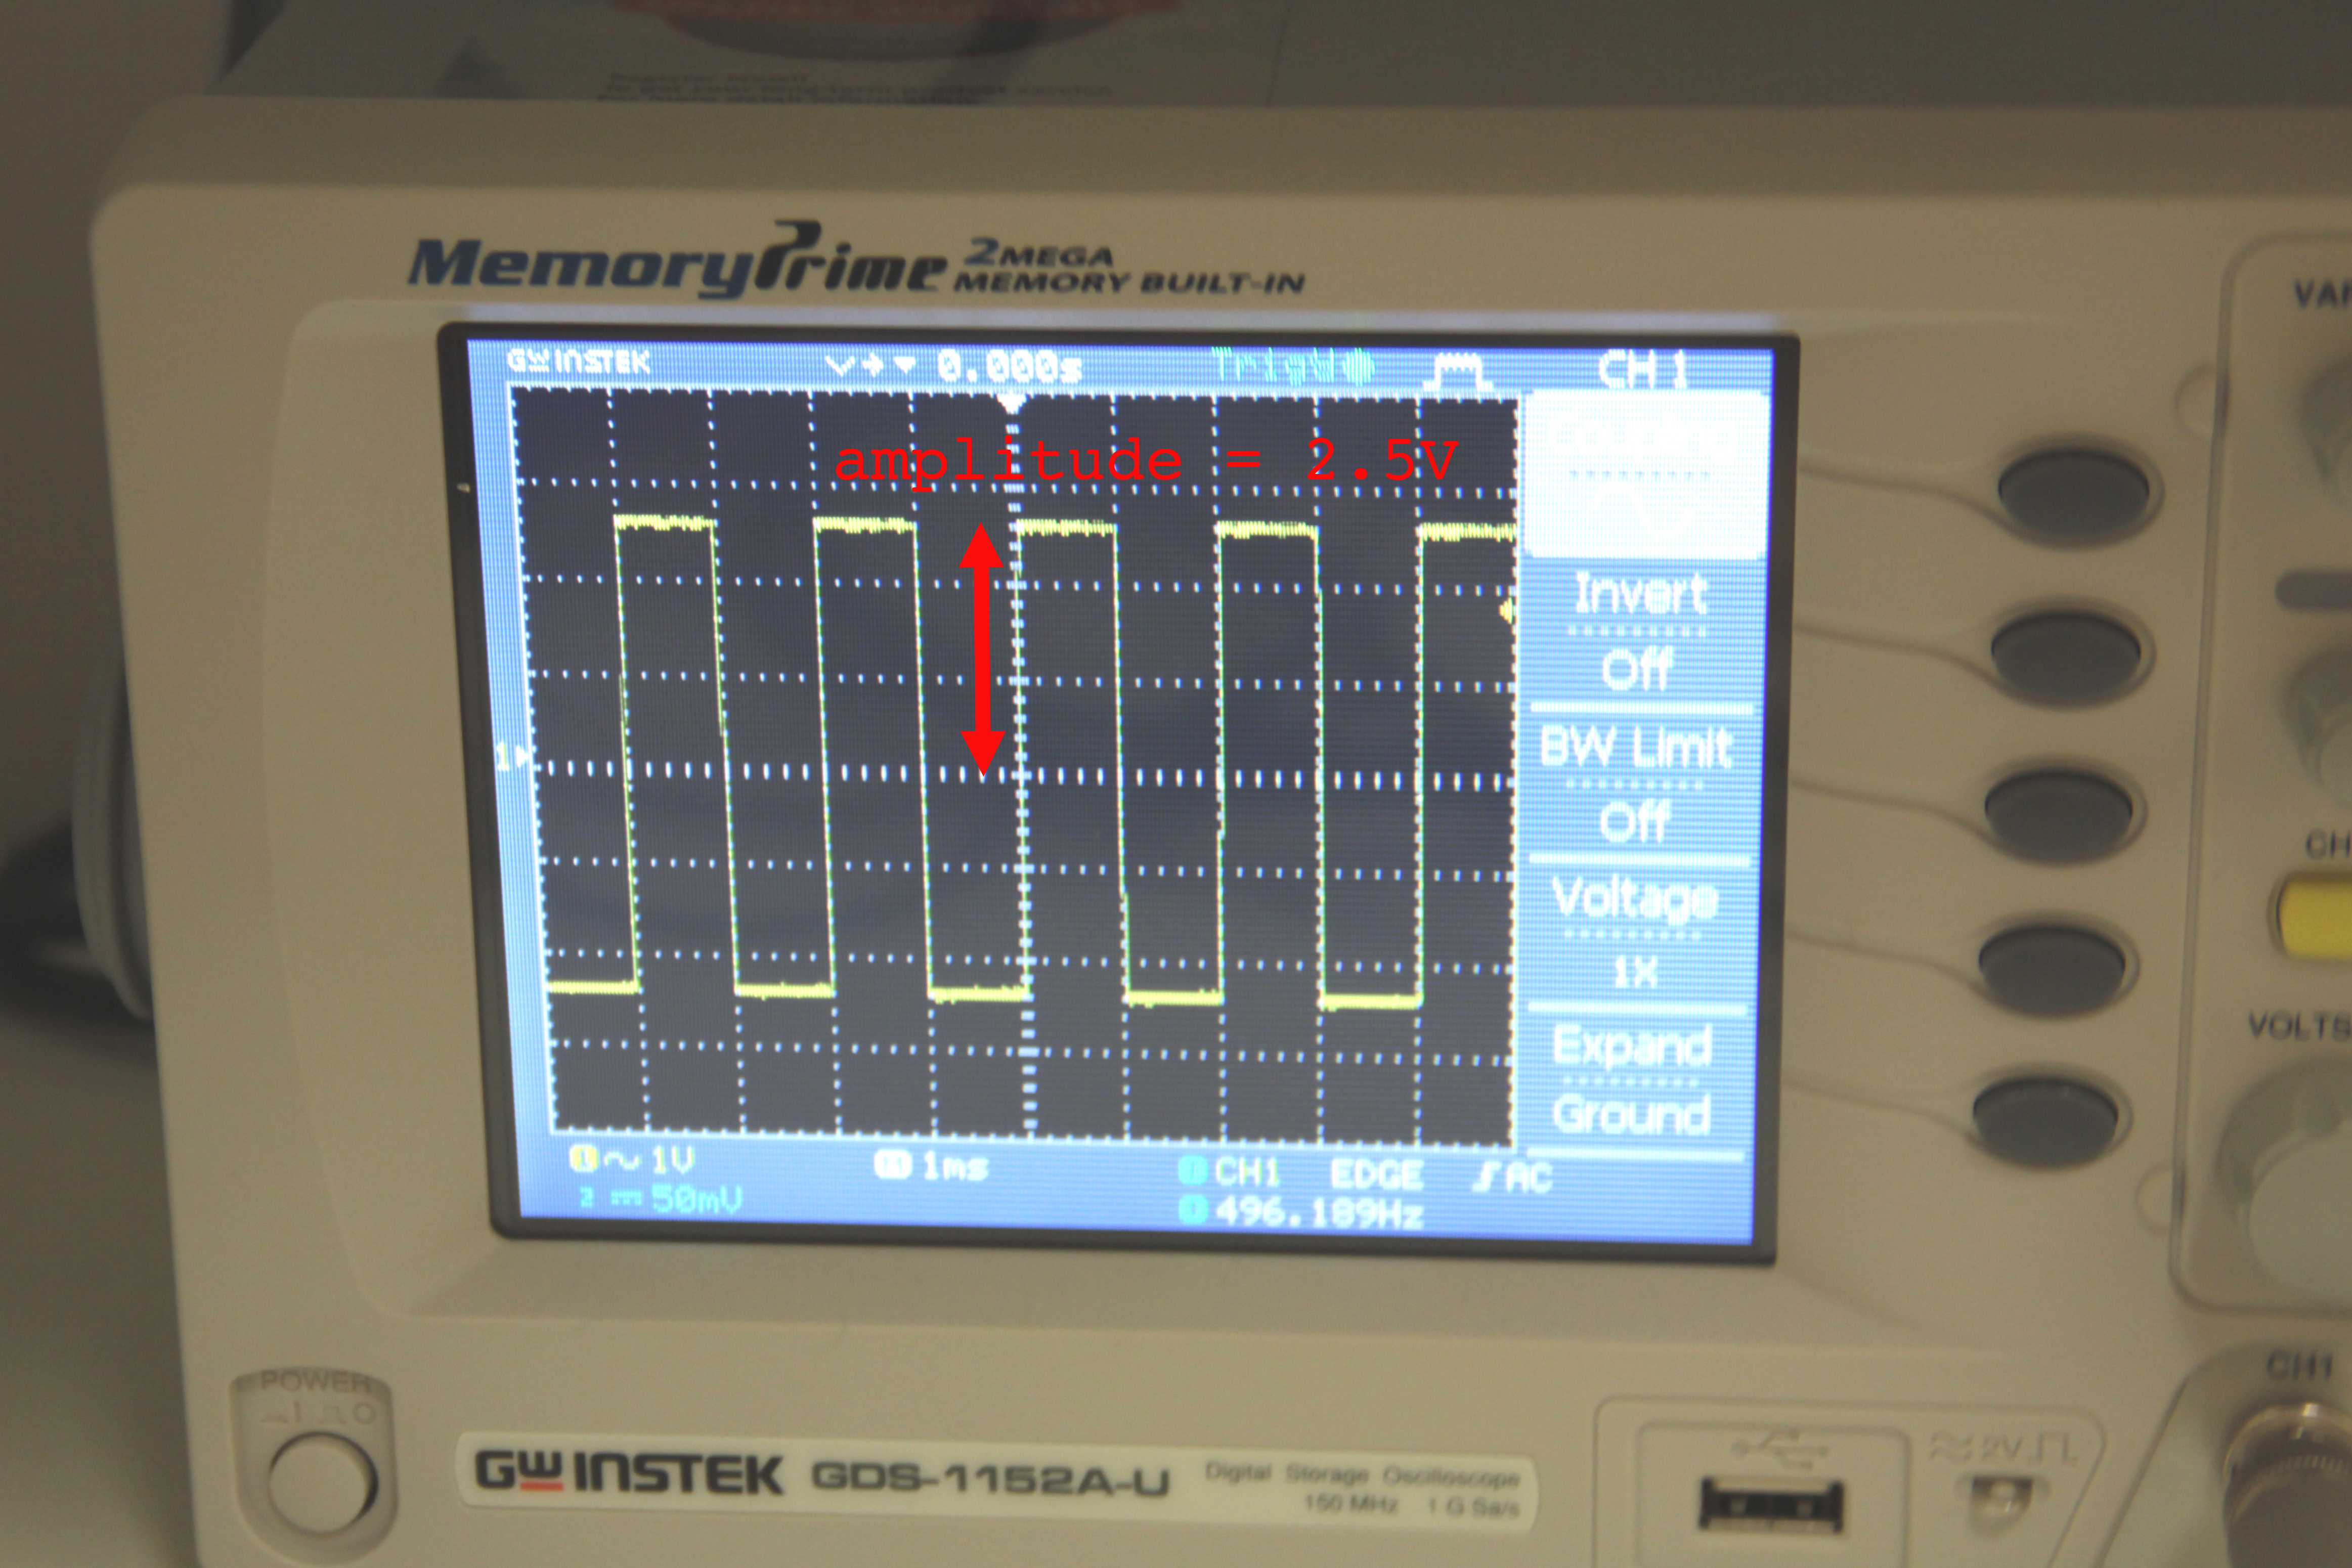
The amplitude of the wave is the difference between the height of the peaks of a wave and the wave's equilibrium (the value which the wave is oscillating around). In this case I've centered the wave to oscillate around the center horizontal grid line. The distance between this equilibrium line and either the high or low peak of the wave is 2.5 vertical grid divisions (see the red arrows). Since volts/div is set to 1V, 2.5 grid divisions equals 2.5V, so the amplitude of the wave is 2.5V.
This makes sense, since I know that in the arduino code (my input in this case) I set pin 8 to oscillate between 0 and 5V. This oscillation has a midpoint(equilibrium) of 2.5V and an amplitude of 2.5.
This makes sense, since I know that in the arduino code (my input in this case) I set pin 8 to oscillate between 0 and 5V. This oscillation has a midpoint(equilibrium) of 2.5V and an amplitude of 2.5.
Measure Frequency
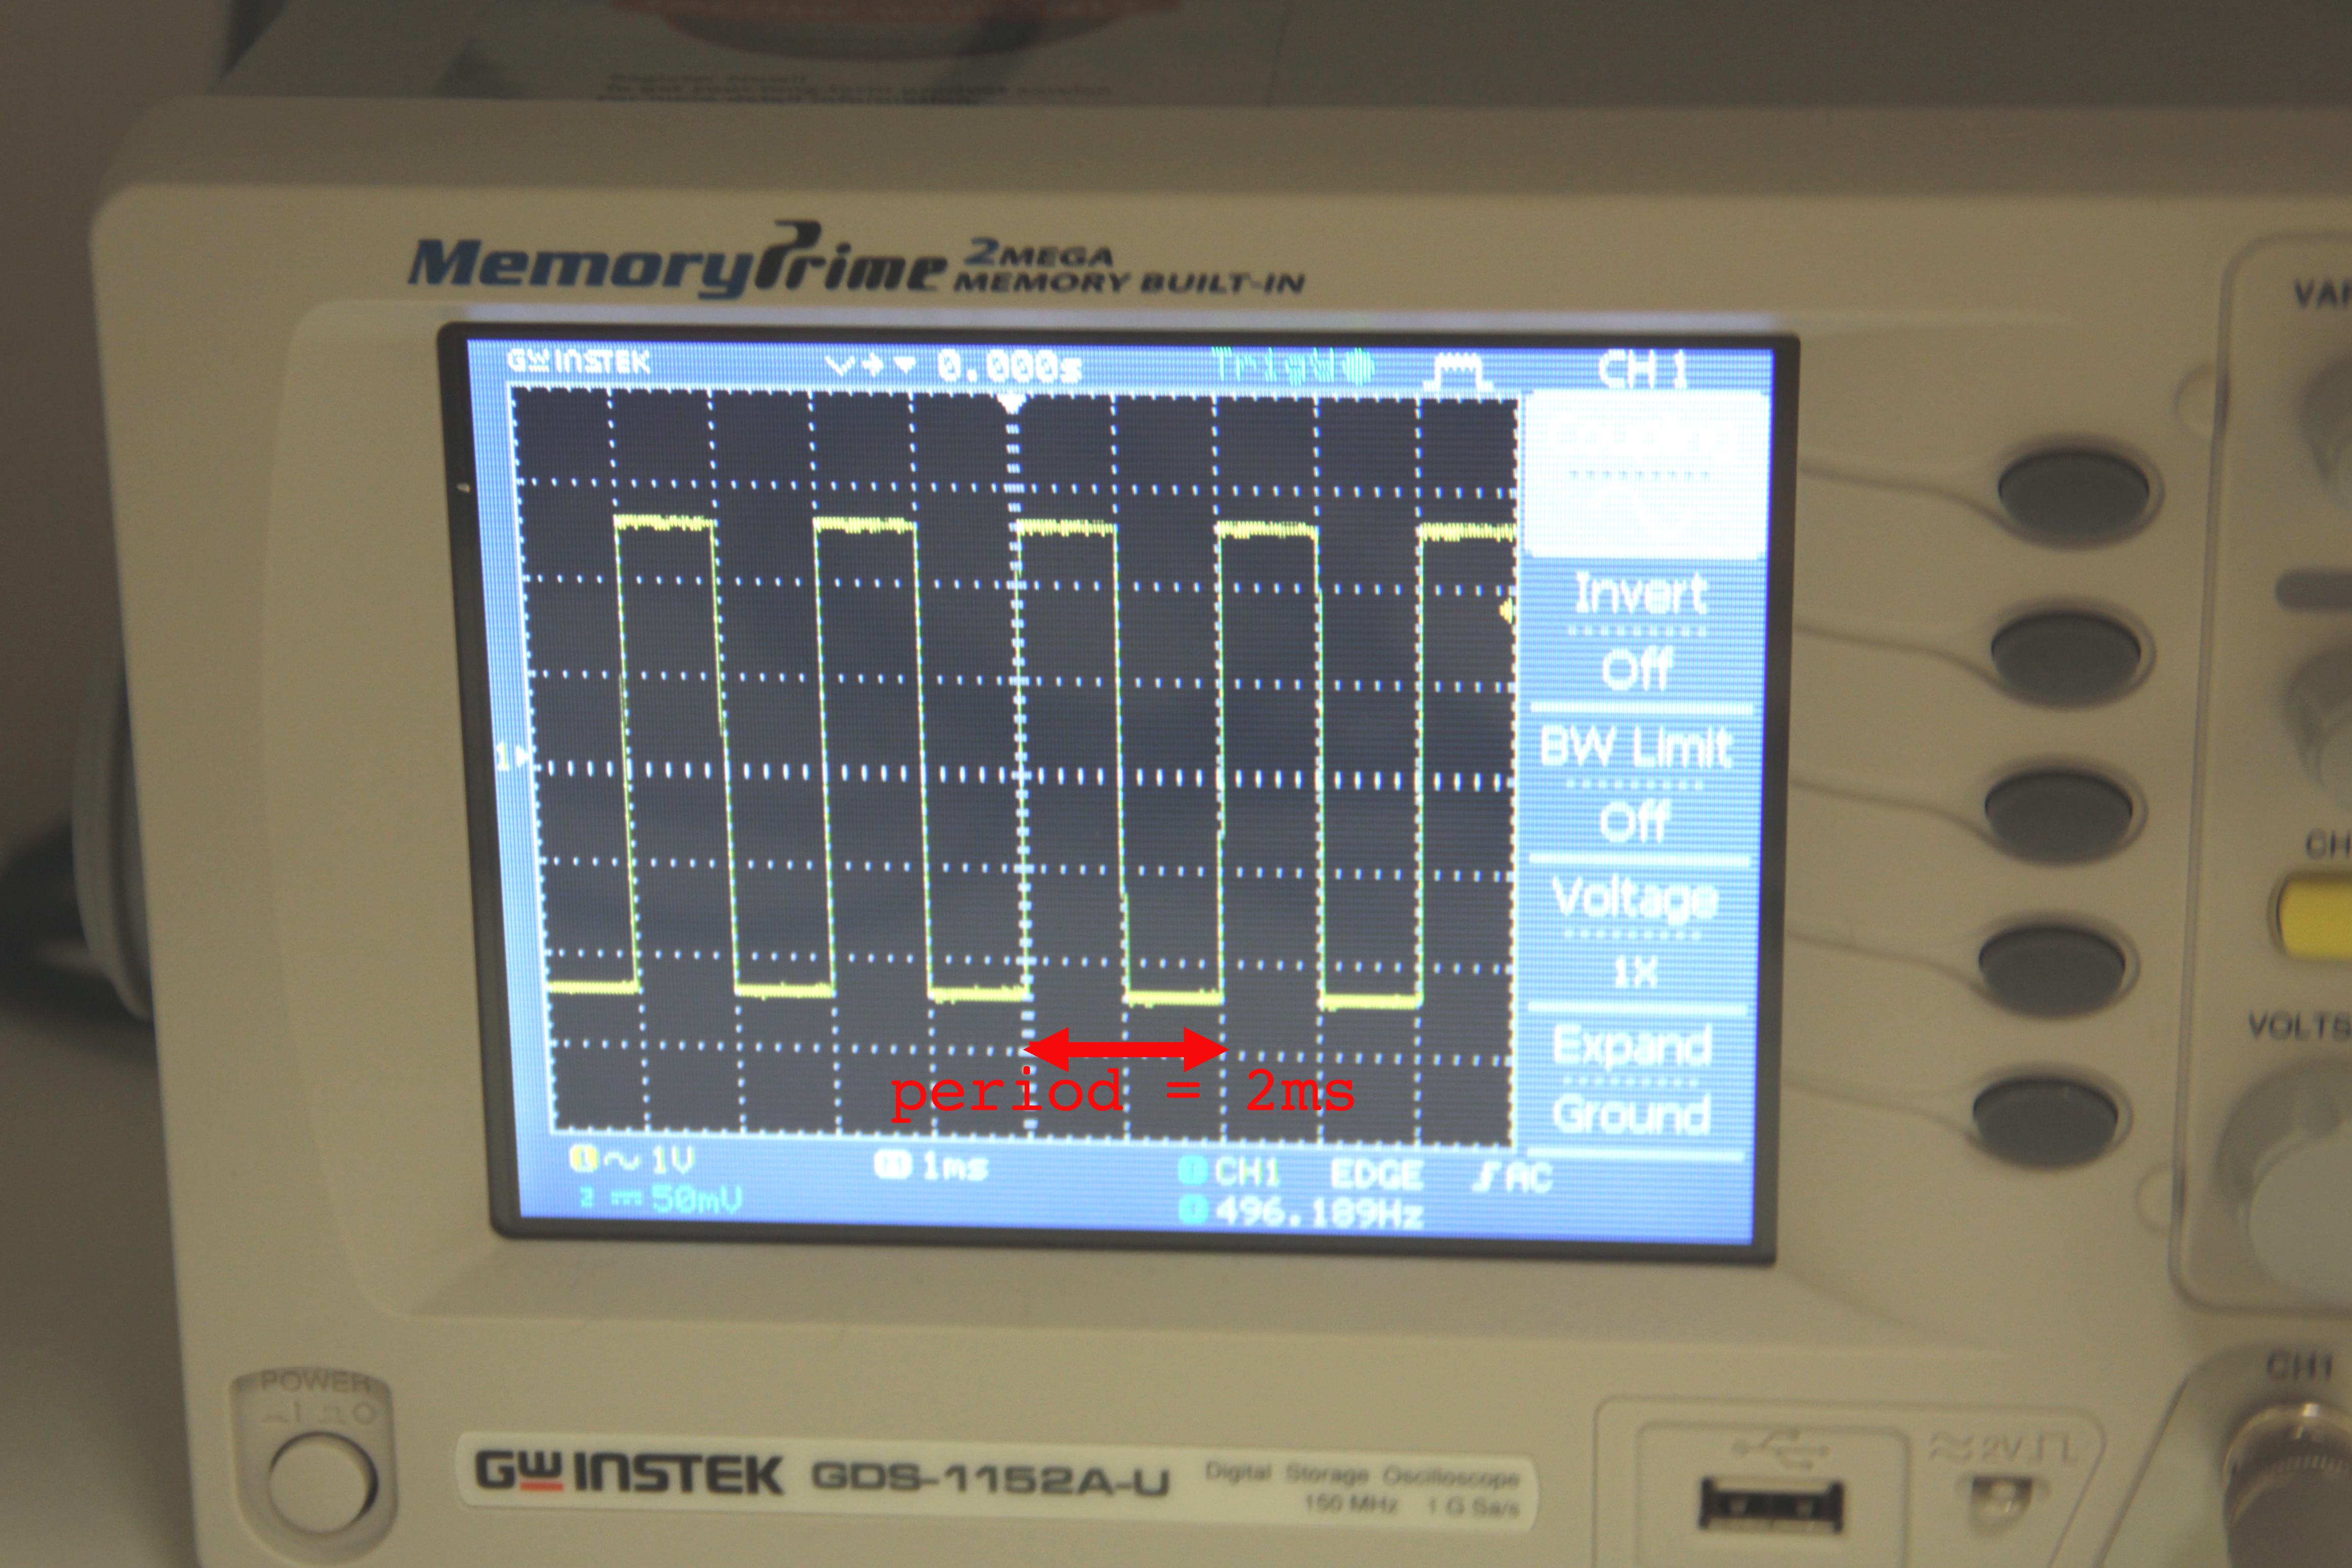
The frequency of a wave is the number of times per second that a wave repeats its shape. We cannot directly measure the frequency on the oscilloscope, but we can measure a closely related parameter called period; the period of a wave is the amount of time it takes to complete one full cycle.
As indicated in the image above, one cycle is completed in 2 horizontal grid divisions. As indicated int he bottom of the screen, I've set time/div to 1ms, so 2 divisions equlas 2ms (0.002 seconds).
Using the relationship frequency = 1/period, I calculated the period of the signal to be 500cycles/second (or 500Hz).
Advanced Oscilloscope: AC/DC/Ground Coupling
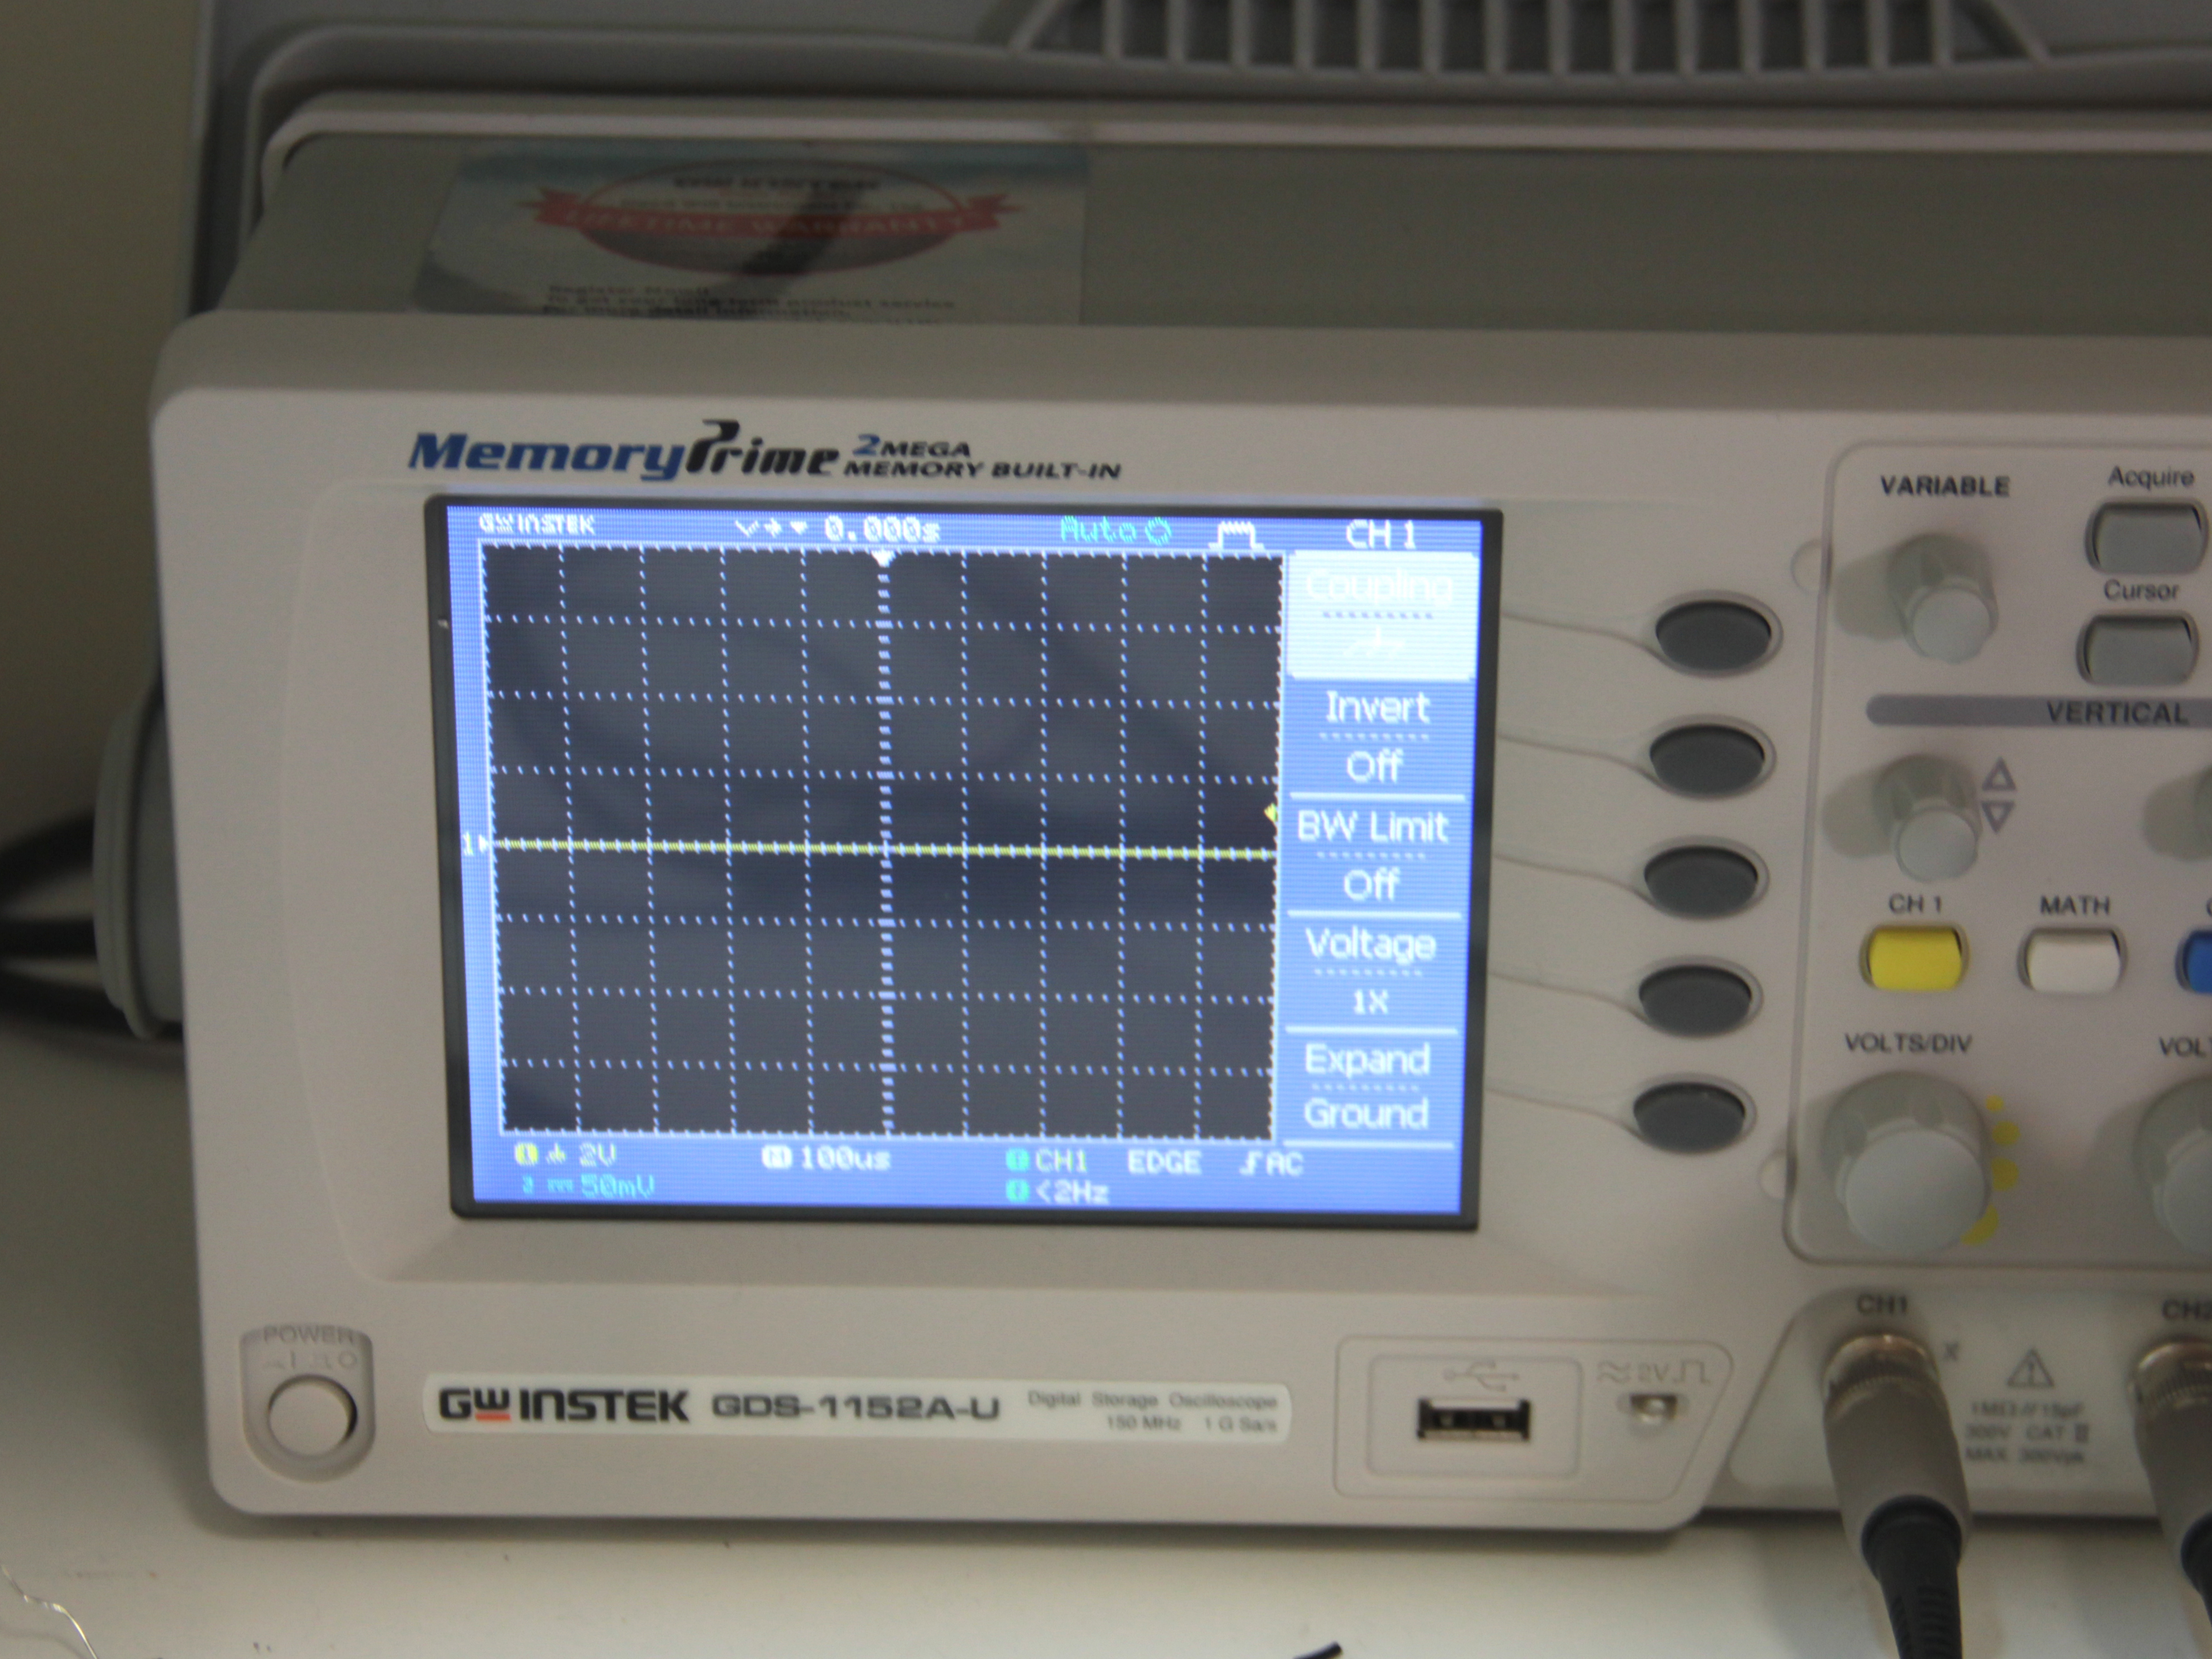

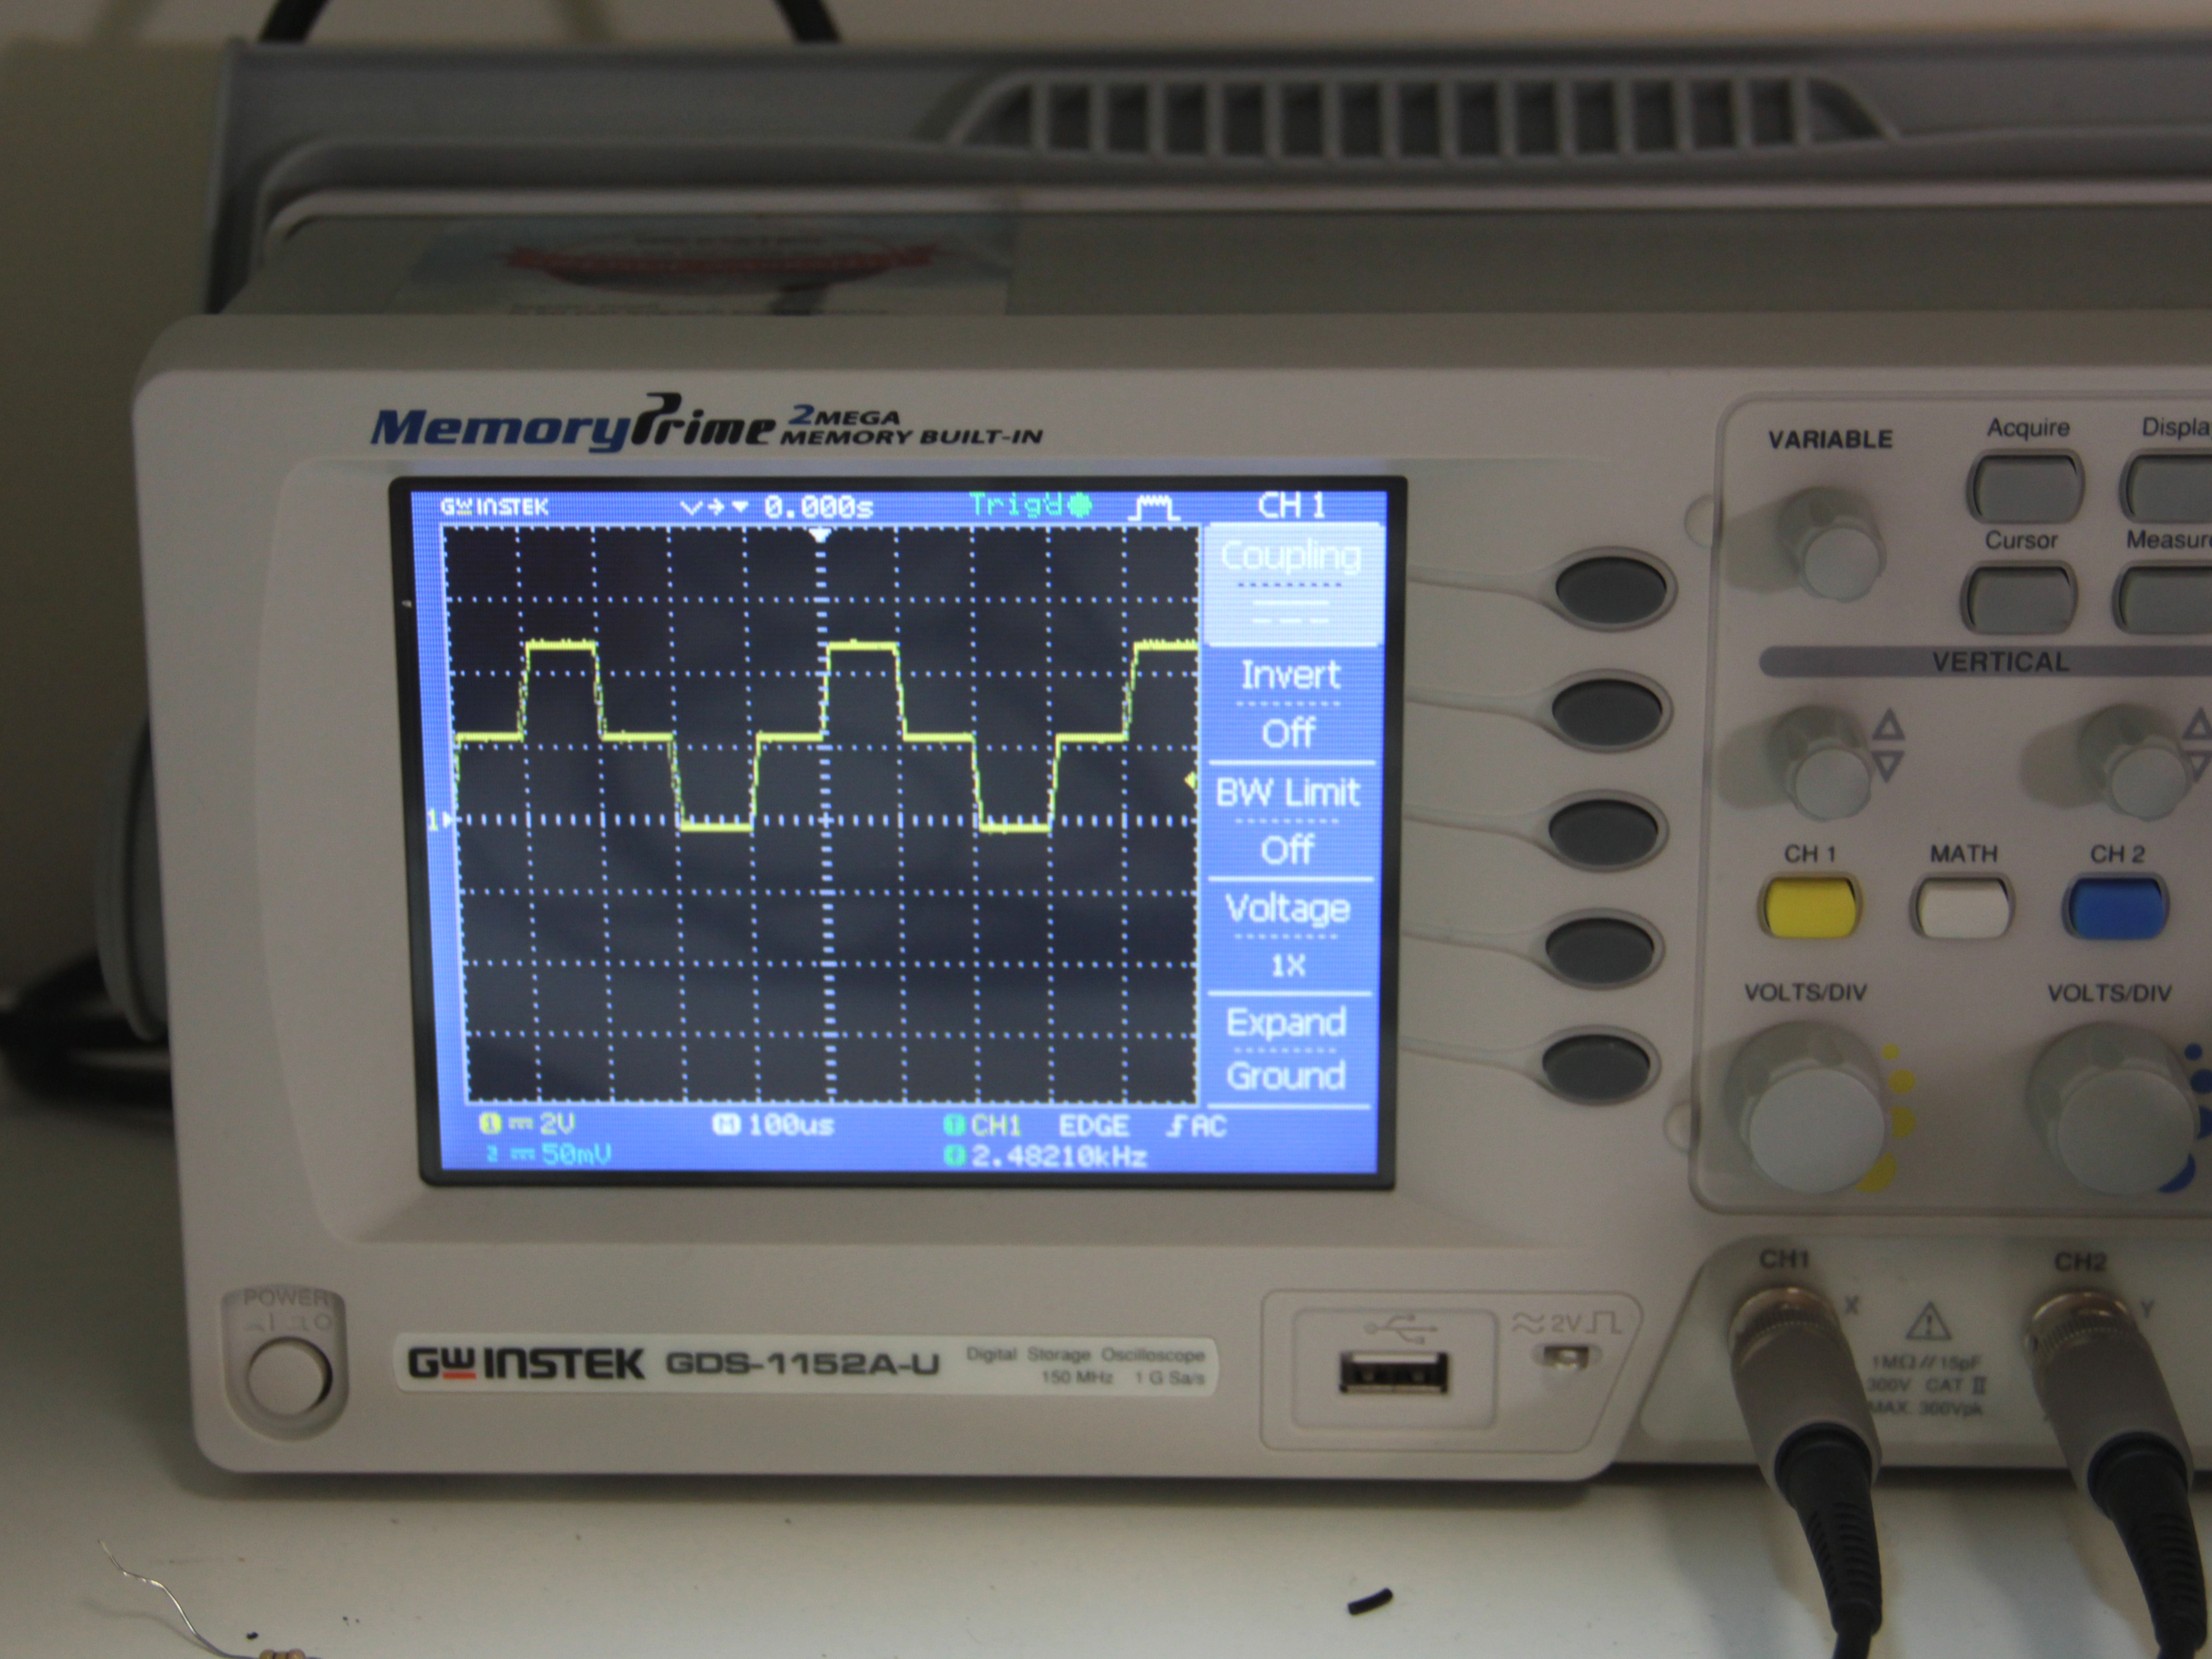

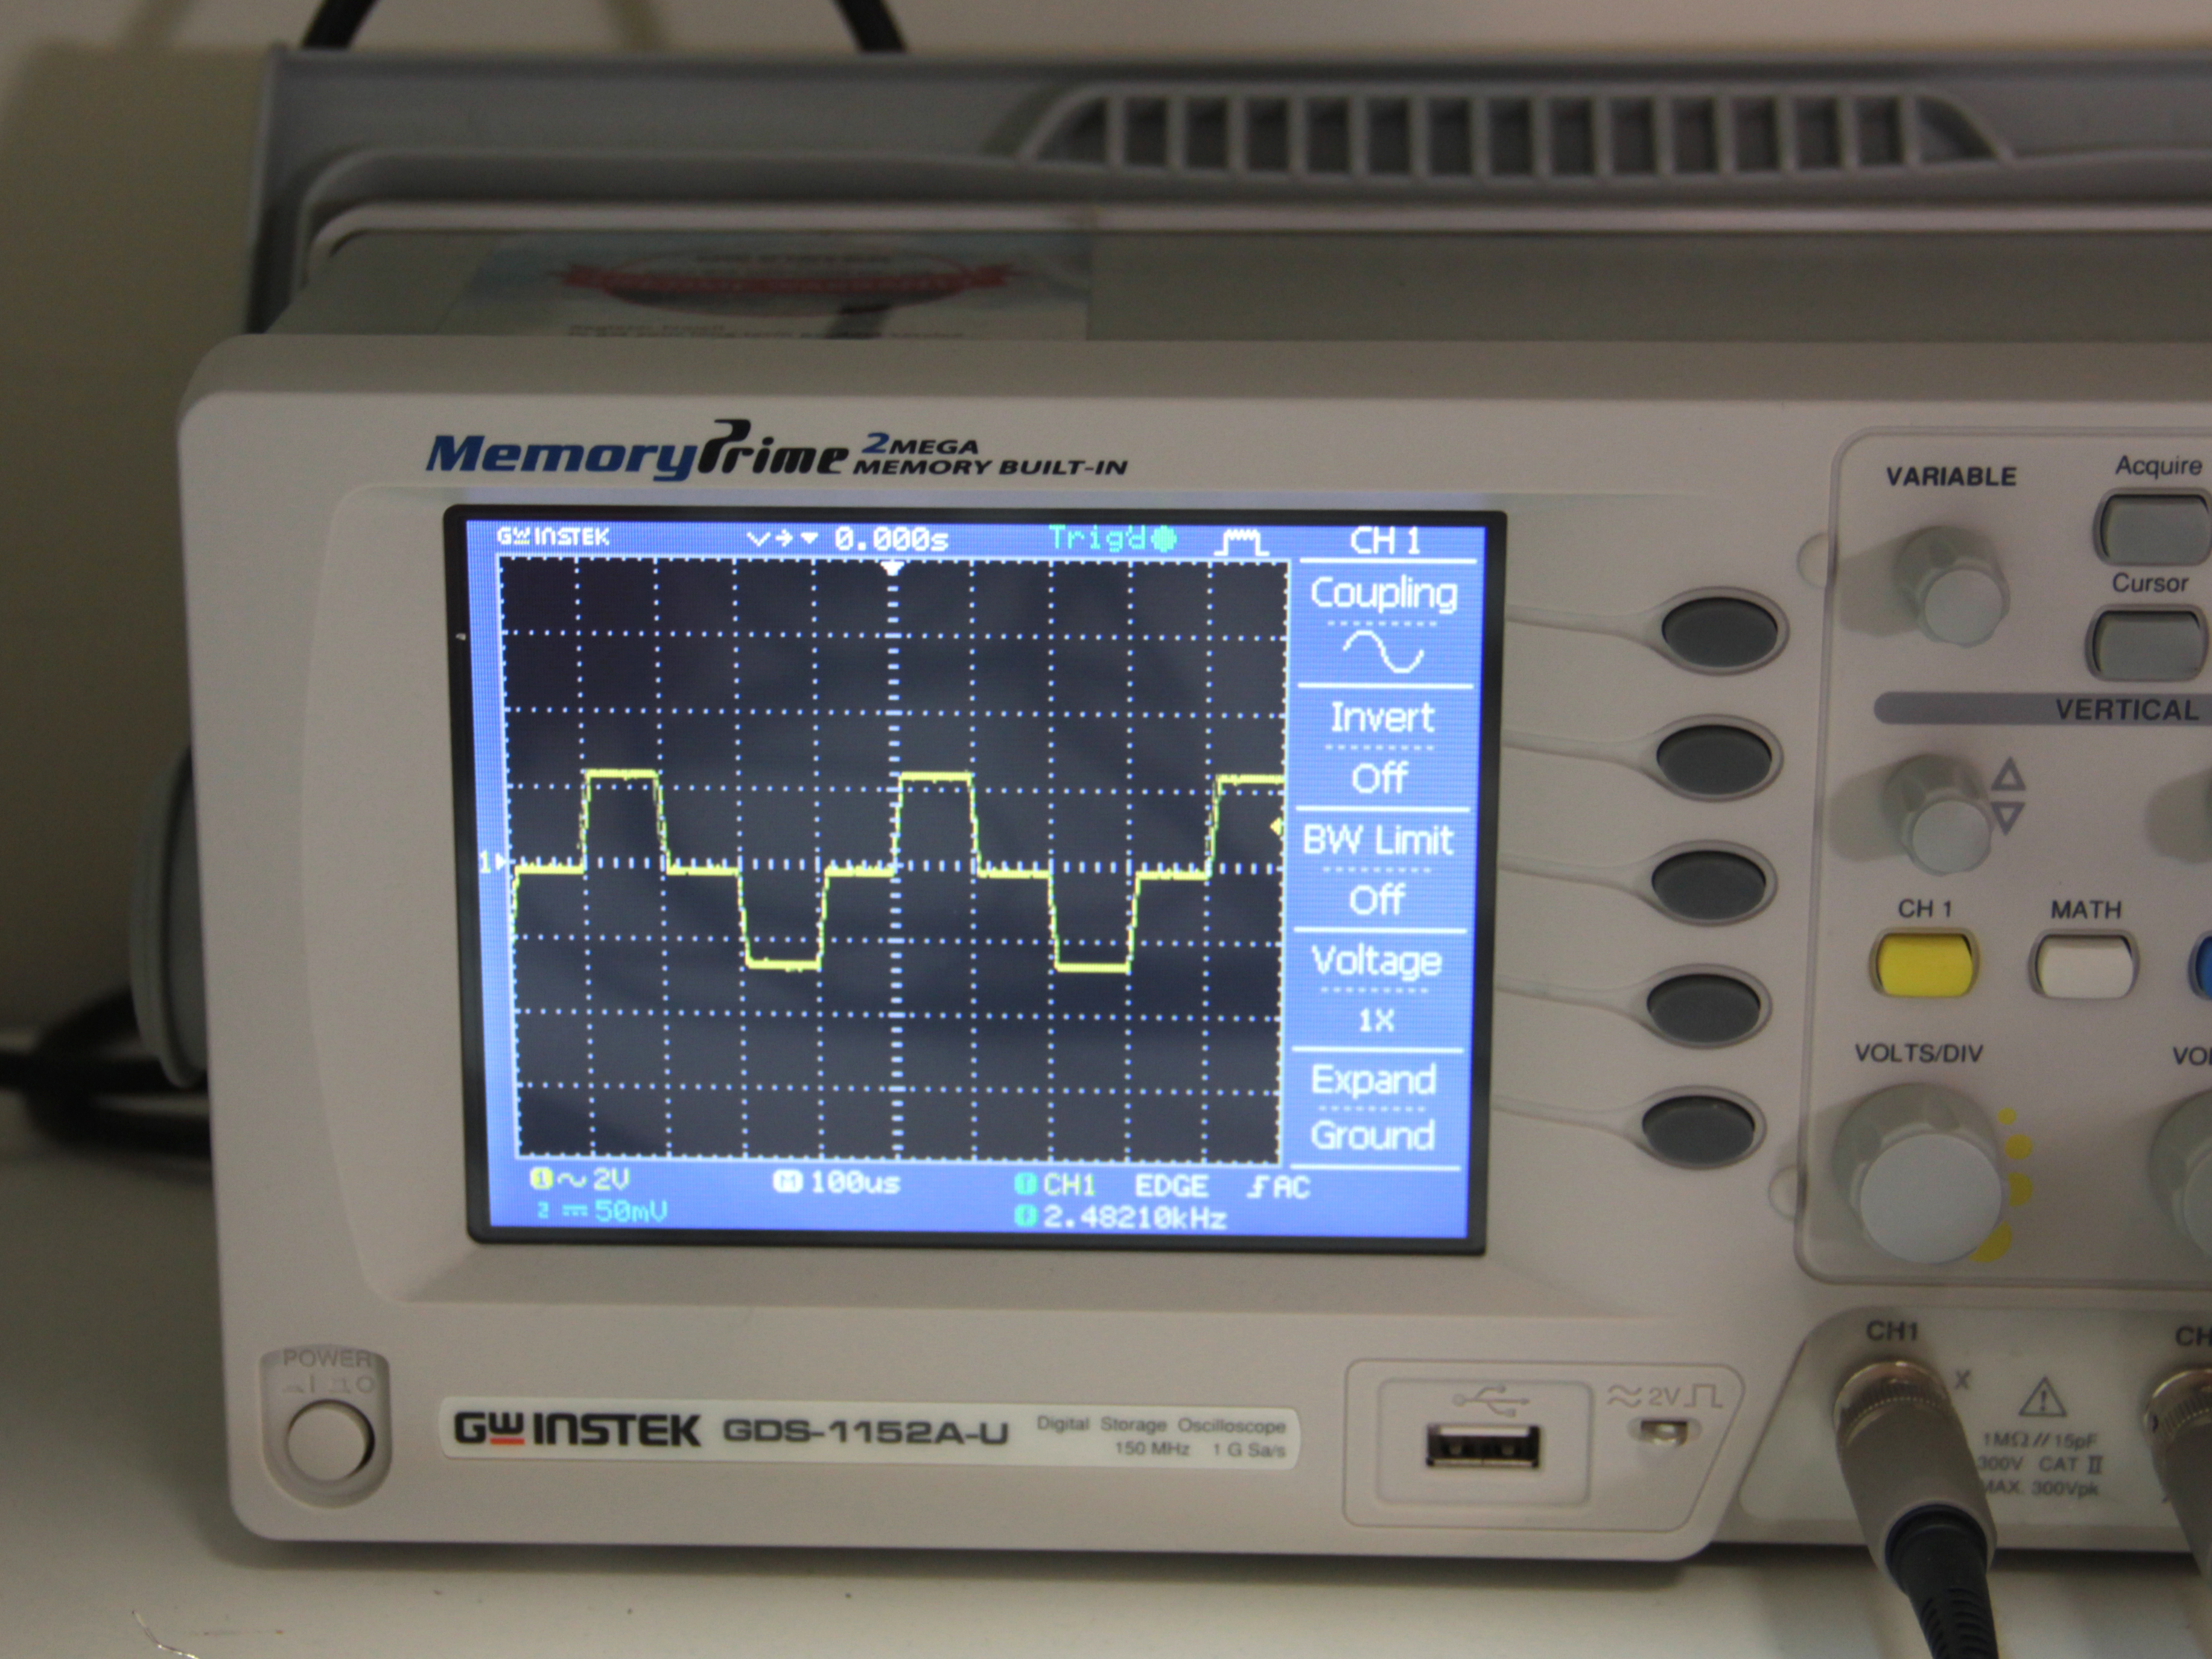
You may have noticed the AC and DC coupling option on your oscilloscope by now. Generally you will use AC coupling when you are looking at an AC signal and DC coupling for DC signals.
AC coupling removes the DC component of your signal so that it is oscillating around zero. For many oscilloscopes this is advantageous because it allows you to zoom in tighter on the waveform so you can measure small AC disturbances. If you do not care about measuring the DC offset of a signal, and only want to see the AC component, use AC coupling. If you would like to look at both the AC and DC components of a waveform, or are only interested in the DC component, use DC coupling.
Your oscilloscope may also give you the option of coupling to ground. Switching to ground coupling will give you a flat line that represents the position of 0 volts. Use the vertical position control to line this up with one of the grid lines- this will be your ground marker. You can toggle back to your signal by putting it in DC mode to get a sense of it's distance from ground (you may need to mess with volt/div to get your signal to stay in frame). Switching over to AC mode will remove the DC component of your signal and show oscillations around the ground marker.
In the images above I used all three coupling modes to measure a pulse-like signal oscillating between 0 and 5V. I first put the ocilloscope in ground coupling mode to line up ground with the center line on the scope. By switching back to DC coupling(fig 3) you can see my signal oscillating between 0-5V (each vertical division represents 2V). In AC coupling mode (fig 5) the DC offset of ~2.5V is removed and the signal is oscillating around ground with an amplitude of 2.5V
Advanced Oscilloscope: Dual Channel Measurements
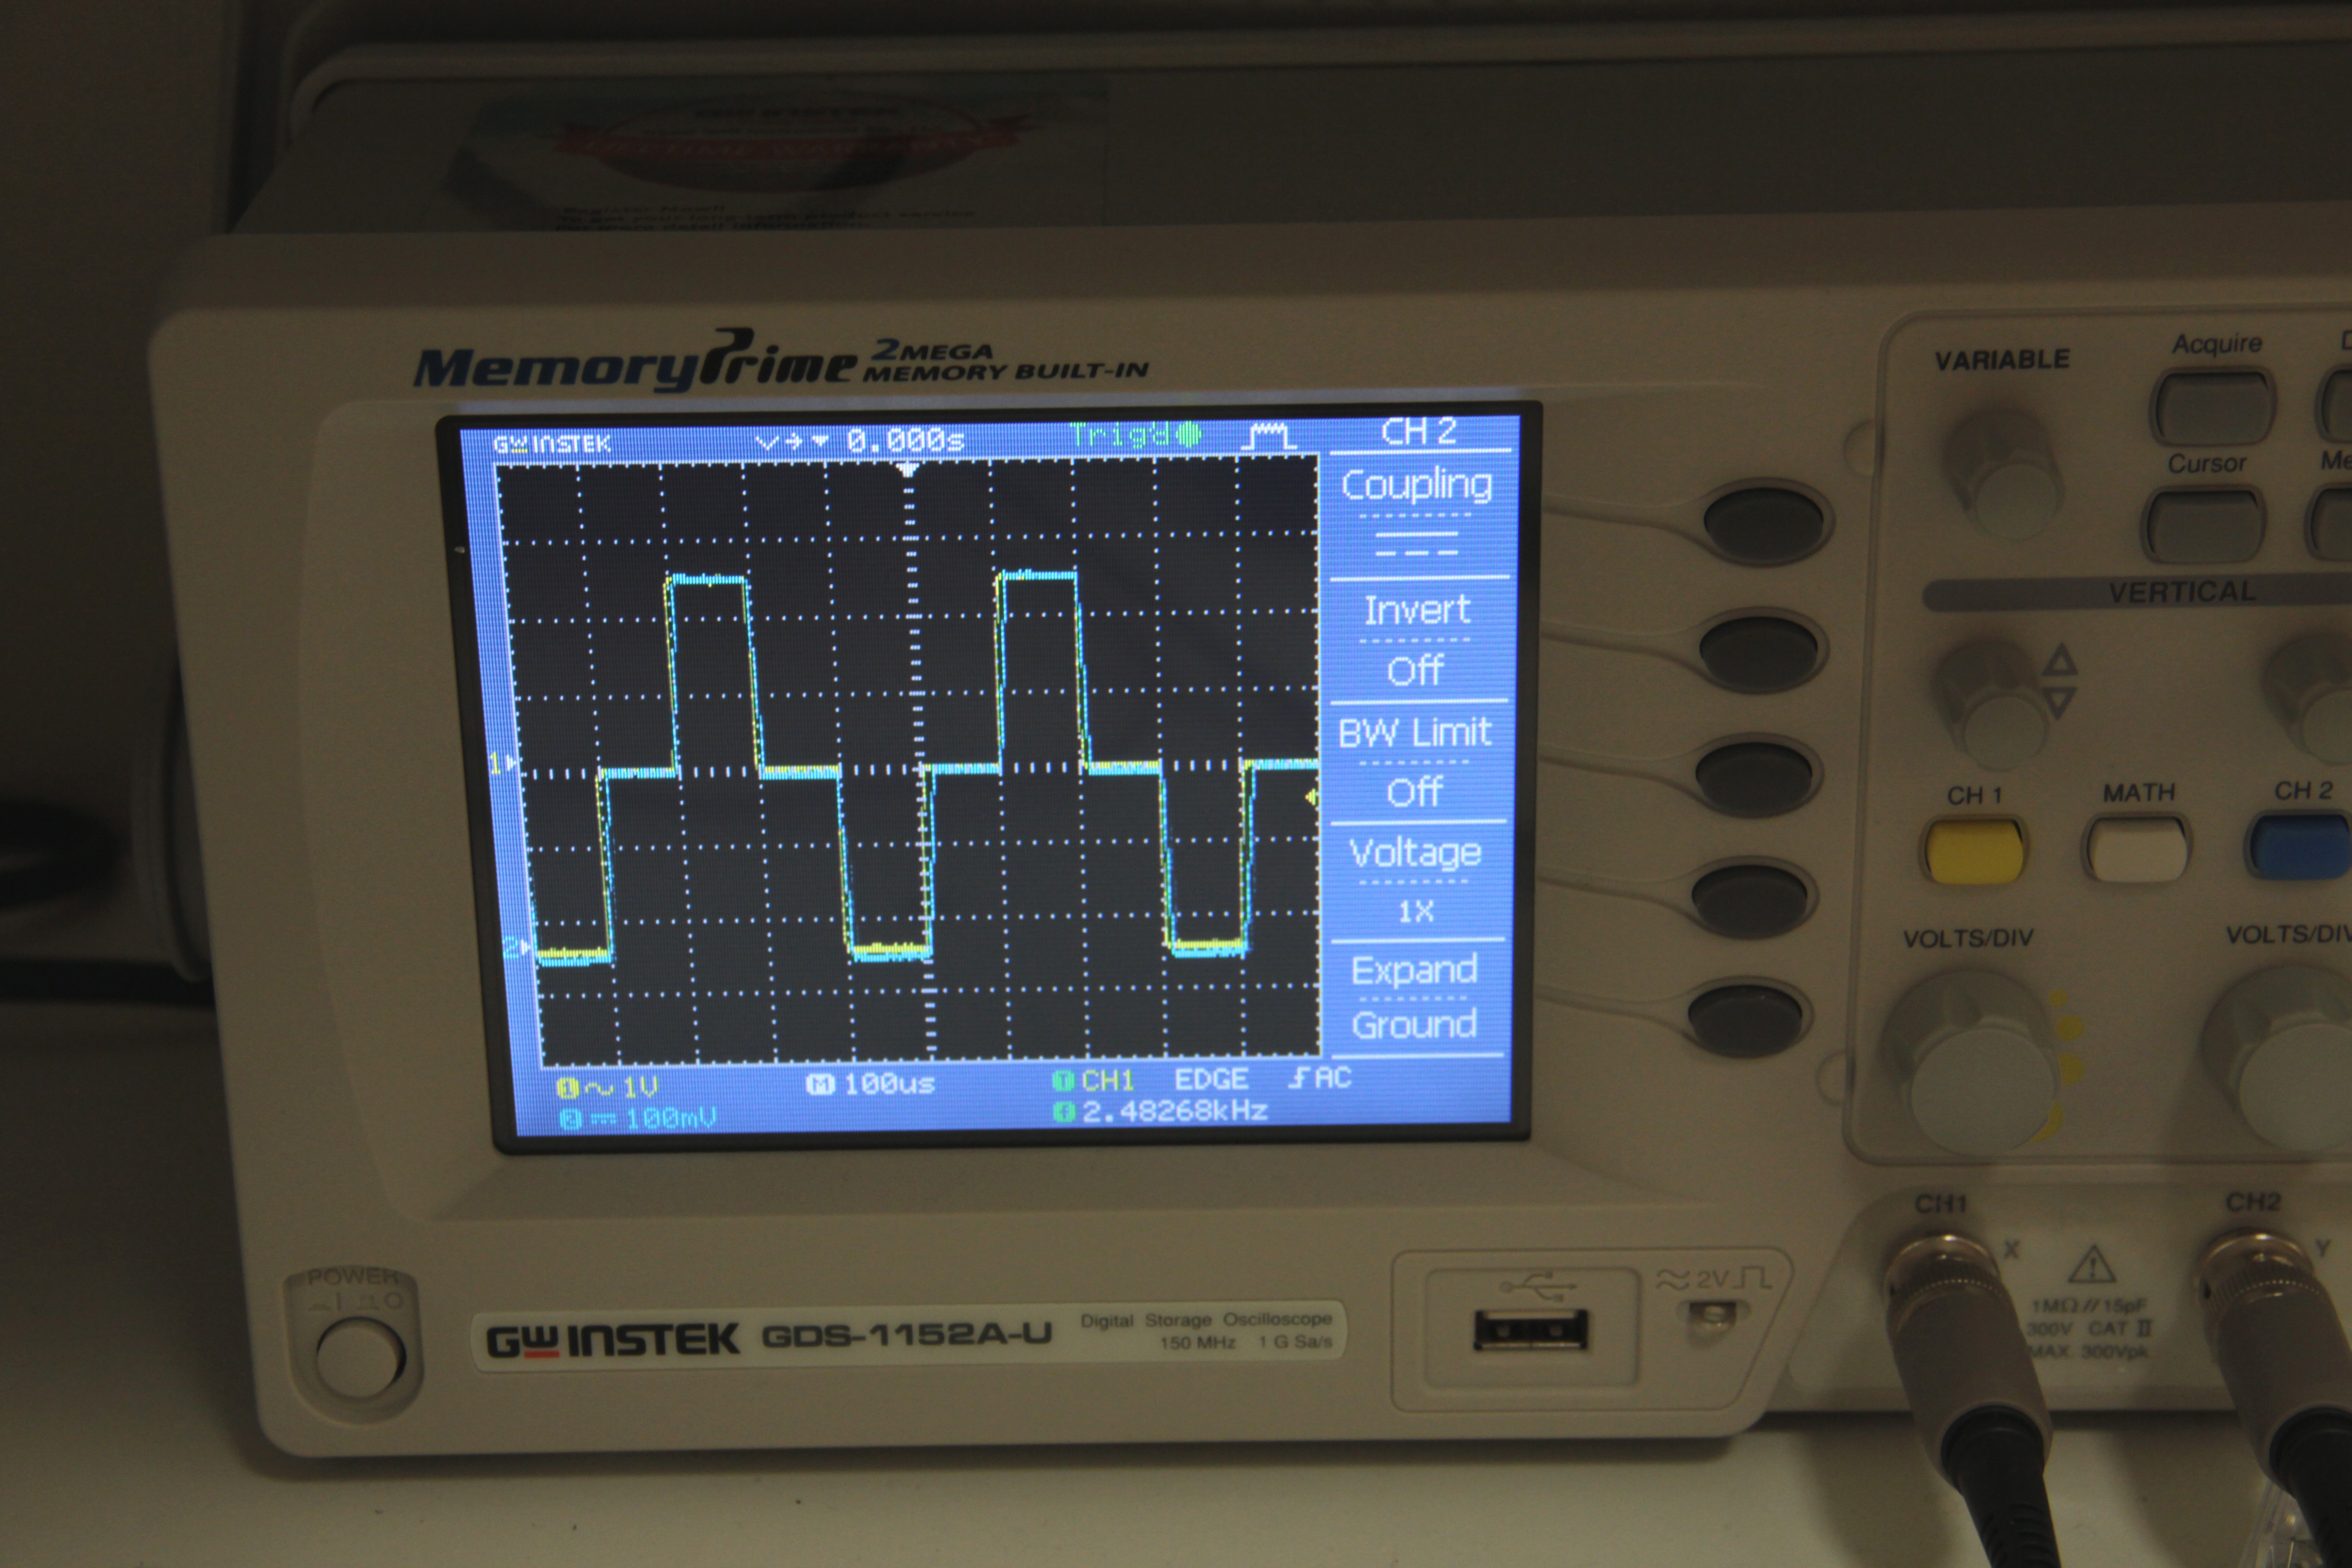
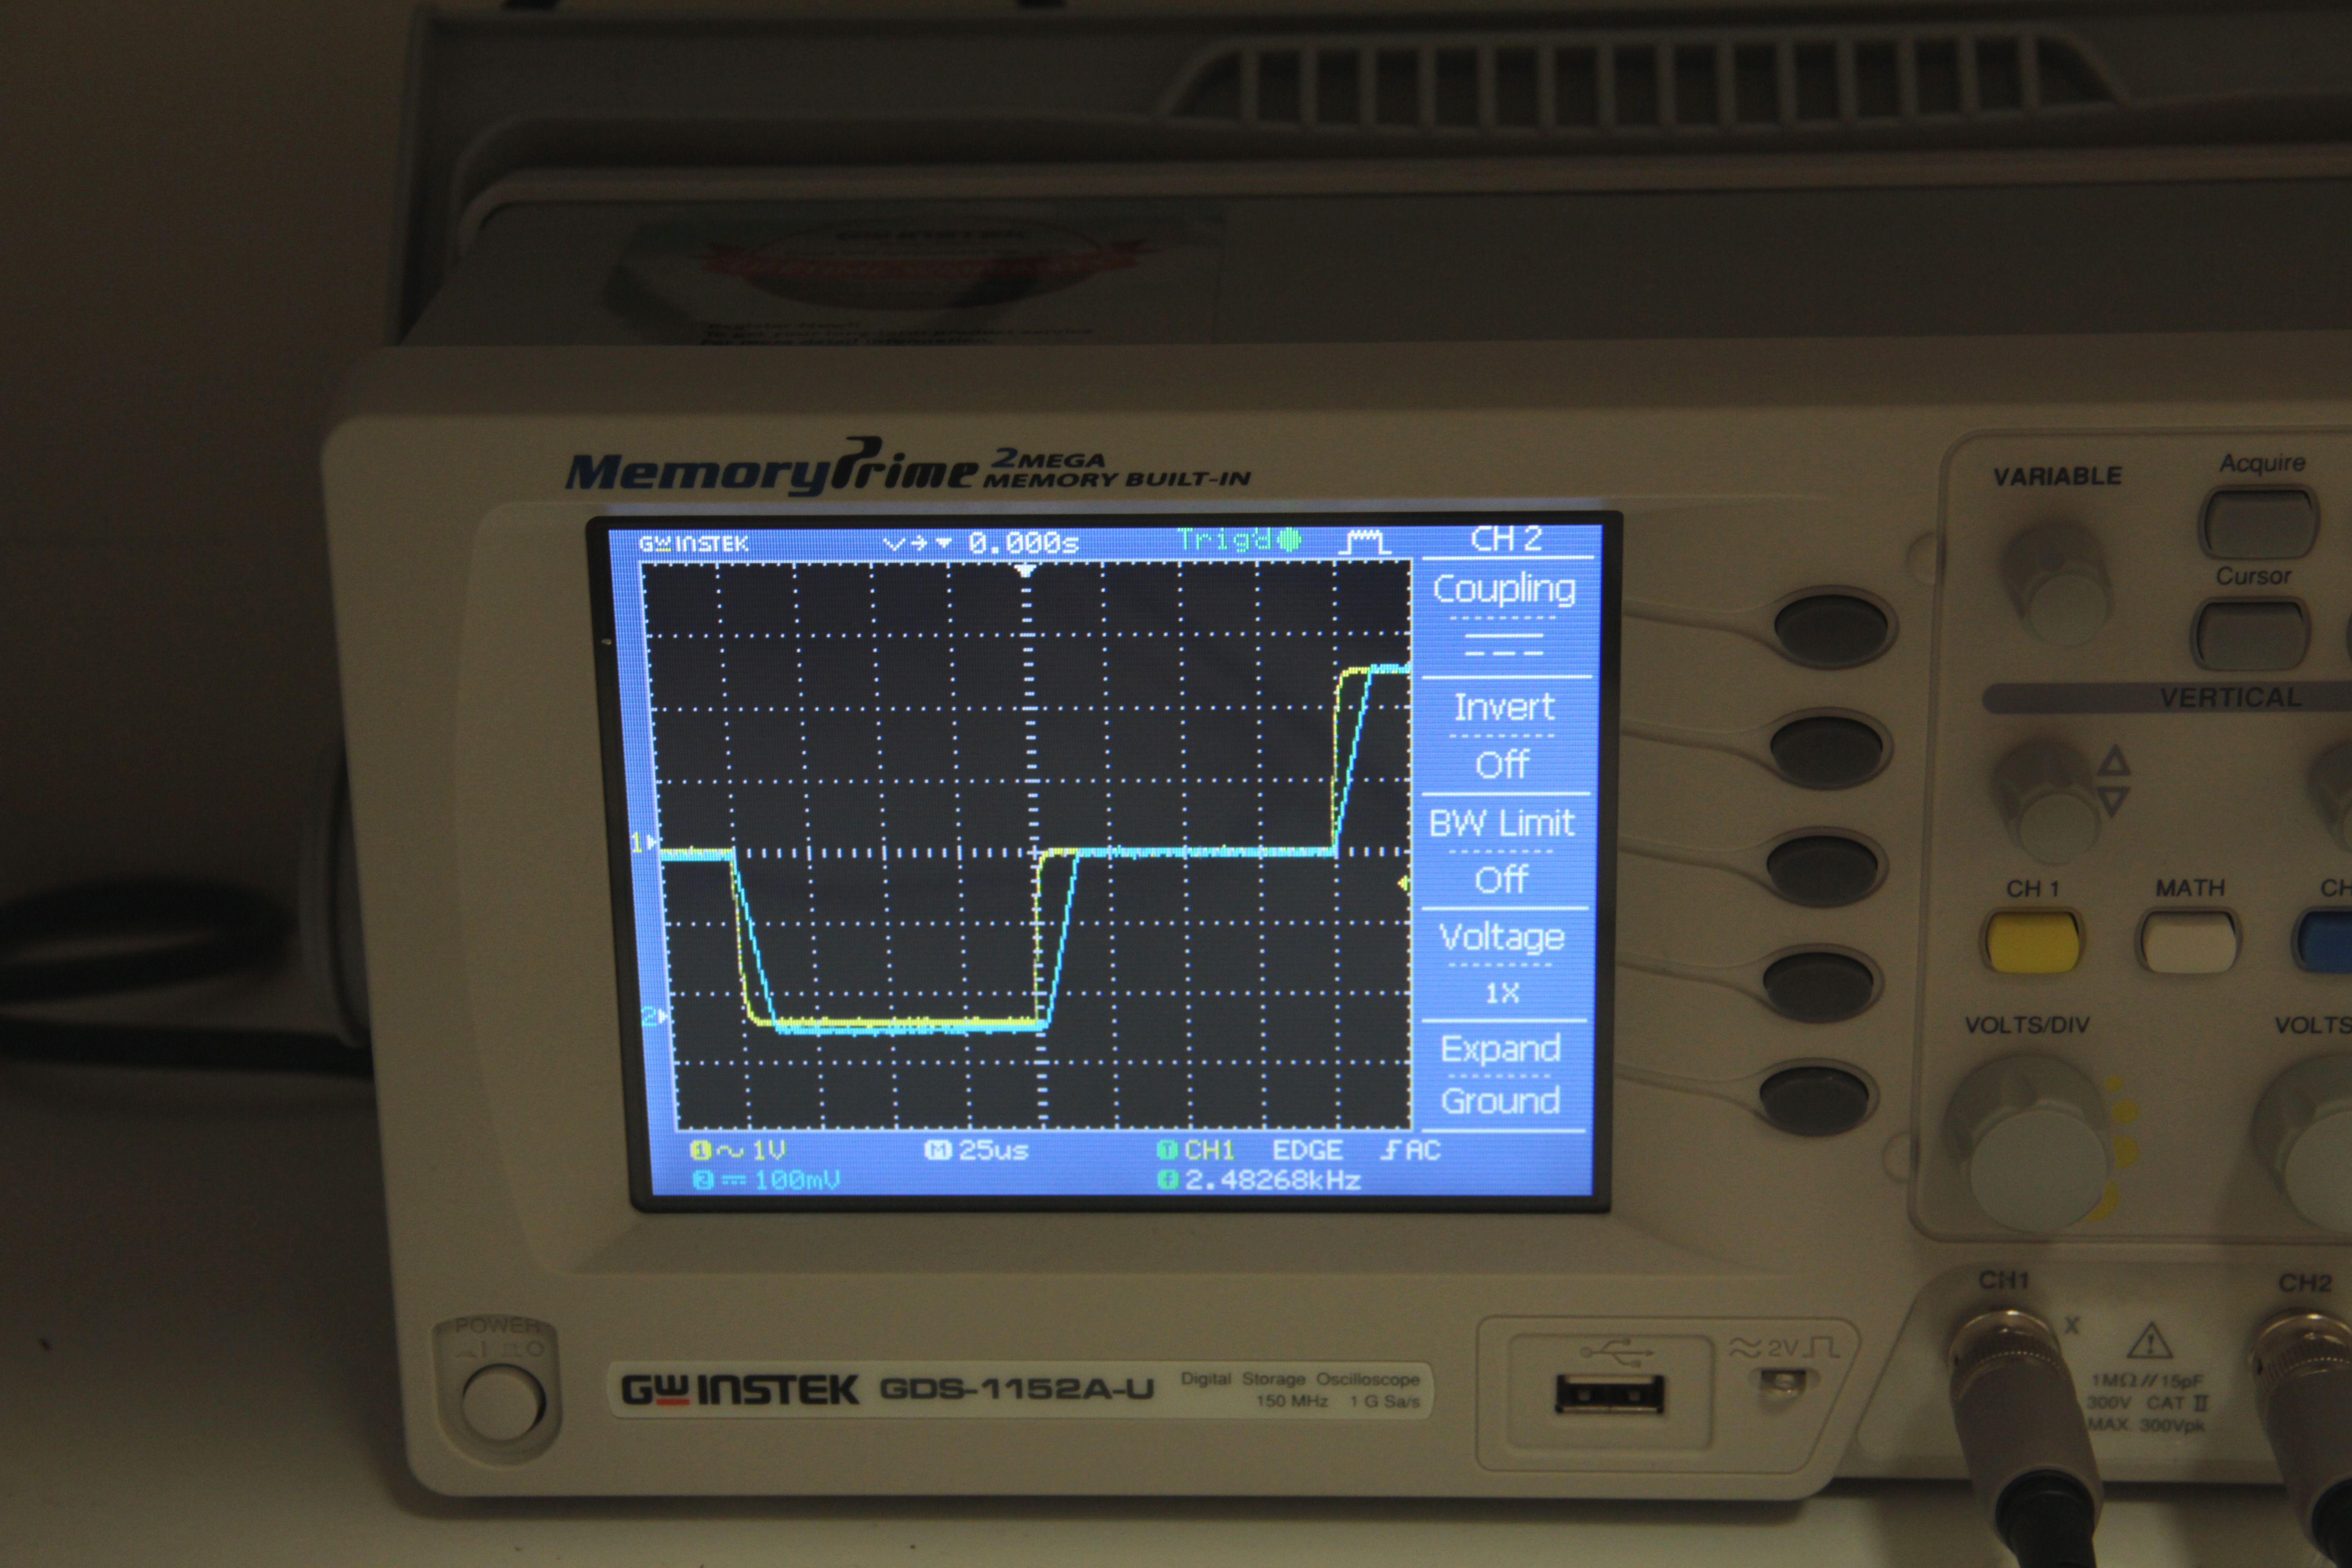
If your oscilloscope has multiple channels, you can look at multiple inputs at the same time. This is especially useful for looking at changes in a signal as it moves through your circuit.
I set up a pulse-like waveform and put it through a simple voltage follower/buffer circuit to measure the slew rate of an op amp. Ideally, a wave going through a voltage follower should not change at all. I measured the incoming wave on channel 1 (yellow) and the output on channel 2 (blue). As you can see in fig 1, the waves are approximately on top of each other. Zooming in my time/div (fig 2), you can see the the signal output has a slight lag of about half a division. Each division represents 25us, so that's a lag of about 12us.
Some other examples of uses for dual channel measurements that come to mind include:
measuring the response time of a sensor- compare a pulse signal to the signal out from the sensor
measure phase changes
analyzing at the effects of a filter
Advanced Oscilloscope: X-Y Mode

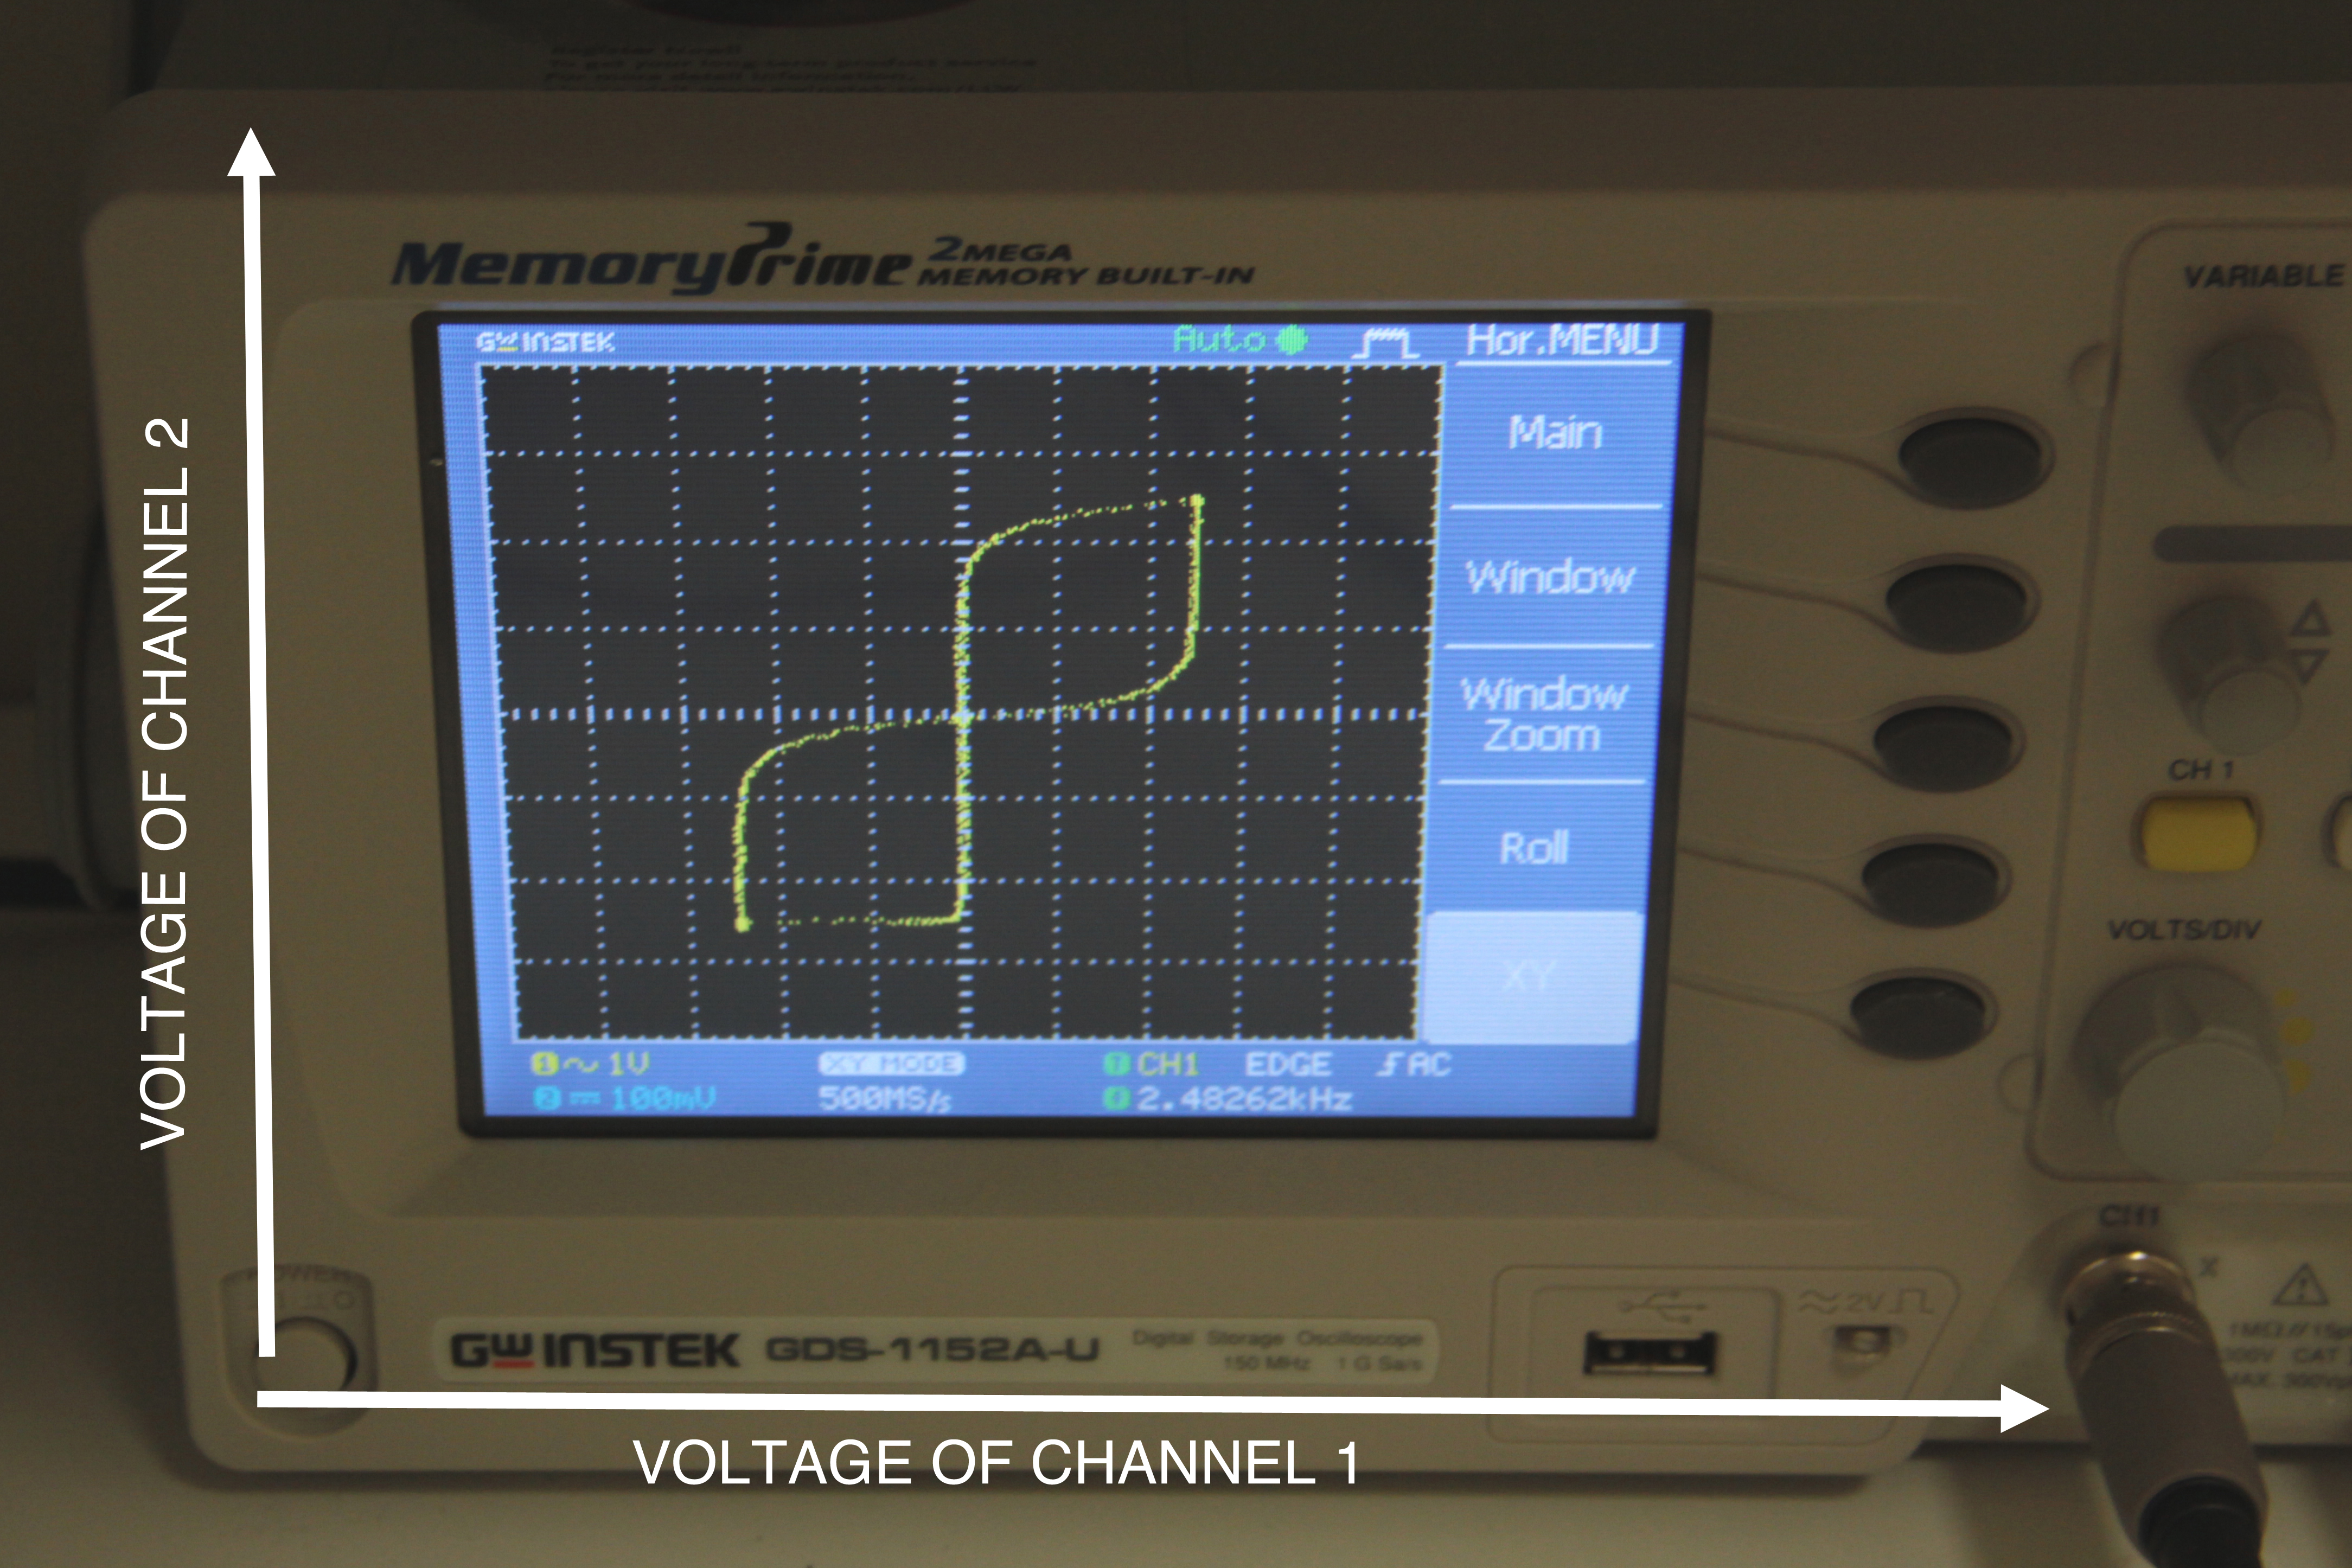

In the introduction I mentioned that usually oscilloscope curves show the relationship between voltage and time. There are occasions where it is useful to compare the voltage of one signal verses another. This is especially useful for plotting I-V curves for diodes and other components.
Figure 2 shows an x-y plot of the two channels depicted in fig 3. Channel 1 (yellow in fig 3) is plotted along the x axis and channel 2 (blue in fig 3) is plotted along the y axis.
Figure 2 shows an x-y plot of the two channels depicted in fig 3. Channel 1 (yellow in fig 3) is plotted along the x axis and channel 2 (blue in fig 3) is plotted along the y axis.