CS291I Assignment 1
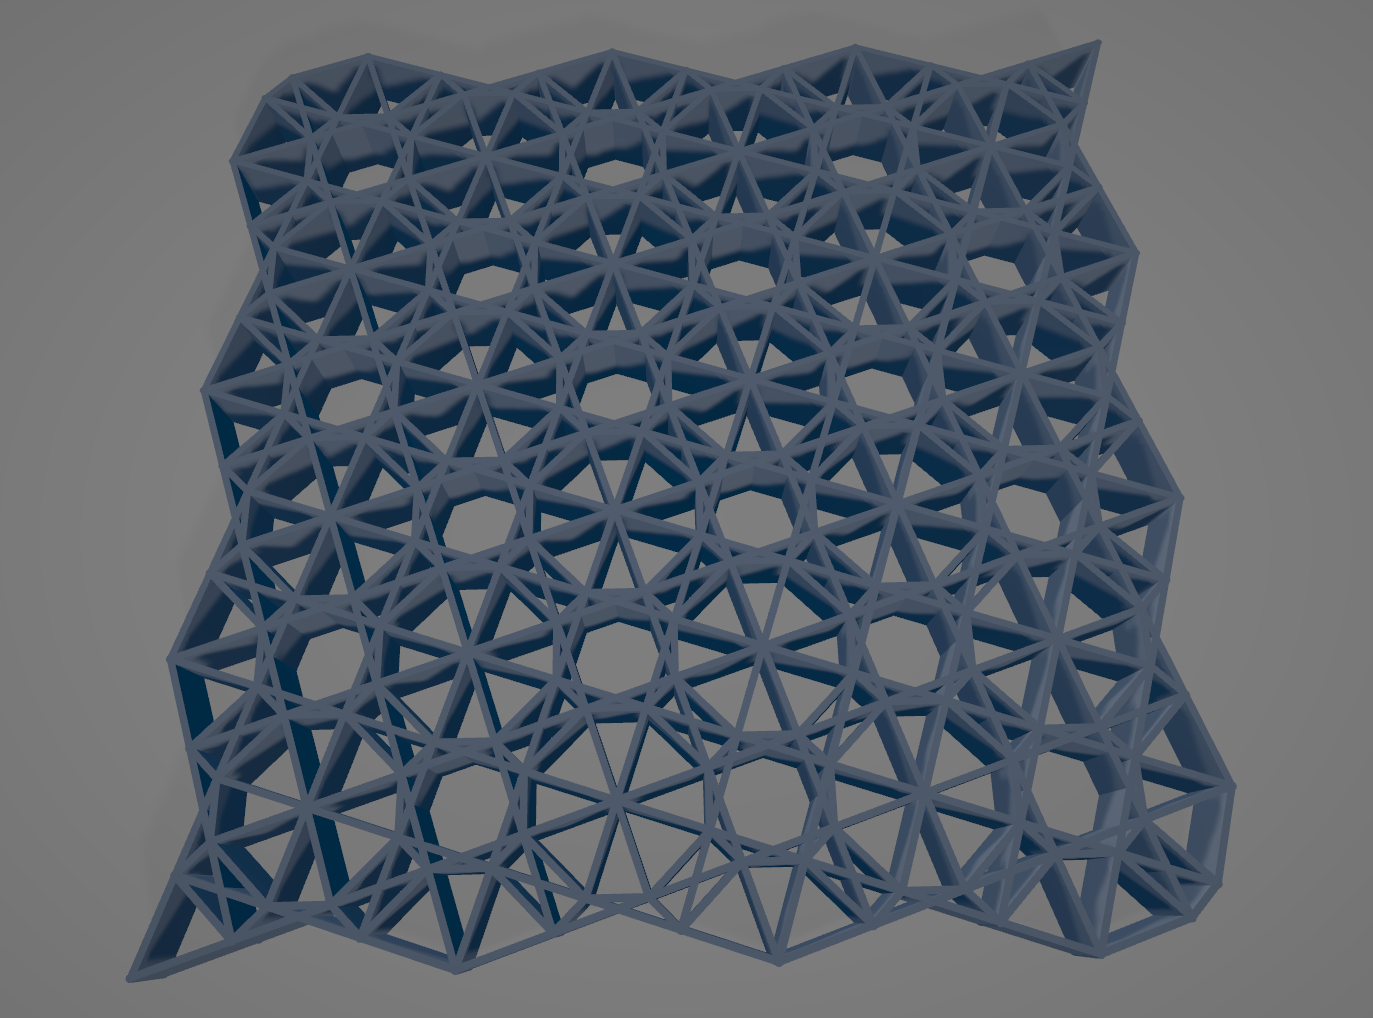
This Instructable documents my journey in creating an ornamental pattern for my first assignment in Professor Jennifer Jacob's 291I course at UCSB. Through this assignment I familiarized myself with some of the tools in Rhino and Grasshopper which enabled me to create a 3D model that I can print.
Step 1: Create Grasshopper Code
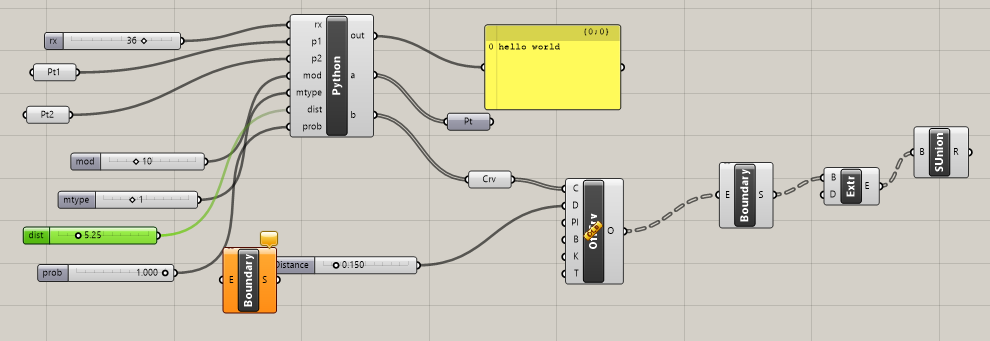
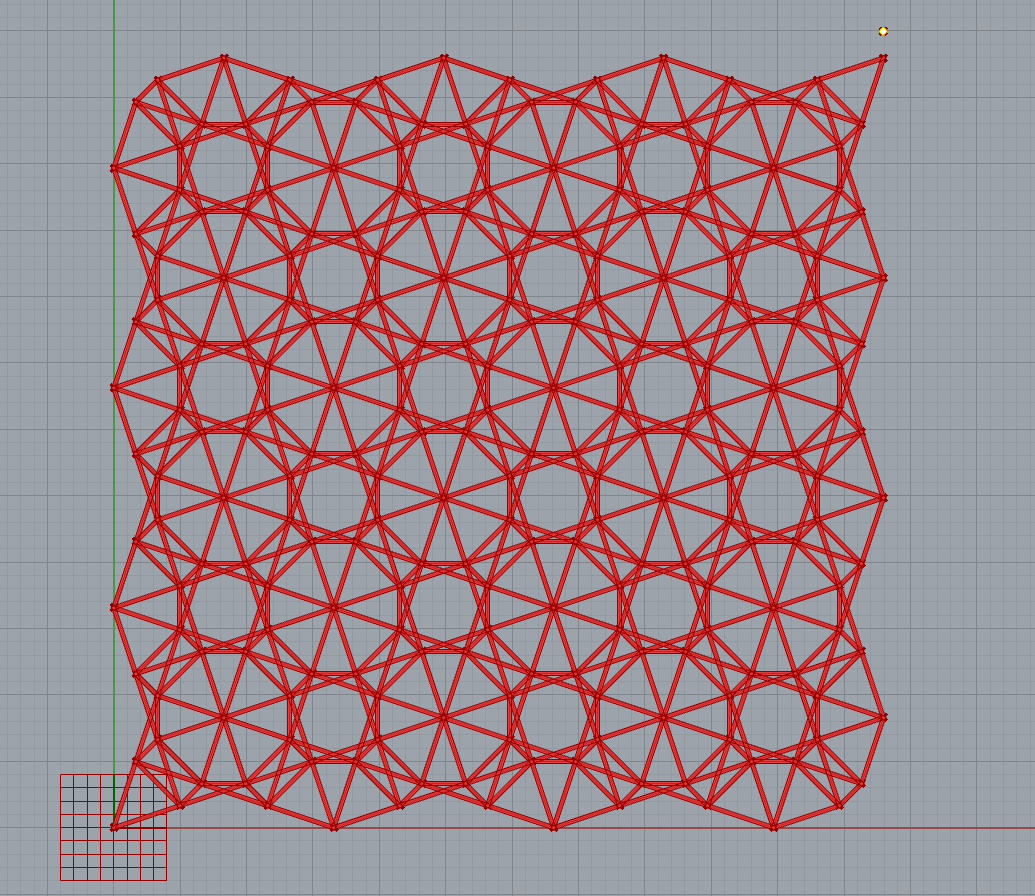
I based my design off the example code given in class. It creates a grid of points based on two reference points in the Rhino environment. The number of points in the grid can be changed using a slider. There are also other sliders for a couple other parameters. These include "mod" and "mtype", which select from a few modulus related conditionals to determine which grid points to include or exclude. There is also a "dist" parameter that determines the maximum length a connecting line can be, so all points with a distance smaller than "dist" between them are connected.
I adjusted the parameters to my liking to create an ornamental pattern that I liked. The preview can be seen above.
The other Grasshopper widgets add boundaries to the lines, extrudes them to surfaces, and does a boolean union operation on all the surfaces to create one unified model.
Step 2: Adding My Own Parameter
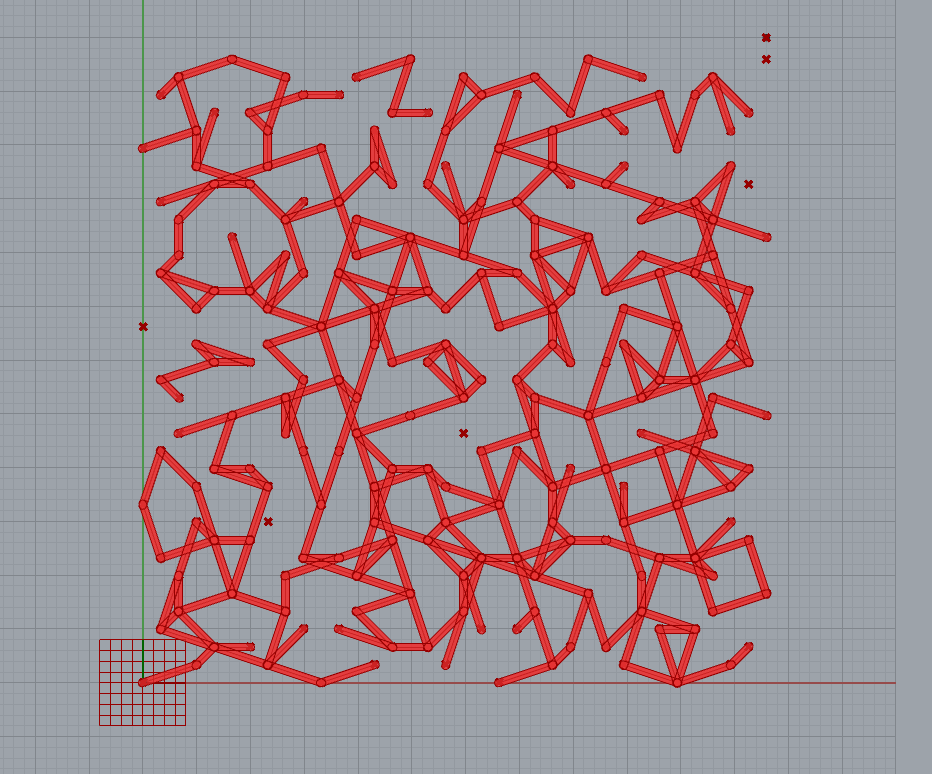
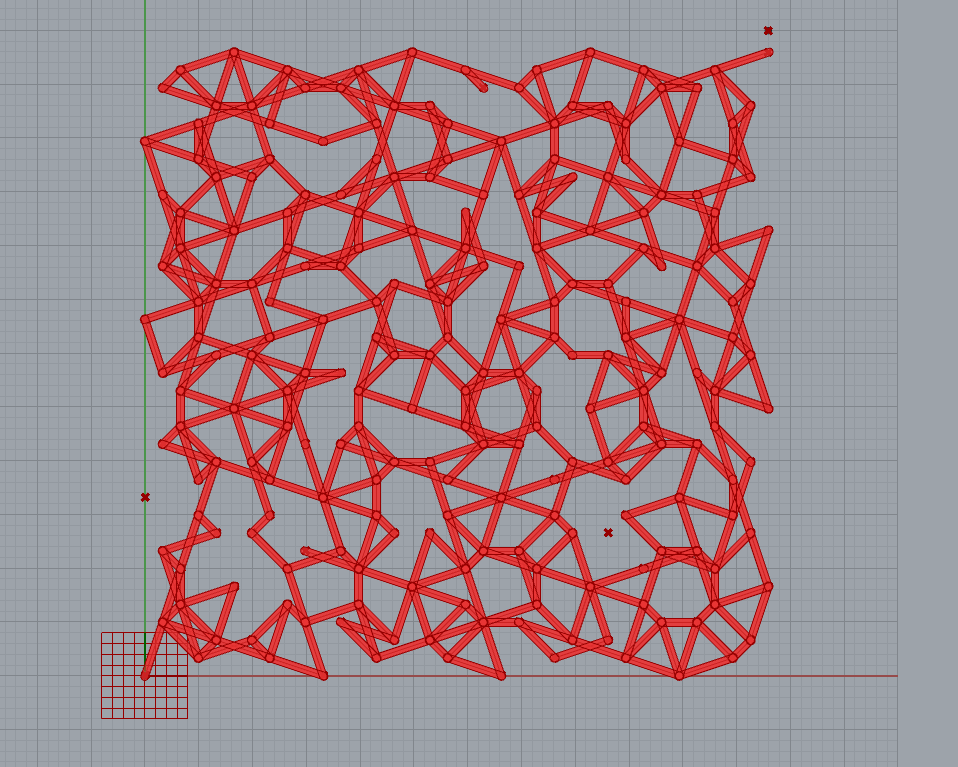
In the Grasshopper code, I added my own parameter, "prob". I liked the aesthetic of the design I created, but felt there might be too many lines and looked too symmetrical. So, I thought I could make it more interesting by randomly removing some lines. The "prob" parameter specifies the probability that any connecting line would exist.
The images show the results of setting the parameter to 40% and 60%. I realized that uniformly randomly removing lines was probably not the best, as it could result in disconnects between surfaces. It was also completely up to chance whether or not I liked the modified designs because of the uniform randomness.
If I were to spend more time on this, I would probably add some more complex algorithm to systematically remove some of the lines.
Step 3: Baking to Rhino and Exporting
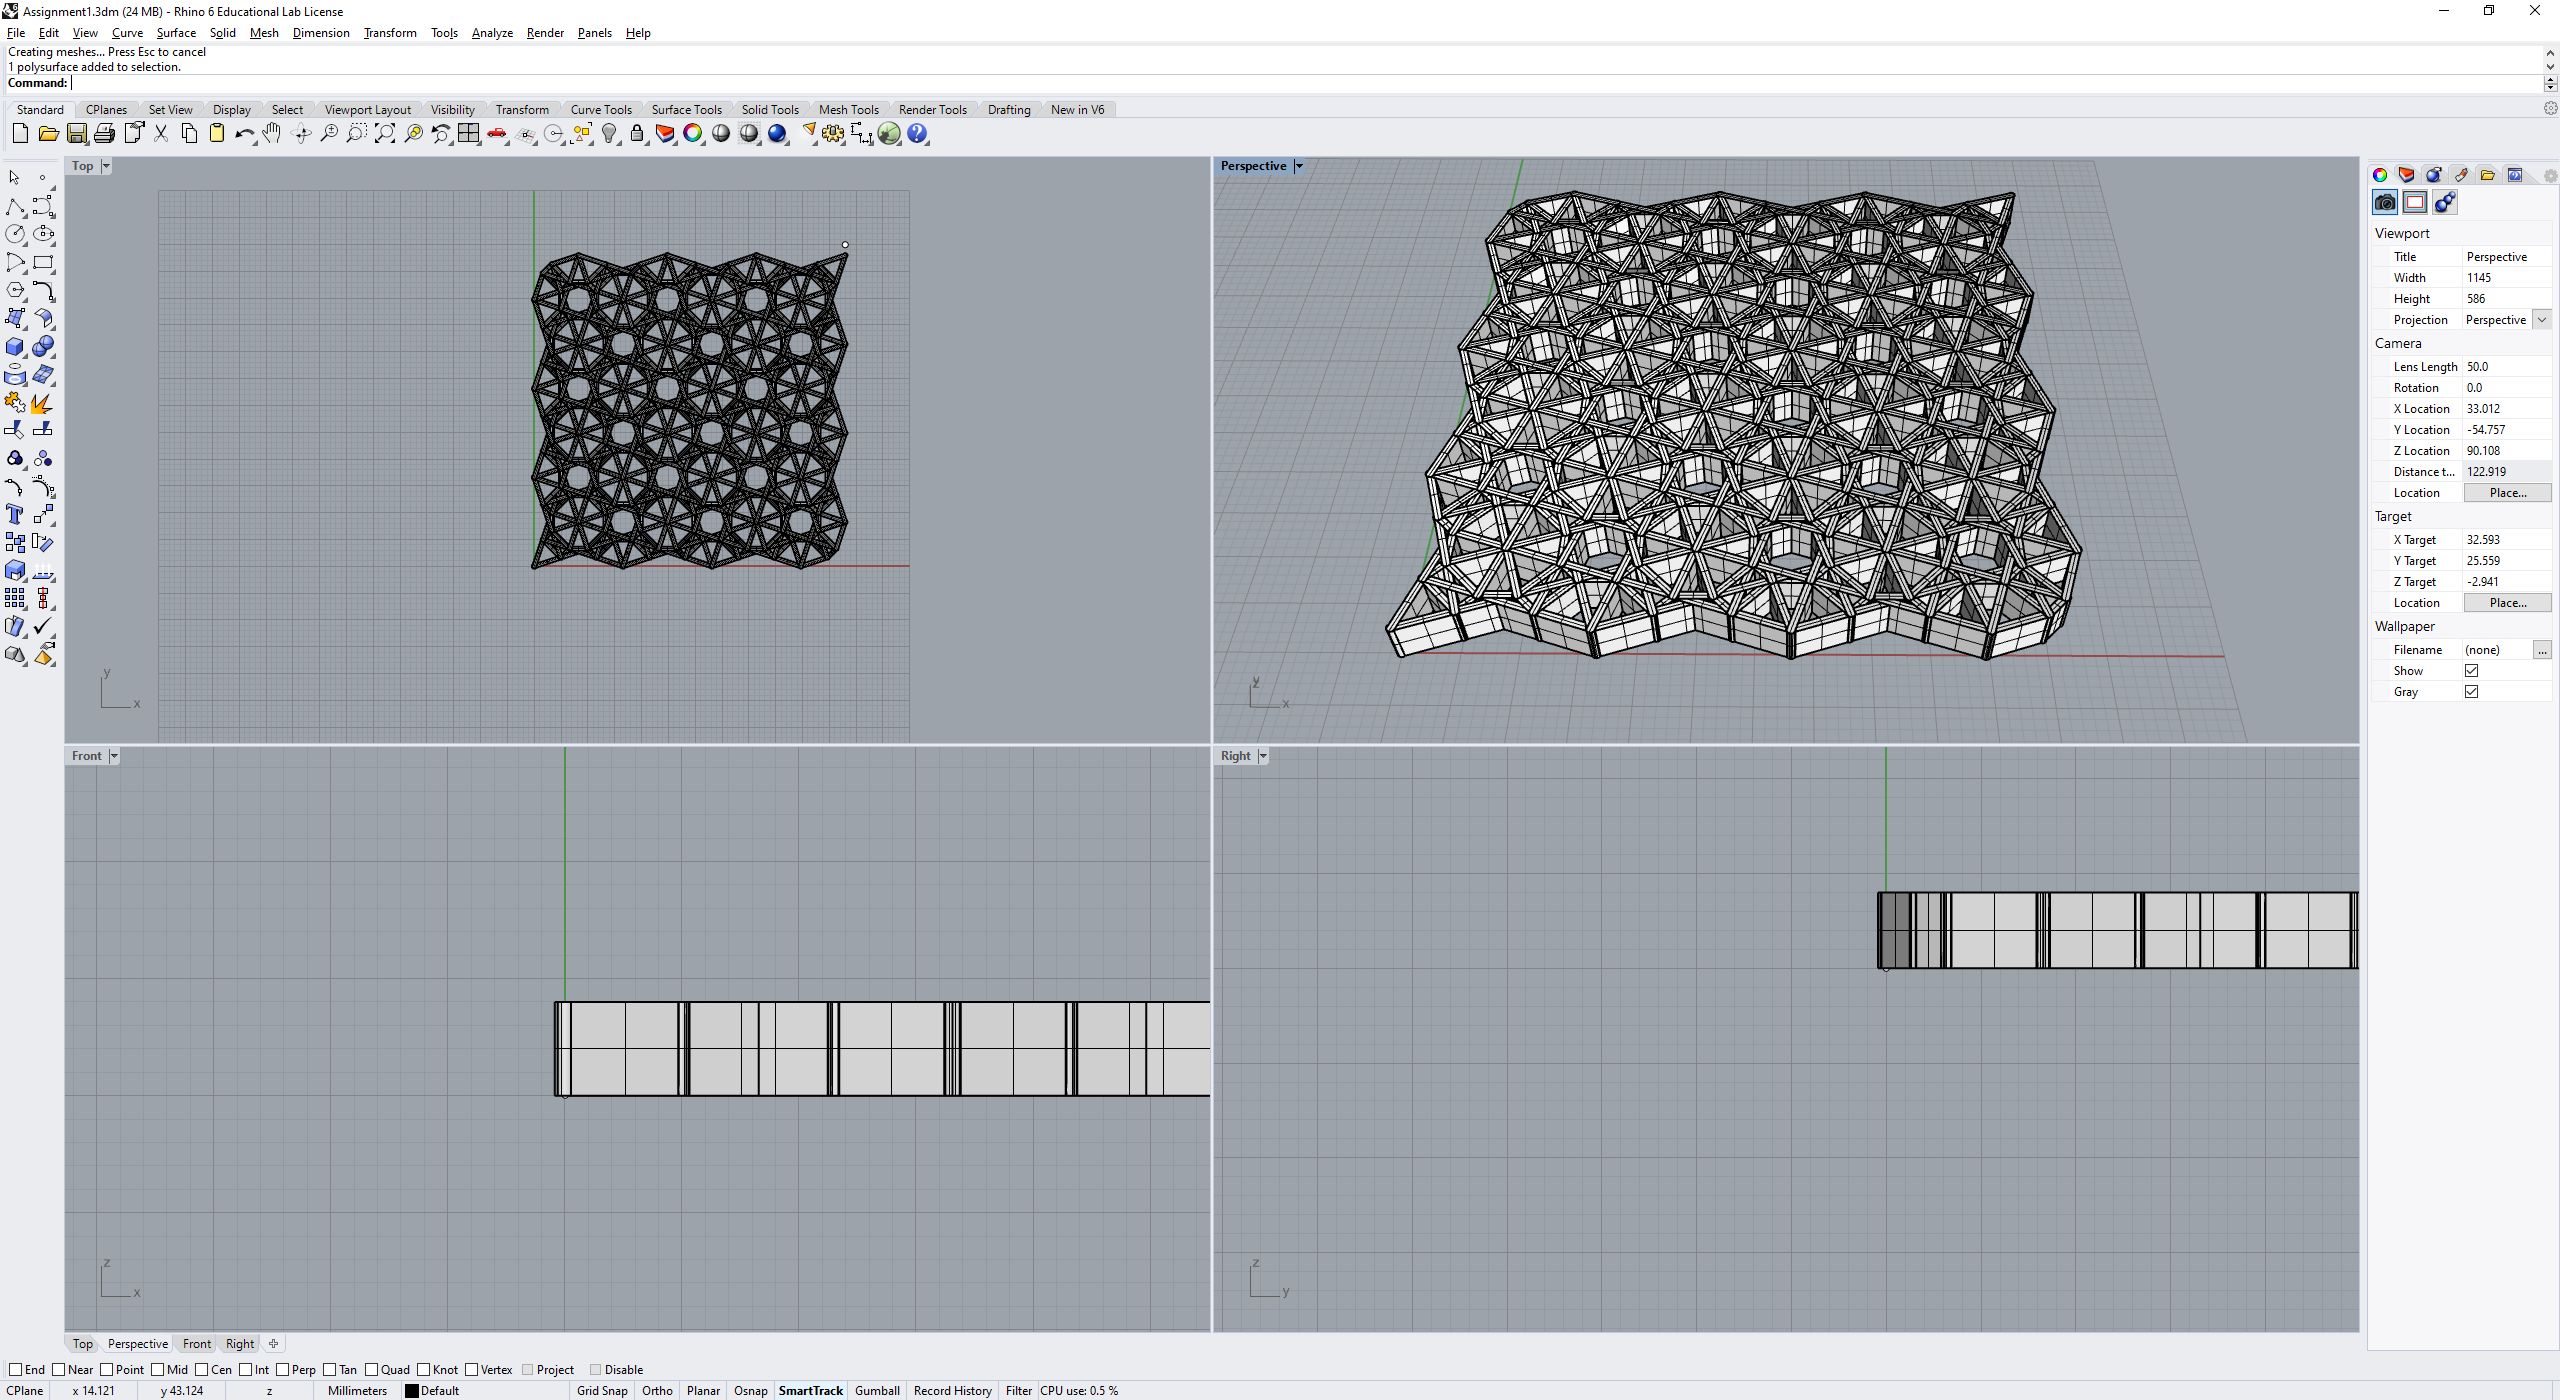
I ended up using the original design without removing any edges.
Through Grasshopper, I baked the unioned surface to view in Rhino. Unfortunately, It wasn't actually one single surface, so I just used the Rhino tool to apply the boolean union function to all the surfaced generated.
Here I was able to see how it would look in 3D before exporting it for 3D printing.
Step 4: Slicing in Cura
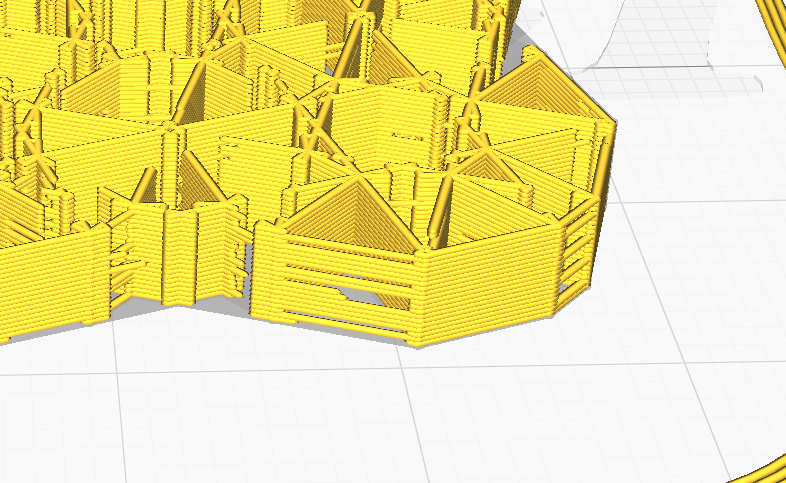
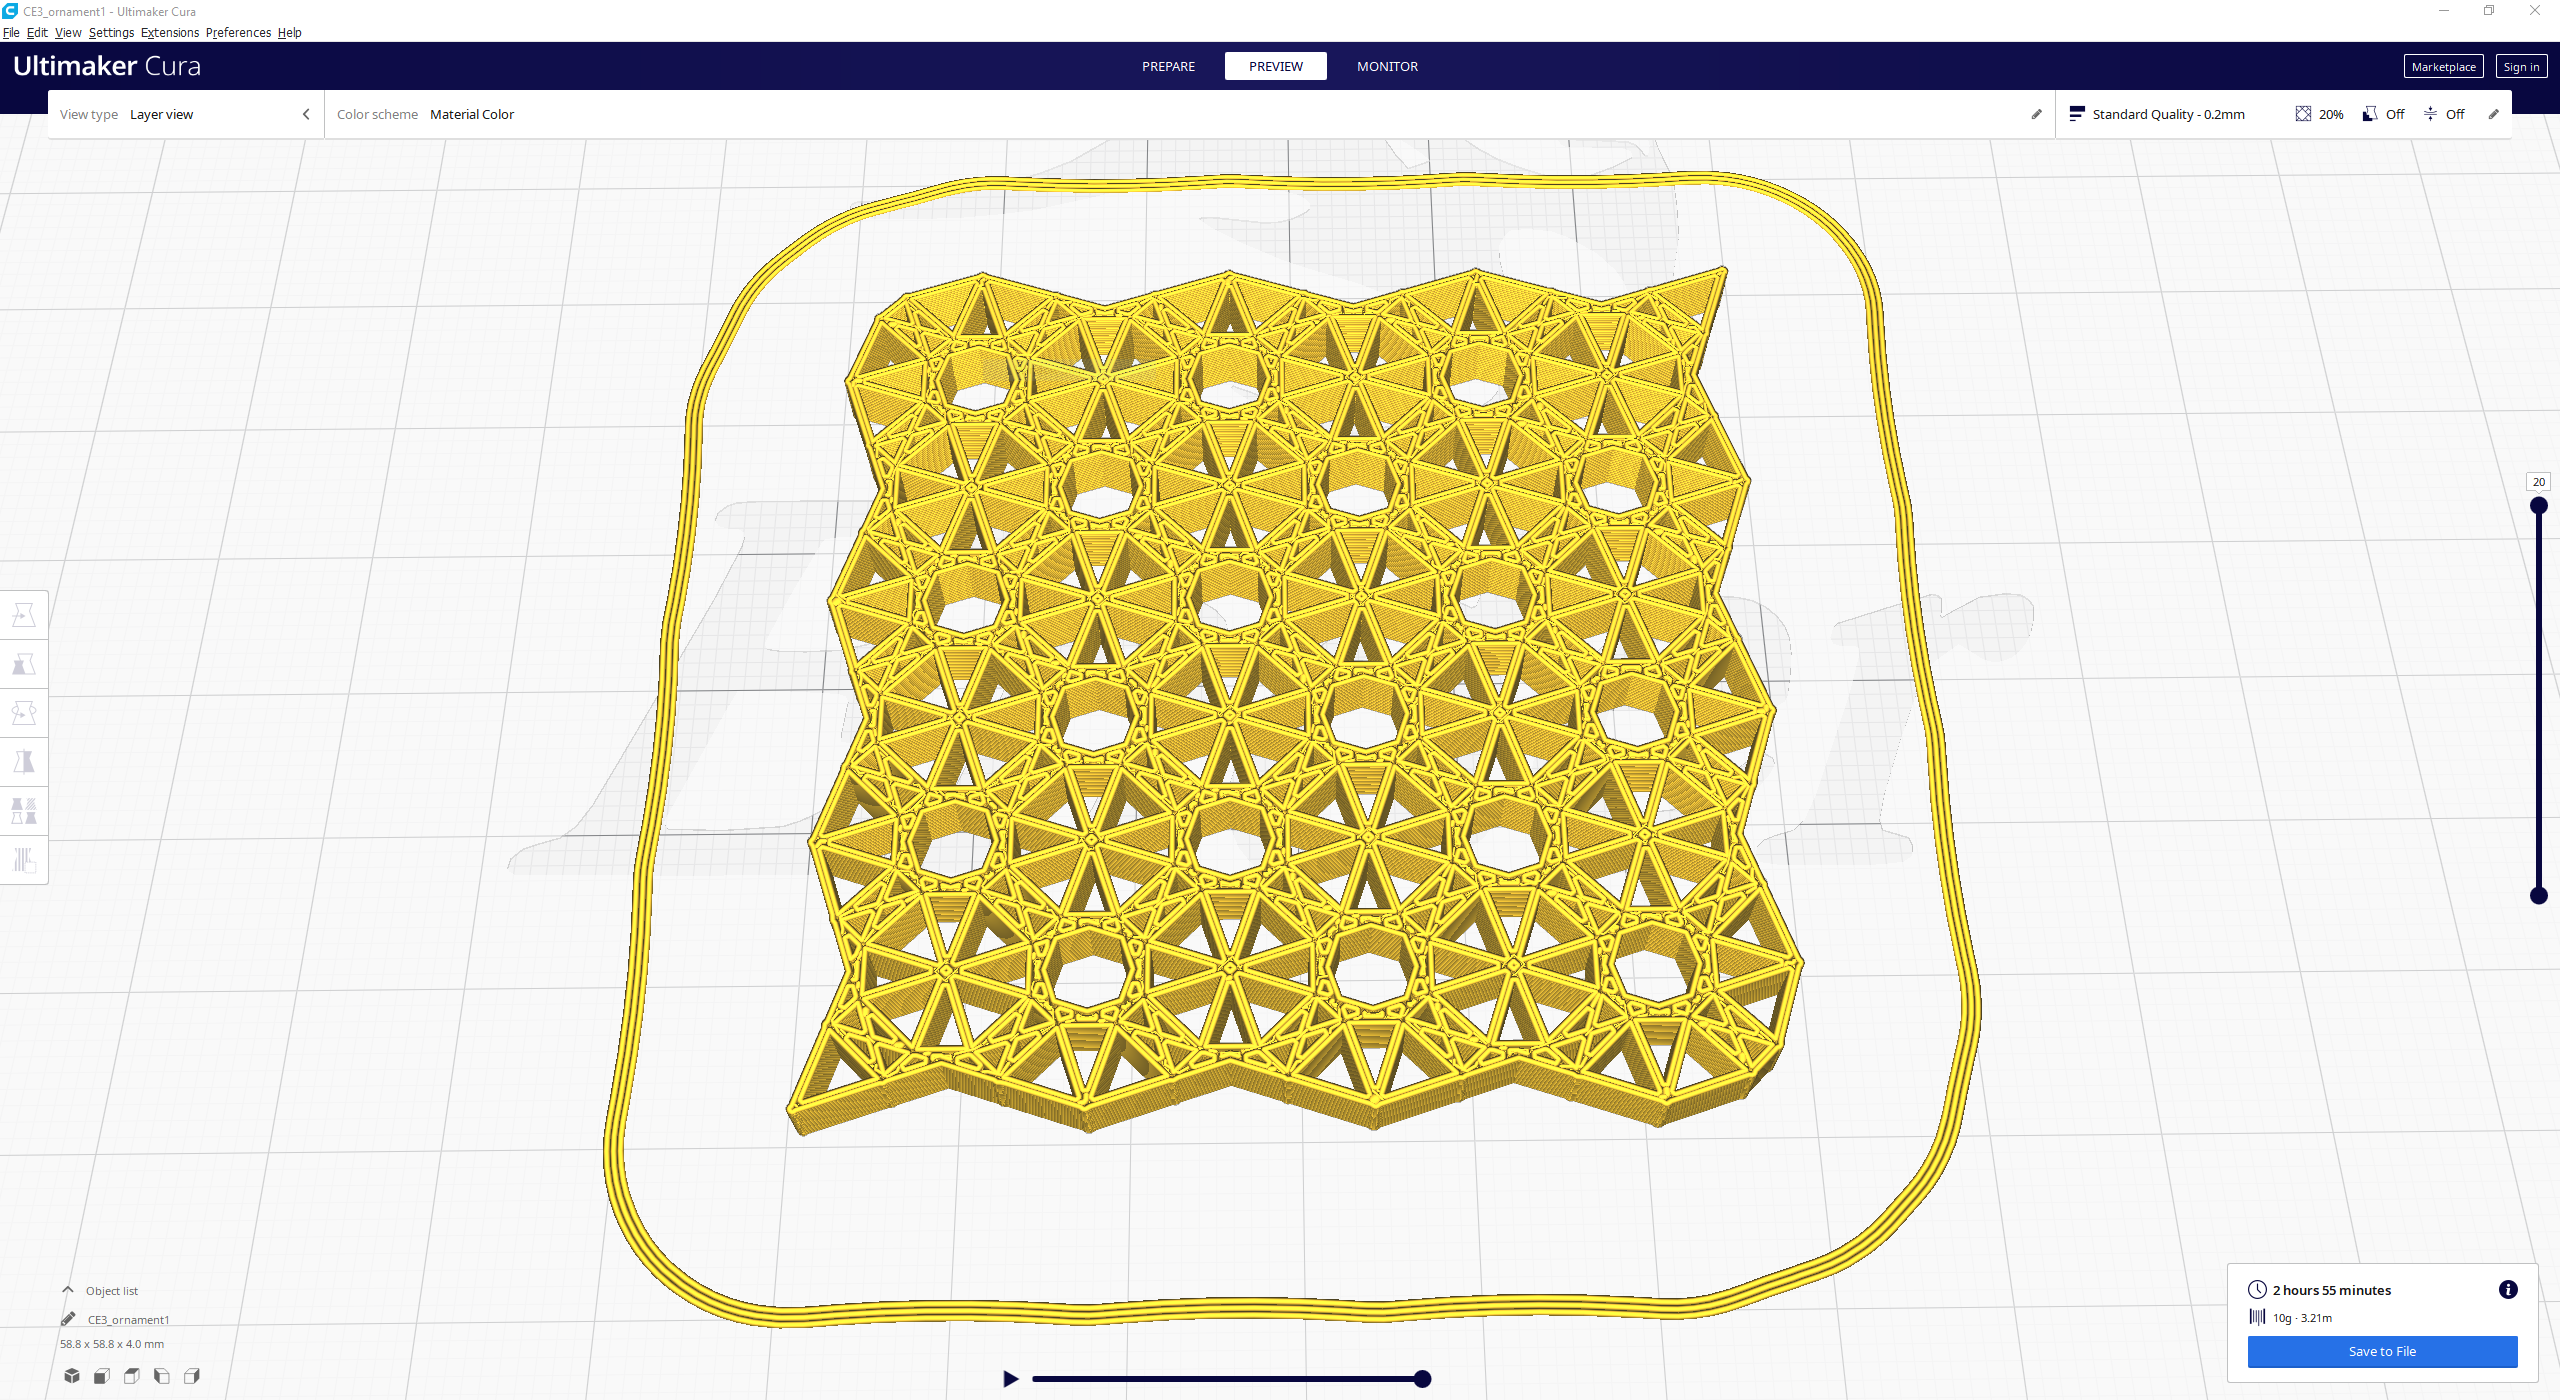
After exporting the model from Rhino, I opened it in Cura to slice it for printing.
At first, the slicing did not work properly for me as there were holes in the walls, as seen in the first image. I believe this is due to the thickness of the walls being to small. So, I went back into Grasshopper to make the boundaries wider to accommodate the physical thickness of the extruded material.
I was able to successfully slice the model, and could see a preview of the individual layers. I liked how my model looked like pasta in the Cura preview. Actually printing the model would take a couple hours. I have also uploaded the .stl if you would like to print it yourself!