Original Pinbadge Recycling

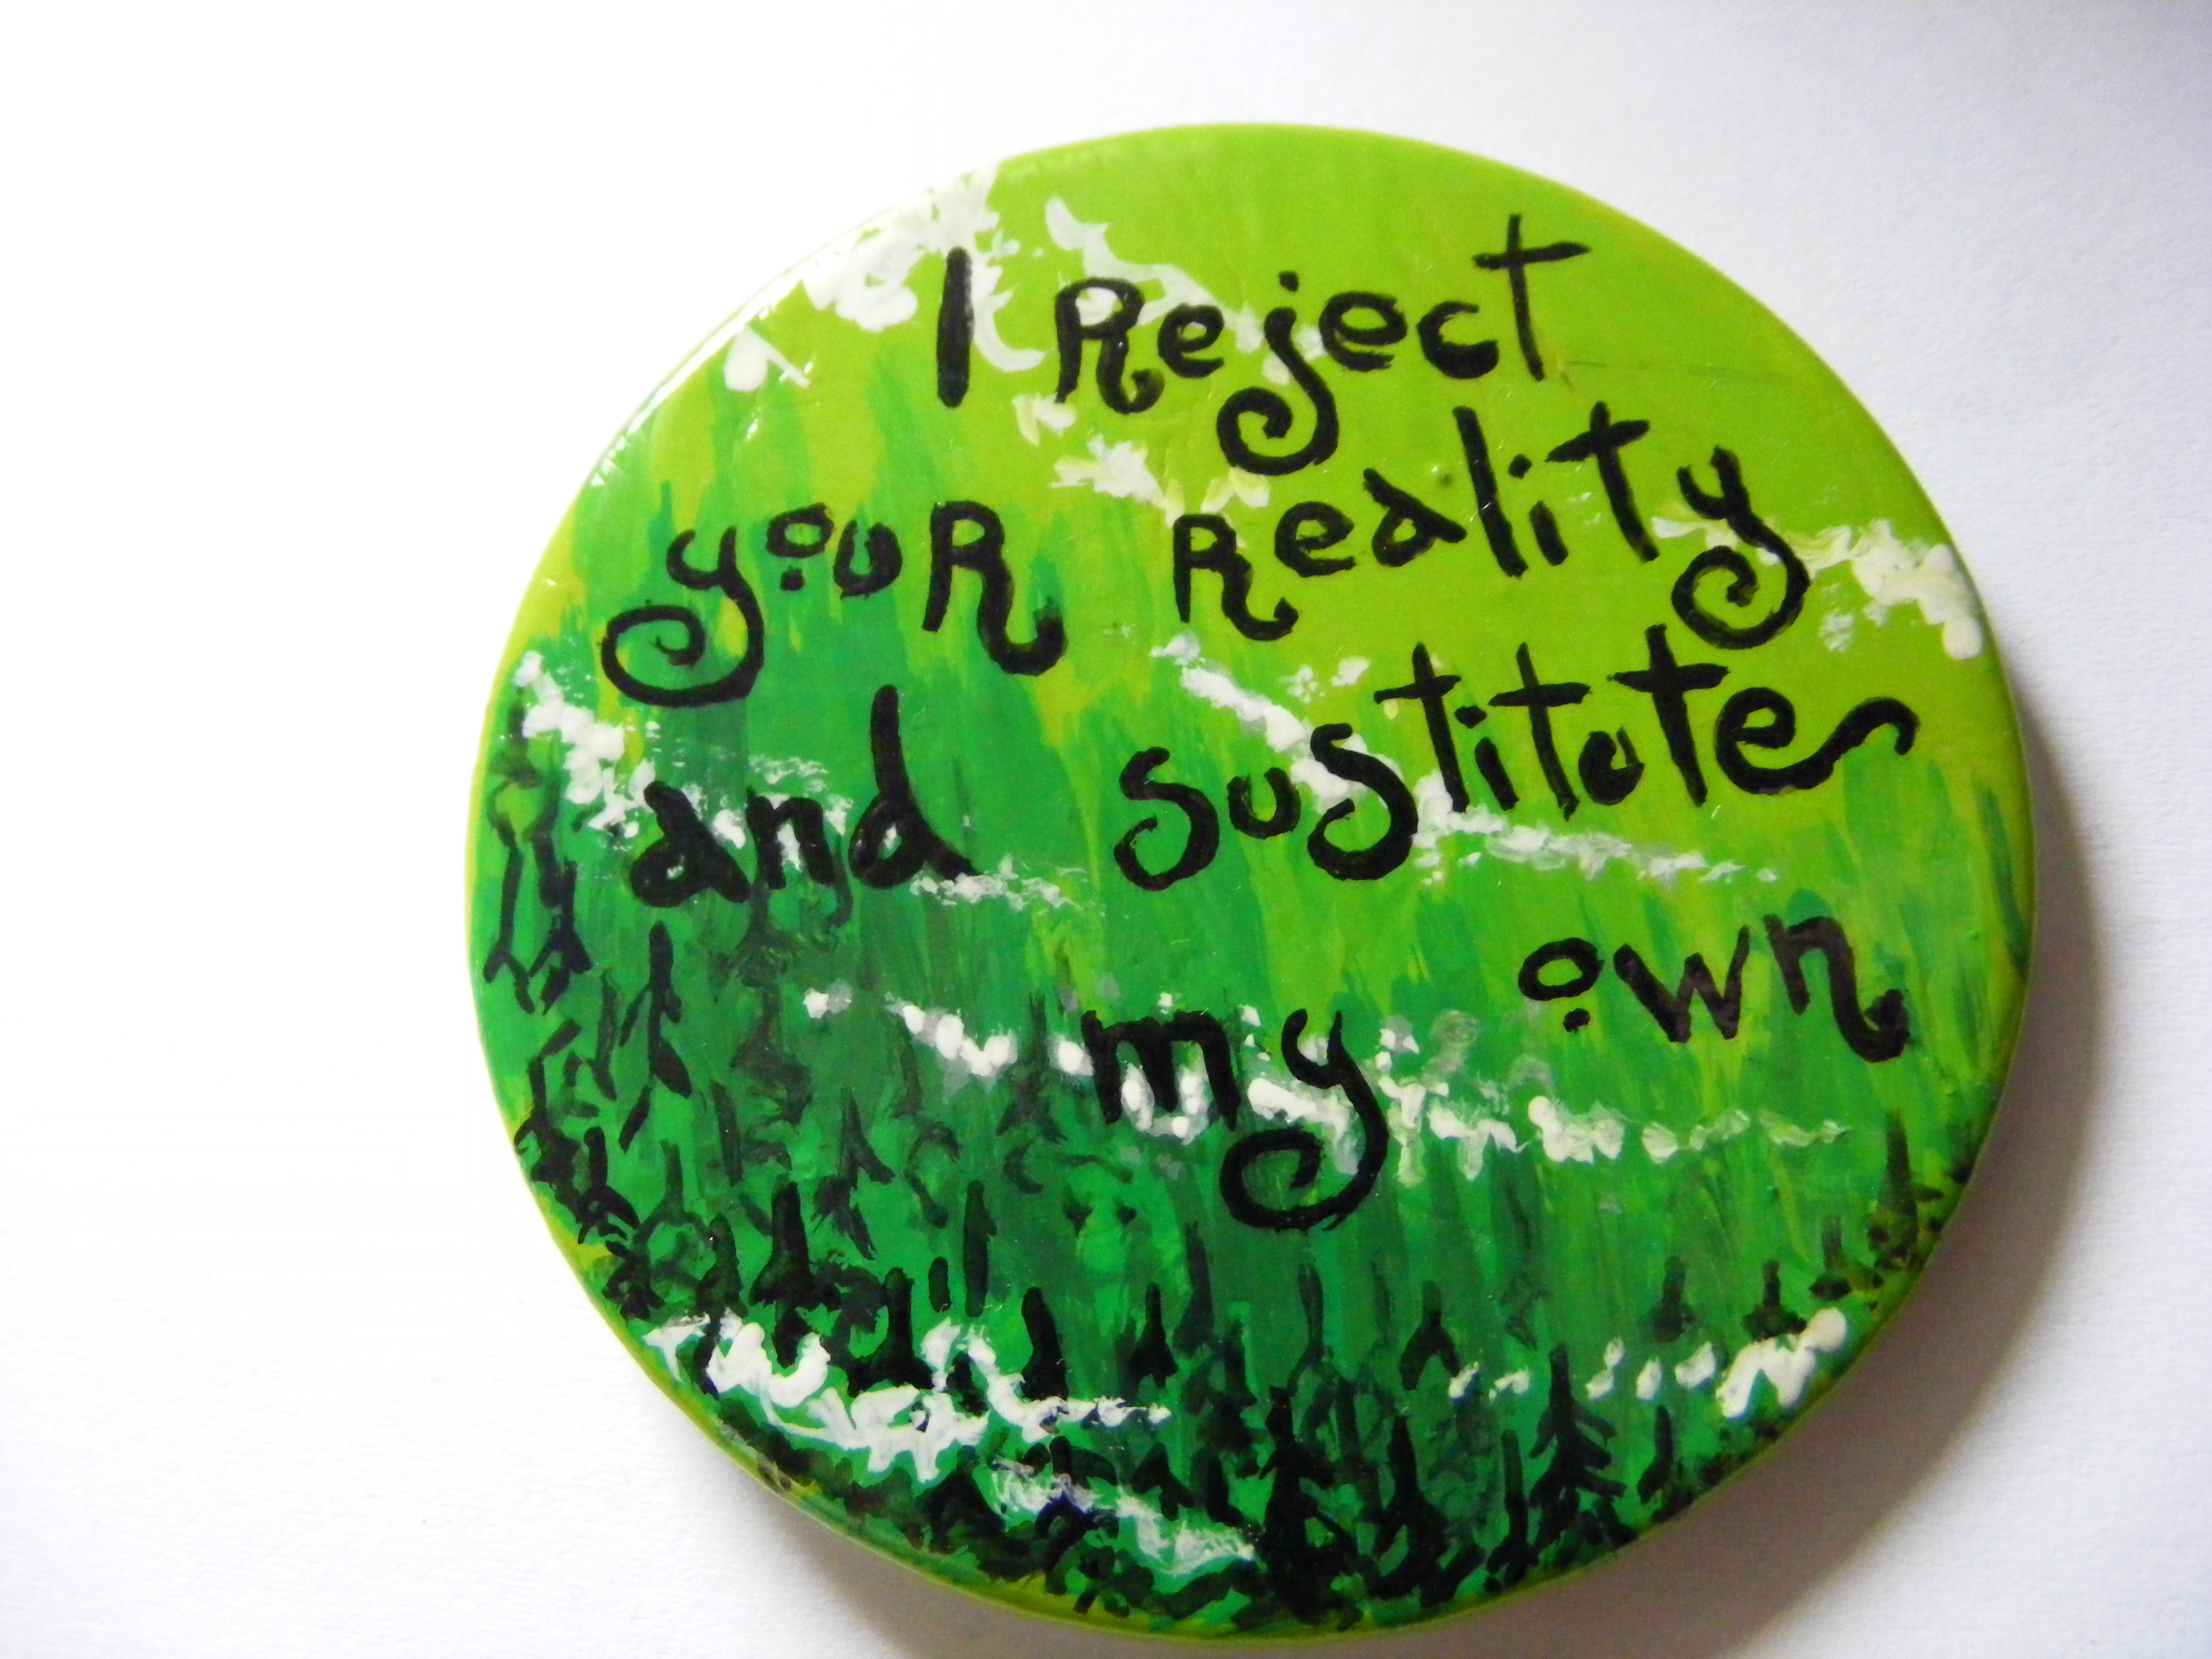

Do you have a pinbadge from a boring conference or one which you found in the street?
Have you discover and old forgotten badge in your room?
This instructable tells you how to paint your old, boring or simply ugly badges into a new ones.
(English is not my mother tongue so I have probably made some mistakes. Sorry and please, let me know if I did that)
Have you discover and old forgotten badge in your room?
This instructable tells you how to paint your old, boring or simply ugly badges into a new ones.
(English is not my mother tongue so I have probably made some mistakes. Sorry and please, let me know if I did that)
Materials
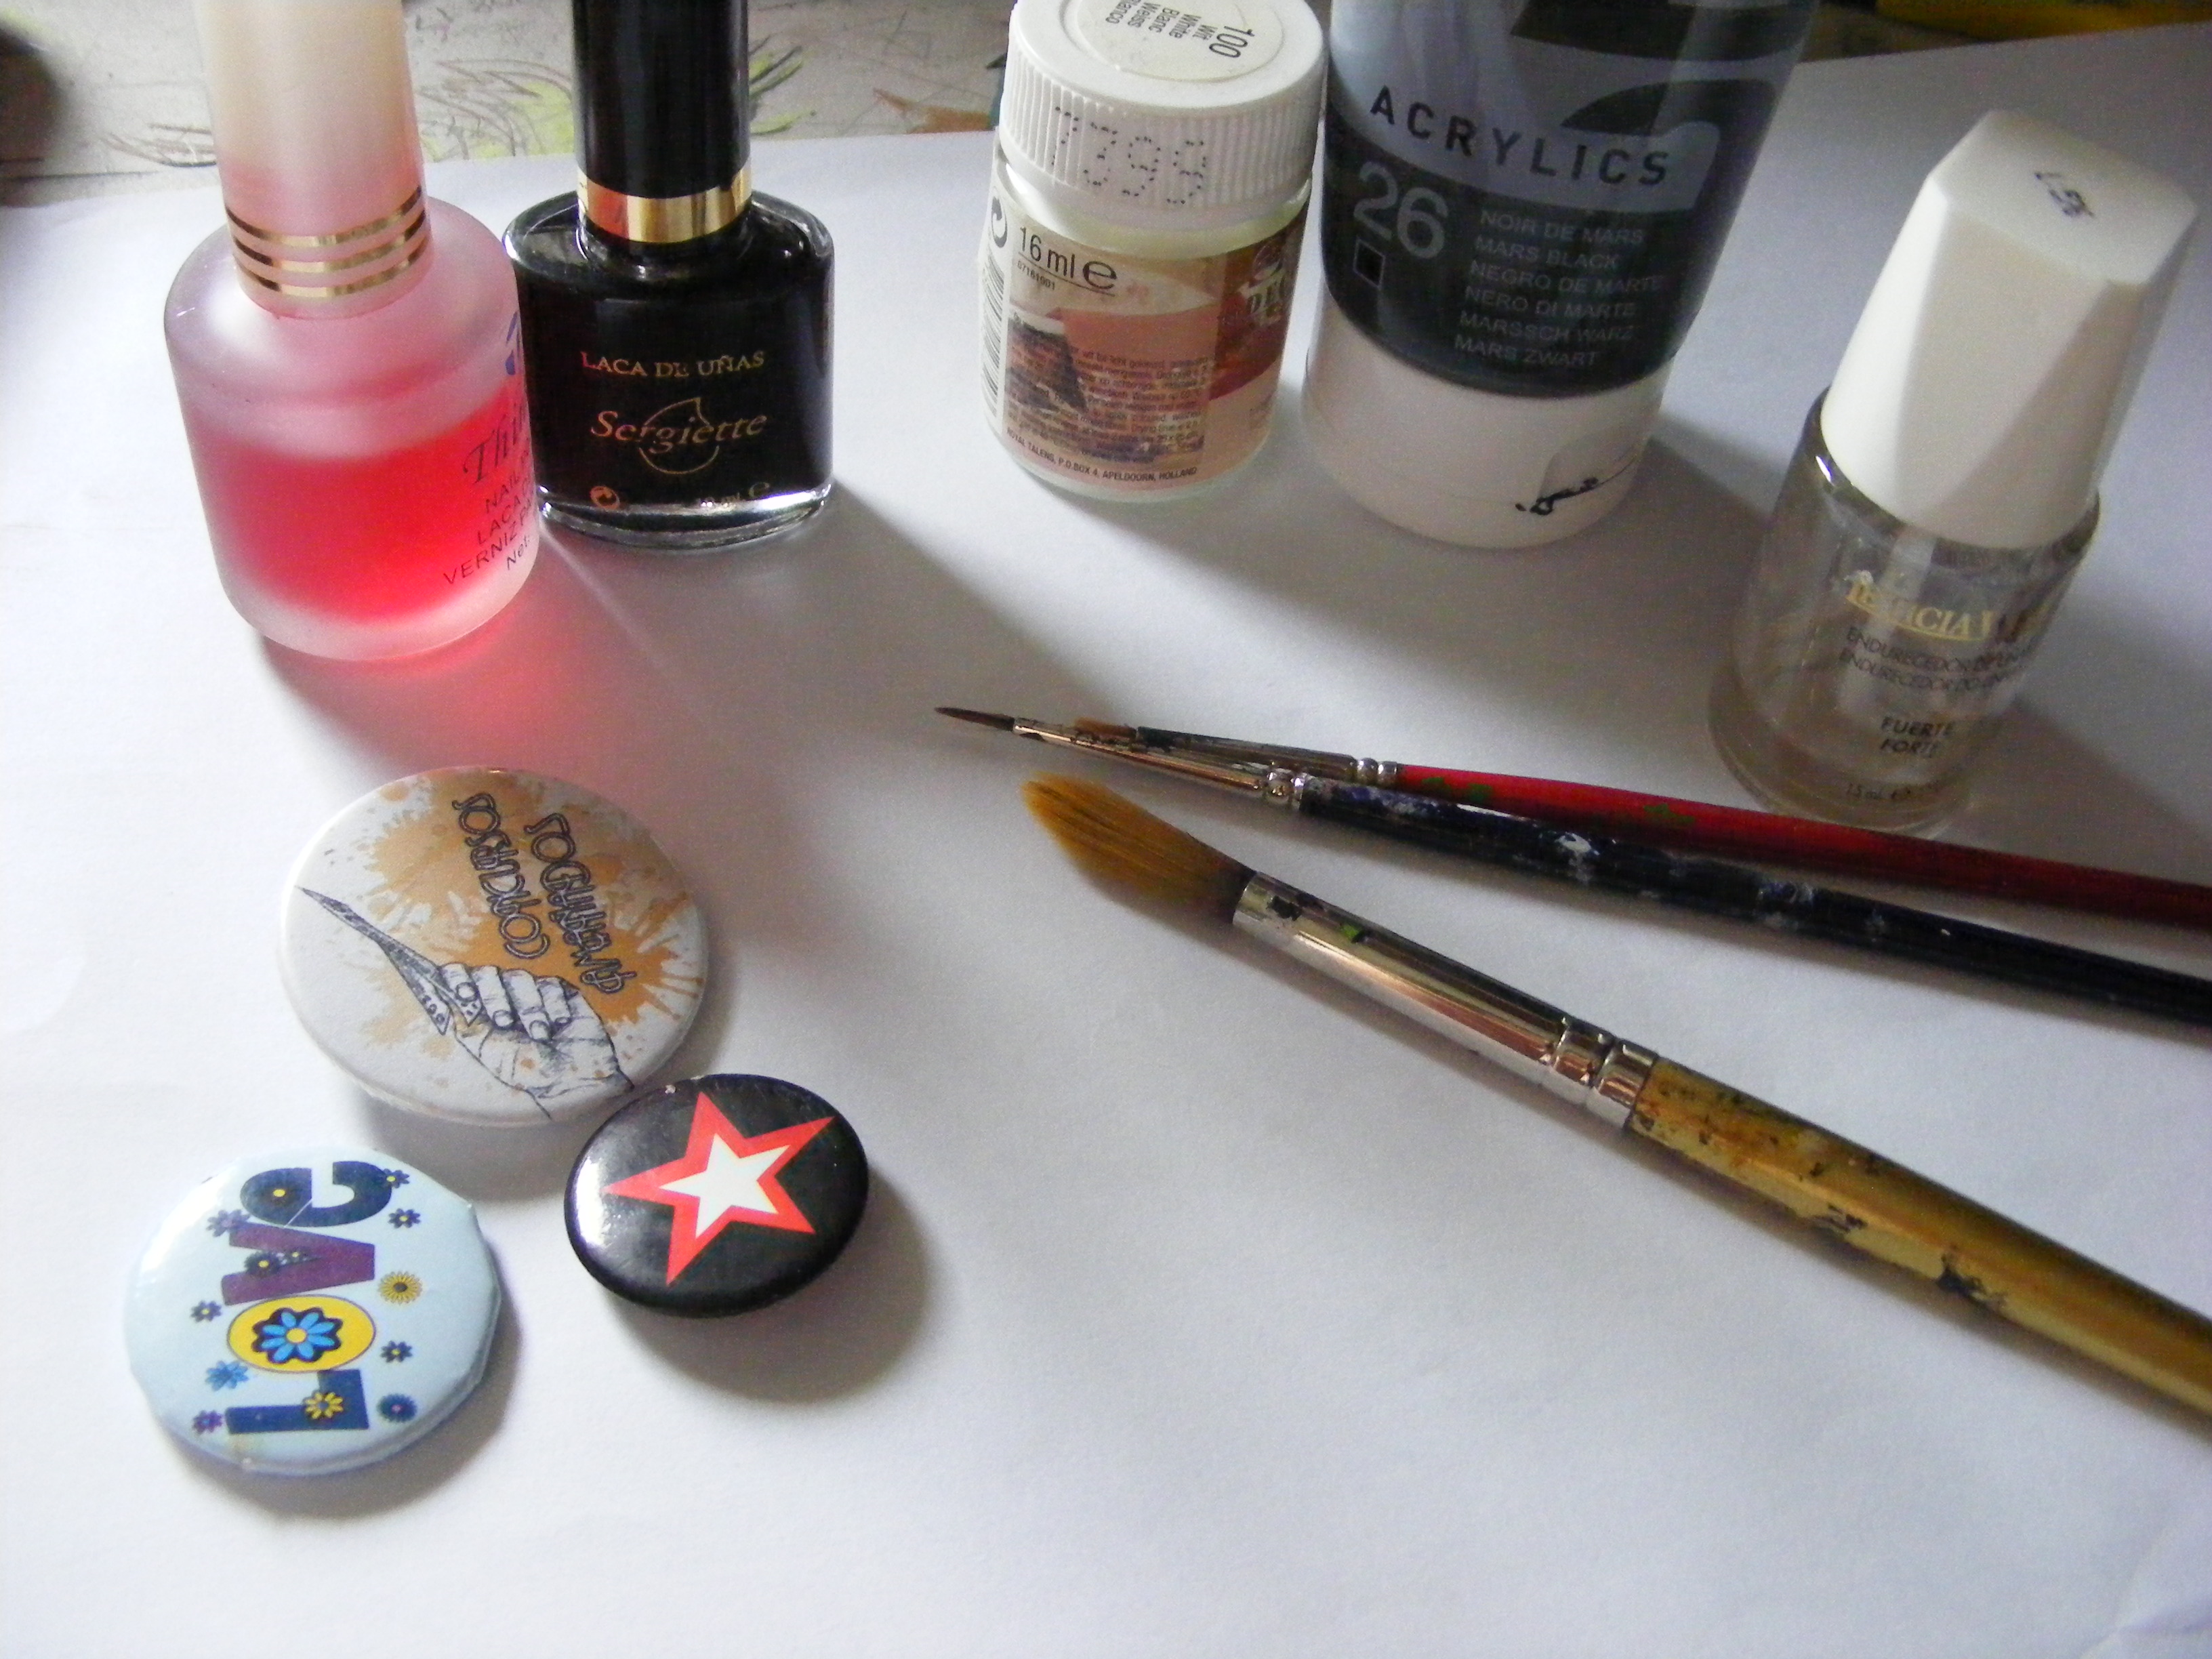
It's very simply. You only need:
- The pinbagde
- Cheap or ugly nail polish (You can use other too )
- Acrylics, water and paintbrush
- Transparent nail polish
(You don't need a good quality nail polish because you're not going to use it on your nails, so I prefer to use a cheap nail polish and don't spend my money )
- The pinbagde
- Cheap or ugly nail polish (You can use other too )
- Acrylics, water and paintbrush
- Transparent nail polish
(You don't need a good quality nail polish because you're not going to use it on your nails, so I prefer to use a cheap nail polish and don't spend my money )
First Layer


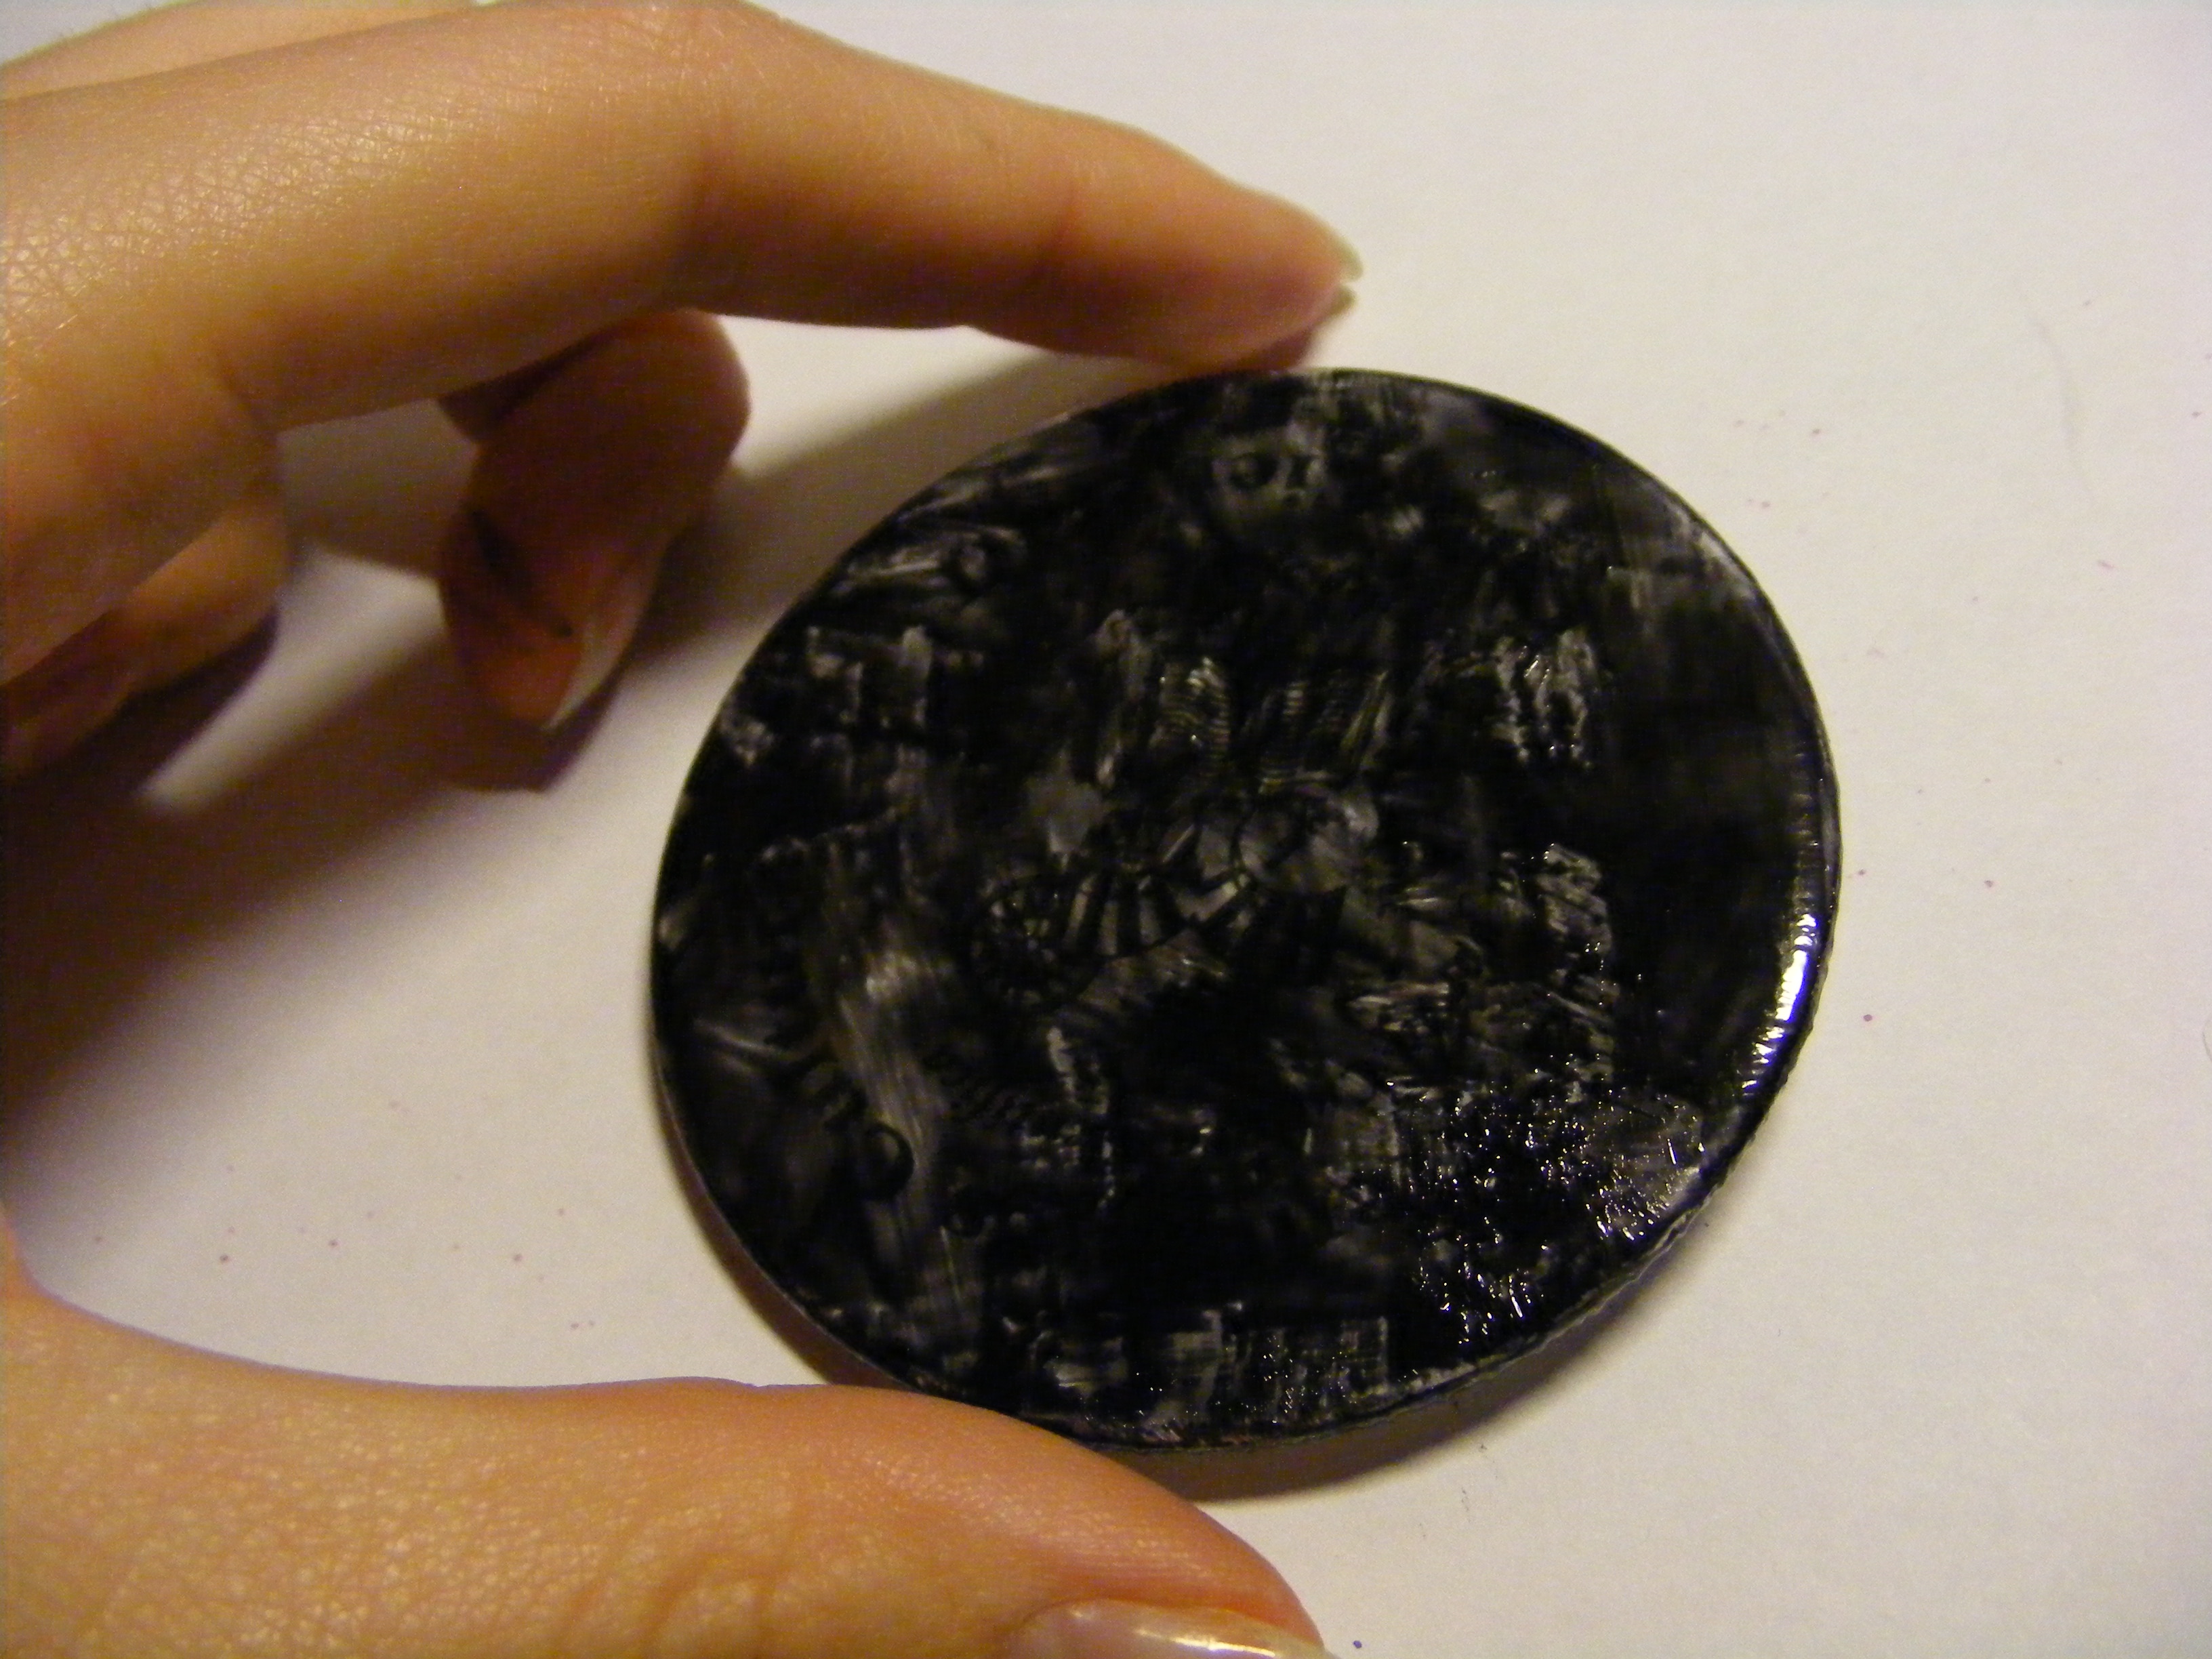
Clean your pinbadge.
Paint the pinbadge with a first layer of nail polish (Use a bright color if you want a bright background and a dark color if you want a dark background).
You don't need to use the same color as you want in the final result, because this is only the basic layer.
Paint the back side as the photo.
It don't need to look pretty!!
(Wait until be sure that the nail polish it's dry)
Choose Your Design


Now you have to choose the desing for your badge.
Do research and draw sketches about how you want to paint it.Take a decison and be sure about it before you start to paint the design in the next step.
Do research and draw sketches about how you want to paint it.Take a decison and be sure about it before you start to paint the design in the next step.
Background
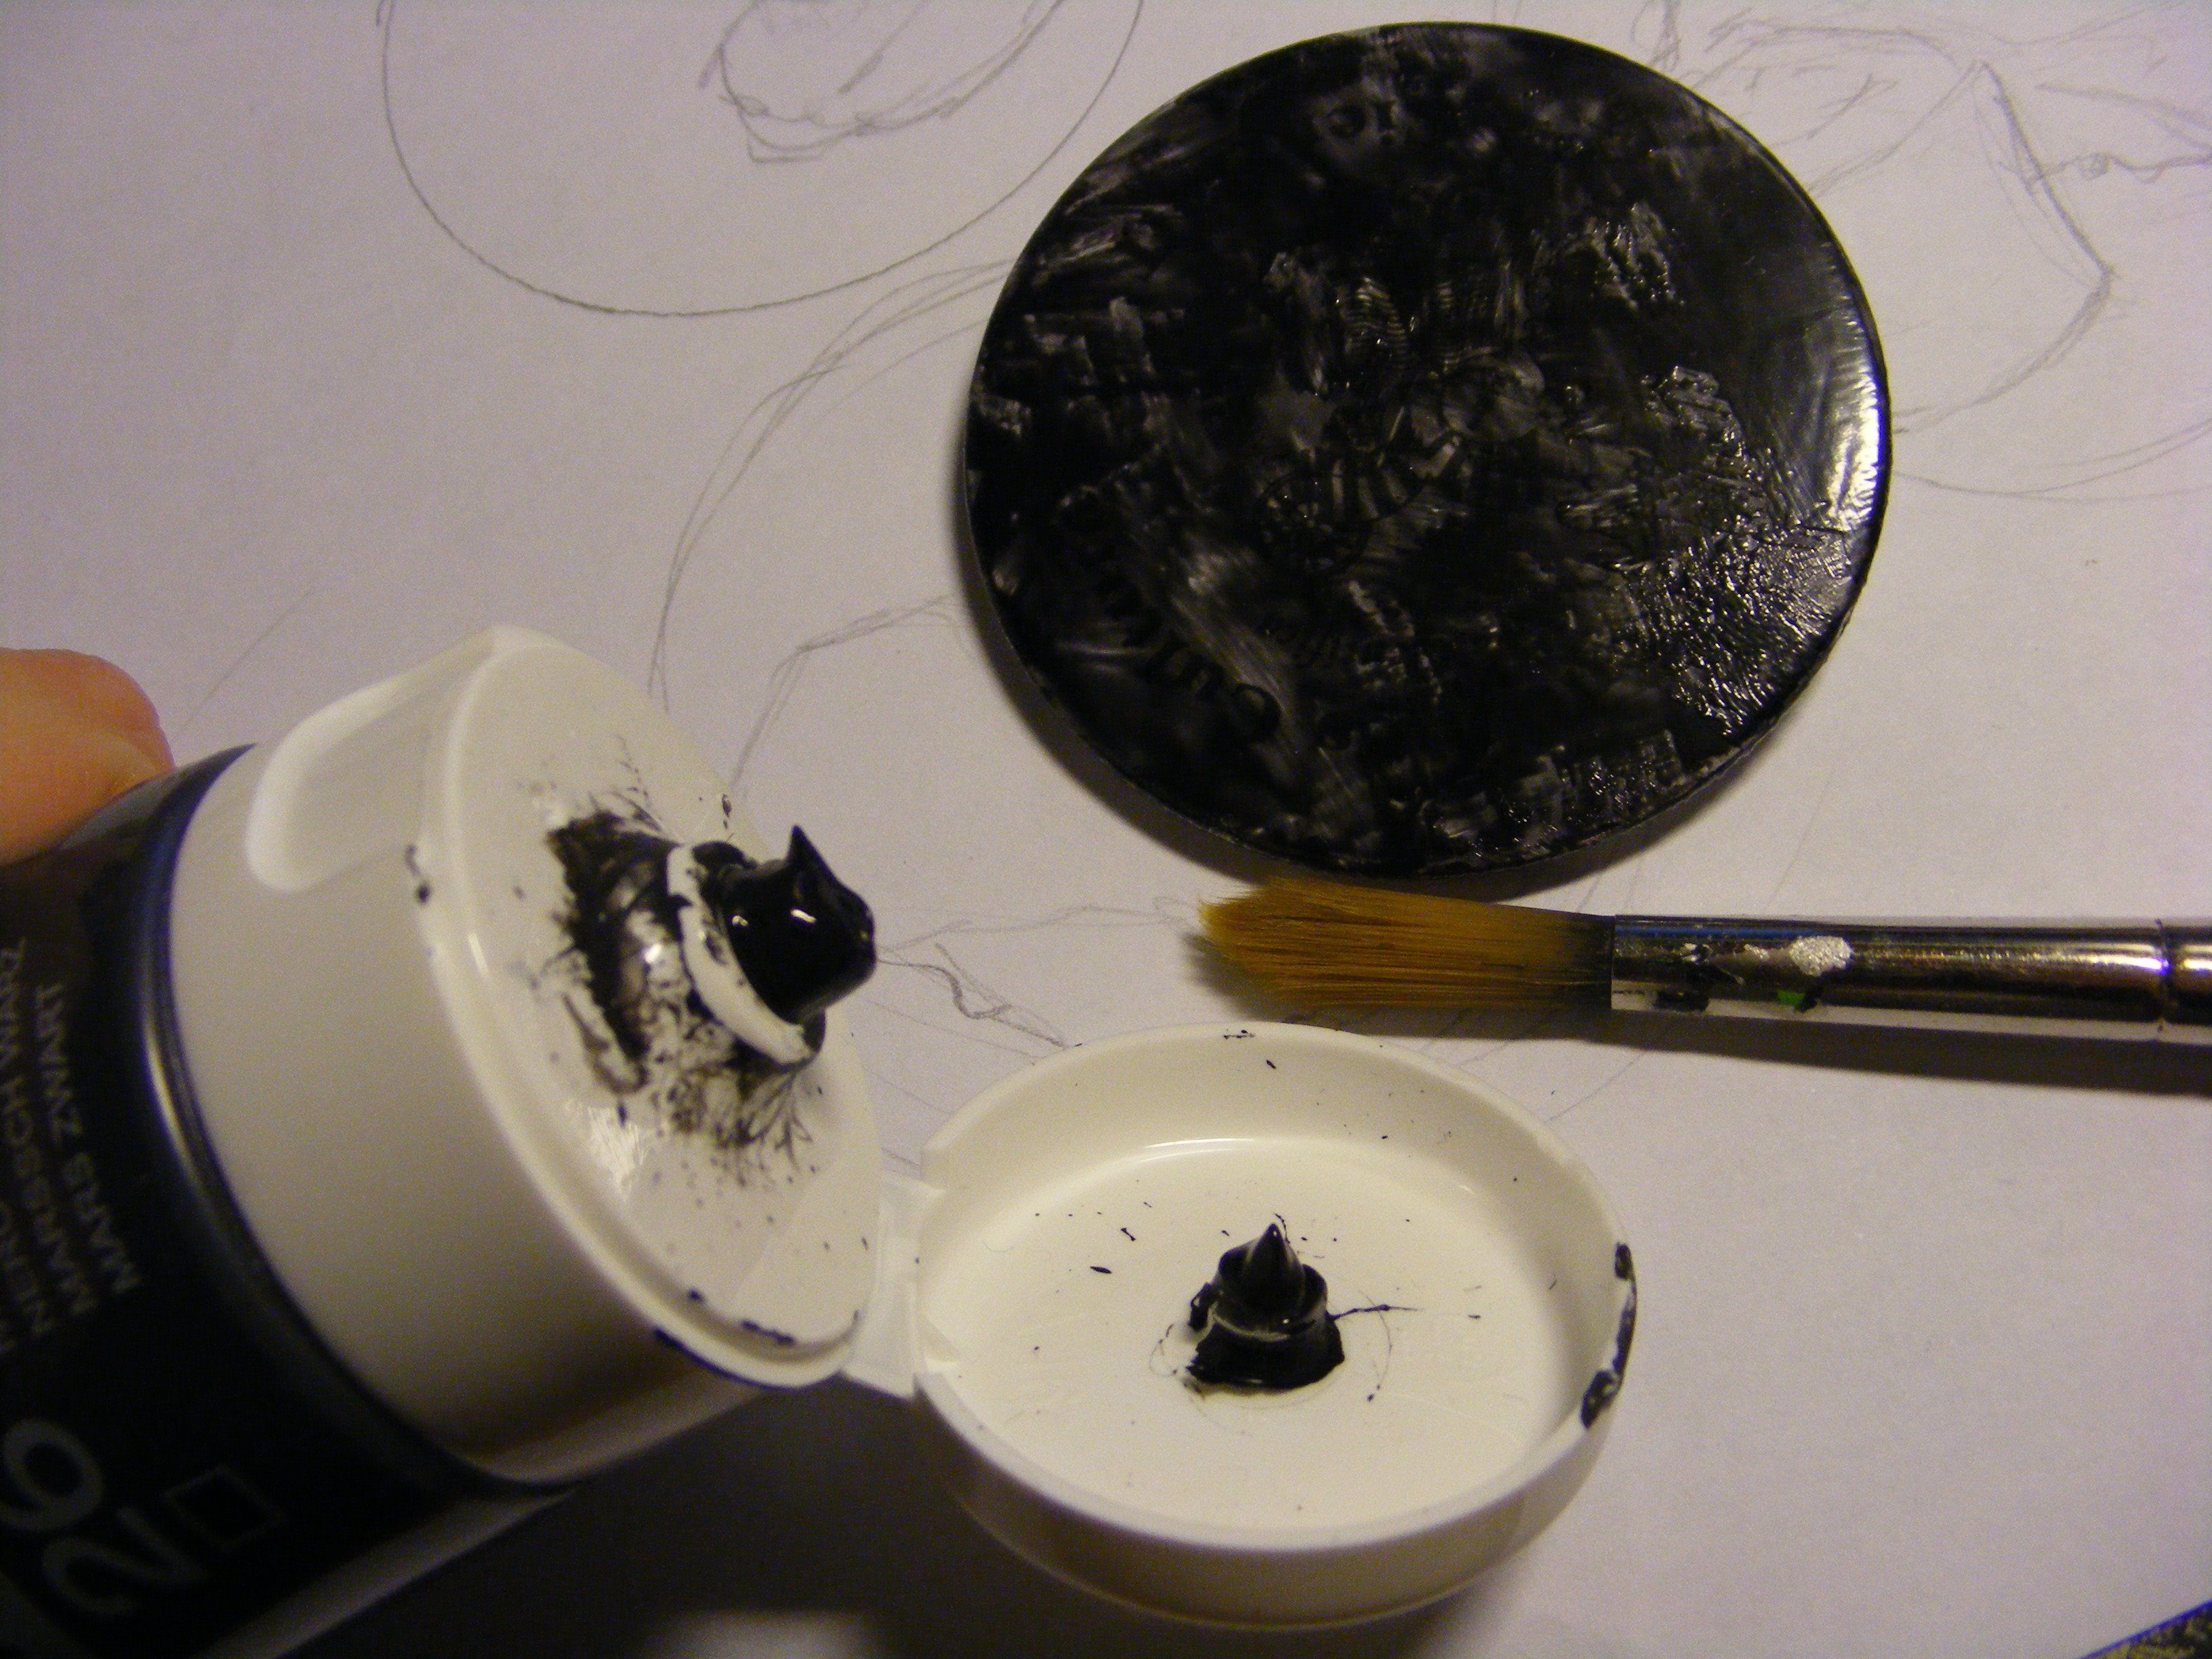


Paint the background with the acrylic color chosen.
Paint a first layer of homogeneus strokes.
When the first layer is dry, paint a second layer of perpendicular strokes.
It's important to use dense strokes, and not to dilute the painting with water.
(Paint the backside)
Wait until the last layer is dry.
Paint a first layer of homogeneus strokes.
When the first layer is dry, paint a second layer of perpendicular strokes.
It's important to use dense strokes, and not to dilute the painting with water.
(Paint the backside)
Wait until the last layer is dry.
The Draw!!!


Now paint your design on the pinbadge.
BE AN ARTIST AND EXPRESS YOUR CREATIVITY!!
BE AN ARTIST AND EXPRESS YOUR CREATIVITY!!
The Final Layer

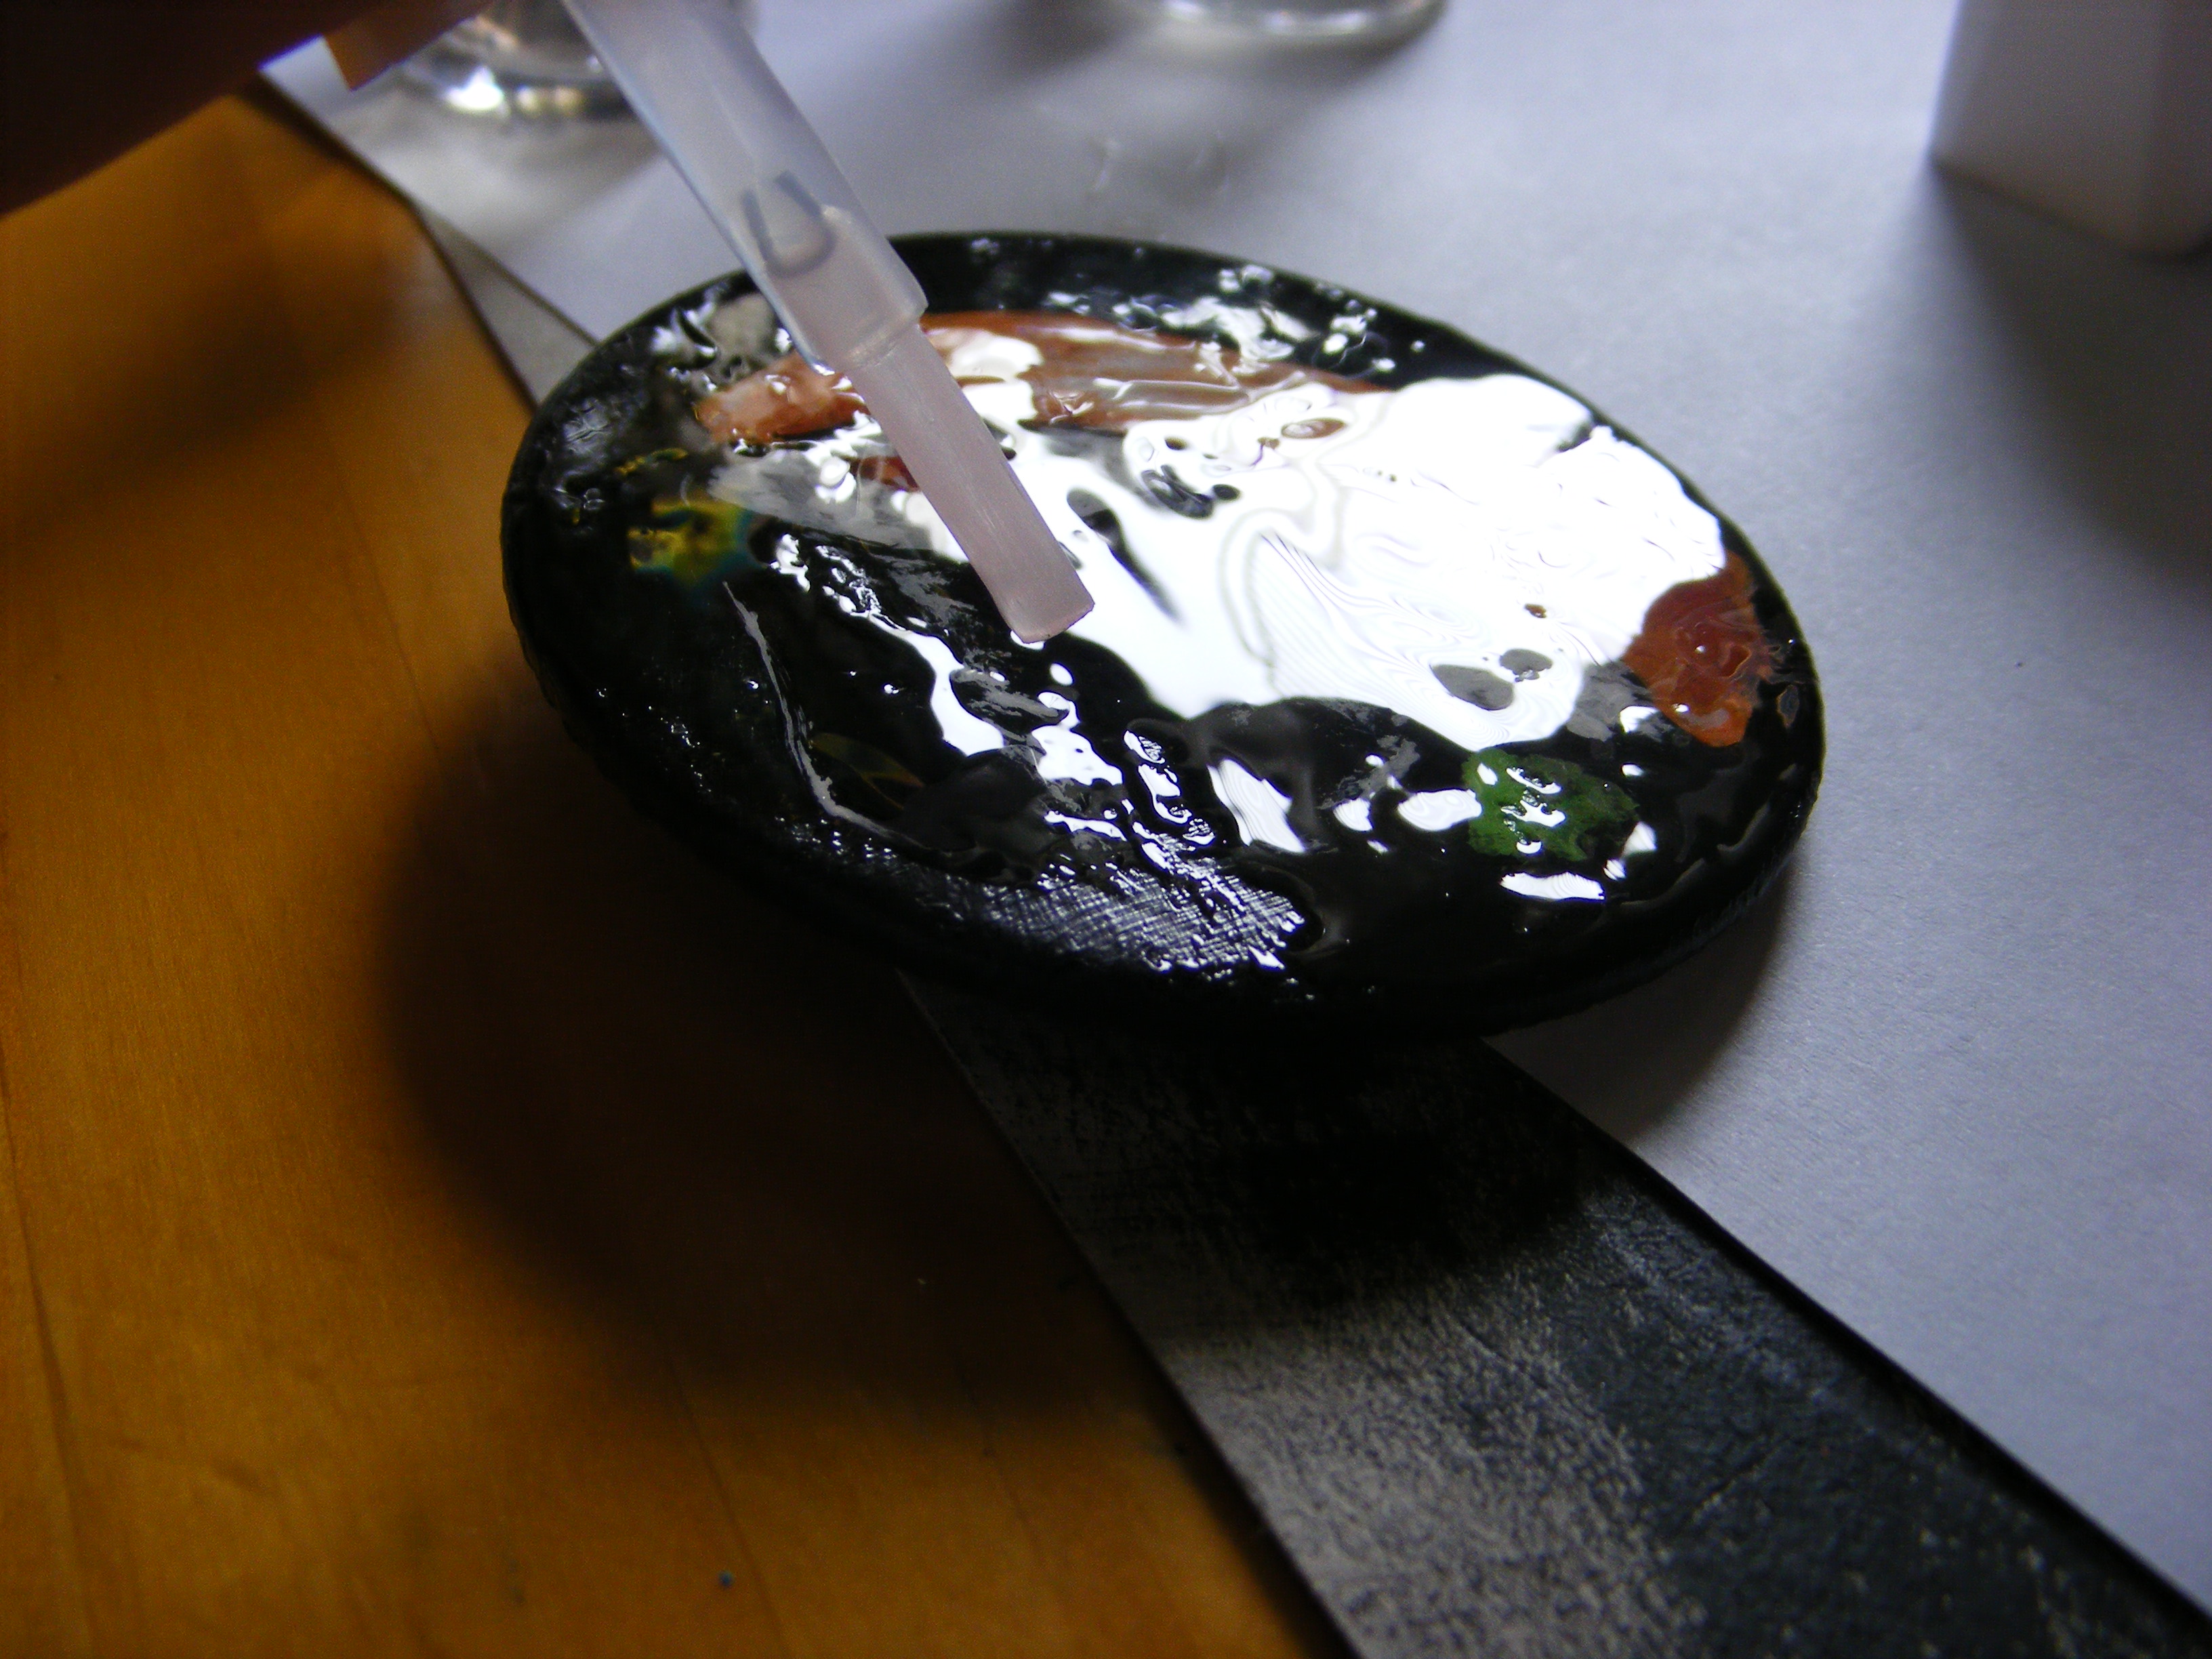


Once you have painted your desing you must protect the painting.
Use the transparent nail polish to cover the painting.
Apply fast the nail polish, if it dried before you have applied the polish on the whole badge.... You would not get a good result.
(As you can see at the photos I tip the nail polish over the badge to do it faster)
Don't forget to paint the back side.
Let it dry for a long time to be sure.
And now you have a new pinbadge (made at home) !!!! ^ ^