Origami Petal Box

This is a small, simple box that has four petal-like extensions. You can use it to hold small trinkets or objects such as paper clips.
Supplies
1 square piece of paper
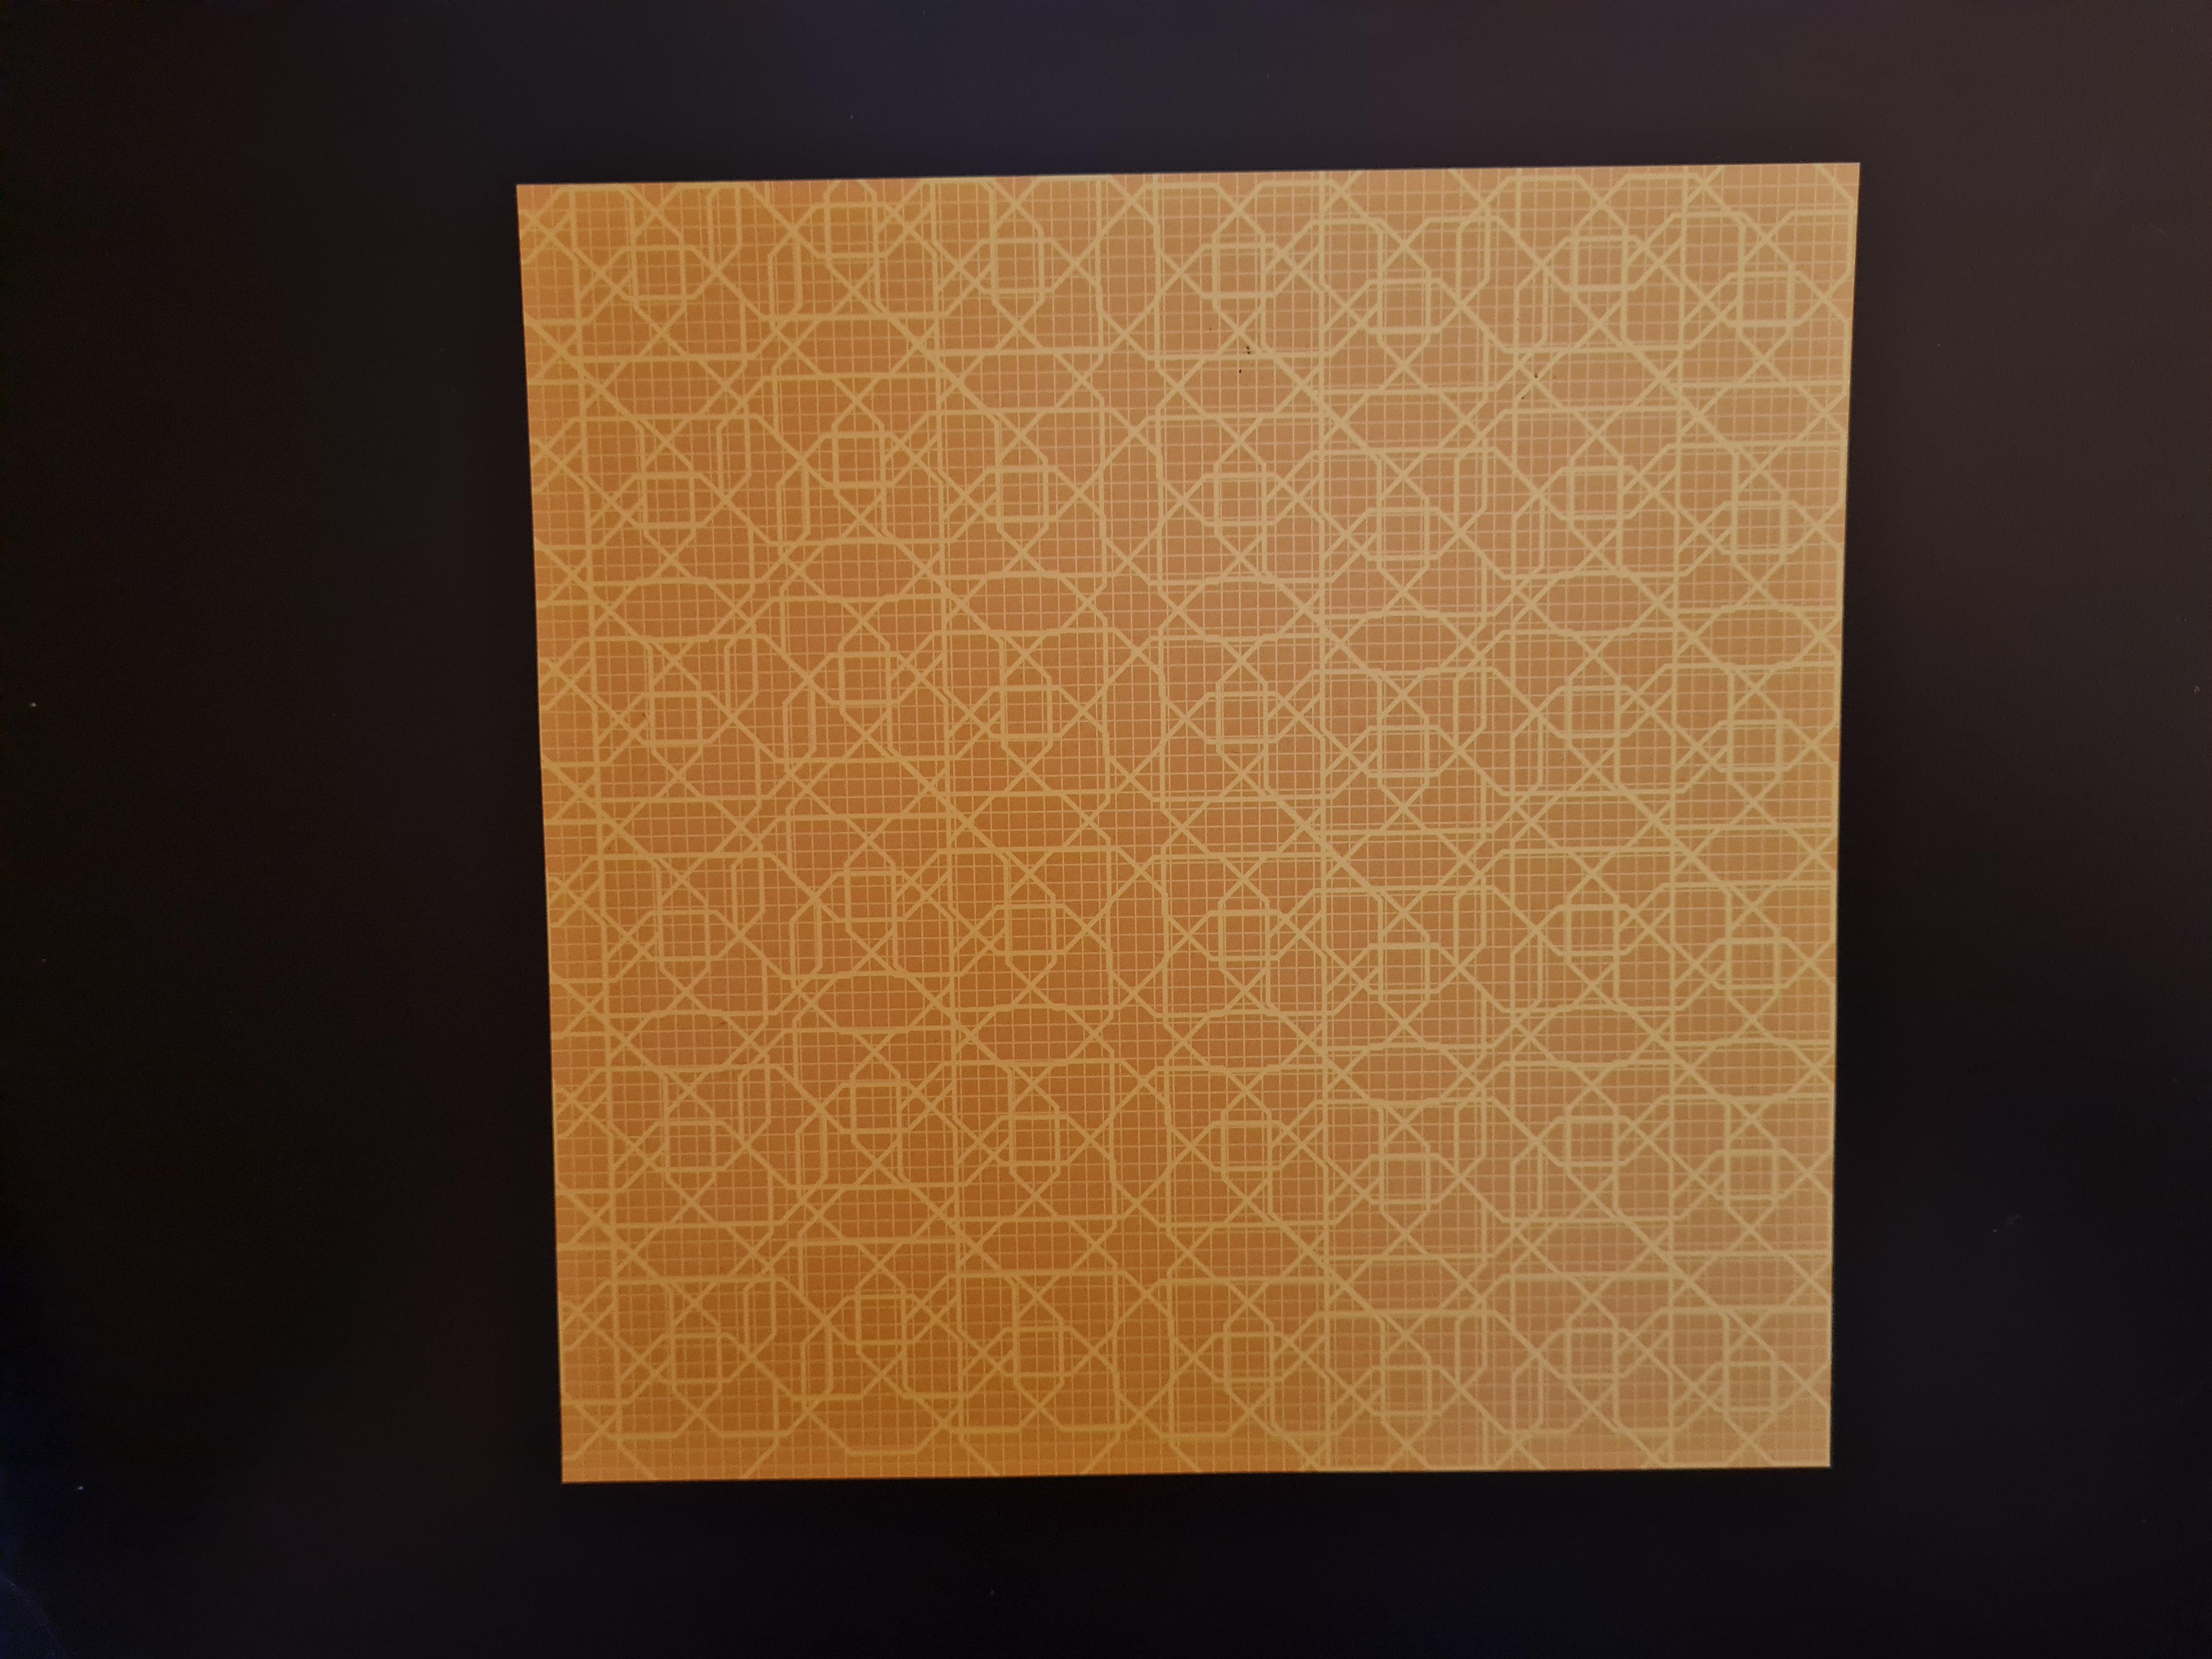


Place your paper on a flat surface with the color you want on the outside of your box facing down. Fold the paper in half and form a crease that runs diagonally across the paper.. Bring the left corner of the paper to the right corner and crease well.


Lift the top flap and crease so that the right point meets the top point. Rotate the paper 180 degrees from the last step.


Unfold the fold made in step 2. Insert your fingers into that same flap to open it and press flat. It should look like a square with a triangular extension.


Flip the figure over and fold the flap down so its point meets the bottom point of the figure. Crease and unfold. Open the flap and press down to form a square base.


Make sure your base is positioned where the opening is at the bottom. Bring both sides of the top layer to meet the center line and crease well.


Open each flap from step 5 and flatten to make a kite shape.

Flip the figure over and repeat steps 5 and 6 on this side.

Move the top right flap as if you were turning a page in a book. Fold the lower edges of the top layer to meet the center line.


Flip the figure over. Move the right flap as if turning a page and fold both lower edges to meet the center line.


To shape the petals: bring the bottom point of the top layer up to meet the base and crease. Flip the figure over and repeat. Move the right flap over and do the same to that point. Keep moving flaps over until you find the remaining point and bring it up to the base as well.


Rotate the figure to where you can see the opening. Gently pull the petals until the box fully opens. Use your fingers to press the bottom of the box and flatten it out.
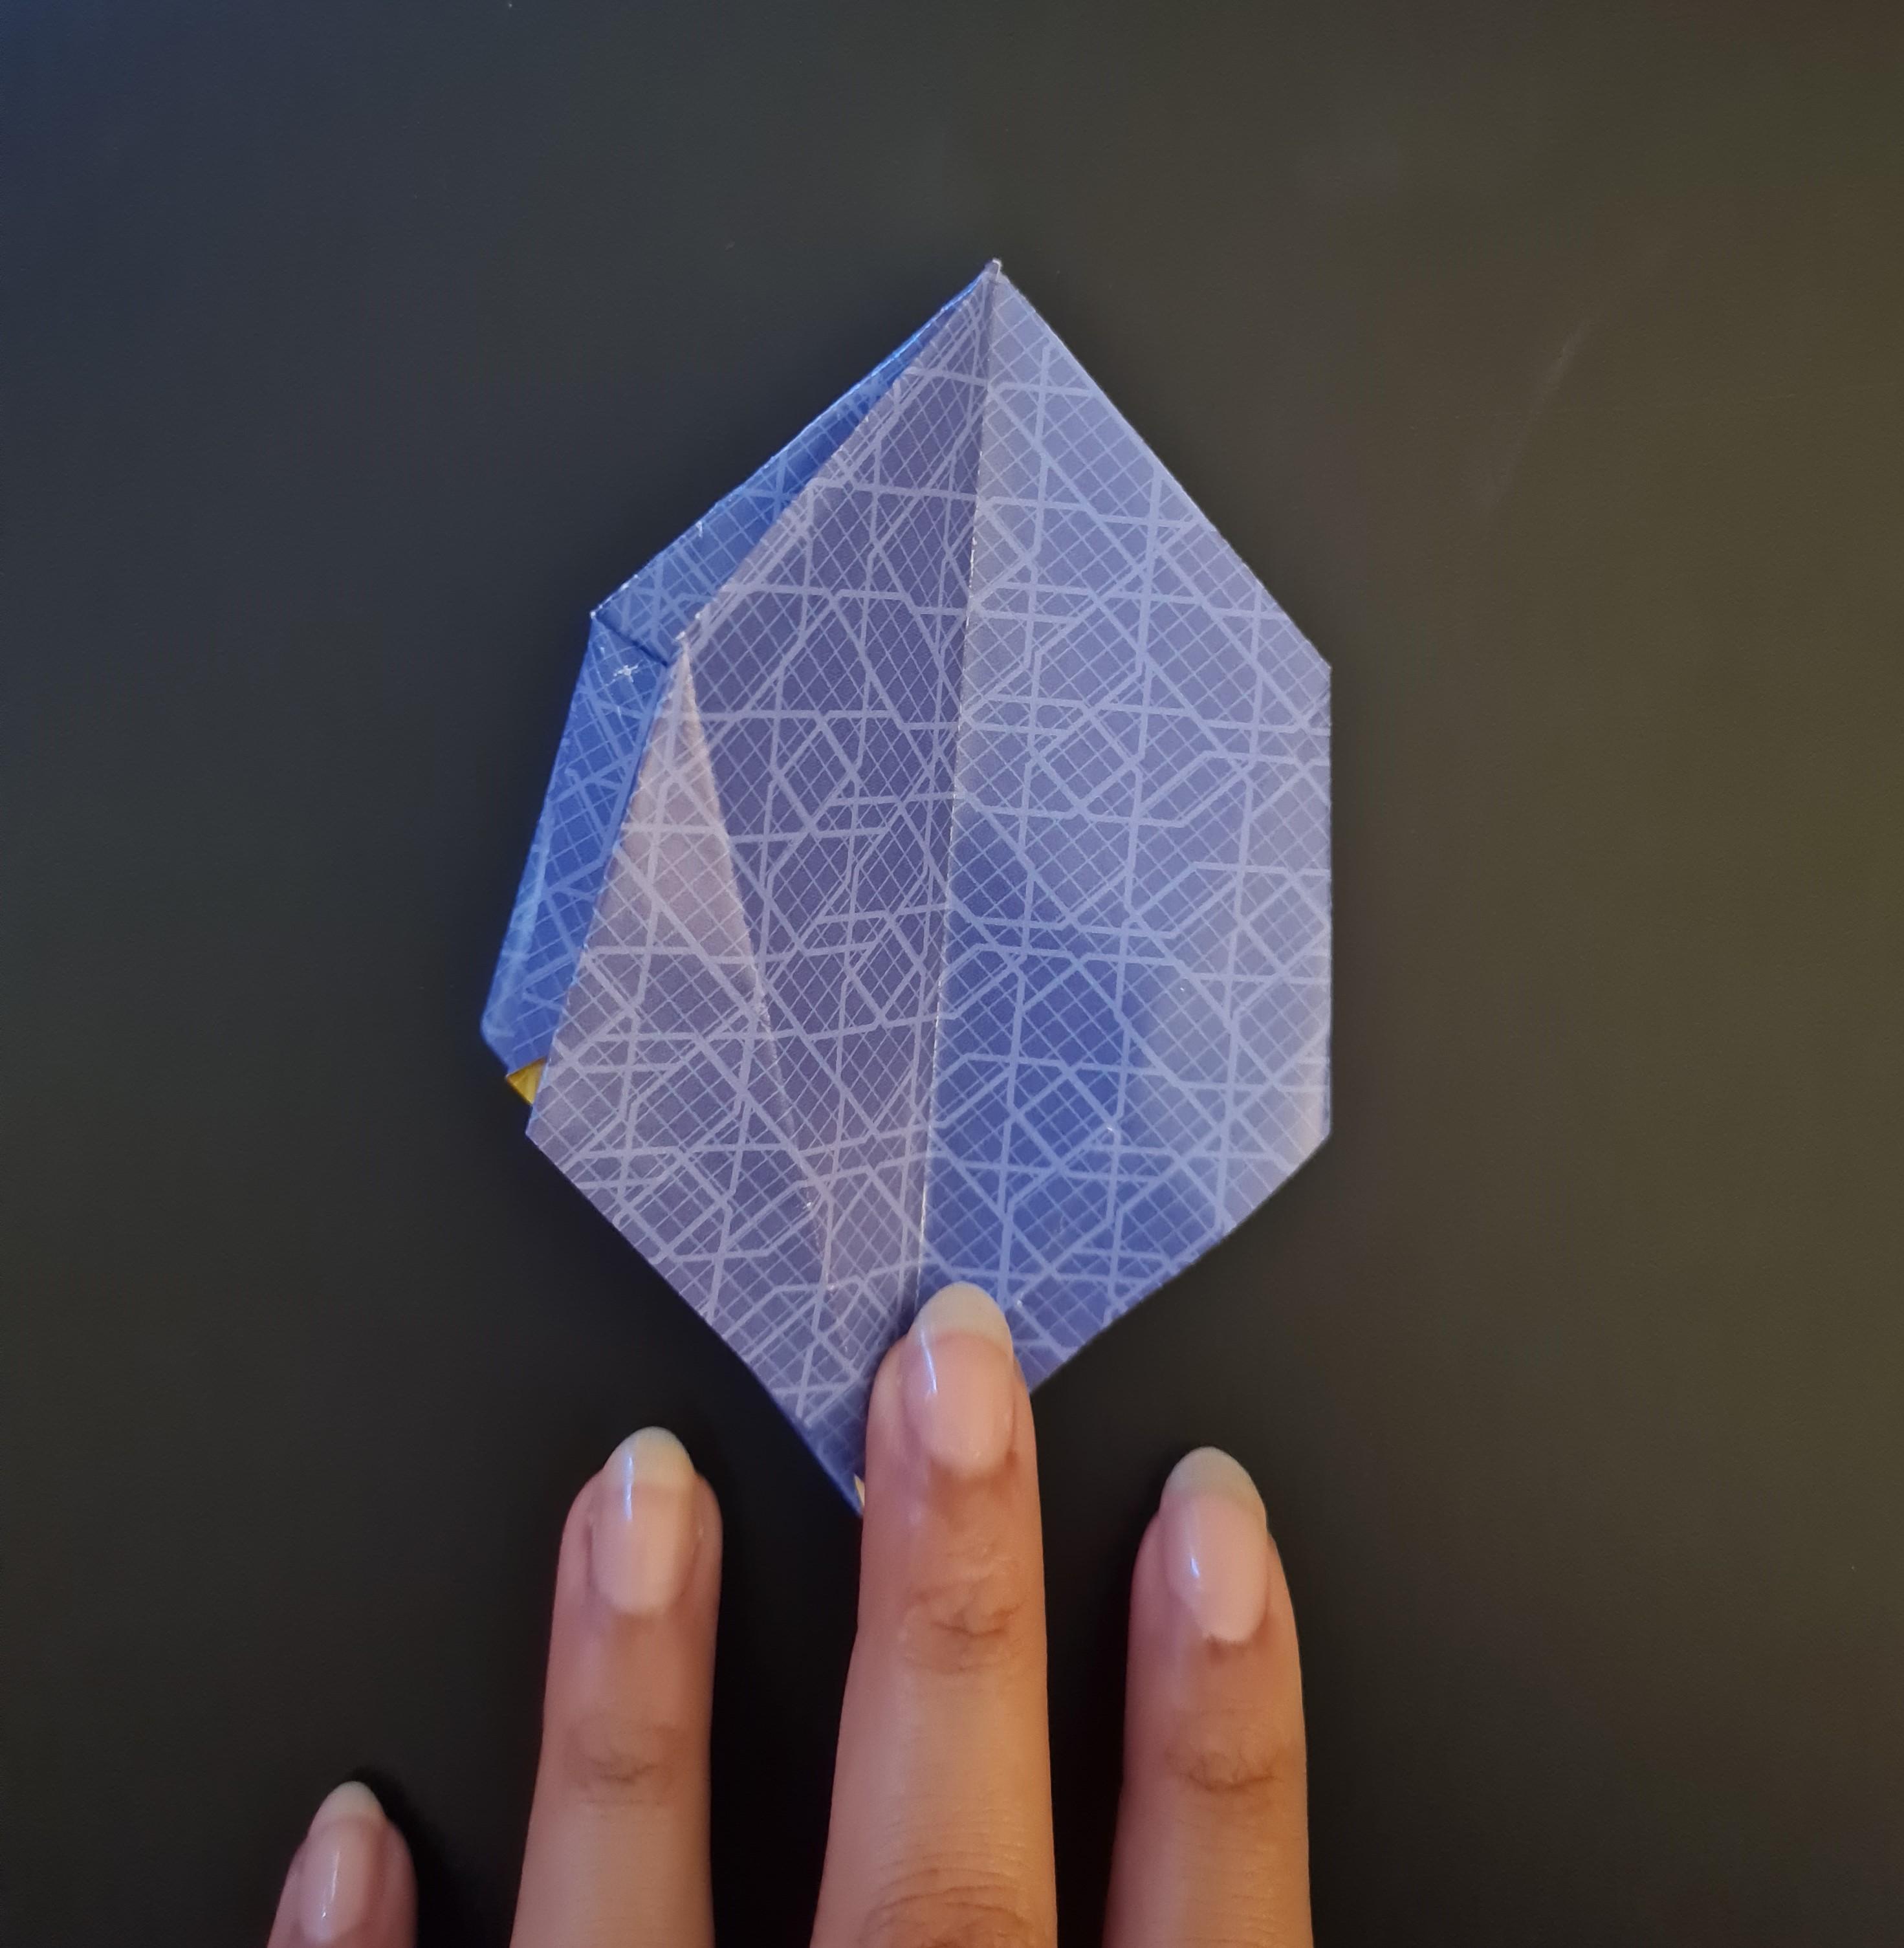
Completed Box


Your finished product should look something like this.