Origami Palm Tree Desk Ornament
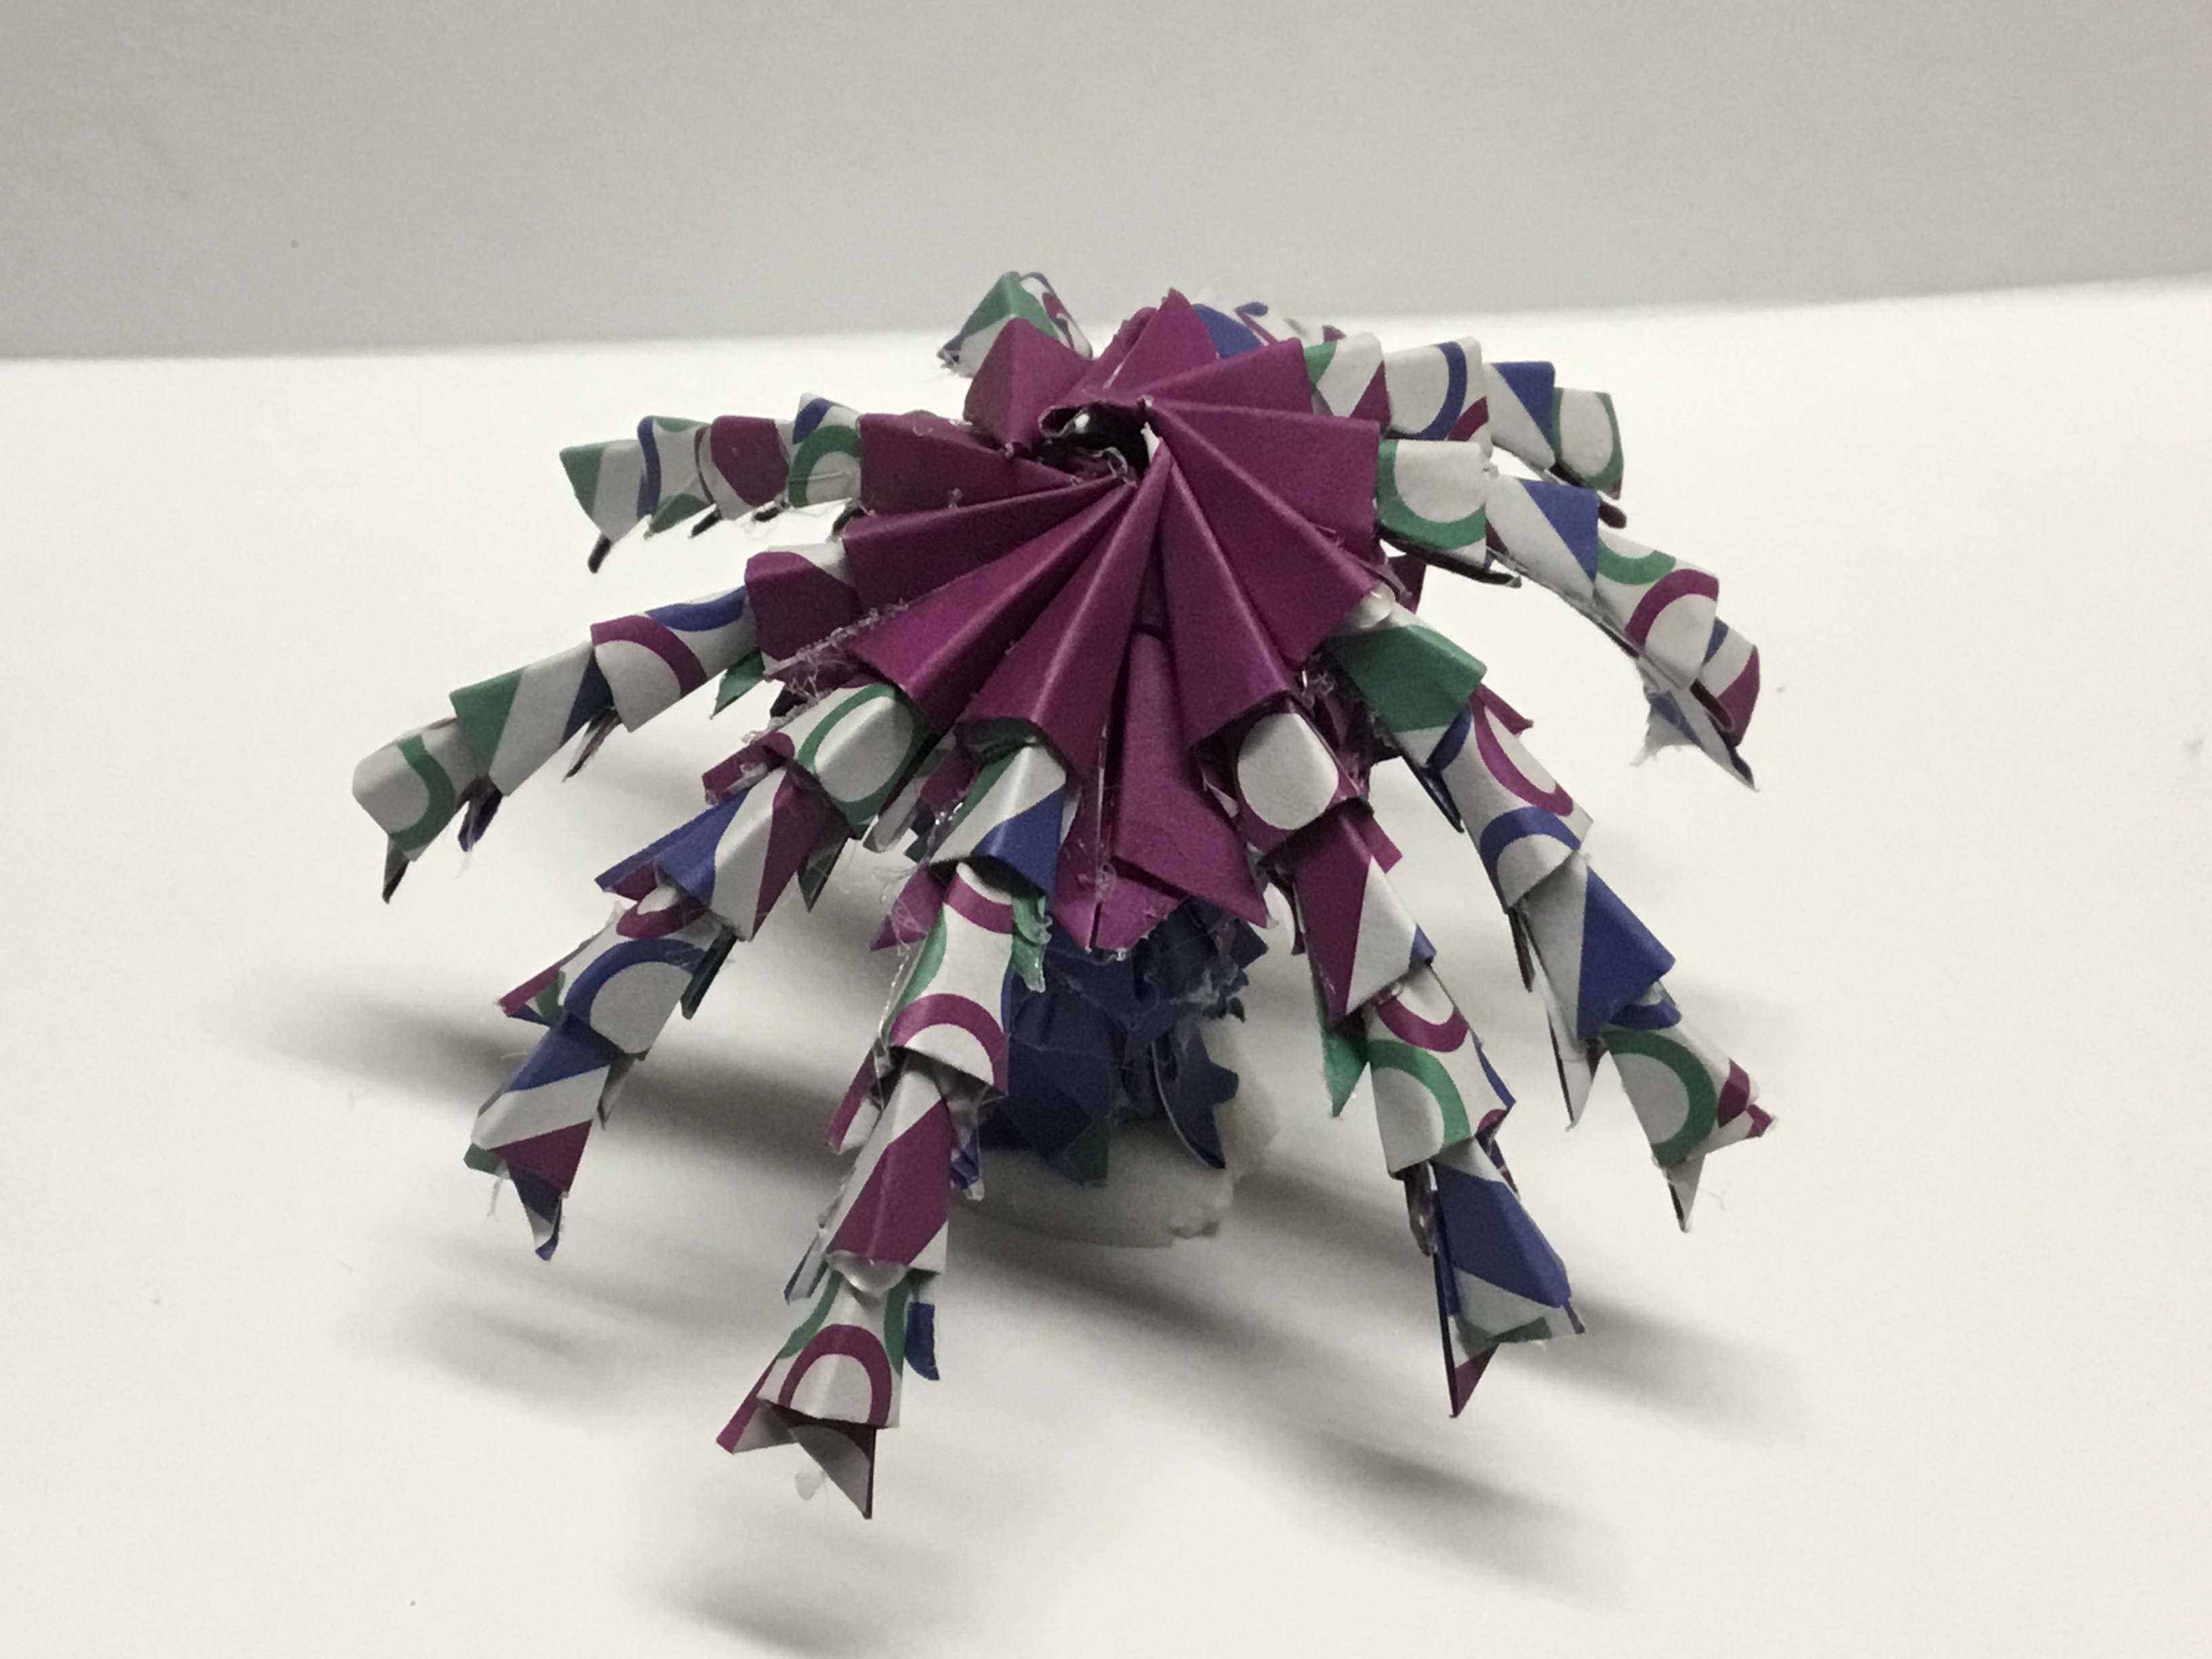
Bored at home? Want to make something? Want it to look nice? Well this will help you: be entertained, get creative, and have something that looks good on a table. This is how to make a colorful palm tree out of paper. It is simple, fun, and pretty amazing. This took me over 3 hours to make this instructable, but the project only takes about one hour to complete. Please enjoy.
Supplies
You will need:
<4 sheets of 6”x6” patterned paper
< mini hot glue gun and hot glue for it
< tweezers
< patience and sanity
<4 sheets of 6”x6” patterned paper
< mini hot glue gun and hot glue for it
< tweezers
< patience and sanity
Paper Squares
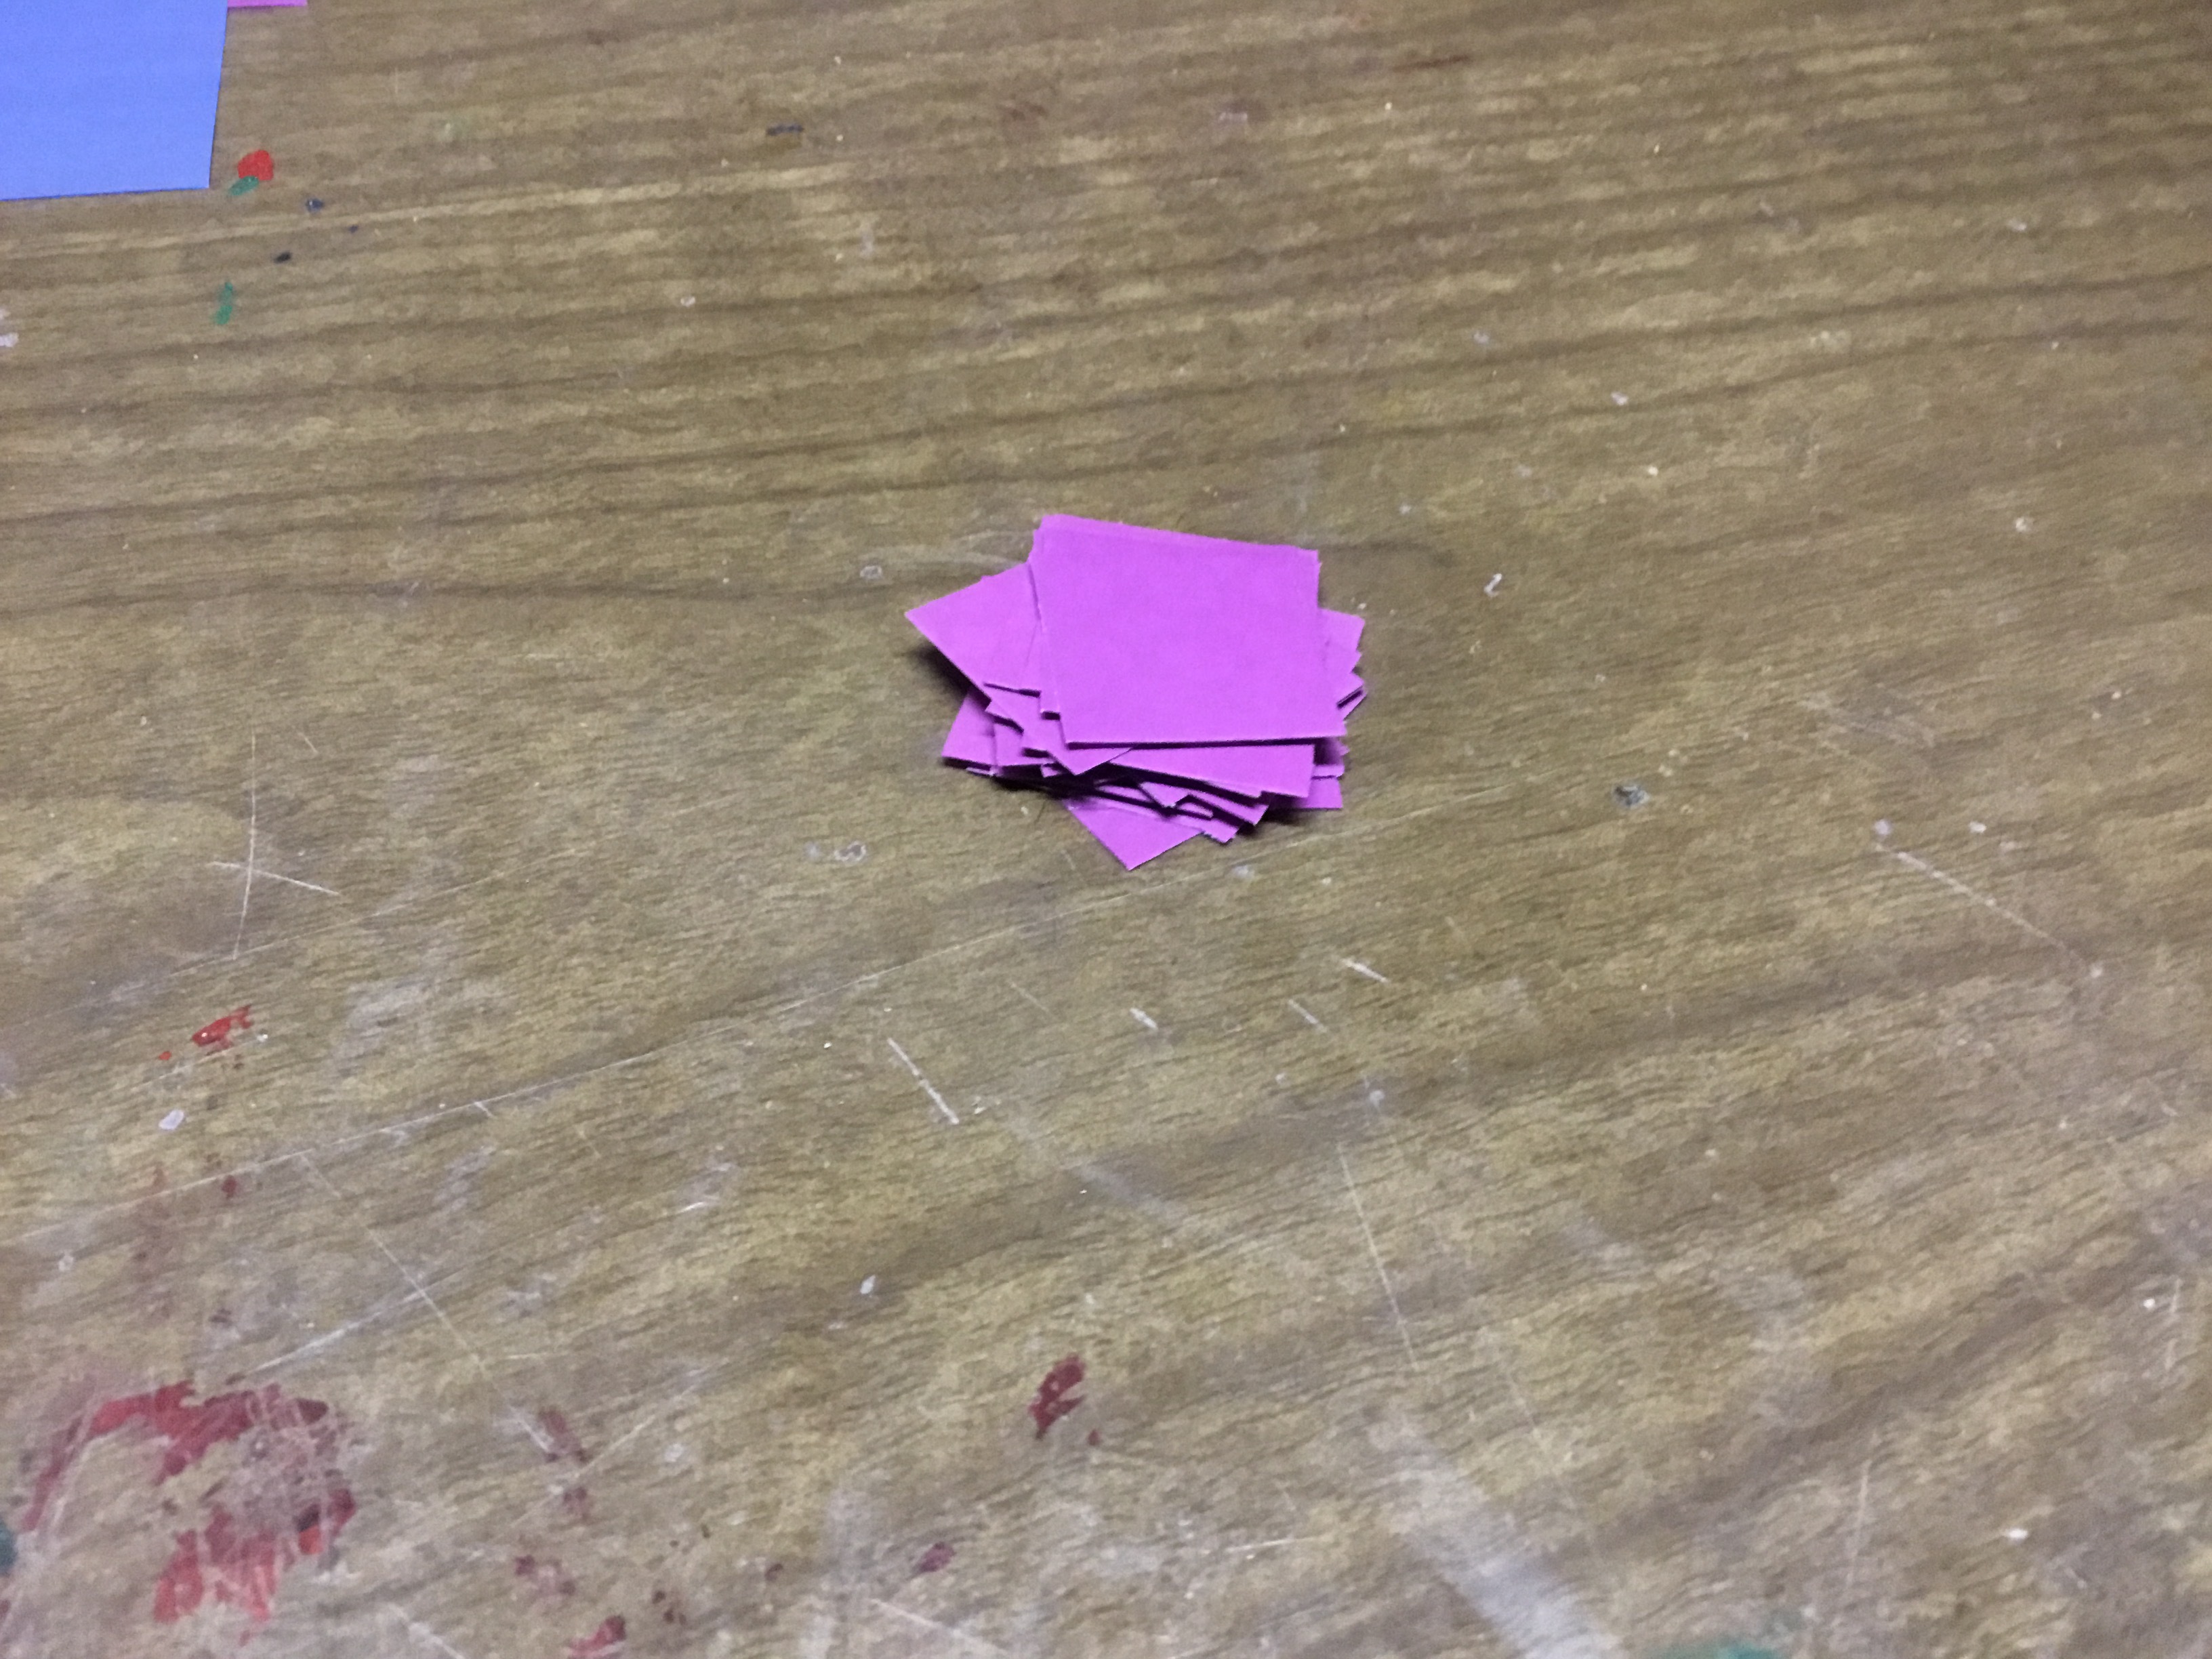
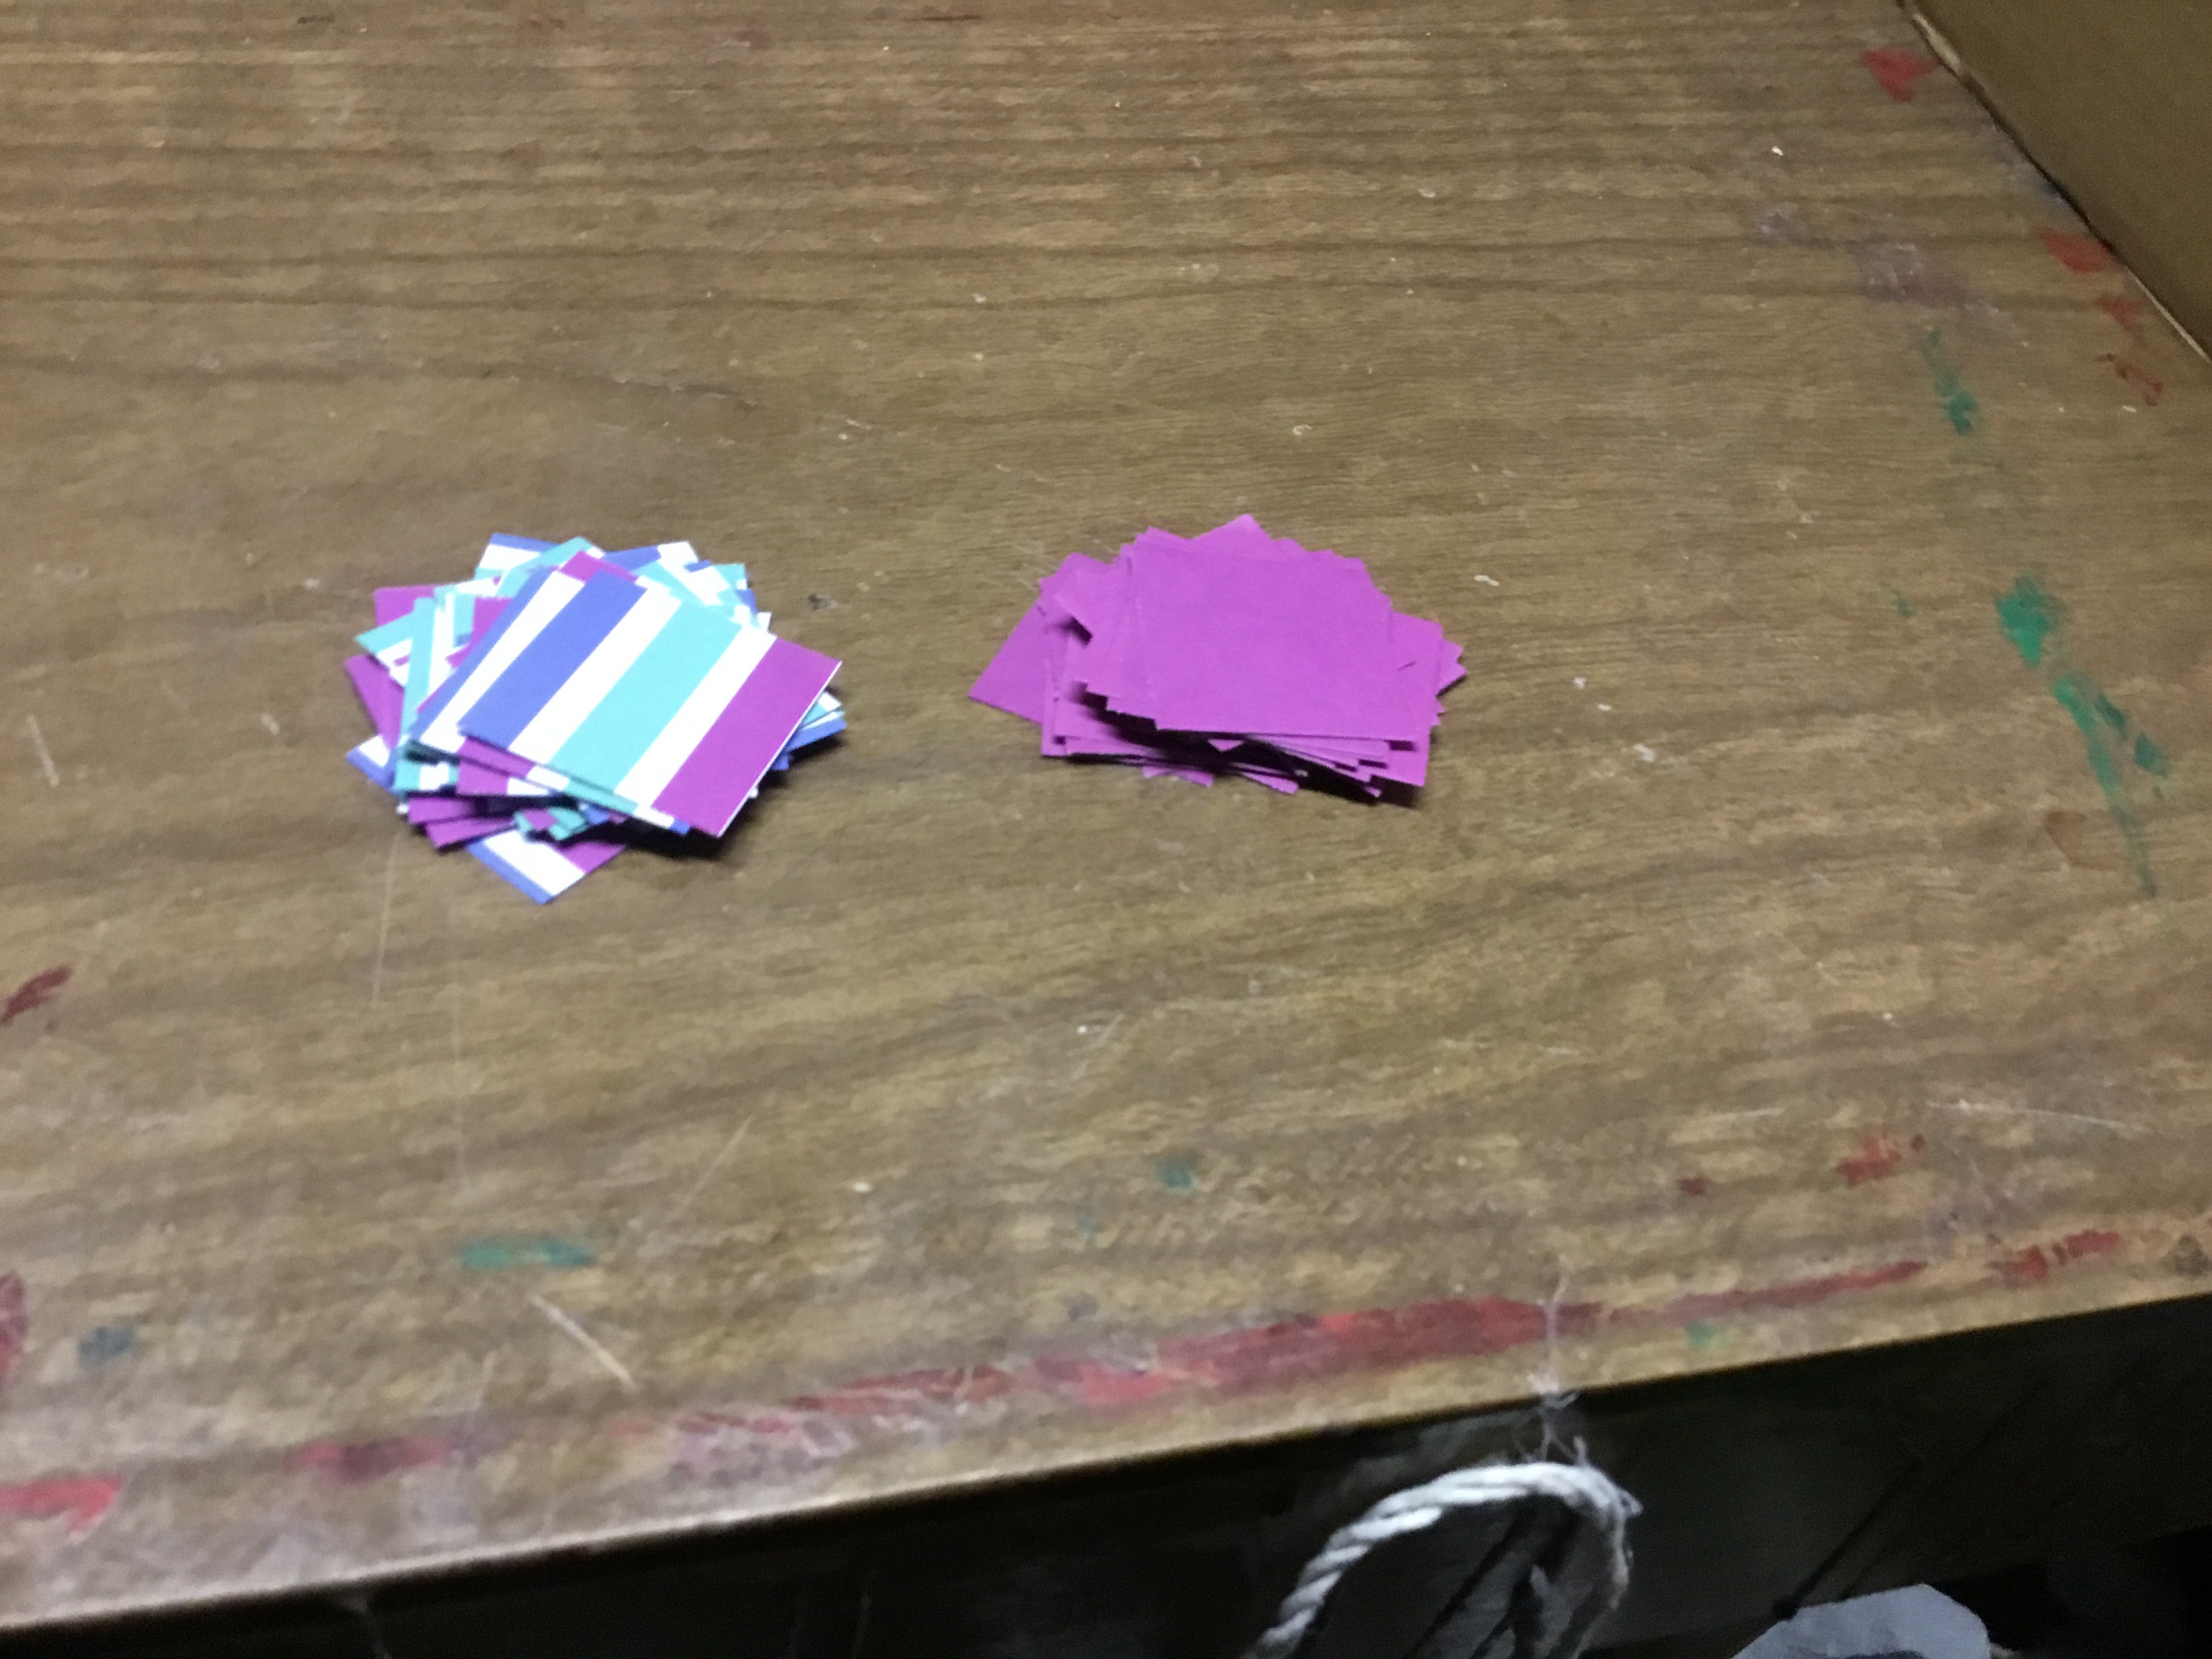

Cut the four sheets of paper into 1“ x 1“ squares of paper each sheet should yield 36 squares.
Folding

Fold each square like the picture above shows. With glue where the red circle indicates .
Mass Production of Modules.

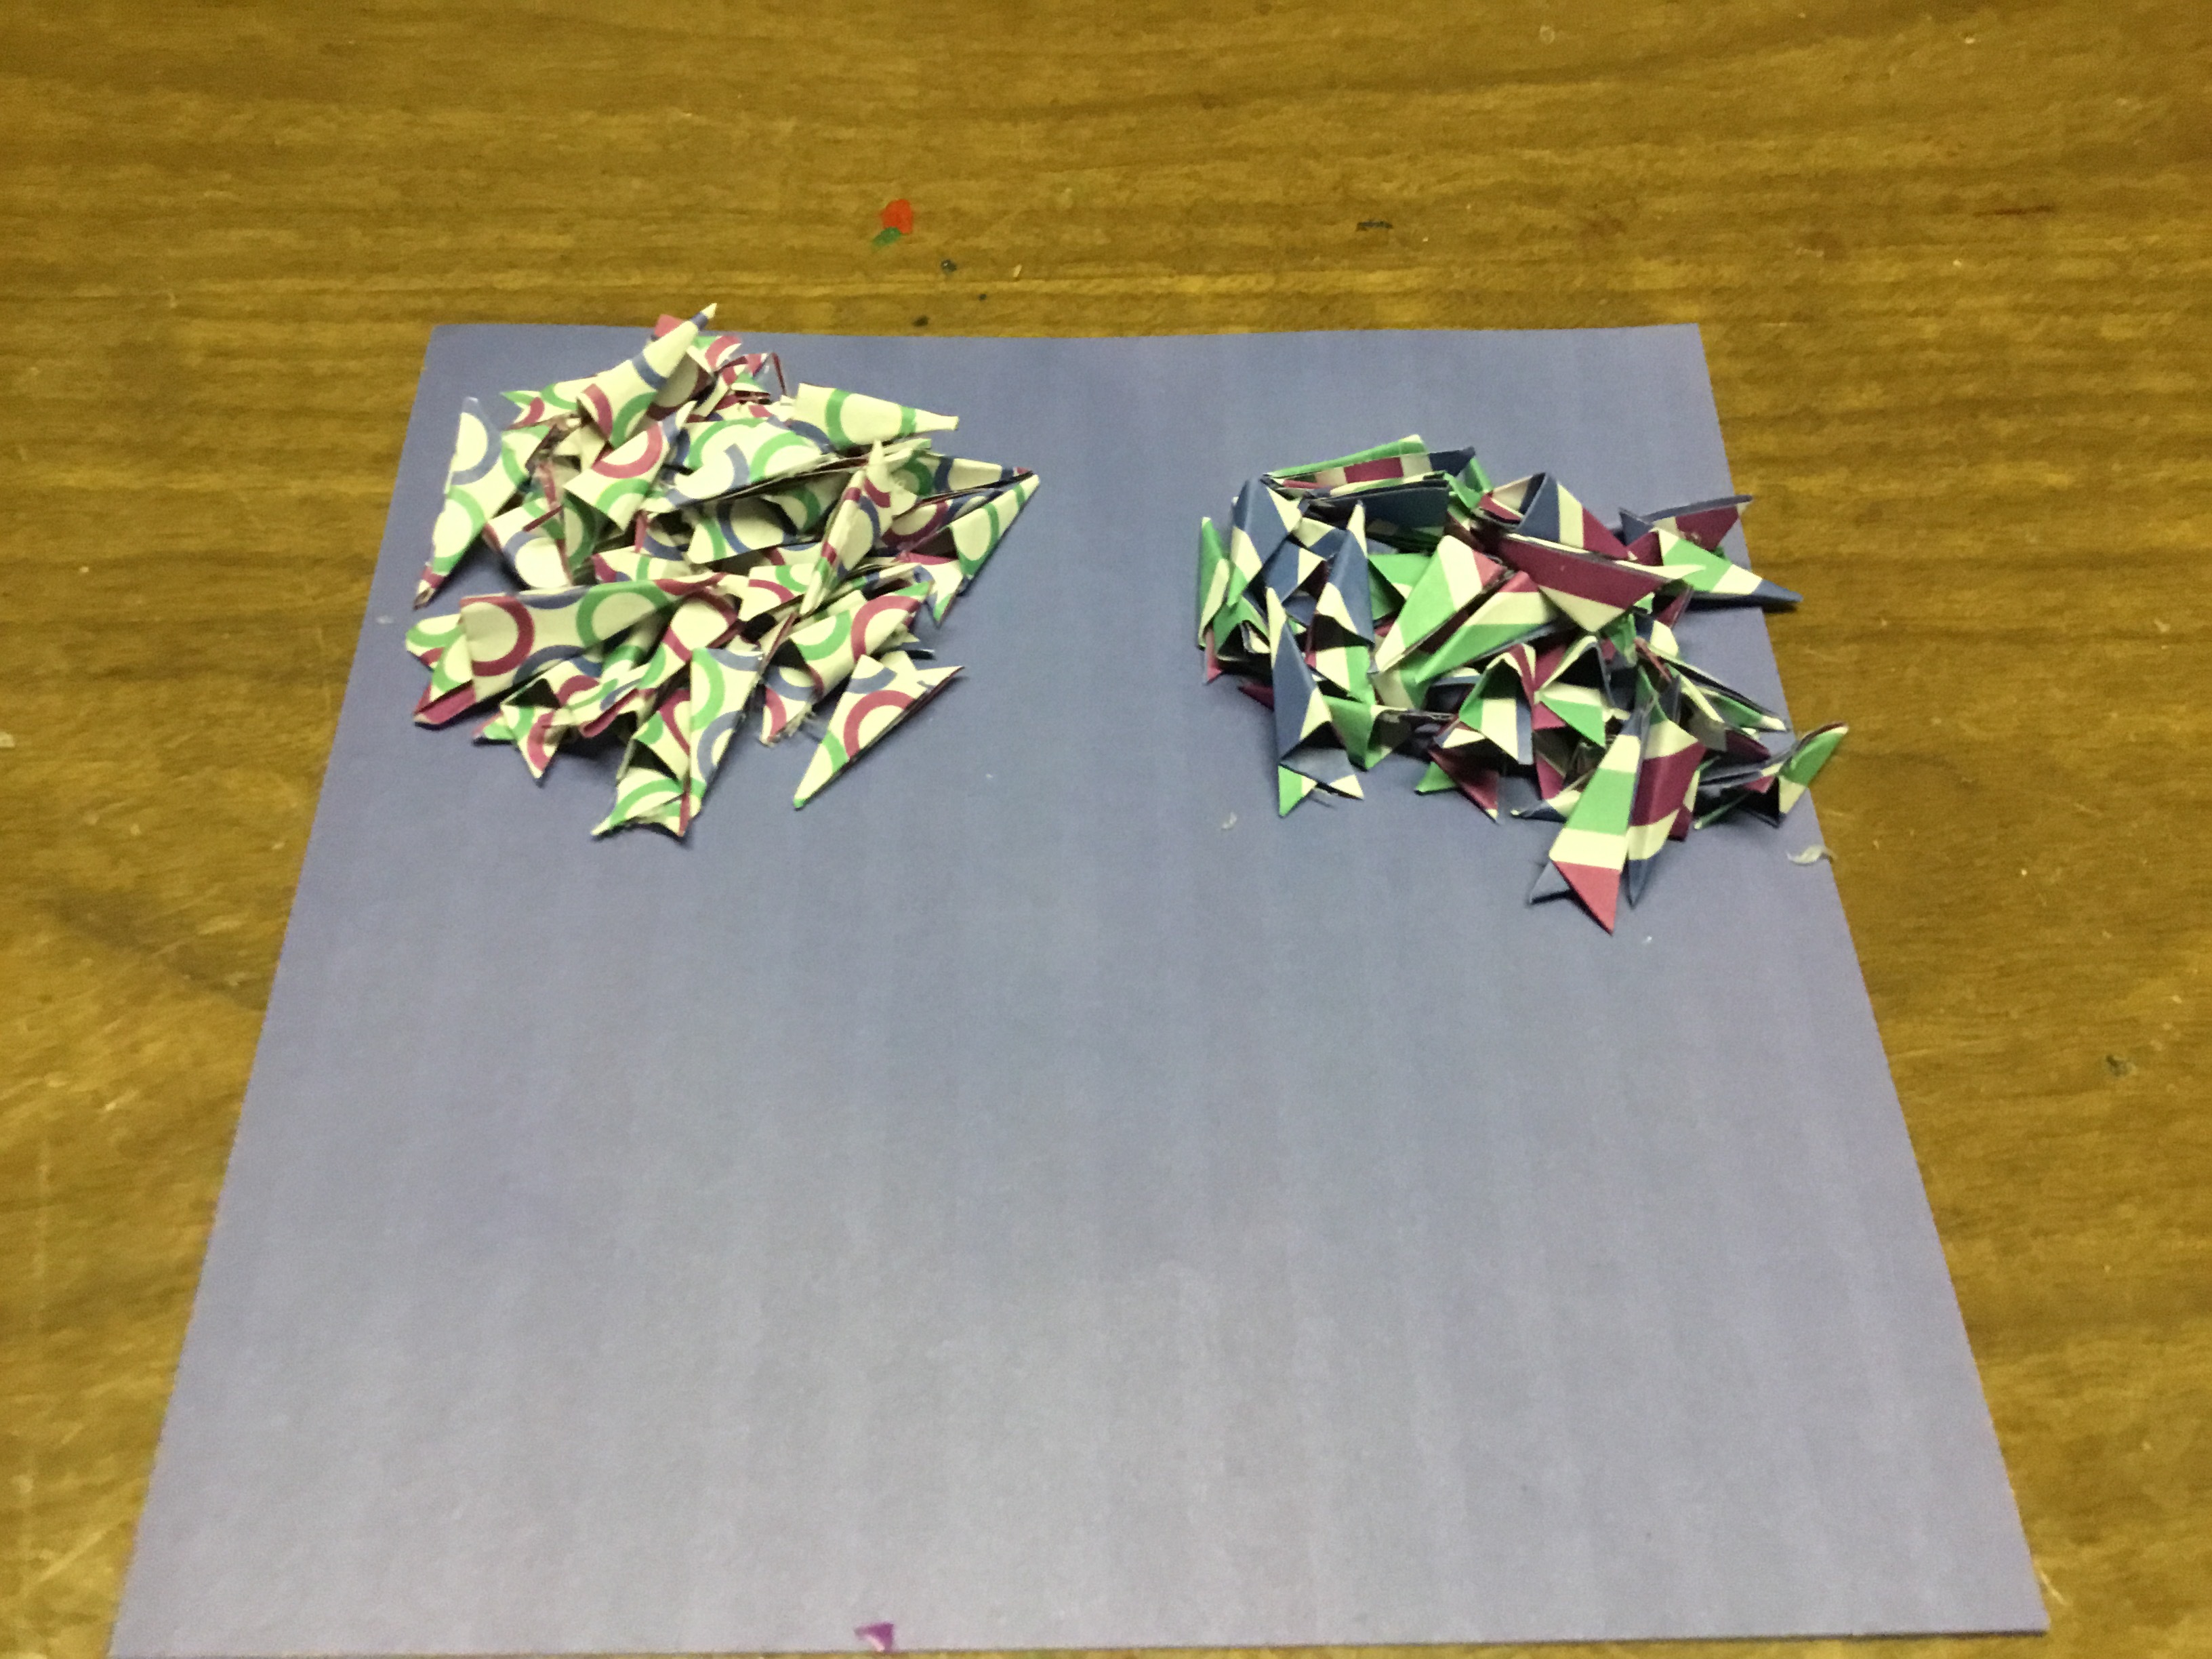
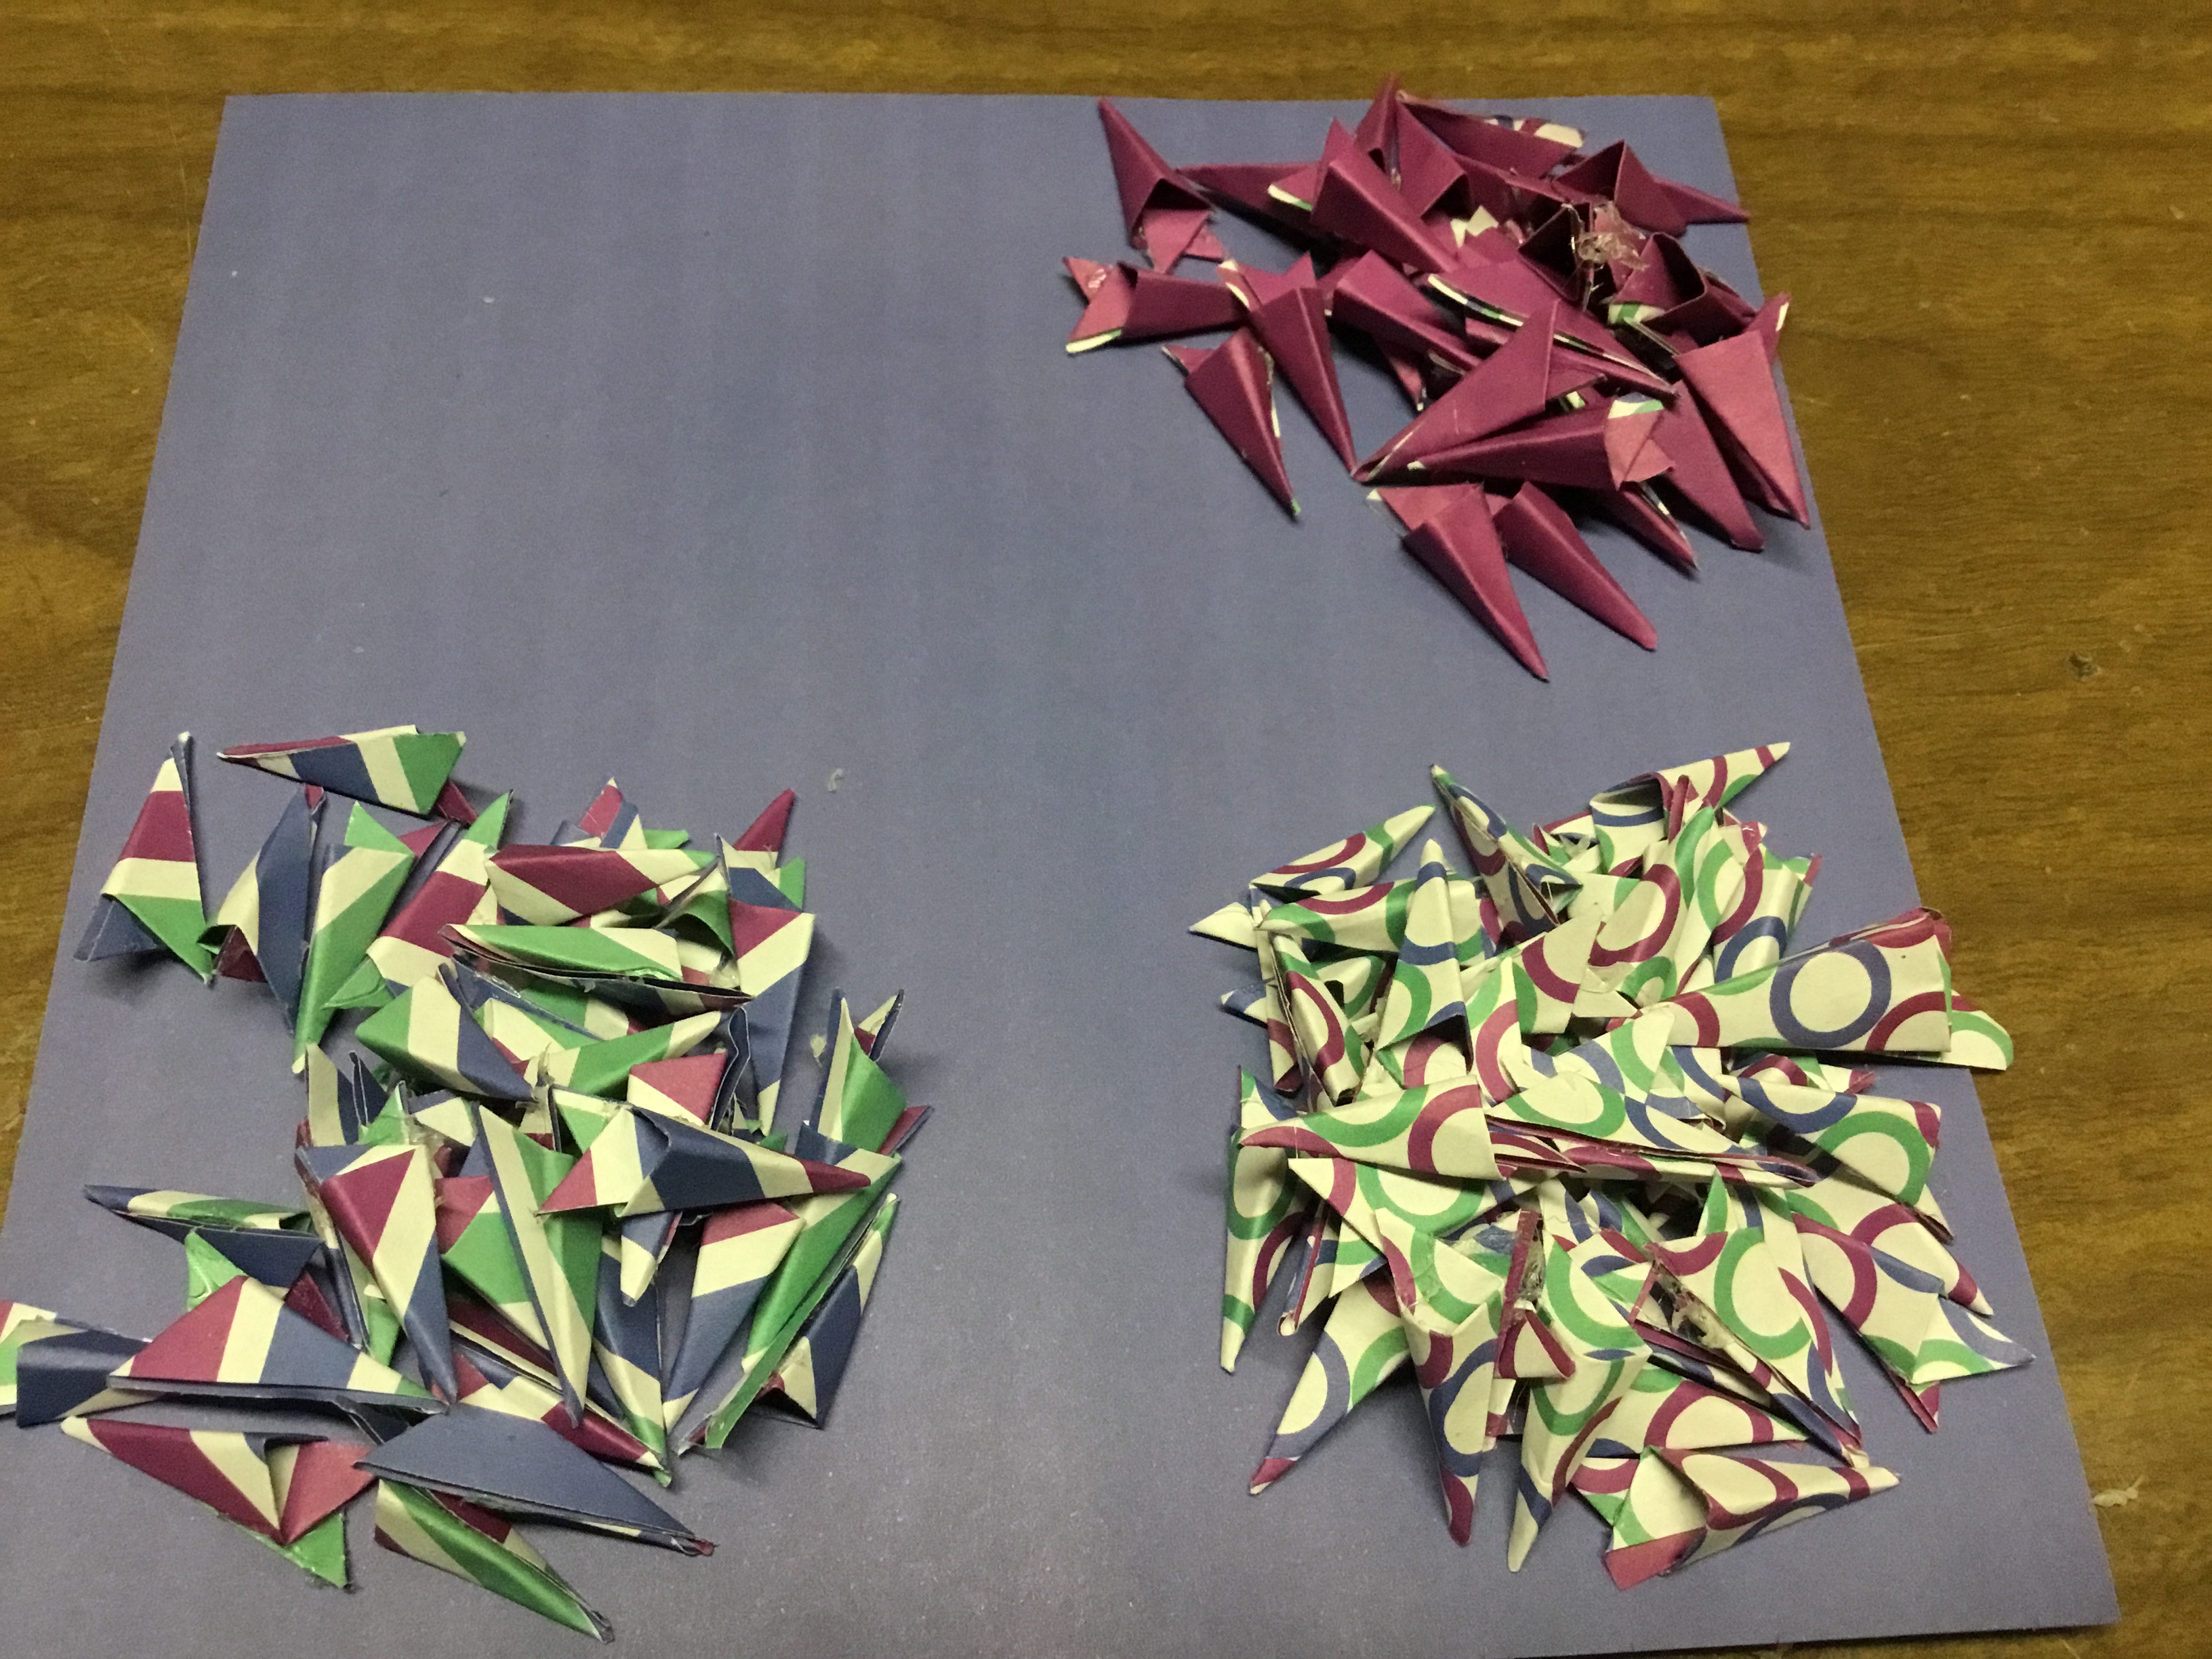

Fold and glue each square into a module, these are what the palm tree will be made out of.
Construction

Glue six together as the picture shows.
Construction

Glue five on top as picture shows.
Construction


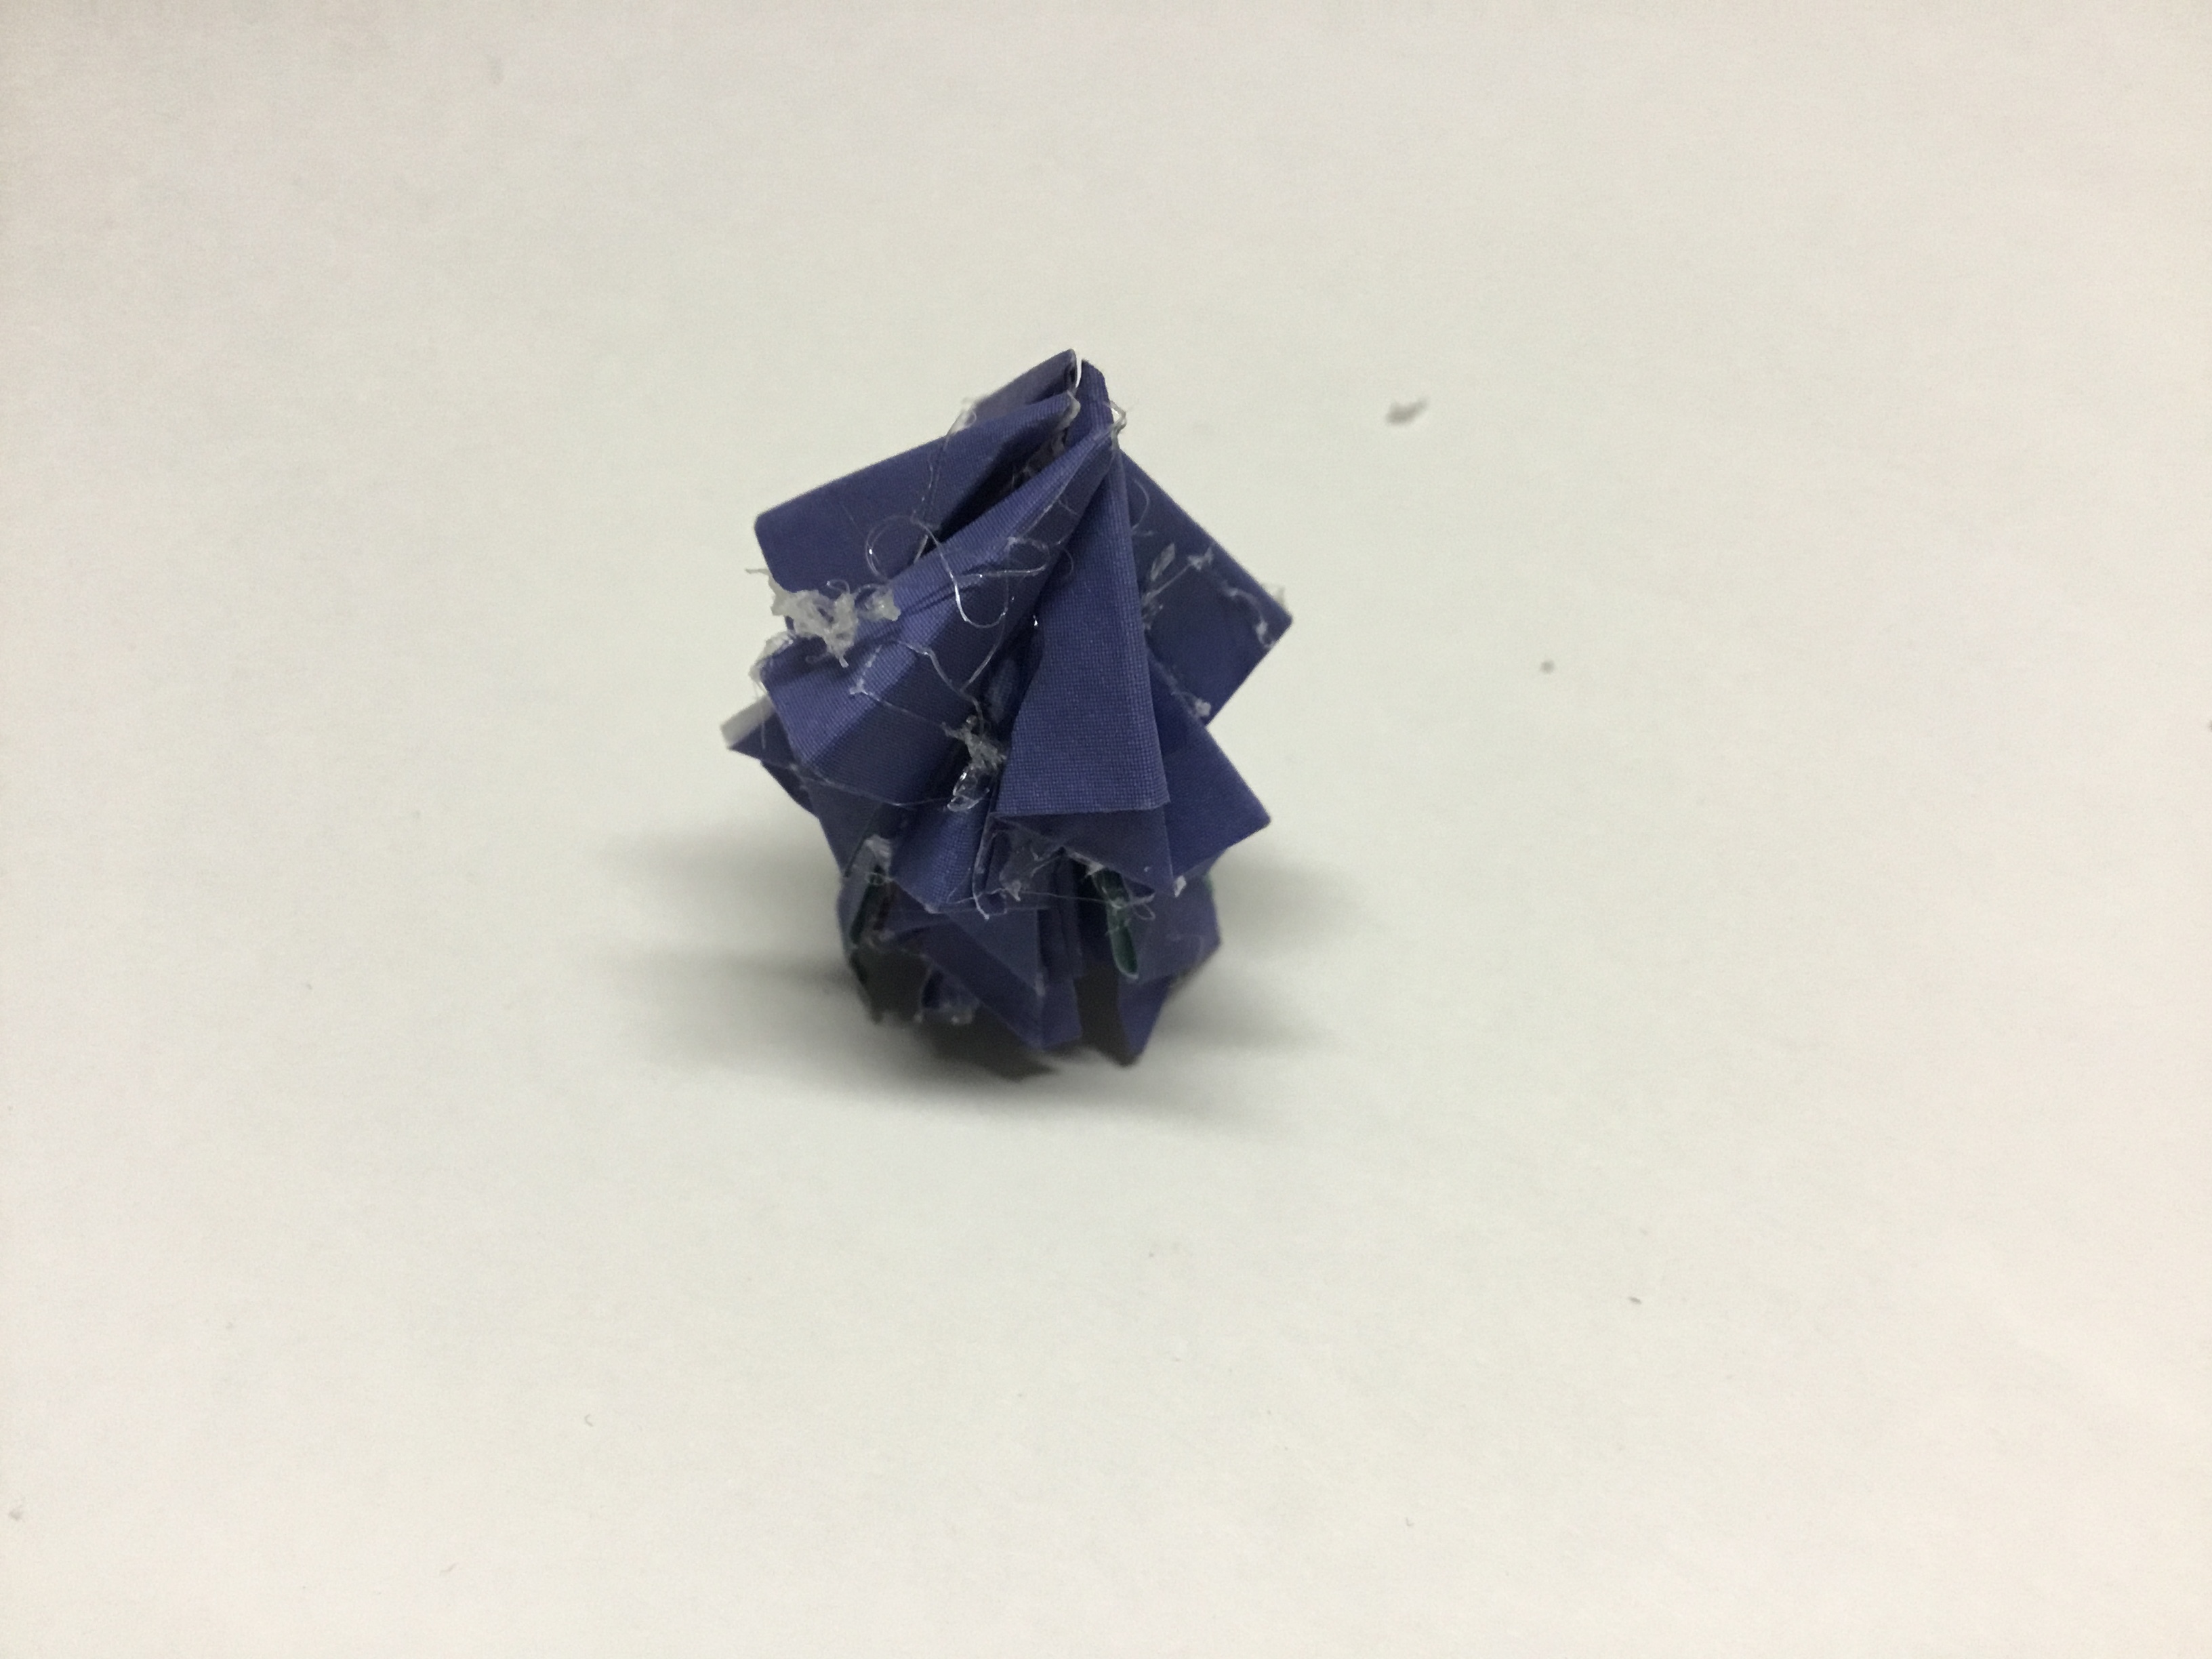
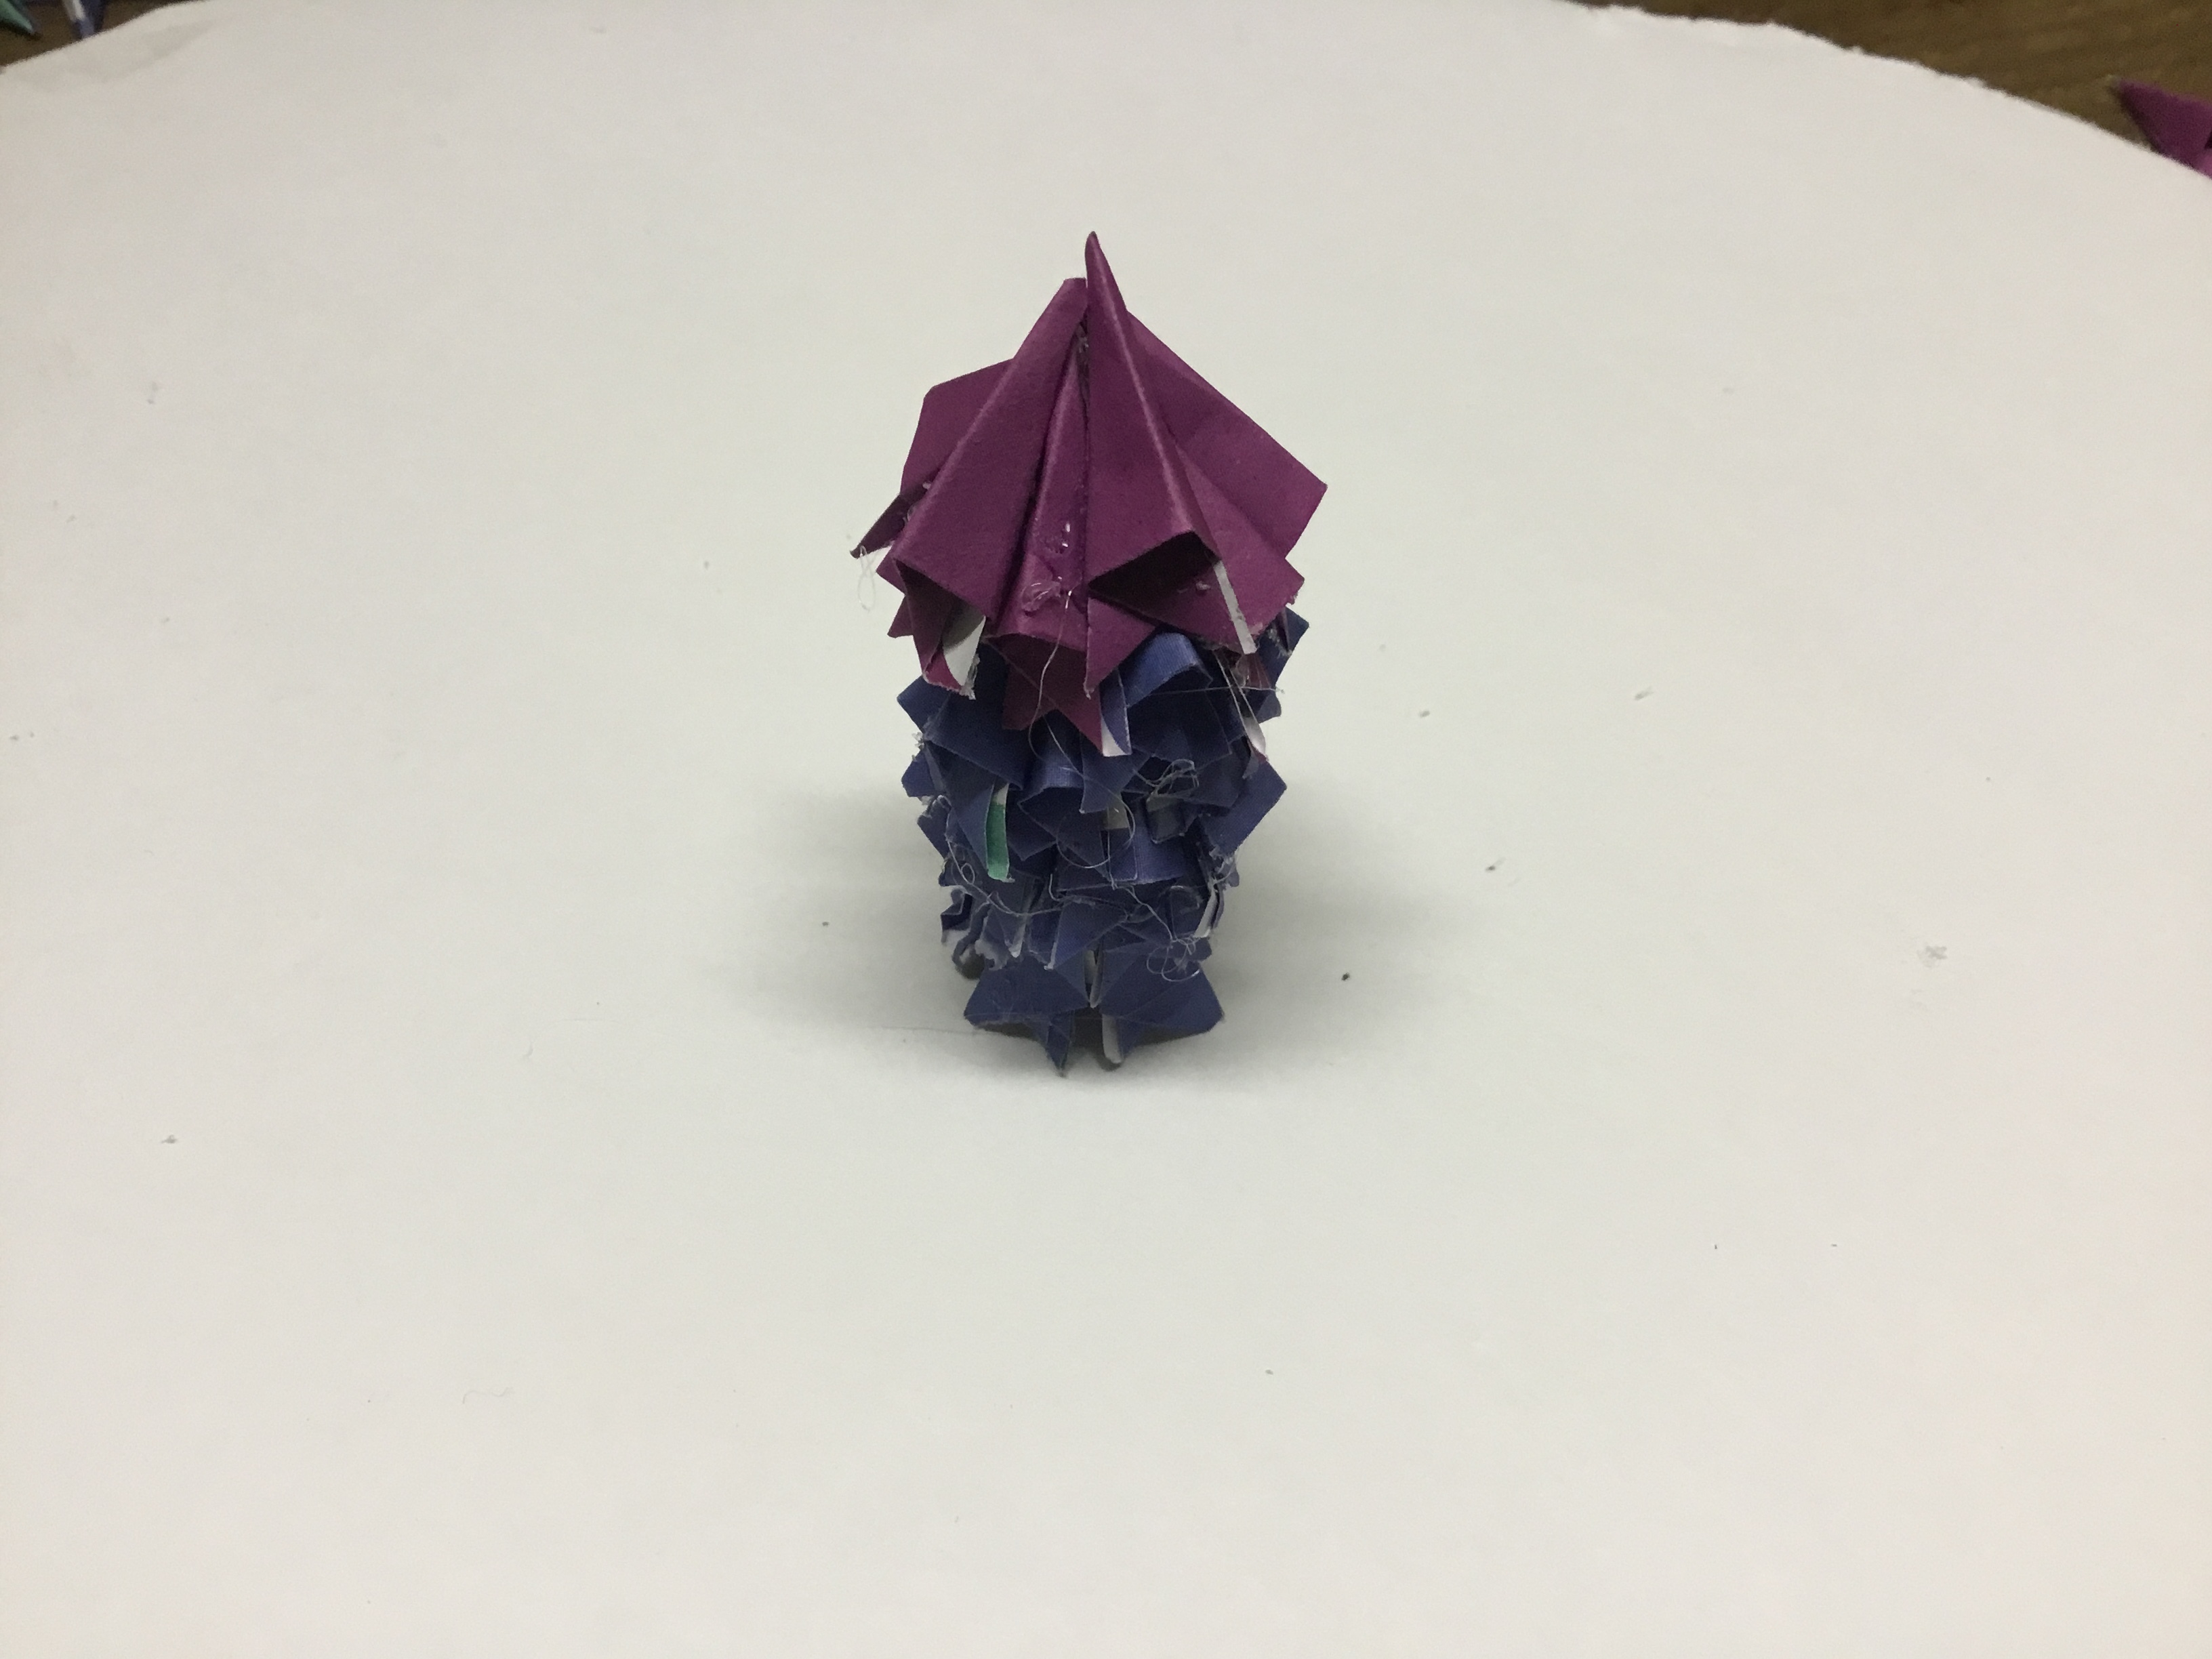
Repeat gluing layers of five on top until you use all of the first pattern and two layers of the second pattern .
Construction

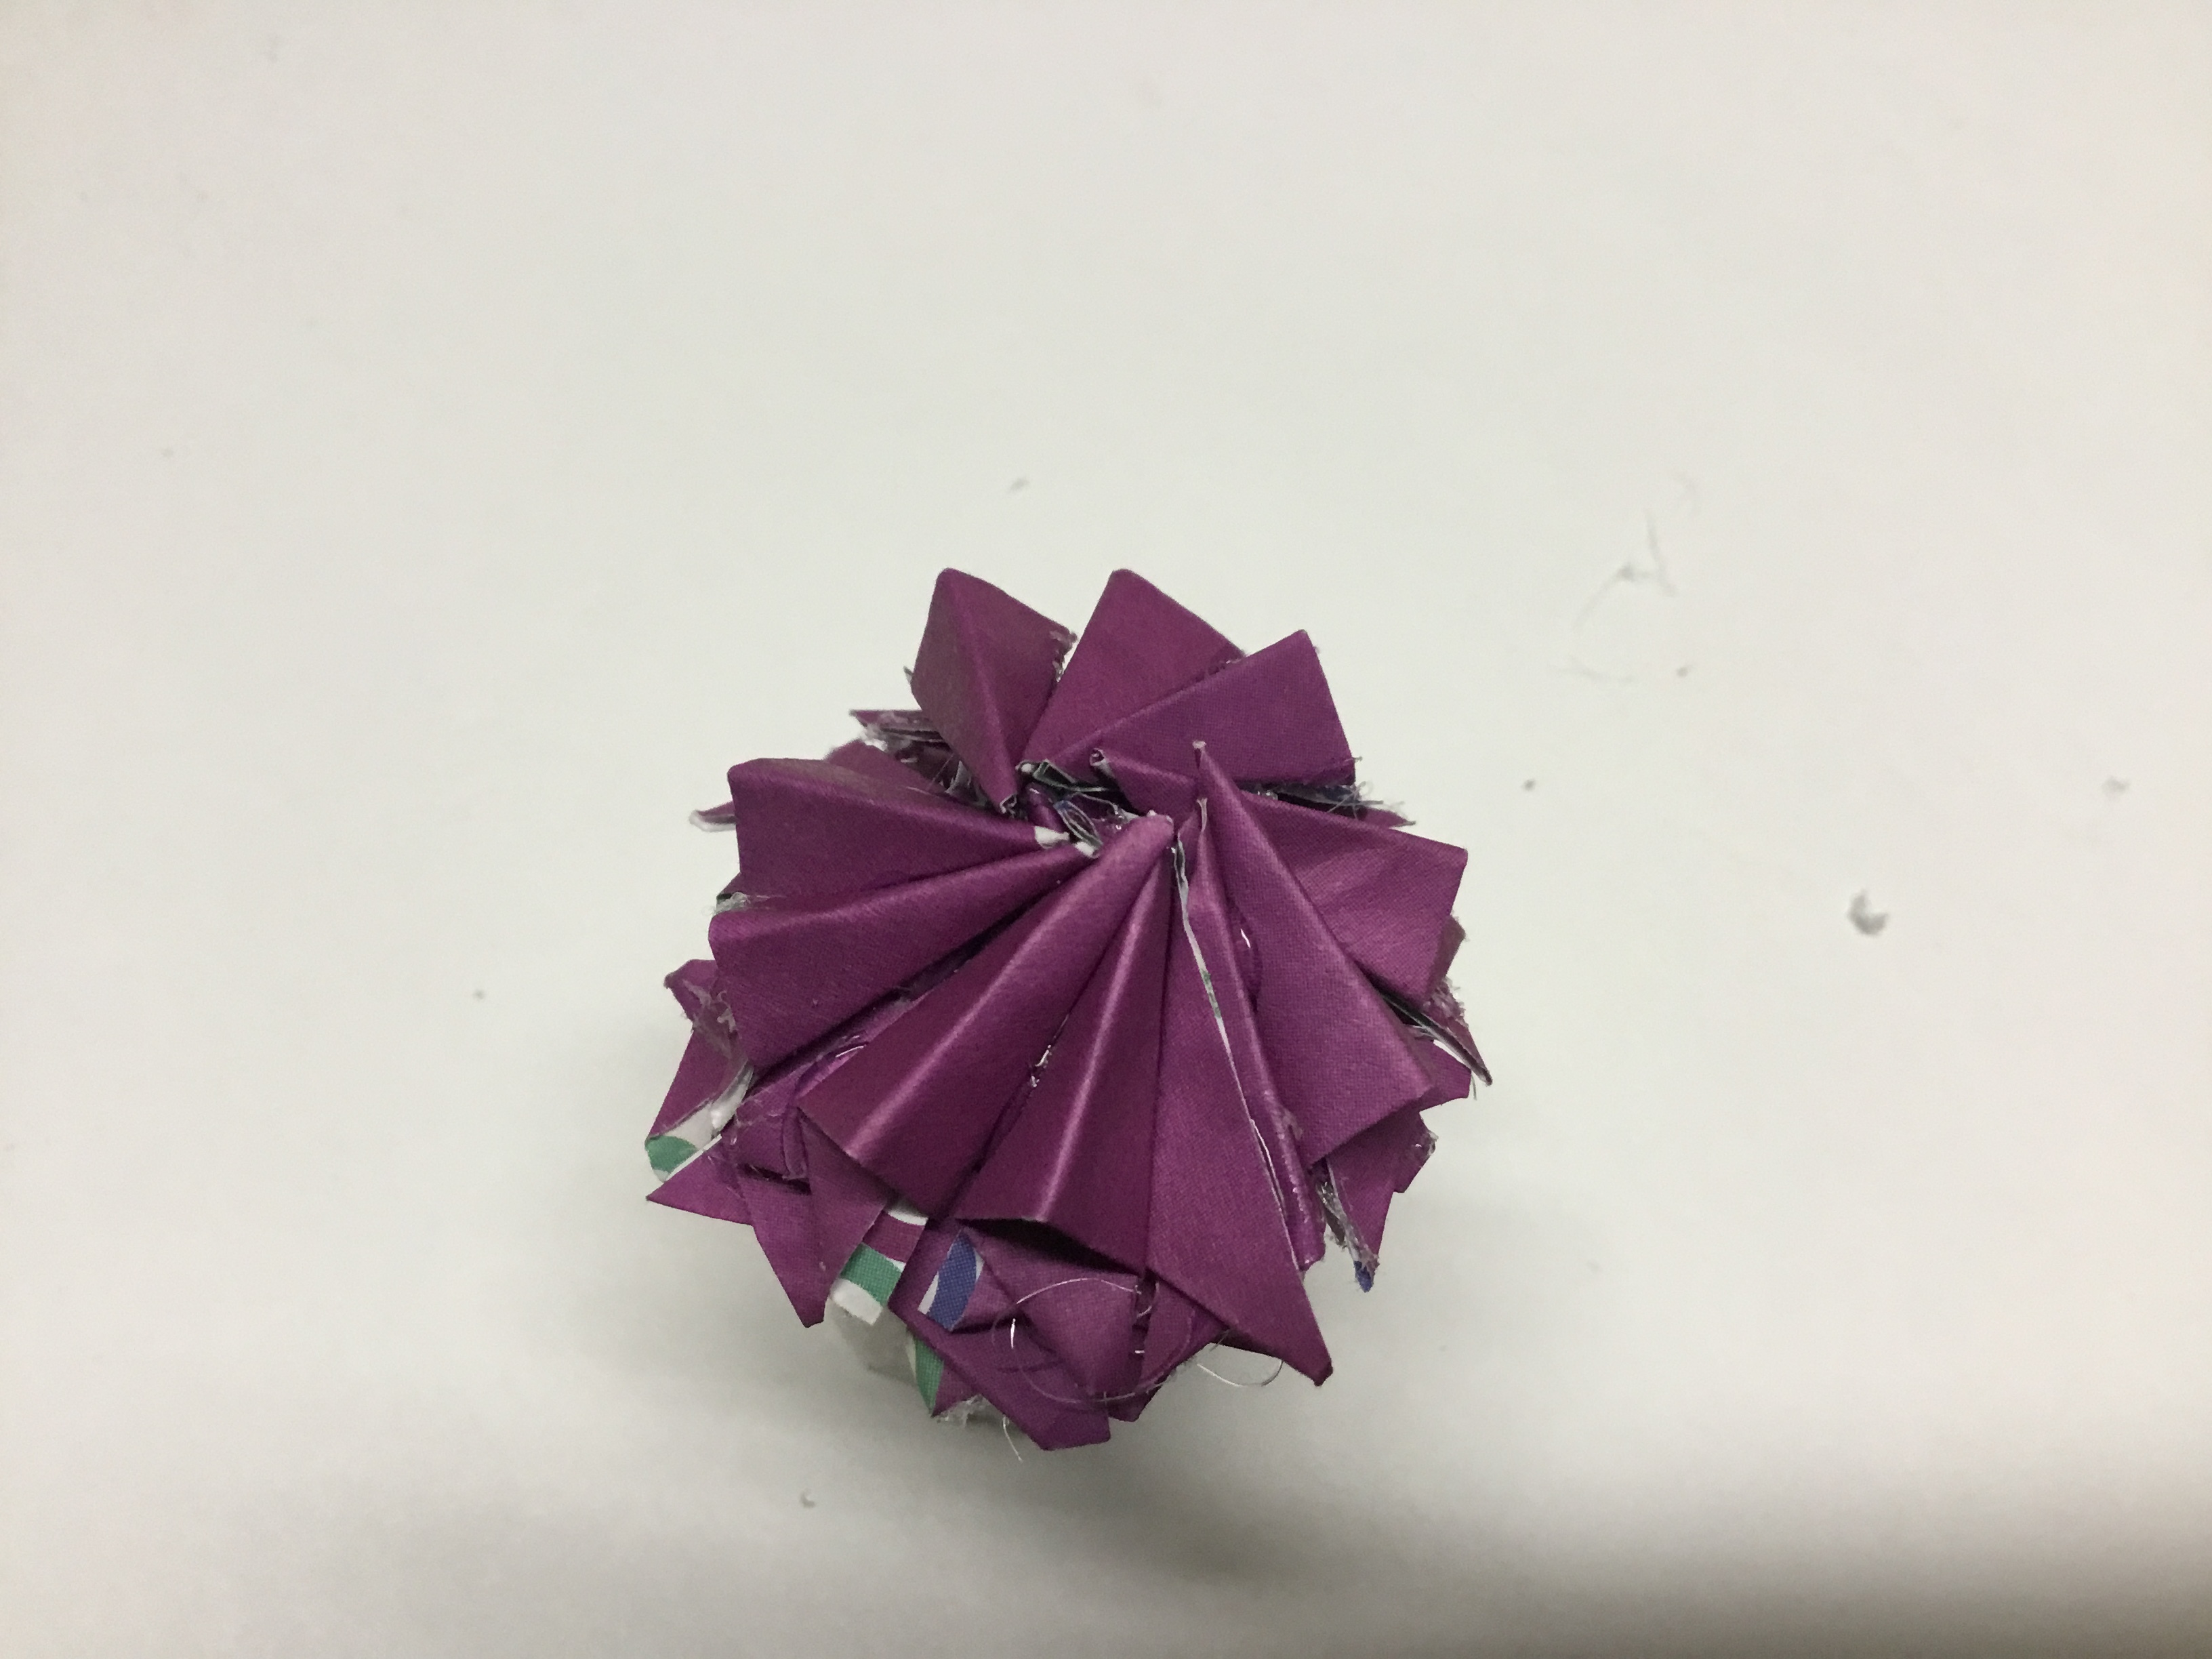
Glue 2 in between each one on the previous layer, then glue 10 on top in a slight spiral.
Leaves
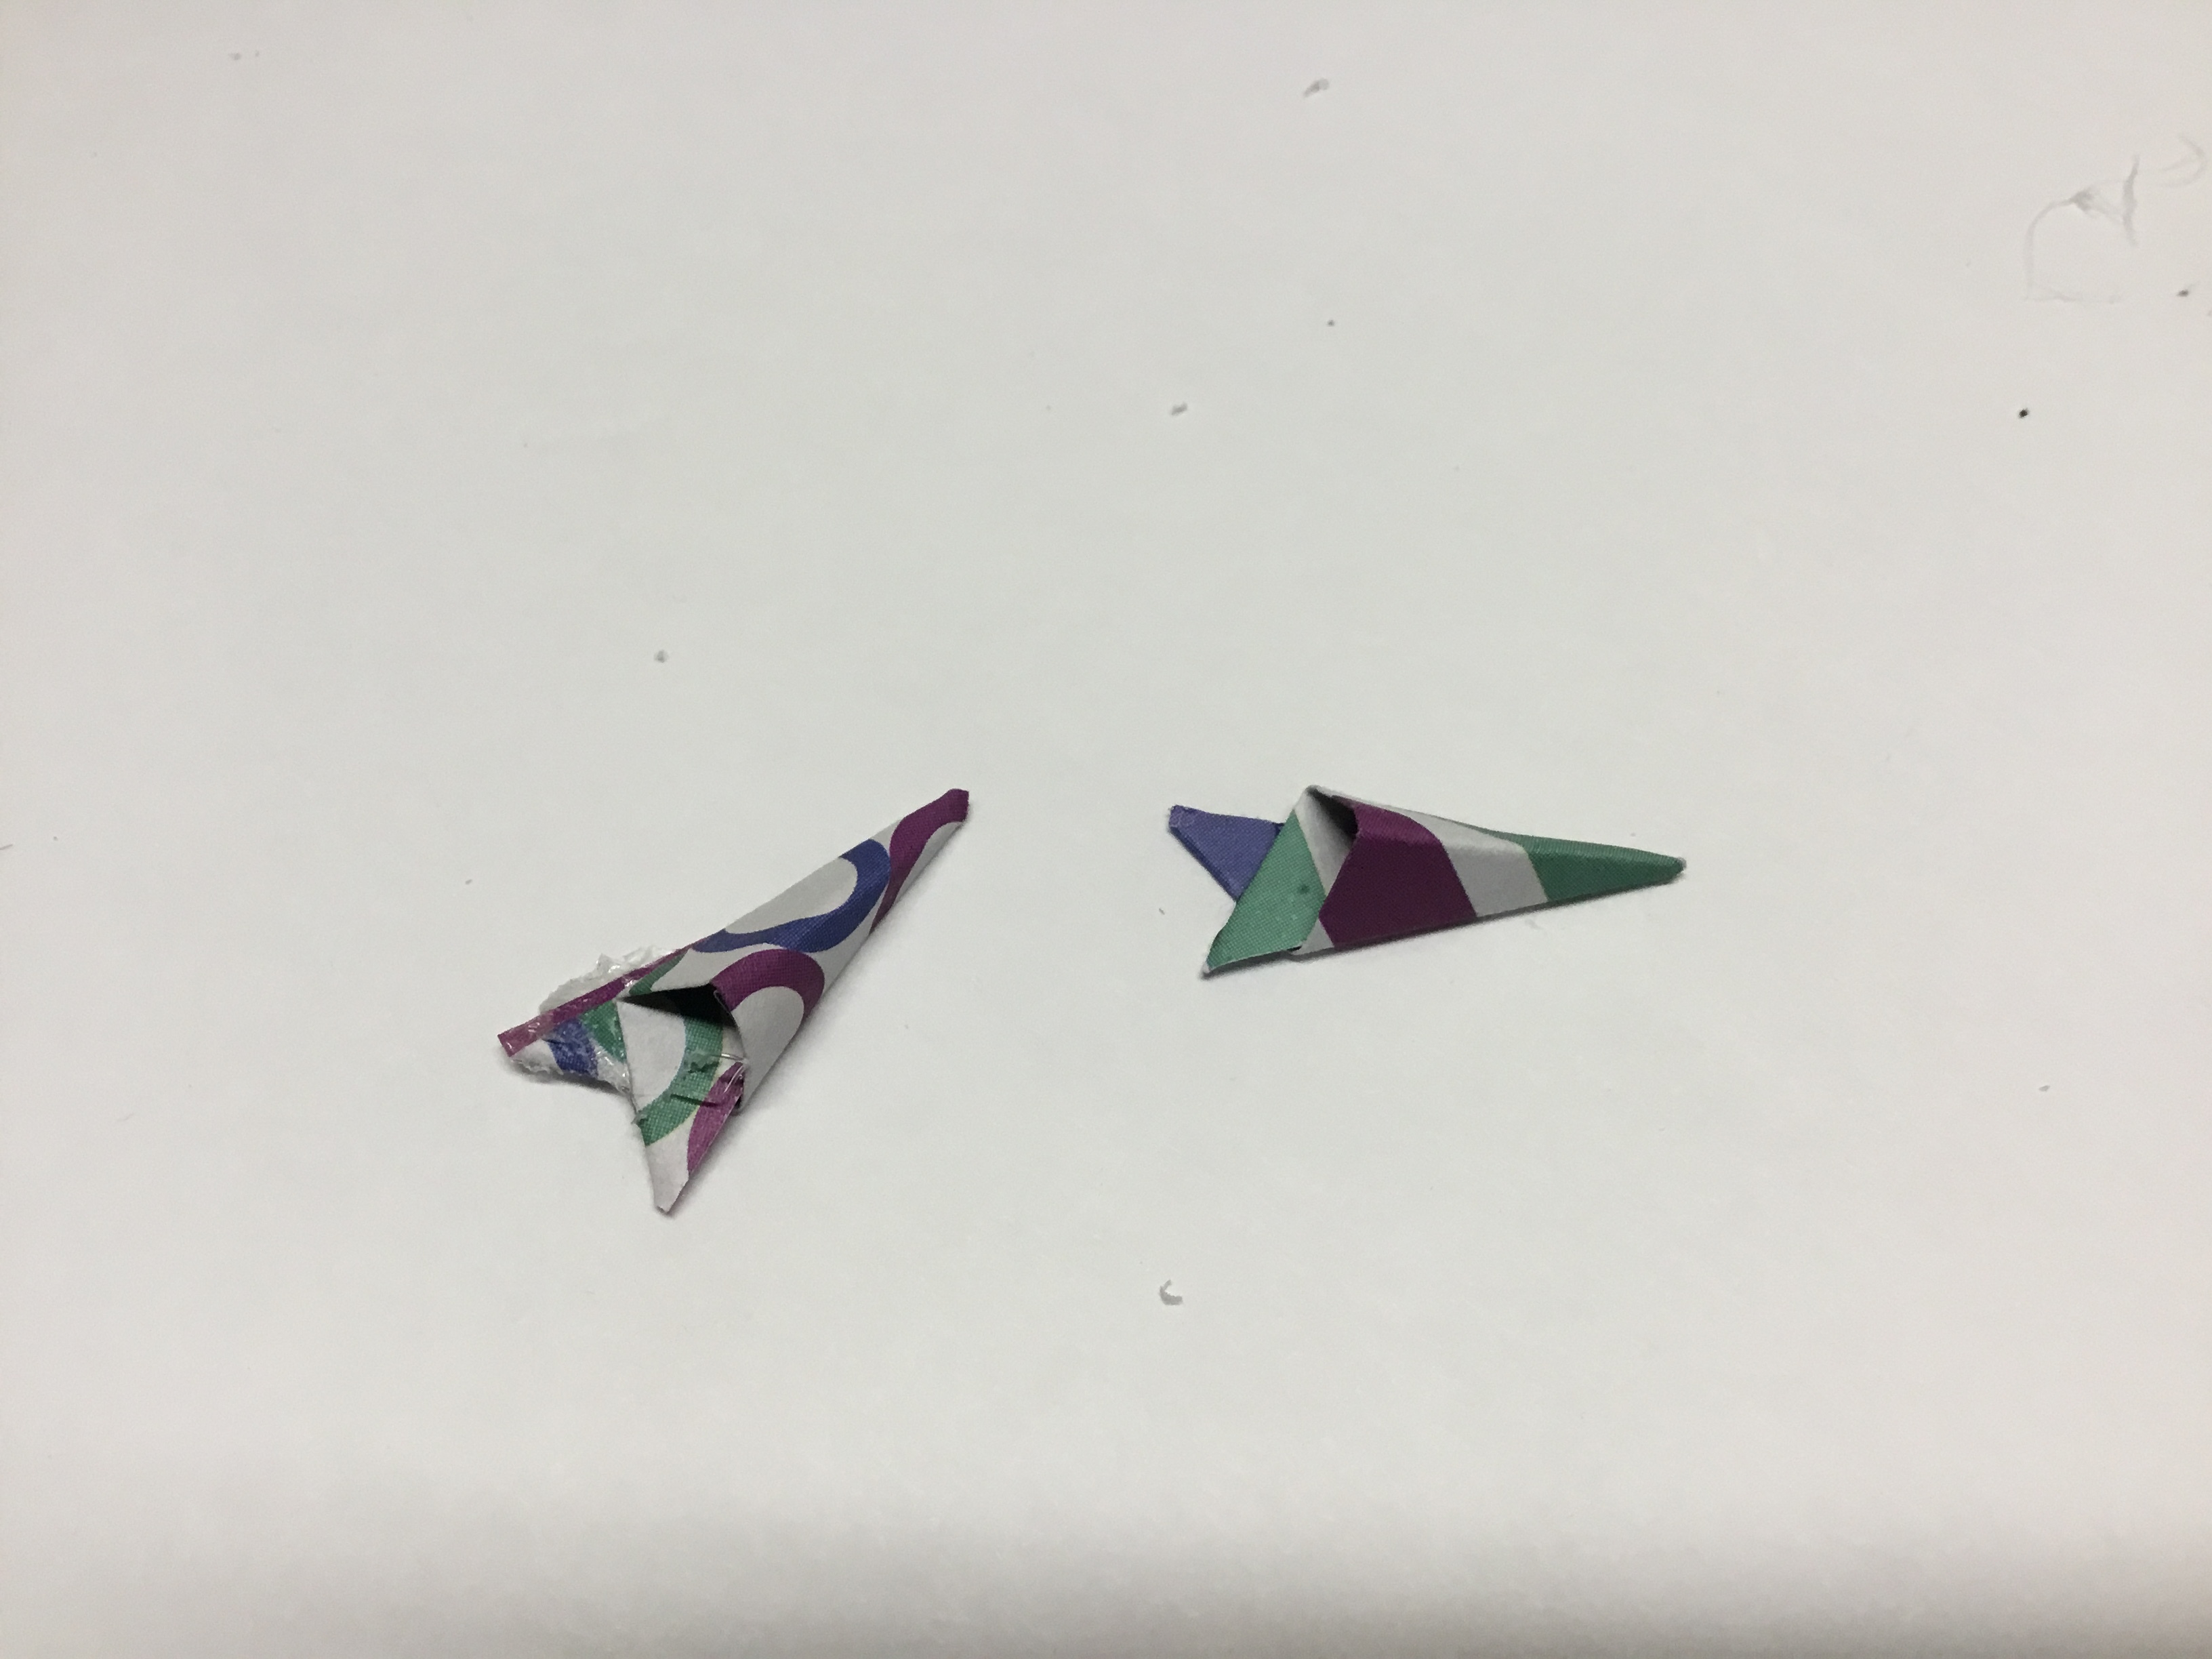


Glue 4 together like the picture. Repeat until you have 10 leaves.
Assembly

Glue each leaf in to the top part of the trunk as the picture shows
Clean Up
Grab a pair of tweezers and pluck out each small string of hot glue this will make the tree look a lot more finished
Enjoy


Good job you did it.