Origami Fox Robot (a RTPlayground2 Project)
by reachandteach in Living > LEGO & K'NEX
462 Views, 0 Favorites, 0 Comments
Origami Fox Robot (a RTPlayground2 Project)


Using Reach and Teach's RTPlayground2 Inventor's Kit and a bit of K'nex, this is an easy project to put together. You can build the RTPlayground2 Inventor's Kit using the Computer Controlled Tinkering w/o Writing Code instructable or you can purchase an already assembled RTPlayground2 Inventor's Kit from Reach and Teach. The RTPlayground2 Inventor's Kit provides the pre-programmed Circuit Playground Express and K'nex servo assembly that you will need for this instructable.
In addition, you will need a 5-7/8" square piece of origami paper (any color), a potentiometer (adjustable resistor), and some miscellaneous wire and alligator clips. If you have a 288+ Tronex Science Center electronics kit or a Snap Circuits kit, you can use the potentiometer that is part of those kits.
Fold an Origami Fox Puppet


The origami fox puppet is a traditional origami construction. You can easily find instructions online but I also recommend the books Easy Origami (Dover Origami Papercraft) by John Montroll or The Joy of Origami by Margaret Sicklin.
Once you have folded the origami fox, tape two blue K'nex rods into the back of the puppet as shown. Use a K'nex clip to secure the upper blue K'nex rod to the top of the origami fox puppet.
Build 3 K'nex Subassemblies

Detailed photos of each of these subassemblies and how they are assembled together are shown in the following steps.
Subassembly #1

Subassembly #2

Subassembly #3

Assemble the 3 Subassemblies Together


These photos show how the 3 subassemblies are put together. The last photo shows the remaining red K'nex rod installed as a diagonal brace.
Ready for Final Assembly...

In the next steps, you will see how to install the servo and the origami fox.
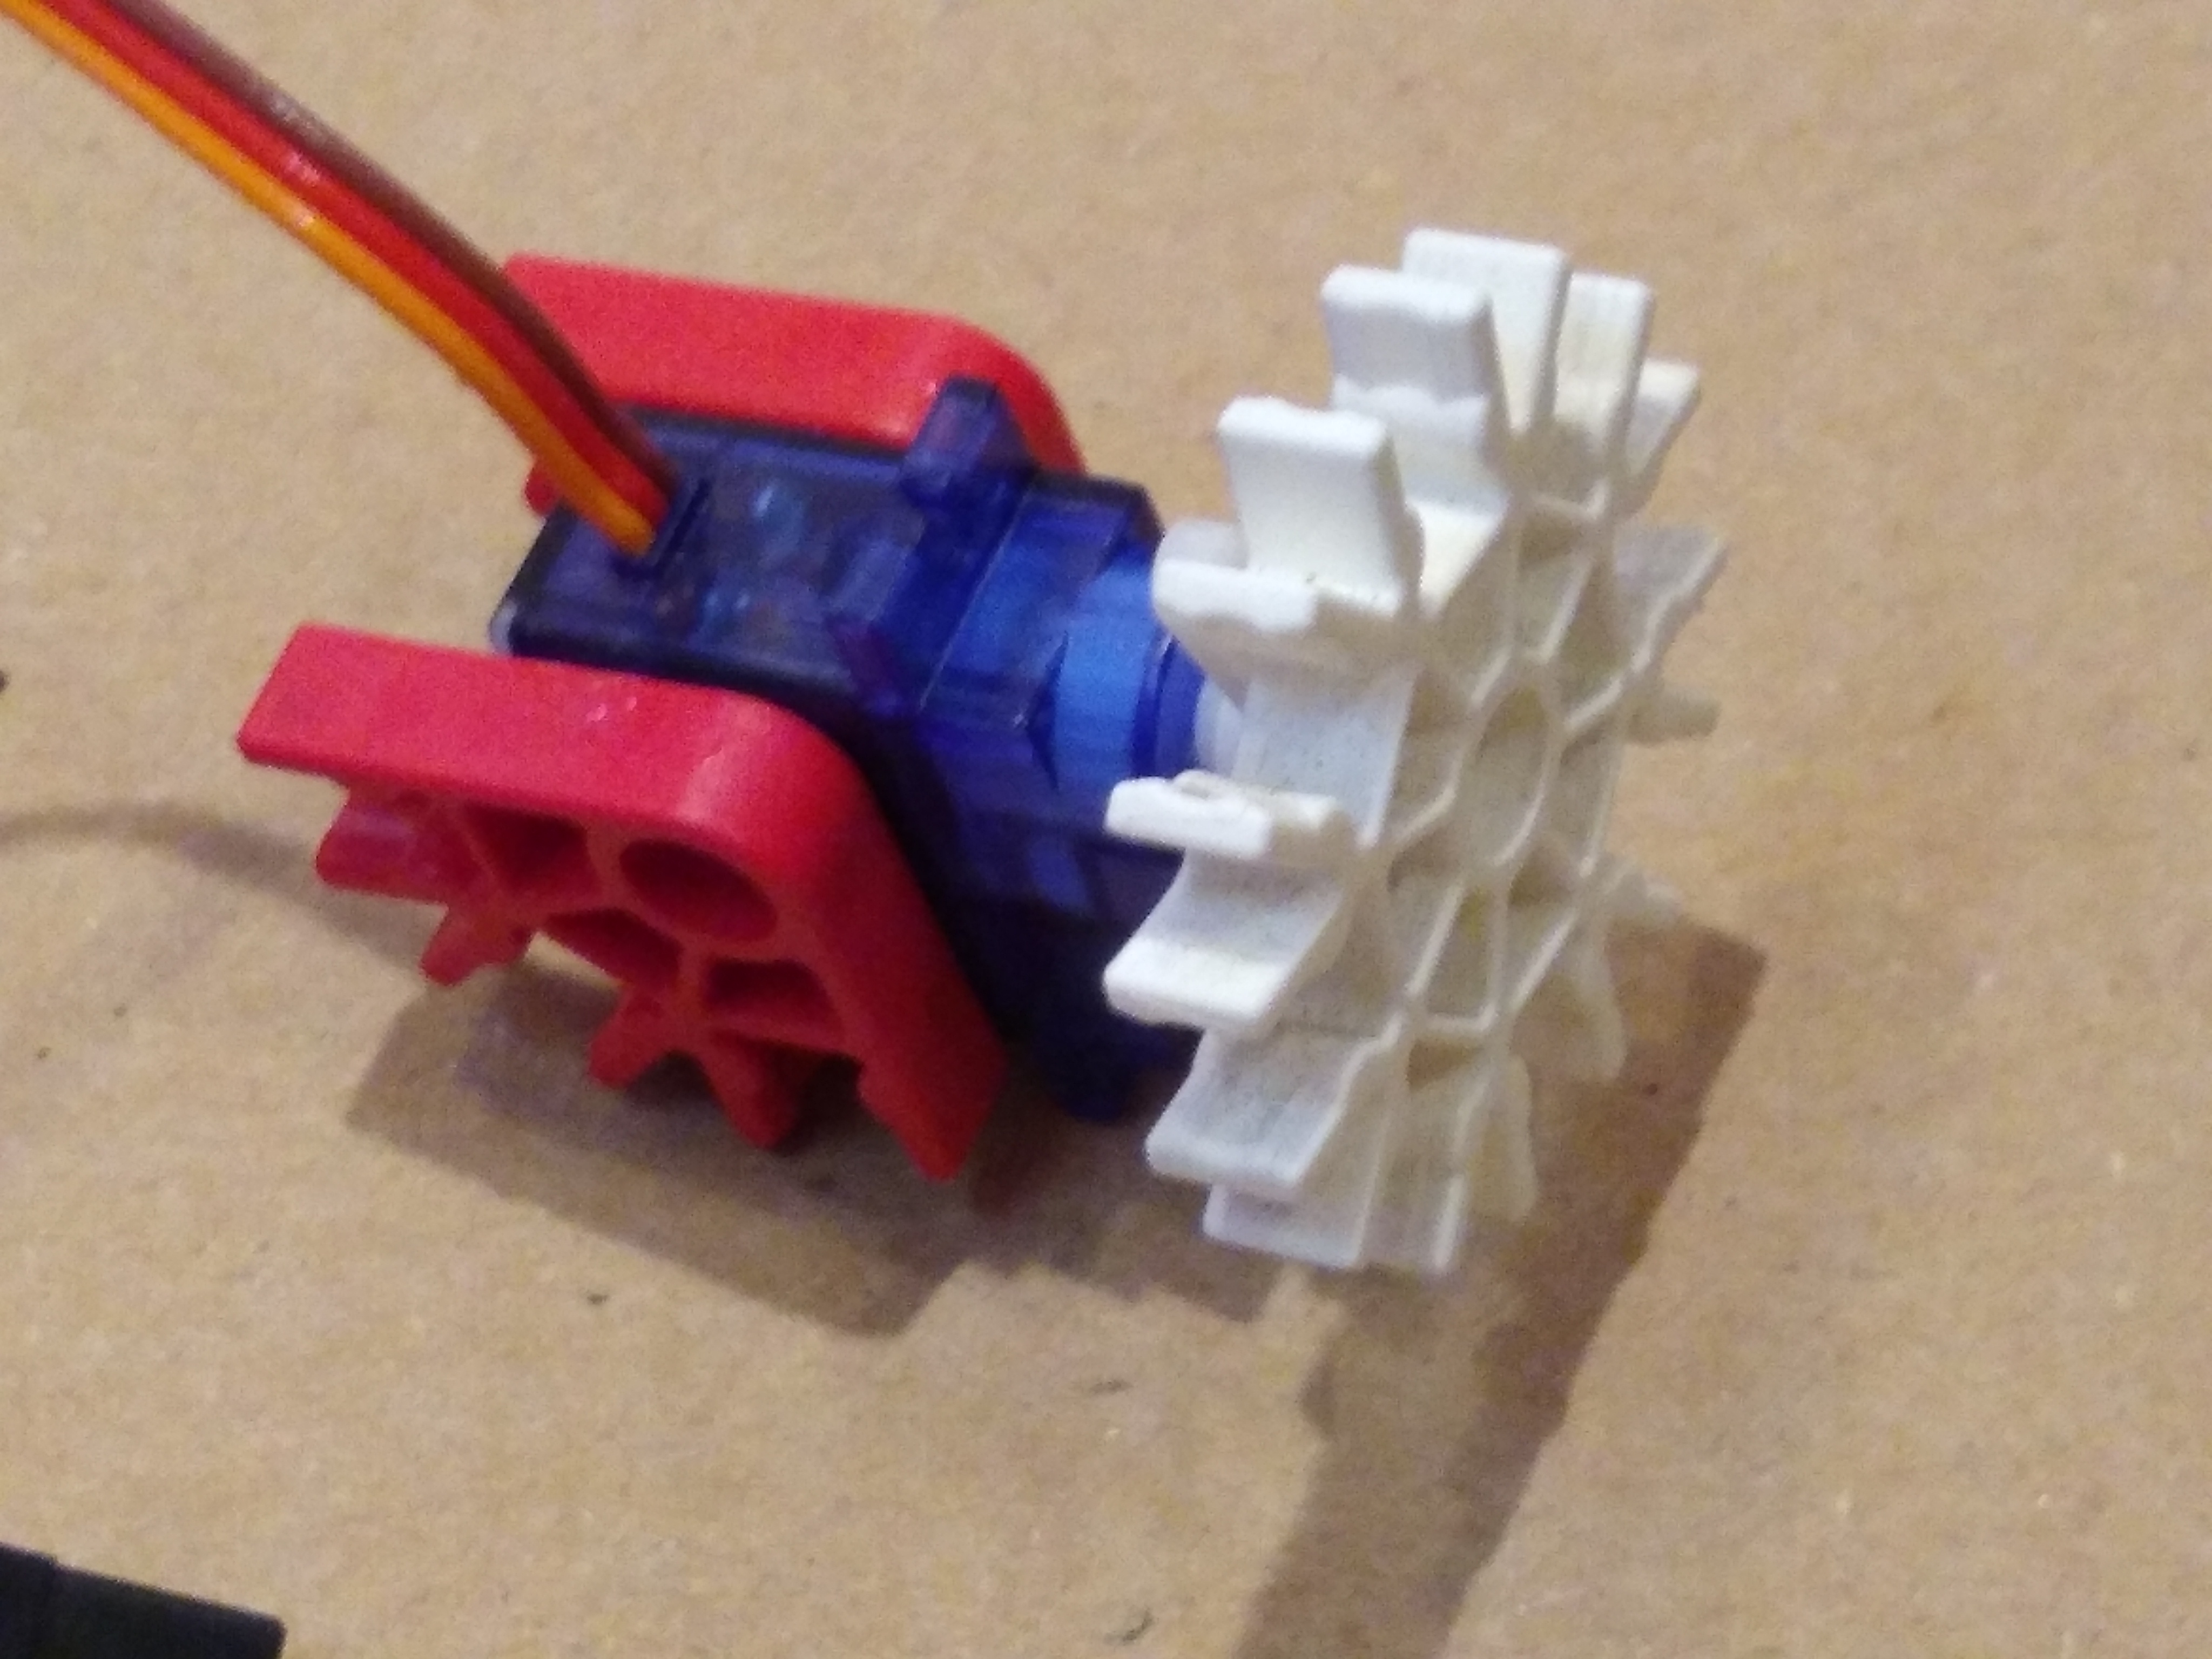
Install the Servo Assembly


The servo assembly is attached to the two supporting blue rods in the base.
Install the Origami Fox Assembly

The two blue rods in the origami fox are installed as shown.
Select Program 3 in the RTPlayground2

Select RTPlayground2 Pgm 3 and connect the servo as described in Steps 4 and 5 of the Computer Controlled Tinkering instructable. Pgm 3 reads a voltage on pad A1 of the Circuit Playground Express and accordingly moves a servo which is attached to pad A2. If you want to write your own code on an Arduino processor of your choice or a Raspberry Pi, you will want to control your servo to move between 0 and 90 degrees.
If you have a 288+ Tronex Science Center, you can now just connect up the on board potentiomenter/adjustable resistor (connecting Tronex pin 16 to ground, pin 17 to pad A1 , and pin 18 to 3.3V on the Circuit Playground Express). Otherwise, you can use pretty much any potentiometer you have with pad A1 connected to the middle potentiometer connector and the other connectors connected to Ground and 3.3V on the Circuit Playground Express
Congratulations! Time to Play With Your Invention.


Moving the knob of the potentiometer/adjustable resistor should cause the origami fox's mouth to move. Moving the knob back and forth slowly should allow you to very finely control the fox's mouth position. Can you get it to say "Hello, World" and other phrases?
I hope you have fun with this simple instructable and that it gives a small taste of what you can do with a computer controlled animatronic puppet. Please let me know what you think of this instructable by leaving me a comment and definitely let me know if you build this or find ways to improve or enhance this instructable.