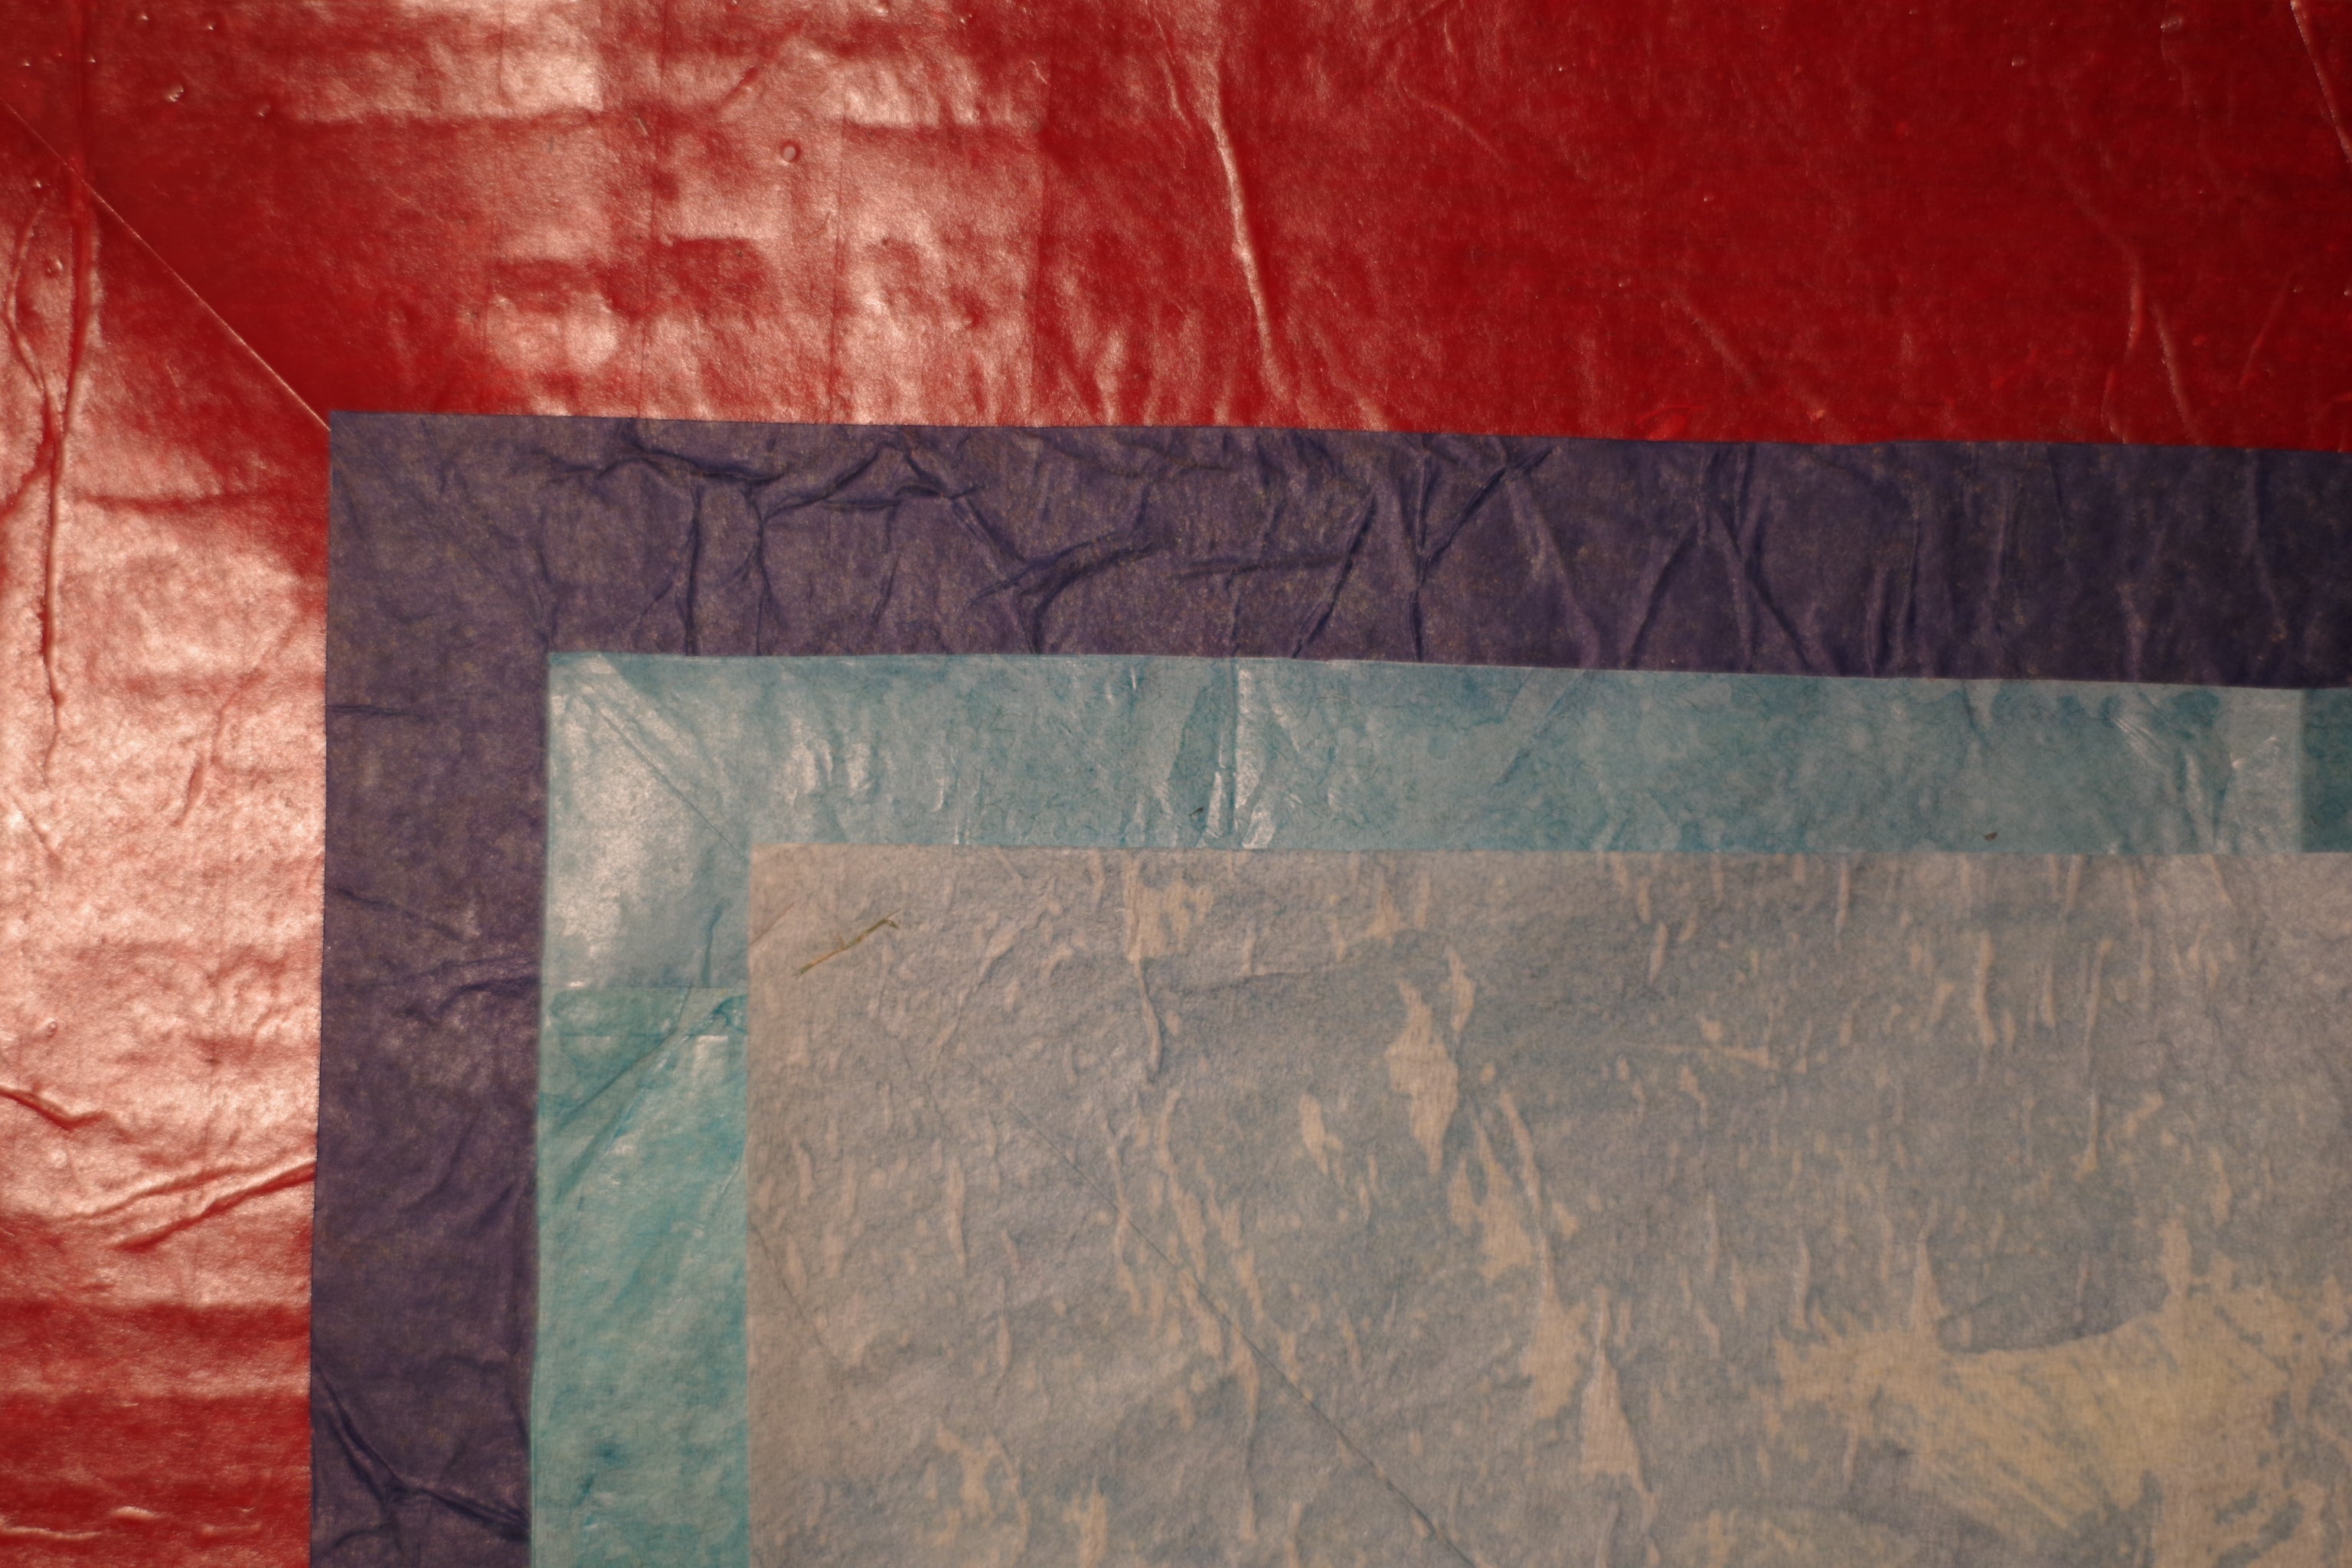
Origami Double Tissue Paper
![IMGP0970-01[1].jpeg](/proxy/?url=https://content.instructables.com/FM5/QH3T/JDKKLHWW/FM5QH3TJDKKLHWW.jpg&filename=IMGP0970-01[1].jpeg)


On your journey in search of the ideal origami paper, you find yourself at a crossroad. To your left, a path you have walked before, the path to tissue foil. To your right, the path leads to double tissue.

You've heard the stories about its strength, its colours, its ability to be shaped and of course it's dirt cheap. You simply must experience it.
Supplies

You stop to gather some supplies :
- PVA glue
- A sponge or large paintbrush
- 2 sheets of tissue paper
- A sheet of non-stick material that is larger than the tissue paper. This is what the tissue paper will be glued to and it is important that it doesn't permanently stick to it, otherwise you'll just end up backing it with tissue paper. I used a large sheet of cardboard covered in clear sellotape (which works), in the past I've also used non-stick aluminium foil. I've seen people use glass, but haven't tried it myself.
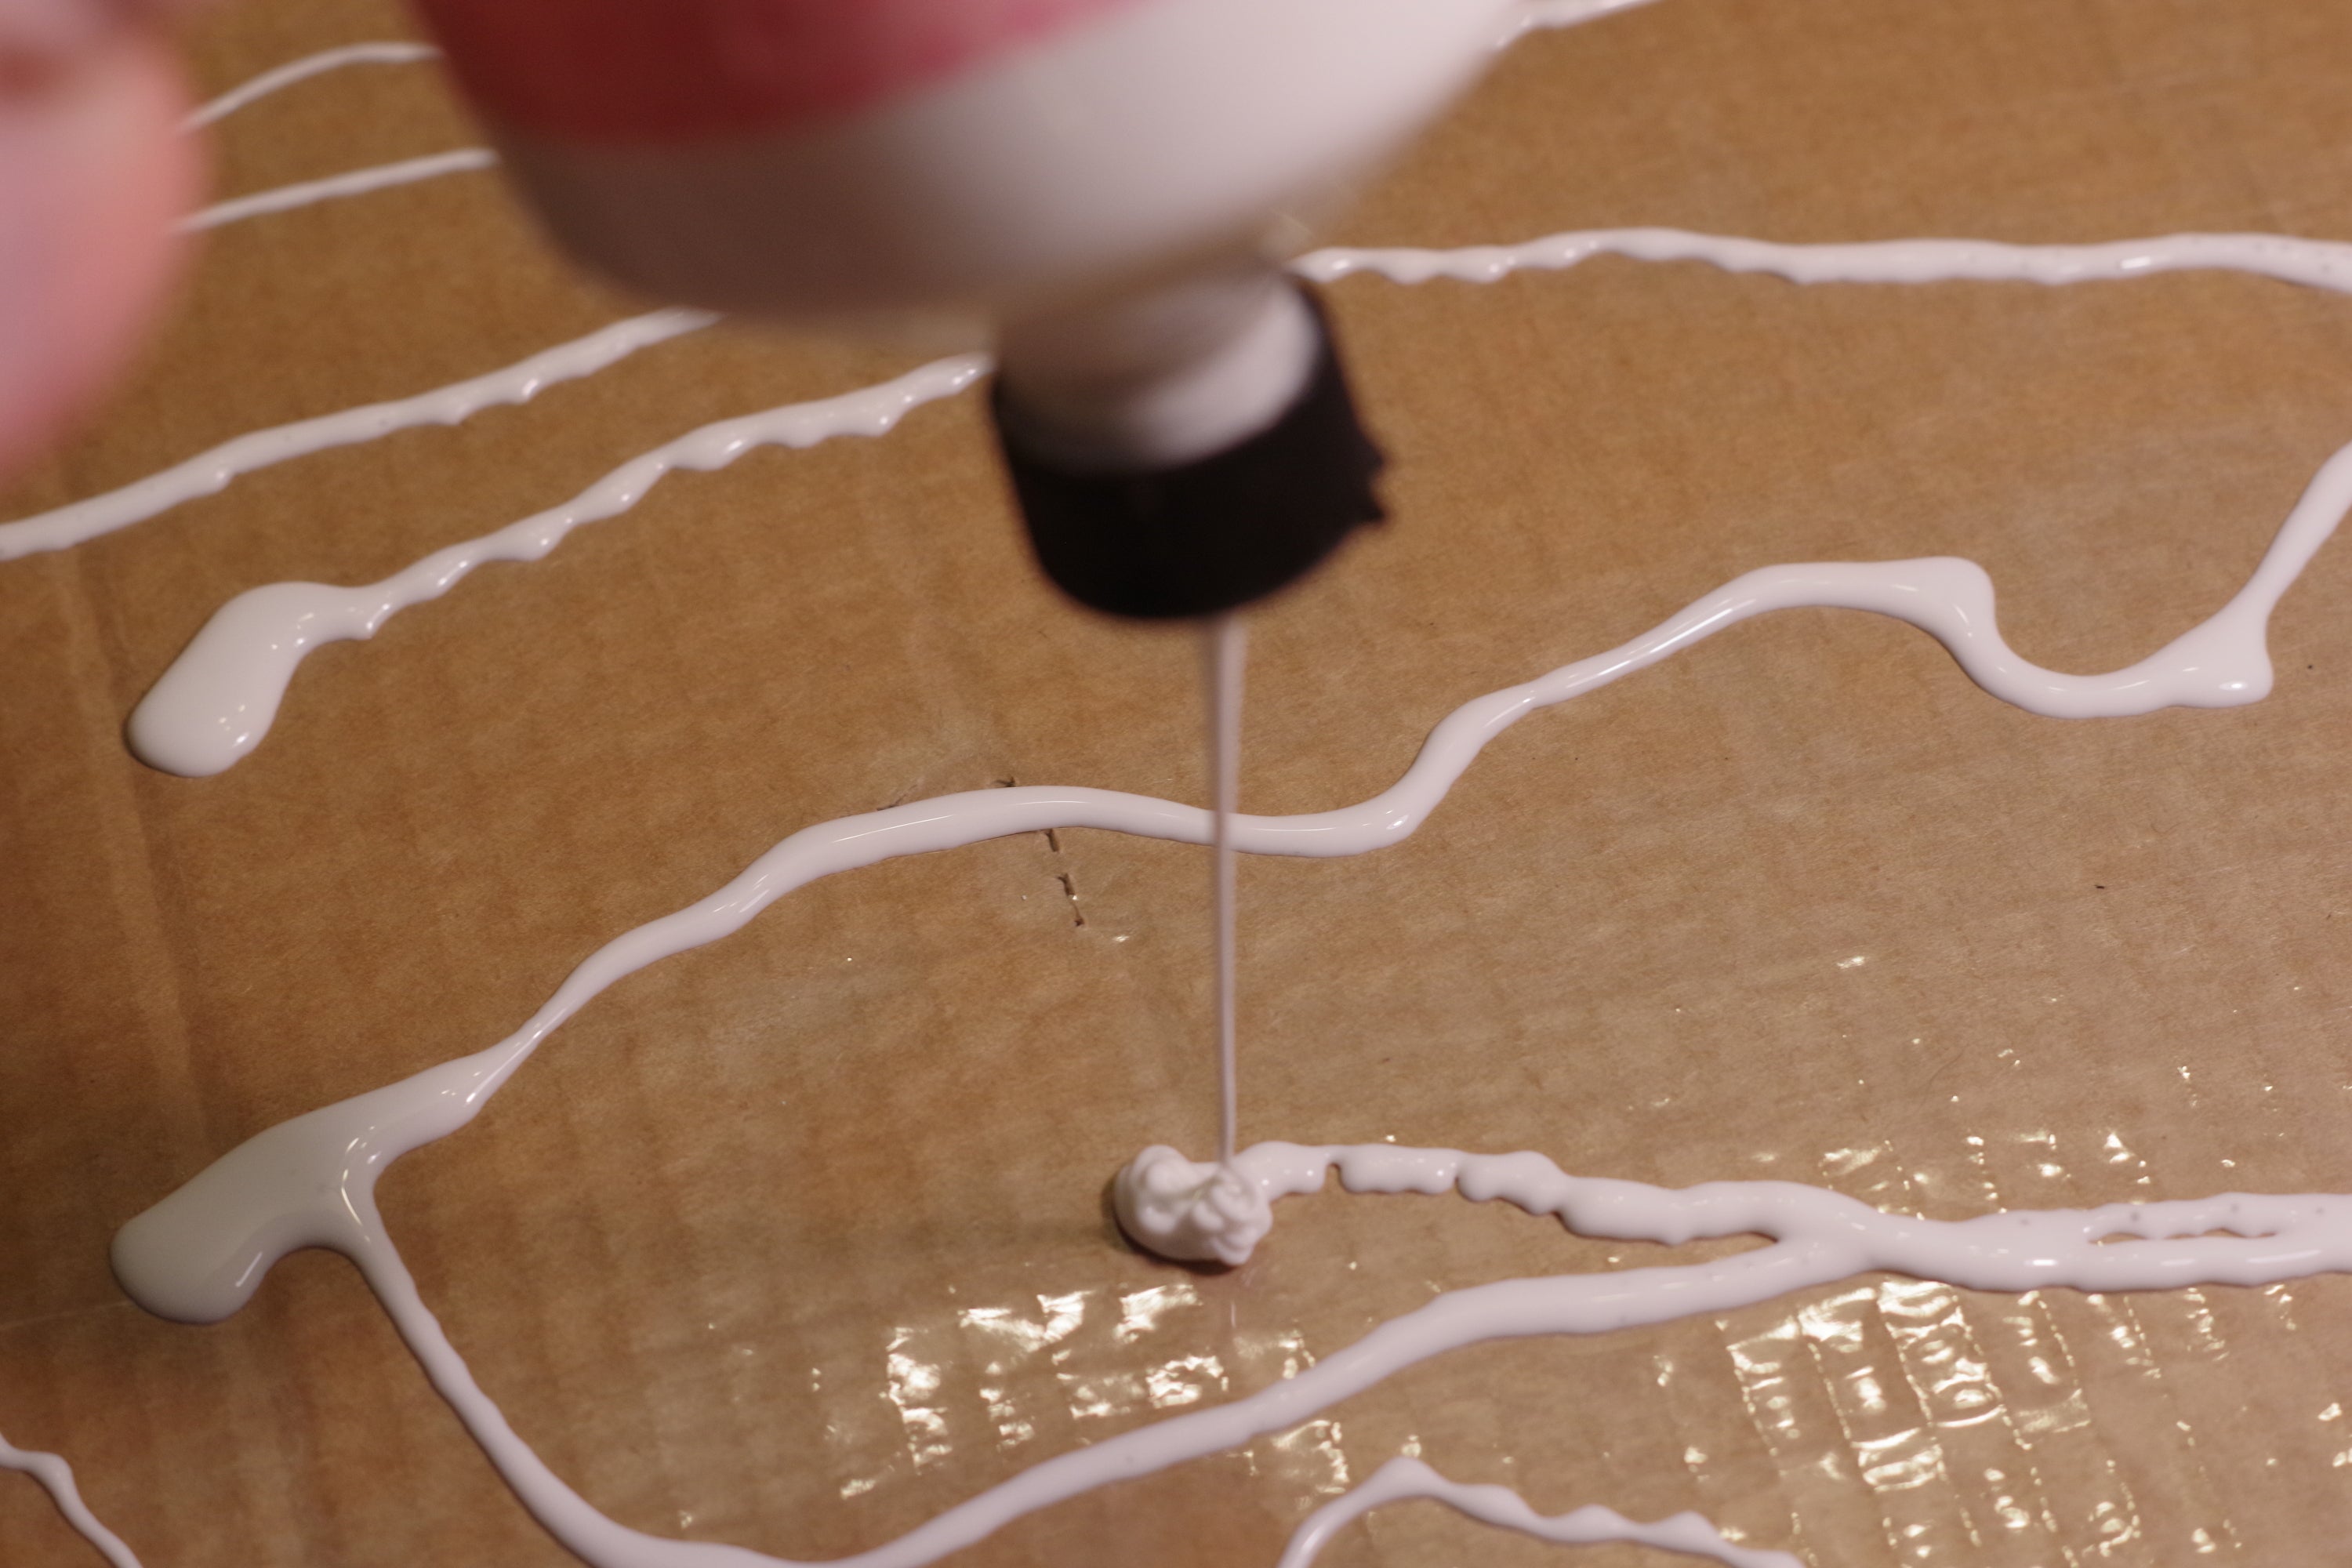
Apply a layer of glue over the surface of the non-stick material. You may want to water down the glue a bit depending on how you want the paper to feel. A lot of glue will result in a glossy and waxy feeling sheet, whereas watering it down will result in a more standard feeling sheet.


Using the sponge or a paintbrush, evenly spread out the glue over the surface.


First Layer


Take a sheet of tissue paper and place it on the glue-covered surface. I find that rolling up the tissue paper first makes it easier to apply it evenly.

Flatten out any pockets of air so that you have a flat surface.


More Glue

Now apply a layer of glue on top of the tissue paper.


Evenly spread the glue over the tissue paper.


More Tissue Paper

Apply another layer of tissue paper on top of the existing layer, rolling it up before if you need to.


Flatten out any air bubbles, so that the surface is flat.


Even More Glue (optional)

This final layer of glue is optional and I only added it for some additional strength and for a nicer finish.


Gather Your Steel

Allow the tissue paper to dry and peel it off of the non-stick surface (or attempt to peel it off the definitely stick surface).

Cut off any excess glue on the edges.


Now to cut the tissue paper into a usable square. The technique I use for this is rather simple and involves only one cut. However, I'm sure that there is a better way and if you can think of one please do let me know.
Start by folding the top edge to the right edge.

Fold the top right corner to the bottom left corner.

Fold the topmost layer's bottom corner to the right bottom corner.

Repeat on the back.

Mark on a line at a right angle to the edge. For this, I used a set square.


To keep all of the layers aligned and to ensure an even cut, I attached clothespegs at either side of the line.

Cut along the line using scissors or a craft knife.

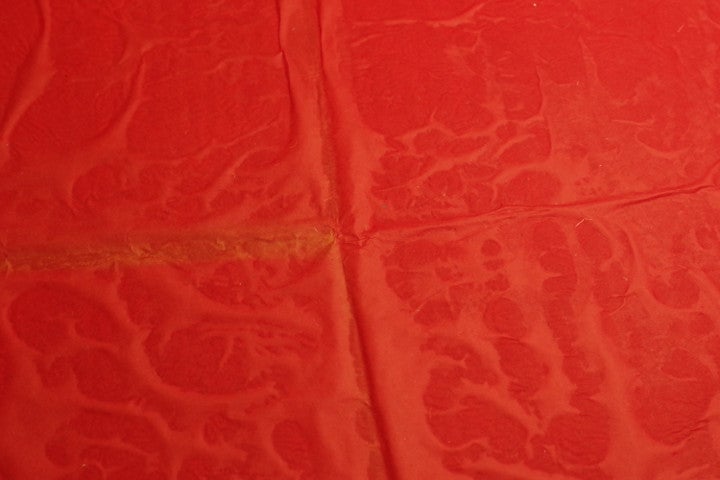
Unfold and bask in the squareness.

Fold the Dragon


You should now have a finished sheet of double tissue and are now ready to fold something...