Origami Butterfly Stop Motion
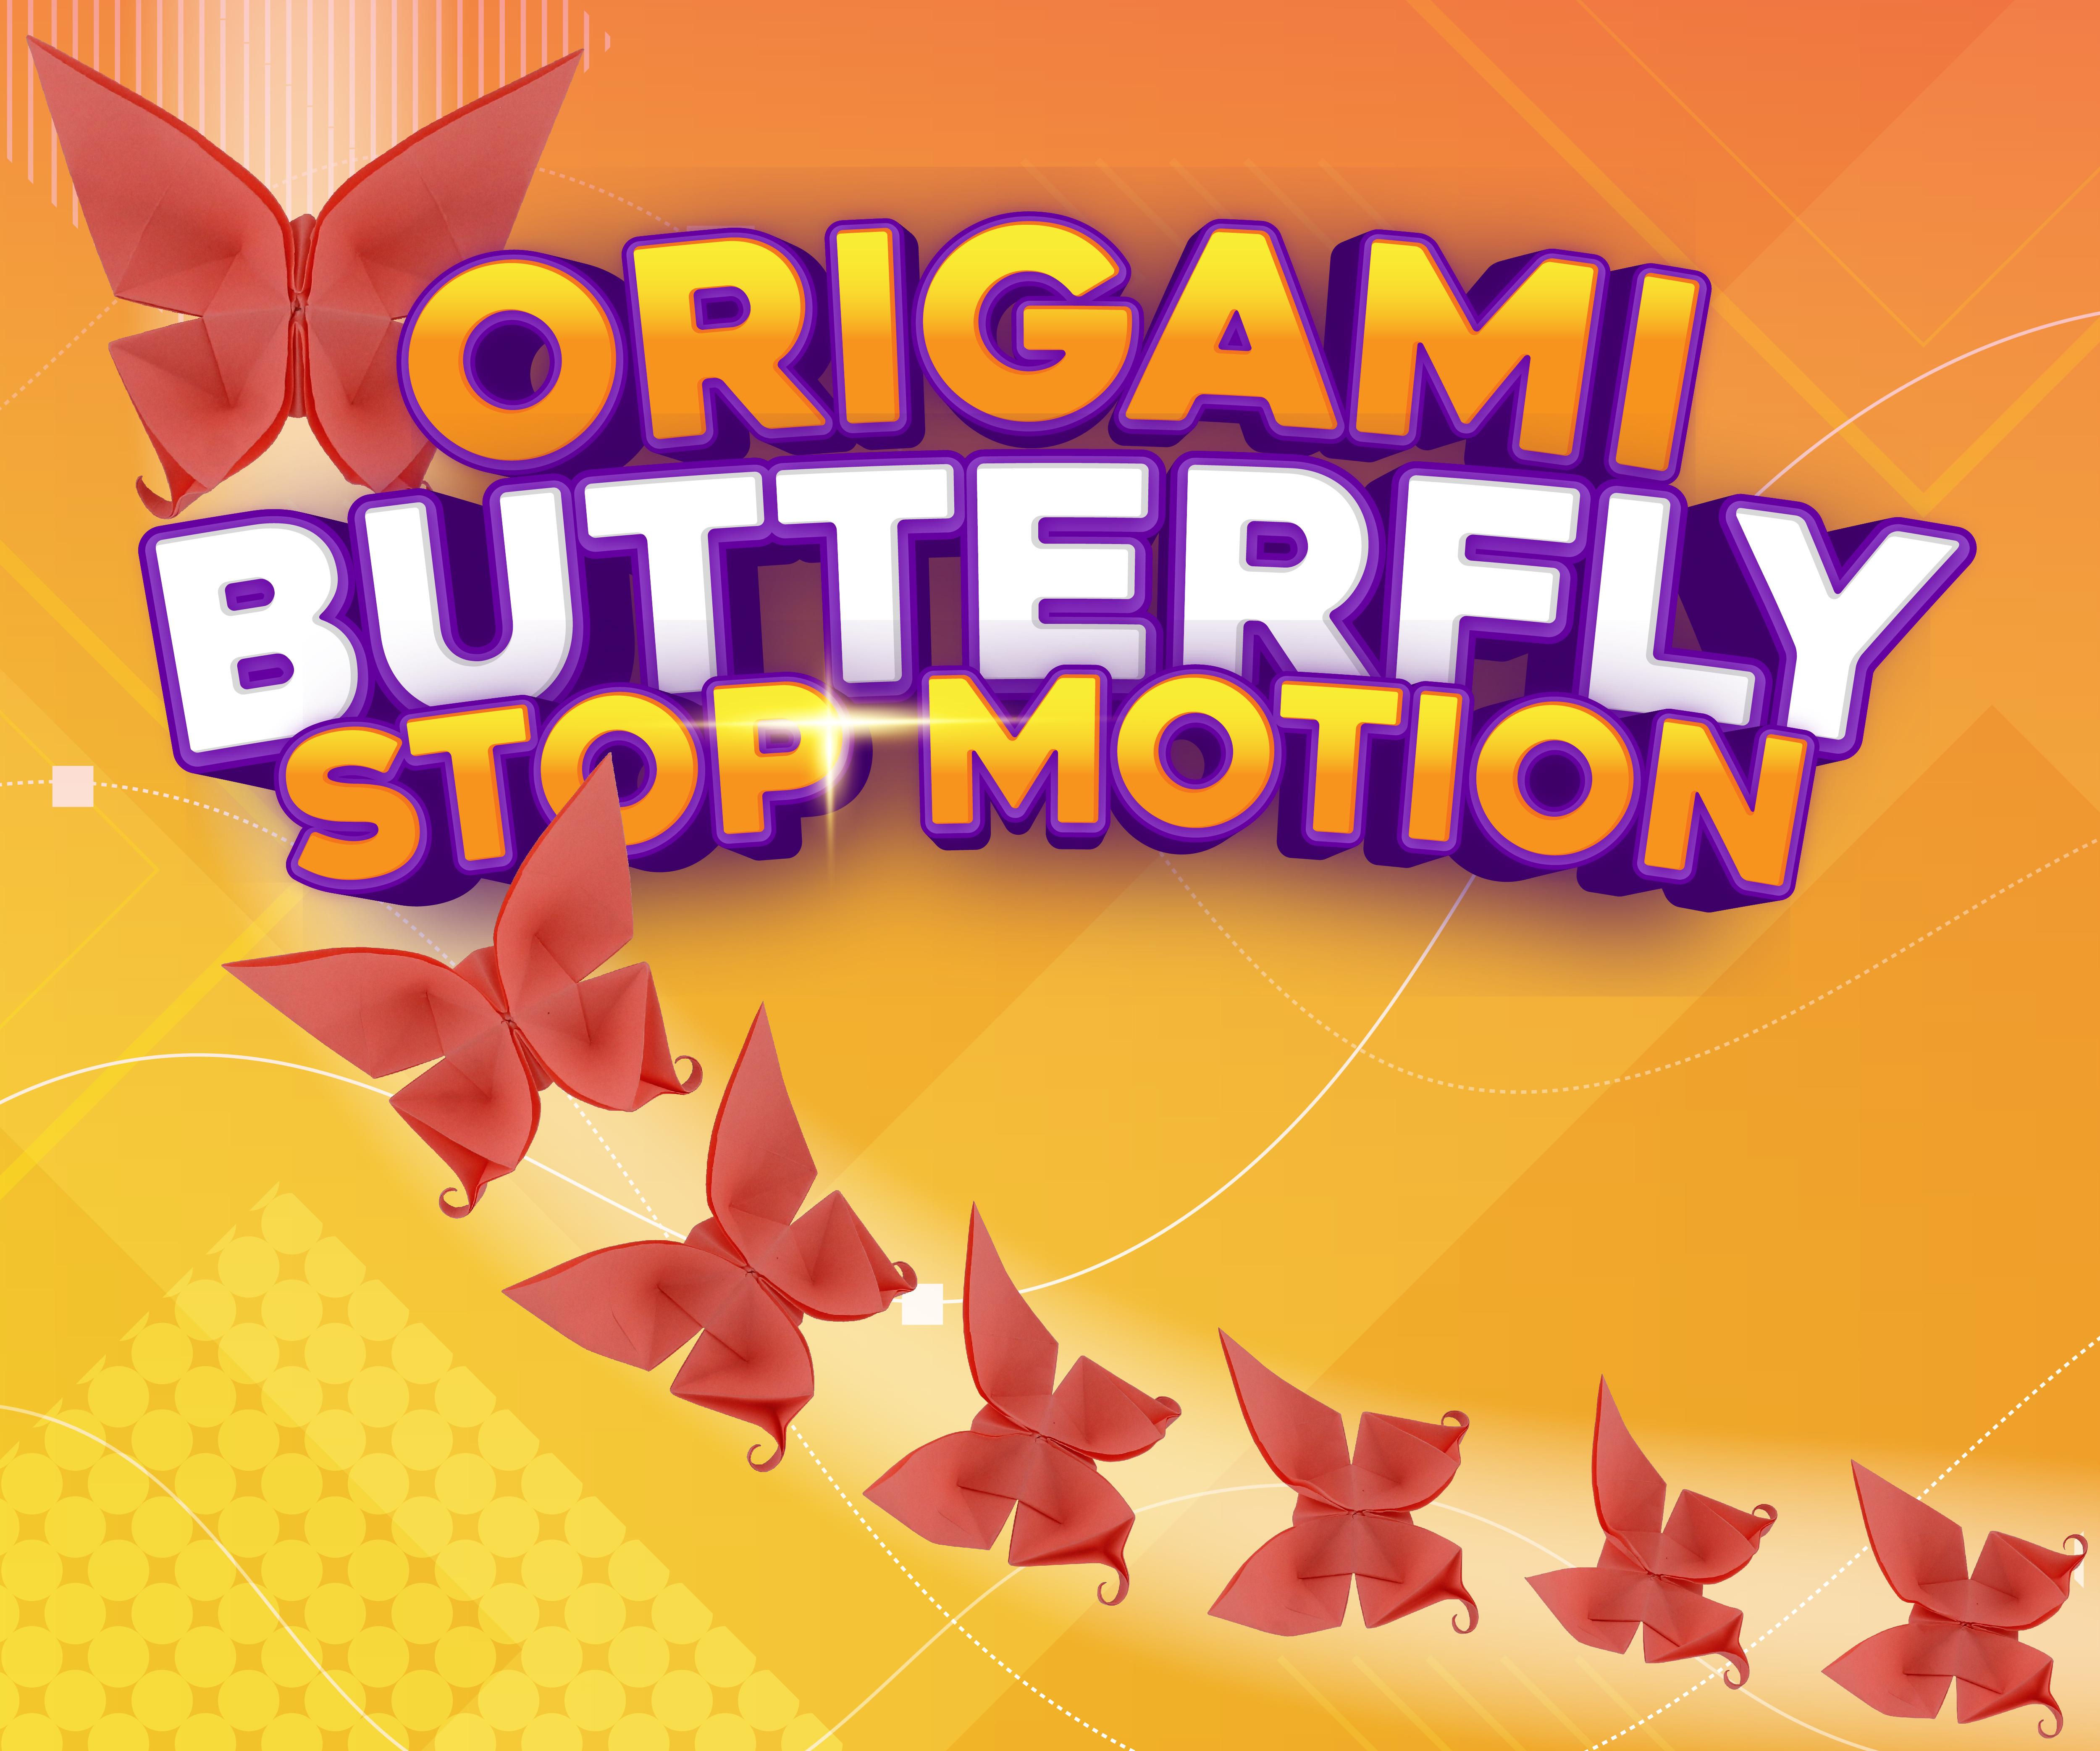

This Stop Motion was created as part of the introduction to my youtube channel. As I have mentioned in some other Instructables, I am fascinated by crafts and creating things, and one of my great passions is origami, for this reason, I decided to create a Stop Motion of the creation of a butterfly (one of my favorite animals) that I later complemented with an animation of a girl that I illustrated and my brand “El Vuelo del Arte”. (The Flight of Art)
In this instructable, I will explain how I did the Stop Motion part. I hope you like it.
Supplies
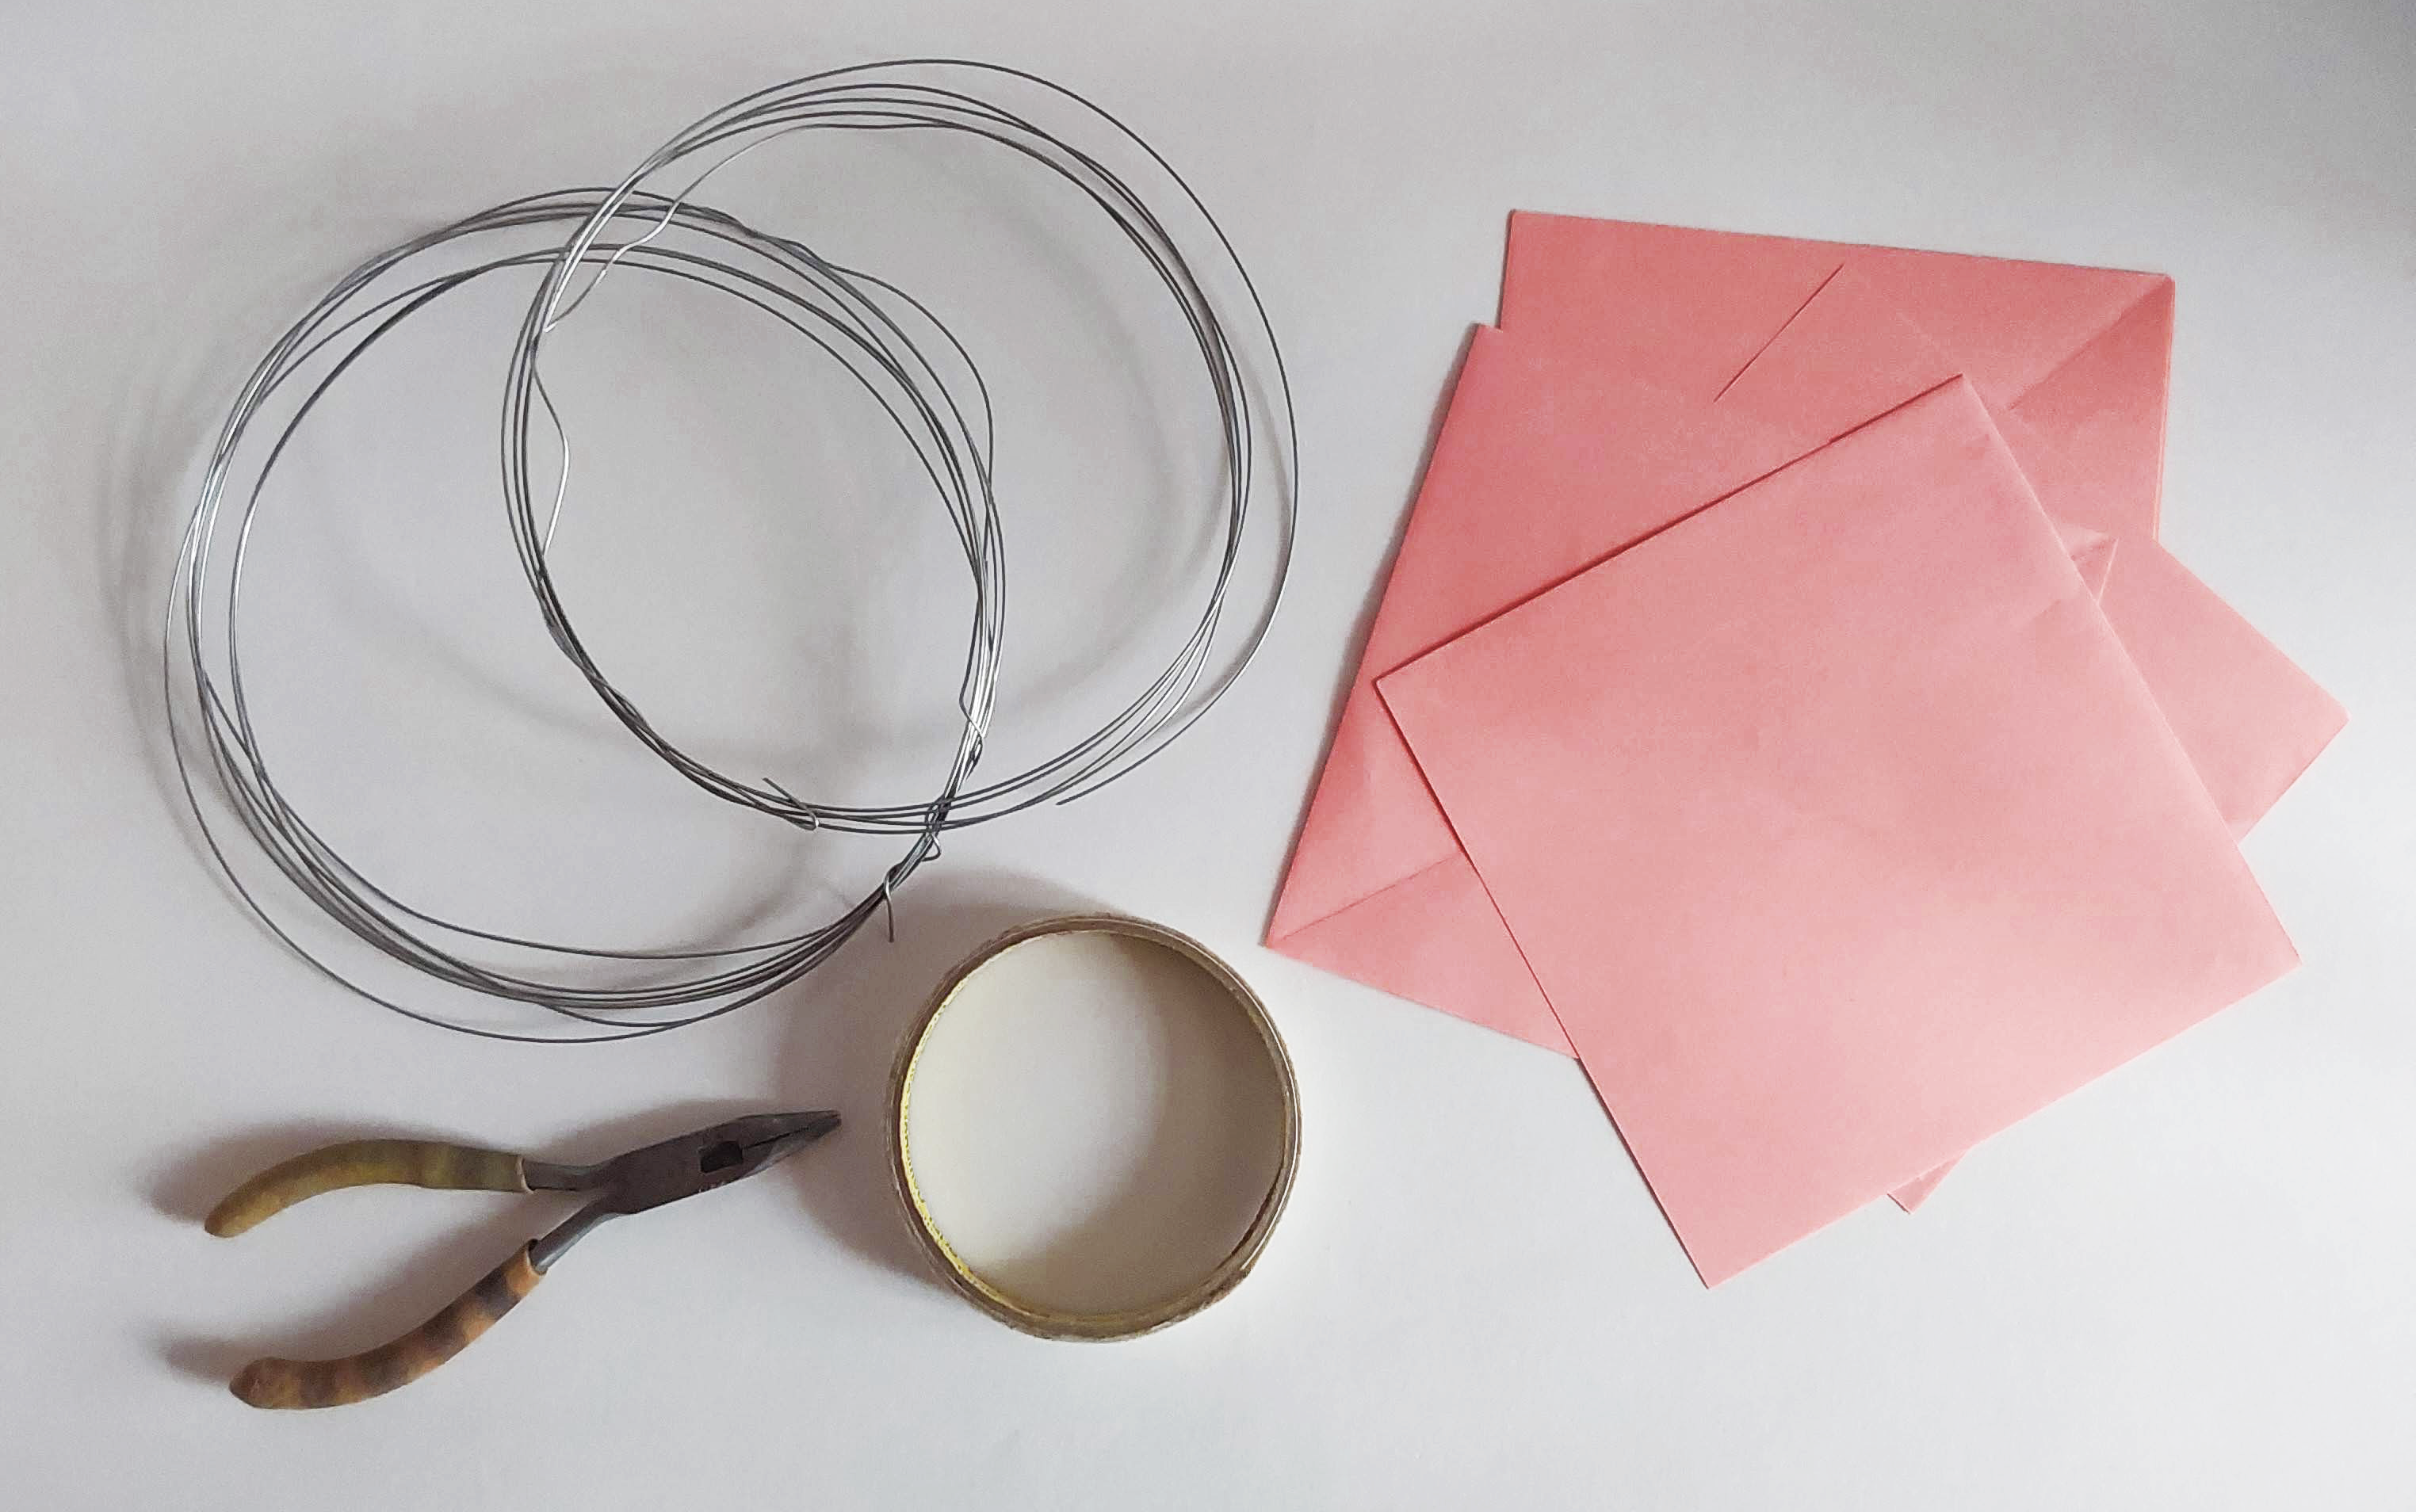
- Origami sheets
- Wire
- Pliers
- Masking tape
The Wire
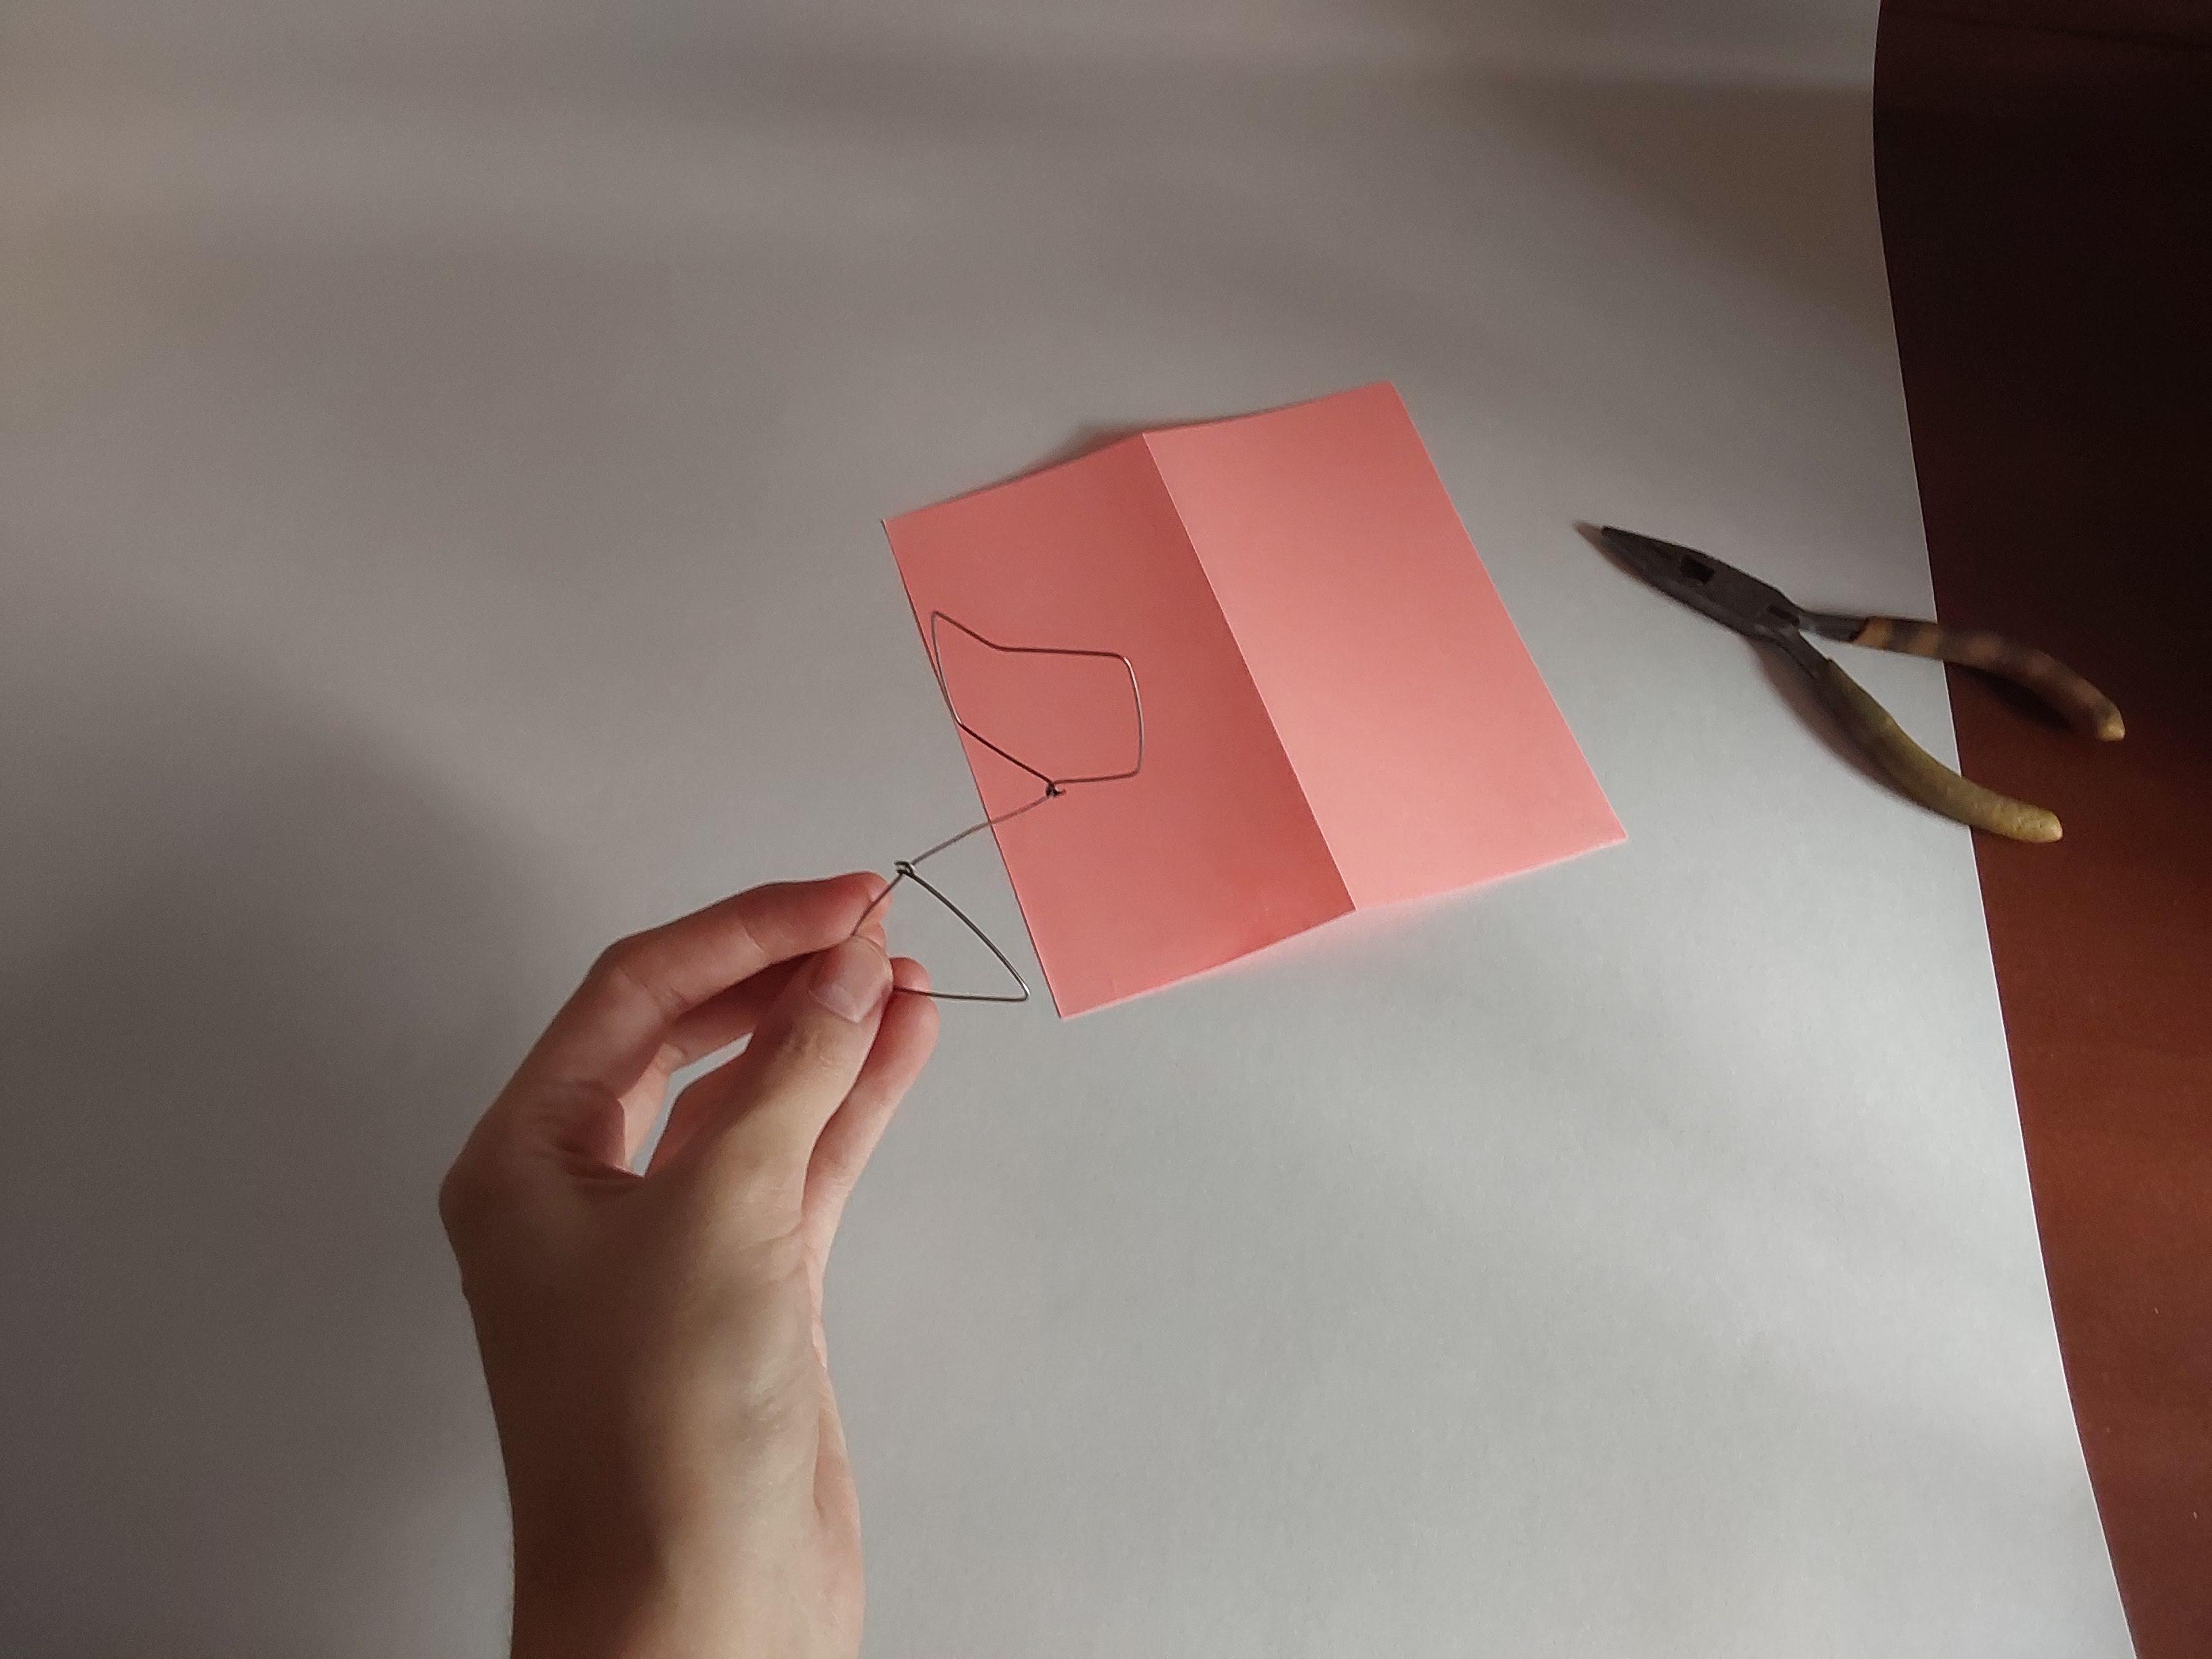
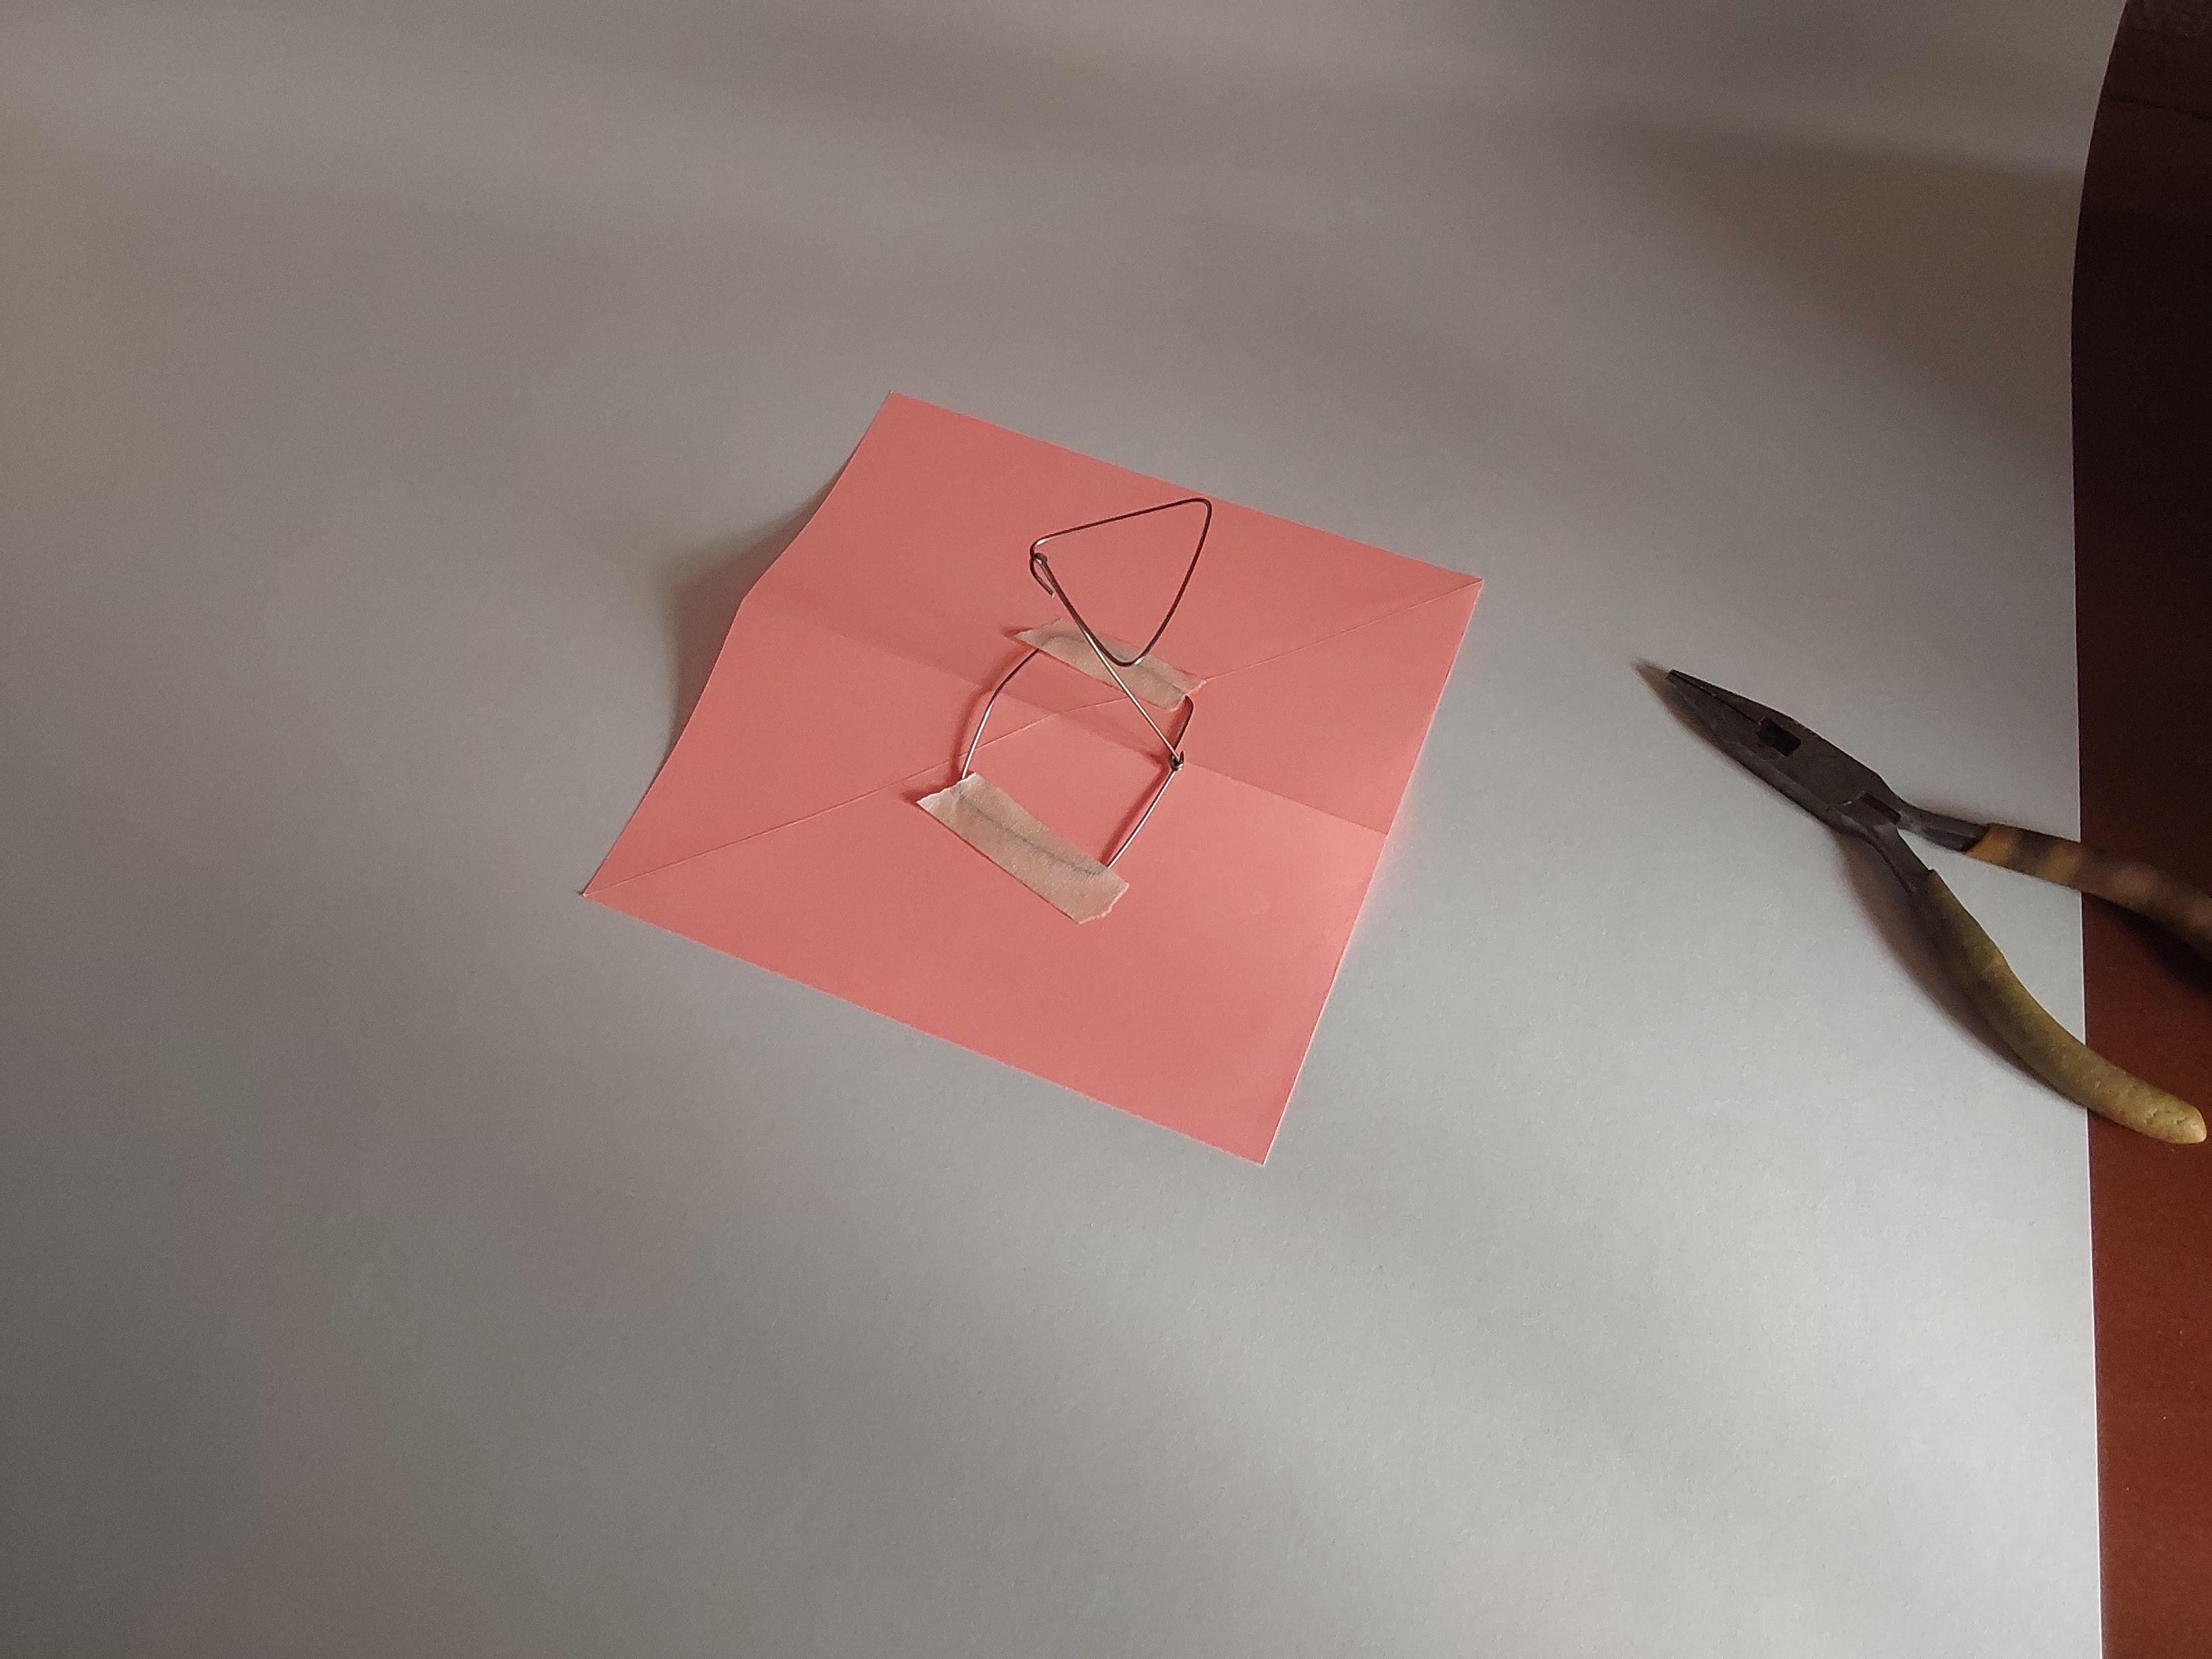
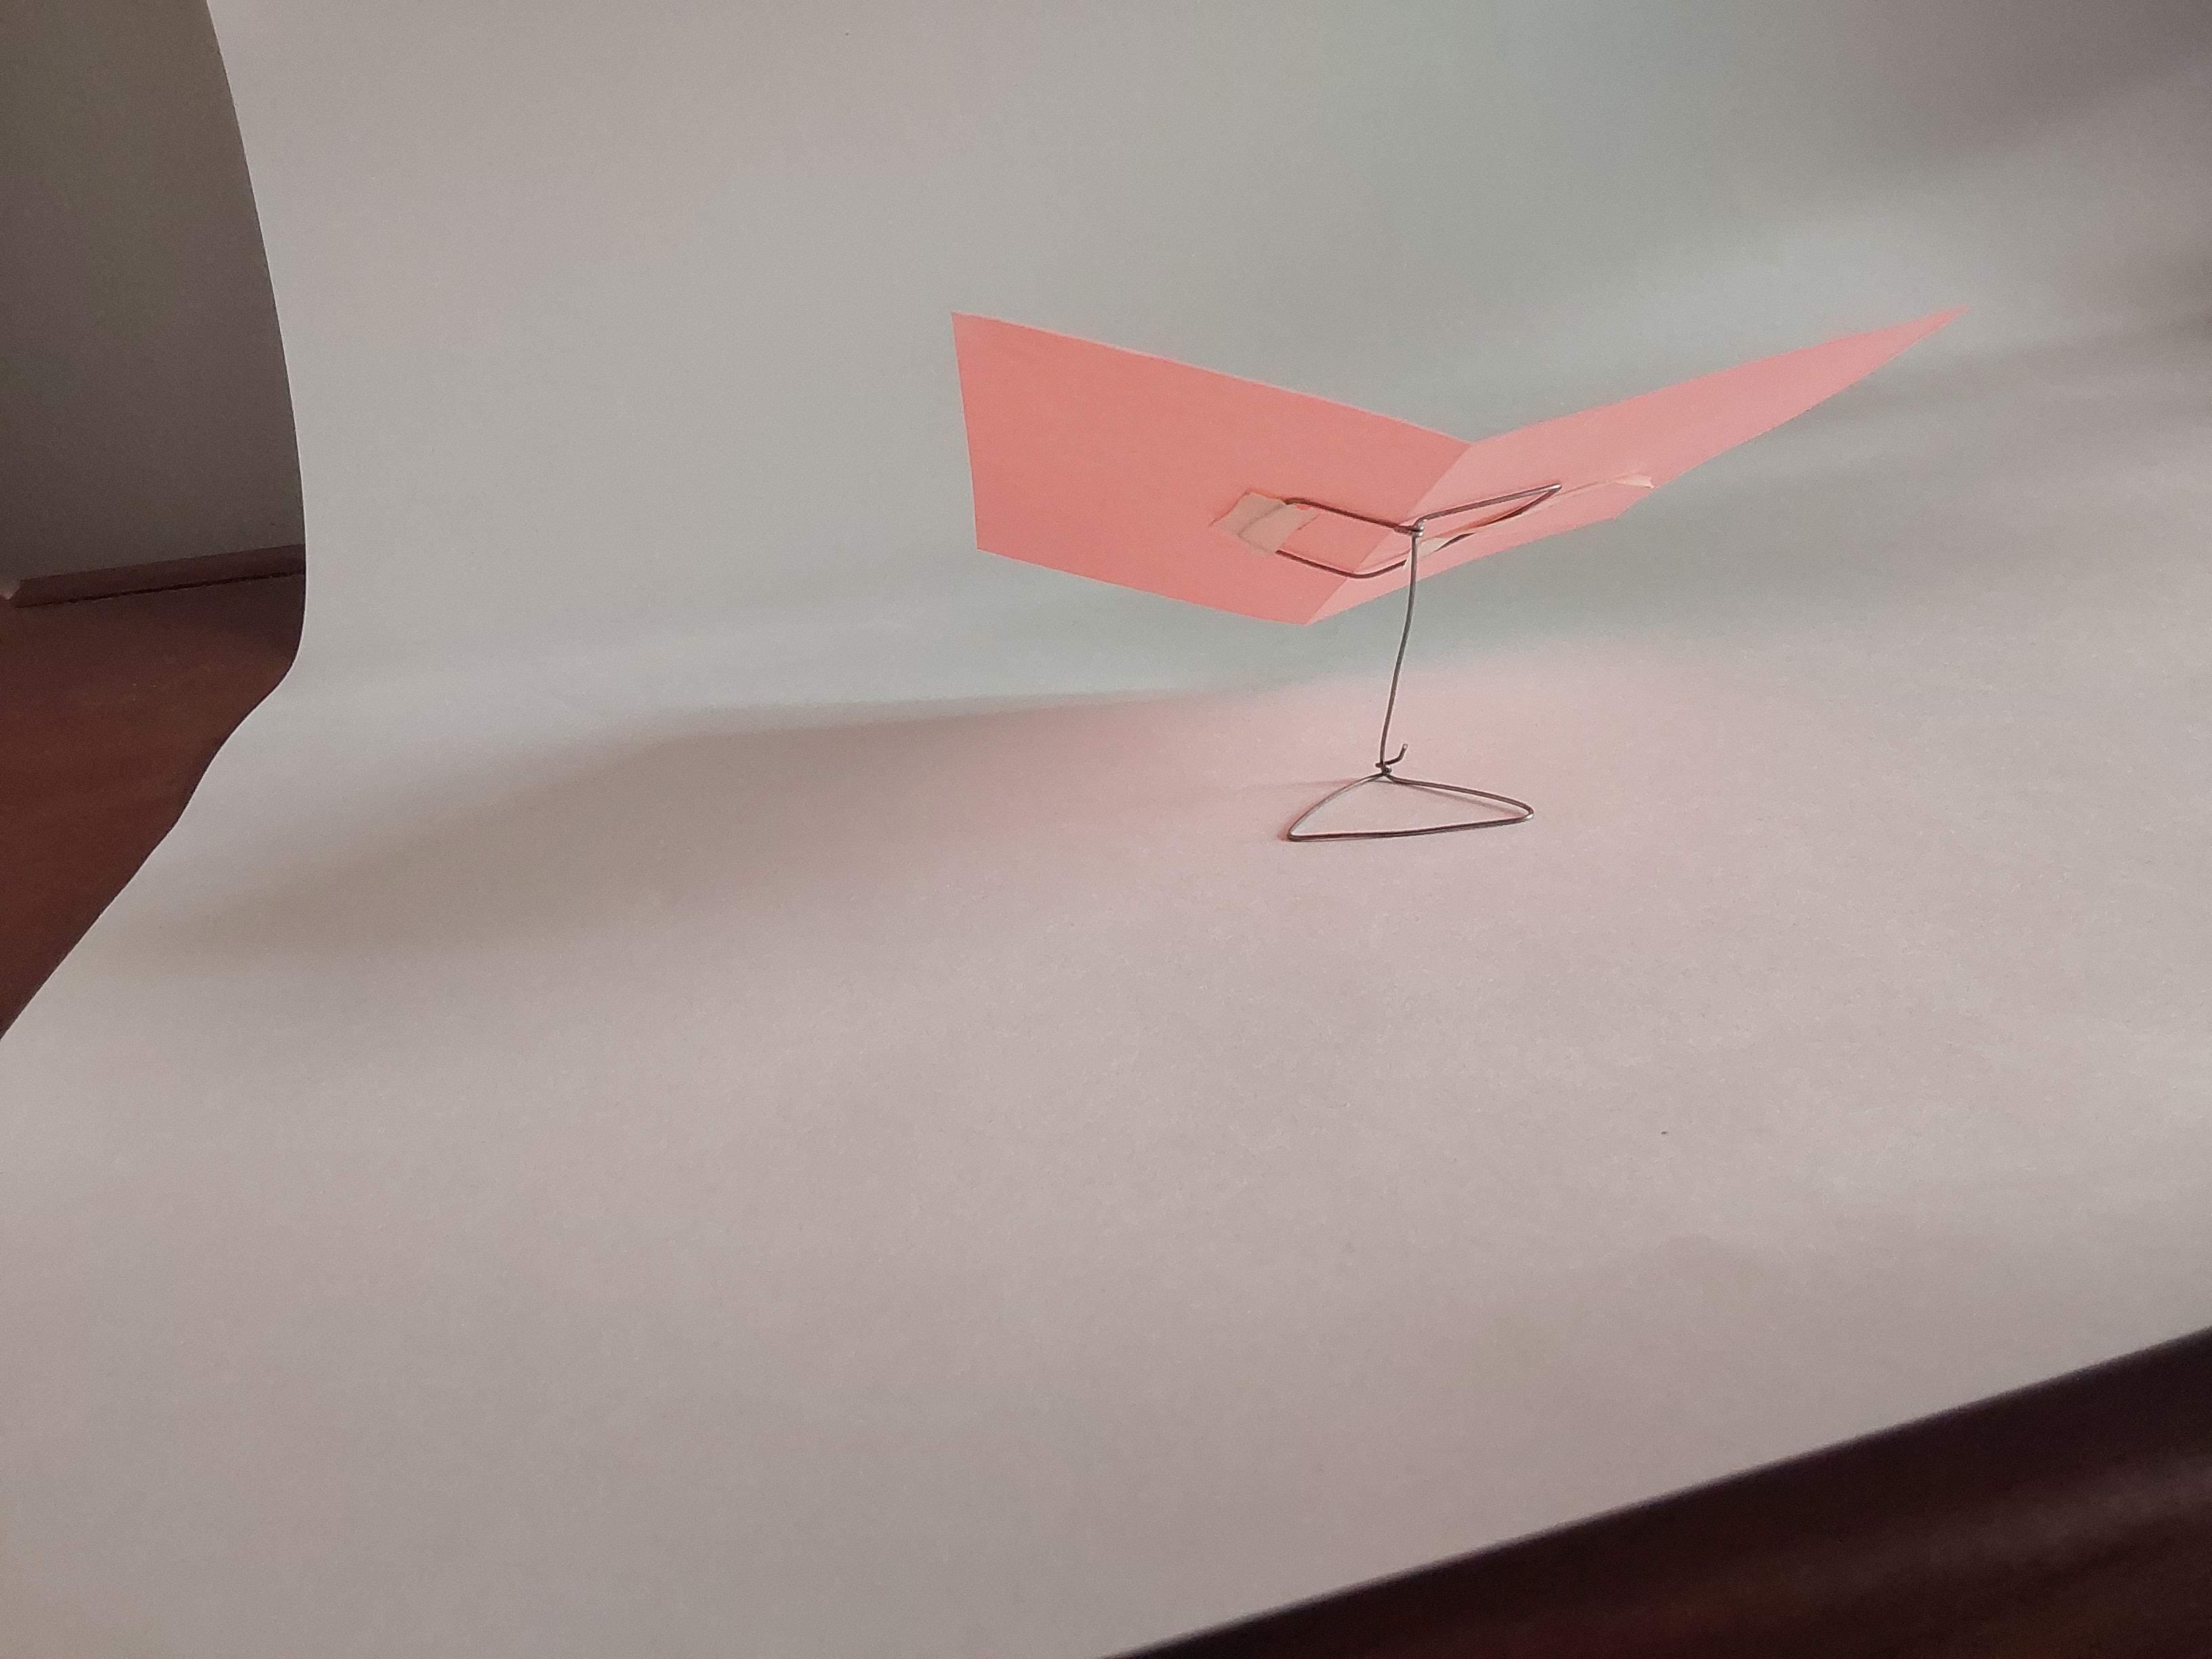
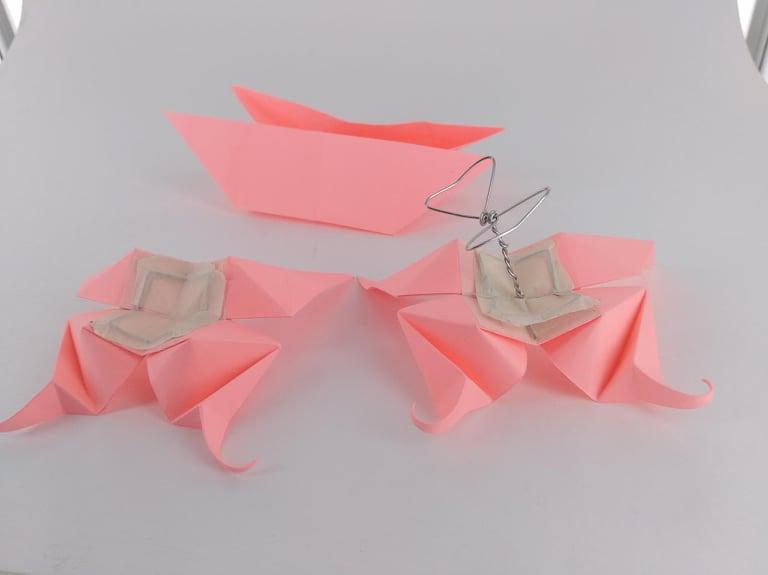
To create the effect that the paper folds itself, it is necessary to take photos at different times of the creation of the origami figure, but it is difficult for the paper to stay in each position, so I bent wire and then I attached it with masking tape to the paper, making it maintain the position and shape I wanted the paper to have.
Photos
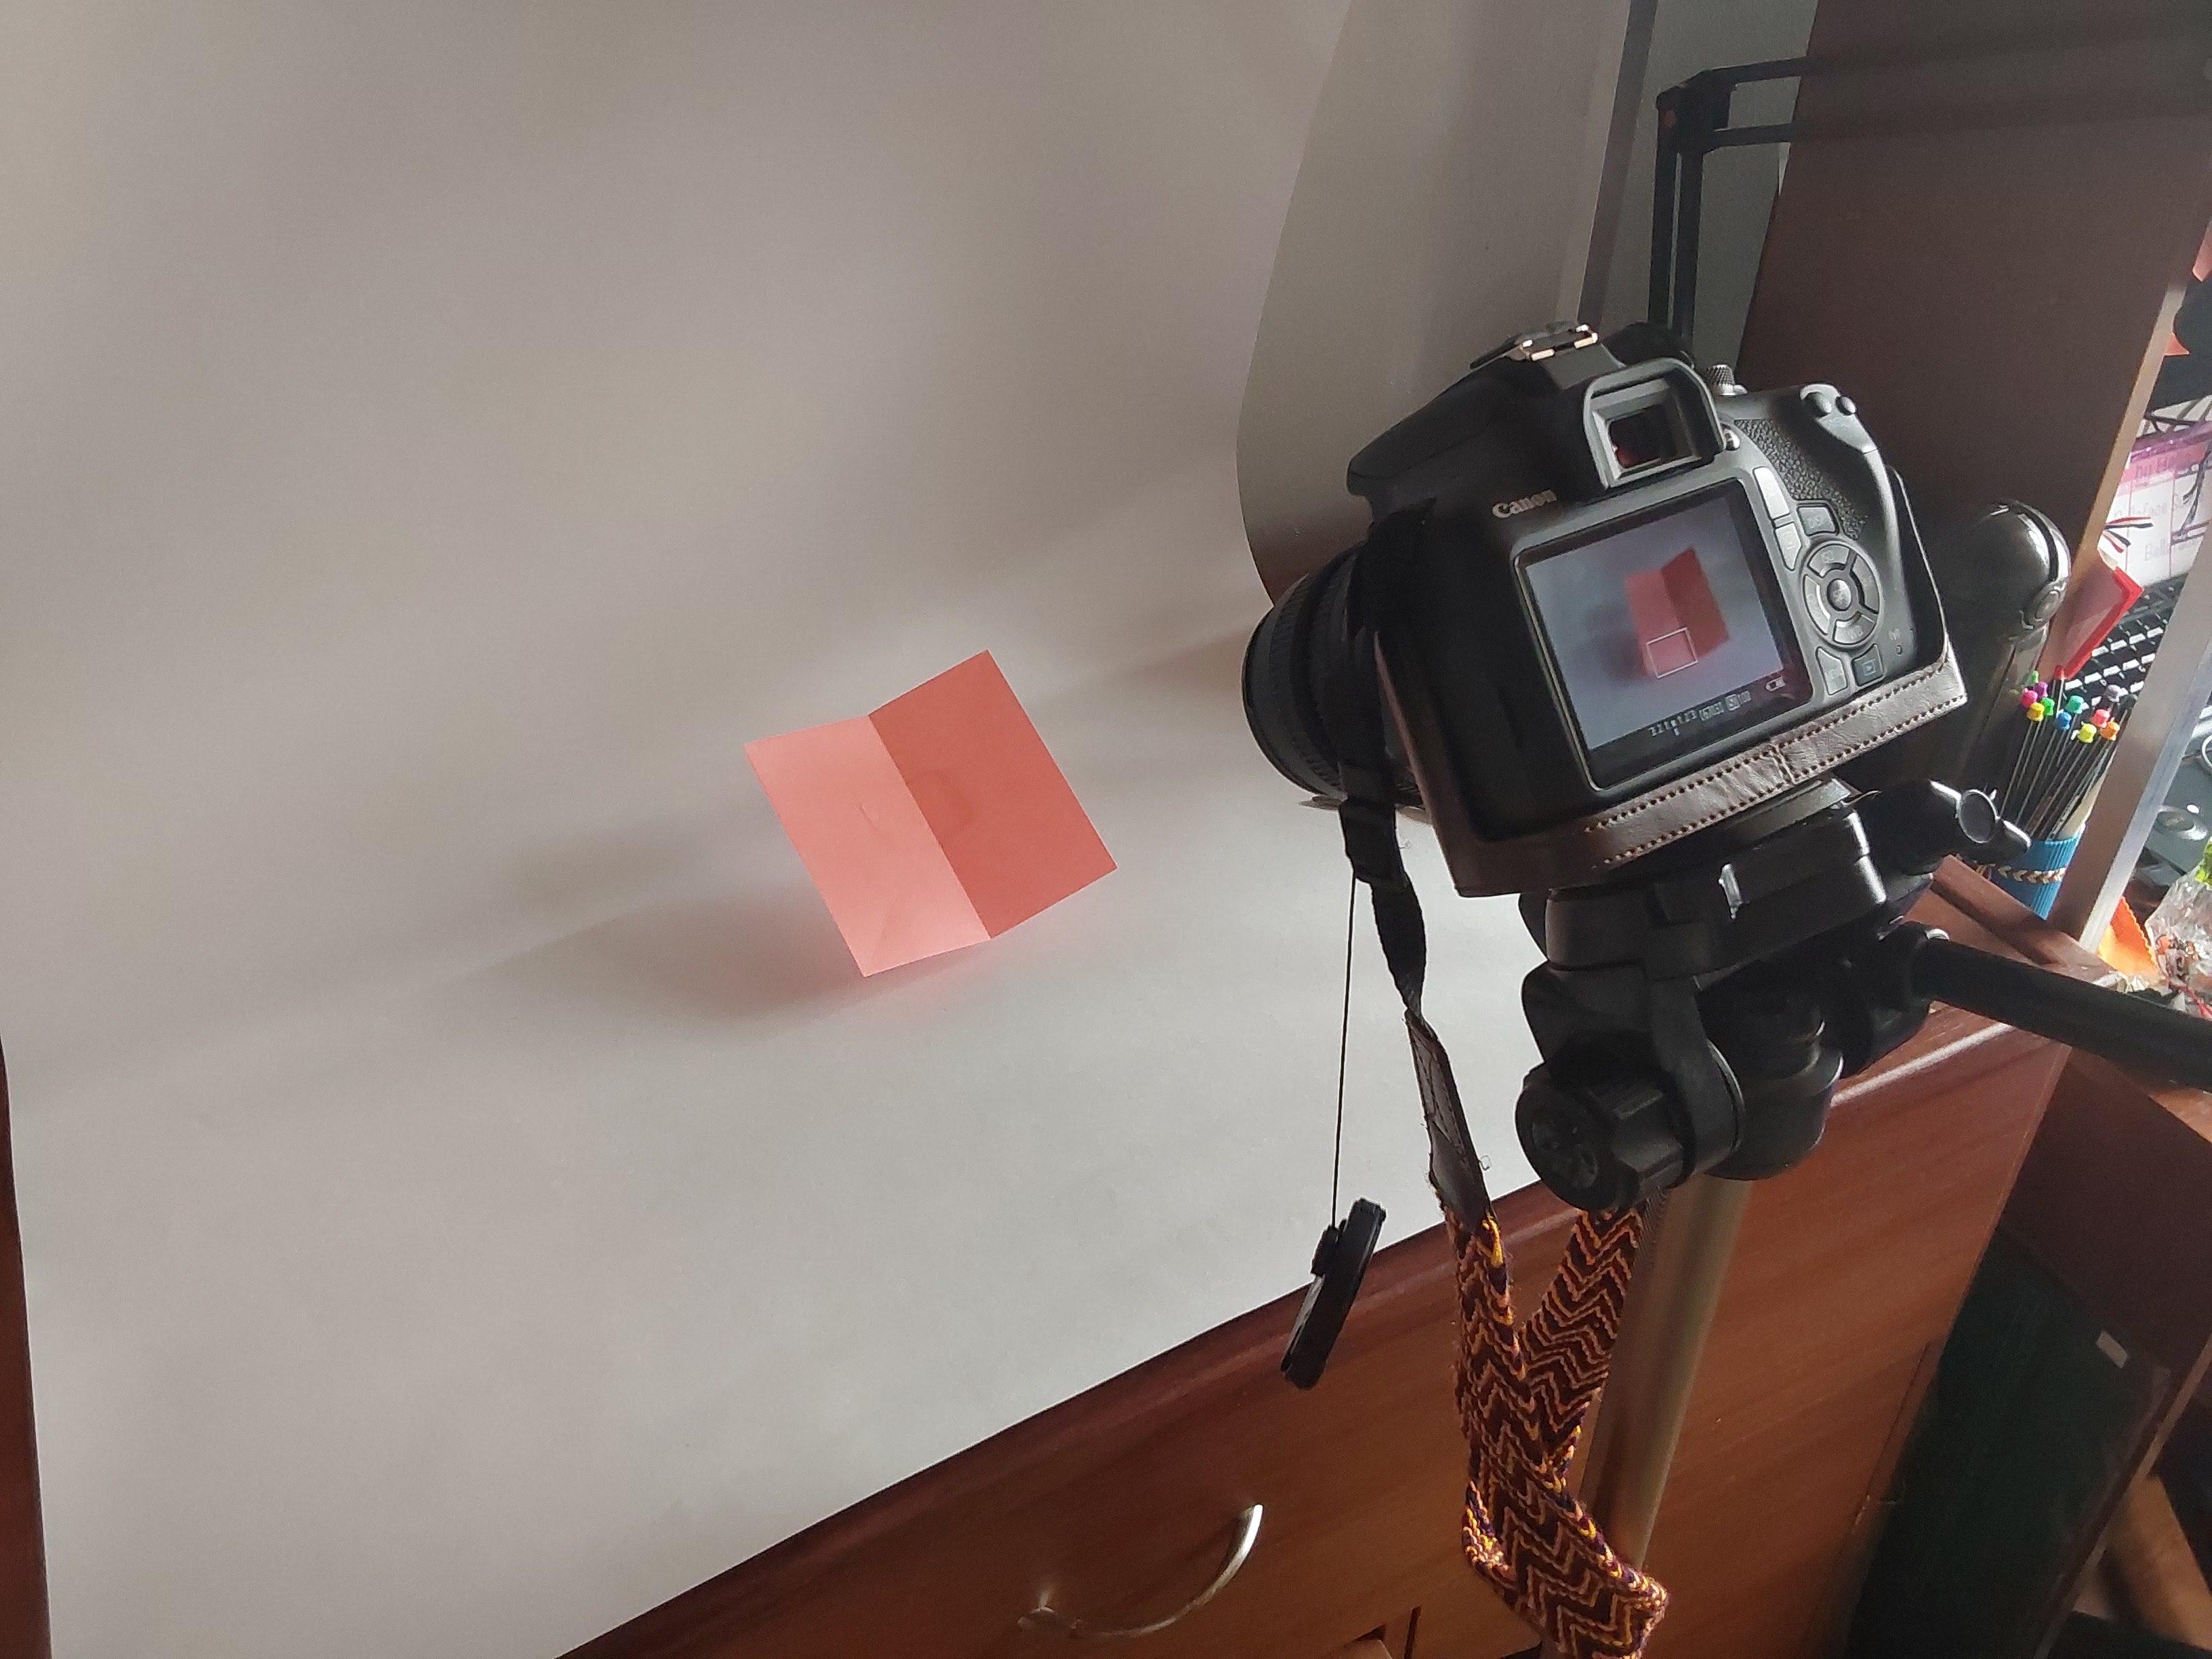
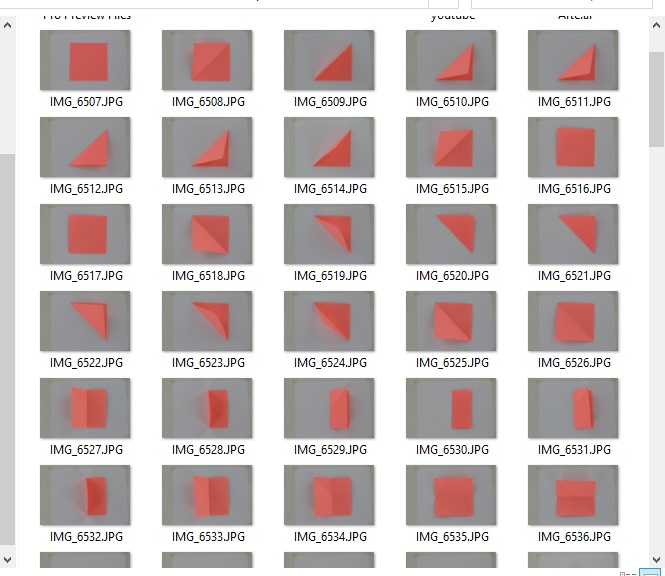
This step consists of taking photos, trying to move the paper very slowly, creating the necessary folds to make the origami figure you have chosen. The smaller the movement of the paper between photo and photo, the more fluid the stop motion will be.
Remove the Background
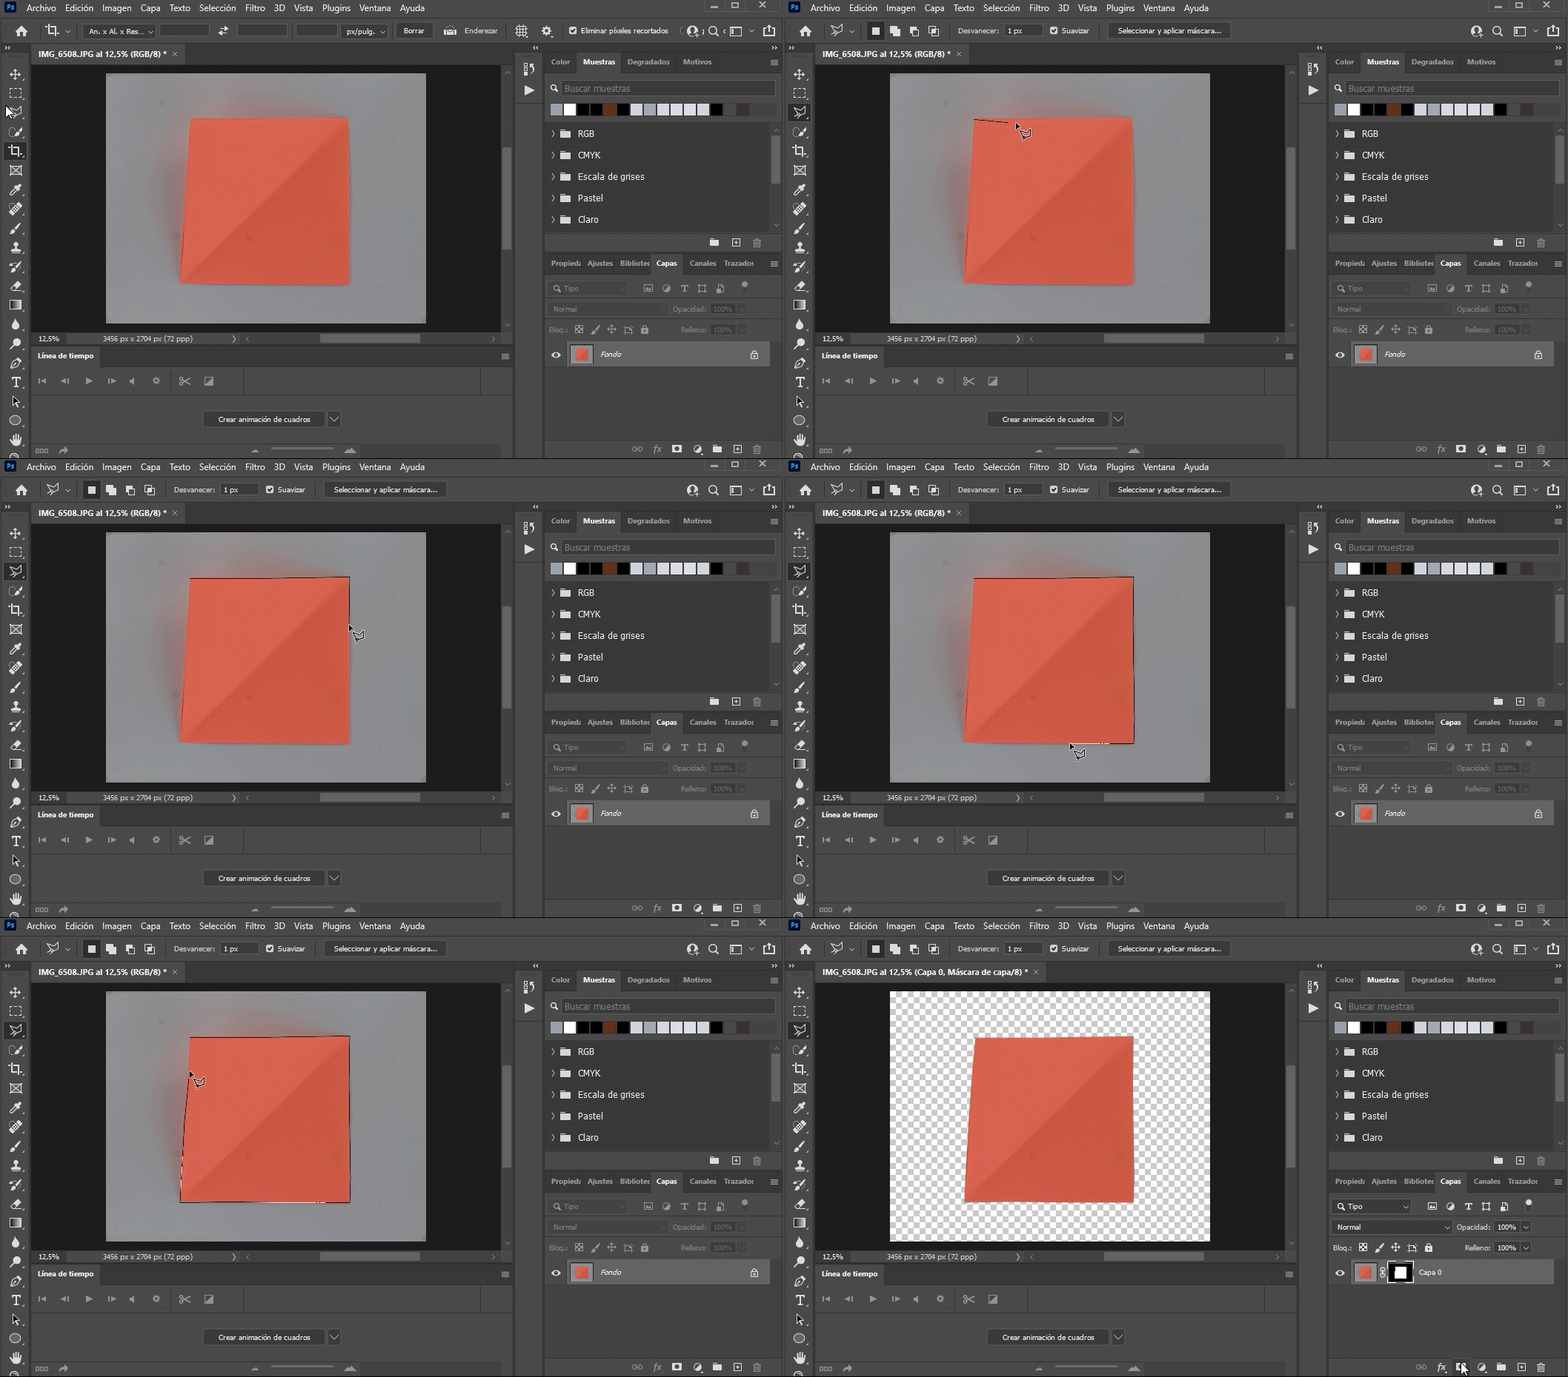
For removing the background I used Photoshop. There are many ways for removing backgrounds in photoshop, the one I prefer is the one I'm showing in the animated gif. In it what I do is to select the paper and then create a mask. Then I save it as a psd file and also as a png image.
Place and Position
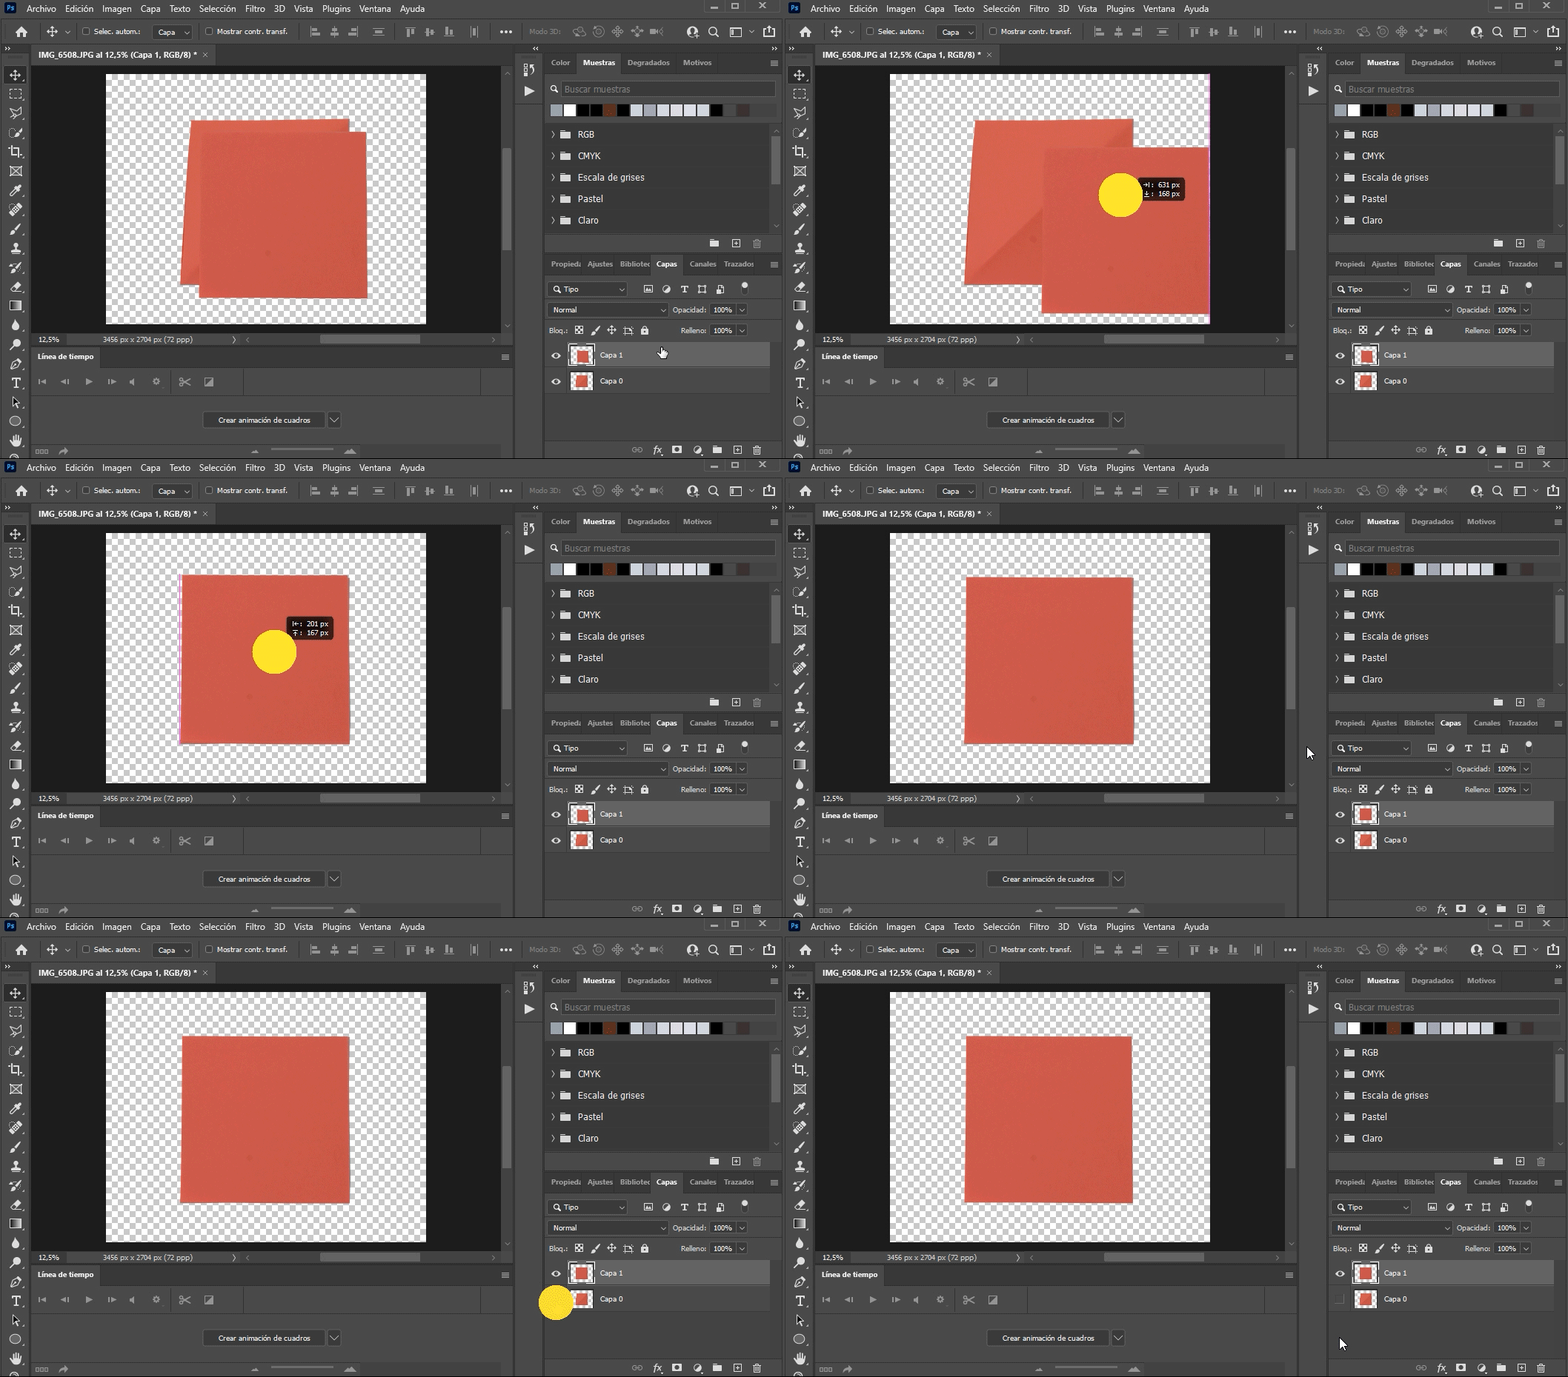
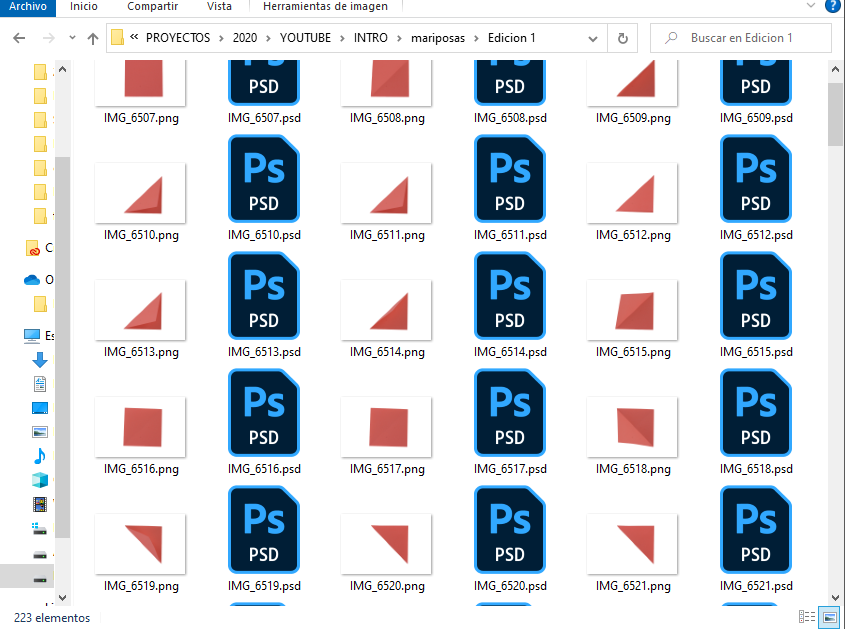
For the stop motion to seem real, the paper should be almost in the same place, for that what I did was to have the last picture as a layer and then another layer with the new picture I'm working on, that way I can move the new one for it to be in the same place and then I turn off the layer I use as a guide before I save it as a png.
After Effects
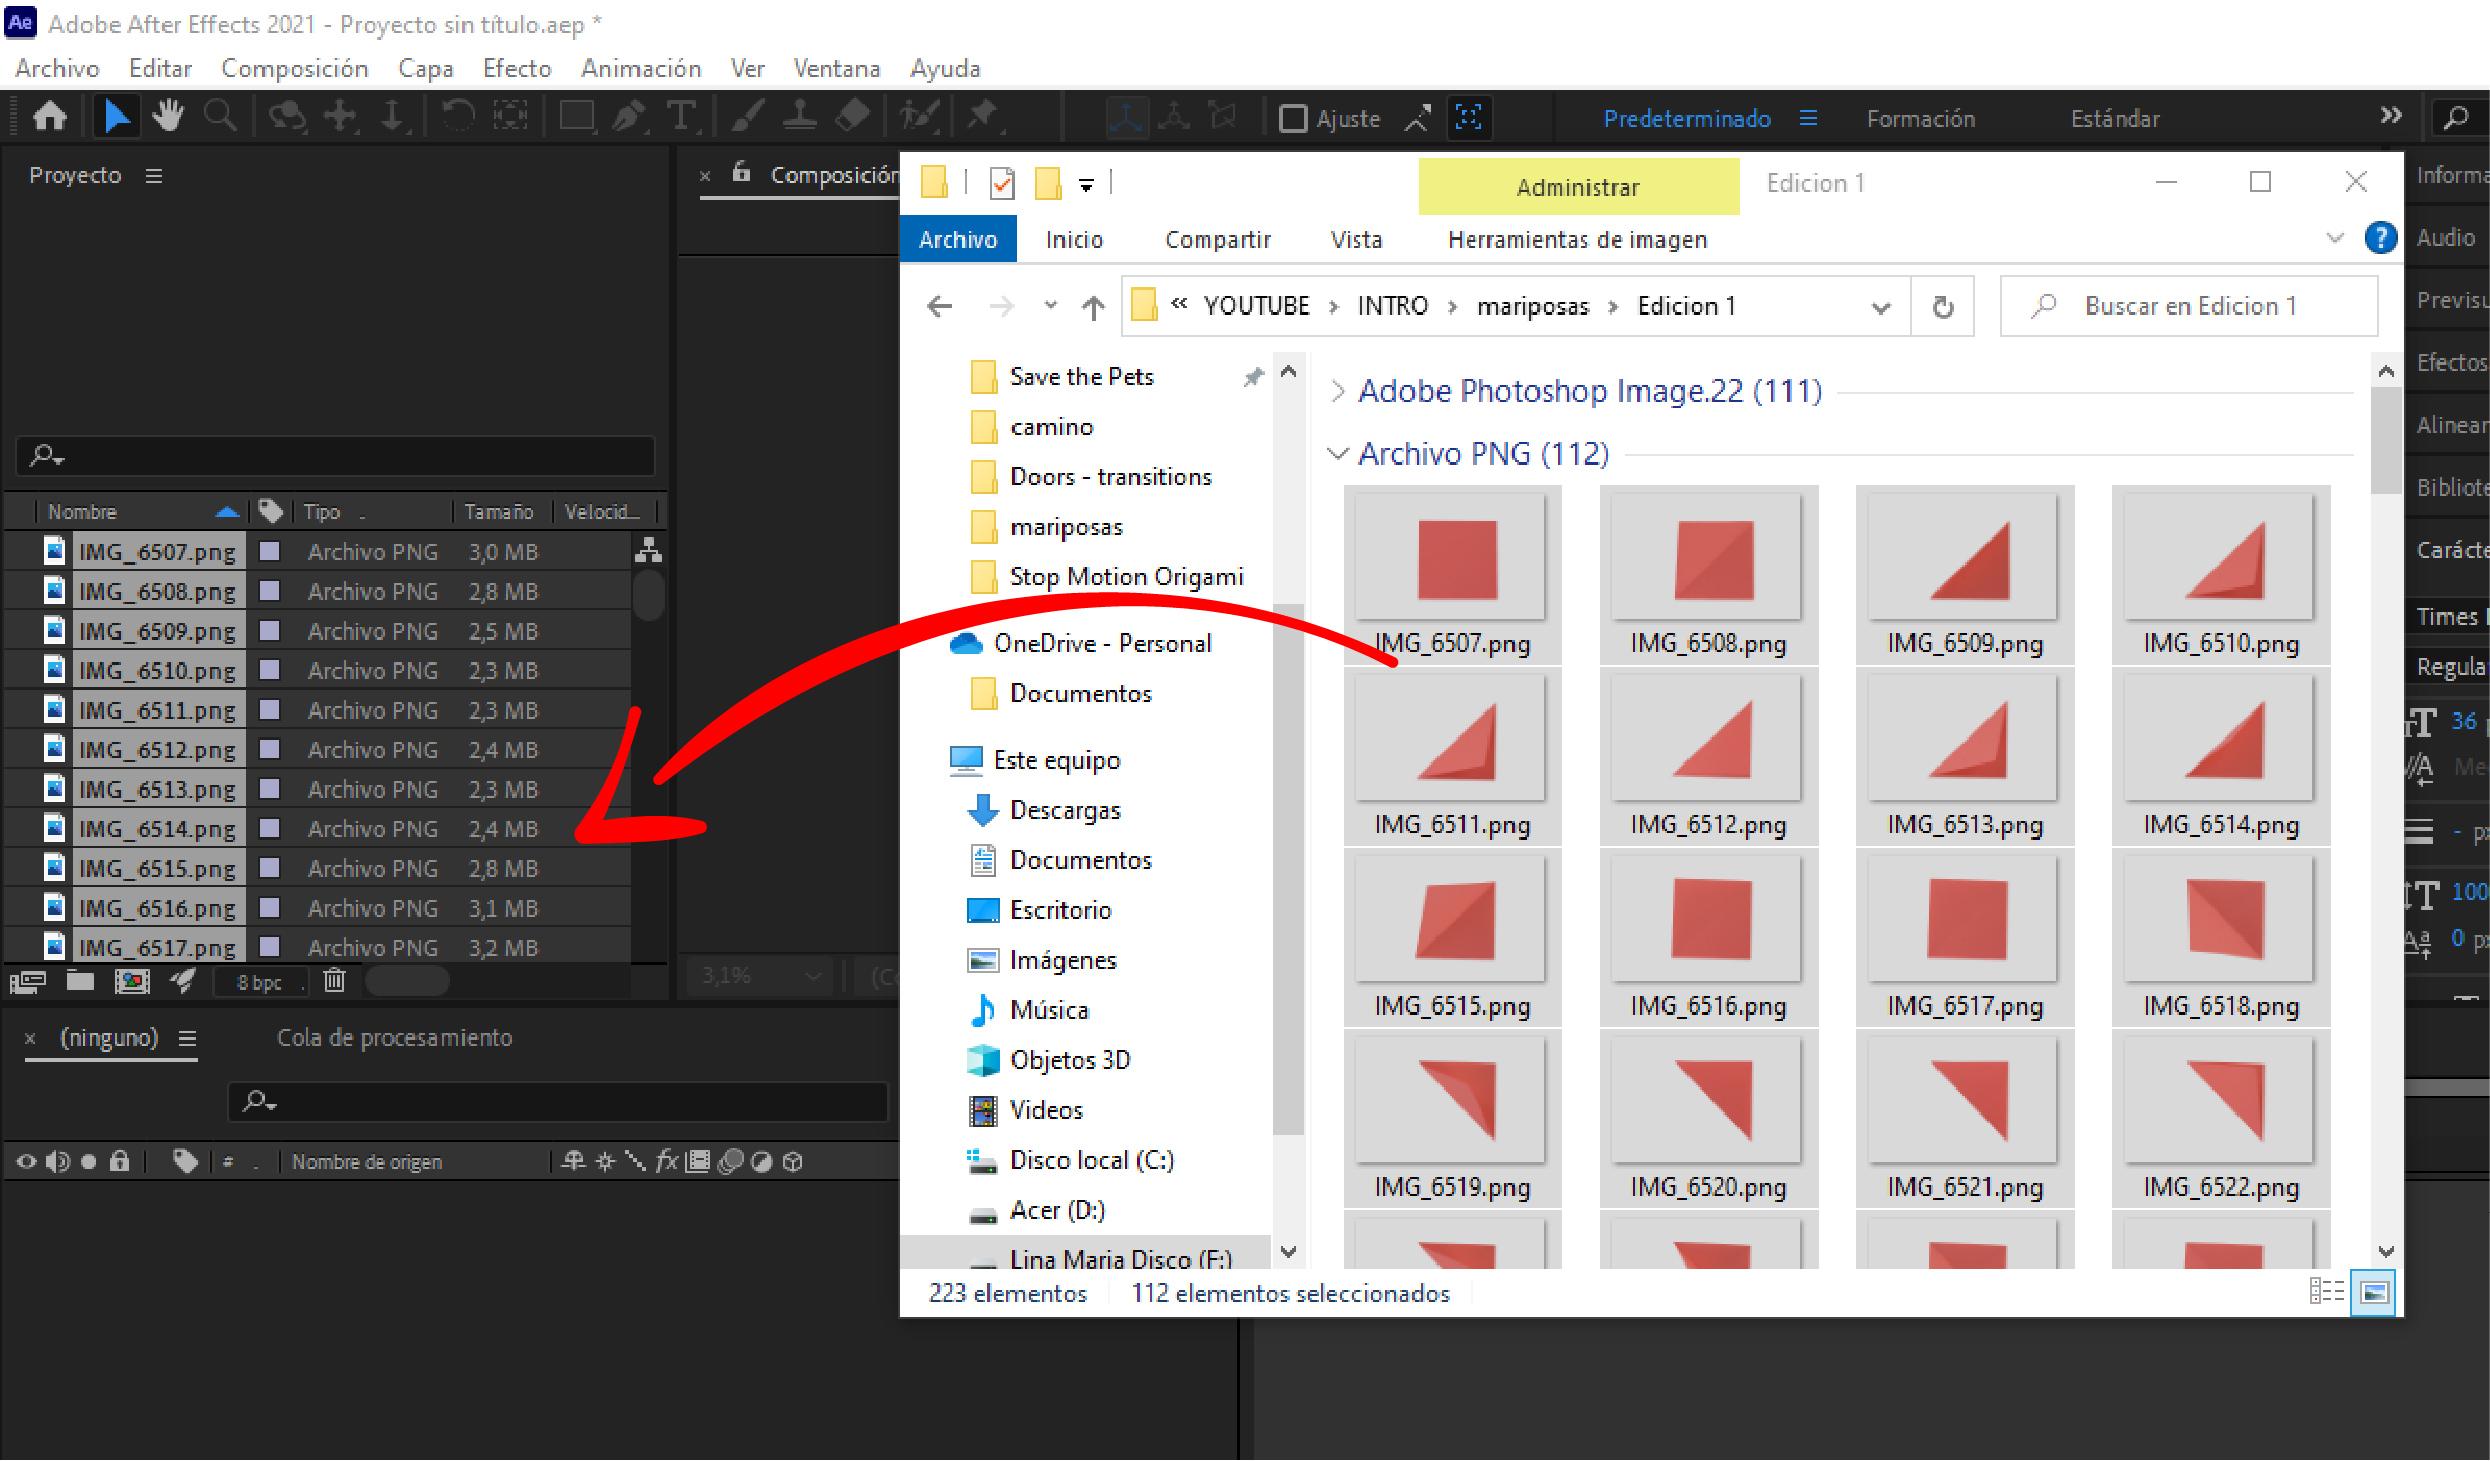
To create the sensation of movement I used after effects. For this, I selected all the images that I had as png and dragged them to After Effects as shown in the image.
Composition
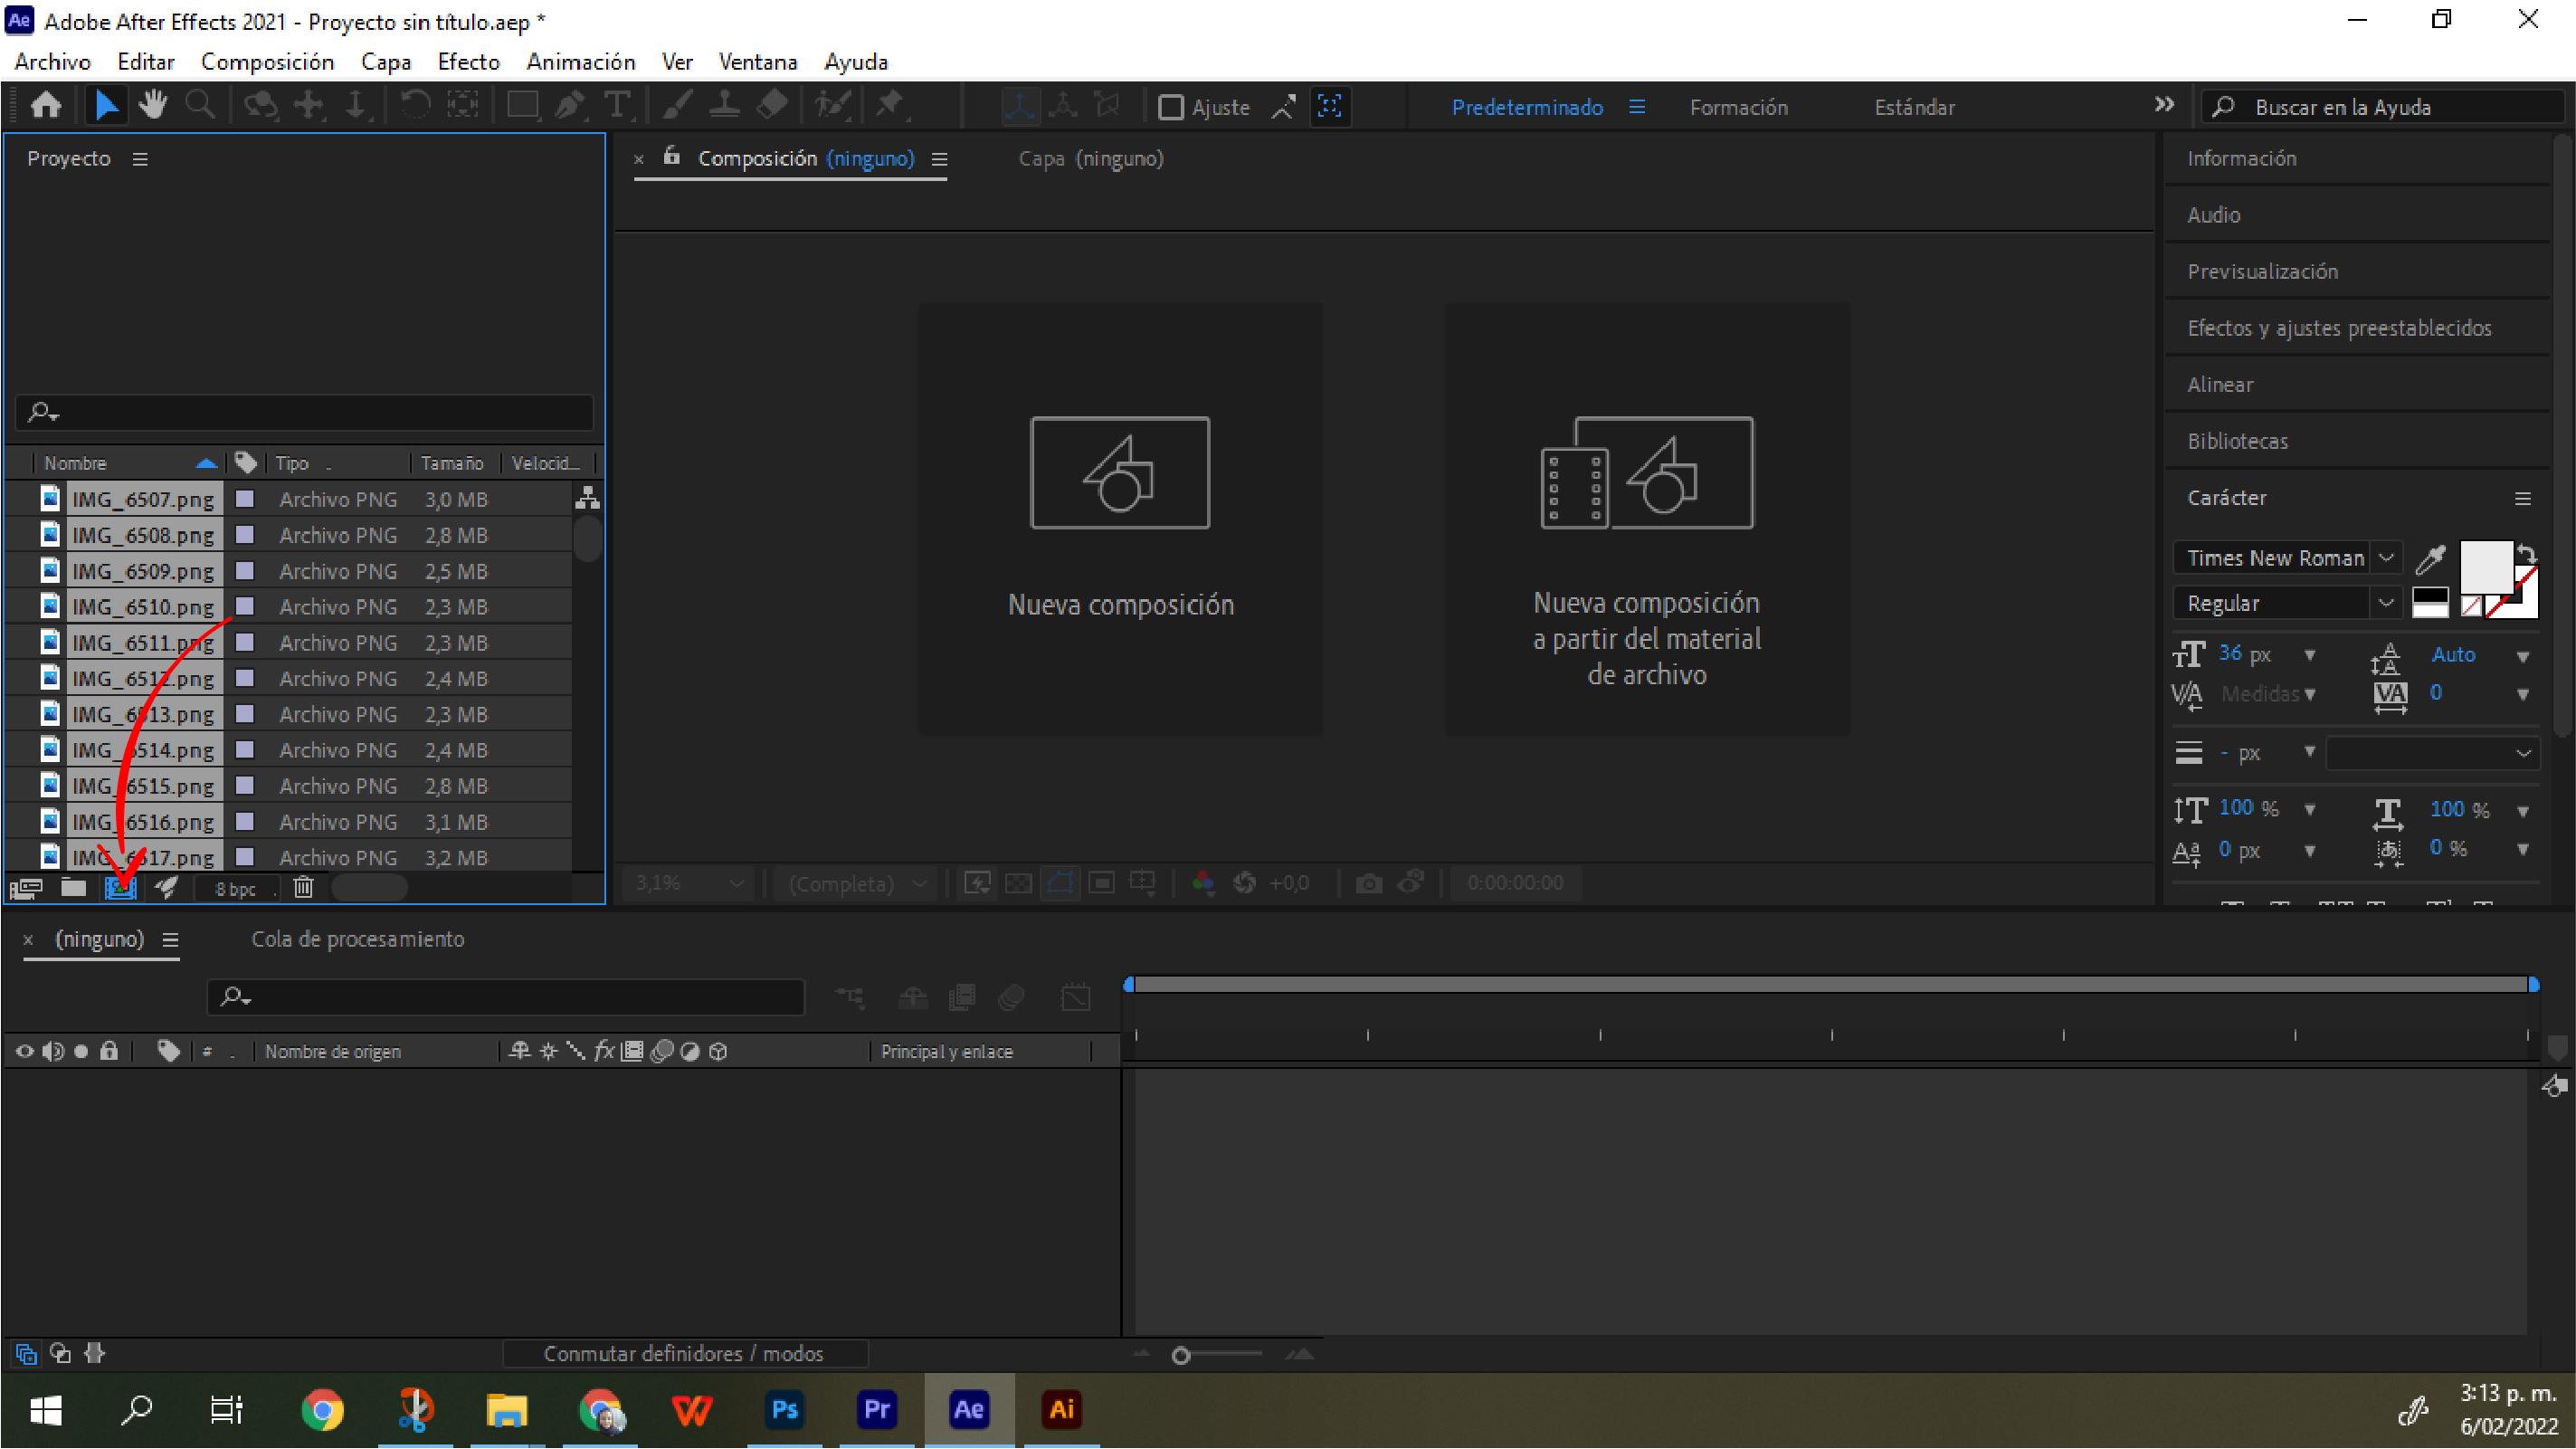
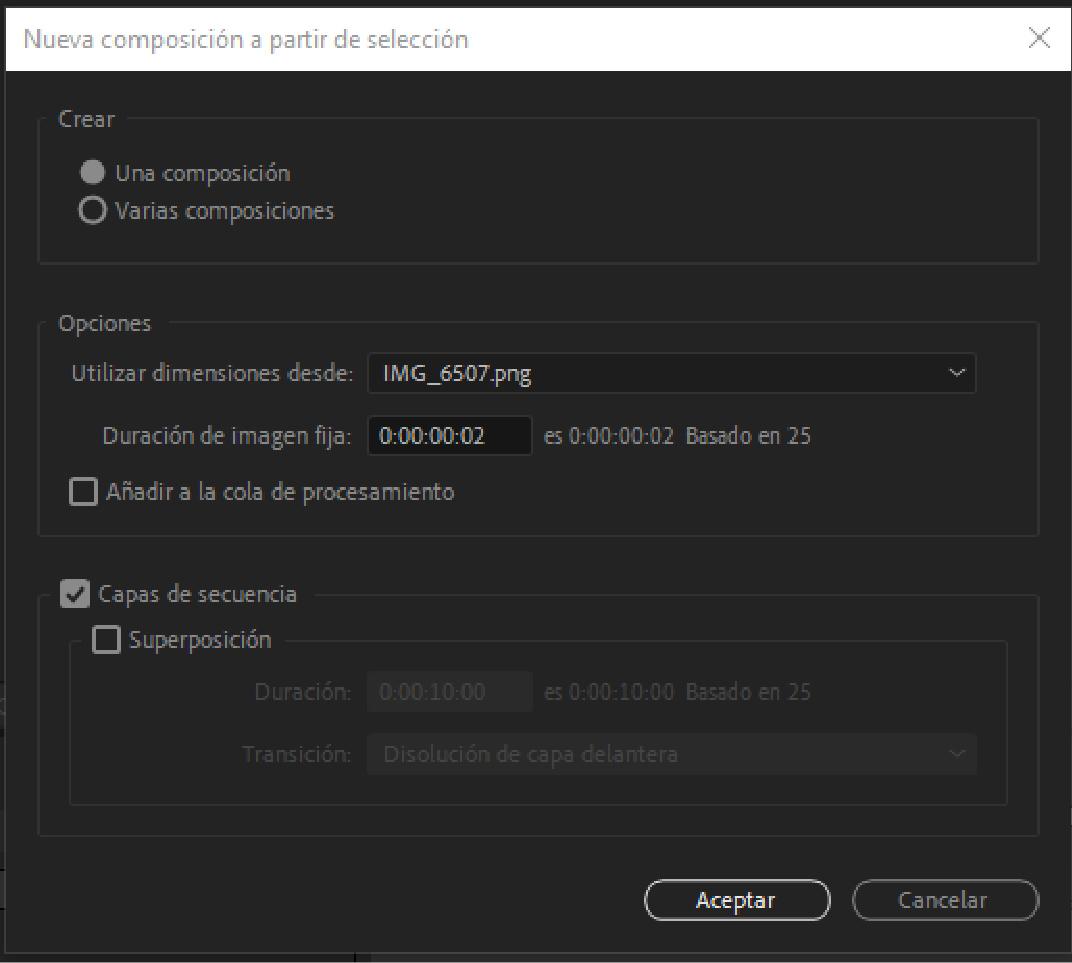
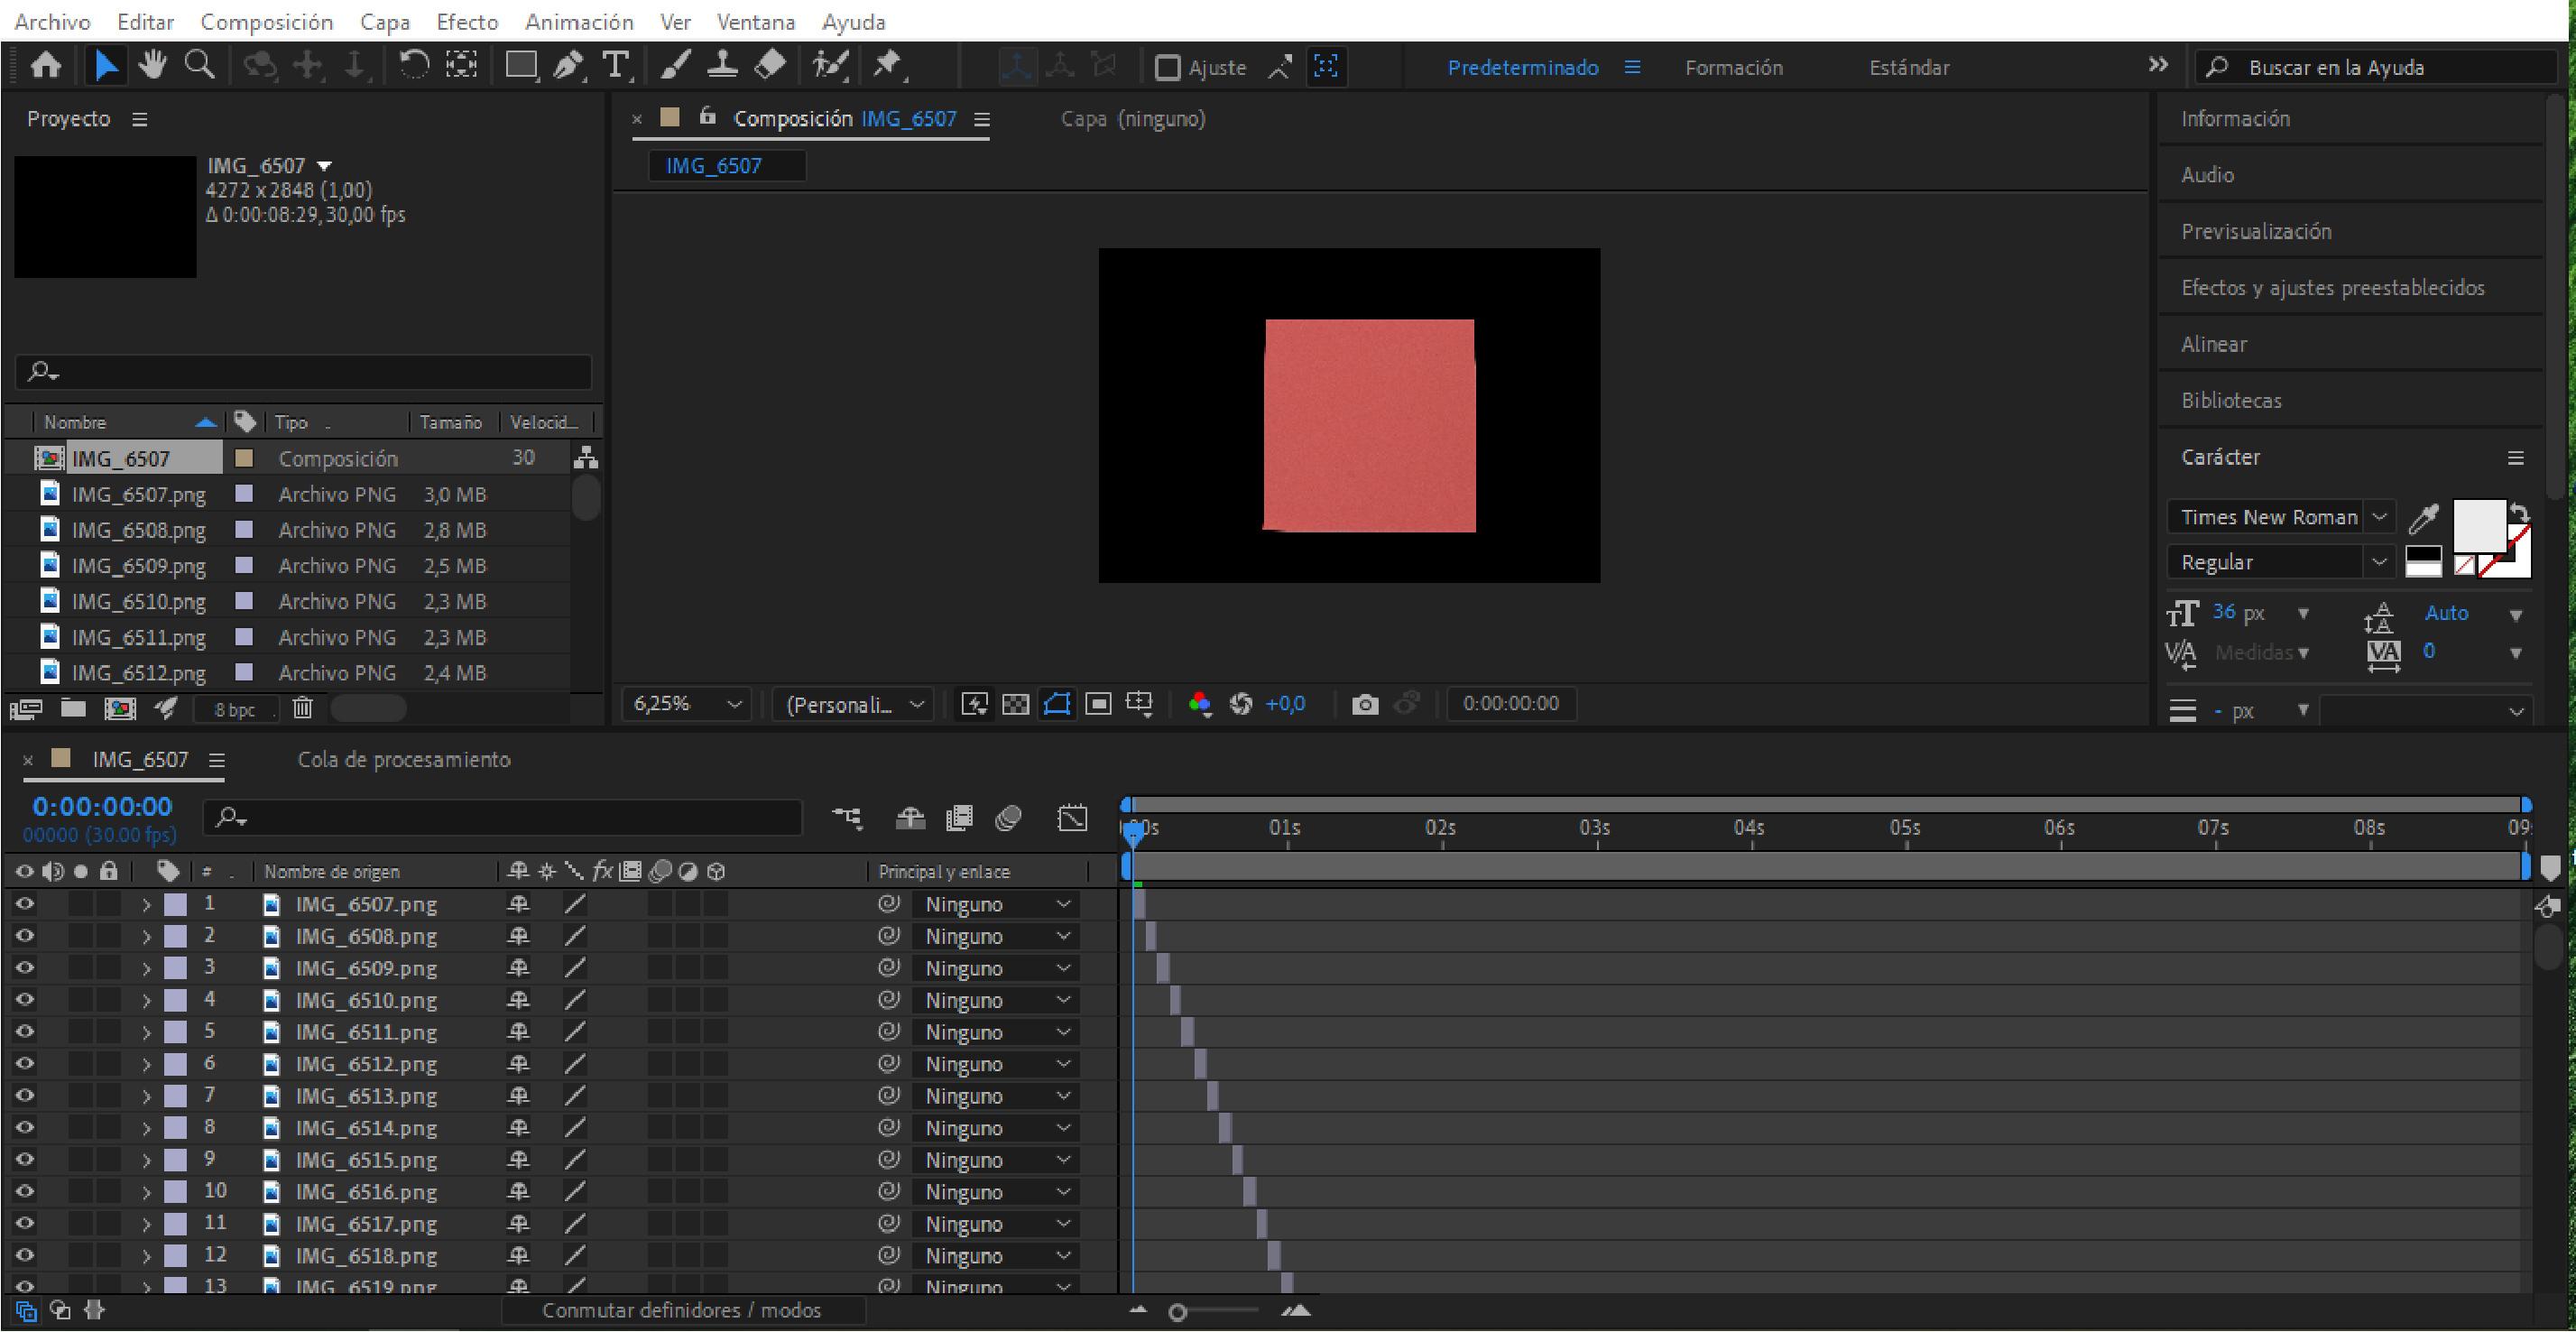
For creating the composition I selected all the images in the Project panel and then I dragged them to the Create A New Composition button. After that After Effects shows a new dialog box and you can see what I chose in it in the second image of this step.
Background
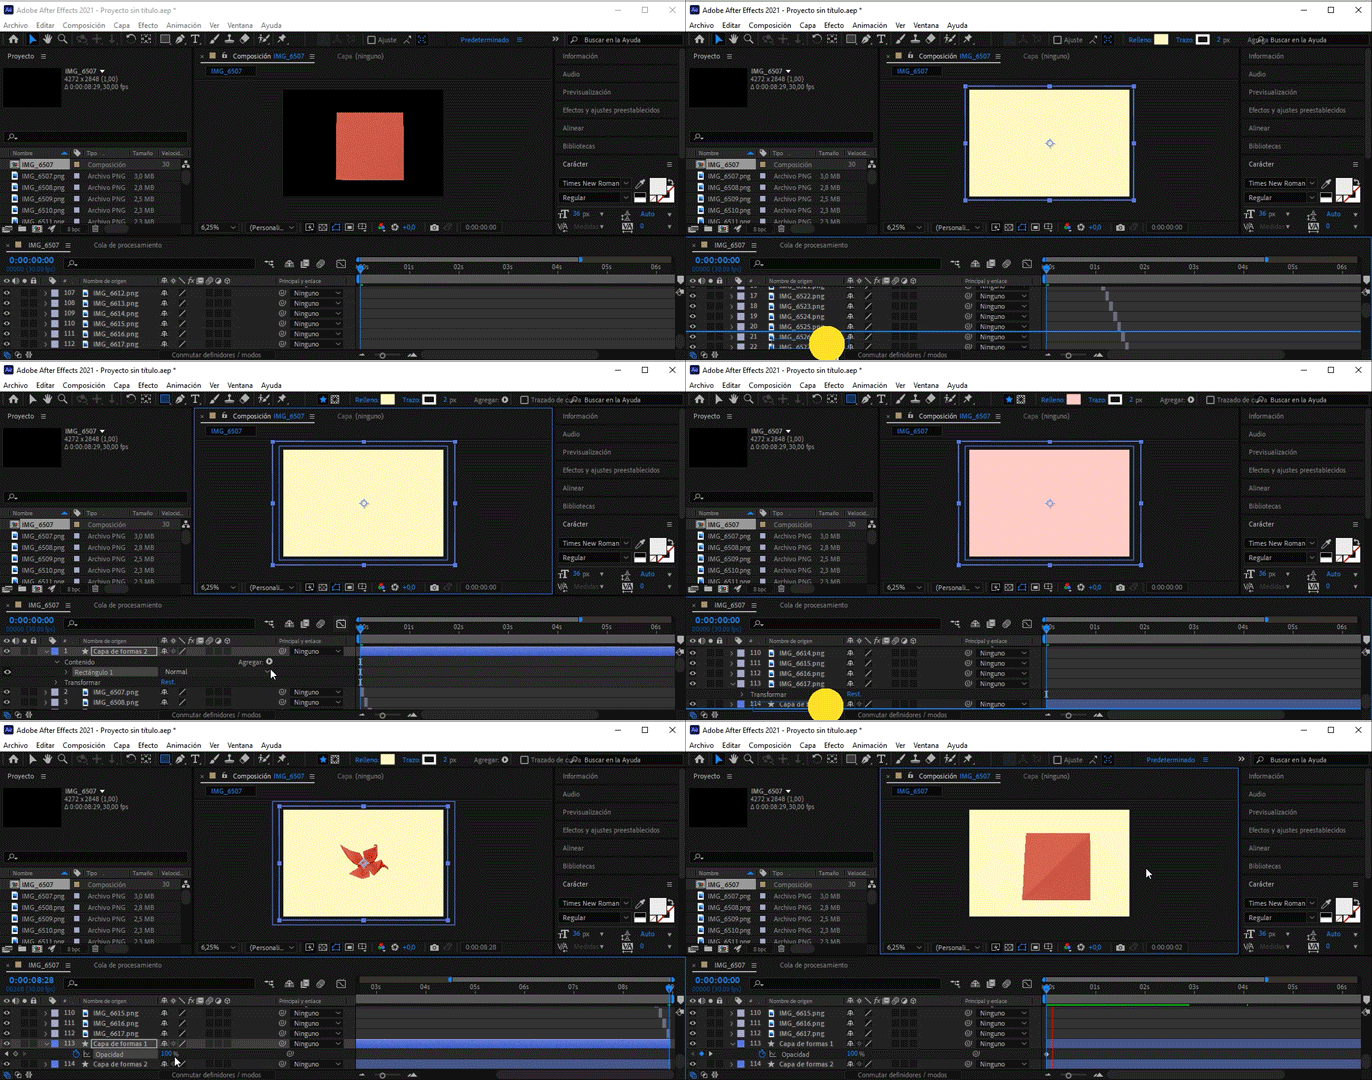
I wanted the background to have one color and then change slowly to another one. For that what I did was to create 2 rectangles (with 2 different colors), each in a different layer, and I dragged those layers to be the last ones so they became the background. Then after selecting one of them, I pressed the "T" key for the opacity property of the layer to appear, and as you can see in the animated gif I chose a moment in the beginning and change the percentage of opacity, and then I did the same at the end, so it is 0% in one and 100% in the other, that makes the illusion of the color changing slowly.
Preview
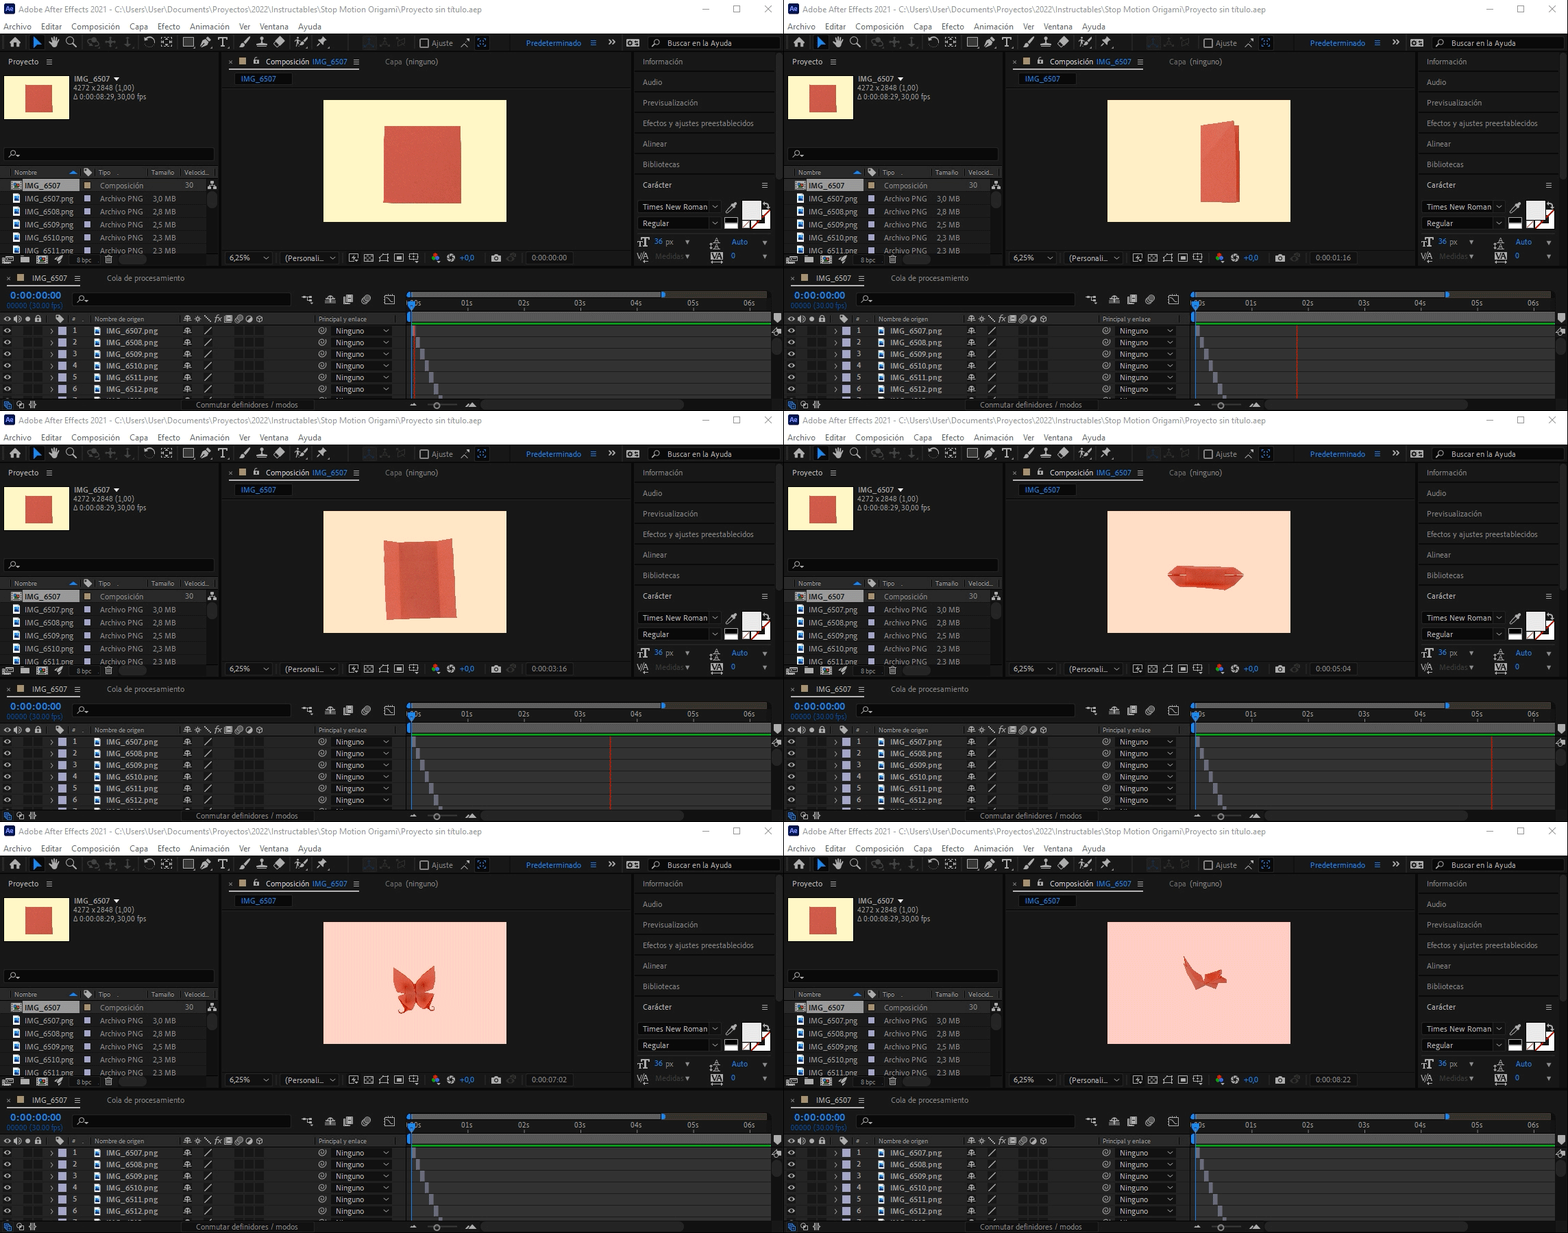
When you press the space key After Effects shows a preview of the animation.
Exporting It

For exporting it Go to File > Export > Add to Render Queue. Then click where it says name.avi (It will show you where the file will be saved) and finally click "Render" in the top right corner to start to export the video.
Now you can make the illusion of a paper folding itself with your favorite origami figure!
I hope you found this instructable useful :) and let me know if you create a stop motion with it, I would love to see it!!!