Organize on a Budget - Tips, Hacks & How to !!
by Vikalpah in Workshop > Organizing
11520 Views, 108 Favorites, 0 Comments
Organize on a Budget - Tips, Hacks & How to !!
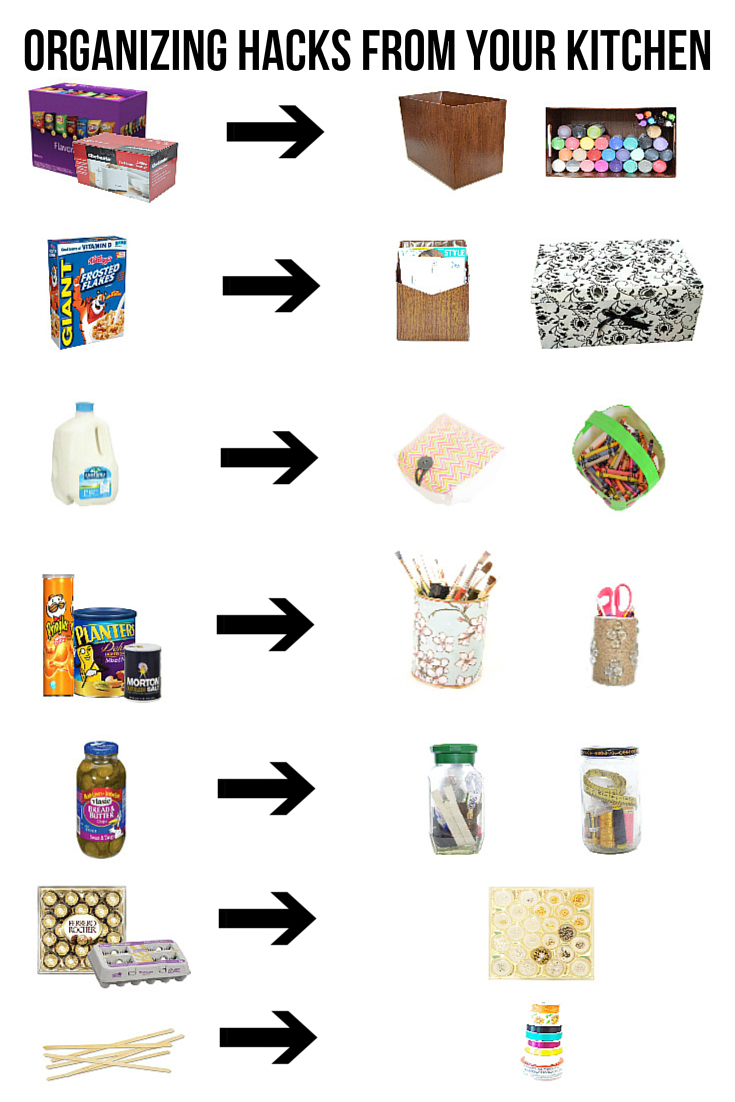
Are you looking for ideas to get organized on a budget? If yes, you have reached the right place. In this instructable I am going to discuss on the ways to organize using the recyclable items that are found mostly from your kitchen and also with some other items which costs your only pennies. I will also show you how to update the recyclable items with "Simple DIYs" so that it looks like store bought but with crafty touch. The items I show you here are mostly used in organizing craft items( as I am a DIYer /Crafter) but I will also show some other things you can organize so that everyone is benefited from this instructable.Let's get started .Shall we?
Carton or Shipping Boxes As Baskets
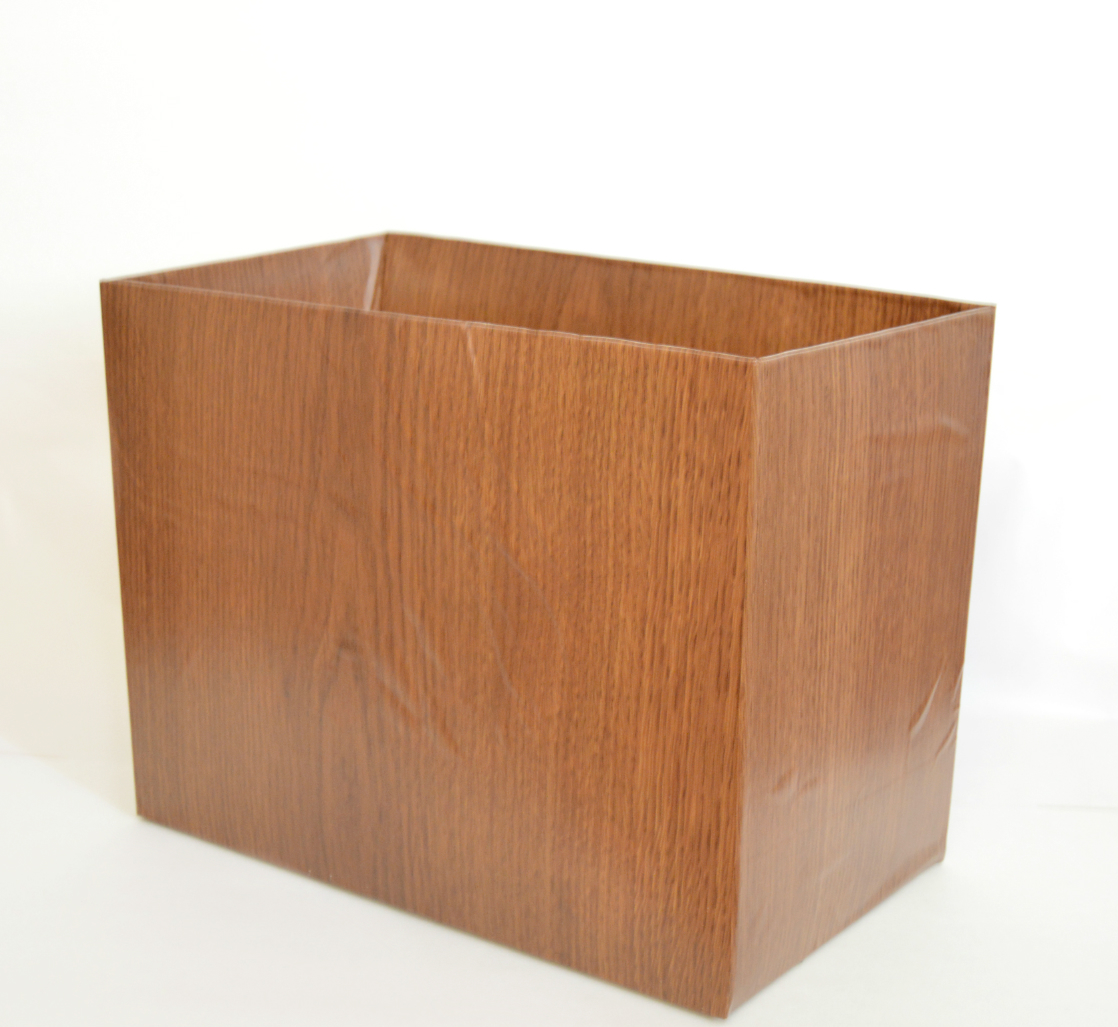
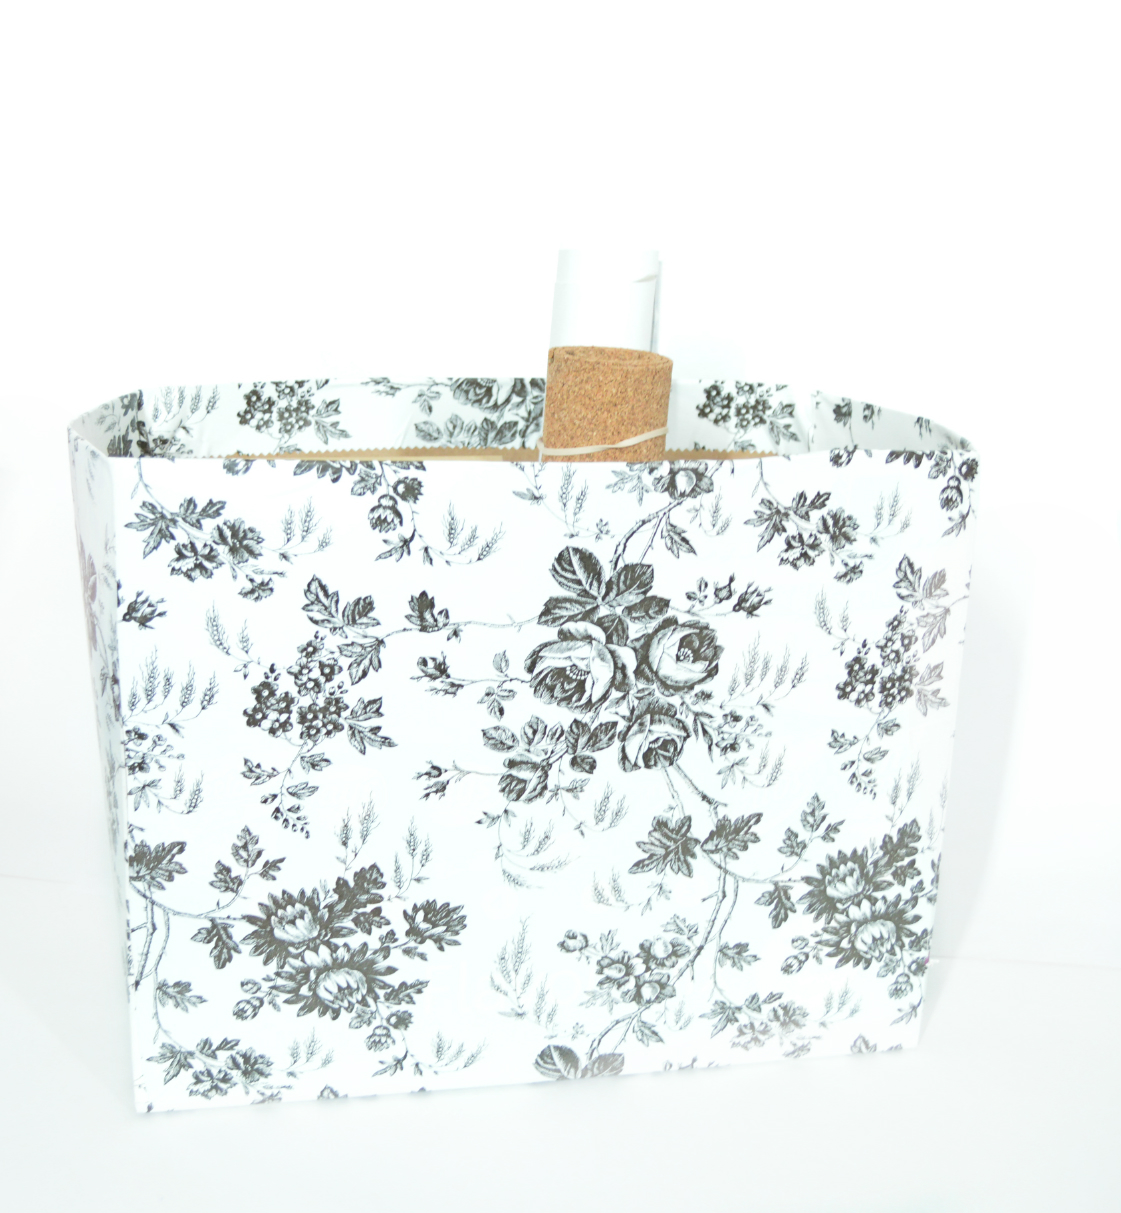
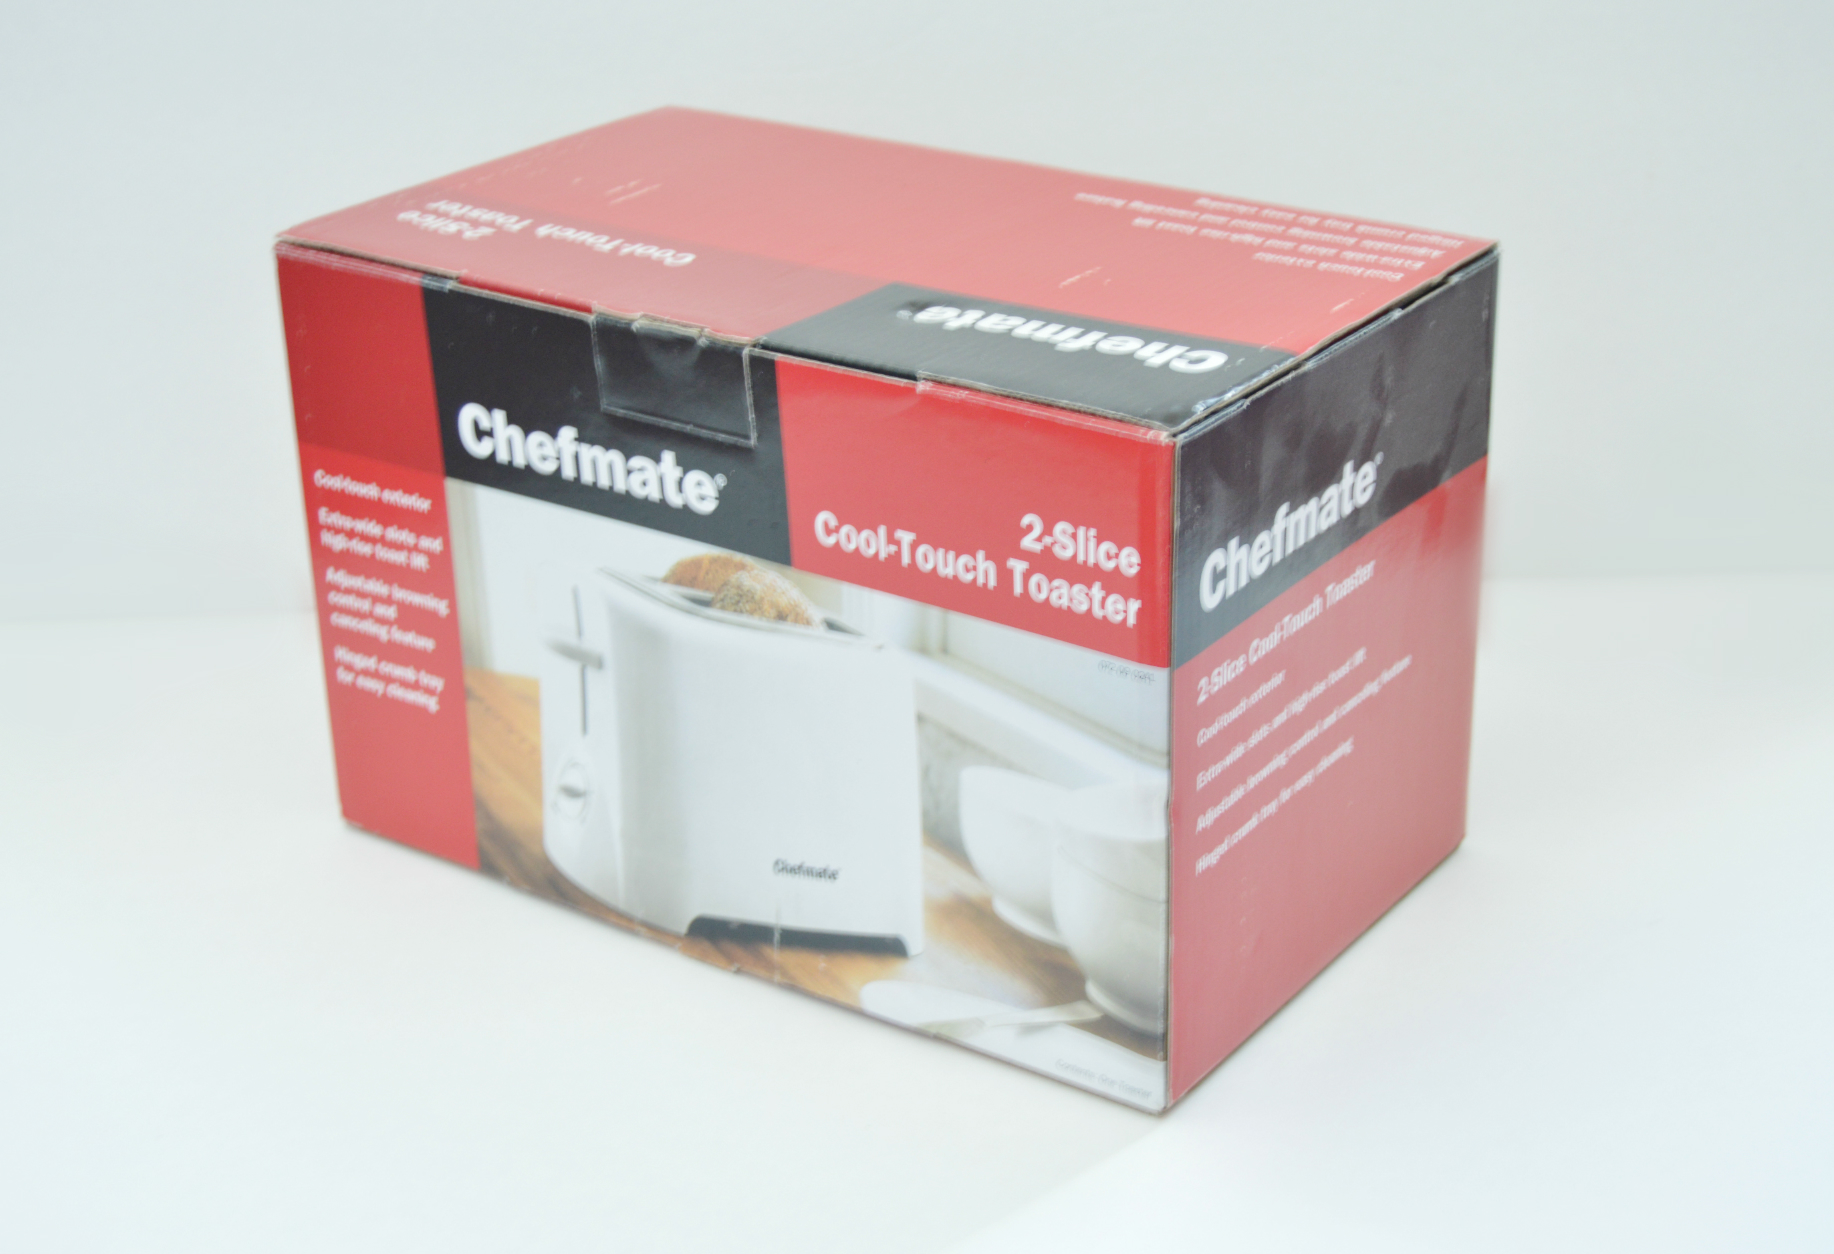
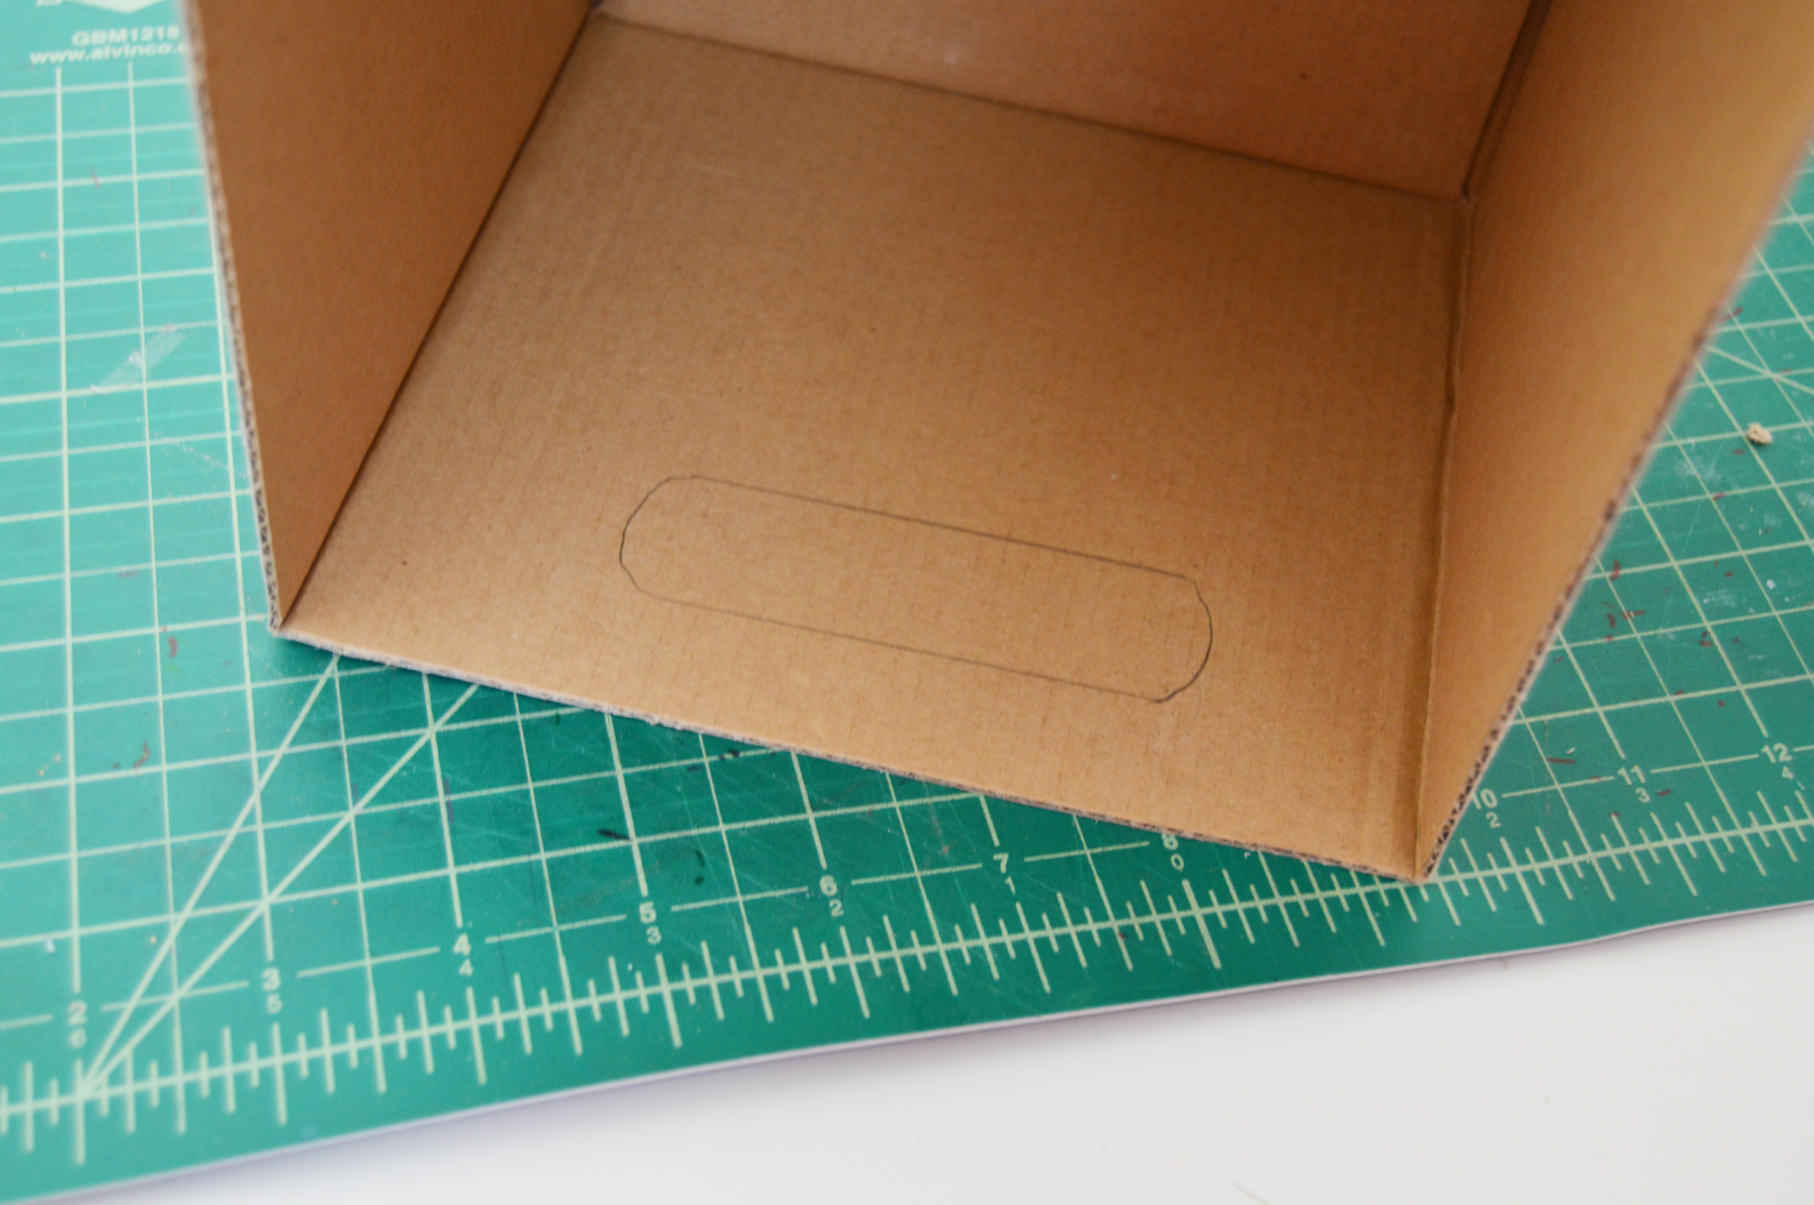
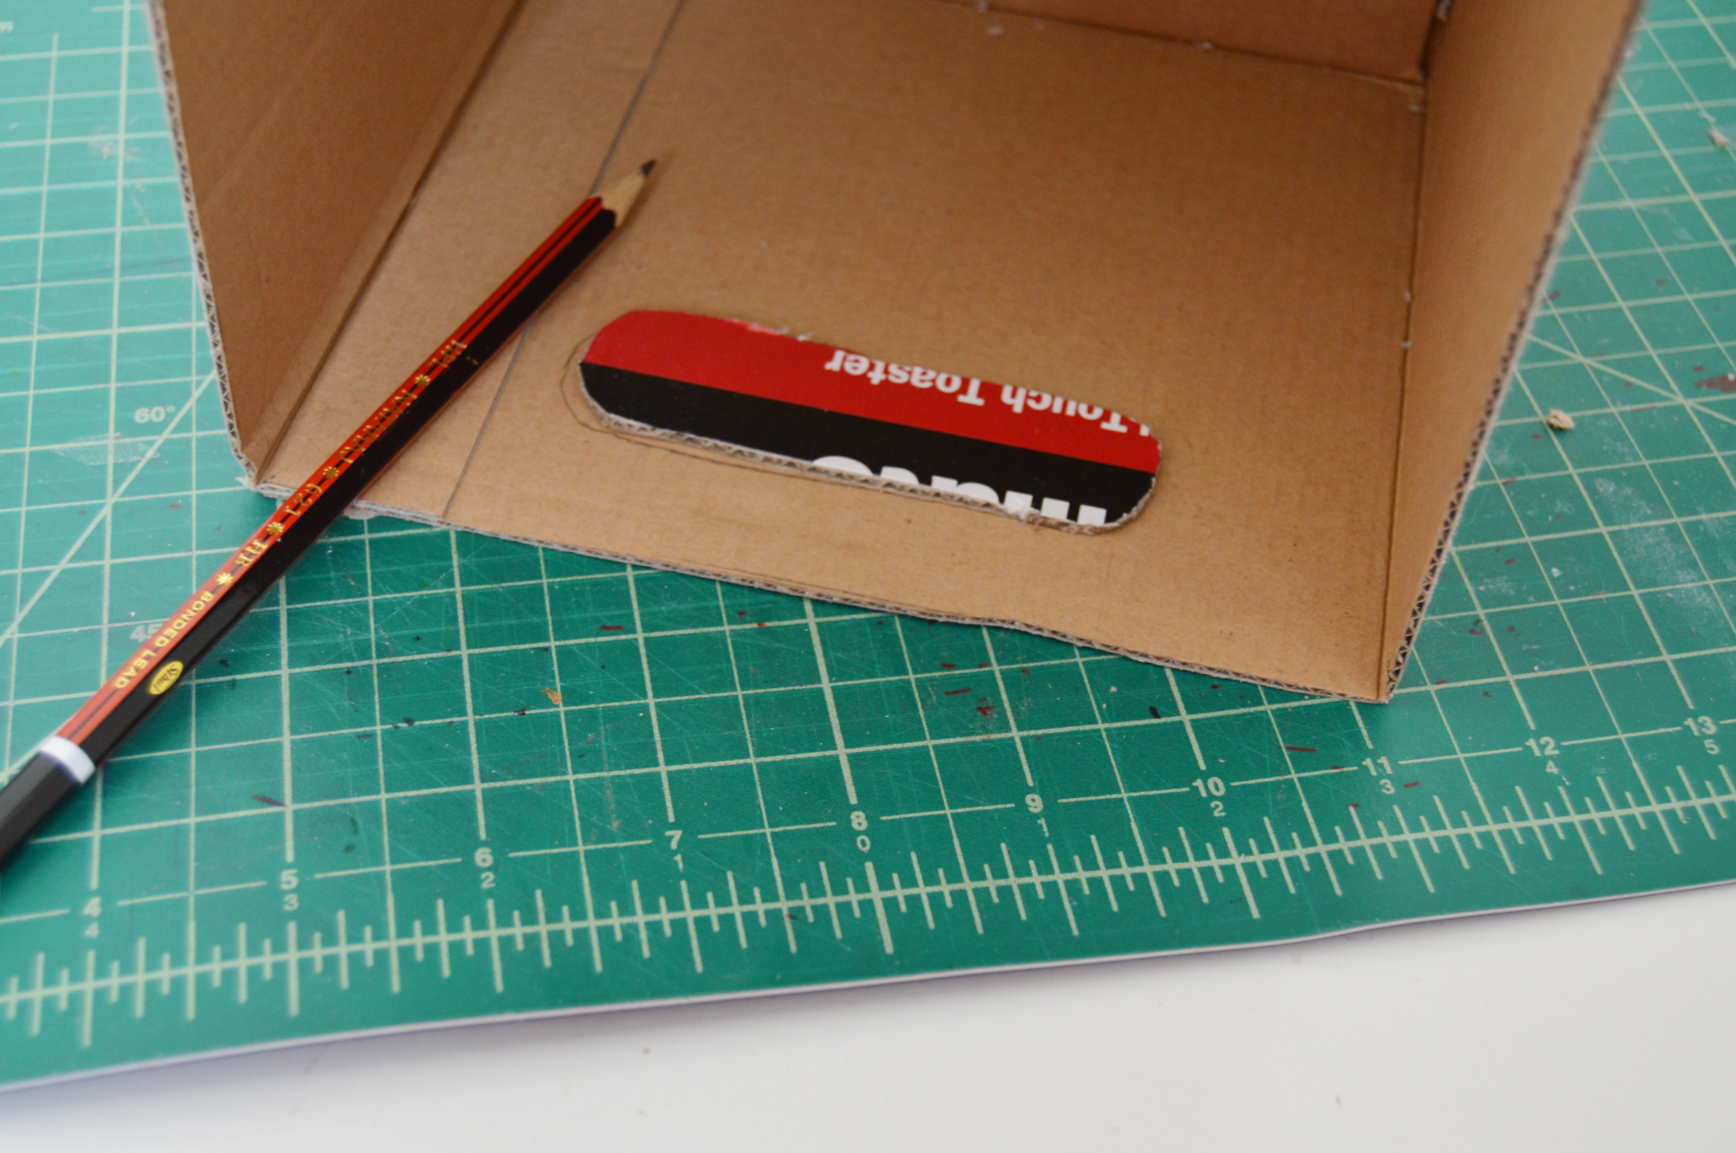
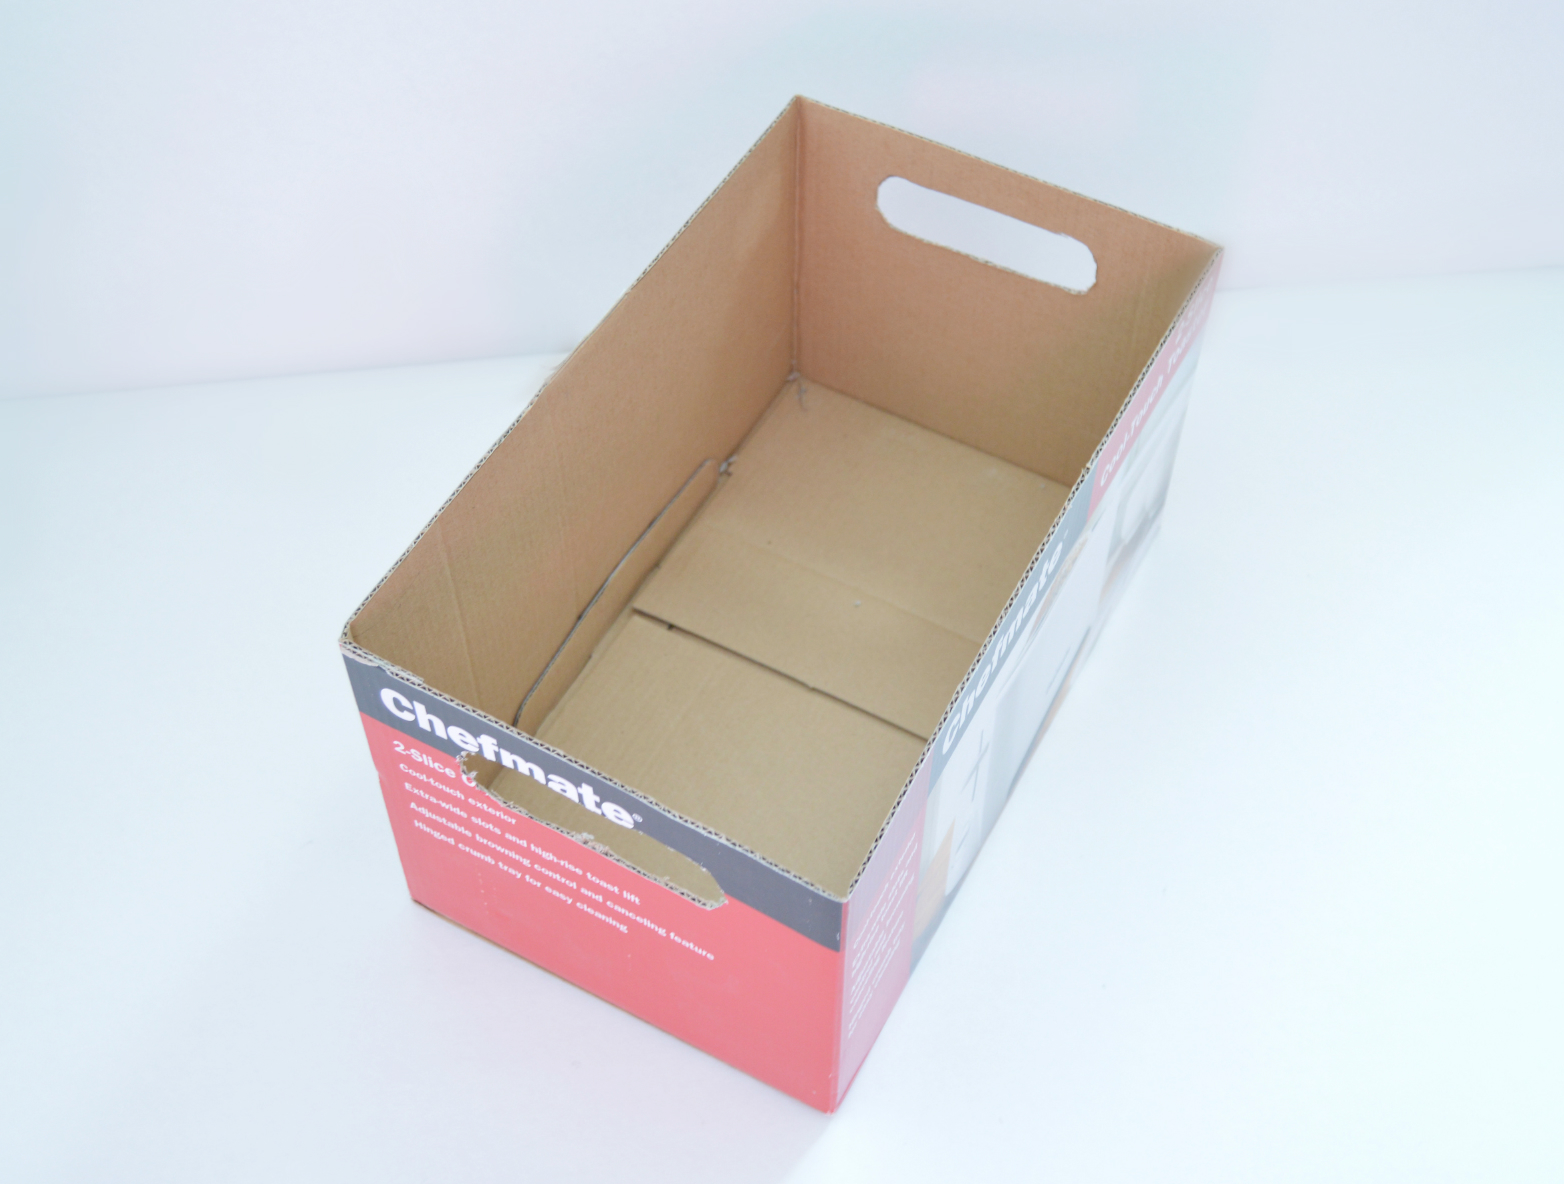
We buy those 32 packs of frito lays chips at times when we crave for variety. I collected those boxes to make big baskets. You can use big diaper boxes or shipping boxes or those big boxes in which your food processor or blender or bread toaster(Shown) came in for making baskets for storage. To do this.
1) Cut the top portions of the boxes.
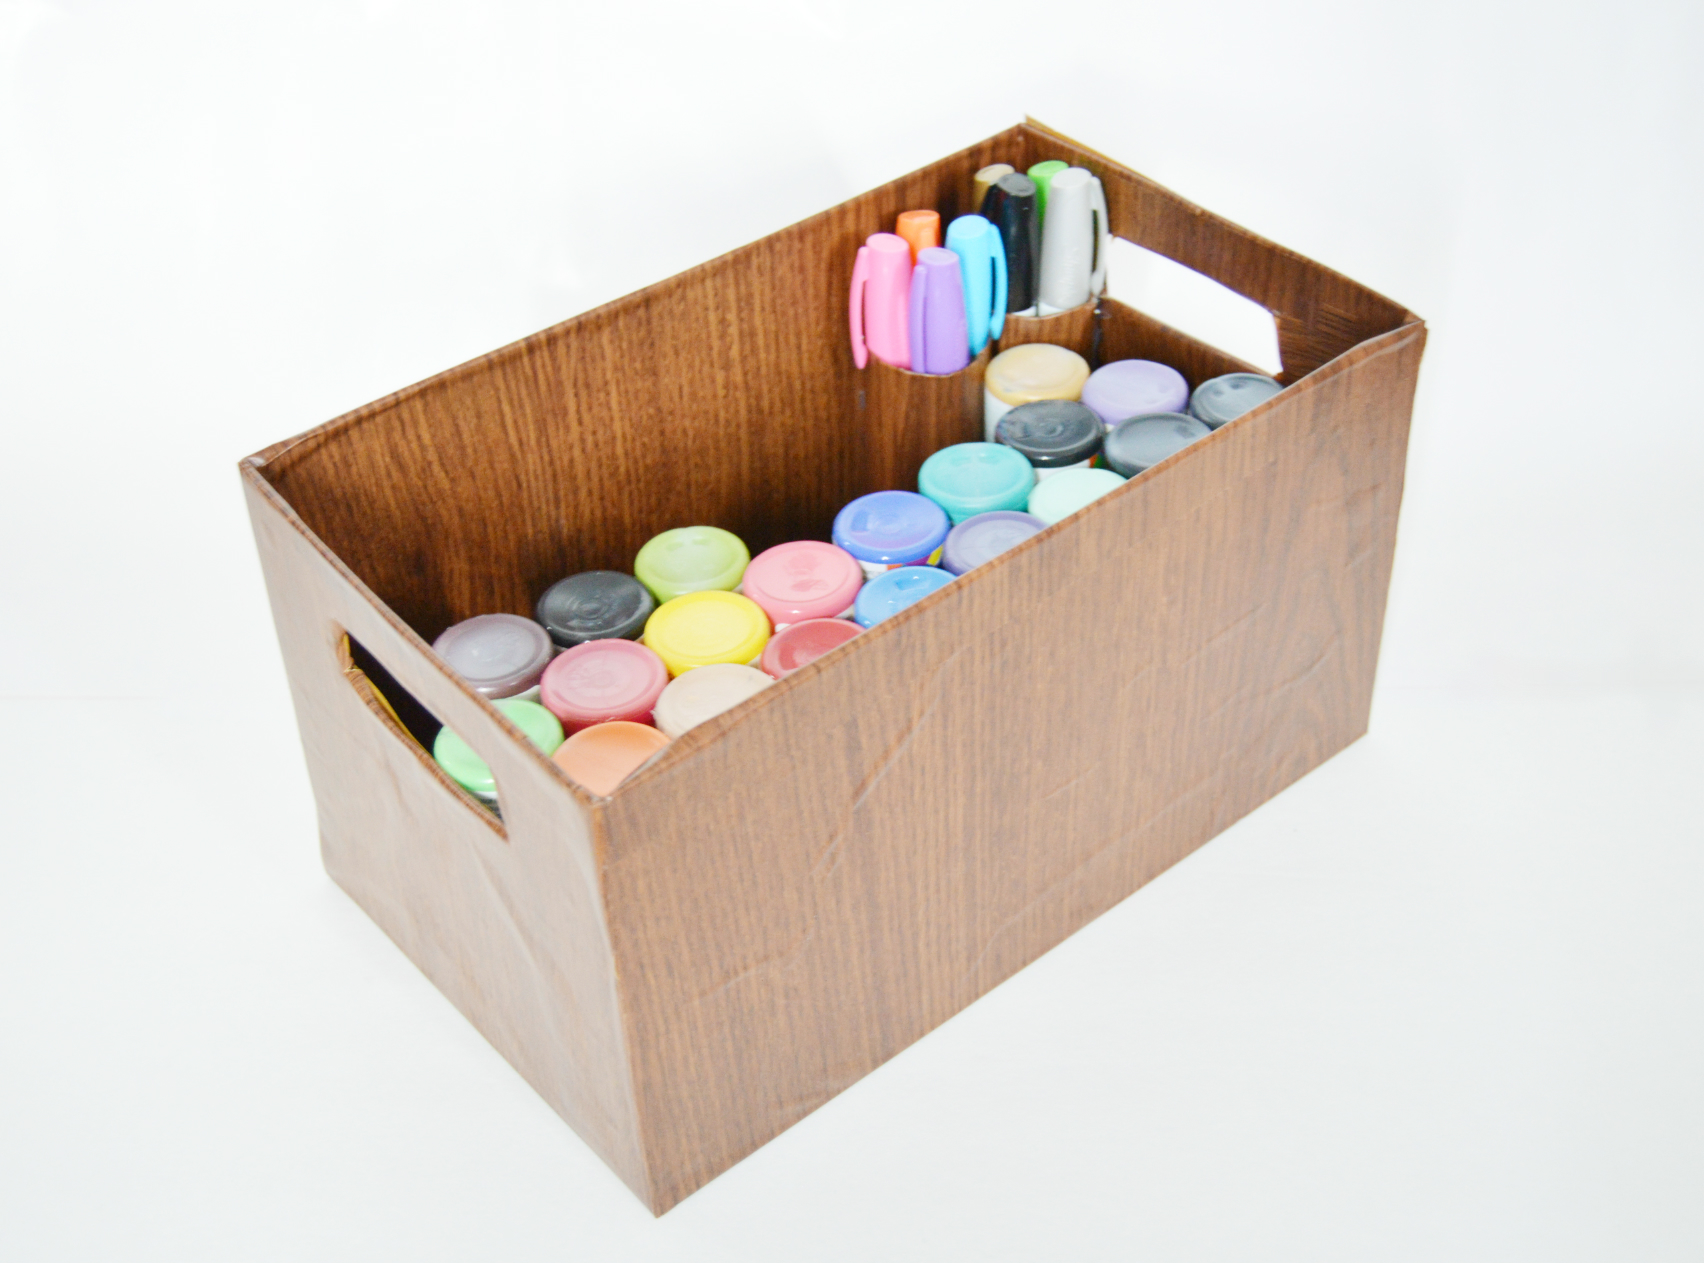
2) Cover them with Kraft paper or contact paper or even wrapping paper. Whichever is easy for you. You can get all of these at dollar stores. If you ask me , I would say my favorite is wood grain contact paper as it gives a look of real wood . I prefer contact paper as it is easy to use and reduces one more step of using transparent tape to secure.
Once you covered , you can use them to store a lot of miscellaneous items.I use them to store bamboo skewers, pipe cleaners, extra masking tapes ,scrap poster boards,etc etc. The list just goes on.
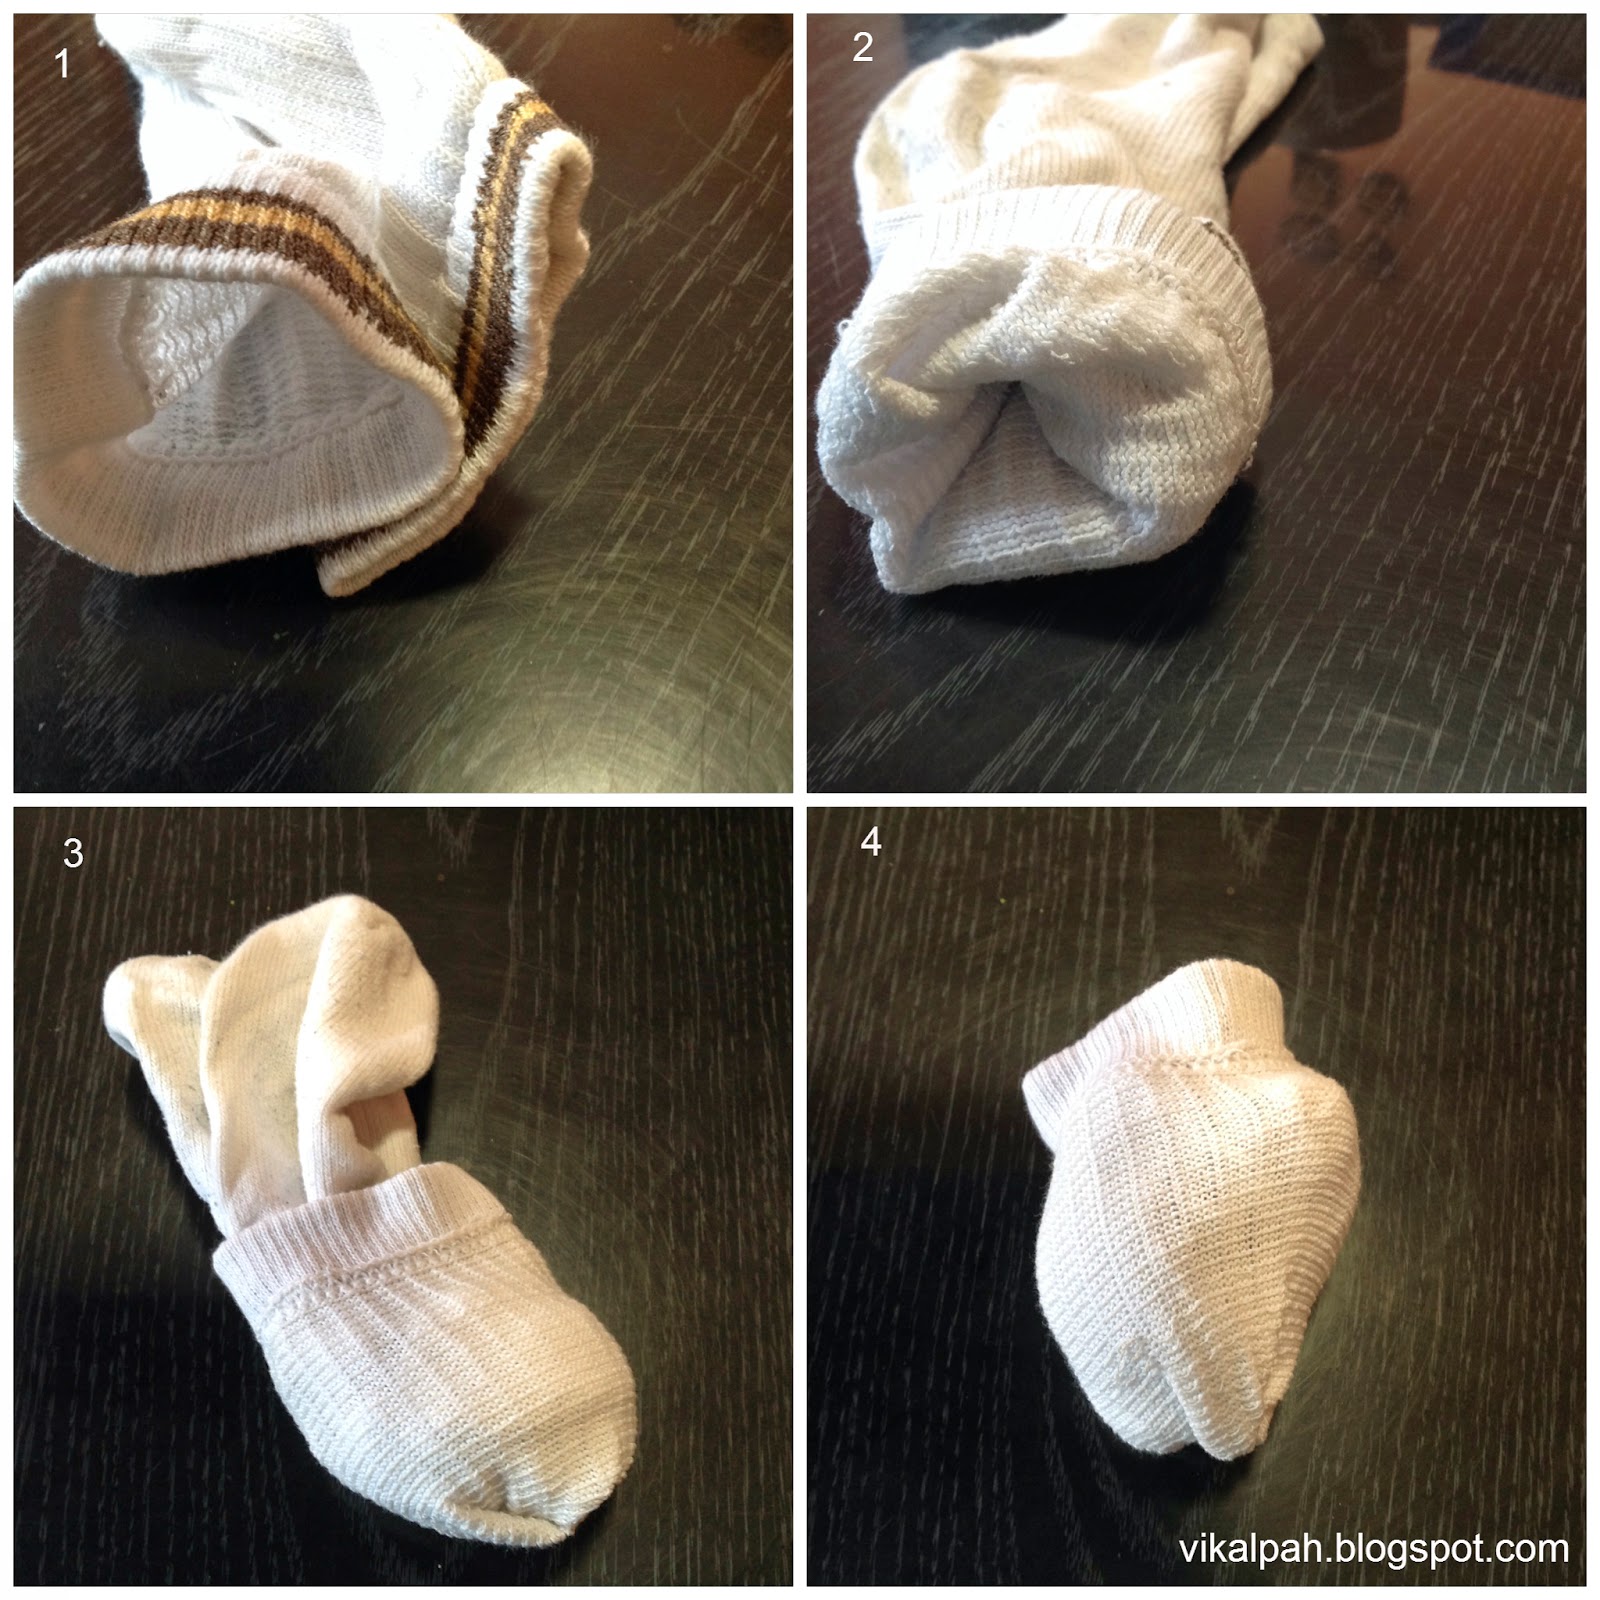
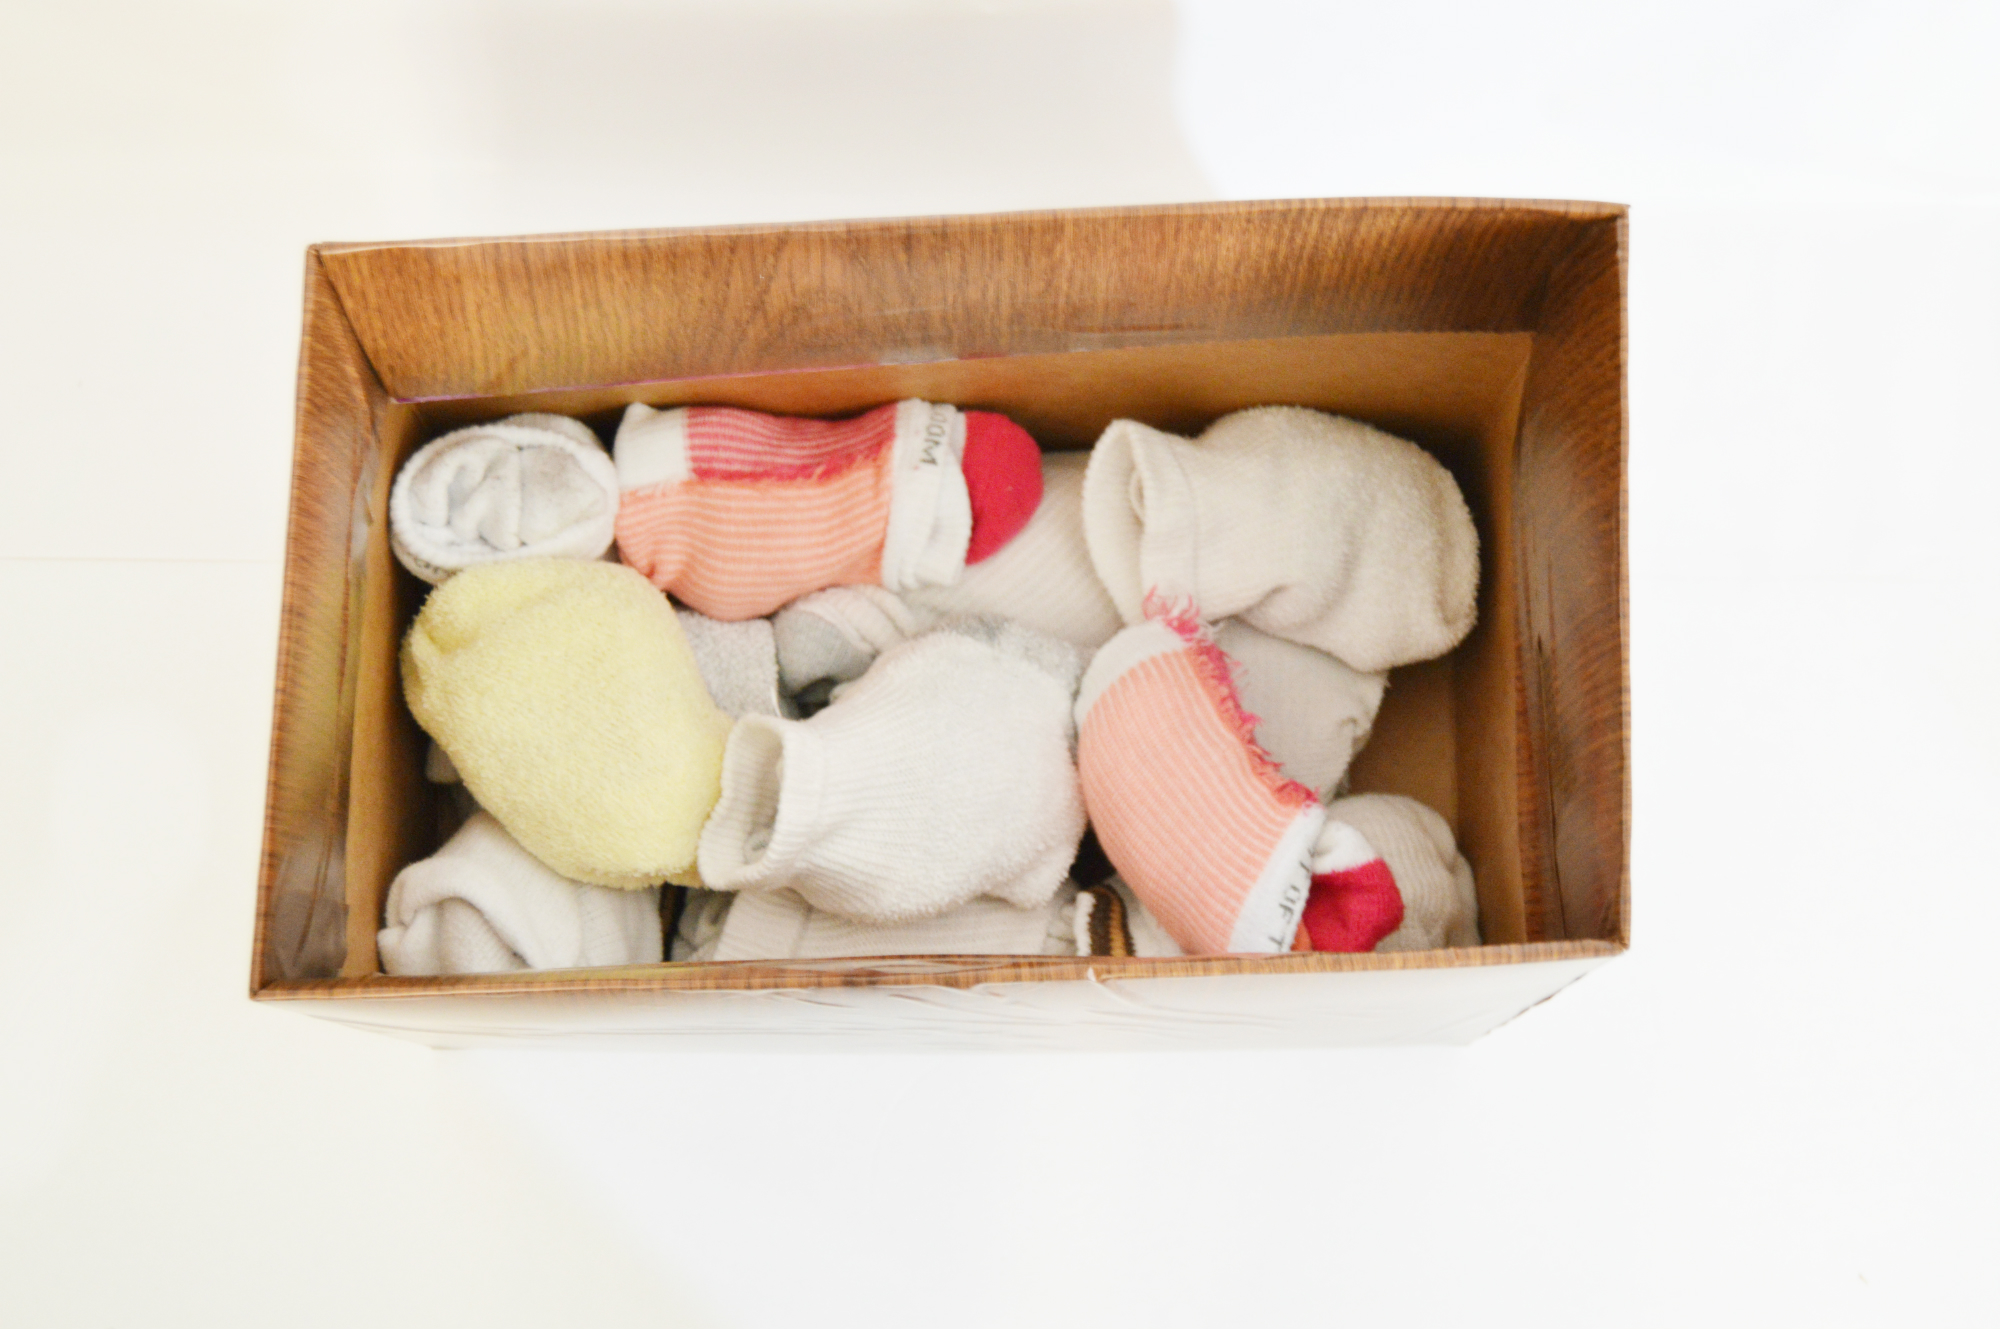
If you are not a crafter, you can use them to store your kids toys or if you don't have shelves in your closet use them to store socks(Fold two socks together by holding the edges of the socks ,split them in such a way three layers on one side and one on the other and by turning and stuffing make a ball of socks so the pair of socks is together.(Refer the picture)Say "No More searching" for the pair when you are in hurry).If space is a constrain where you live , these baskets are very useful as it saves a lot of space and holds a lot of items organized.
If it is a small box, repeat the same step by cutting the top portion. If you want cut a small opening on both sides to act as a handle and then cover it with contact paper.
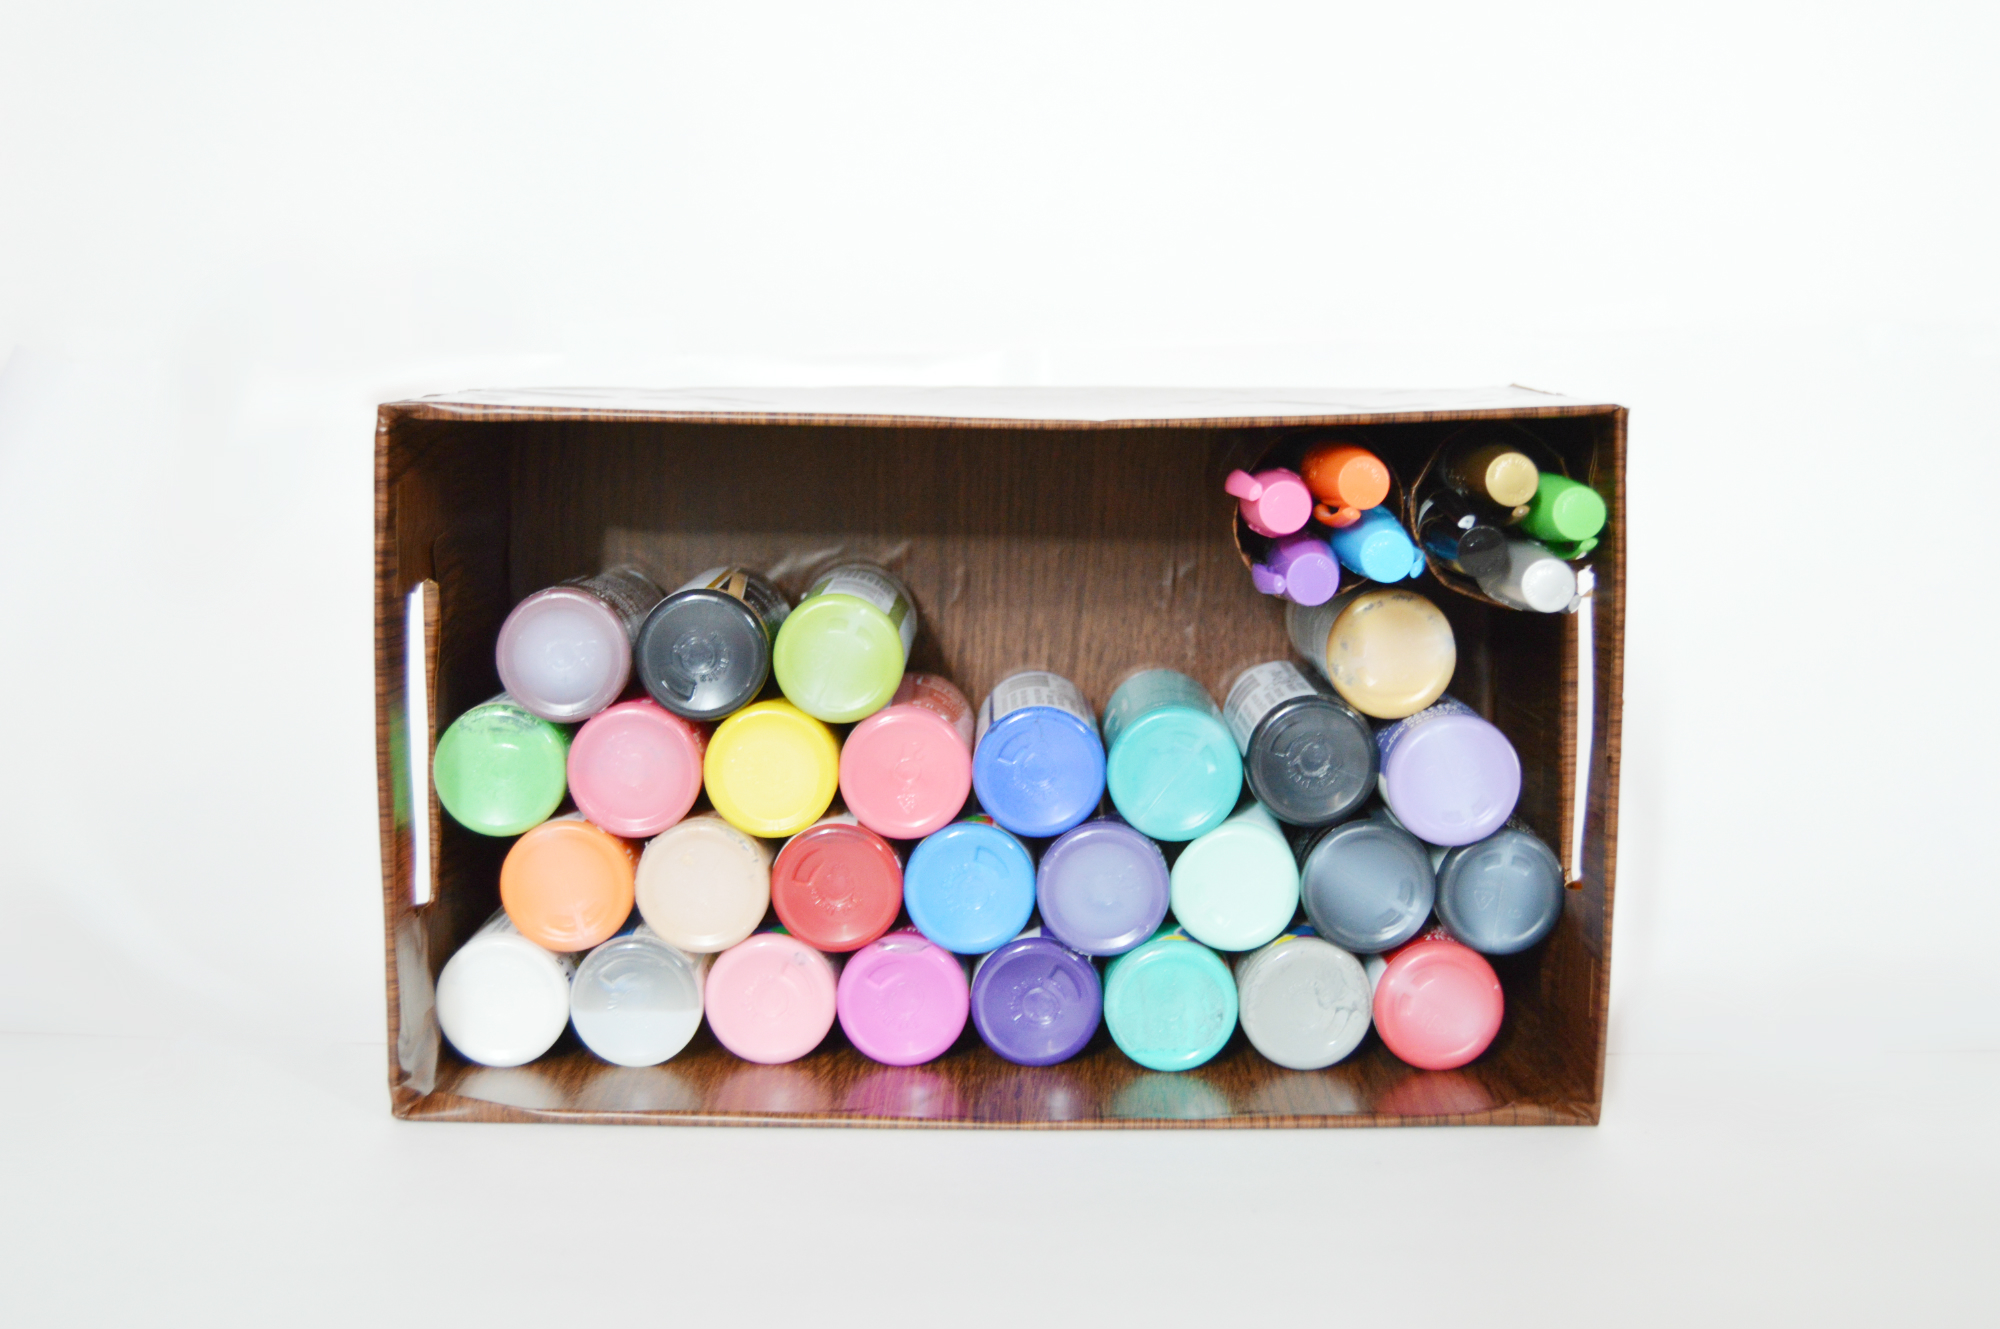
I used this box with the opening facing front in my shelf and so it acts as a shelf within a shelf. I used this to store paints. I glued some paper towel tubes in the corner to store the paint pens .So all things paint are in the same place. Organized and also saves place.You can stack the small baskets like this to utilize the space.
Cereal Boxes As Storage Boxes or Magazines Holder
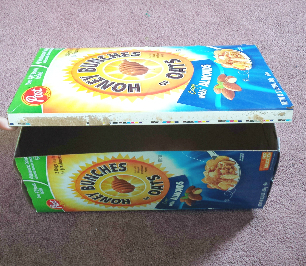
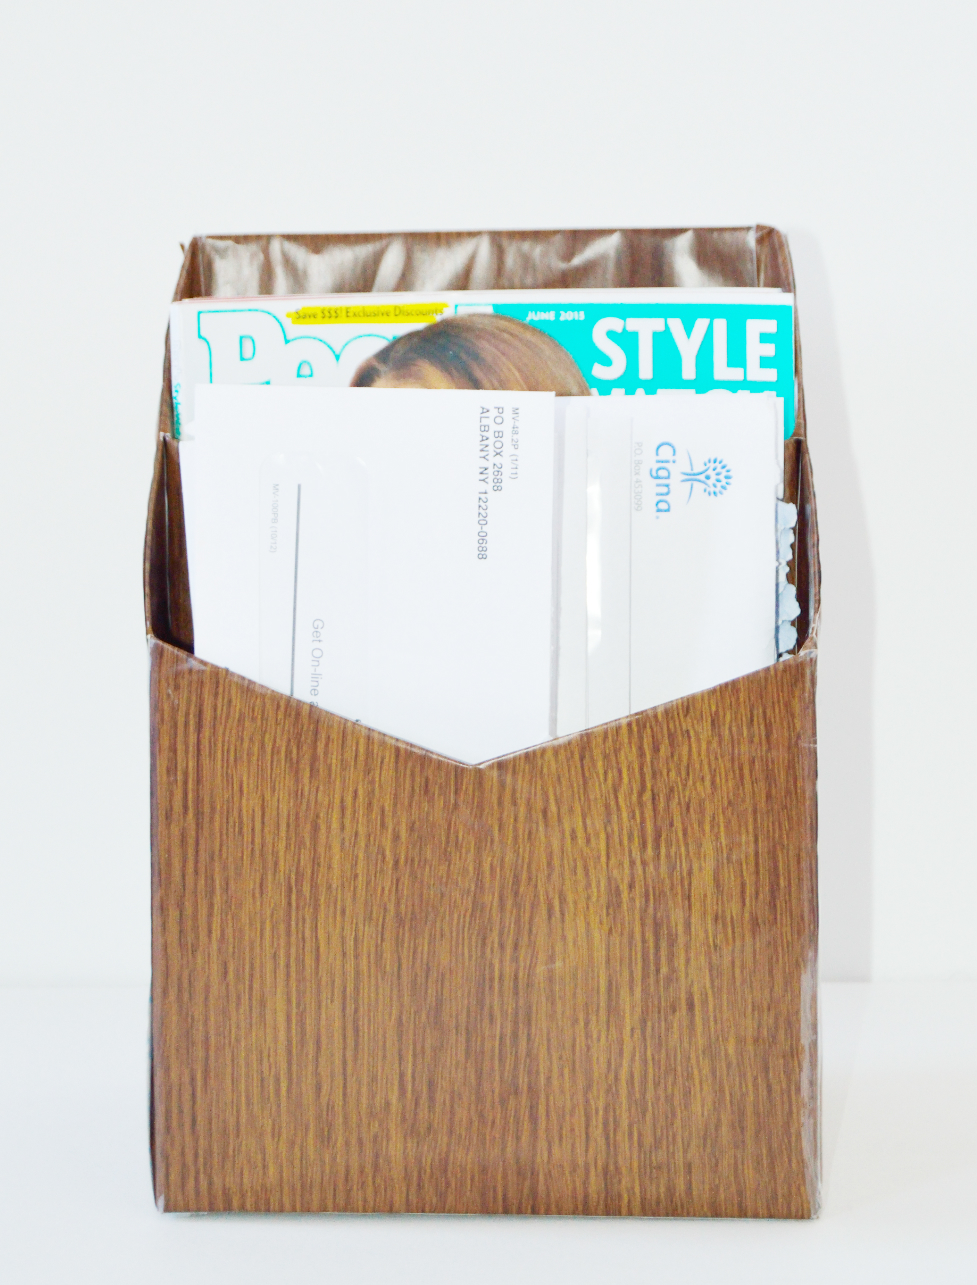
As a storage box :
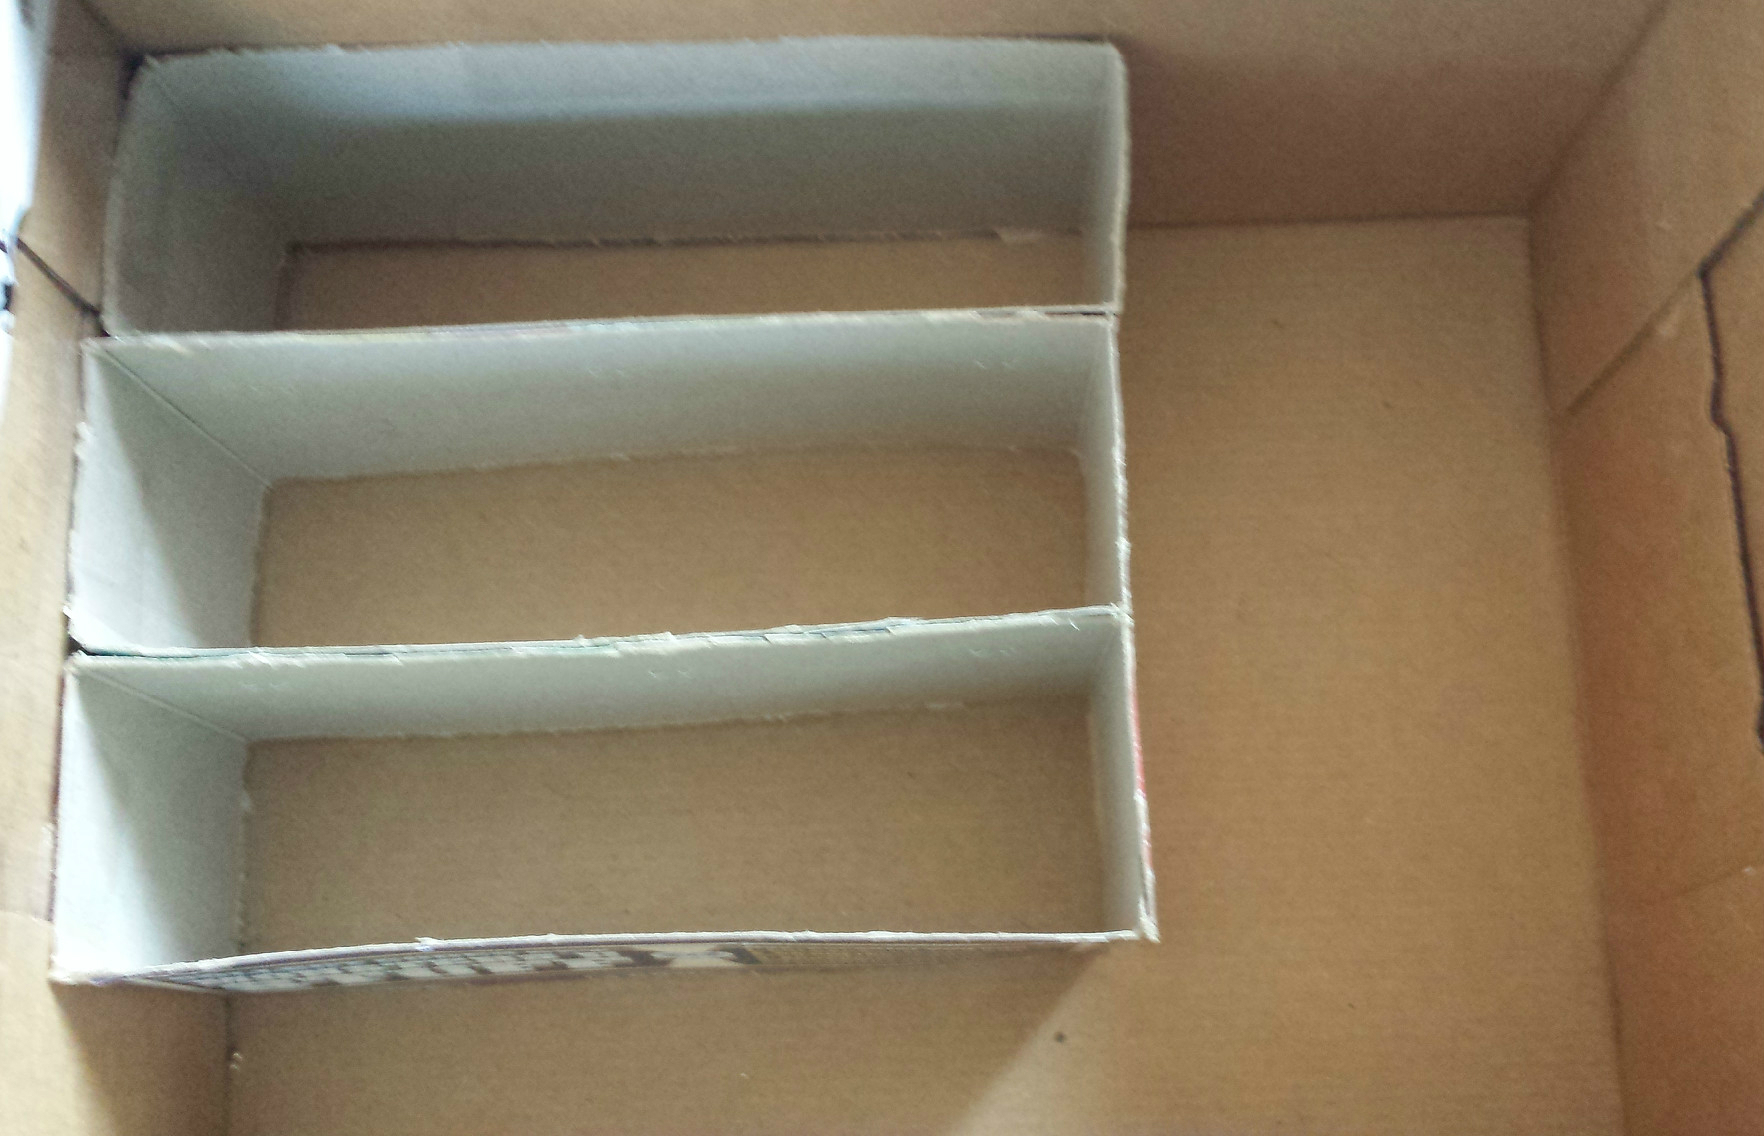
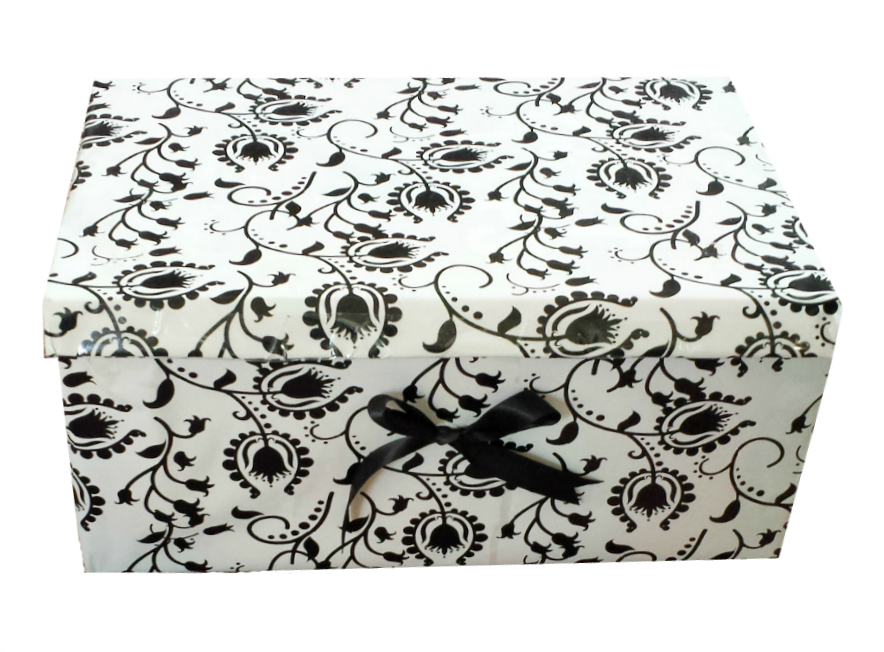
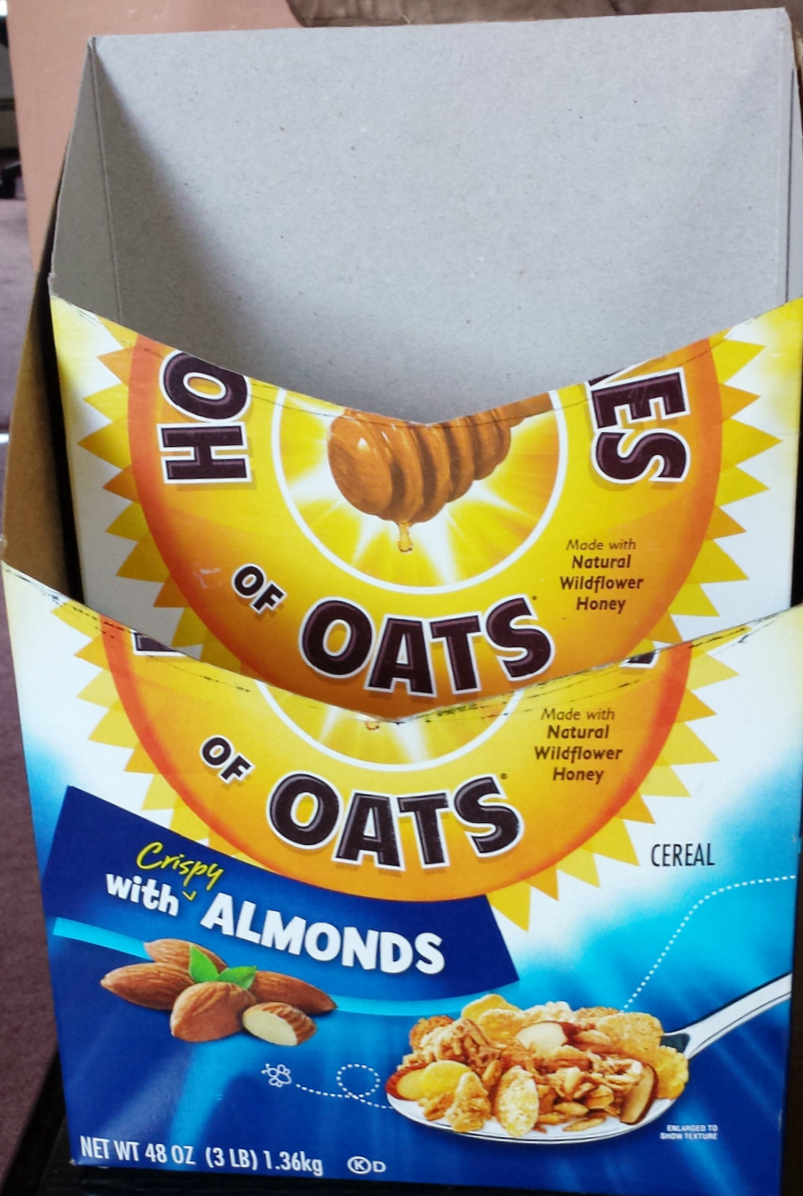
1) Close the top opening with a clear tape and open the cereal box(Big size) from the side so that you will get a top lid for the box.(As shown)
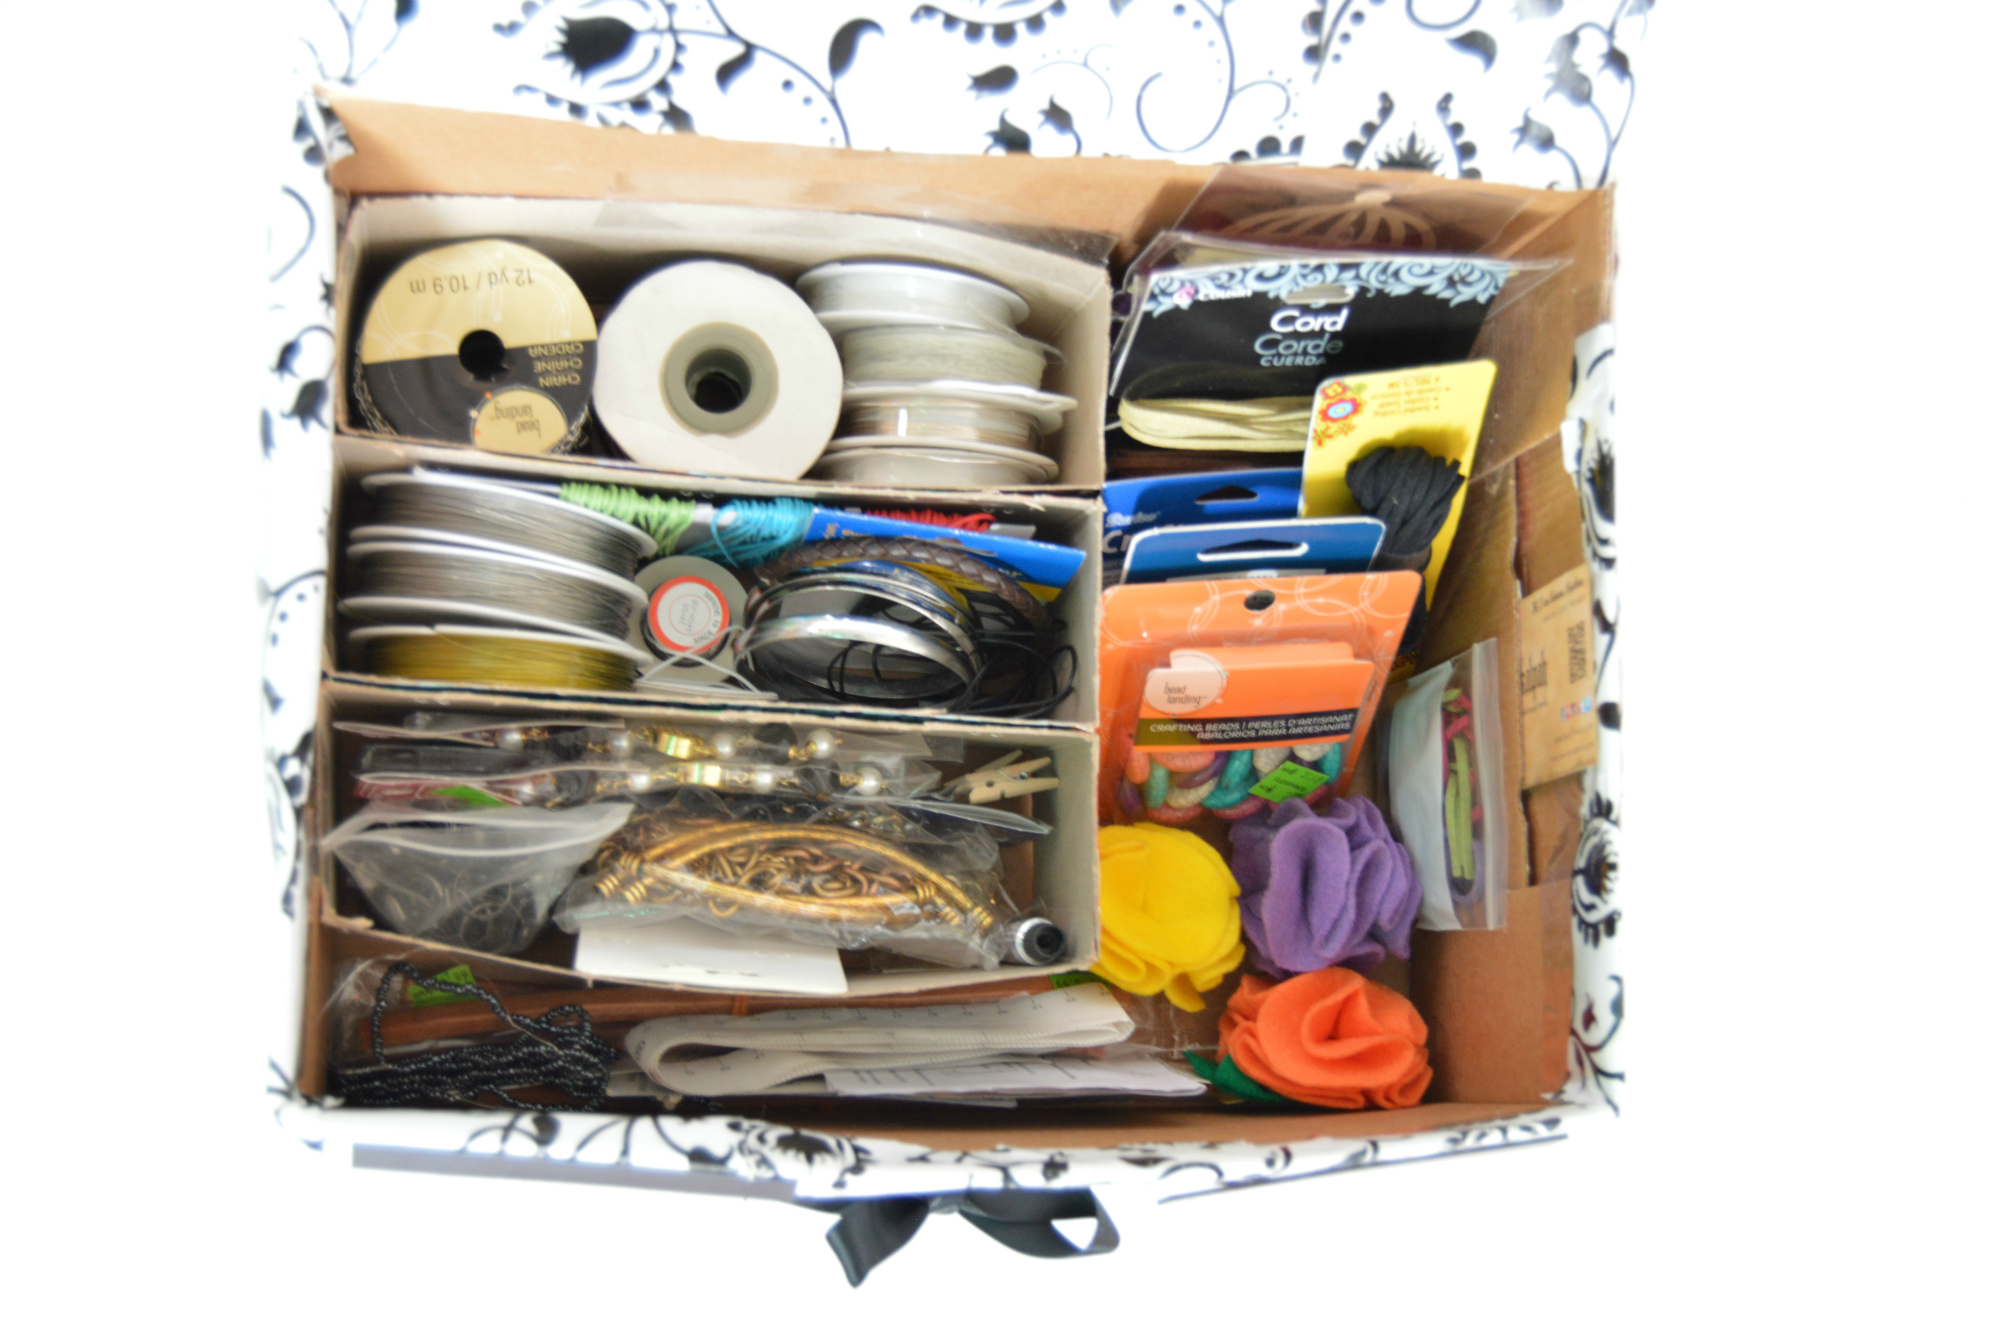
2) Use small cereal boxes and cut them horizontally to use as dividers inside the box.Use tape and staple to hold the dividers together. Decide the arrangements as desired. I wanted some extras space in the sides so I did not include any dividers there, if you want you can :)
Again I use this box to store my jewelry supplies, cords, etc but you can use this store office supplies or may be tea bags in the kitchen.
As a magazine holder:
1)Use one large and one small cereal box .Cut the top portions in both the boxes and a "V" Shape in the front. Put the small box inside the large one.Make sure the "V" shape in the front box is lower than the "V" shape of the back box so that it gives a nicer look and easy accessibility. (You can also use two small cereal boxes to do this.Just cut it in the same pattern and glue the boxes together.)
2) Cover it with contact paper or you can even paint it.
Milk Jug As Boxes and Baskets
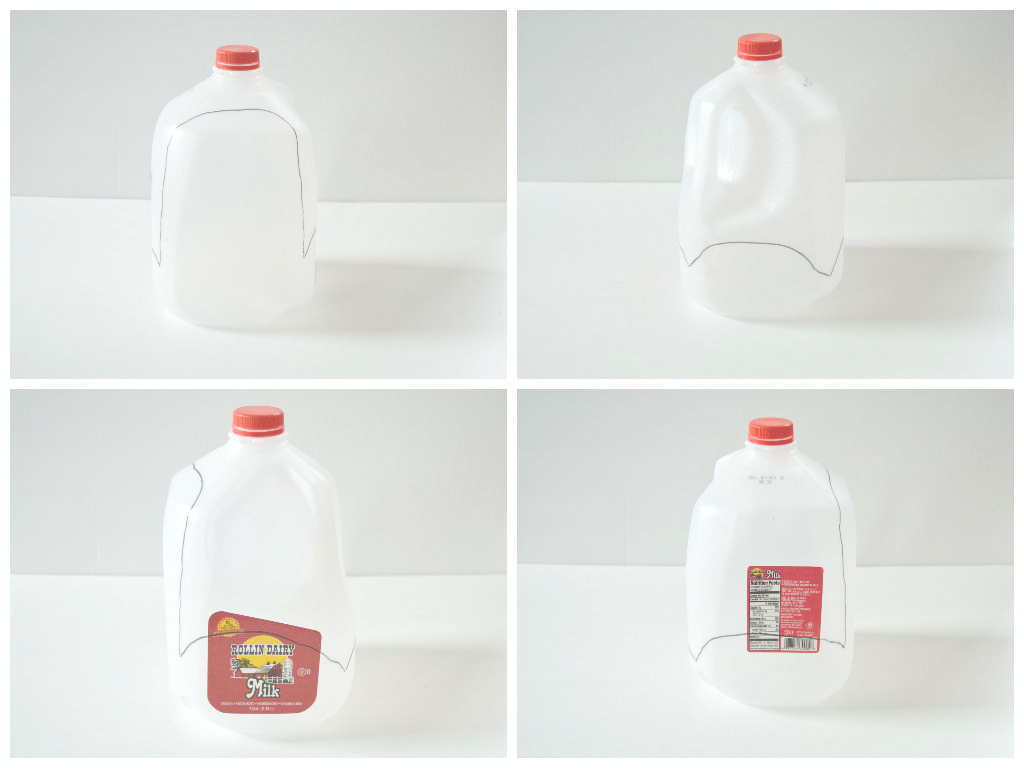
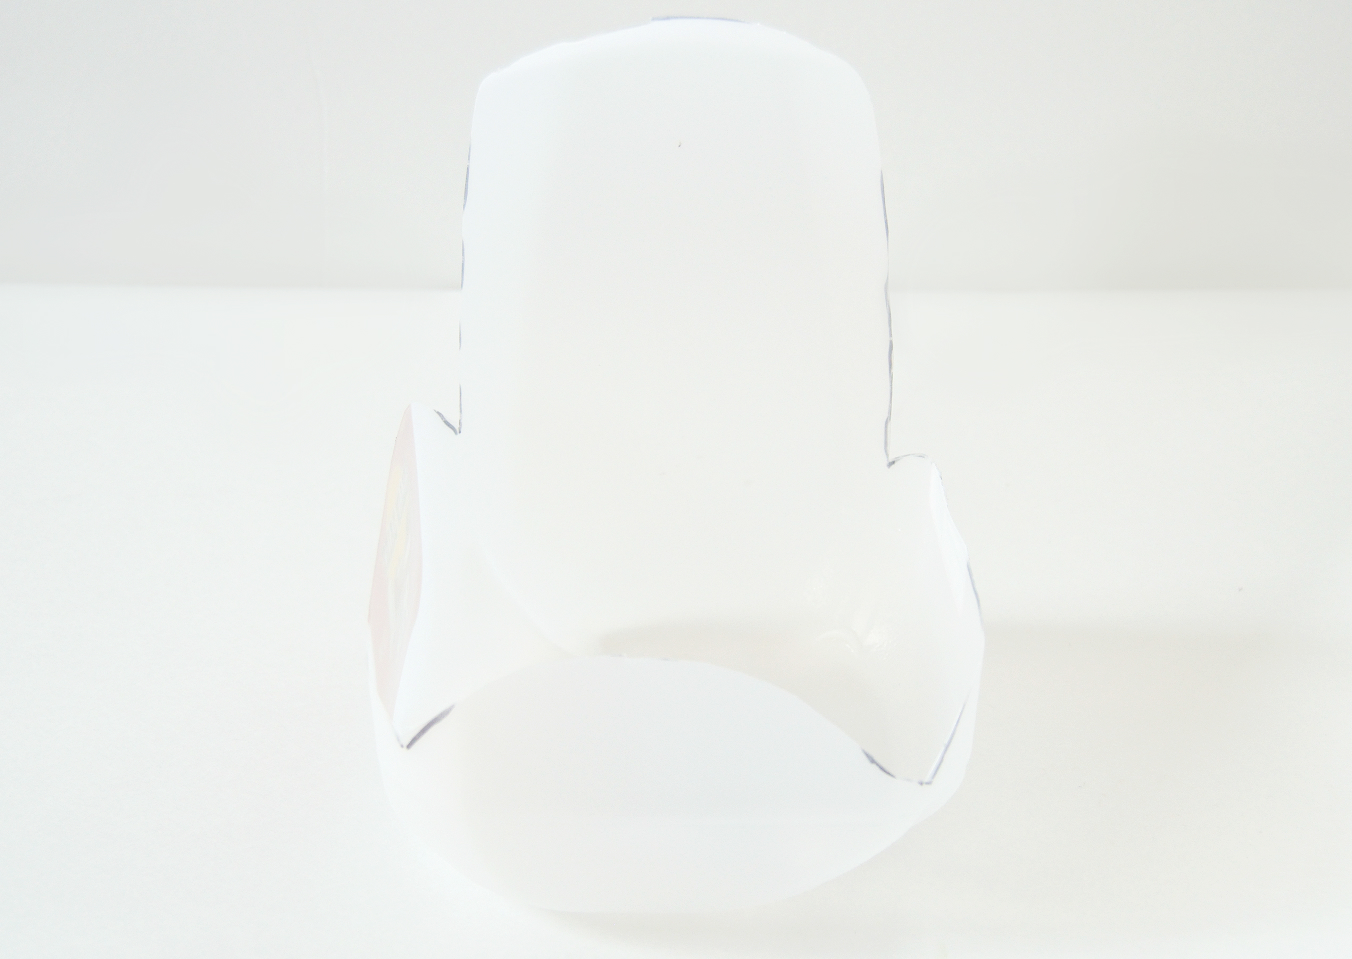
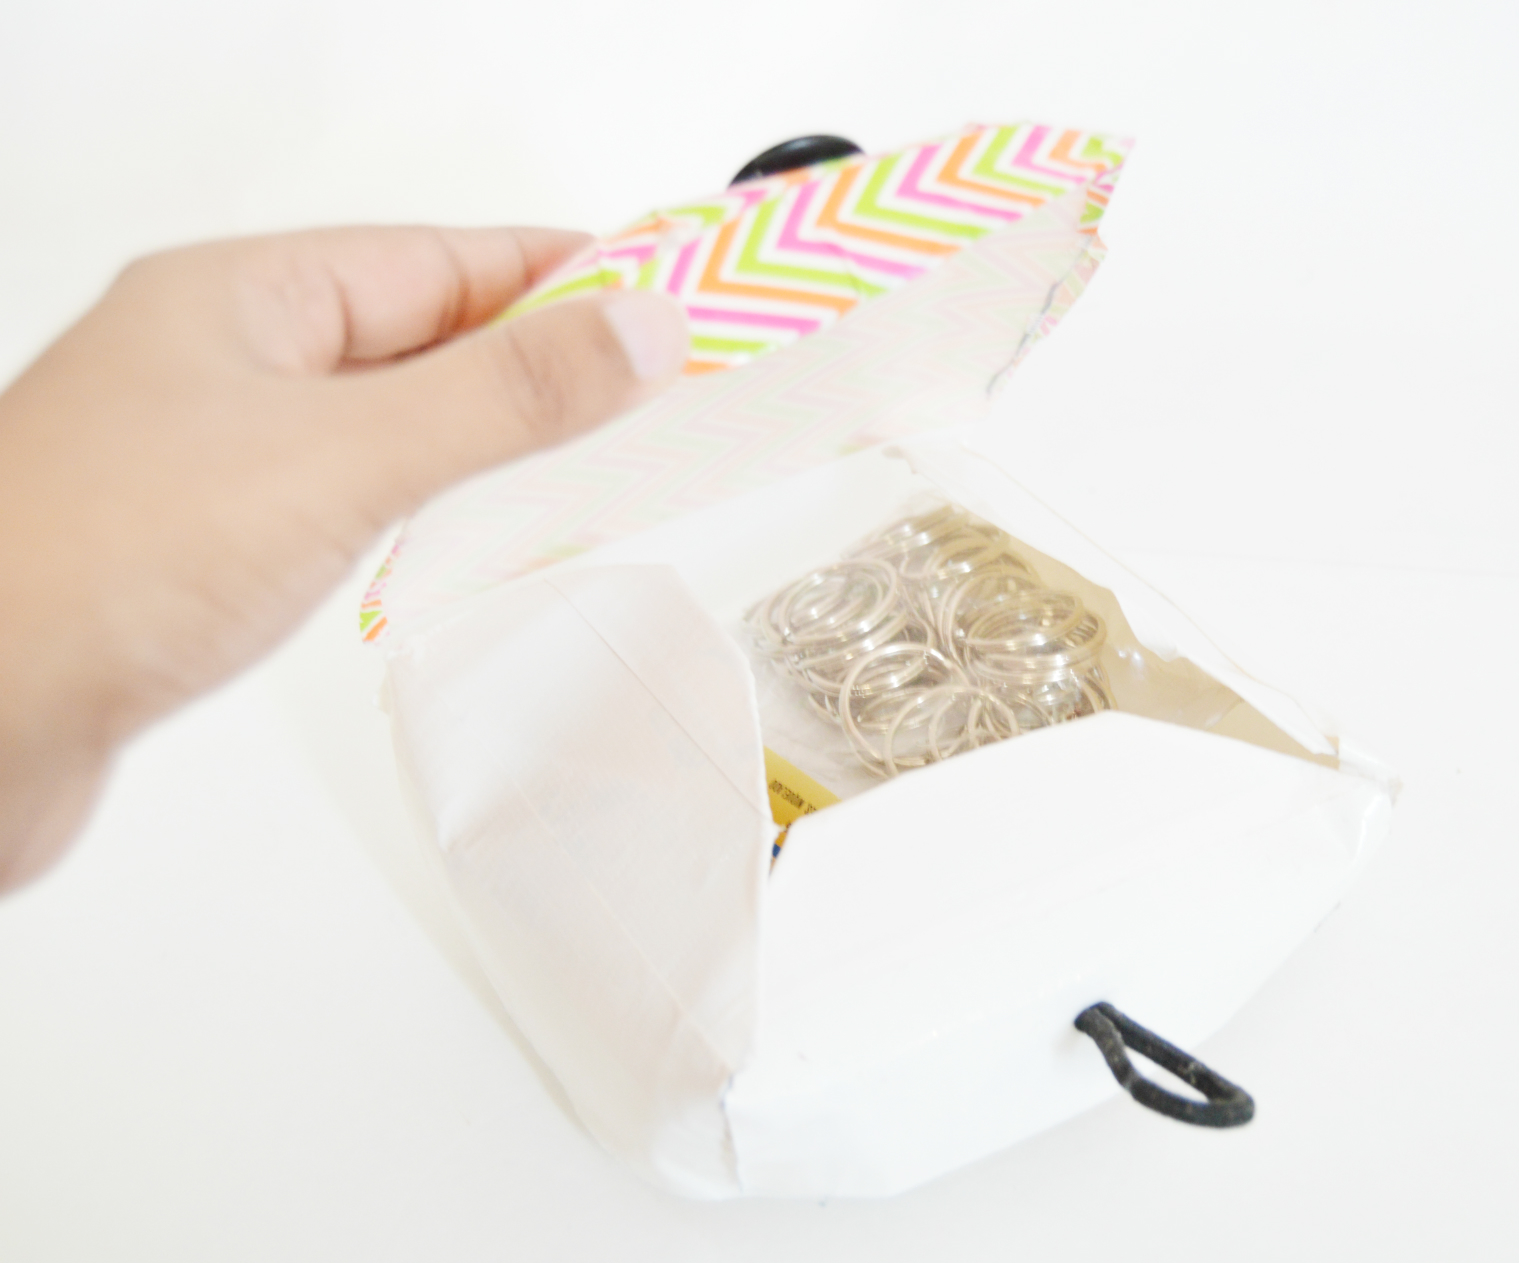
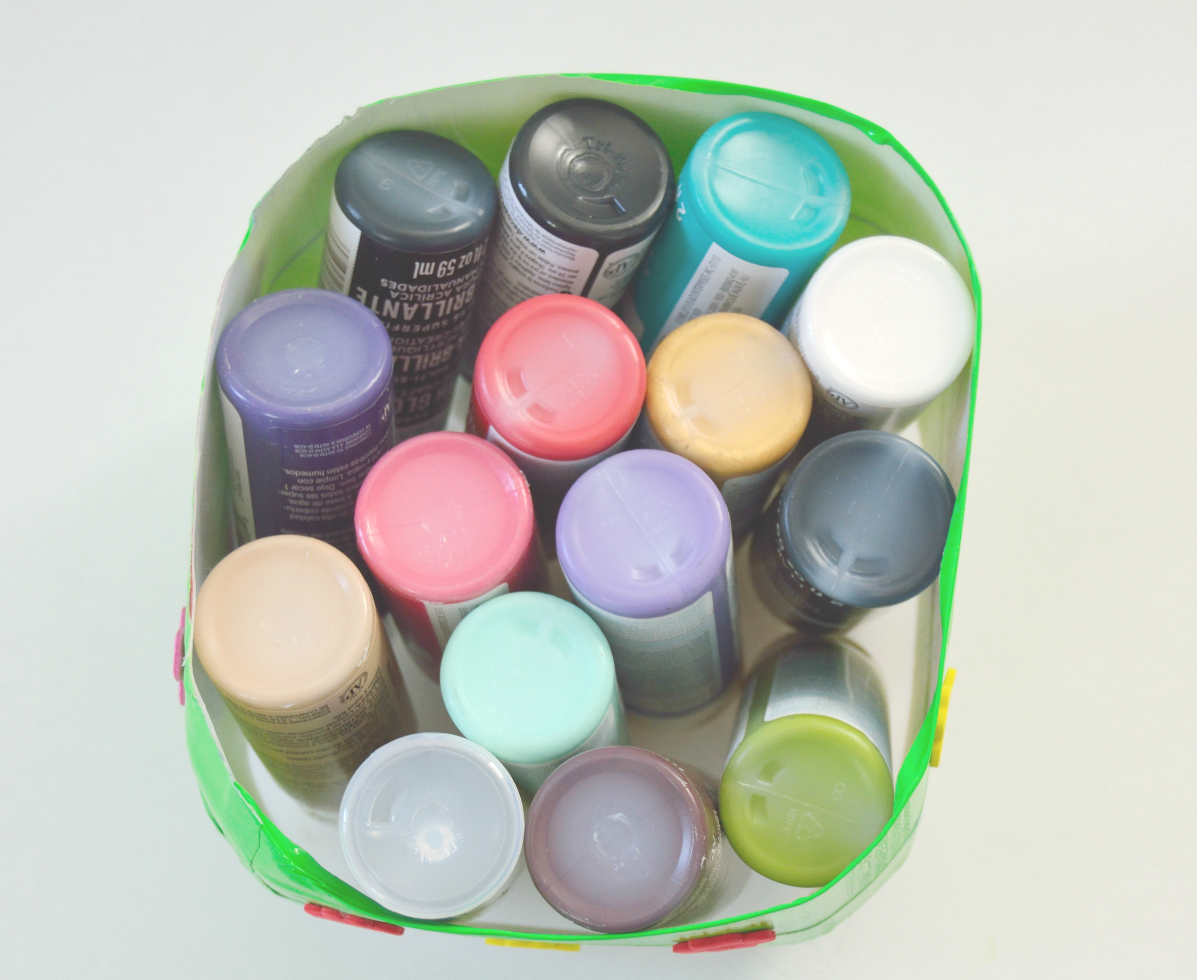
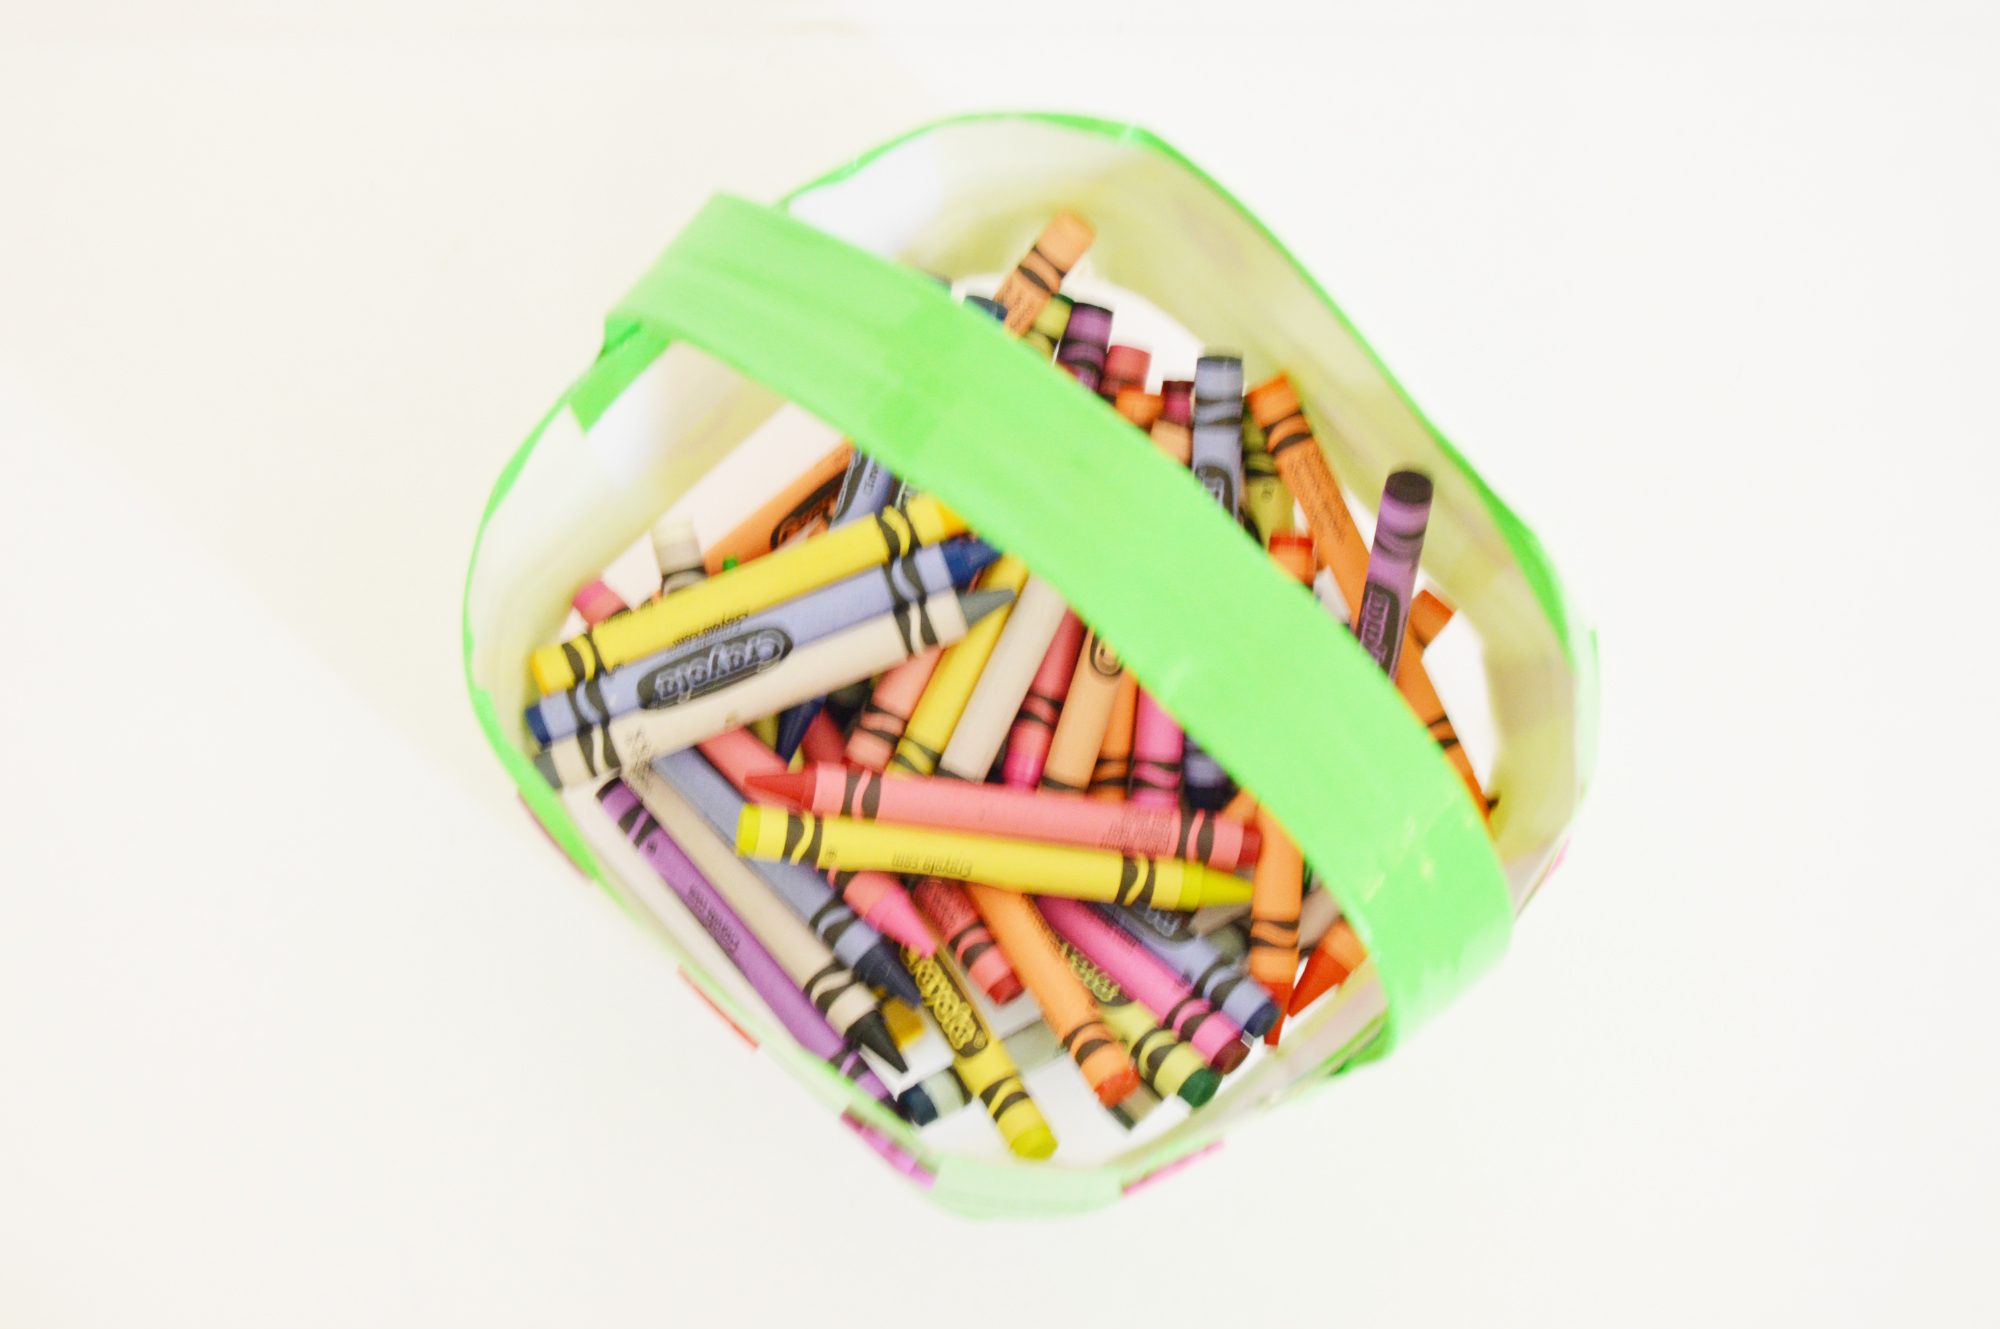
We drink milk everyday. Have you ever thought of re-using those milk jugs? Here are the two ways you can totally repurpose them.
As a box :
1) Wash and dry the milk jug.Peeling the stickers is optional because it is going to be covered in tape. If you don't want to use tape, you can peel the stickers.Here are some tips to peel the stickers from plastic.
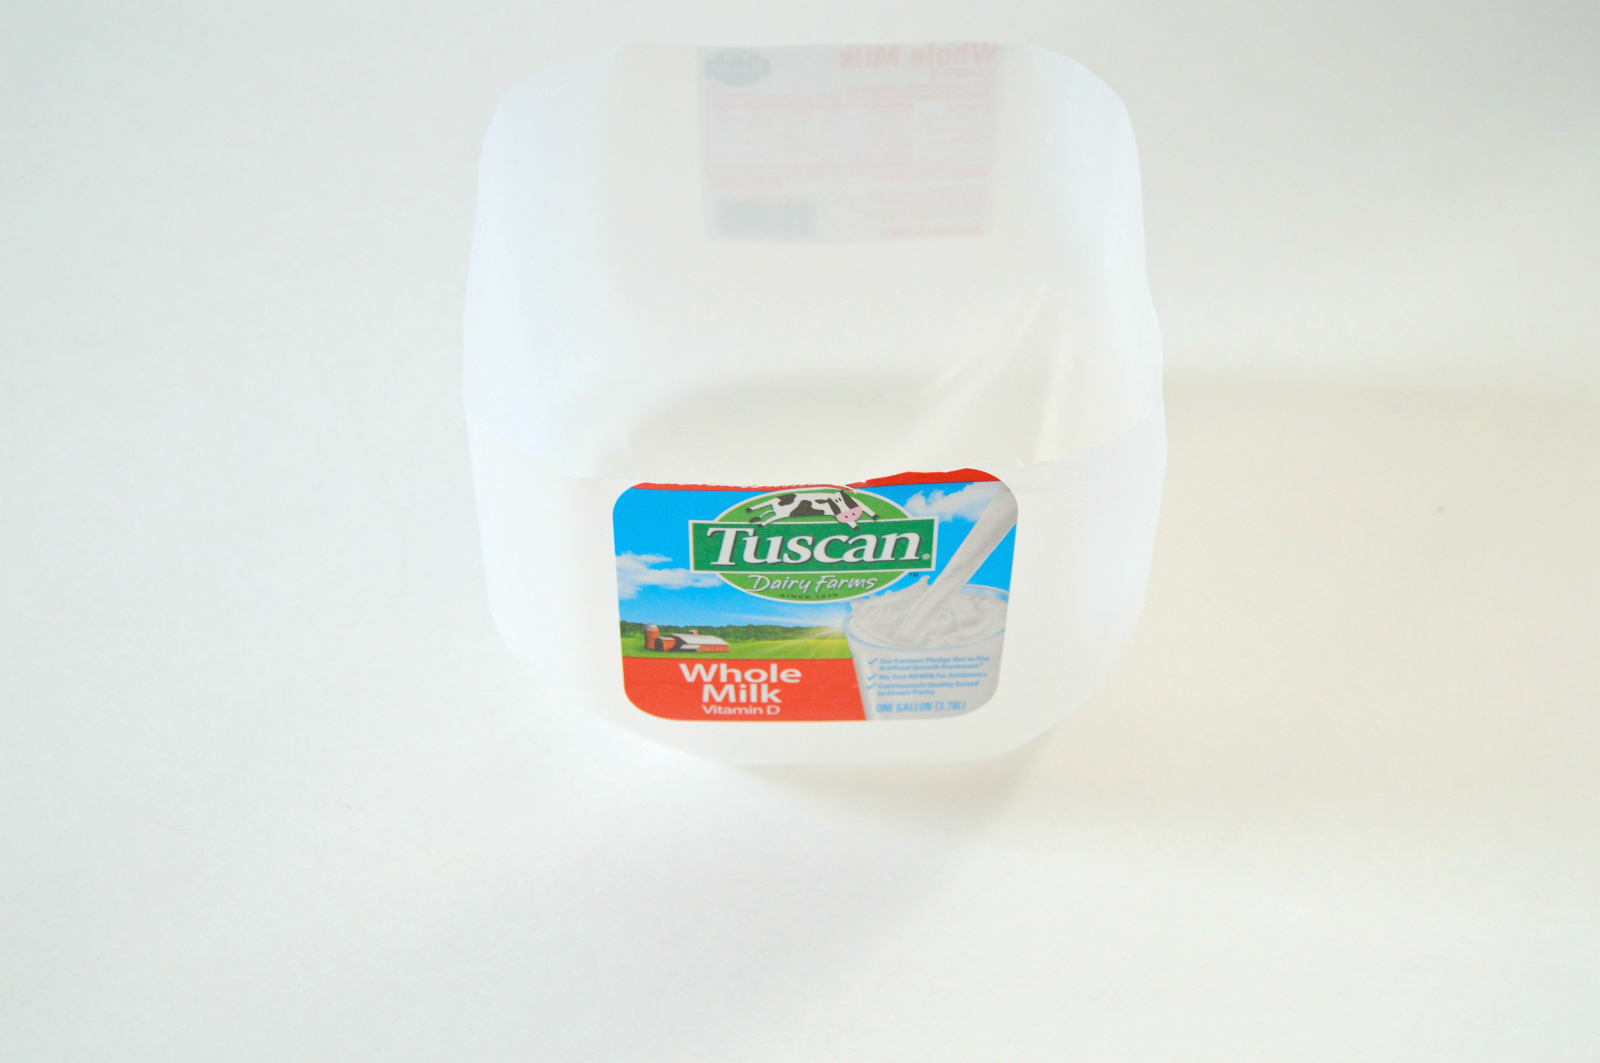
2) Mark the areas to cut as shown in the picture. Use xacto knife to cut . After cutting ,the piece should look as shown in the second picture.
3) Cover it with some duct tape for extra stability.(Optional)
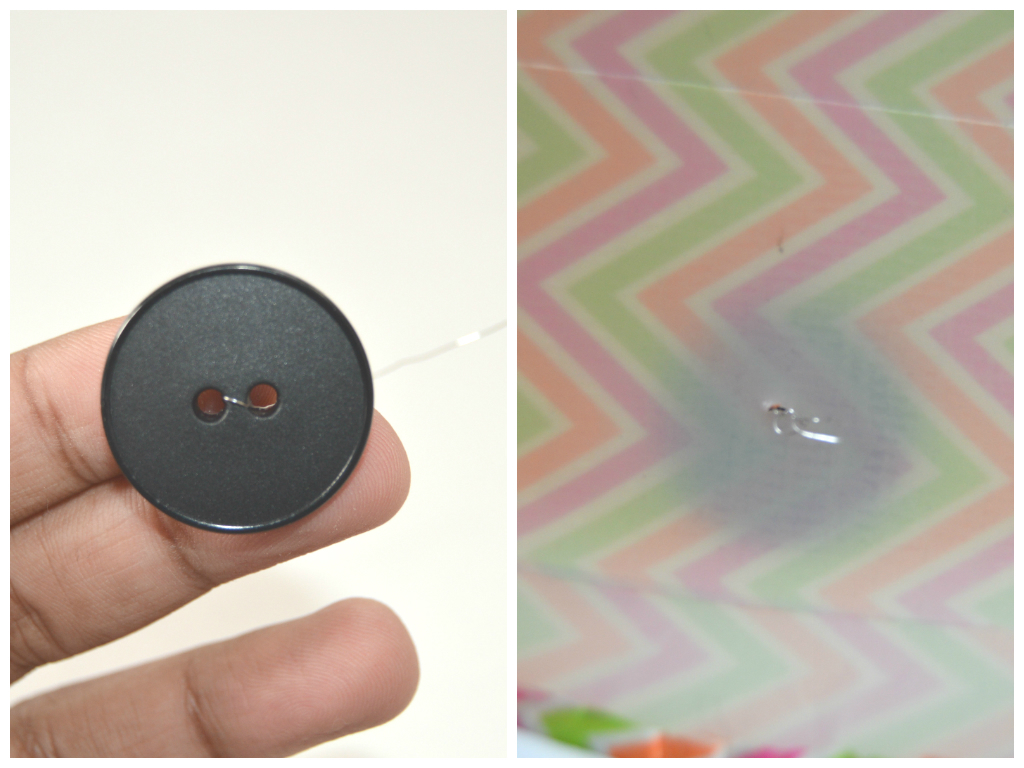
4) Poke a hole and insert a piece of wire into the button .Then pass the wire into the hole and twist it to secure it in place and tape it with a piece of duct tape.
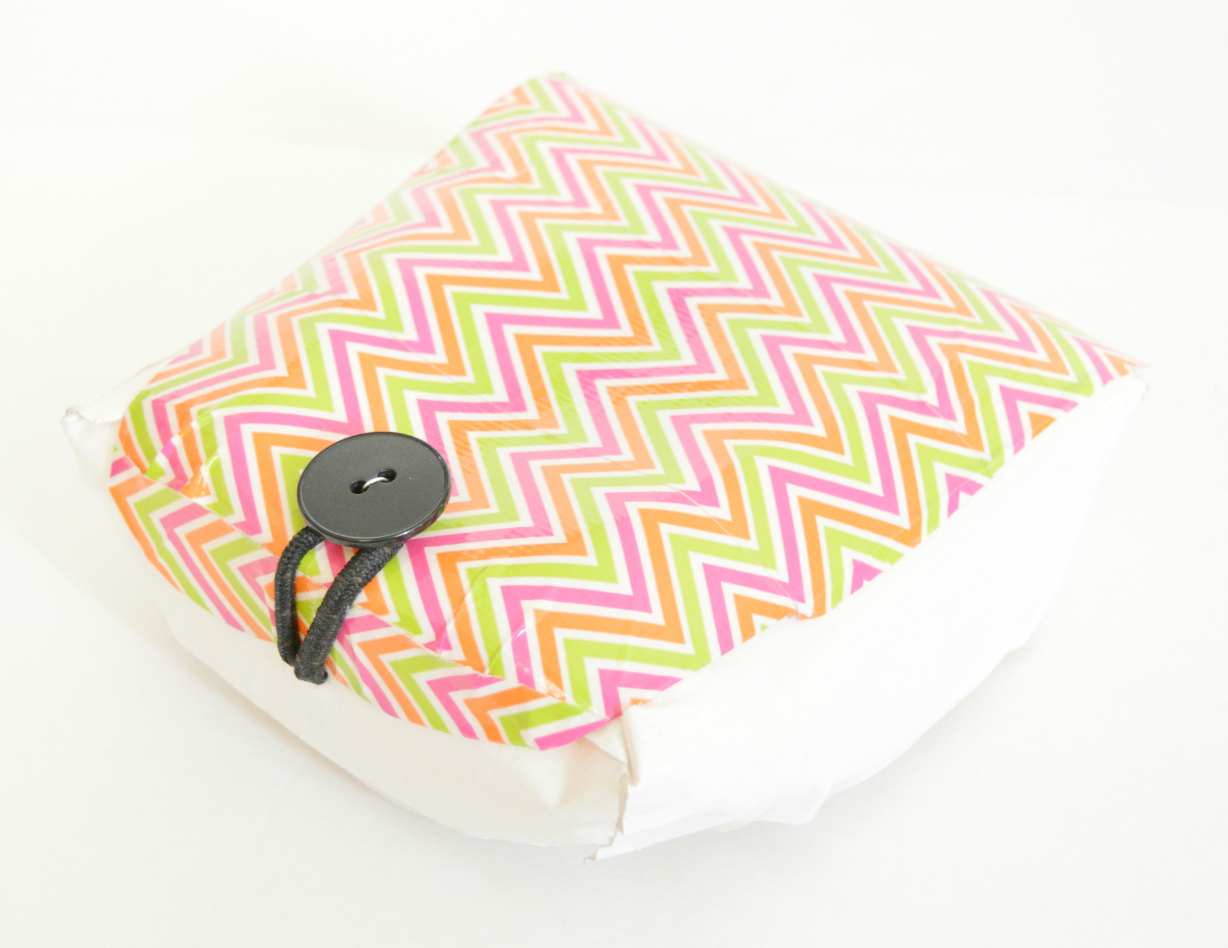
5) In same way , poke a hole for closure at the bottom.Insert the elastic and make a knot to secure it.That is it !! Use the elastic to close the box. Use the box to store supplies. It can be anything from office supplies to shaving set (Yes guys !!! I made one of these for my brother to store his shaving things.)
As a Basket :
1) Wash and dry the milk jug.Peeling the stickers is optional because it is going to be covered in tape. If you don't want to use tape, you can peel the stickers.Here are some tips to peel the stickers from plastic.
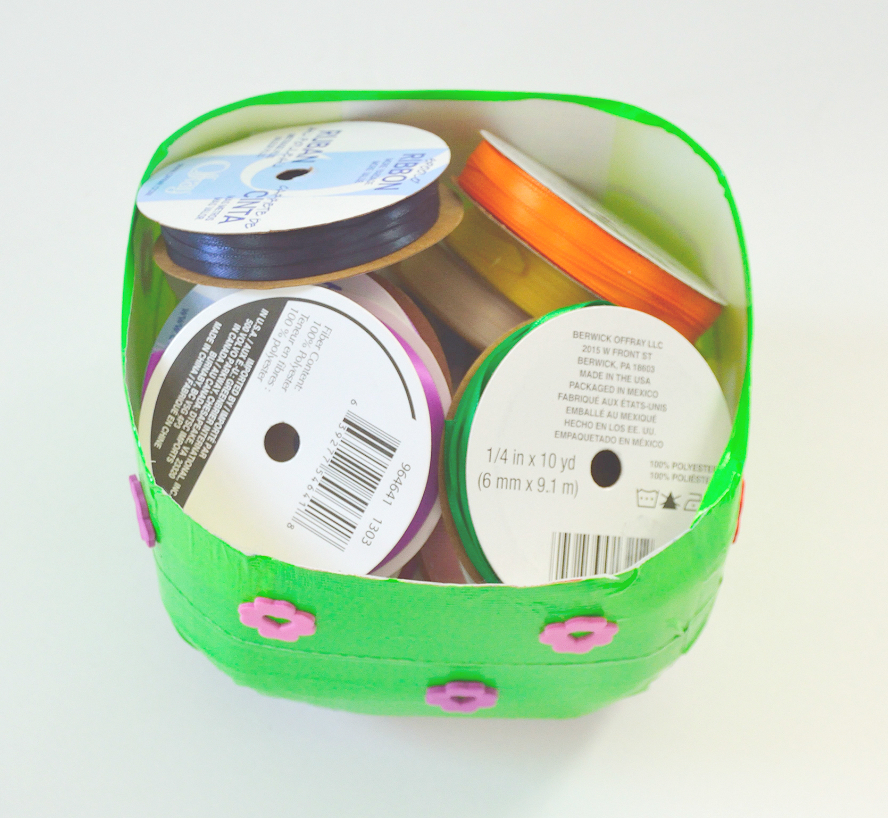
2) Cut the top portion , till the bottom of the handle and use the remaining as a basket to store supplies.
3) Cover it with tape and decorate it with stickers (Optional).
4) To add a handle, Cut a long piece of strap from the remaining portion which we cut in step 2 and cover it with duct tape and attach it to the basket using stapler.
I was using this small basket for storing my paints.Now I shifted to the cardboard basket as my paint collection grew. You can totally use this to store craft supplies like me or for storing your kids LEGOs or any little things that need to be organized in your drawer.
Pringles,nut & Salt Containers As Storage Containers or Brush/pen Holders
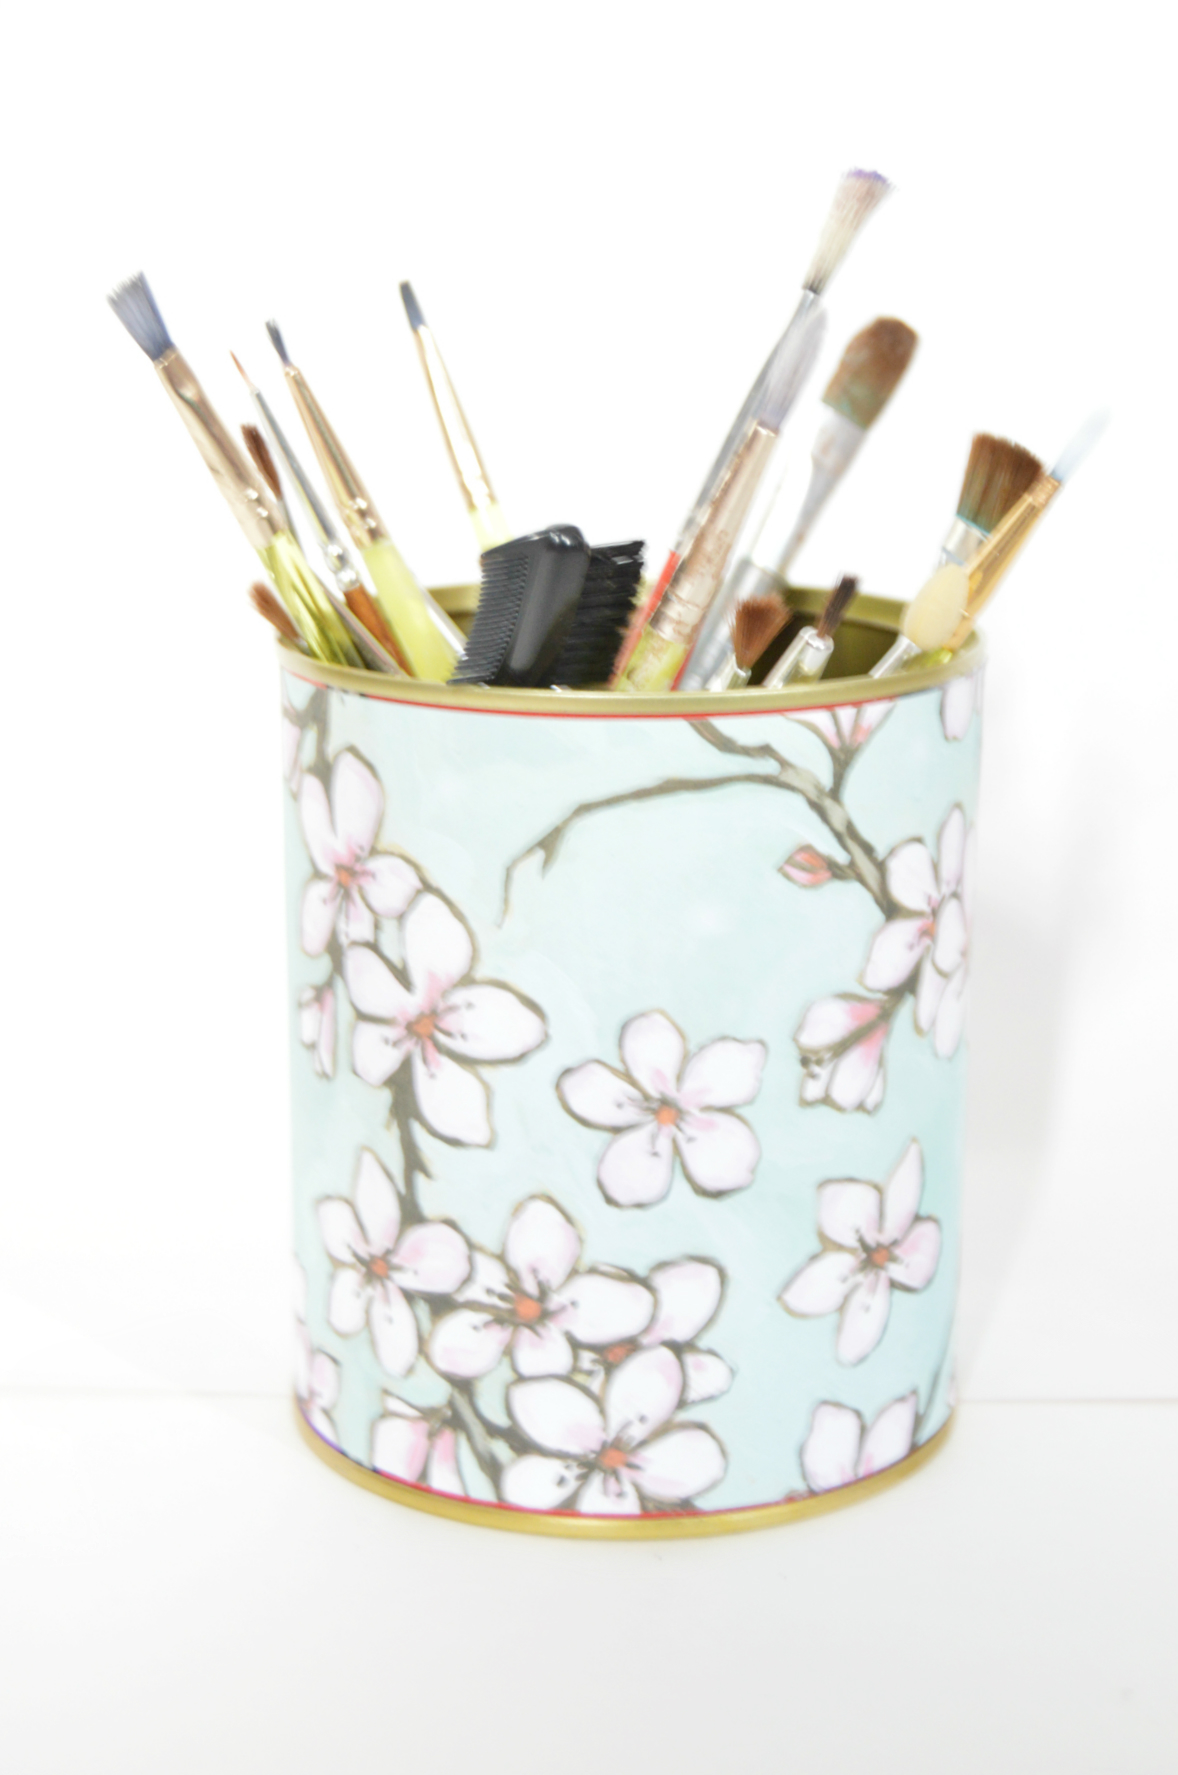
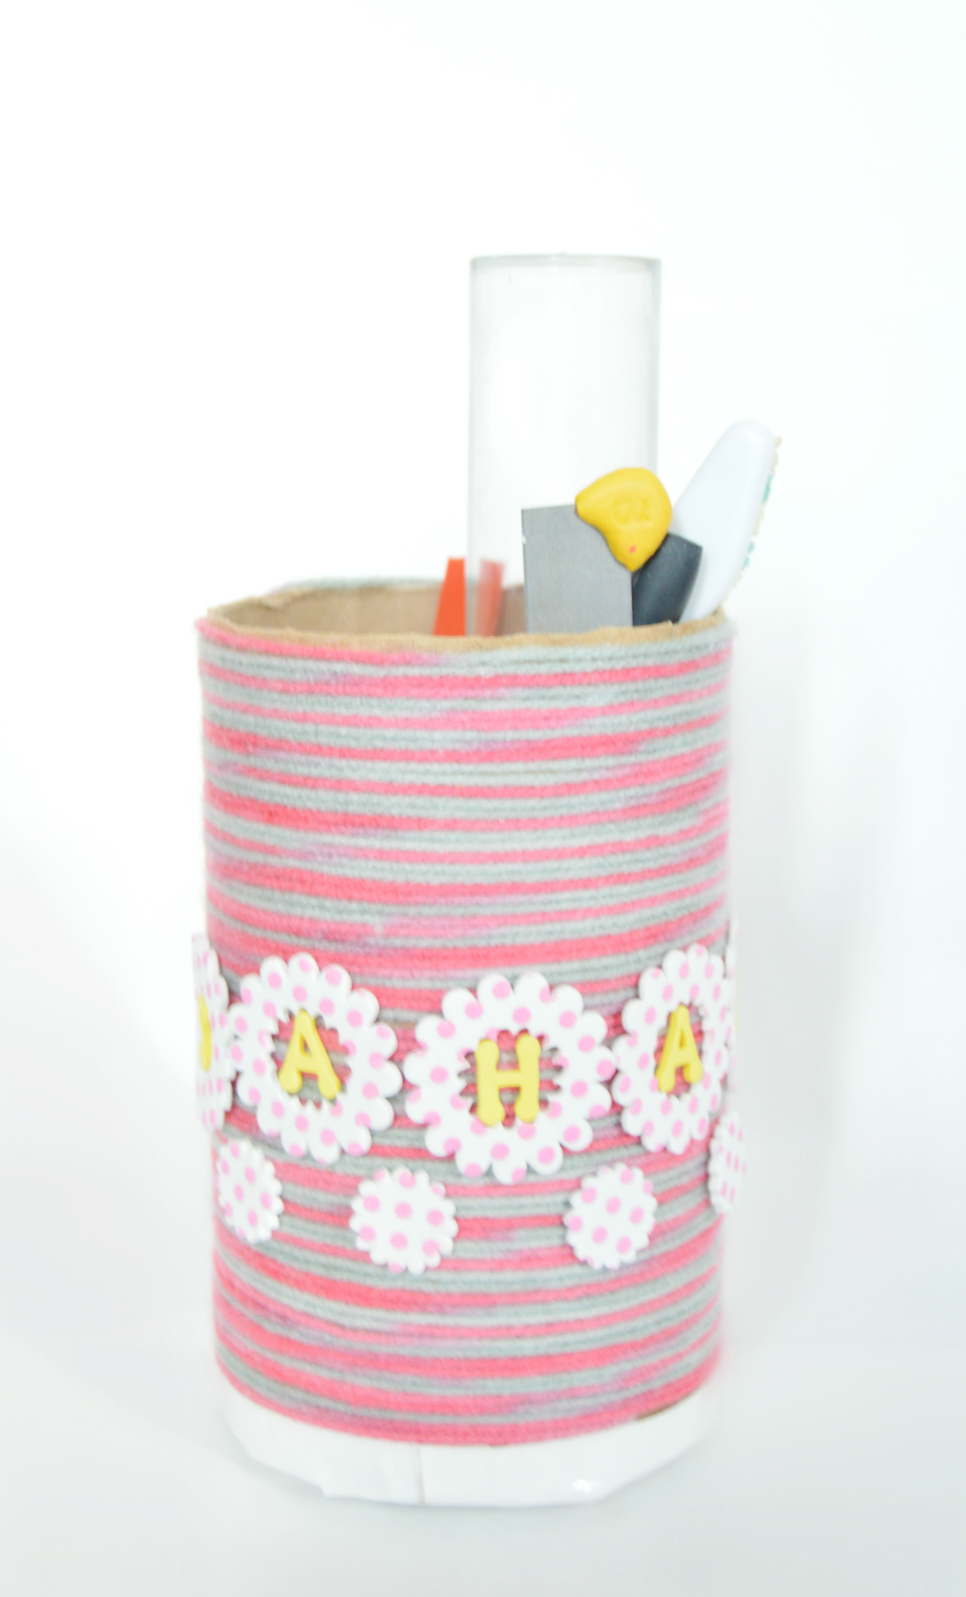
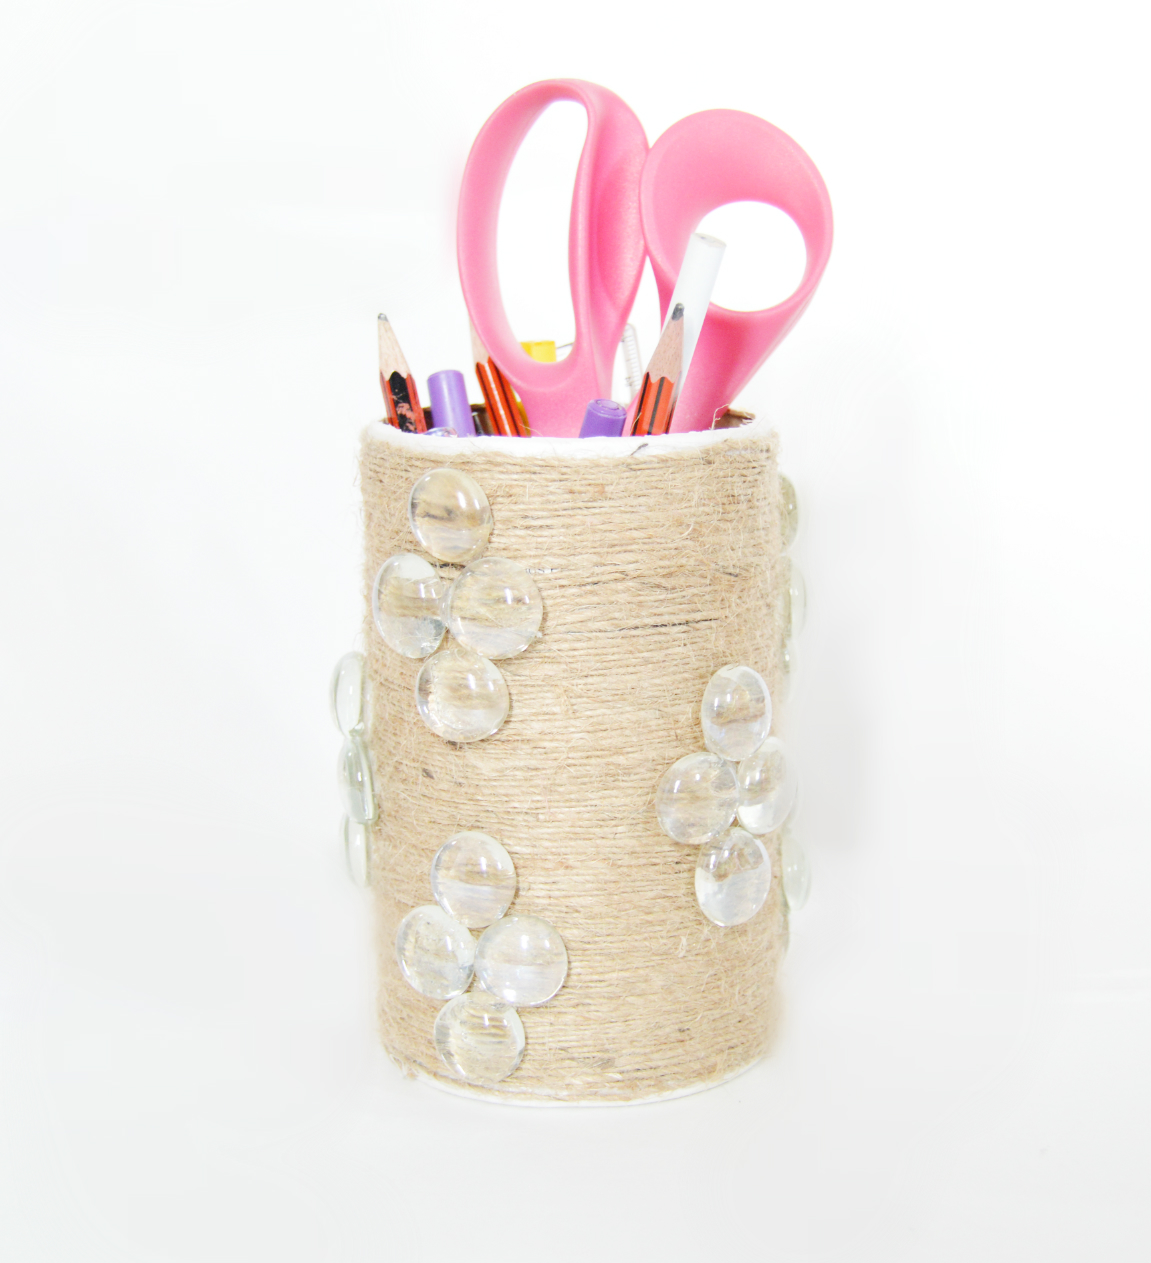
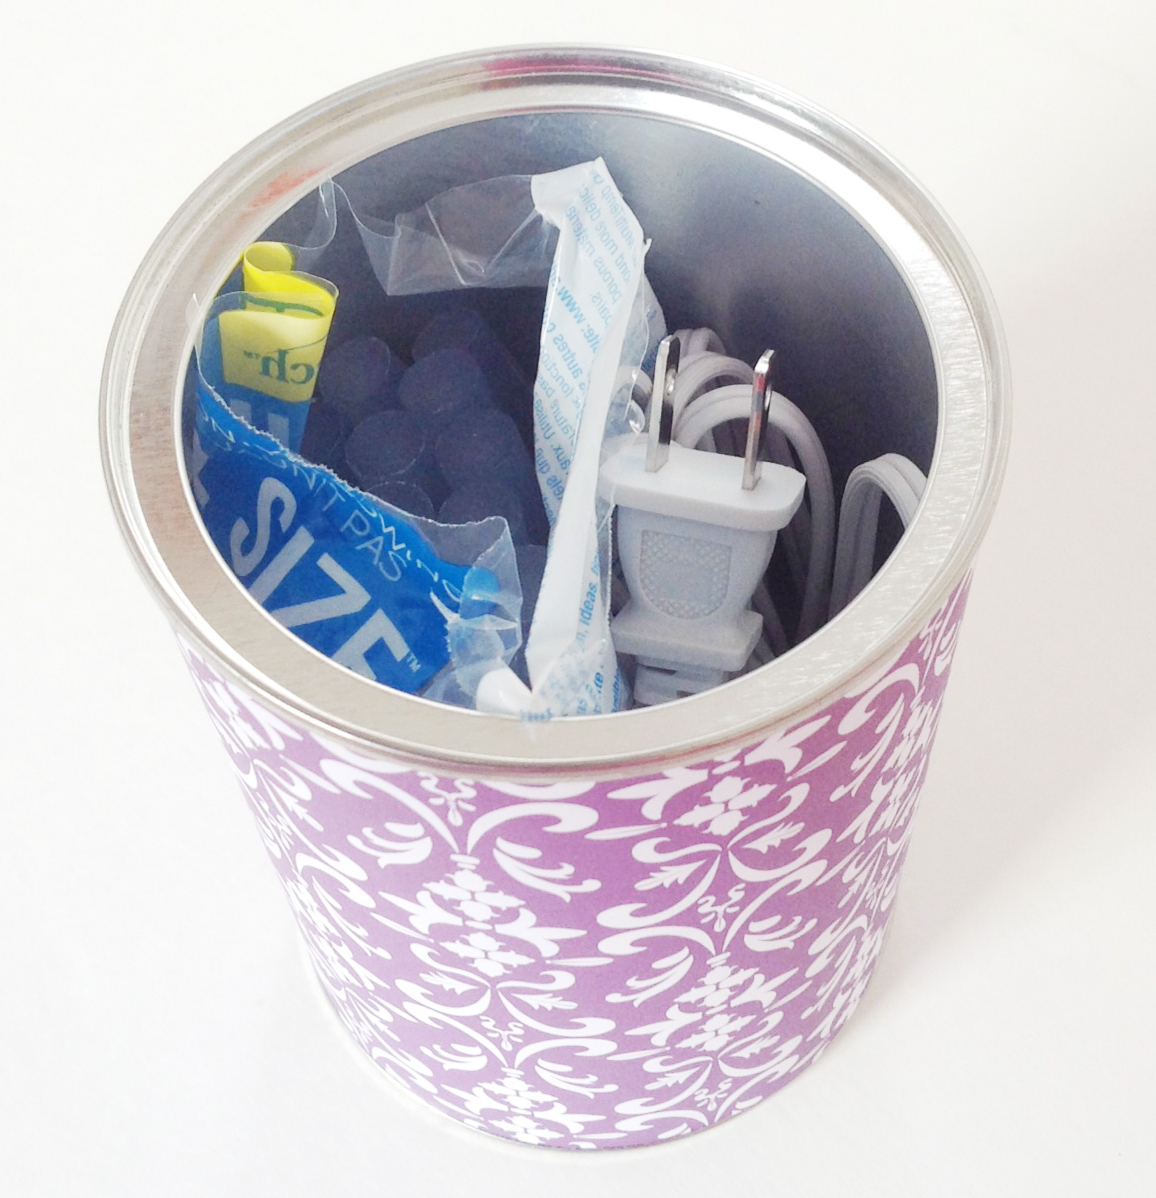
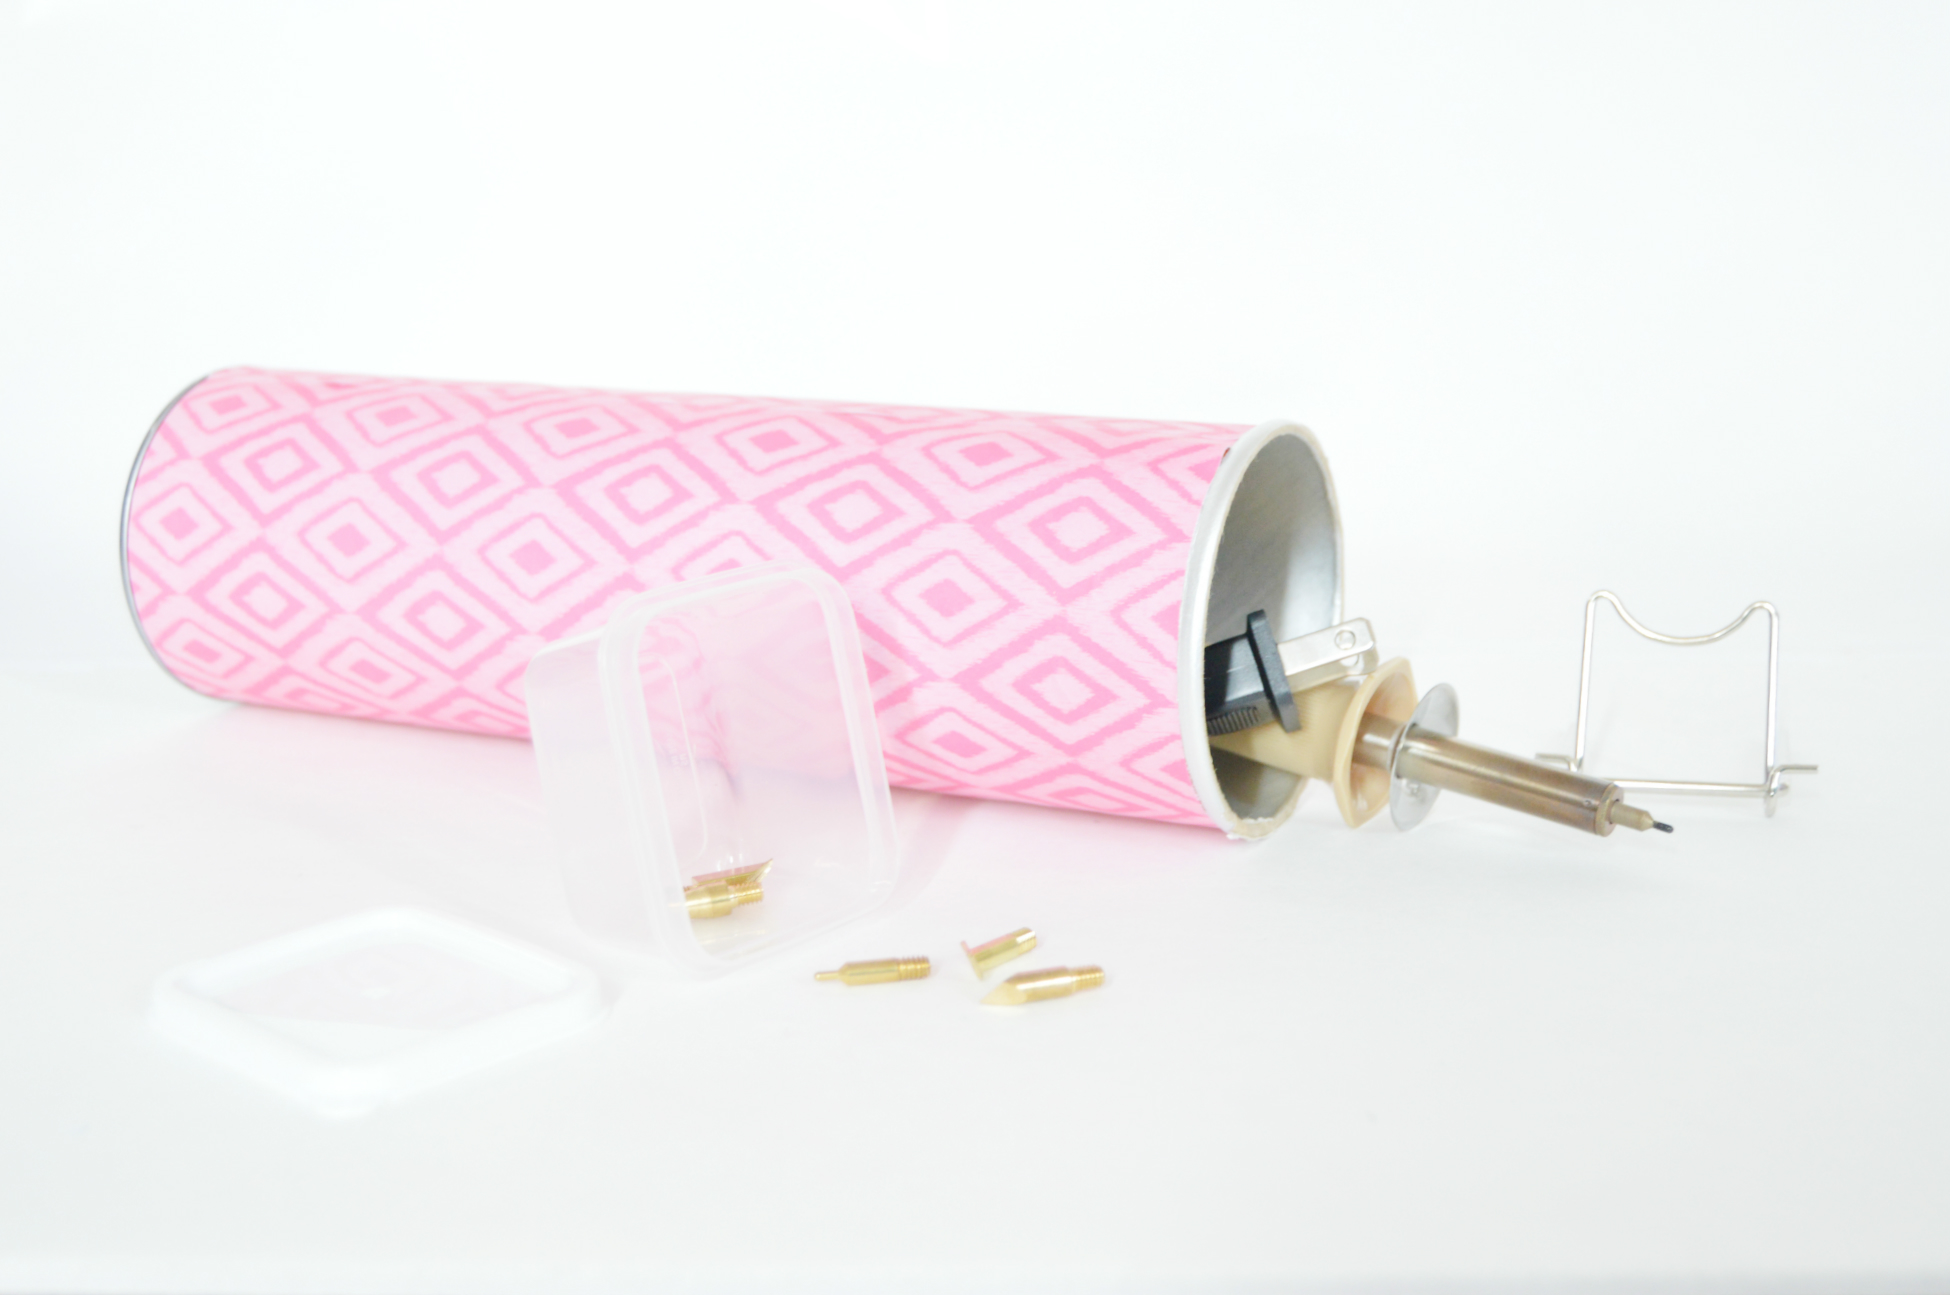
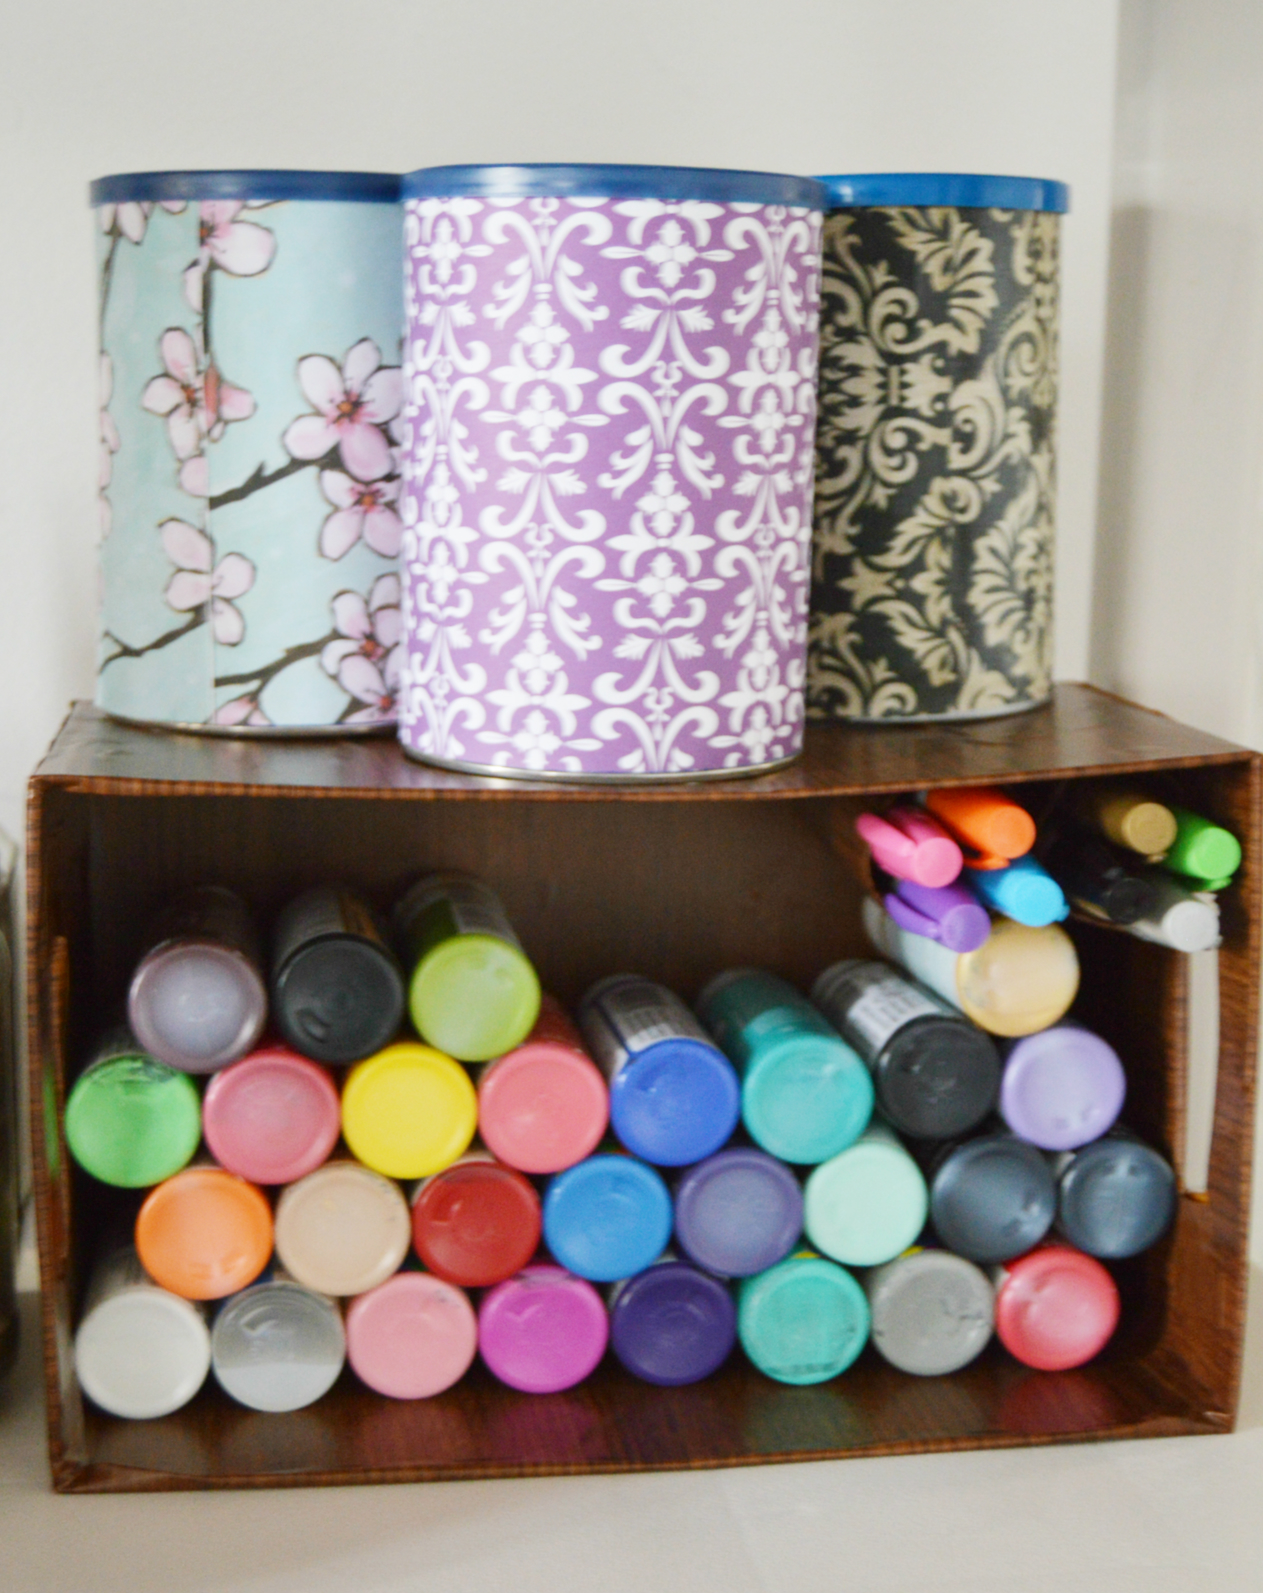
All of the above mentioned containers can be used hold many many supplies and keep it organized. You can use the lid to store the items safe and secure. For supplies such as brushes, scissors ,pencils ,rollers,I prefer more of holders than containers. So, I cut the top of the salt containers and use them as holders.Here are few ways on how you can jazz up these containers to look neat .
Covering with scrapbook paper :
1) Cut a design scrap book paper to fit the container.
2) Apply mod podge or glue to paste the paper and allow it to dry.
3) Apply another coat of mod podge above the paper if you want gloss finish.
Covering with twine :
1) Use a brush and cover the whole surface with glue .
2) Use twine or wool and cover the container by winding around until it is fully covered.Apply glue part by part to prevent it from drying.
3) Decorate it with marbles or foam stickers.
I use the closed containers for storing glue gun sticks & cable , marbles and stones , stickers, stamps,etc. I use the pringles containers for storing my wood burning tool along with small box to store different nibs. These small boxes which are 10 for $1 are very useful for organizing rhinestones ,beads ,jewelry findings, etc. I use the holders made from salt containers , one for storing my clay tools and another one for pencils ,pens and other miscellaneous items.You can also see how I saved space by storing these containers on the top of the small basket I made in step 1.
Pickle Jars As Storage Containers
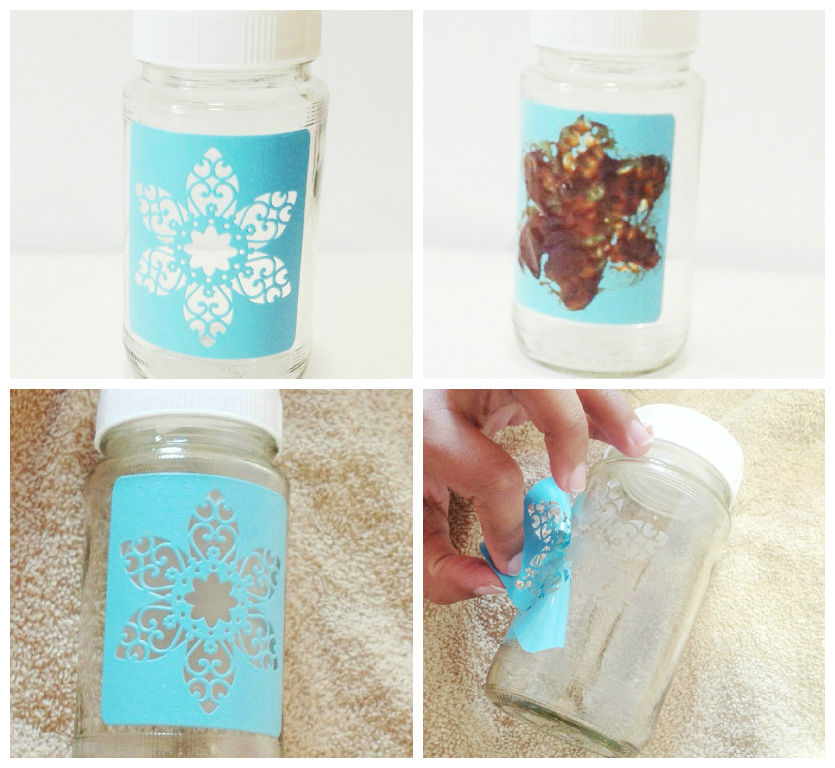
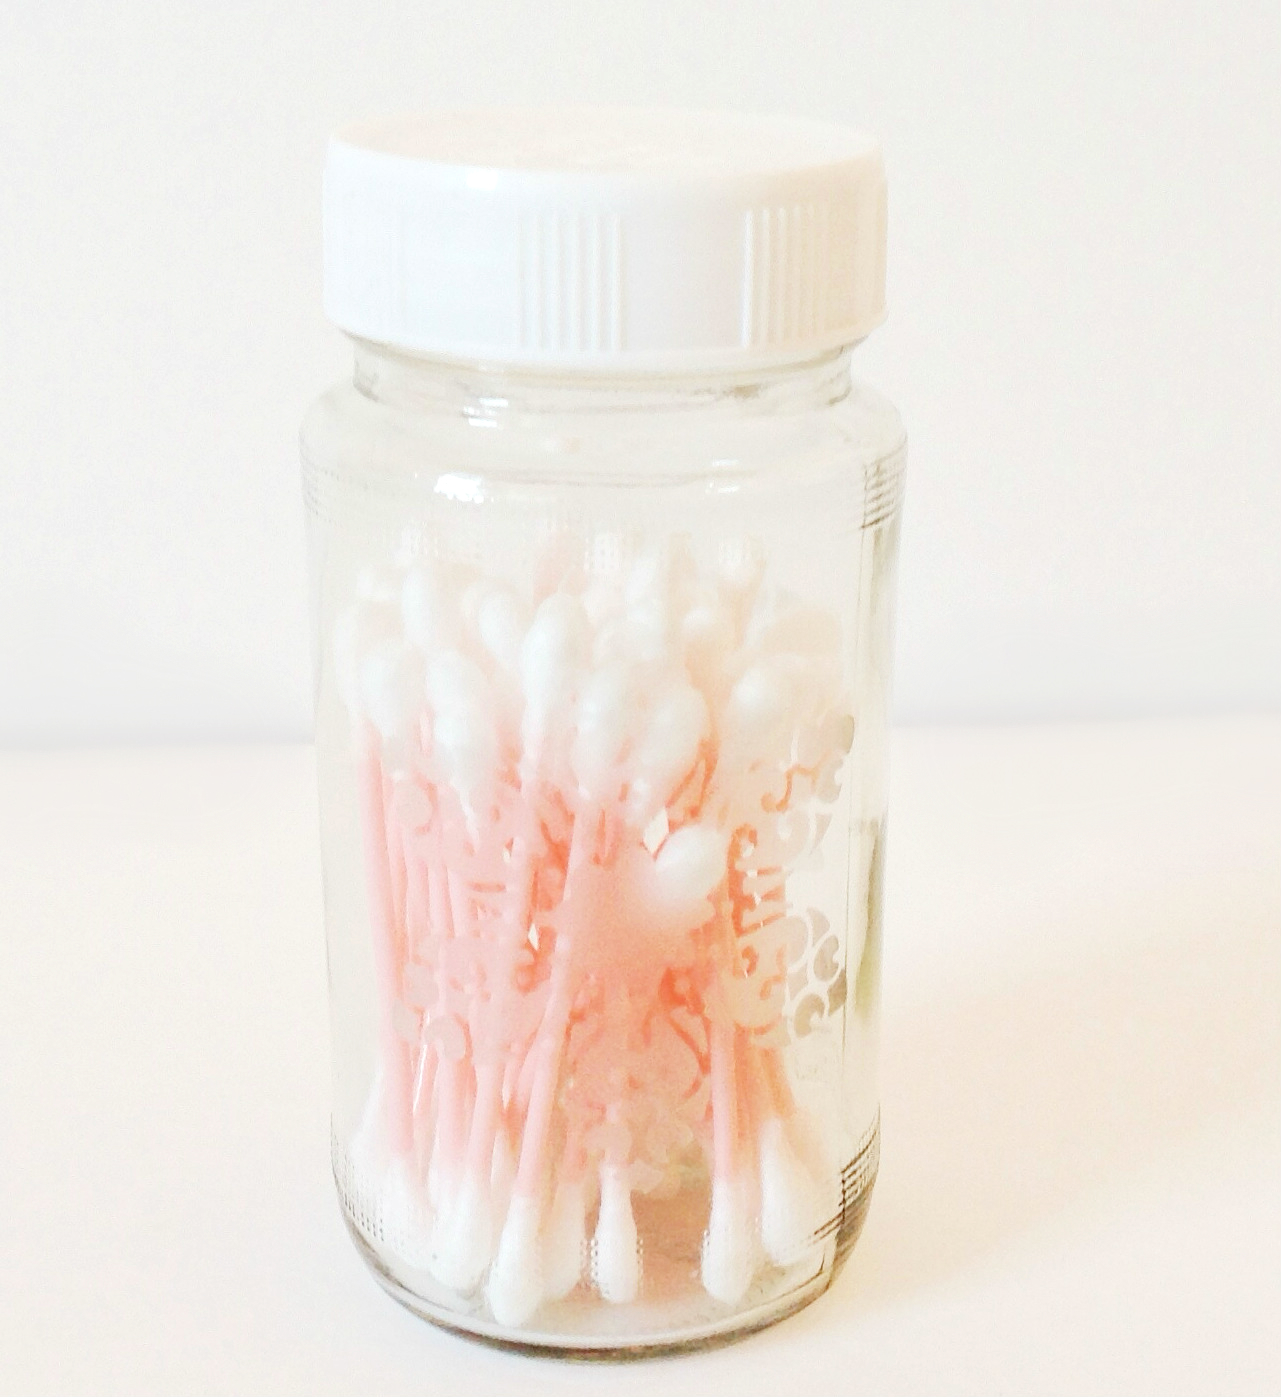
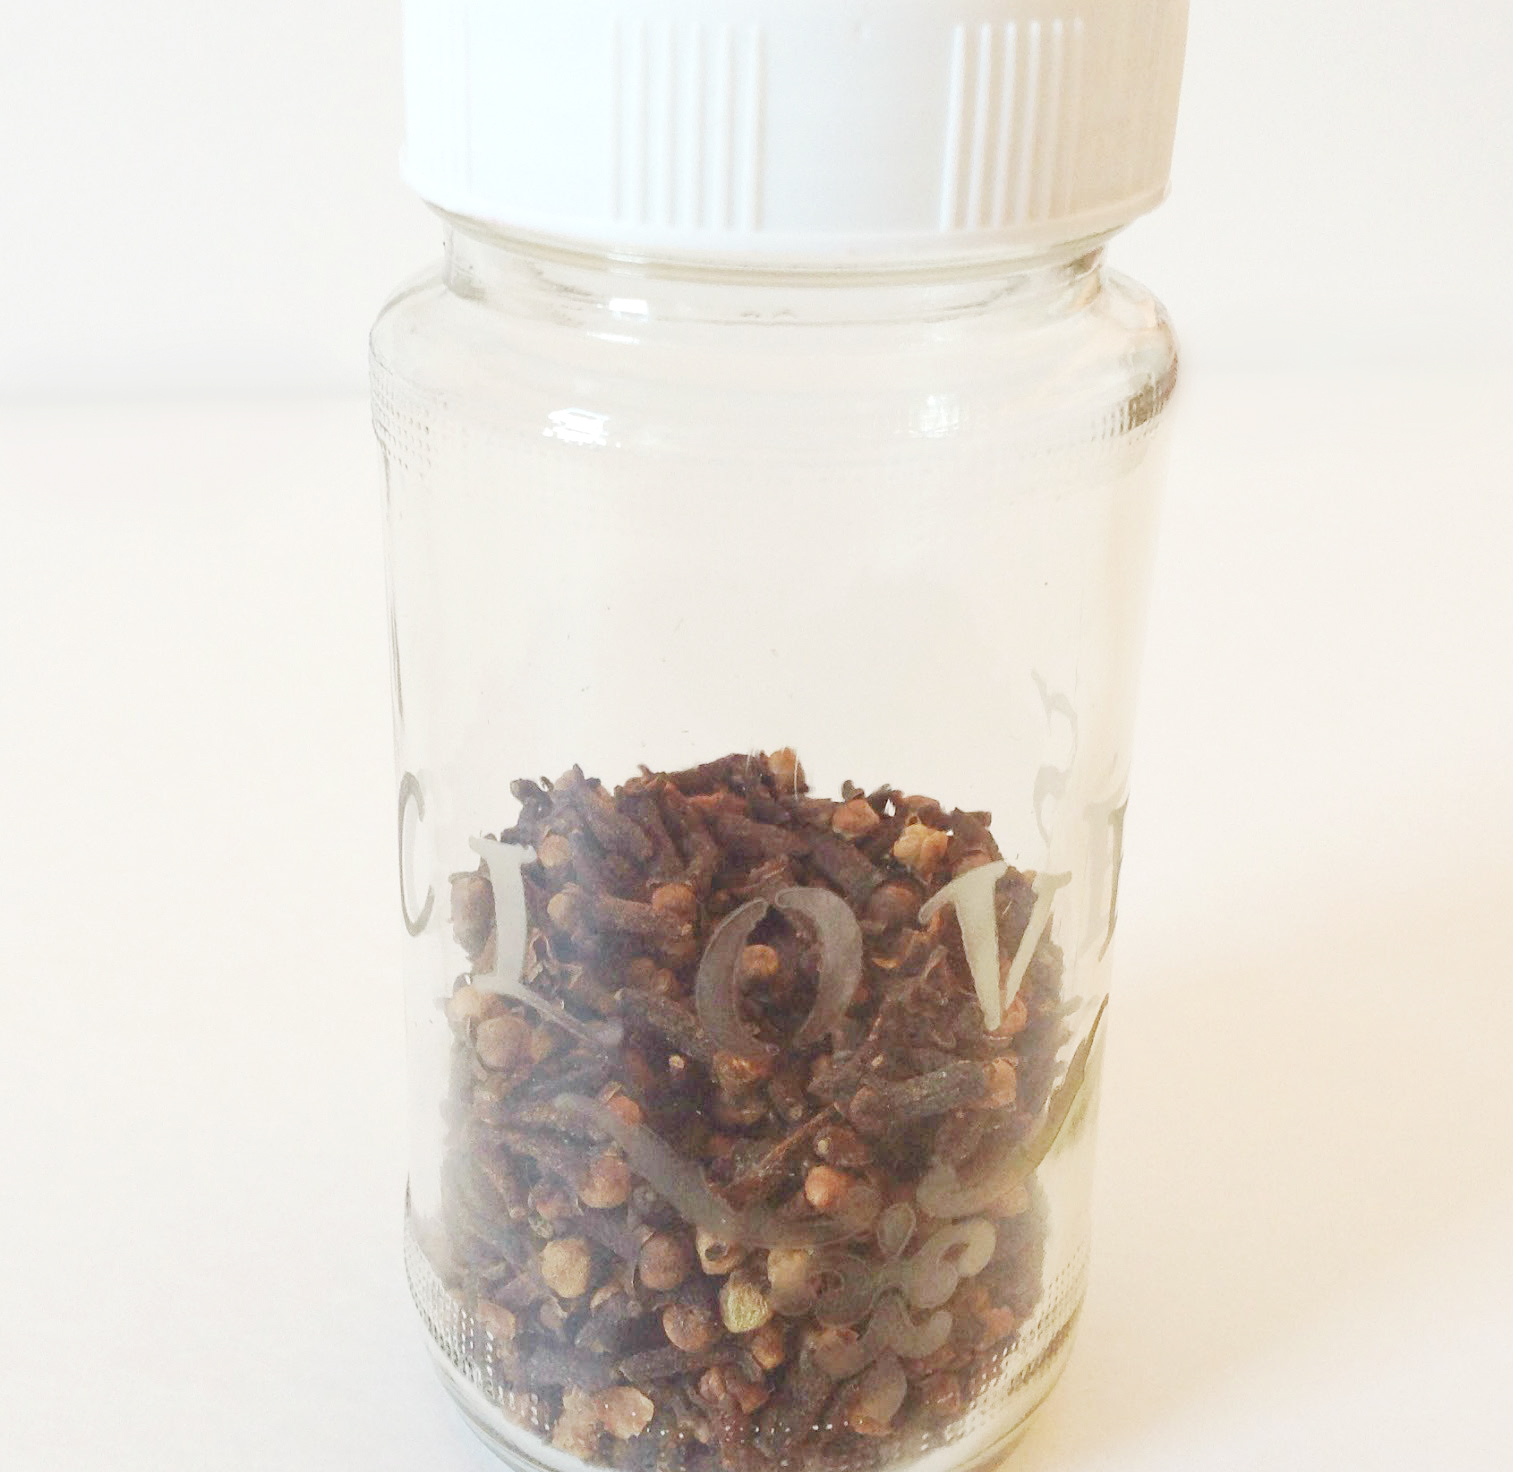
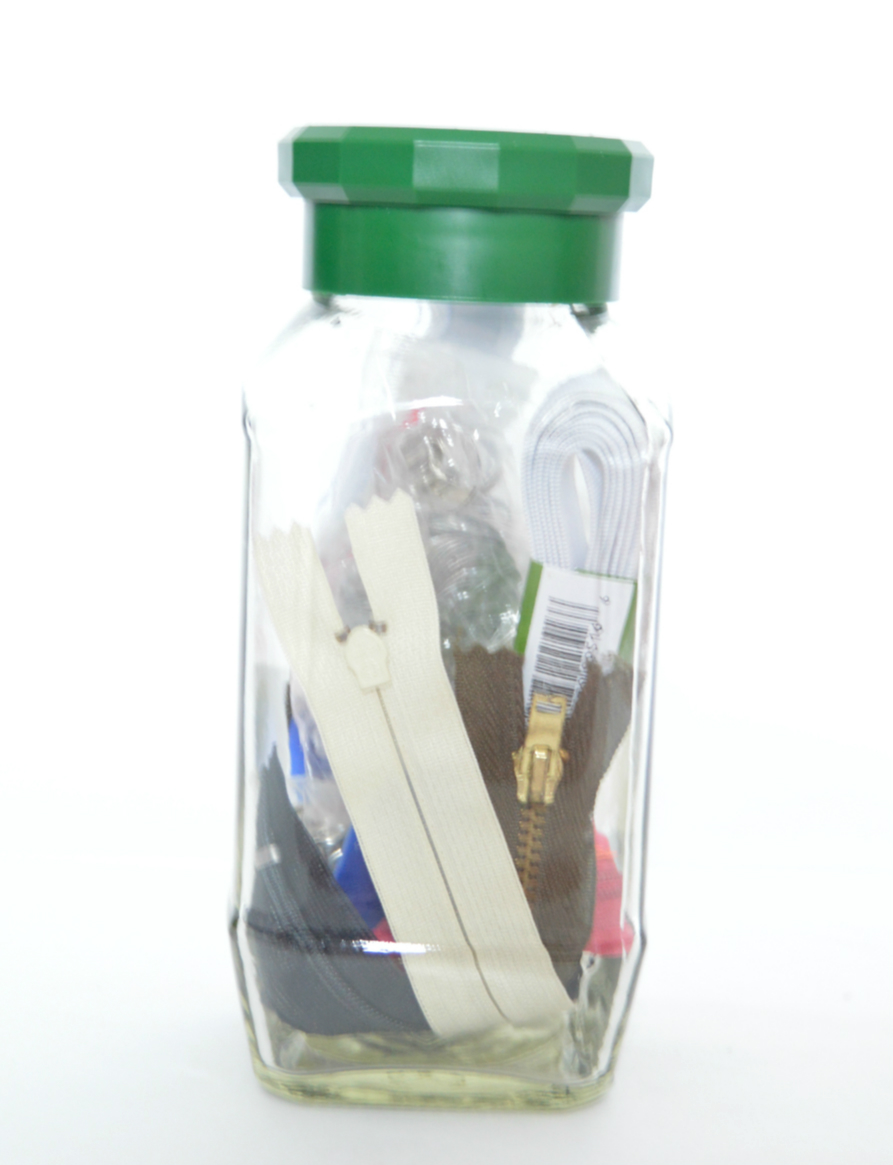
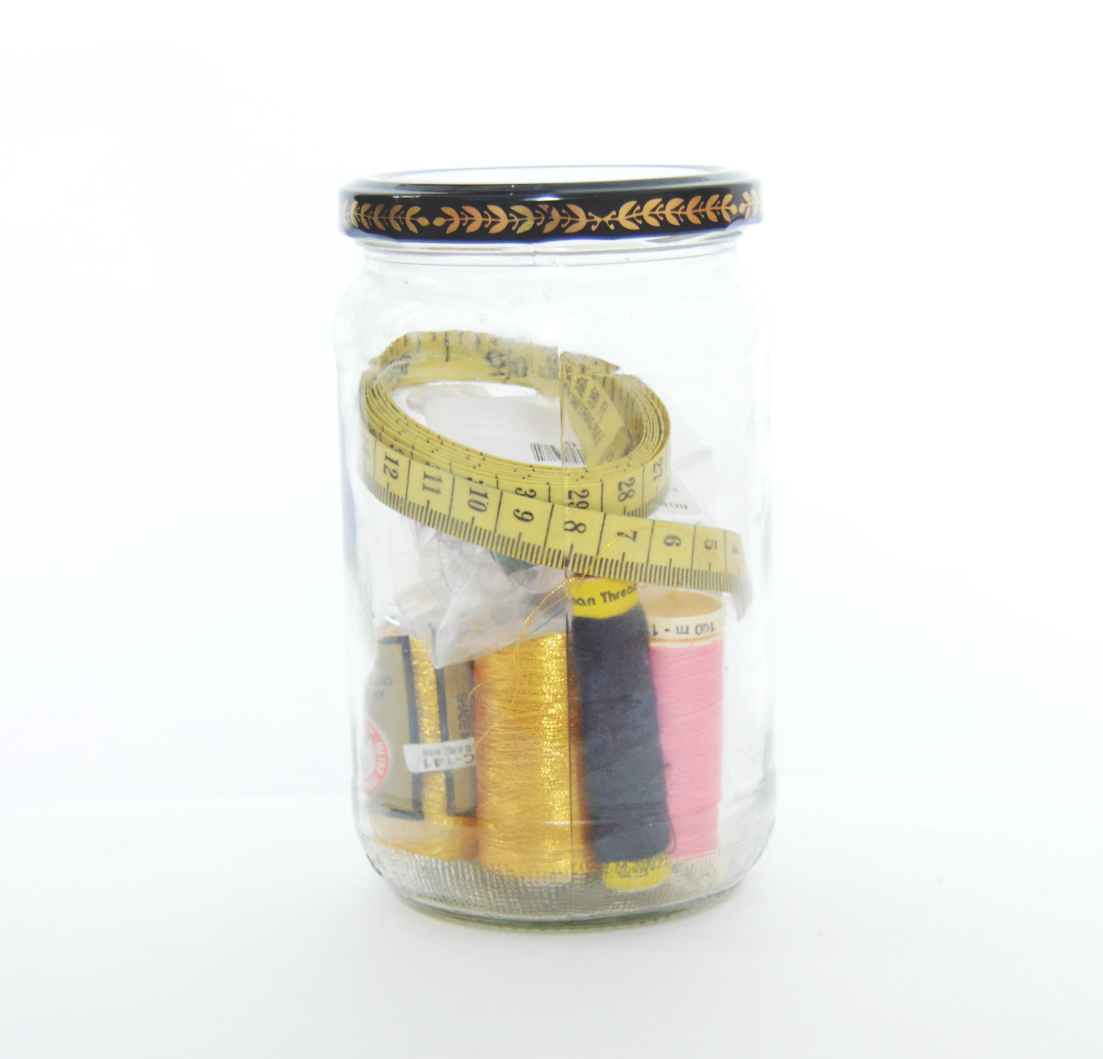
Are you throwing away those pickle jars ??Think for a moment before doing it the next time.I prefer these glass containers for the items which I wanted to show through .Like my sewing supplies,zippers,trims,etc.Because it is easy in a way that when I wanted to see whether I have a particular color thread ,I don't want to dig through the container .You can also use it to store spices ,ear buds or any other items which you wish to be in a glass container.You can also use these jars to give edible gifts during holiday season. But who wants a plain glass jar to get as a gift? So here is easy and simple way to spruce up the glass jars.Yes!! It is called glass etching.Here is how to do it.
1) Select a adhesive stencil design of your choice.Peel the stickers and wipe the area to be etched with rubbing alcohol using a cotton ball.
2) Place the stencil and apply the etching cream generously using dabbing motion to cover all the areas.
3) Leave it as such for 15 to 20 mins( as per manufacturer's instructions).
4) Wash it in the running water and wipe the area with a towel.
5) Remove the adhesive stencil and be amazed to see your etched design.
You can get creative and do a lot of variations in these such as etching the words (refer the picture-Cloves) or etching a monogram if you are filling the jars with some edible gifts.These can be done using adhesive alphabet stencils.
Egg Cartons, Chocolate Boxes As Jewelry or Office Supplies Organizer
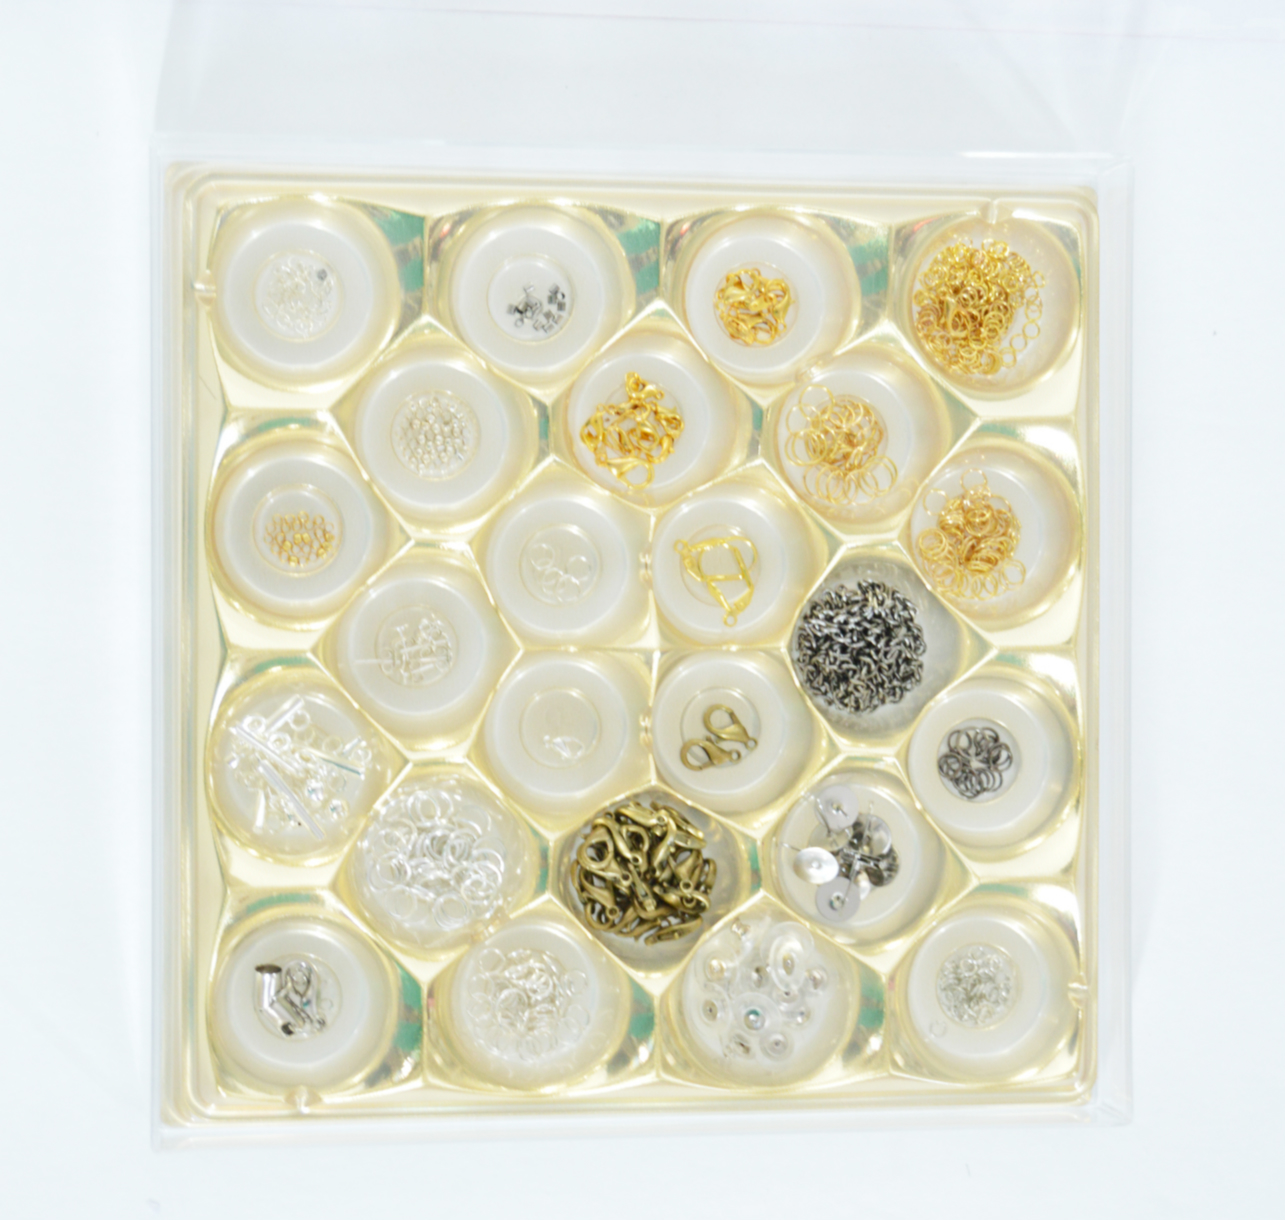
Do you know that egg cartons can be used as organizer for tiny things in your office supplies or in your craft room ? I normally don't take eggs at home so I have showed you how I use Ferrero Rocher chocolate box as organizer for my jewelry findings.The box itself looks gorgeous so I used them as such. If you are using egg carton and want some makeover , you can paint them with acrylic paints and use it for organizer.
If you feel the full size of carton is too much , you can cut them into the desired size and line them in your drawers with foam tape for tiny things like thumb tacks, gem clips ,etc
Coffee Stirrers As Ribbon Holders
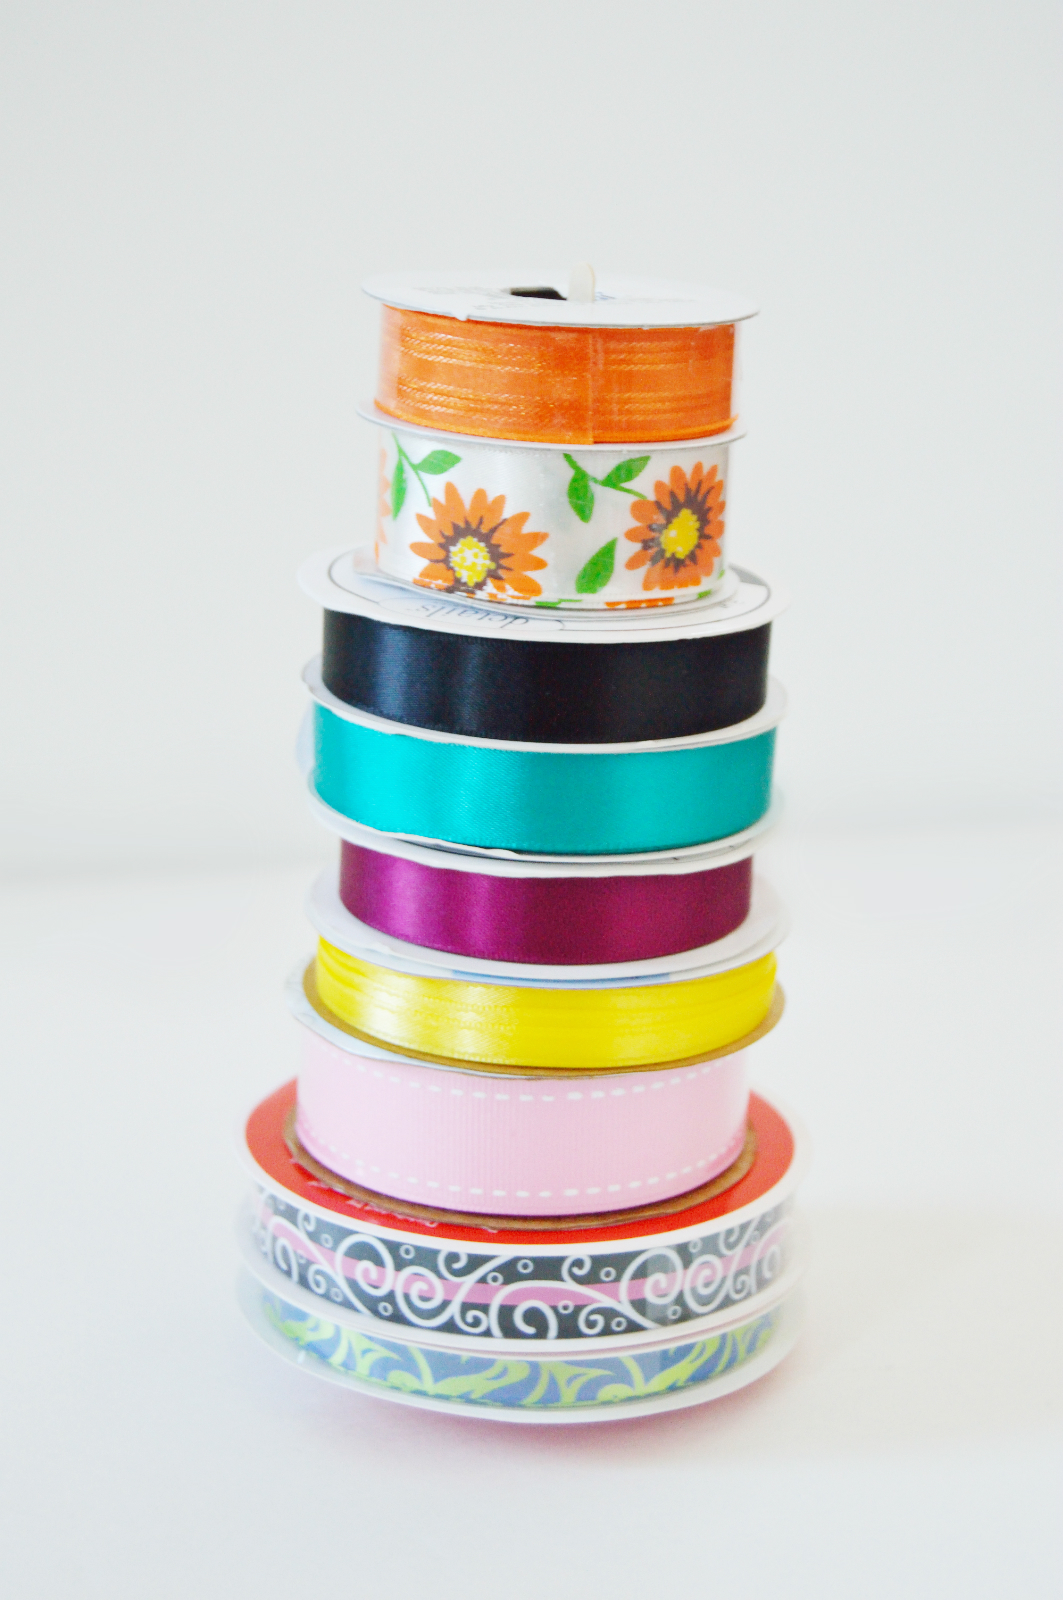
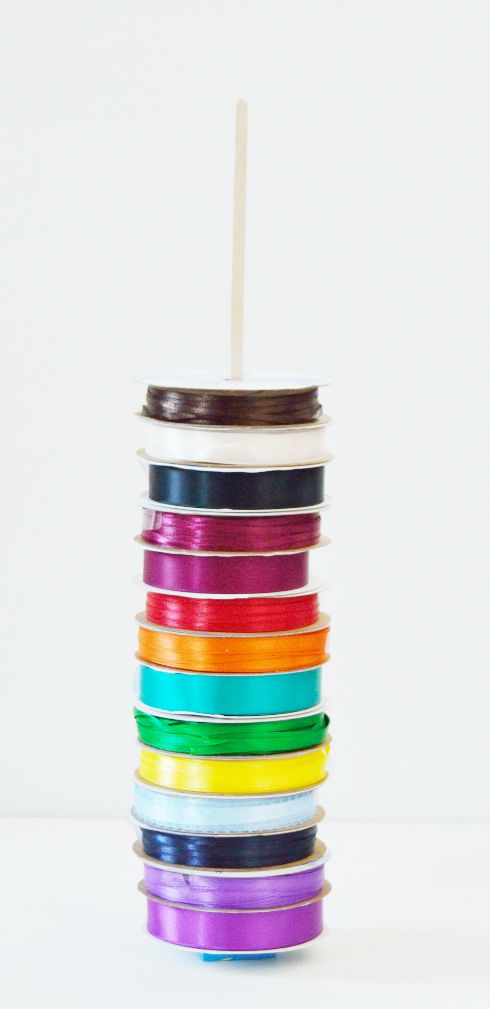
Holidays are over. What did you do the remaining ribbons after all the wrapping ?Secured them and saved for next holidays? If so, how are you keeping it organized? Here,I am showing the simplest method that I used for these many days.
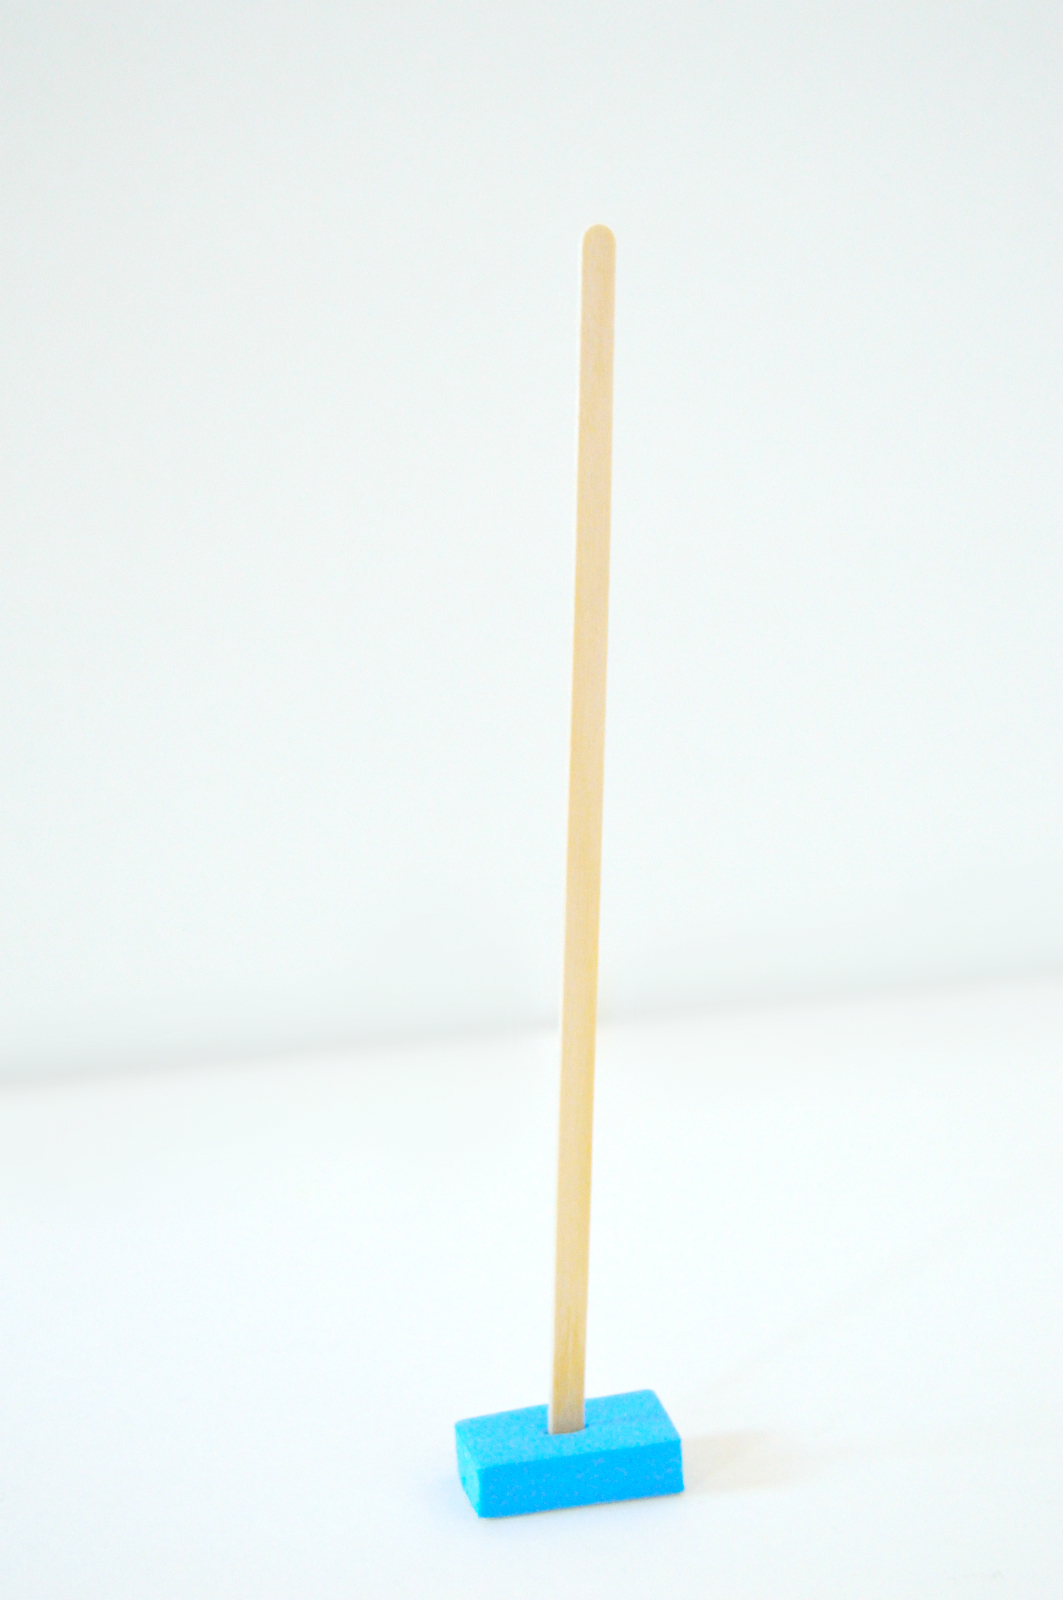
Simply glue two coffee stirrers with super glue and glue that to a piece of foam.(as shown) I had some scrap foam piece but if you don't have one you can glue the stirrers to some empty ribbon spool or a piece of Styrofoam or anything that is bulky and foamy to act as a base.
I used this method to store the ribbons for more than a year.As my collection has grown I made a big organizer. If you want to check that , click here. This stick holds around 8 to 10 spools of ribbon. Isn't it so simple? I use clear tape to secure the end of ribbon from unraveling.
Bonus : How to Organize Plastic Bags in a Box
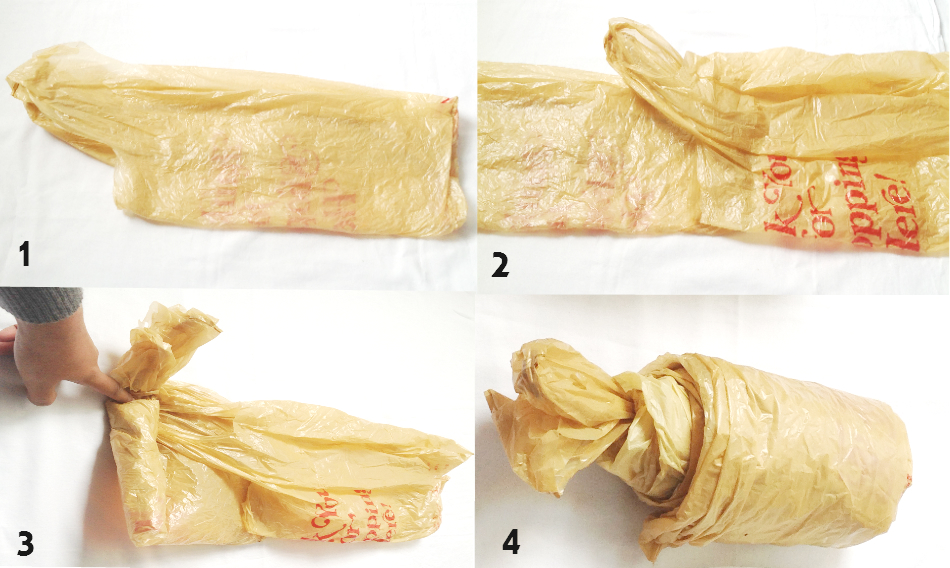
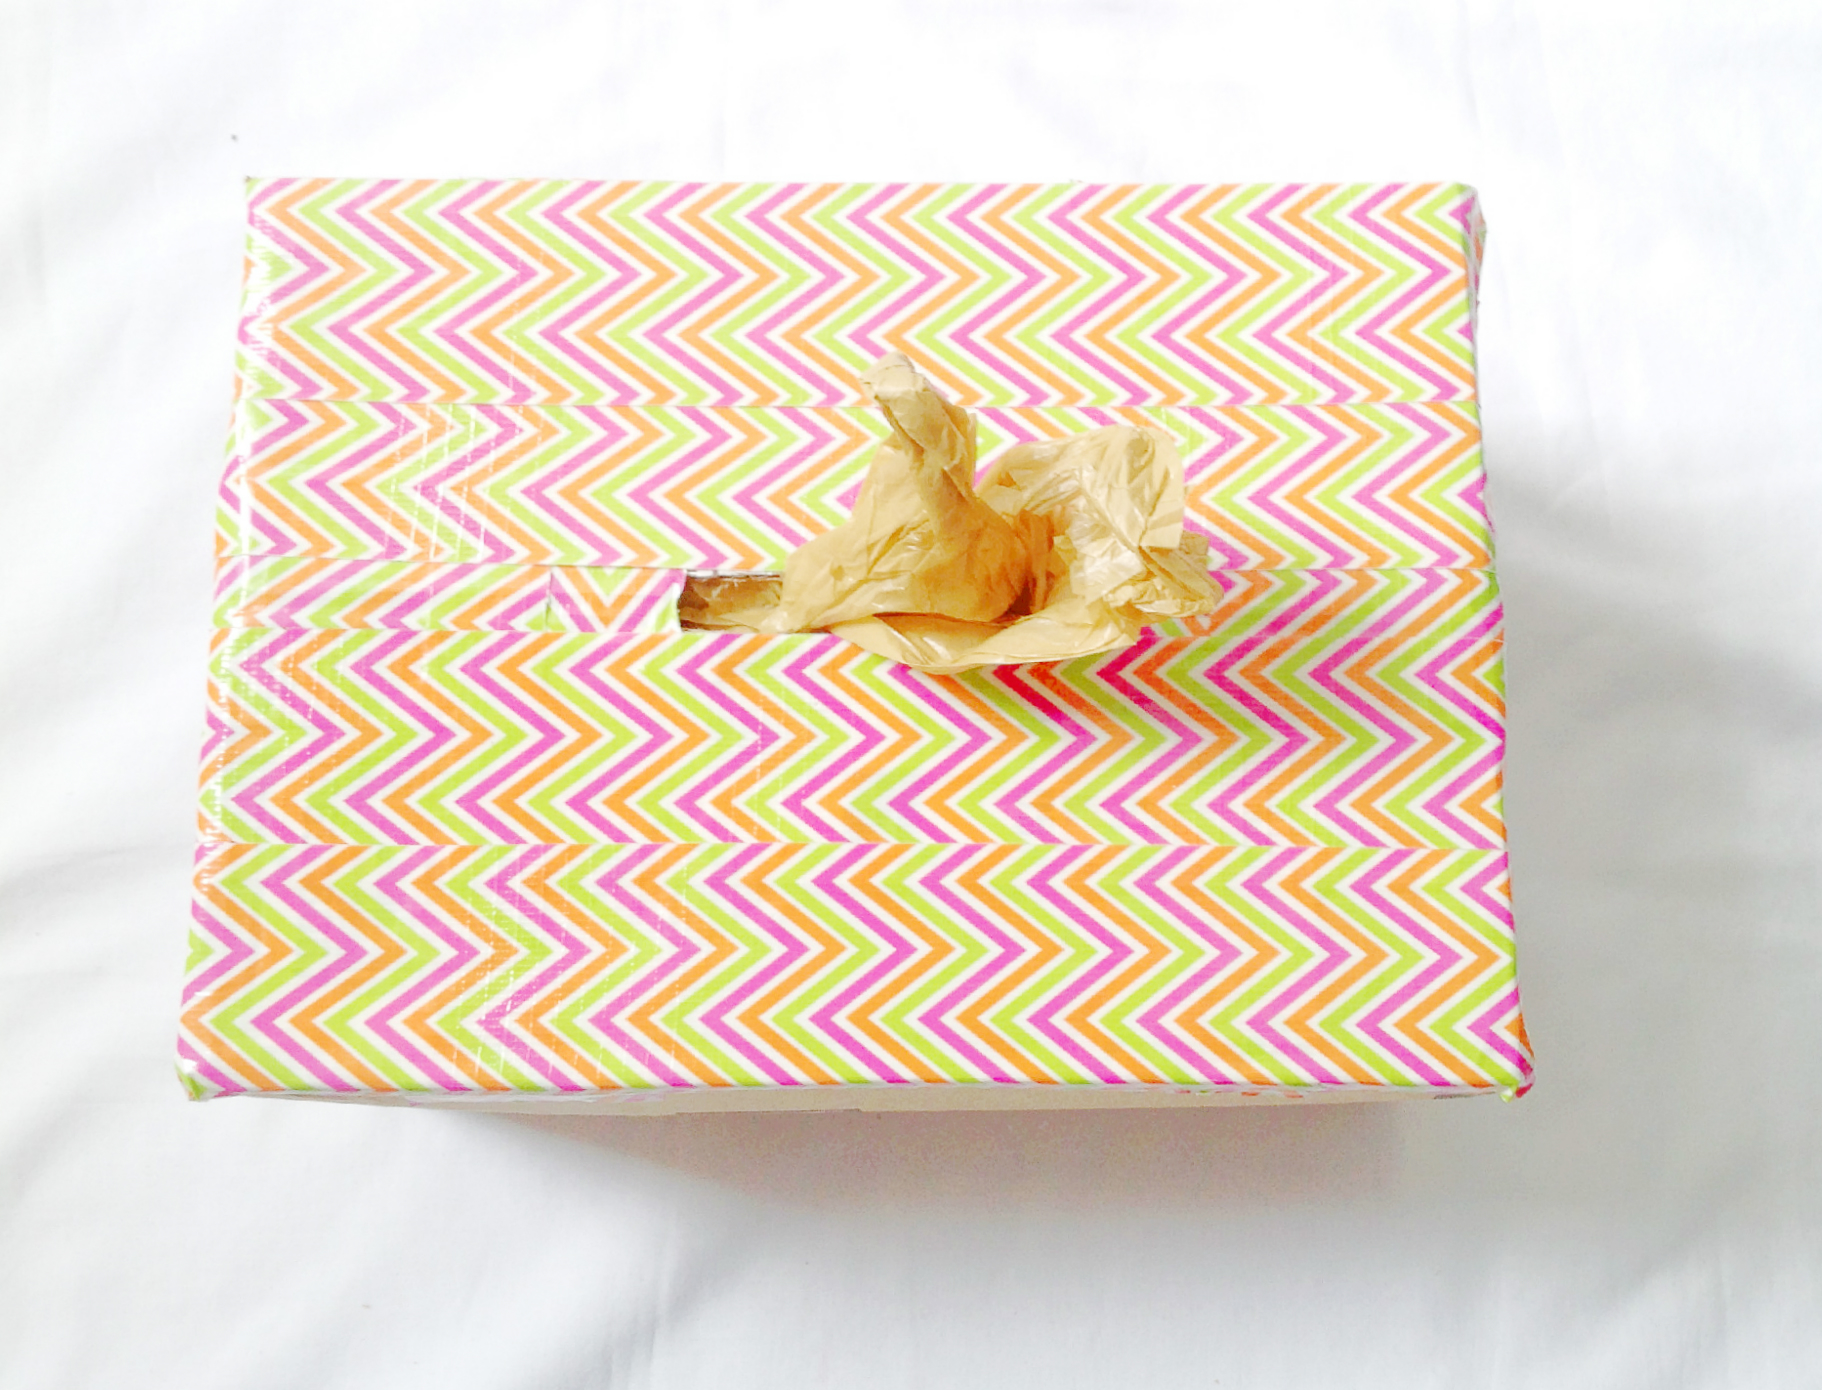
Here comes another organizing tip to keep your grocery bags uncluttered using just shipping boxes.To do this..
1) Take one grocery bag and fold them in half lengthwise so that the handles are together. (as shown and numbered as 1)
2) Take a second folded bag and place the handles of the bag overlapping the end of first bag.( as shown and numbered as 2)
3) Now start roll the first bag in such a way leaving the handle to be popping outside the roll.(as shown and numbered as 3)
4) When you reach the end add another bag in the same way as said in step 2.
5) Make a roll as big as it can fit into the box.
6) Make a small slit for the bag to come out of the box ,place the roll of the bags and cover the remaining areas as shown in the picture 2.(I have used a shipping box here).Make sure to leave the handle of the first bag outside and then close the box.That is it!!
Now if you pull a bag out of the box, there will be a handle of the next bag popping out for the next use.Make a box like this and have it in your car trunk, kids stroller ,guest room or wherever there is a need. We have one in our car and it was so useful during our last road trip when everyone wanted a plastic bag to put their dirty boots. So trust me for now and make this for yourself. You can thank me later :)
Extra Bonus ;) - Sharpie Box for Paper Storage.
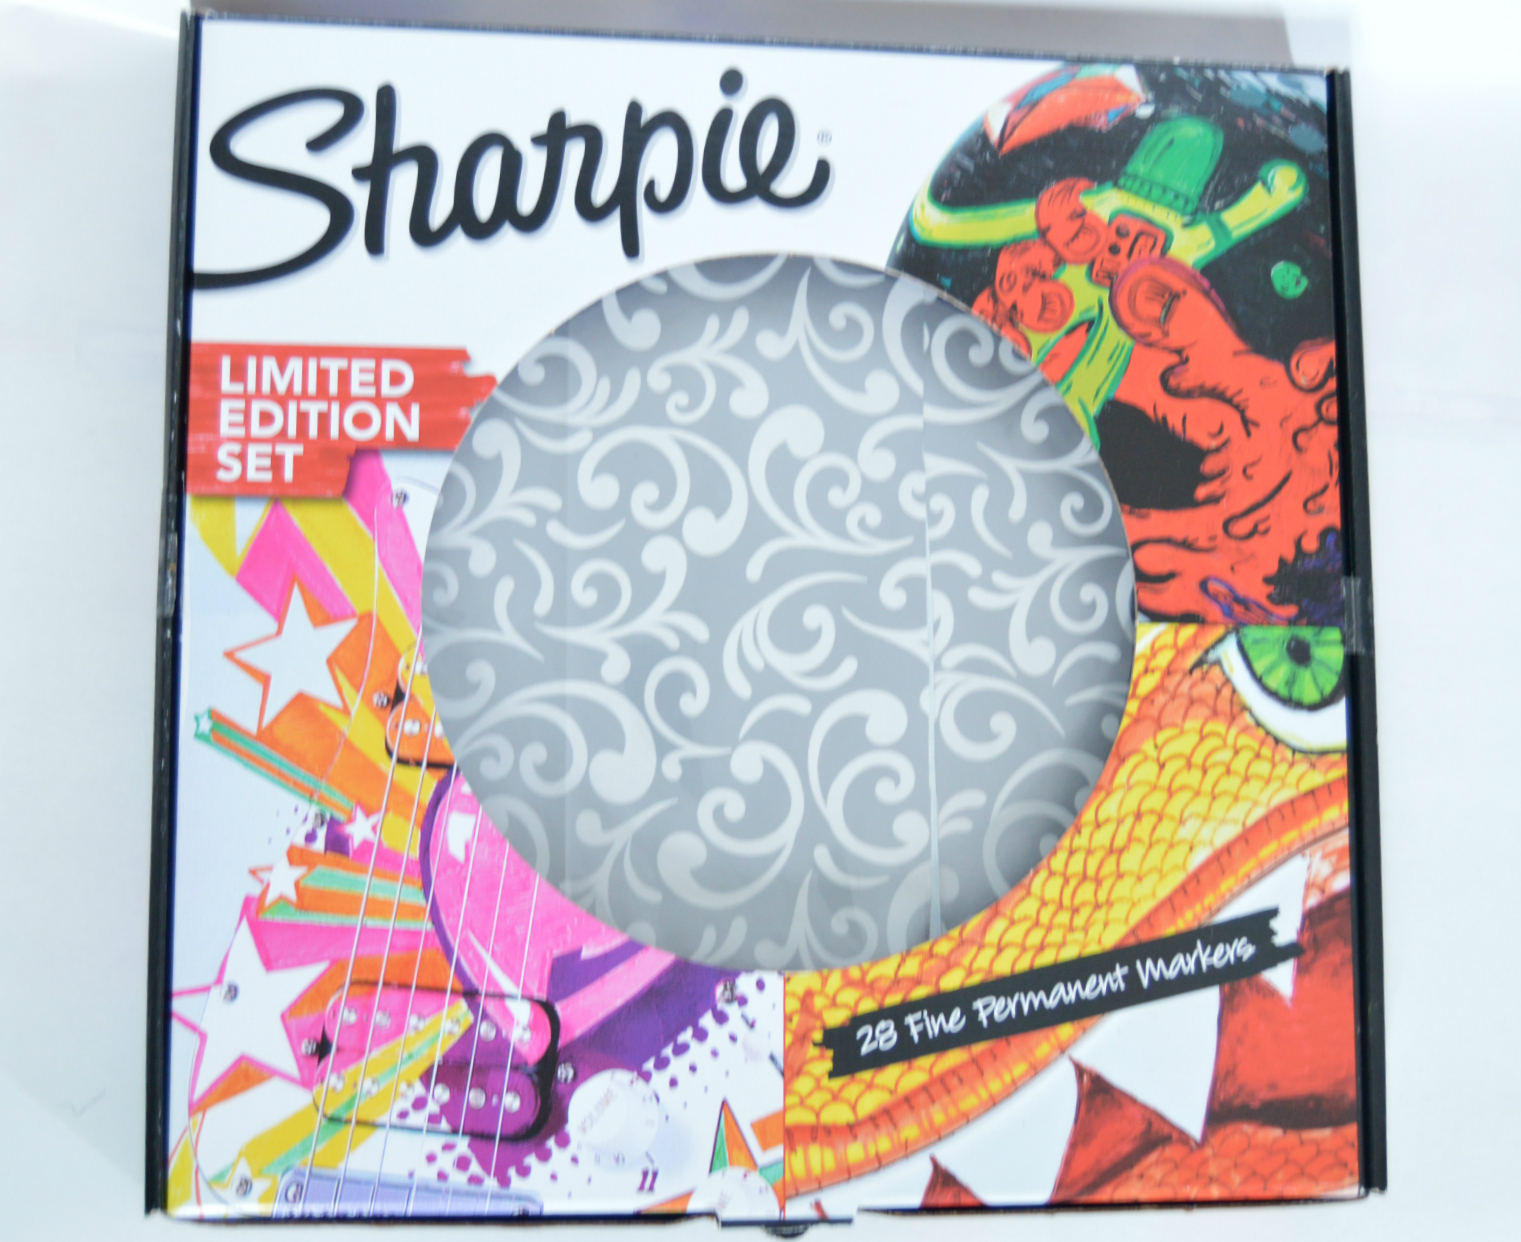
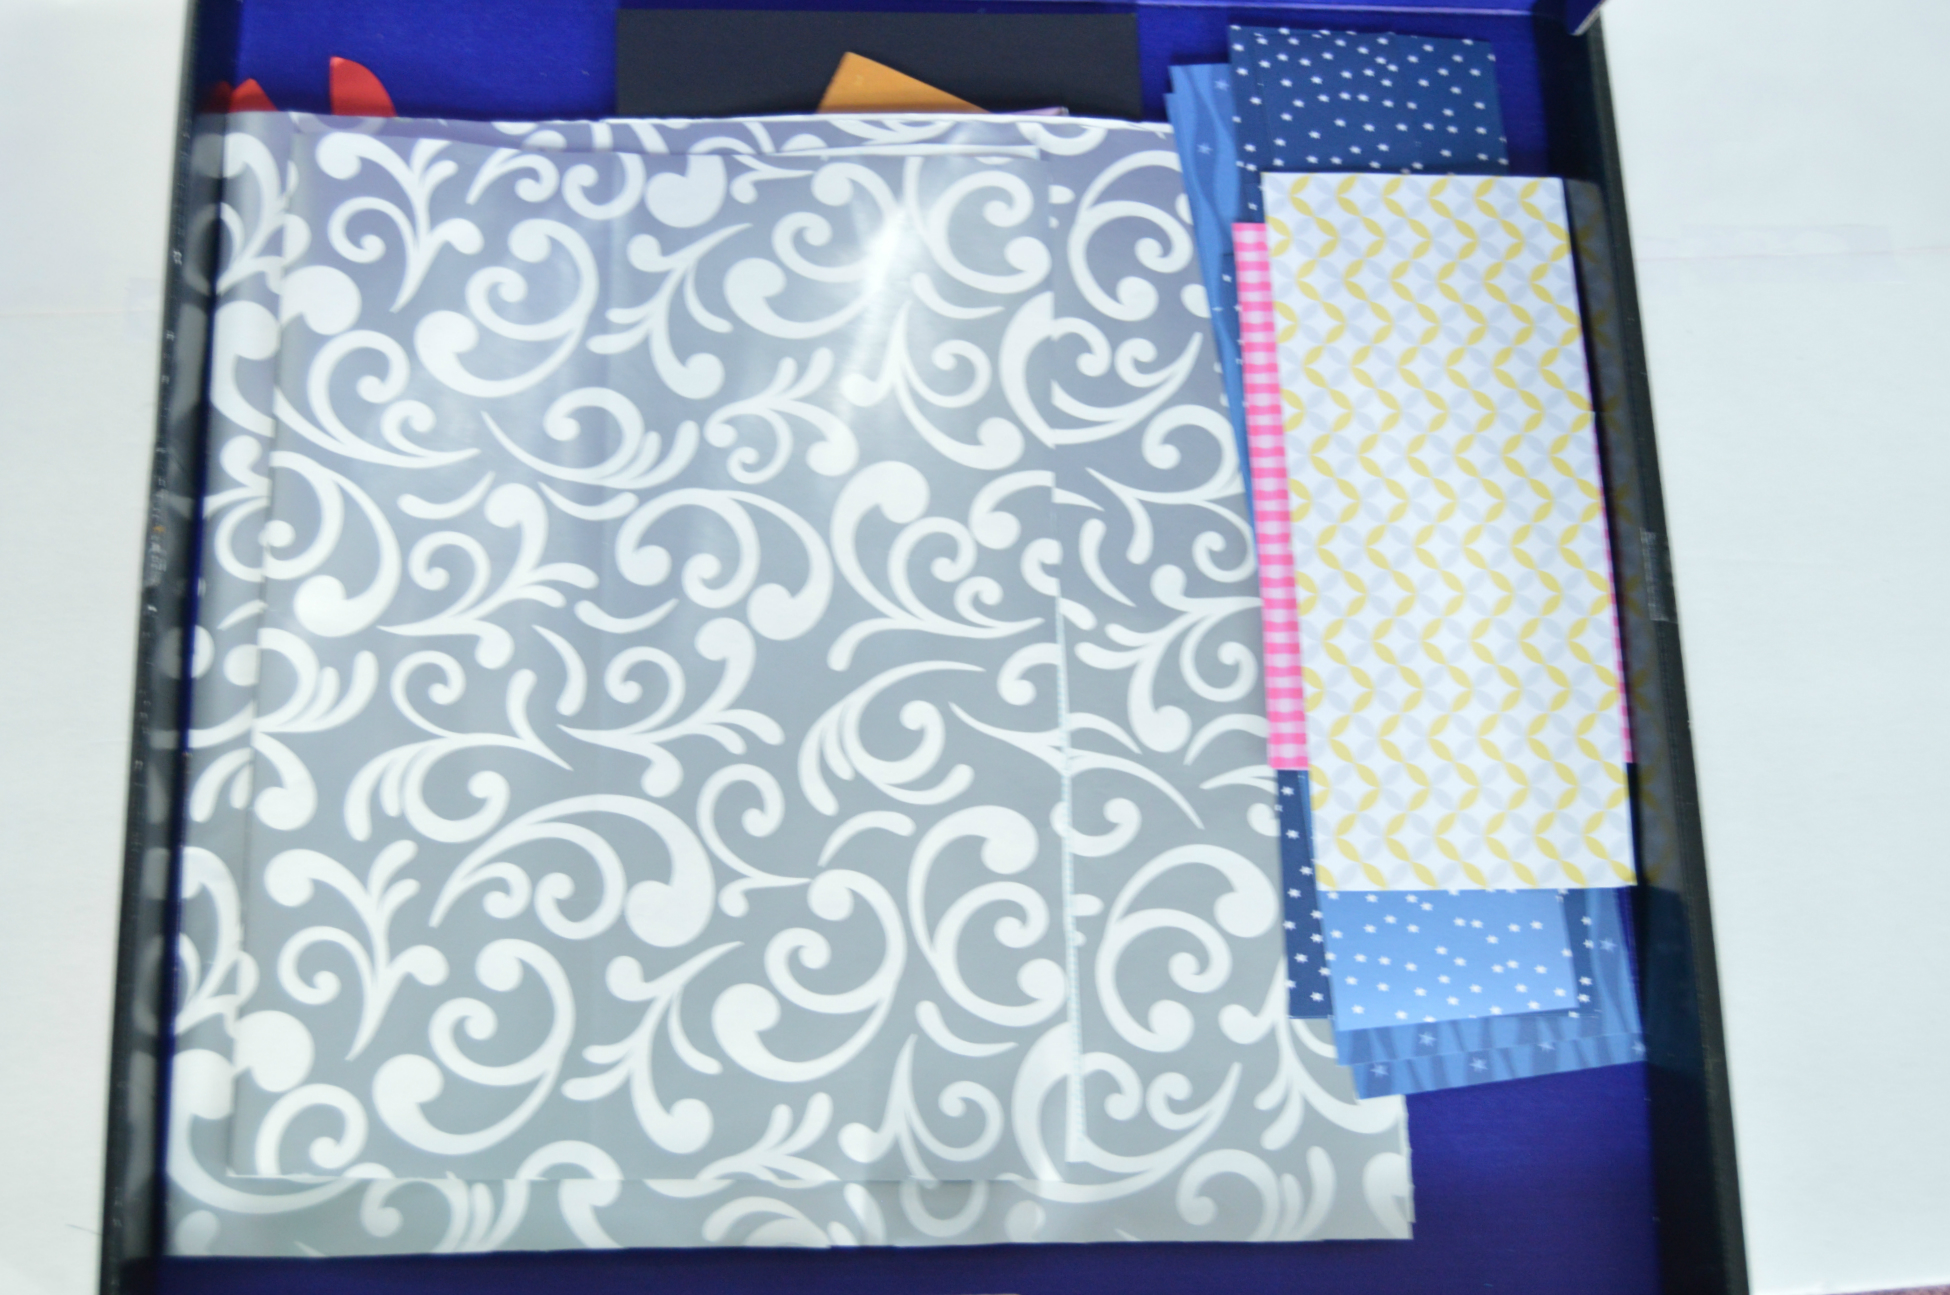
If you are colourful sharpie user and got a big box of sharpies during thanksgiving sale and thinking of what to do with that big box. Use them to store your 12 x 12 scrapbook papers. It fits perfectly inside this box.Or use it to store the scraps of wrapping paper or cardstock paper.
Hope you enjoyed my budget friendly organizing tips. If you feel these tips are really worthy and your are benefited.Please take a moment to vote for this instructable in "On a budget " and "Small Spaces" contest. I really appreciate that. Thank you :)