Order Coffeee Through Alexa on a Nespresso (Wemo Emulation)
by homeautomation in Circuits > Arduino
422 Views, 0 Favorites, 0 Comments
Order Coffeee Through Alexa on a Nespresso (Wemo Emulation)

Add Wifi capabilities to a Nespresso Inissia machine so it can be controlled by any Amazon Echo. These instructions are for the Inissia machine, but should work with any 2 button Nespresso machine. Explicit credits to "skelectronics" aka "T3chFlicks" who did most if not all of the work. Basically I am just replacing the code side of things with a 'Wemo' switch emulator and not using a battery but an adapter to power the wifi module. All the rest of the instructions, code, pictures are attributed to him and can be found here;
https://www.instructables.com/Smart-Nespresso-Machine-Using-HomeAssistant-Alexa-/
Please also check out all of the other amazing stuff he came up with !
Supplies
Micro usb charger (or use an micro USB charger you have laying around)
Opening Up the Machine

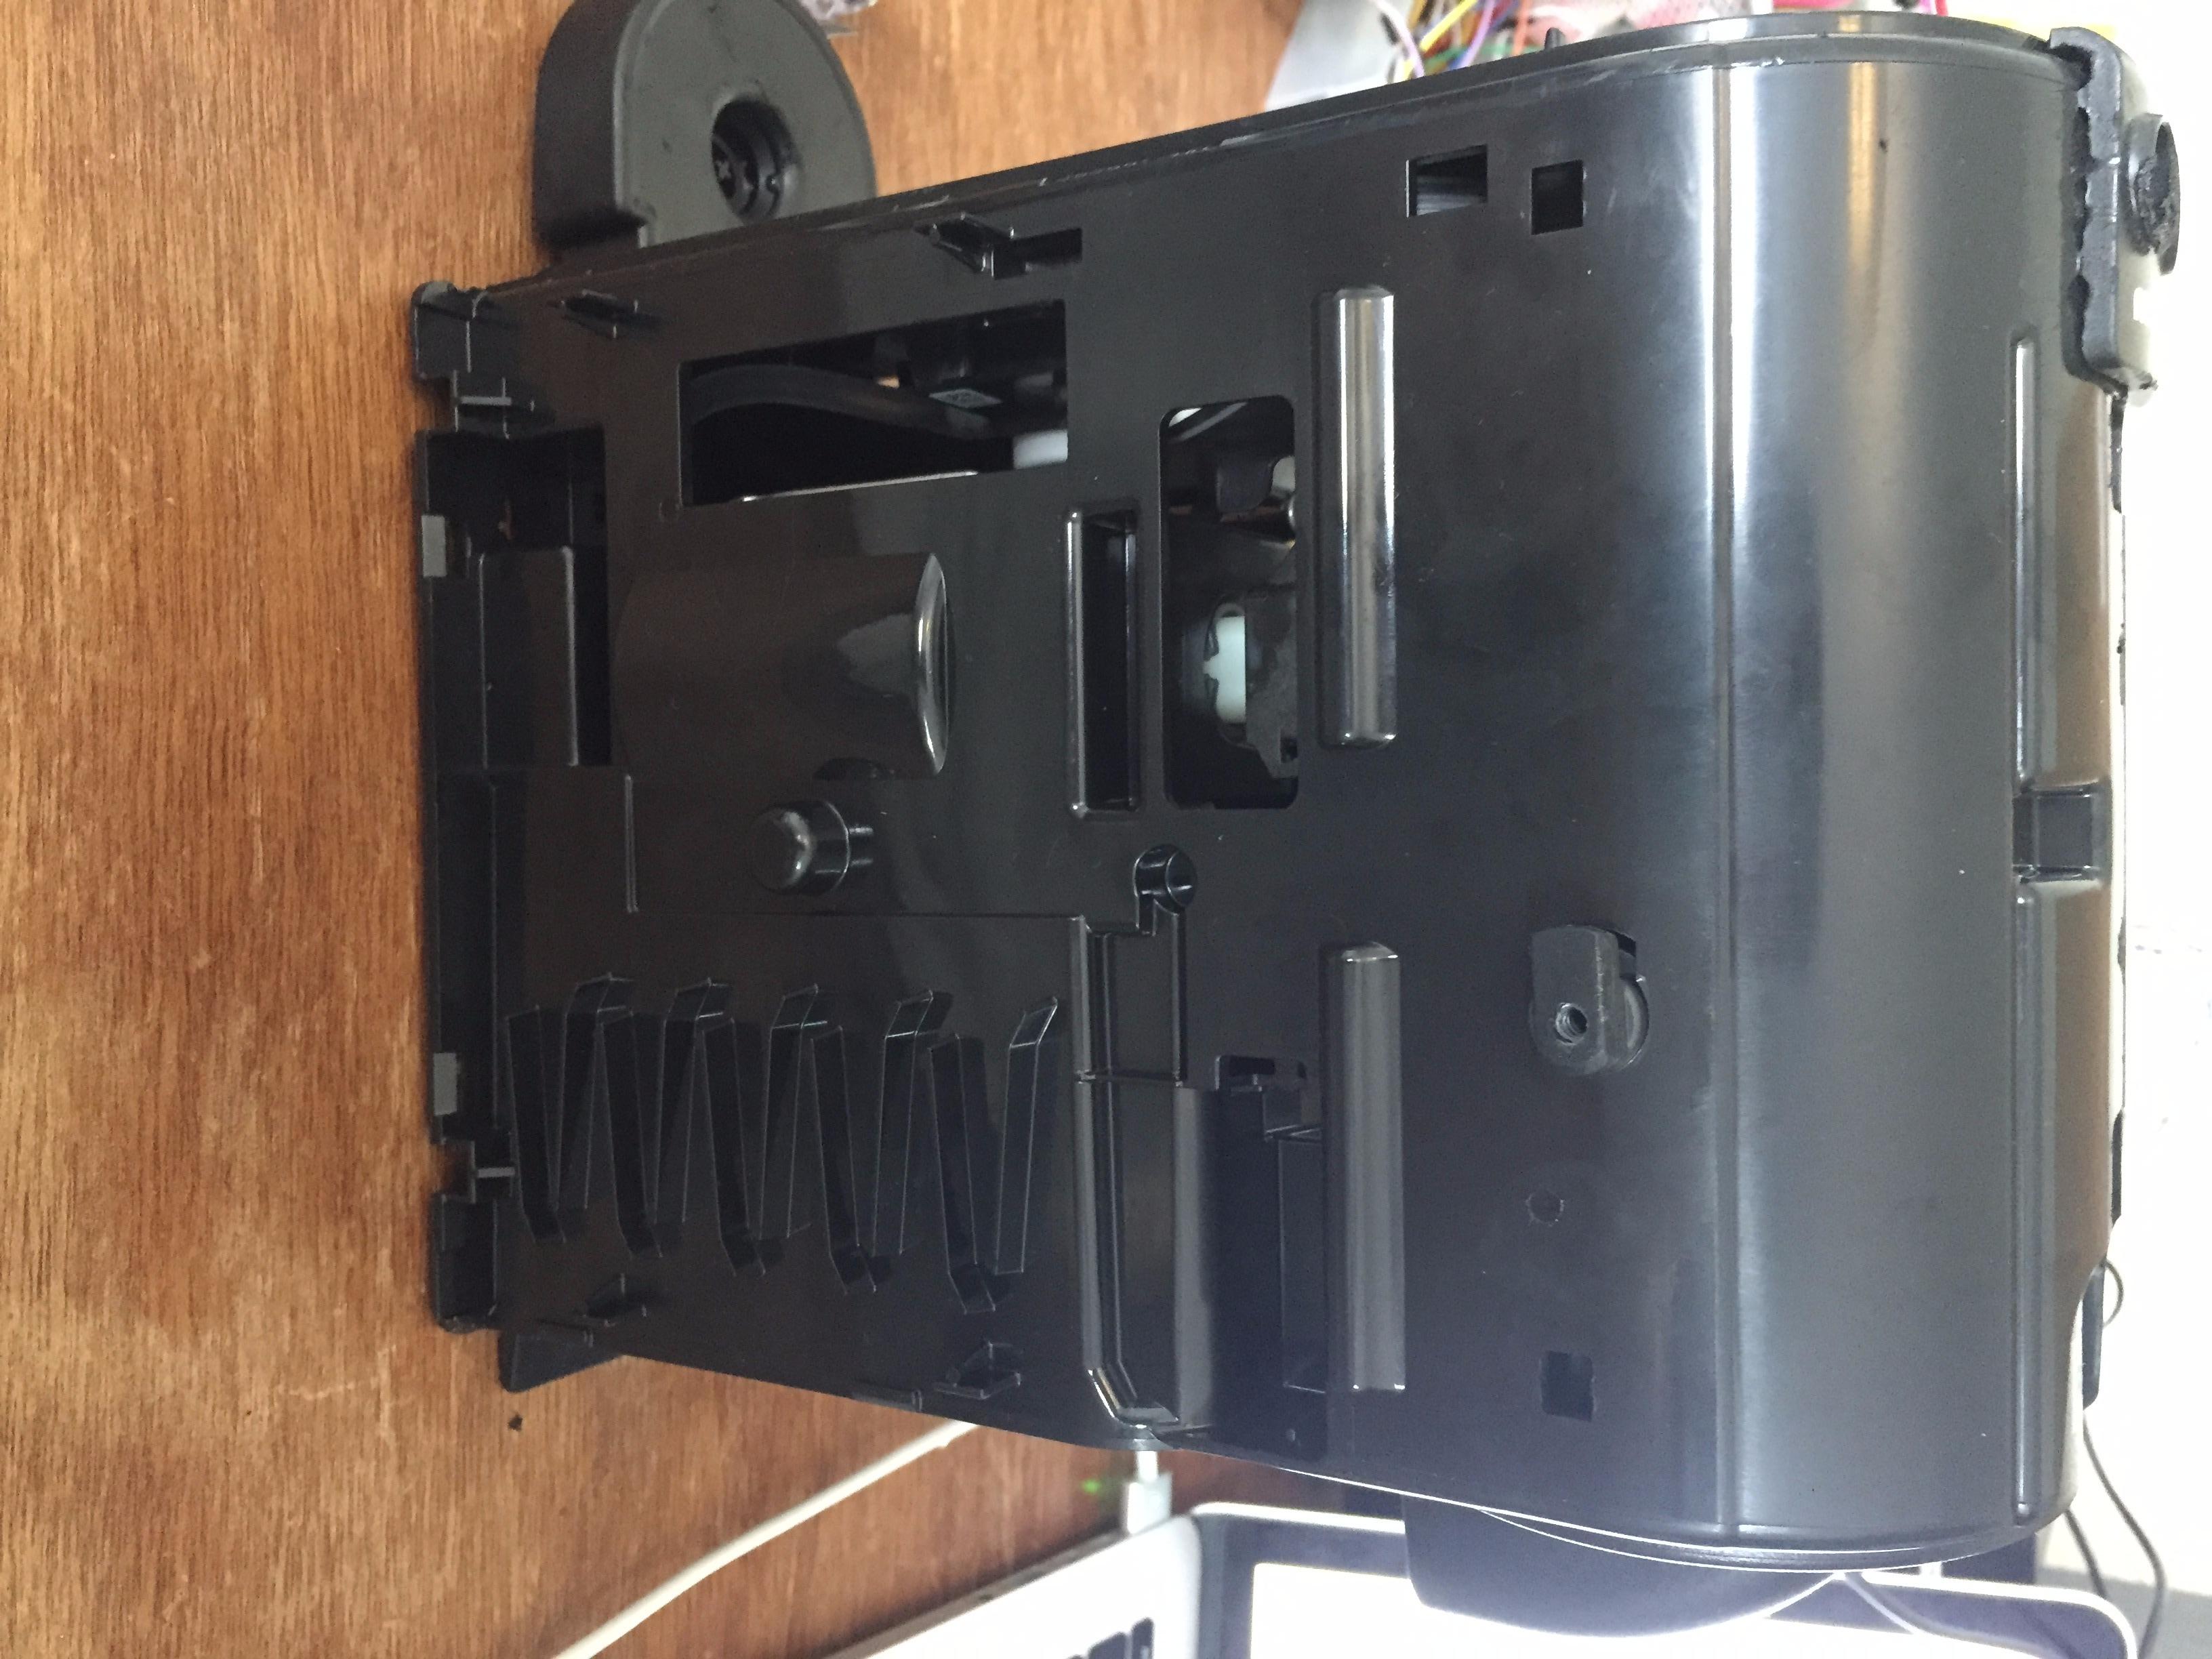


The bolts on the side of the horseshoe shaped lever appear to be an anti-fiddle size, however a firm grip and a flat head screwdriver allows to undo them.
After that, using a flat head screw driver, pry open the plastic covering (*gently*).
It should reveal [1] & [2].
Then, you must pry further to open the point where the buttons are [3].
Underneath the buttons you should see something like this [4].
These two rings are an opening in the circuit, which by pressing the button down are connected telling the machine to activate.
Controlling the Nespresso's Switch


The double ring switch operates a circuit of ~ 14 Volts. This means that you cannot control it directly from the ESP8266 NodeMCU as it can only output 3V.
To get around this it use a N-type MOSFET.
This allows you to control the 14V on or off, using the 3V of the ESP8266 NodeMCU.
The circuit looks like this [5] & [6].
T3chFlicks recommends soldering onto the Nespresso machine's switch rings very quickly, and using a dab of solder.
However if you are not very handy with a soldering iron (like me) you can just piggy back two of the jumper cables on the connector that is connected to the "double ring"
Basically only pin D8 and GND on the Wireless module are used [5] (and the micro USB for powering the module).
You should have two wires leaving the machine one from the positive and another from the negative terminal.
The ESP8266 NodeMCU's Code
Writing code for this module can be done in the Arduino IDE. For those unfamiliar with Arduino you have to "verify" than "upload" the code to the module. While it is uploading the code, you will see the LED on the module flashing and get a progress bar in % in Arduino indicating he progress. Also there is a Tools-> Serial monitor once the code is uploaded that is handy. You can check if and when the module gets an IP and you can check if it get the "on" command from Alexa.
As I was doing this on a Mac I needed to download this additional piece of software to allow for the USB port to emulate a serial port, not sure if this is needed for other operating systems as well.
CP2102 drivers (depending on the serial chip that is used on the wireless module, the one in the kit list uses the CP2102)
You will see in the code that 2 pulses are given, 1 to turn the machine on and a few seconds later a second one to start the brewing process.
Code will be available on Github as well;
Here is the code
NESPRESSOFinal
#include <ESP8266WiFi.h>
#include <DNSServer.h>
#include <ESP8266WebServer.h>
#include <WiFiManager.h>
#include <WiFiUdp.h>
#include <functional>
// Declare function prototypes
bool connectUDP();
void prepareIds();
void respondToSearch();
void startHttpServer();
// Change these to whatever you'd prefer:
String device_name = "Coffee"; // Name of how Alexa will recognise your Nespresso
int switchingPin = D8;
bool debug = false; // If you want debug messages
bool squawk = true; // For on/off messages
// Some UDP / WeMo specific variables:
WiFiUDP UDP;
IPAddress ipMulti(239, 255, 255, 250);
unsigned int portMulti = 1900; // local port to listen on
ESP8266WebServer HTTP(80);
String serial; // Where we save the string of the UUID
String persistent_uuid; // Where we save some socket info with the UUID
// Buffer to save incoming packets:
char packetBuffer[UDP_TX_PACKET_MAX_SIZE];
void setup() {
// Begin Serial:
Serial.begin(115200);
// Setup the pin for output:
pinMode(switchingPin, OUTPUT);
// digitalWrite(switchingPin, HIGH); // Start with light on
digitalWrite(switchingPin, LOW); // Start with light off
// Set the UUIDs and socket information:
prepareIds();
// Get settings from WiFi Manager:
WiFiManager wifiManager;
// wifiManager.resetSettings(); // Uncomment this to test WiFi Manager function
wifiManager.setAPCallback(configModeCallback);
wifiManager.autoConnect();
// Wait til WiFi is connected properly:
int counter = 0;
while (WiFi.status() != WL_CONNECTED) {
delay(500);
Serial.print(".");
counter++;
}
Serial.println("Connected to WiFi");
// Connect to UDP:
bool udpConnected = connectUDP();
if (udpConnected){
startHttpServer(); // Start the HTTP Server
}
}
void loop() {
HTTP.handleClient();
delay(1);
// If there are packets, we parse them:
int packetSize = UDP.parsePacket();
if(packetSize) {
if (debug) {
Serial.println("");
Serial.print("Received packet of size ");
Serial.println(packetSize);
Serial.print("From ");
IPAddress remote = UDP.remoteIP();
for (int i =0; i < 4; i++) {
Serial.print(remote[i], DEC);
if (i < 3) {
Serial.print(".");
}
}
Serial.print(", port ");
Serial.println(UDP.remotePort());
}
int len = UDP.read(packetBuffer, 255);
if (len > 0) {
packetBuffer[len] = 0;
}
String request = packetBuffer;
if(request.indexOf('M-SEARCH') > 0) {
if(request.indexOf("urn:Belkin:device:**") > 0) {
if (debug) {
Serial.println("Responding to search request ...");
}
respondToSearch();
}
}
}
delay(10);
}
void prepareIds() {
uint32_t chipId = ESP.getChipId();
char uuid[64];
sprintf_P(uuid, PSTR("38323636-4558-4dda-9188-cda0e6%02x%02x%02x"),
(uint16_t) ((chipId >> 16) & 0xff),
(uint16_t) ((chipId >> 8) & 0xff),
(uint16_t) chipId & 0xff);
serial = String(uuid);
persistent_uuid = "Socket-1_0-" + serial;
}
bool connectUDP(){
boolean state = false;
Serial.println("Connecting to UDP");
if(UDP.beginMulticast(WiFi.localIP(), ipMulti, portMulti)) {
Serial.println("Connection successful");
state = true;
}
else{
Serial.println("Connection failed");
}
return state;
}
void startHttpServer() {
HTTP.on("/index.html", HTTP_GET, [](){
if (debug) {
Serial.println("Got Request index.html ...\n");
}
HTTP.send(200, "text/plain", "Hello World!");
});
HTTP.on("/upnp/control/basicevent1", HTTP_POST, []() {
if (debug) {
Serial.println("########## Responding to /upnp/control/basicevent1 ... ##########");
}
//for (int x=0; x <= HTTP.args(); x++) {
// Serial.println(HTTP.arg(x));
//}
String request = HTTP.arg(0);
if (debug) {
Serial.print("request:");
Serial.println(request);
}
if(request.indexOf("<BinaryState>1</BinaryState>") > 0) {
if (squawk) {
Serial.println("Got on request");
}
digitalWrite(switchingPin, 1); delay(500);
digitalWrite(switchingPin, 0); delay(2500);
digitalWrite(switchingPin, 1); delay(500);
digitalWrite(switchingPin, 0);
}
if(request.indexOf("<BinaryState>0</BinaryState>") > 0) {
if (squawk) {
Serial.println("Got off request");
}
digitalWrite(switchingPin, 0);
}
HTTP.send(200, "text/plain", "");
});
HTTP.on("/eventservice.xml", HTTP_GET, [](){
if (debug) {
Serial.println(" ########## Responding to eventservice.xml ... ########\n");
}
String eventservice_xml = "<?scpd xmlns=\"urn:Belkin:service-1-0\"?>"
"<actionList>"
"<action>"
"<name>SetBinaryState</name>"
"<argumentList>"
"<argument>"
"<retval/>"
"<name>BinaryState</name>"
"<relatedStateVariable>BinaryState</relatedStateVariable>"
"<direction>in</direction>"
"</argument>"
"</argumentList>"
"<serviceStateTable>"
"<stateVariable sendEvents=\"yes\">"
"<name>BinaryState</name>"
"<dataType>Boolean</dataType>"
"<defaultValue>0</defaultValue>"
"</stateVariable>"
"<stateVariable sendEvents=\"yes\">"
"<name>level</name>"
"<dataType>string</dataType>"
"<defaultValue>0</defaultValue>"
"</stateVariable>"
"</serviceStateTable>"
"</action>"
"</scpd>\r\n"
"\r\n";
HTTP.send(200, "text/plain", eventservice_xml.c_str());
});
HTTP.on("/setup.xml", HTTP_GET, [](){
if (debug) {
Serial.println(" ########## Responding to setup.xml ... ########\n");
}
IPAddress localIP = WiFi.localIP();
char s[16];
sprintf(s, "%d.%d.%d.%d", localIP[0], localIP[1], localIP[2], localIP[3]);
String setup_xml = "<?xml version=\"1.0\"?>"
"<root>"
"<device>"
"<deviceType>urn:Belkin:device:controllee:1</deviceType>"
"<friendlyName>"+ device_name +"</friendlyName>"
"<manufacturer>Belkin International Inc.</manufacturer>"
"<modelName>Emulated Socket</modelName>"
"<modelNumber>3.1415</modelNumber>"
"<UDN>uuid:"+ persistent_uuid +"</UDN>"
"<serialNumber>221517K0101769</serialNumber>"
"<binaryState>0</binaryState>"
"<serviceList>"
"<service>"
"<serviceType>urn:Belkin:service:basicevent:1</serviceType>"
"<serviceId>urn:Belkin:serviceId:basicevent1</serviceId>"
"<controlURL>/upnp/control/basicevent1</controlURL>"
"<eventSubURL>/upnp/event/basicevent1</eventSubURL>"
"<SCPDURL>/eventservice.xml</SCPDURL>"
"</service>"
"</serviceList>"
"</device>"
"</root>\r\n"
"\r\n";
HTTP.send(200, "text/xml", setup_xml.c_str());
if (debug) {
Serial.print("Sending :");
Serial.println(setup_xml);
}
});
HTTP.begin();
if (debug) {
Serial.println("HTTP Server started ..");
}
}
void respondToSearch() {
if (debug) {
Serial.println("");
Serial.print("Sending response to ");
Serial.println(UDP.remoteIP());
Serial.print("Port : ");
Serial.println(UDP.remotePort());
}
IPAddress localIP = WiFi.localIP();
char s[16];
sprintf(s, "%d.%d.%d.%d", localIP[0], localIP[1], localIP[2], localIP[3]);
String response =
"HTTP/1.1 200 OK\r\n"
"CACHE-CONTROL: max-age=86400\r\n"
"DATE: Tue, 14 Dec 2016 02:30:00 GMT\r\n"
"EXT:\r\n"
"LOCATION: http://" + String(s) + ":80/setup.xml\r\n"
"OPT: \"http://schemas.upnp.org/upnp/1/0/\"; ns=01\r\n"
"01-NLS: b9200ebb-736d-4b93-bf03-835149d13983\r\n"
"SERVER: Unspecified, UPnP/1.0, Unspecified\r\n"
"ST: urn:Belkin:device:**\r\n"
"USN: uuid:" + persistent_uuid + "::urn:Belkin:device:**\r\n"
"X-User-Agent: redsonic\r\n\r\n";
UDP.beginPacket(UDP.remoteIP(), UDP.remotePort());
UDP.write(response.c_str());
UDP.endPacket();
if (debug) {
Serial.println("Response sent !");
}
}
void configModeCallback(WiFiManager *myWiFiManager) {
Serial.println("Entered config mode");
Serial.println("Soft AP's IP Address:");
Serial.println(WiFi.softAPIP());
Serial.println("WiFi Manager: Please connect to AP:");
Serial.println(myWiFiManager->getConfigPortalSSID());
Serial.println("To setup WiFi Configuration");
}
Seperate page
Credentials.h
//Enter your SSID and Password below.
#define WIFI_SSID "enter name of wifi network here"
#define WIFI_PASS "enter password of wifi network here"
Add Nespresso Machine to Amazon Echo
Once the code is uploaded to the Wireless module and all the connections have been made as indicated in [5] and [6] you can simply add the Nespresso (or whatever name y've given the device) to Alexa by doing the following;
-> Open "Alexa" on your phone/iPad
-> click "Devices
-> click "+"
-> click "Plugs"
-> click "Wemo plug"
-> Discover
Even if the app tells you no new devices were found, this might not be true. Simply test after by saying "Alexa, turn "devicename" on. If all is good your Nespresso should turn on and brew a cup.
UPDATE : lately I have noticed that I have to ask twice. Alexa turn coffee on...after a few seconds the response is something like, coffee can not be found please check it's network and powerconnections. Simply ask again. Alexa turn coffee on and the response will be "OK" ...and a few minutes later you can hear the nespresso brewing while still in the warmth of your bed.
Do not forget to put a cup, capsule and water before going to bed in the evening and you can simply ask Alexa to make a fresh cup while still in bed or you can use this new device in a routine; open curtains, play music, give weatherforcast, brew coffee...more on that in another video.