Orange Pi - Magic Mirror
by 8BALL_SA in Circuits > Raspberry Pi
16183 Views, 36 Favorites, 0 Comments
Orange Pi - Magic Mirror

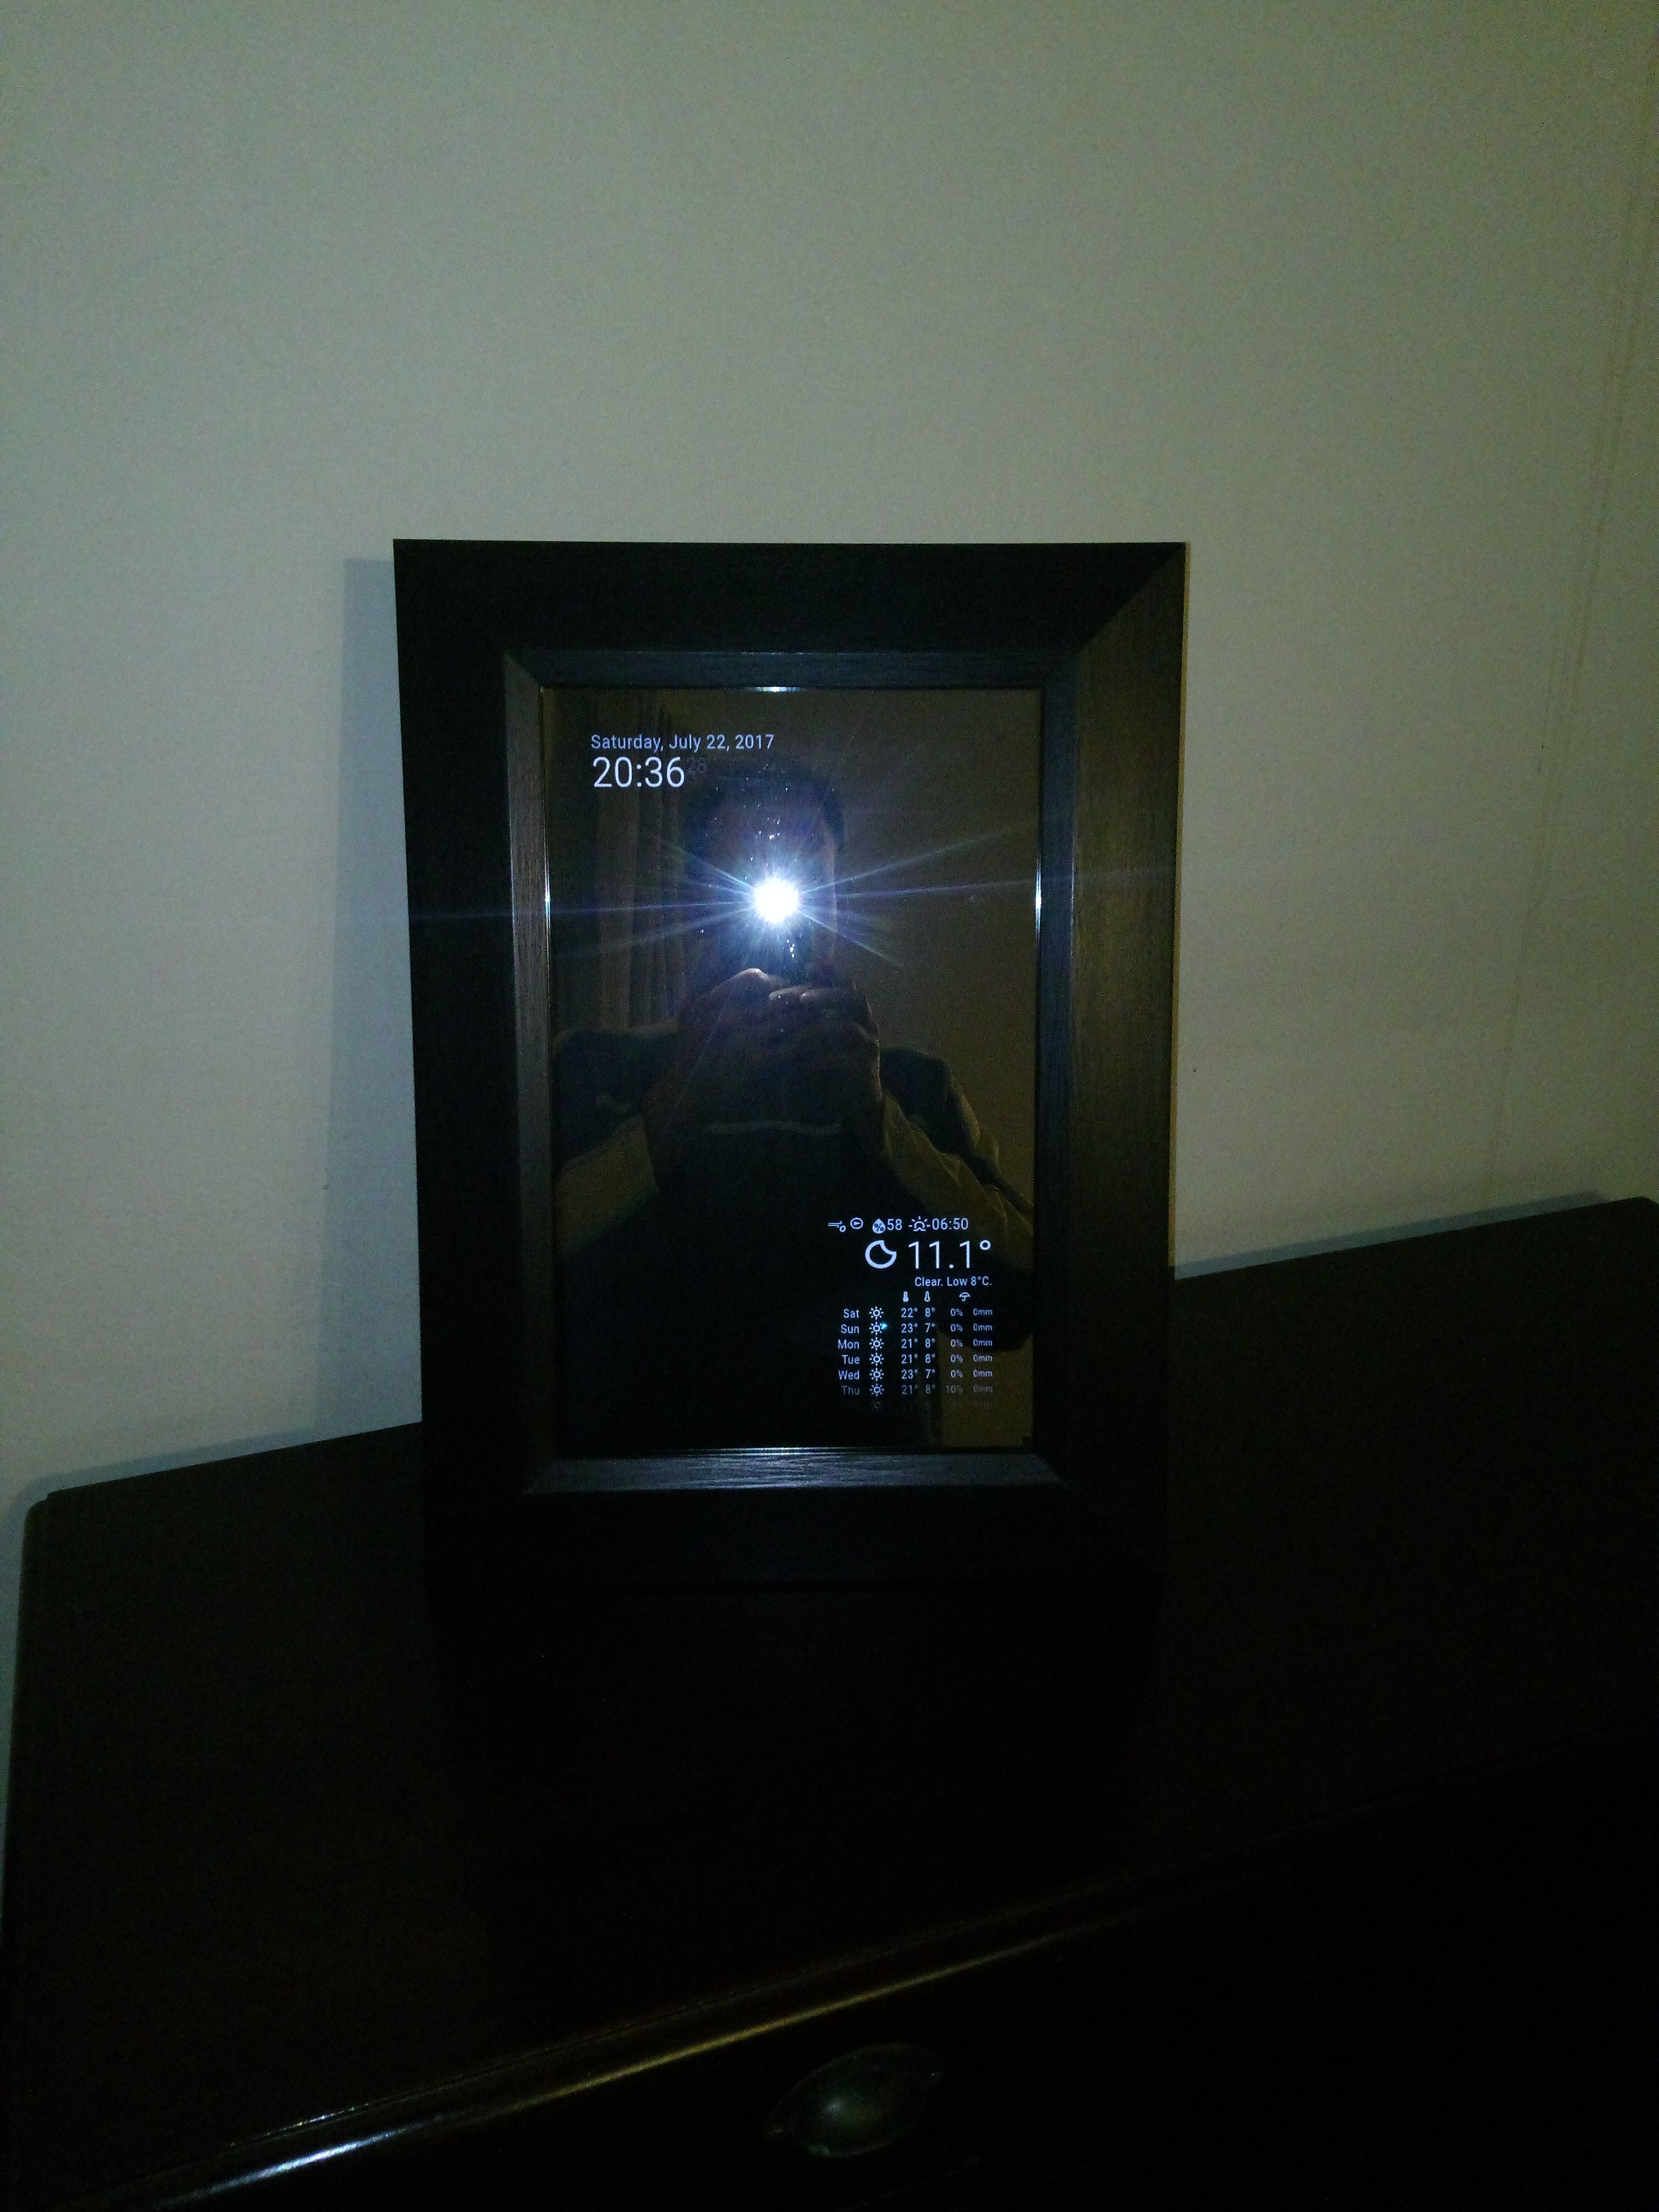
This guild will take you through my process of building a MagicMirror using an OrangePi Lite as opposed to a Raspberry Pi.
I had some problems as most of the guides out there are written for the Raspberry. This guide will try and highlight what these problems were and how to solve them.
The other reason for writing this is as a guide for myself and I plan on building more of these and its a good way to document what I did the first time around.
What All You Will Need
I am not going to focus too much on the enclosure and frame part, there are already lots of very good guides out there. I am going to focus more on the software setup and go through some of the problems I had and how to solve them
That being said you will need at least the following:
- OrangePi Lite
- LCD Panel
- LCD Controller
- HDMI Cable
- Power Supply (you will need one for the LCD controller and the orange pi.
- A good SD Card.
- Item 1: I chose the Orange Pi Lite as it was cheap and had an onboard Wifi.
- Item 2: I scrounged an LCD panel from an old Laptop that had died.
- Item 3: Google the model number on the back of the LCD panel and you will quickly find your way to eBay.
- Buy one of the many available but make sure you specify your exact LCD panel
- Make sure you get one with an HDMI input and the Orange Pi has an HDMI output.
- Item 4: You won't need a very long cable so buy a cheap one.
- Item 5: You will need a power supply for the LCD panel and you orange pi
- I got a 230V to 12Vdc 3A for the LCD and a 12Vdc to 5Vdc for the orange pi.
- Item 6: A good Class 10 SD card from a reputable supplier. 16GB will be plenty.
Software...
As I am using an Orange Pi the normal Raspberry images will not work. So I needed an operating system (OS) for your Orange Pi.
- The Orange Pi website lists several images available for download. The problem I had with these is that they are very old version and FULL of bugs.
- I googled a lot to come up with two options:
- DietPi
- This is a very nice OS and I might well use this again on future projects. My problem with DietPi is that it is fairly new and not that well supported. I love the idea of what they are doing and hope they get some more support in the future. Its small light weight and boots super fast.
- Armbian
- This is the OS I ended up going with. It's a little bigger and takes longer to boot but the support is very good. They have a very good forum WITHE lots of people are willing to help.
- I went with the Desktop Ubuntu Xenial image as you will need to run Chromium.
- DietPi
Now go read the Getting Started Guide
Write the Armbian image to the SD card. I used Etcher for this. Etcher is fairly new but works like a charm and work on almost any operating system.
A Little Bit of Hardware

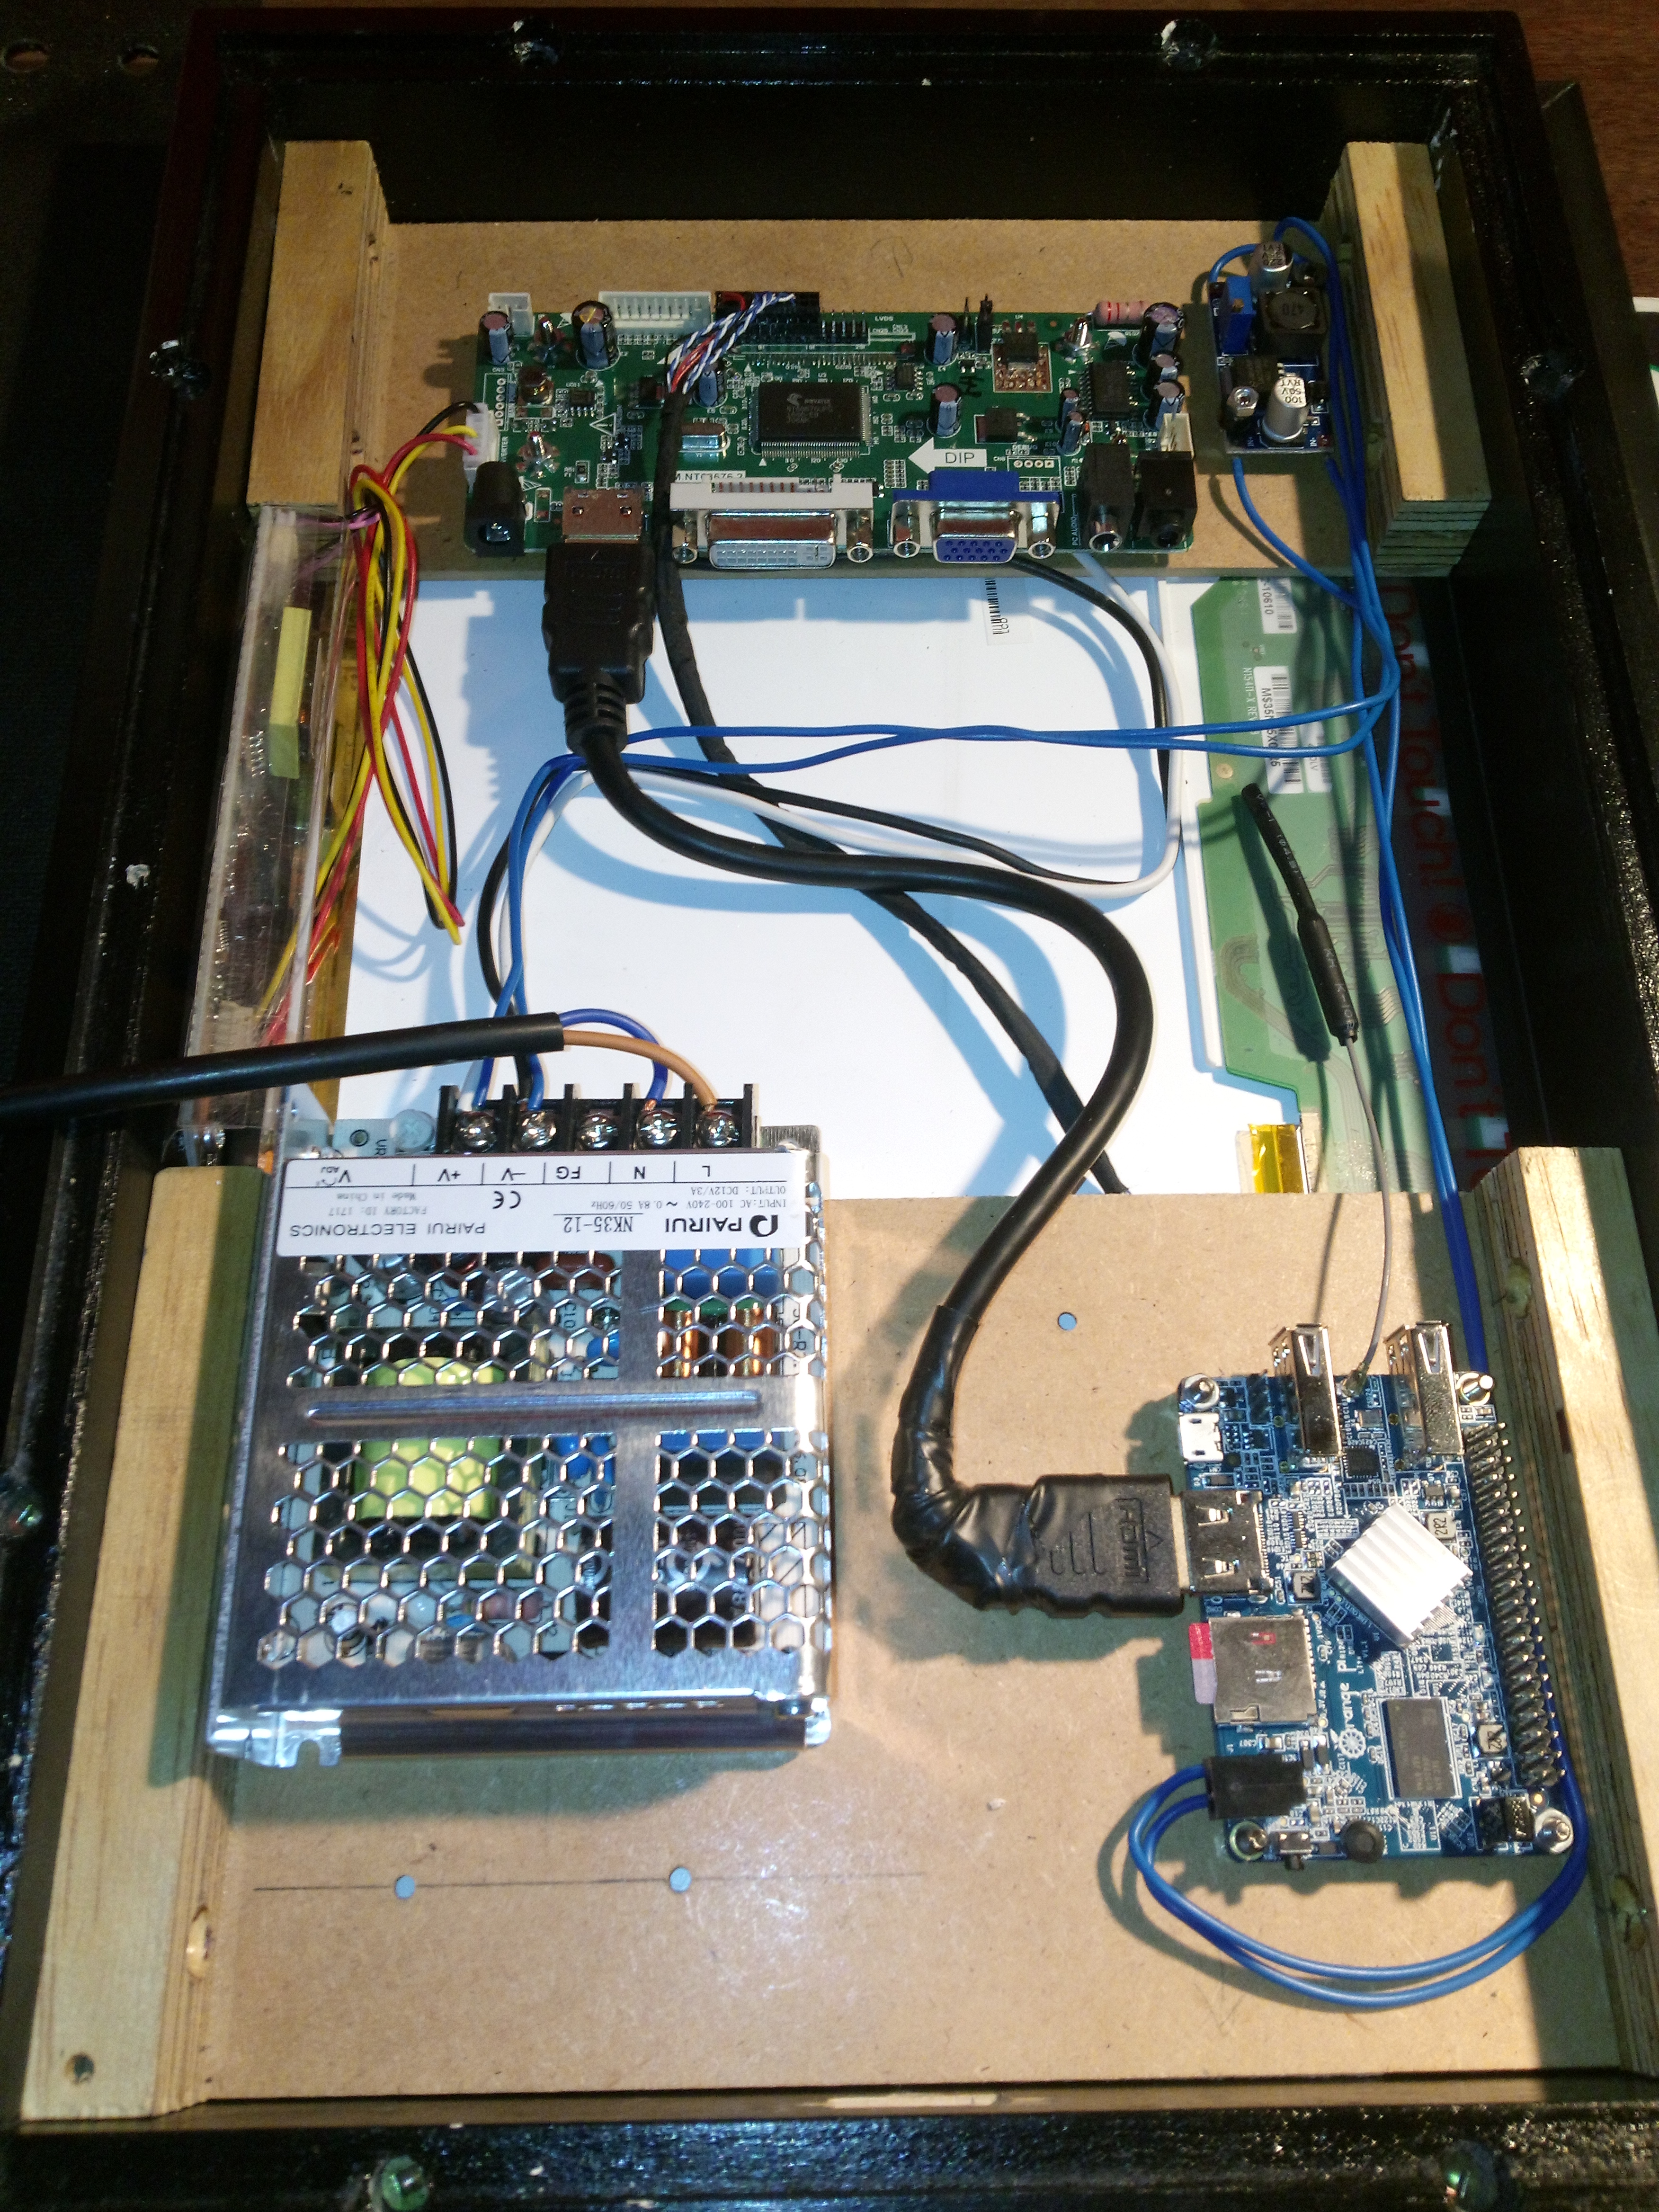
Time to connect all the bits together.
- Connect the LCD Panel to the LCD controller using the guide from the manufacturer of the LCD controller.
- This includes the connections for the backlight. The driver for the Backlight has some nasty high voltages so be careful with it.
- Connect the Orange PI to the LCD controller with the HDMI cable.
- Connect up the two power supplies.
- You will notice I did not use the DC jack on the LCD controller or the Orange Pi. I was too cheap to buy them so I soldered the power leads to the bottom of the PCB.
- Make very sure you solder them to the correct points and don't swap the polarity.
After everything is connected and you have inserted your SD card with the Armbian image go ahead and turn the power on. If you have everything correct none of the magic smoke will escape from any of the parts.
First Boot
The first boot takes VERY long as Armbian configures its self. Eventually, you will be asked for a password and to setup a new user.
I used "pi" but you can use what ever you like.
You then will be asked to reboot to resize the partitions to use the whole SD card.
After the reboot, you should boot directly to the desktop.
Some Initial Setup
After the Orage Pi has booted to the desktop open a terminal and run:
sudo armbian-config
From this interface, you can set the timezone and language. This was all I did from the armbian config tool.
Time to Setup The Wifi.
- As the Orange Pi has no wired Ethernet interface you will need to setup the wifi. From the quick launch menu, you can configure the wifi.
- I had a lot of problems with this. The wifi would connect and work fine but I would not be able to ping the Orange Pi from the rest of my network after a while. This seems to be a bug in the network manager.
This is a link on how to hard code the wifi settings. Link: Thank all the guys on the forum for the help in getting this solved.
I suspect that this bug will be fixed in the next release so you won't need to hassle with hard coding the wifi.
Once you have an internet connection up and running it's time for some updates. Open a terminal and run the following.
sudo apt update
sudo apt upgrade
I had some problems with locking so had to reboot between the two commands.
After the update, you may need to reboot for all the setting to take effect. so reboot.
Install a Better Browser
Next, we can install Chromium. From a terminal run
sudo apt-get install chromium-browser
Rotate the Screen
# Append
Section "Device" Identifier "default" Driver "fbdev" Option "Rotate" "CCW" EndSectionI wanted to use the screen in portrait mode. It turns or rotating the display on the Orange Pi Lite is no simple feat. This is because the display driver is not fully compatible and is missing a lot of features. This means that you can just change the setting in the config file like with a Raspberry Pi or use xrandr to rotate the display.
Many hours of googling got me to these forum posts.
- https://forum.armbian.com/index.php?/topic/1950-or...
- https://forum.armbian.com/index.php?/topic/1950-o...
Open a terminal
sudo nano /etc/X11/xorg.conf.d/01-armbian-defaults.conf
Append the following onto the end of the file:
# Append
Section "Device" Identifier "default" Driver "fbdev" Option "Rotate" "CCW" EndSection
Save the file and reboot. After the reboot, the display should be rotated. You can change the direction of rotation by changing "CCW" to "CW".
Install Node JS
Node JS come standard with the Raspberry but not with Armbian, so we will need to install it.
Here is a link to the guide for more info:
https://nodejs.org/en/download/package-manager/#de...
Open a terminal and run the following commands
curl -sL https://deb.nodesource.com/setup_6.x | sudo -E bash -
sudo apt-get install -y nodejs
Install MagicMirror
As we are running Armnian there is no precompiled version so we will need to download the source and compile it for ourselves. This is very easy to do.
Here is a link for more details https://github.com/MichMich/MagicMirror
From a terminal run.
git clone https://github.com/MichMich/MagicMirror
cd MagicMirrornpm install
You may need to install git and npm but this is easy to do using sudo apt install package-name.
Time to run MagicMirror for the first time.
Another link for more info https://forum.magicmirror.builders/topic/236/complete-setup-tutorial/6
From a terminal
cd MagicMirror/config
cp config.js.sample config.js
cd $HOME/MagicMirror
npm start
This will load the default config and will run MagicMirror
Auto Start MagicMirror
If you want to auto start MagicMirror at boot follow the following link. This also give a very nice tool for starting and stopping the service.
Hide the Mouse
As I do not plan to have a mouse or keyboard connected to the Orange Pi needed to hide the mouse pointer. Unclutter is a very old application that does this but it works like a charm.
sudo apt-get install unclutter
sudo crontab -e
#add
@reboot unclutter &
Customise Magic Mirror
MagicMirror is very easy to customize and expand as you need.
Have a look at their wiki for lots of guides and examples and modules that are free to use...
https://github.com/MichMich/MagicMirror/wiki/Magic...
Good luck and have fun...