OpenDarts - the Home Made Darts Machine
by RMAlves in Circuits > Electronics
13935 Views, 45 Favorites, 0 Comments
OpenDarts - the Home Made Darts Machine
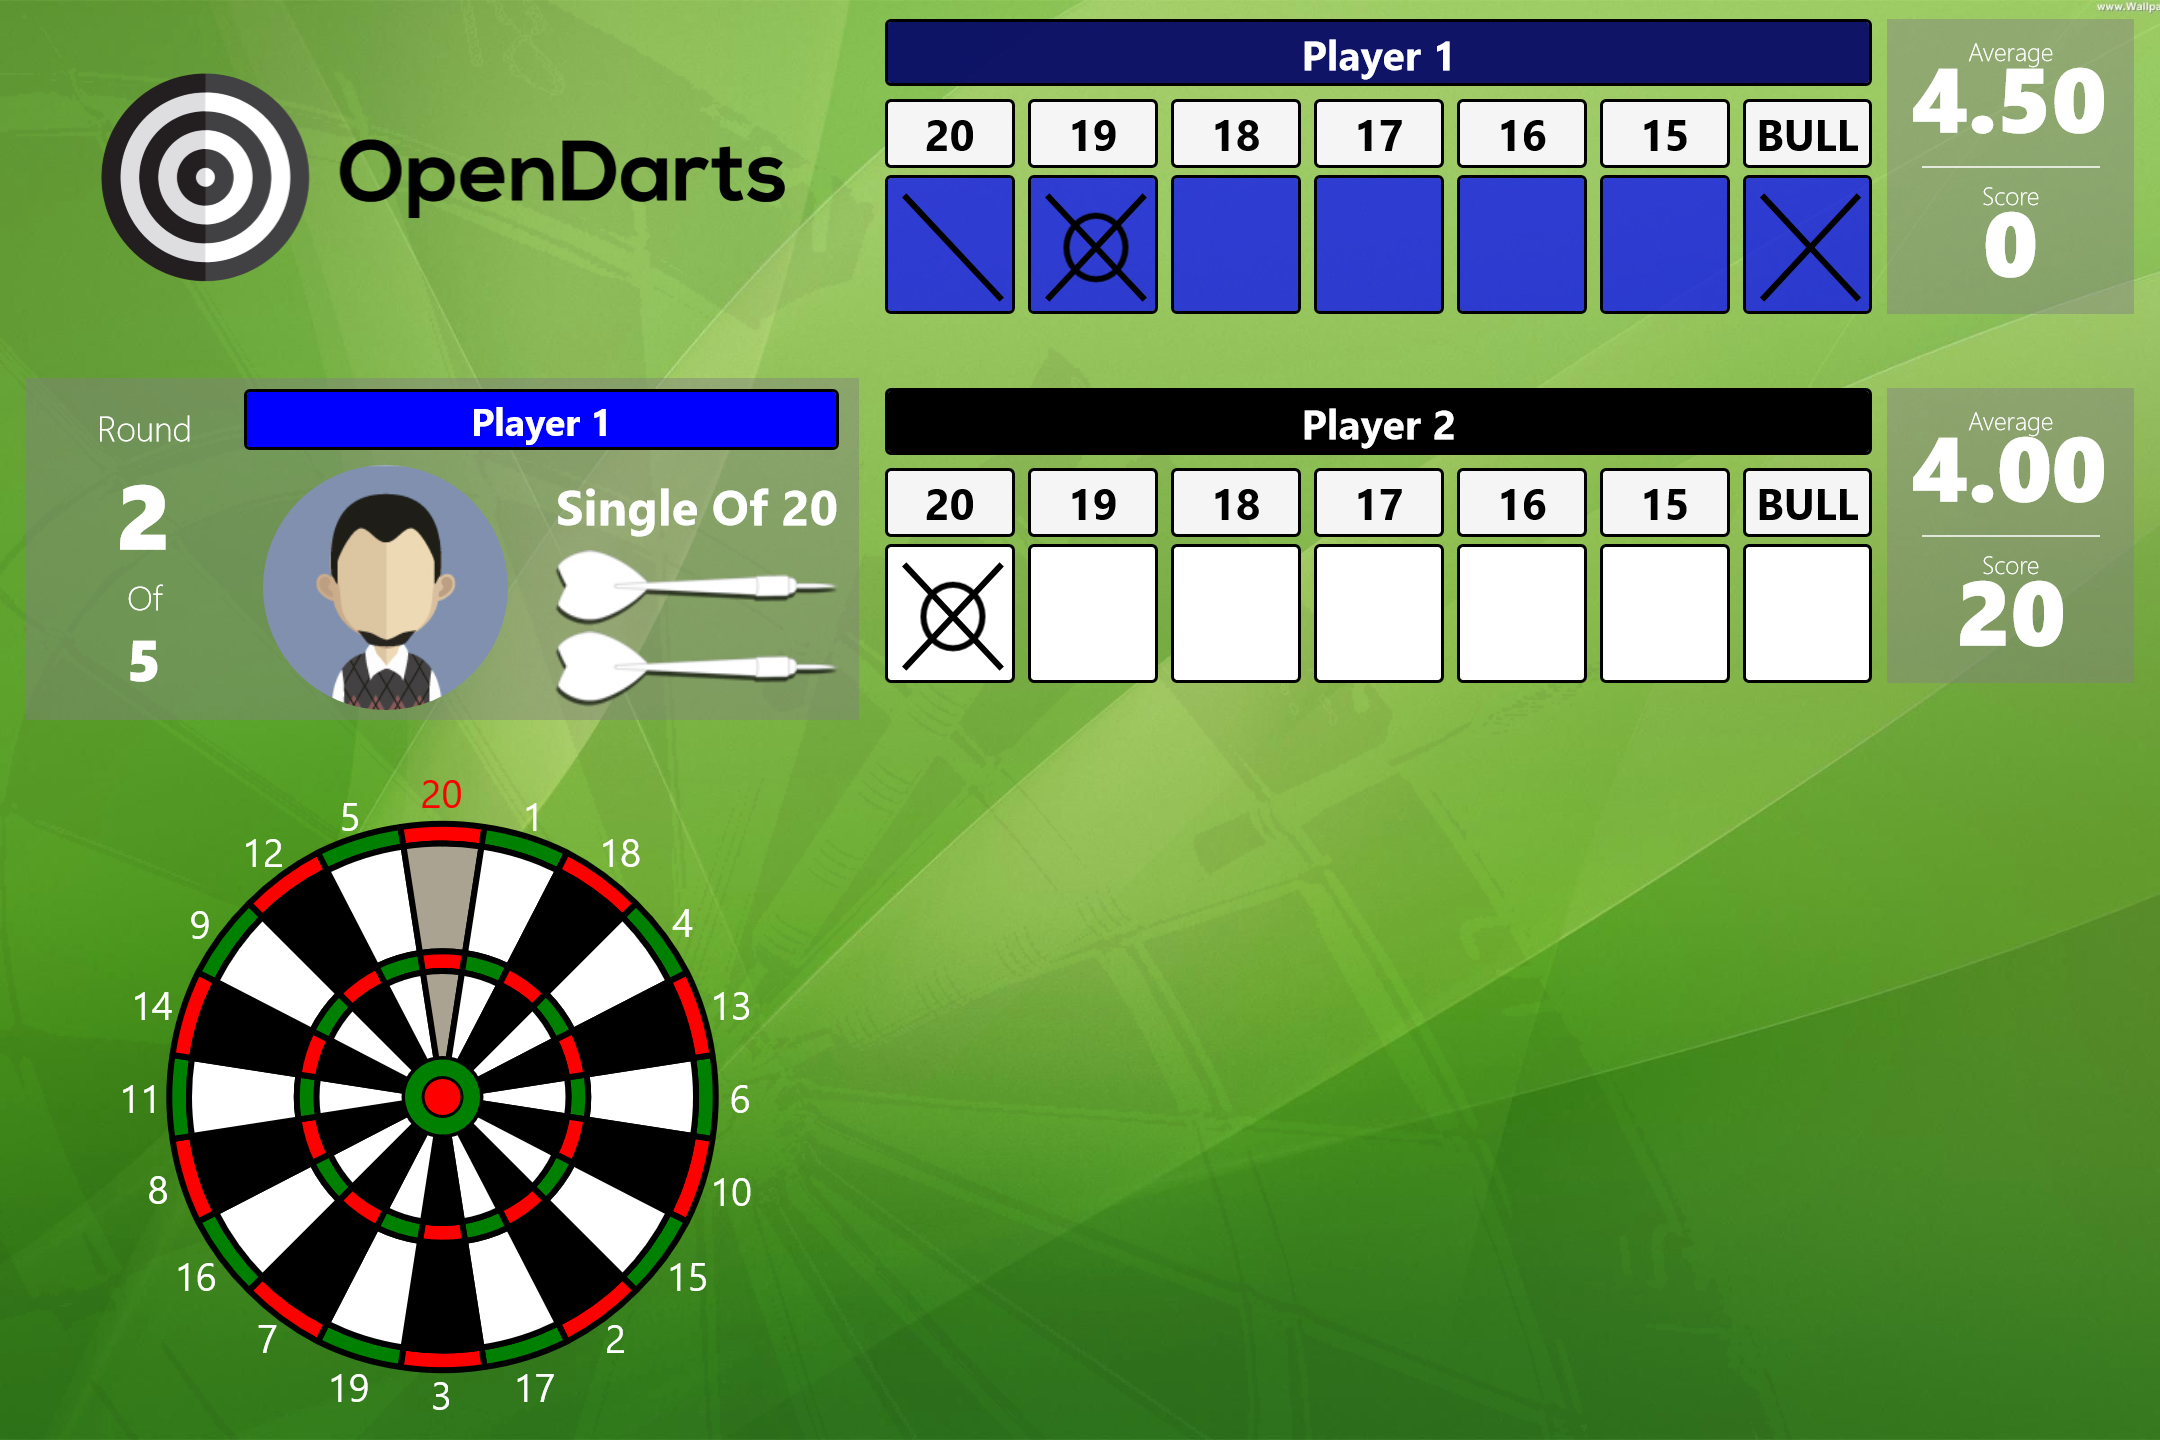
The OpenDarts is a software available for Windows 10 Devices and can be found on the Windows Store. This software lets your PC act just as a dart machine you can find at a bar: You can play on a physical dartboard and you can either mark the positions you hit manually on the app, or you can use your own dartboard to make this process automatic.
In this tutorial, you will learn on easy steps how to turn a 15 dollars electronic dart onto a dart machine using an arduino and connect to your PC in order to communicate with OpenDarts software.
Requirements:
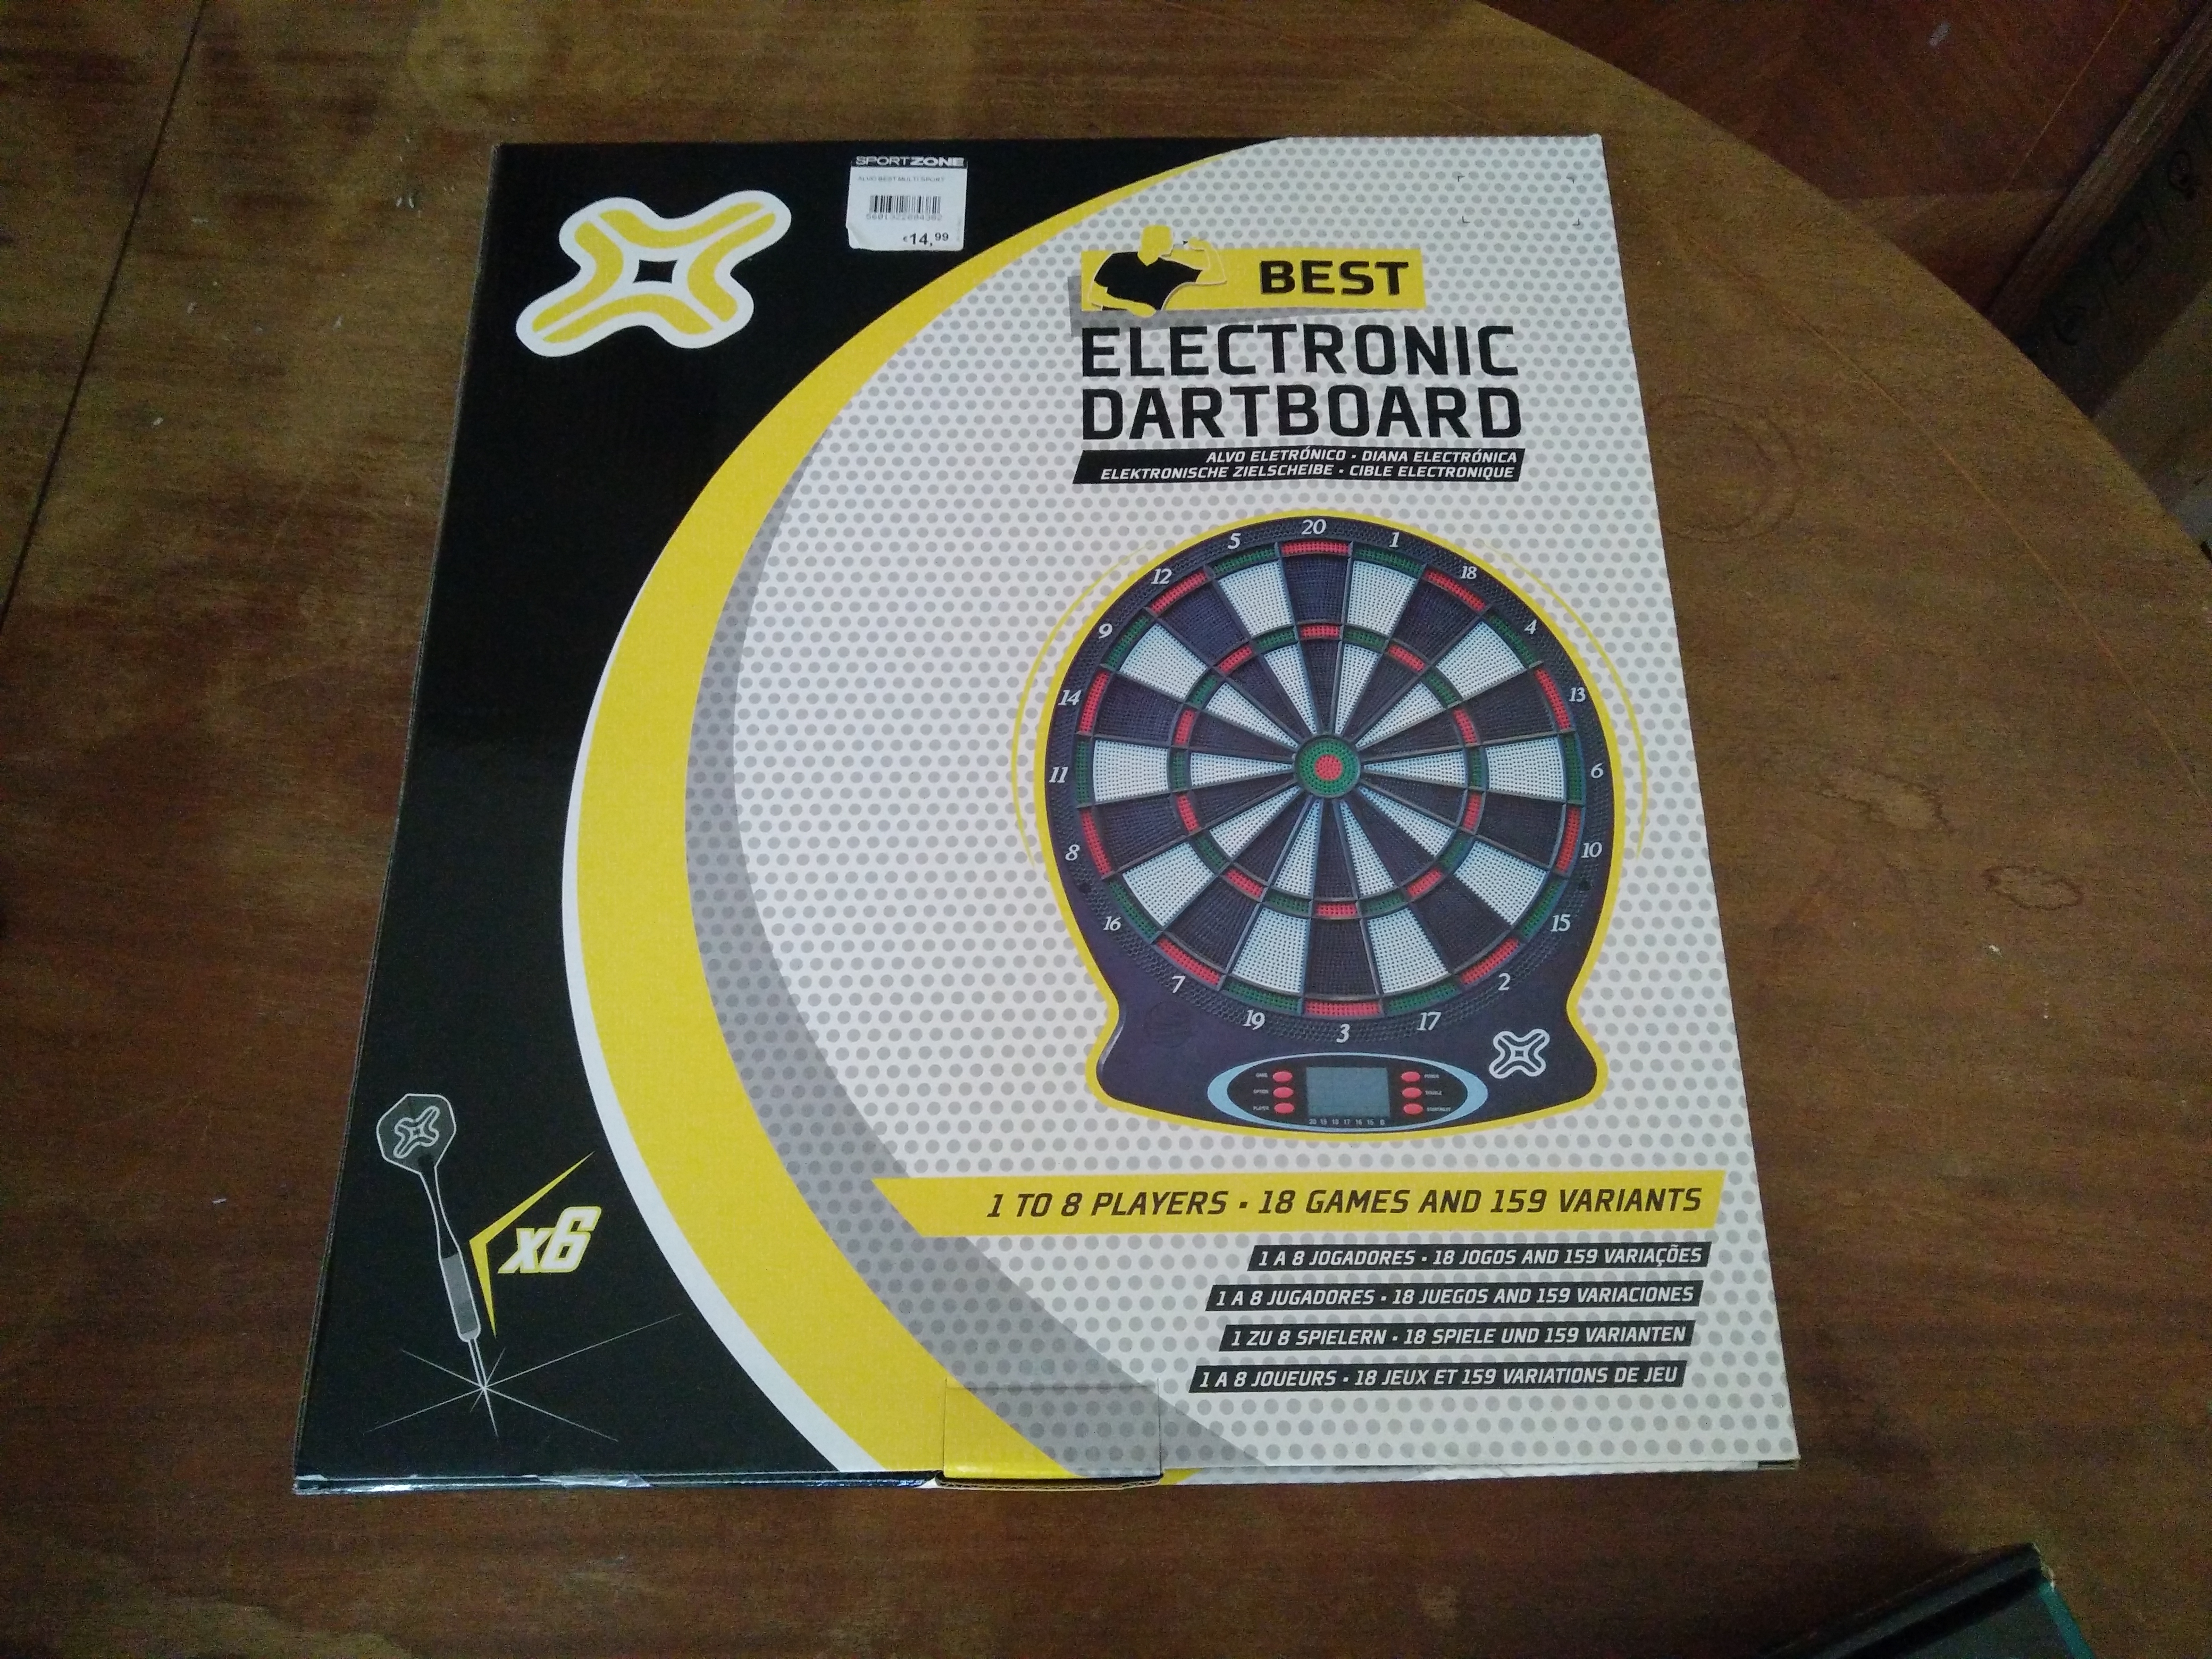
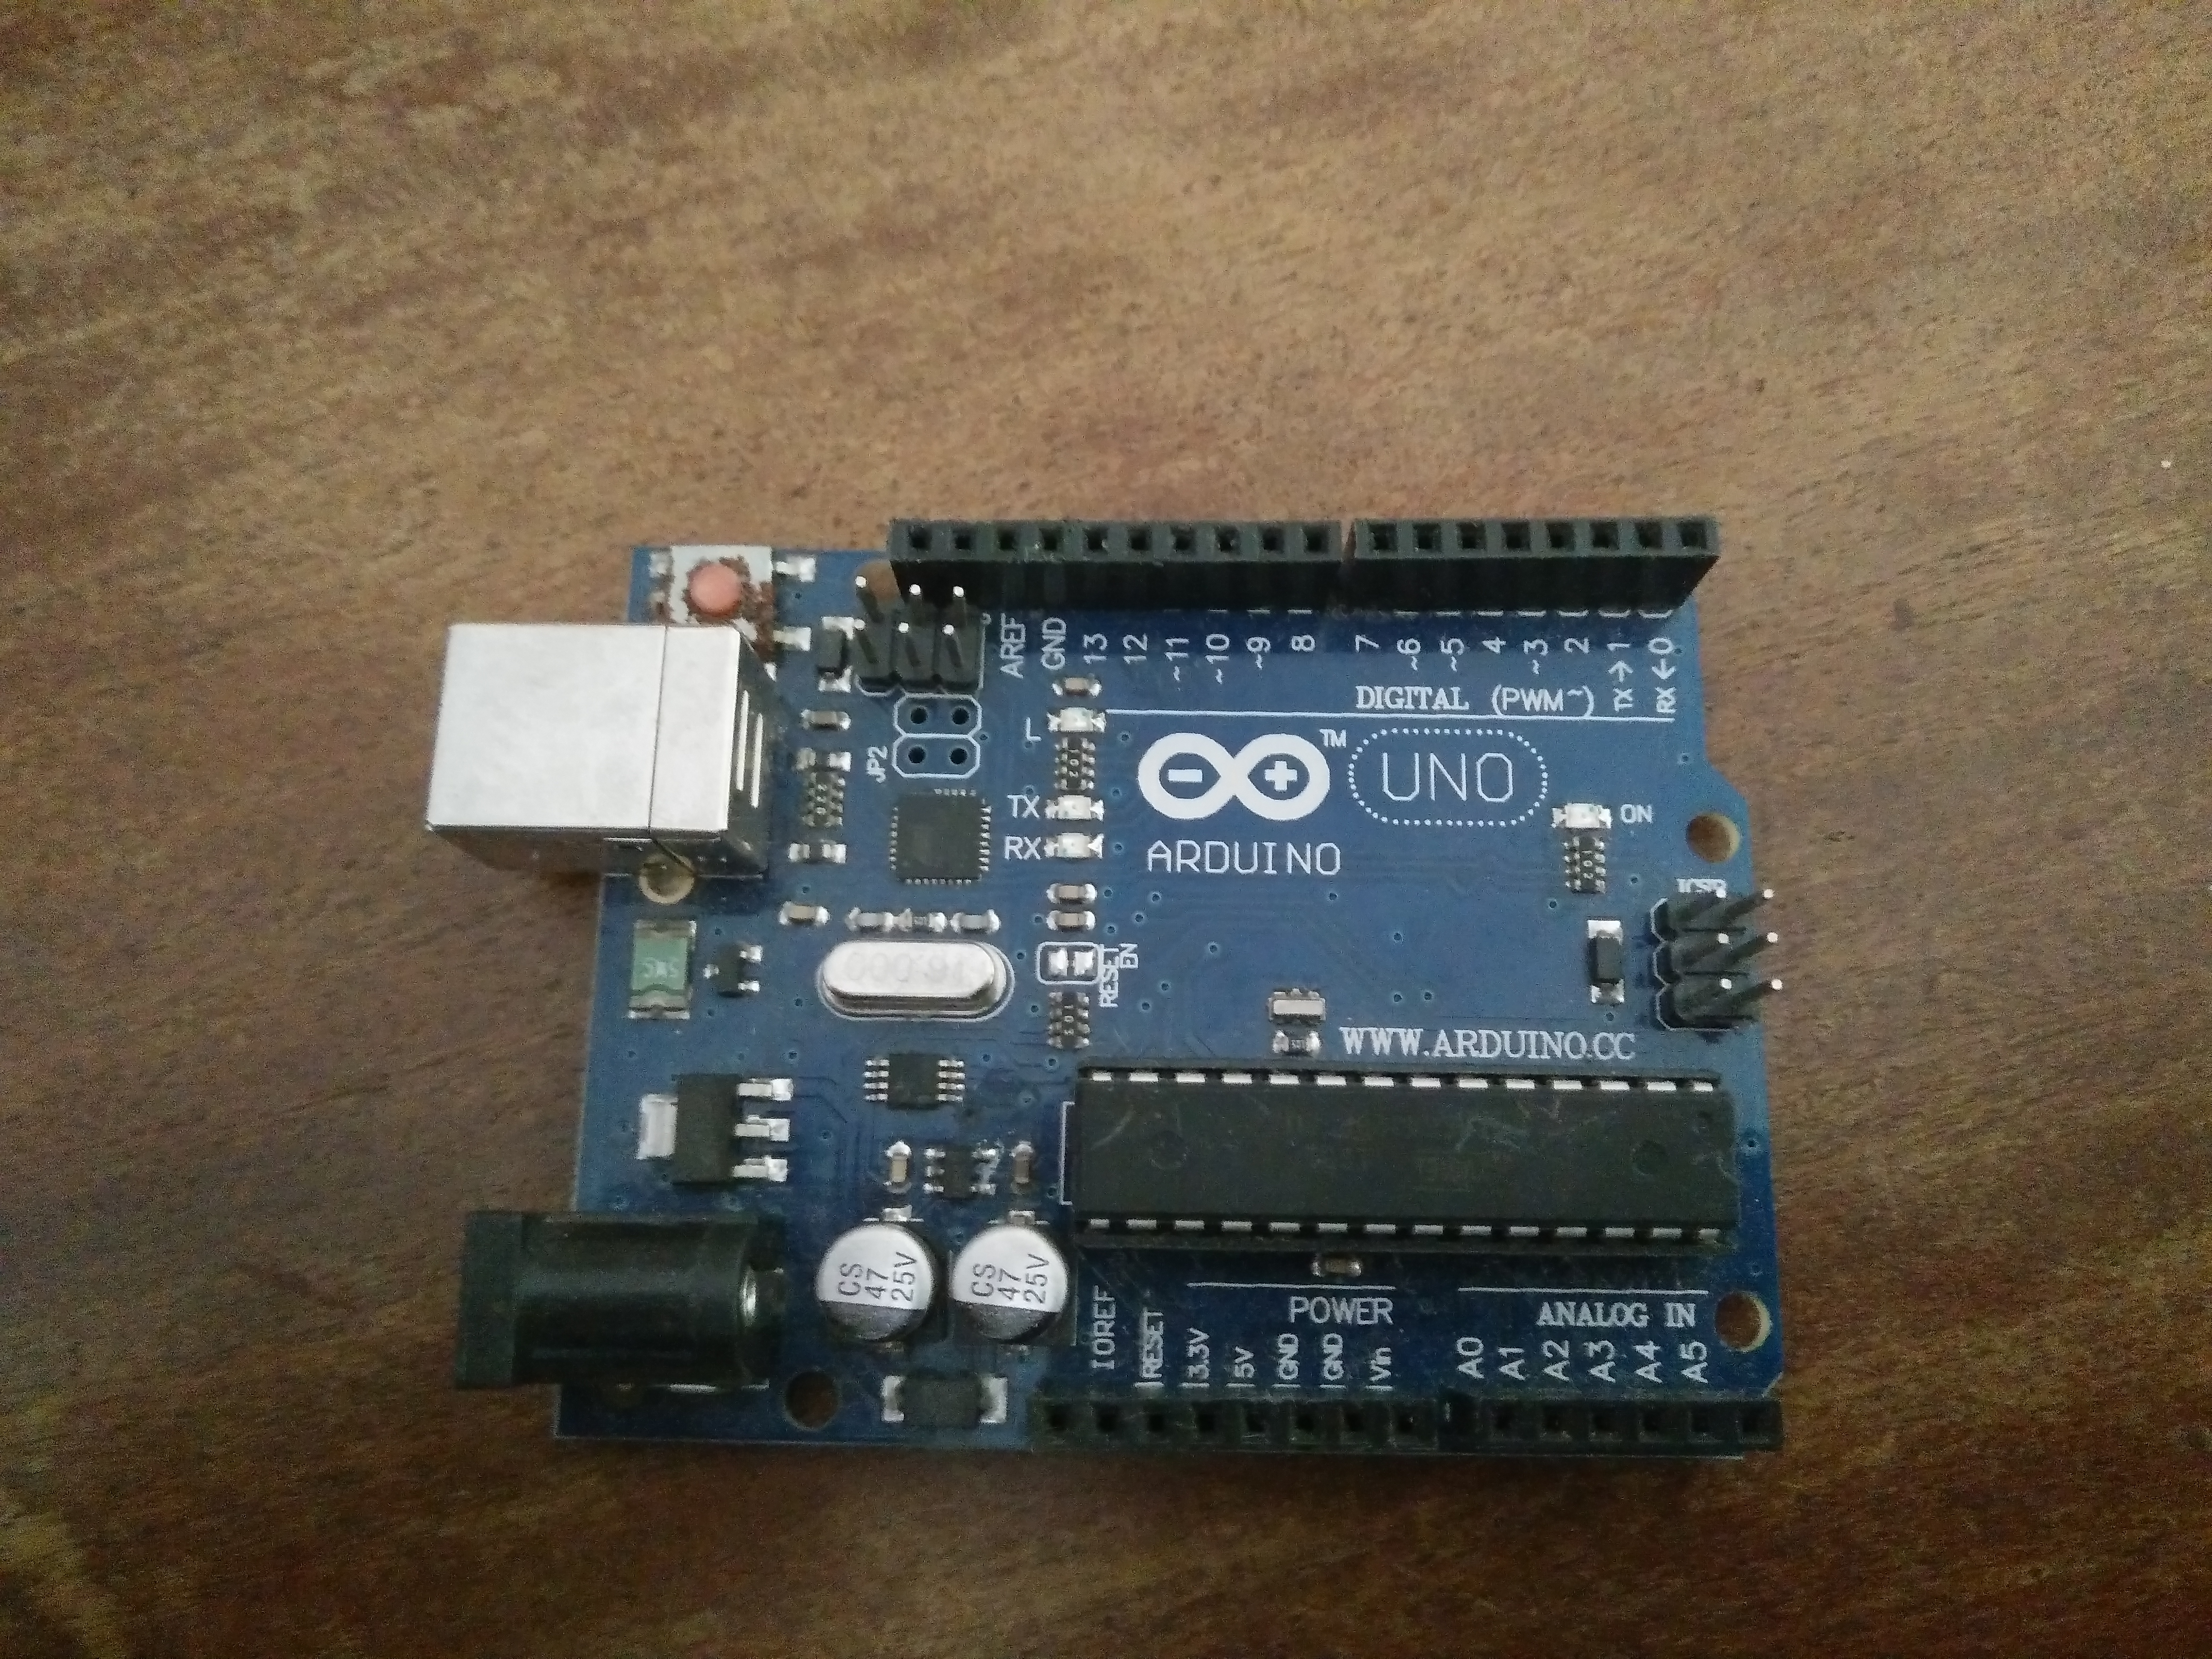
For this tutorial, you will need:
Building Material:
- An Electronic Dartboard: Any dartboard can be turned into a dart machine. On the next steps I'm using the cheapeast one I found (15 dollars).
- An Arduino Uno or Mega: Although you can use any microcontroller or even a raspberry pi, I'm using an Arduino Uno because is cheap and well supported on the internet. The code will be provided.
Tools:
- Soldering Iron
- Solder
- Screwdrivers
Knowledge and Skills:
- Soldering (Level Basic)
- Arduino/Programming (Level Basic)
This is all it is needed. Optionally, OpenDarts software supports:
- Vibration sensors: To detect when a dart misses the dartboard. You can use the computer keyboard for this.
- Skip Button: To end a player turn. You can use the computer keyboard for this.
- Back Button: To undo a move made by mistake. You can use the computer keyboard for this.
Open the Dartboard and Remove Electronics
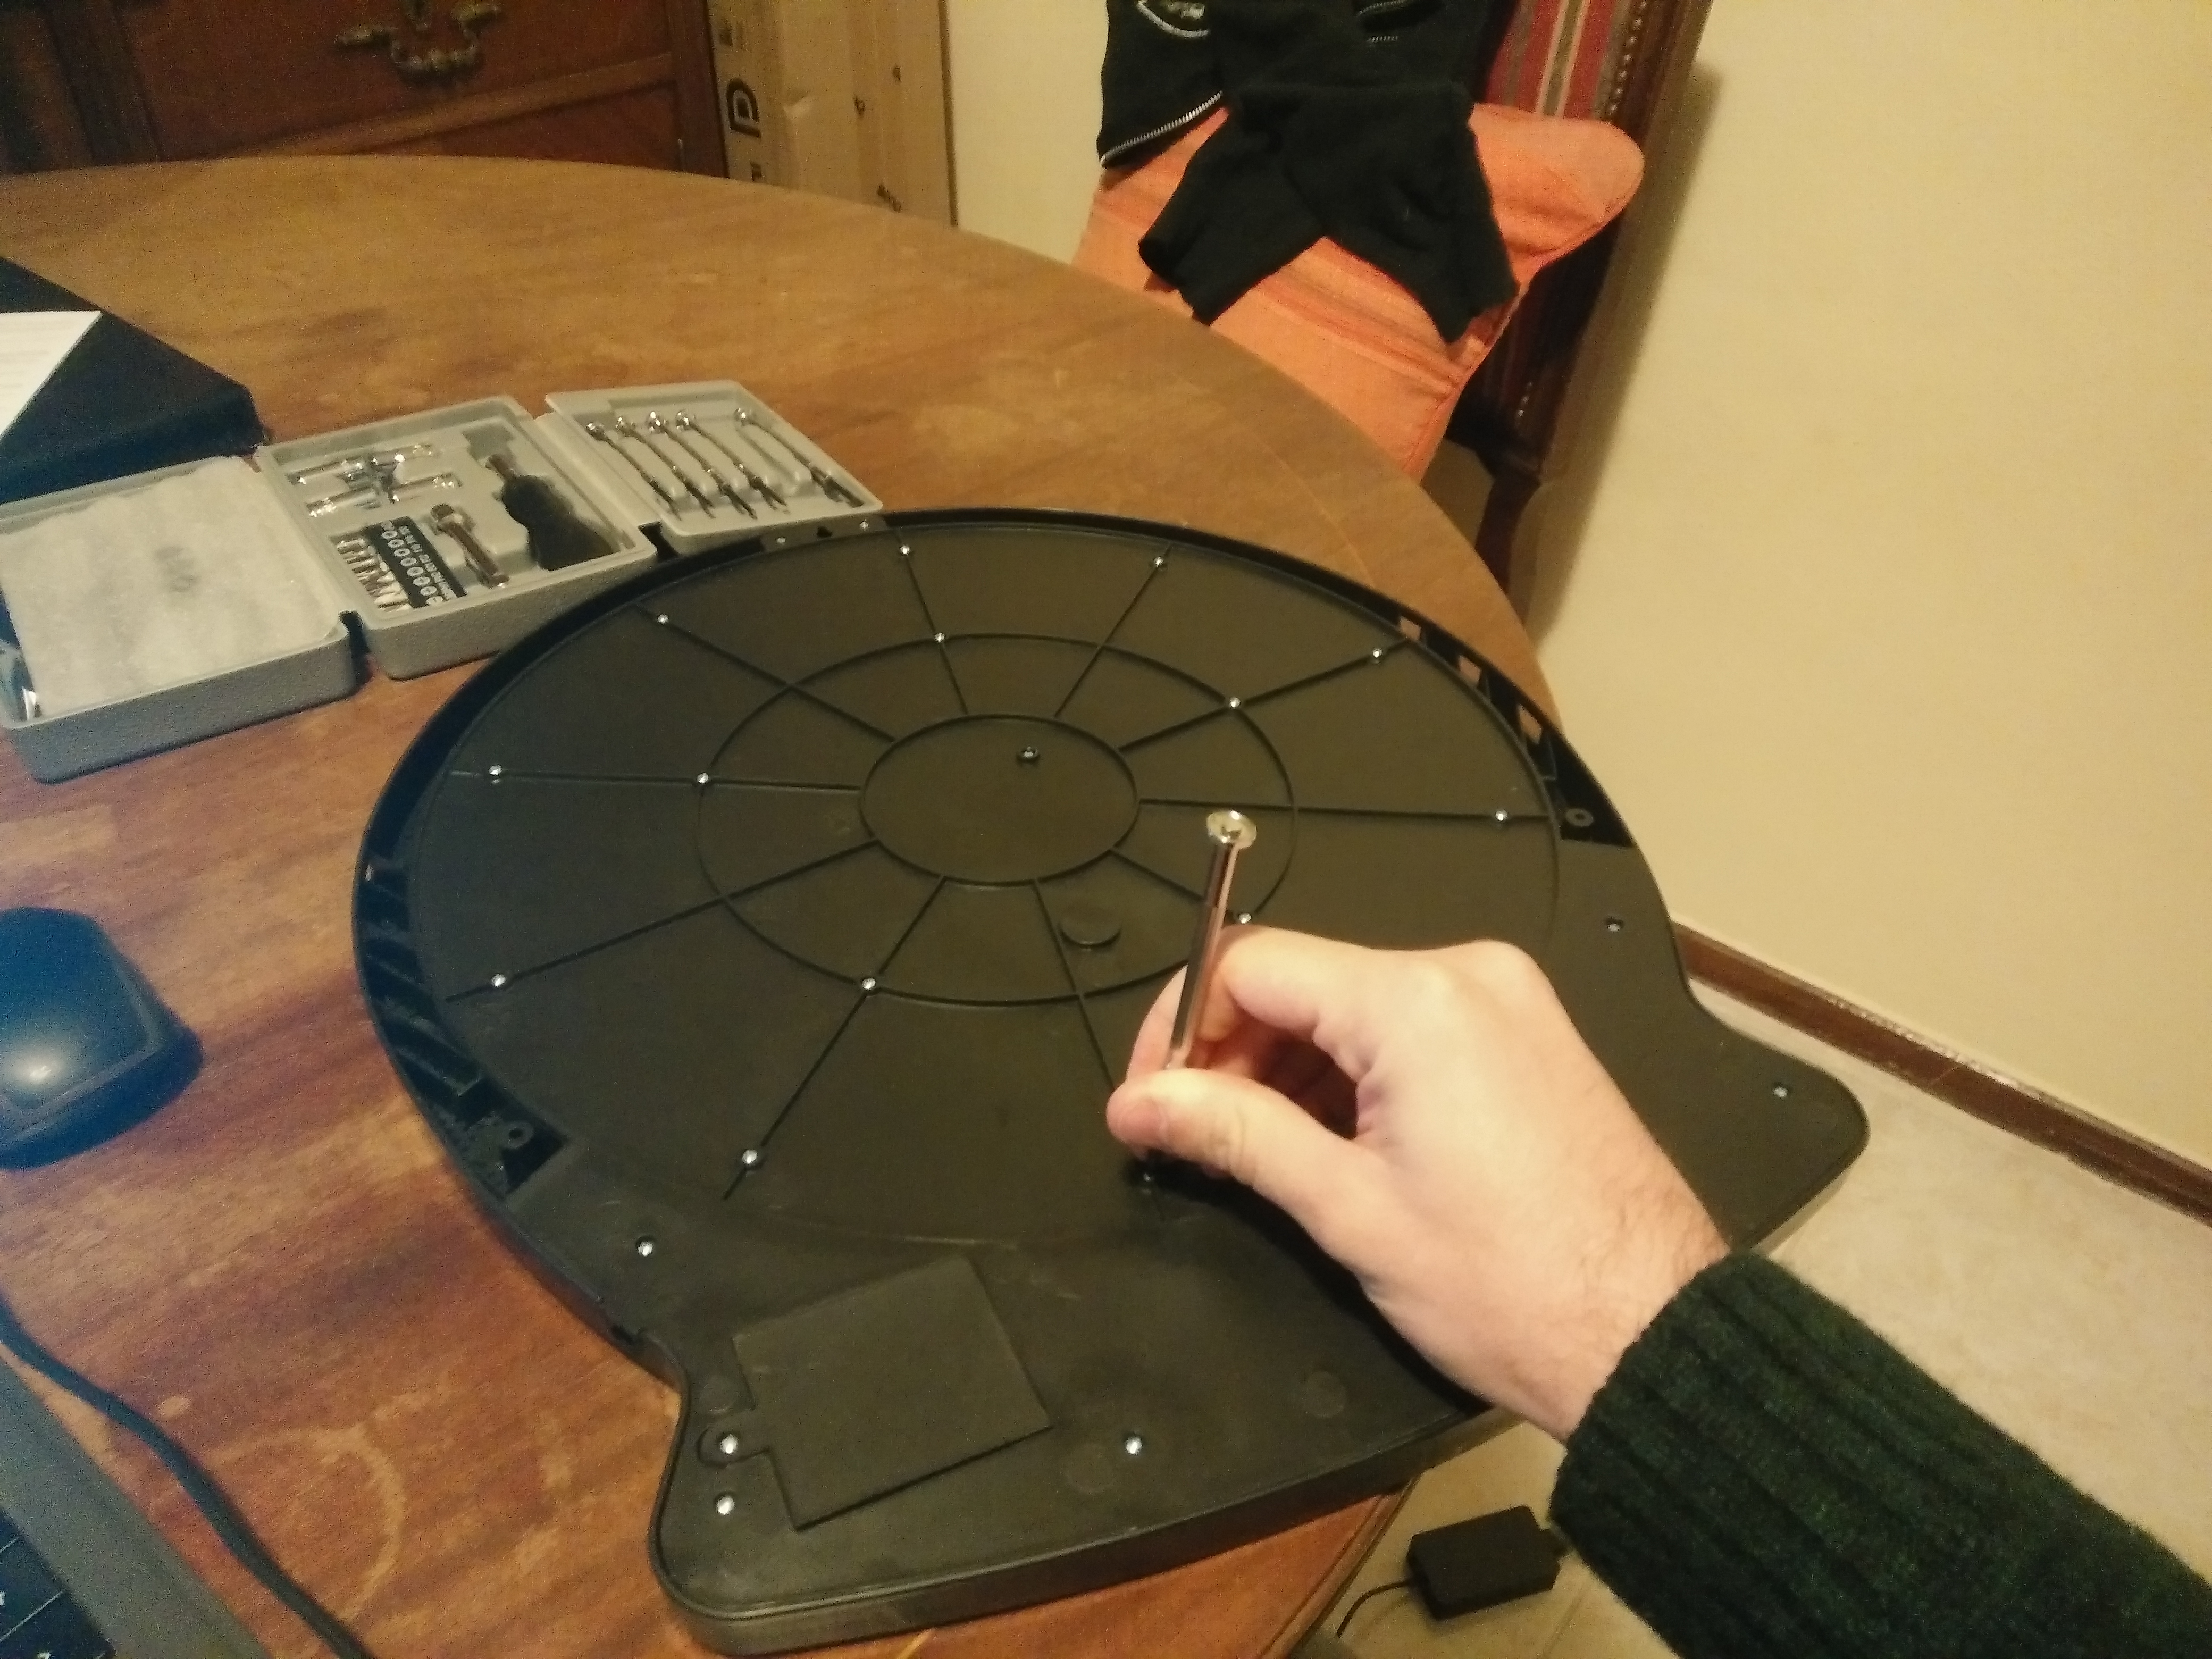
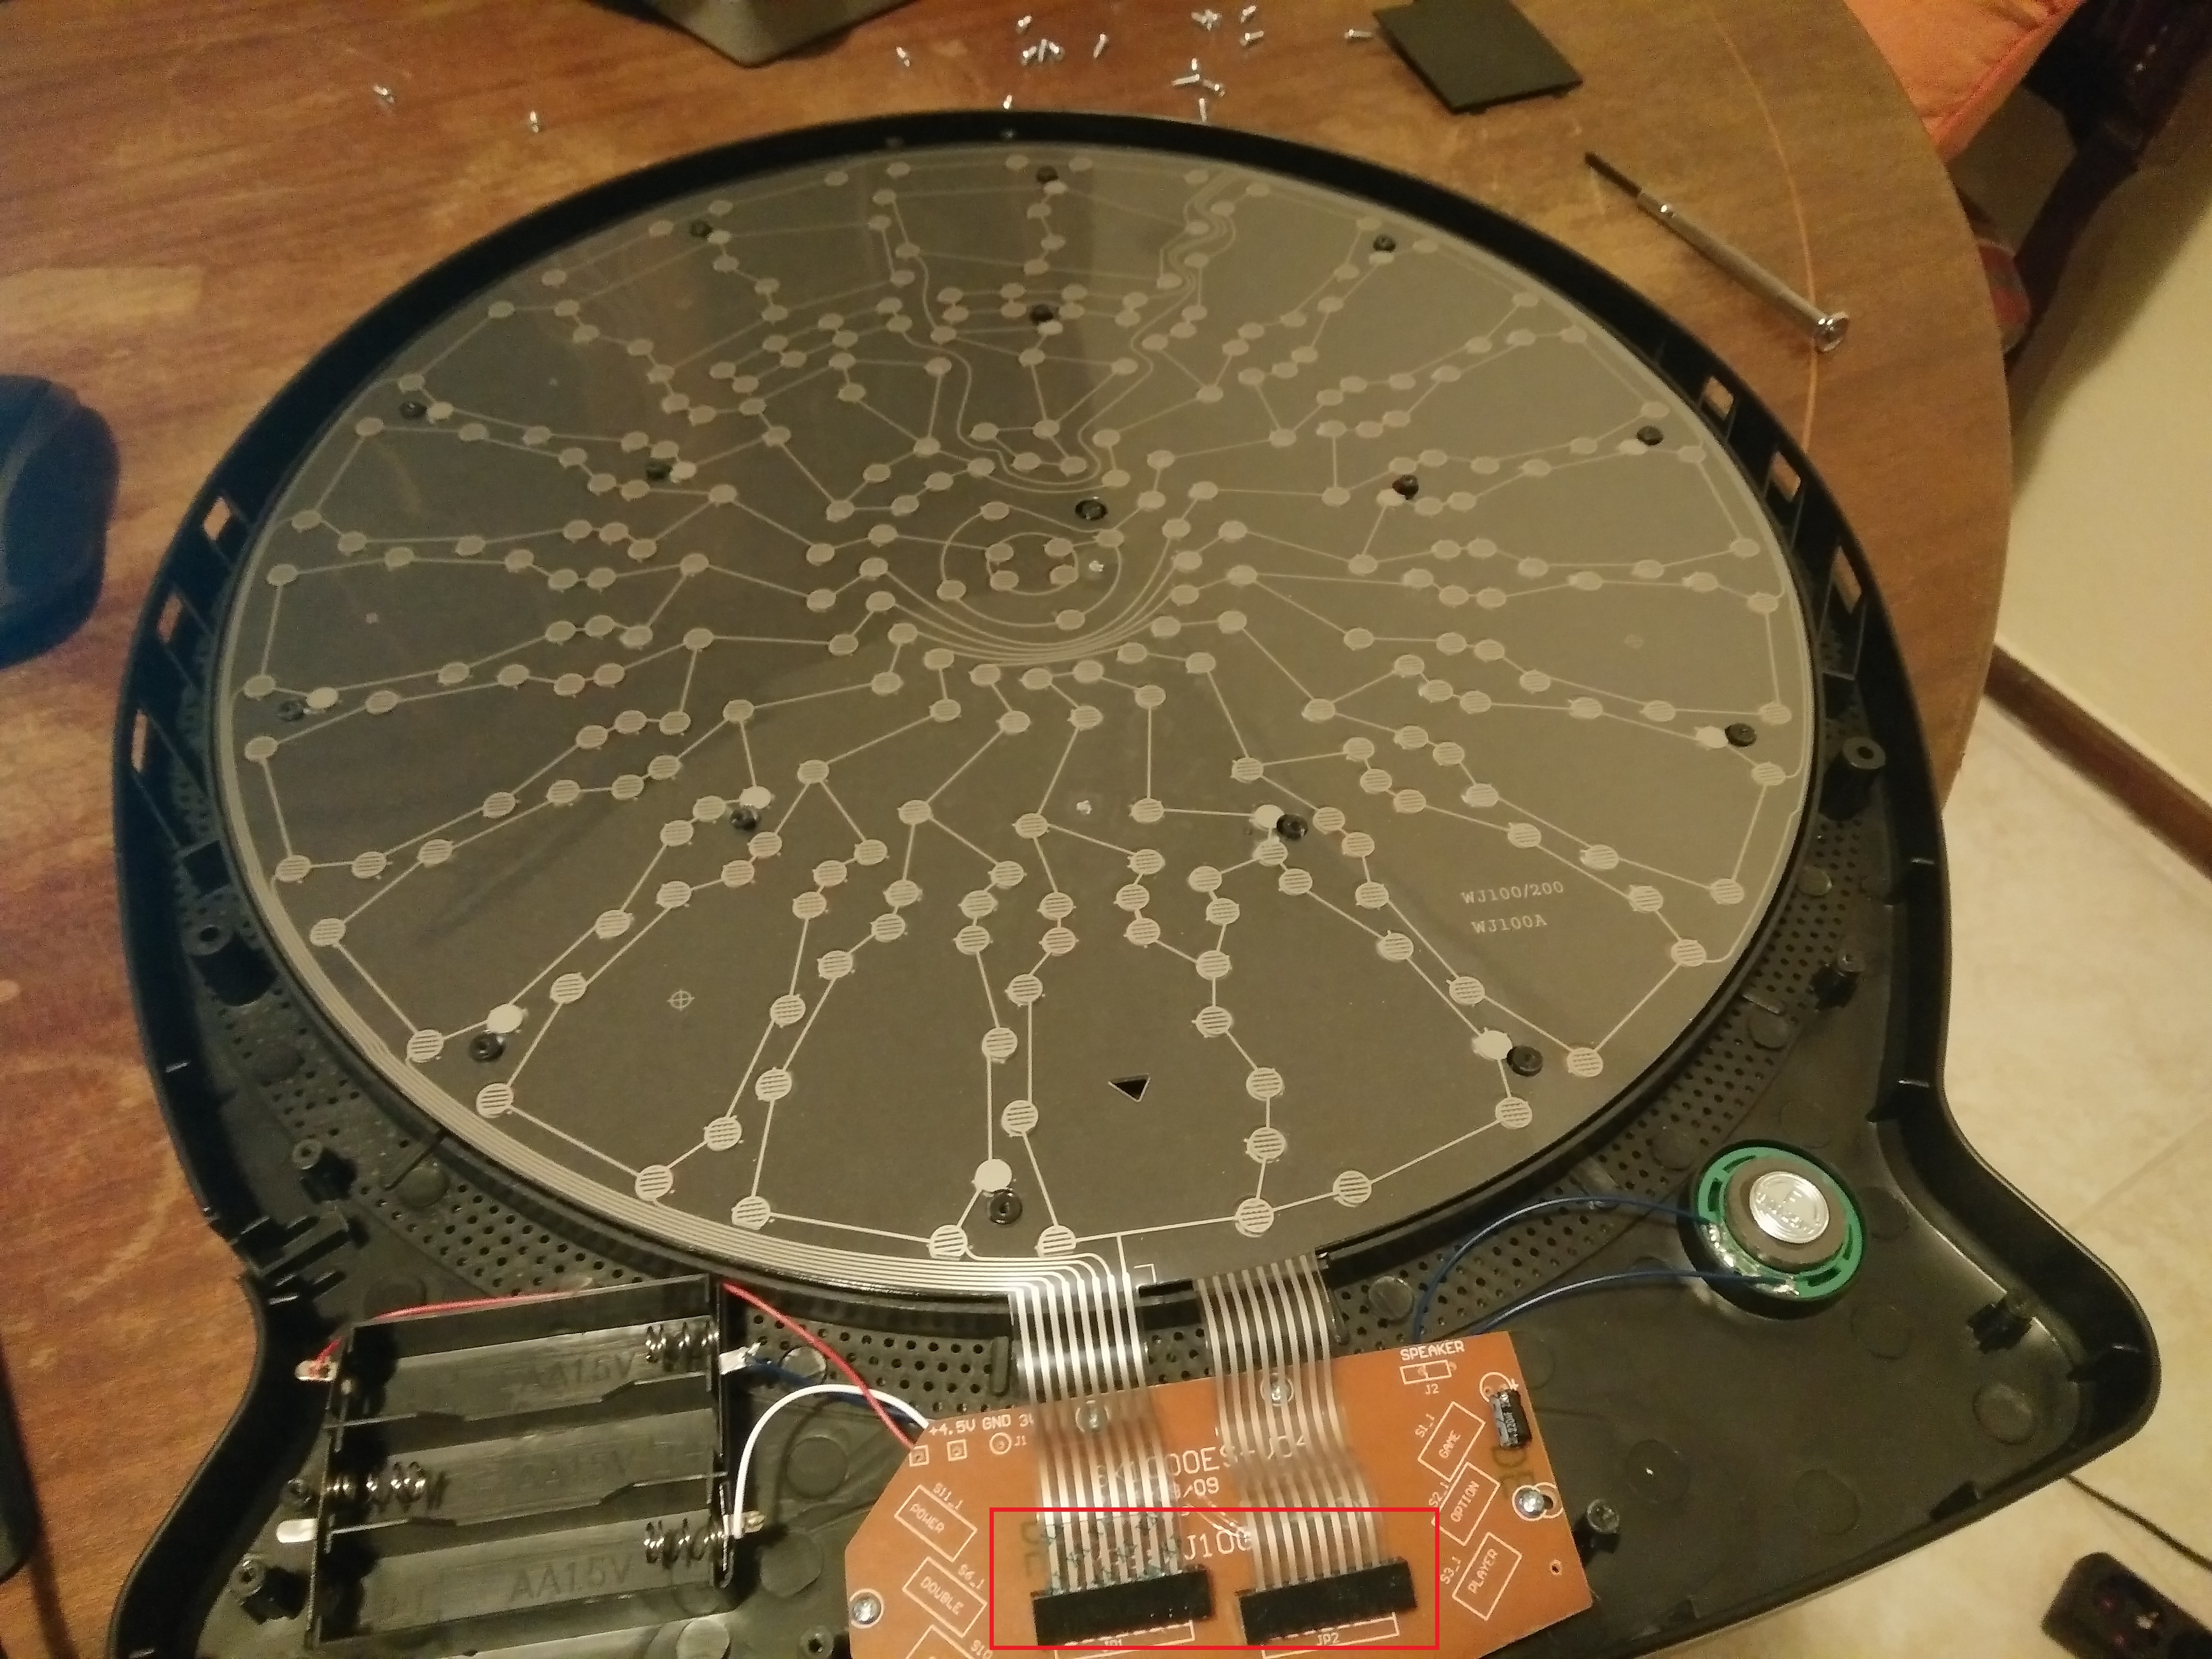
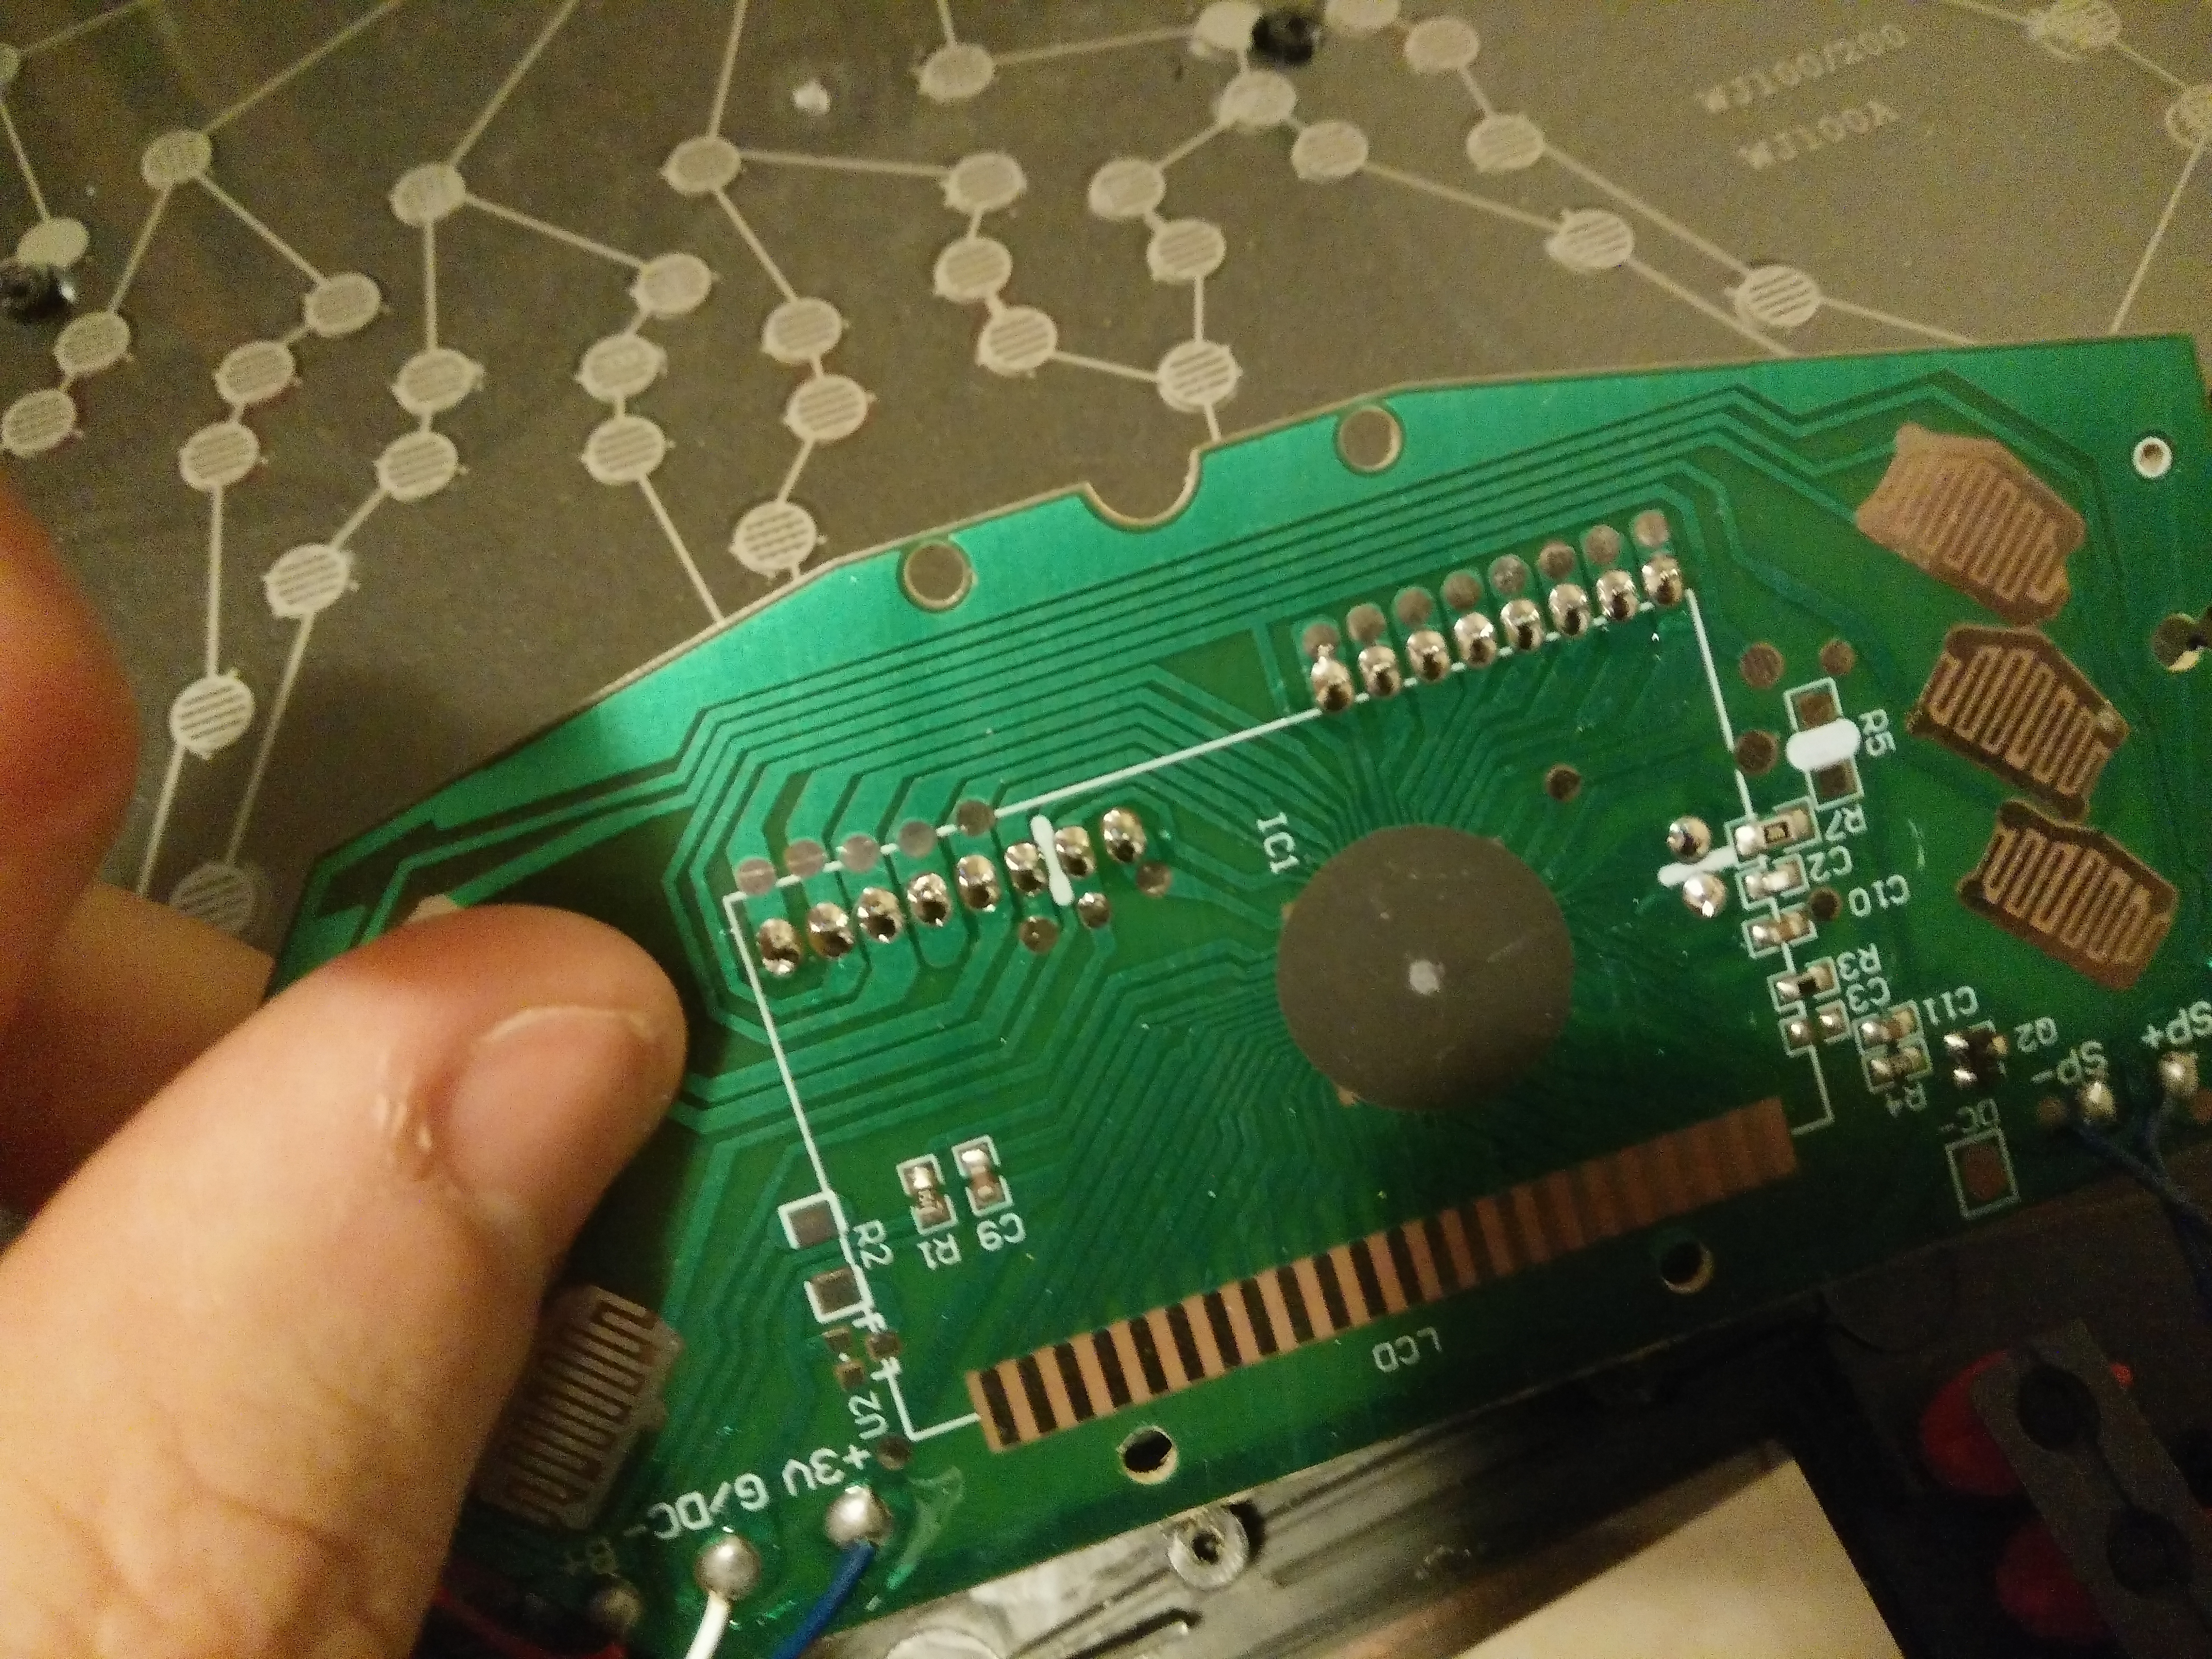
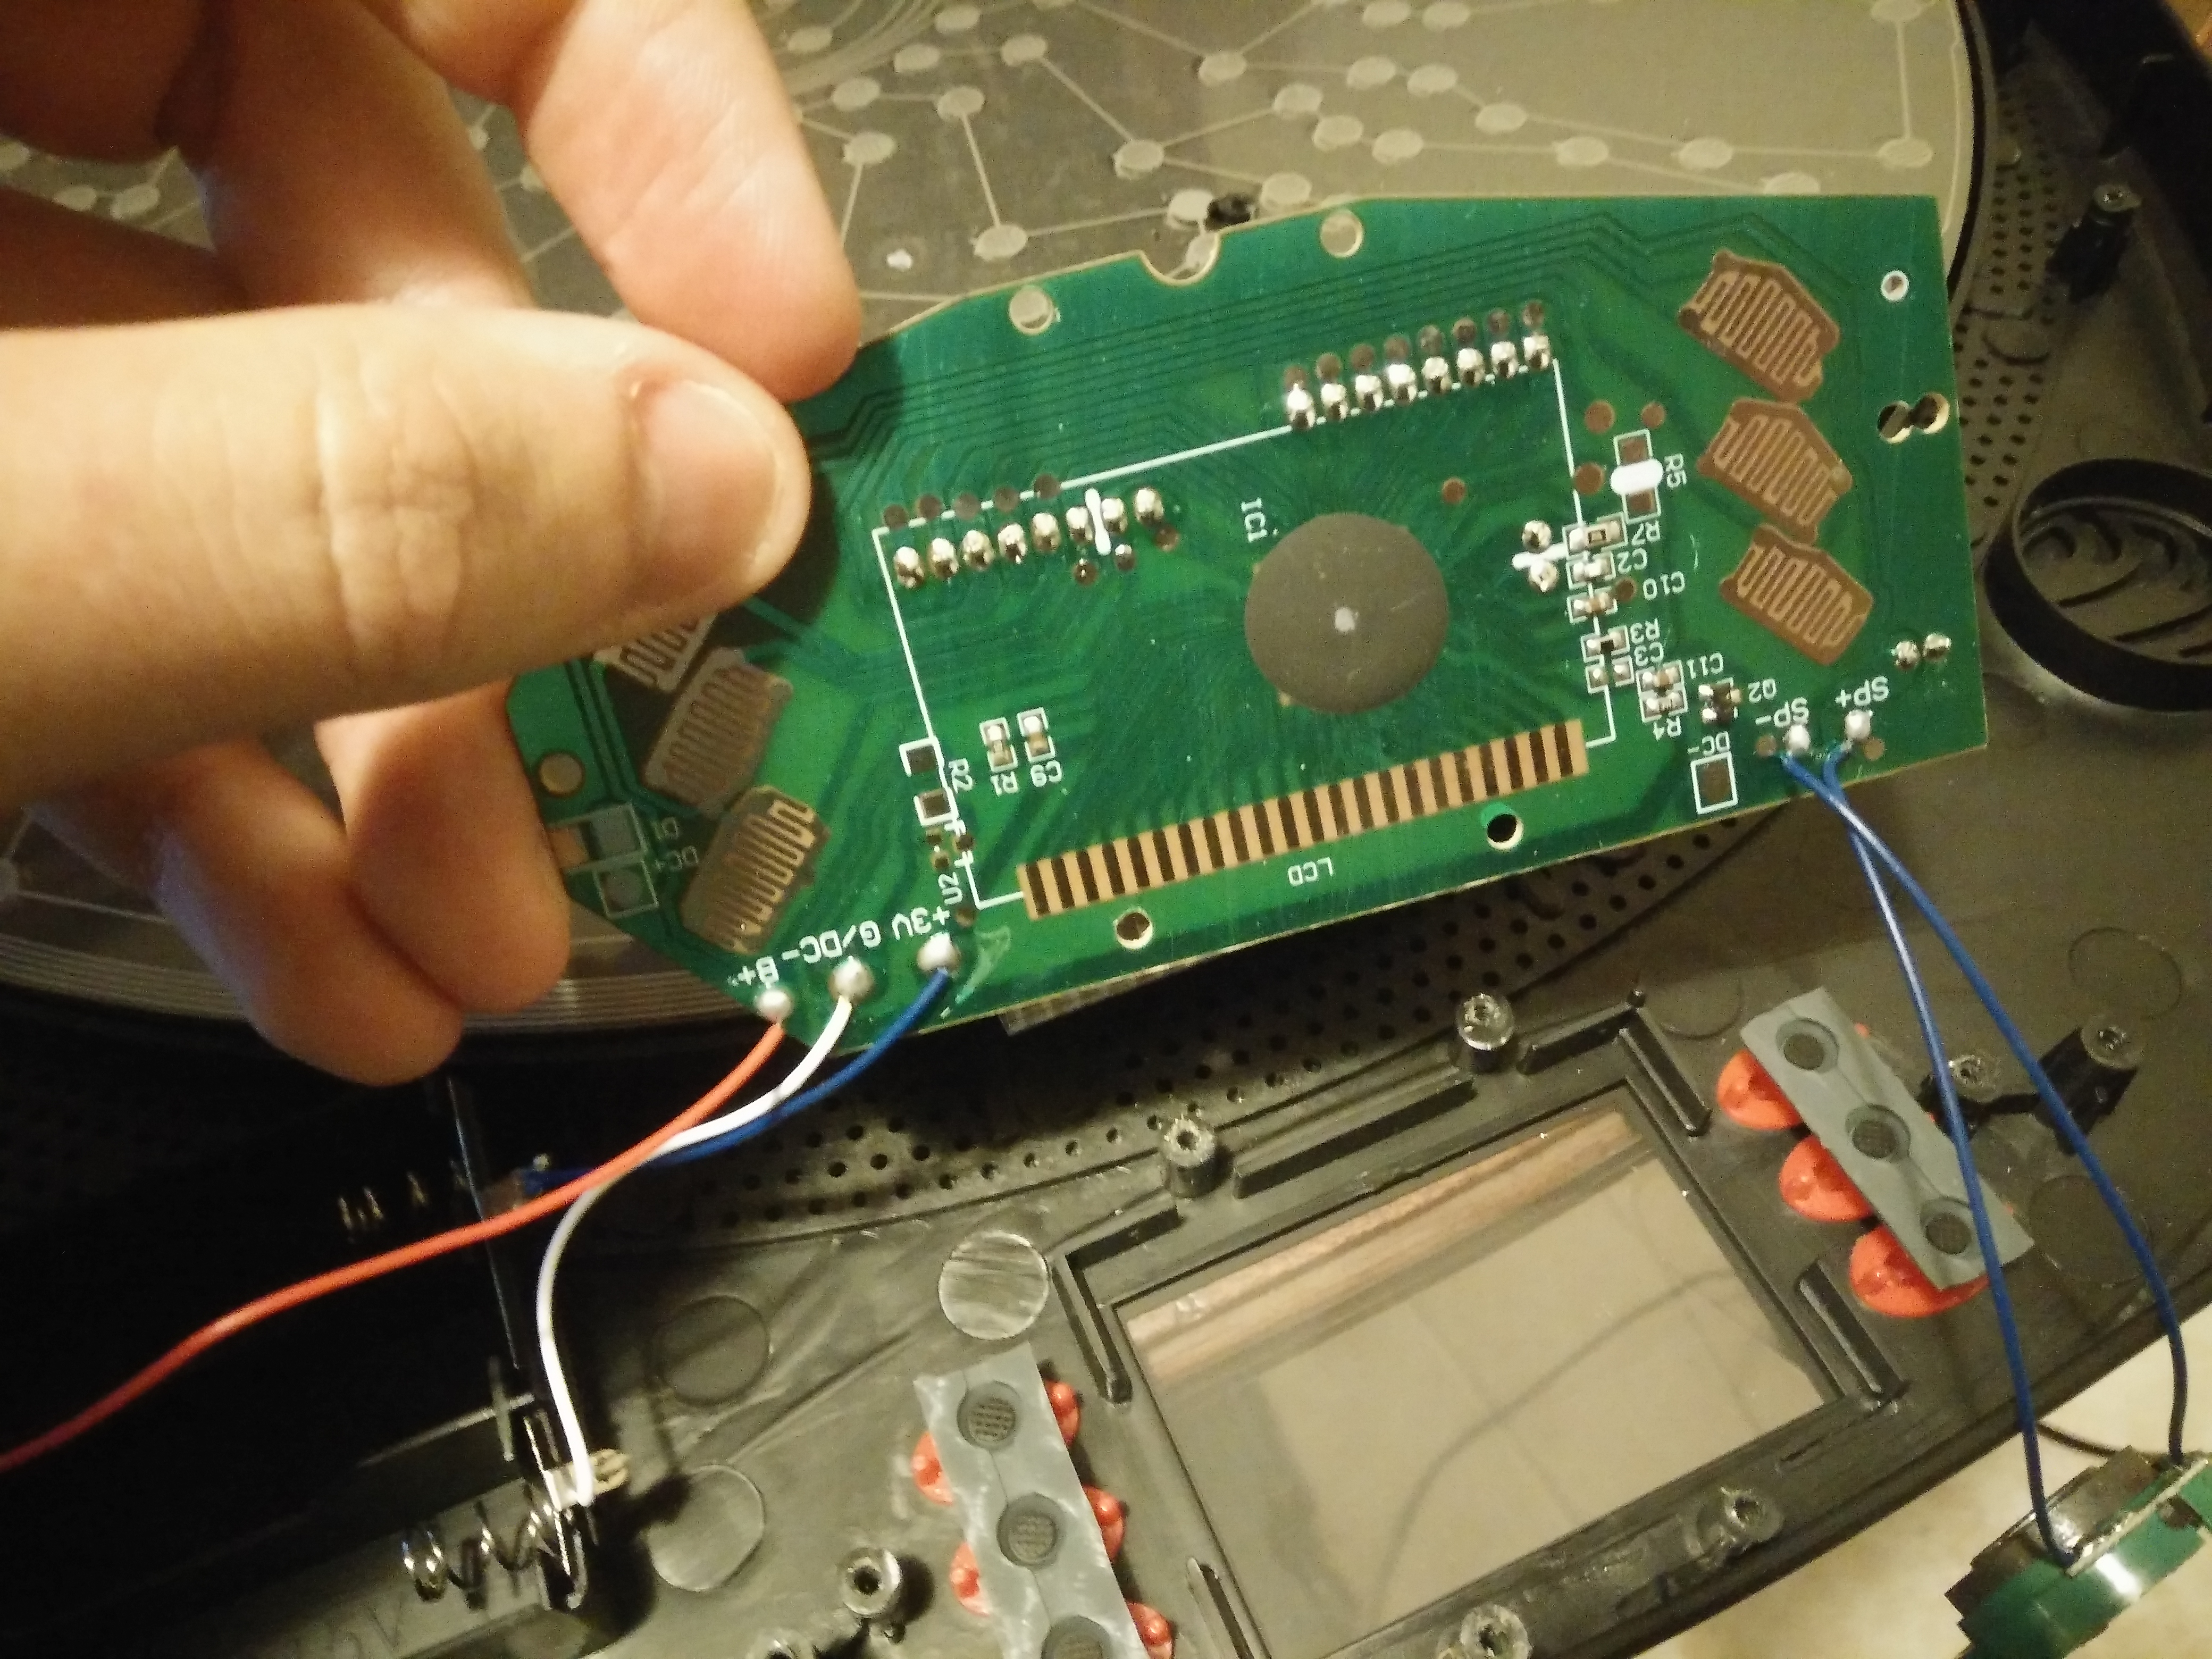
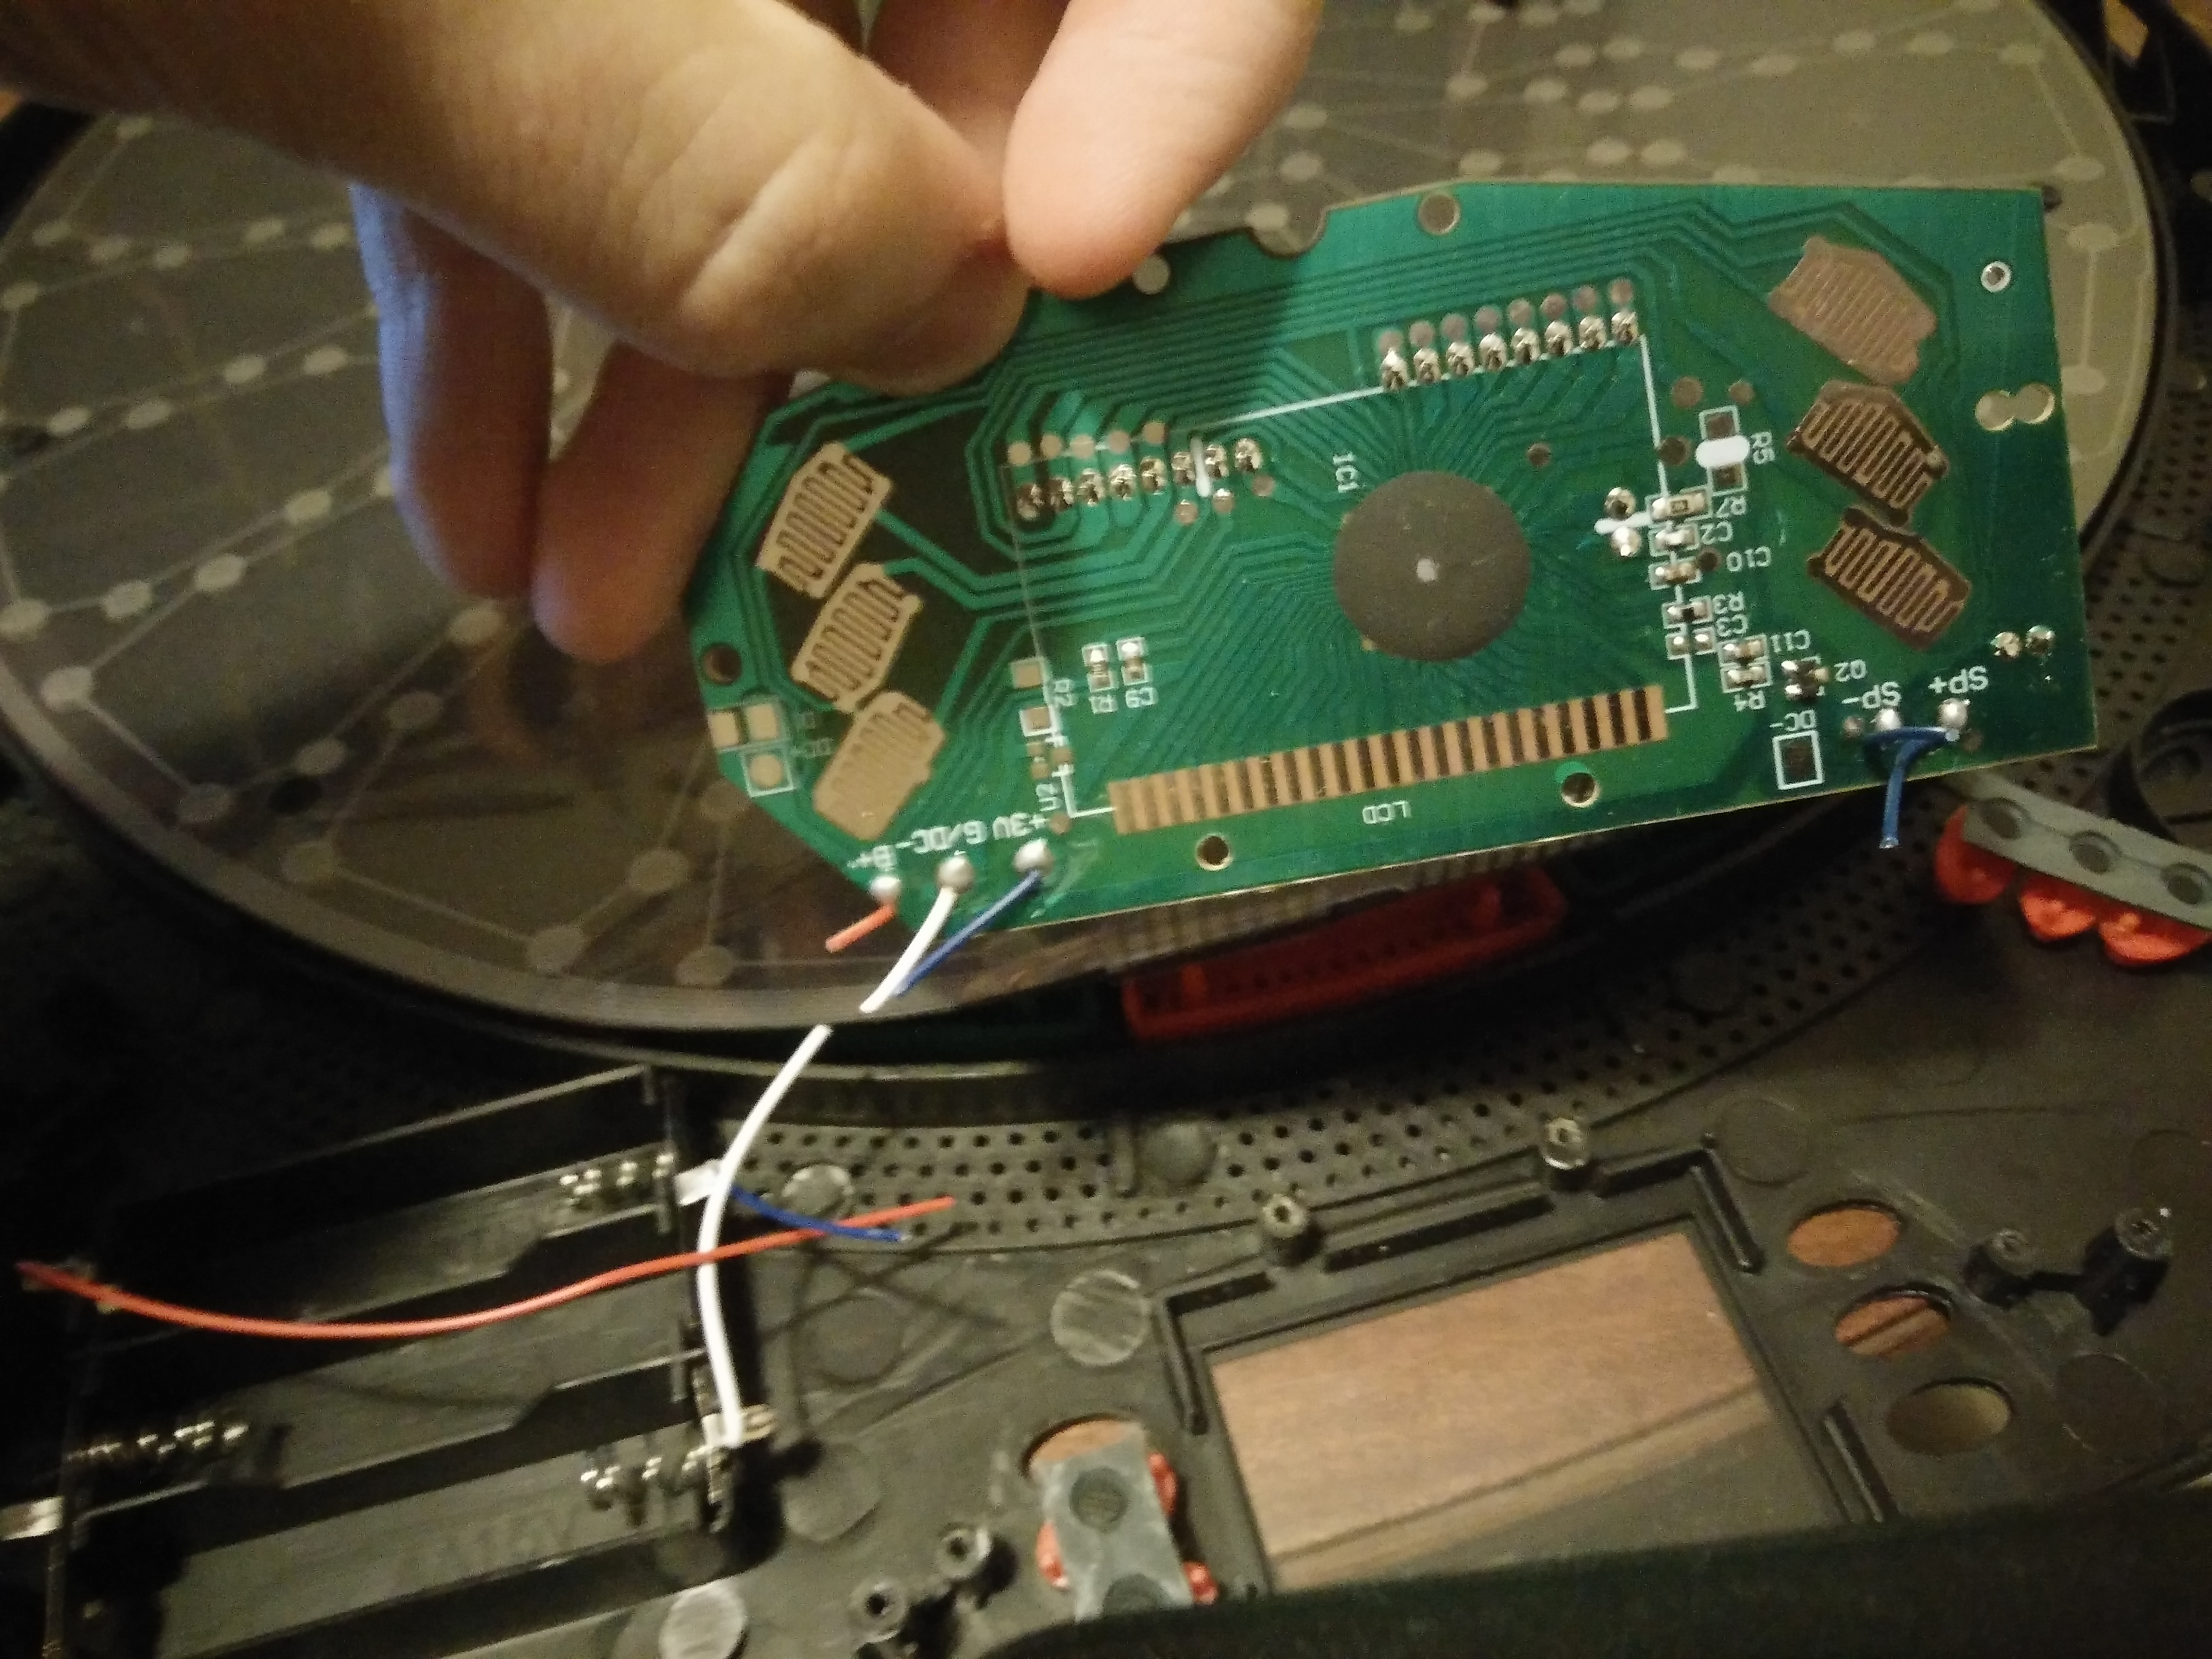
The first step is to remove all the electronics. First, let's start by opening the dartboard:
After opening you should see something like this:
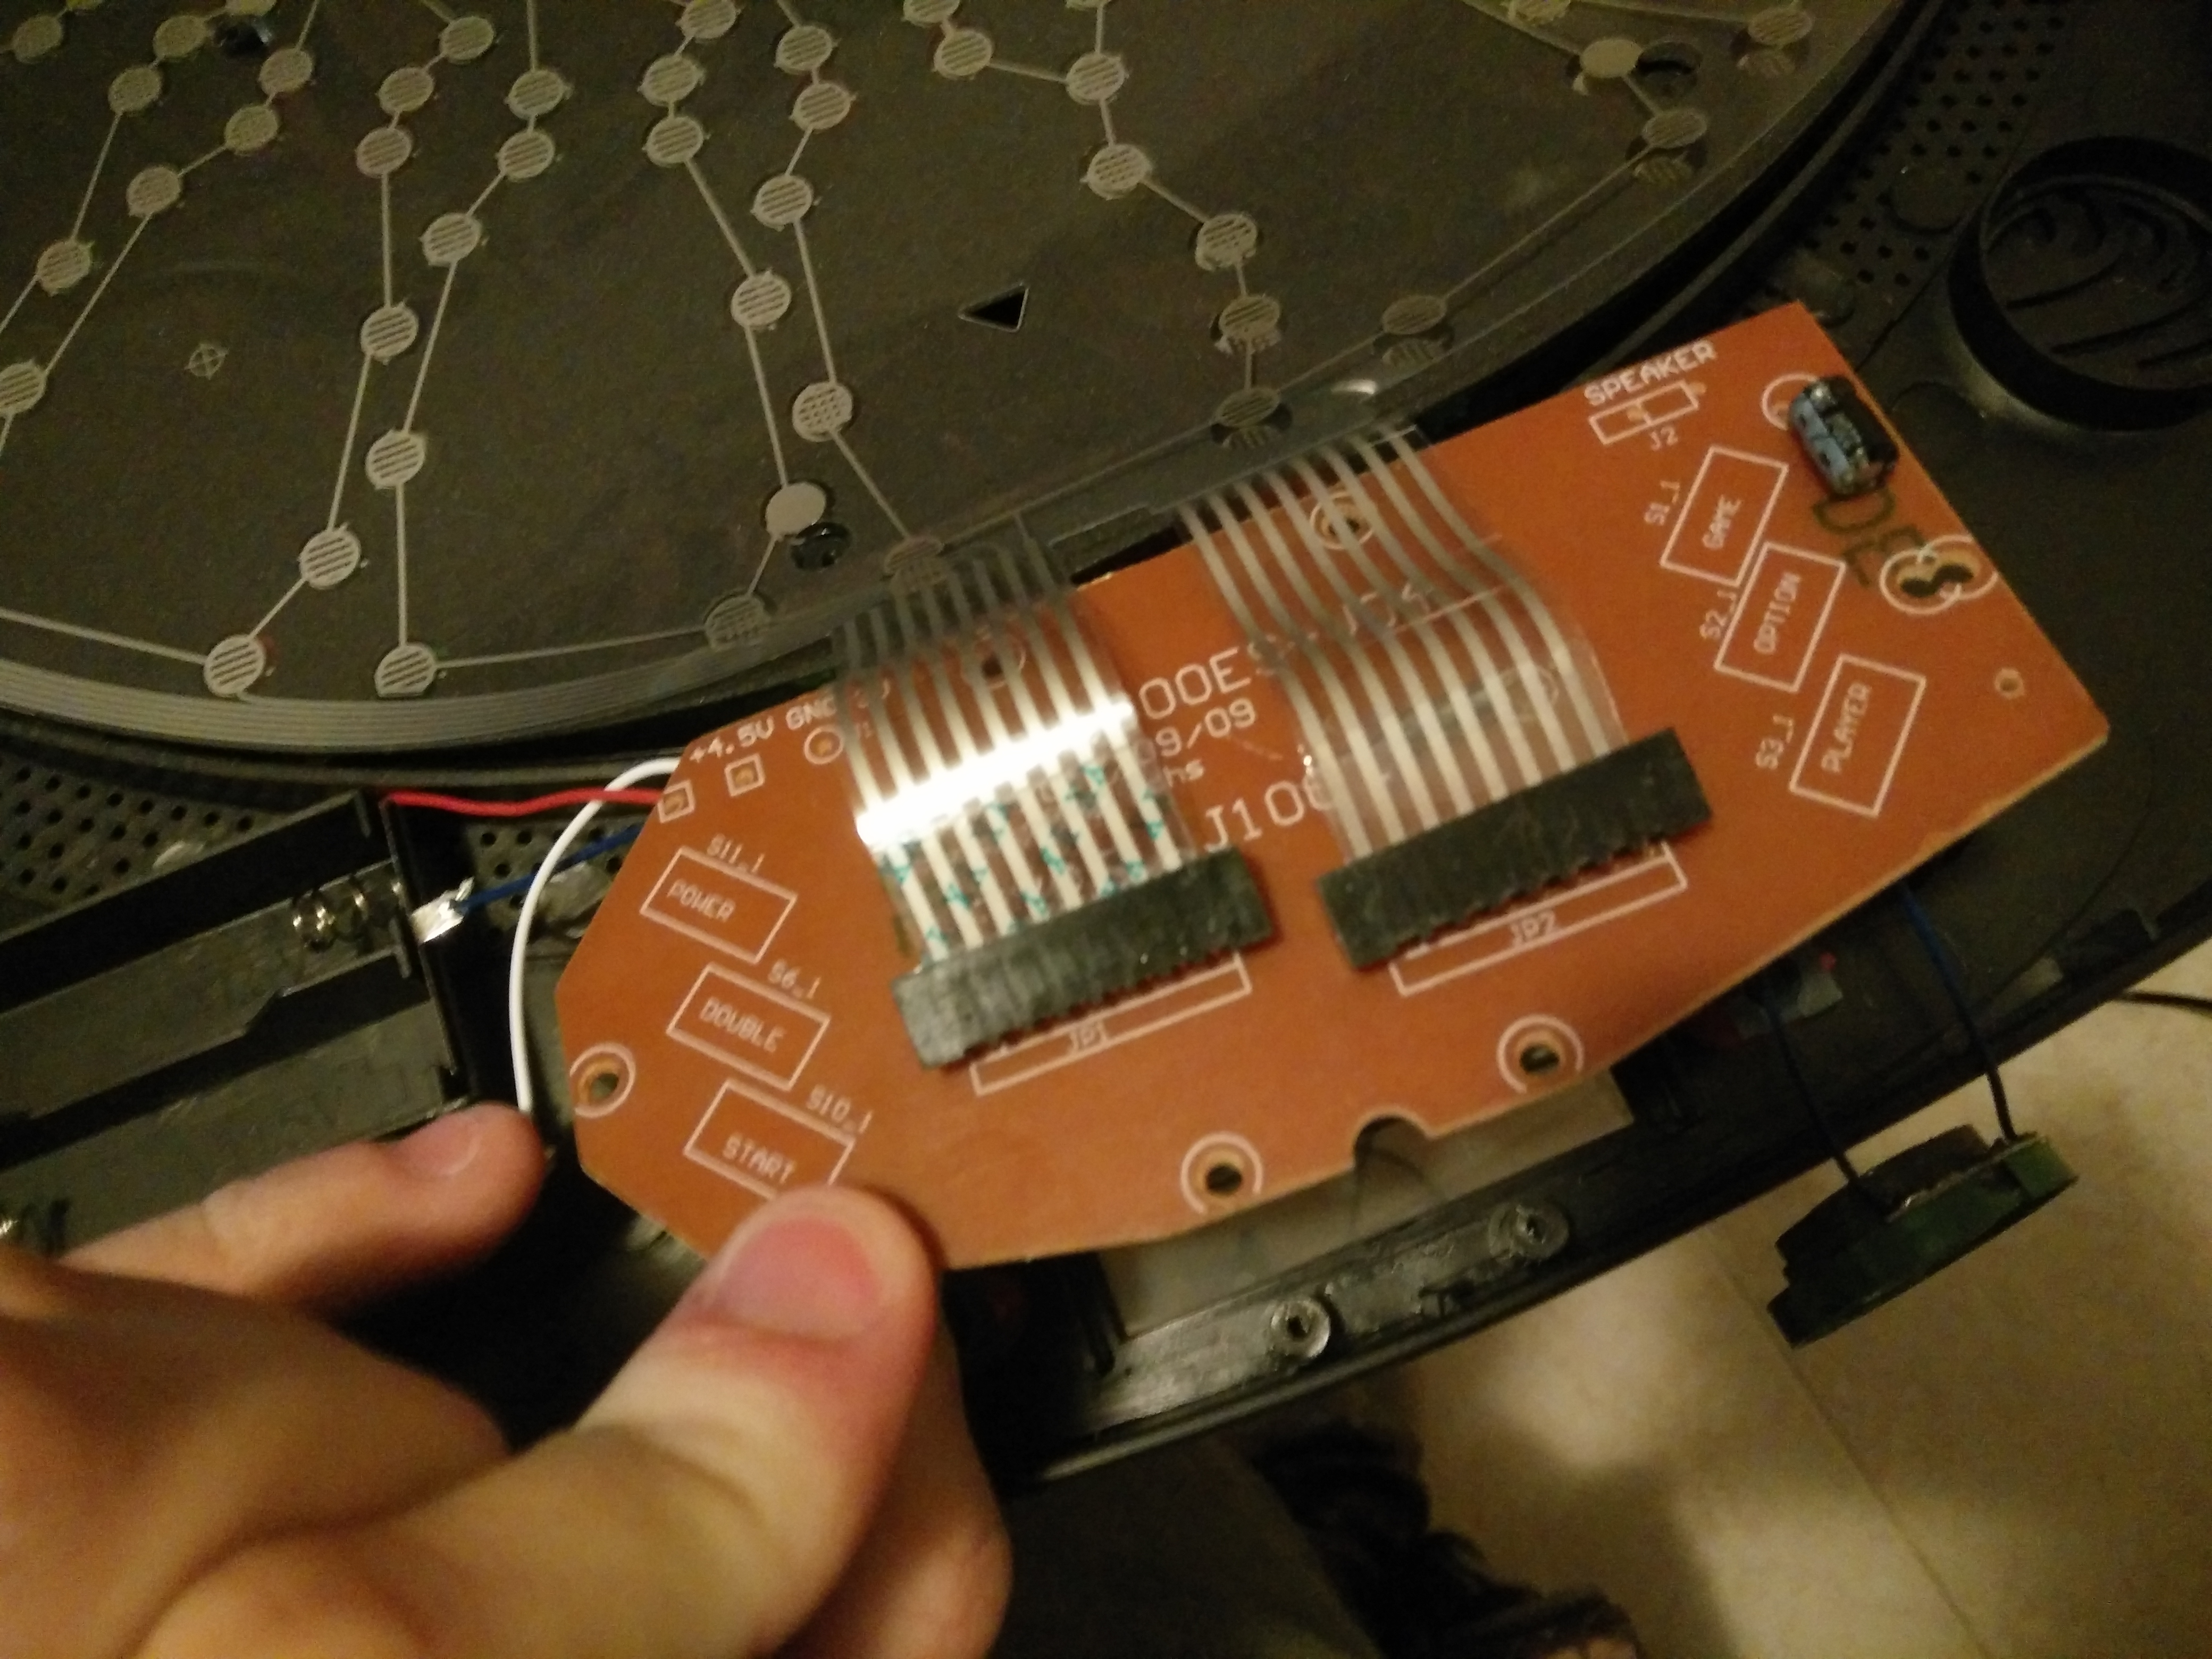
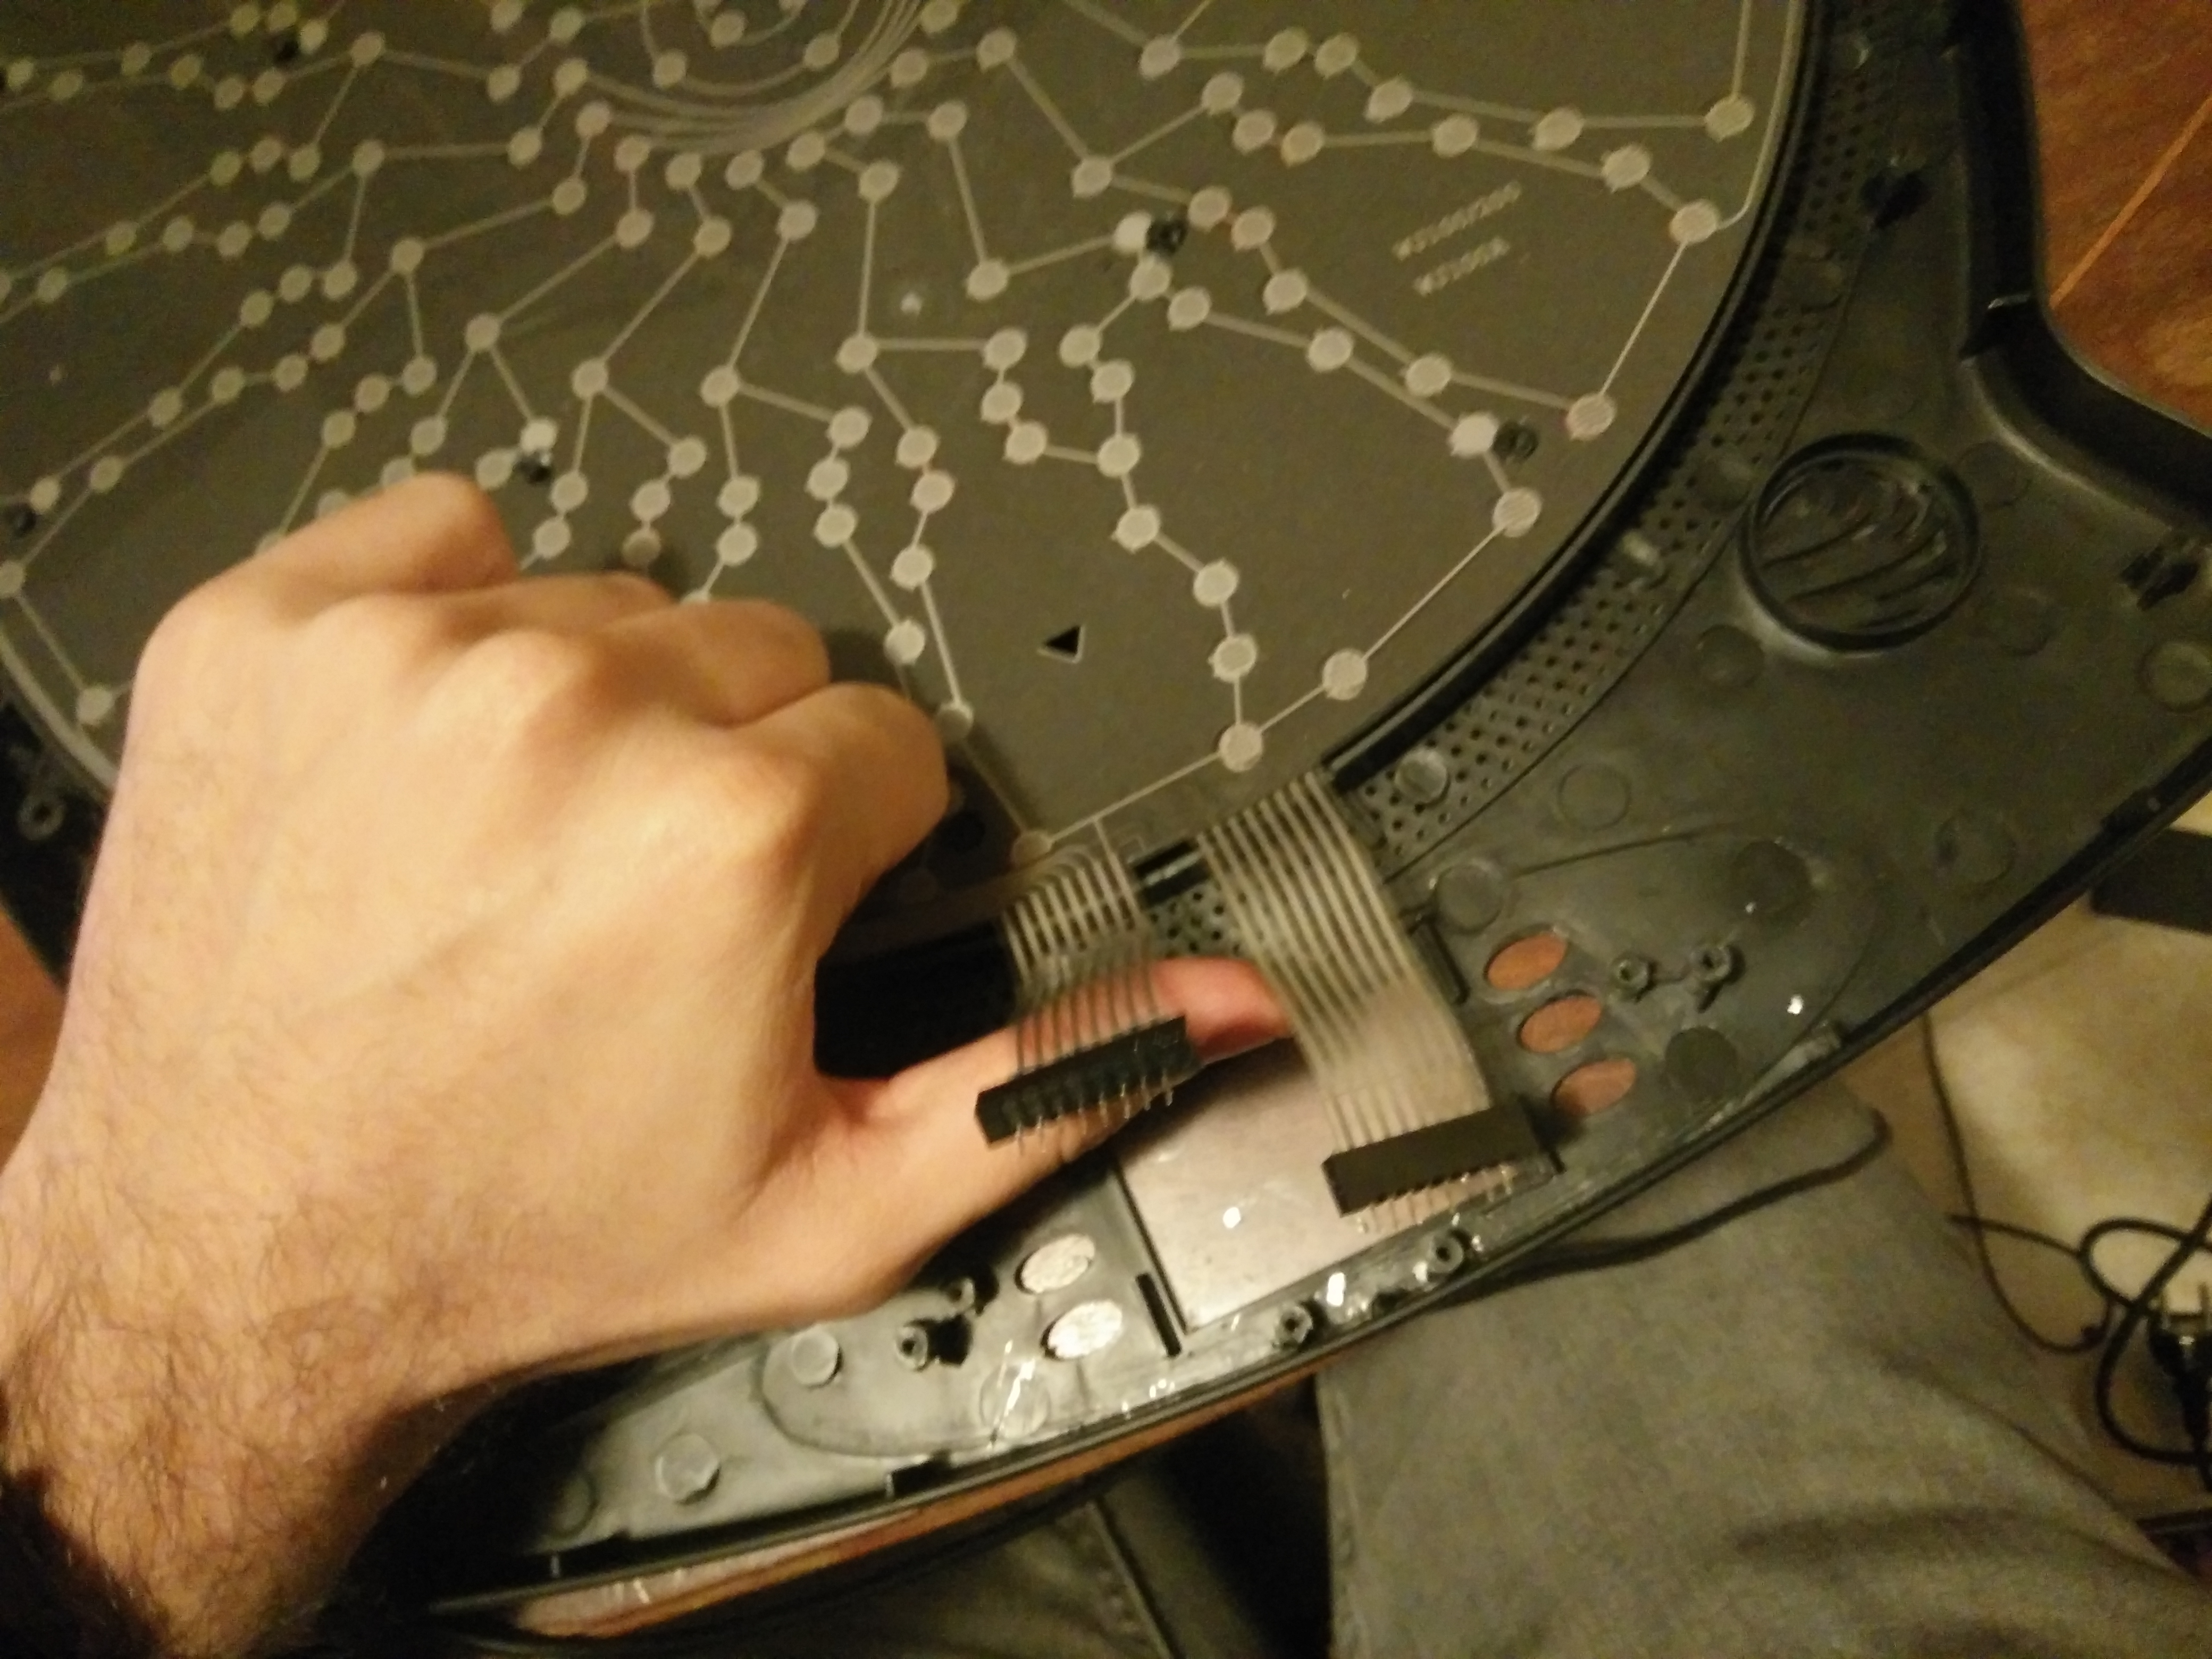
Basically the dartboard has two parts: The electronics PCB (the brownish board) and the dartboard matrix (shown inside a red rectangle on the image above, connecting to the PCB). The dartboard matrix is the only part we are interested in. There are several types of dartboards matrix, but the one in the image is an 8 x 8 matrix. This can be seen by counting the lines of each of those two strips. For now, let's not bother about it.
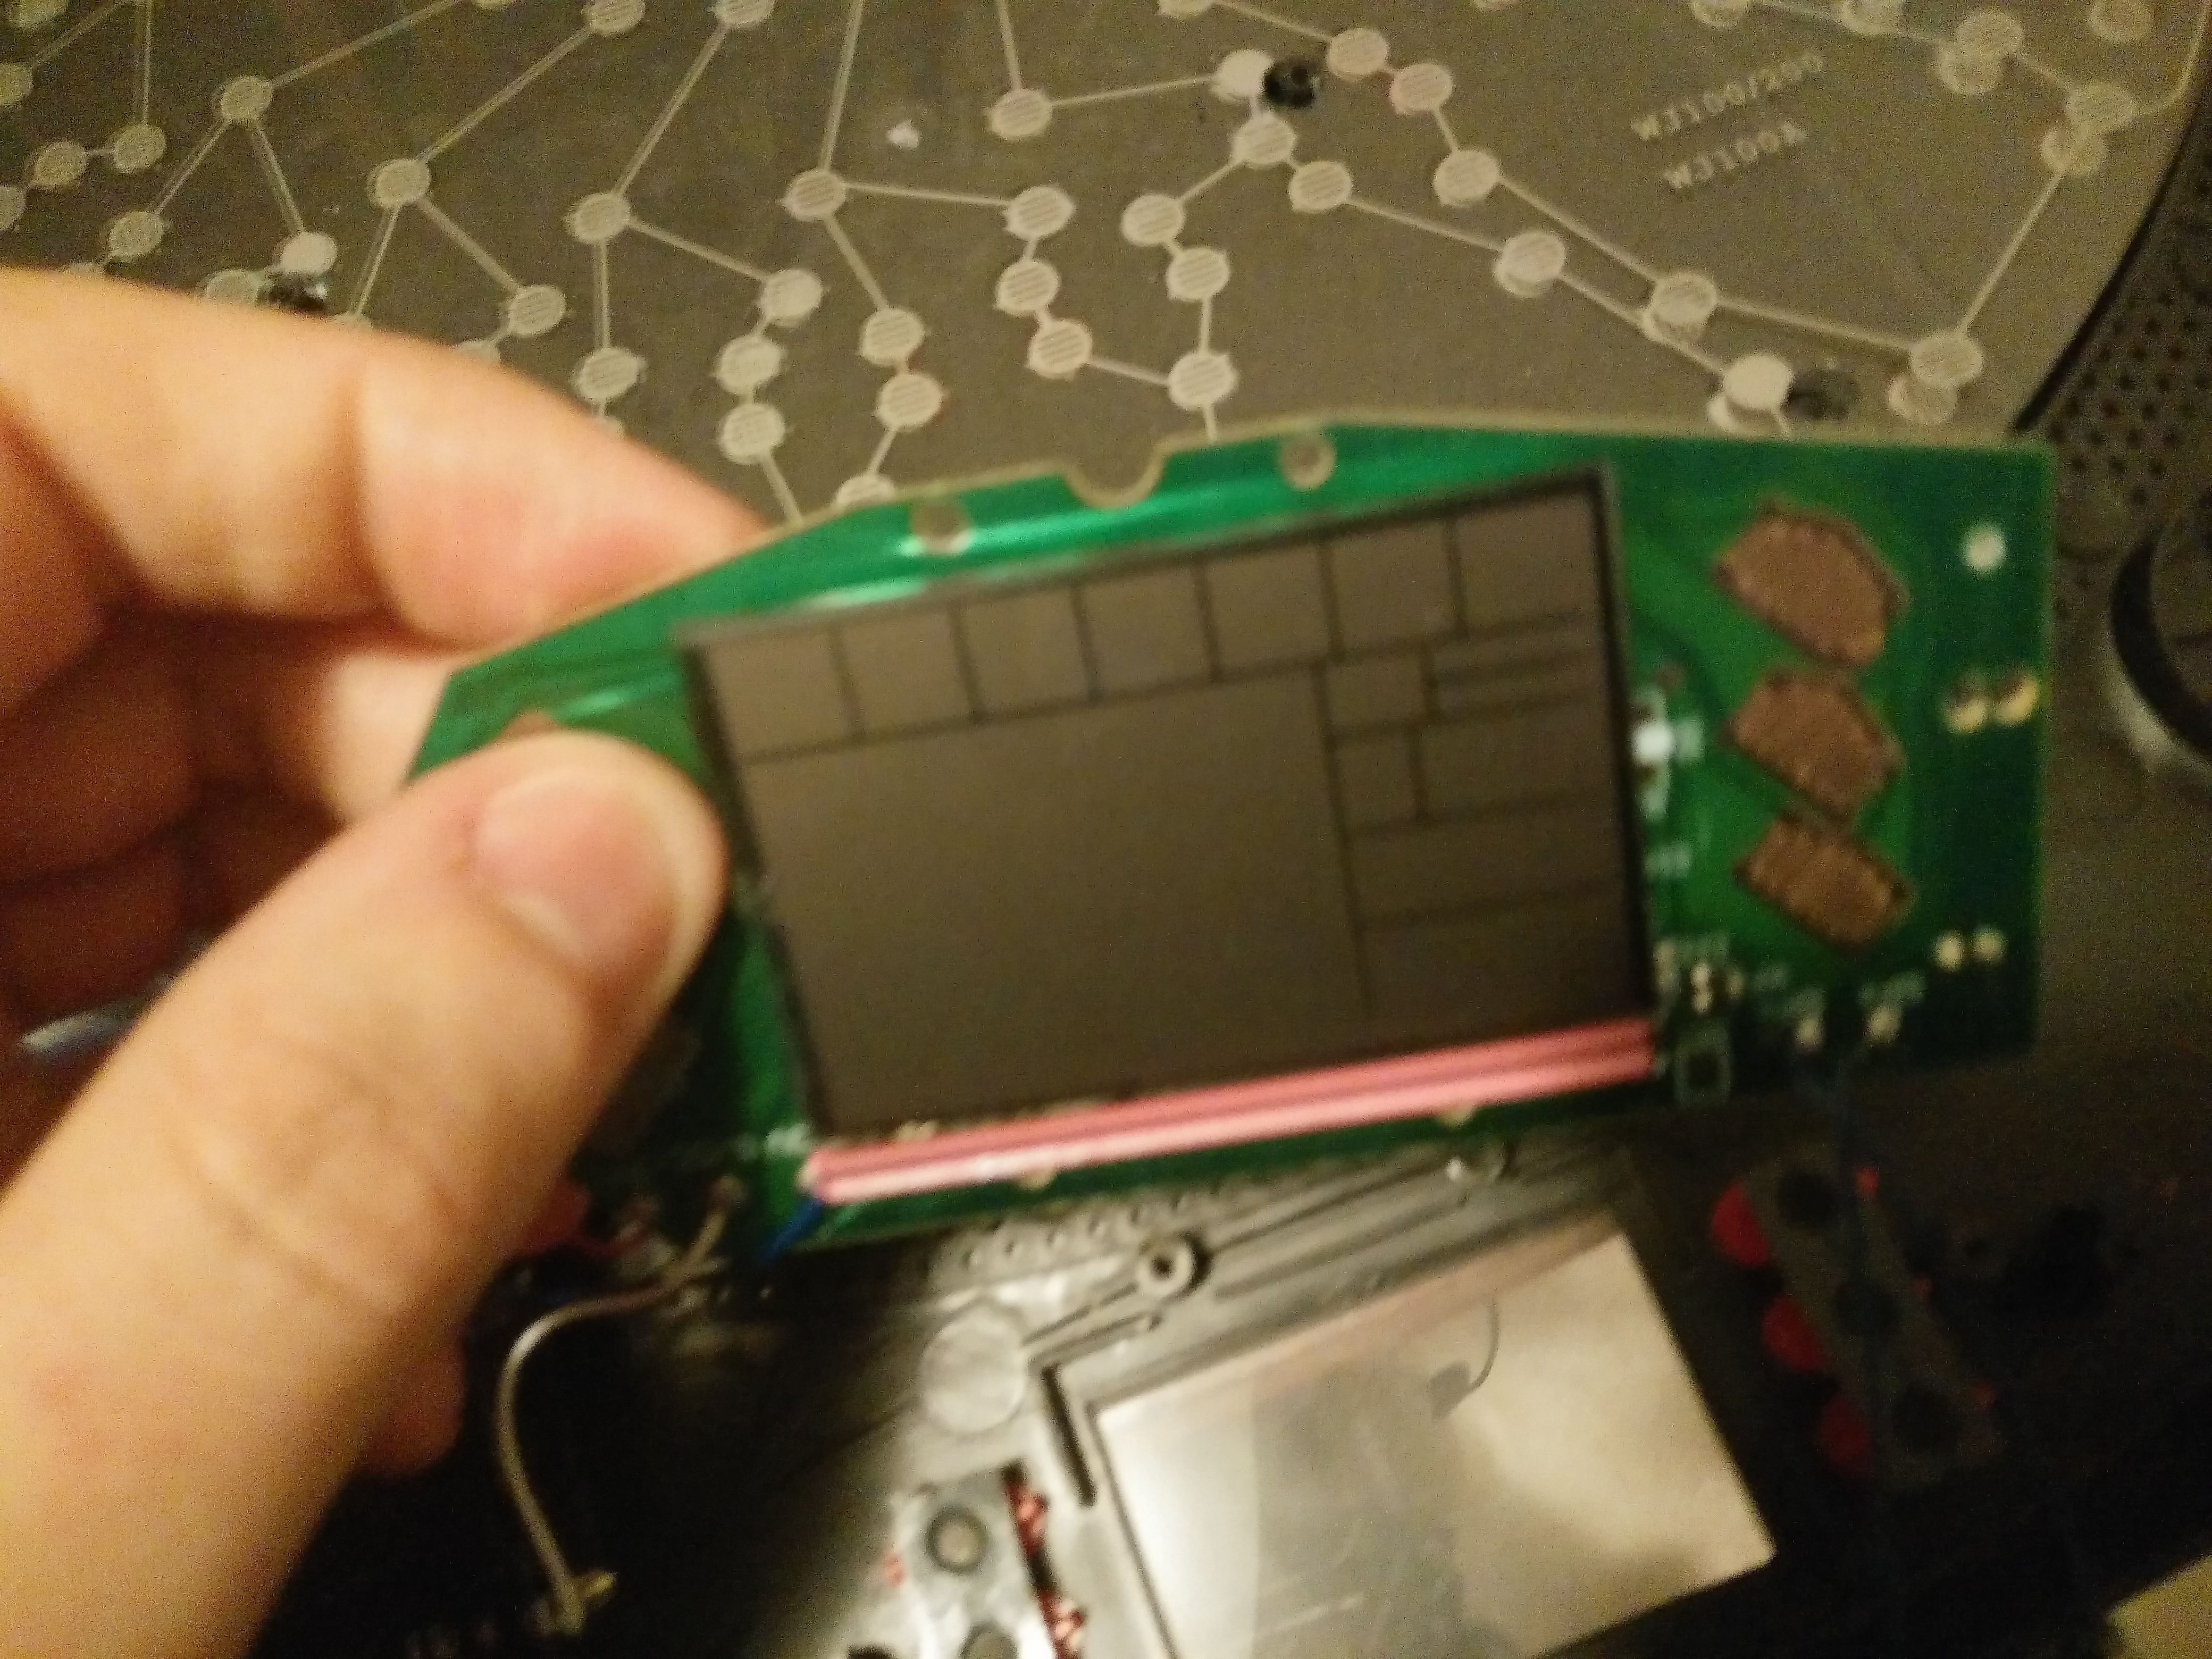
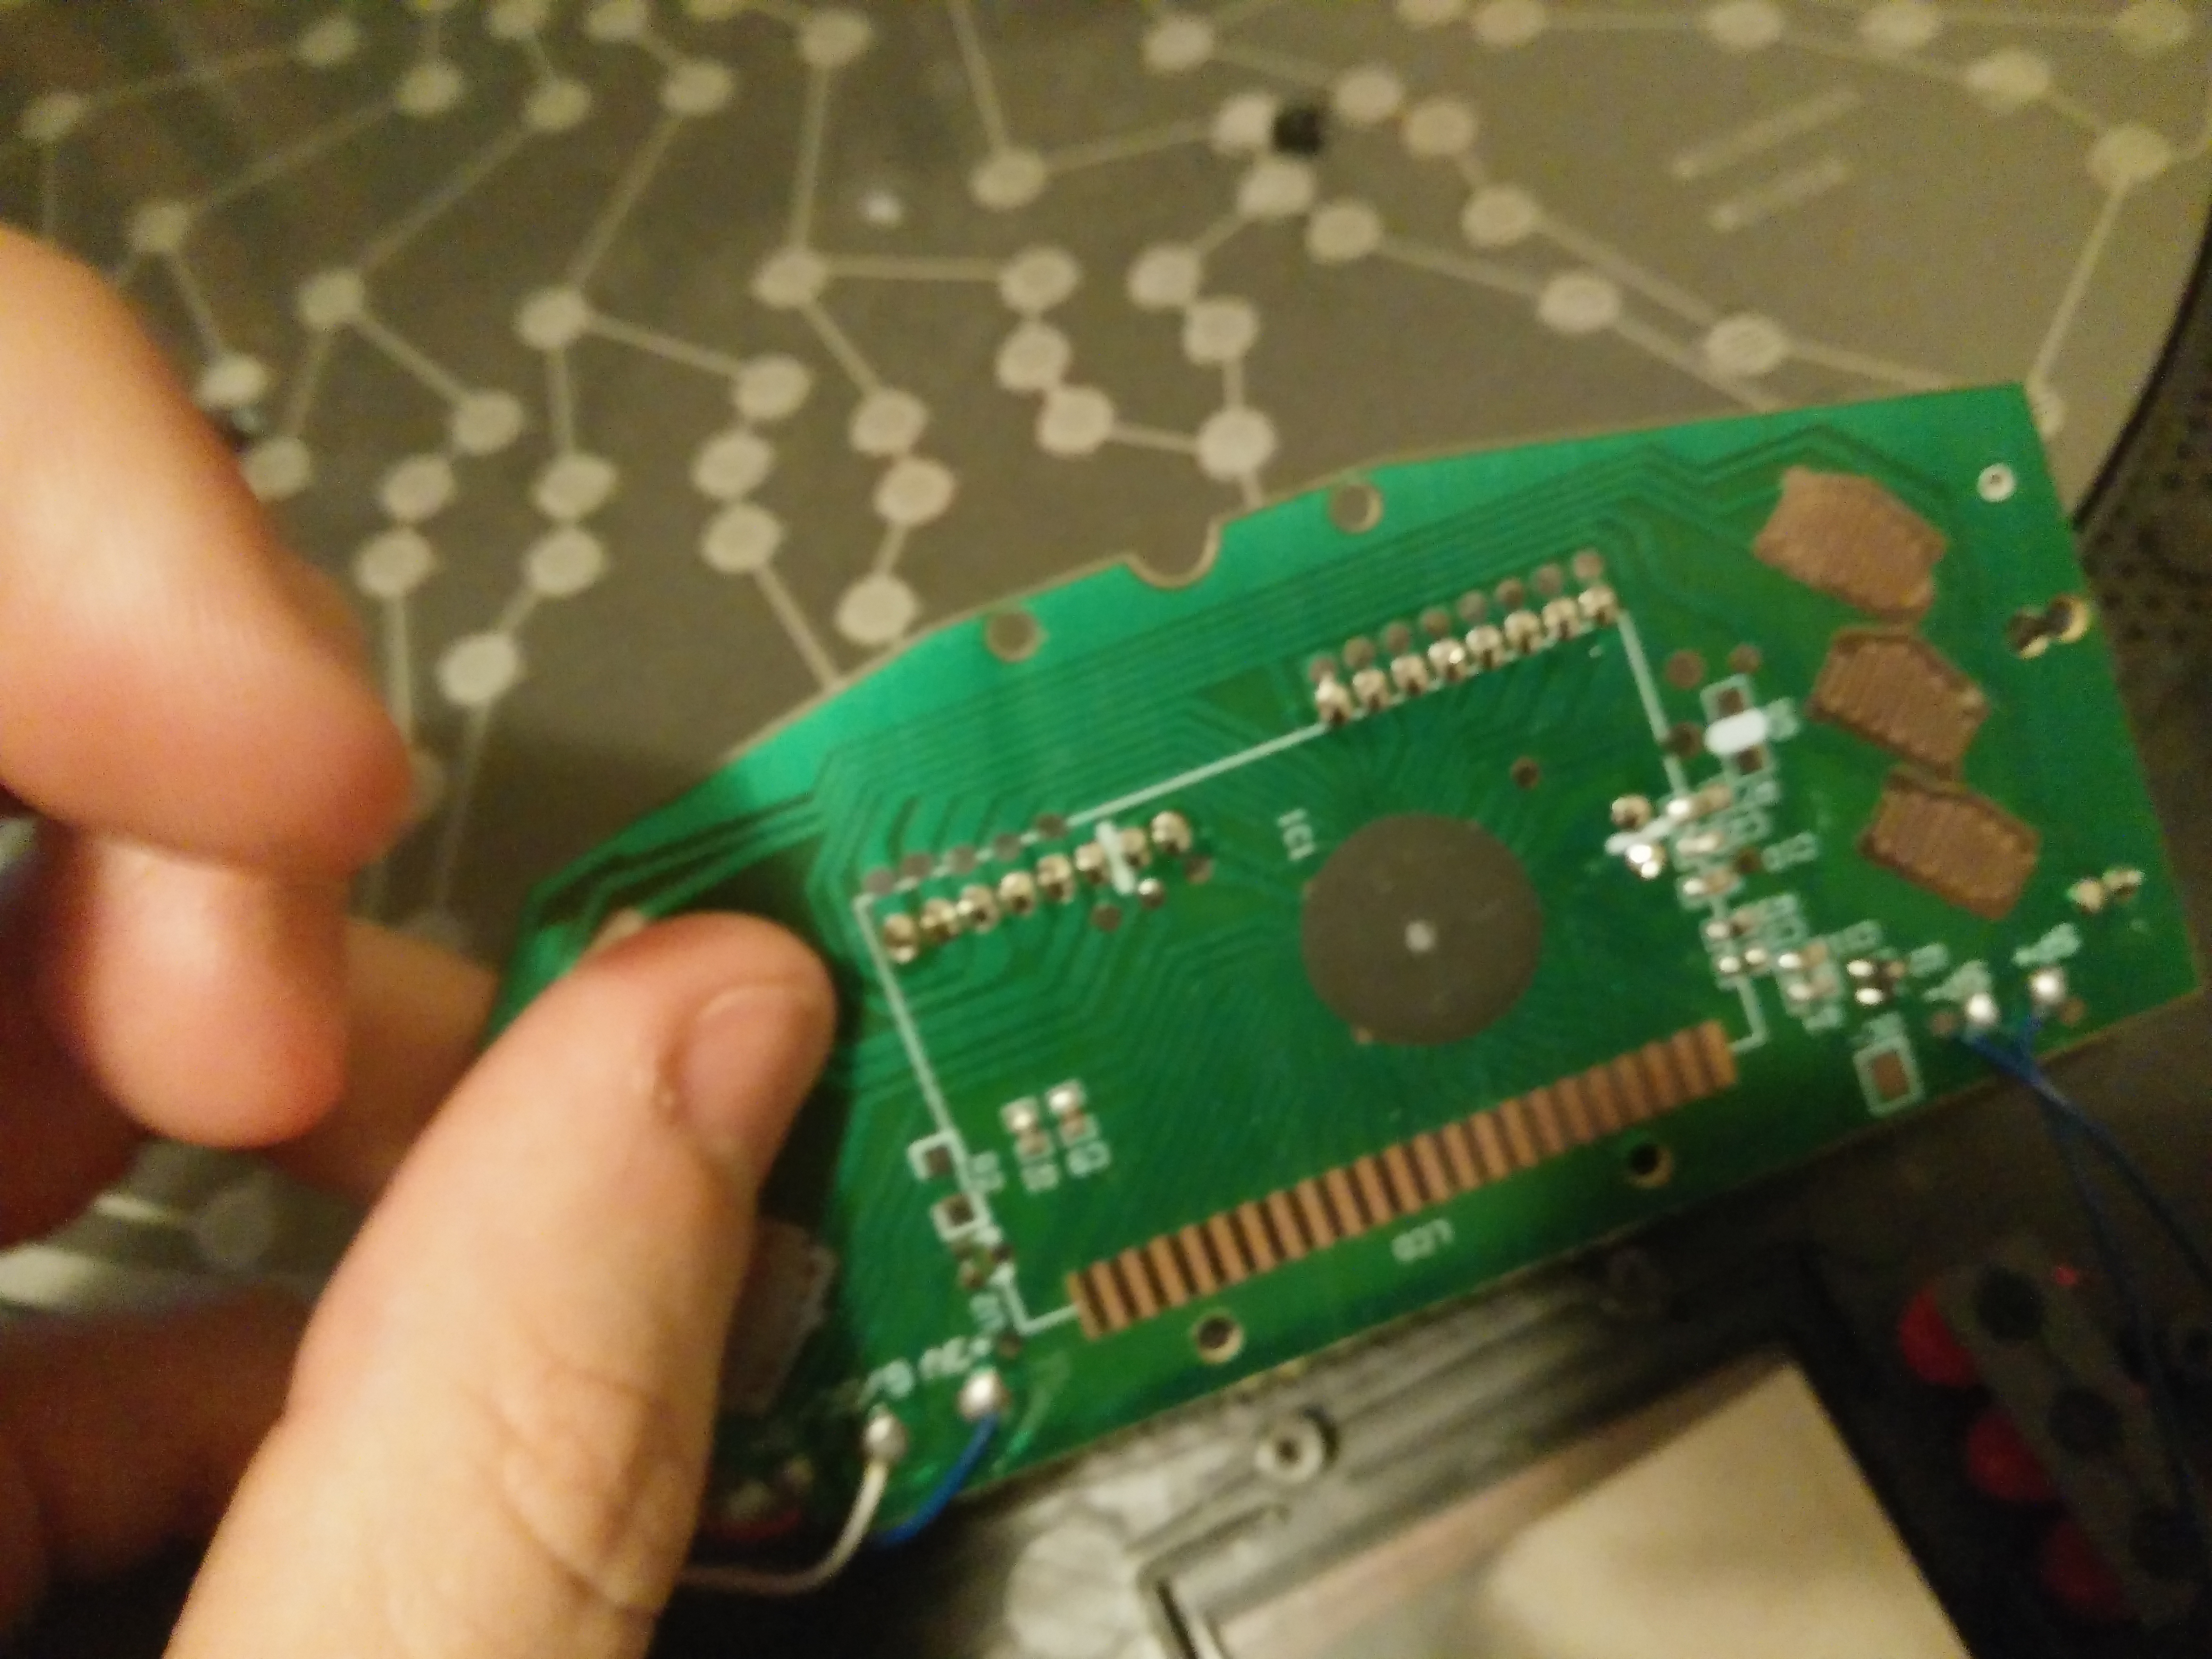
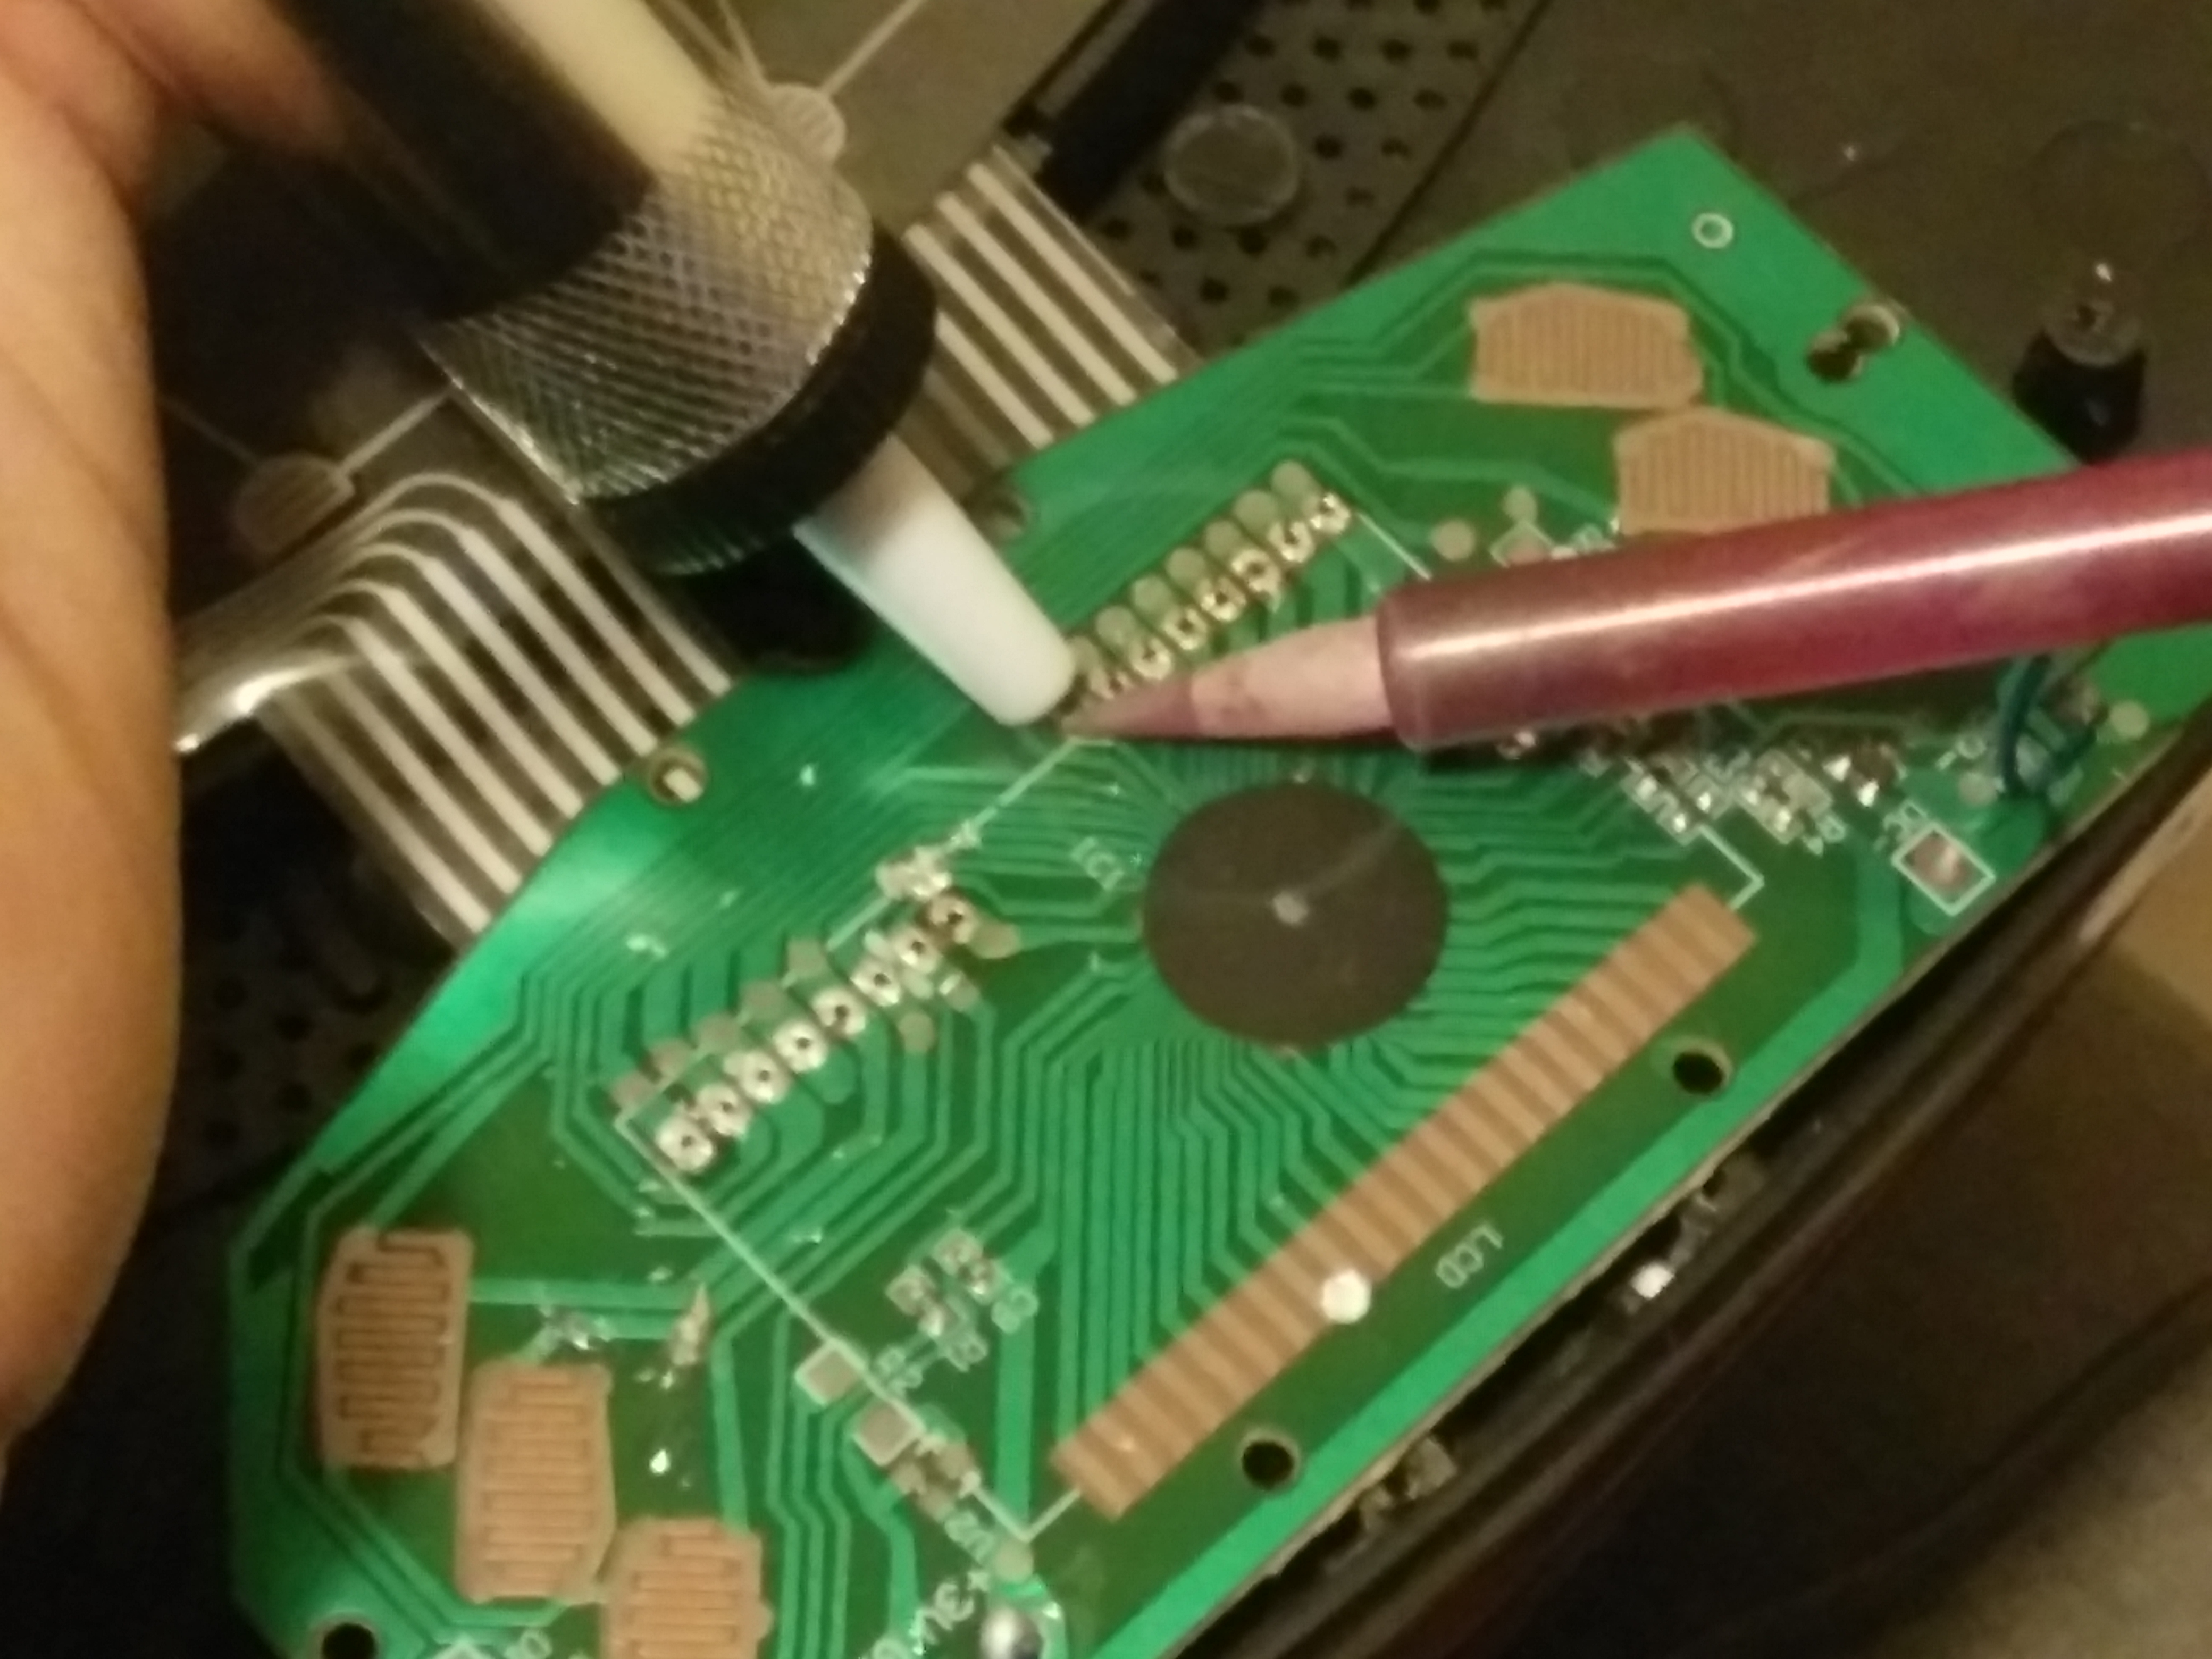
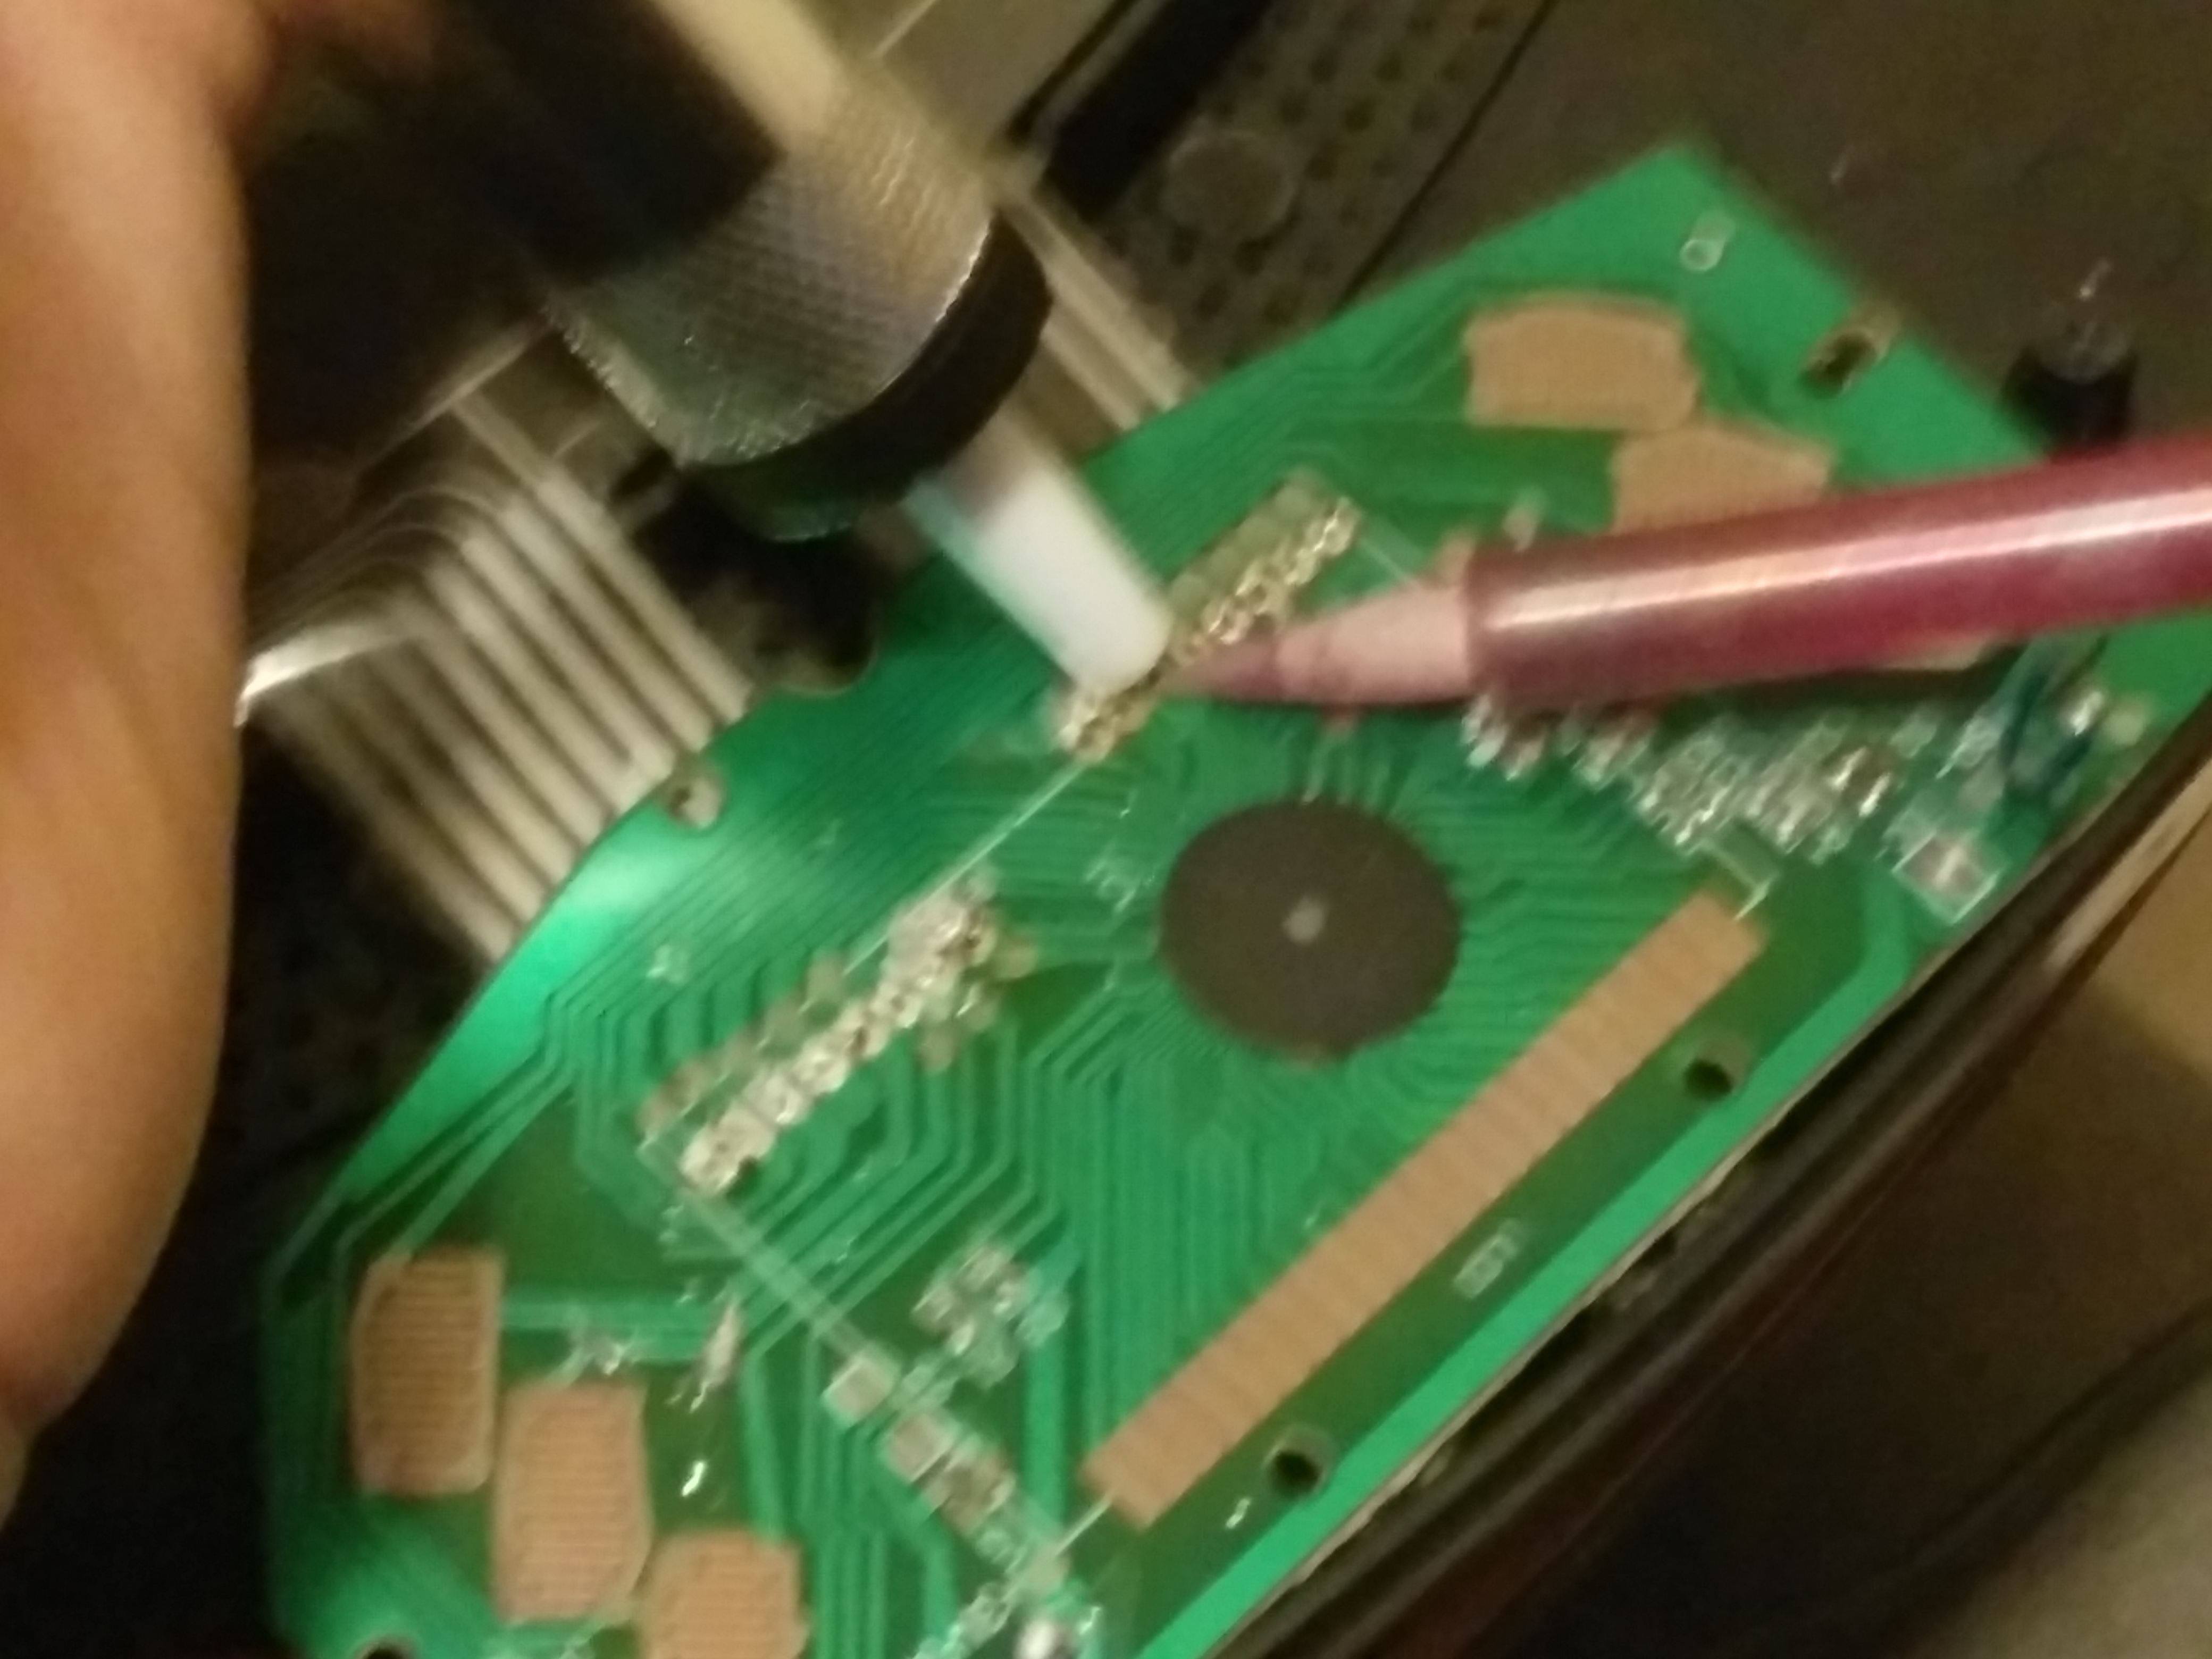
After opening, let's remove the PCB. We will need our soldering iron for that. You can remove and cute all wires and LCD displays from the PCB:
Then you can desolder the matrix dartboard from the PCB:
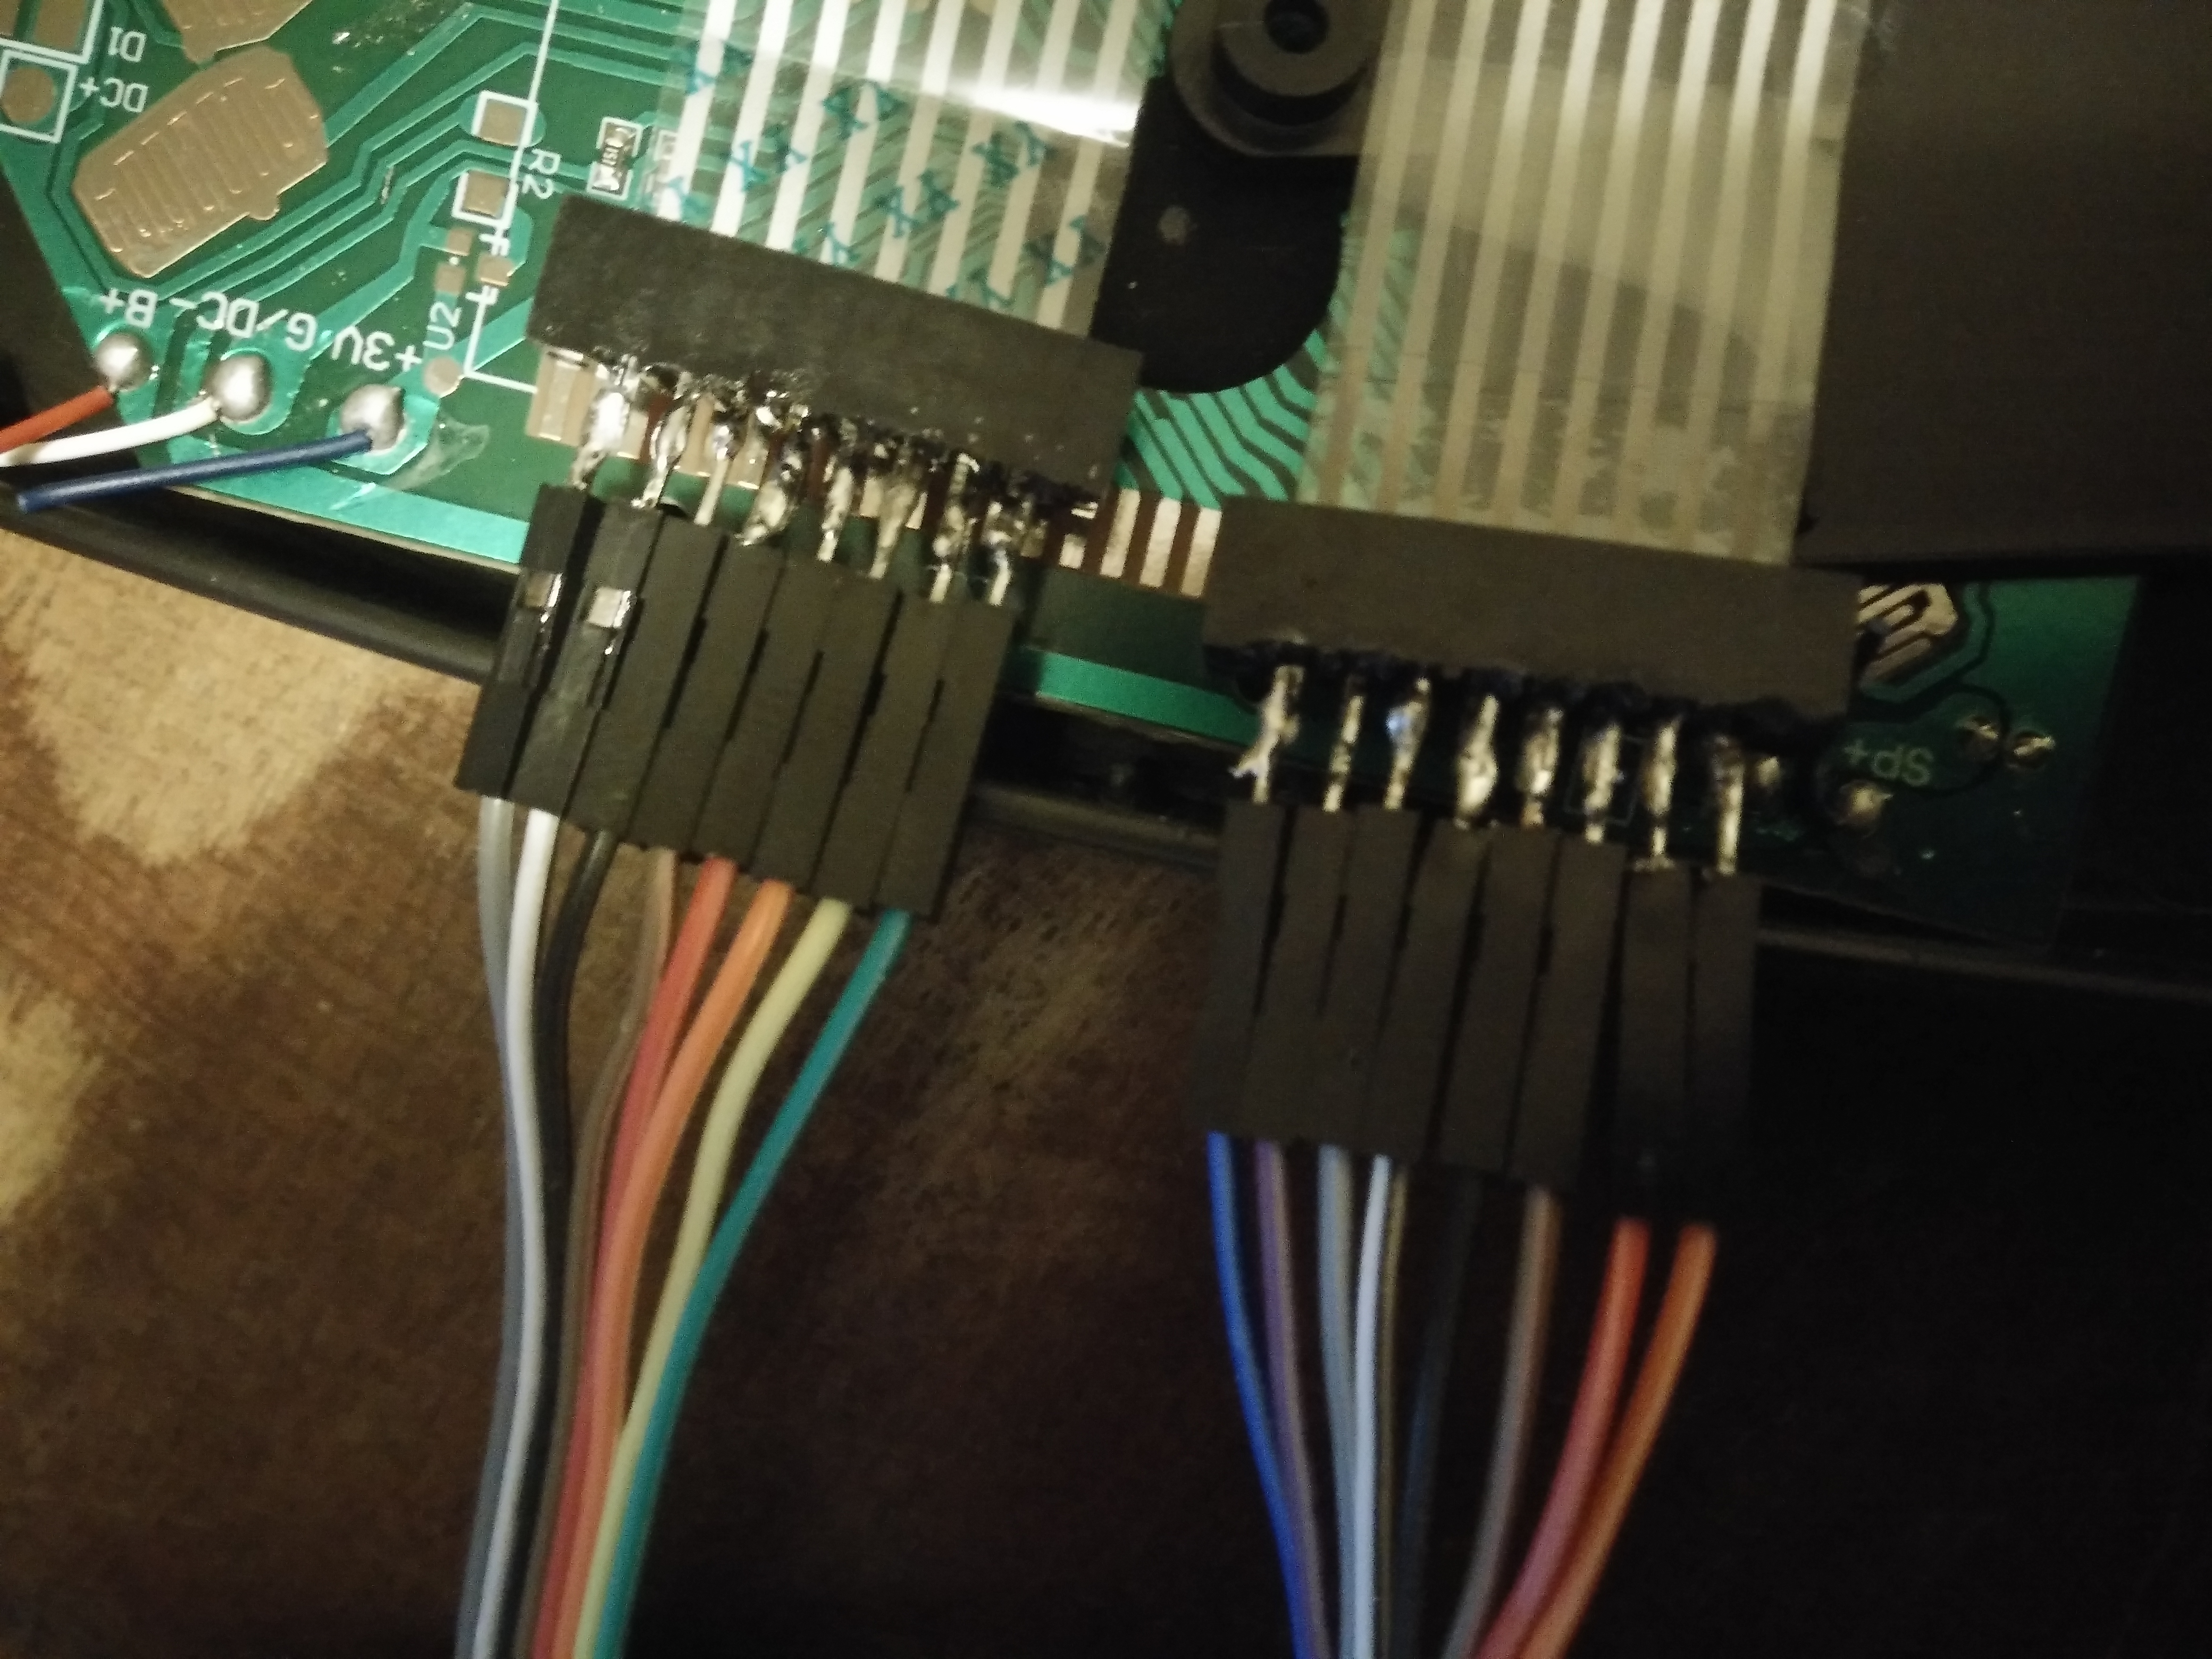
After desoldering the dartboard matrix should be like the above right image. After this step, I recommend you to solder male-male connectors onto each of the dartboards pin to easily connect onto arduino's GPIO:
Connect to Arduino
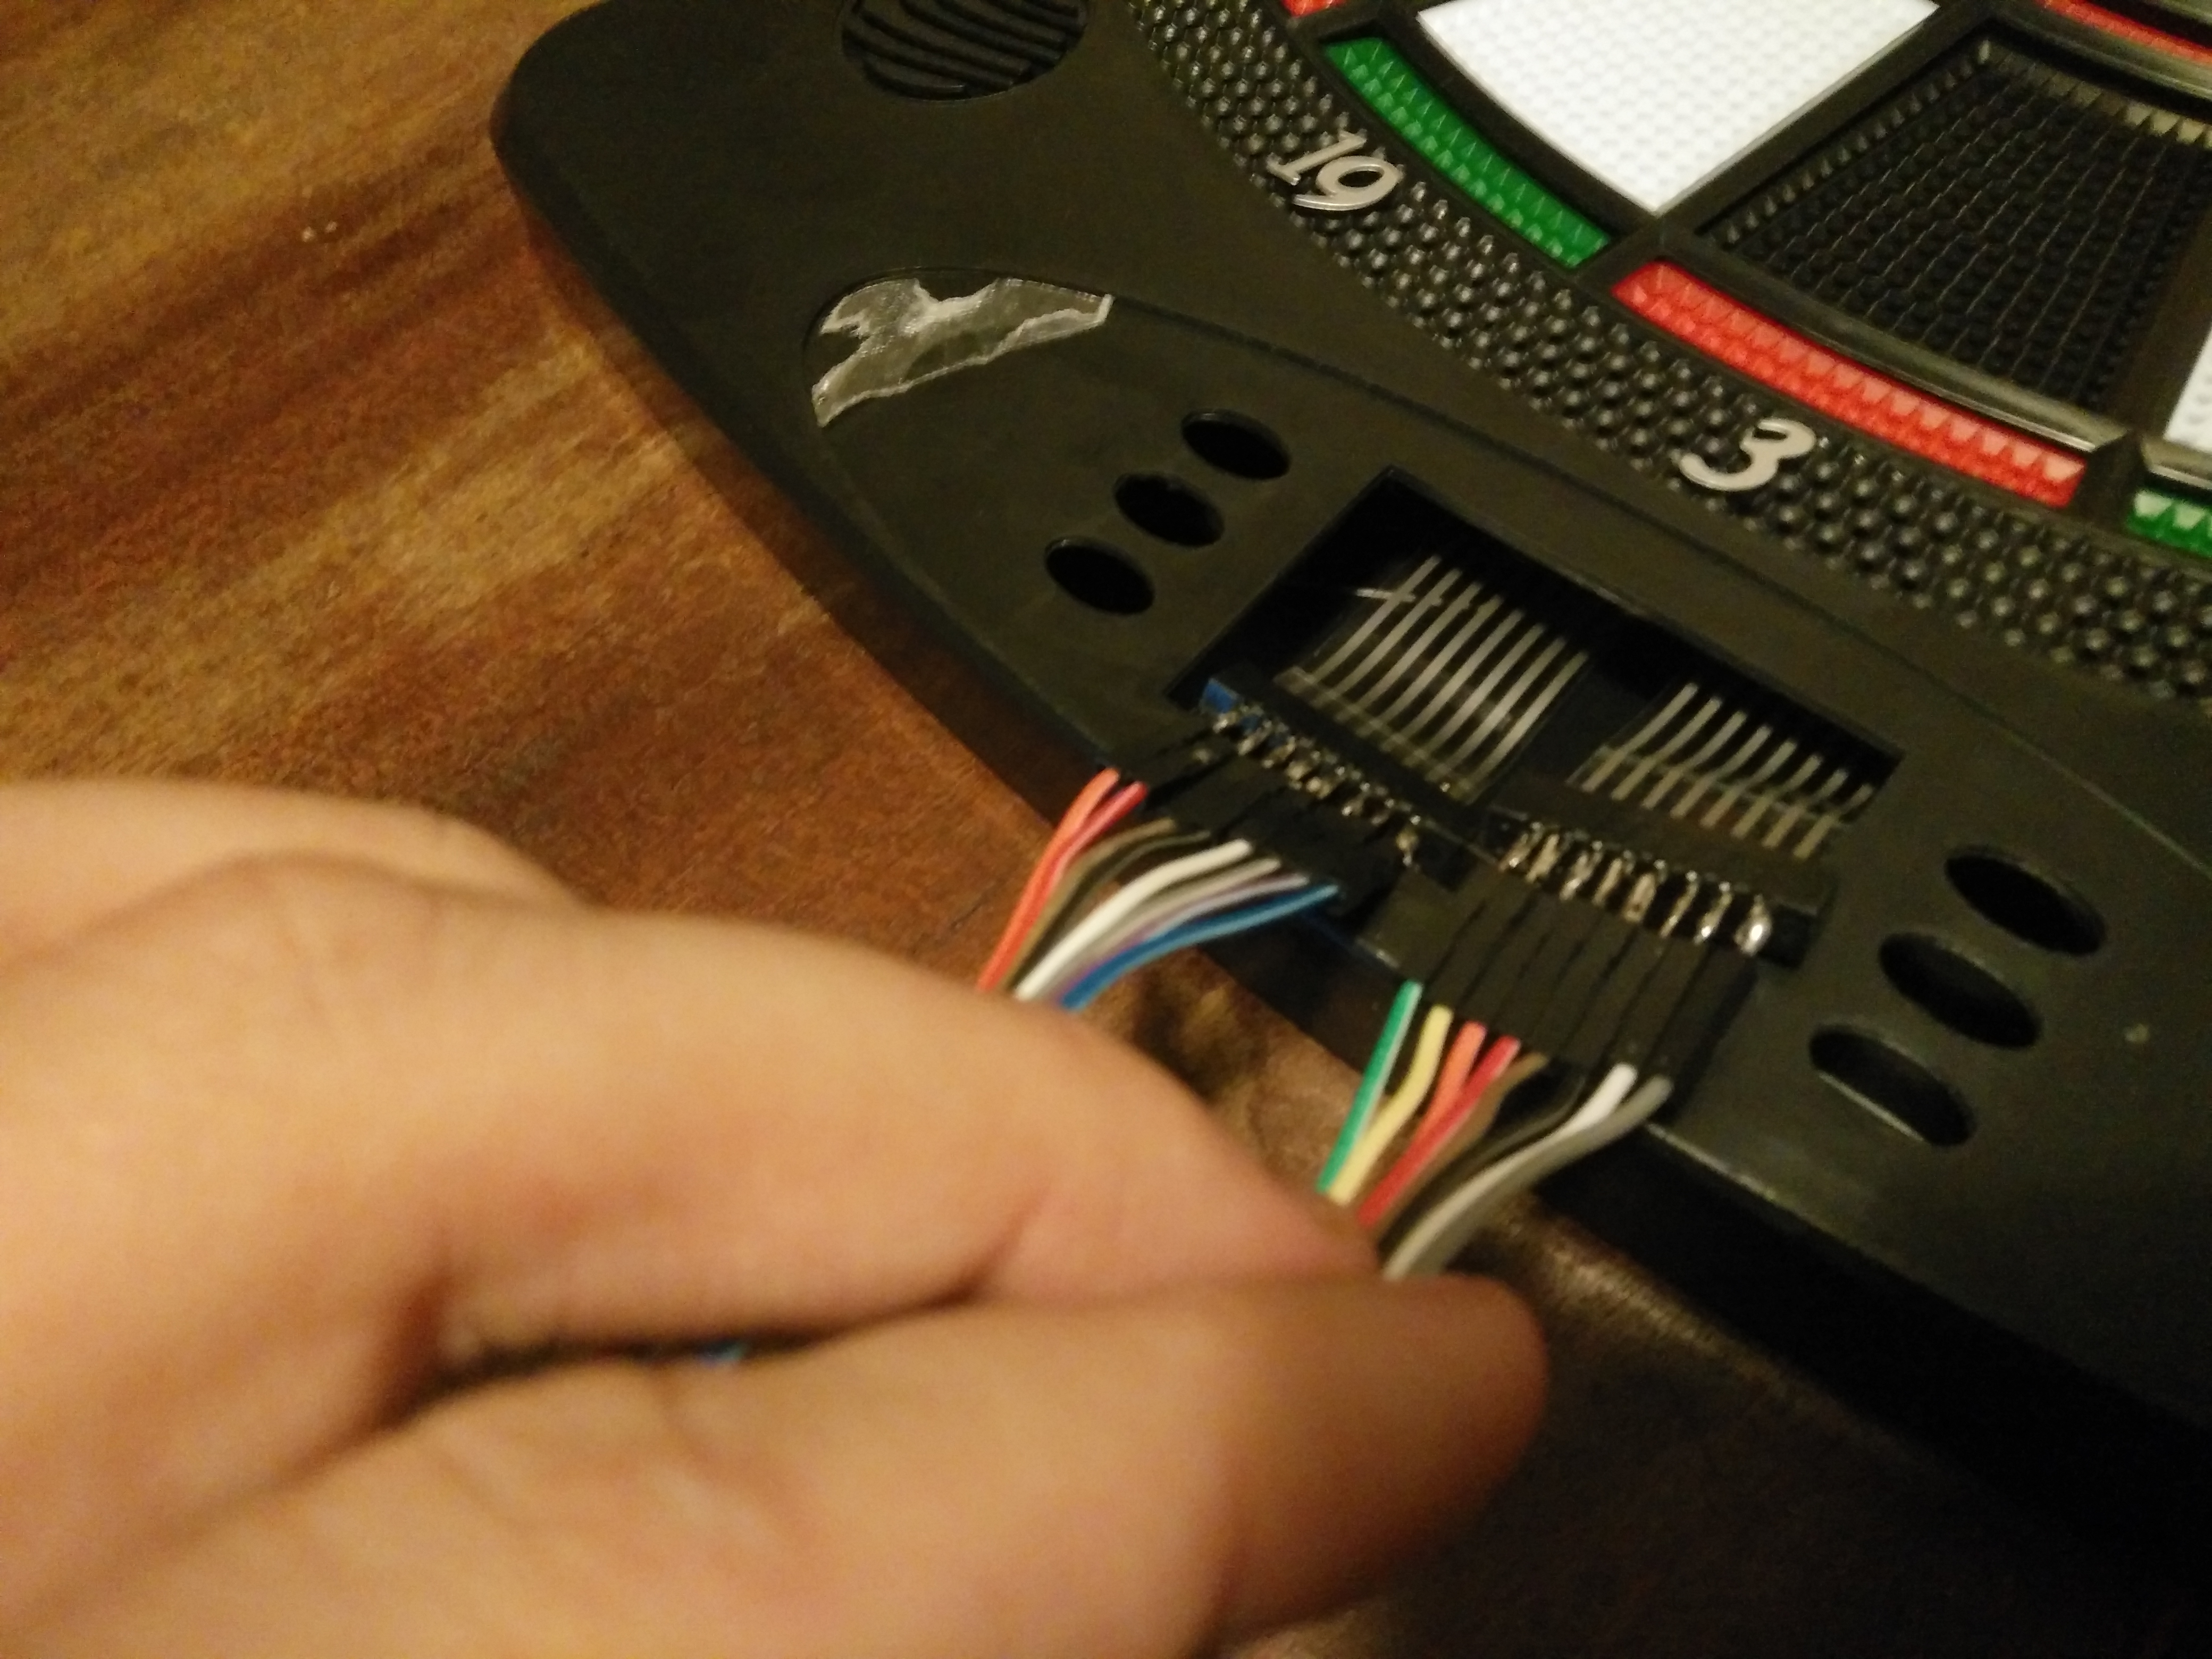
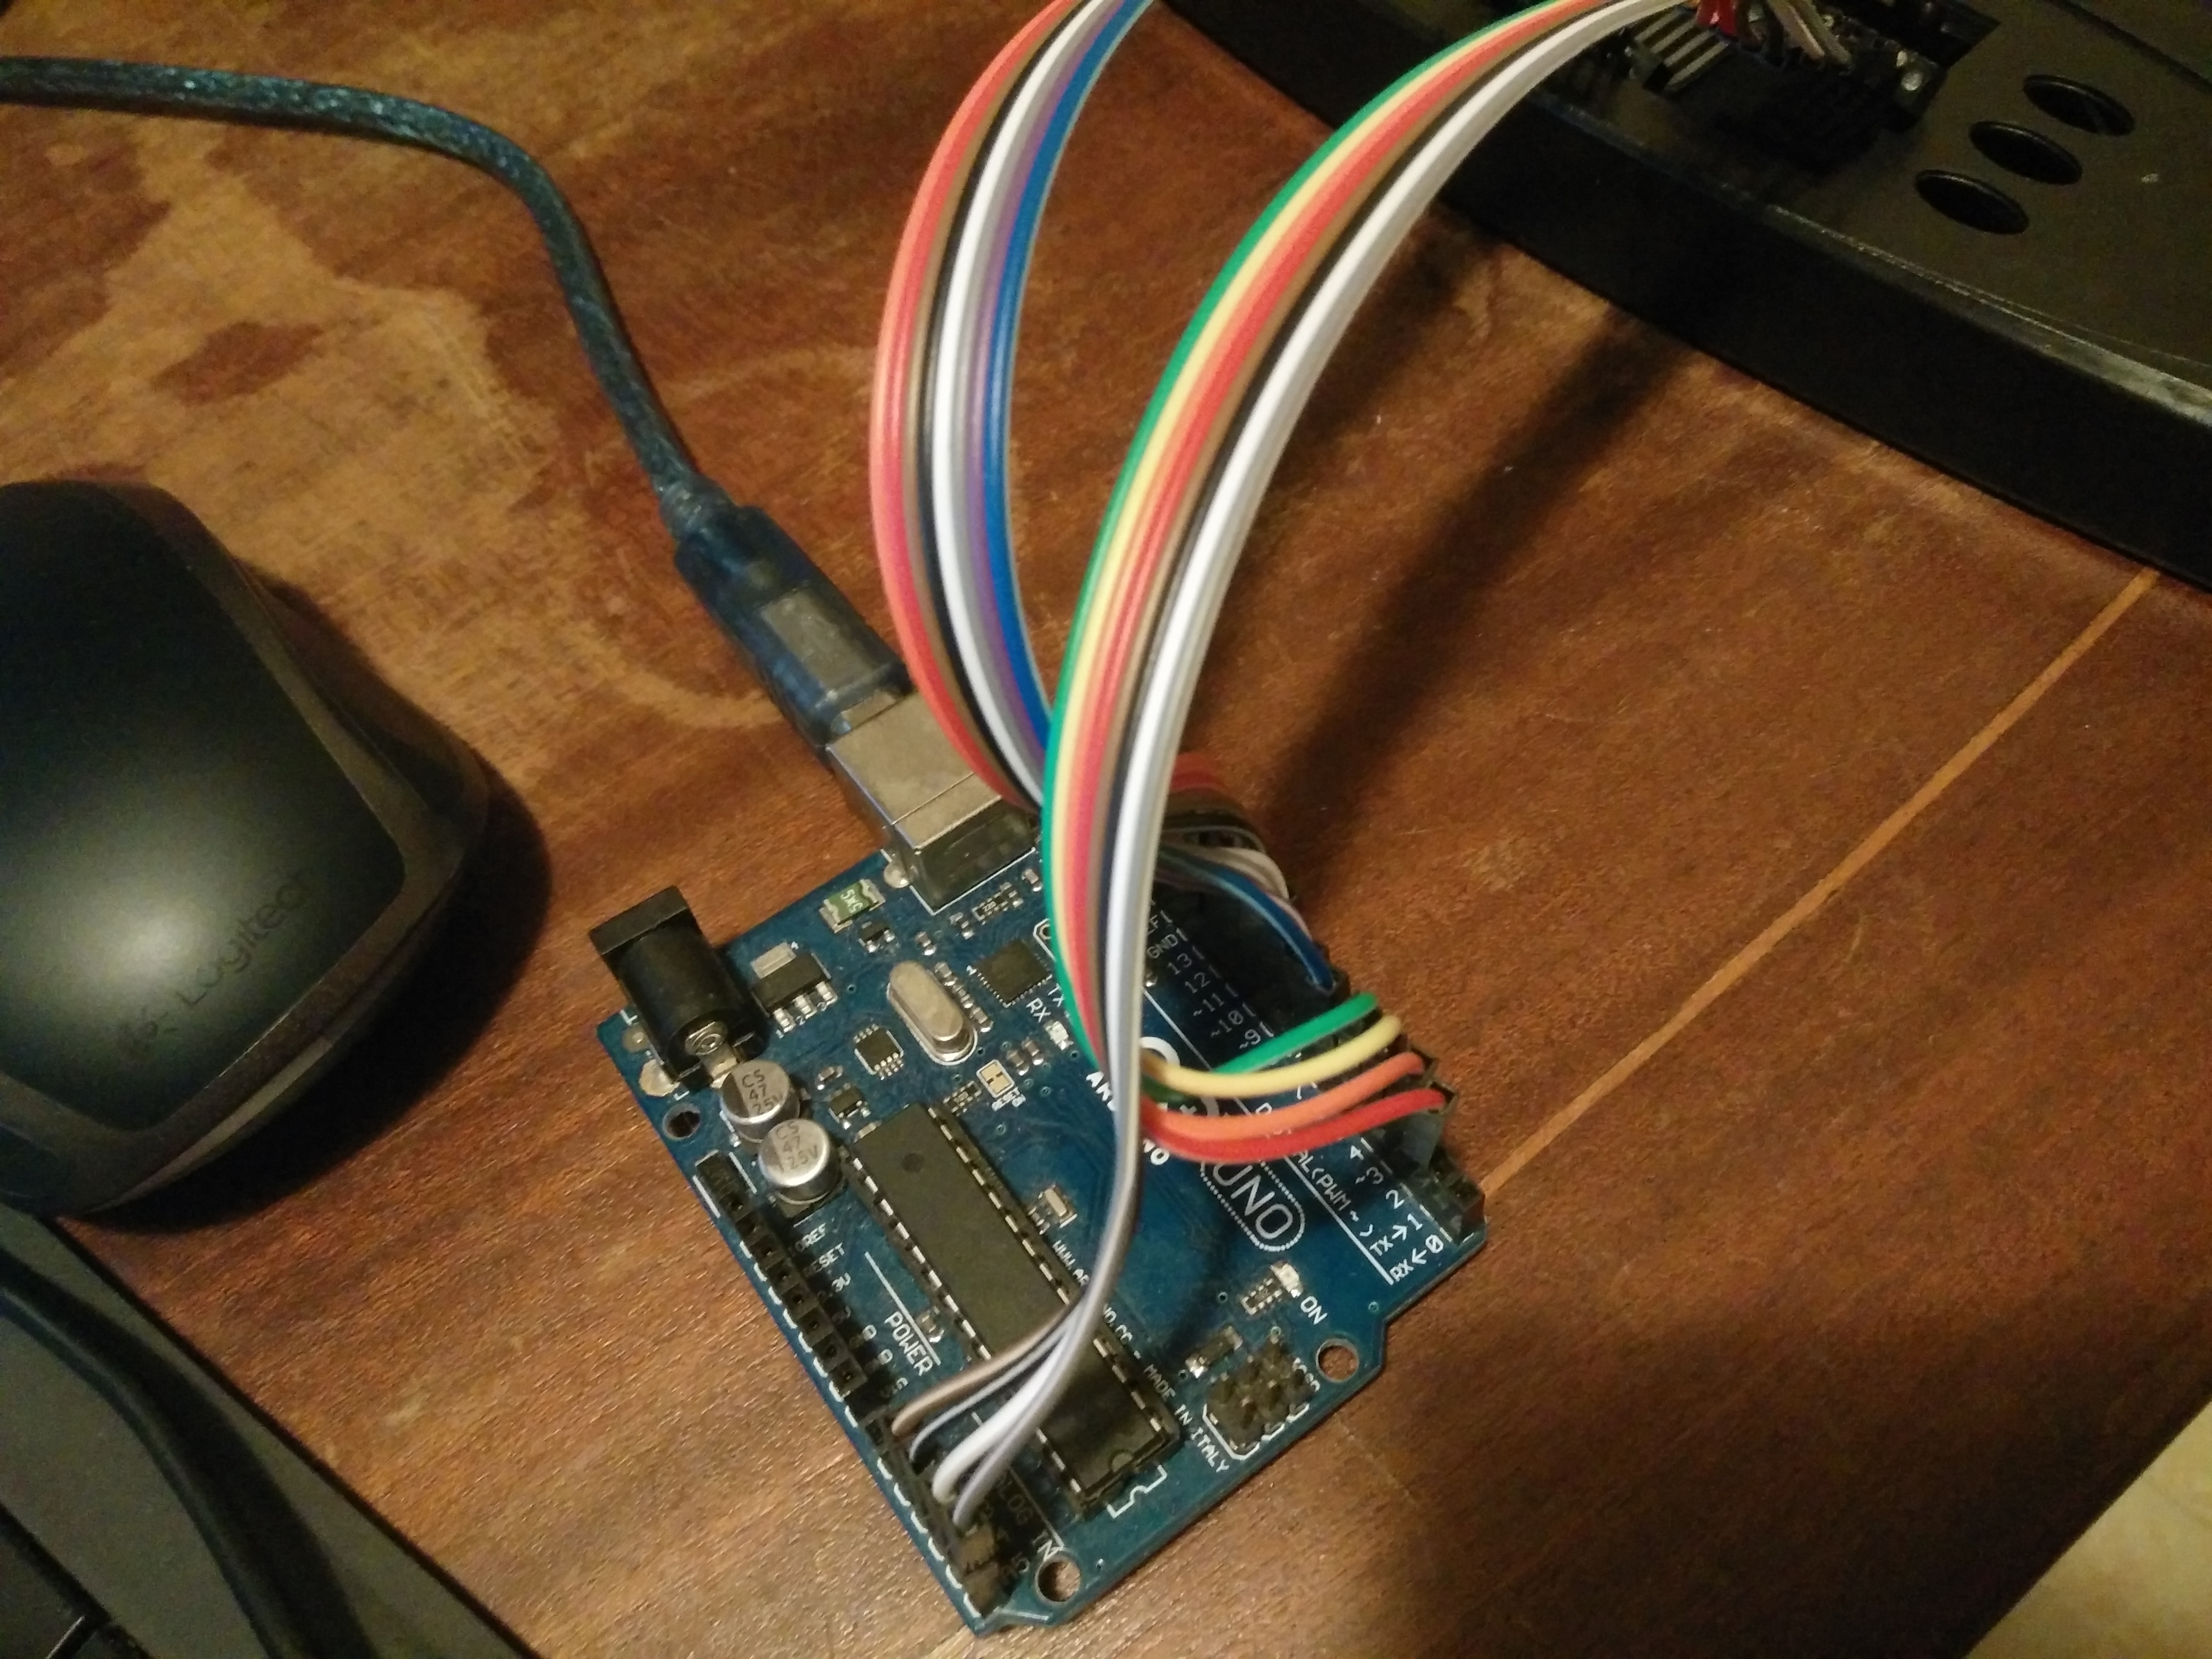
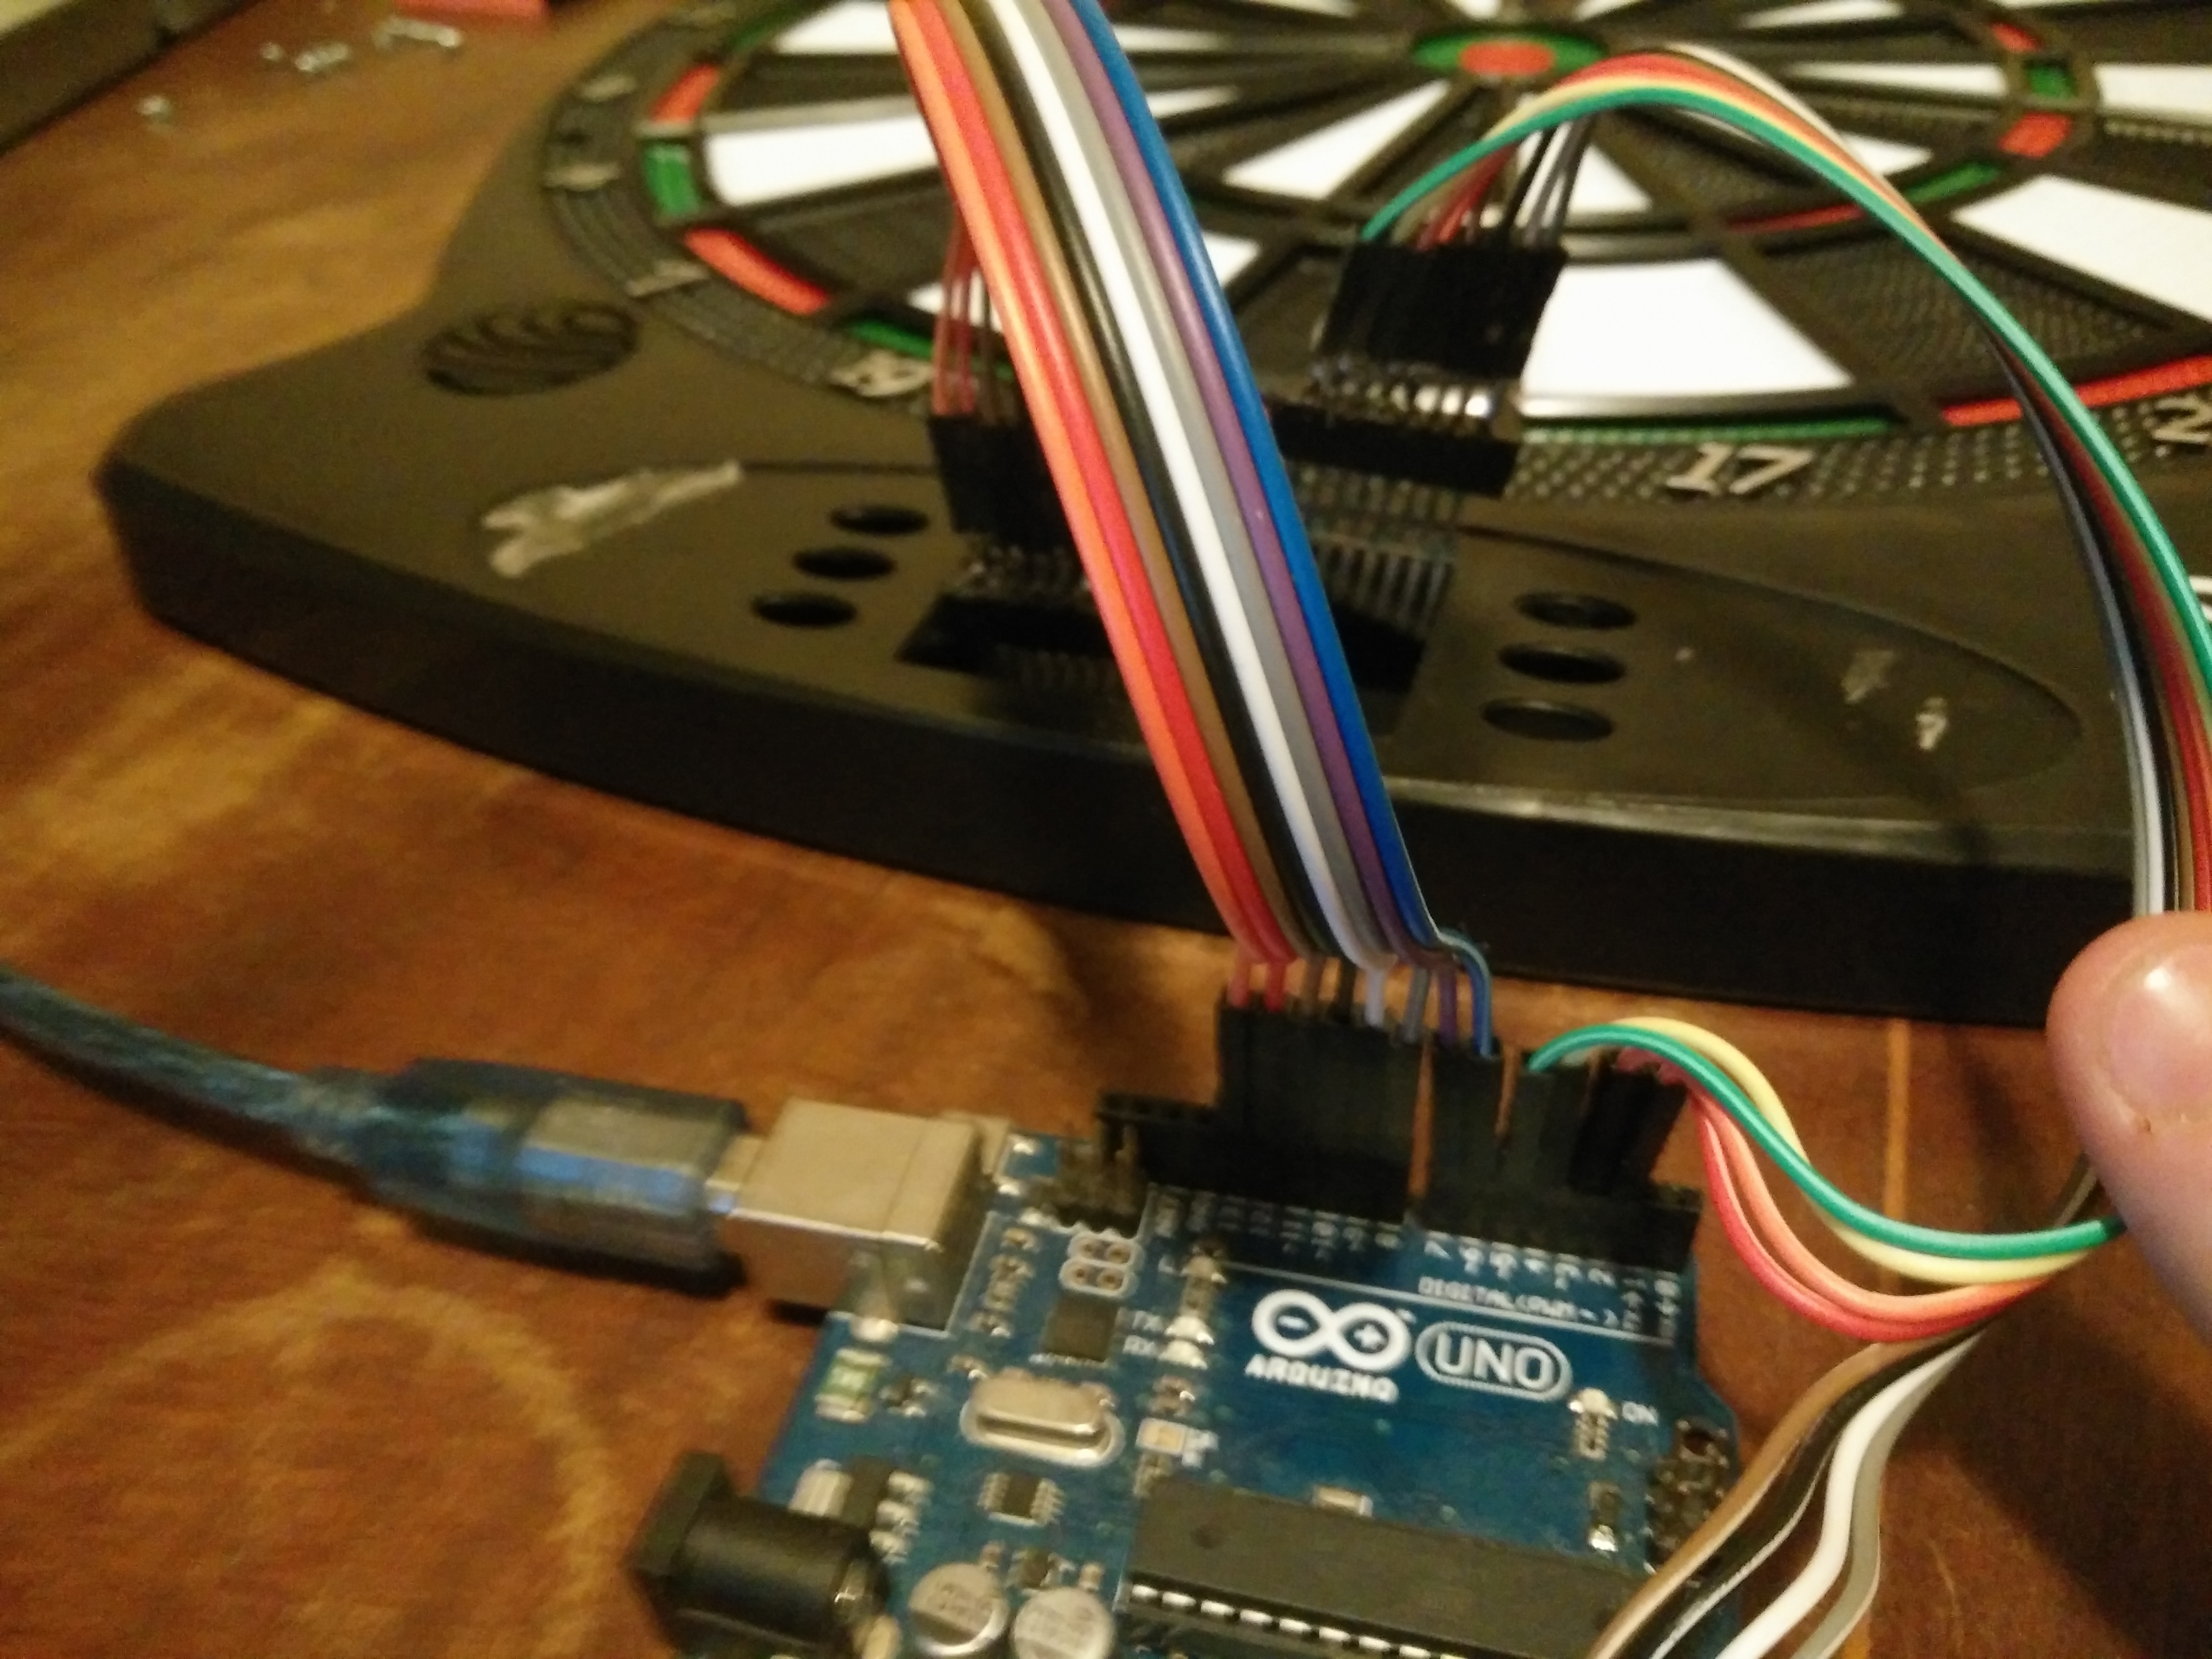
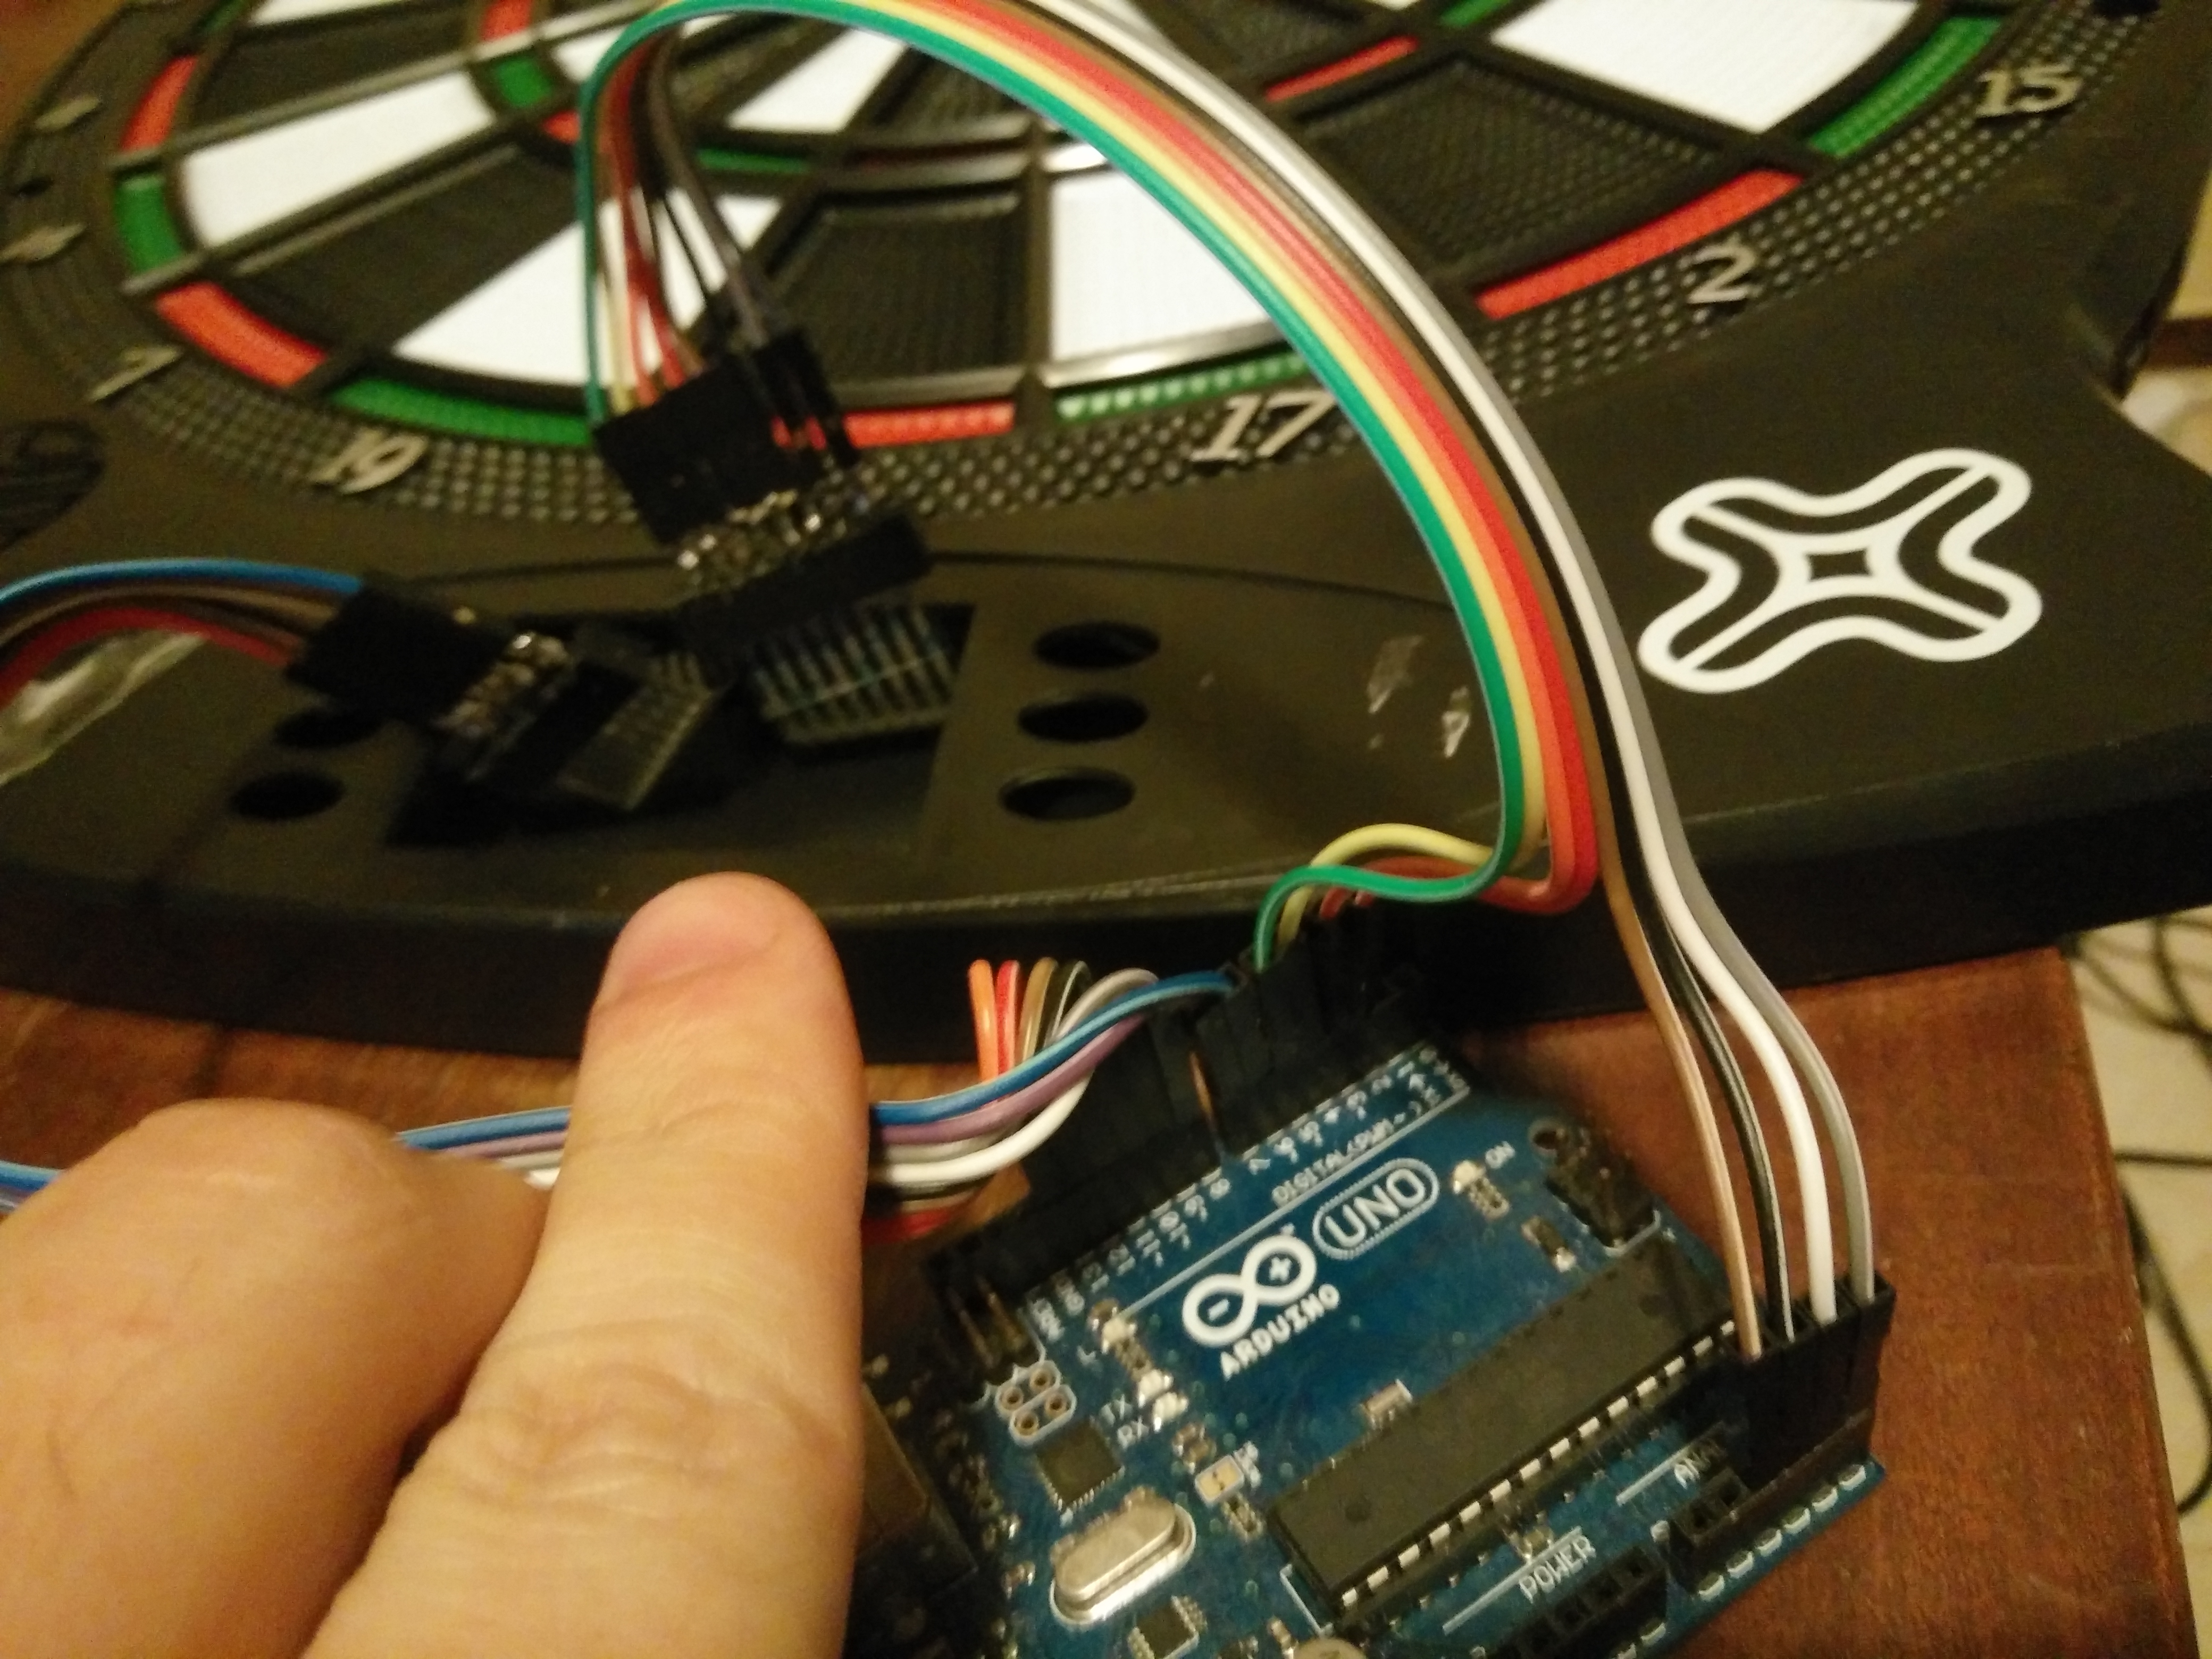
The next step is connecting with the Arduino. On this step we need to take into account the type of the matrix we have in our dartboard. As I stated on the previous step, my matrix is an 8 x 8 matrix, and we could tell that by counting the lines in each stripe of the dartboard matrix. I opened several types of matrix on the past and I found 16x4, 10x7, 8x8.
On this step each part of the matrix has to be identified. Let's call the stripe of the matrix with the highest number of lines the Master Layer, and the stripe with the lowest number the Slave Layer. So if you have:
16x4:
- The Strip with 16 lines would be the Master Layer.
- The Strip with 4 lines would be the Slave Layer.
10x7:
- The Strip with 10 lines would be the Master Layer.
- The Strip with 7 lines would be the Slave Layer.
8x8:
- In this case, you could choose any of the strips to be the Master Layer, and the other one the Slave Layer.
In any other case:
- The Master Layer should have the highest number of lines in its stripe.
- The Slave Layer should have the lowest number of lines in its stripe.
Connect both Master and Slave Layers cables to any Arduino GPIO (EXCEPT GPIO 0 AND GPIO 1):
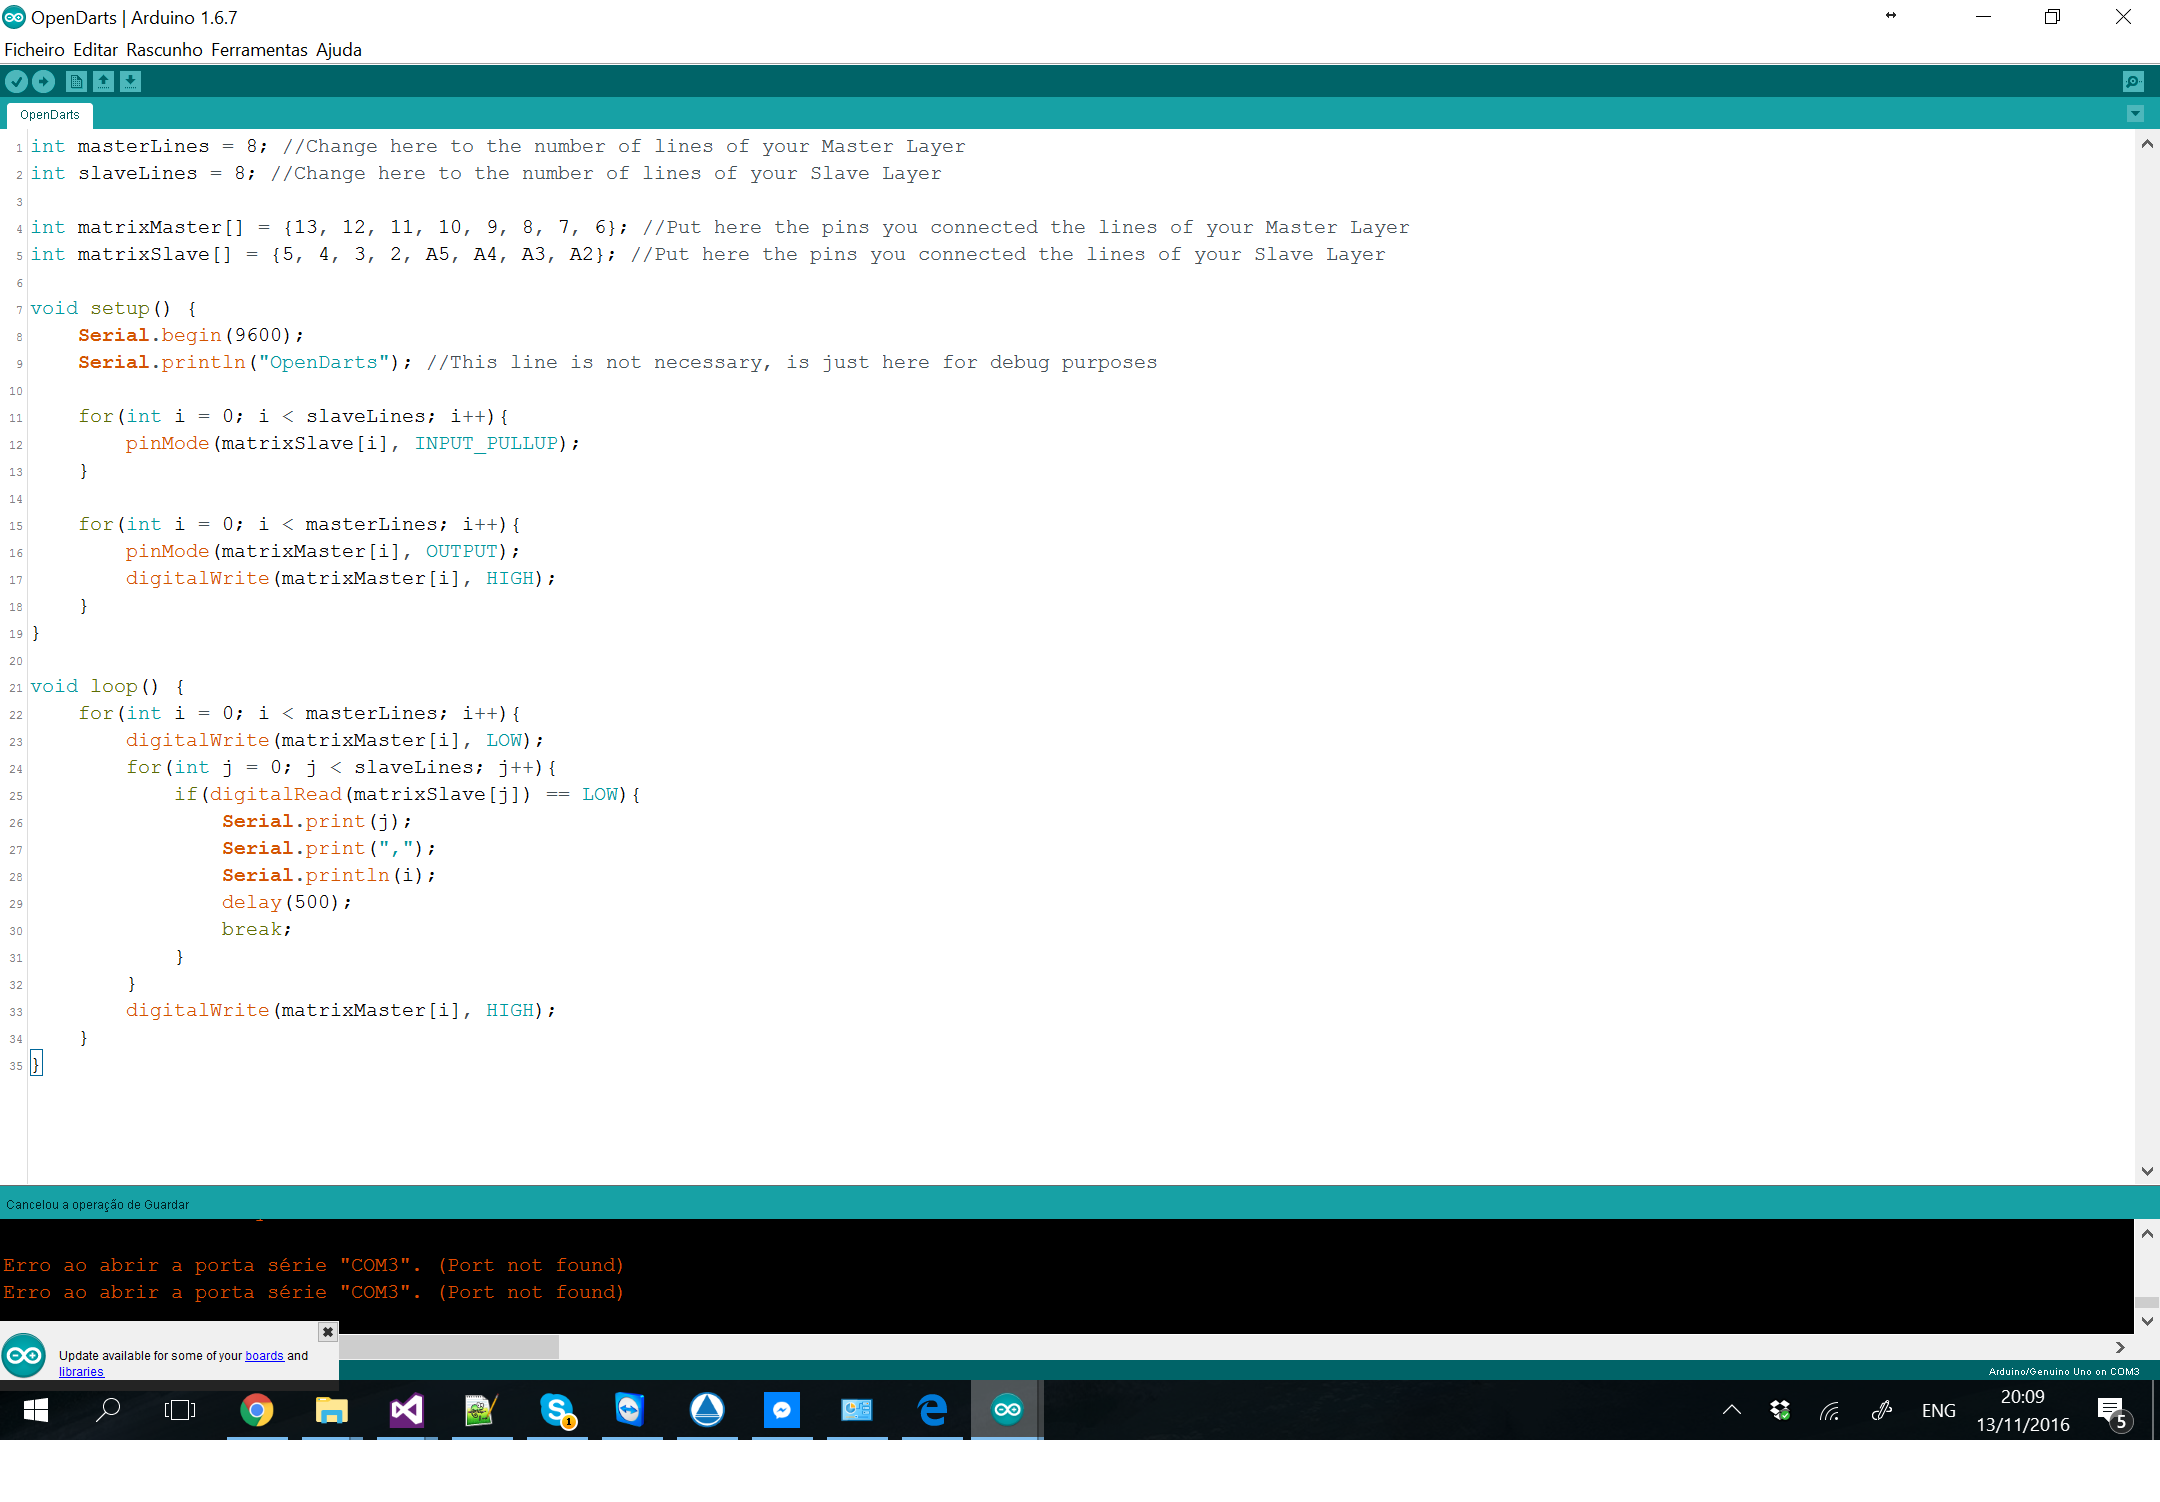
The Arduino code is as follows. Please fix the comment lines by putting the pins you used to connect your dartboard and put the number of lines of both your Master Layer and Slave Layer:
int masterLines = 8; //Change here to the number of lines of your Master Layer
int slaveLines = 8; //Change here to the number of lines of your Slave Layerint matrixMaster[] = {13, 12, 11, 10, 9, 8, 7, 6}; //Put here the pins you connected the lines of your Master Layer int matrixSlave[] = {5, 4, 3, 2, A5, A4, A3, A2}; //Put here the pins you connected the lines of your Slave Layer
void setup() { Serial.begin(9600); Serial.println("OpenDarts"); //This line is not necessary, is just here for debug purposes
for(int i = 0; i < slaveLines; i++){ pinMode(matrixSlave[i], INPUT_PULLUP); }
for(int i = 0; i < masterLines; i++){ pinMode(matrixMaster[i], OUTPUT); digitalWrite(matrixMaster[i], HIGH); } }
void loop() { for(int i = 0; i < masterLines; i++){ digitalWrite(matrixMaster[i], LOW); for(int j = 0; j < slaveLines; j++){ if(digitalRead(matrixSlave[j]) == LOW){ Serial.print(j); Serial.print(","); Serial.println(i); delay(500); break; } } digitalWrite(matrixMaster[i], HIGH); } }
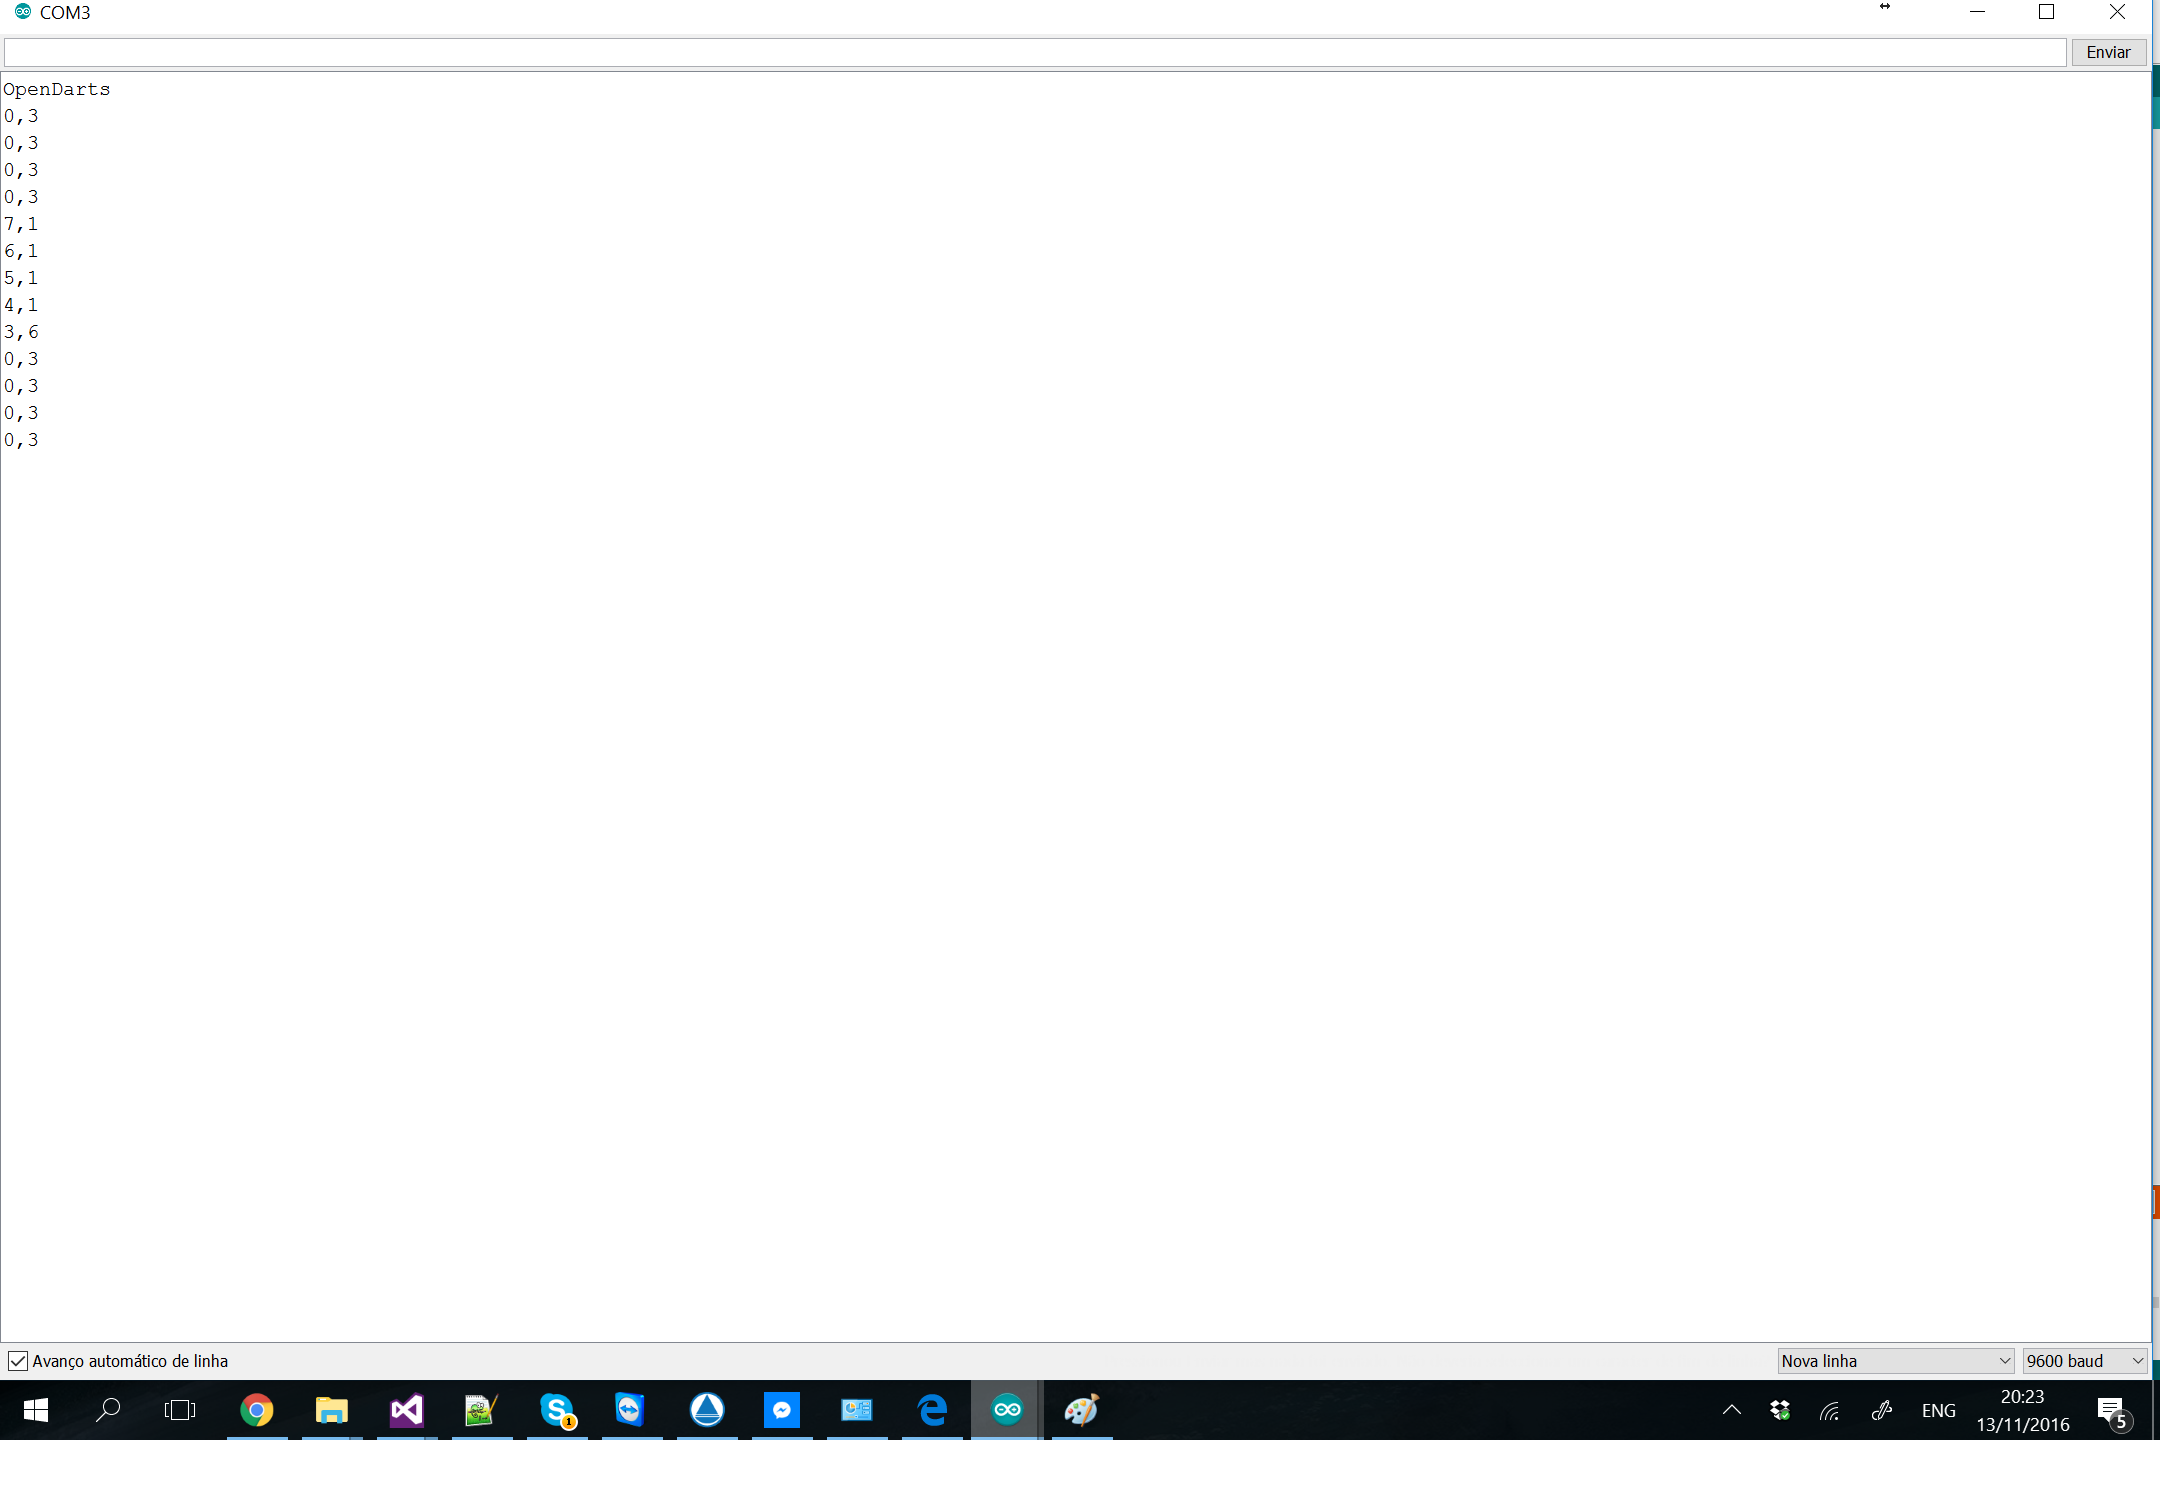
After uploading and closing your dartboard, you can hit the positions and check if you are receiving data on the serial monitor:
We are now communicating between the dartboard and the computer. Next step is downloading and configuring OpenDarts.
Downloads
Downloading and Configure OpenDarts
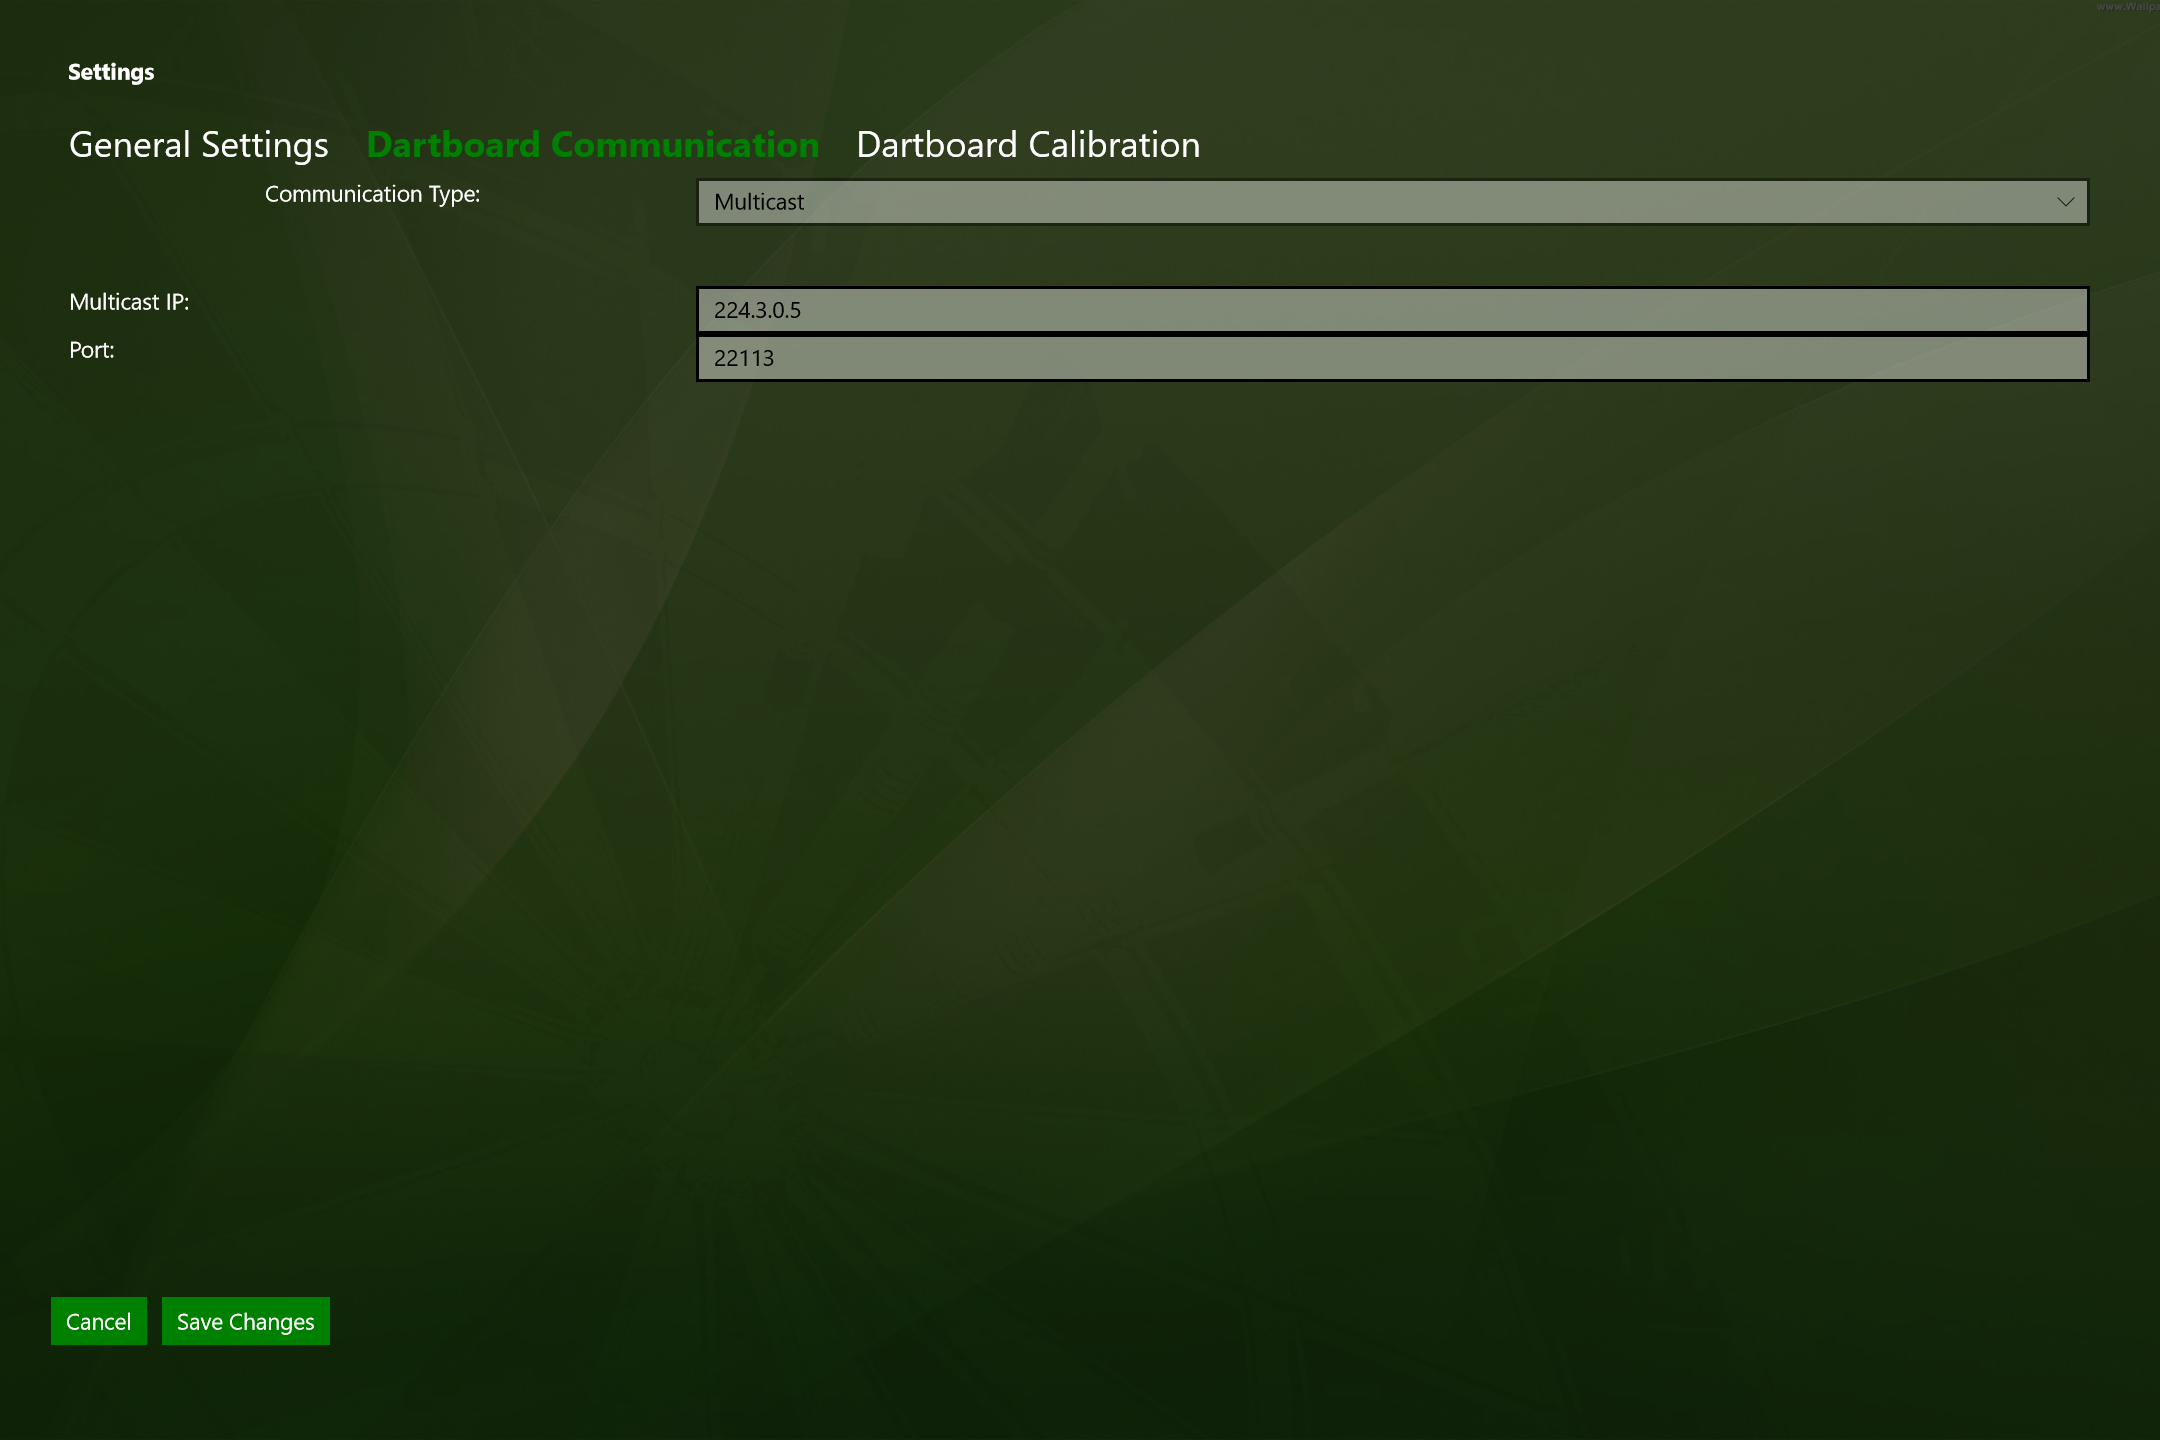
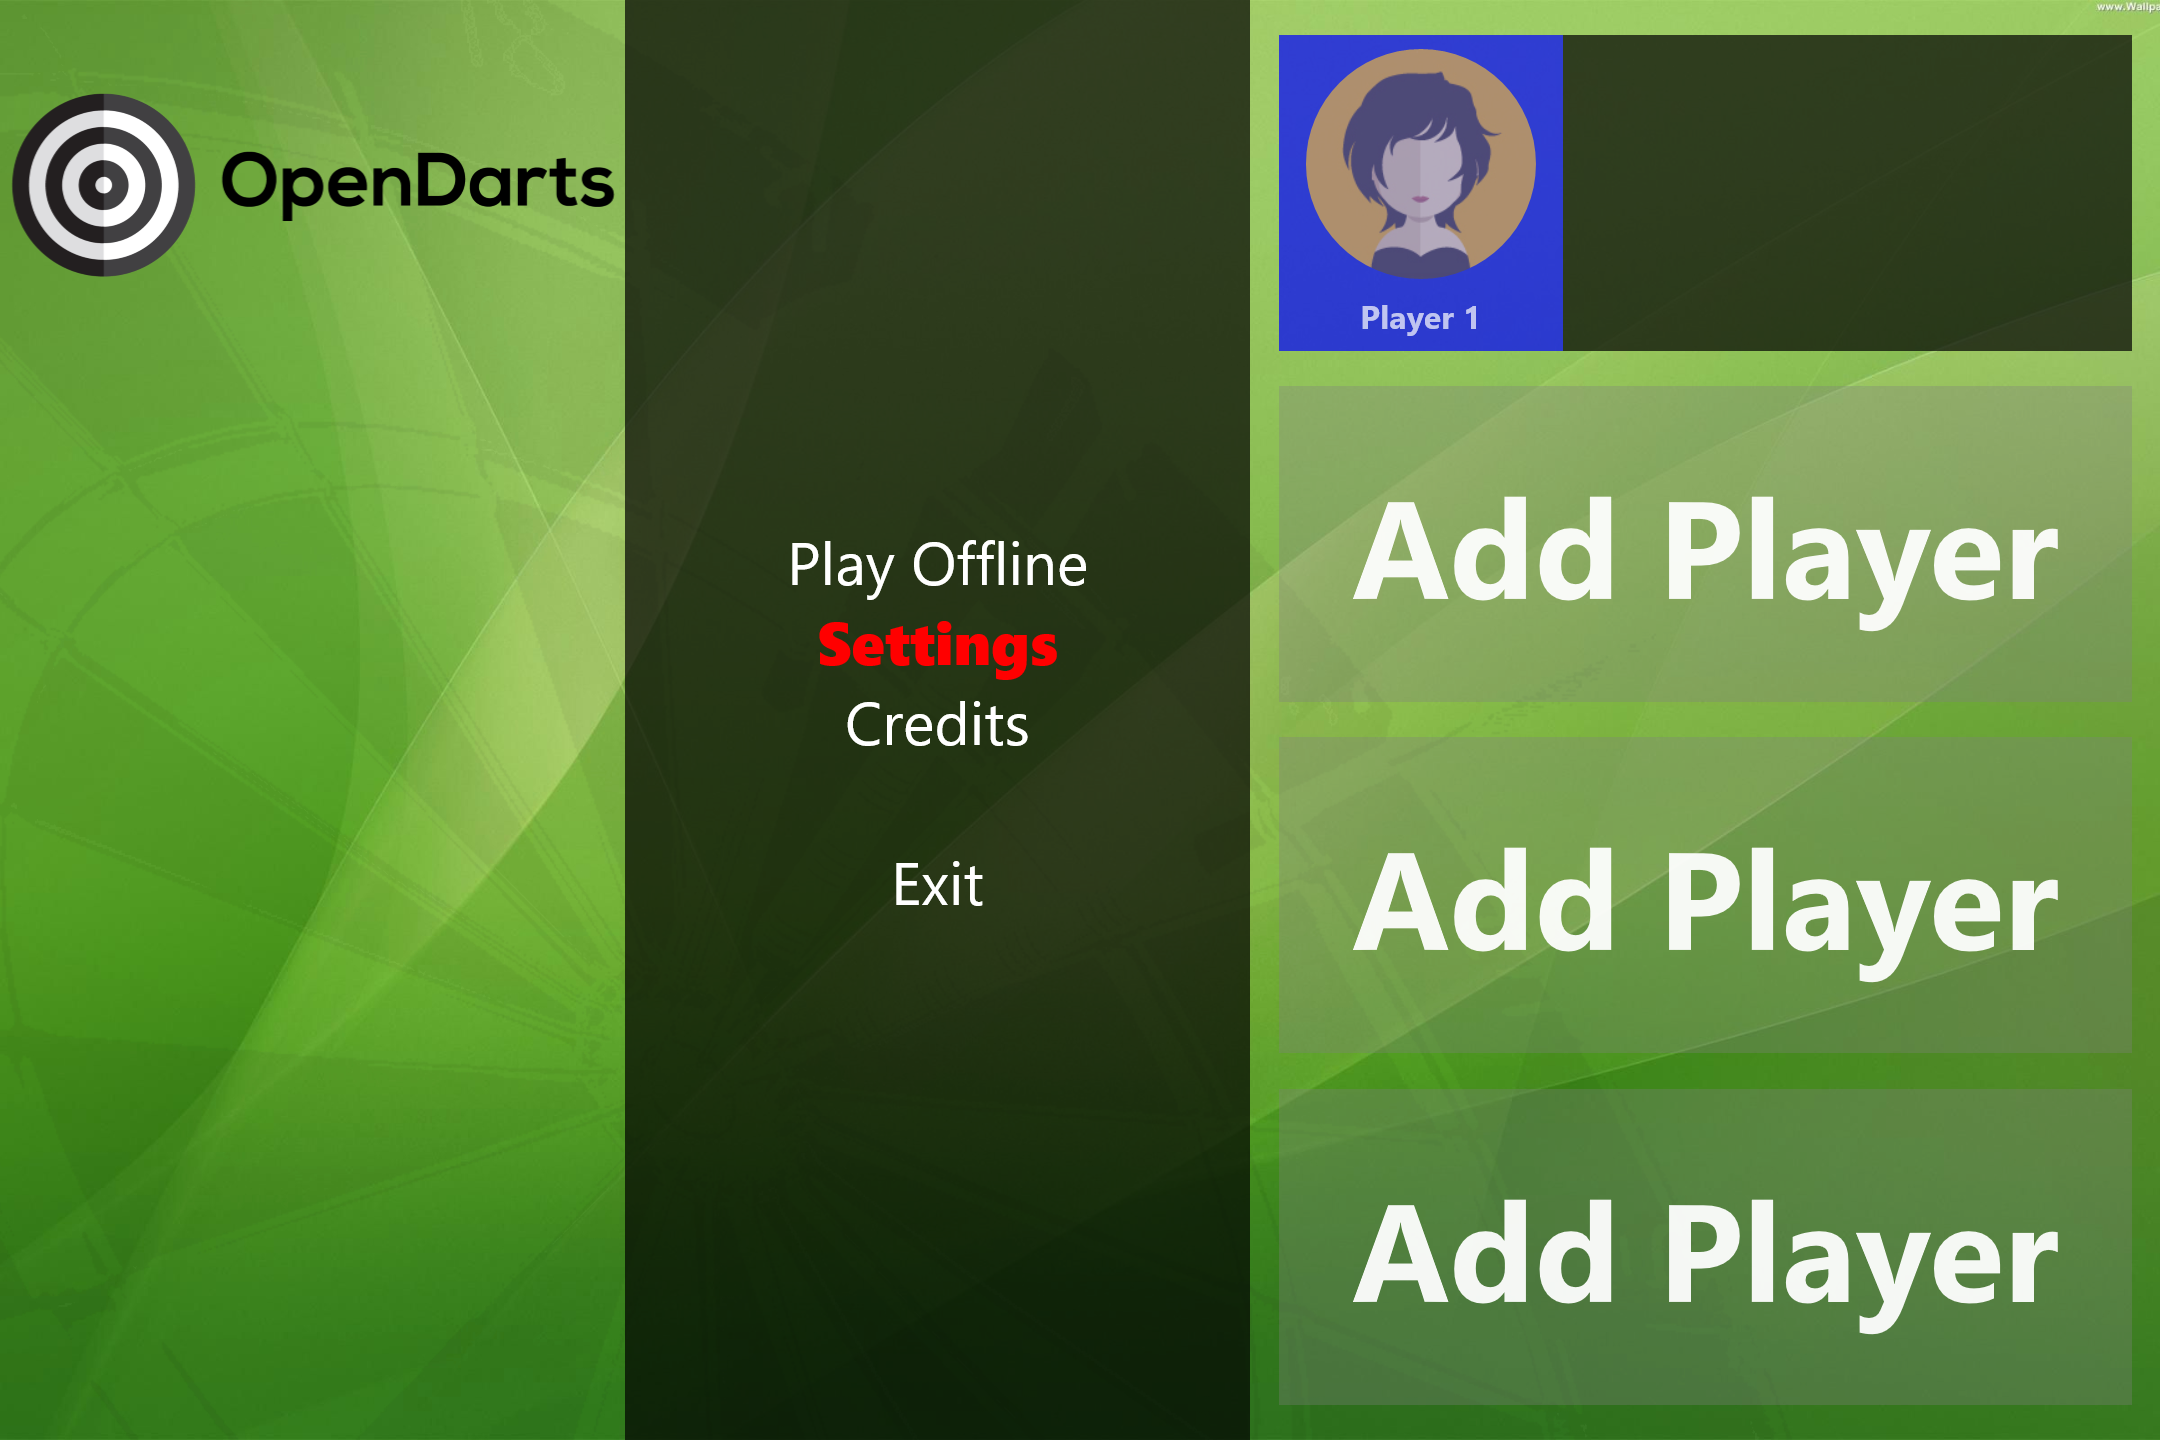
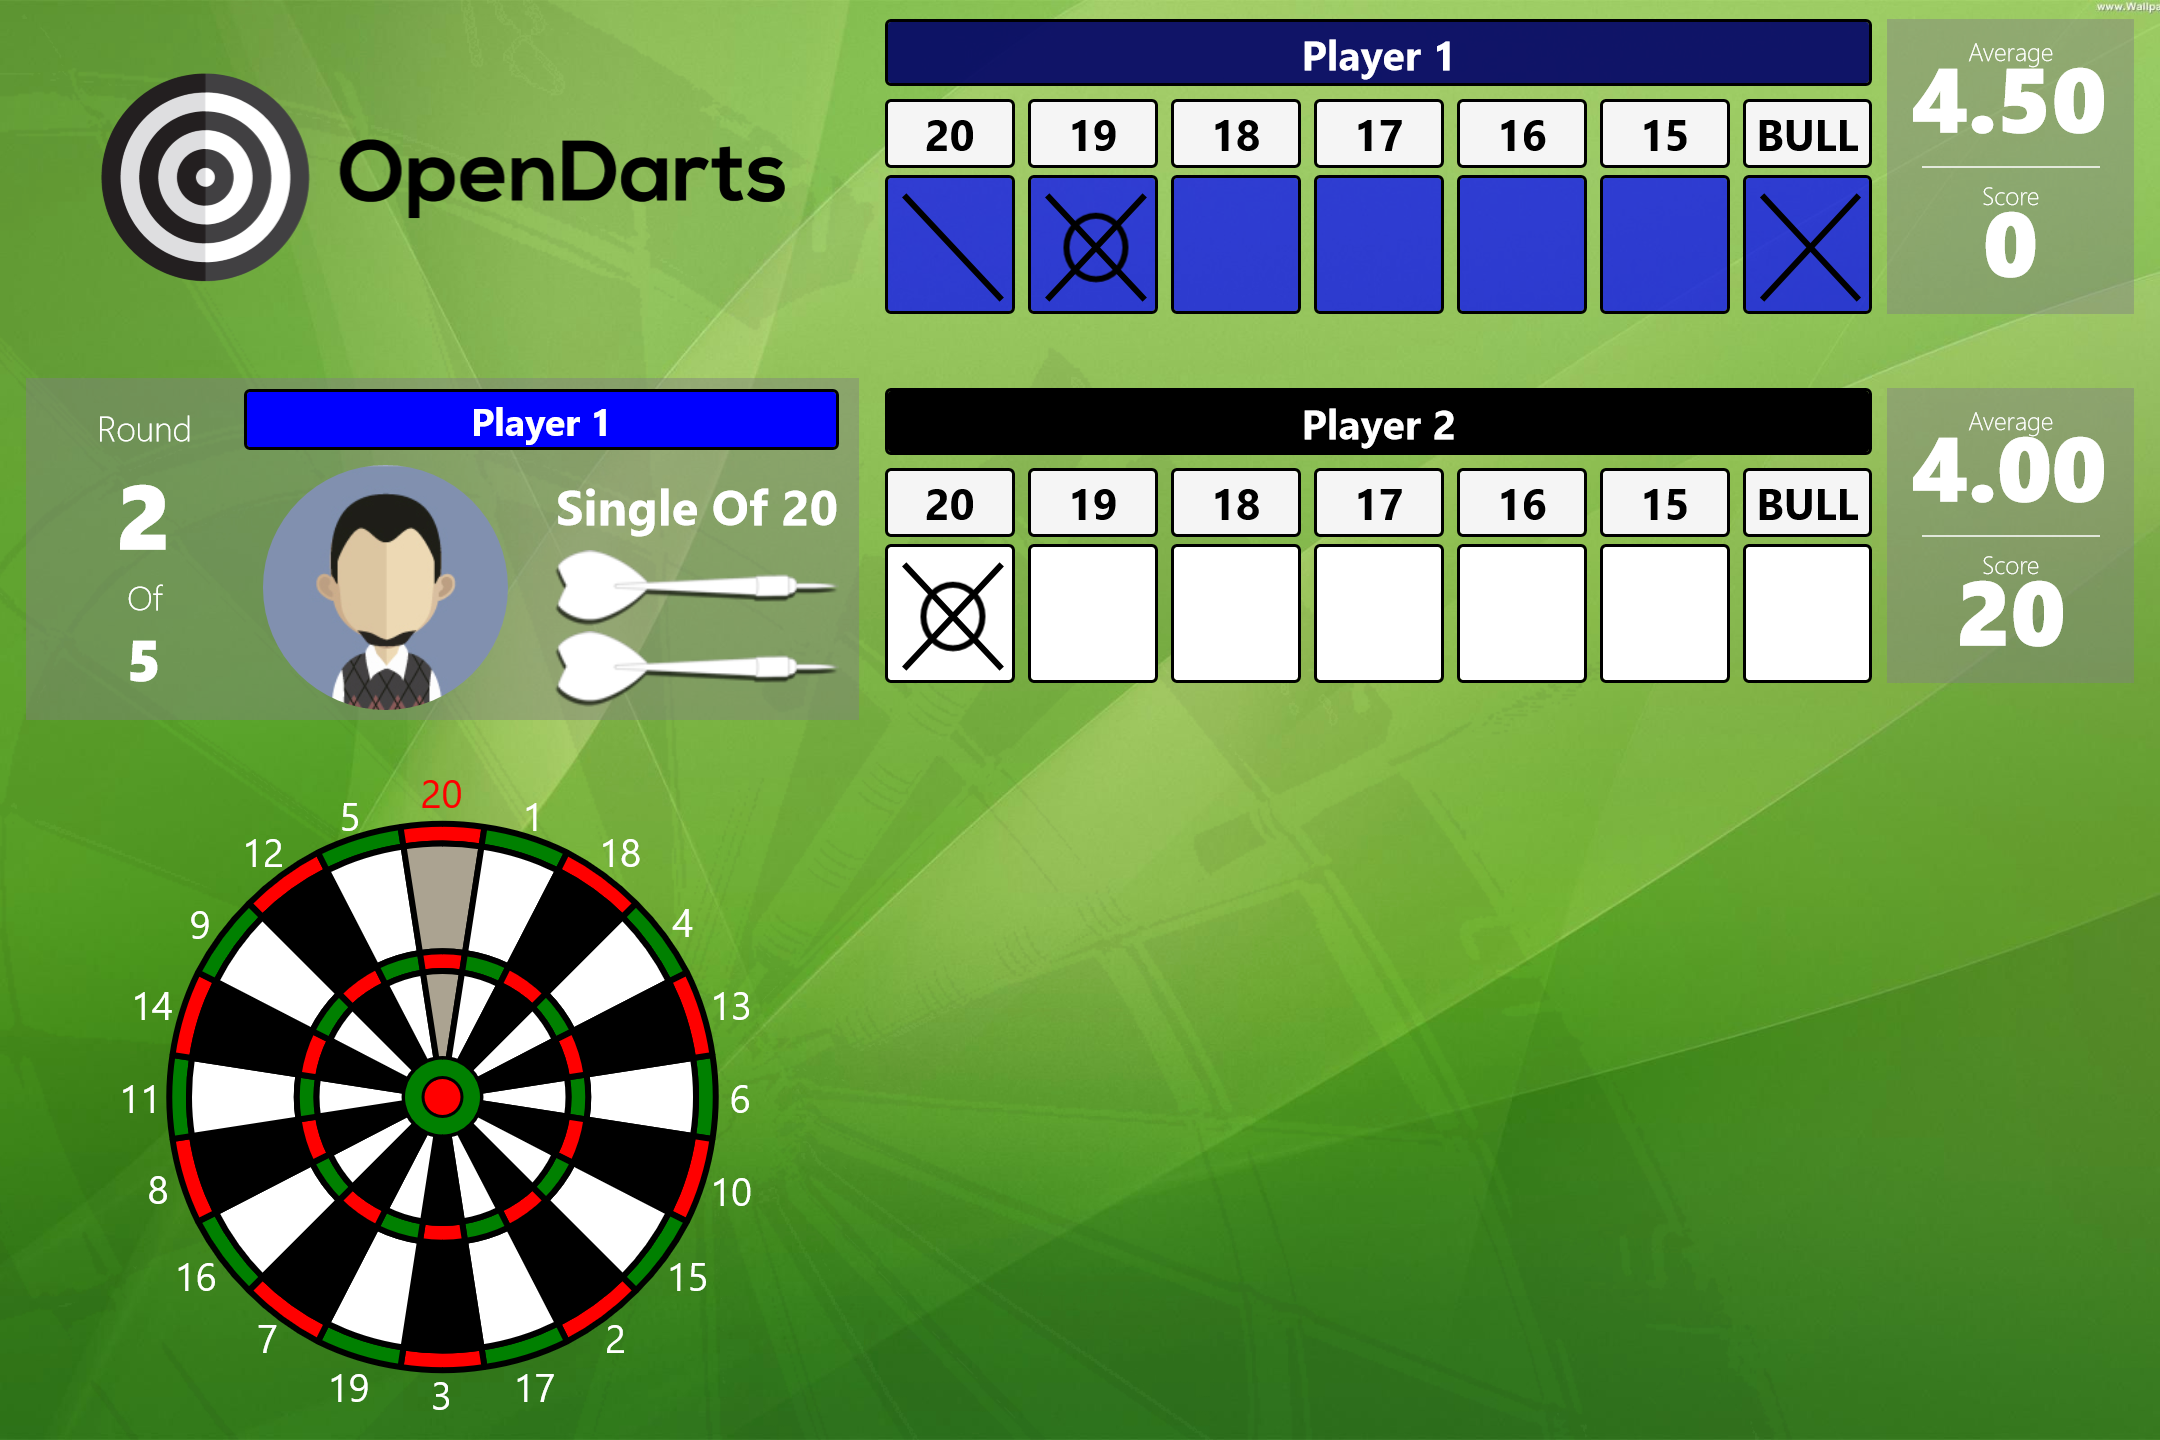
The OpenDarts software is only available on Windows Store, and can be downloaded only on Windows 10 Devices. Open the following link and download OpenDarts from Microsoft Store:
https://www.microsoft.com/store/apps/9NBLGGH42L8N
After Installing, open it and go to Settings:
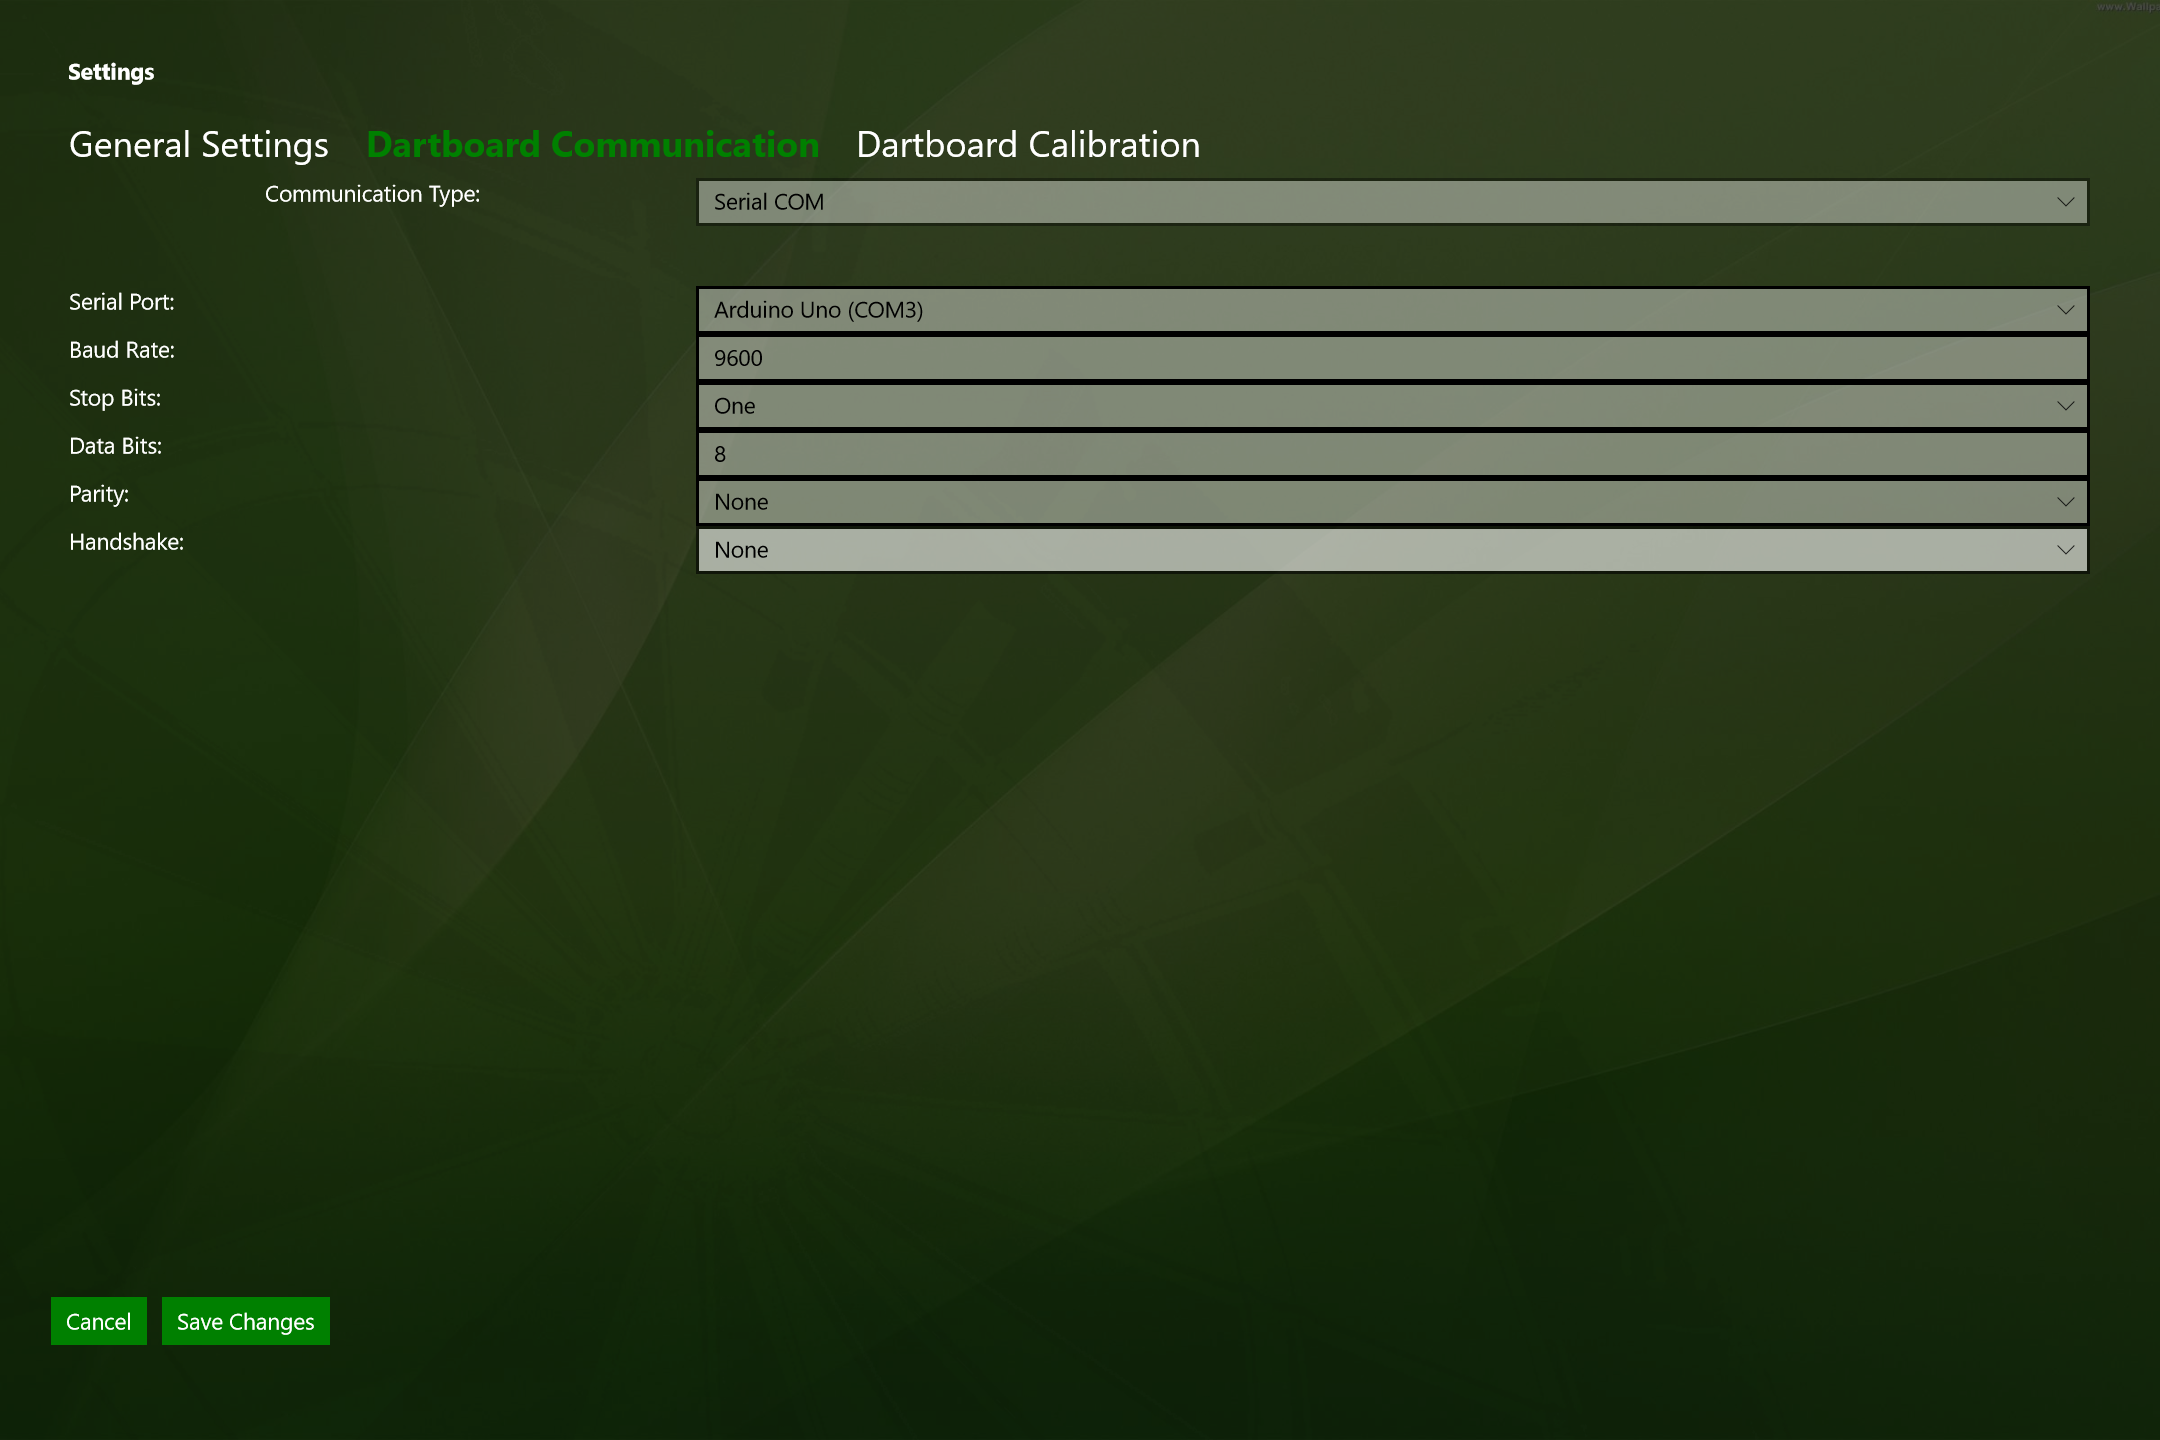
Go to Tab "Dartboard Communication":
On "Communication Type" select "Serial COM". It will then appear Several of other options. On the option "Serial Port", select your Arduino Uno:
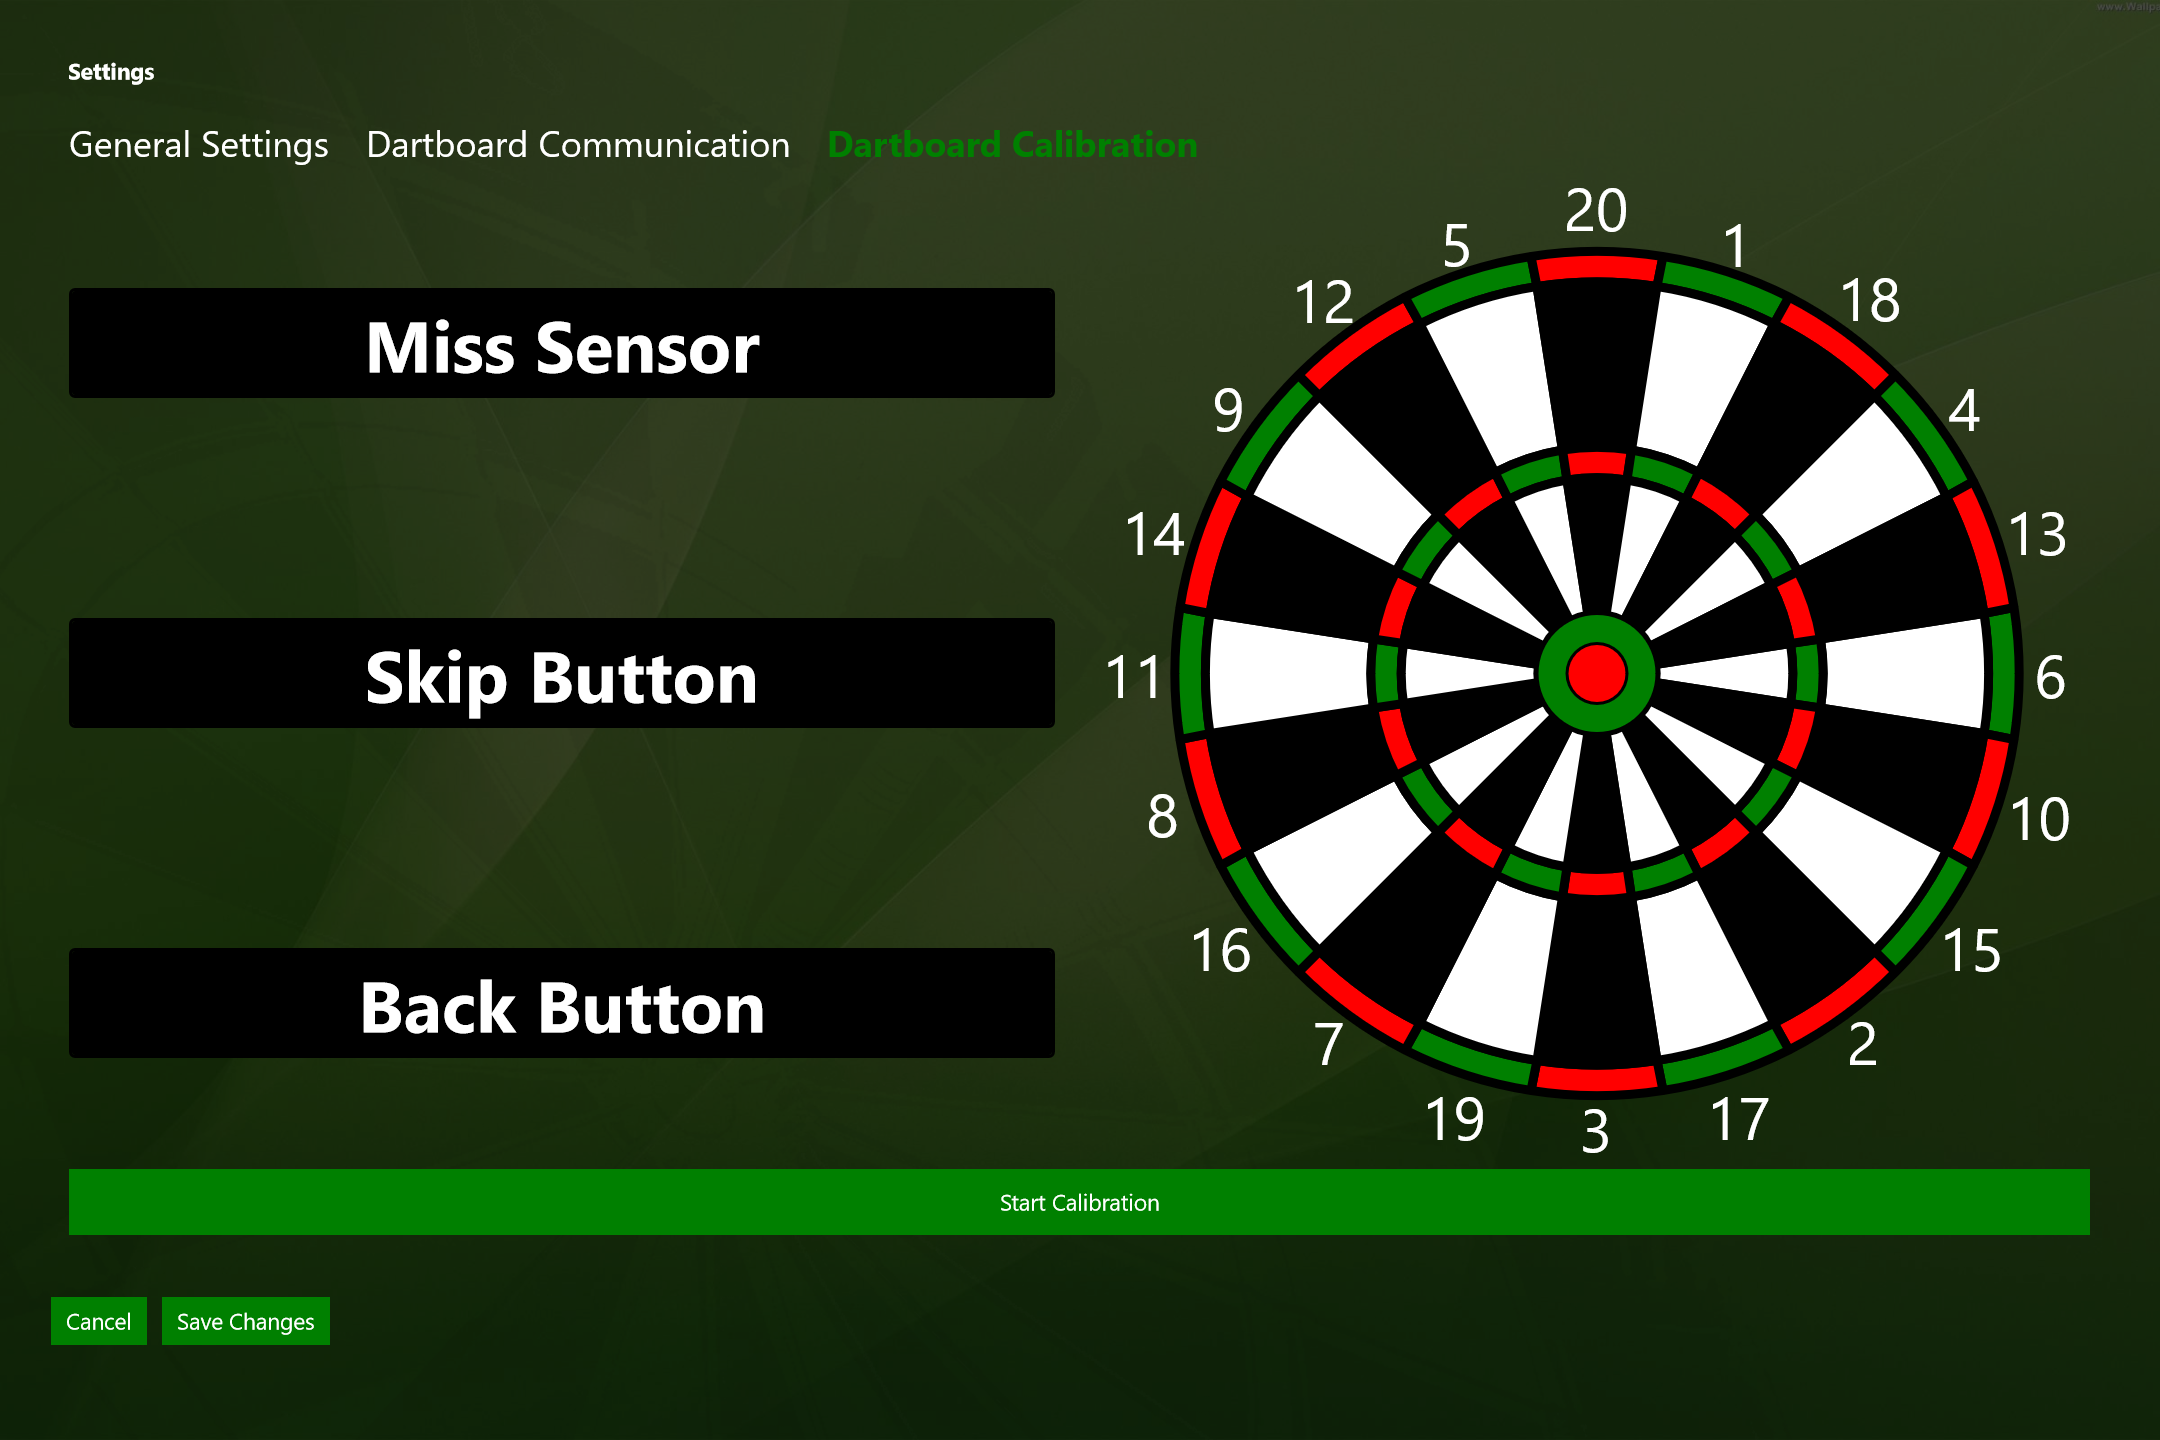
Go to Tab "Dartboard Calibration" and click "Start Calibration":
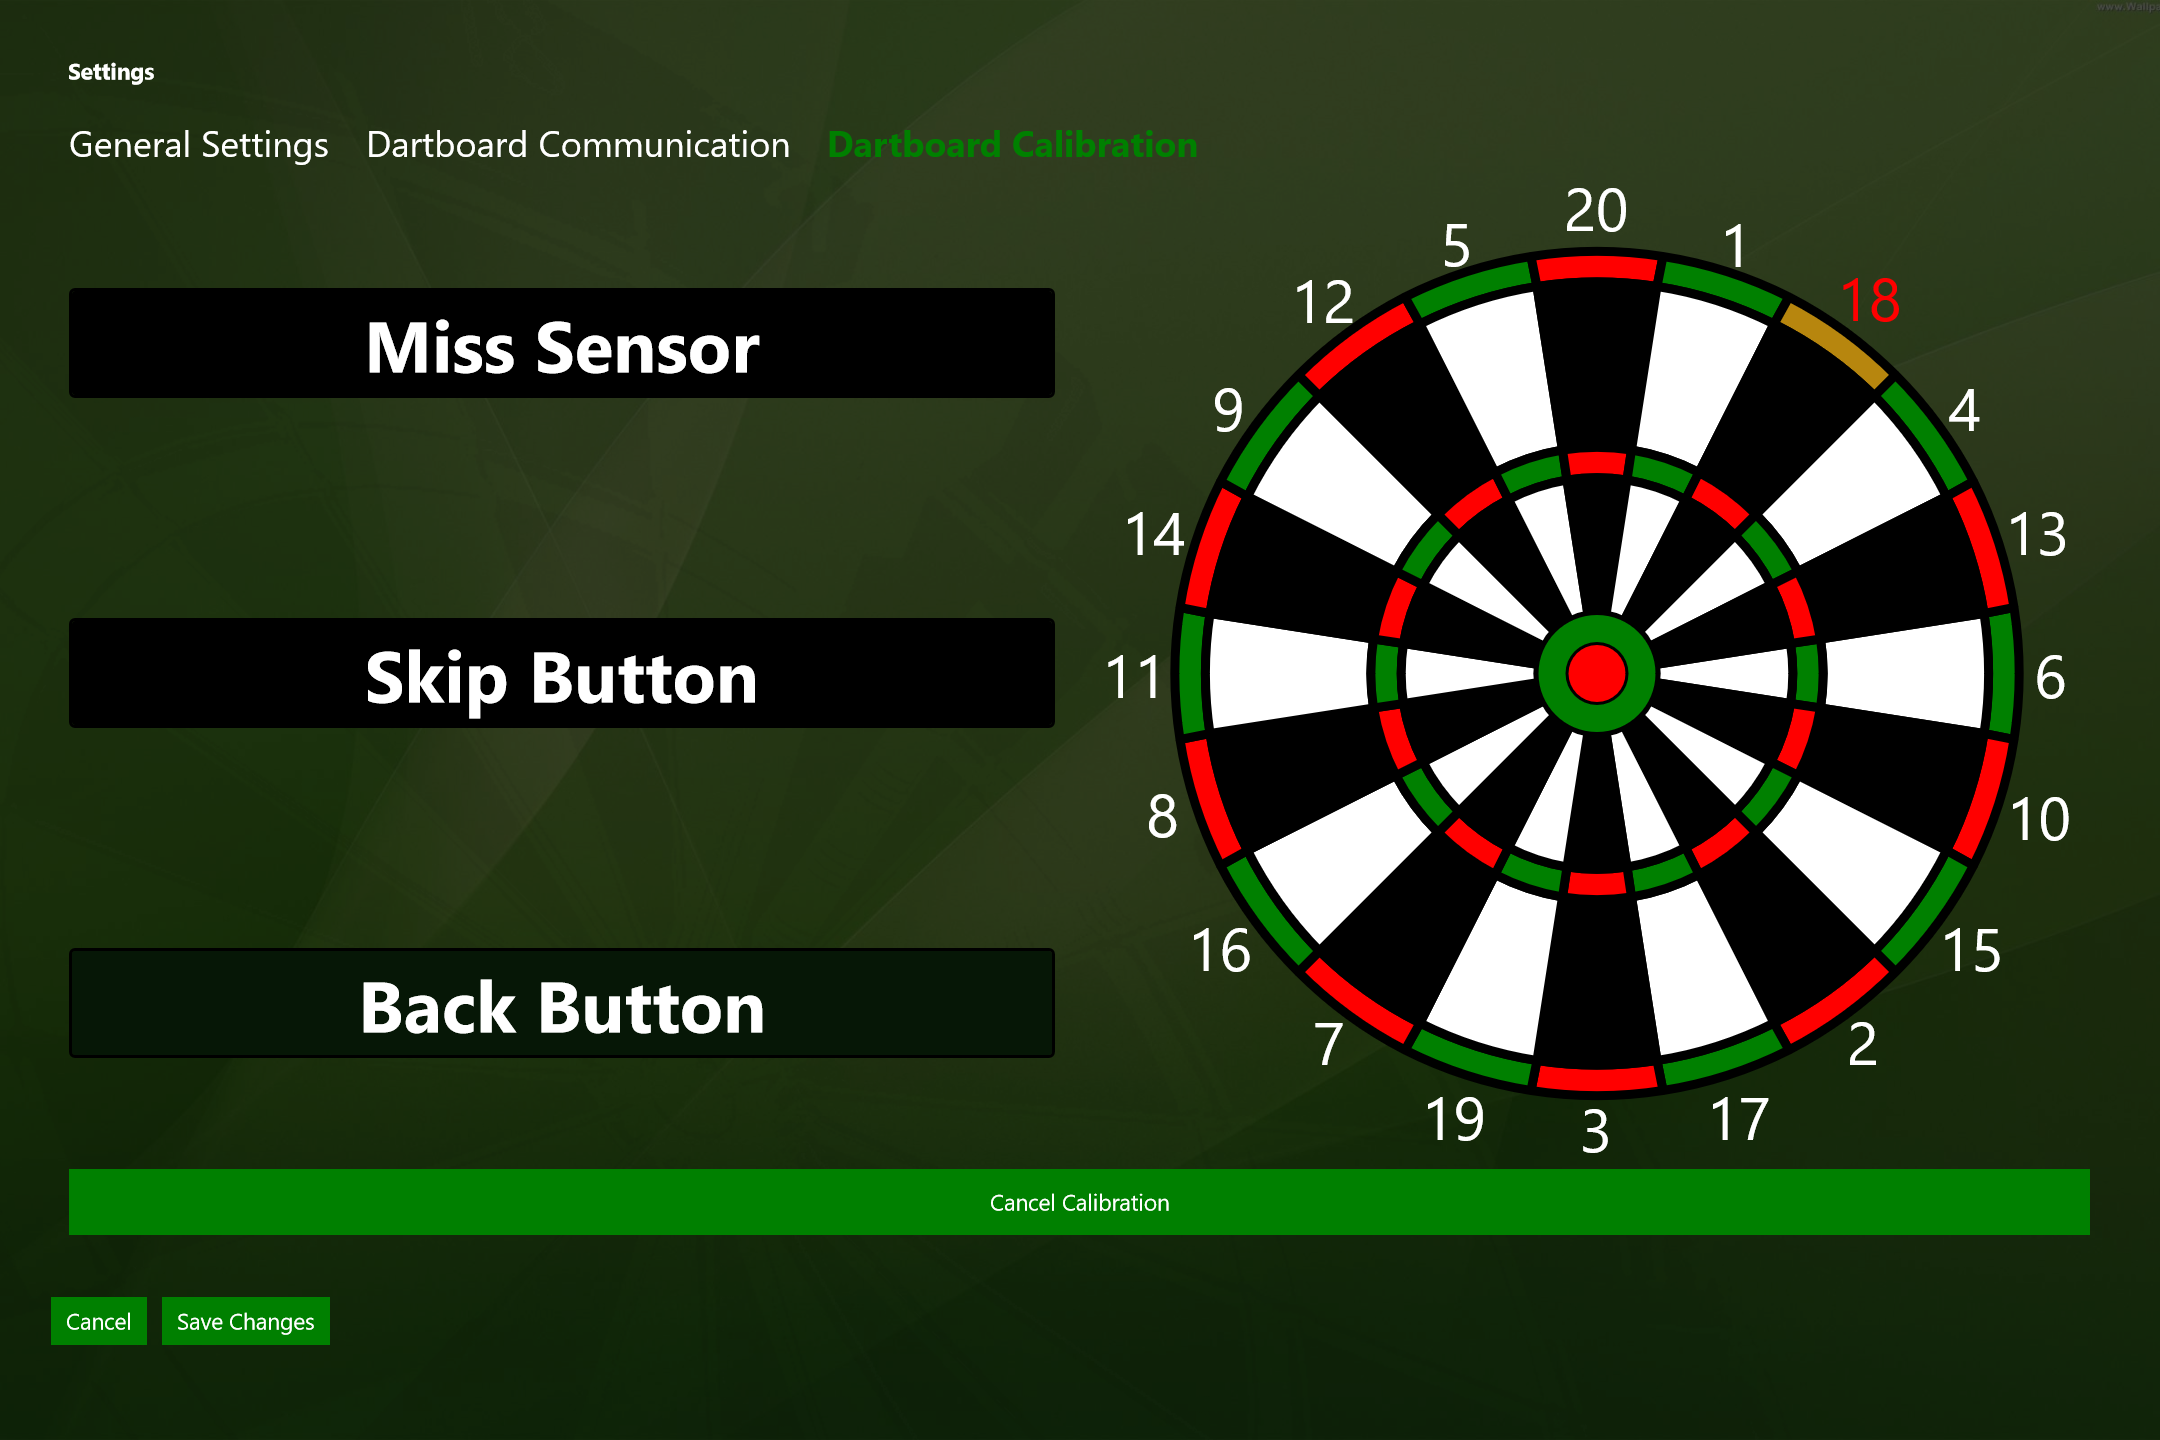
This button will change it's state. Click on it to skip the miss sensor calibration, as we don't have one. Click on it again to skip 'Skip Button' calibration as we have not installed one. Click on it one more time to skip 'Back Button' calibration as we also don't have one. Follow the guide by hitting the positions flashing in yellow:
Save changes and enjoy your new dartboard machine :D