OpenCV Basic Projects

In this project, we explore some basic OpenCV functionality through 4 simple projects involving a live video stream. These are facial recognition, background removal, special visual rendering of edges, and applying a blurring effect to the live video stream. My main purpose for trying these projects was to simply get my feet wet with the OpenCV interface, as I plan to delve deeper in the field of computer vision
Supplies
- Computer running Python
- Open CV library, Numpy library, tkinter library, sys library
- Camera to connect to computer (if computer does not include one already)
- Program's python file (included in this instructable)
- haarcascade xml file (included in this instructable)
FaceDetect Function


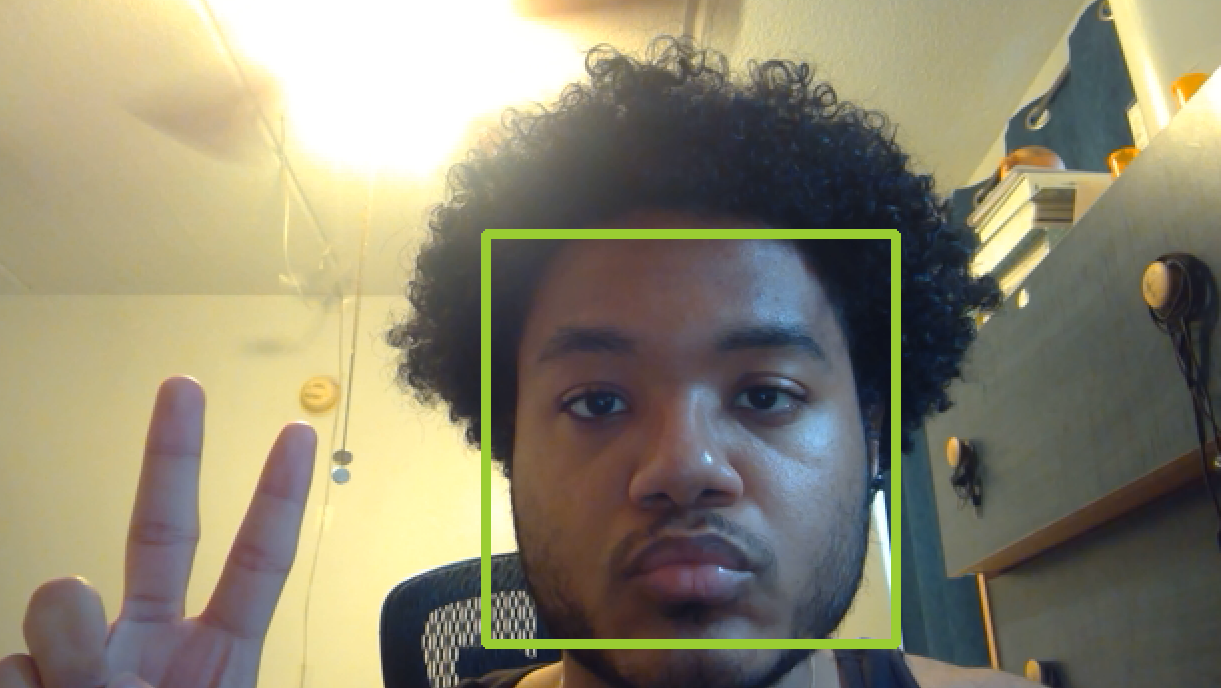
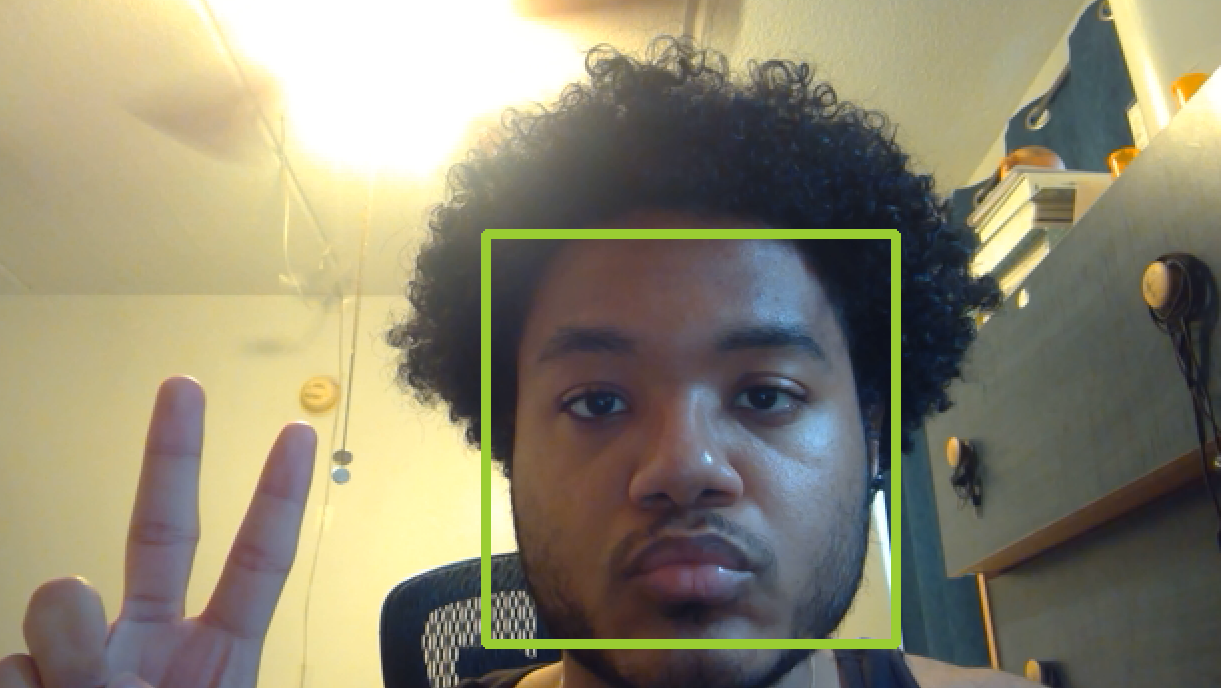
This function shows your camera's video with green squares on any faces it picks up. In the code, we use the cv2.VideoCapture() function to store the video that we are capturing in an object named "capture". The CAPTURE_INDEX is a number set by your computer that corresponds to the index of your camera in the computer's video input list. If you don't have an exterior camera connected to your computer, 0 or 1 should work.
The face_cascade object is initialized using the cascadeClassifier function and the "haarcascade_frontalface_default.xml" file found in the OpenCV github. We use this object to store the faces detected in the list "faces" as a entry four-way-tuple holding the faces x coordinate, y coordinate, width and height. We then draw a rectangle that perfectly encloses the face using the cv2.rectangle function
From this video, OpenCV captures many images in our while loop using capture.read() and storing the image in a frame we named "img". Each image is then interpreted and modified as we wish. For faceDetect, we make the image gray using the cvtColor function that converts whatever image is given in the first parameter to a particular type of image color specified in the second parameter. The list of acceptable values for the second parameter can be found online. We then display the image in a window named "Detecting the face" using the imshow() function that takes a string for the window name and the image frame to be displayed.
Finally we wait for the user to enter the q key using the cv2.waitKey() function. The 0xFF mask is used as a convention for 64 bit computers. After the user has ended the video stream, the faceDetect function frees the capture object then destroys any other windows opened under the OpenCV interface. All of the other functions follow a similar design structure.
BackgroundRemove Function


This function attempts to remove the background portion of our video and leave only the foreground image. It may not work on some cameras, as they utilize a lighting adjustment functionality that is activated when different objects/ foci enter the frame. If your backgroundRemove function does not work, don't fret- it could just be your camera!
To use this function, step away from the camera frame and press the "d" key to capture the background image. It is important that there are no moving objects in the the background you wish to capture. Then, we can step back into the camera frame. If the function worked, the user should only see themselves on the function's video stream. Any noise/black blobs in the foreground image may be a result of the camera's lighting adjustment. To capture another background, press the "r" key to re-initialize, then press "d" again.
Some key take-aways for this function is the use of the "flag" boolean that is raised the instant the user presses the d button. This captures the background and allows us to remove it from the video that is streamed by the function. We aim to store the background image in ref_img so that we may distinguish it from the foreground image, which captures any moving object. We use the cv2.subtract() function to subtract the fore ground image from the background image and vice versa, then cancel out any minuscule differences in the two images immediately after. The background is blacked out.
The fgmask is made using the difference between these two images and then applied to the functions video stream using the OpenCV cv2.bitwise_and() function.
VideoEdges Function


This function returns a our live video stream, but the detectable edges are rendered white while everything else is blacked out. What distinguishes this function from the other functions is the conversion of our original video from RBG format to HSV, which stands for hue, saturation and variation- a different method of processing light and color from a video. With this method, we can more easily distinguish outlines in the video by applying a filter (red_low to red_high).
Canny Edge Detection is used to detect the edges in an image. It accepts a gray scale image as input and it uses a multistage algorithm.
VideoBlur Function


This function is used to add a blurring effect to our video stream. The function simple calls the GaussianBlur cv2 function on our frame. Further information on the gaussianBlur function can be found here:
Improvements
The most sensitive function in this project is the background removal function, as it requires the use of a camera that does not have lighting adjustment functionality. There may be a better set of functions within the OpenCV library that can account for this lighting adjustment and smoothly remove the background (similar to a green screen).
We could also utilize other face detection functions that may produce objects with more functionality other than just returning (x,y) coordinates. Perhaps a facial recognition program with the ability of remembering faces would not be too difficult to implement.
The blur function can be made more customization via intuitive control by the user. For example, the user may want to adjust the intensity of the blurring effect or select a specific area within the frame to blur.