Open and Close This Pencil Box in Fusion 360
by alamtania in Design > Software
3842 Views, 7 Favorites, 0 Comments
Open and Close This Pencil Box in Fusion 360
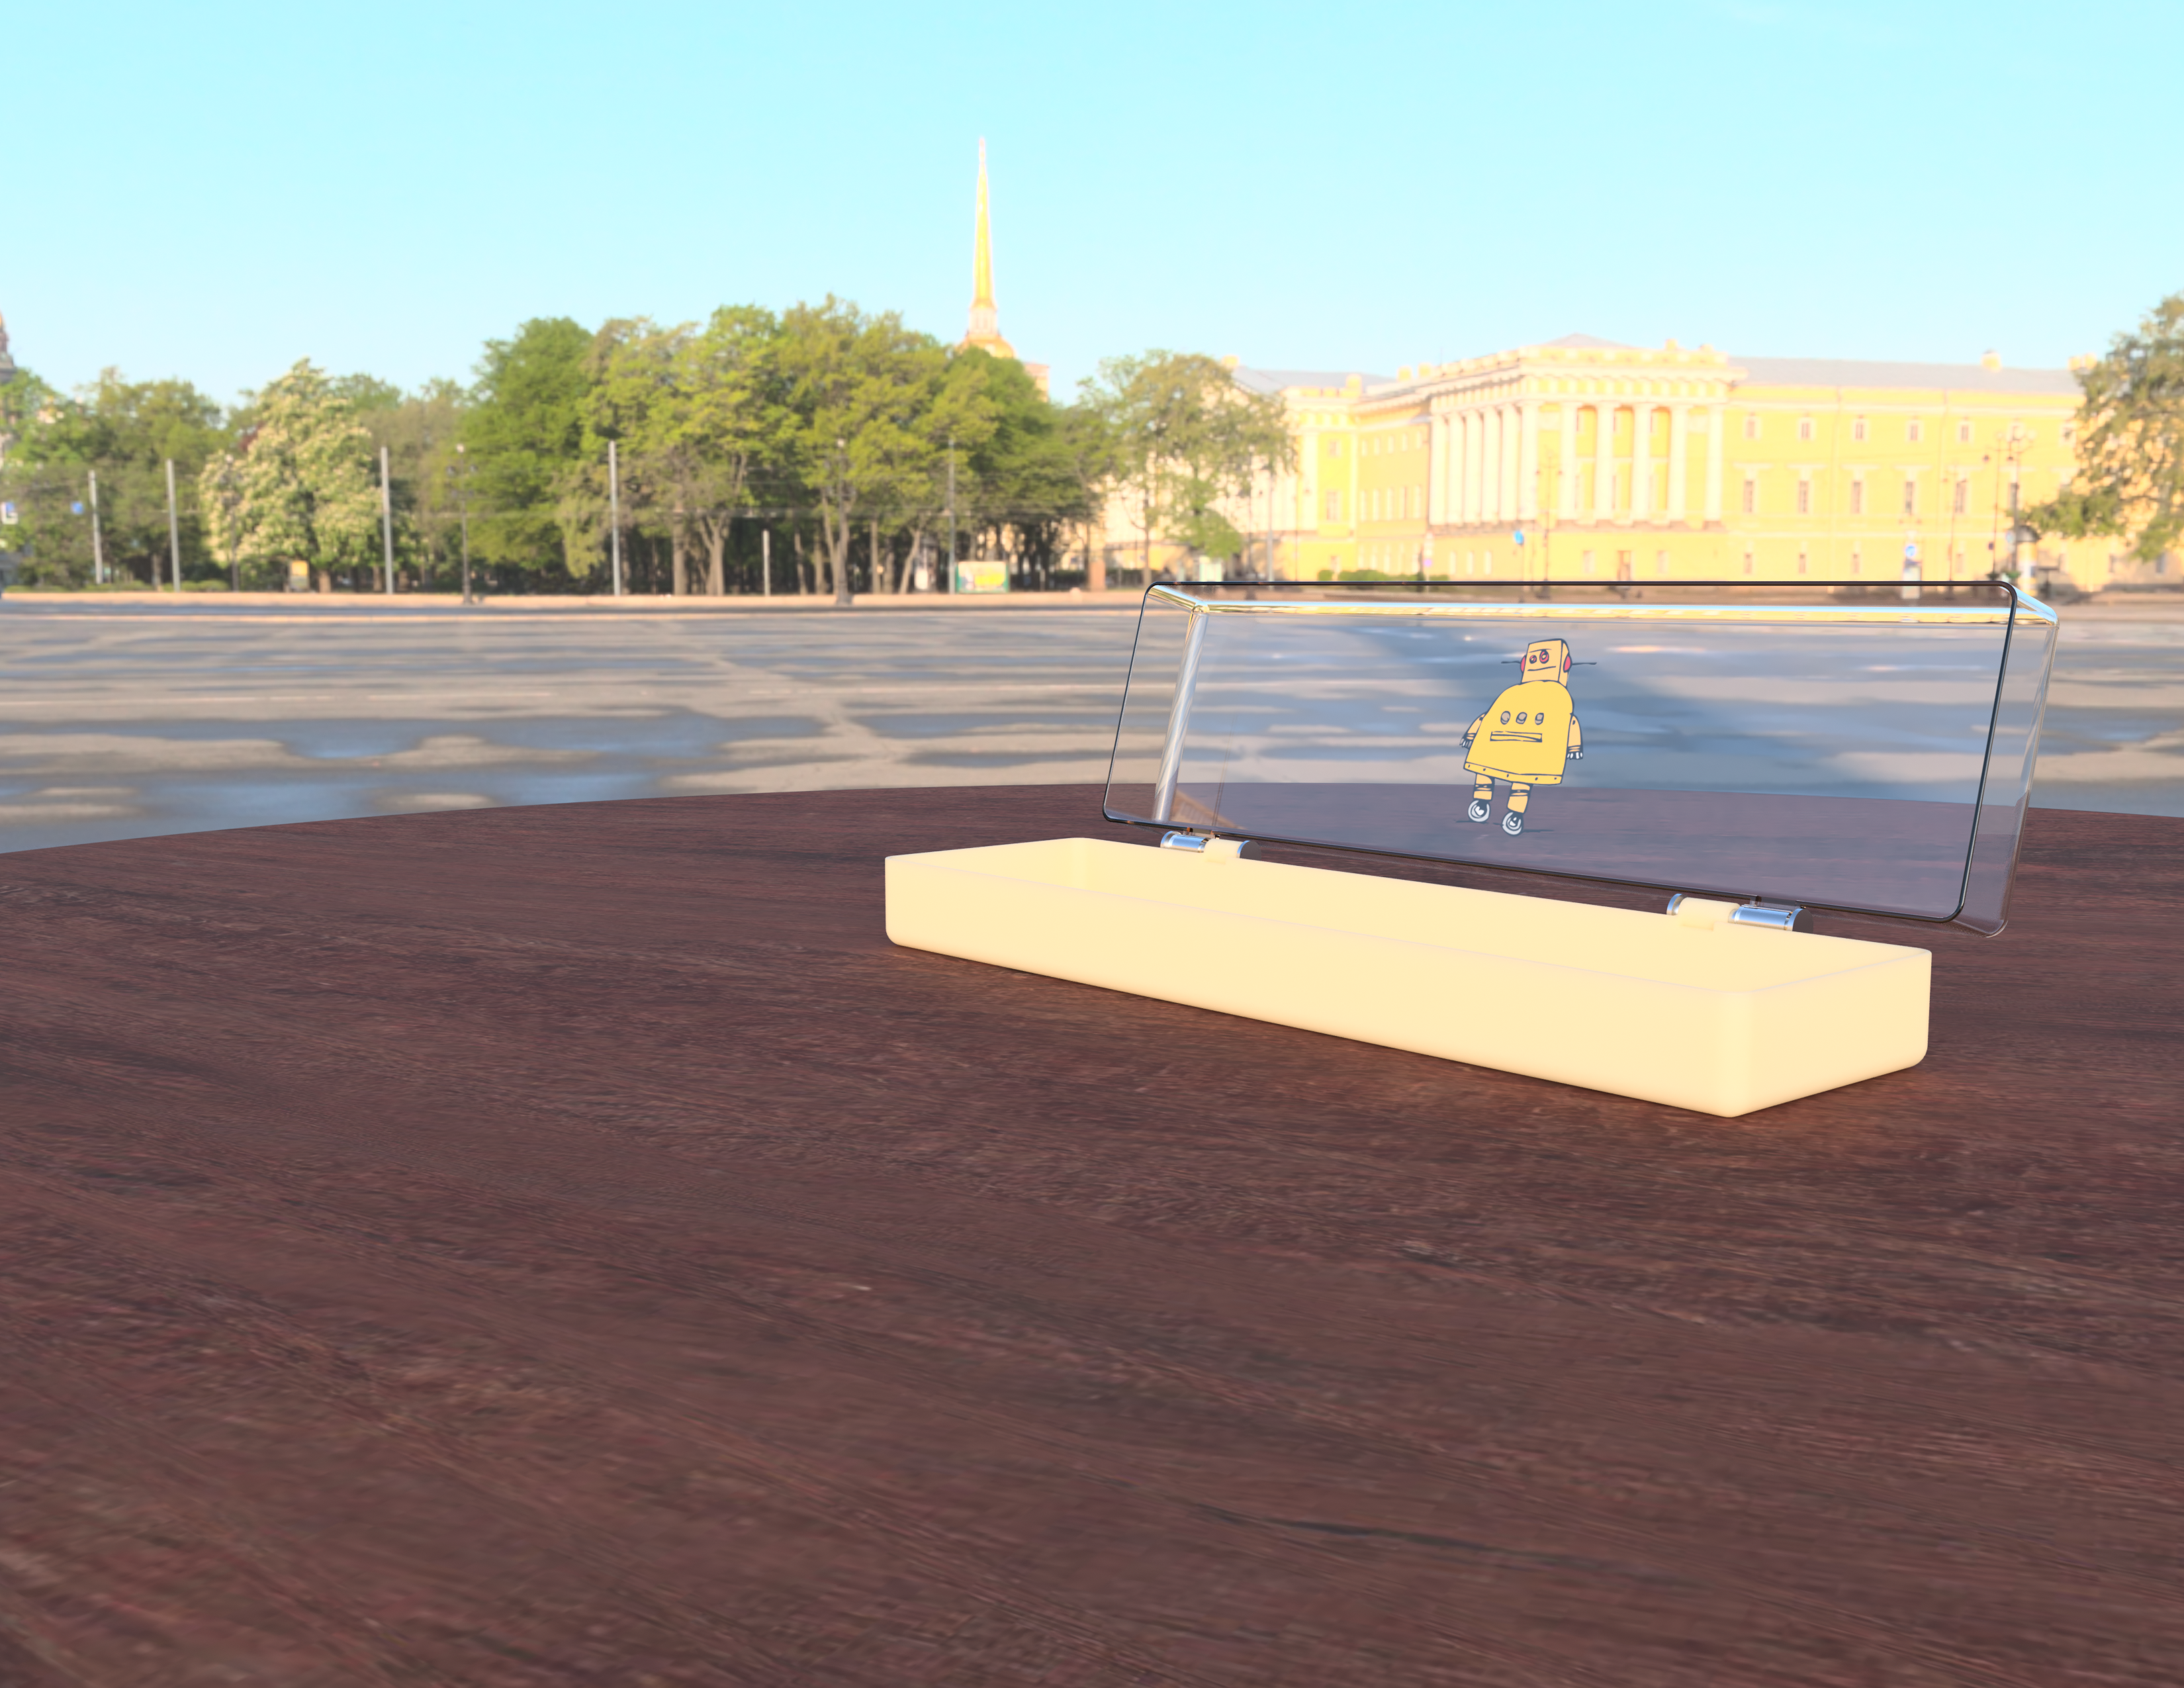
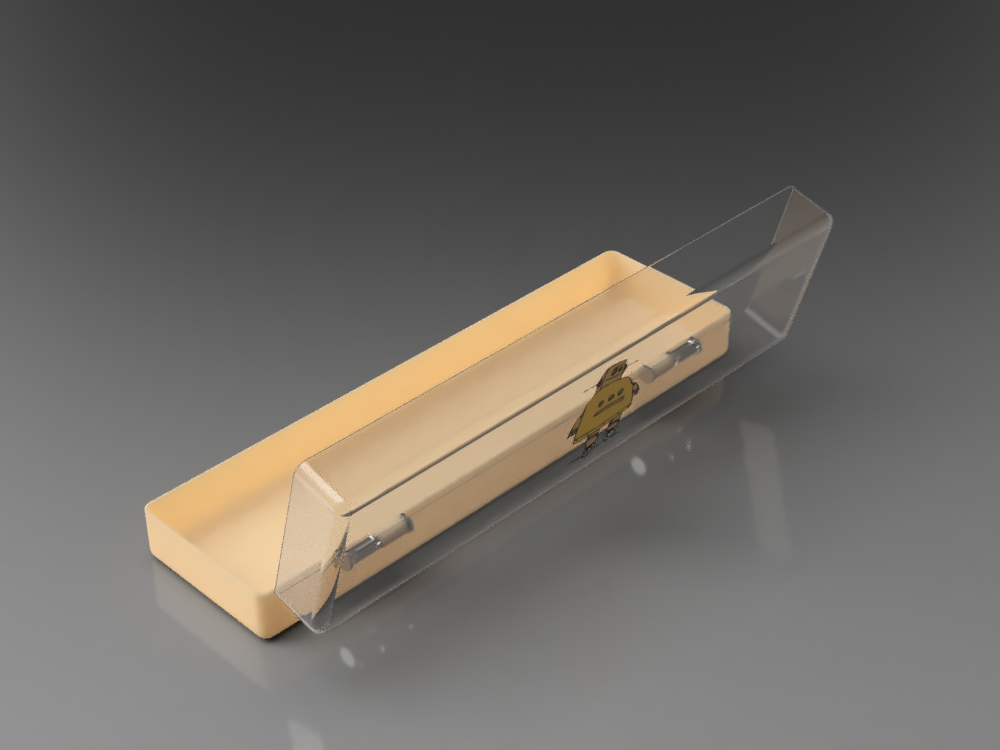
How important is your pencil box to you? I'm in college and still carry one in my bag. My friends just carry a pen in their pocket though! This project goes out to my always beloved pencil box!
Software required:
Fusion 360 by Autodesk
Level:
Basic or Intermediate (includes optional stages)
Pre-requisites:
Although the Instructables is meant to be for beginners, it is recommended to have some basic knowledge of the software.
Lessons recommended:
Fusion 360 class (Lessons: 1-5 and 9)
Create the Box Structure
.png)
.png)
.png)
.png)
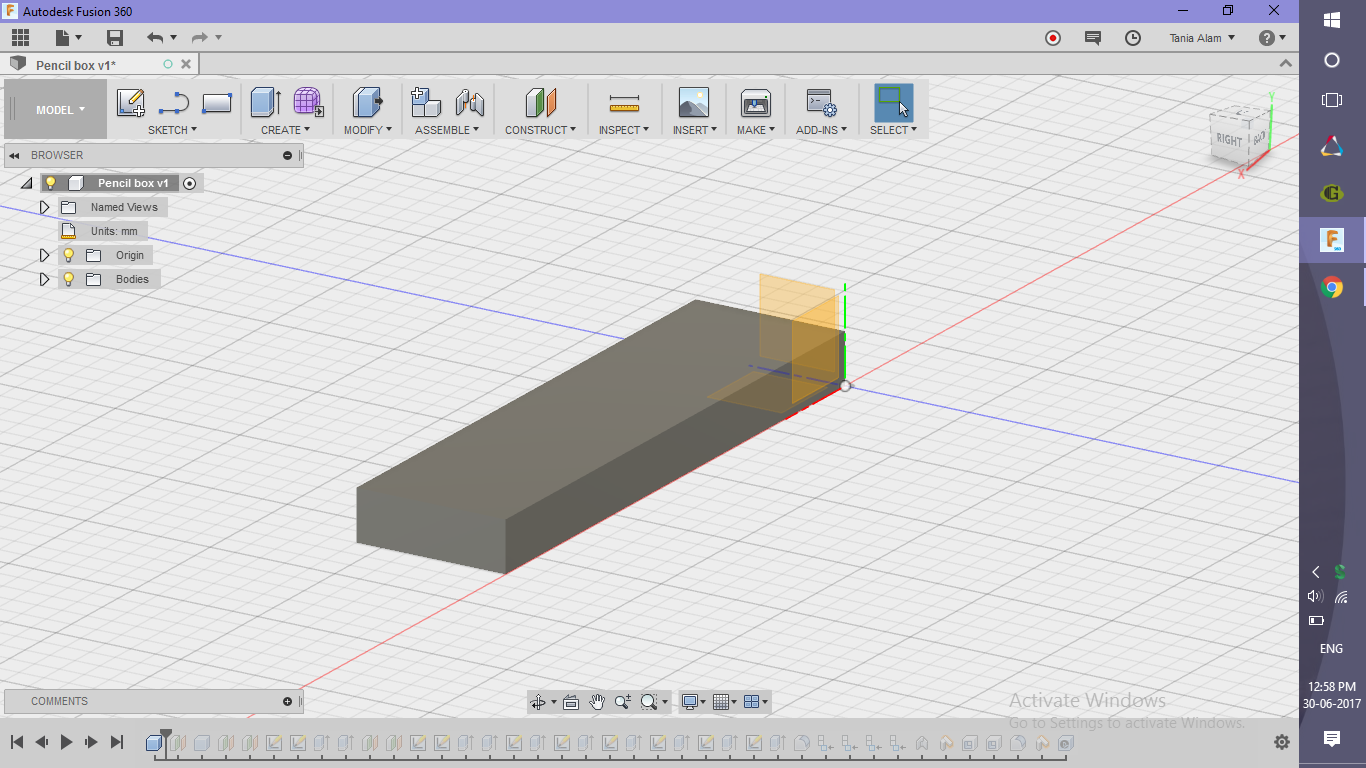
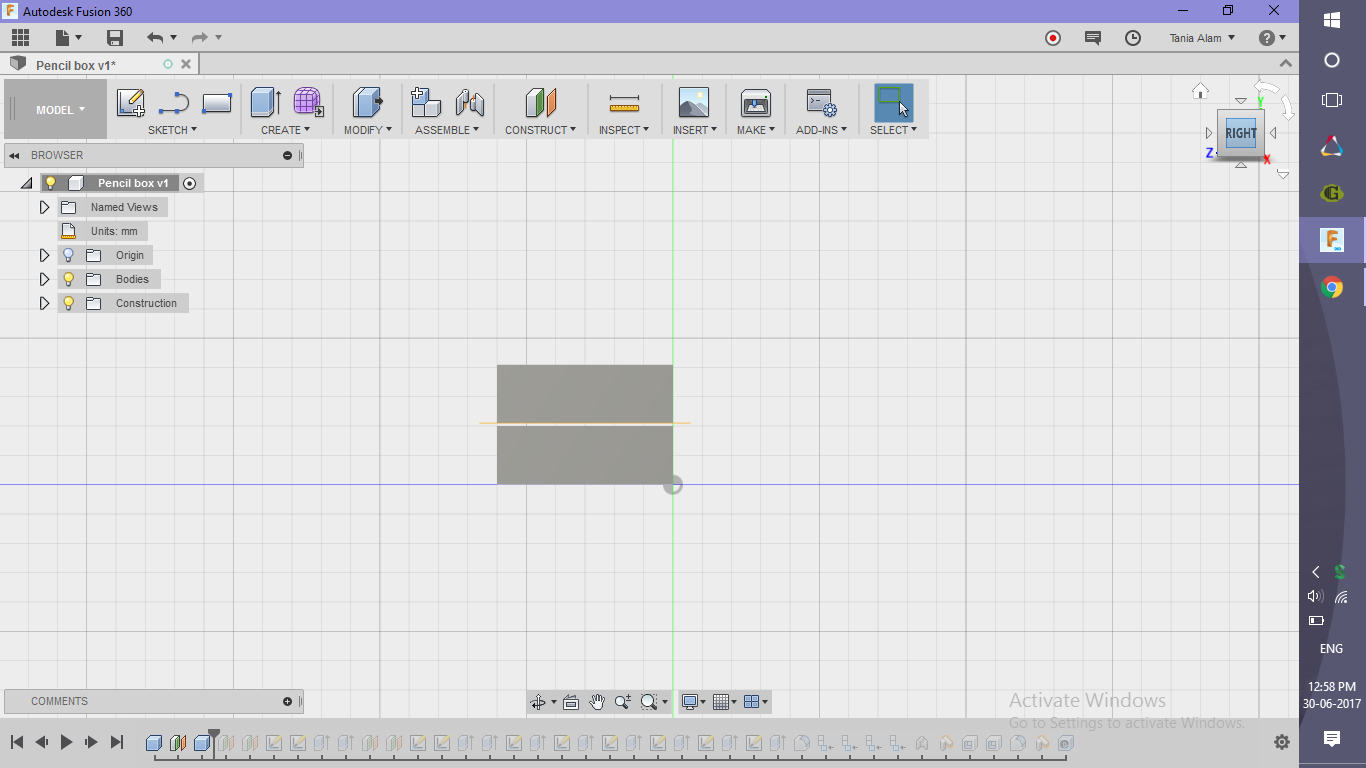
- Create a box
- Create tab>> Box command
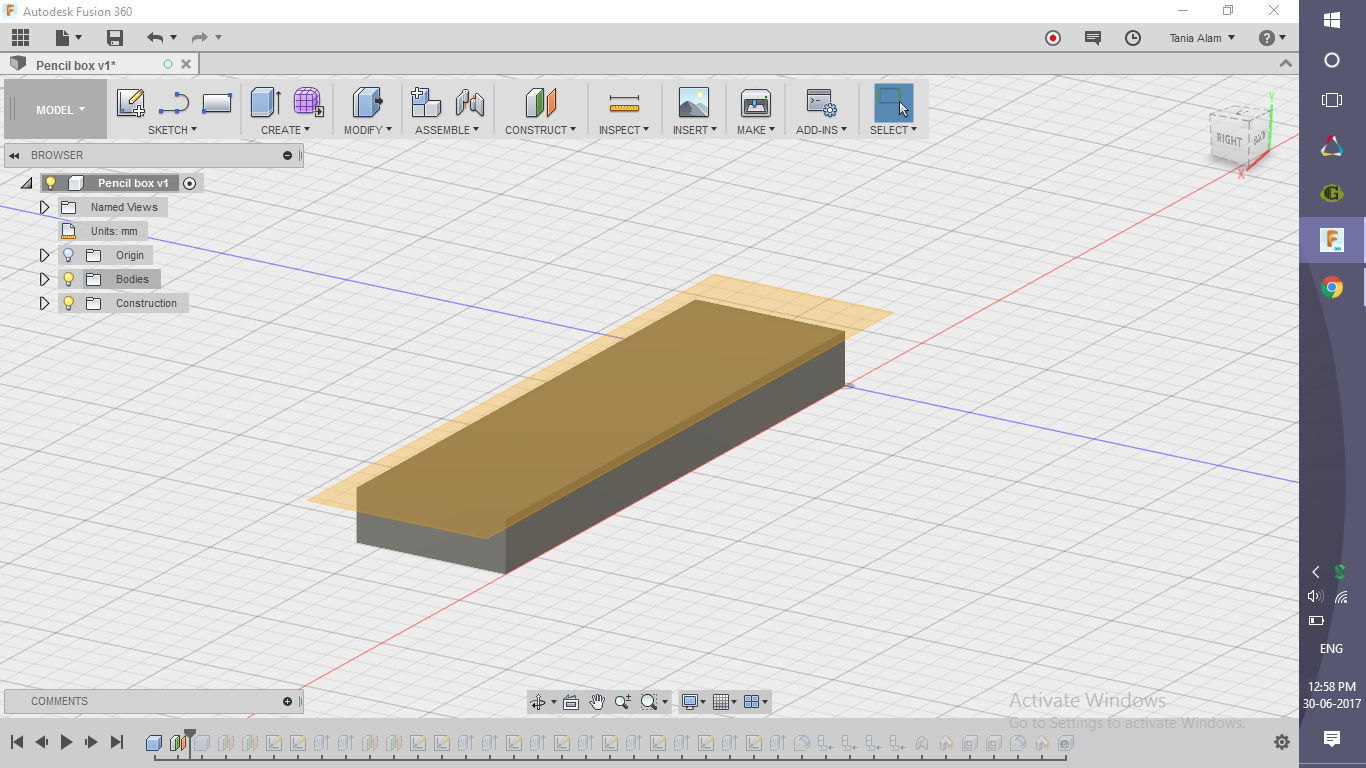
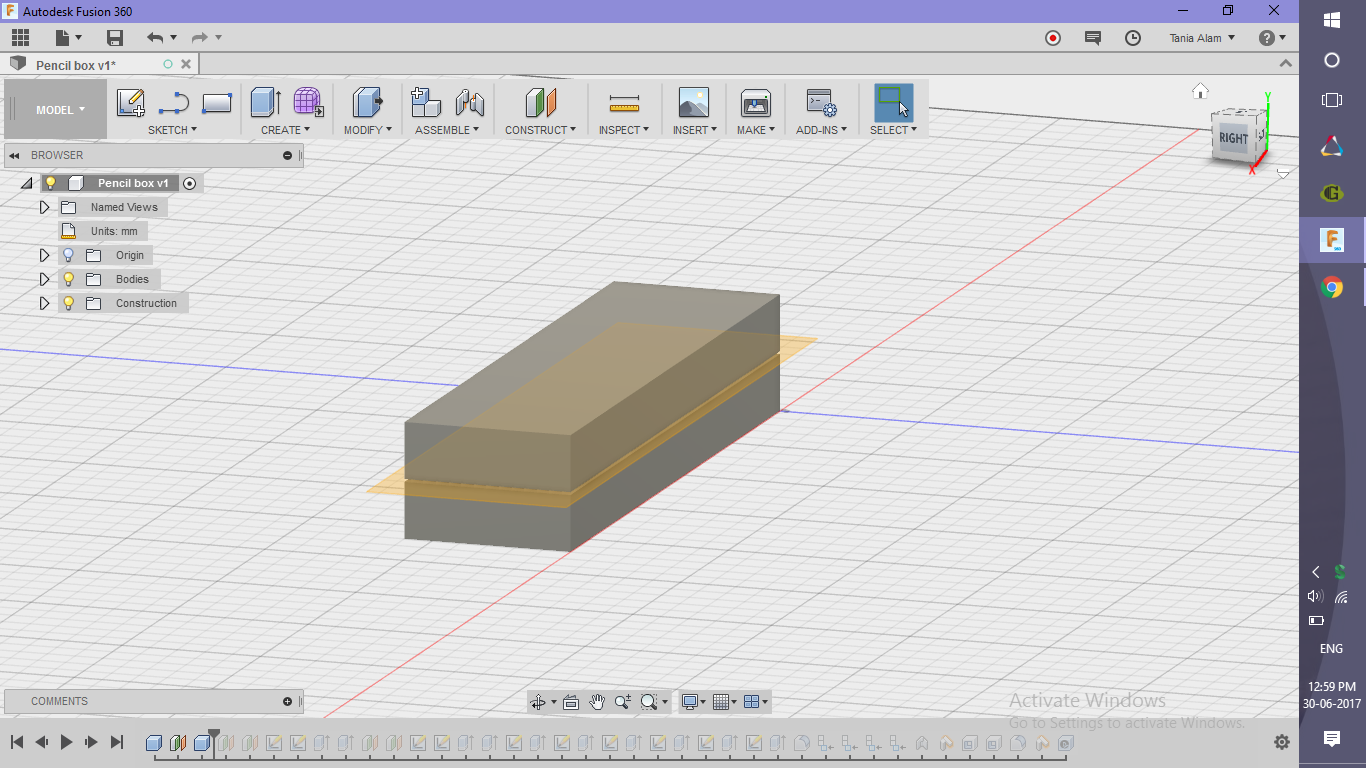
- Offset the top plane by some distance (0.5 mm)
- Construct tab>> Offset Plane command
- Create another box on this plane of same dimensions
- Create tab>> Box command
- Choose the offset plane as the sketch plane
Create the Extension Parts
.png)
.png)
.png)
.png)
.png)
.png)
.png)
.png)
.png)
.png)
.png)
.png)
.png)
.png)
.png)
.png)
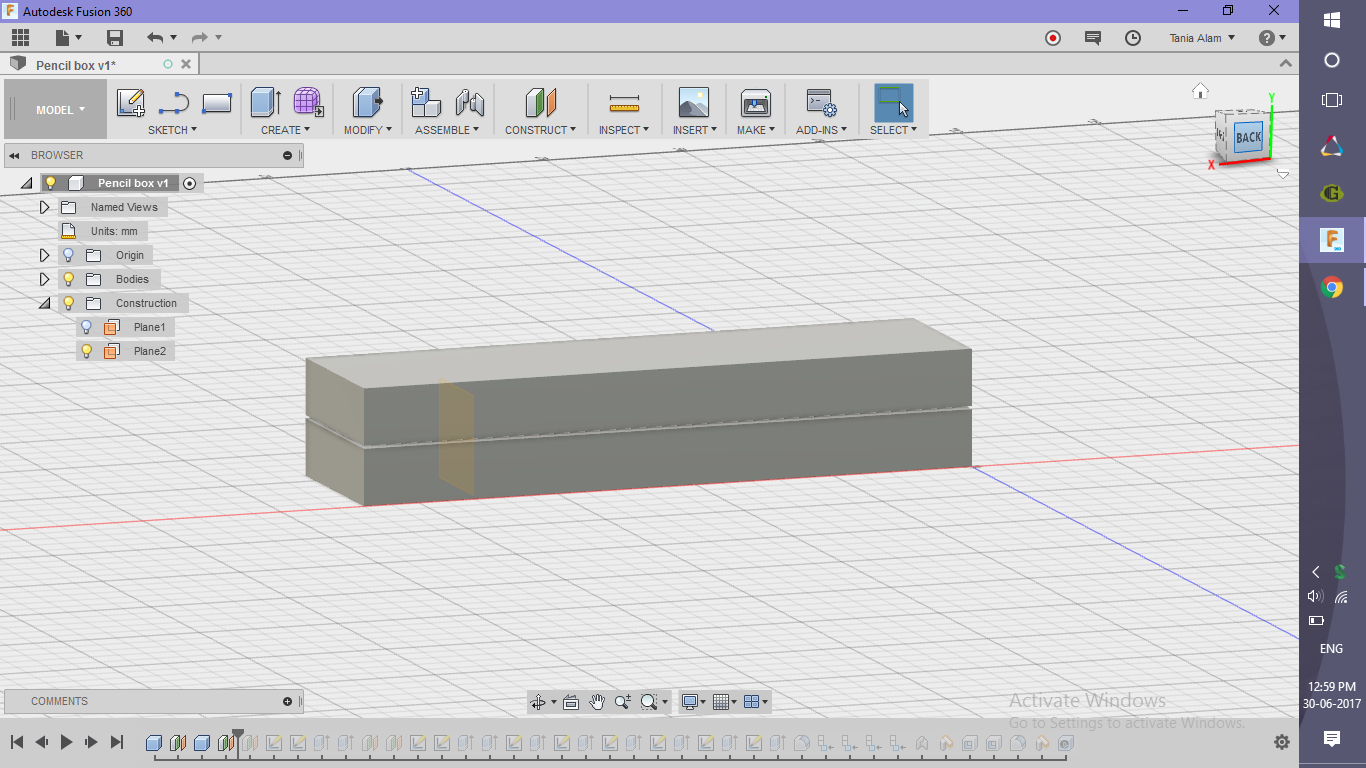
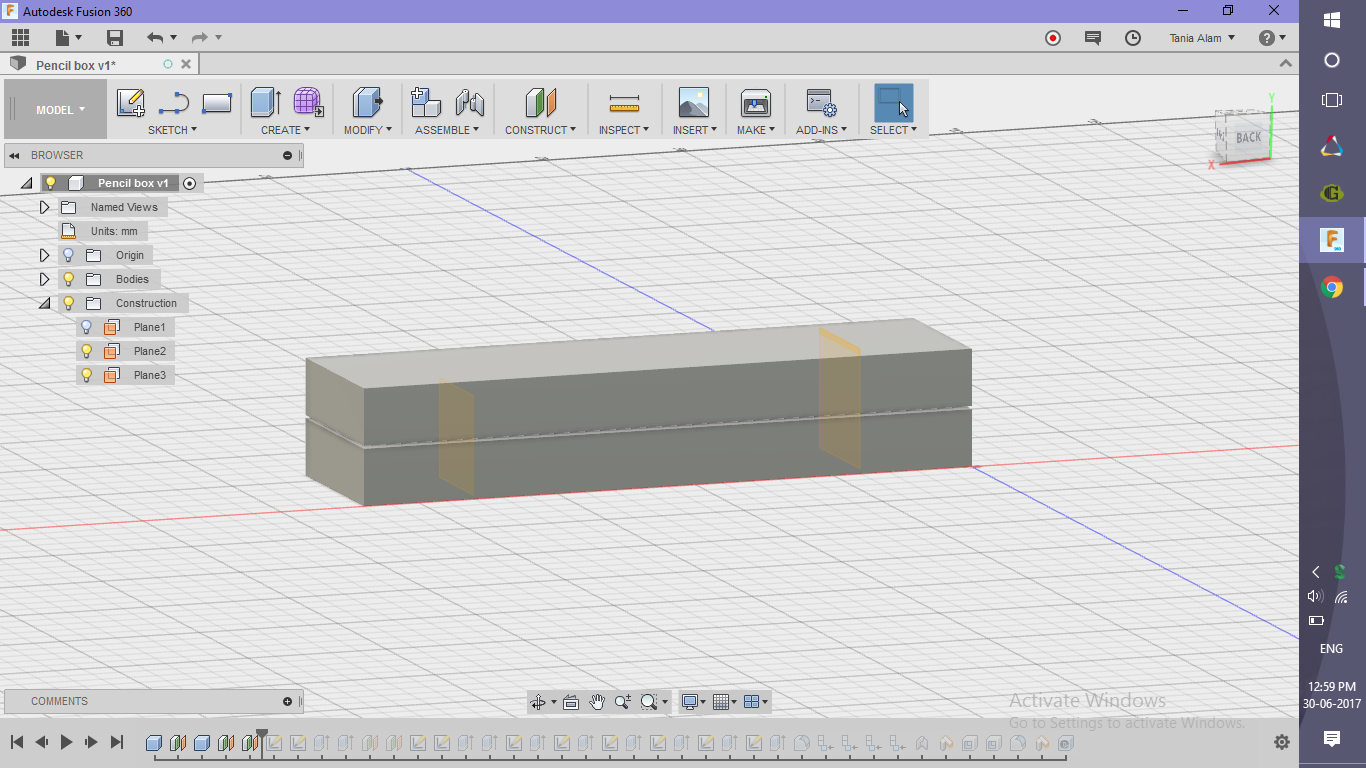
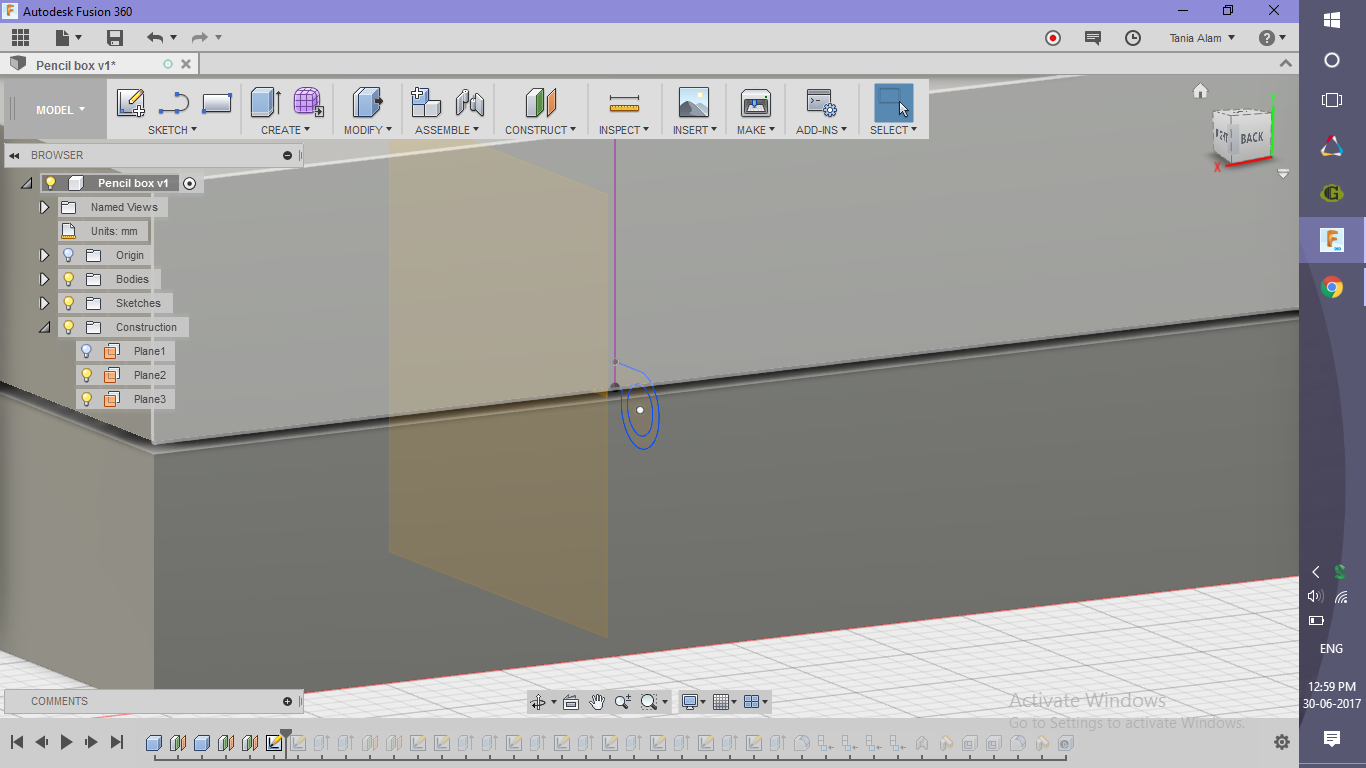
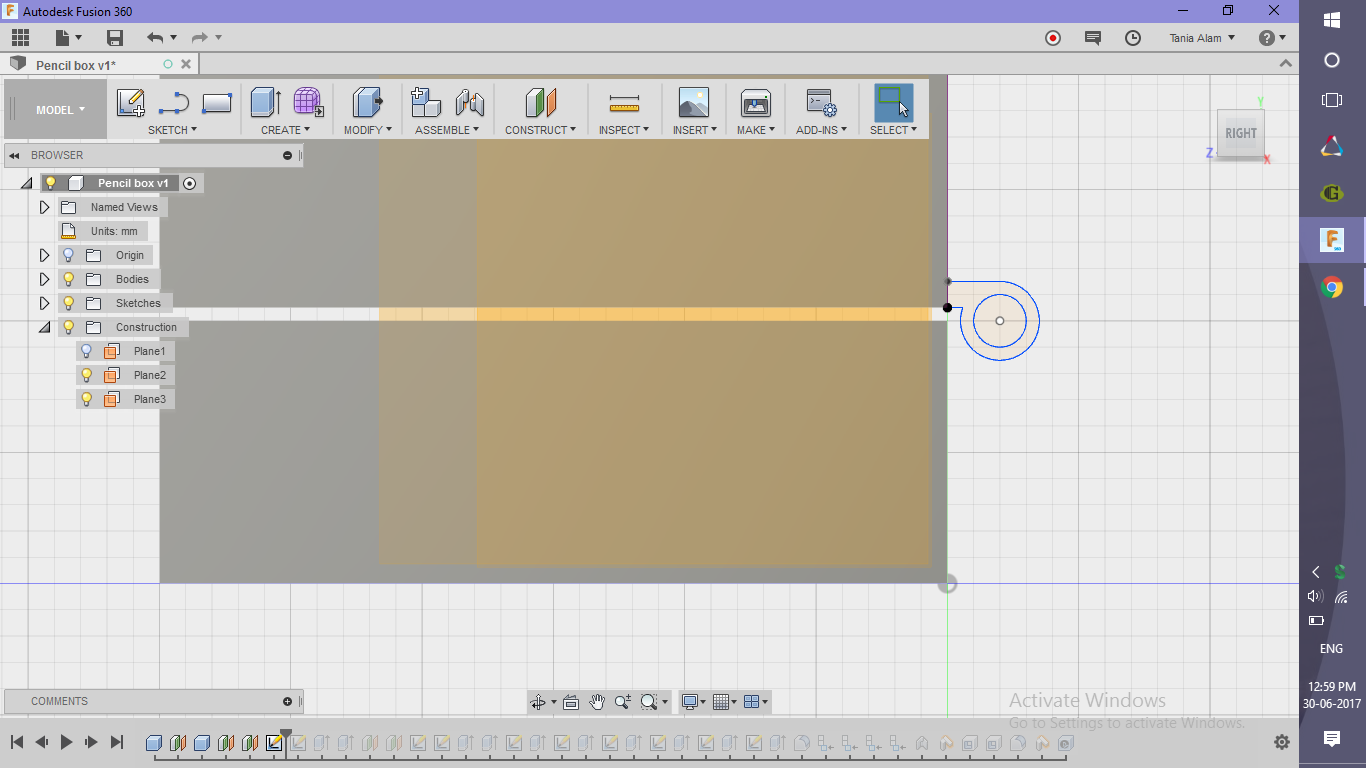
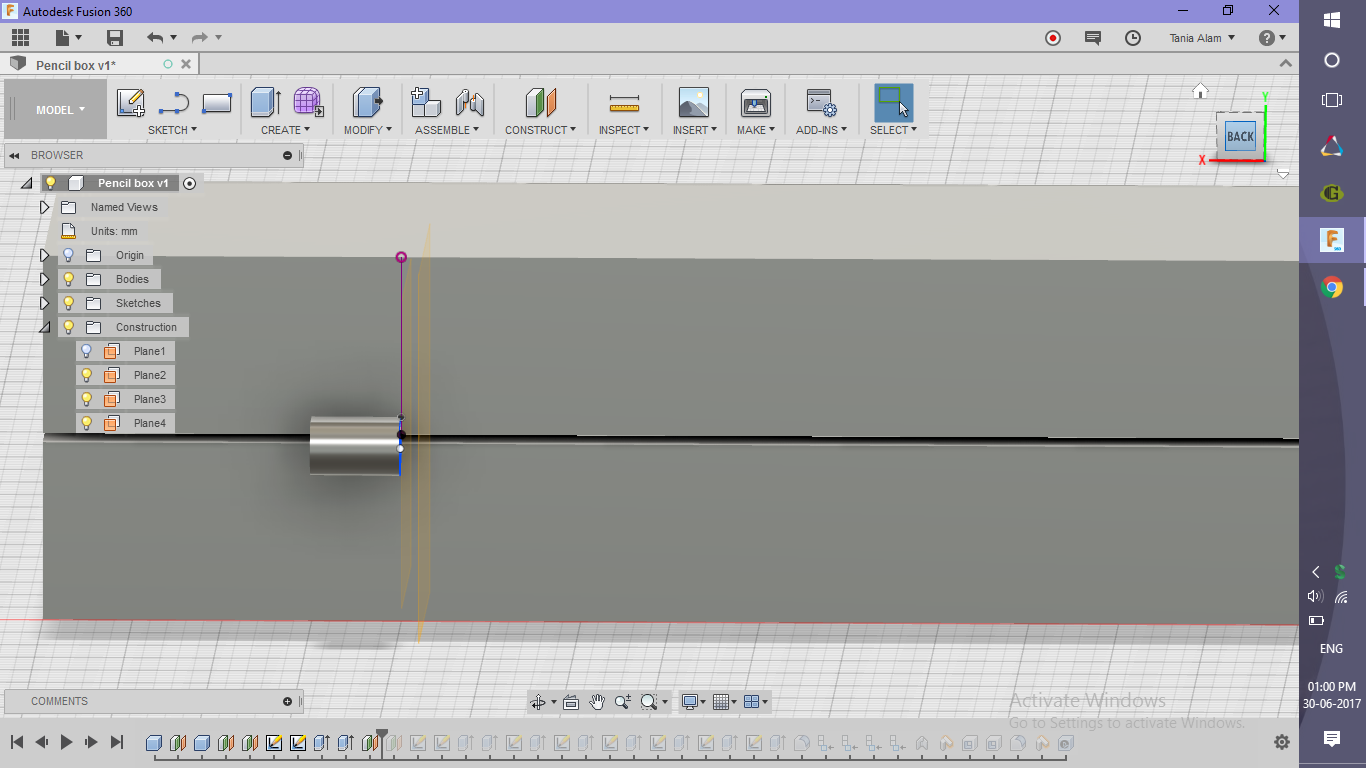
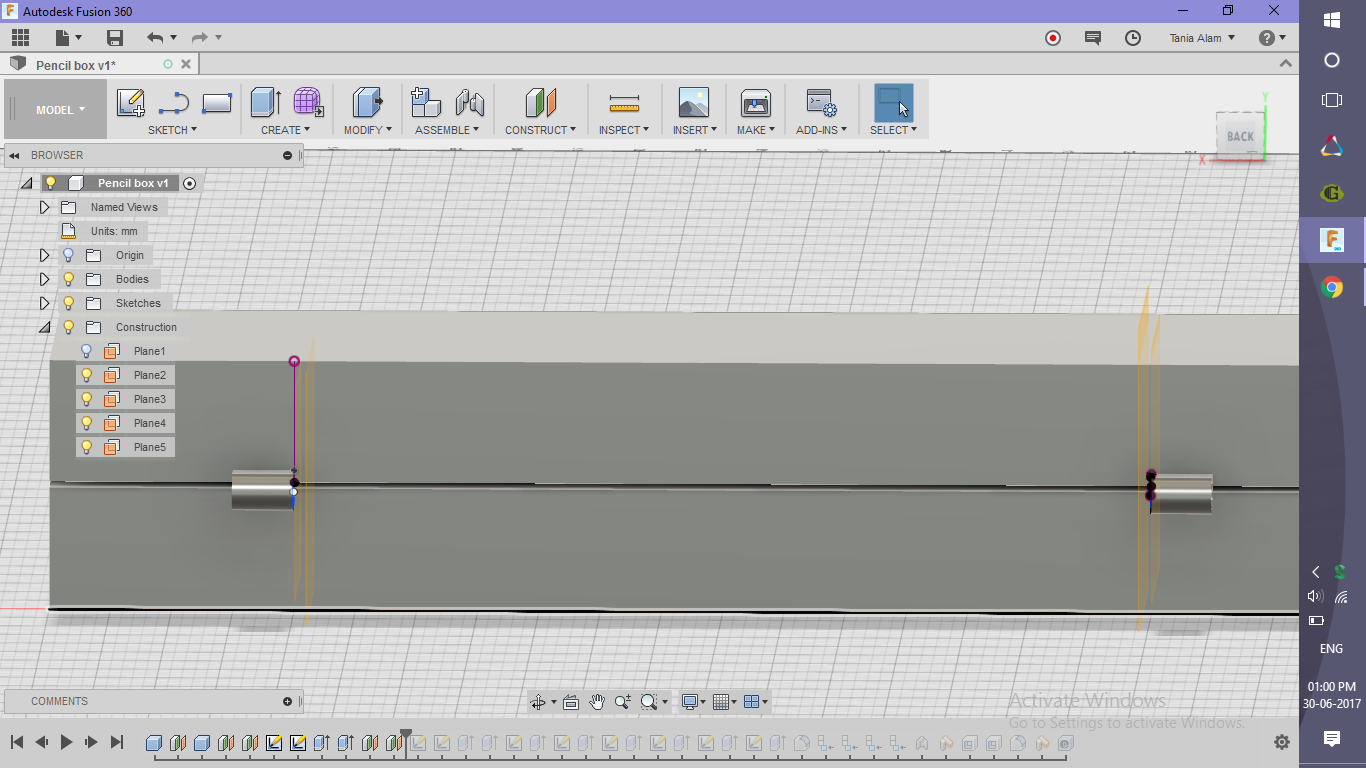
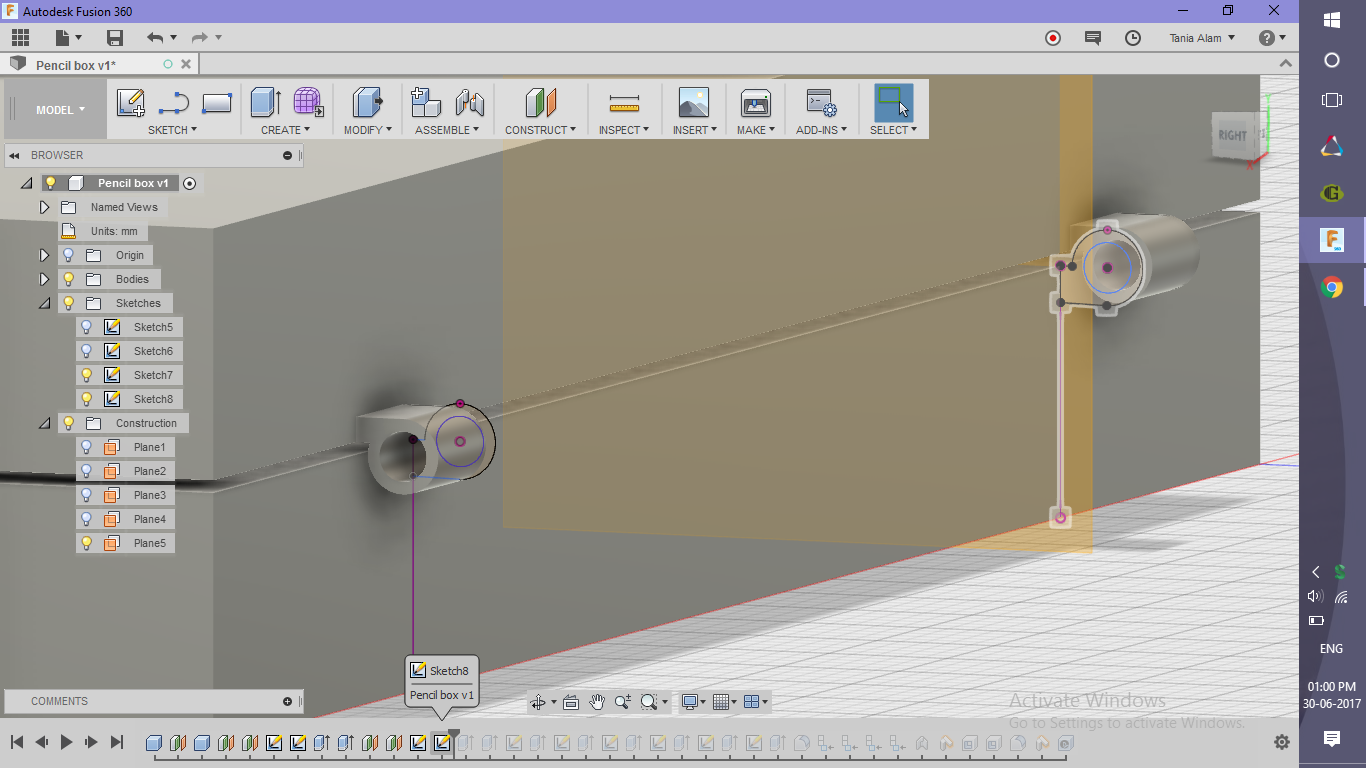
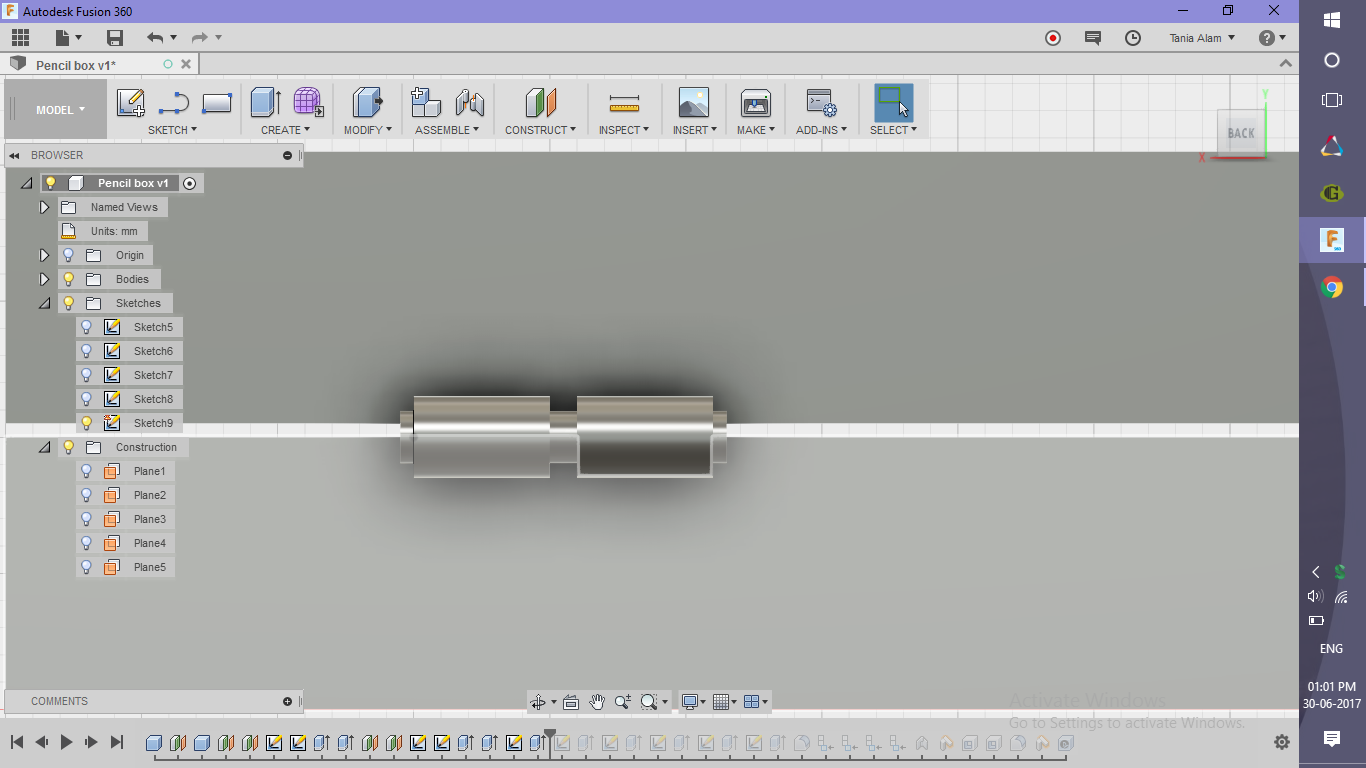
- Sketch the profiles at some planes offset from the side planes
- Construct>> Offset Plane
- Choose a side plane and offset by some distance inside
- Construct another plane
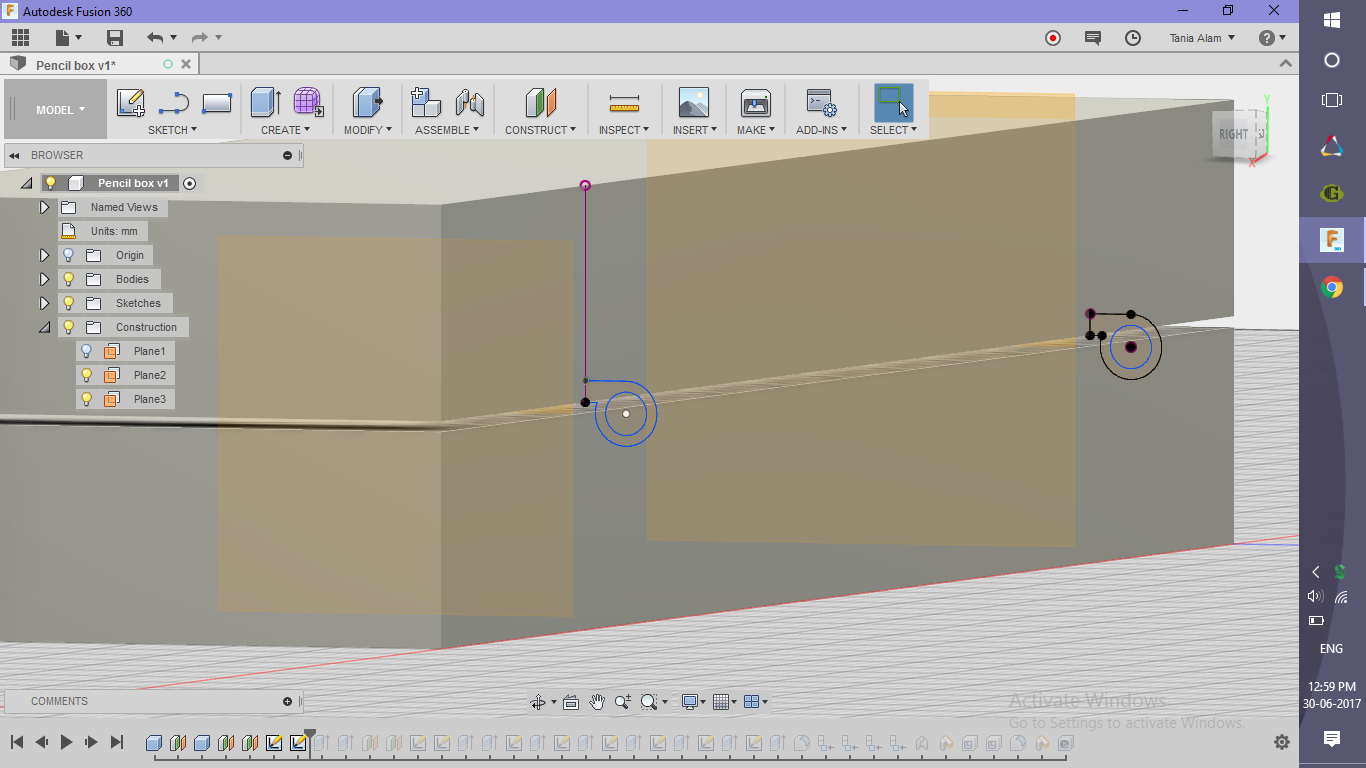
- Choose opposite side plane now and offset it by the same distance inside
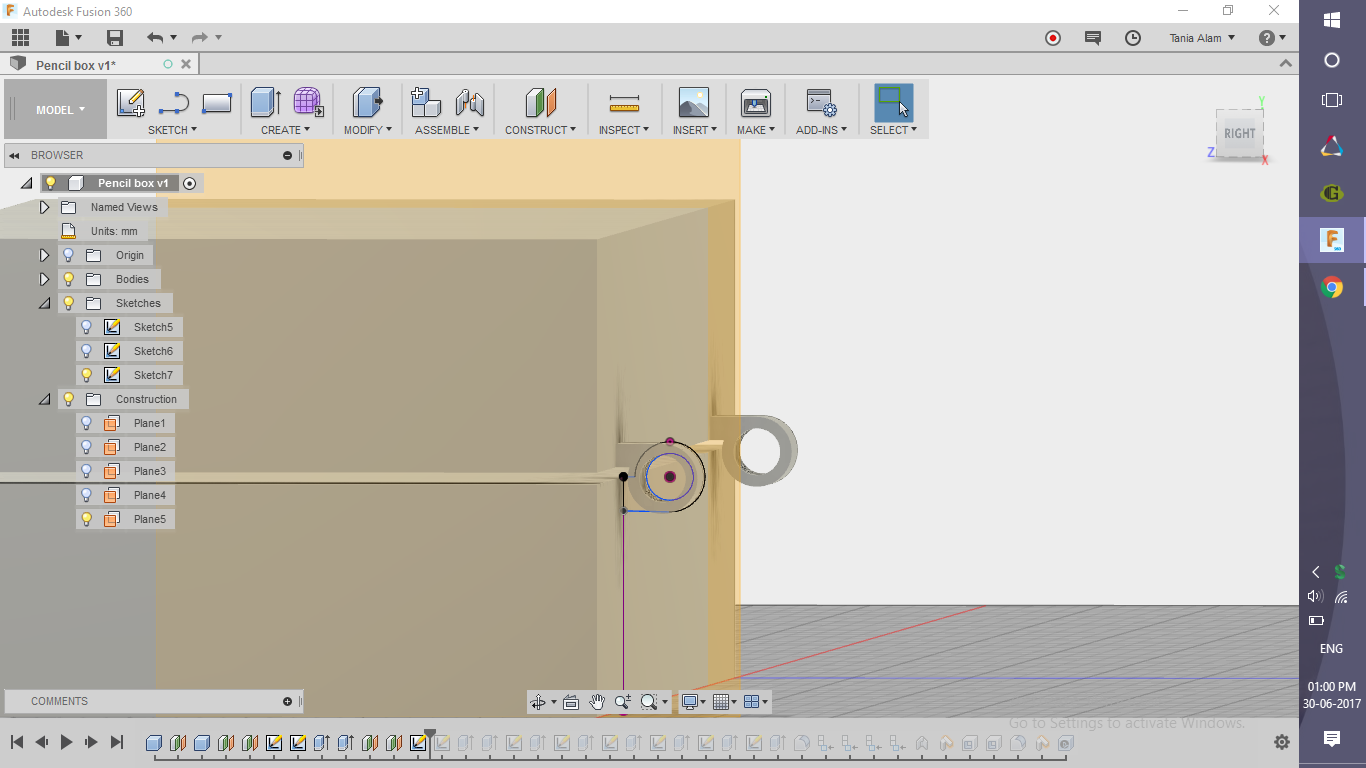
- One connection is for the upper box and other for lower box
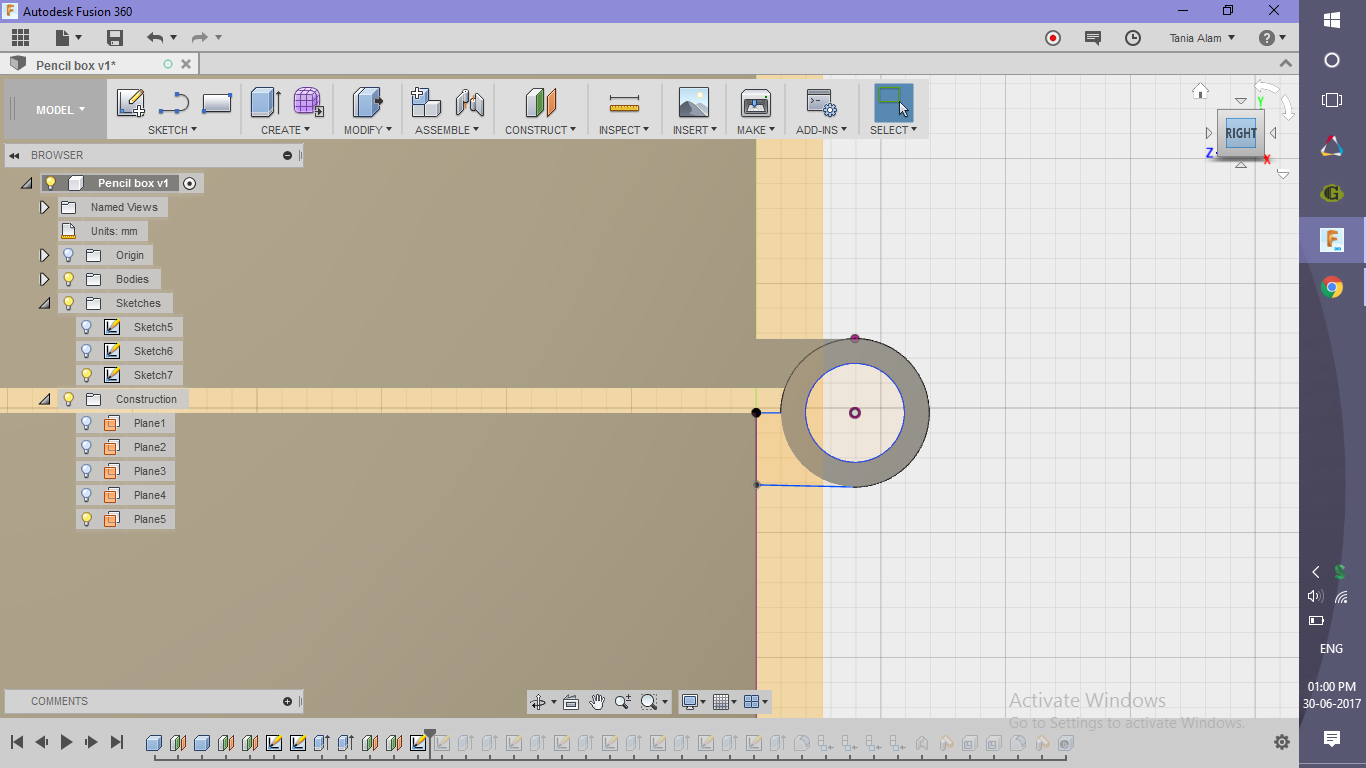
- Draw two concentric circles
- Setch>> Circle
- Connect the outer one with the upper box using lines
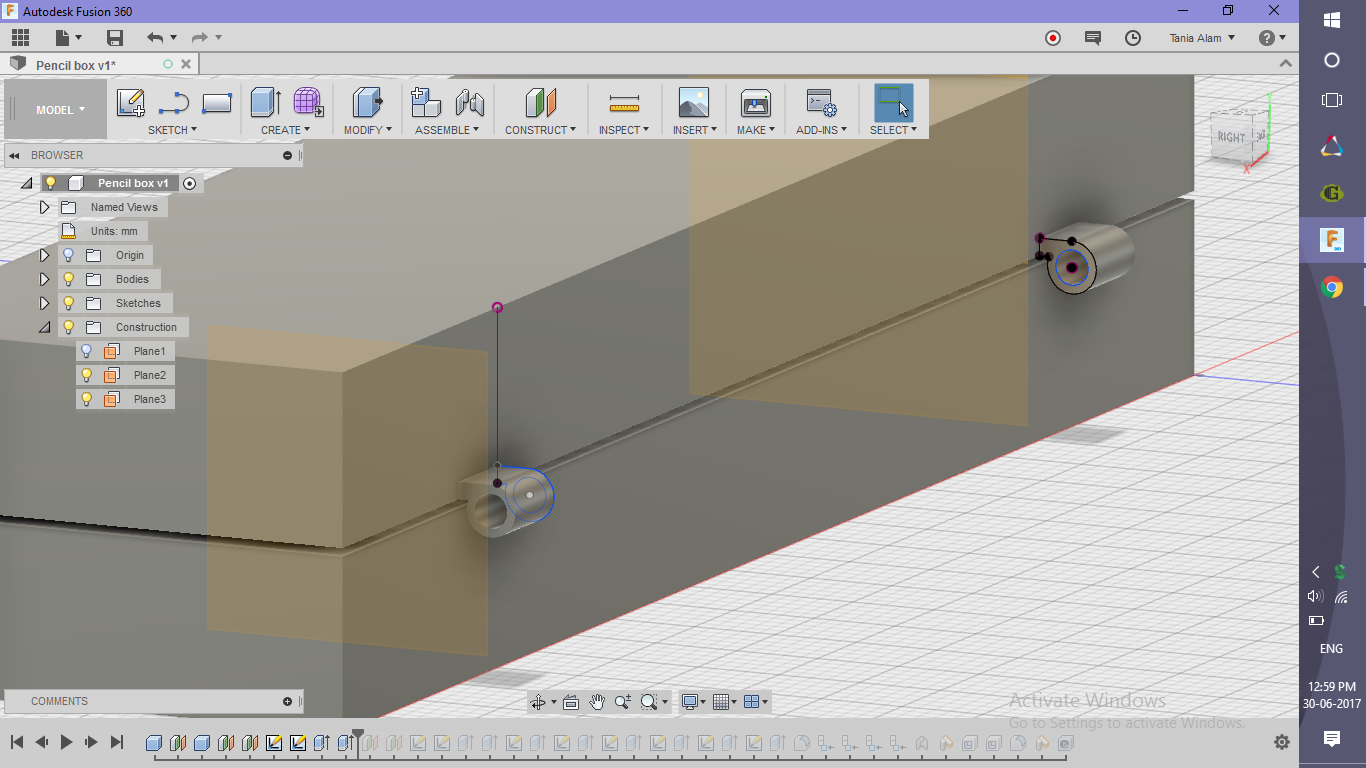
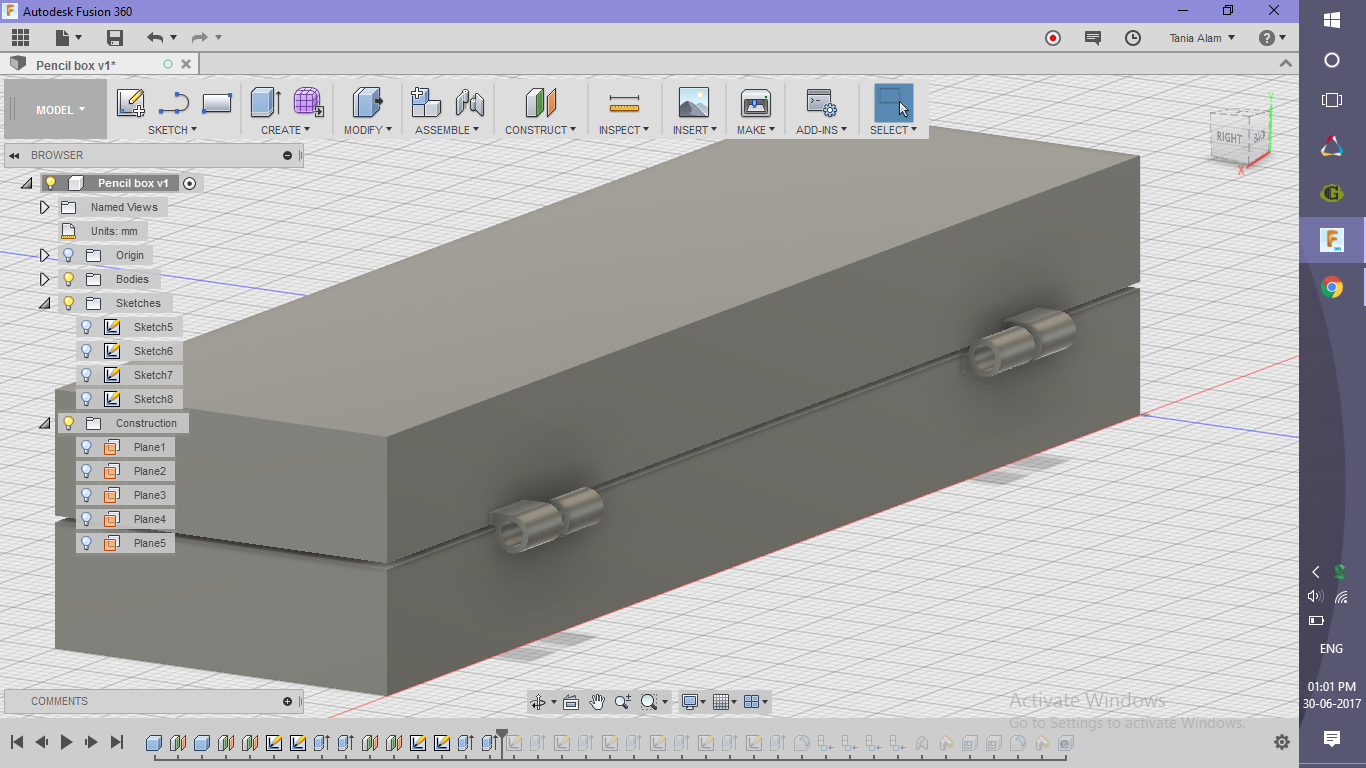
- Extrude the profile (to the outer side)
- Create>> Extrude
- Create another plane offset by 0.5mm inside the previous plane
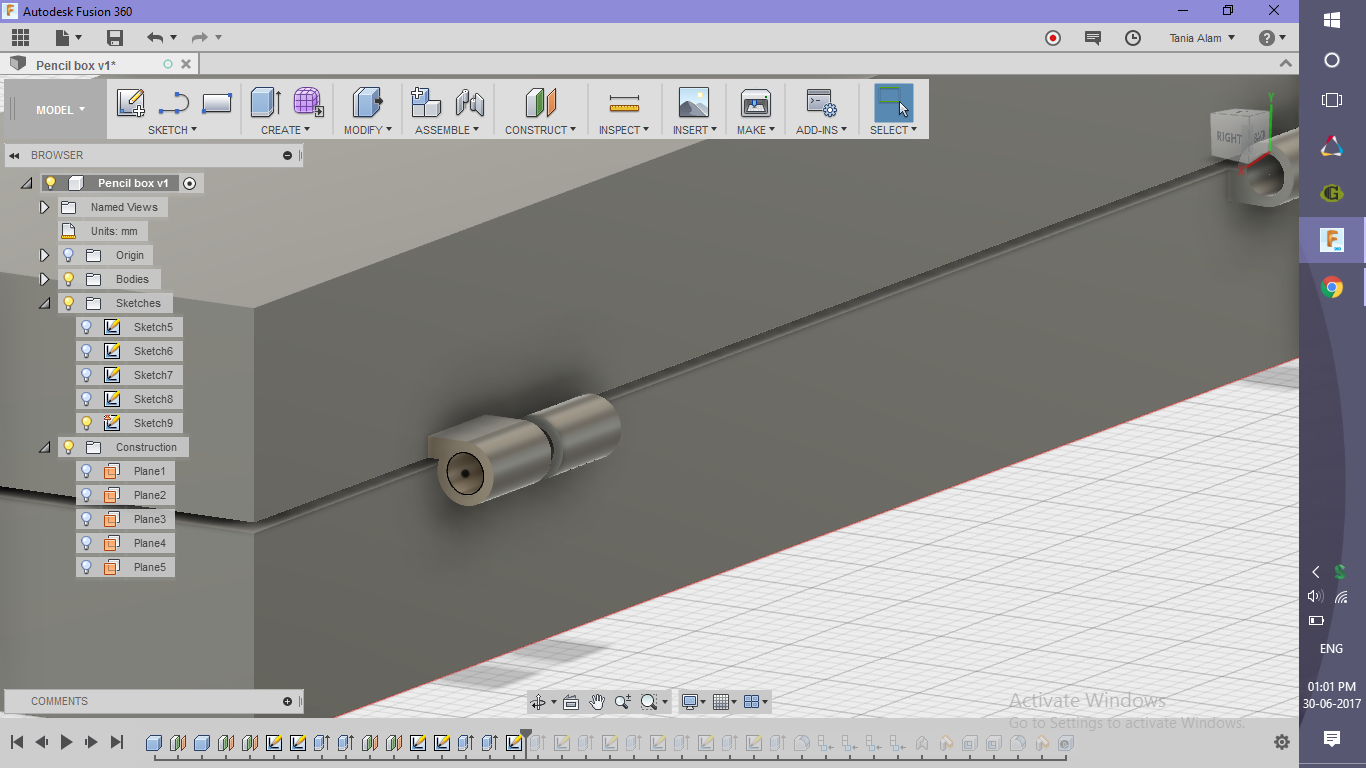
- Do the same thing for the lower box as well starting from step 1 to 5
- Make sure all the four circles are concentric
Create the Connecting Part
.png)
.png)
.png)
.png)
.png)
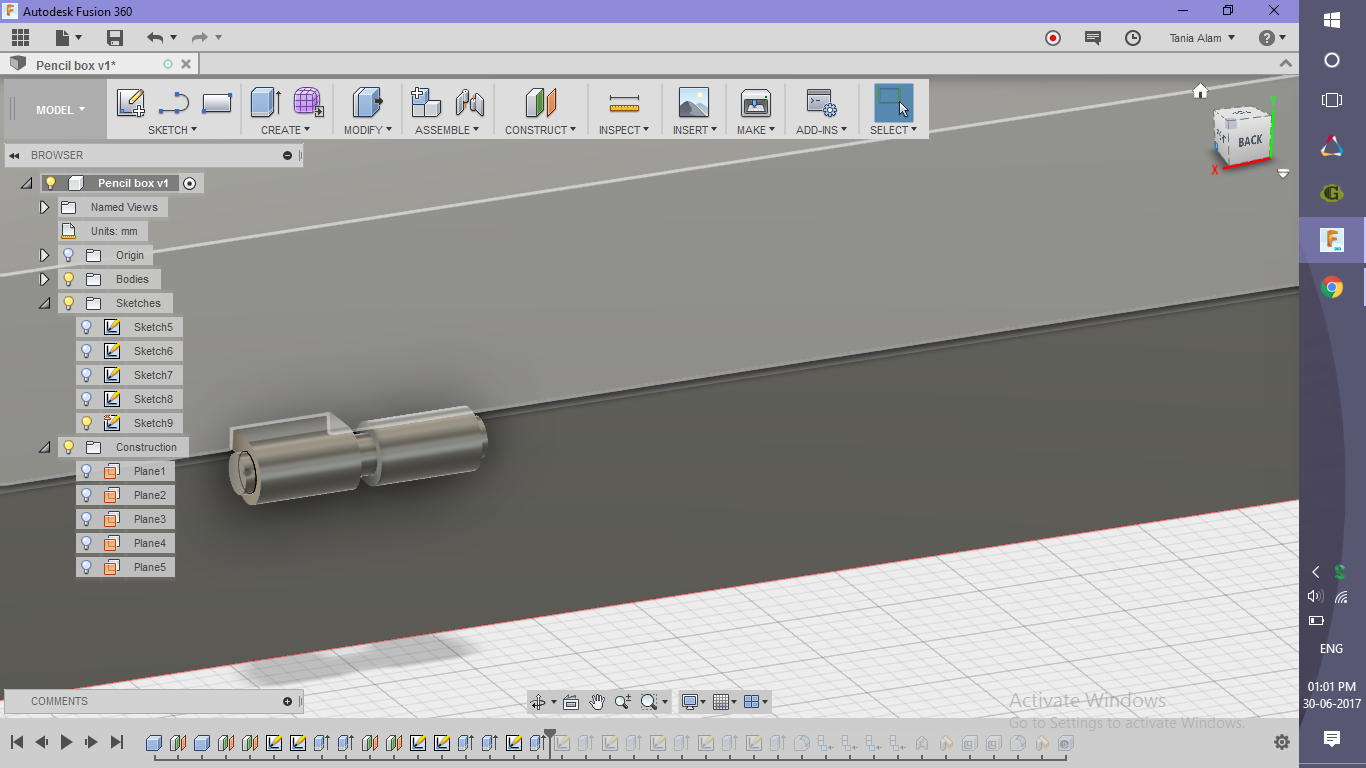
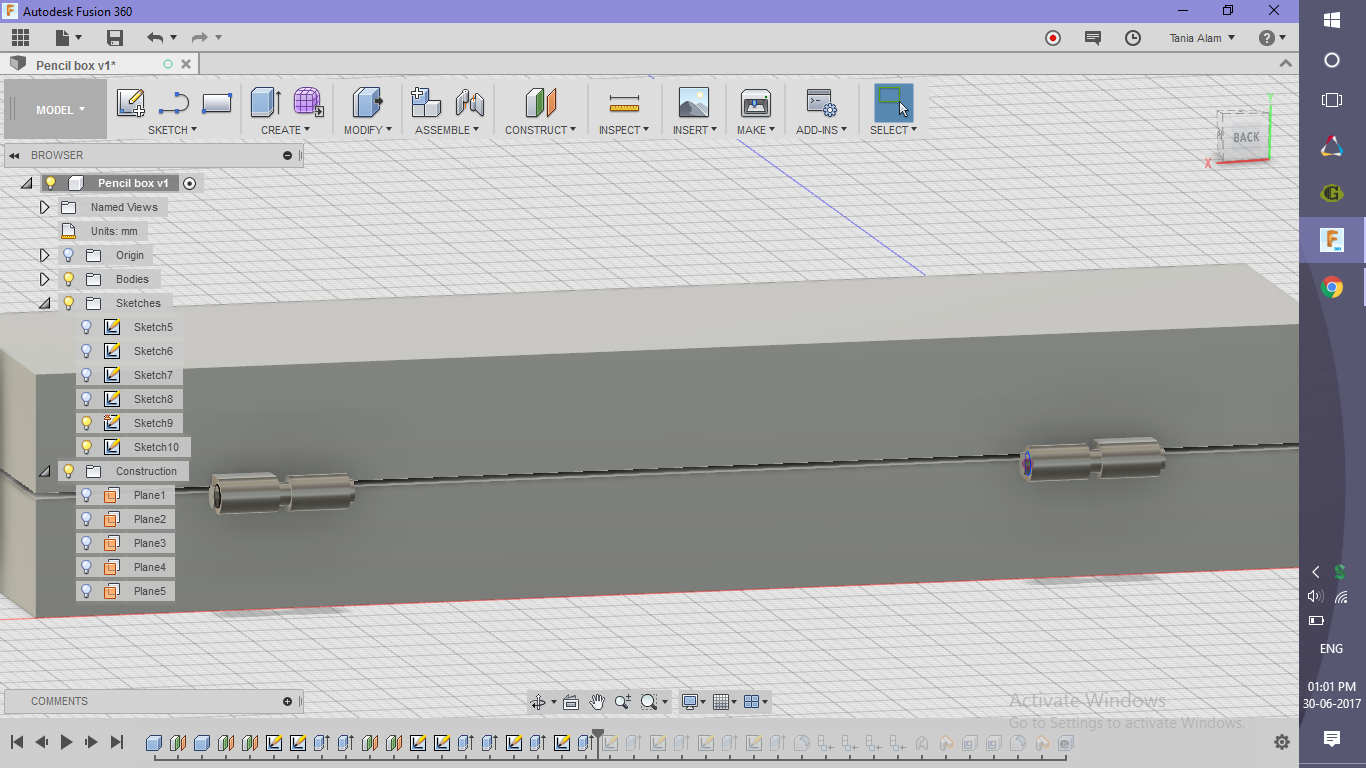
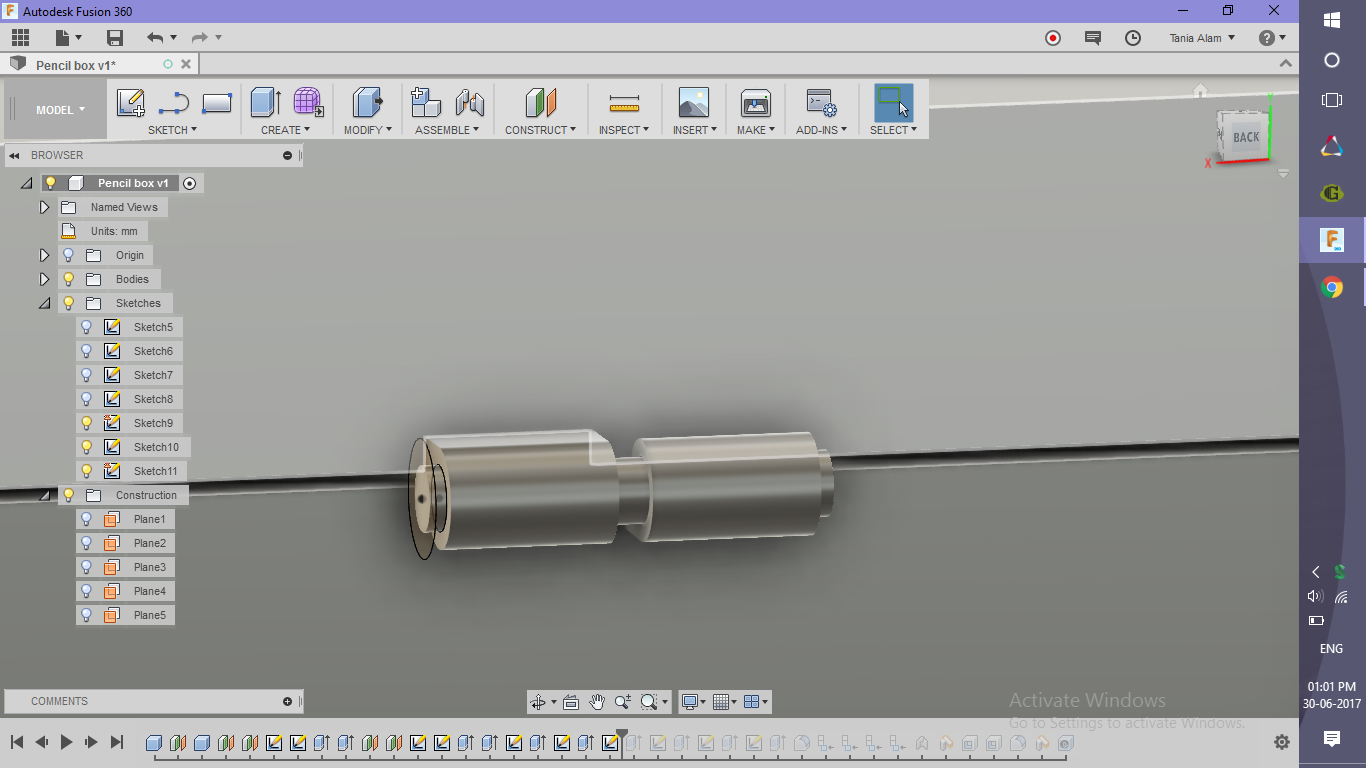
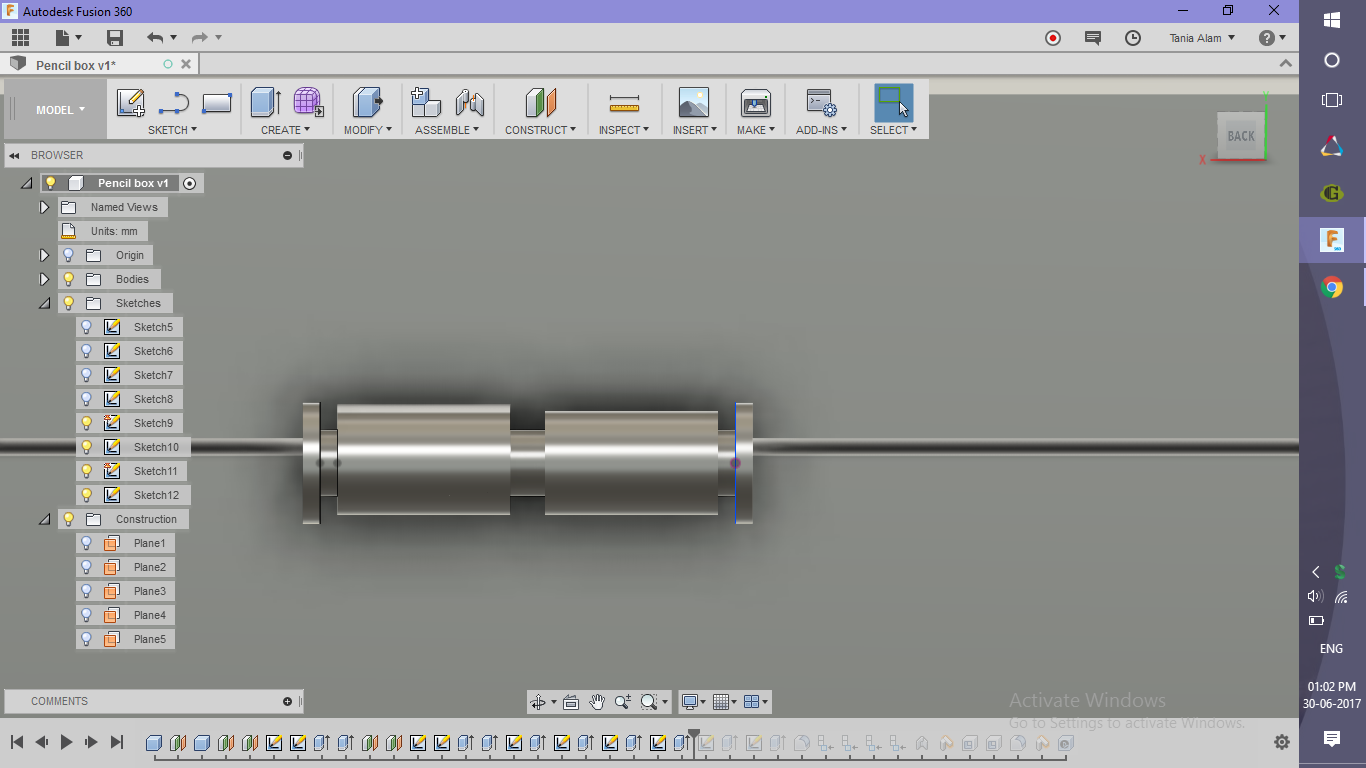
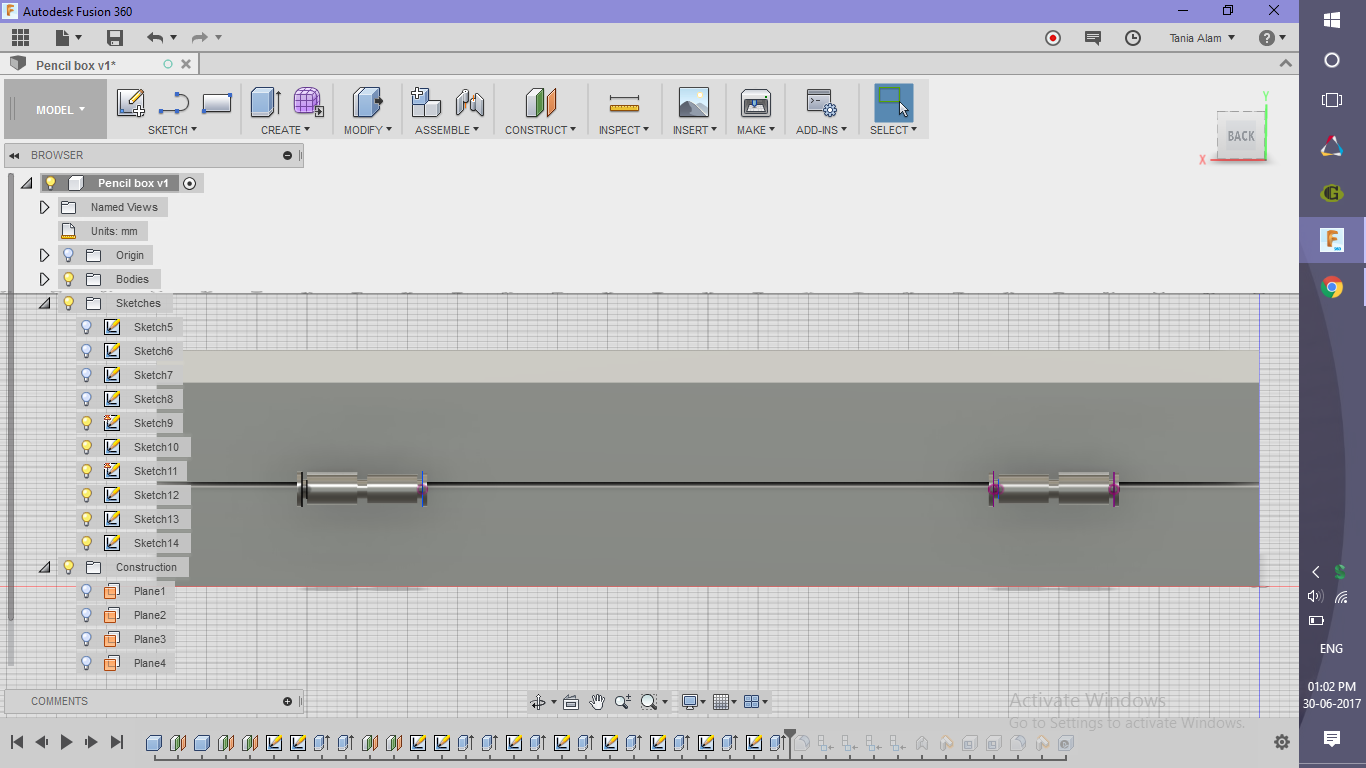
- Make the rod
- Sketch a circle, slightly smaller than the central circle
- Extrude it on both the side (Don't use symmetric, use "Two sides" as the extrusion won't be symmetric on both sides)
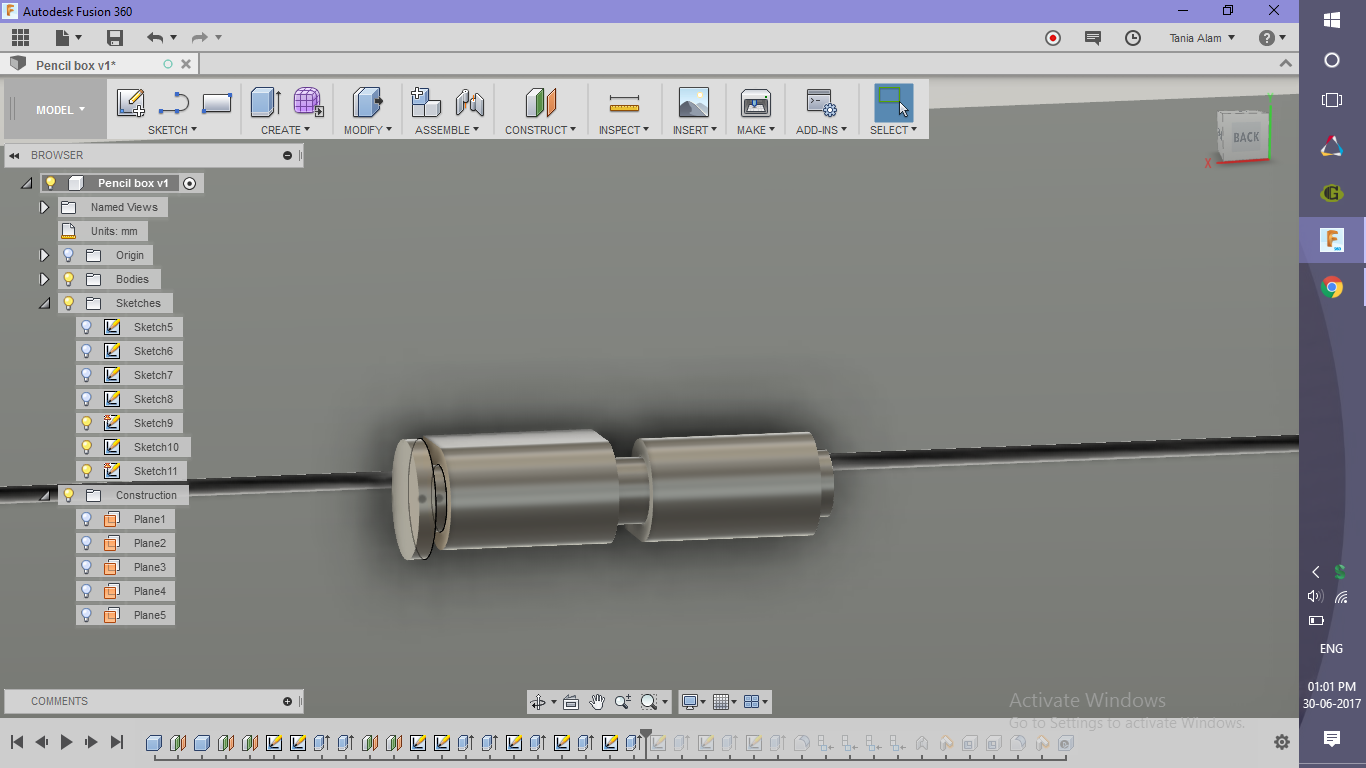
- Add plates on both sides to prevent the connections from falling off
- Go to "Create" tab
- Click on Cylinder command
- Select one of the sides of rod as sketch plane
- Repeat the same steps for the other side
Add Some Fillets
.png)
.png)
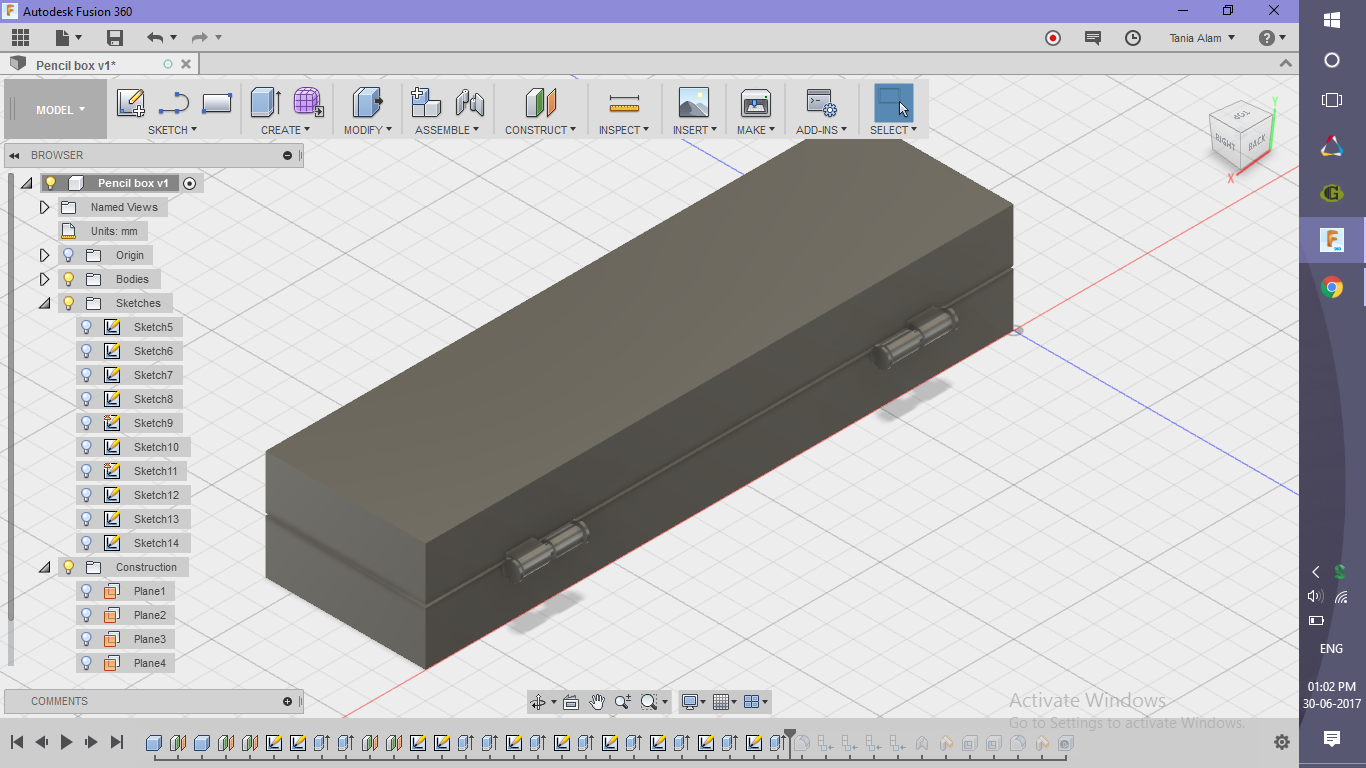
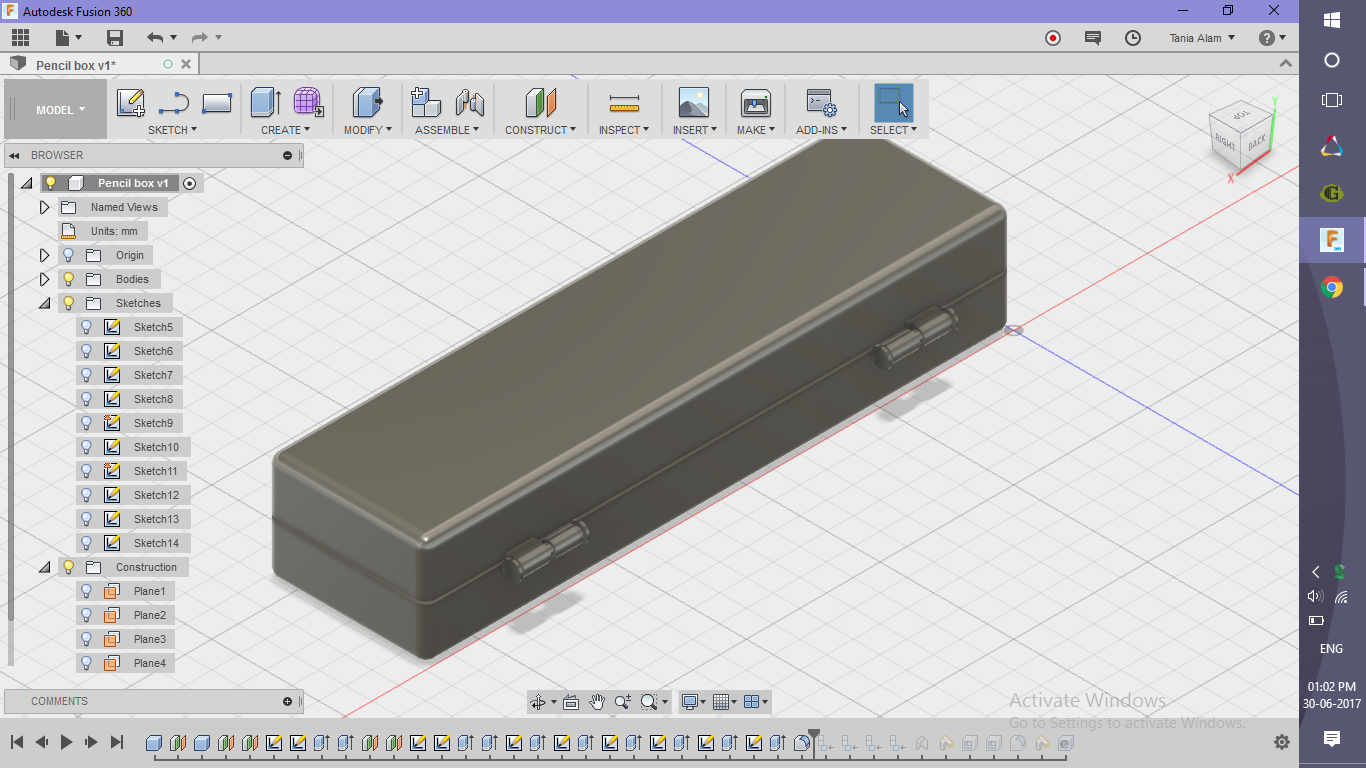
- Add some fillets and remove all sharp edges as shown
- Add Physical Materials
- "Glass" for upper box
- "Plastic" for lower box
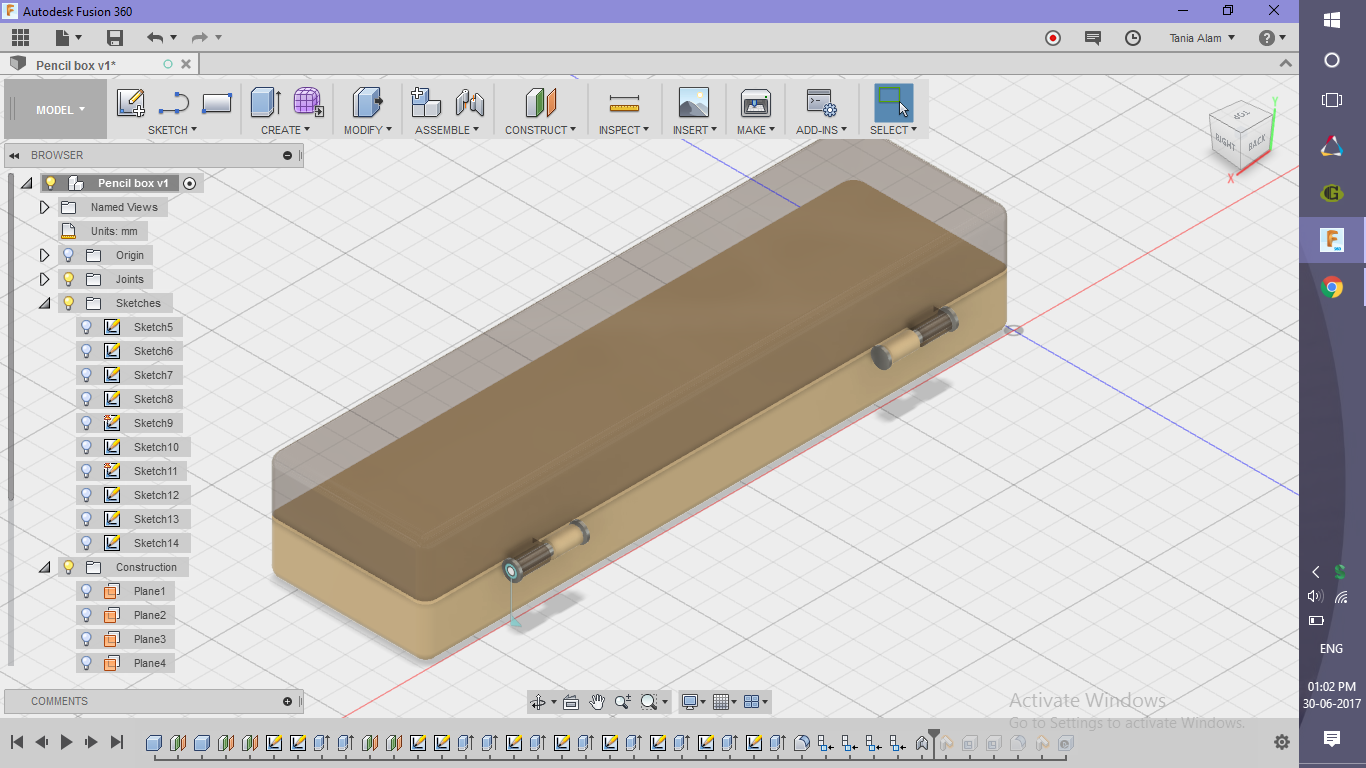
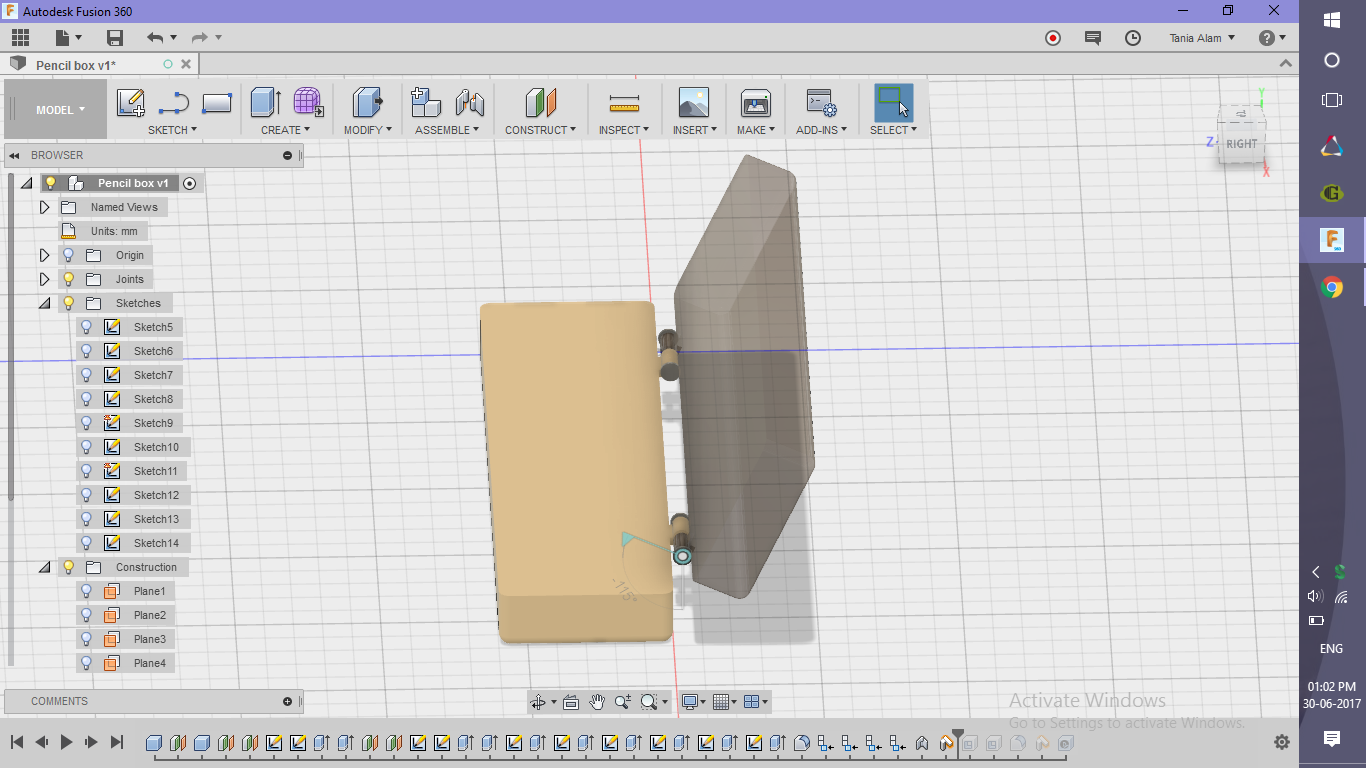
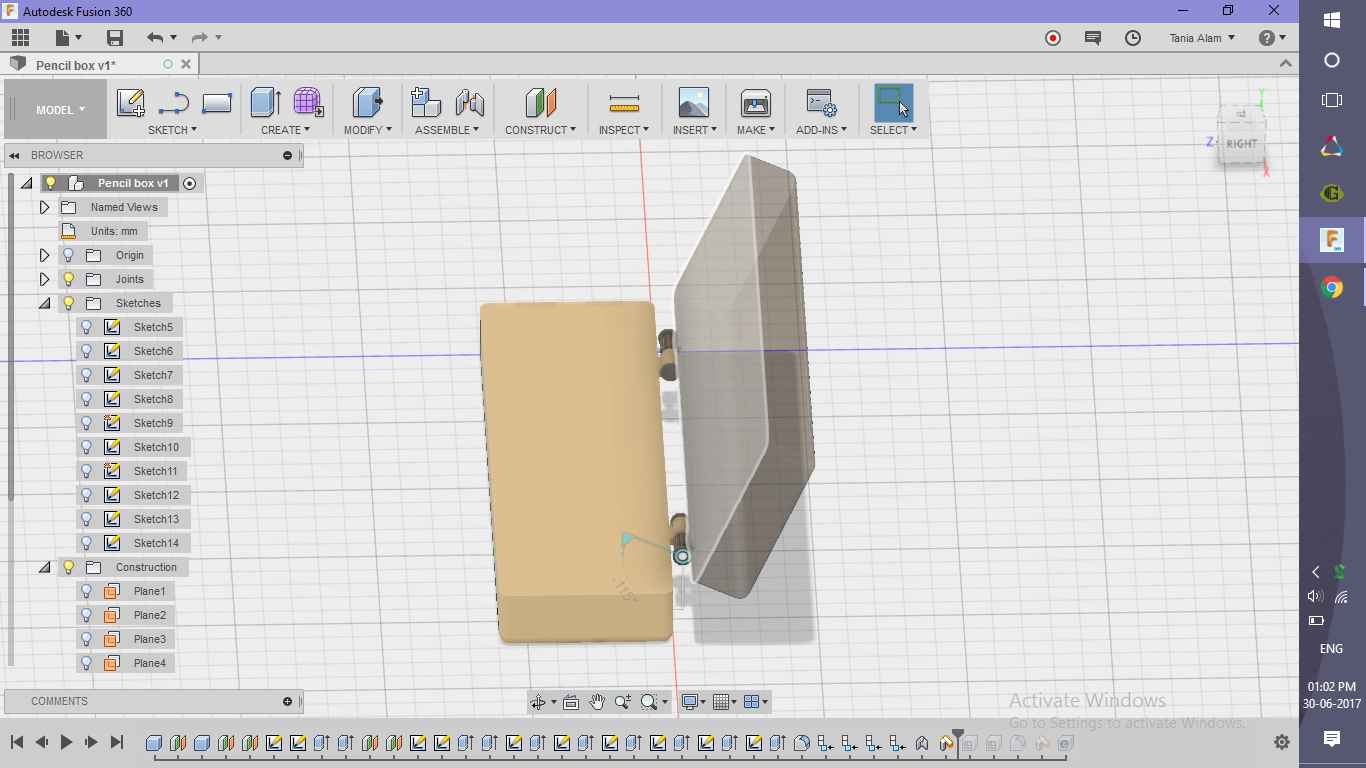
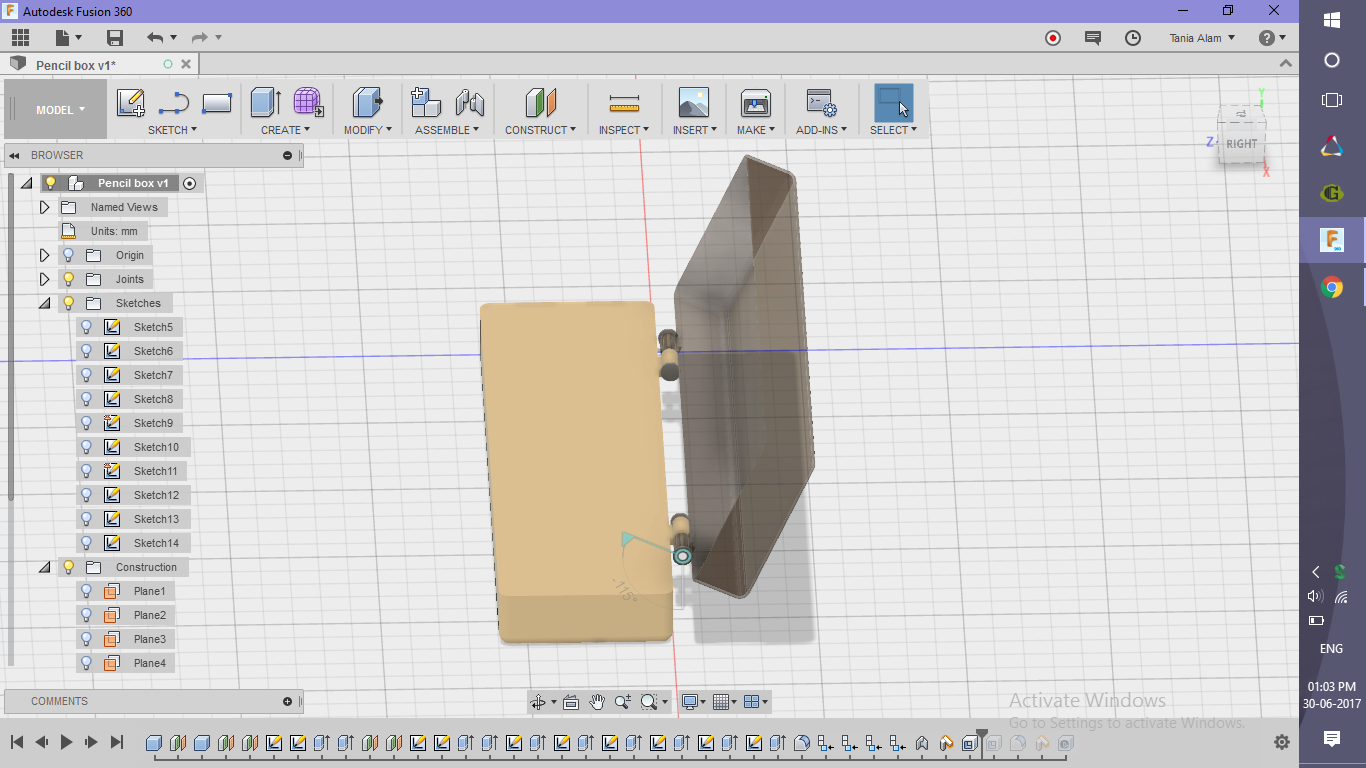
Shell It!
.png)
.png)
.png)
.png)
.png)
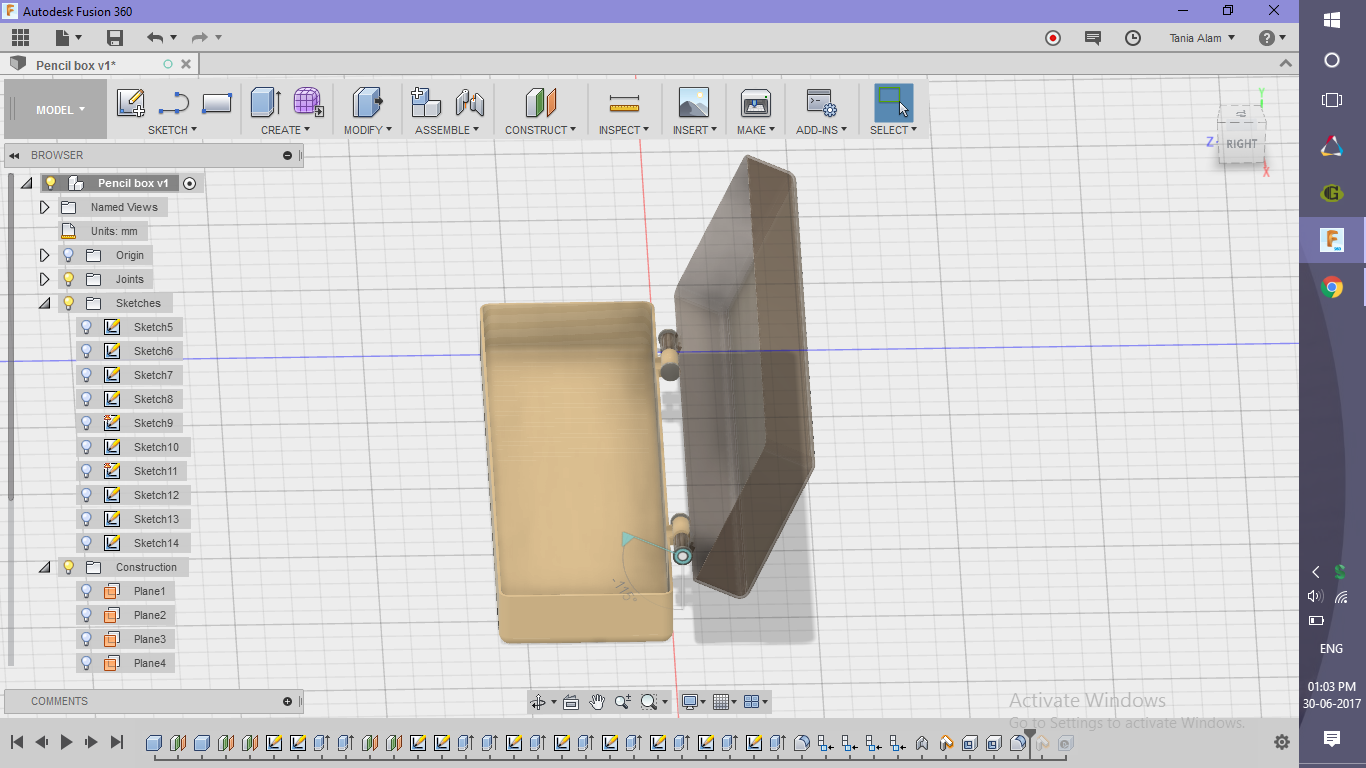
- Convert all bodies to components (Right-click on the name of the bodies in the browser to see the option)
- Add a revolute connection between the upper and lower boxes
- Go to "Assemble" tab
- Click on "As-built" joint
- Select the two entities
- Set a proper location of the joint
- Incline the boxes to a suitable position
- Right-click on the name of the joint in the browser
- Click on "Drive joint" option
- Select an angle of inclination
- Make some space inside the lower and upper boxes
- Go to "Modify" tab
- Click on Shell command
- Choose the inner surfaces of the upper and lower boxes to make them hollow
Make It Work (optional)
.png)
.png)
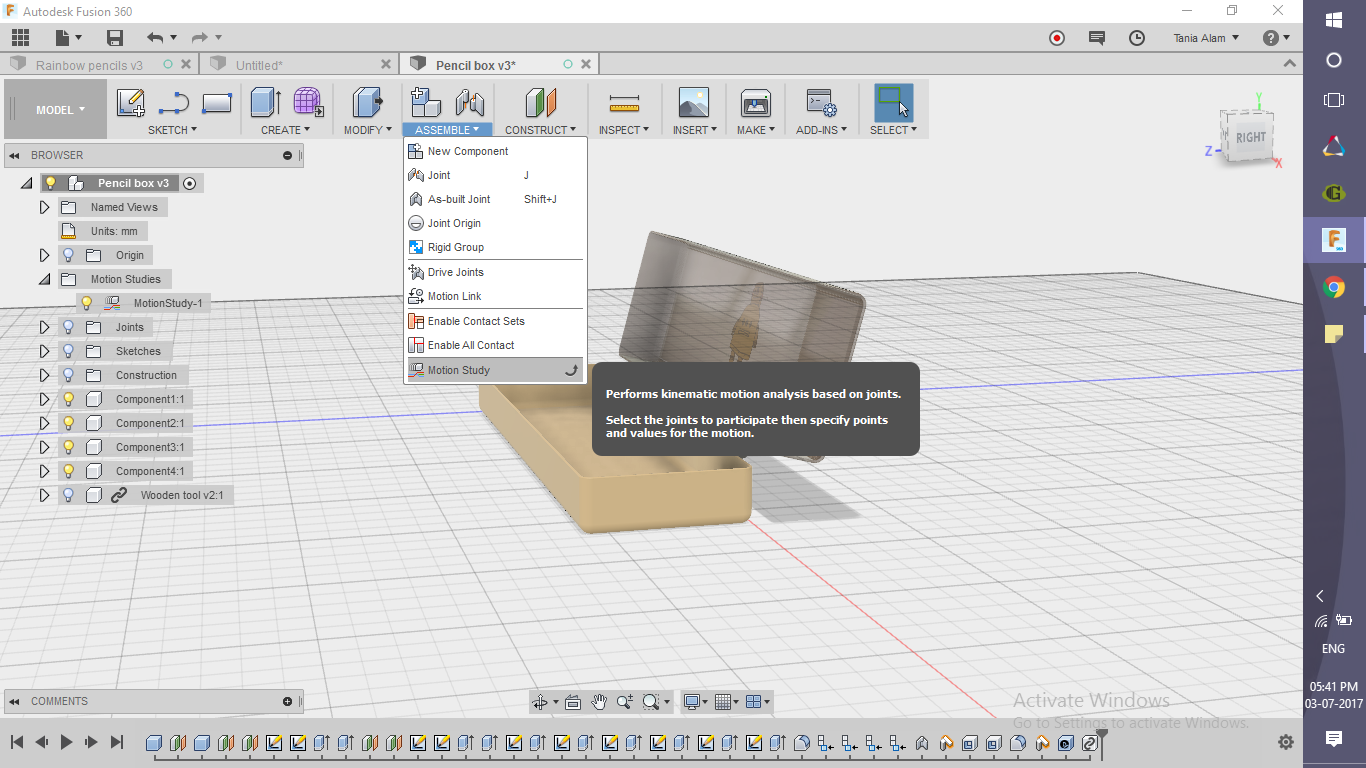
- Create a motion study
- Go to "Assemble" tab
- Click on "Motion Study" option
- Select the joint
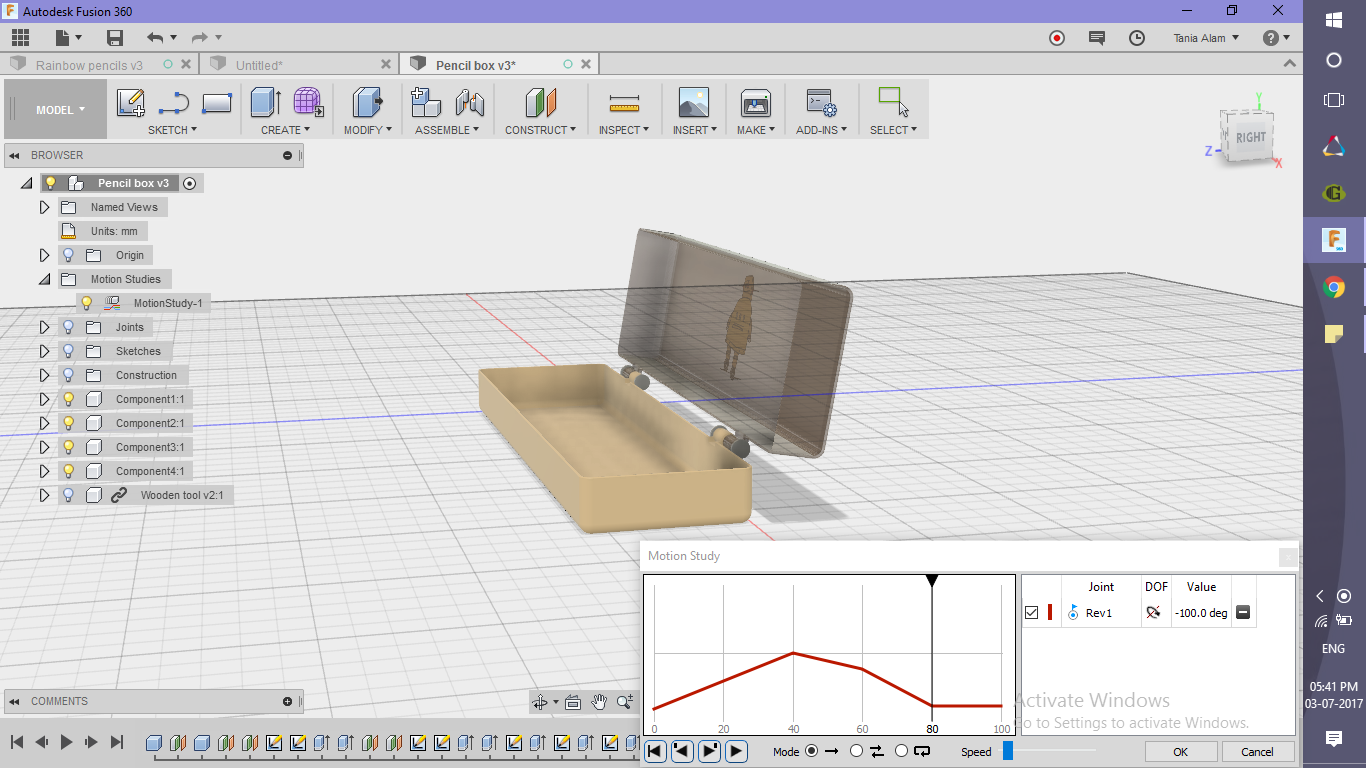
- Move the cursor choose the time step (60-80)
- Add a point at the end of the line
- Enter a value of the angle
- Click on the play icon to see if it works fine
- Add non-uniform steps to make it look interesting
- Add more points on the line
- Add random values of the angle for each
Get the Renderings
.png)
.png)
.png)
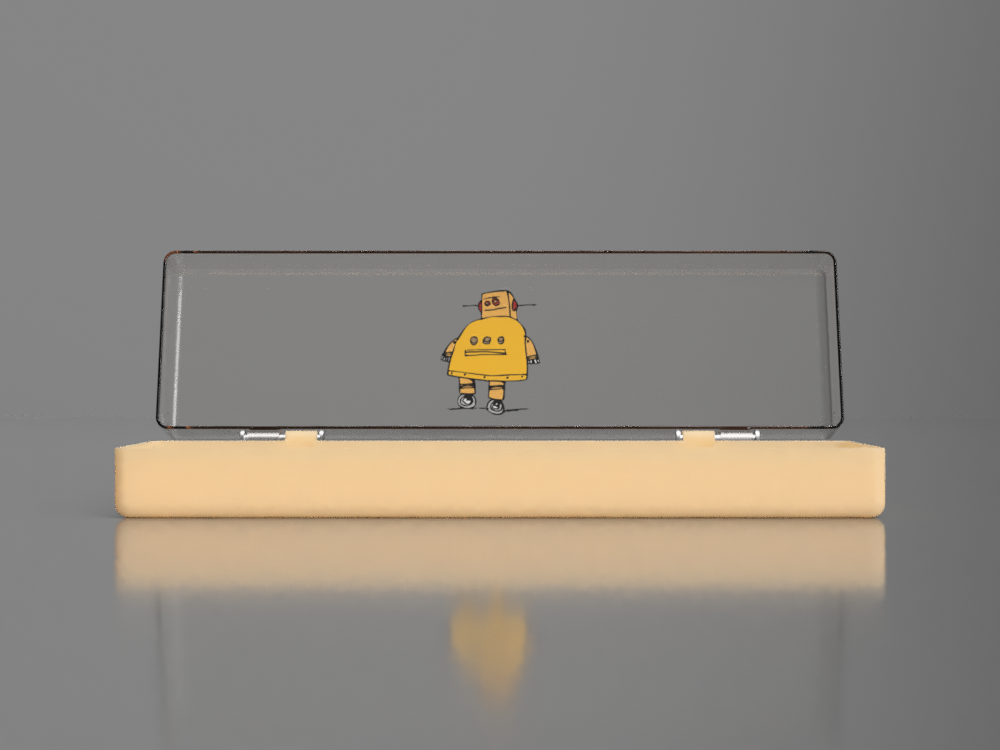
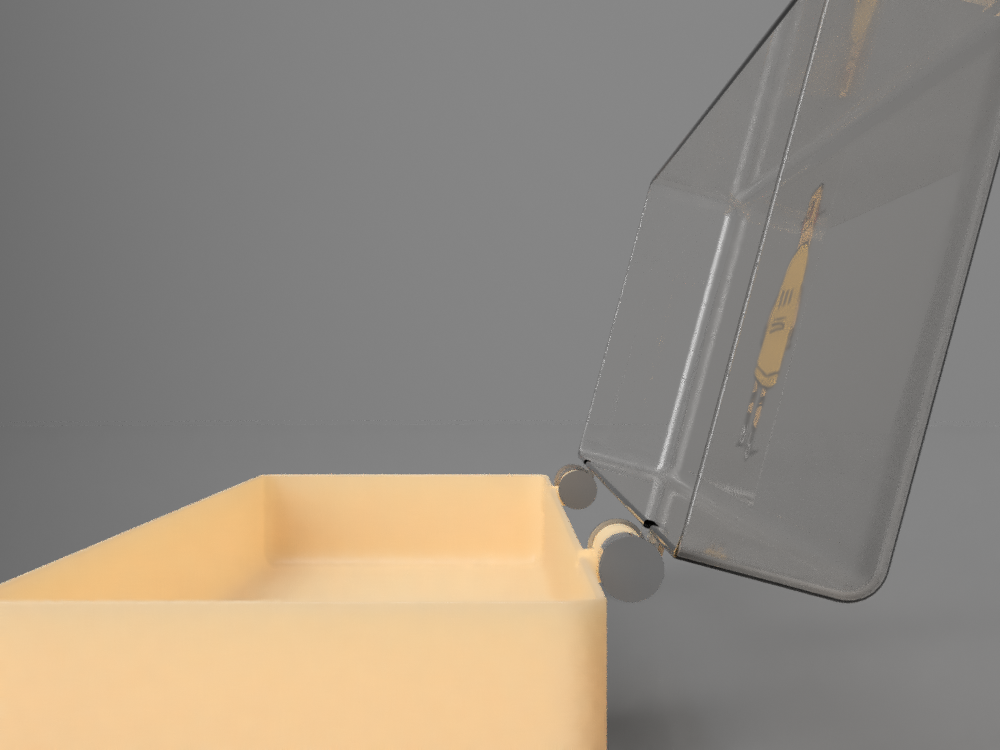
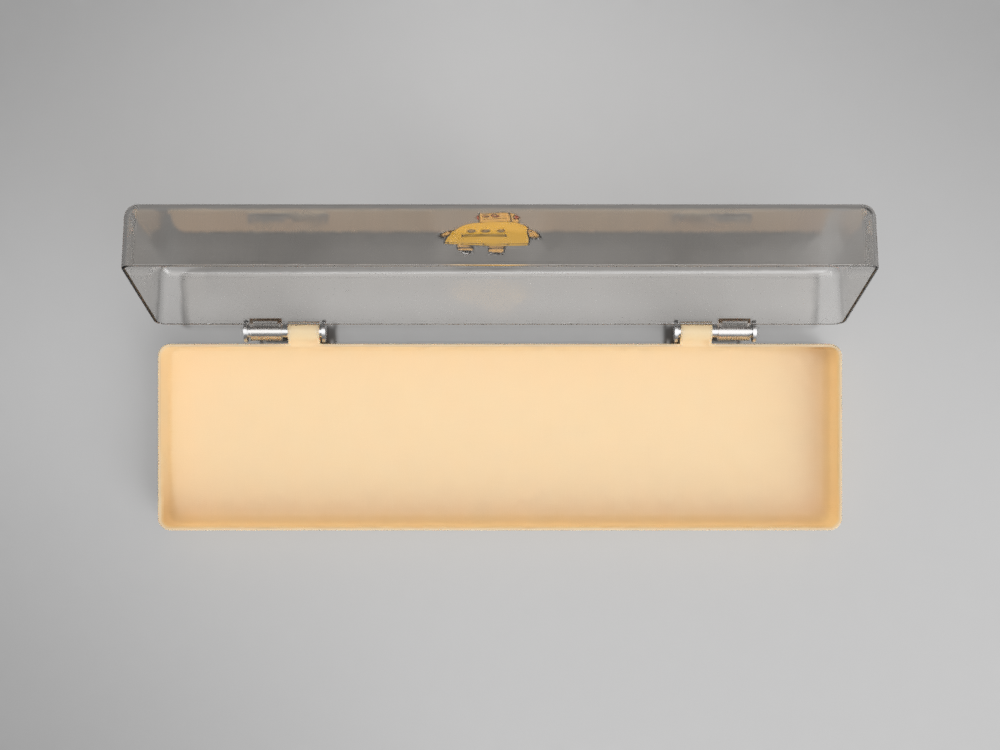
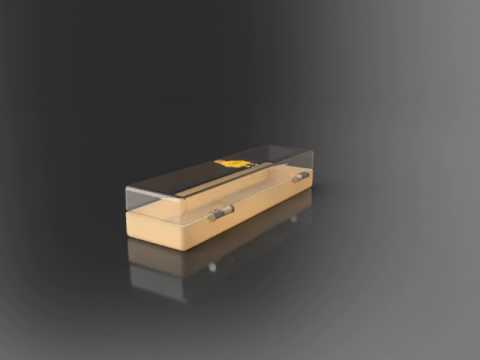
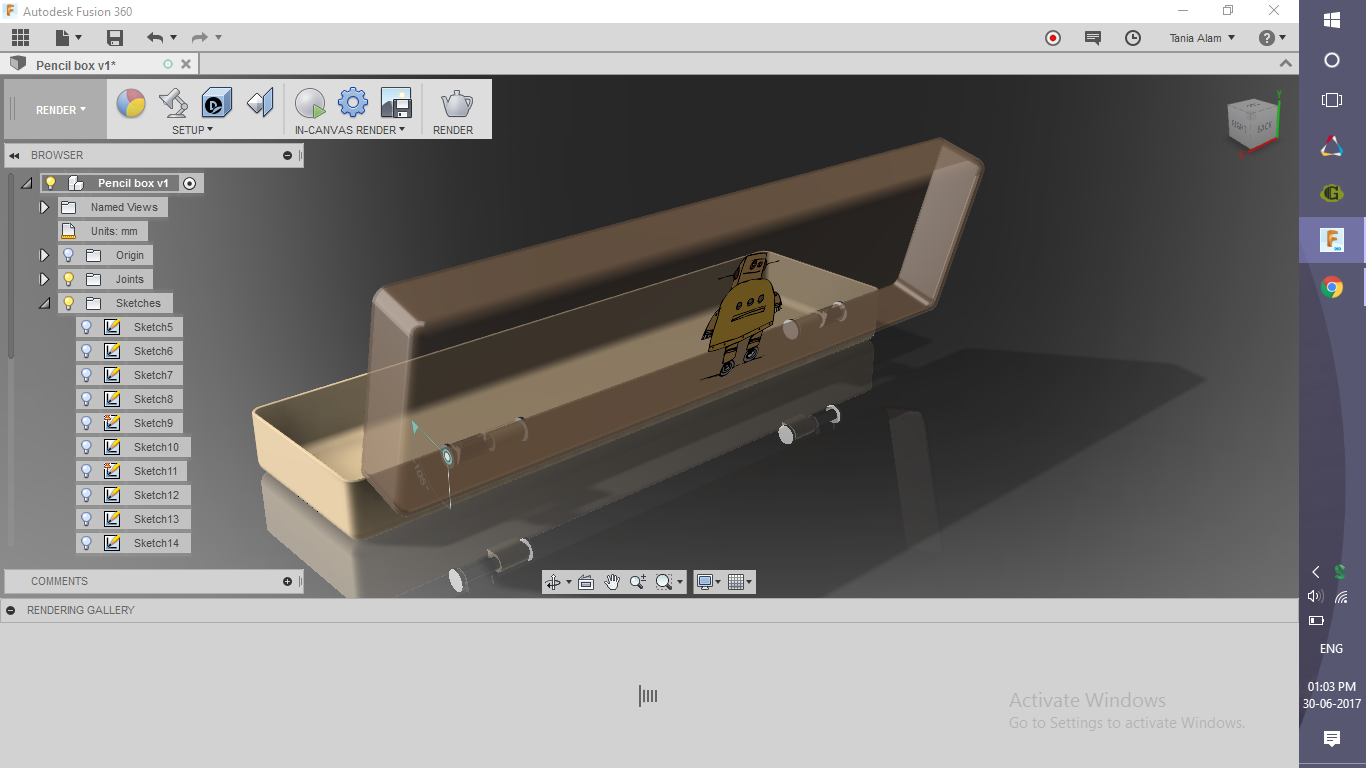
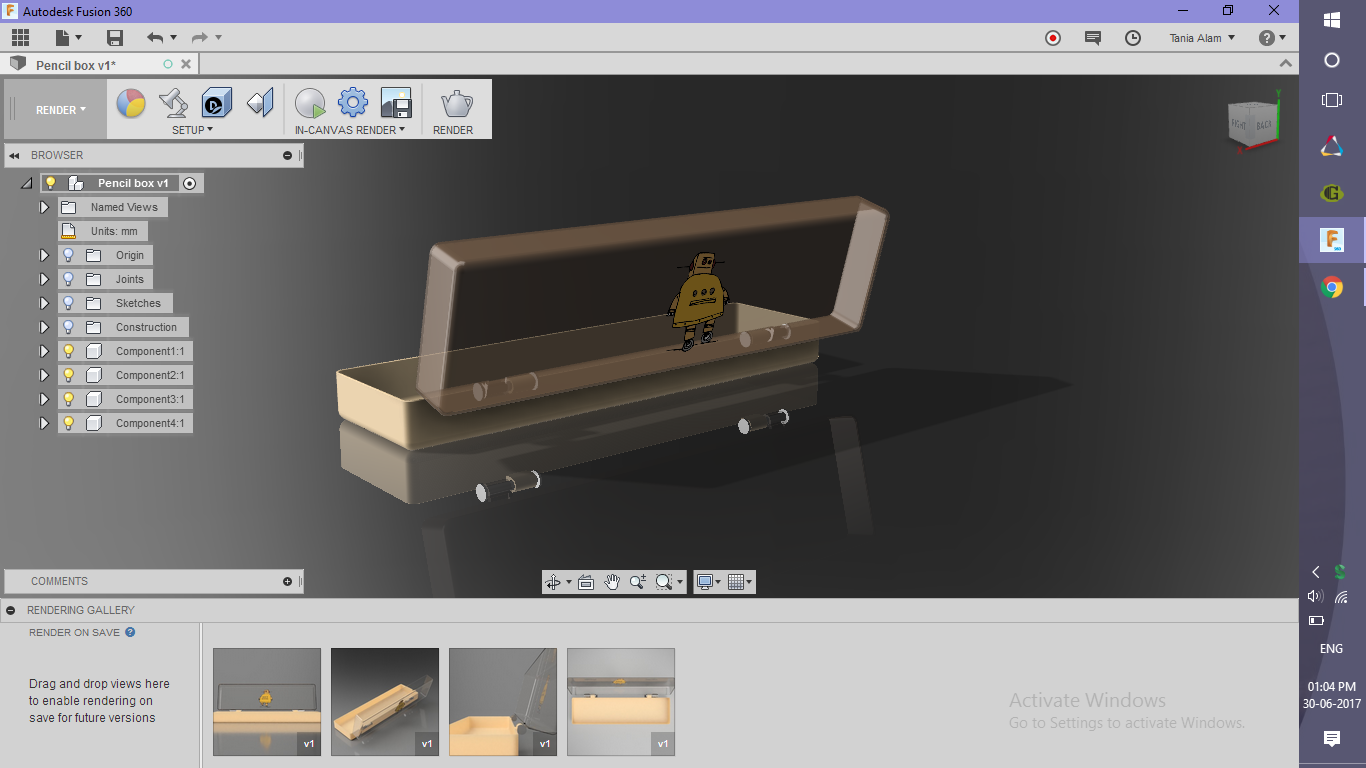
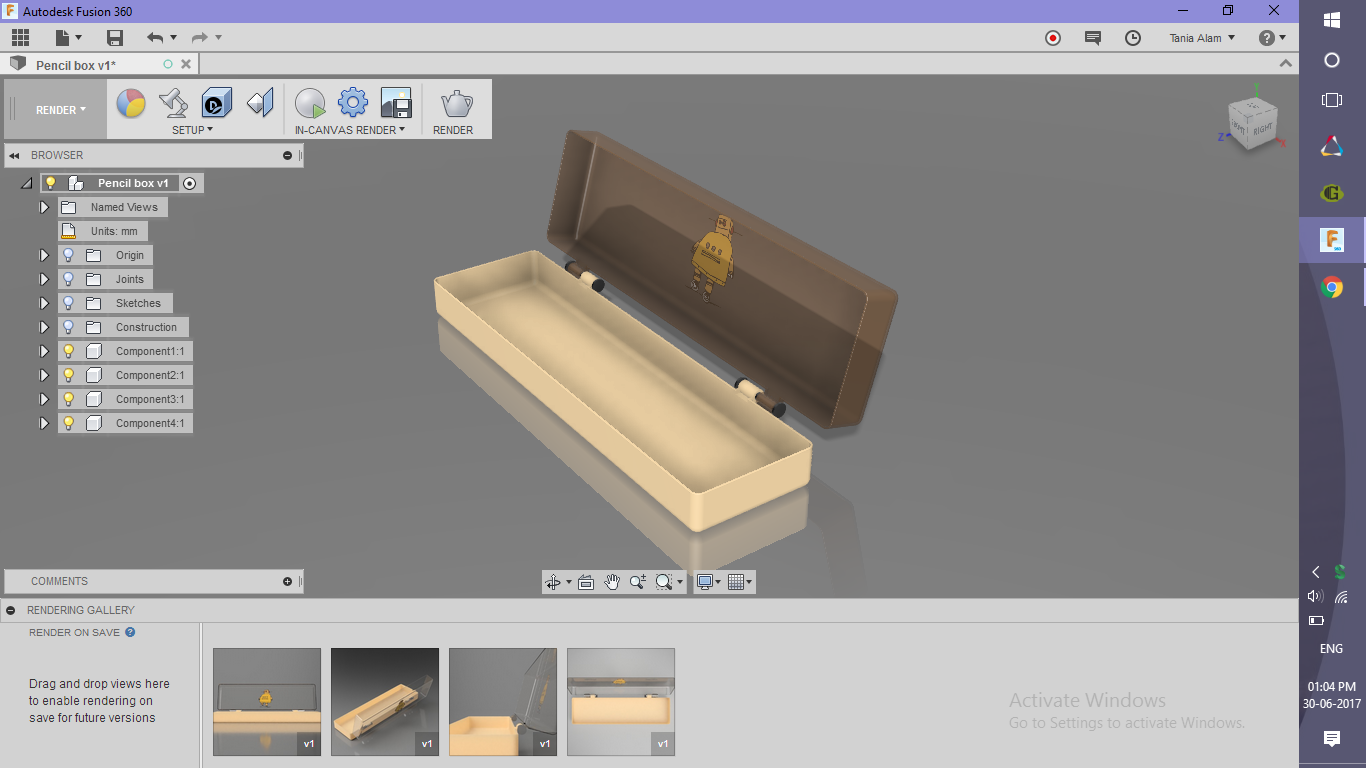
Once you save the file, it will automatically start rendering.
If you have created the motion study, choose a view and render it as the motion study.
- Position the box according to the view you want to see
- Click on "Render"
- Wait for some time to get the rendering
- Once done, click on that image in the Rendering Gallery
- Click on the first icon after "Render As" (similar to the play button)
- Wait for some time to get the rendering of the motion study
I've added a file of the motion study I created.
Apply Some Advanced Settings (optional)
.png)
.png)
.png)
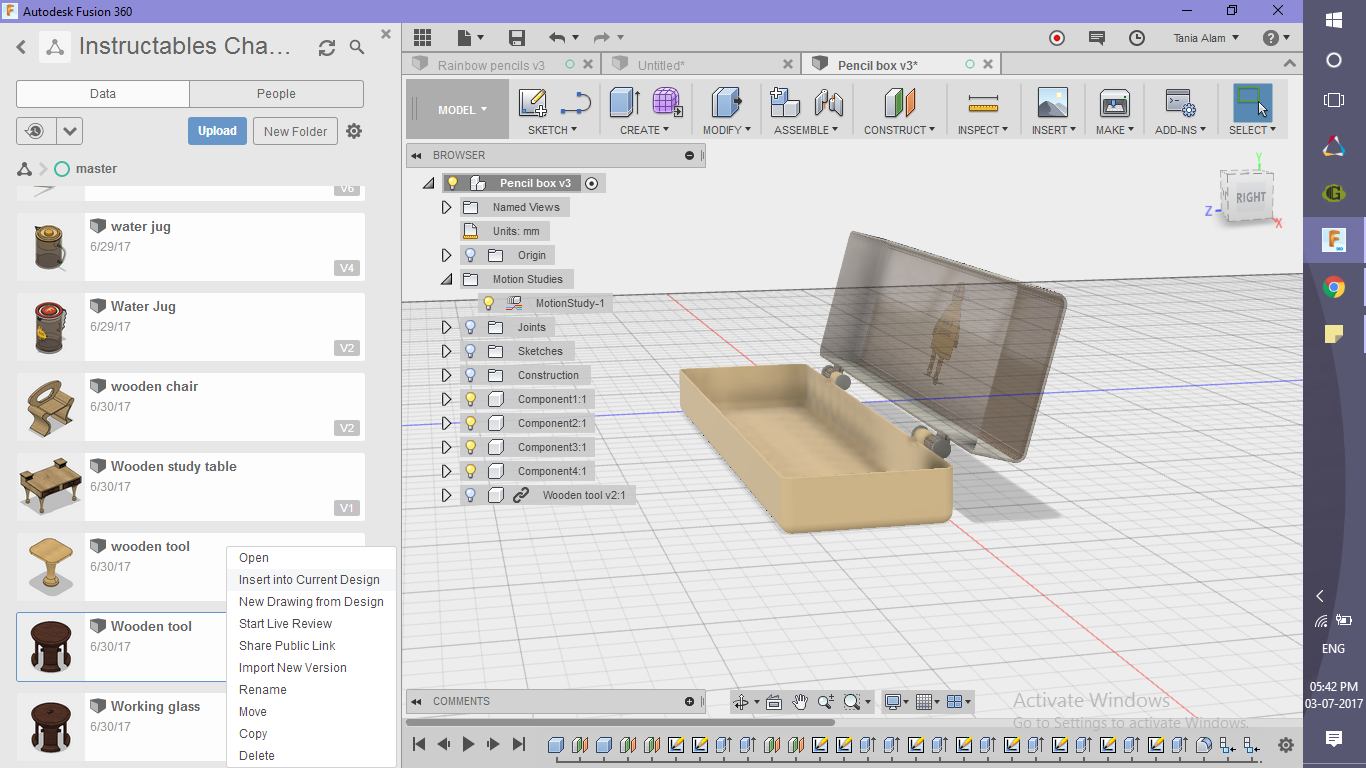
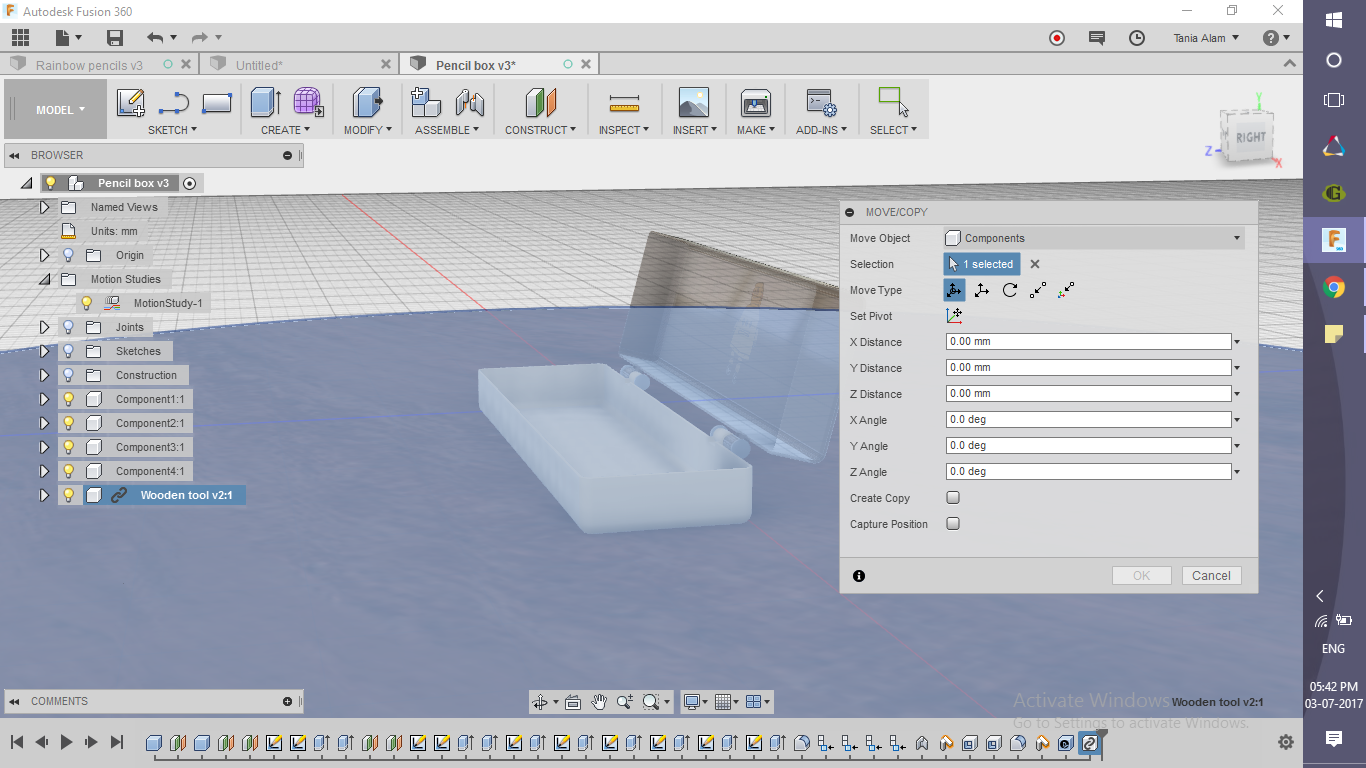
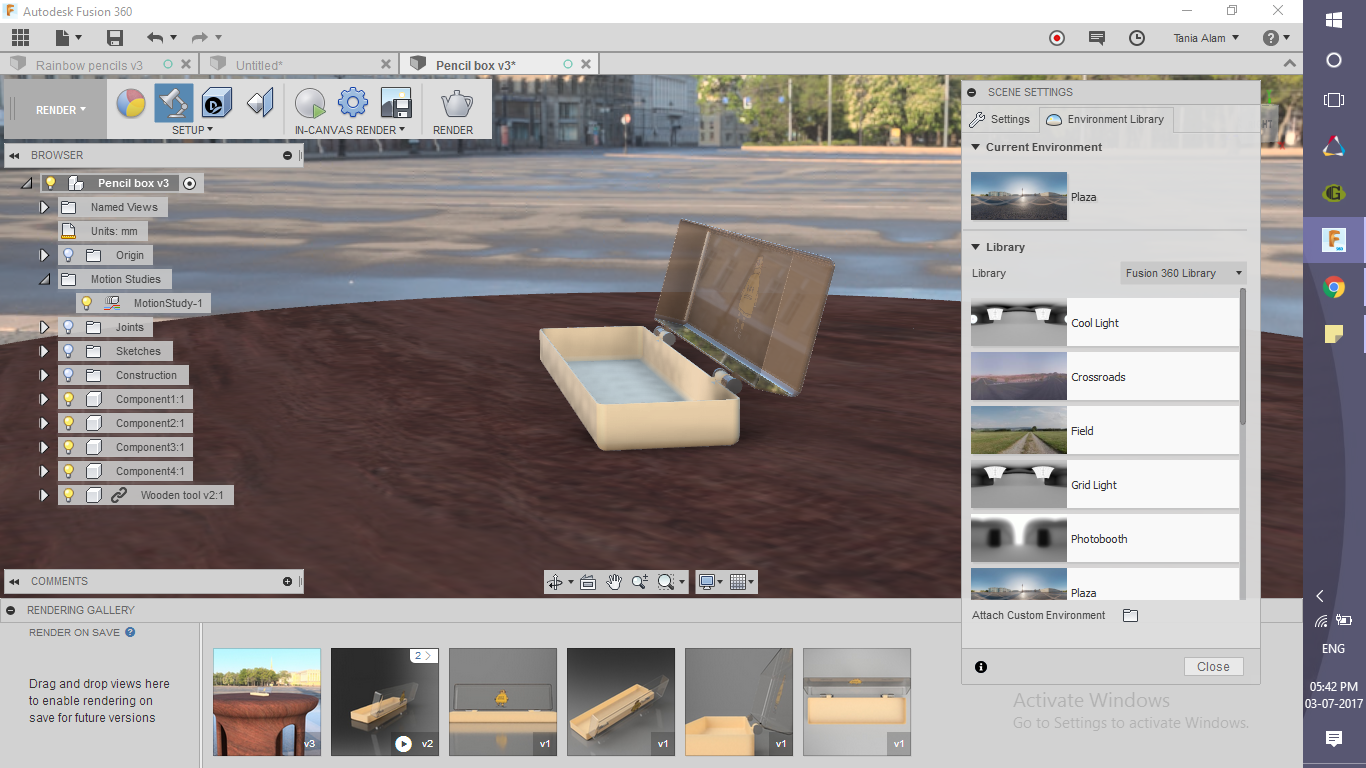
This step is for those who have made this tool using my tutorial. If you already have some models of tables, you can use them too. These are the steps you need to follow to get a similar rendering.
- Find the file of the tool in Fusion, right click and choose "Insert into current design"
- Position it accordingly with the box
- Go to Scene settings and Choose "Environment" option (I've used "Plaza")
- Go to the rendering workspace and click on the "Render" option!
Get Rewarded!
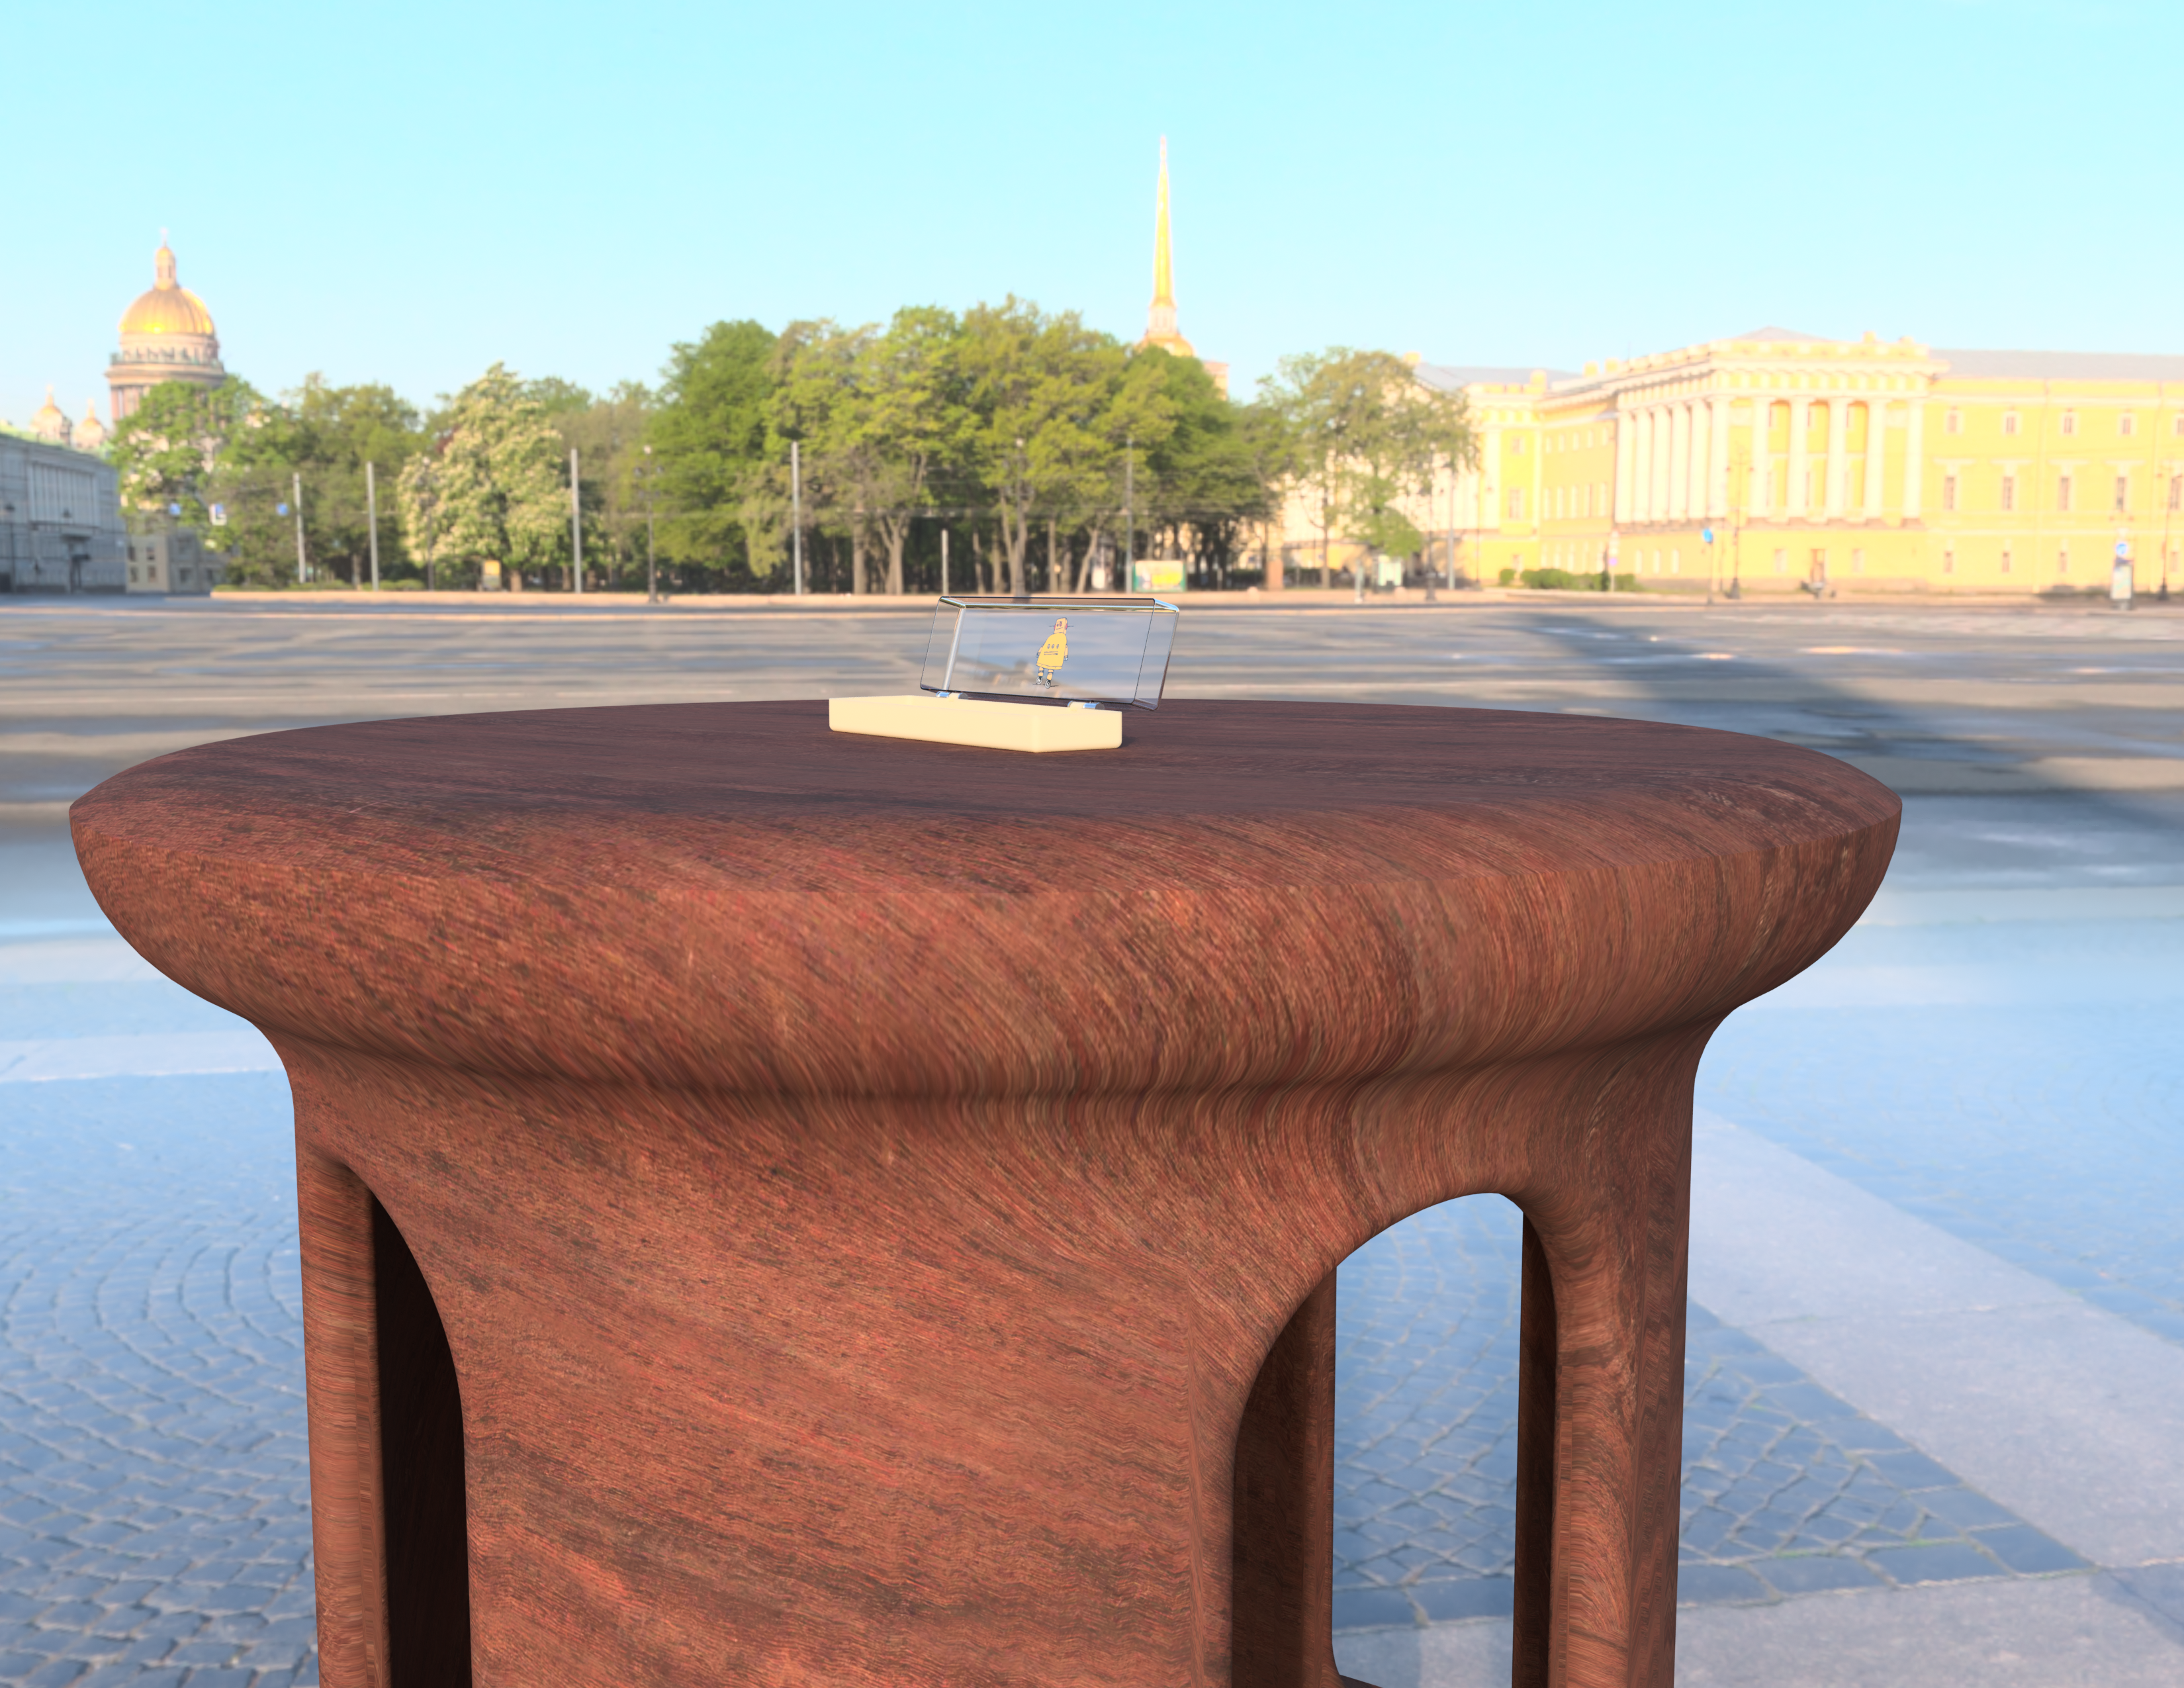
If you're working so hard to make this project, I personally feel that you should get rewarded for it. I'm going to give out a 3-month Premium membership code to the first person who will complete all the steps and comment the renderings on this post using the "I Made It" button!
Ideally, it should look similar to the one given above, although improvements are always welcomed.
I encourage reviews too, please feel free to drop a comment here :)