Open Source Flashlight Kit
by seanhodgins in Circuits > Electronics
7125 Views, 26 Favorites, 0 Comments
Open Source Flashlight Kit
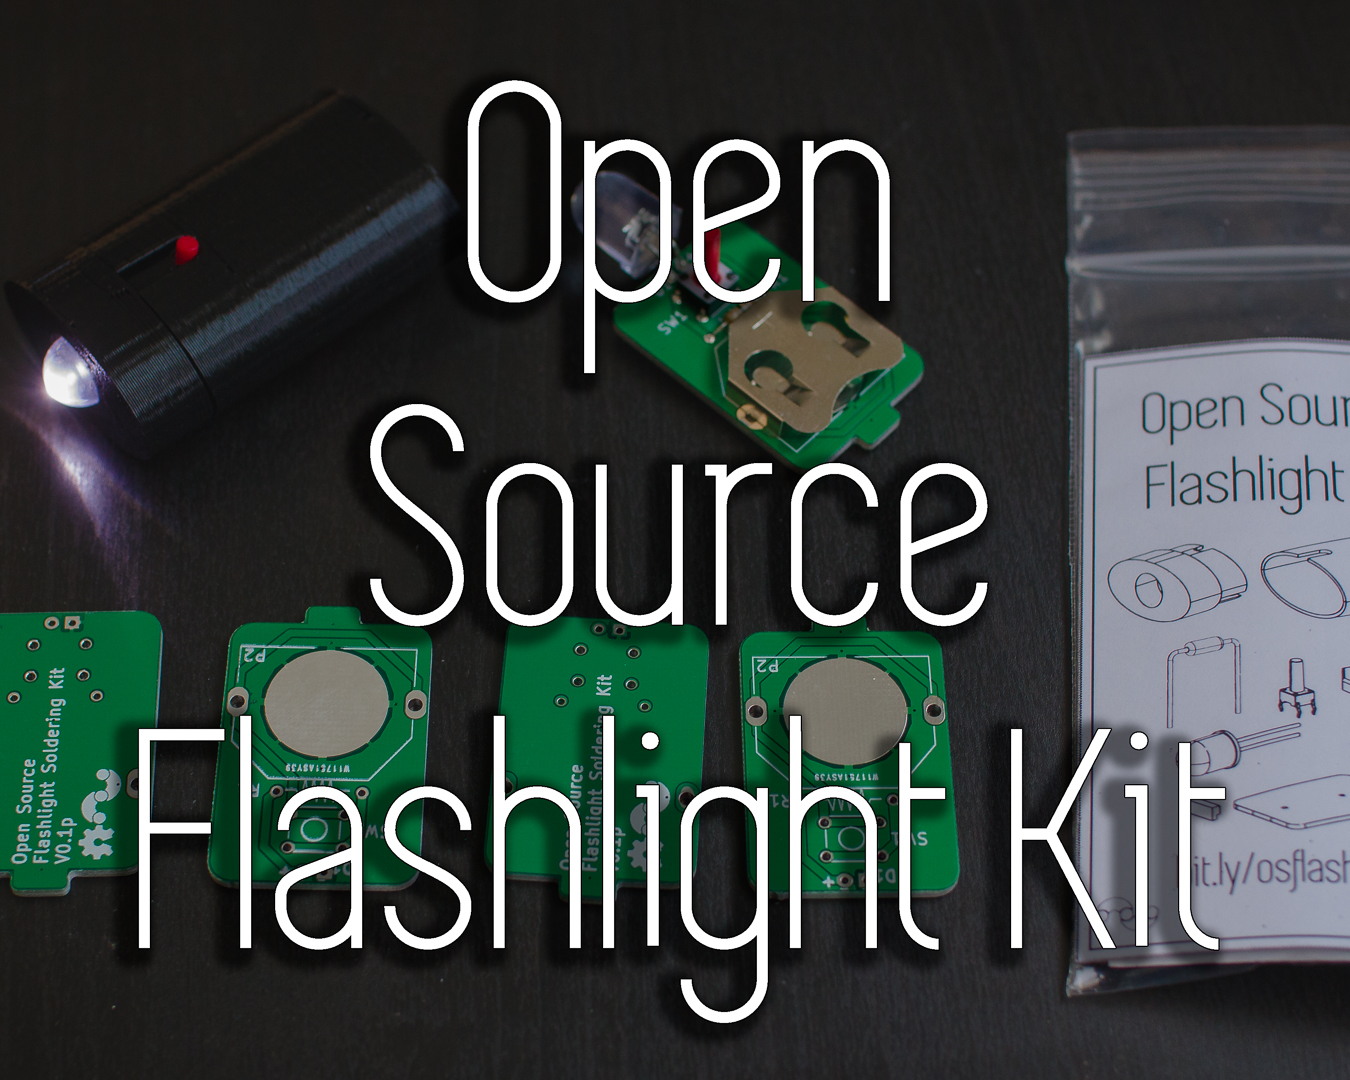
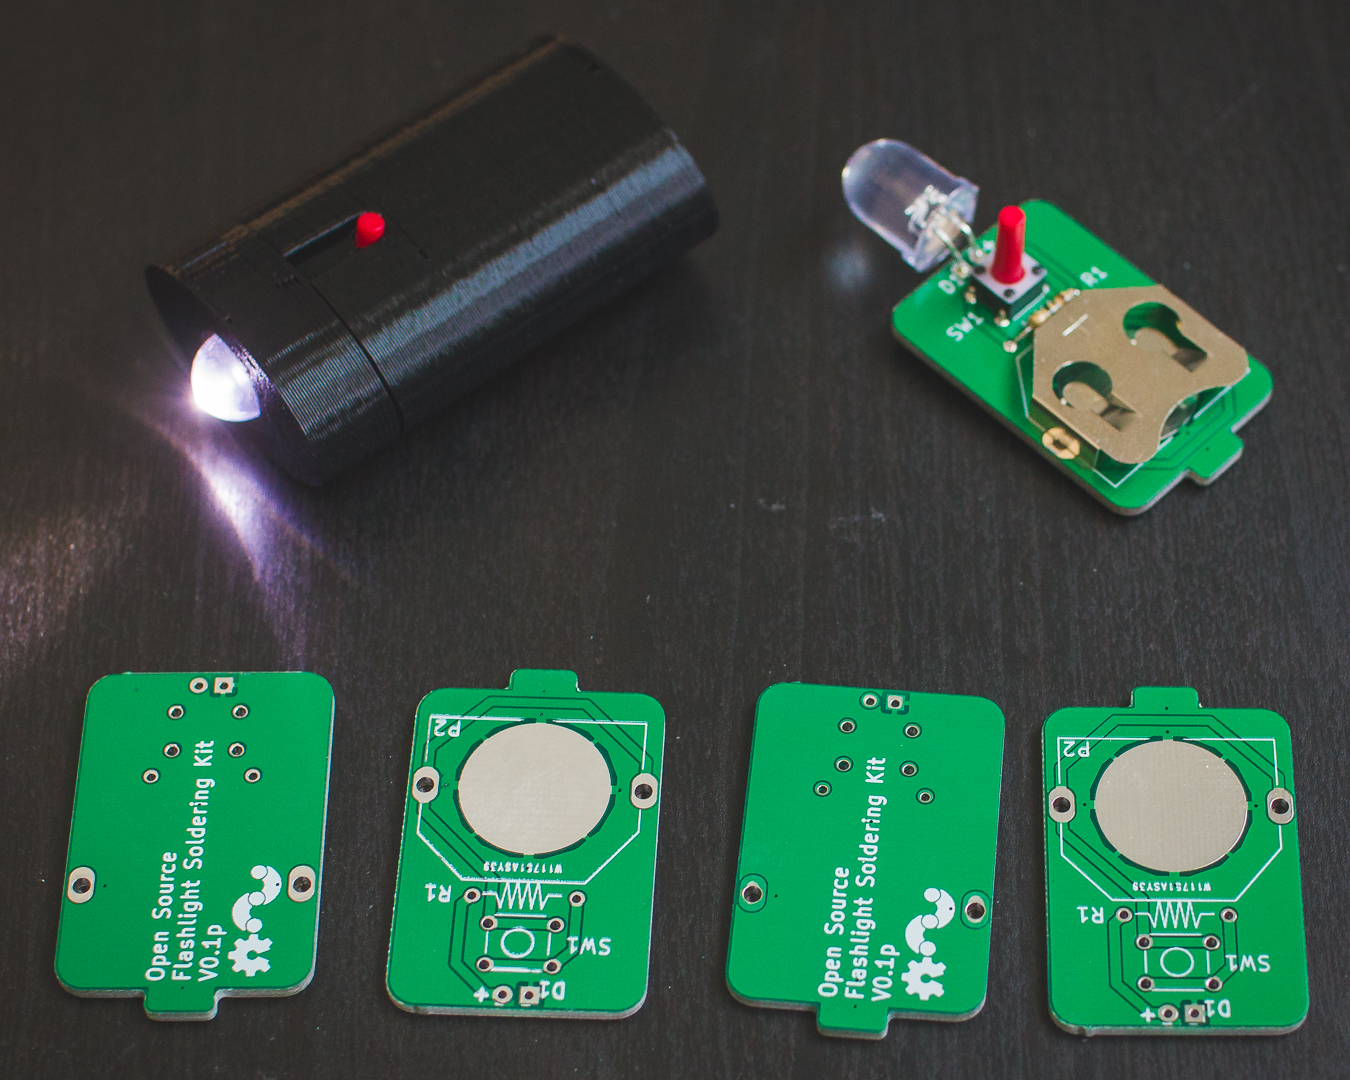
Do you have a classroom or workshop with students that want to learn about 3D printing or soldering? Maybe you yourself want to start learning a new skill. Well, the Open Source Flashlight Kit is designed to be the very first introduction into 3D printing and soldering. No prior experience required. I made the kit in such a way that anyone can recreate it, which makes it perfect for the classroom or workshop. Even the instructions can be printed on business card paper, which can be purchased at Staples. They fit perfectly inside of the small resealable bags(also listed below). This Instructable will show you how to put the kit together, and then how to assemble the flashlight itself. The idea is that people can make the kit and distribute them to students or others to teach about open source and DIY. Follow along!
Watch the Video!
Get the Parts to Assemble Kits
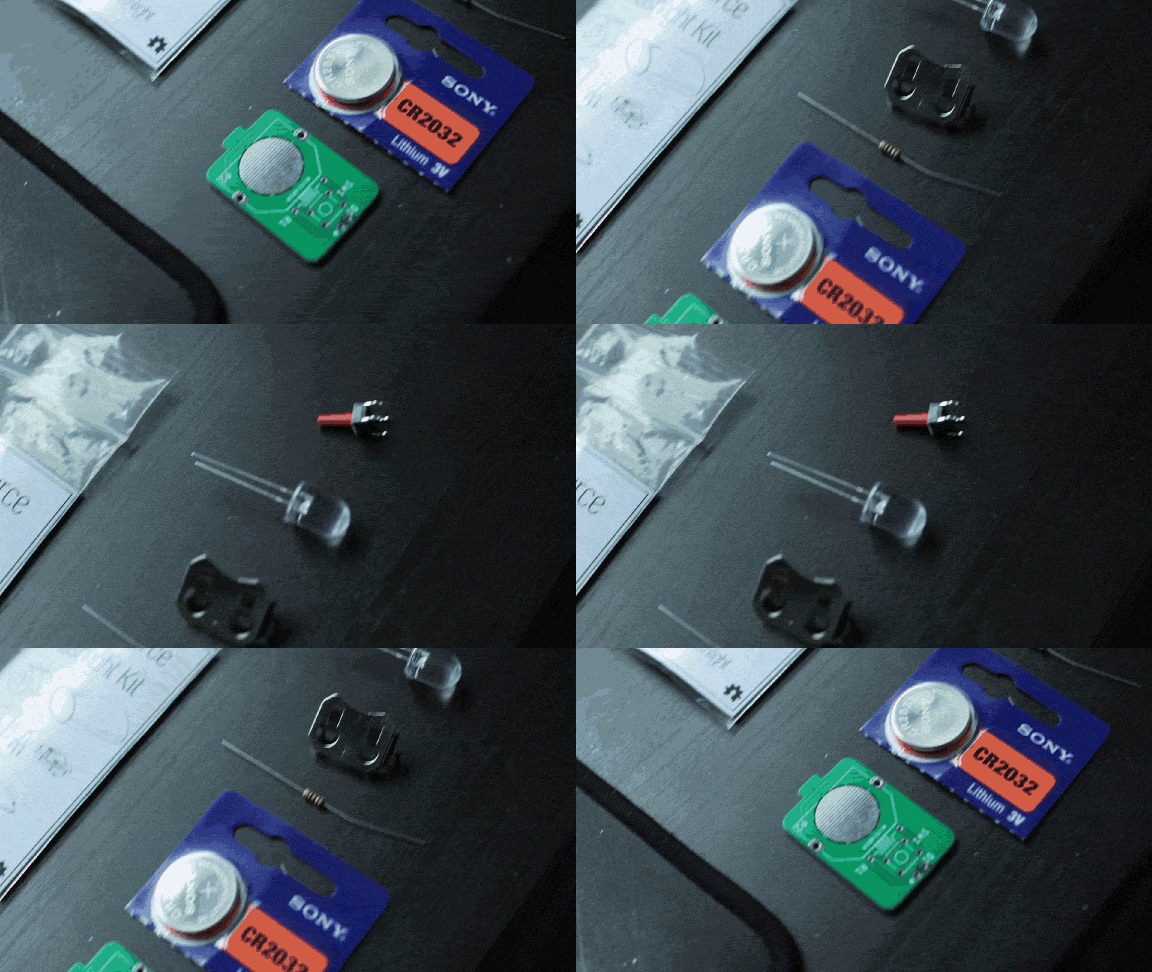
If you're planning on putting together kits for a classroom or workshop(or yourself), get these parts:
Parts:
Assemble the Kits
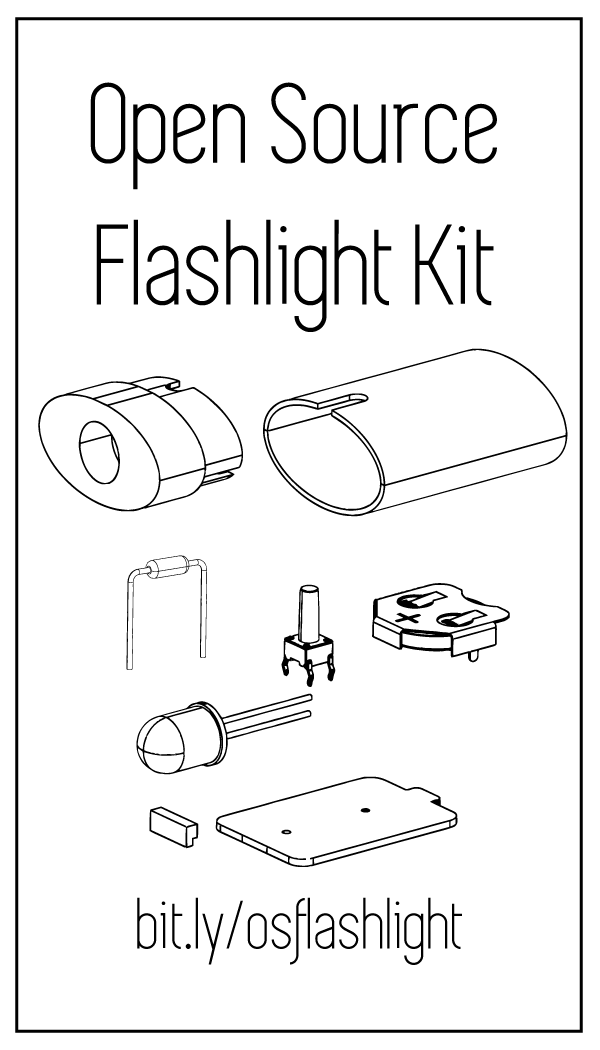
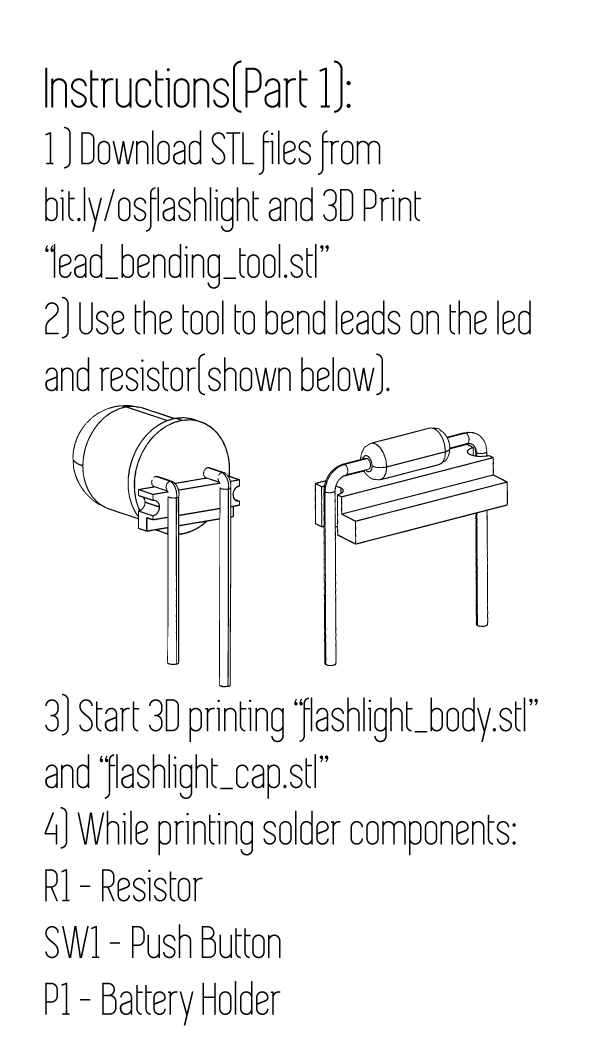
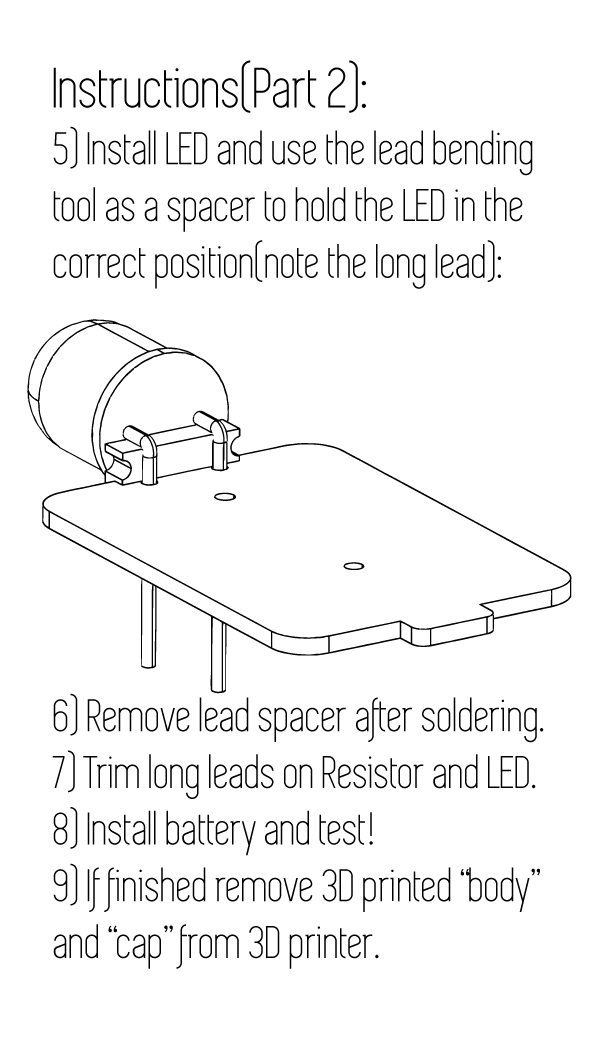
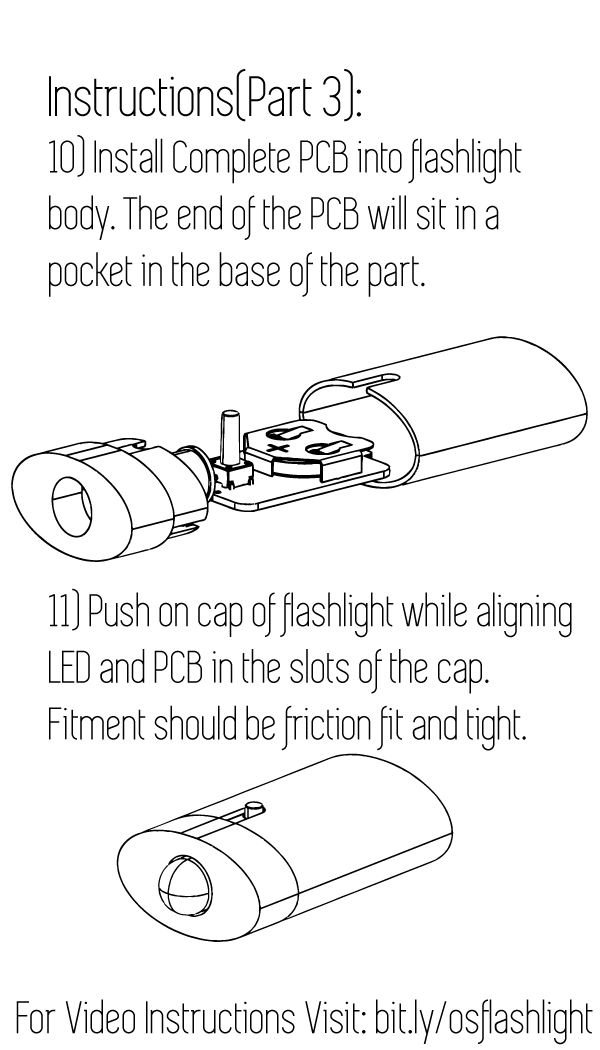
Download the PDF and print out the instructions onto the business cards and break them up. They are already setup for the Avery 5371, and probably similar paper. If you print double sided they will only require two cards per kit. The PDF is setup this way.
Slide the instructions into the kit. Each kit will get a set of instructions, PCB, LED, Button, Battery holder, and CR2032 battery.
Downloads
Start Building the Open Source Flashlight
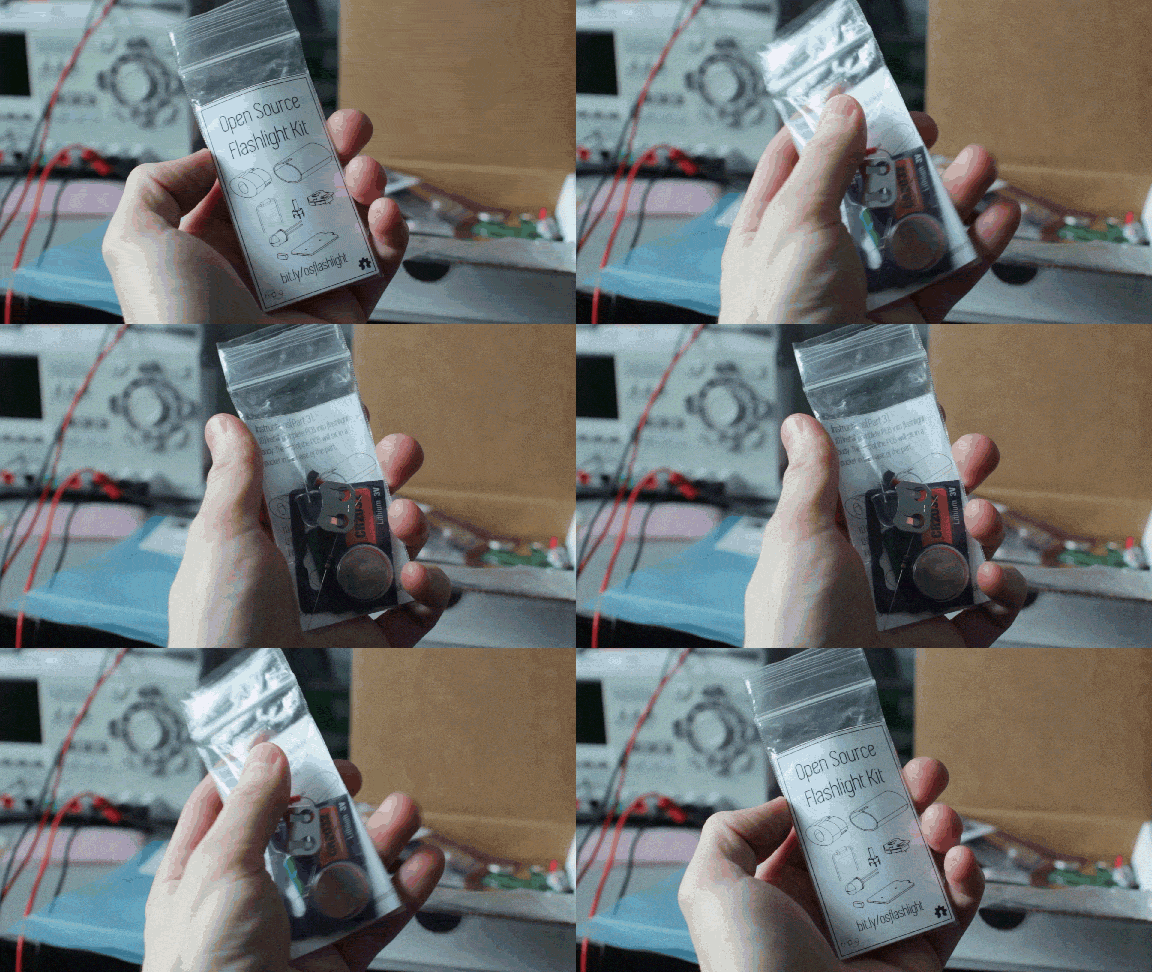
Now that you have assembled the kit(s). Its time to build the flashlight! Follow along with the instructions.
Tools:
- Soldering Iron
- Solder
- Snips
Download and 3D Print "lead_bending_tool.stl"
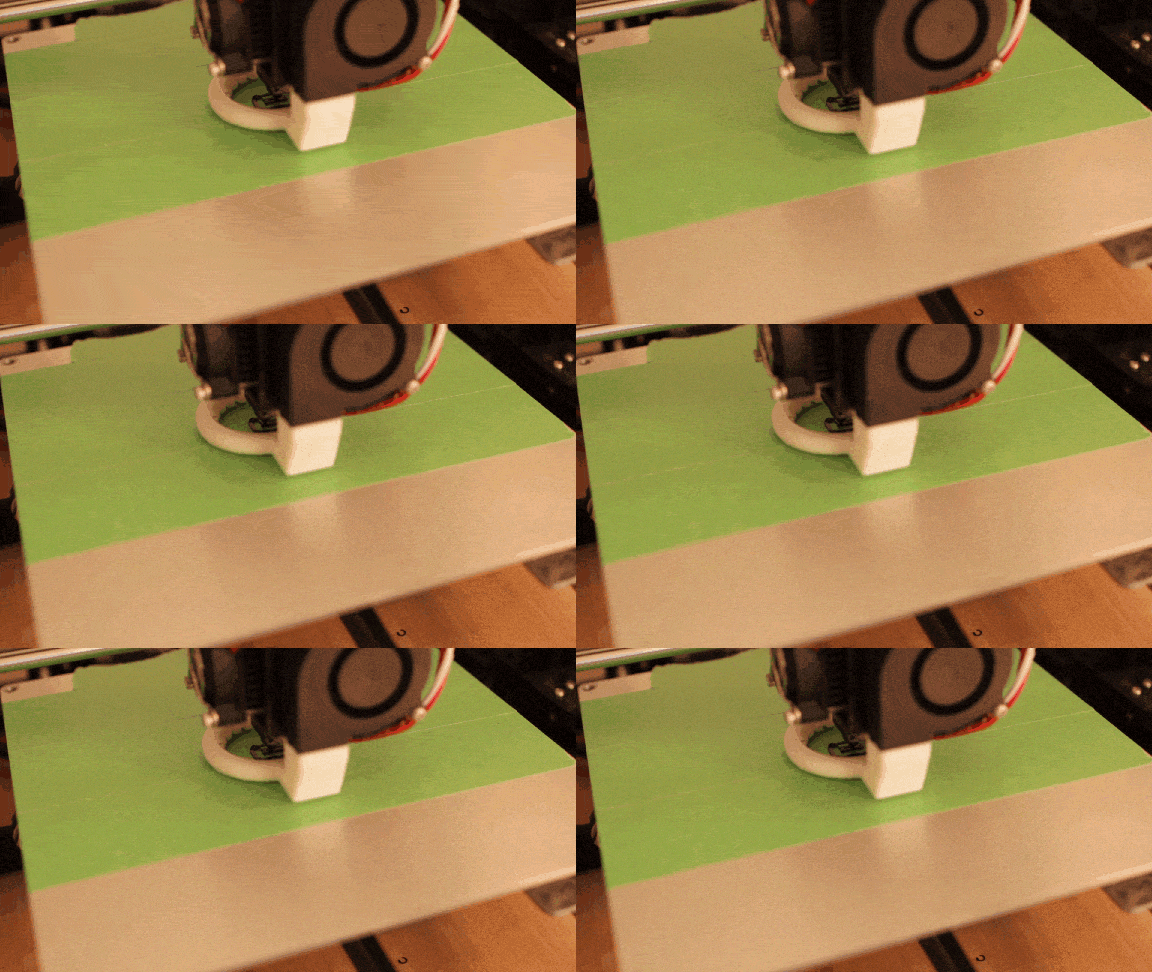
You have some options, you can get the files from GitHub or Thingiverse.
Once downloaded start the "lead_bending_tool.stl" print on the 3D printer.
Bend the Leads on the LED and Resistor
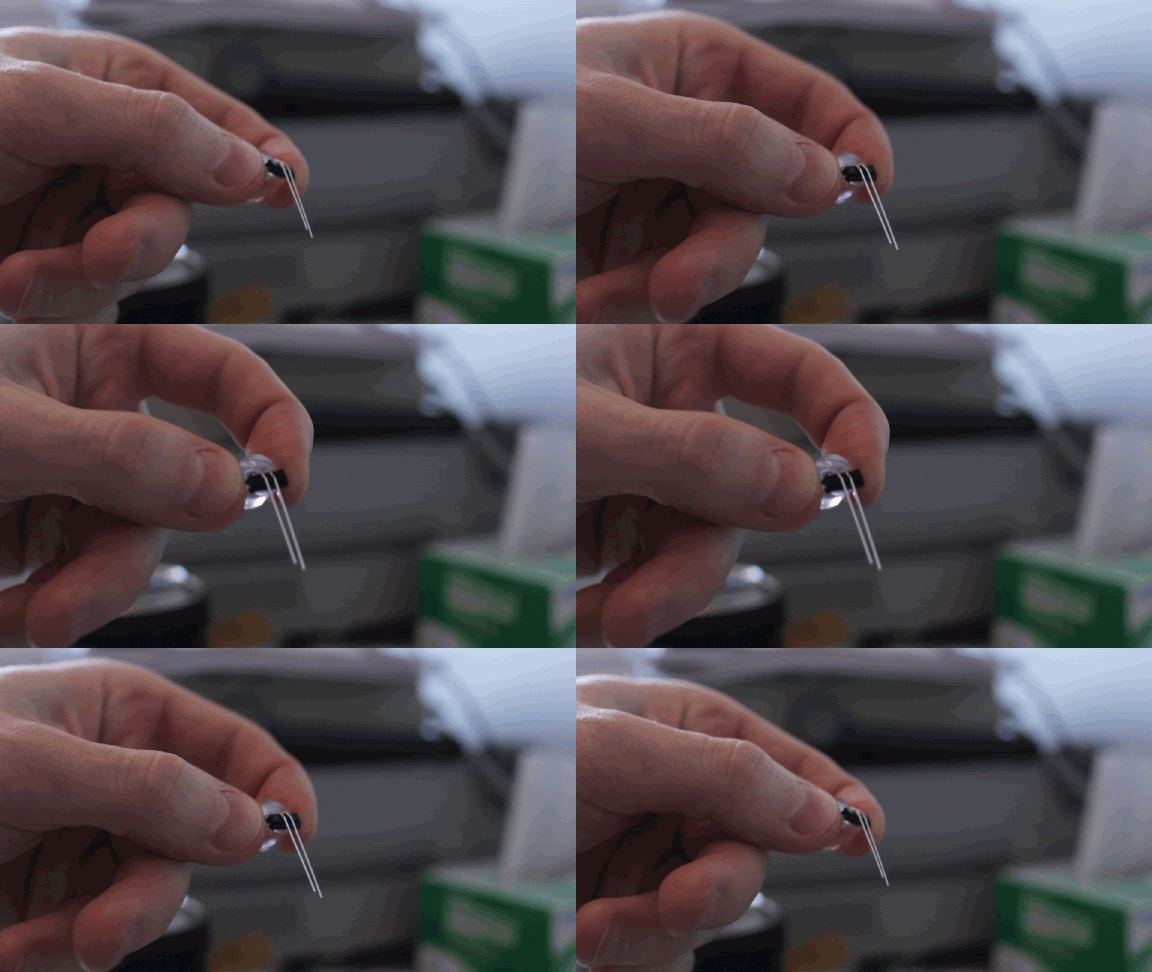
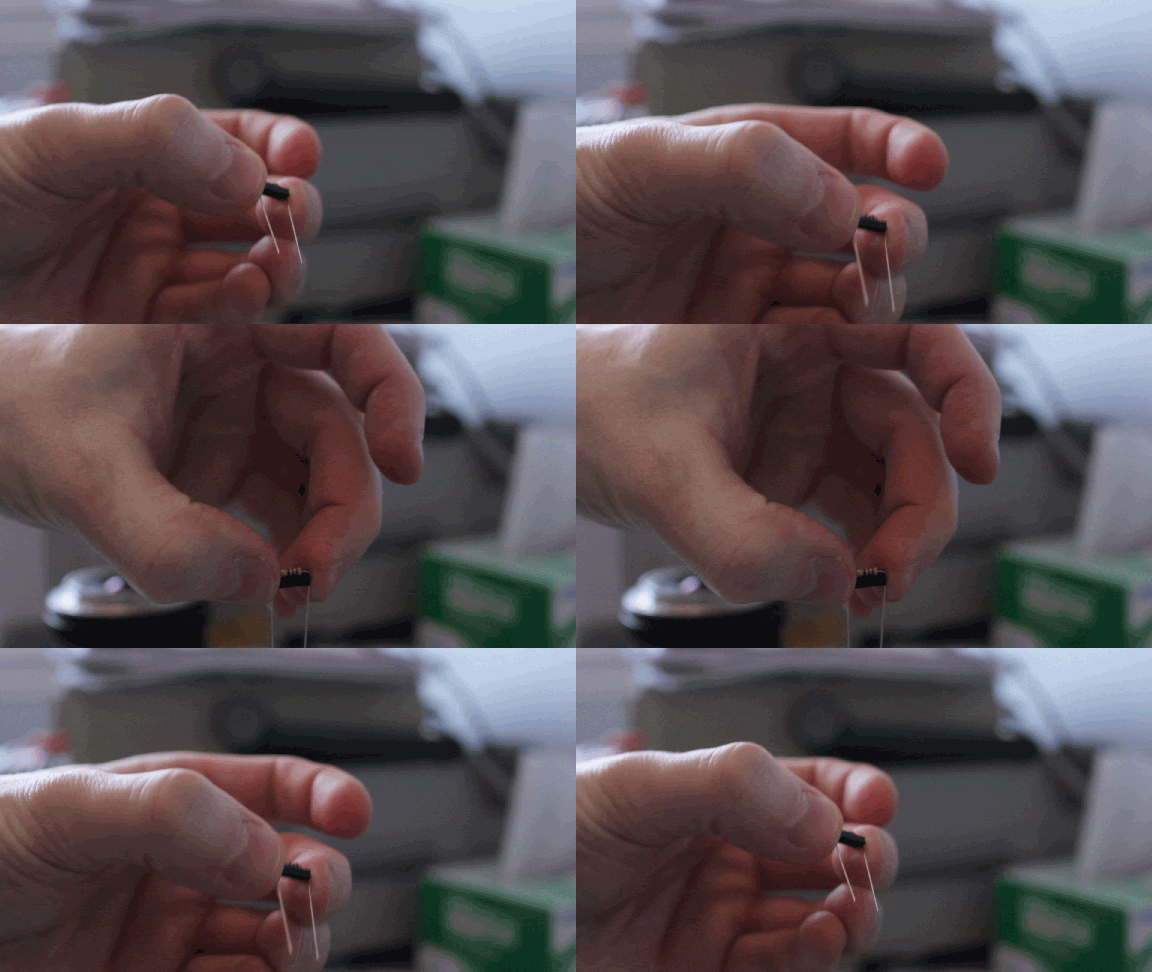
In order to make sure the LED will be in the right place when you assemble the flashlight, use the tool to bend the lead at the right distance.
Start 3D Printing the Flashlight Body
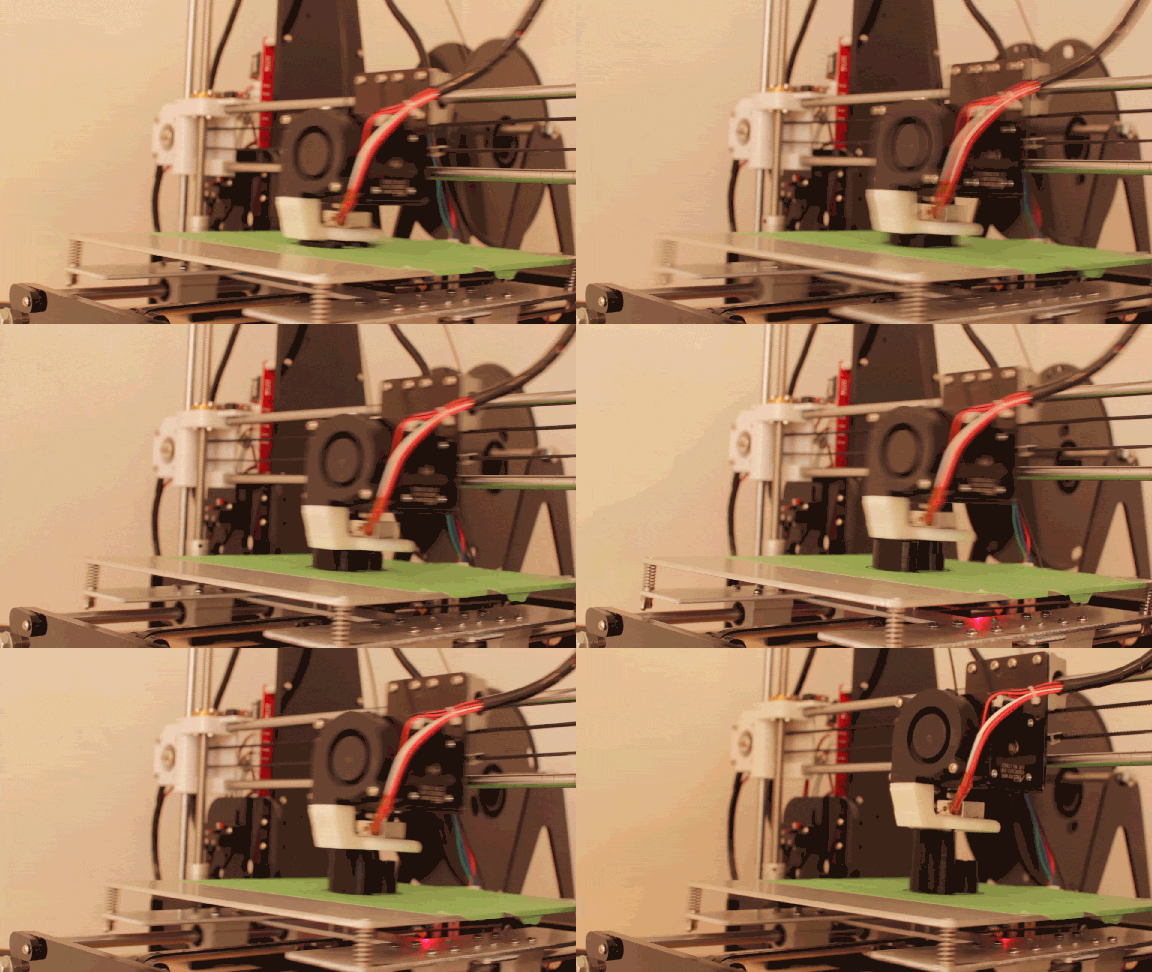
Since it will take about 30 minutes to print, start 3D printing "flashlight_body.stl" and "flashlight_cap.stl" which are included with the files you downloaded before.
Start Soldering Components
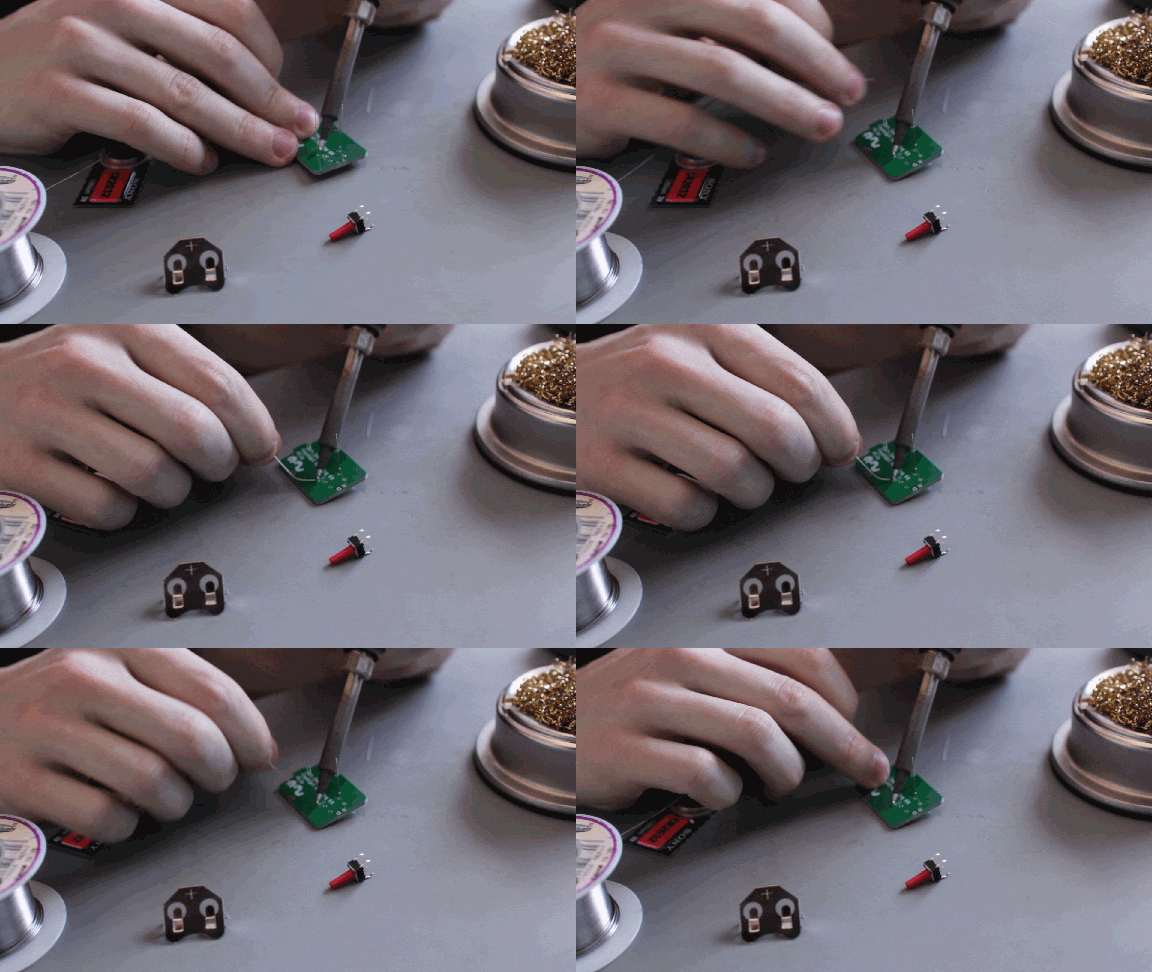
I like to solder the components in the order of shortest off the board to tallest. Start by soldering the resistor, then battery holder, then button. Well do the LED afterwards.
Careful soldering the battery holder as the whole piece will become hot, it will require more heat to properly solder it.
Install the LED and Solder
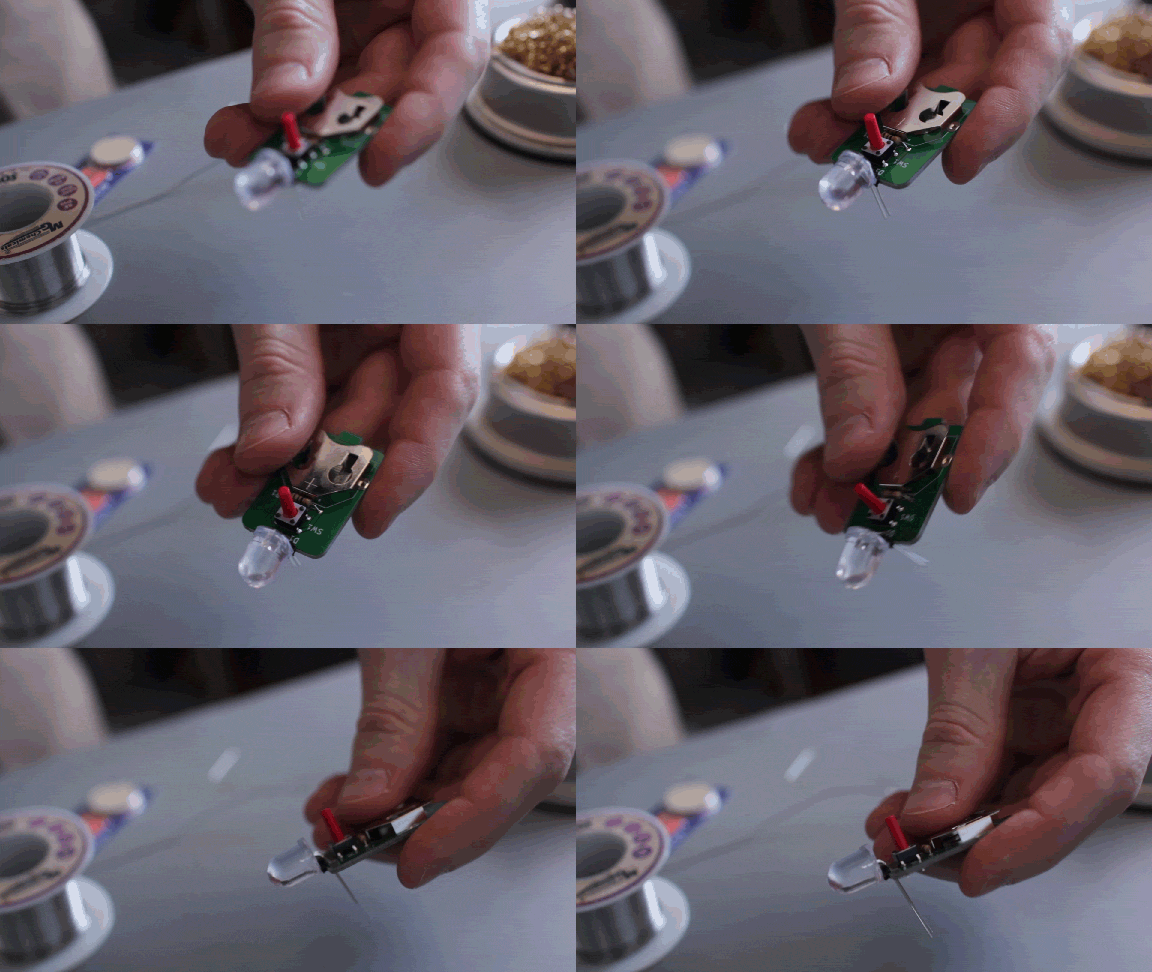
Again, we will use the lead_bending_tool as a spacer to align the LED in the correct spot. The spacer will sit on the edge of the PCB holding the LED in place. This will ensure out 3D printed body will fit accordingly. Align LED and solder!
Snip off all of the long leads(LED/Resistor).
Test It Out!
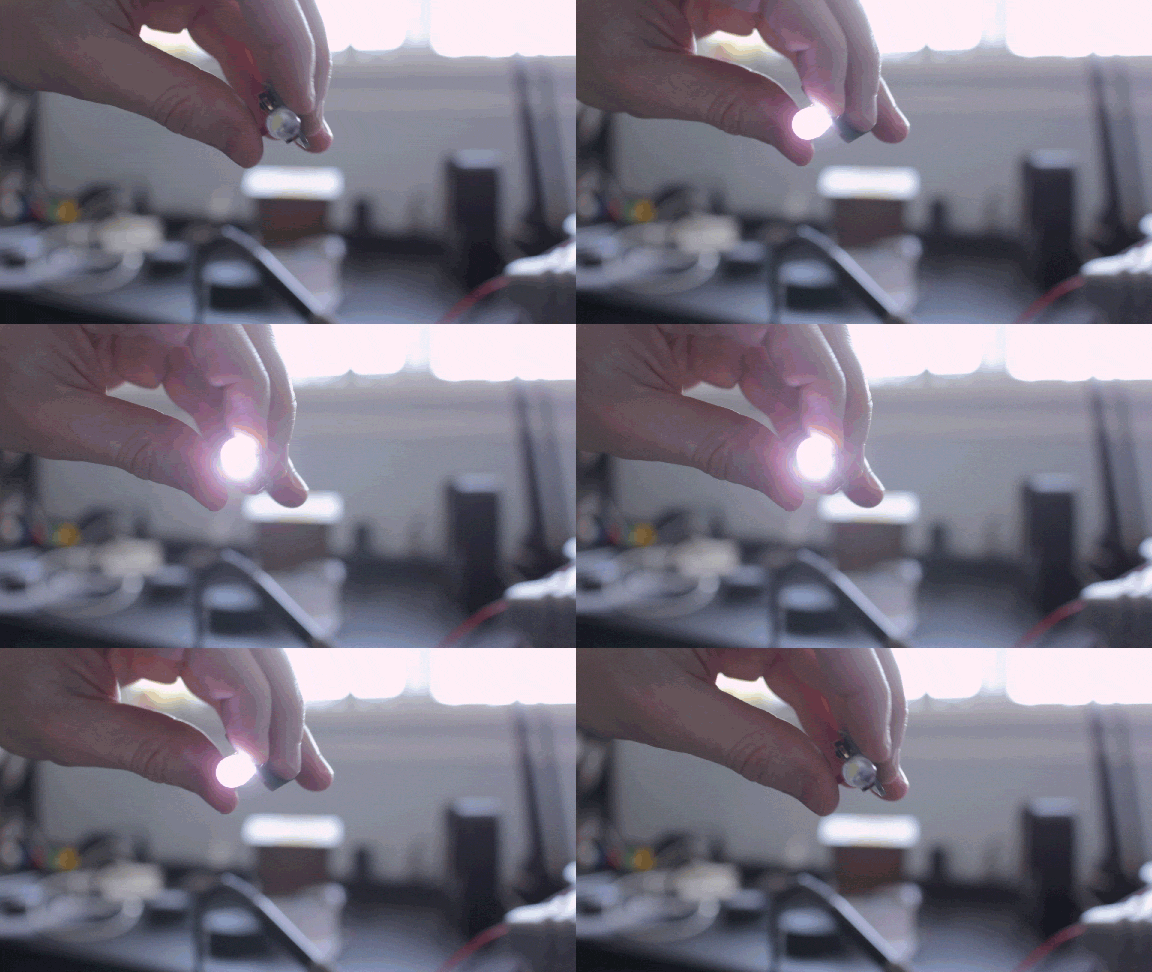
Now that the circuit is soldered together. Throw in your CR2032 battery(positive side up!) and test it out. When you press the button the LED should light up!
Assemble the Body
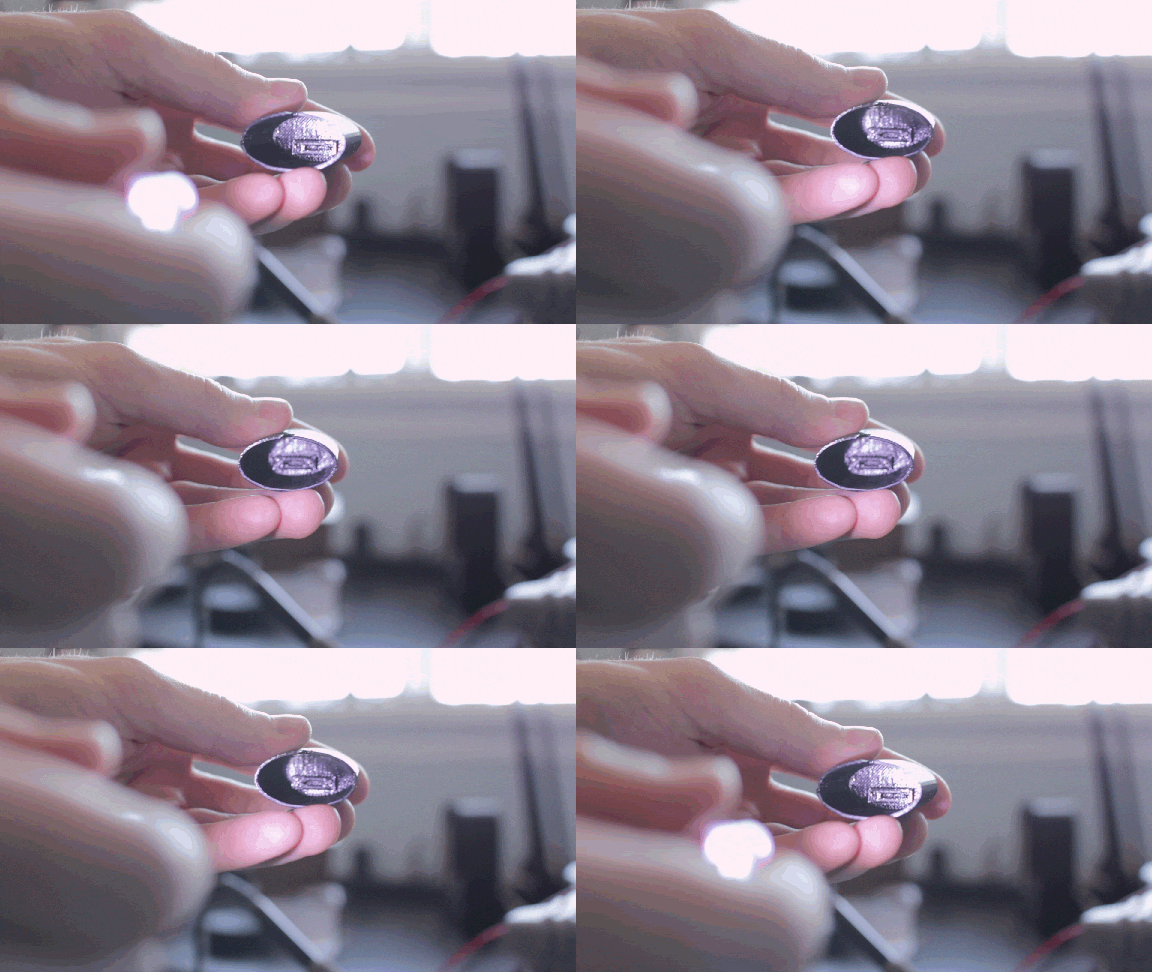
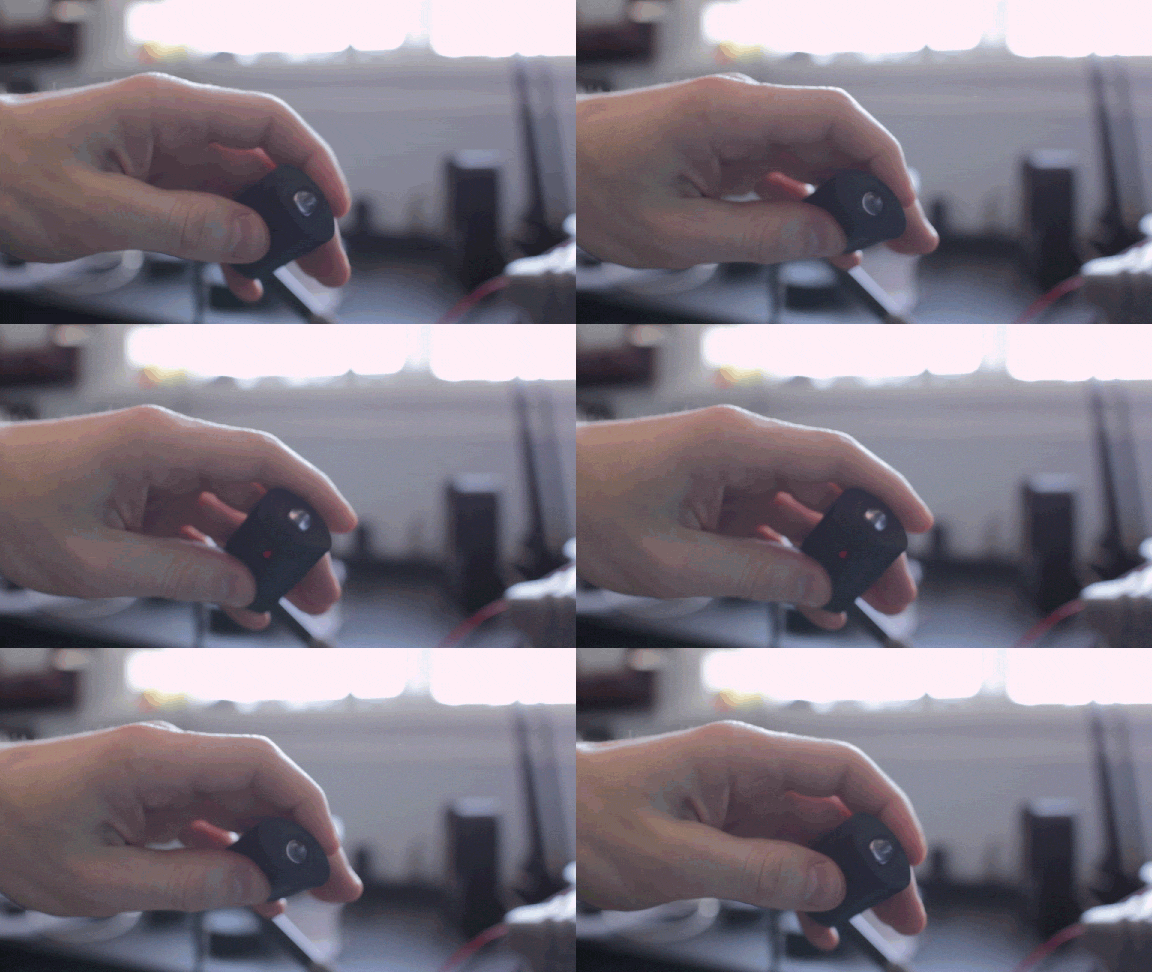
Now that you're done soldering, hopefully your 3D printed parts should be almost done. If they are, go get them, its times to finish this.
You will notice the bottom of the PCB has a small piece sticking out. This will sit in a pocket in the bottom of the 3D printed part. You will align the button with the slot and push the PCB into the bottom pocket, it should be a snug fit. Now take the cap, align the slots for the PCB(only goes on one way) and push it all together! It should be a friction fit. If everything worked out, you should be done your Open Source 3D printed DIY flashlight! Congrats!
Done!
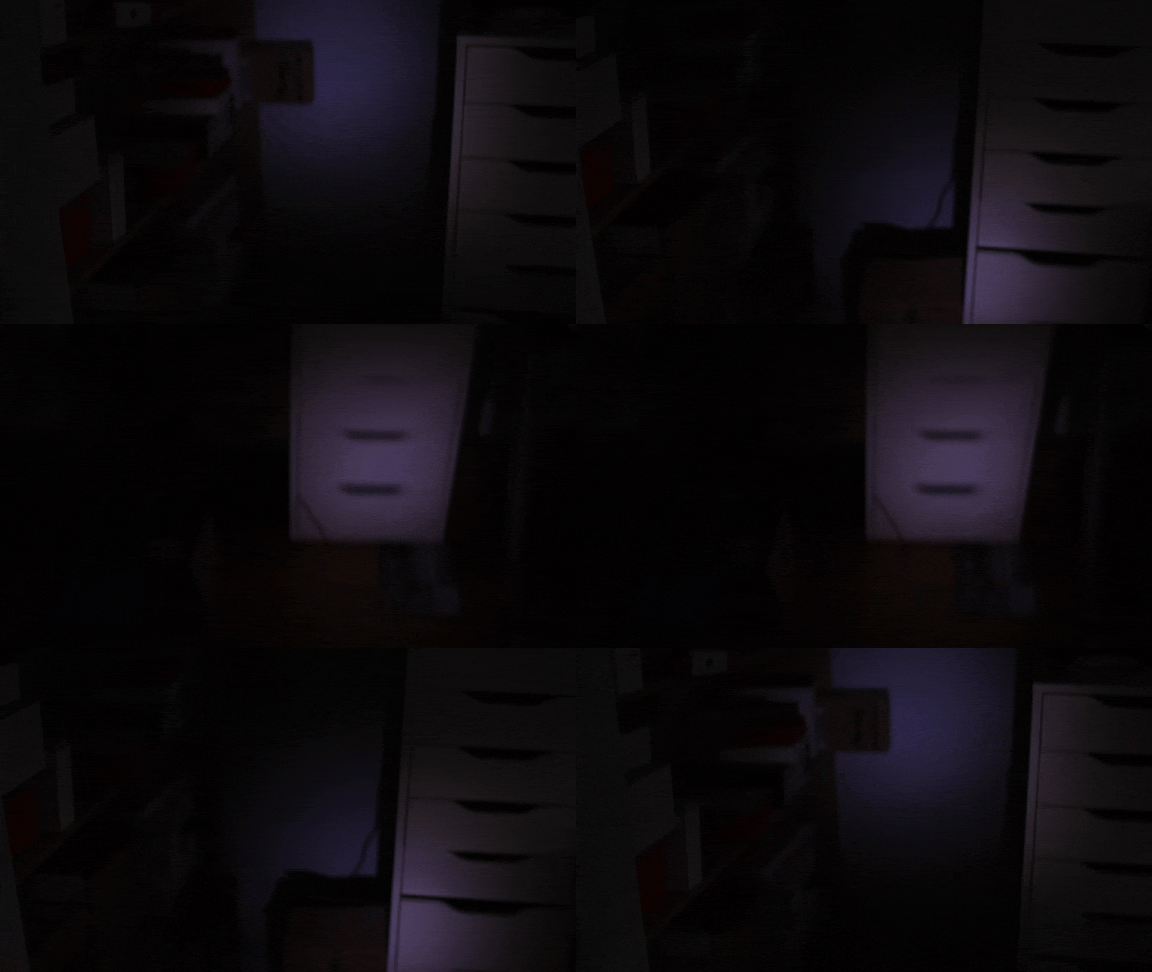
Support These Projects!
If you haven't noticed yet, my goal is to bring fun, interesting, educational projects that are available to everyone equally with zero pay walls. However, these projects do cost me both time and money in developing them. If you enjoy these free open source projects, and can spare a few dollars a month, please consider joining my Patreon. Patrons help support future projects, so I can continue to bring more content to everyone!
If you want to keep up to date on my projects, subscribe to my YouTube! Watching and sharing my videos is another way to support what I do.
And finally, follow me on Twitter and Instagram, where you will find behind the scenes content for future projects. Its also an easy way to ask me questions.