Open-Source 3D Printed Couture by XYZ Workshop
by xyzworkshop in Craft > Fashion
16238 Views, 144 Favorites, 0 Comments
Open-Source 3D Printed Couture by XYZ Workshop

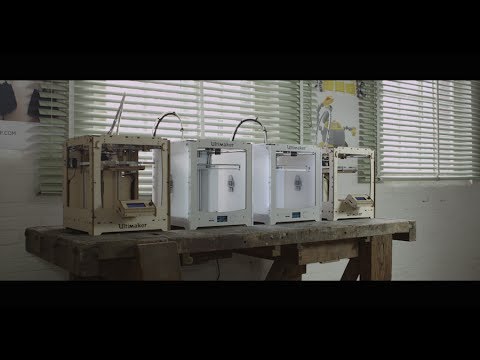
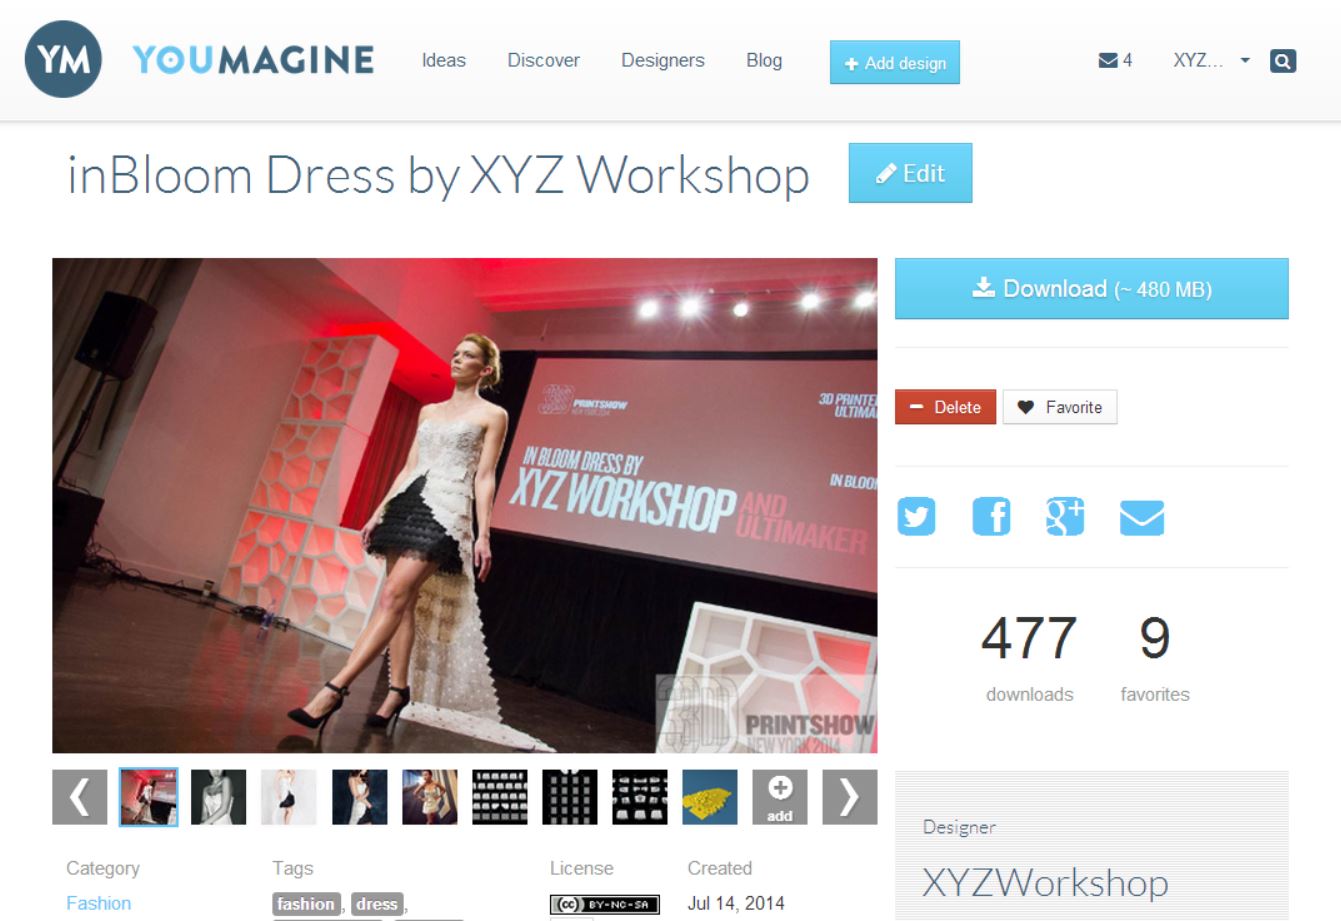
On August 19th, 2014, XYZ Workshop partnered with Ultimaker to release an opensource fashion suite which includes a 3D Printed Wallet, 3D Printed Watch band and and entire couture dress called the inBloom Dress. These designs are all available for free on YouMagine.com
This Instructable is to provide you a step by step of how we created the inBloom Dress and to show you that 3D Printed fashion is highly accessible and doesn't necessary cost a large sum of money. Plus it is relatively easy that you could perhaps get your grandma or mum to help you create the next Runway Couture Piece!
We will go through
- How to design a 3d Printed garment by using old school techniques with new age technology
- 3D Modelling the 3d Printed Patterns
- Recommended settings for Printing in Flexible PLA. (which is a bio-degradable plastic that is derived from renewable resources like corn strach)
- Printing and assembling together the individual pieces of the inBloom dress
Old School Techniques Meets New School Technology
.jpg)
Previous 3D fashion pieces we did prior to the inBloom Dress, we used a 3d Scanner to scan the body shape and model the design over the scanned data. This proved to be a very difficult process because then we needed to unroll each piece digitally, and split the pieces up in order to print it flat on a desktop 3D Printer.
But if we were to make a standard fitting dress, that process of scanning a person's body didn't make sense to us as it basically meant we were designing to a very specific individual's body size and shape.
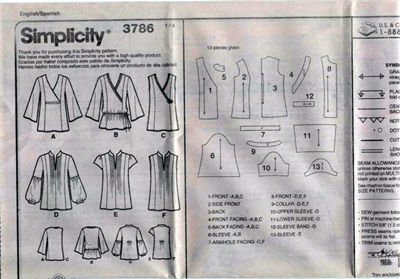
We thus looked to old school techniques of using sewing patterns to create our dress.
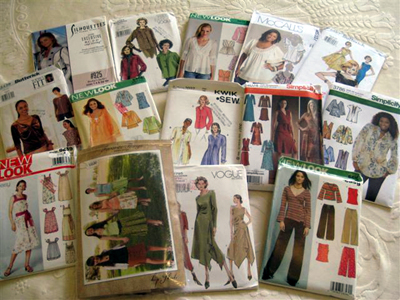
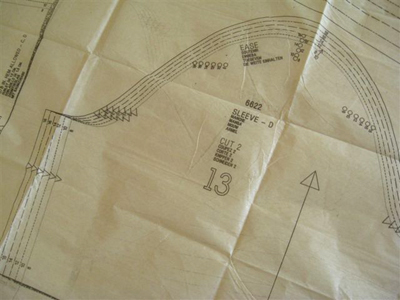
Sewing patterns are commonly available and basically provides the user with a standard template from which they can cut fabric from and stitch the piece together to form a dress. Best of all there are alot of people that has some experience working with sewing patterns, and perhaps you could even bring in your grandmother or mum to help you create a 3D Printed piece together fit for the runway?
Here are some locations where you can source these sewing patterns:
1) the internet
2) your local sewing/tailor shop like Moodfabric or in Australia we have Spotlight and lincraft
3) Online Websites like McCall Patterns
Check out SewMama for more information about sewing patterns
It is best to look for a pattern that is not drape-like but more structured pattern. Because we will be printing in panels that would fit on the bed of the 3d printer. the patterns would need to be ammended so it fits nicely on the printer bed.
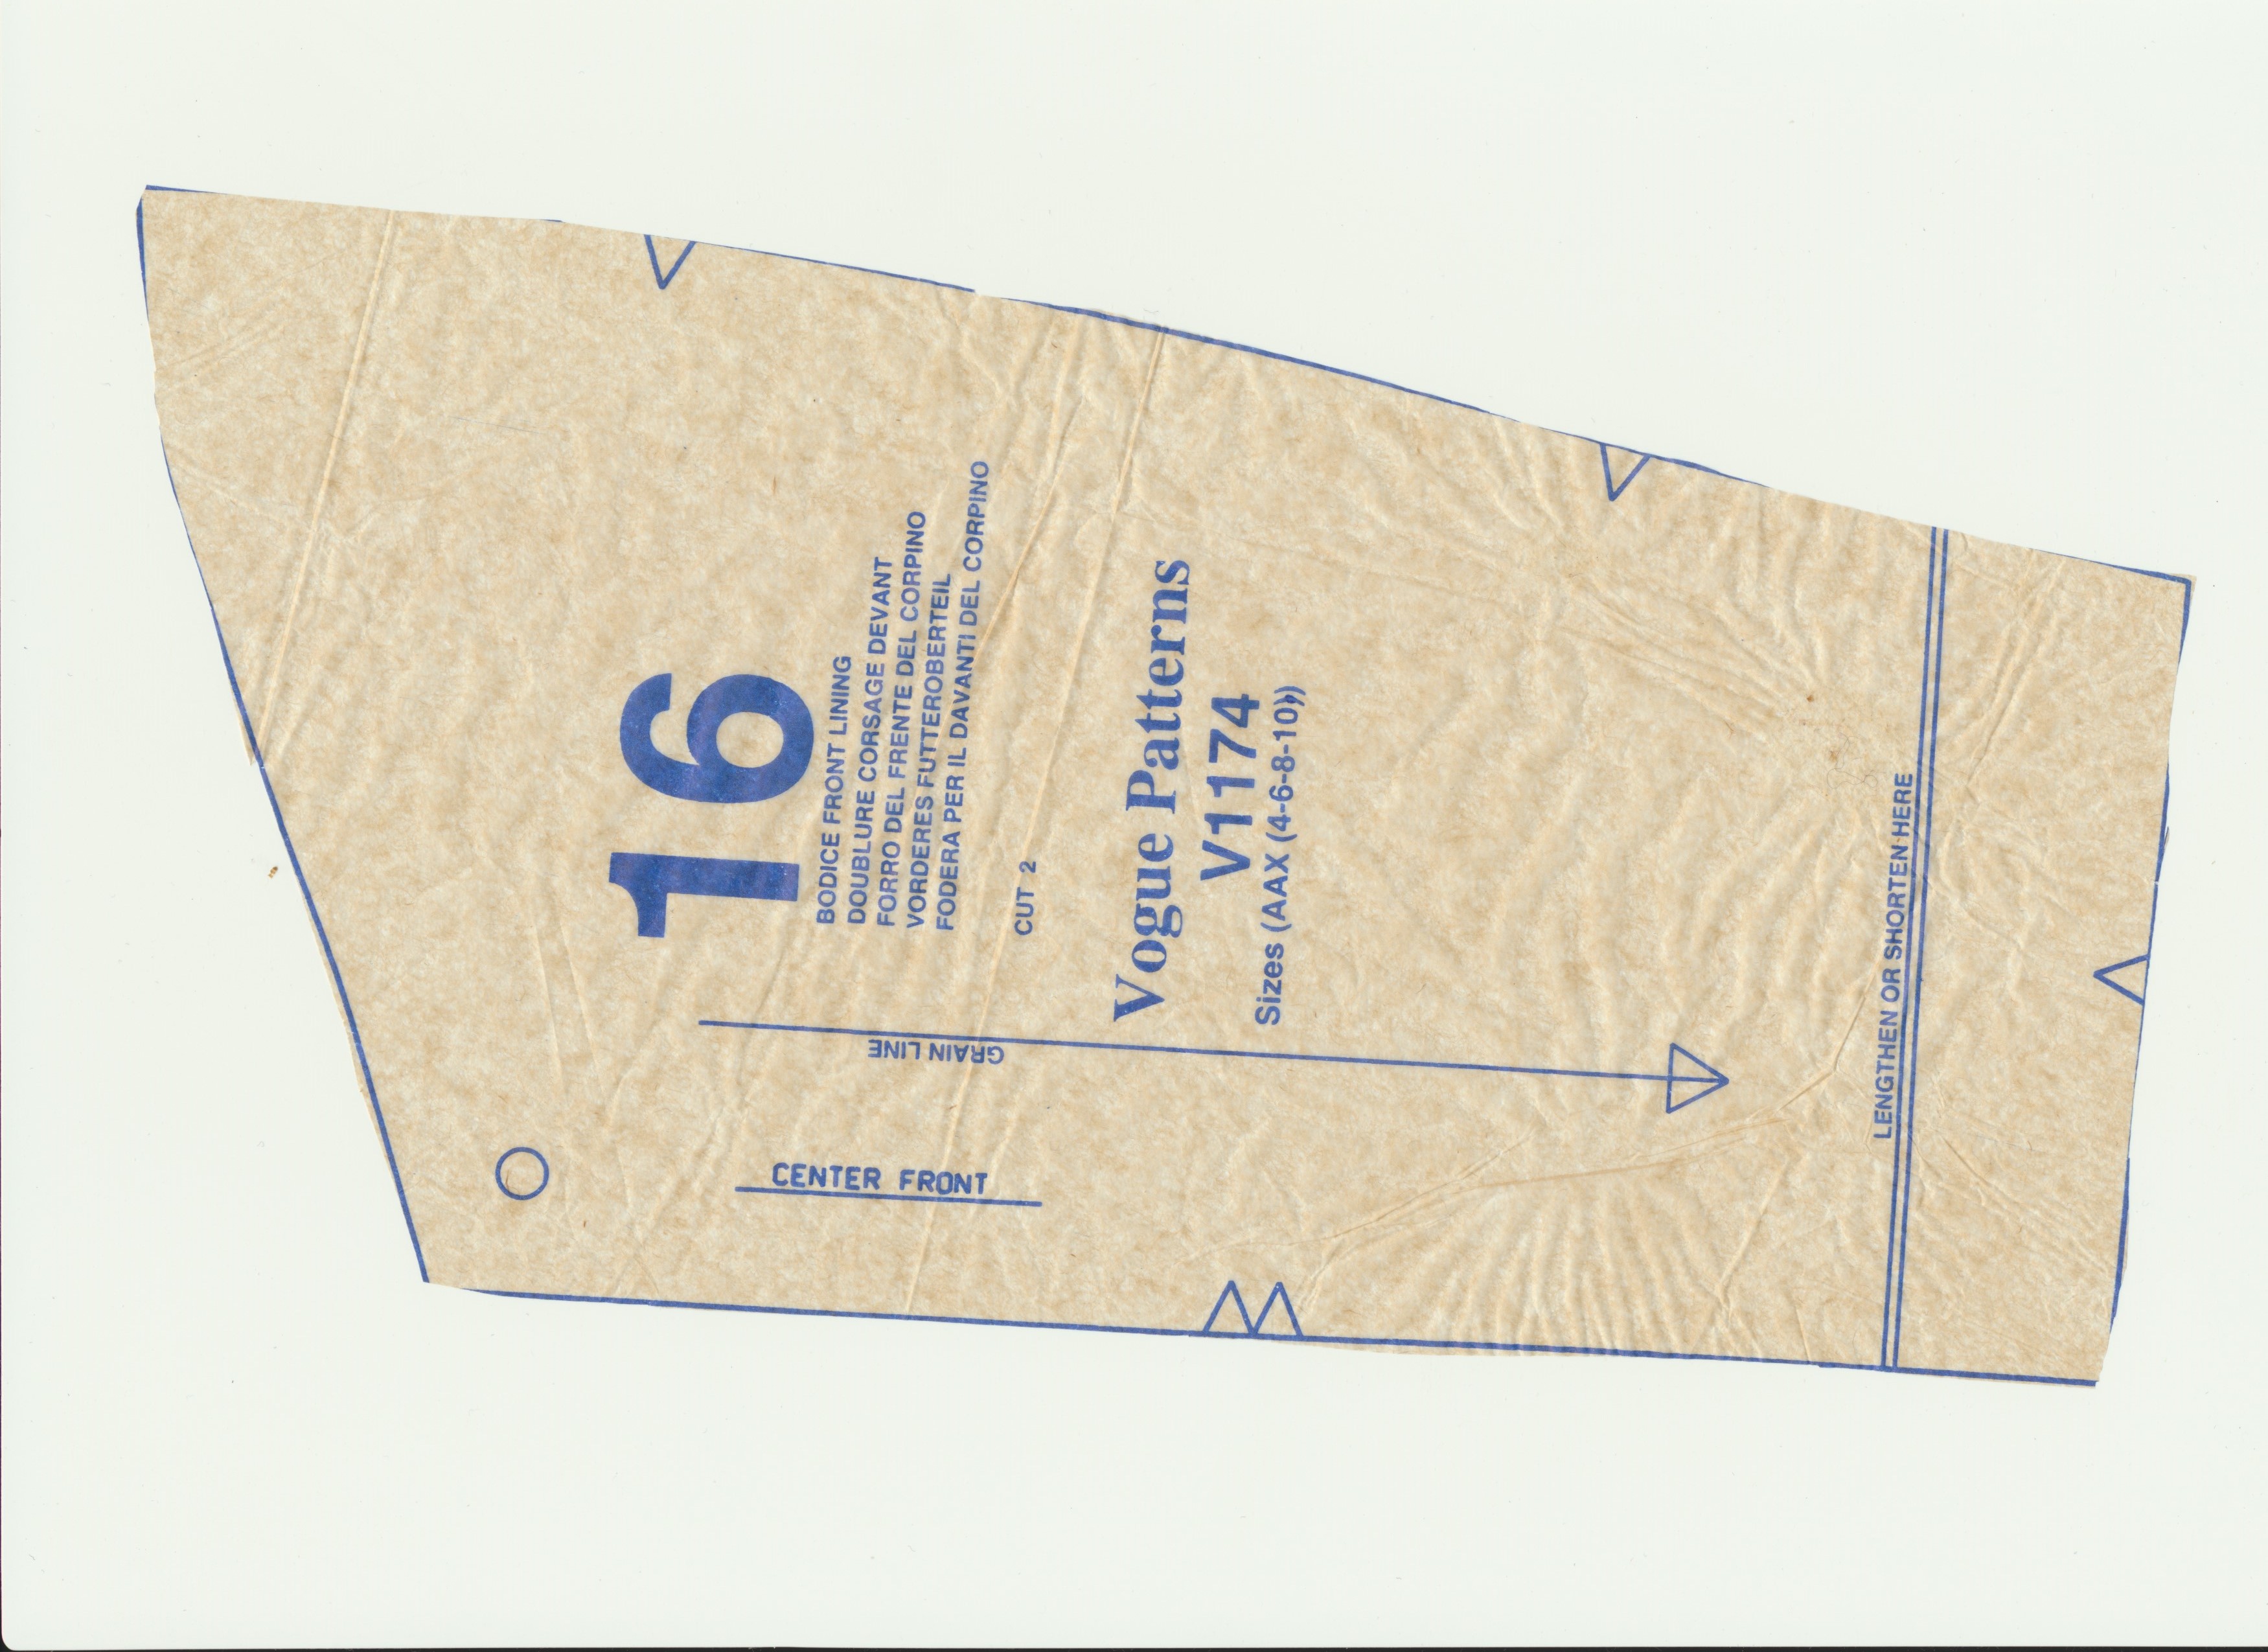
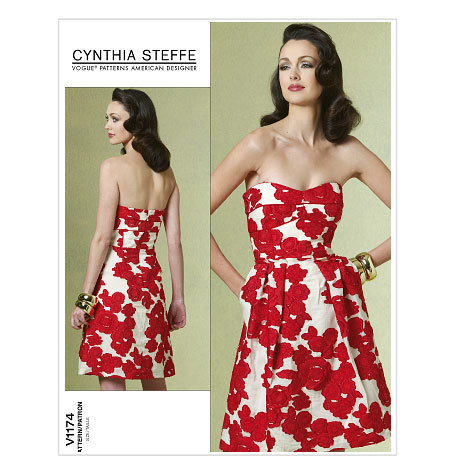
We selected Vogue V1174 and based the inBloom Dress on this pattern
Once you have selected your size, cut the patterns according to the size you want. and scan each pattern using your standard document A4 scanner.
3D Modelling Your Printable Pattern Panels
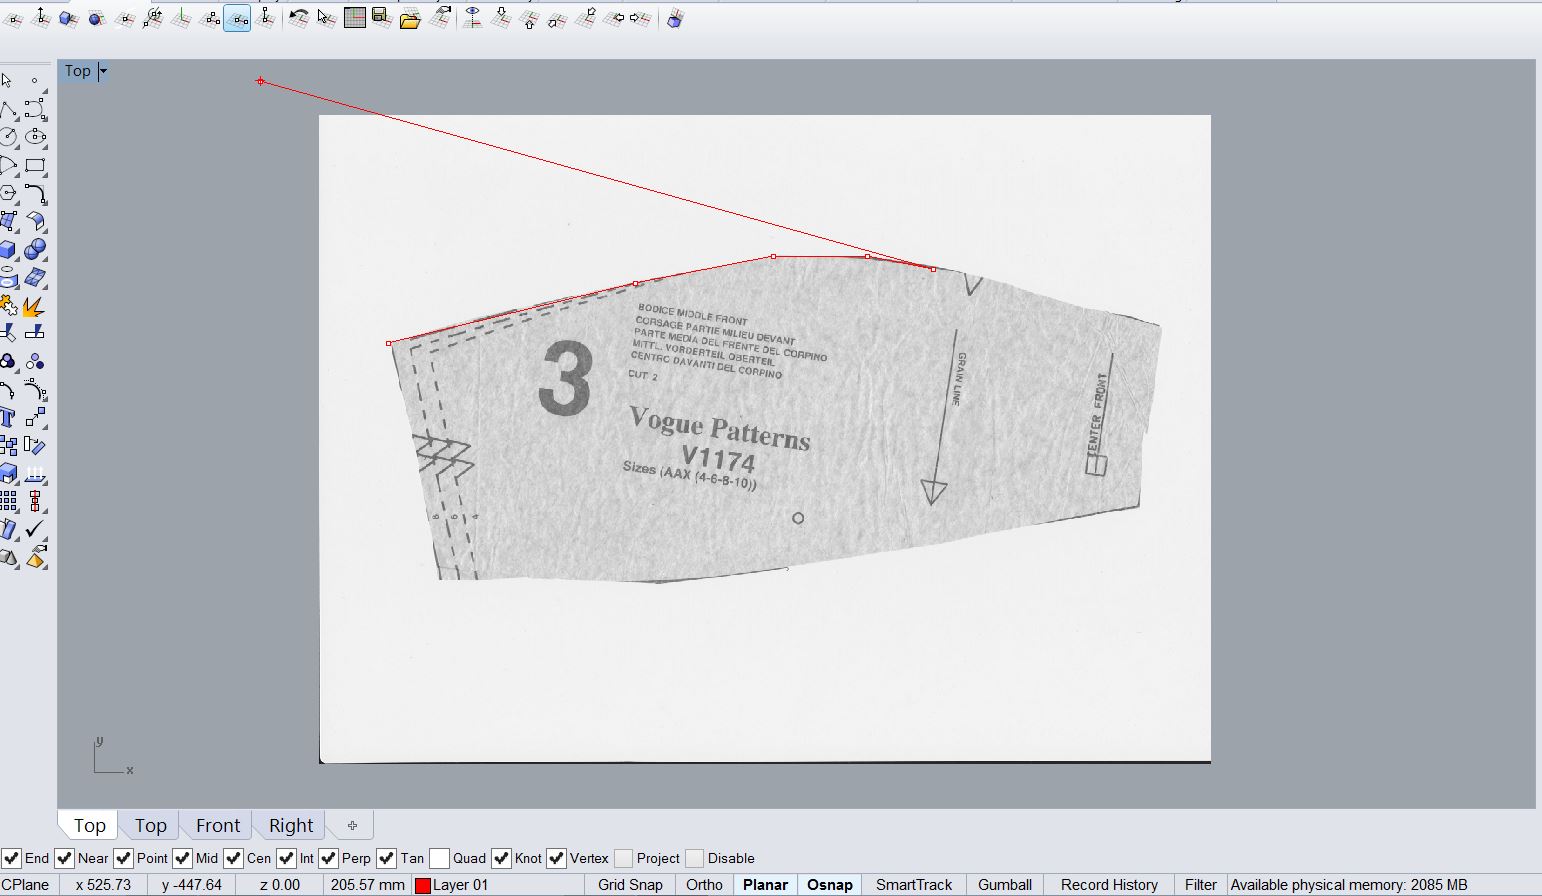
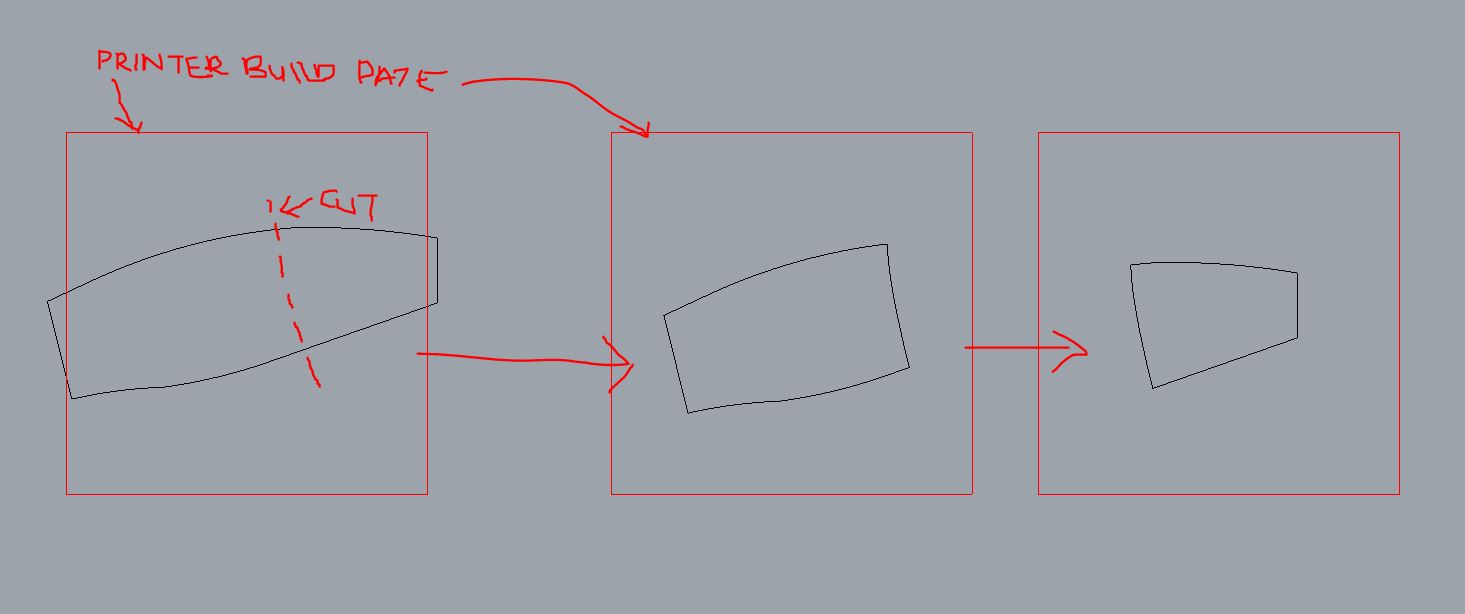
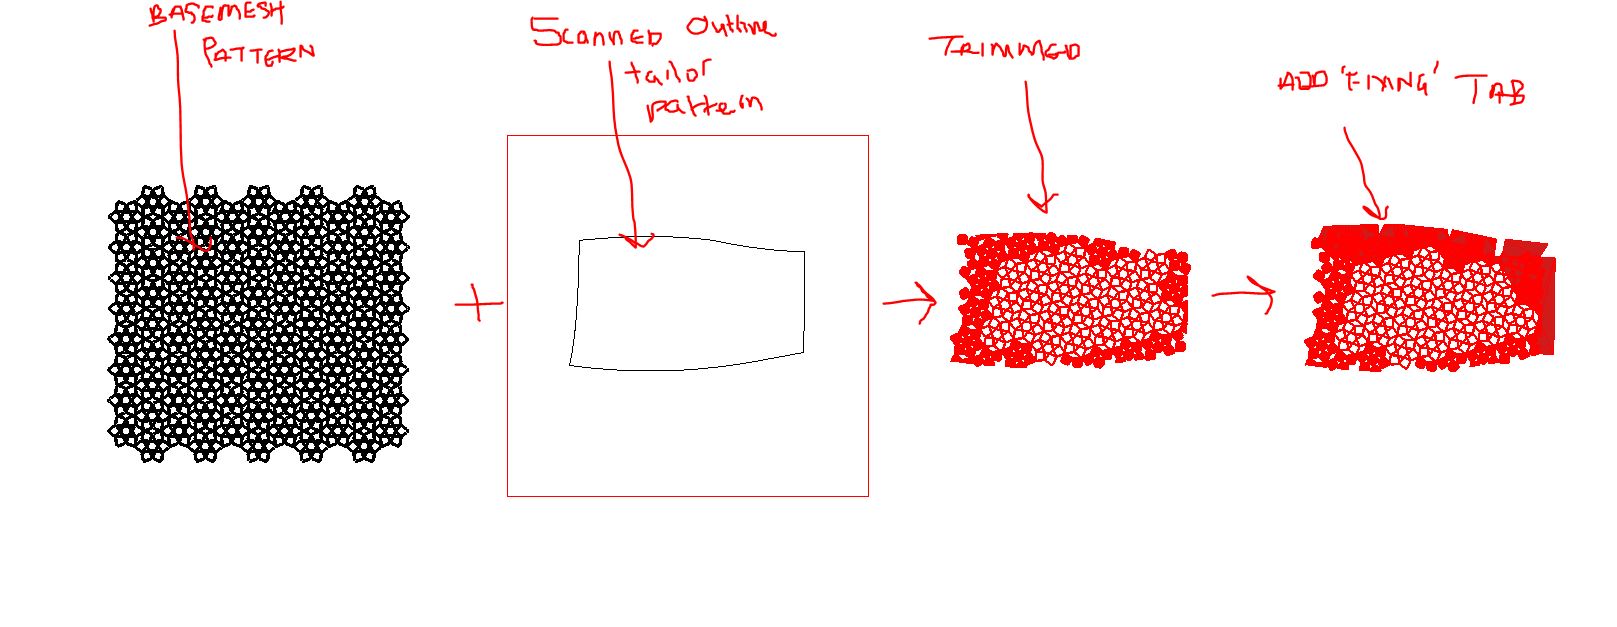
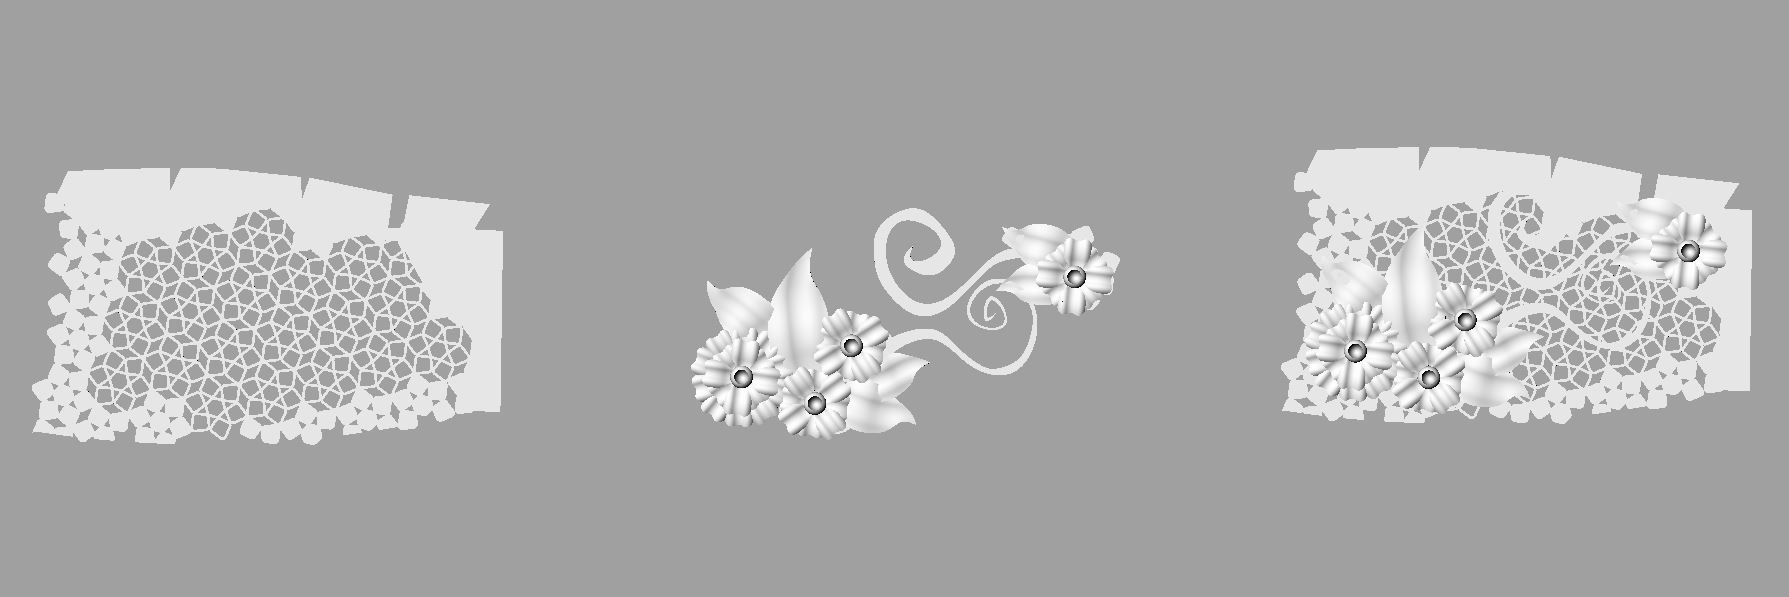
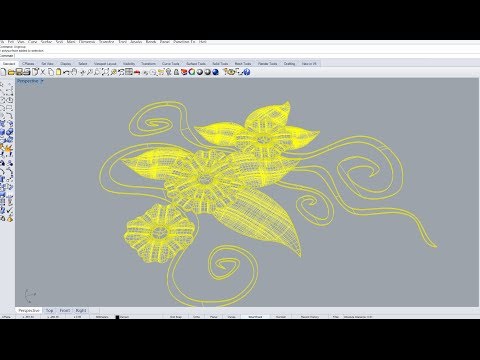
Once you have scanned each one of your patterns.
Next is to take the scan images into a 3d modelling software like sketchup, rhino3d, 3dmax, blender, autocad etc,
Basically any program that allows you to import an image and scale it to the actual dimensions.
In the software you will need to trace the outline of each panel.
Once you have all the panels traced, we need to make sure the panels will fit onto your 3D Printer.
take note of the maximum build plate of the 3D Printer. We used a ultimaker original and the Ultimaker 2 to print our panels.
The ultimaker Original has a build platform of 210x210mm
where as the Ultimaker 2 has a build platform of 230x225mm
The bigger the build platform the less panels you would need to create your 3d fashion masterpiece.
Once you understand the constraints of you 3d printer. design each panel to fit with in the print dimesions. Note that to squeeze in a long panels you could try and print the panels re-oriented 45 degress to fit them in the diagonal.
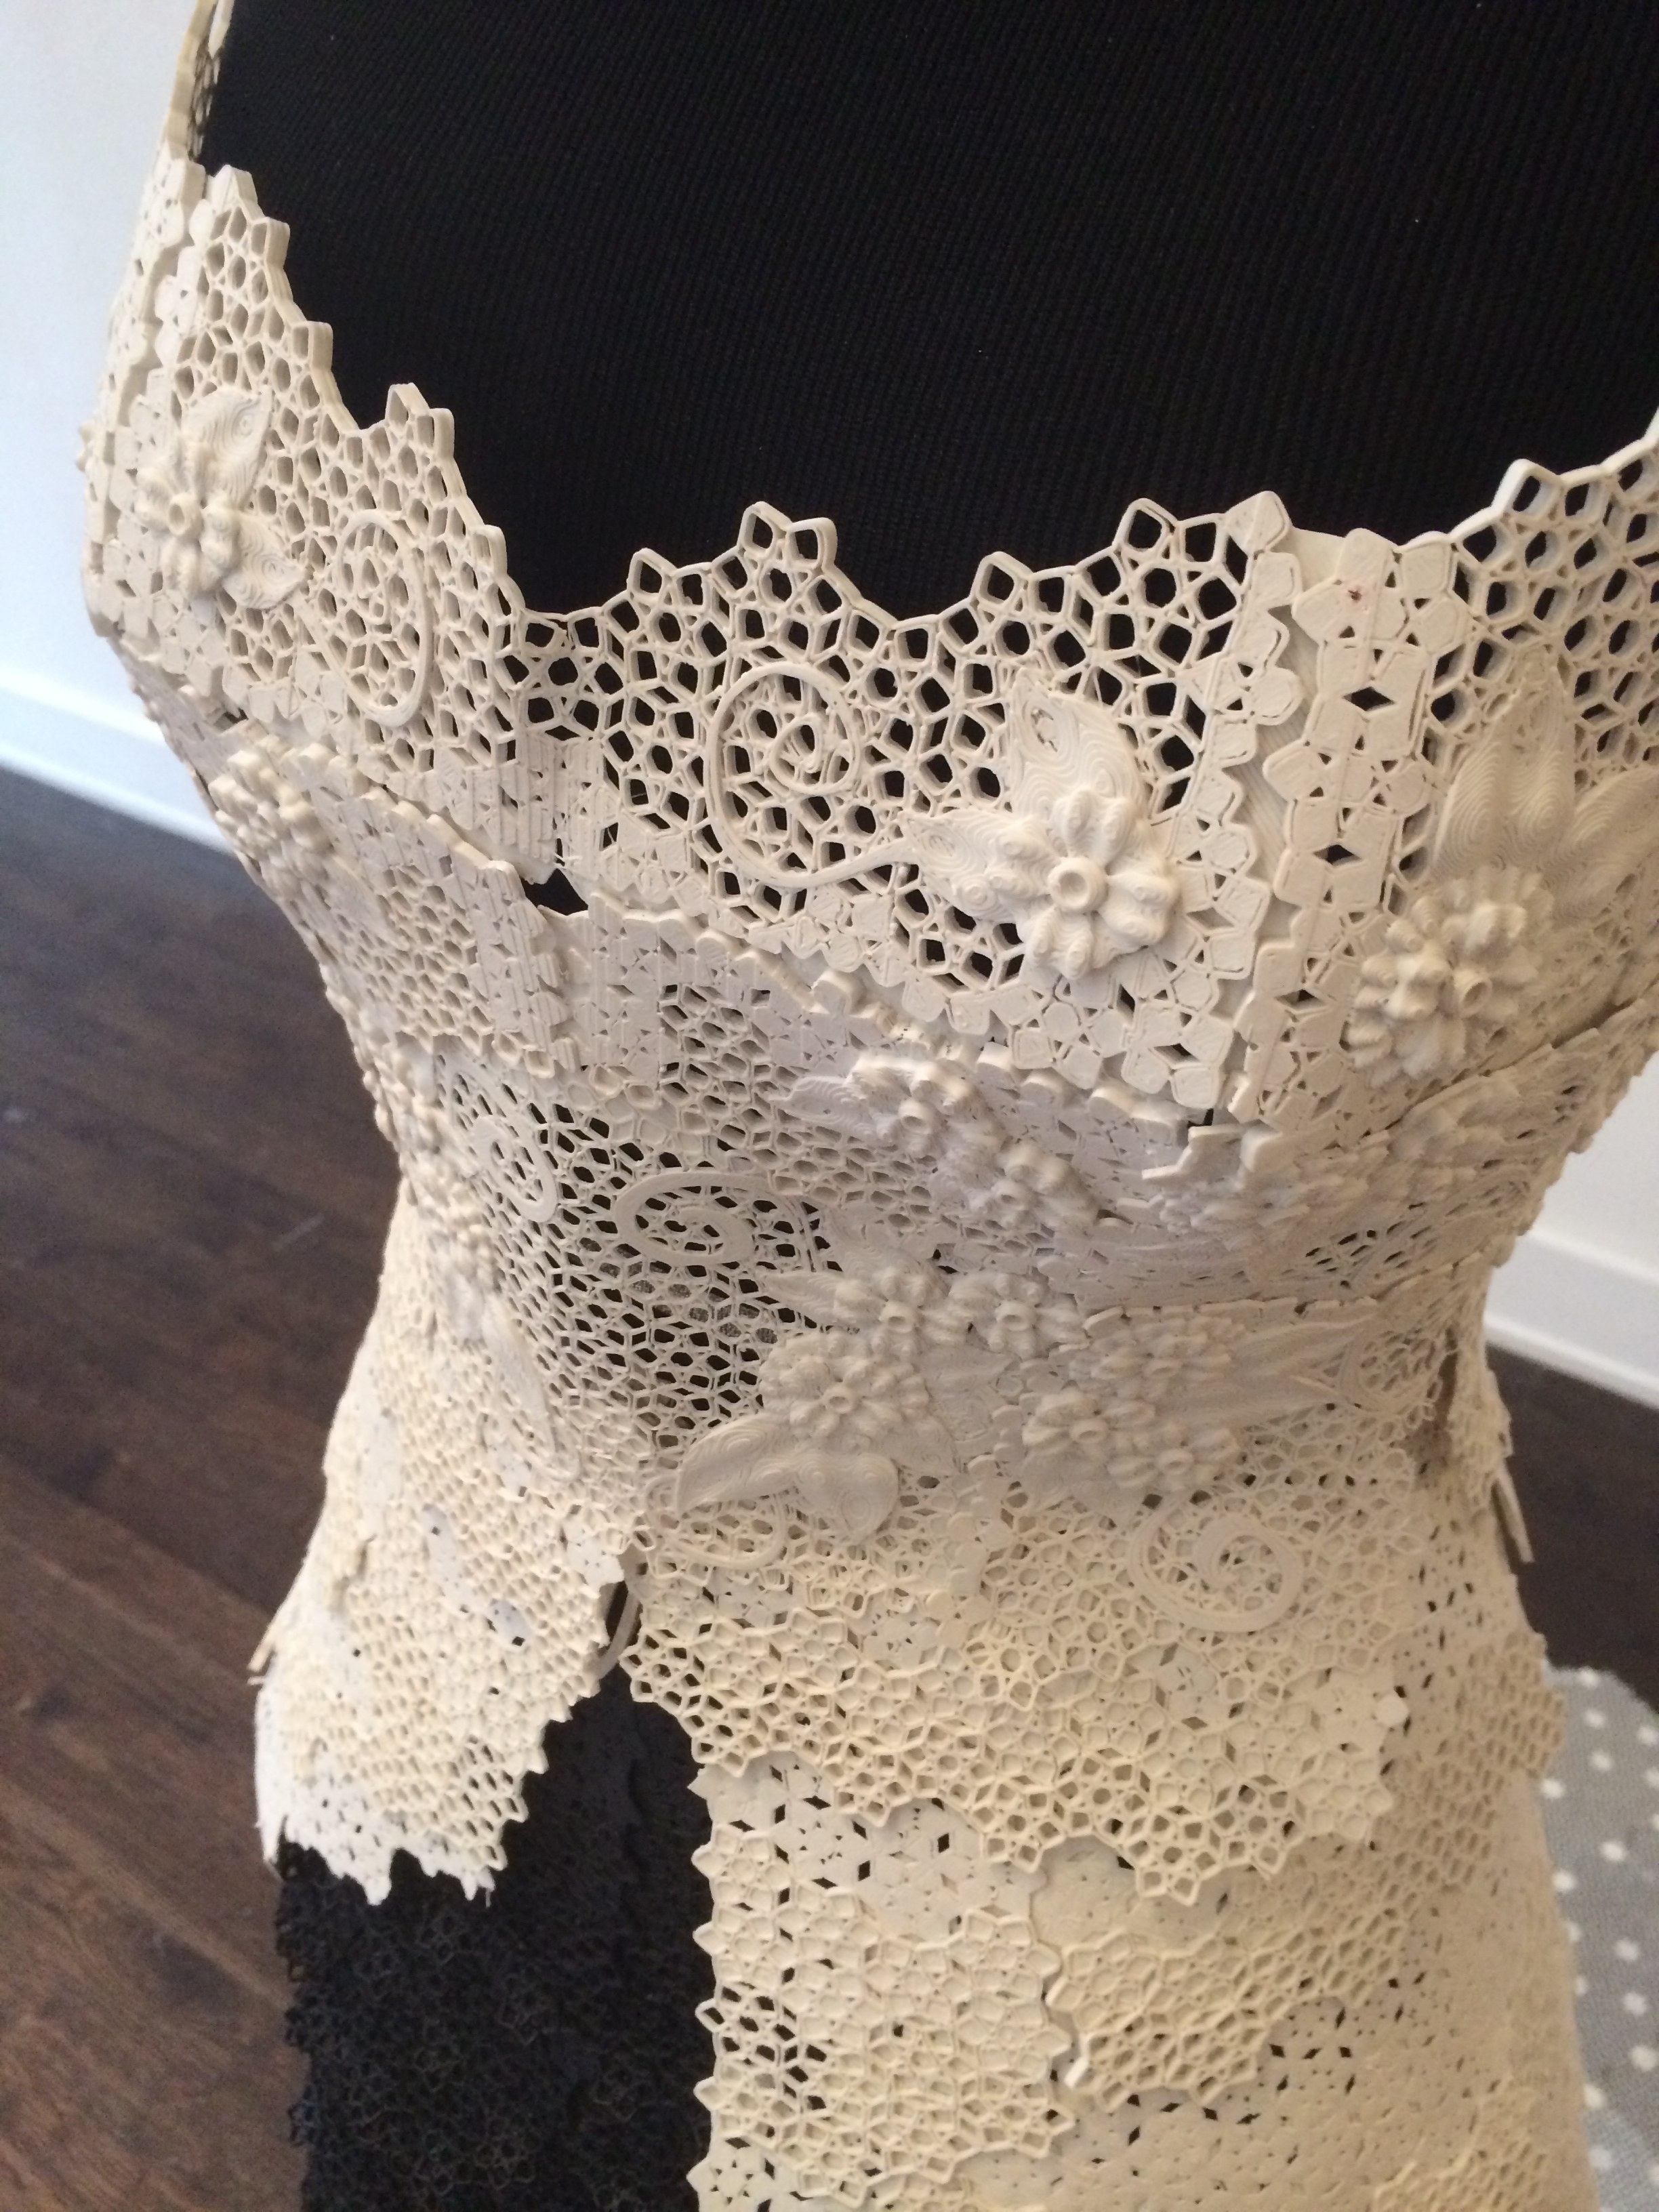
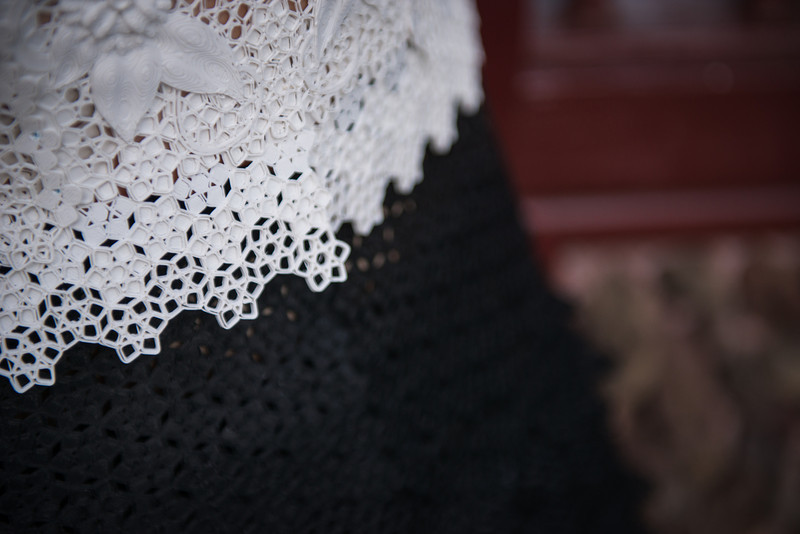
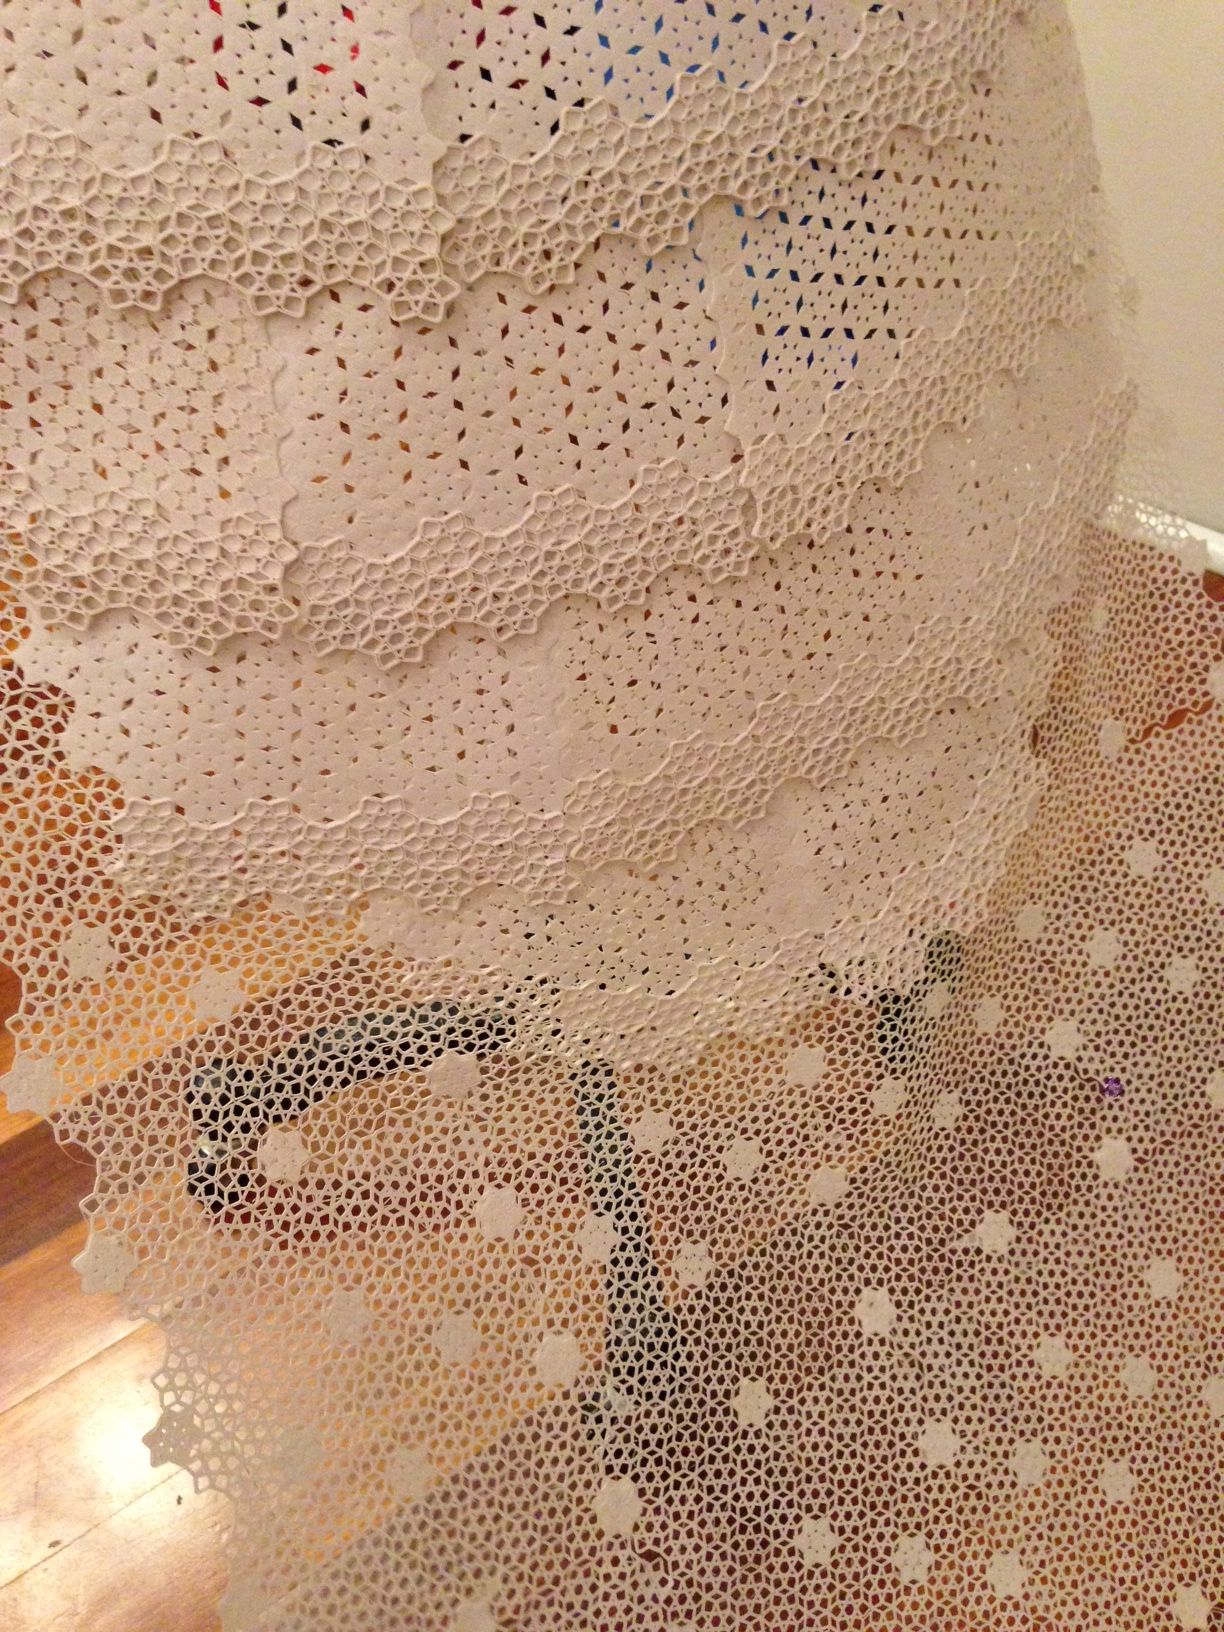
Once you have the panels all sized correctly you will need to model a base that would form the "fabric" of the patterns. You could create a solid pattern but if you want more flexibility it is recommended to create a sort of network mesh that will make the panels more flexible and breathable.
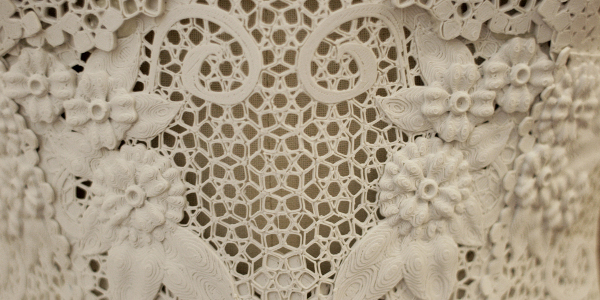
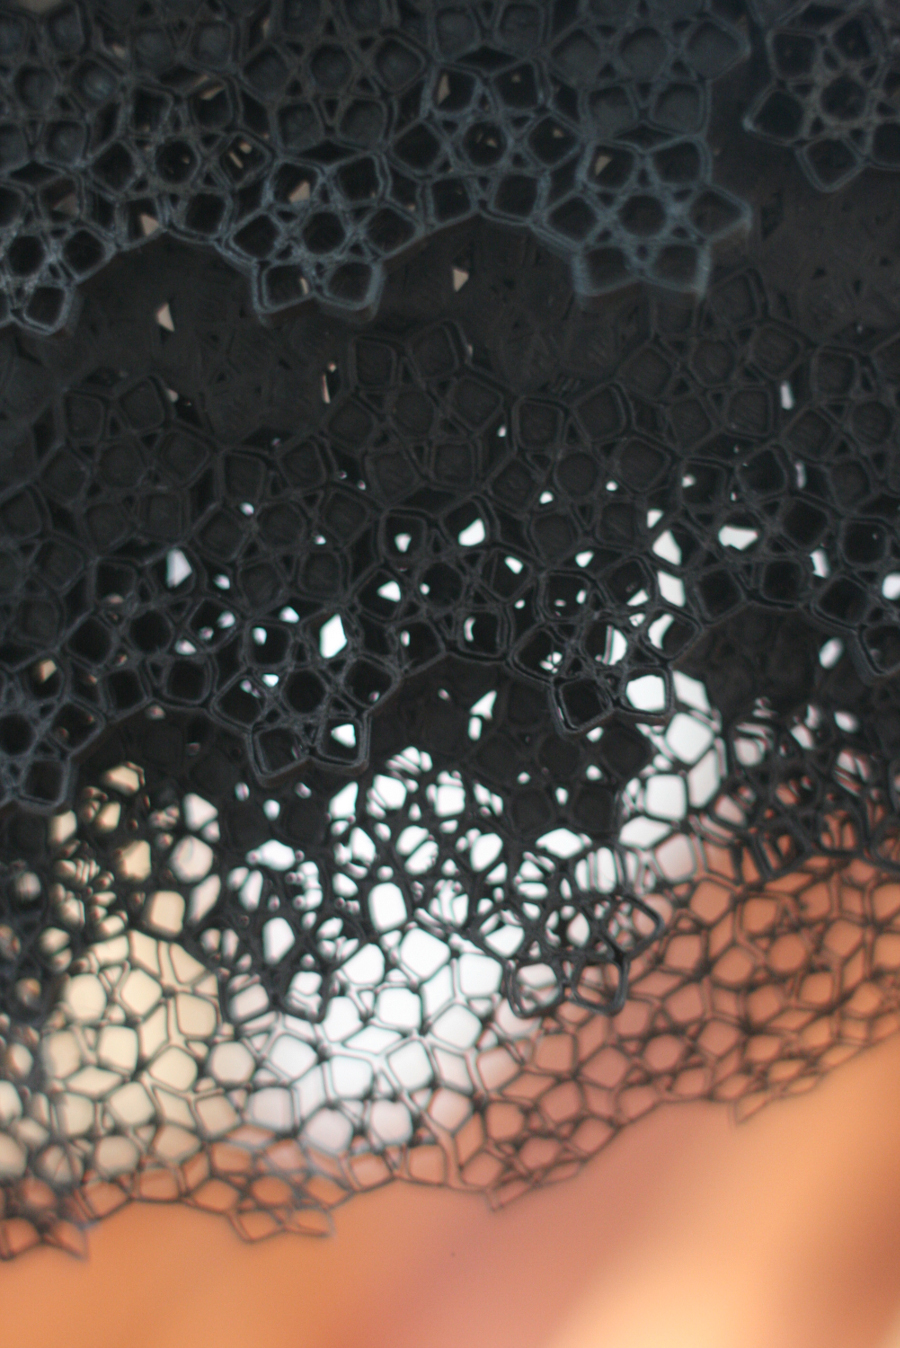
We played around with various apertures and thickness to try and get a level of flexiblity and comfort. The inBloom dress was a reinterpretation of the quintessential floral print dress, and thus we created a repetitive geometric shape that resembled a floral pattern.
Once we have our generic pattern, we trimmed the pattern to fit within each of the "traced" pattern.
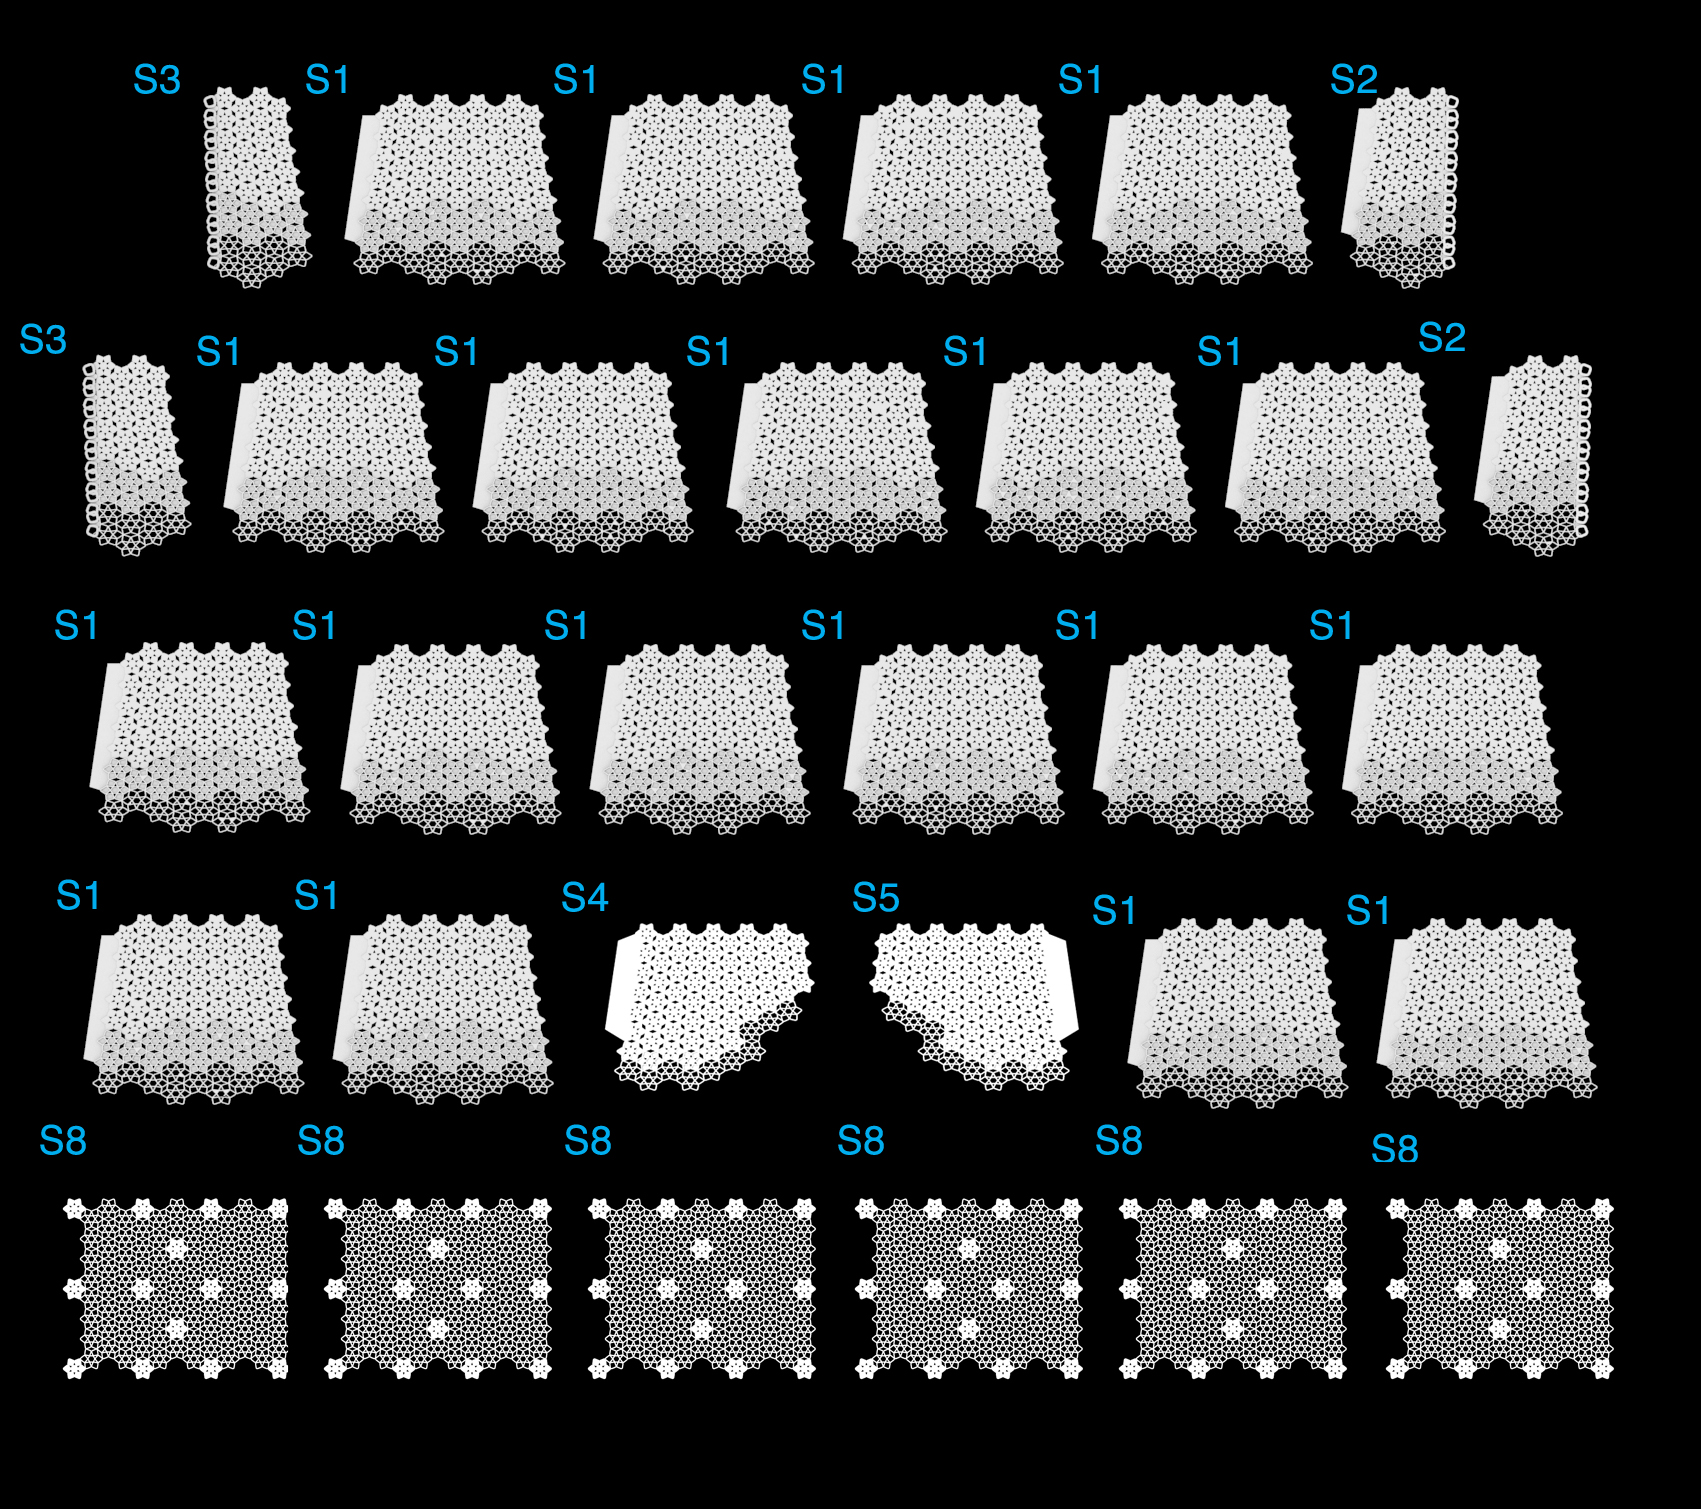
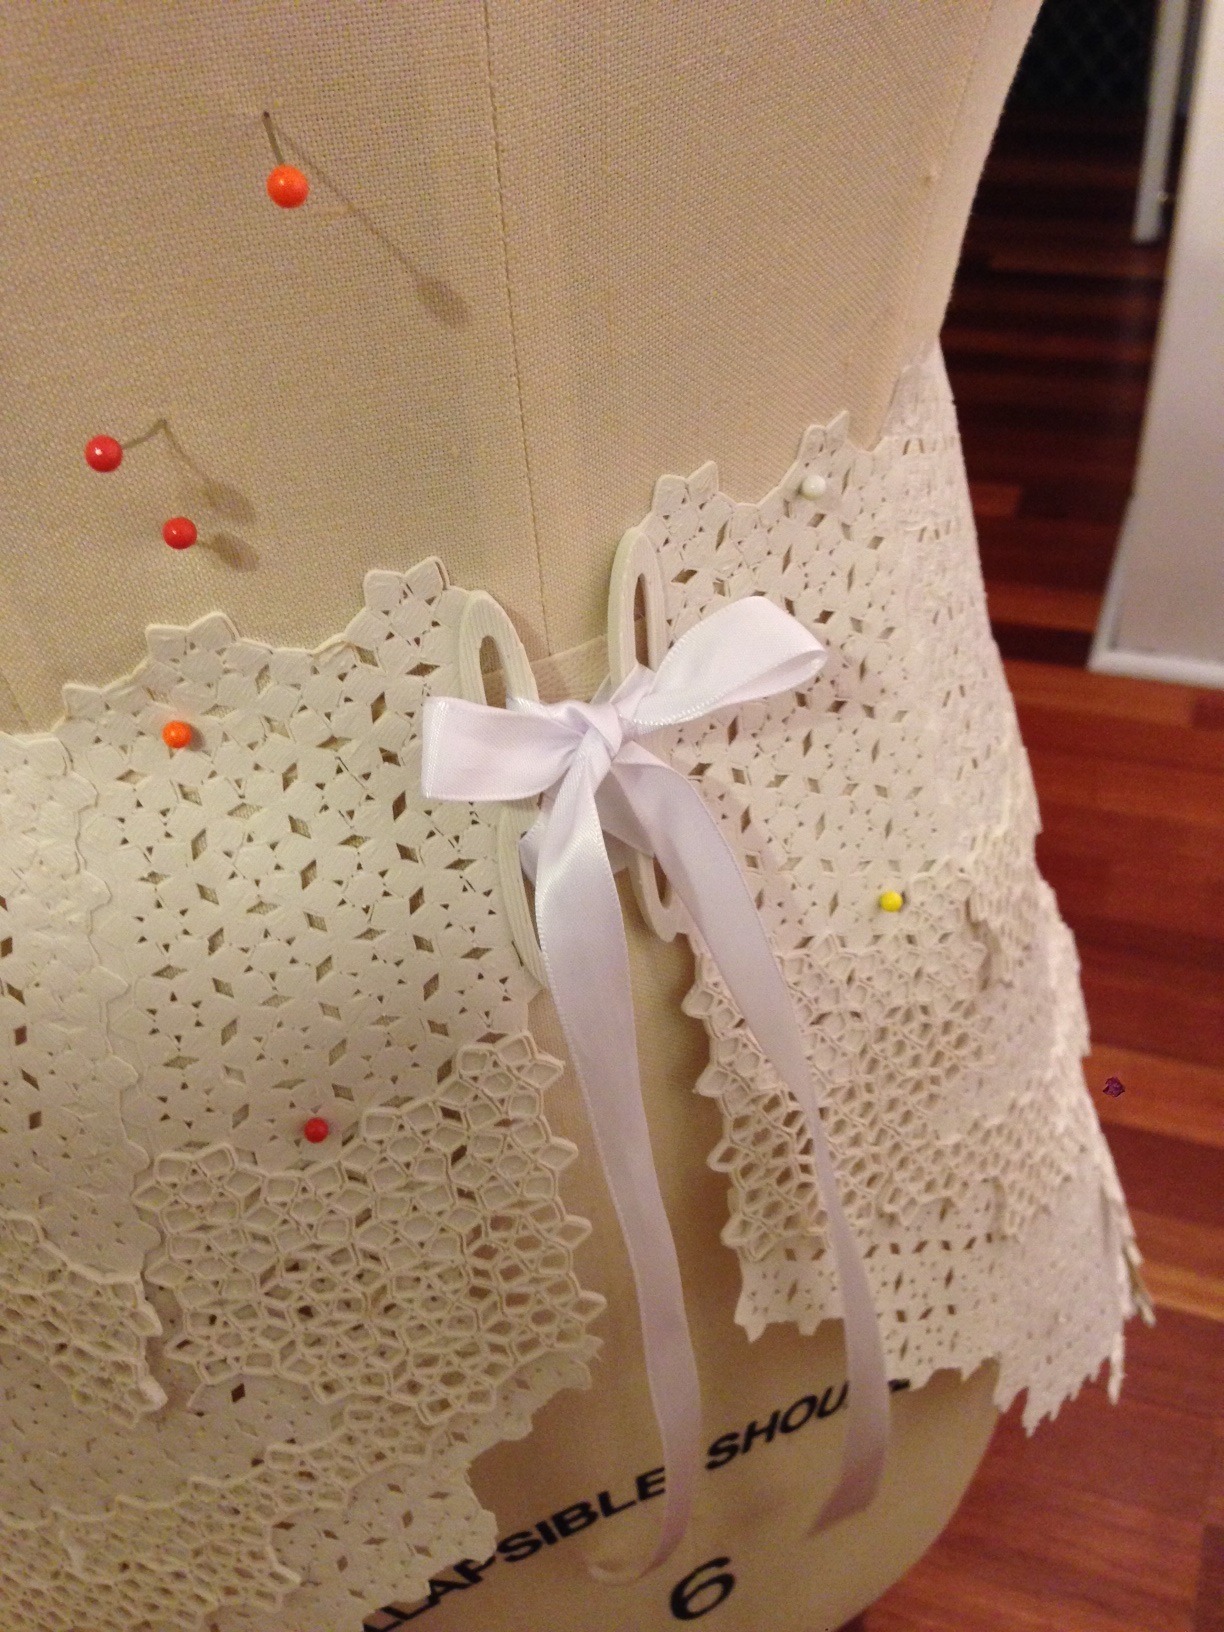
We also needed to think how we were going to "stitch" each of the panels together. We design some additional material "tabs" on the edges of the panels where we want to "stitch" the adjacent panel to each other.
We decided for now we were just going to use a simple adhesive (superglue) to "stitch" the panels together. Perhaps the panels could be stitched using needle and tread, but that require abit more investiagtion and experimentation. I'd imagine piercing into the 3d printed material would degrade the strength of the panels when stitched together.
On each panel we allowed 5-8mm of extra material in order to apply our adhesive to join to the next panel.
Right now our mesh patterns are still relatively 2-dimensional. Next we embellish the geometric mesh with 3-dimesional floral motifs. We modelled and create 3-4 different modular 3d flowers and leaves and we composed each panel with the motifs. Keeping in mid the motifs composed on an adjacent panels you have already done, we could help compose the motifs such that it helps blur the seams of each of the panels.
Slicing Your Pattern Panels
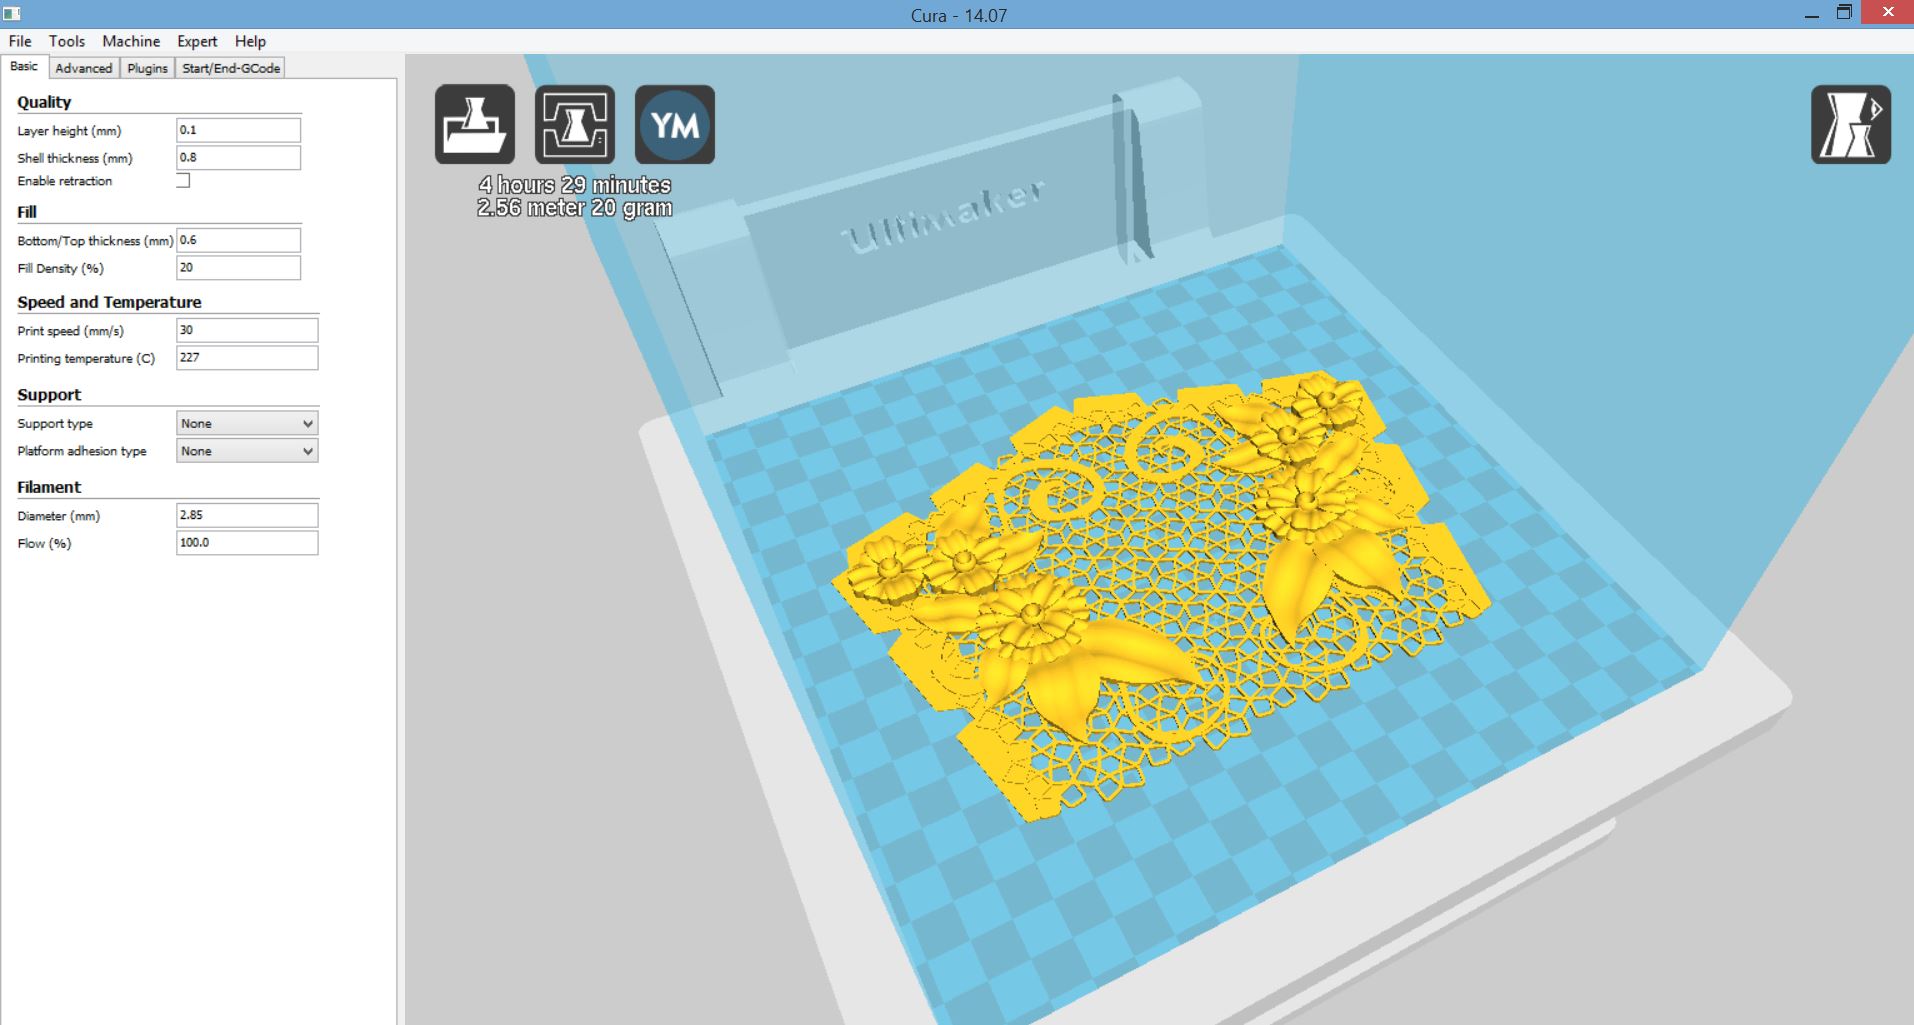
Now that you have each panels ready to print, you can bring the panels individually into a slicing software like Ultimakers free open-source CURA
This is one of the best open-source 3d slicing programs in the market., and perhaps one of the fastest.
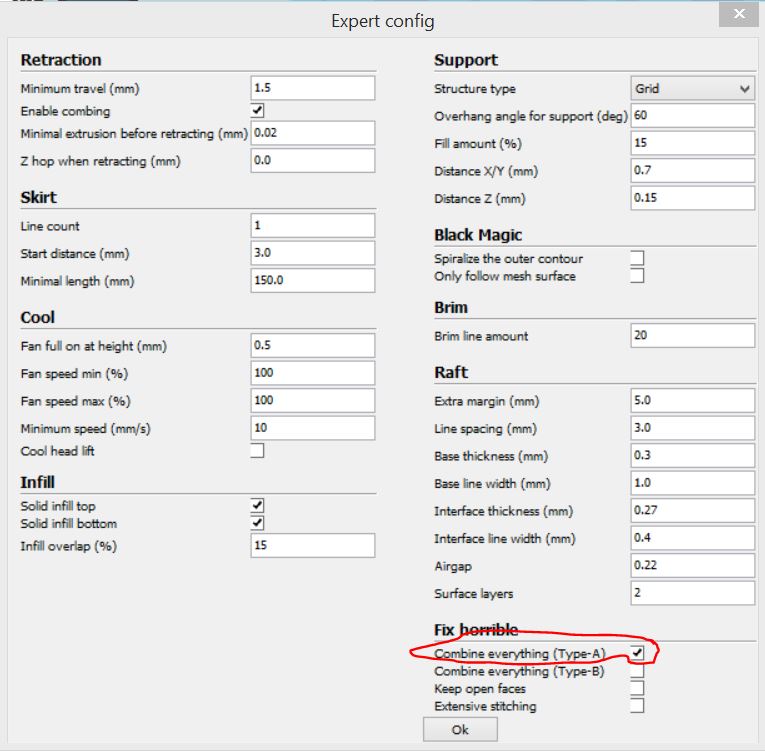
There are standard user friendly settings you can use, but because we want to print using flexible PLA which is alittle bit more challenging we need to head over to the advance settings to set a few parameters.
for your inBloom dress it is recommended you go into
expert>open expert settings>fix horrible
Make sure combine everything Type-A is selected.
This helps combine/boolean all the meshes that you have created. It is best to create a water-tight 3d meshes, but Cura allows you to by-pass that to a certain level, and makes 3d-printing easier.
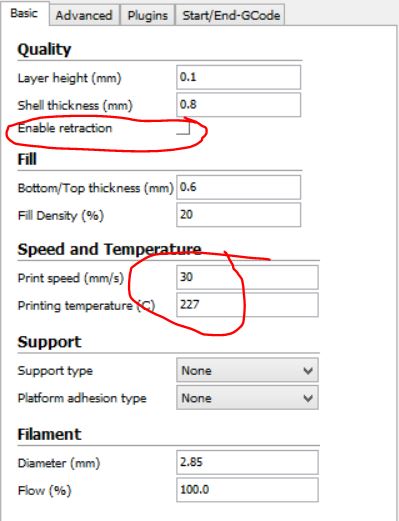
Next we need to configure the printer to print flexible PLA.
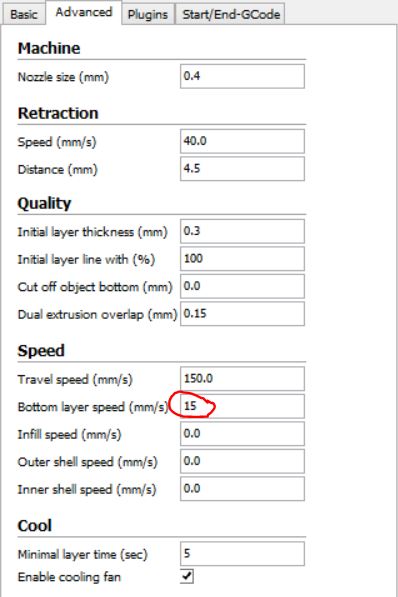
A few recommended setttings are
- Speed- it is best to print between 15-30mm/s
- First layer speed- keep this to 15mm/s
- Retraction- We recommend turning this off as the retraction movement creates a strain on your flexible filament and you would be more prone to clogging of the nozzle or grinding of the filament.
- Temperature- we find printing the ultimaker flexible PLA is best at 228deg
Of Course this are just our settings that have given us the best success in printing. Please feel free to play around with the setting to get you desired outcome.
Printing Your Pattern Panels
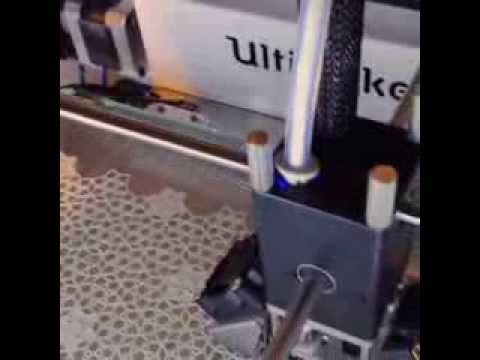
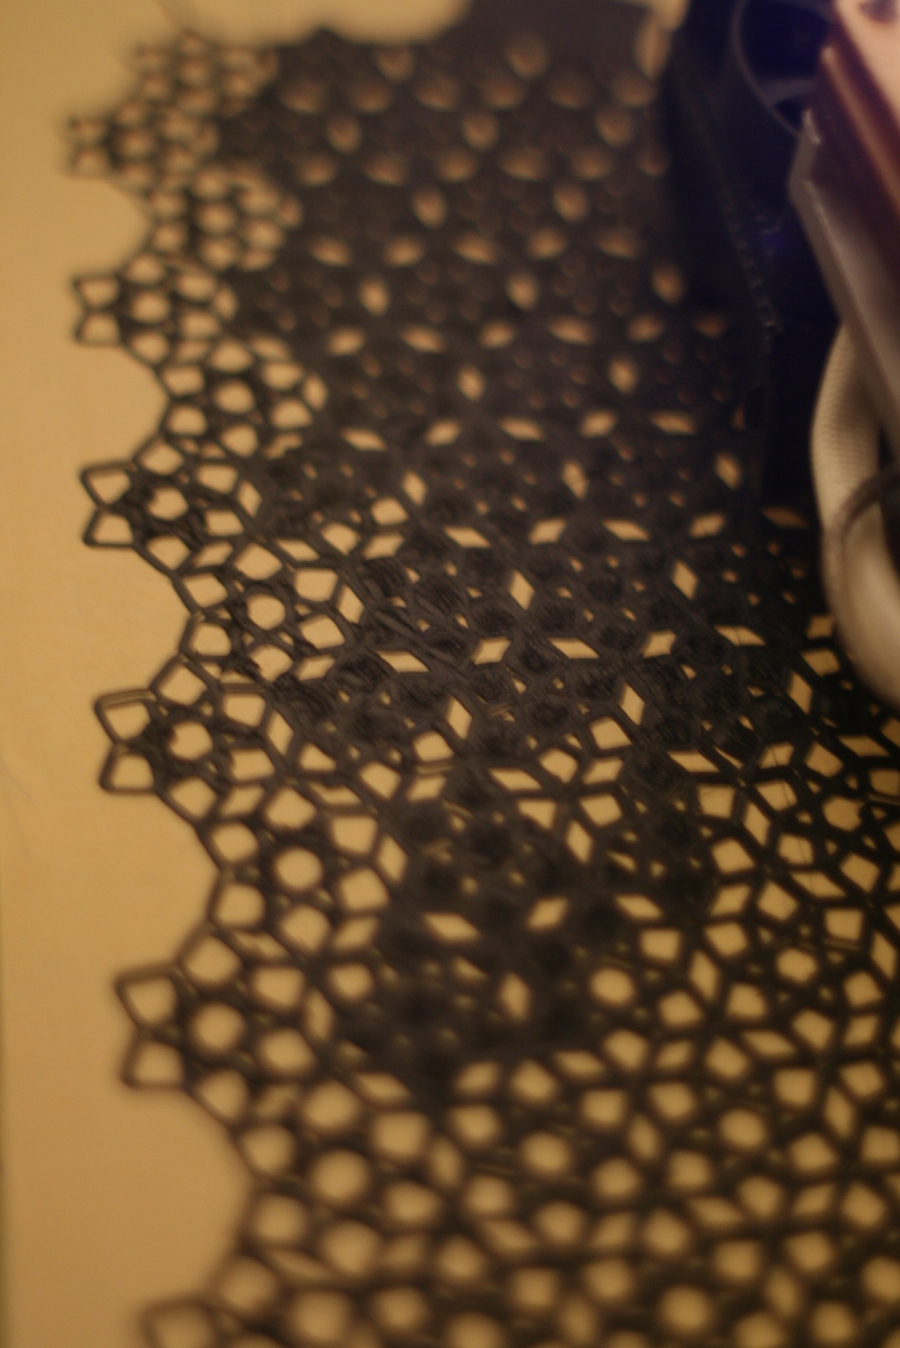
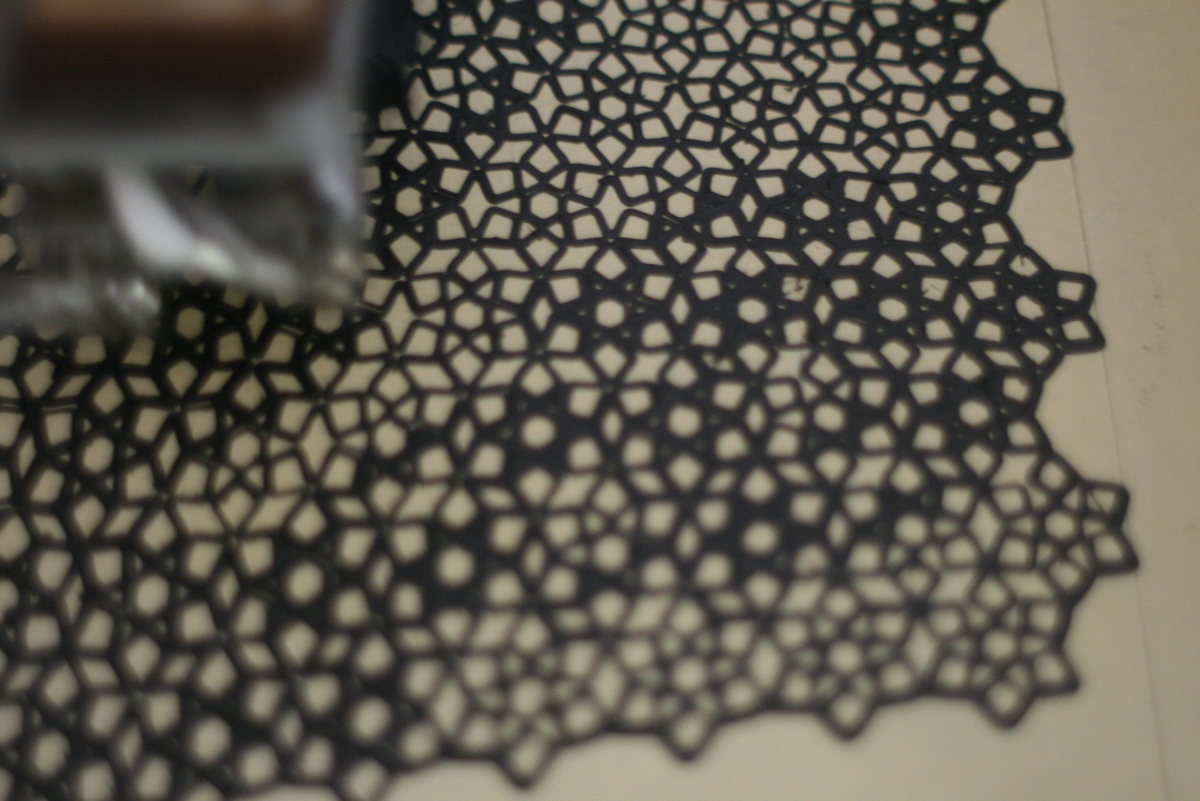
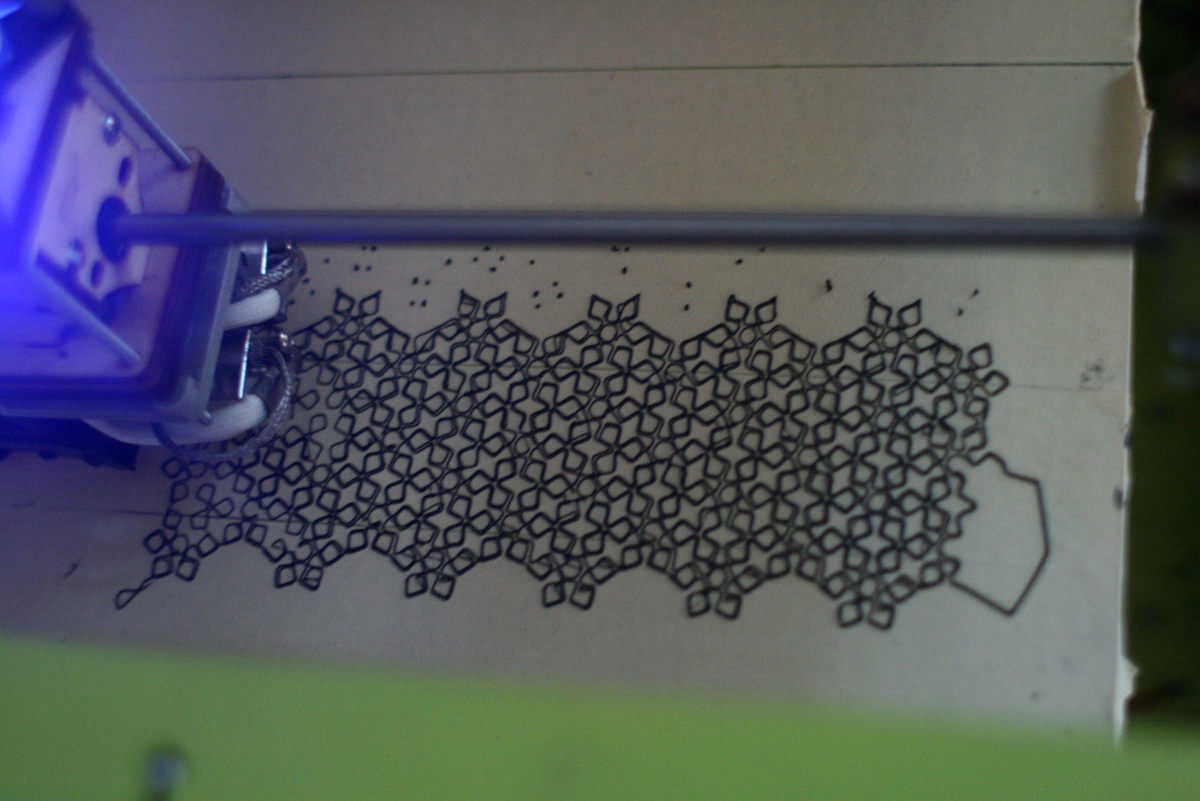
Once you have sliced all your panels and create the g-codes, you are ready to Print!
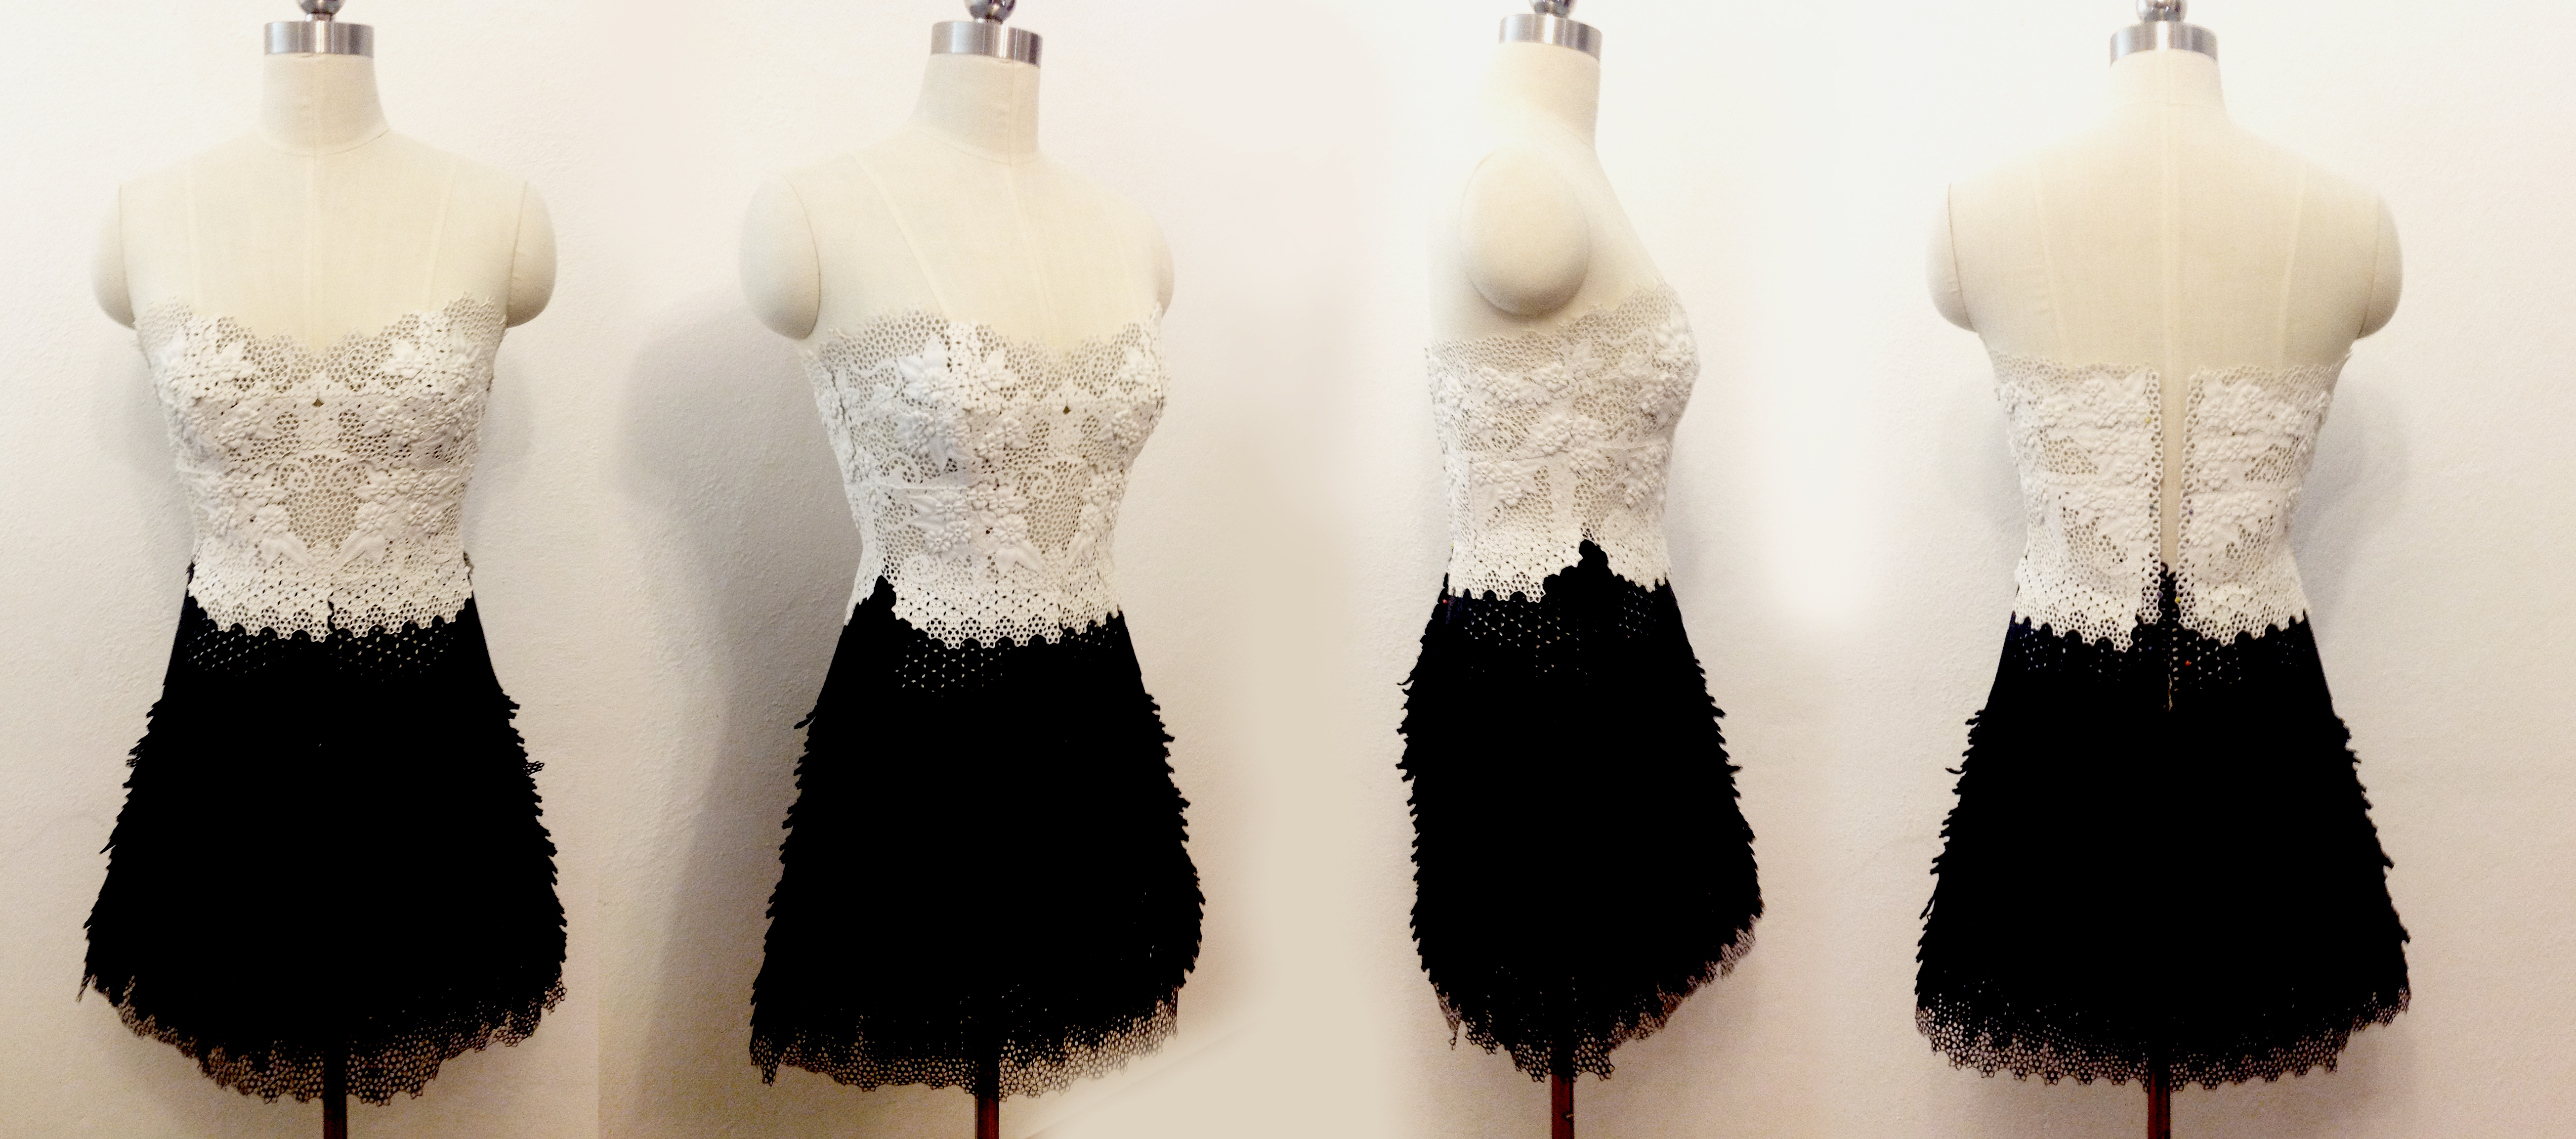
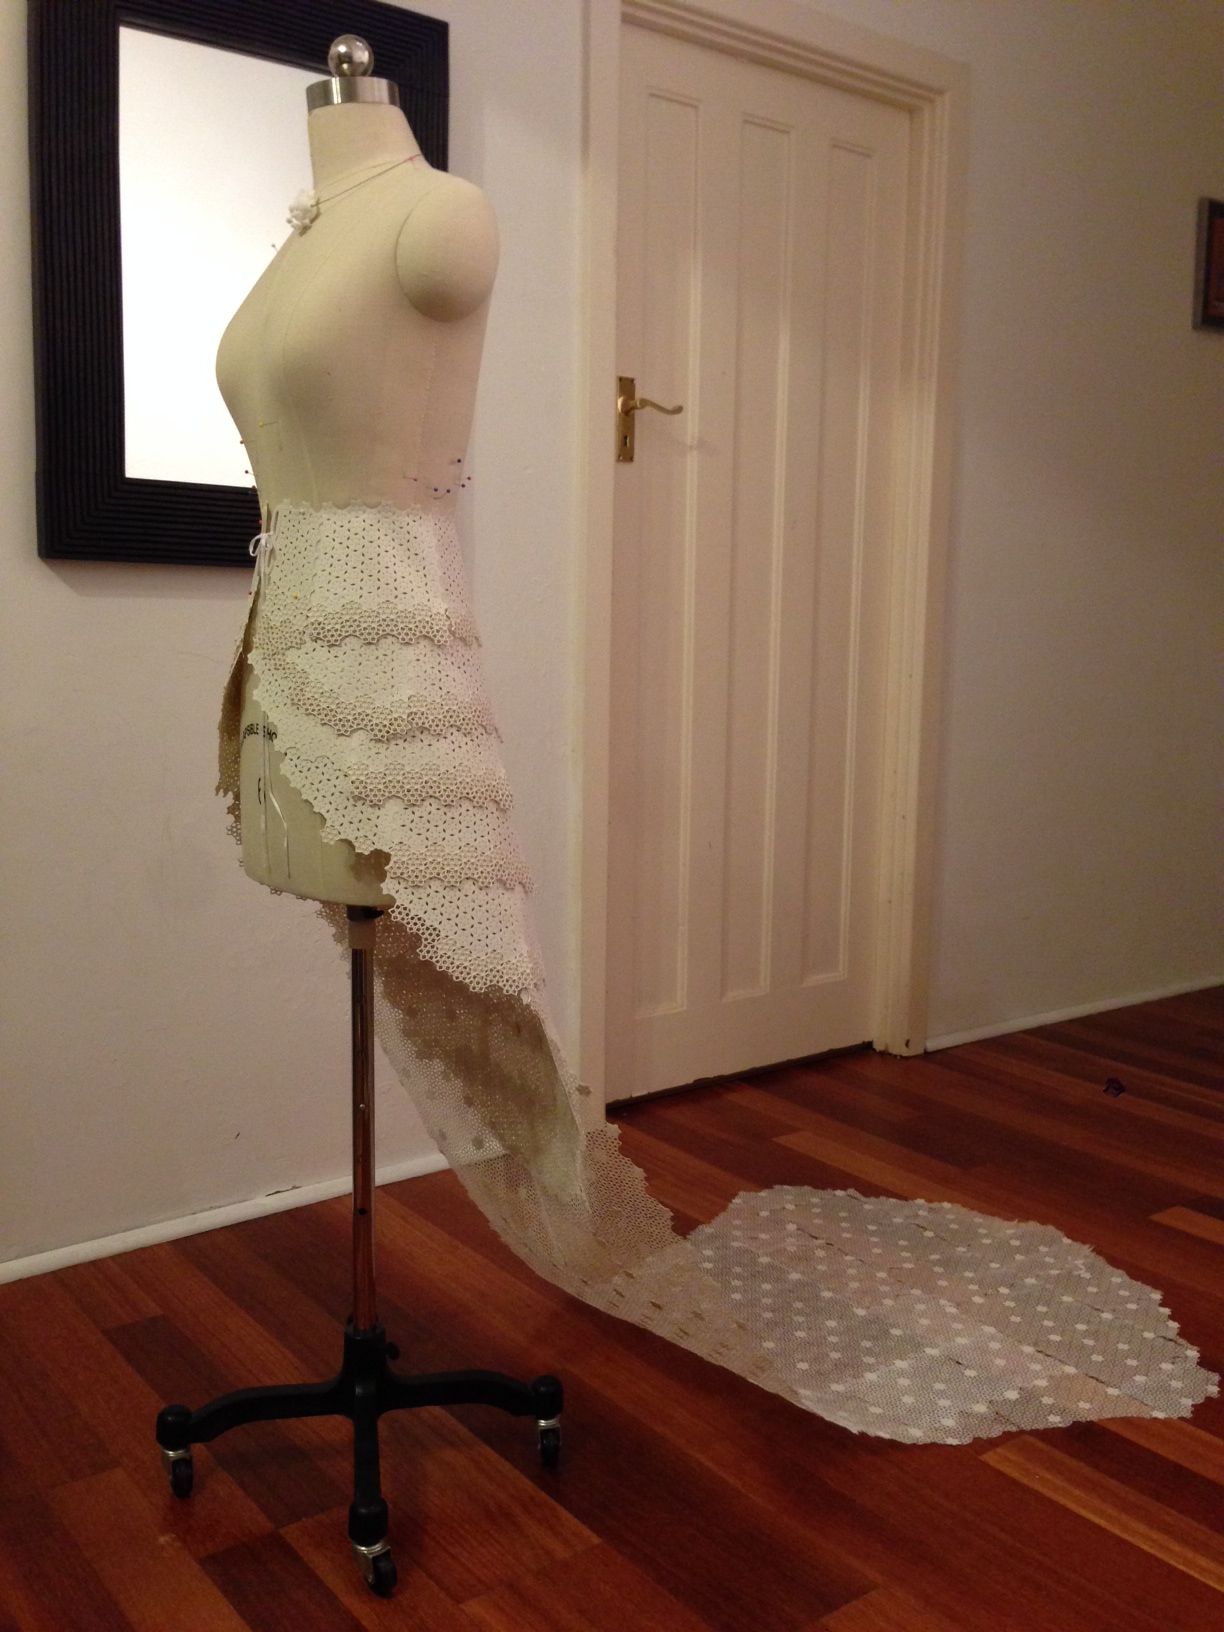
The inBloom Dress is split into 3 sections.
- the corset
- the skirt
- the train
You of course do not need to commit to printing the entire dress, you could perhaps print the corset or the skirt and mix and match with other outfits in your attire.
You can also make the skirt as long as you want.
We invite you to play and hack our designs to suit your needs.
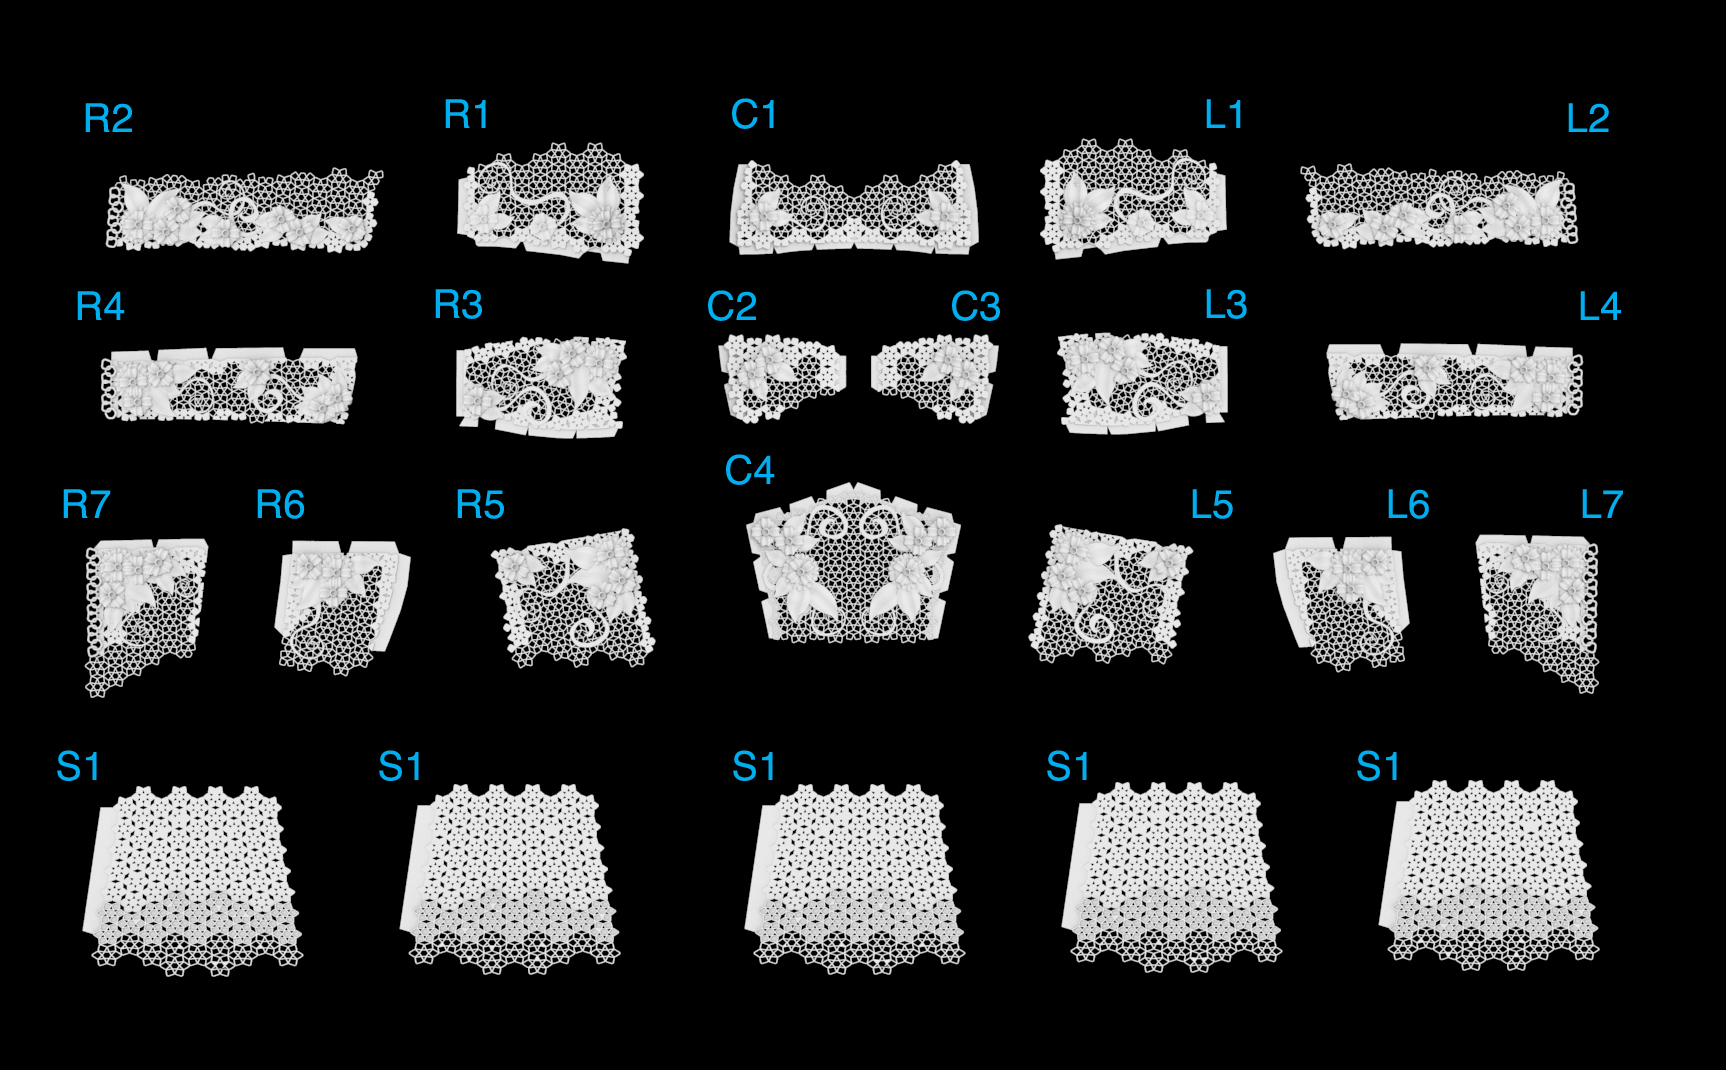
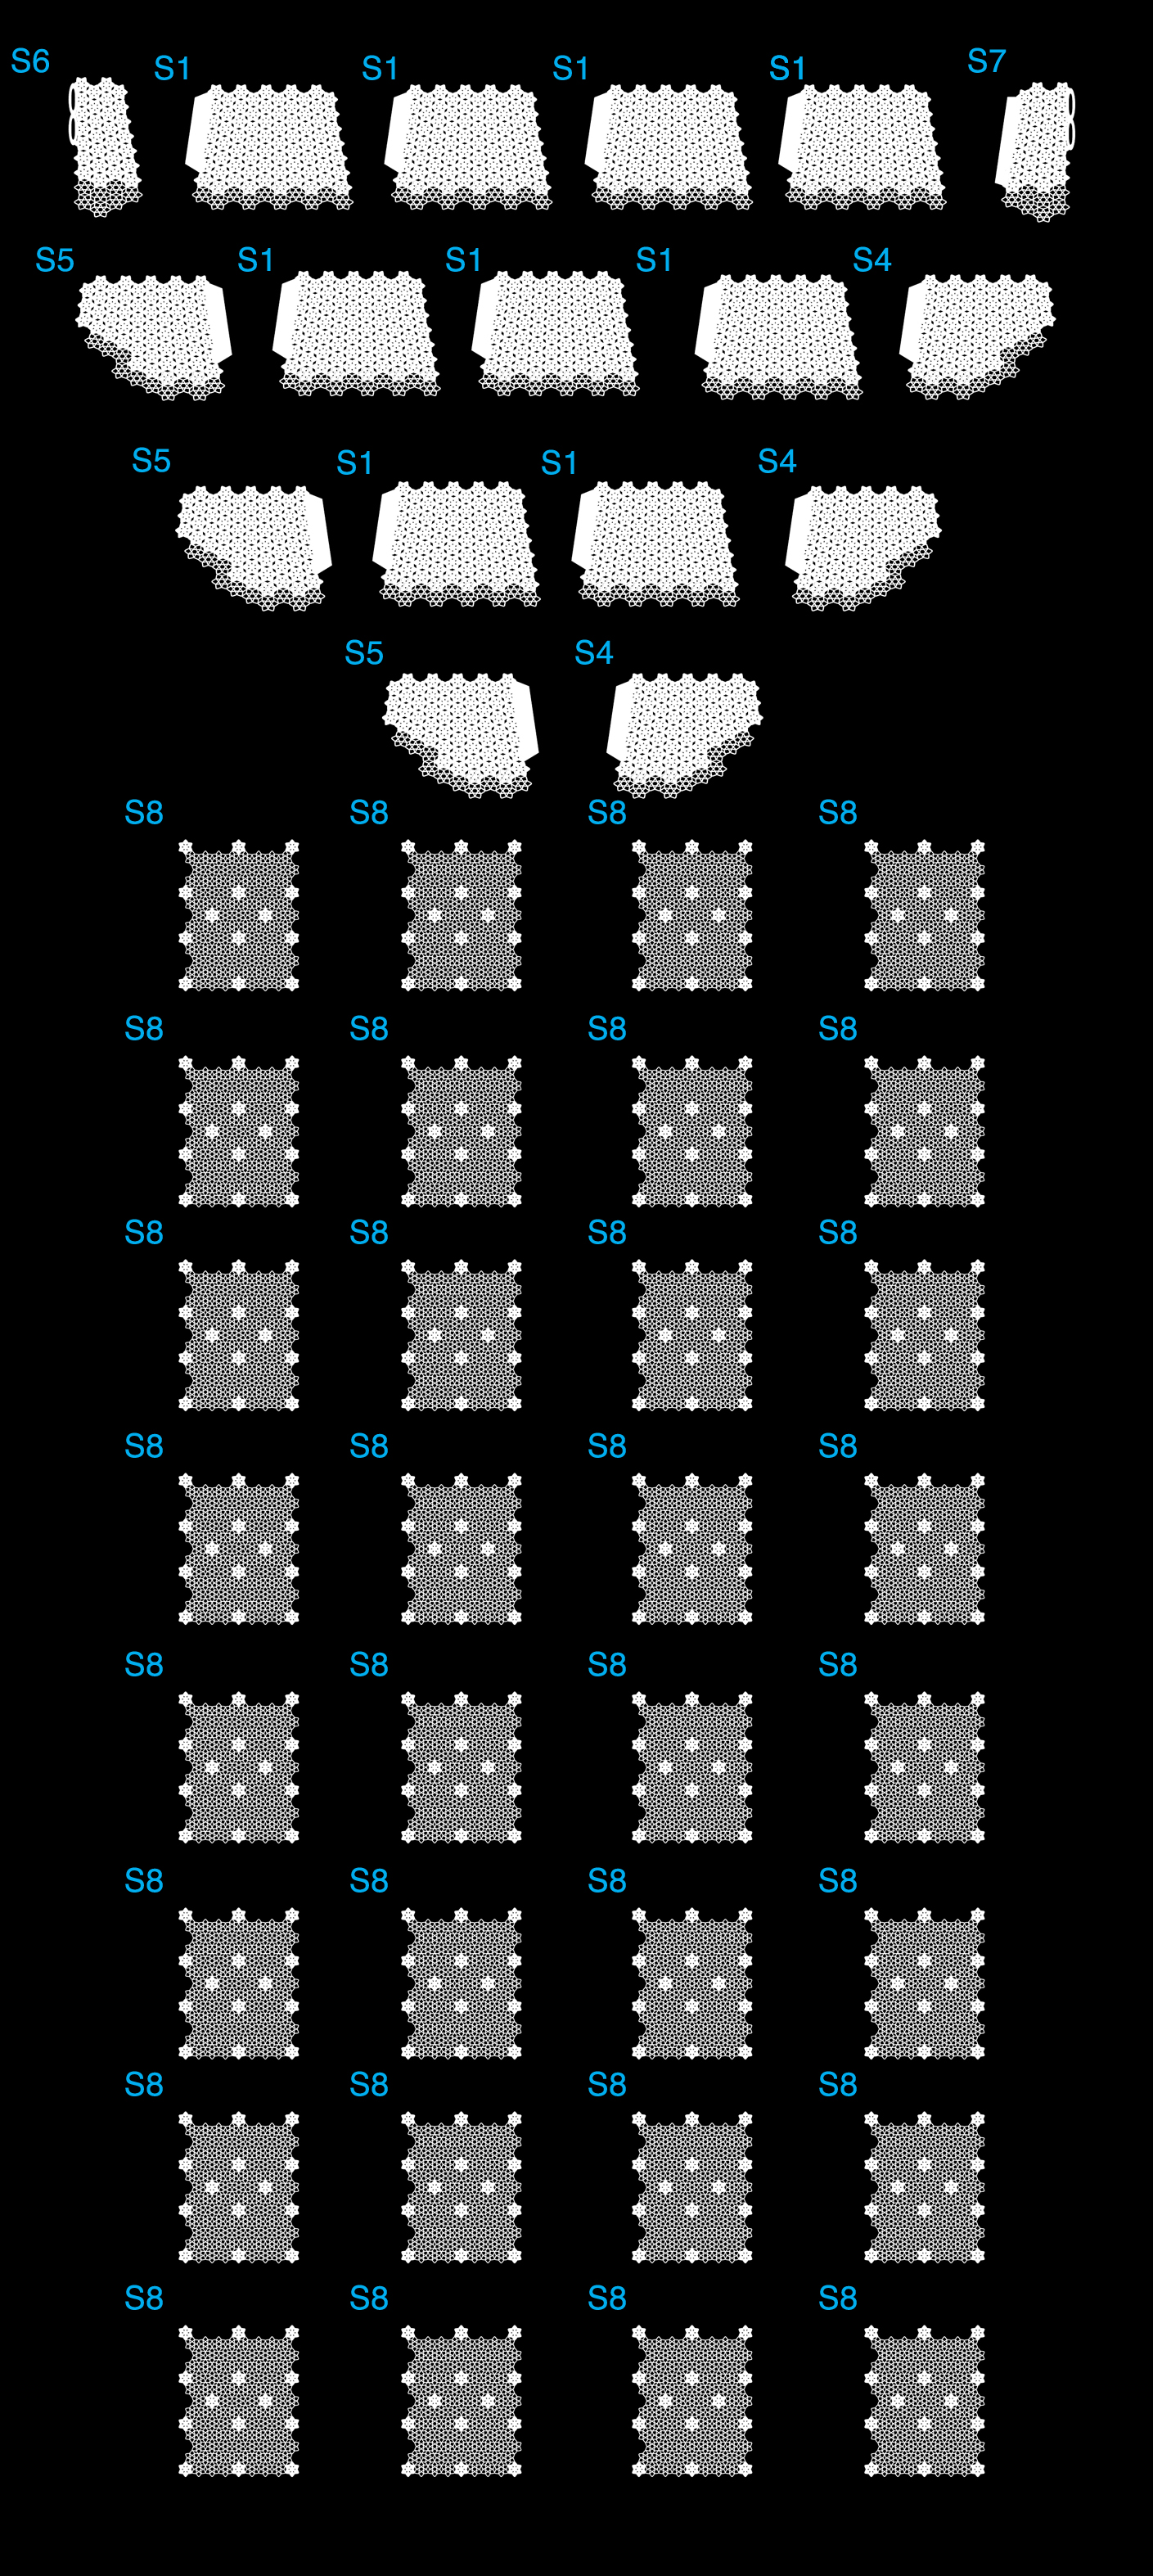
We have included a pattern map for each of the sections to guide you on how the pieces all join together
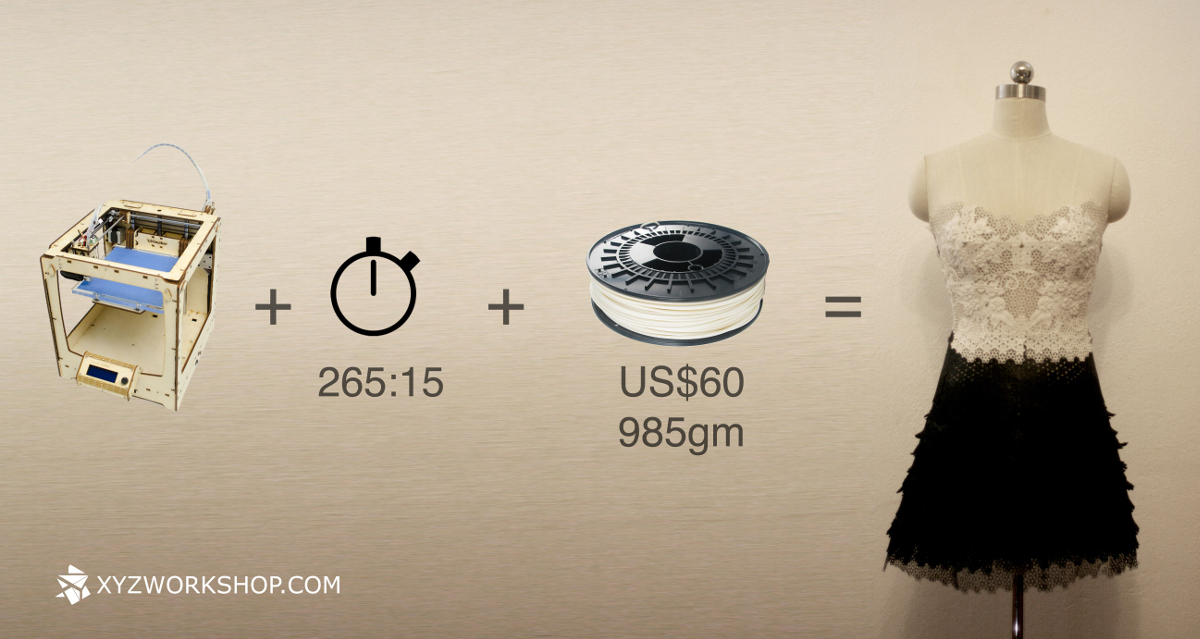
We've calculated that printing just the corset and skirt takes about 265hours and uses 980g of filament this is equivalent to about US$60 of pure material cost.
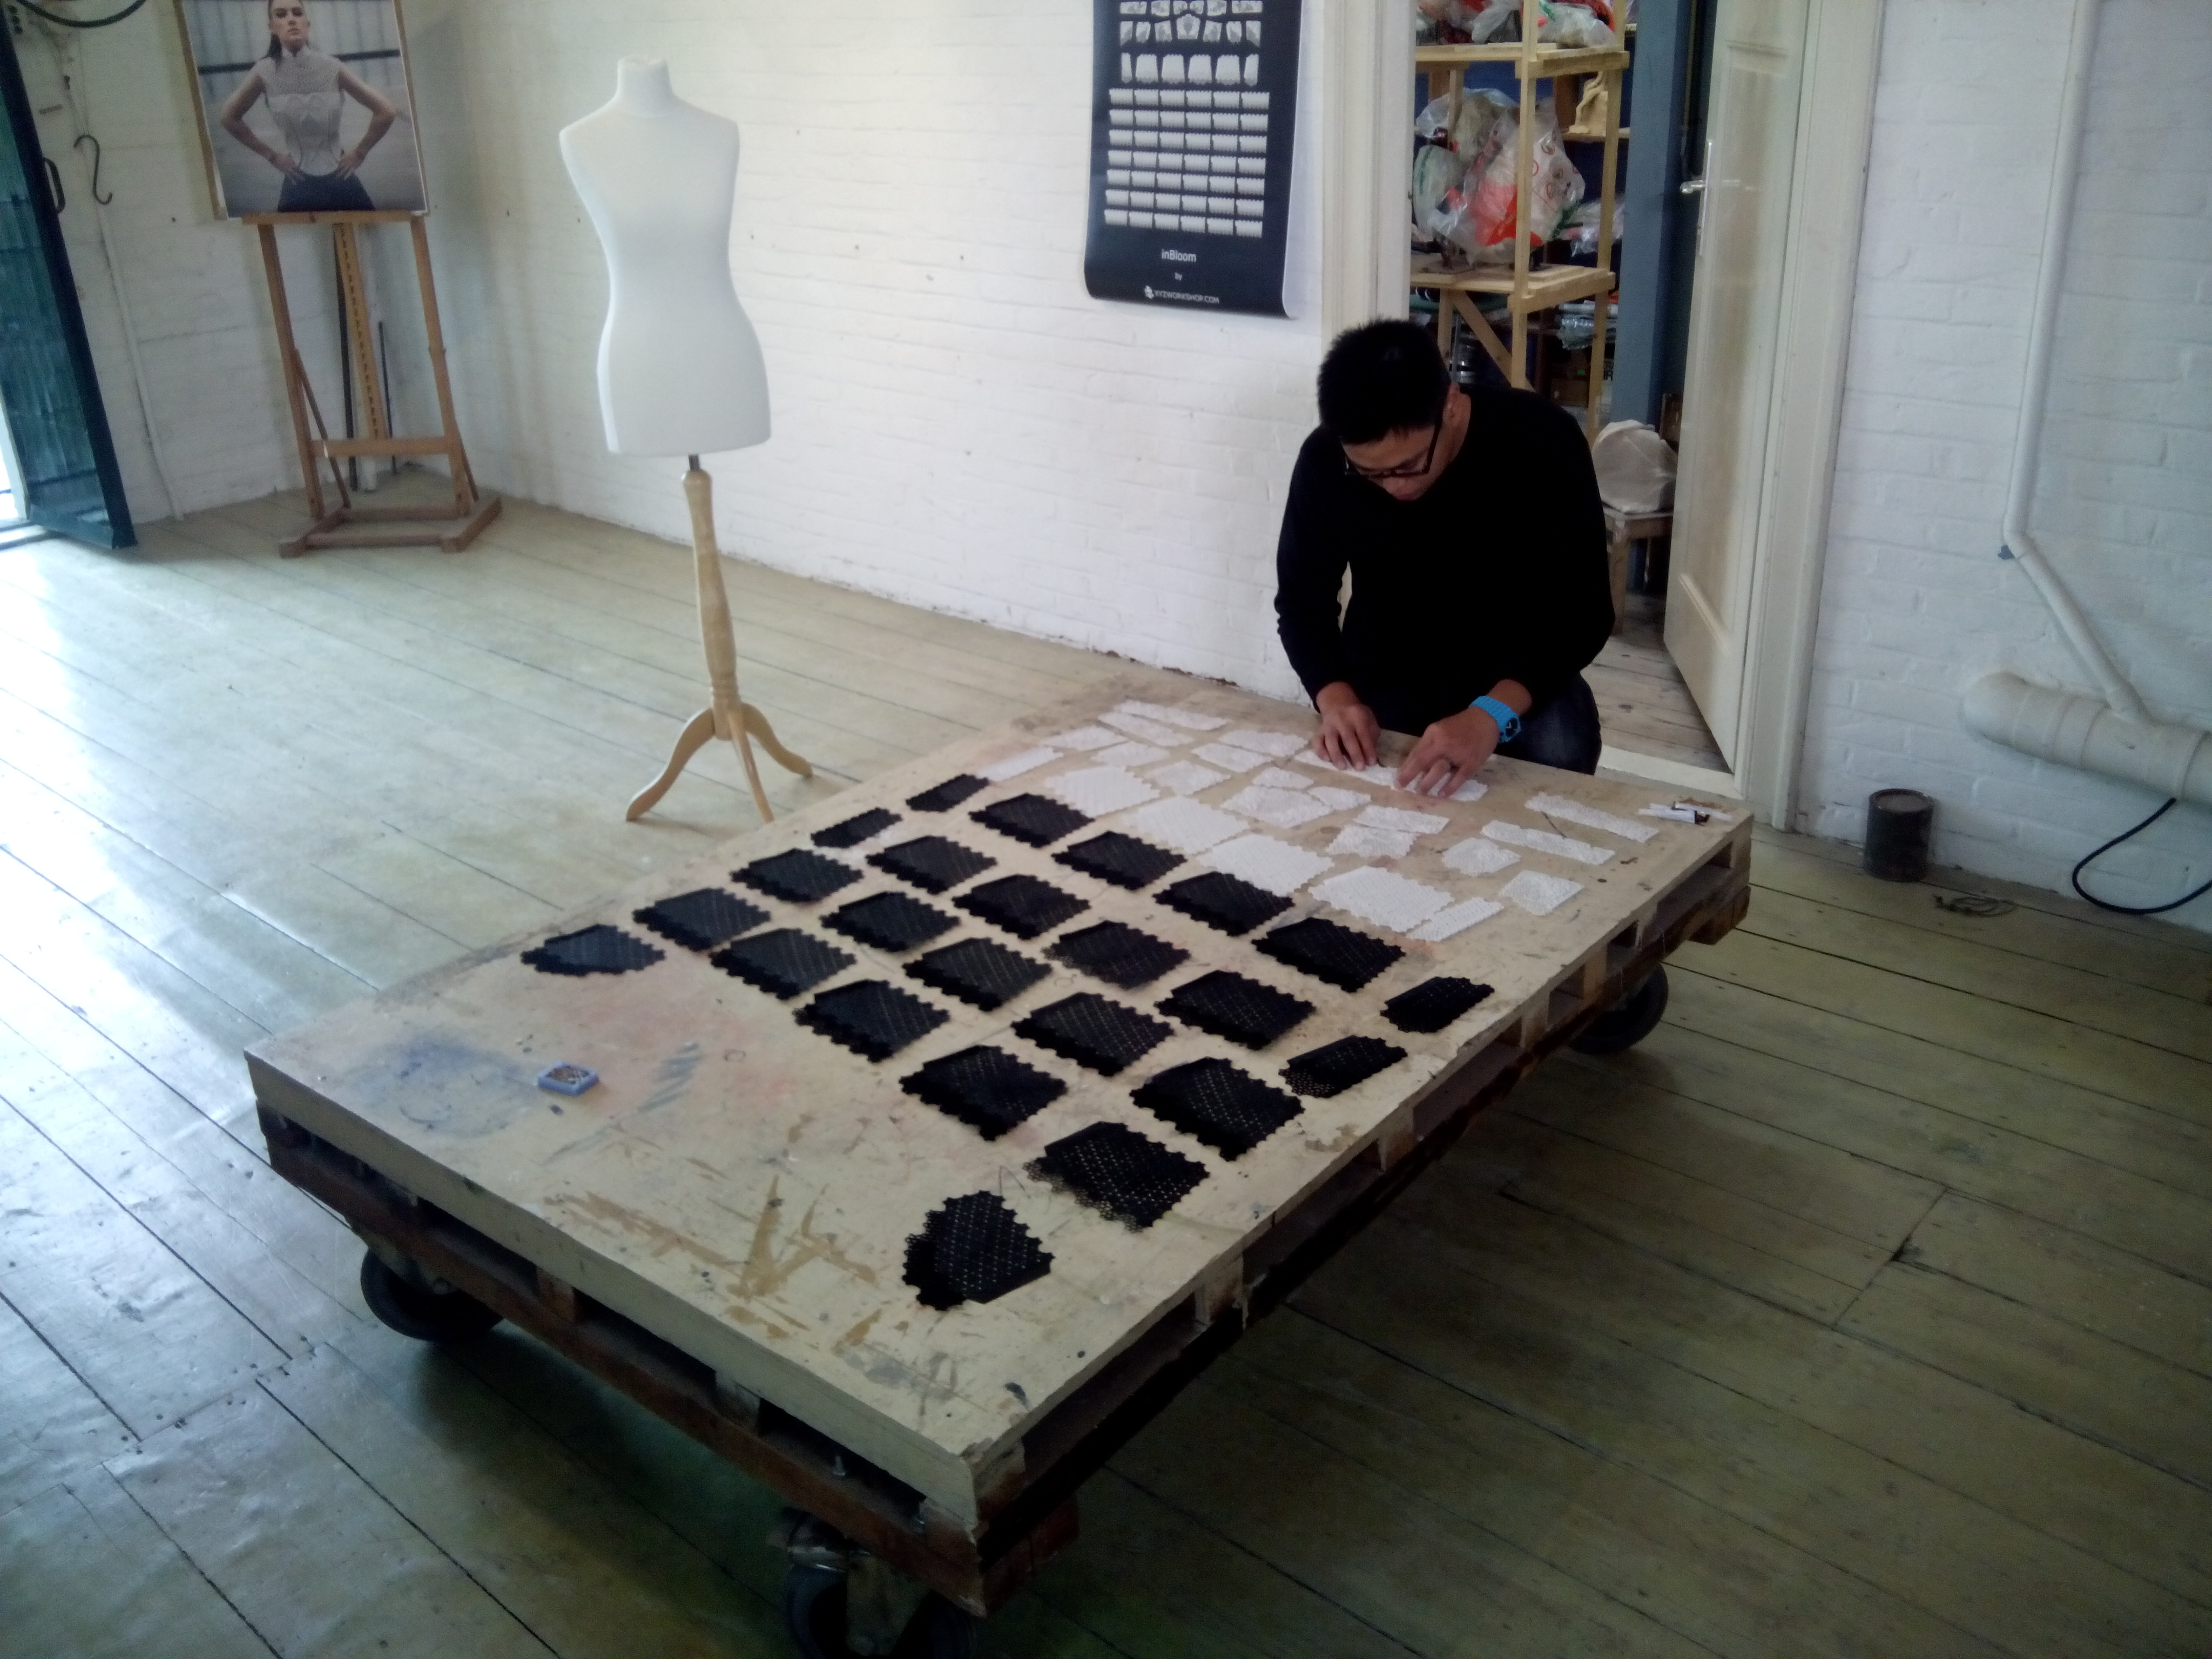
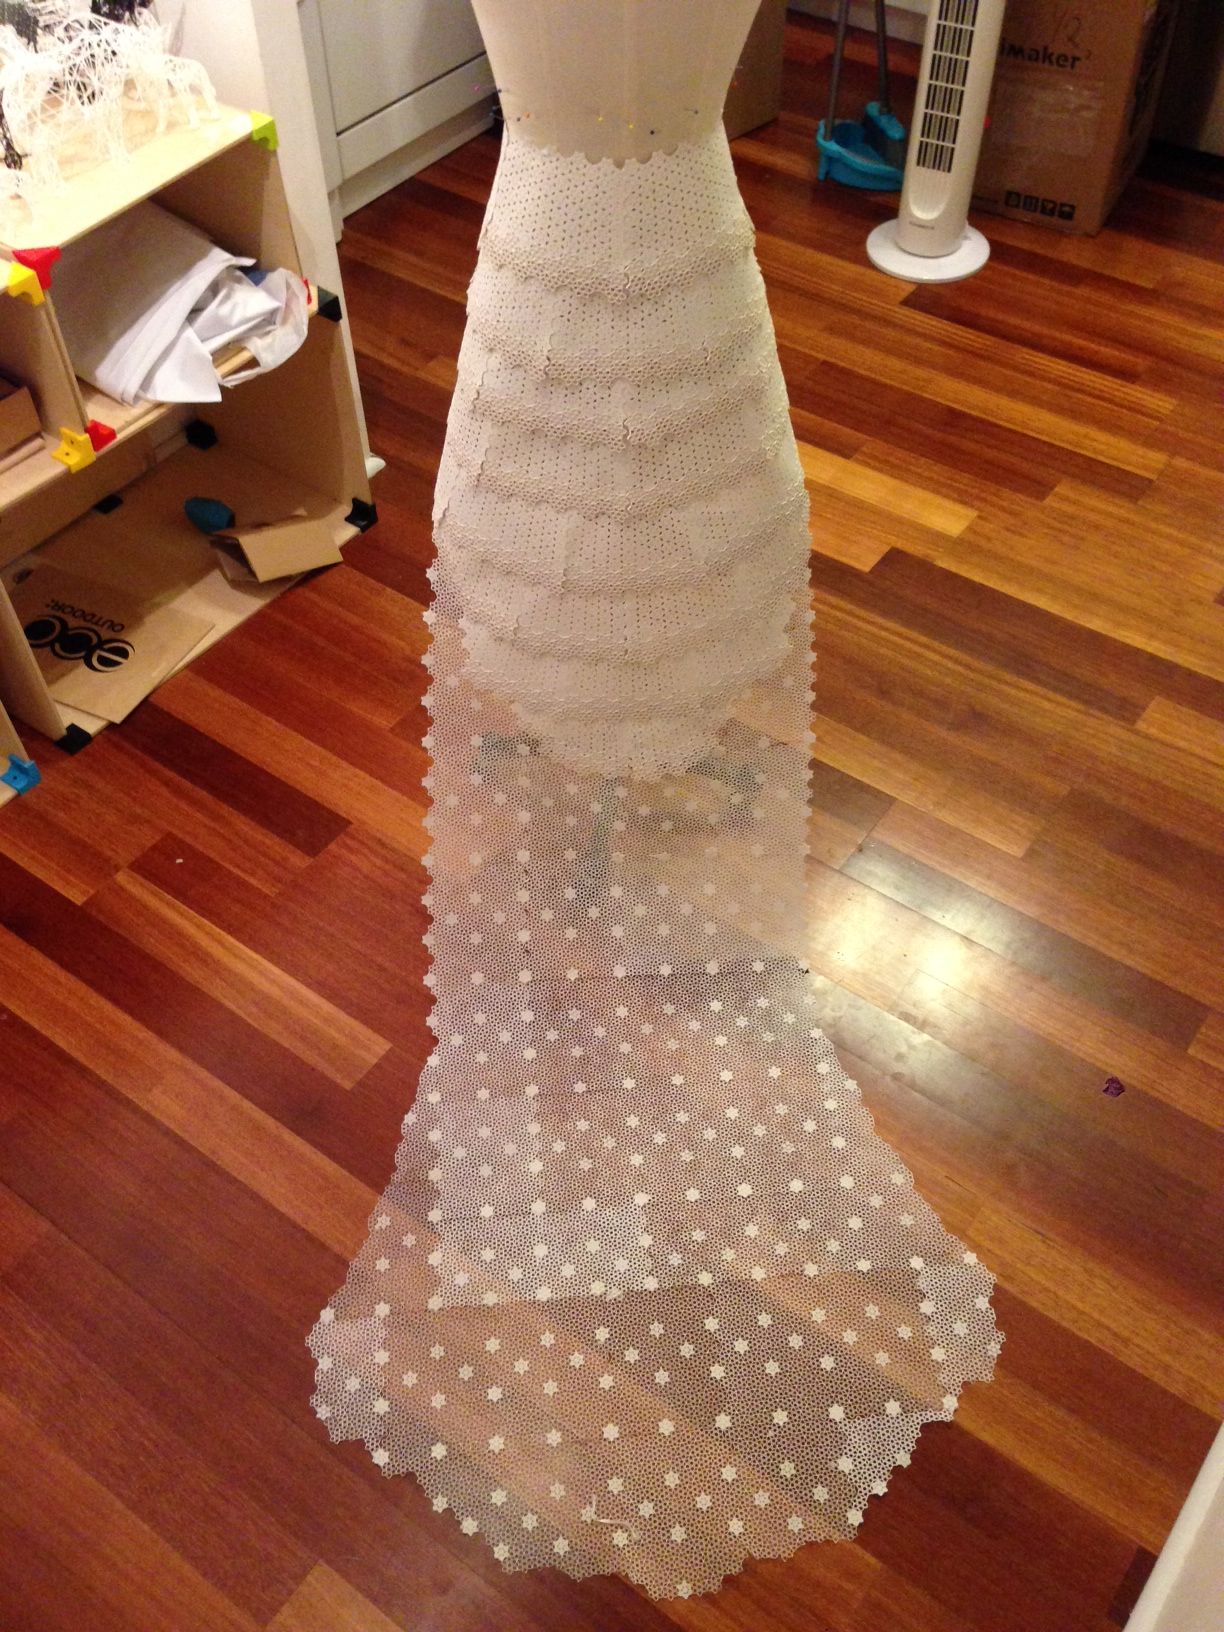
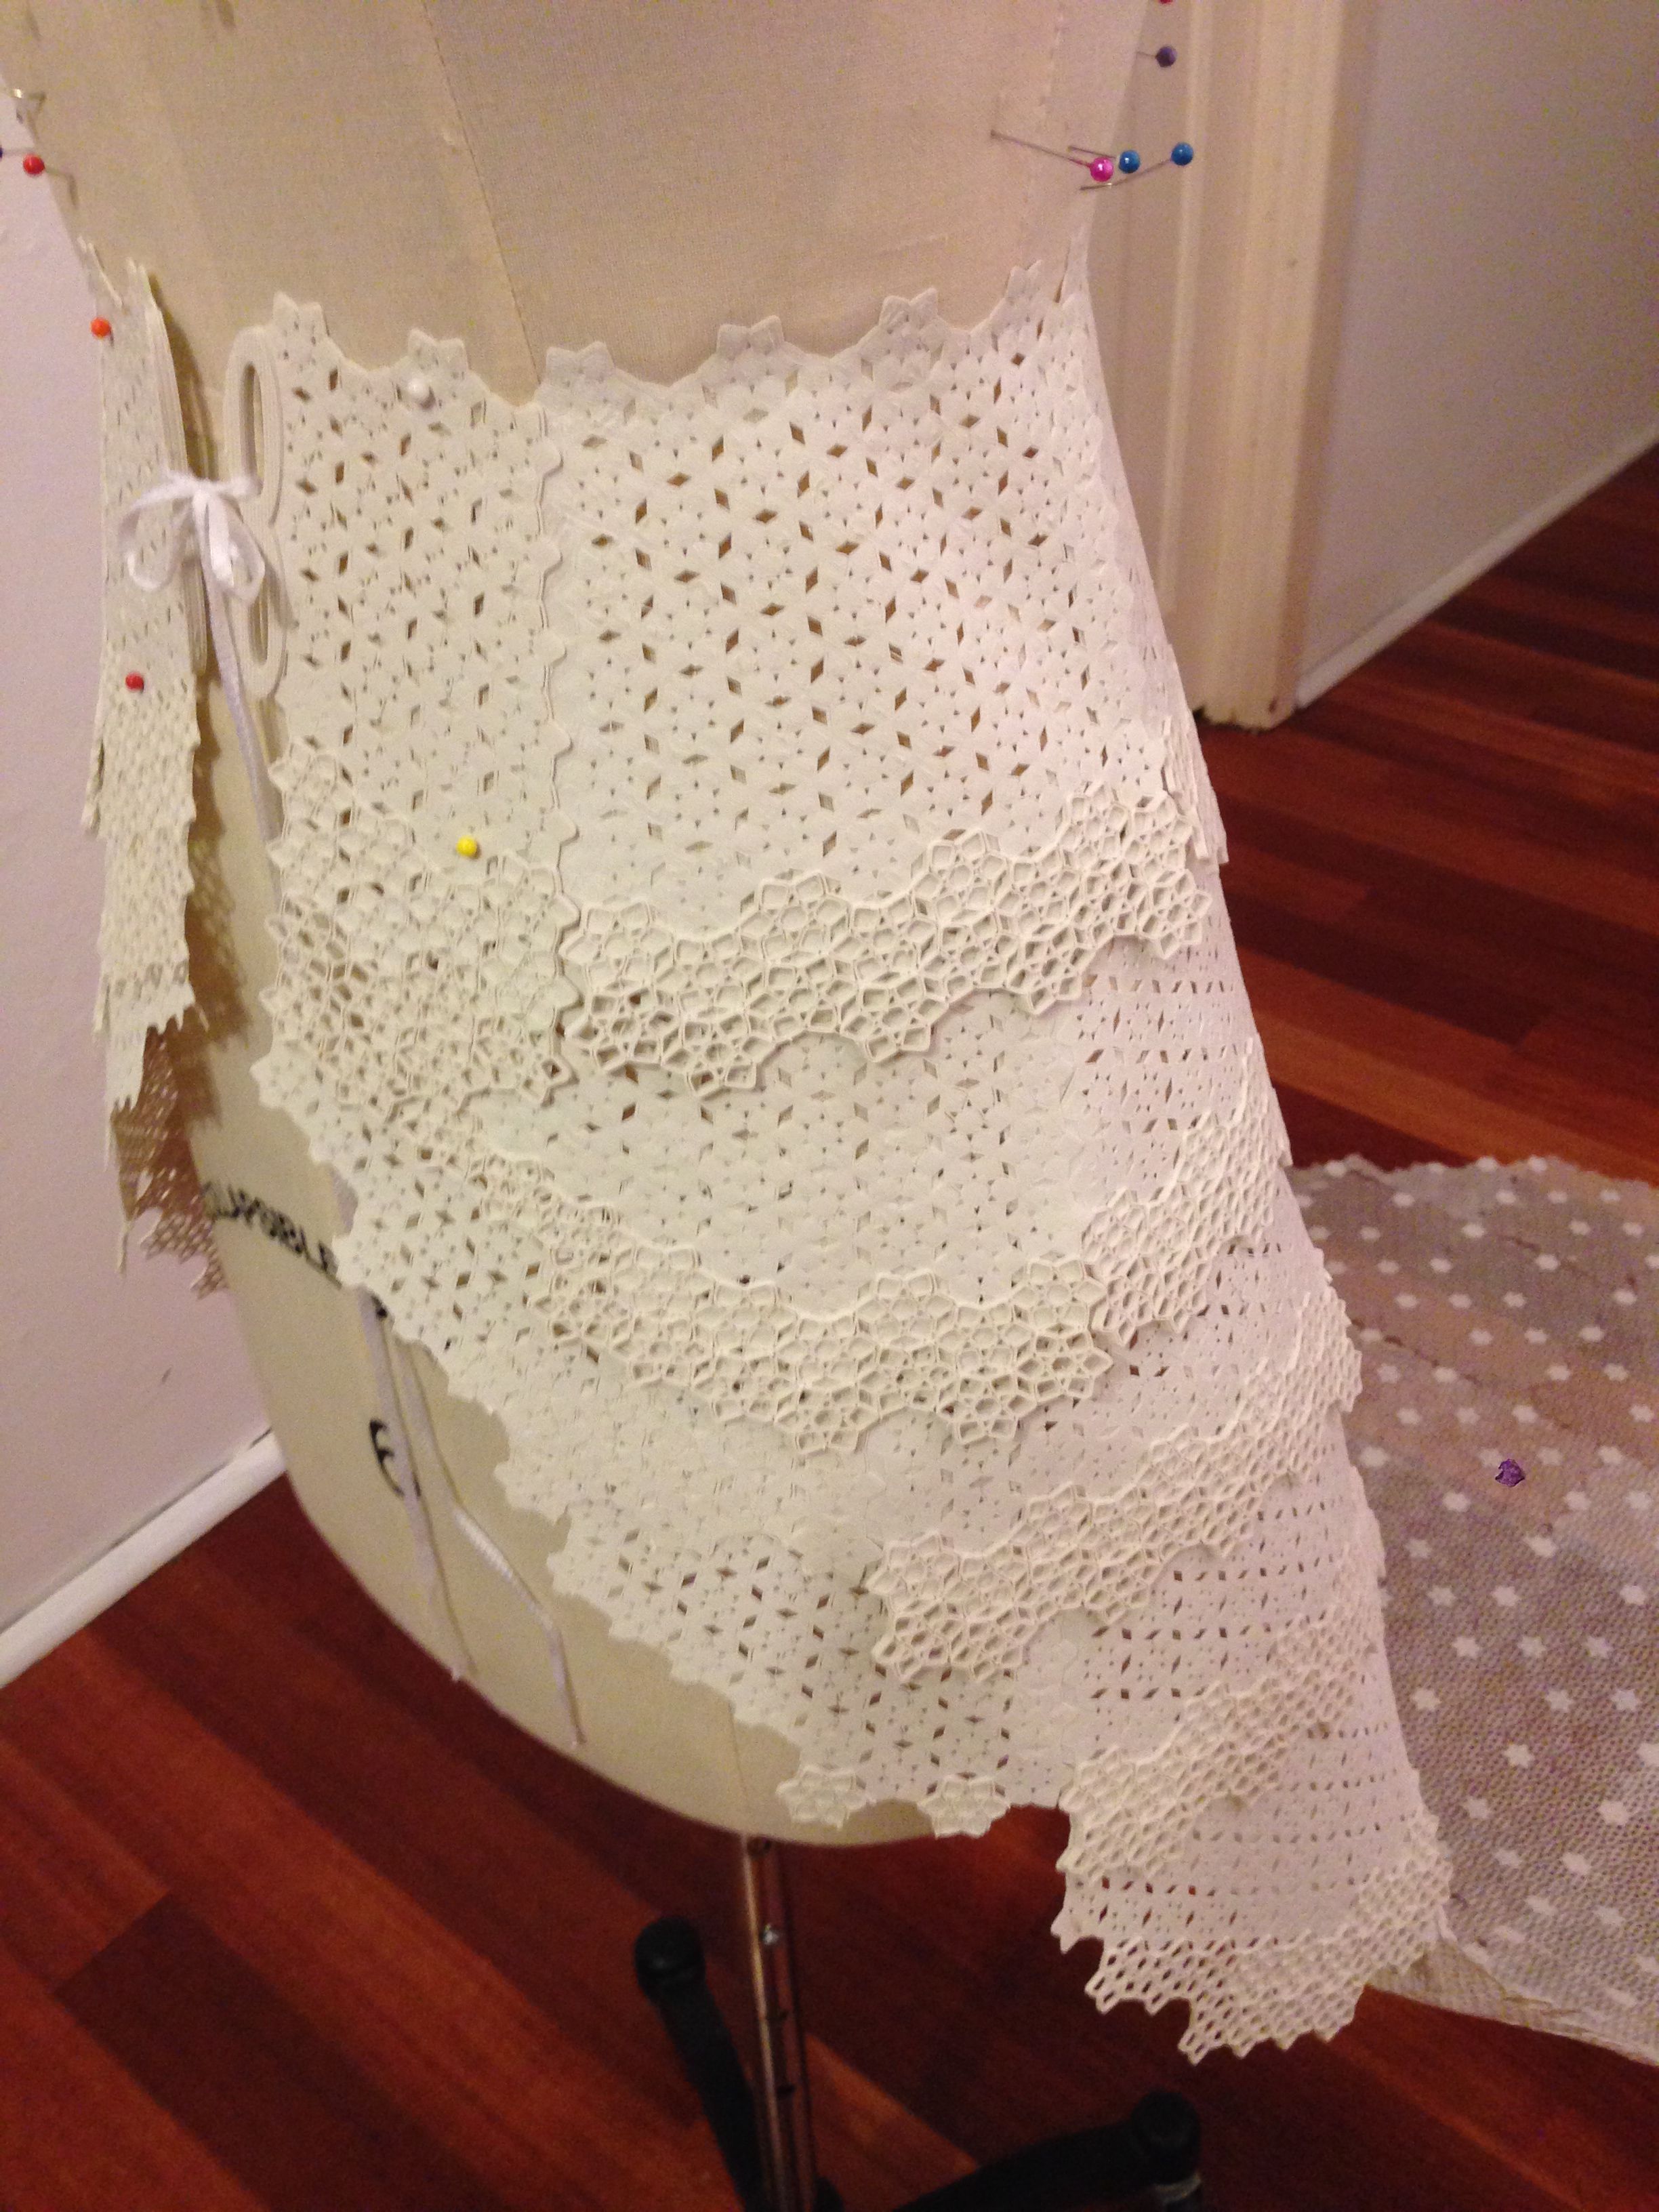
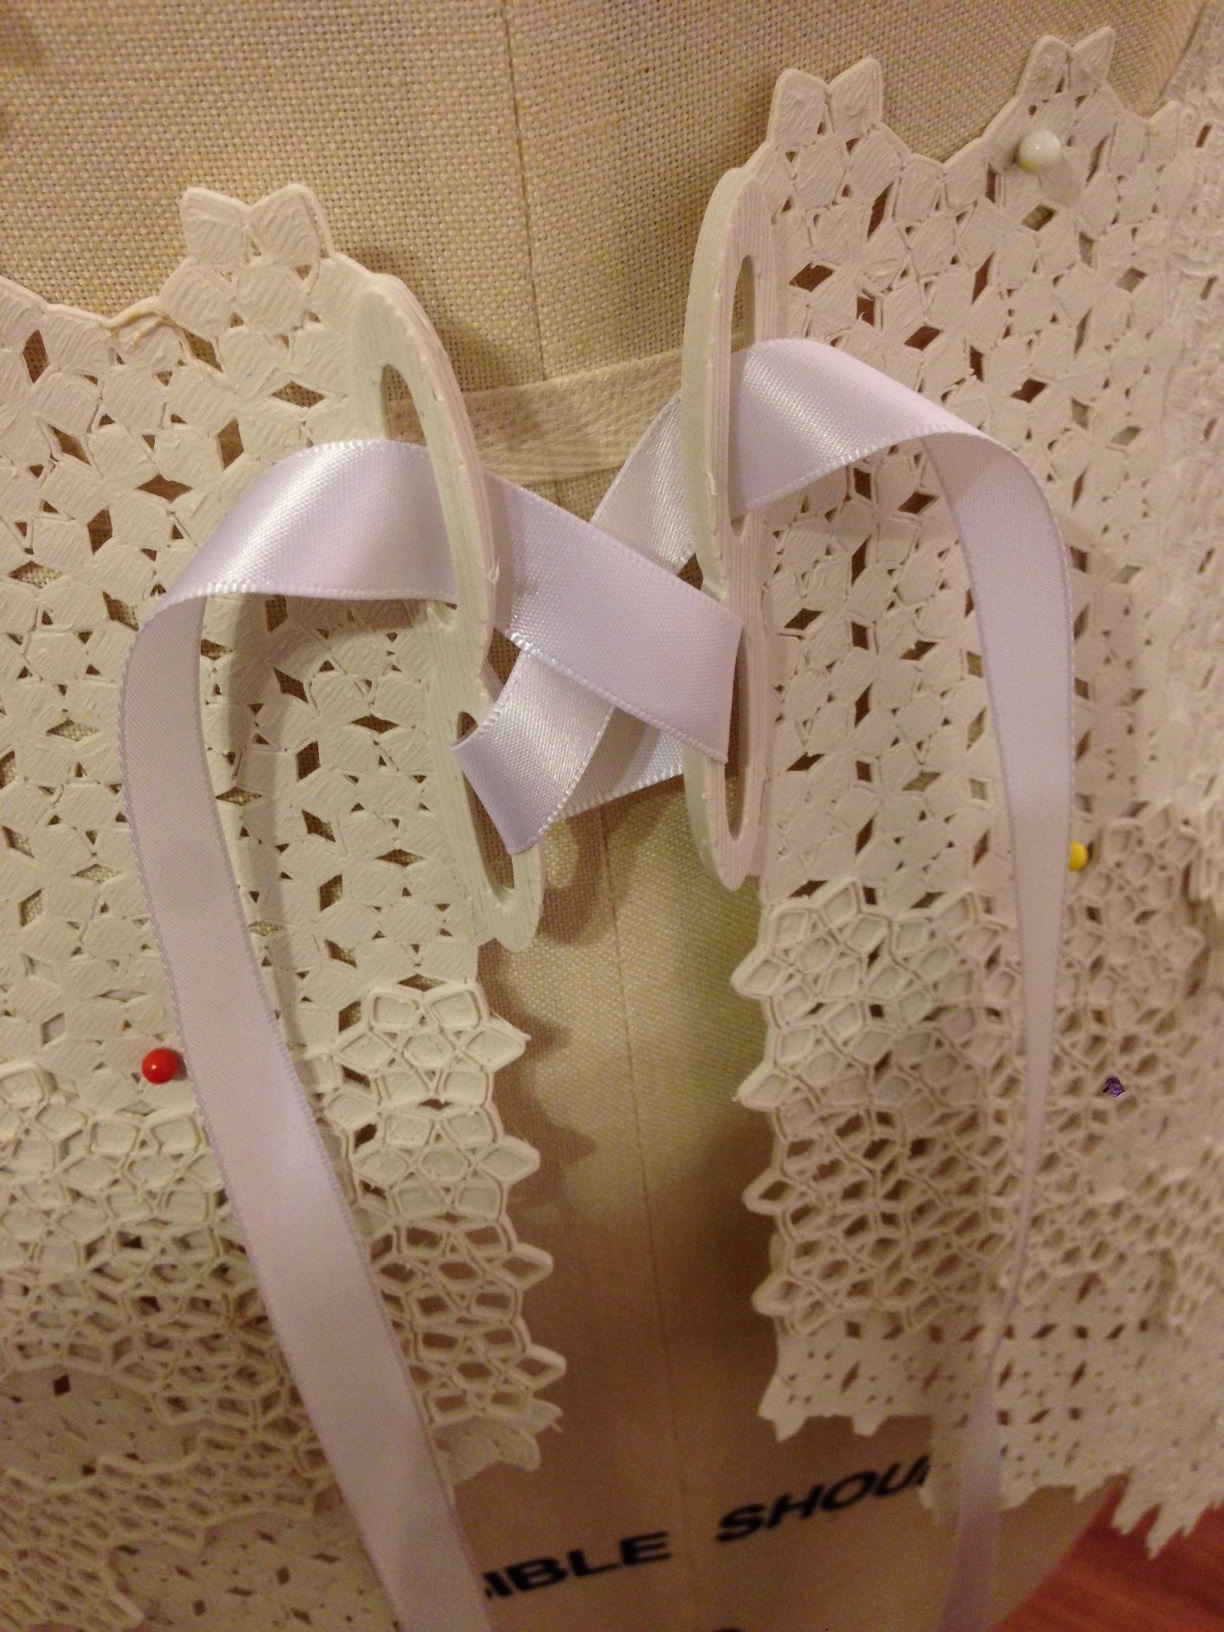
We recommend that you use a tailor's mannequin to pin the panels together on the mannequin to help guide you in placing and glueing the panels. You can also glue your panels together ontop of the mannequin, but just make sure you have some sort of protective layer so that the superglue doesn't damage your beautiful mannequin. We found using a few layers baking paper was very effective.
Take your time to piece it together.
Printing the Corset
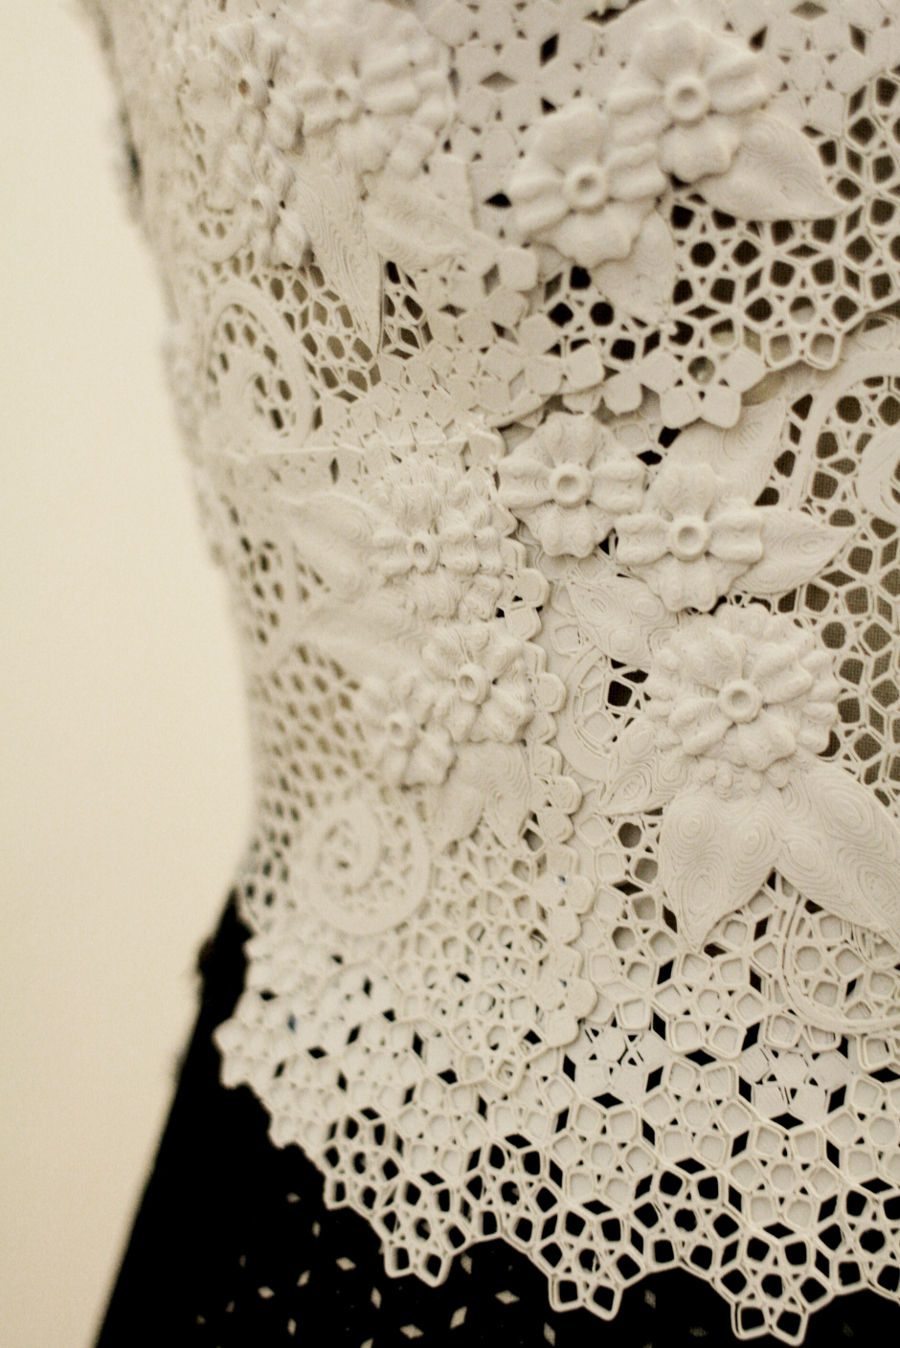
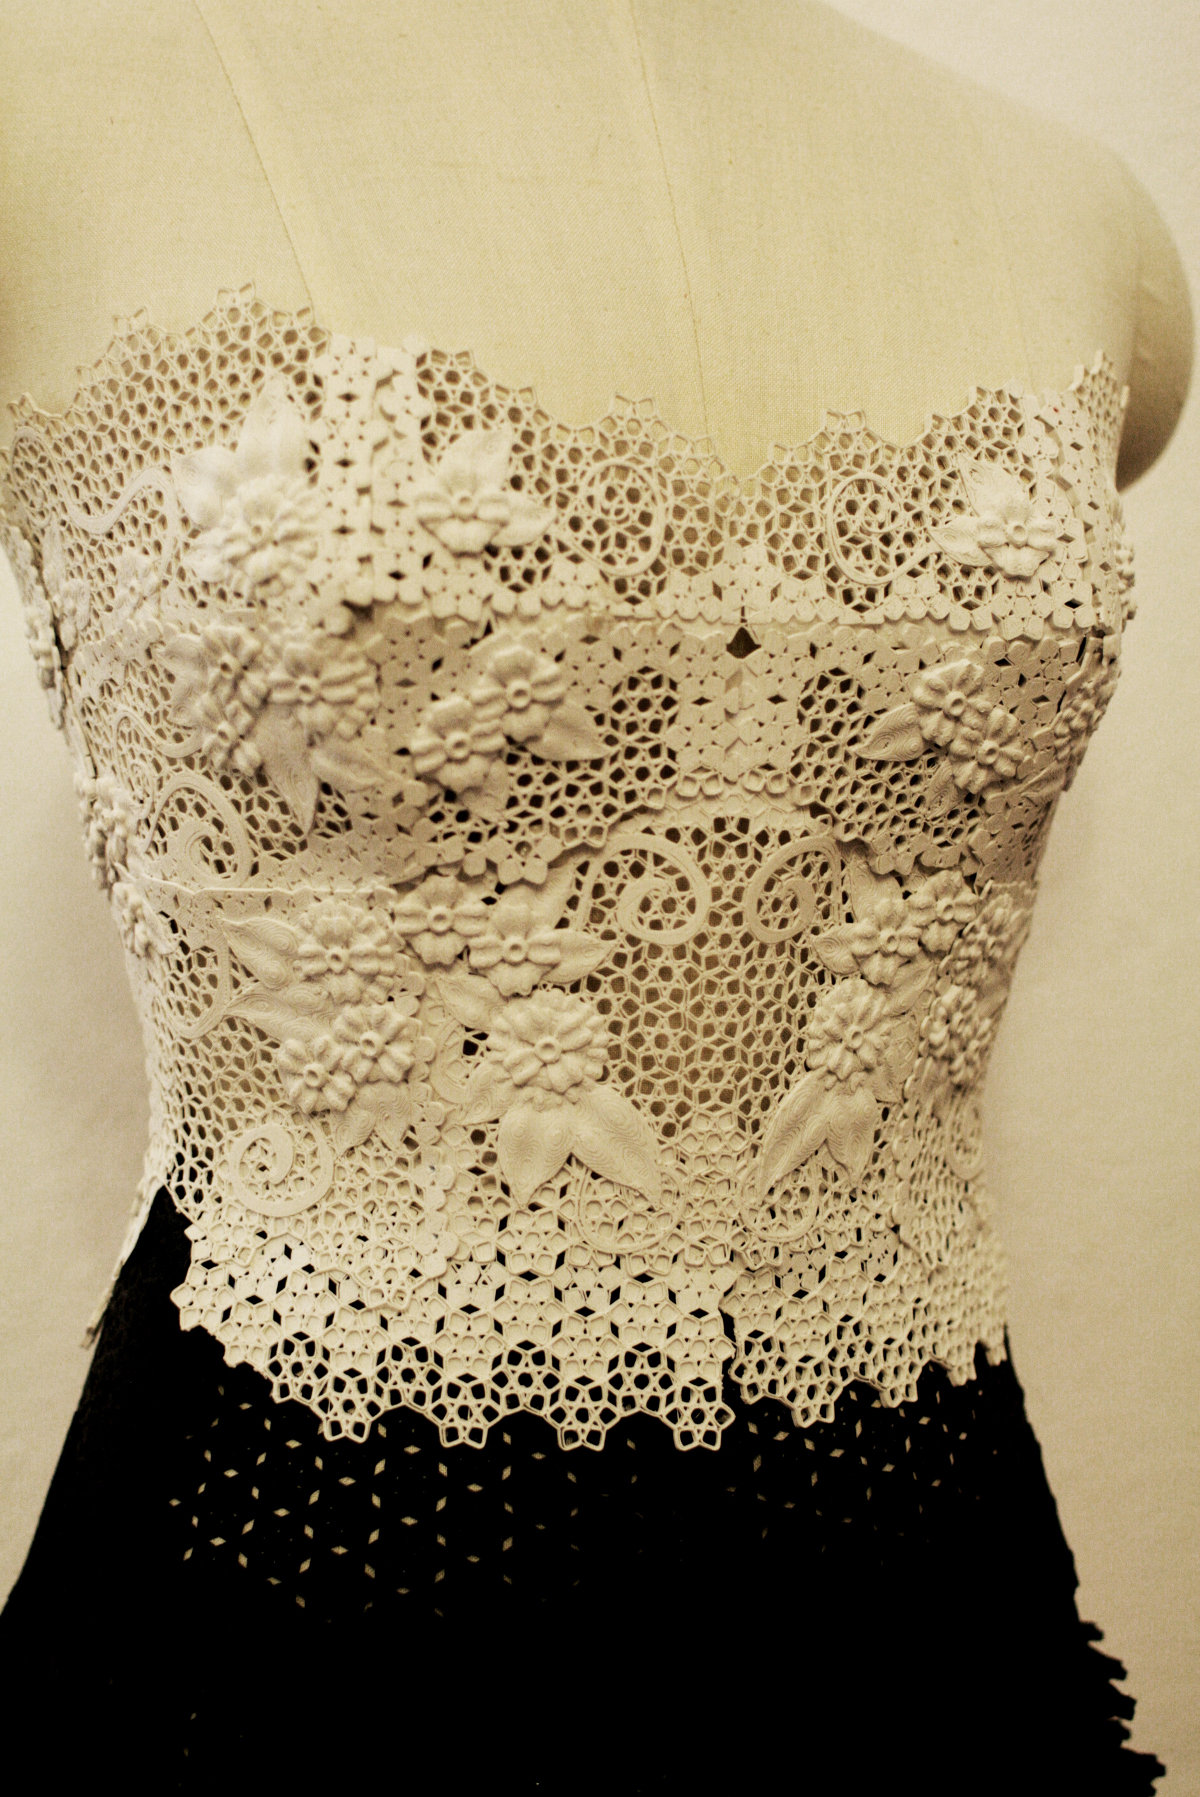
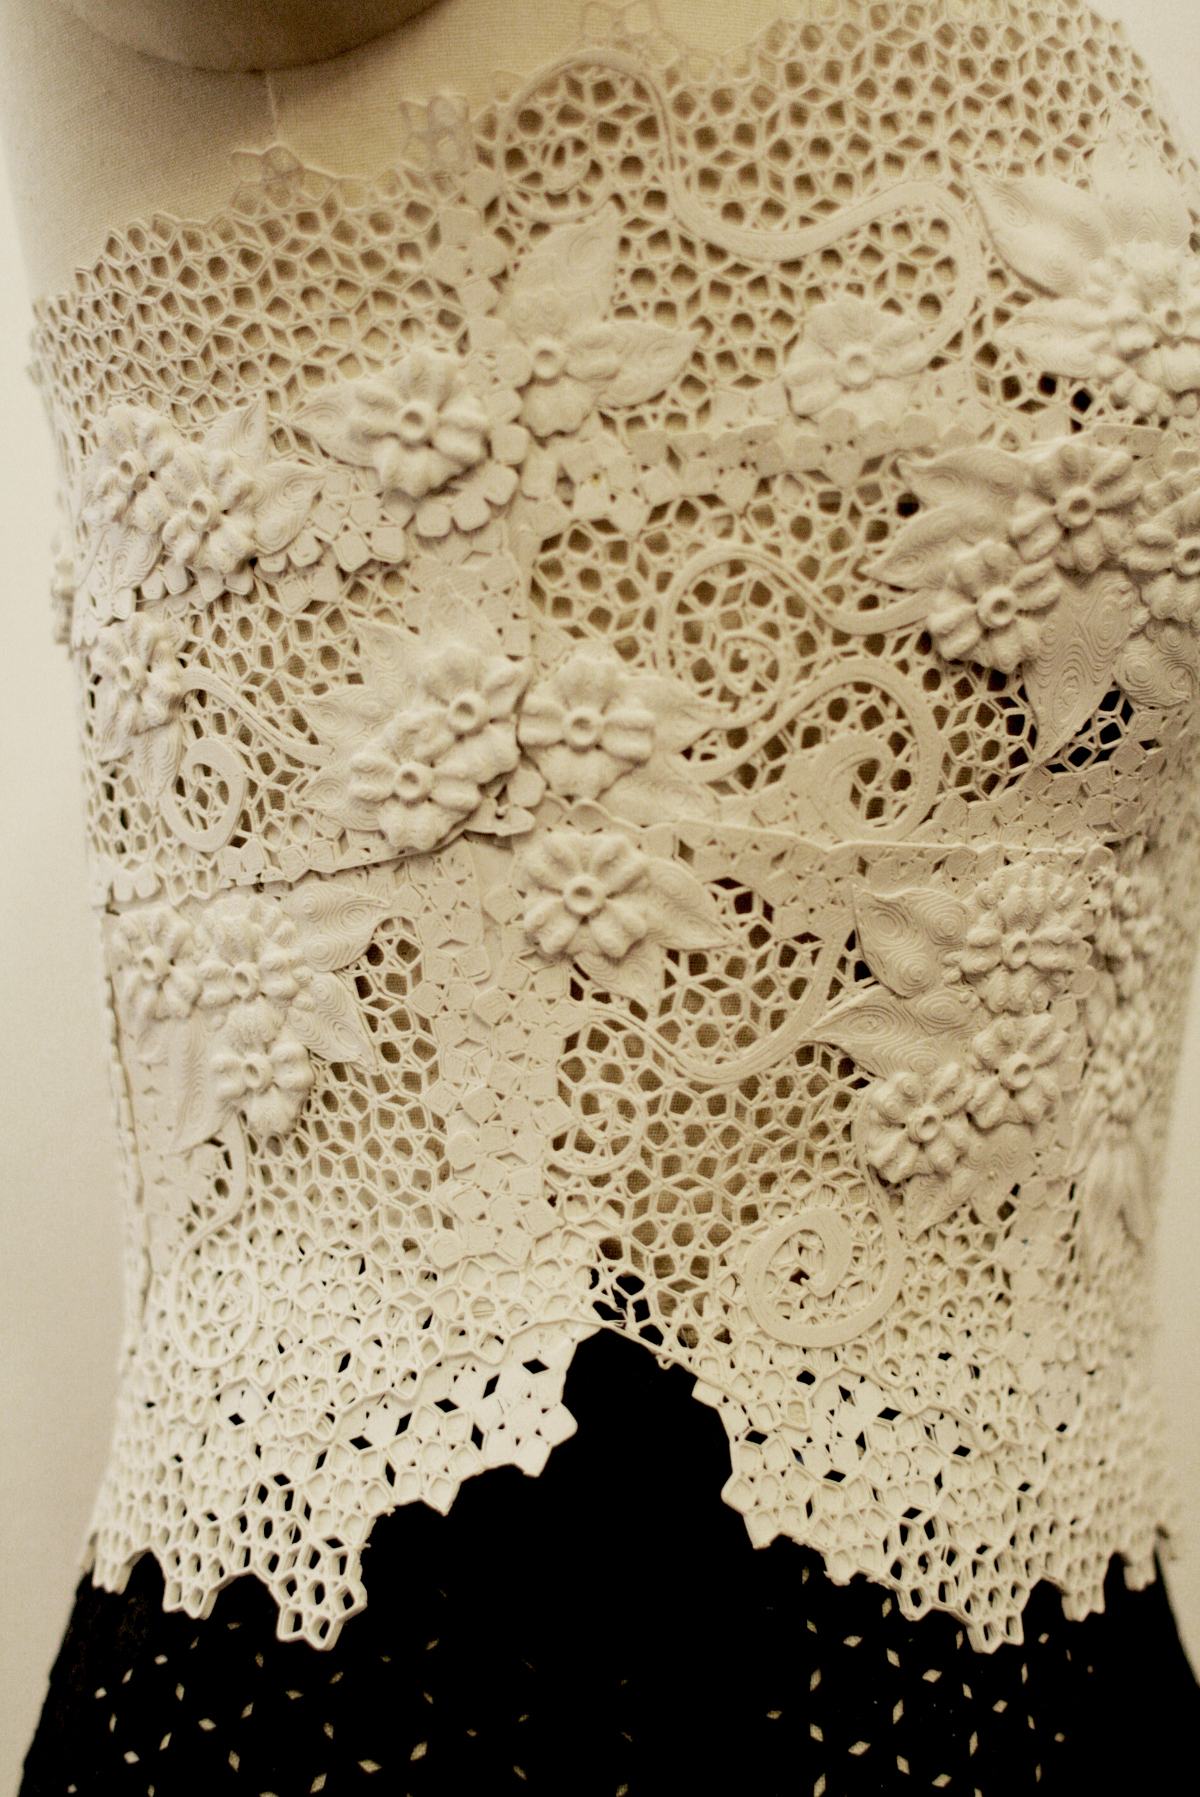
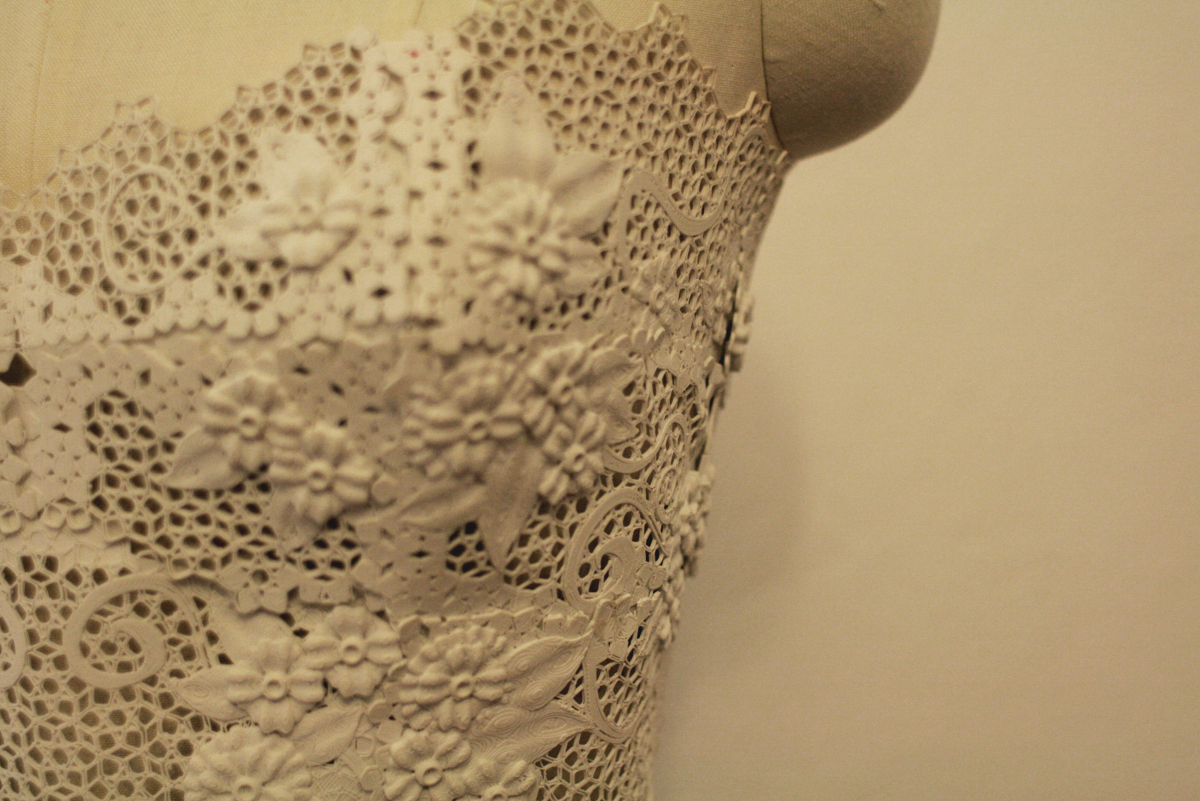
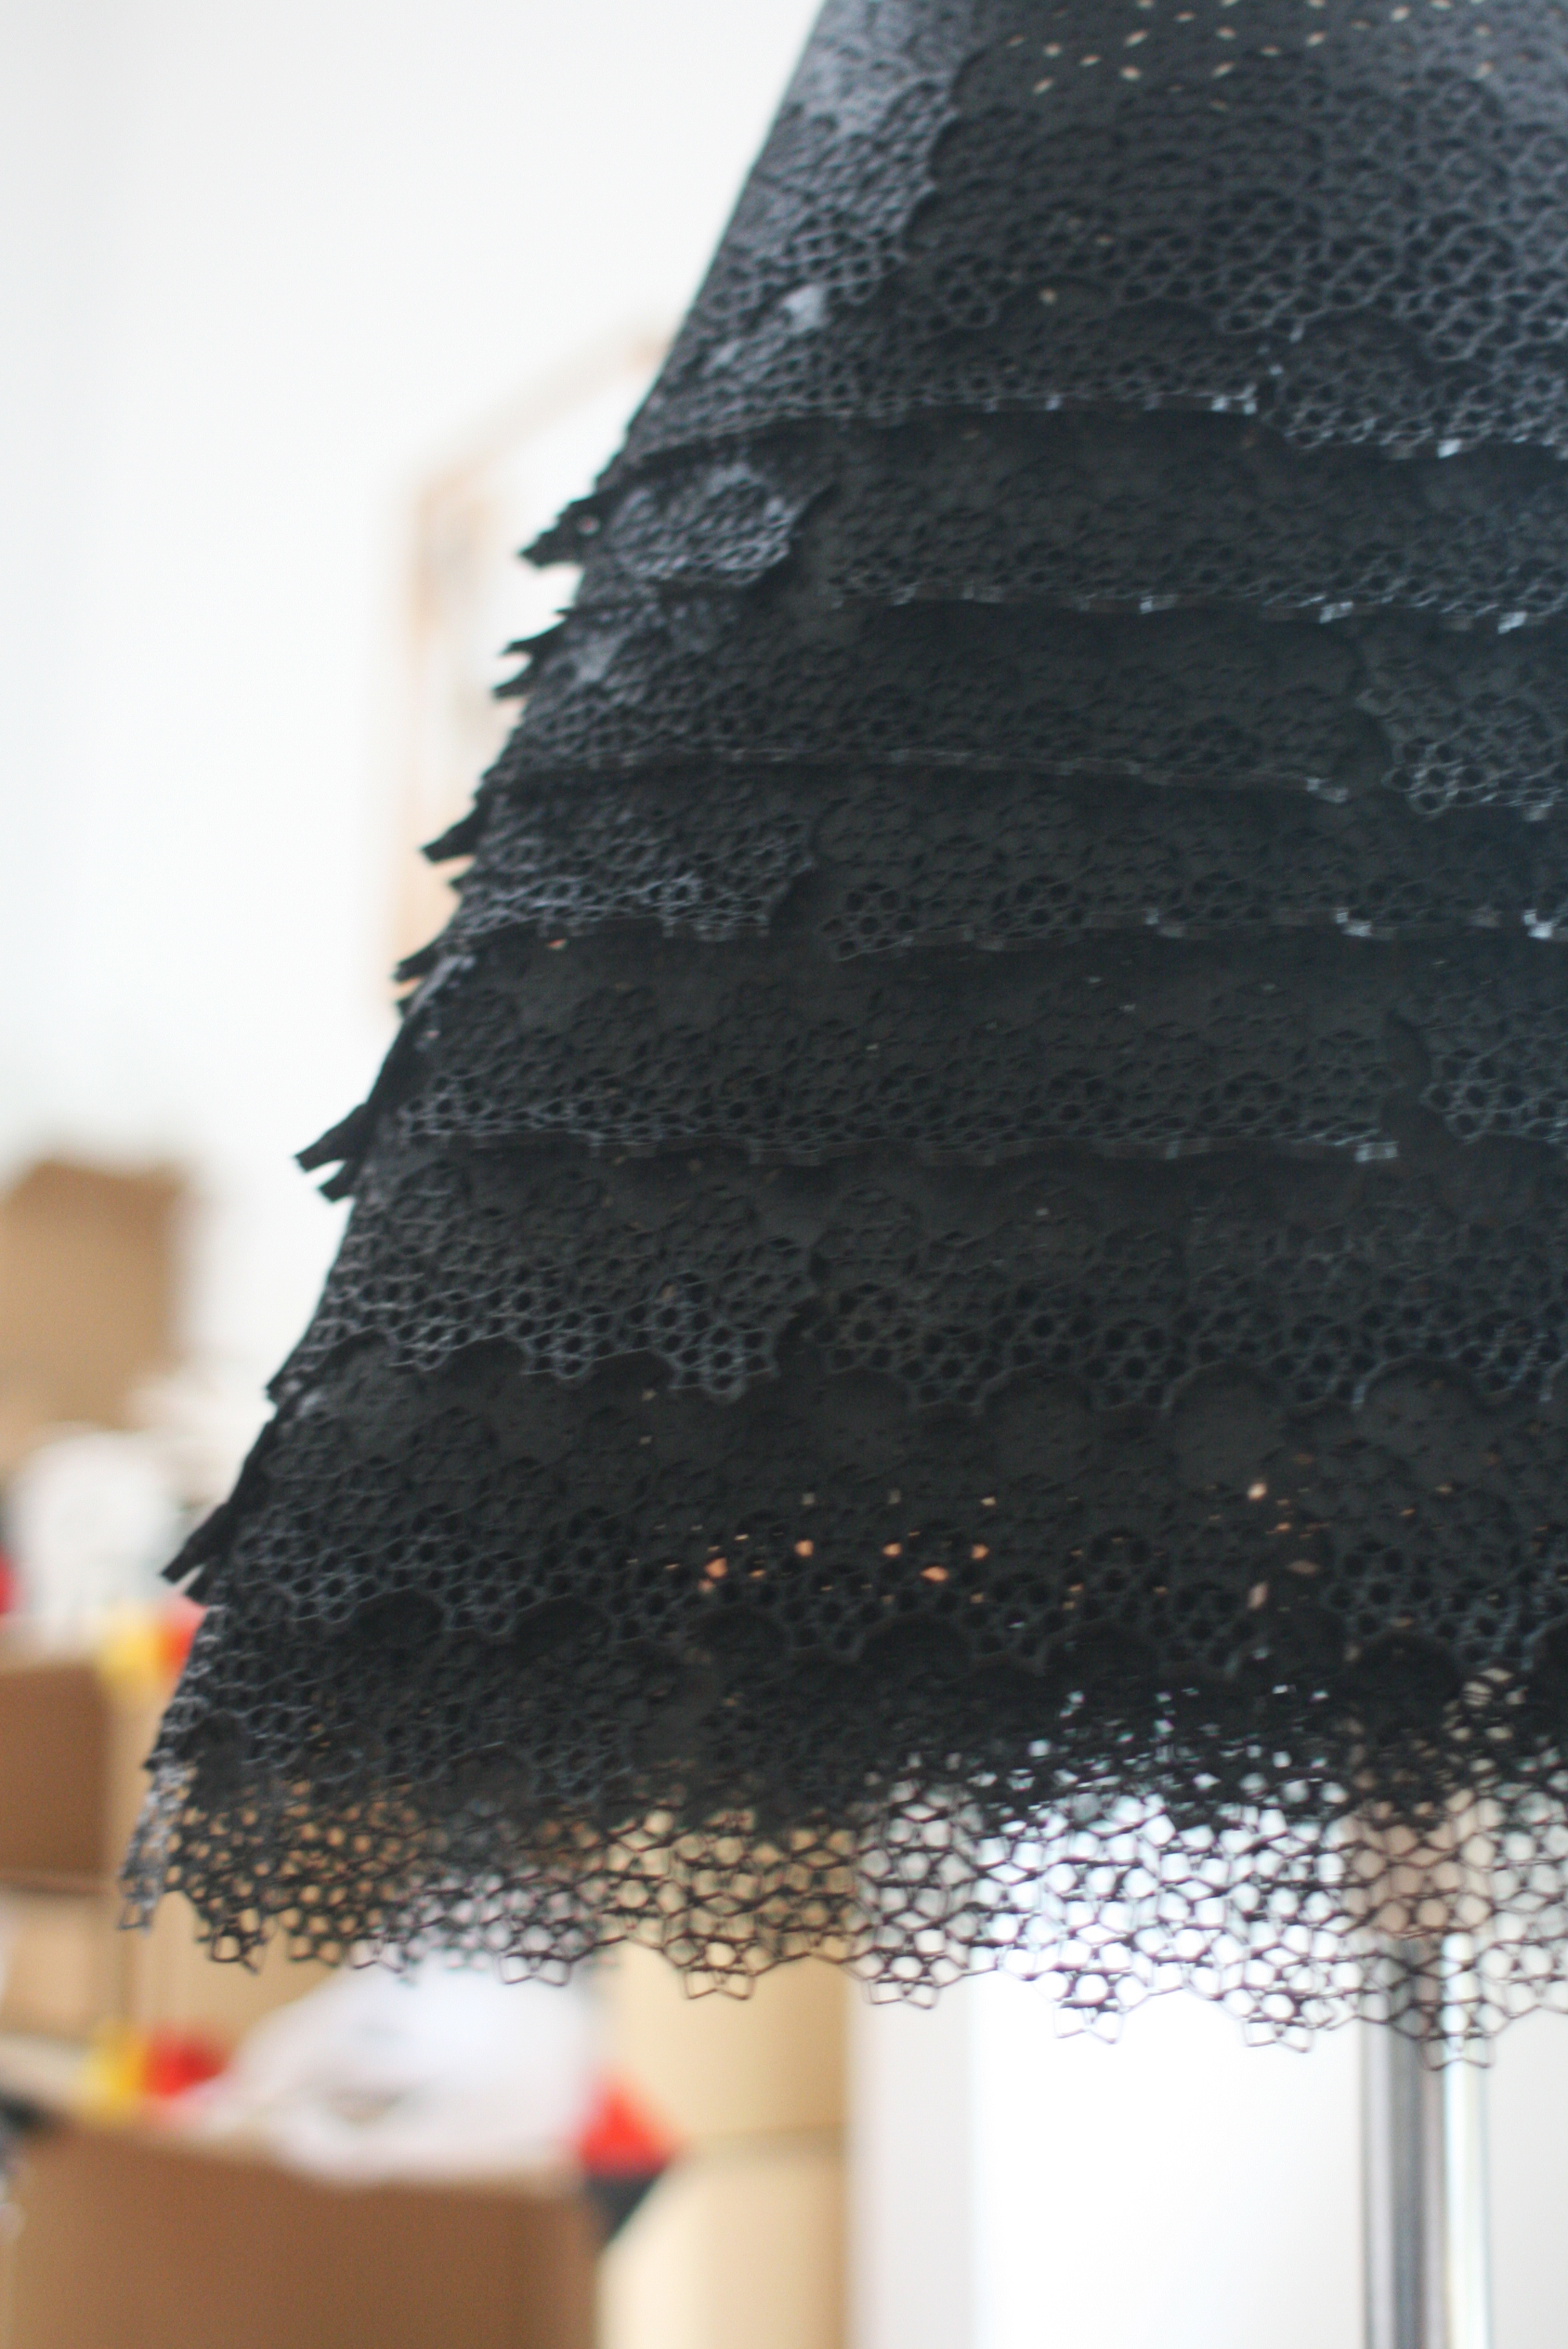
Printing the Skirt
.JPG)
Finally Printing the Train.
.JPG)
.JPG)
.JPG)
.JPG)
.JPG)

The train was perhaps the essential piece of the dress that help create the drama as our model walks down the runway. With the train. the entire look measures about 2.1m or 7 feet which is perhaps the longest 100% 3D Printed dress in the world when it was made.
The Finished 100% 3D Printed Dress.
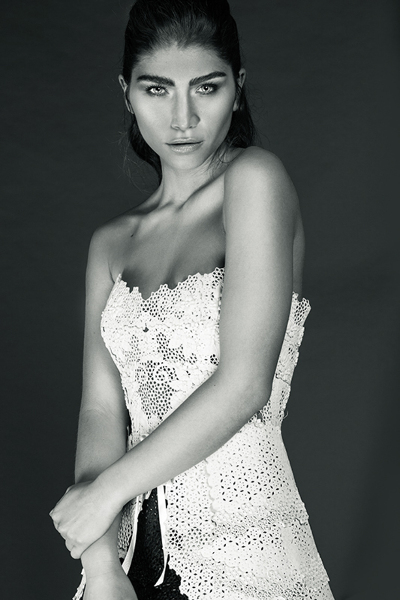
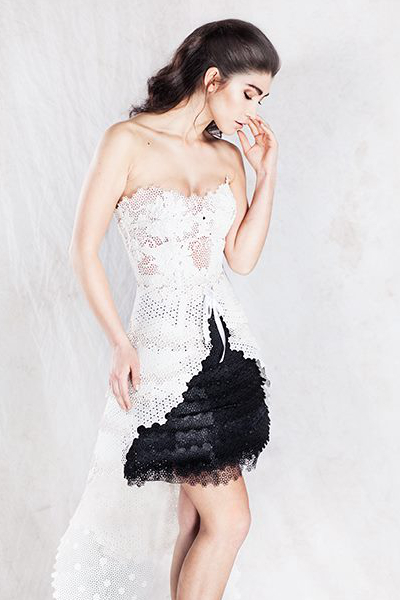
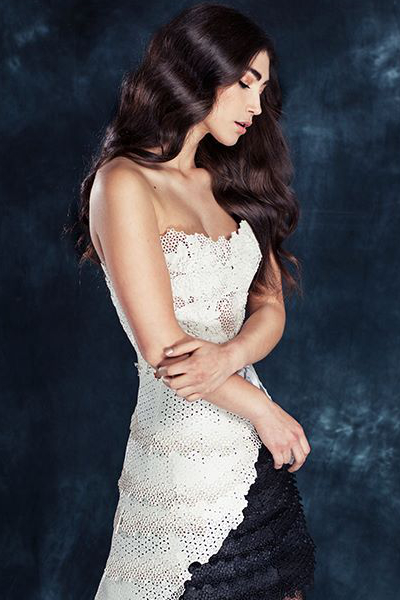
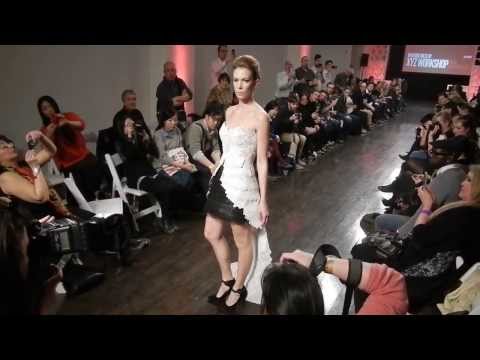
In total it took us about 191 different pattern panels stitched together to create the final look, about 450hours of printing time. The first dress we did was all printed on just a single Ultimaker original.
The dress made its debut on the catwalk at the 3D Printshow New York on 13th February 2014. We would like to thank all the people who have supported our work in particular Ultimaker and 3D Printshow.
Check our makezine's review of the fashion show.
Coincidentally, We have been nominated against some very talented designers for 3D Fashion designer of the year in the 2014 3dprintshow annual award in London this week. If you love our designs we appreciate if you cast your vote for XYZ Workshop.
Goto http://3dprintshow.com/global-awards/fashion-designer-of-the-year/ to cost your vote for 3D Fashion designer of the year.
Make sure you check out the other talented designers who are nominated.
Also look out for us on the discovery channels "How did they do it?" documentary series which will be aired towards the end of the year, which documents the whole process of creating a 3D Printed dress.
-------------------------------------------------
Photo and video credits
- 3D Printers and Filaments- Ultimaker
- Photo- www.fannyvanpoppel.com
- videographer- www.bontewas.tv
- HMUA- www.danielletrilsbeek.com
- Model- www.facebook.com/awisaawisa