Omega Onion2 OLED Screen Show IP and LAN Name
by masteruan in Circuits > Microcontrollers
2410 Views, 8 Favorites, 0 Comments
Omega Onion2 OLED Screen Show IP and LAN Name
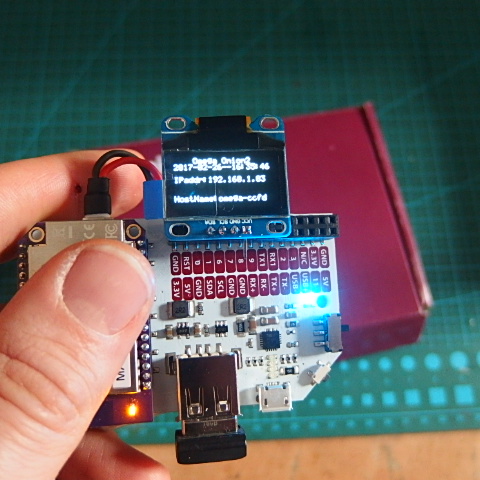
I have an Omega Onion2. I use also the Power Dock. With Power Dock, you can use Onion Omega2 with USB cable or little LiPo Battery. I saw OLED display, but I want I use a normal i2c OLED screen to show the ip and the name of my omega Onion2. The Omega Onion2 have a little screen module. I use this simple i2c OLED screen available on Amazon. The screen is completely supported by the Omega Onion2. I can use it also with the integrated Omega Onion2 console.
The screen can show text or graphic. You can use the Onion Omega2 console to use this with the integrated module. Type the text or put the image on the screen and see appear it on it after a second.
If you want you can install the OLED widget and play with the screen!
Recommendations
First of all the steps, you must connect the Omega Onion2 to your LAN and Internet. You can use this tutorial for getting Started with The Omega Onion2.
See the Official Wiki Page:
Connect the Screen to the Onion Omega2
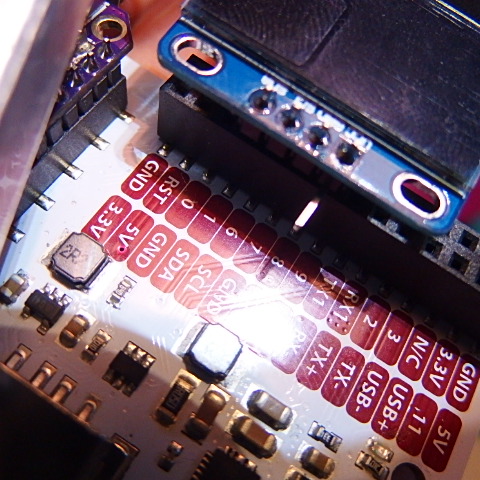
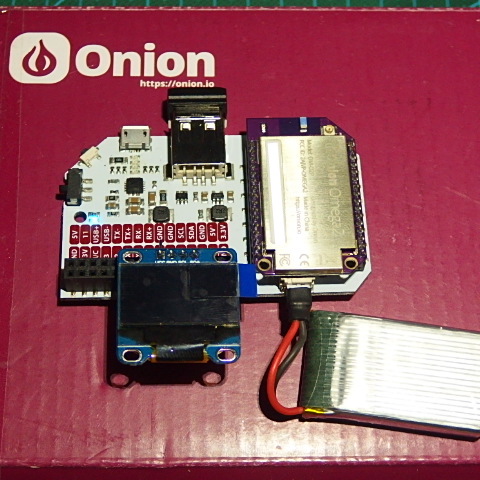
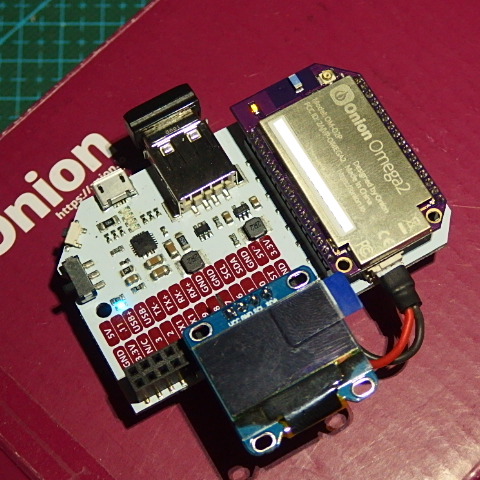
I use this little OLED screen available on Amazon. The screen has an i2c connection and a backlight led. You can use this also like a graphic screen.
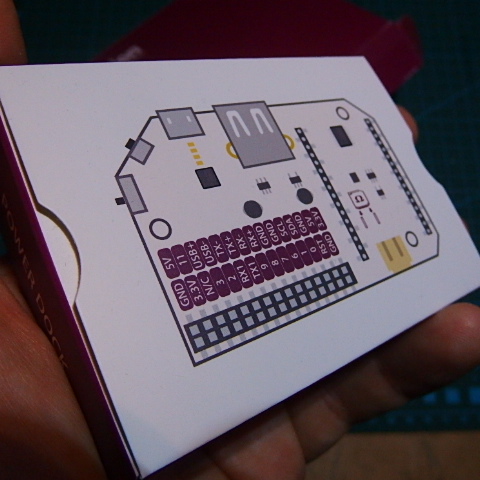
You can connect the screen to the SDA and SCL Onion's pins. You must connect also the GND pin.
Install Python on Omega2
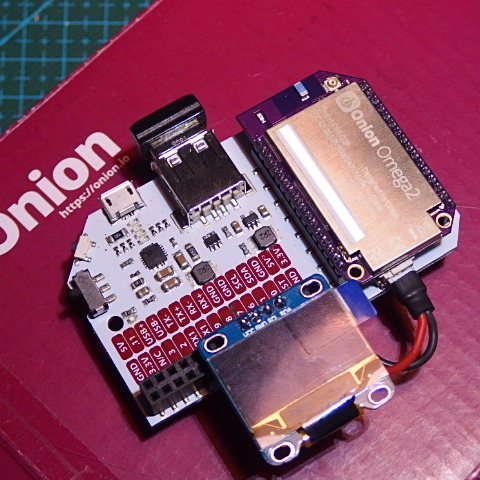
If you want use my Python script, you must install Python on your Omega2.
Python has many dependencies and modules. You must expand the memory of your Omega2. You can For this follow the official wiki: USB storage as Rootfs. (https://wiki.onion.io/Tutorials/Using-USB-Storage-...)
After this step install Python on Omega Onion2:
opkg update
opkg install python-light
This step install the light version of python. If you want use the full version of Python you must digit:
opkg update
opkg install python
Write the Code and Start the Script
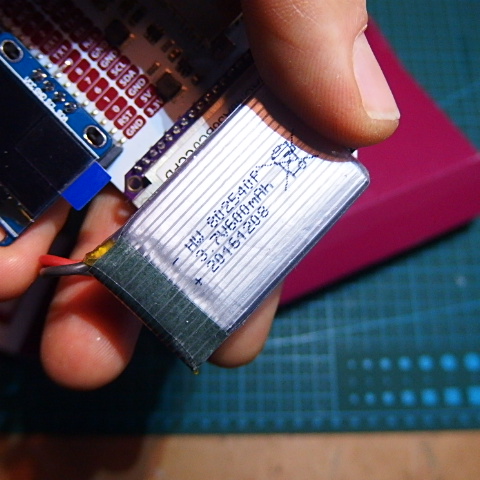
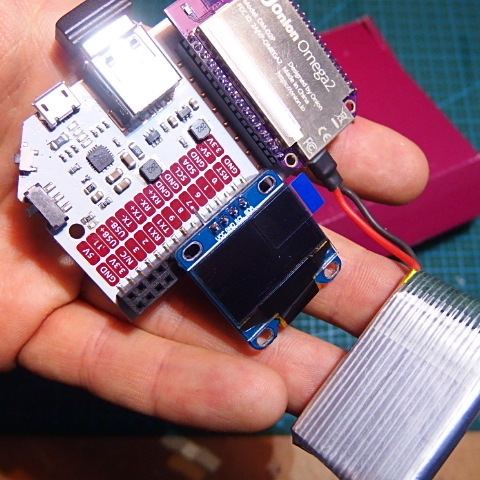
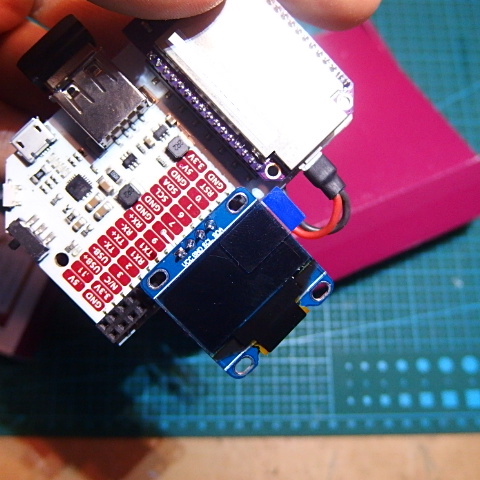
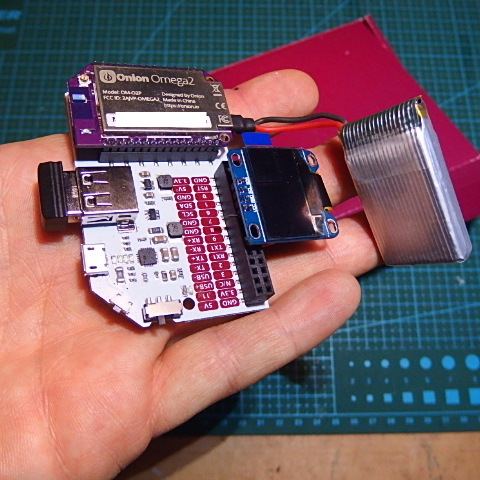
I use nano editor for write my program on Onion Omega.
Type:
opkg install nano
The first file has the name "date_script.py". You can type:
nano date_script.py
After this, in nano editor, you can paste this code:
import datetime
import time
today = datetime.date.today()
time = (time.strftime("%H:%M:%S"))
print str(today)+"--"+time
The second file is "host_script.py"
nano host_script.py
Paste this code in the nano editor
import socket
hostName=socket.gethostname() print 'HostName:' + hostName
The third file is "ip_script.py"
nano ip_script.py
Paste this code in the nano editor:
import socket
s = socket.socket(socket.AF_INET, socket.SOCK_DGRAM)
s.connect(('google.com', 0))
print 'IPaddr:' + s.getsockname()[0]
The last file is stock.sh.
nano stock.sh
and paste this code in the nano editor:
#!/bin/sh
oled-exp -c
#echo $1 > /root/ticker.txt
VAR1=$(python ./ip_script.py)
VAR2=$(python ./host_script.py)
VAR3=$(python ./date_script.py)
oled-exp -i
oled-exp cursor 0,4 write 'Omega Onion2'
oled-exp cursor 3,0 write $VAR1
oled-exp cursor 6,0 write $VAR2
oled-exp cursor 1,0 write $VAR3
Type the Stock Command
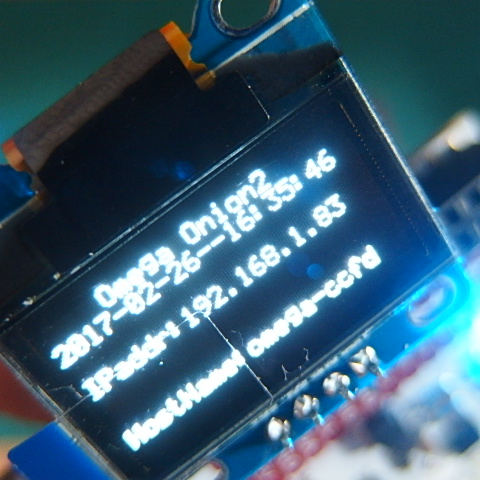
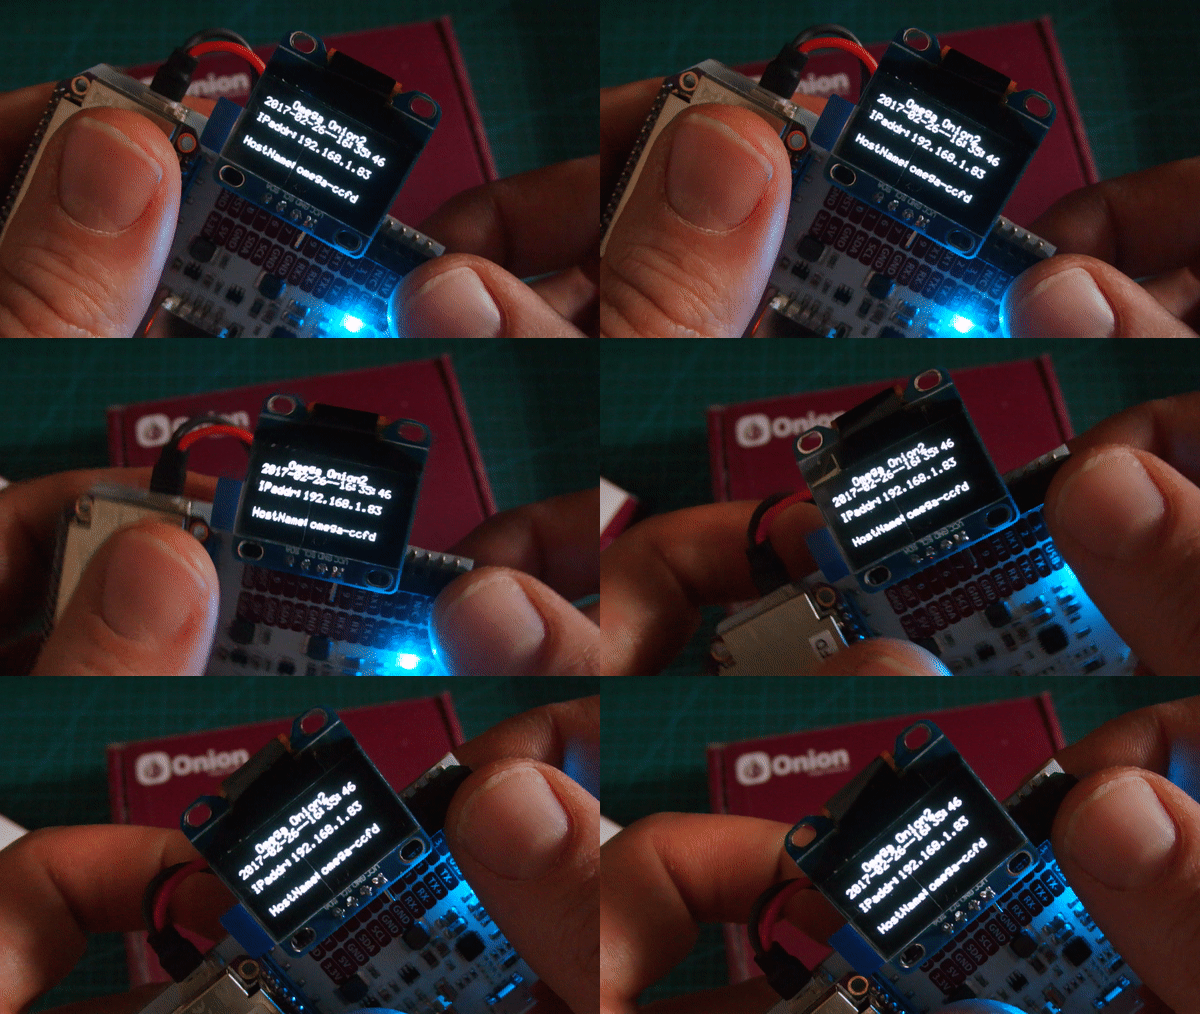
To run the project you must type .\stock.sh in the shell
.\stock.sh
You can see the
Omega Onion2
Date - Time
Ip Address
Host Name
Now after the start Omega Onion giving you the own ip address and the own hostname.