Olson Mask for PPE With Optional Filter Pocket
by erickajames in Craft > Sewing
409574 Views, 409 Favorites, 0 Comments
Olson Mask for PPE With Optional Filter Pocket
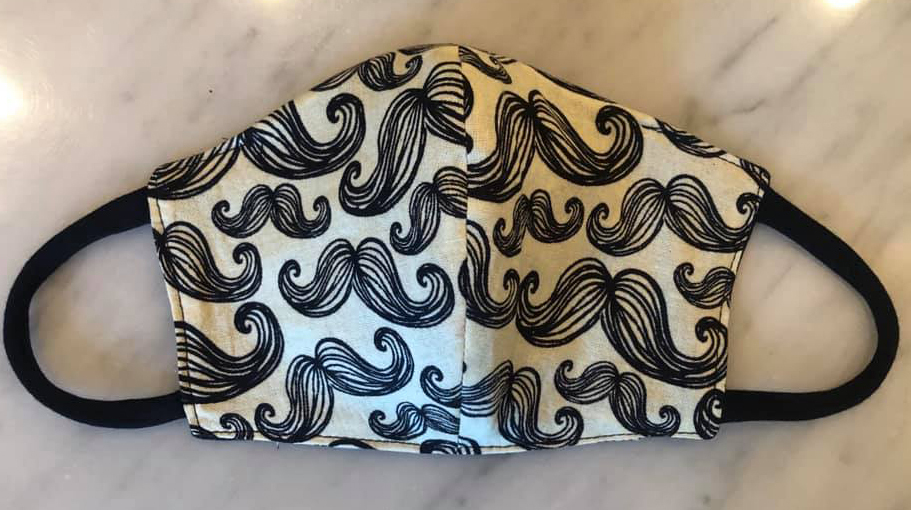
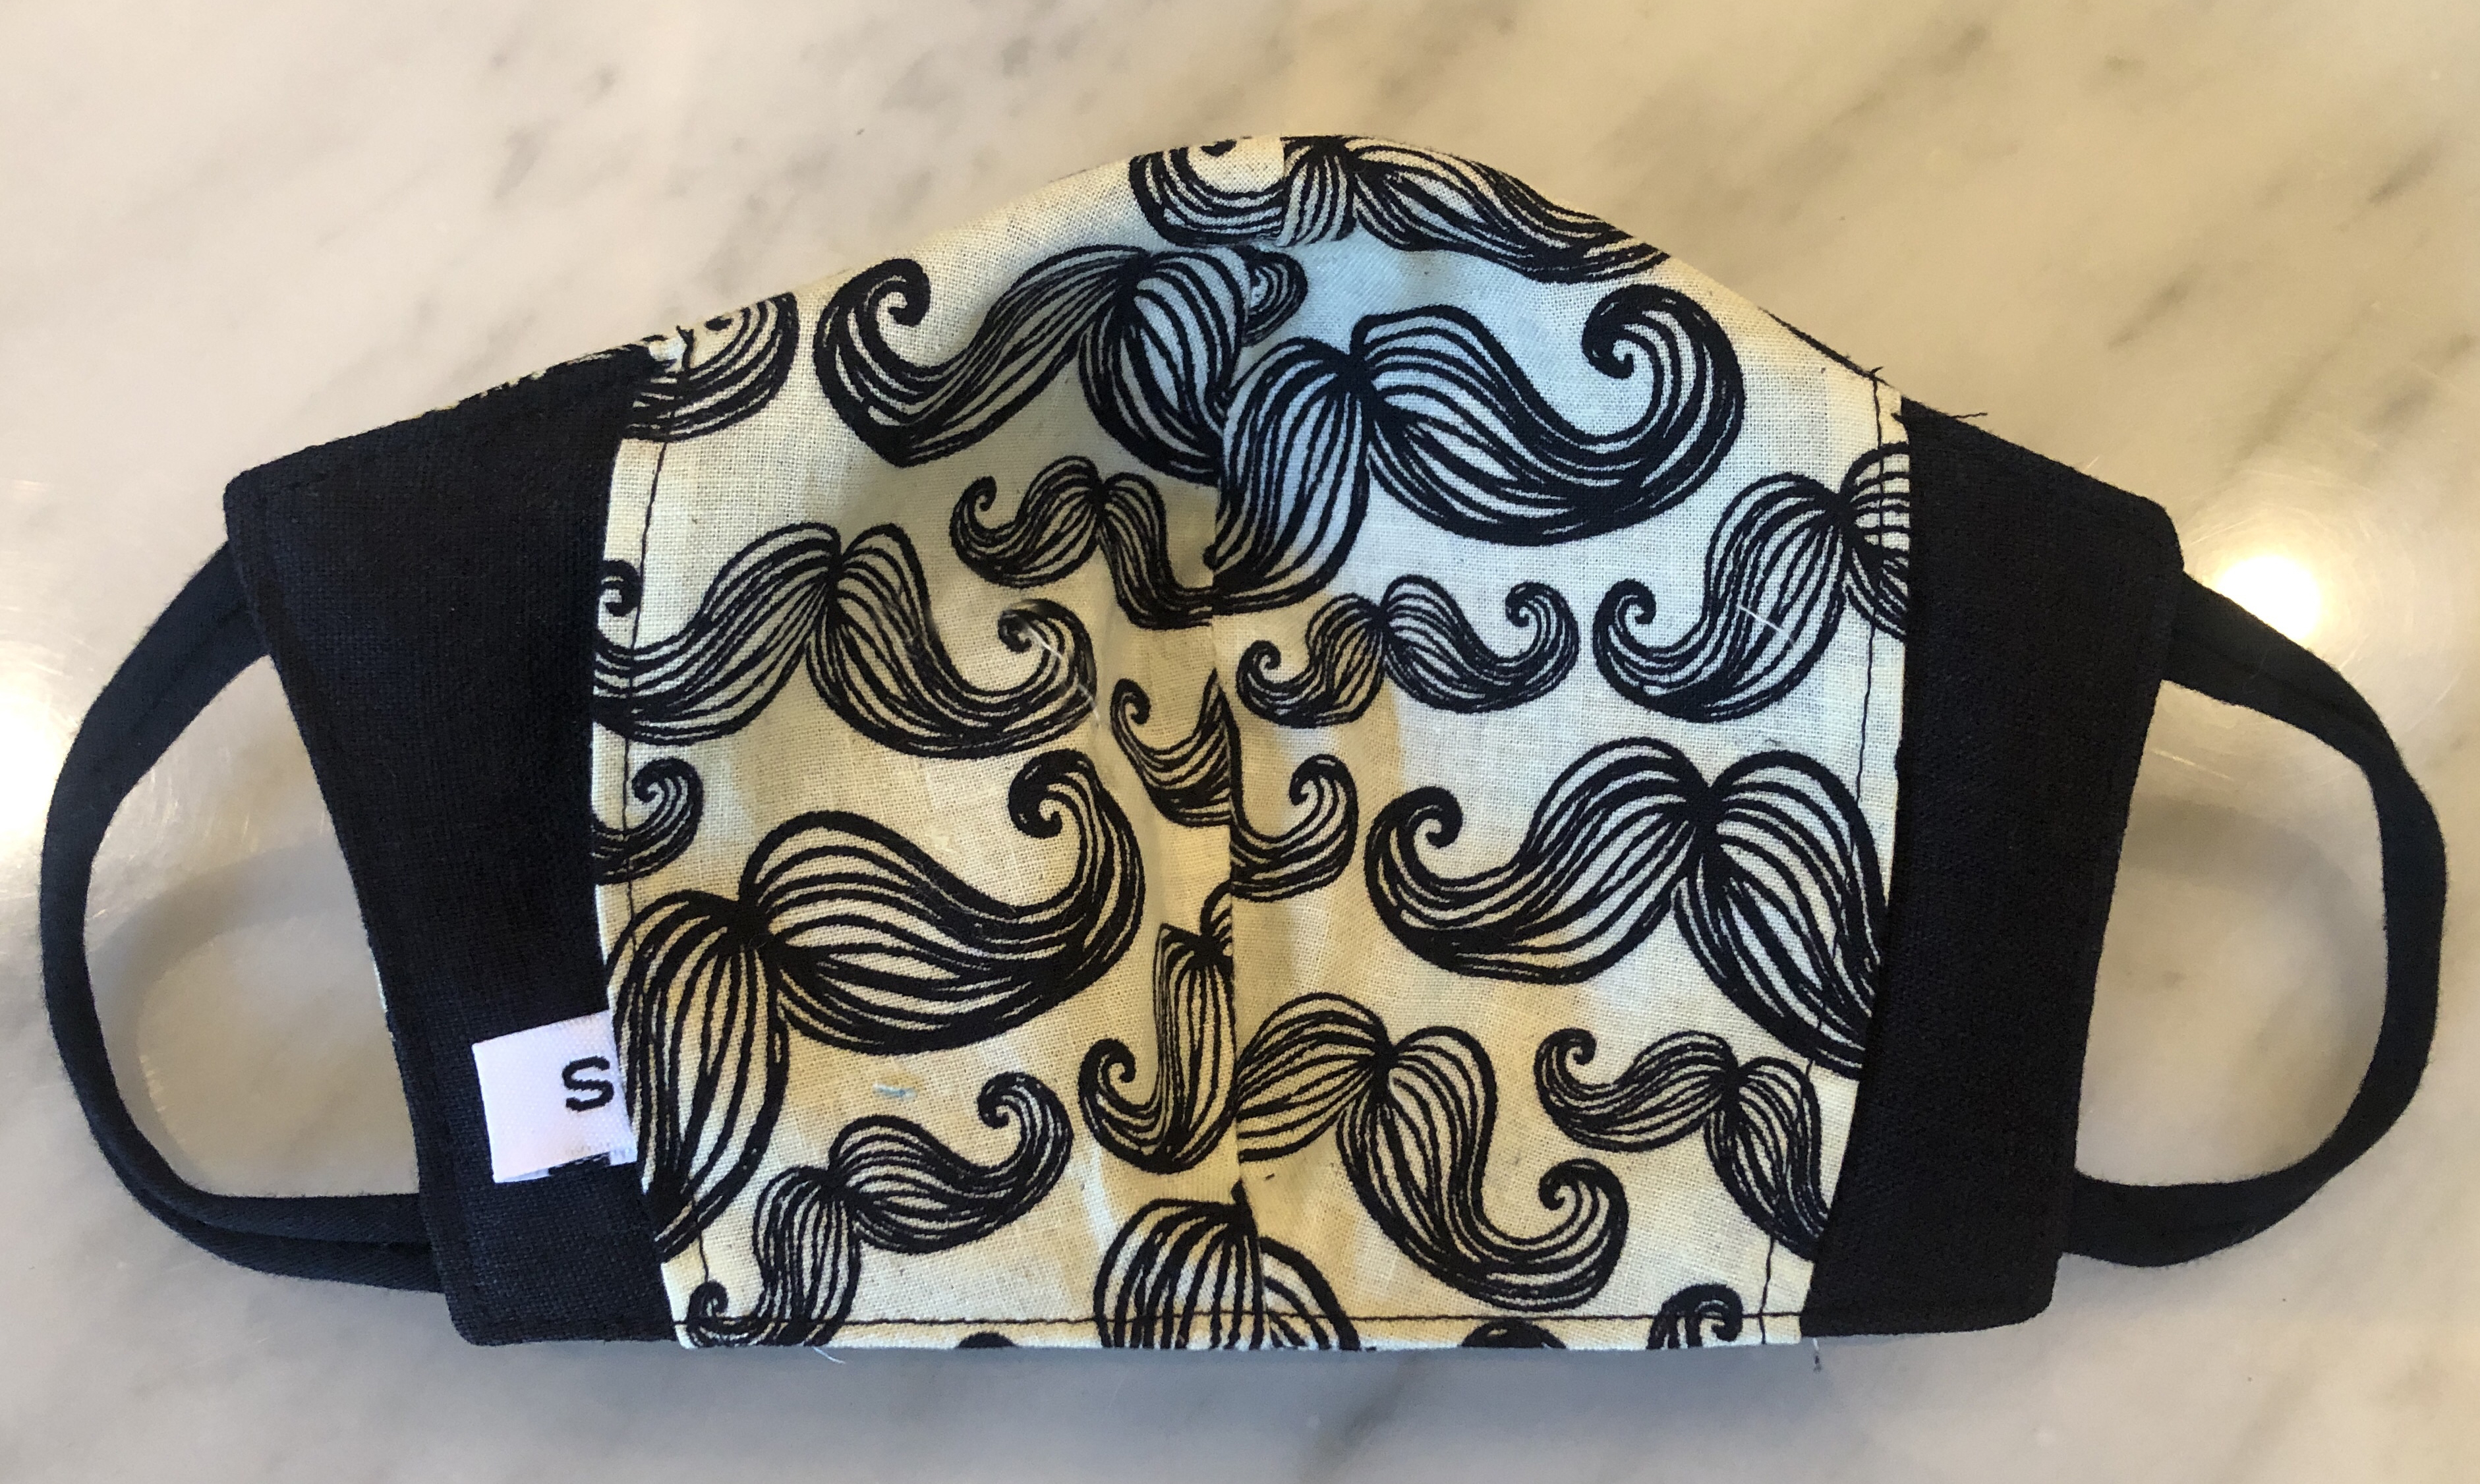
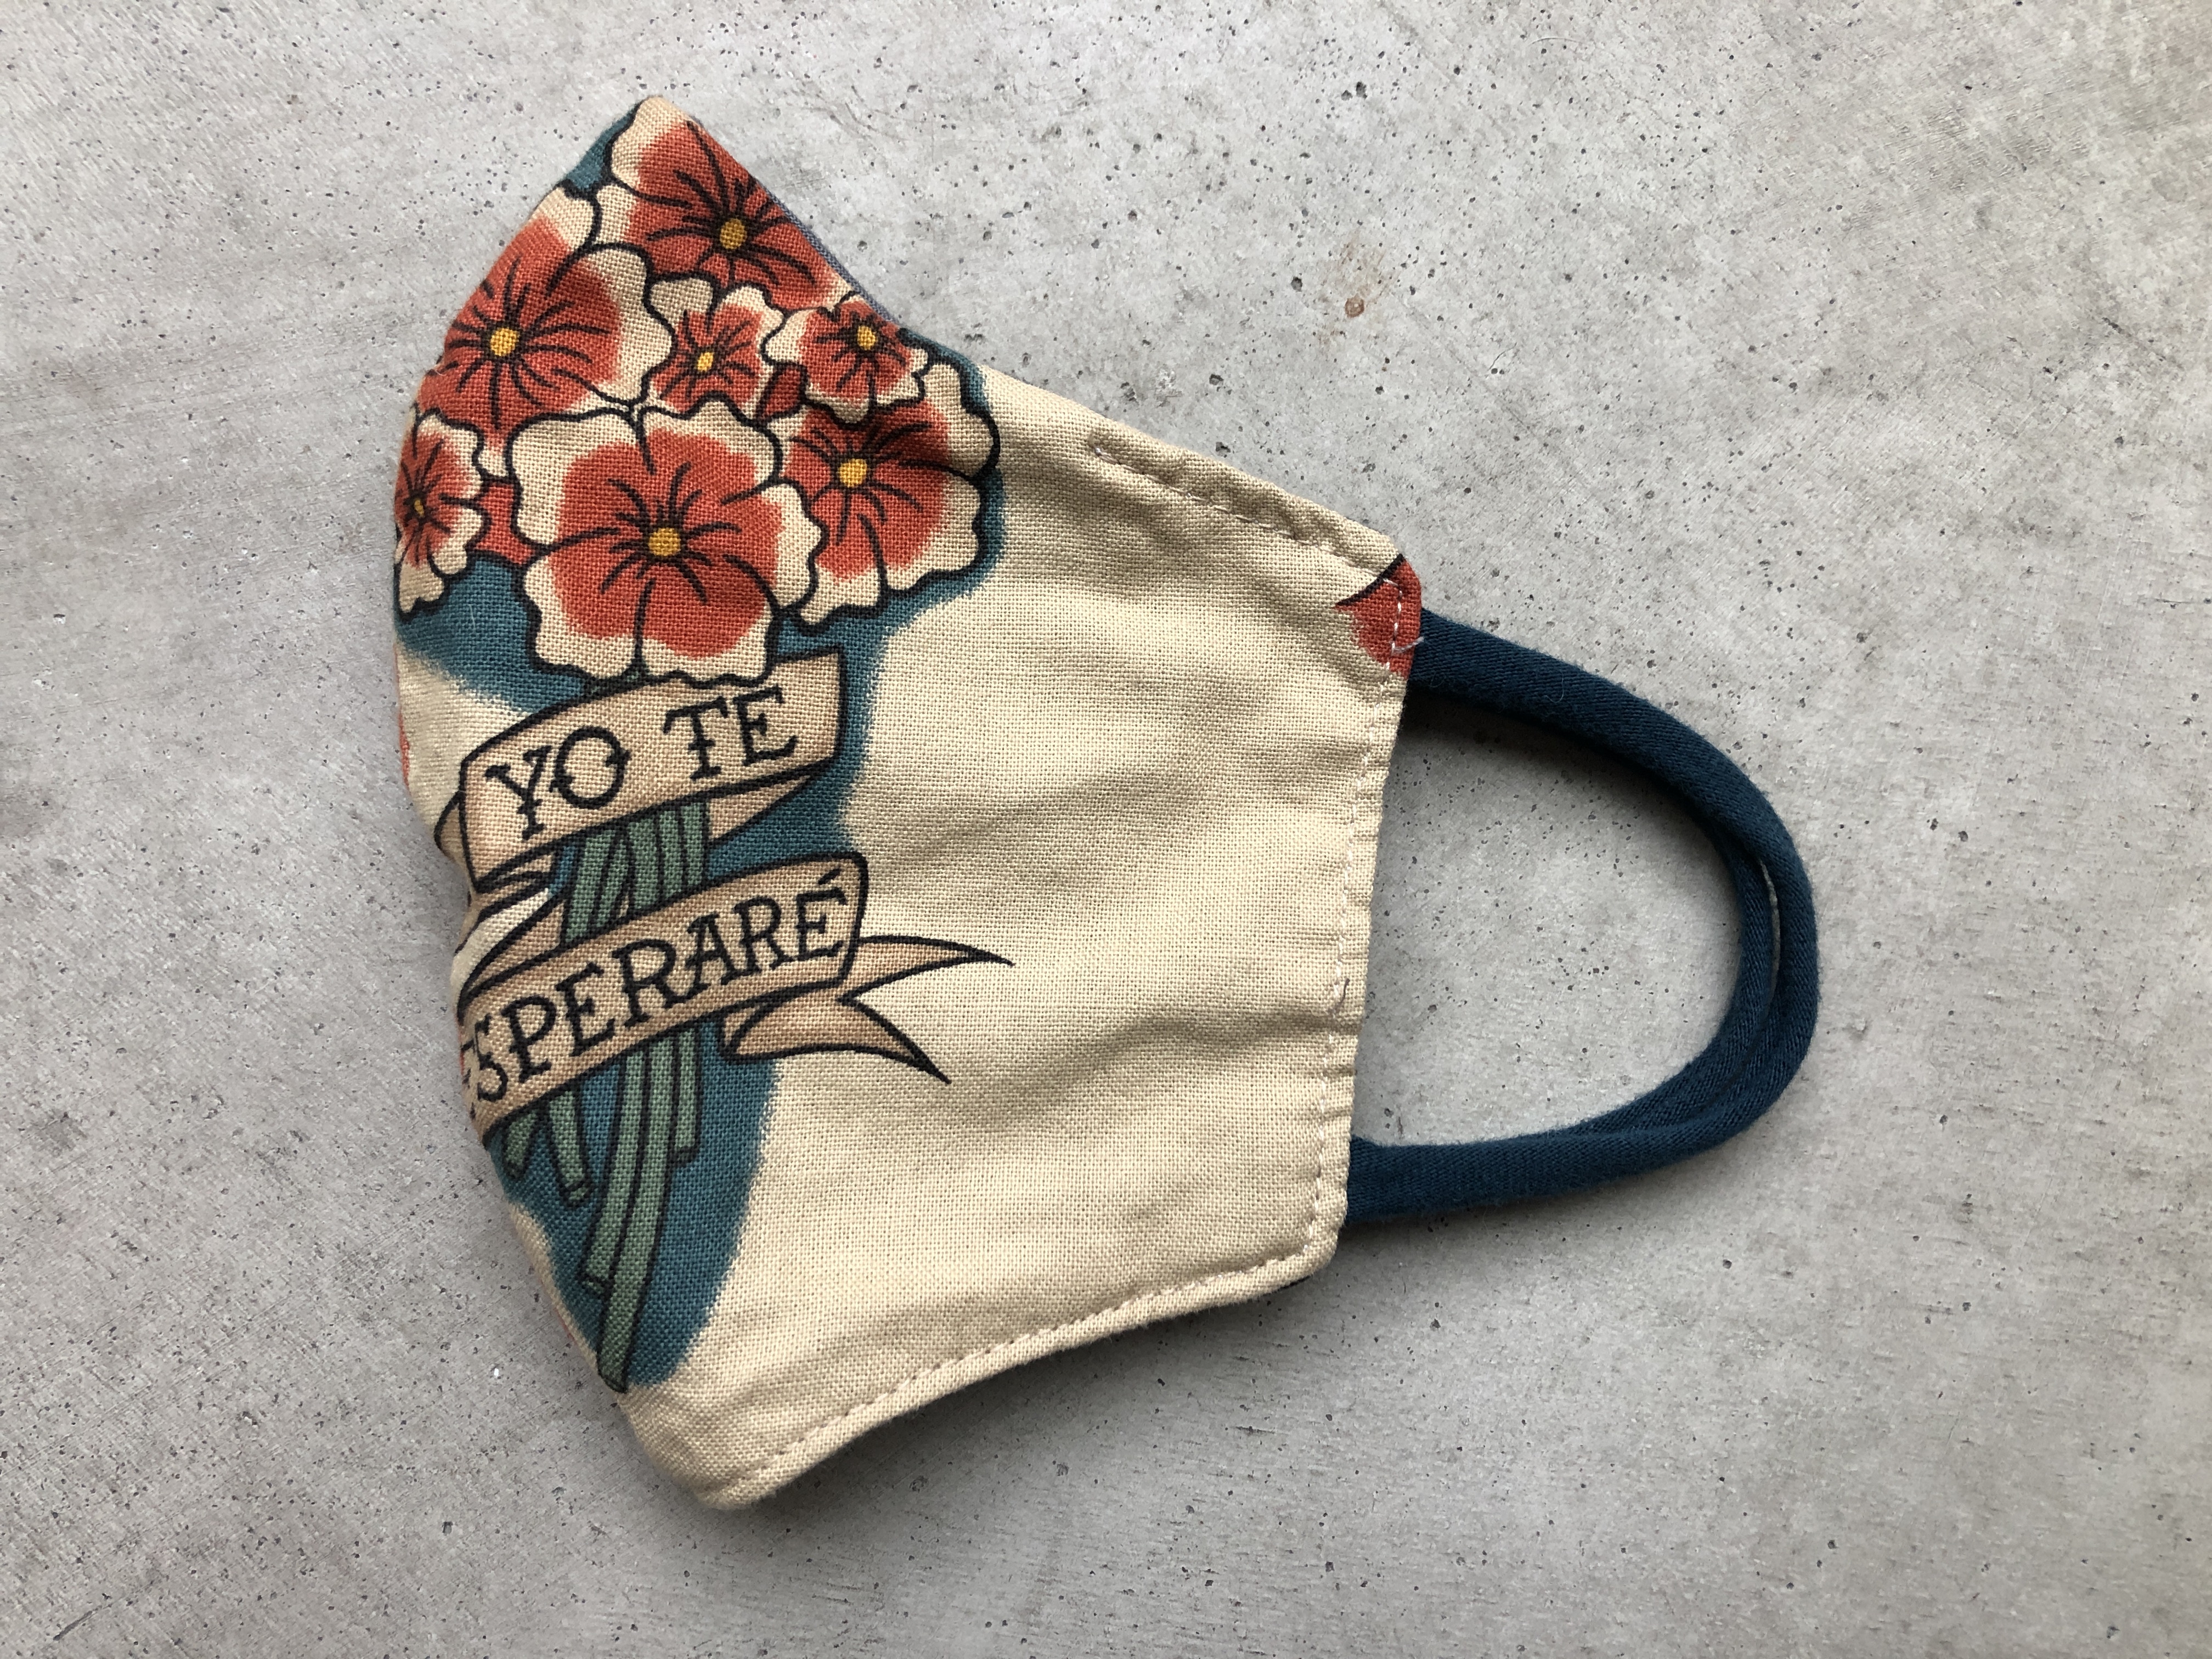
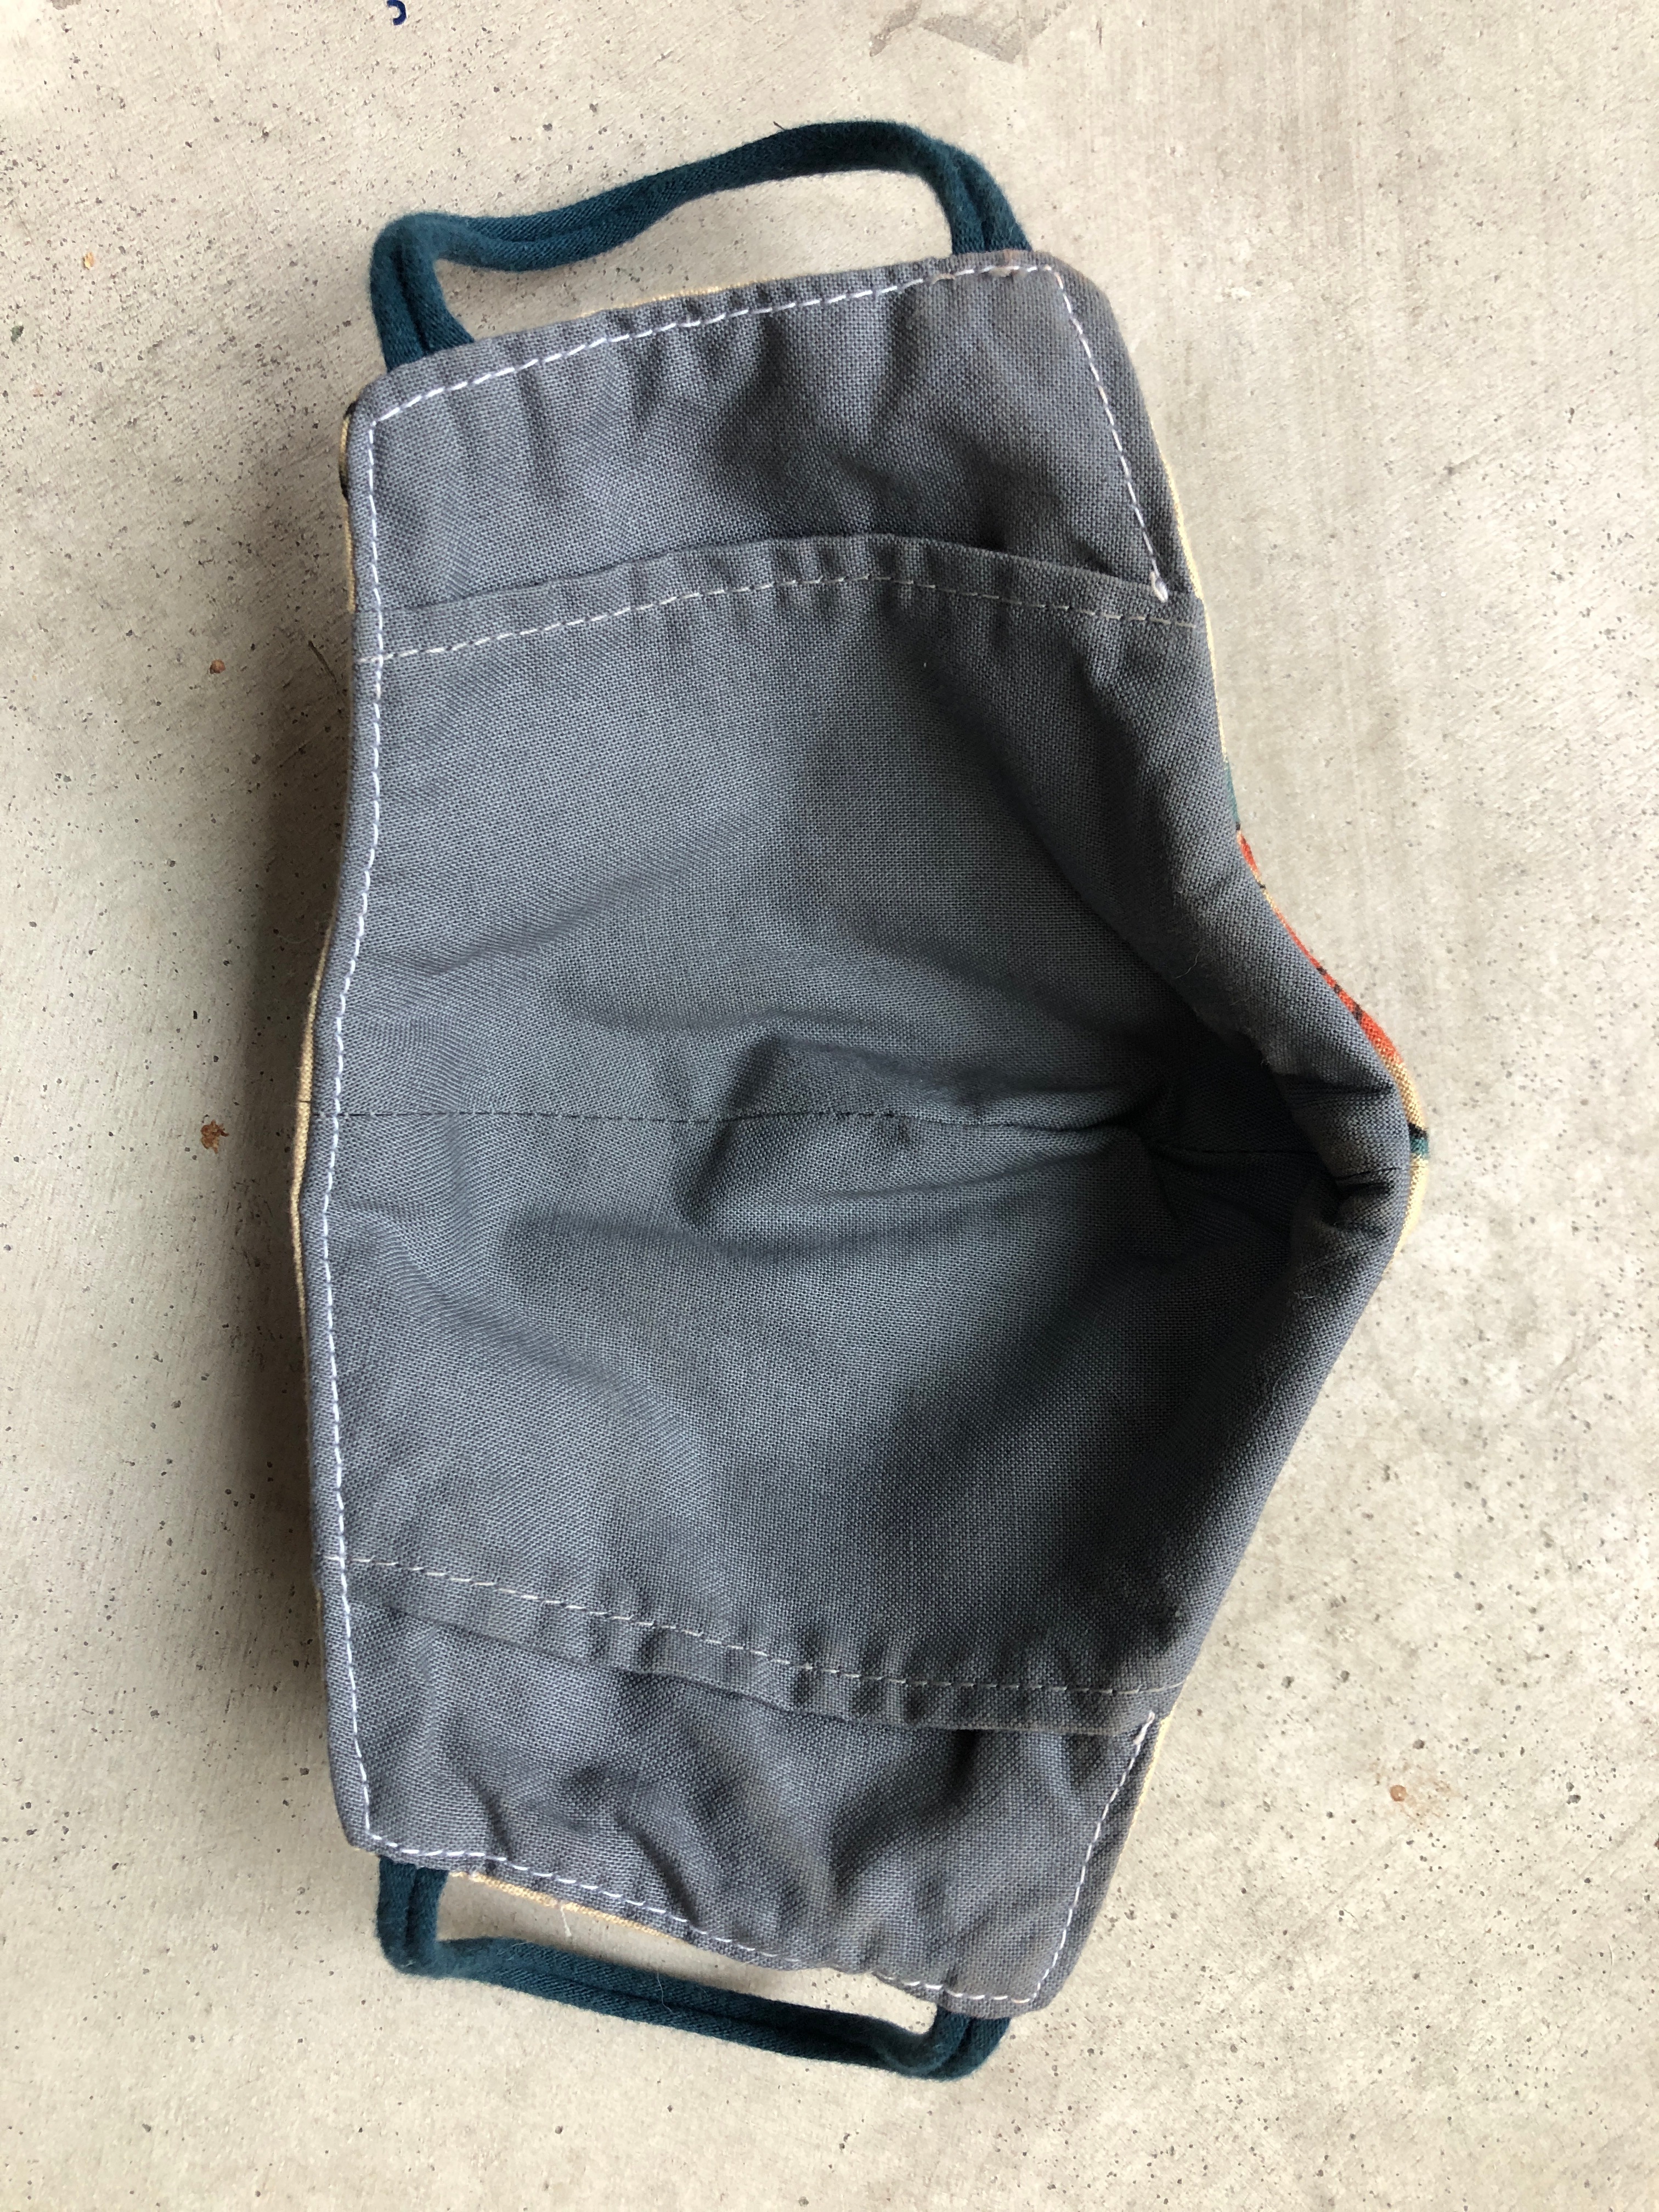
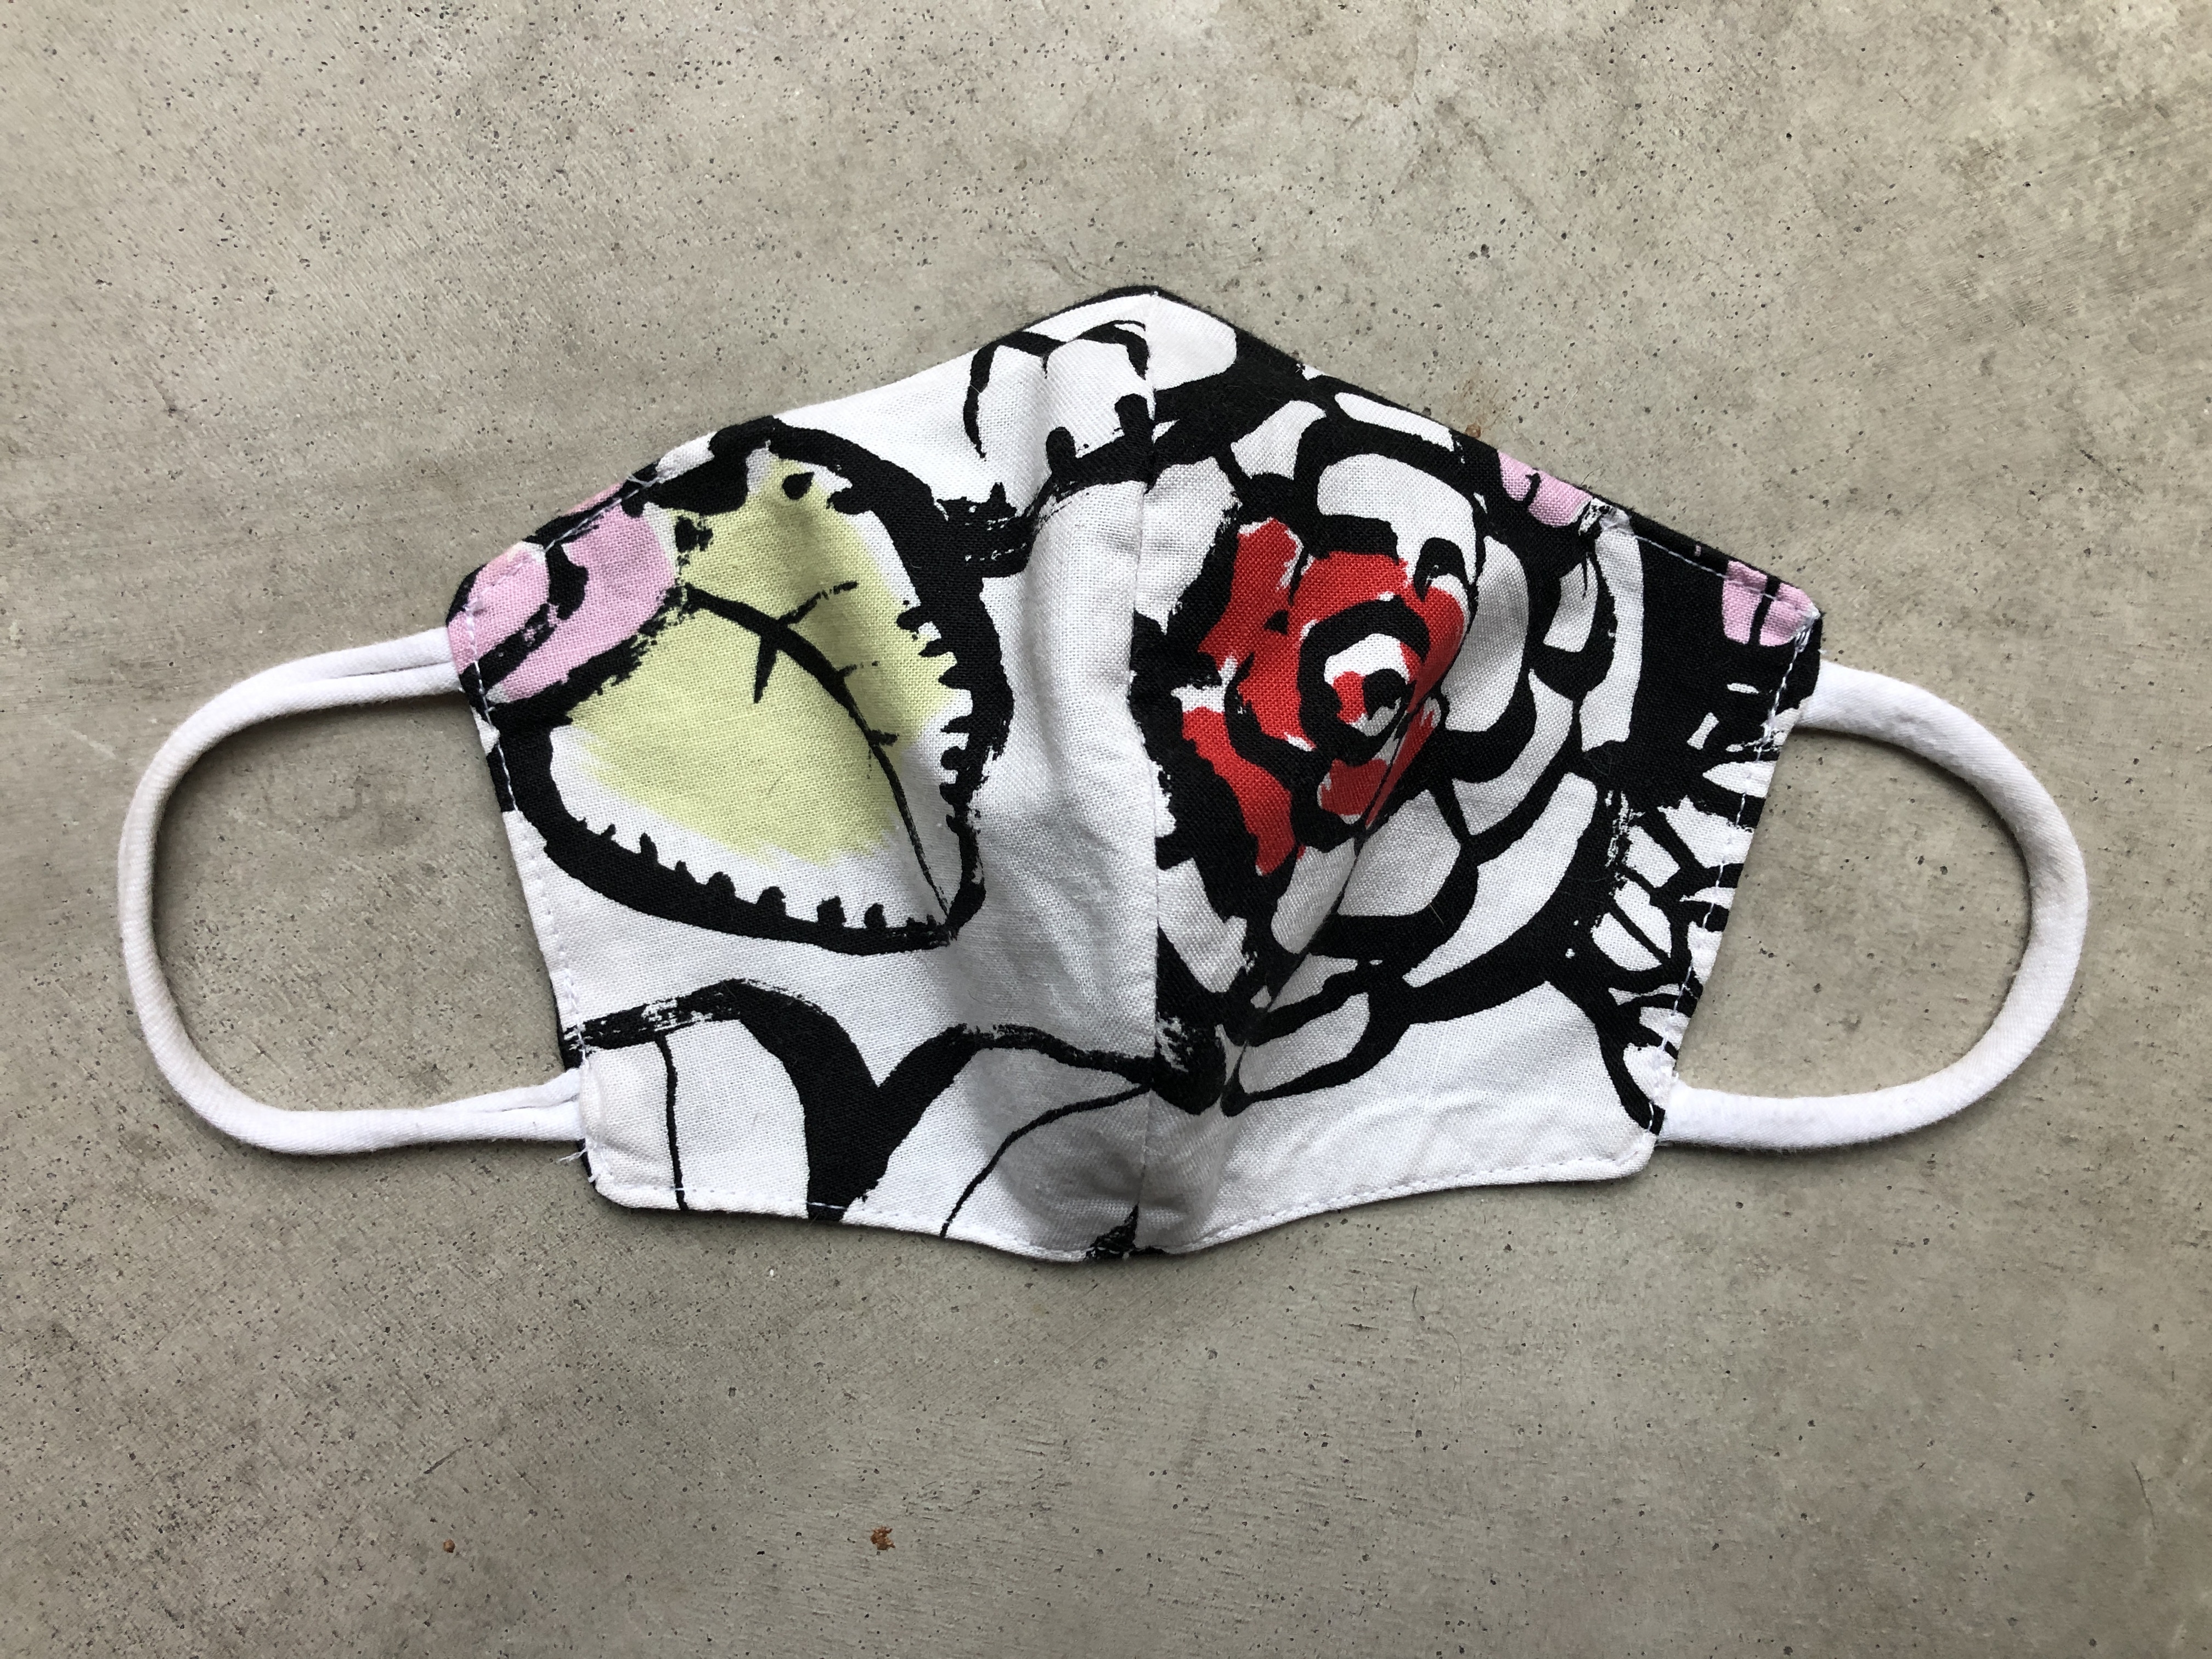
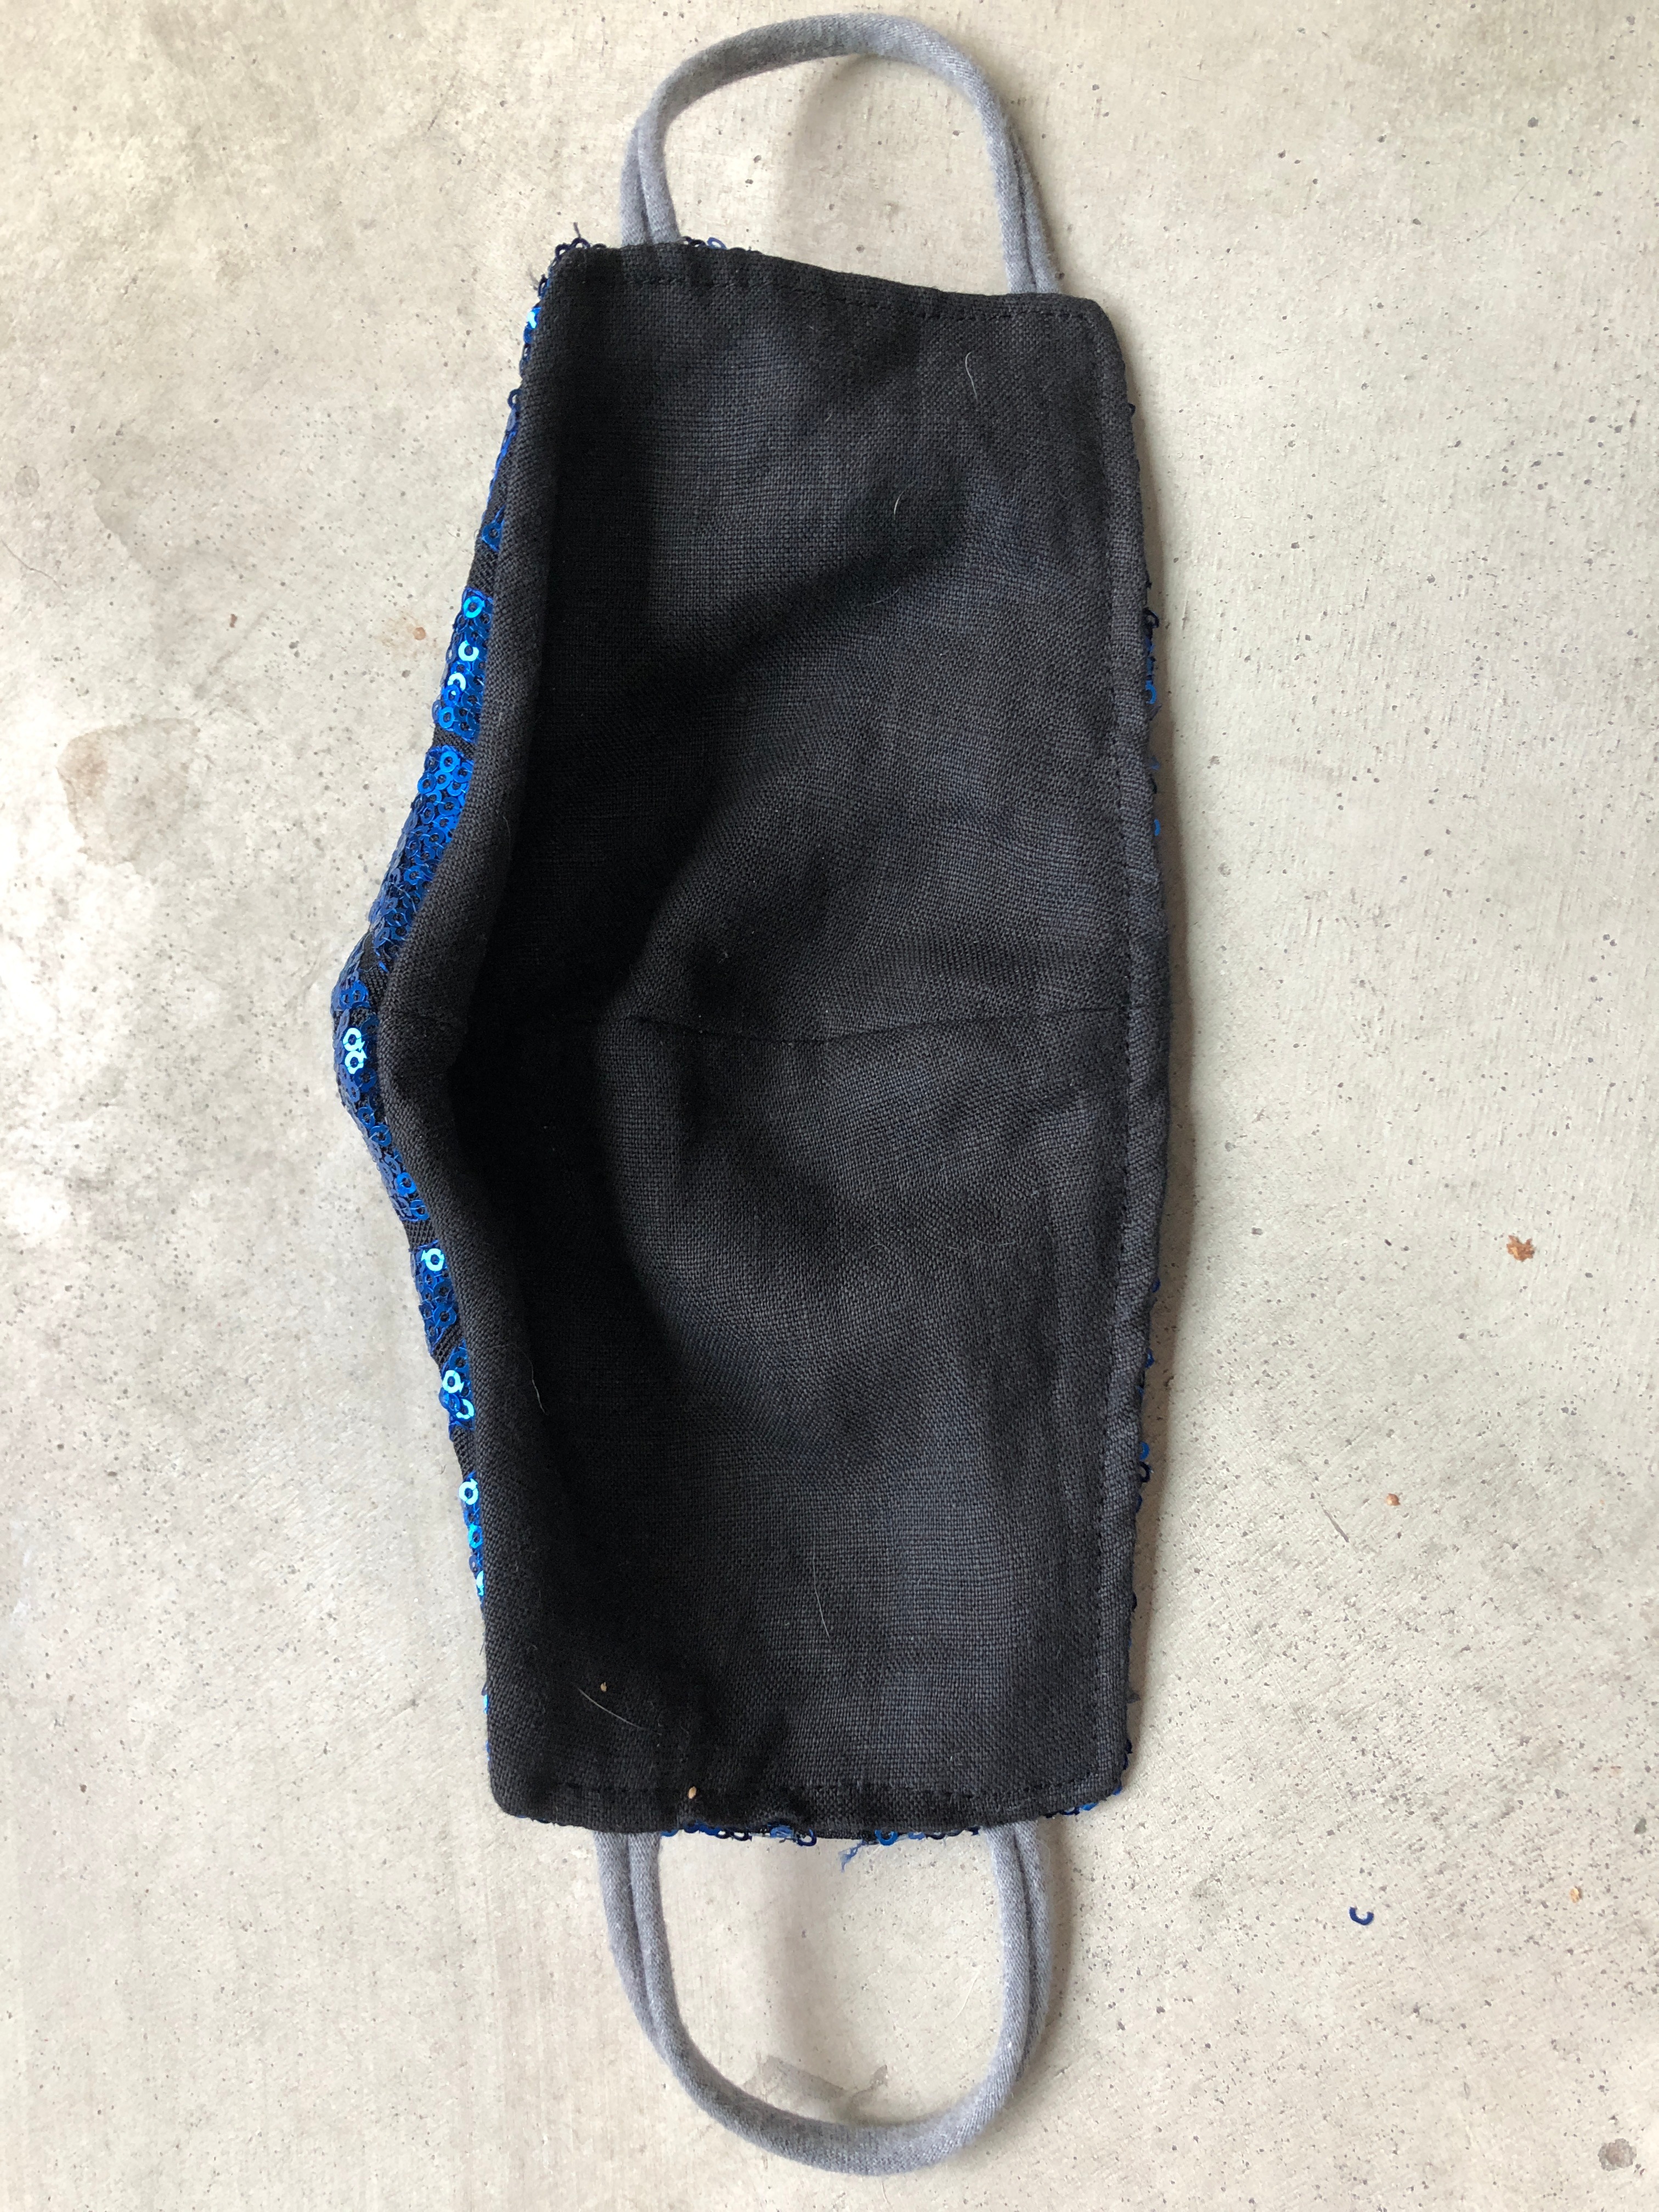
As a technical fashion designer, I help other fashion designers refine their patterns and construction methods for their designs. I looked at many different mask designs online, created some prototypes, and this one is the winner. I've edited the pattern and instructions for quick construction.
The Olson style is a more stylish yet equally effective mask design. The other popular design you may see is the pleated surgical mask style.
The CDC has recently recommended that EVERYONE wear a fabric mask when out in public in high contact areas, like grocery stores or pharmacy, basically anywhere you may come within 6' of another person.
**DISCLAIMER** PLEASE NOTE that cloth face masks are not a proper substitute for N95 masks in health care environments.
This mask is ideal for personal use, use by non-medical personnel in high-contact jobs such as grocery store clerk, package/food delivery, etc. It is not an N-95 equivalent, but with the N-95 mask shortage, it is much better than nothing.
As always, wash your hands often with soap + water for at least 20 seconds, especially before applying or removing your mask, and practice social distancing. This mask is NOT a substitute for social distancing, all three practices must be maintained for optimal protection to yourself and others.
Supplies
Outer layer: pre-shrunk tightly woven 100% cotton- quilting fabric works great here and comes in many fun patterns.
A contrast inner fabric - 100% woven cotton or a tightly woven jersey t-shirt. Think soft, this goes against your face. If the mask isn't comfortable, you won't want to wear it.
Optional- fabric for a filter pocket. This can be the same as any of the other layers, or something different.
Jewelry wire, I use 22 gauge, cut into lengths of 5 1/2"
T-shirt yarn for ties. I use 5 3/4" for size small, 6 1/4" for size medium, and 6 3/4" for size large.
Filter (optional)- Non-woven shop towels, folded tissue, dried bath wipes, toilet paper folded- or some other kind of non-woven substrate.
UPDATE: I have replaced the unisex pattern with sizes S, M, and L. Links to the files below.
Folder: https://drive.google.com/drive/folders/1wnl6qXaEZk...
Click the link, make sure you are signed into Google Drive. Click on each file, then press the download button located on the top right part of the page. Do not request access, message me if you have trouble.
Please be sure to print at 100% for proper sizing. There is a scale on the printout to assist with this.
Select and Cut Your Fabric
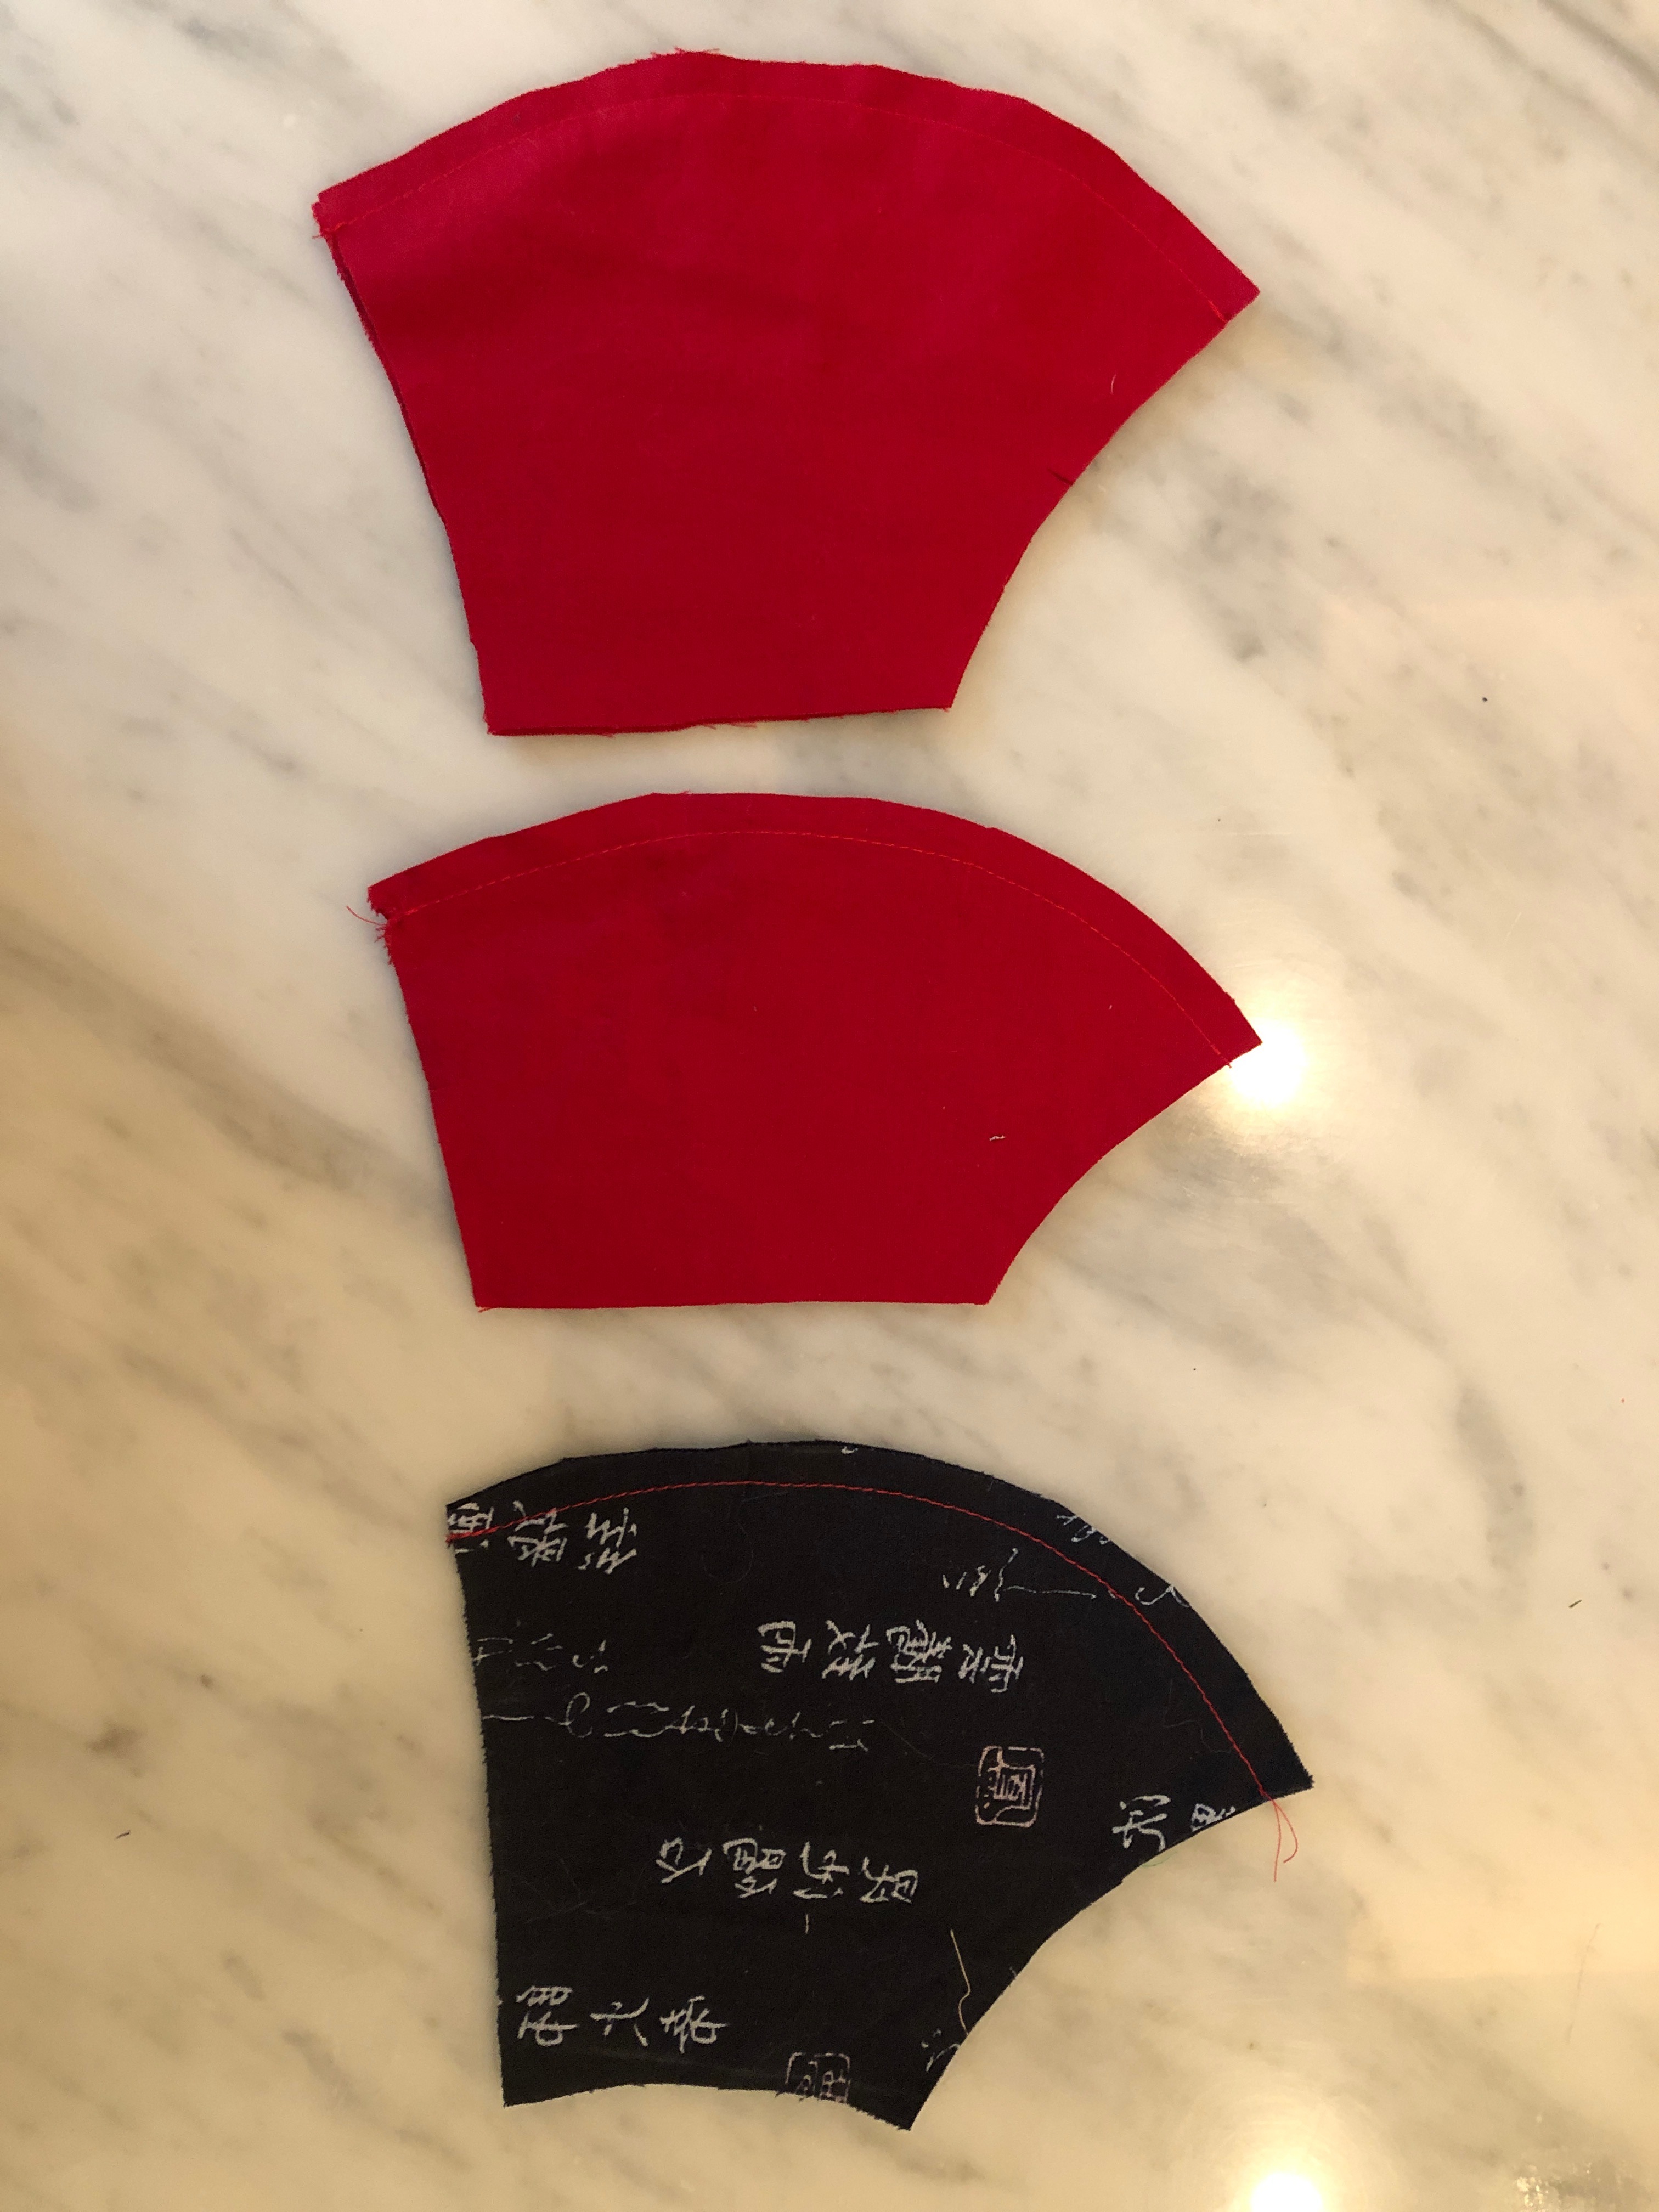
Print out the included pattern. Make sure you print at 100% for proper scale.
The pattern only has two pieces, the main mask, and the pocket pattern (optional). You'll want 2 matched pairs of the main mask, one for the front and one for the inside. For the pocket you will want 1 matched pair of your inside or a contrast fabric. If you are using an old super soft t-shirt, that usually goes on the inside parts. To save time you can stack the fabrics so you only have to cut once.
Gather Your Other Pieces
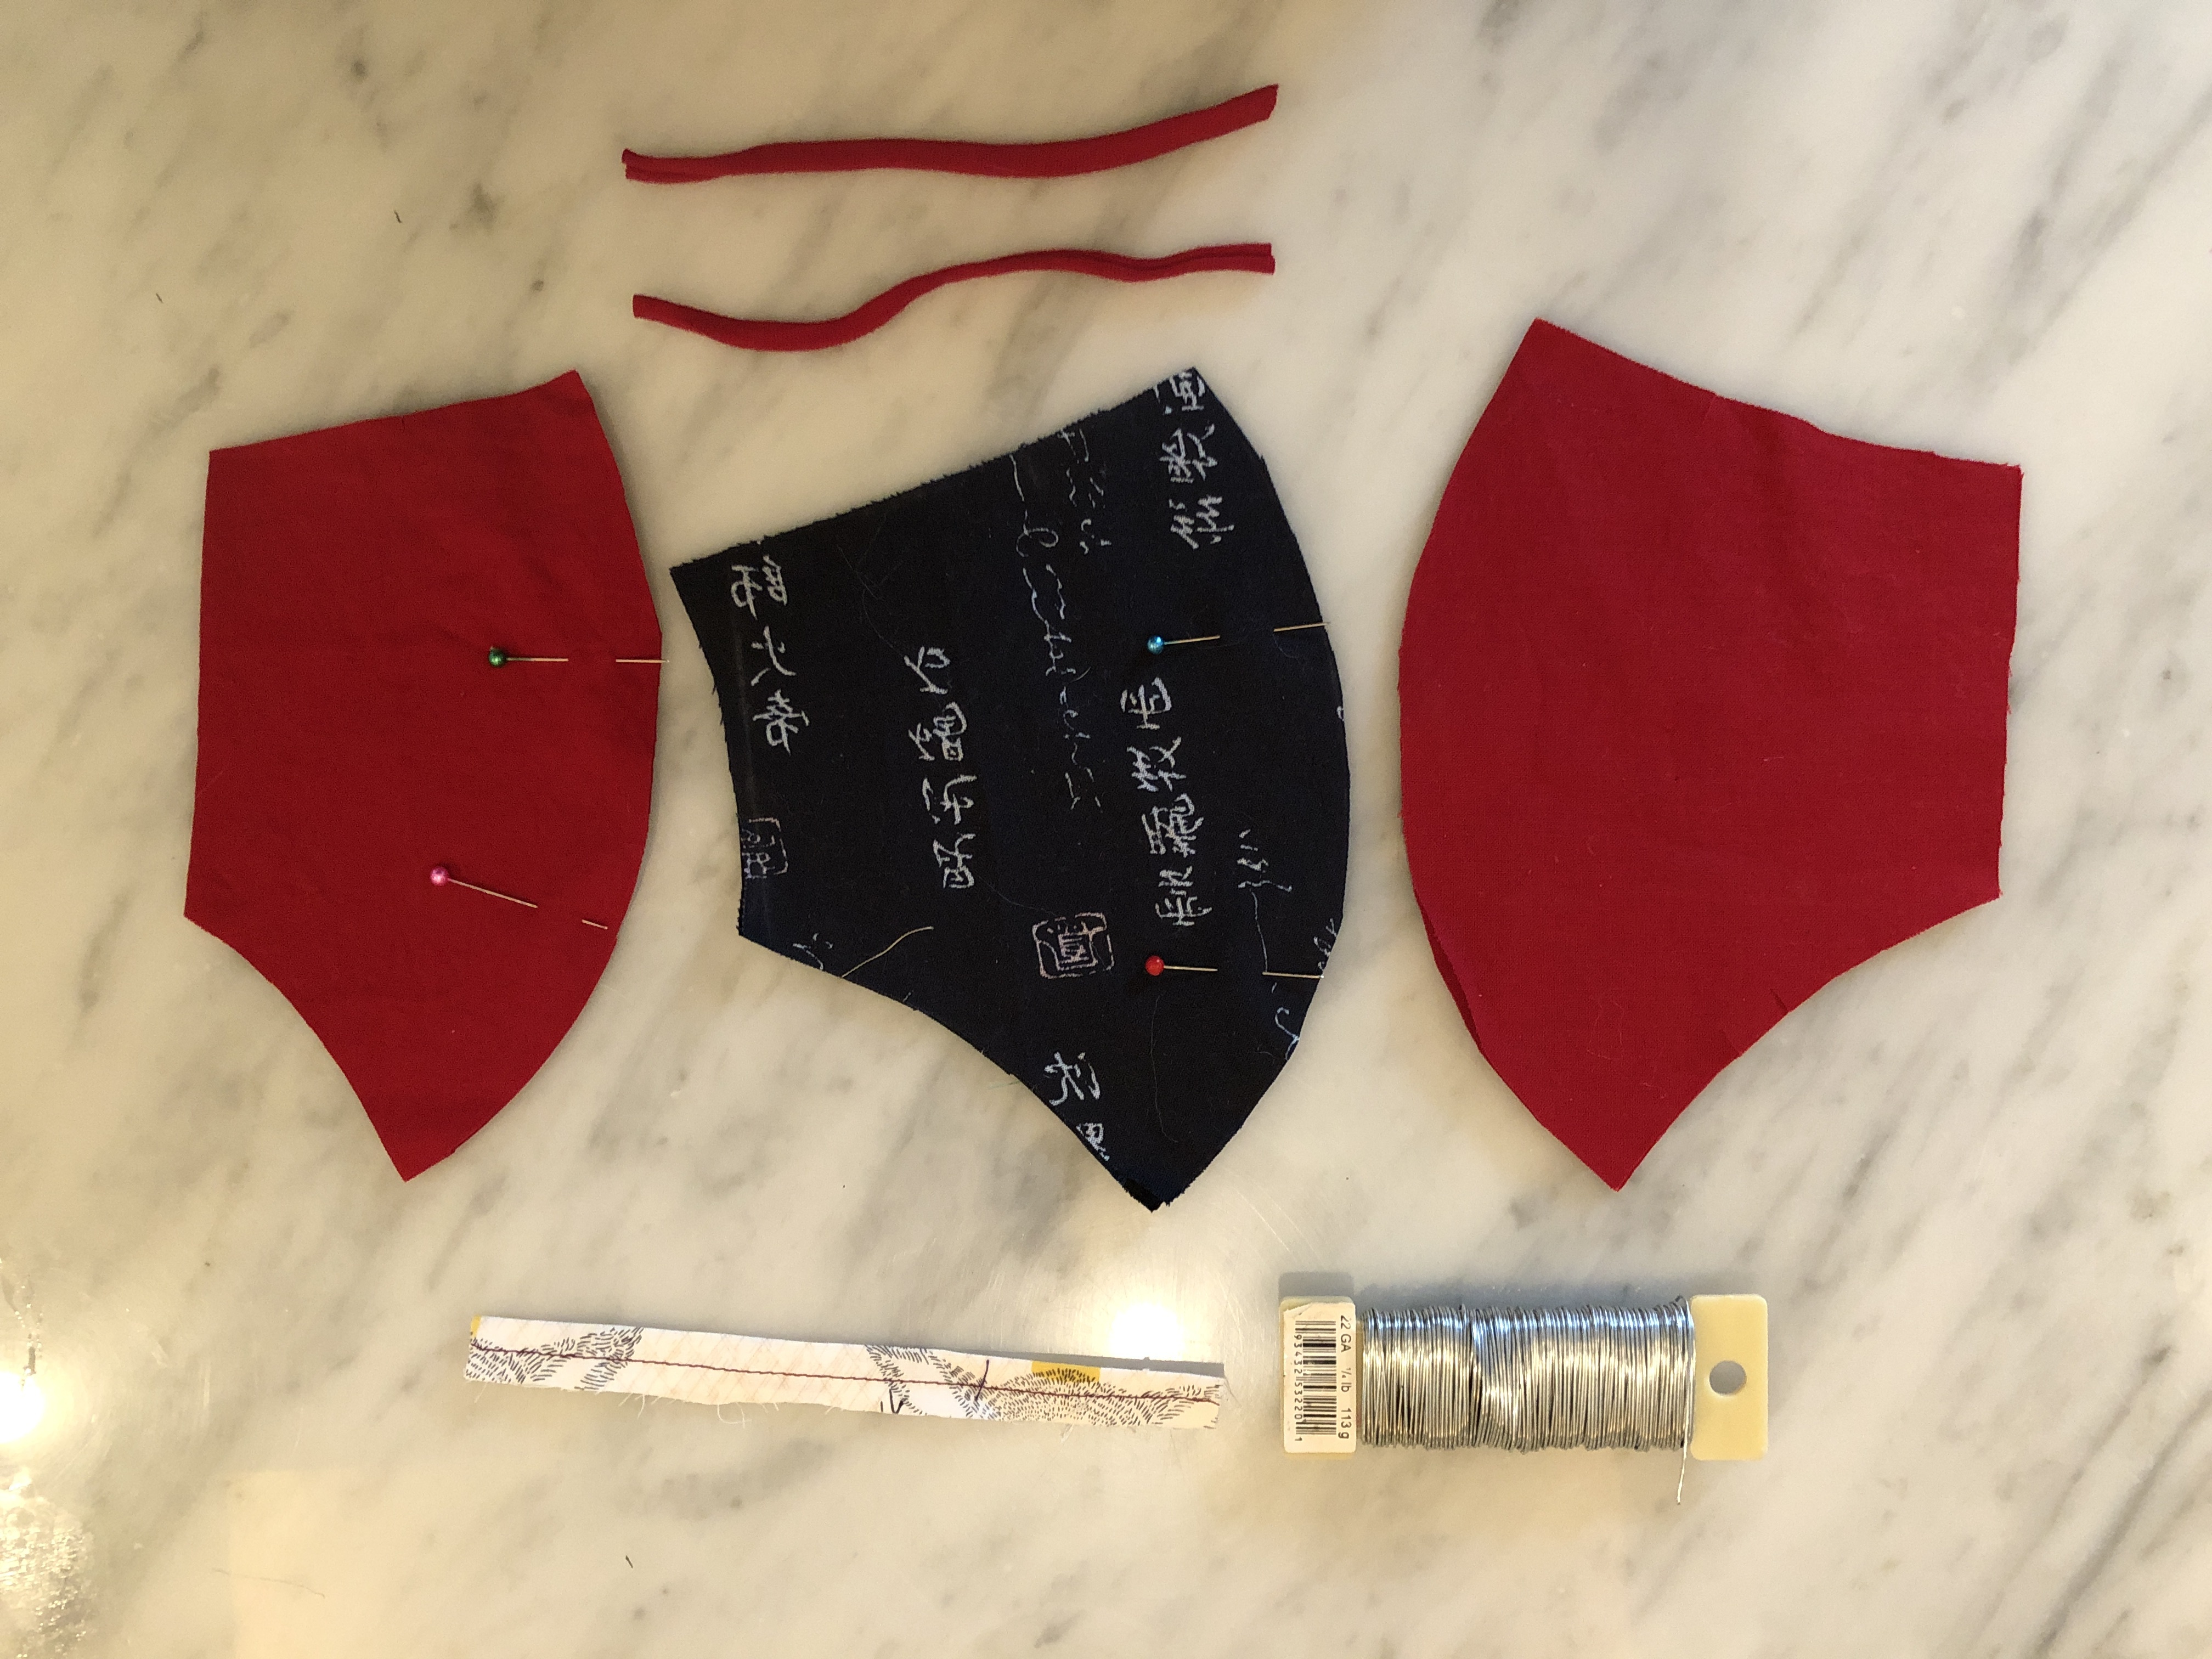
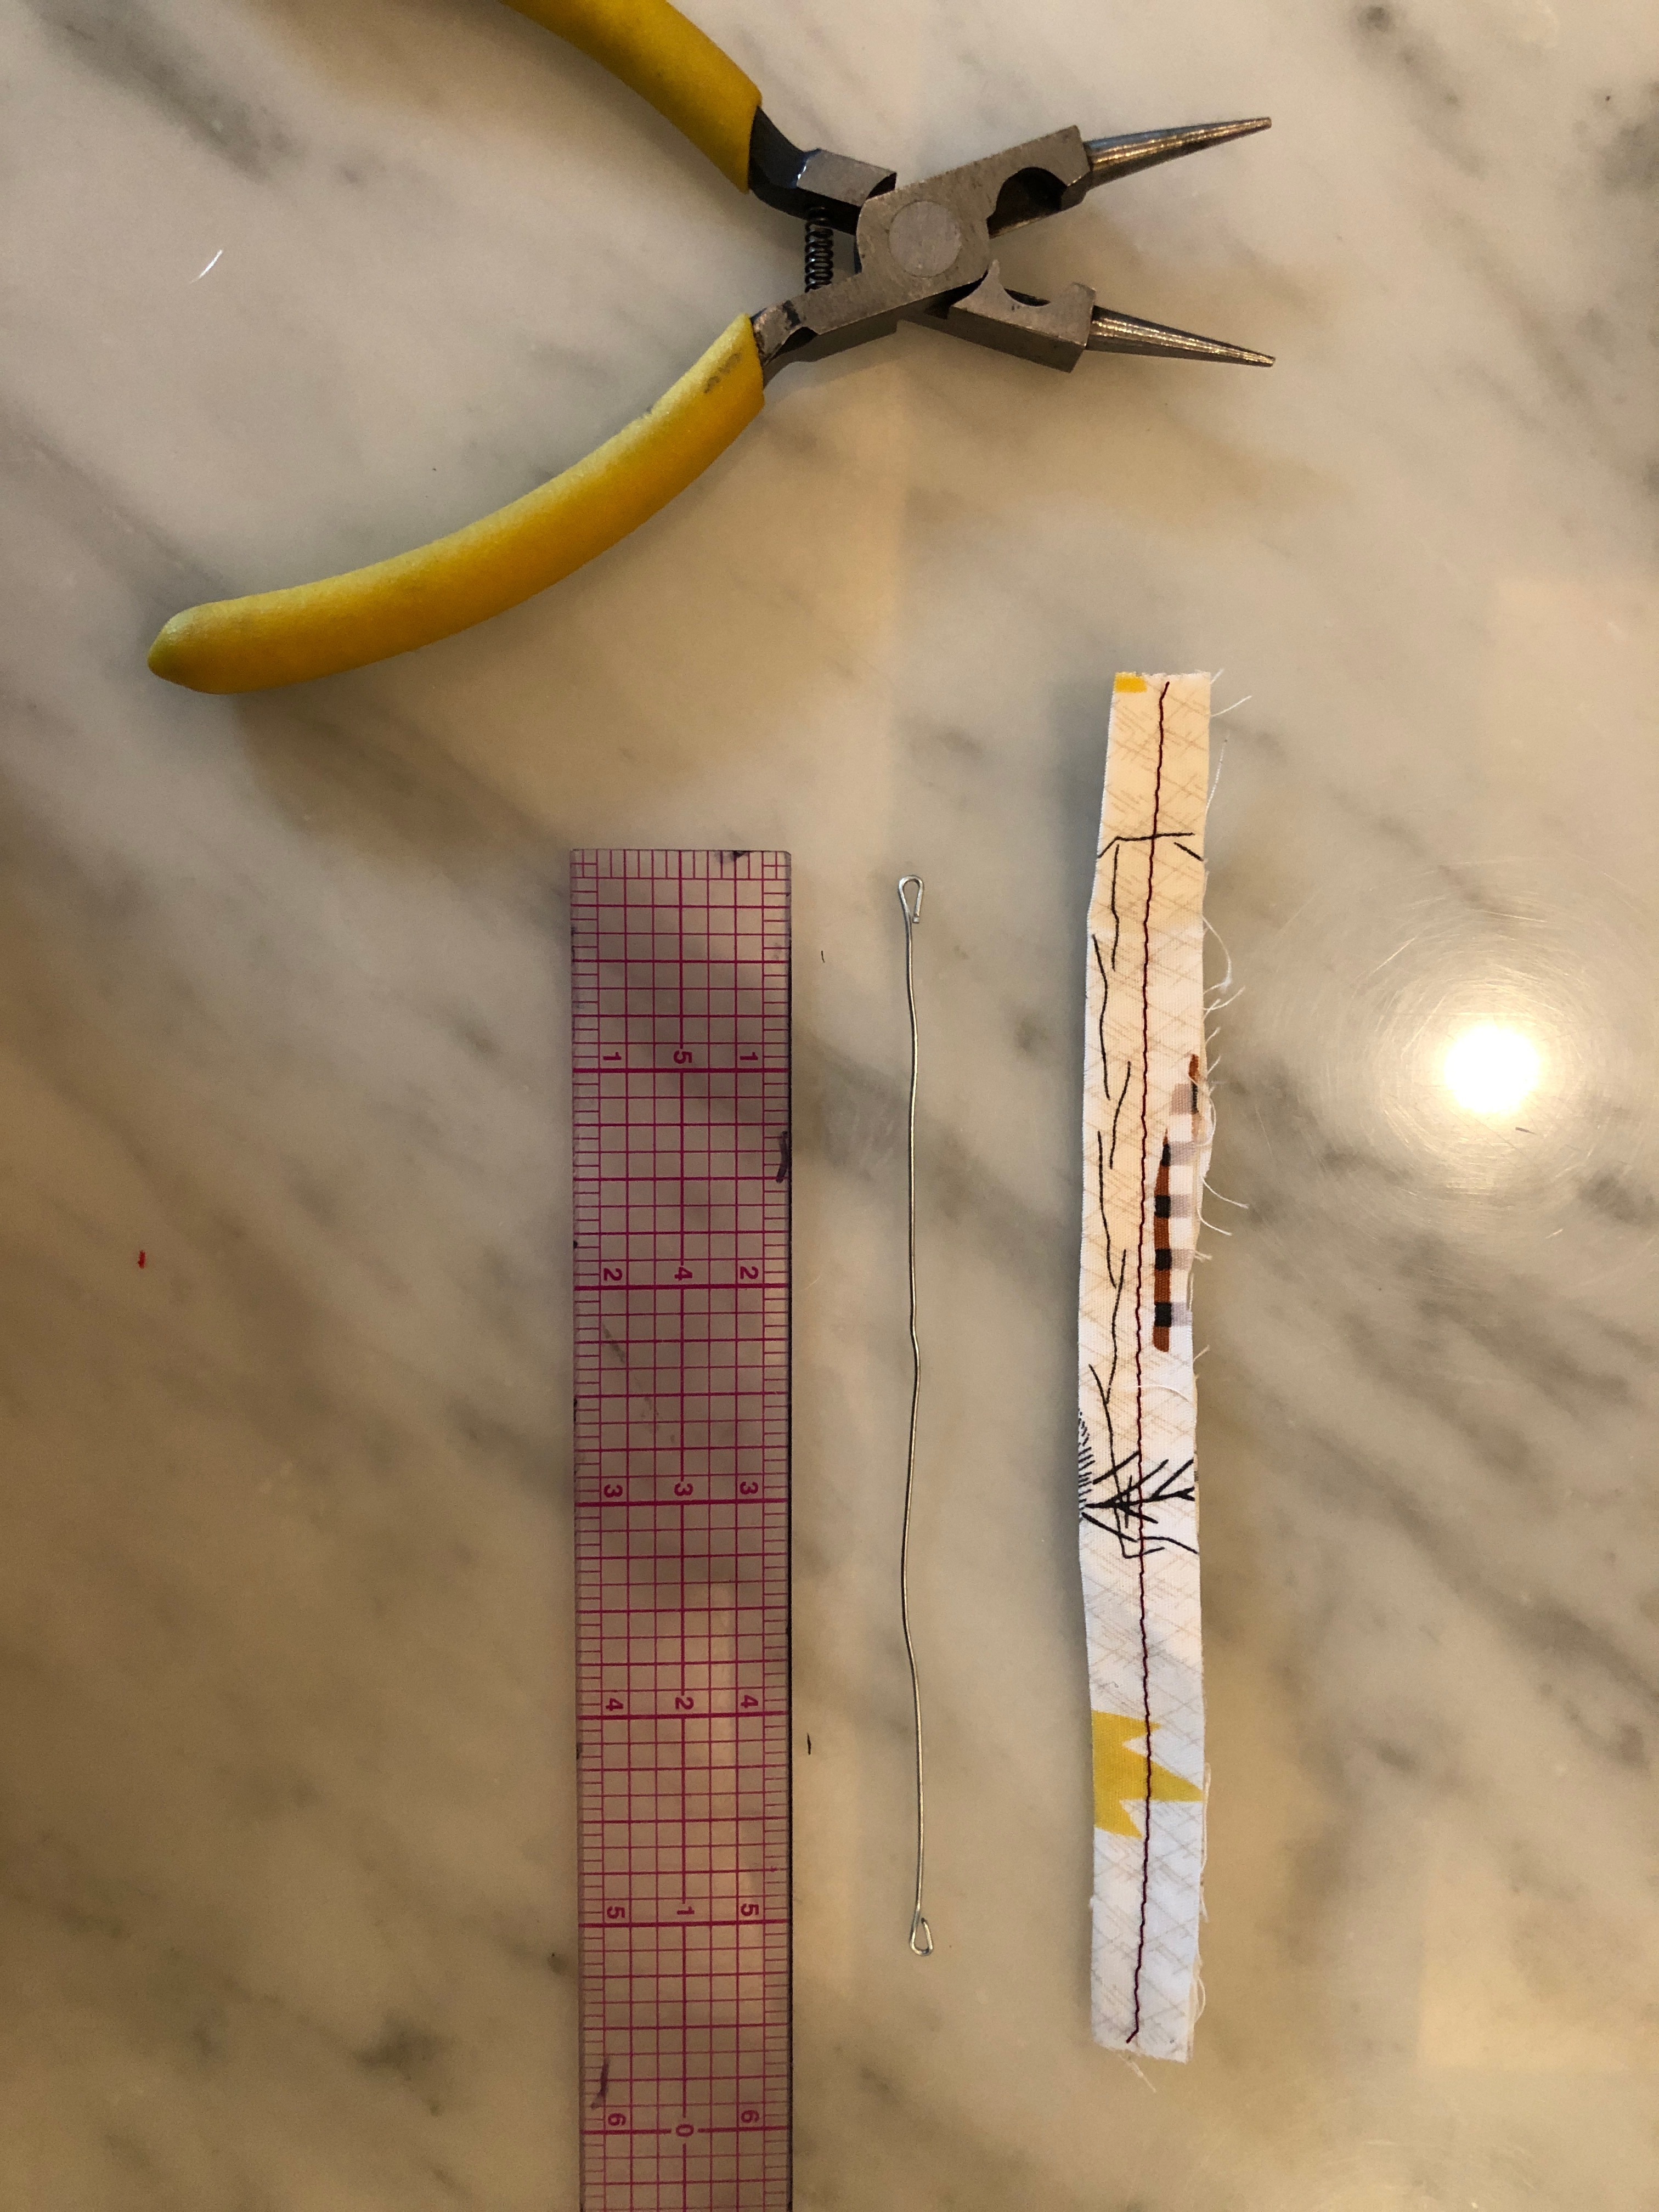
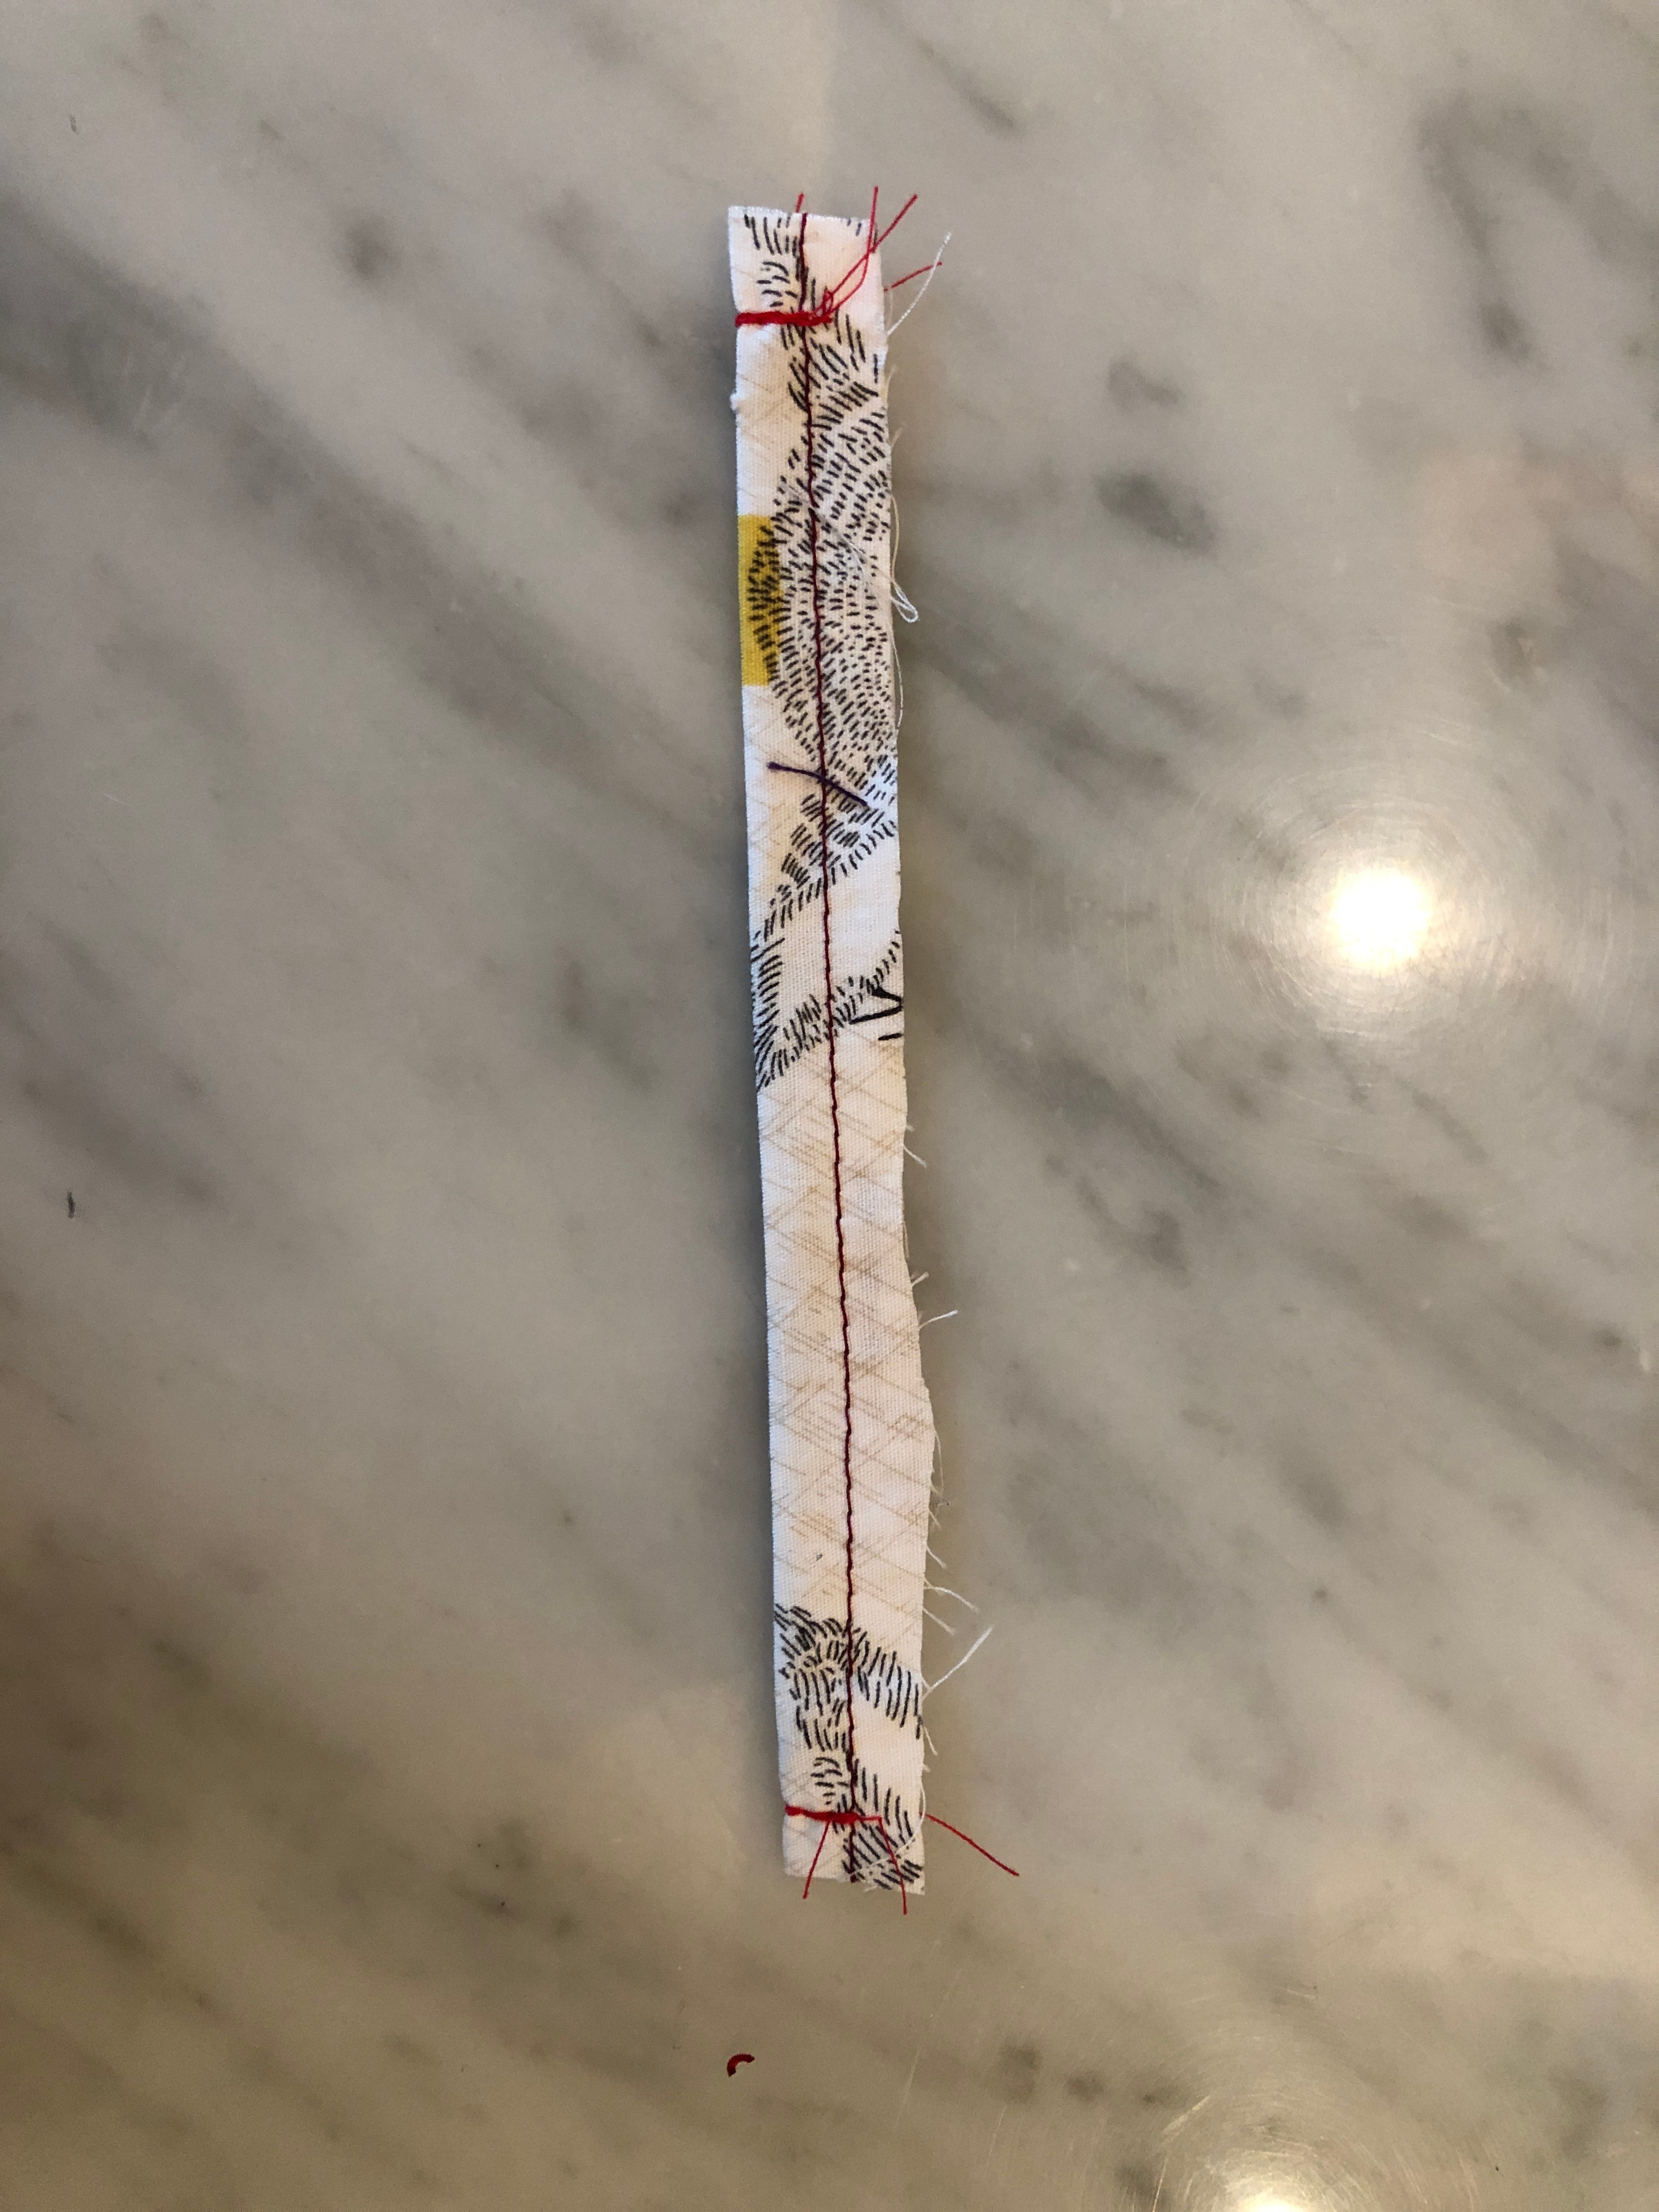
In addition to your fabric, you need ties and a nose wire. I prefer to use t-shirt yarn, created by cutting horizontal strips from the bottom of a t-shirt about 3/4" wide, then pulling on them to make them curl up. Very soft, all the colors, and easy to procure. I use 5.75" for the small, 6.25" for the medium, and 6.75" for the large. For the nose wire I prefer to use 22 gauge jewelry wire, cut to lengths of 5.5" and looped at the ends with jewelry pliers to eliminate the sharp ends.
For the nose wire, you can either insert the wire directly into the mask layers and top stitch a channel, or you can use 1/2" wide strips of fabric folded in half to make a separate channel, which is sewn into the layers. This step takes a couple more steps, but is technically easier.
Center Fronts Together
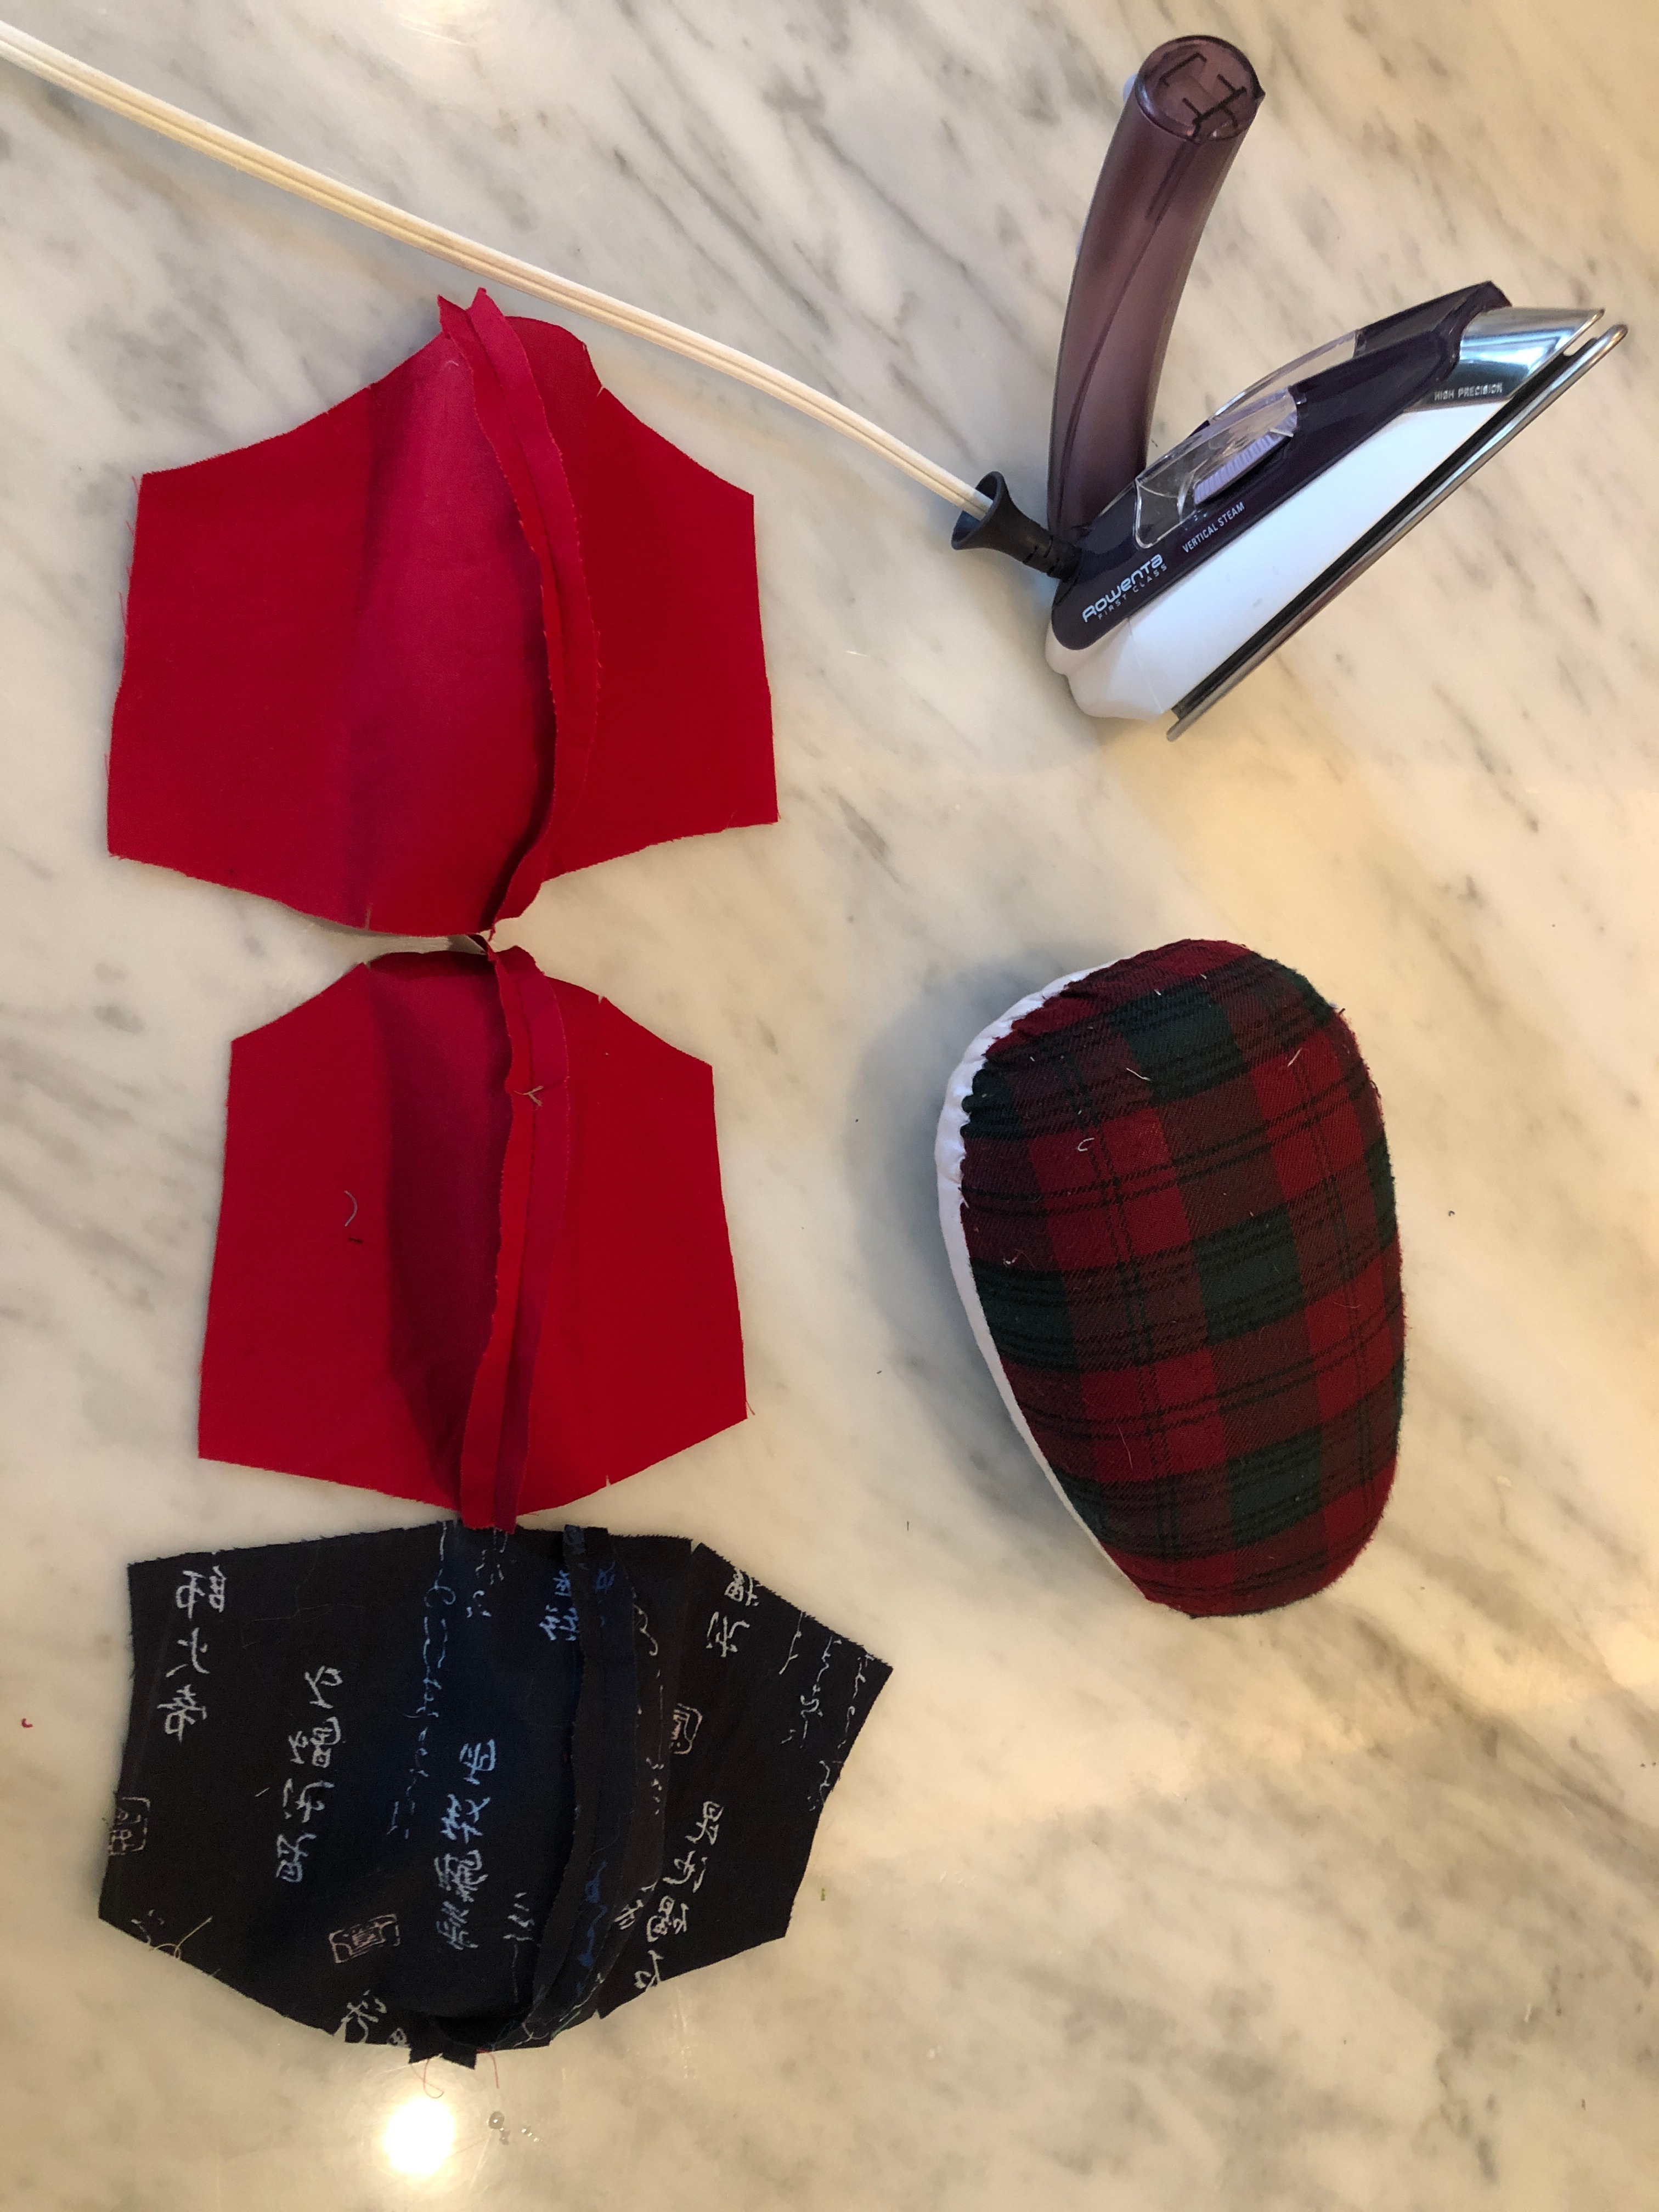
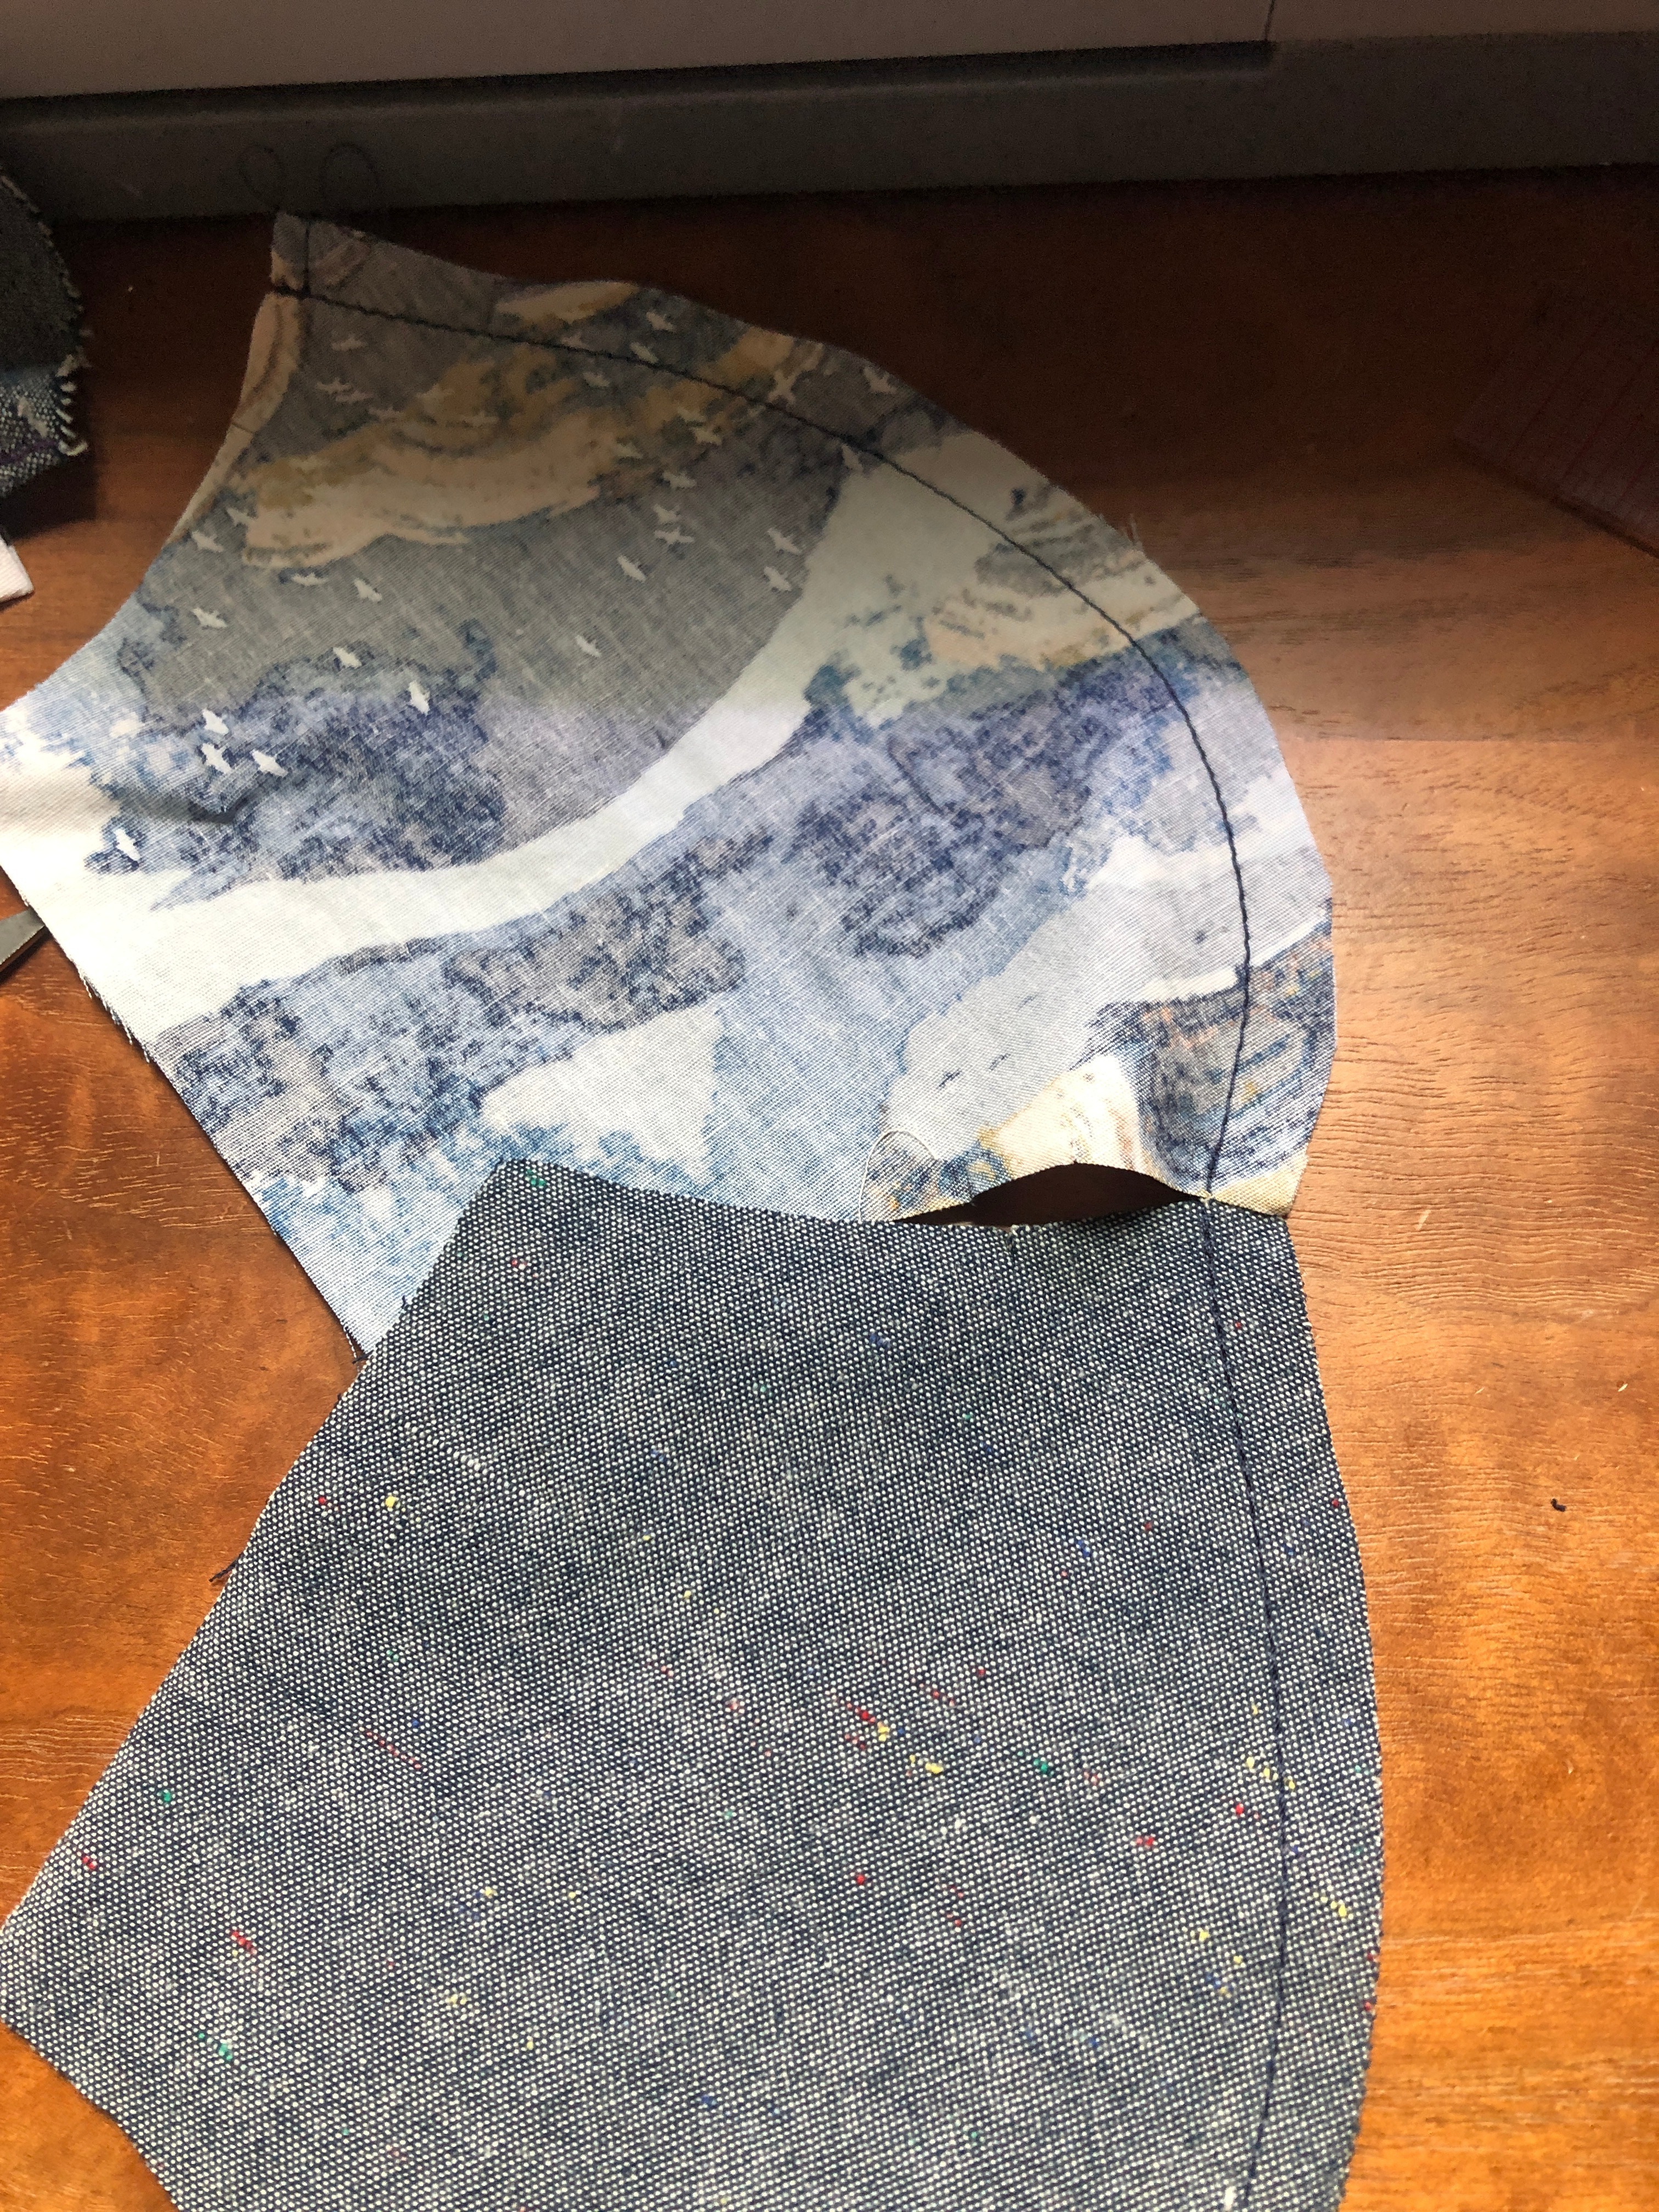
You will have 3 matching pairs at this point. Place them FRONT sides together, pin, and sew the large curved seam at 1/4". That is the center front part of the mask, which goes over your nose and mouth. Then press the seams open. I find a tailoring ham (shown) is quite useful here.
Tip: Chain stitch the pieces to save time and thread (see the second photo).
Prep Pocket
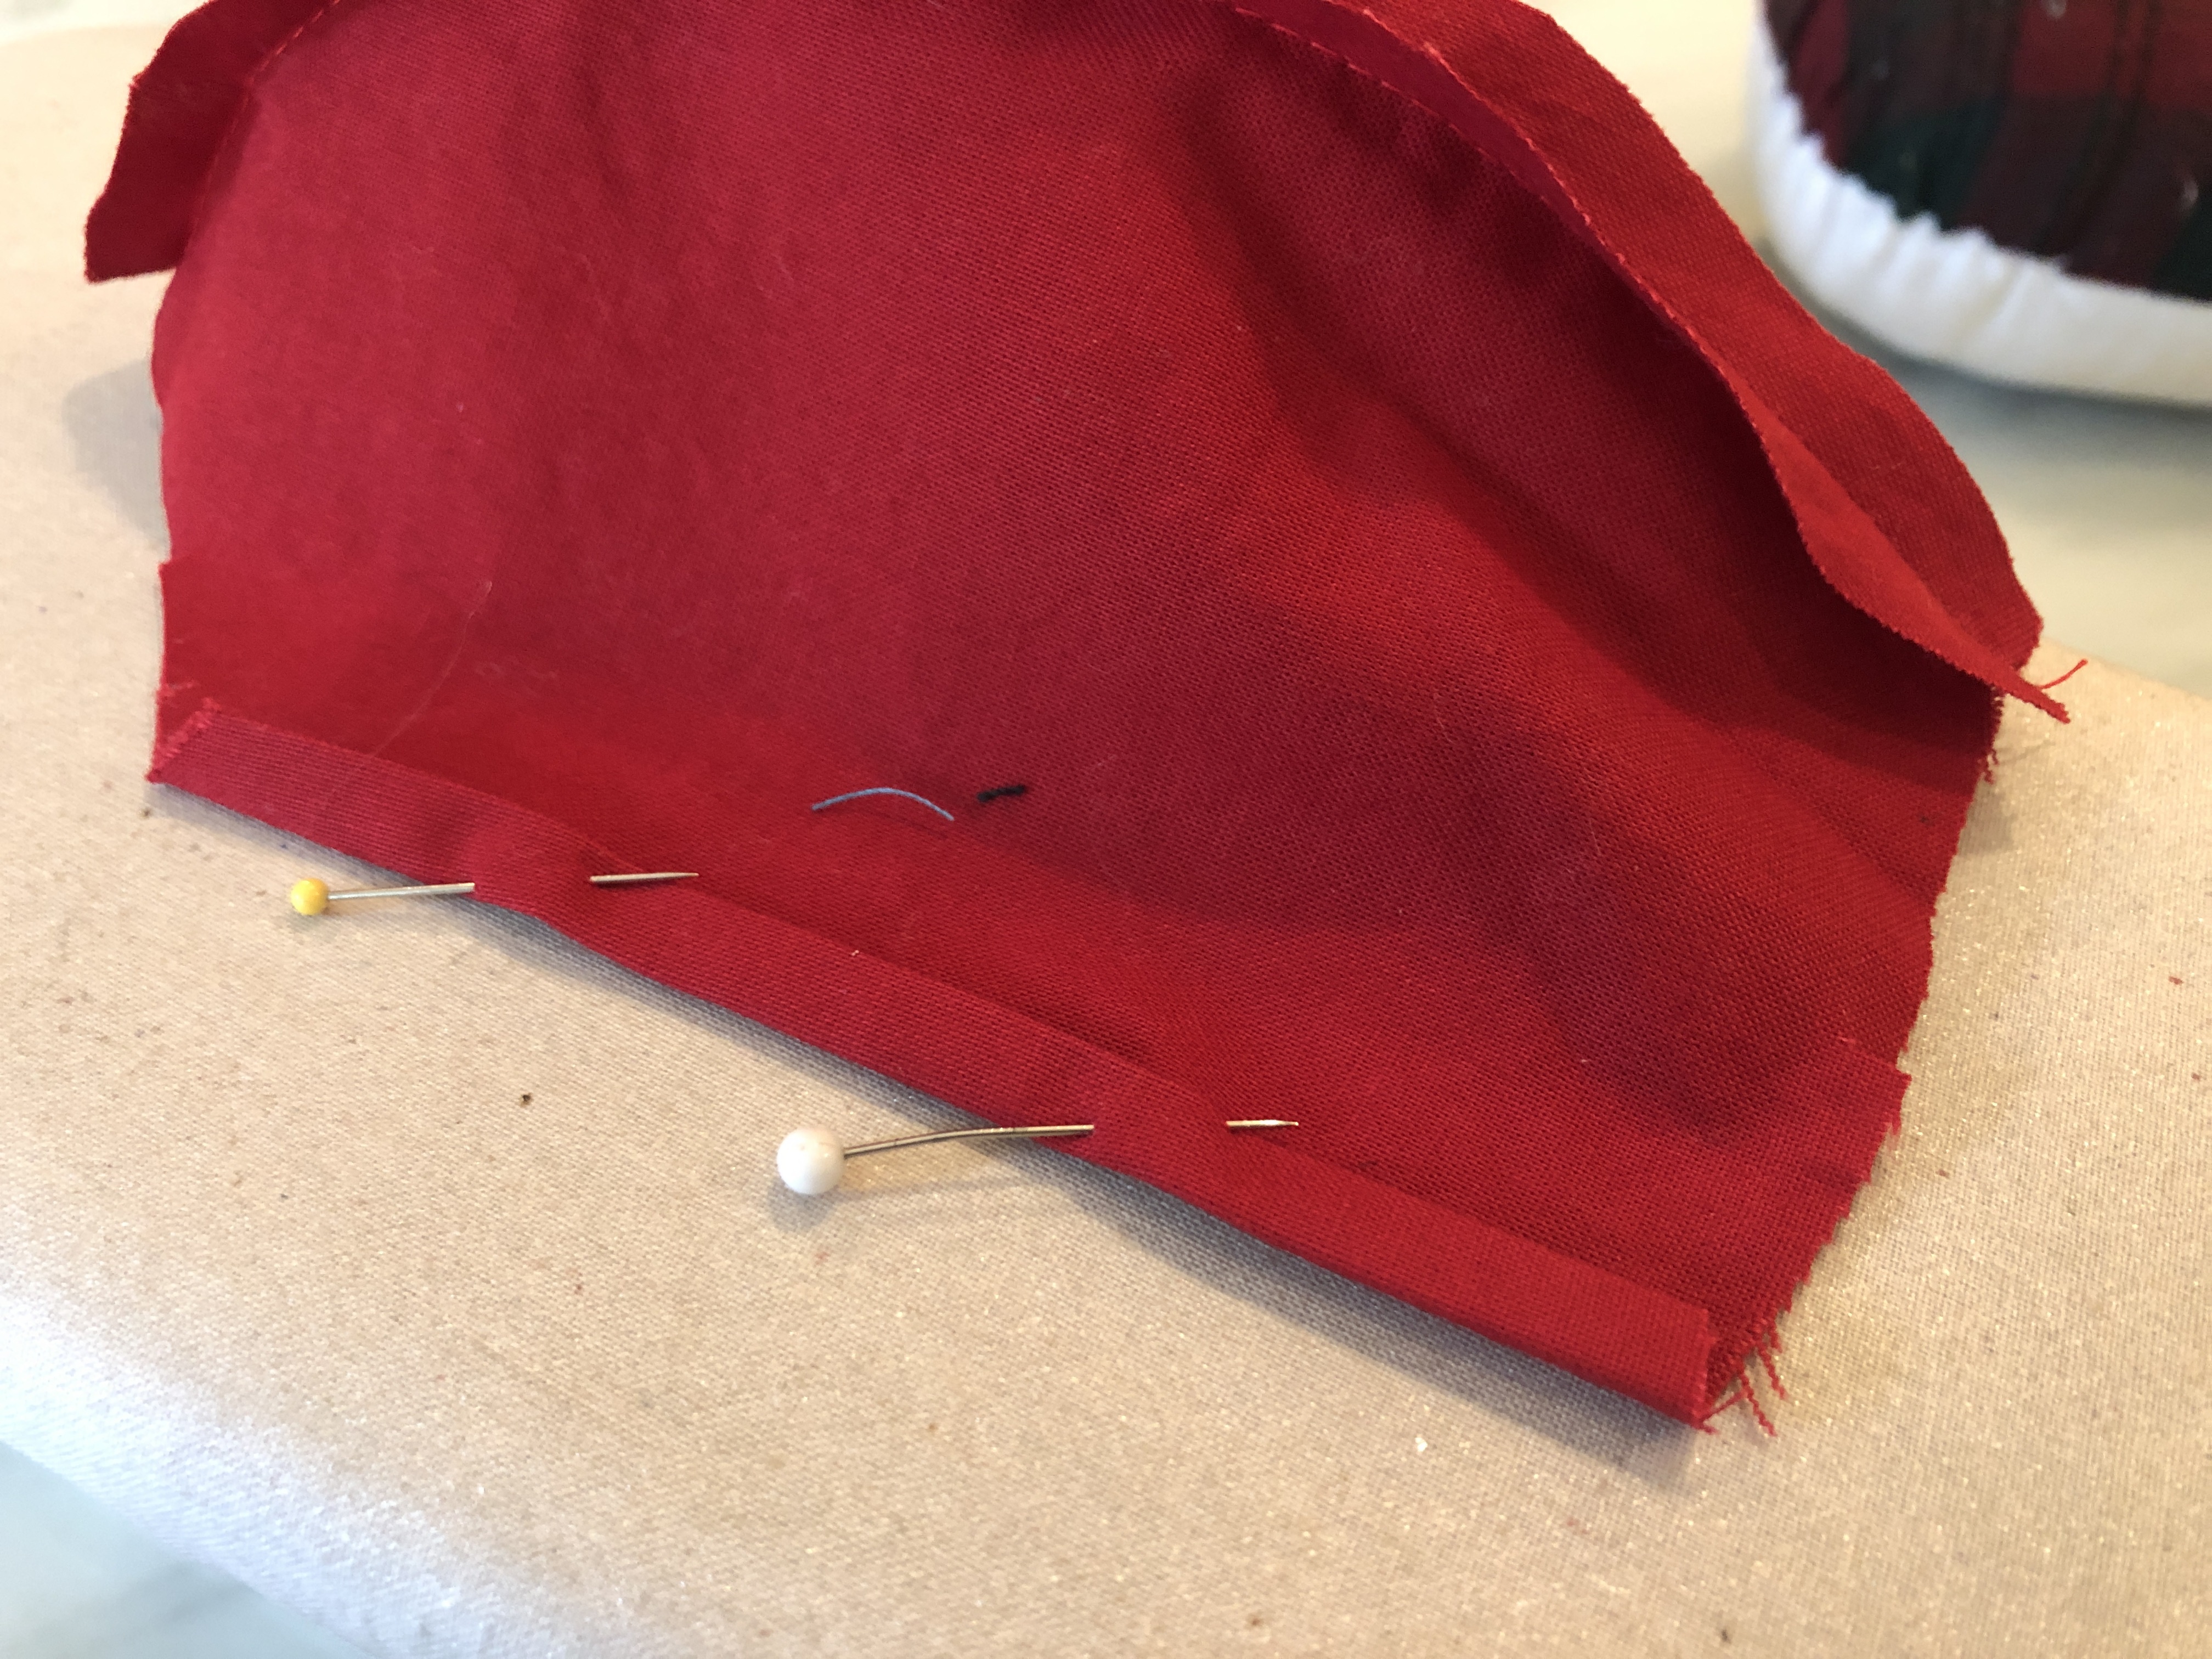
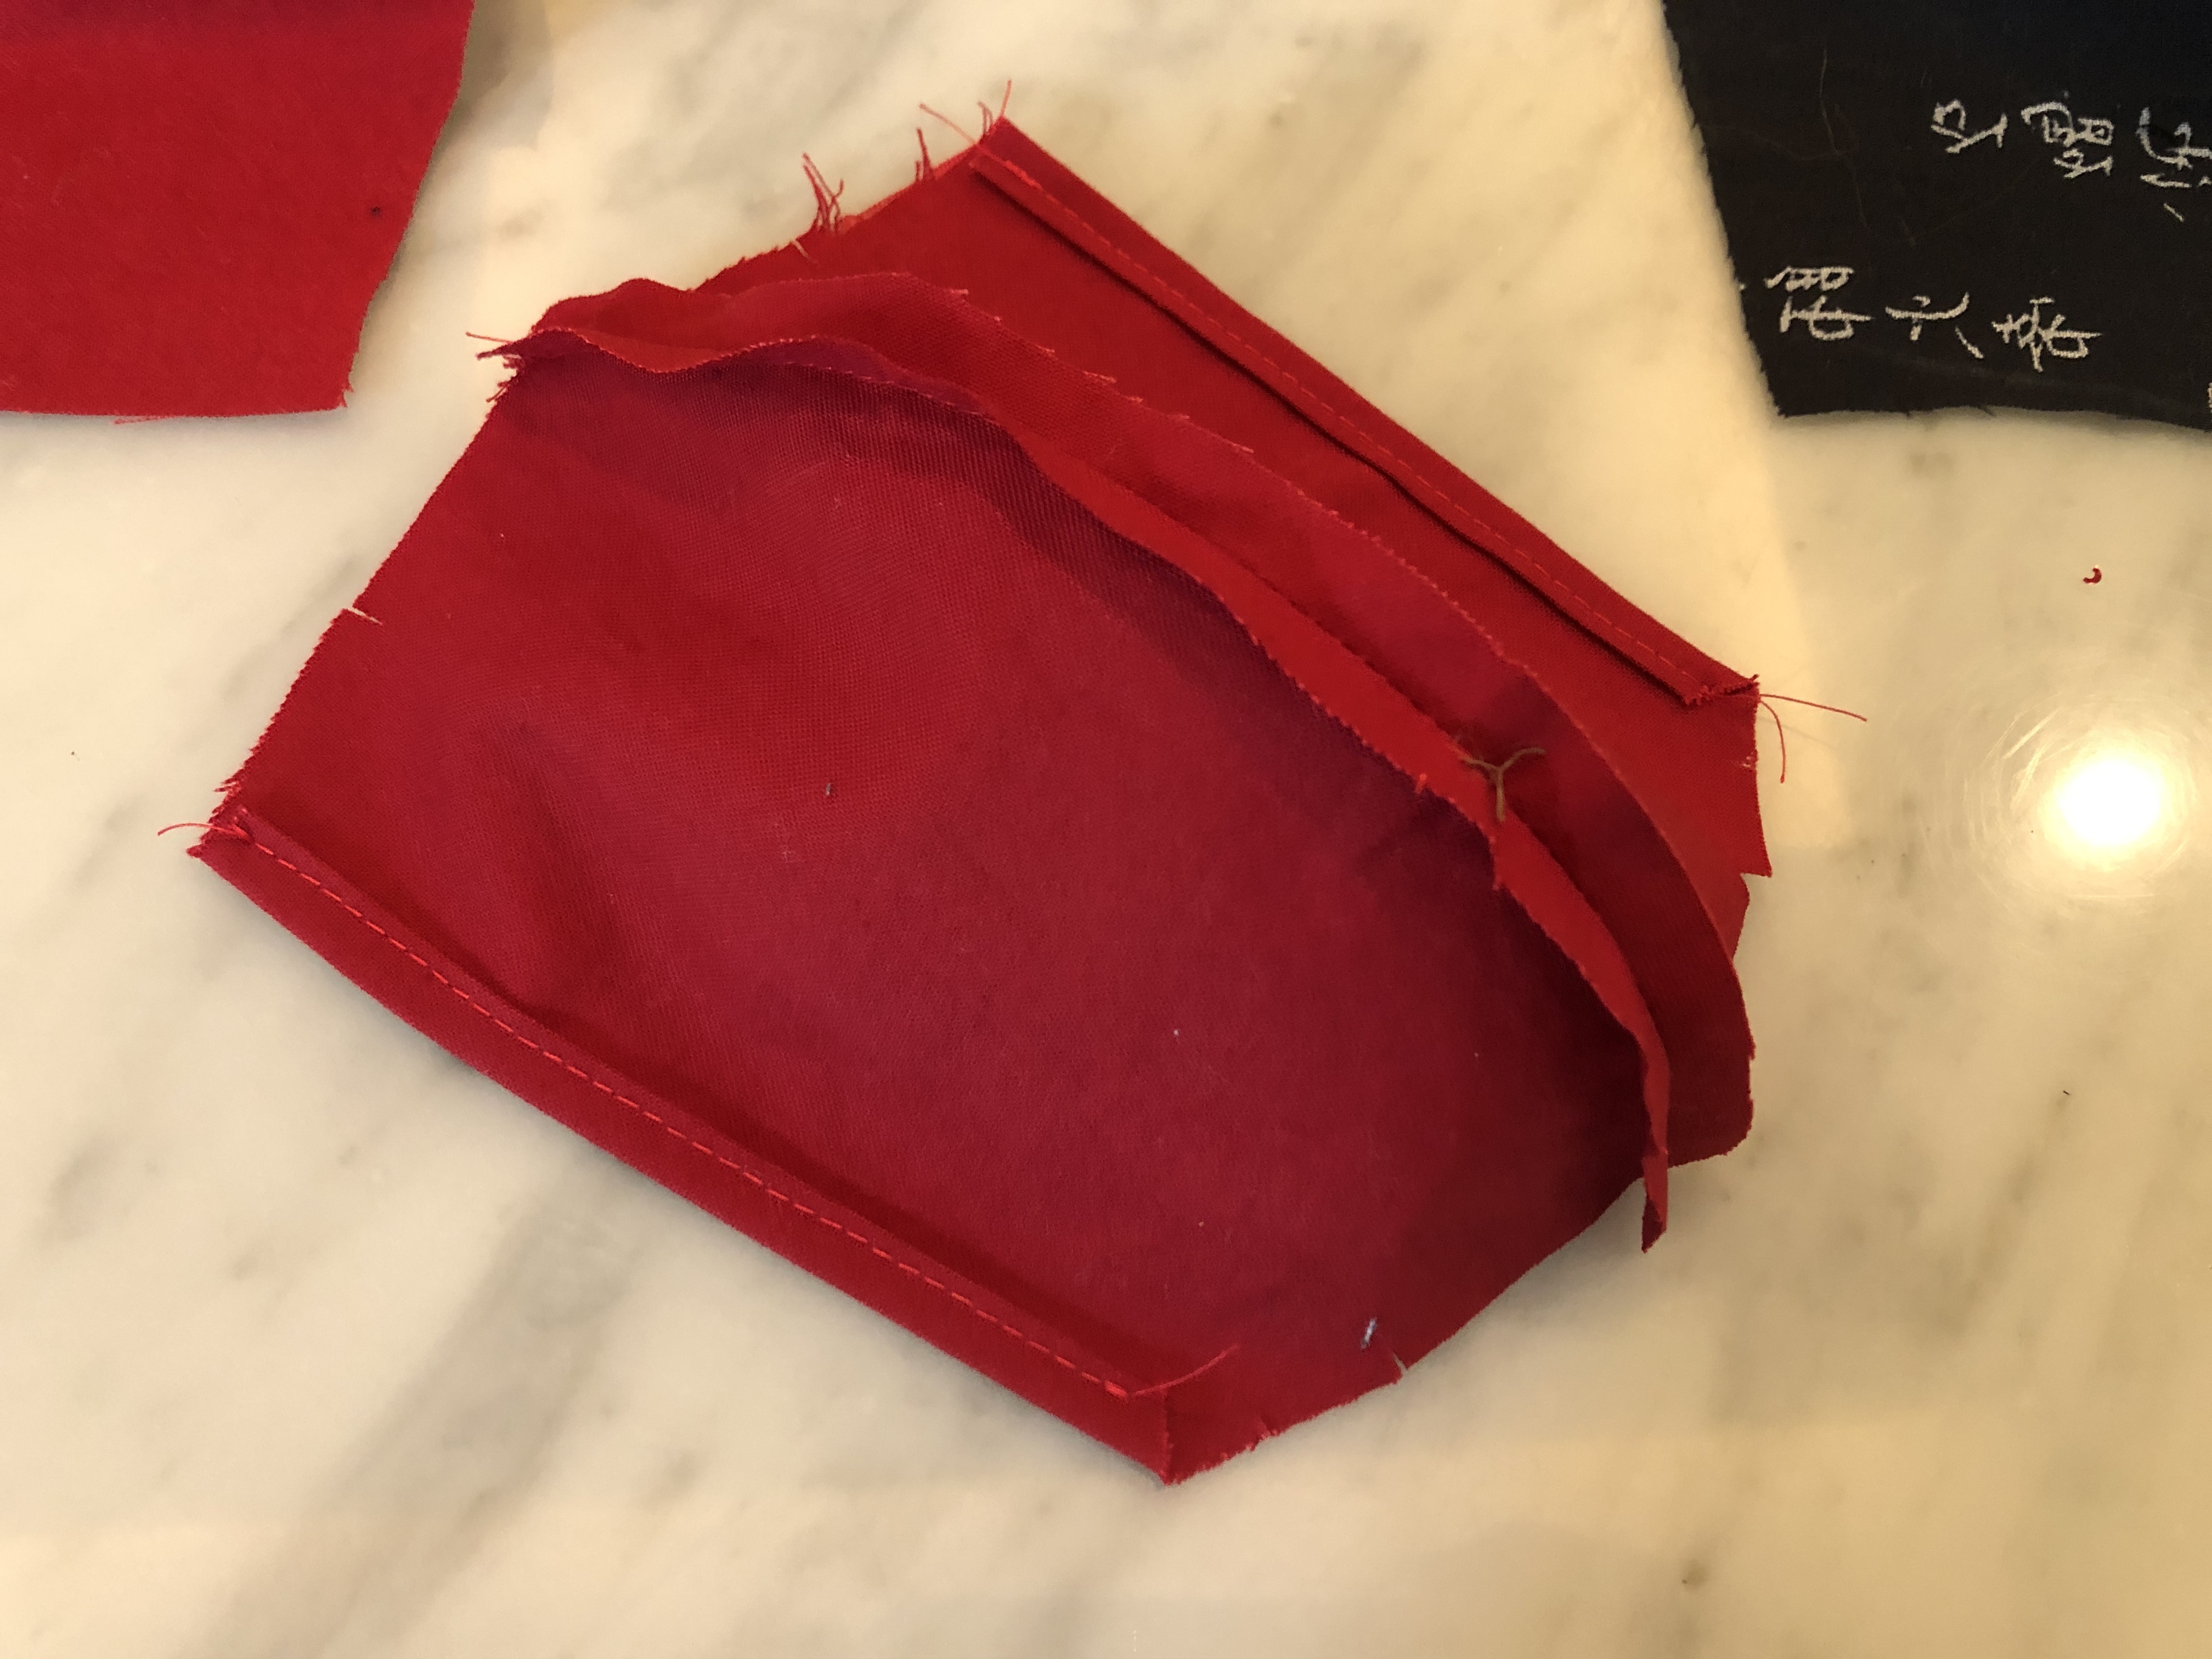
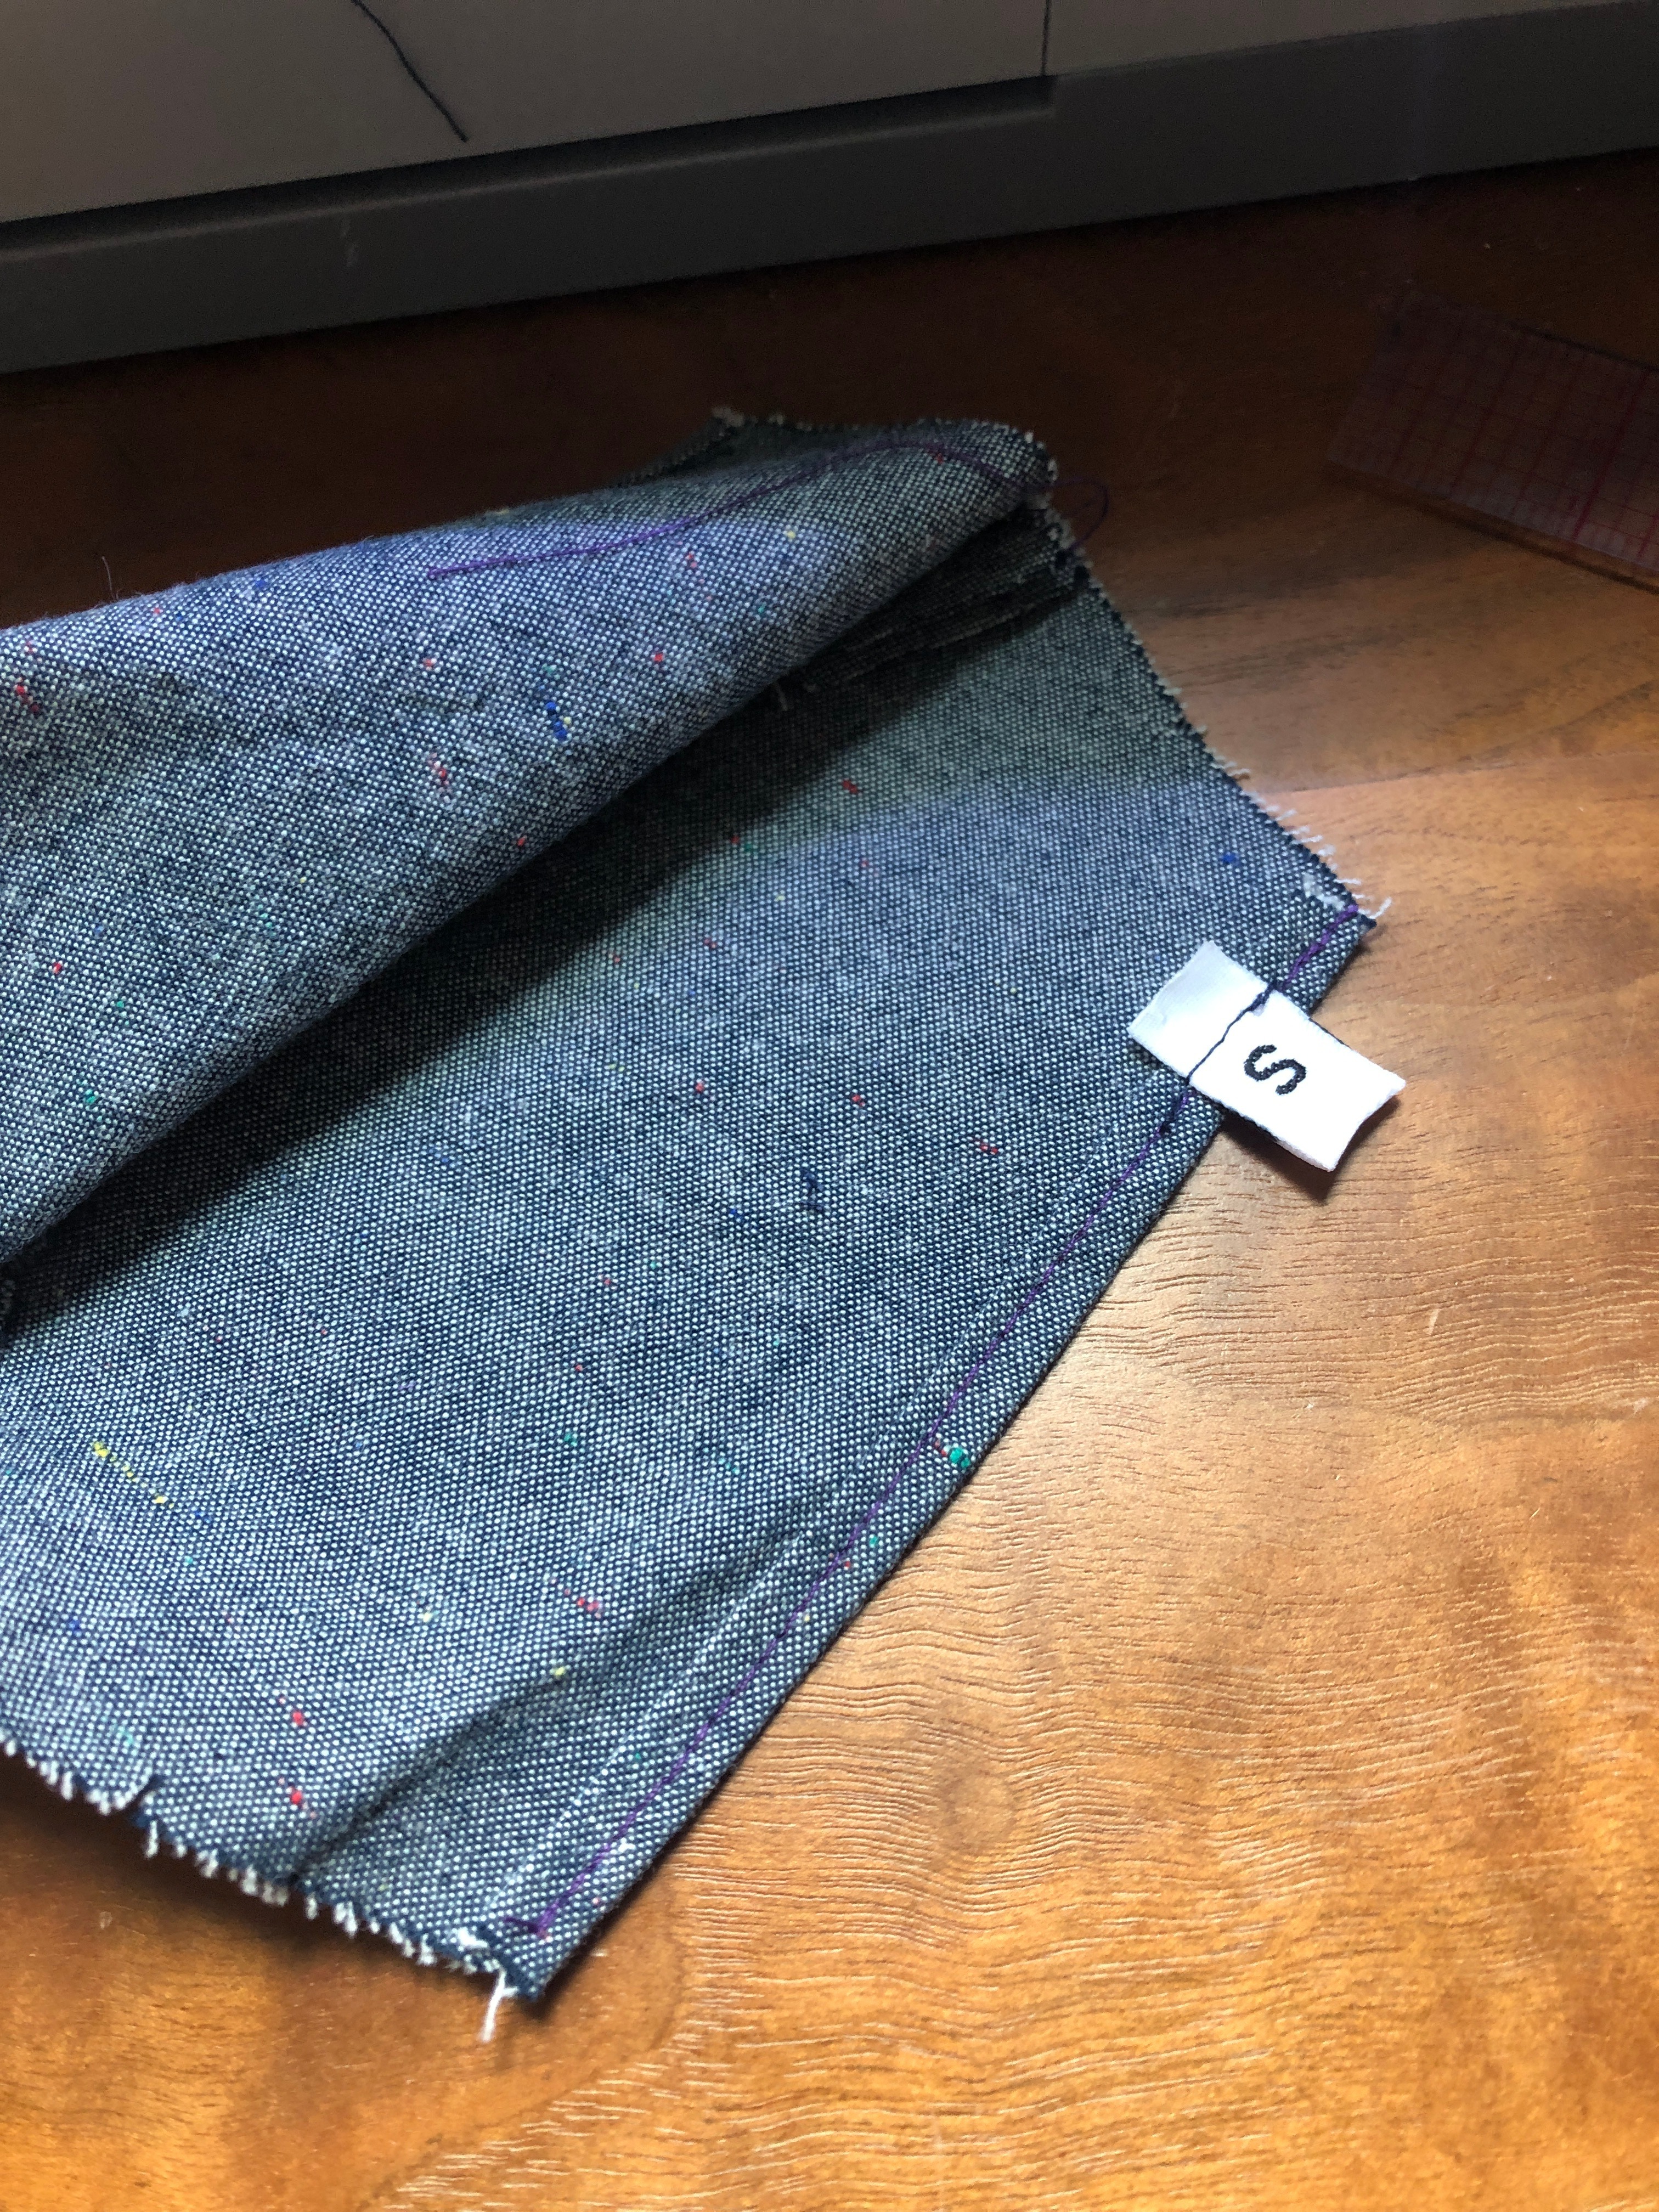
For your pocket piece, fold twice at 1/4", press and topstitch the edges as shown. Do both sides equally. This will serve as your pocket opening.
Layer Pocket on Top of Inner Mask Layer
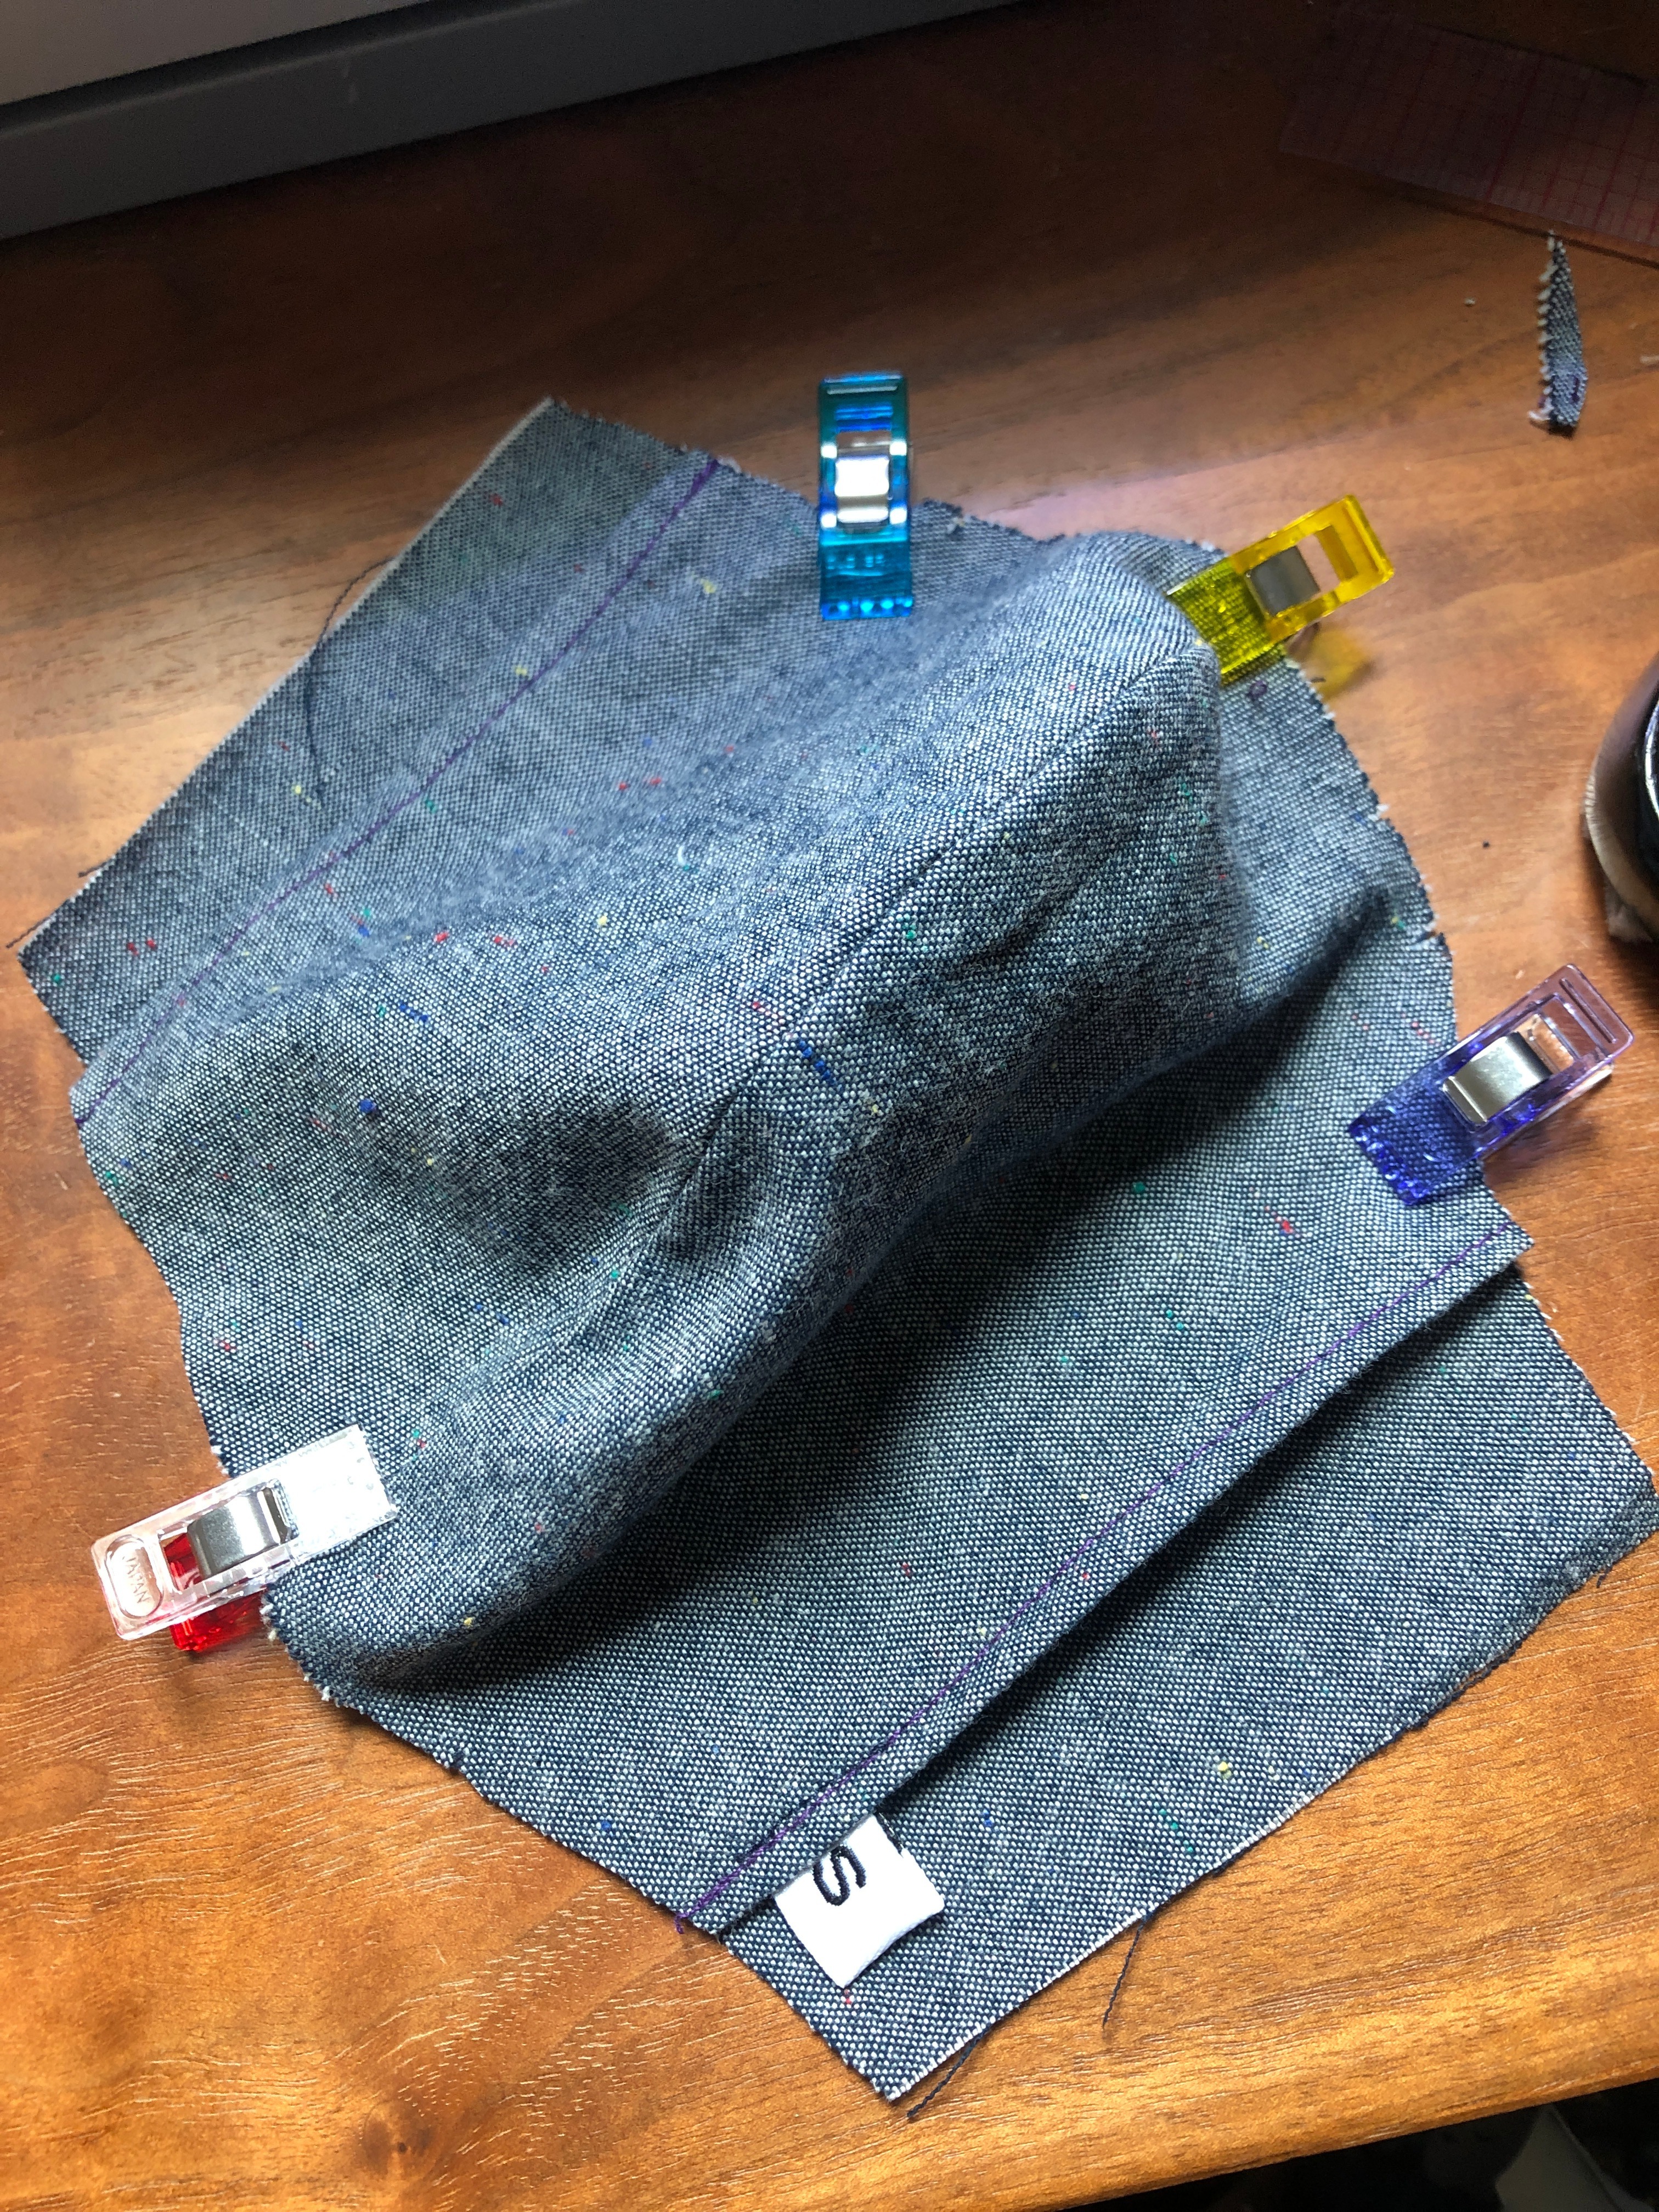
Lay the back part of the mask face up, seam down. Place the pocket piece on top, also right side up, lining up the notches. Be sure to line up the center seams. I recommend using clips if you have them, pins work also.
Pin Ties Onto Front Mask Piece
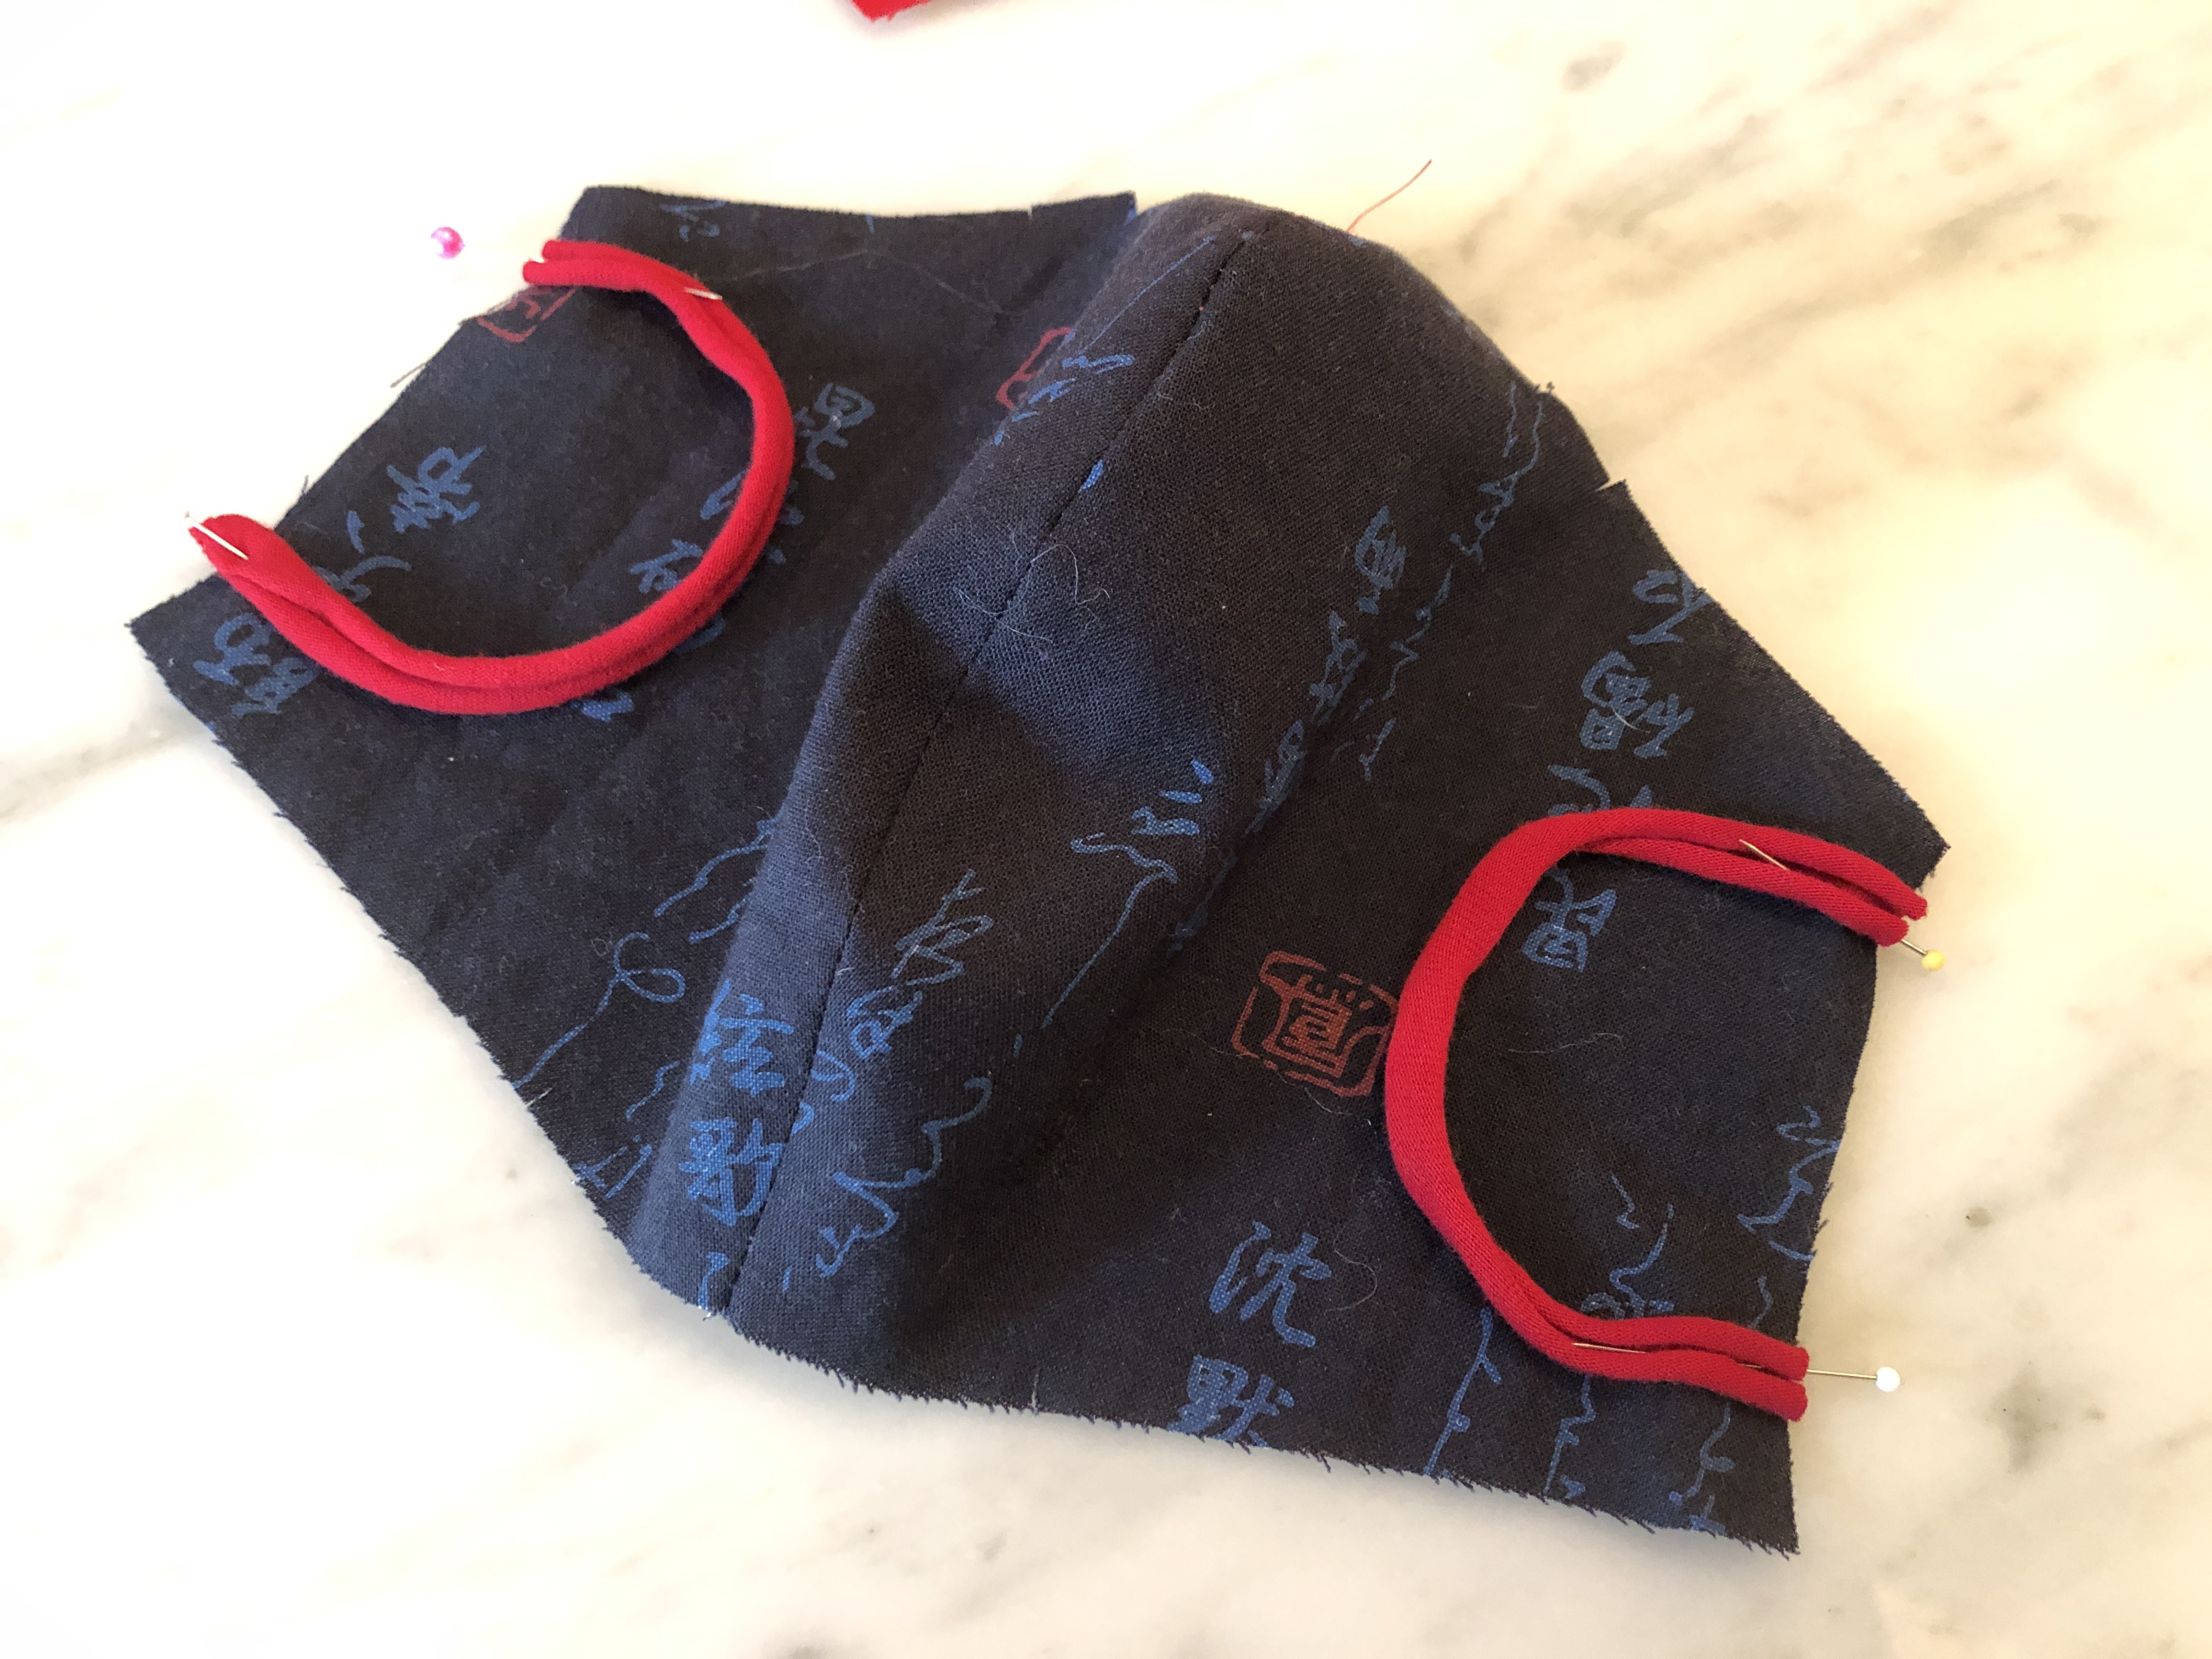
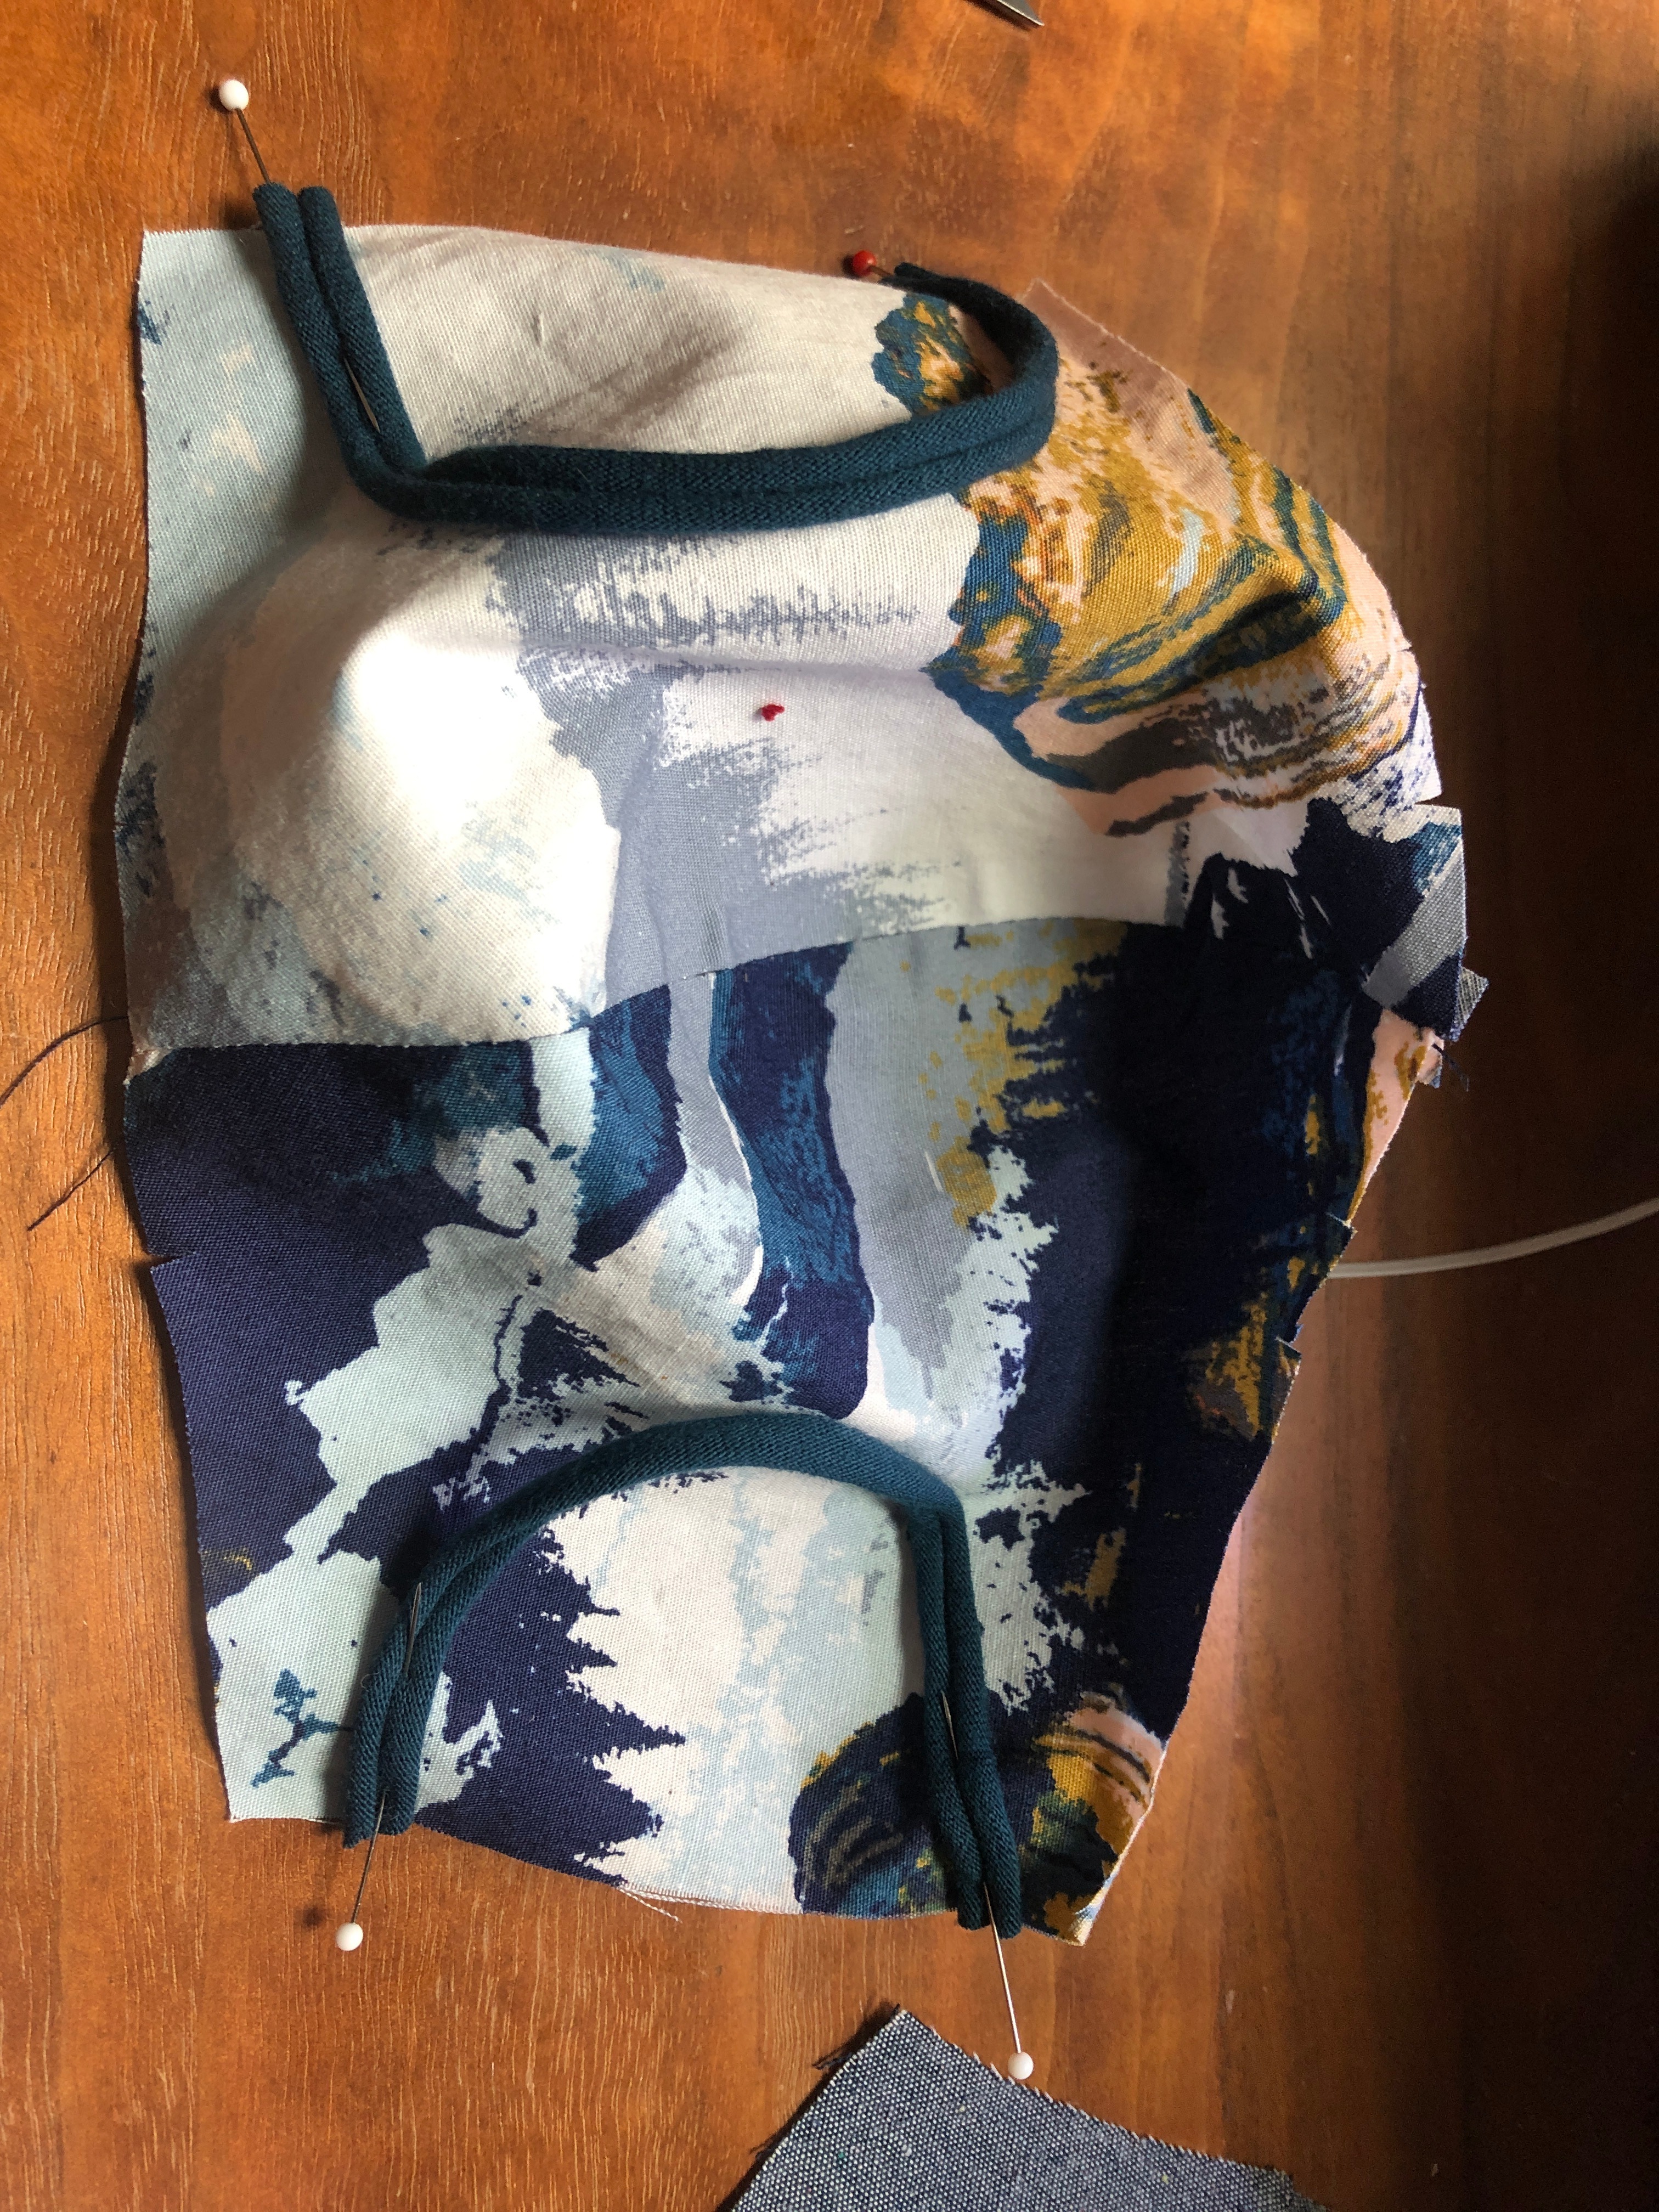
Grab your front mask piece, and pin your ties along the sides, facing inwards as shown. You want to place them so the outer edge is about 3/8" from the corner of the mask, so when you sew at 1/4" you don't catch the tie along the top or bottom of the mask. Be sure to pin these with the head of the pin on the outside.
Sandwich the Front and Back Layers Together
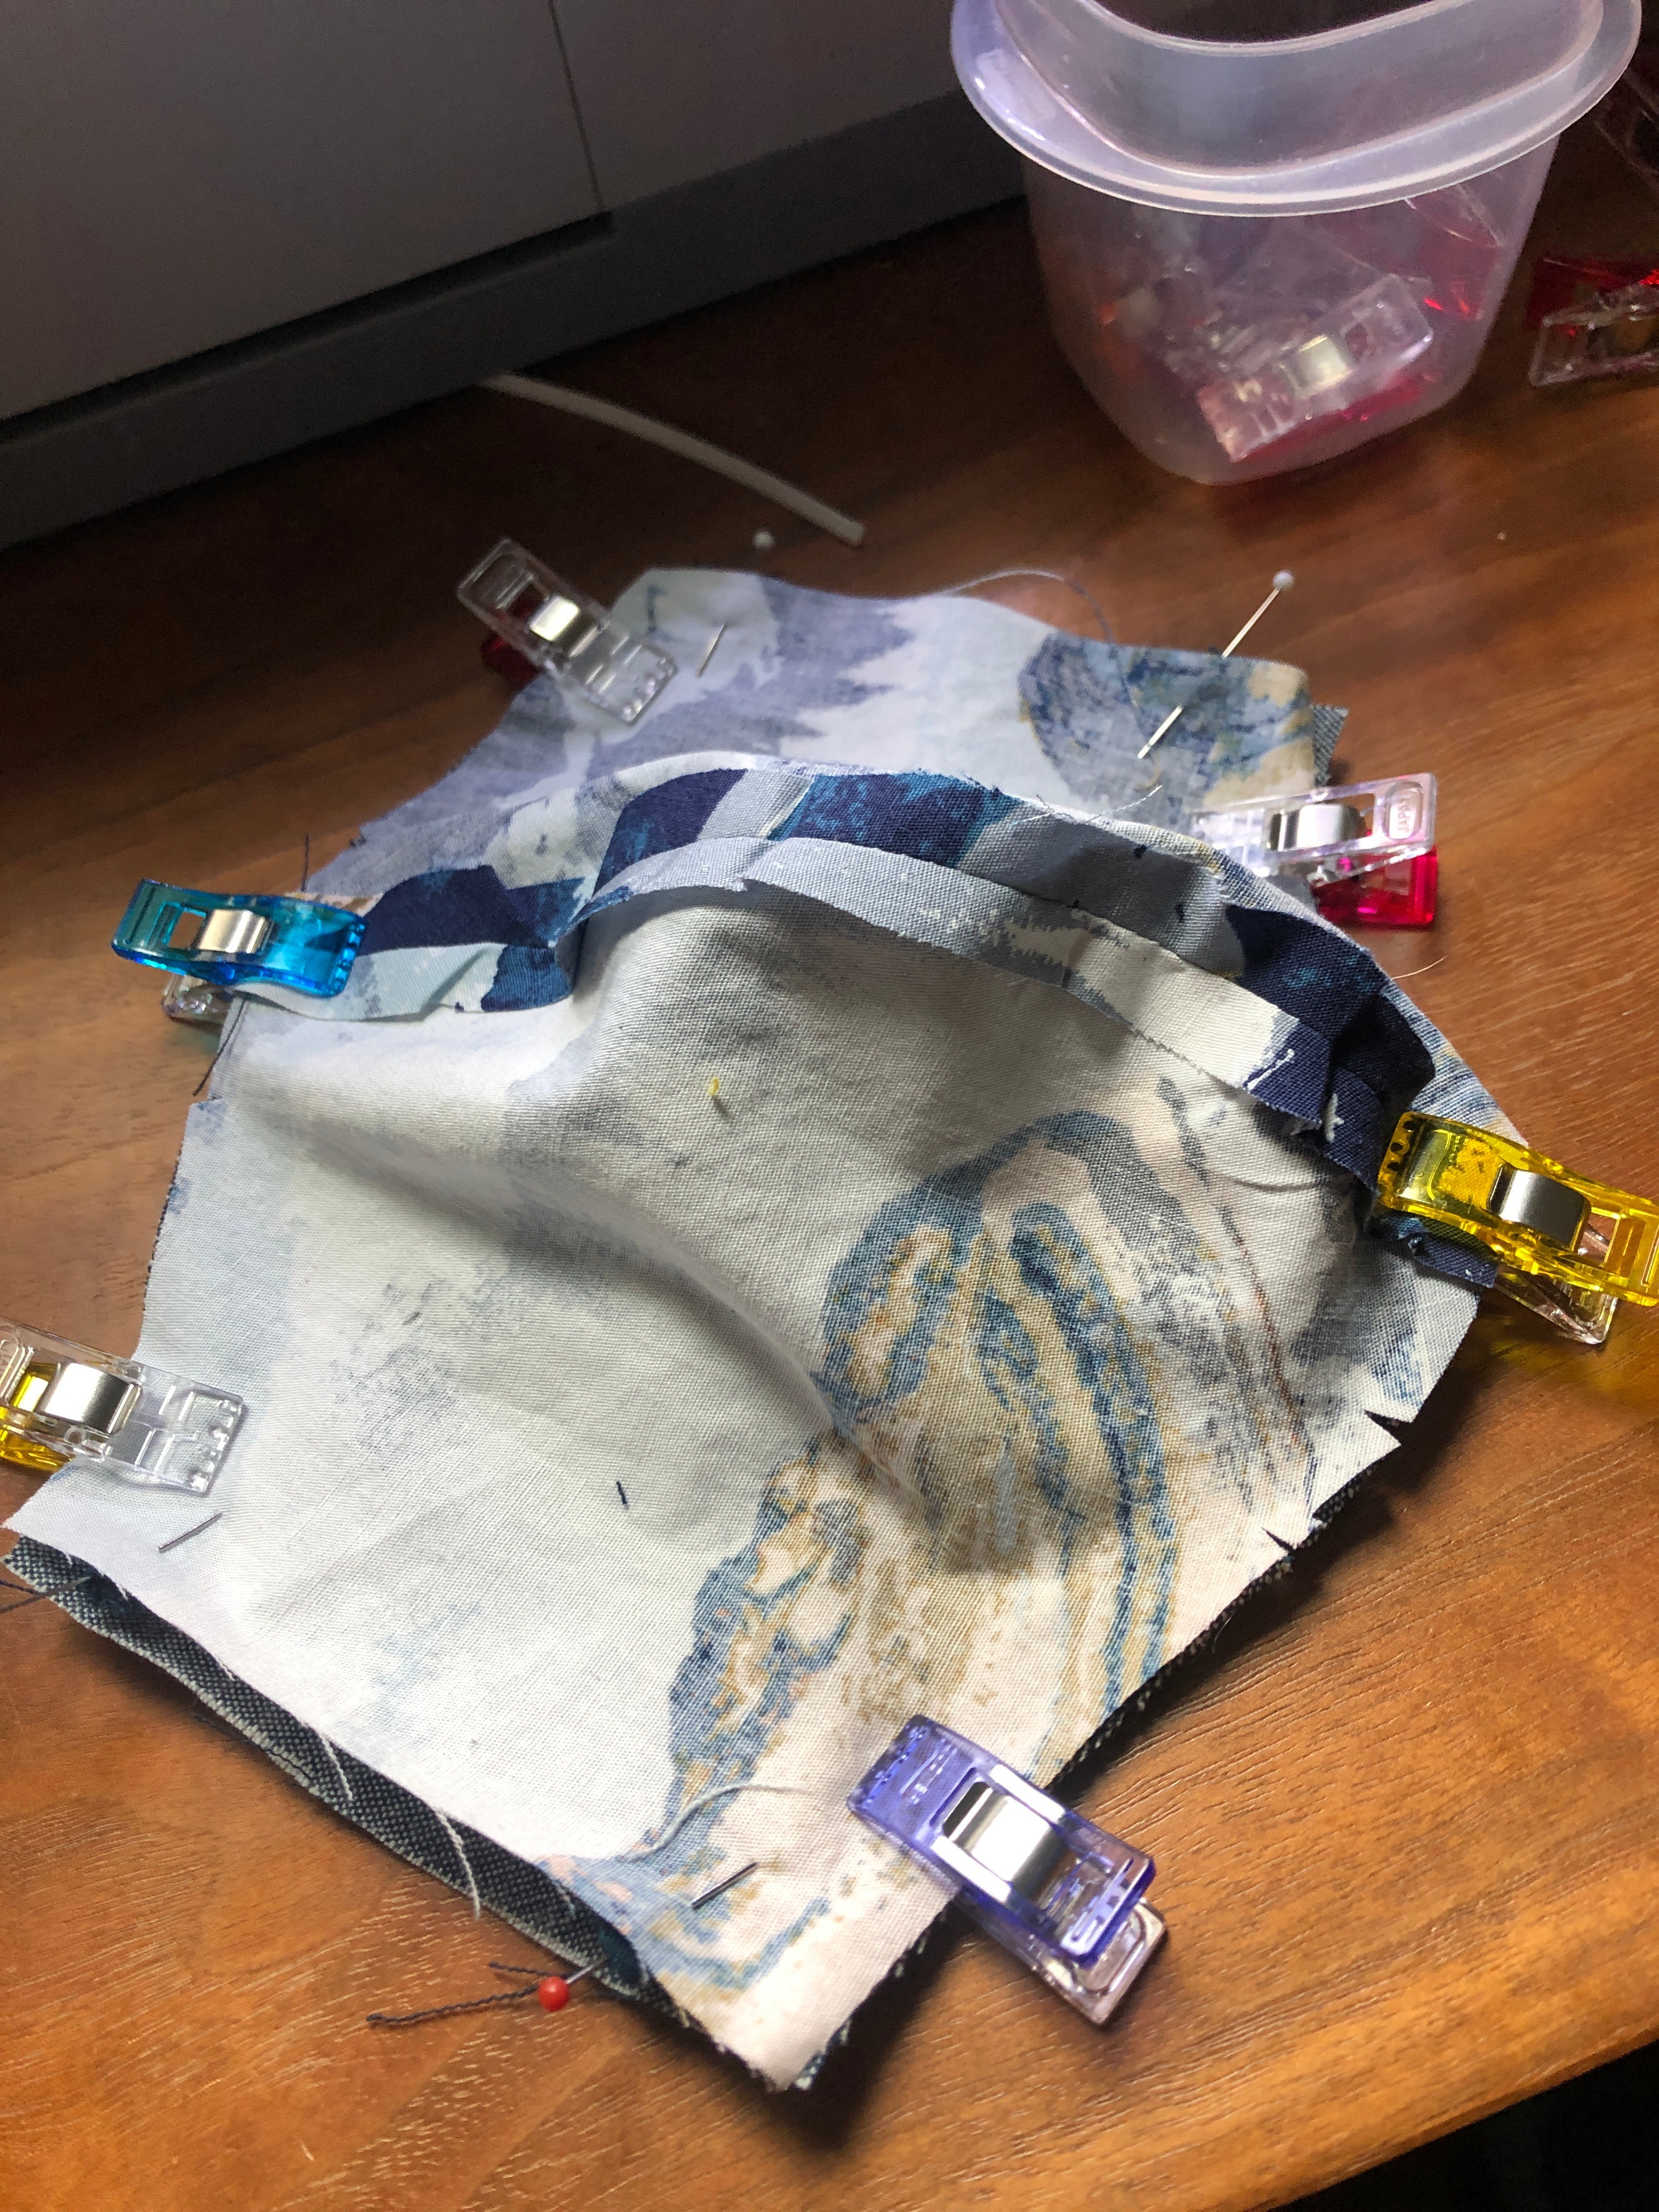
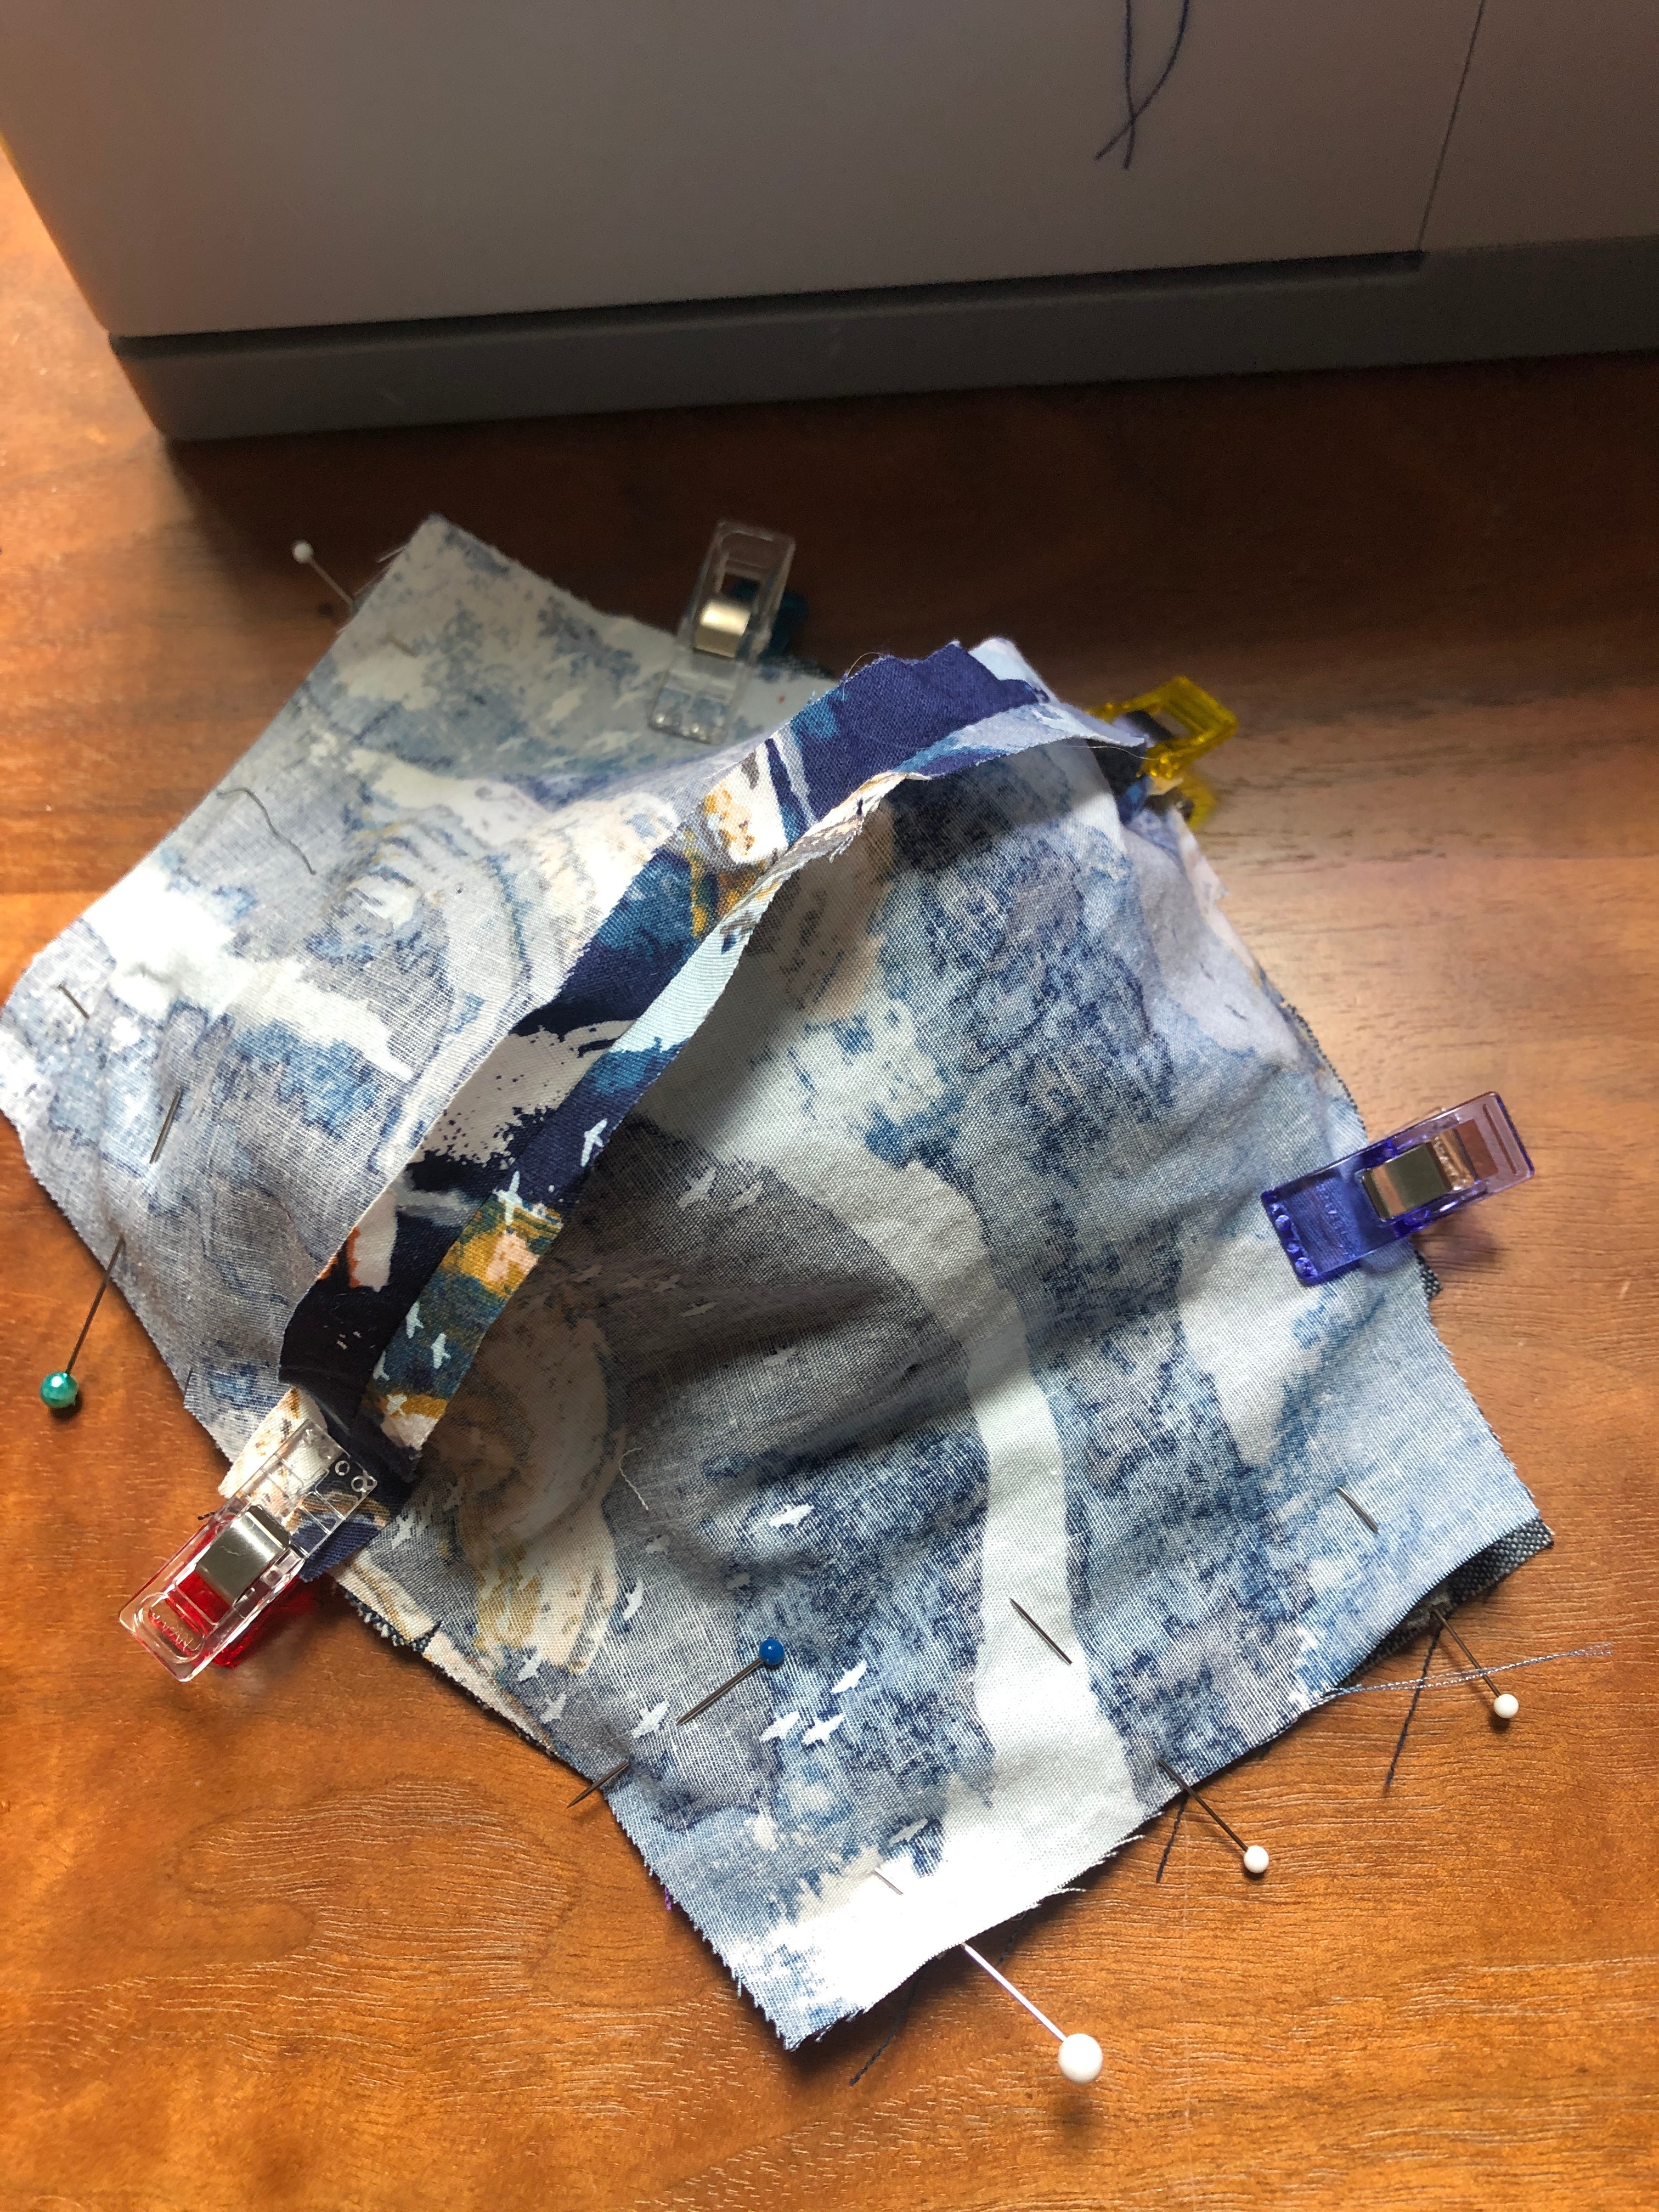
Place the front piece (with ties) face down on top of the back + pocket piece, fronts together. This means the face of your front fabric is up against the face of your pocket. Tuck the ties into the sandwich and pin around, making sure not to catch the tie loops along the top of bottom seam. Line up the center seams of the front with the back.
Optional: Add Nose Wire Channel
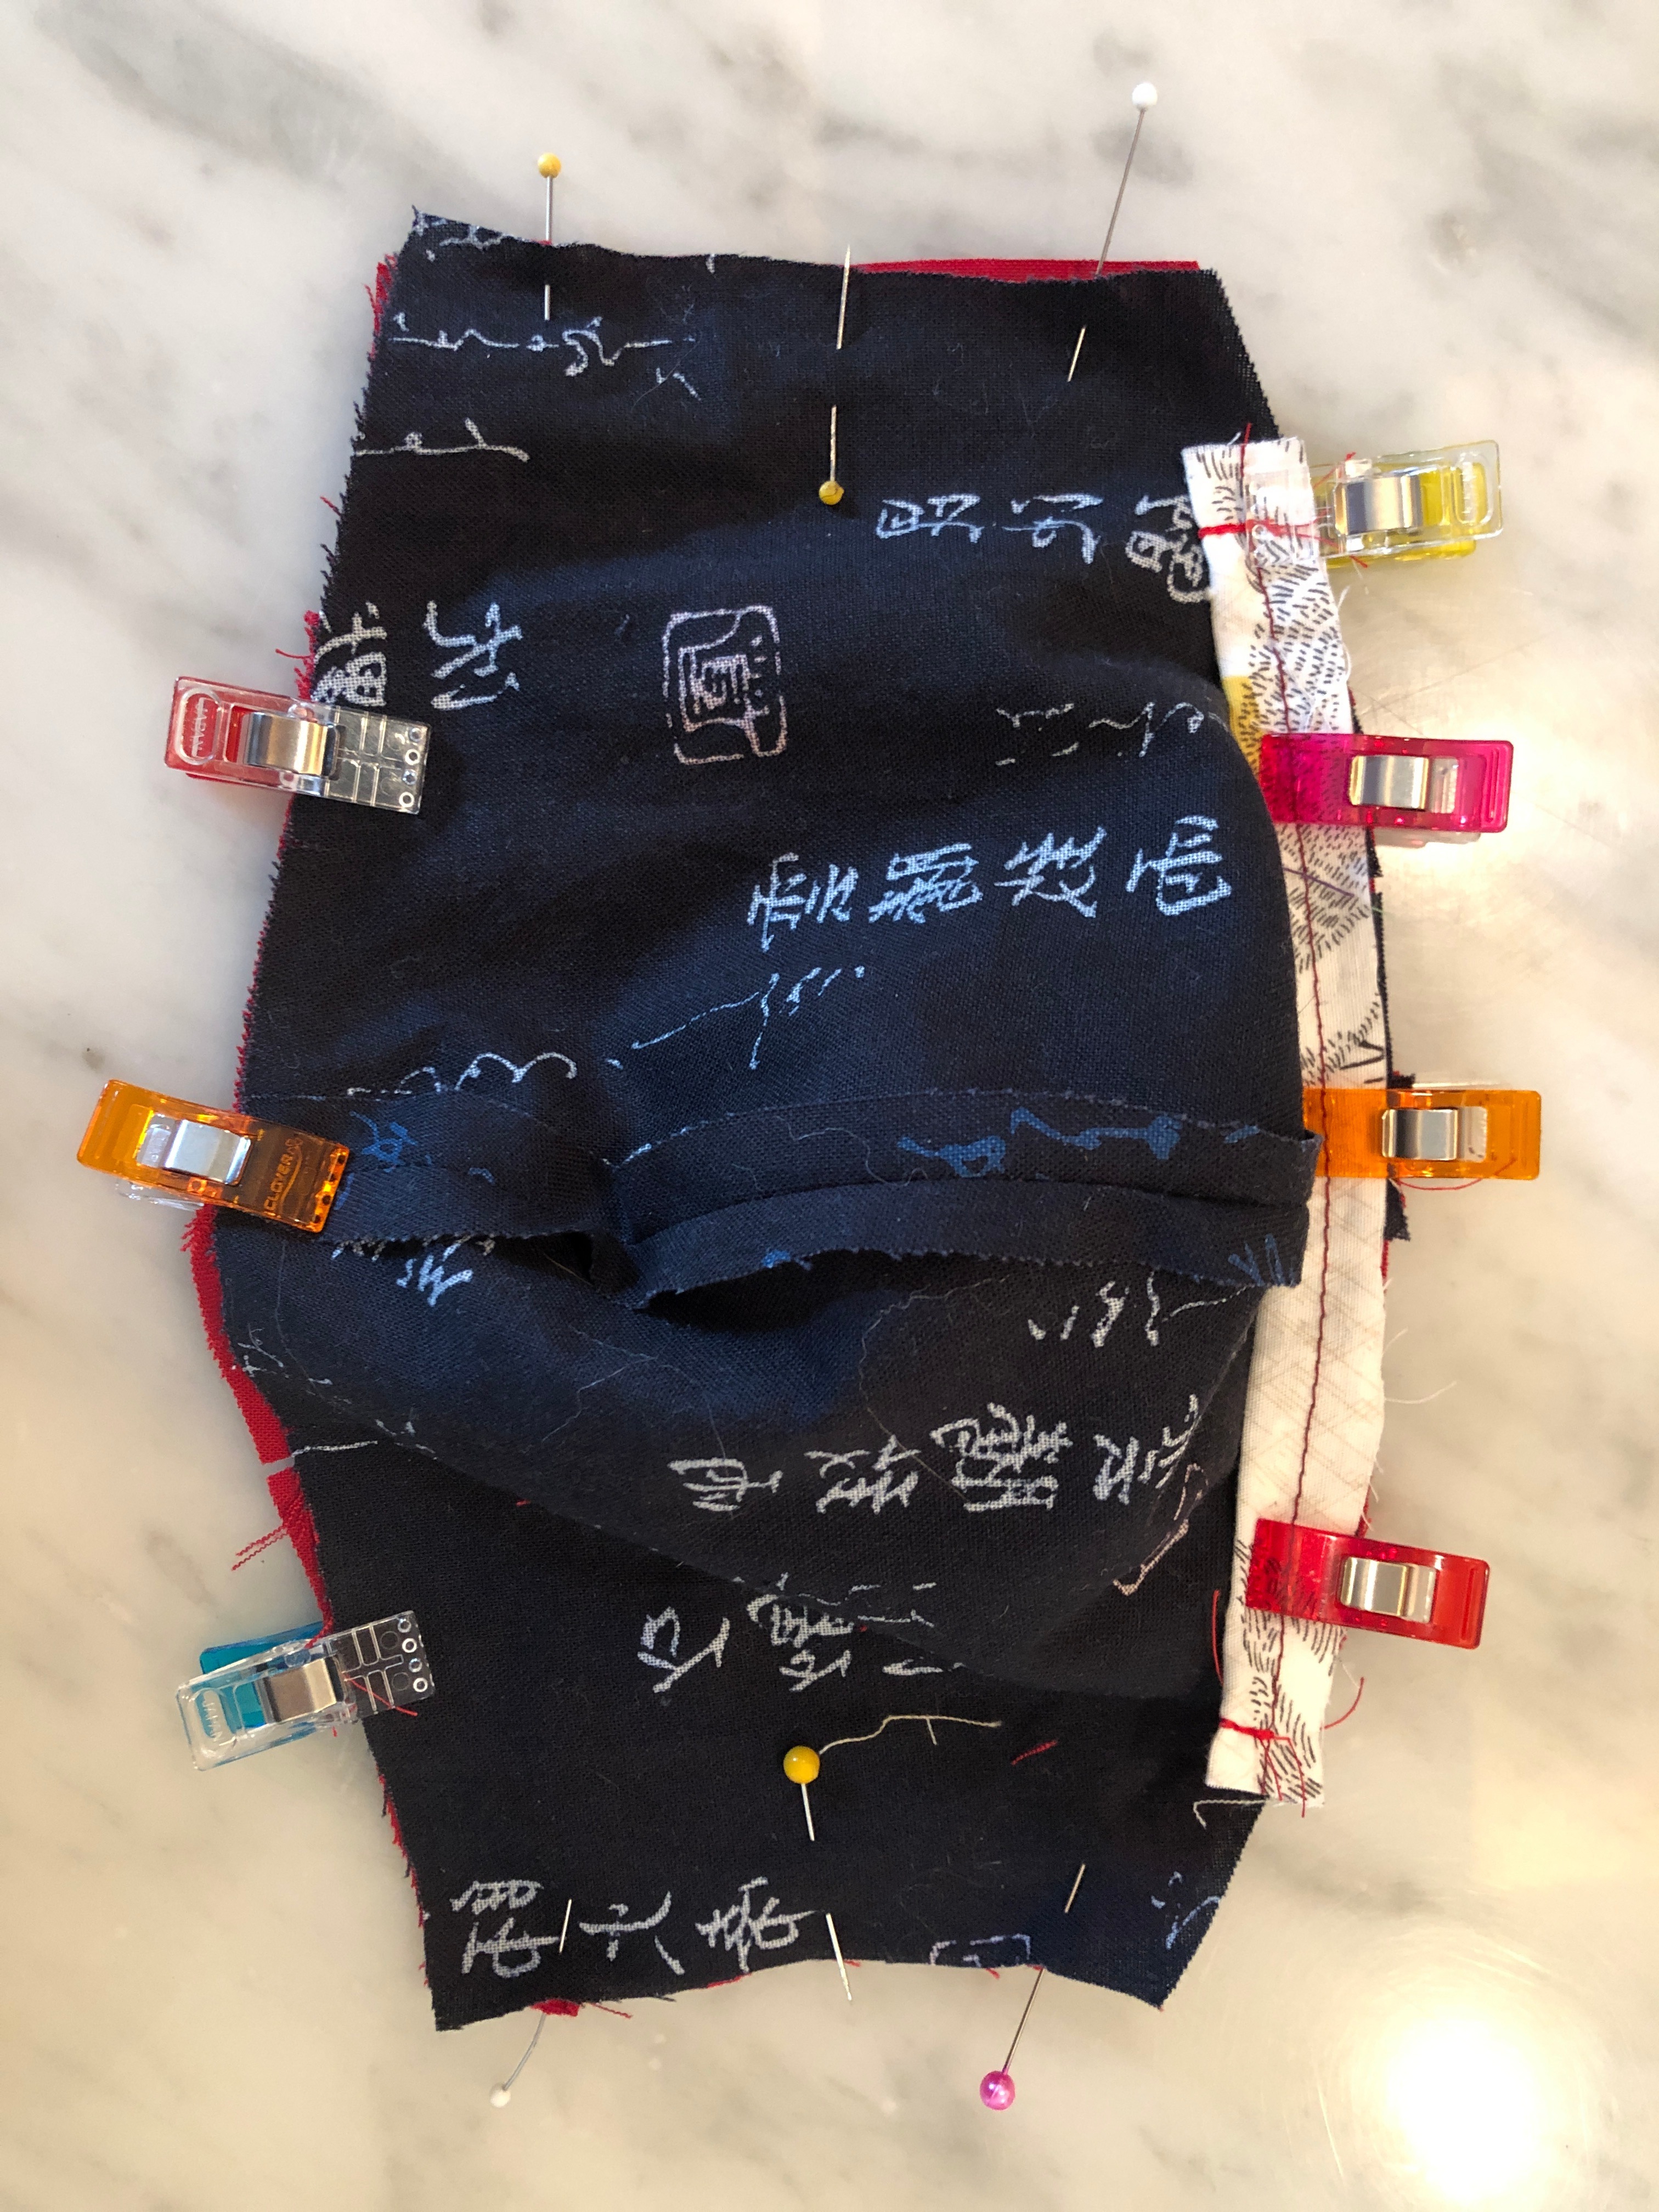
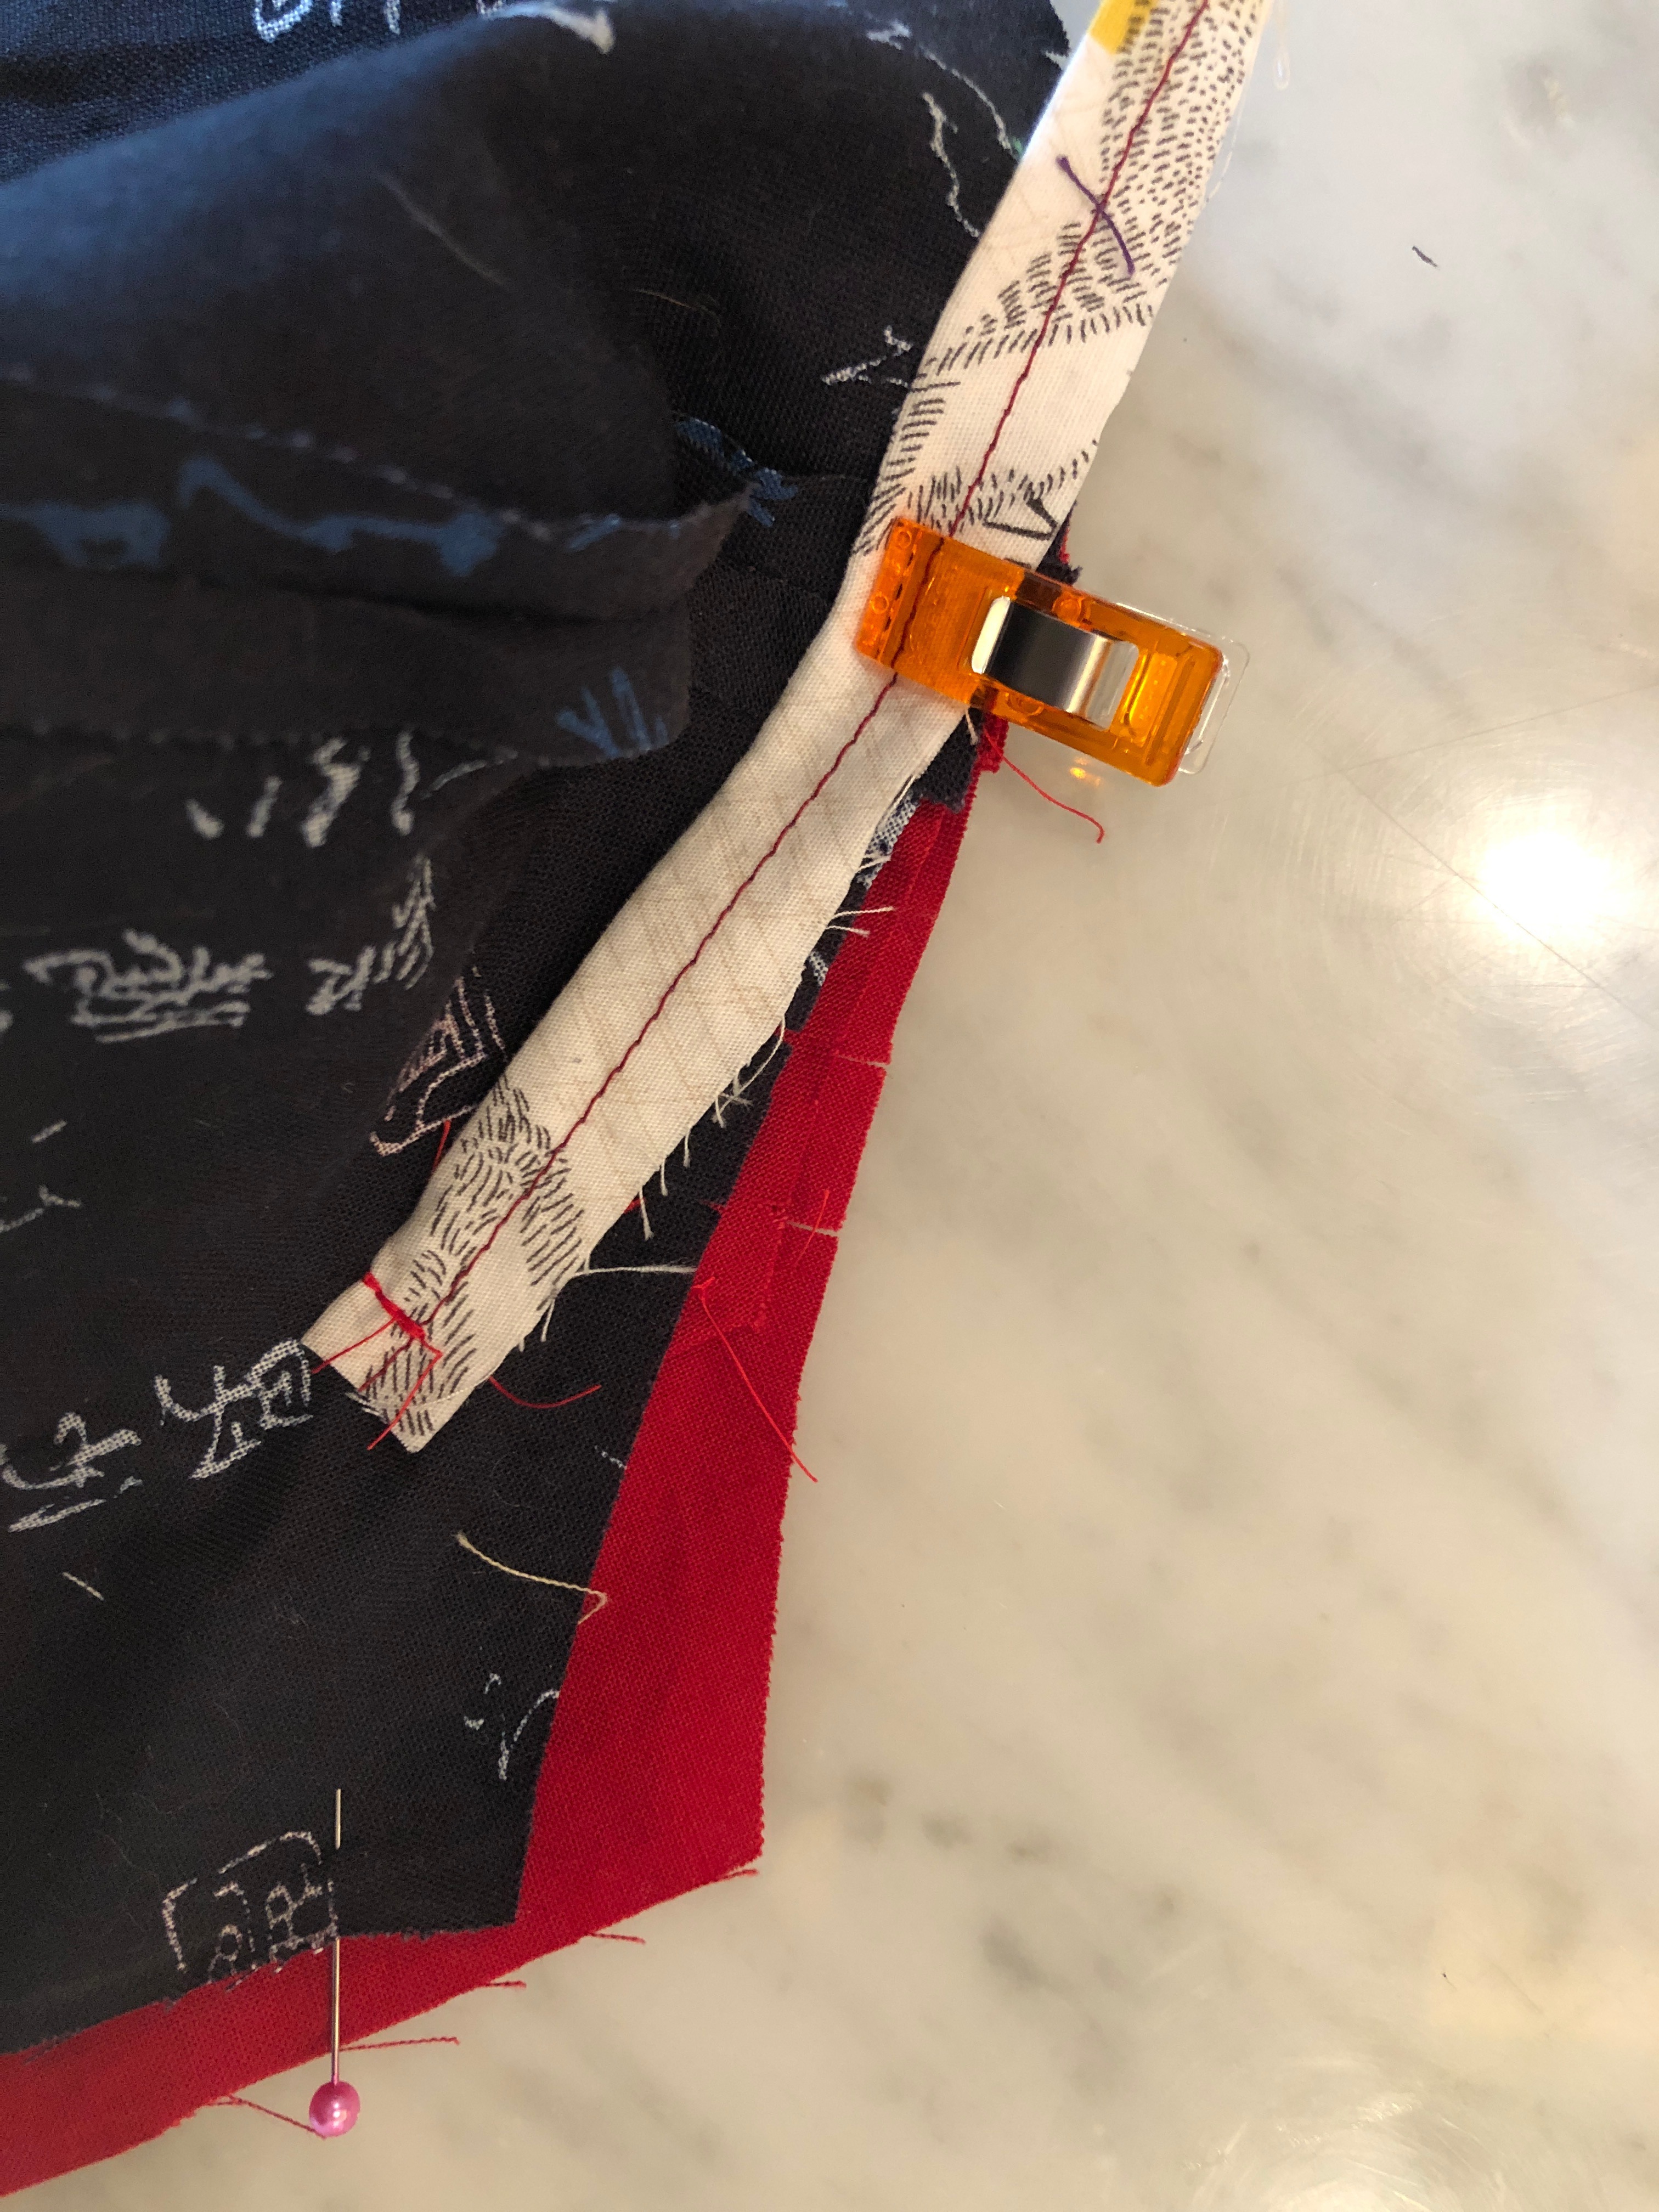
If you are using a separate fabric channel for your nose wire, layer this on top of the whole sandwich along the top (look for the double notches), and pin or clip, centered.
Stitch Around the Perimeter
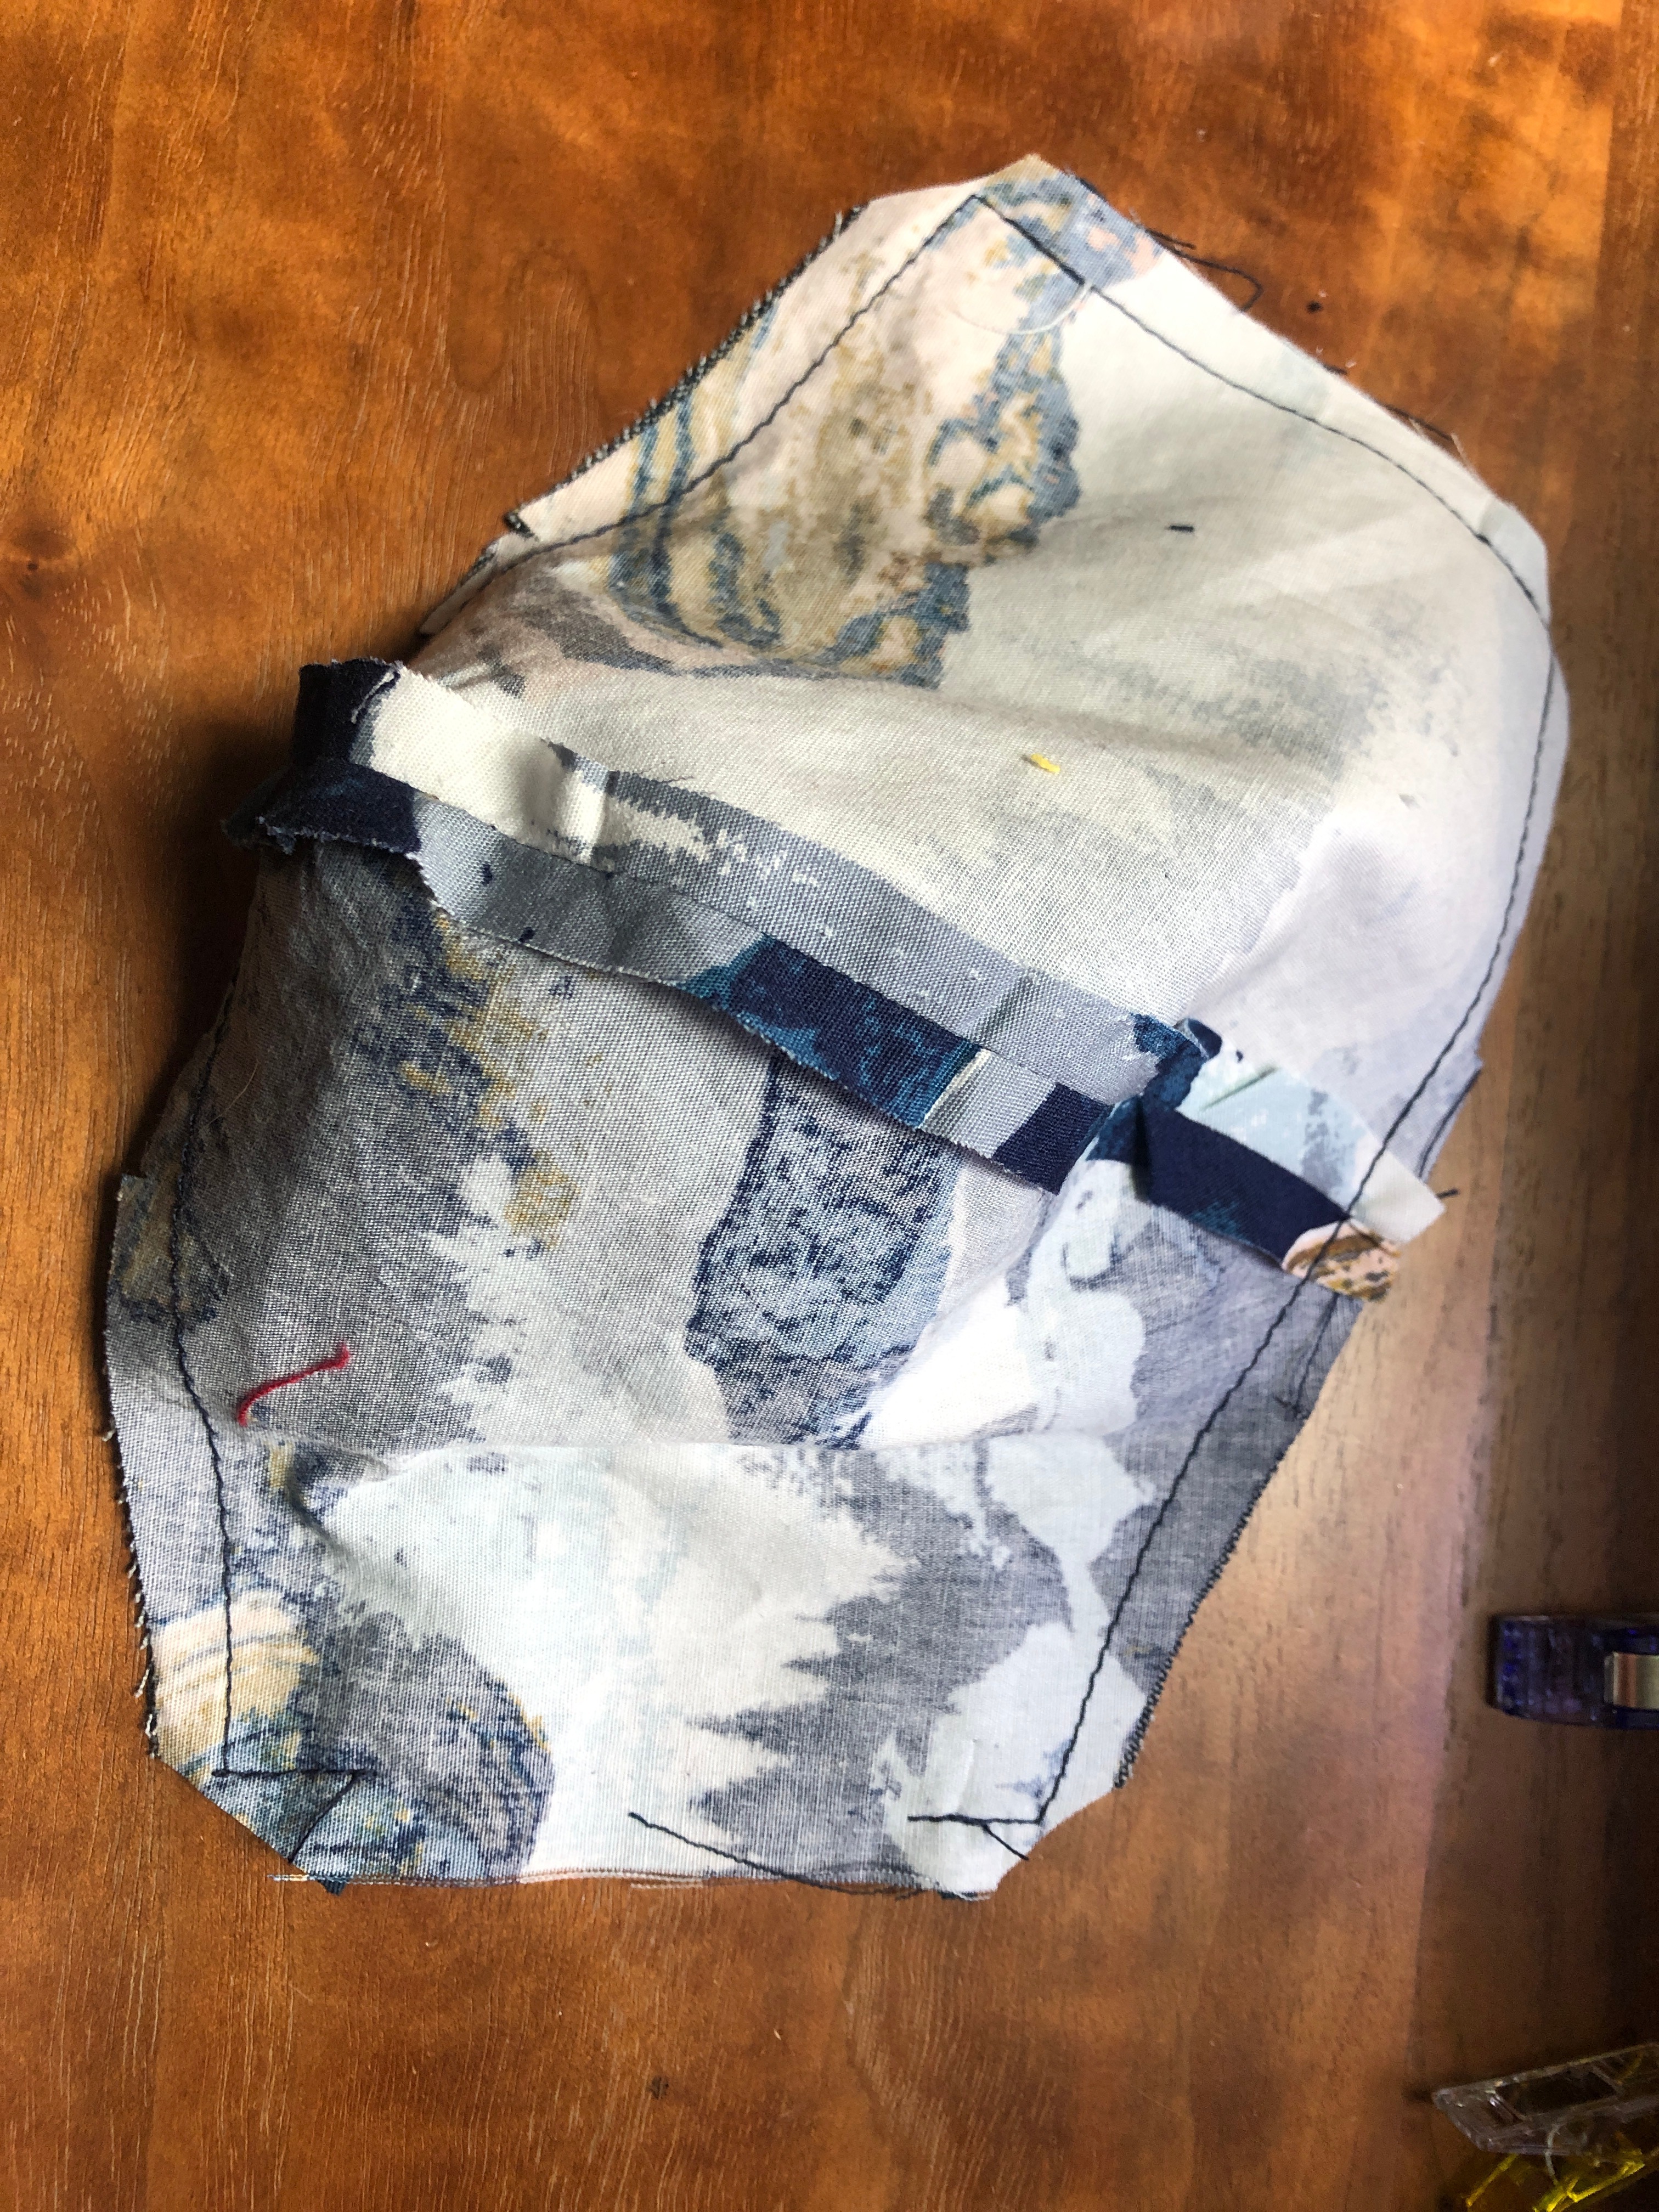
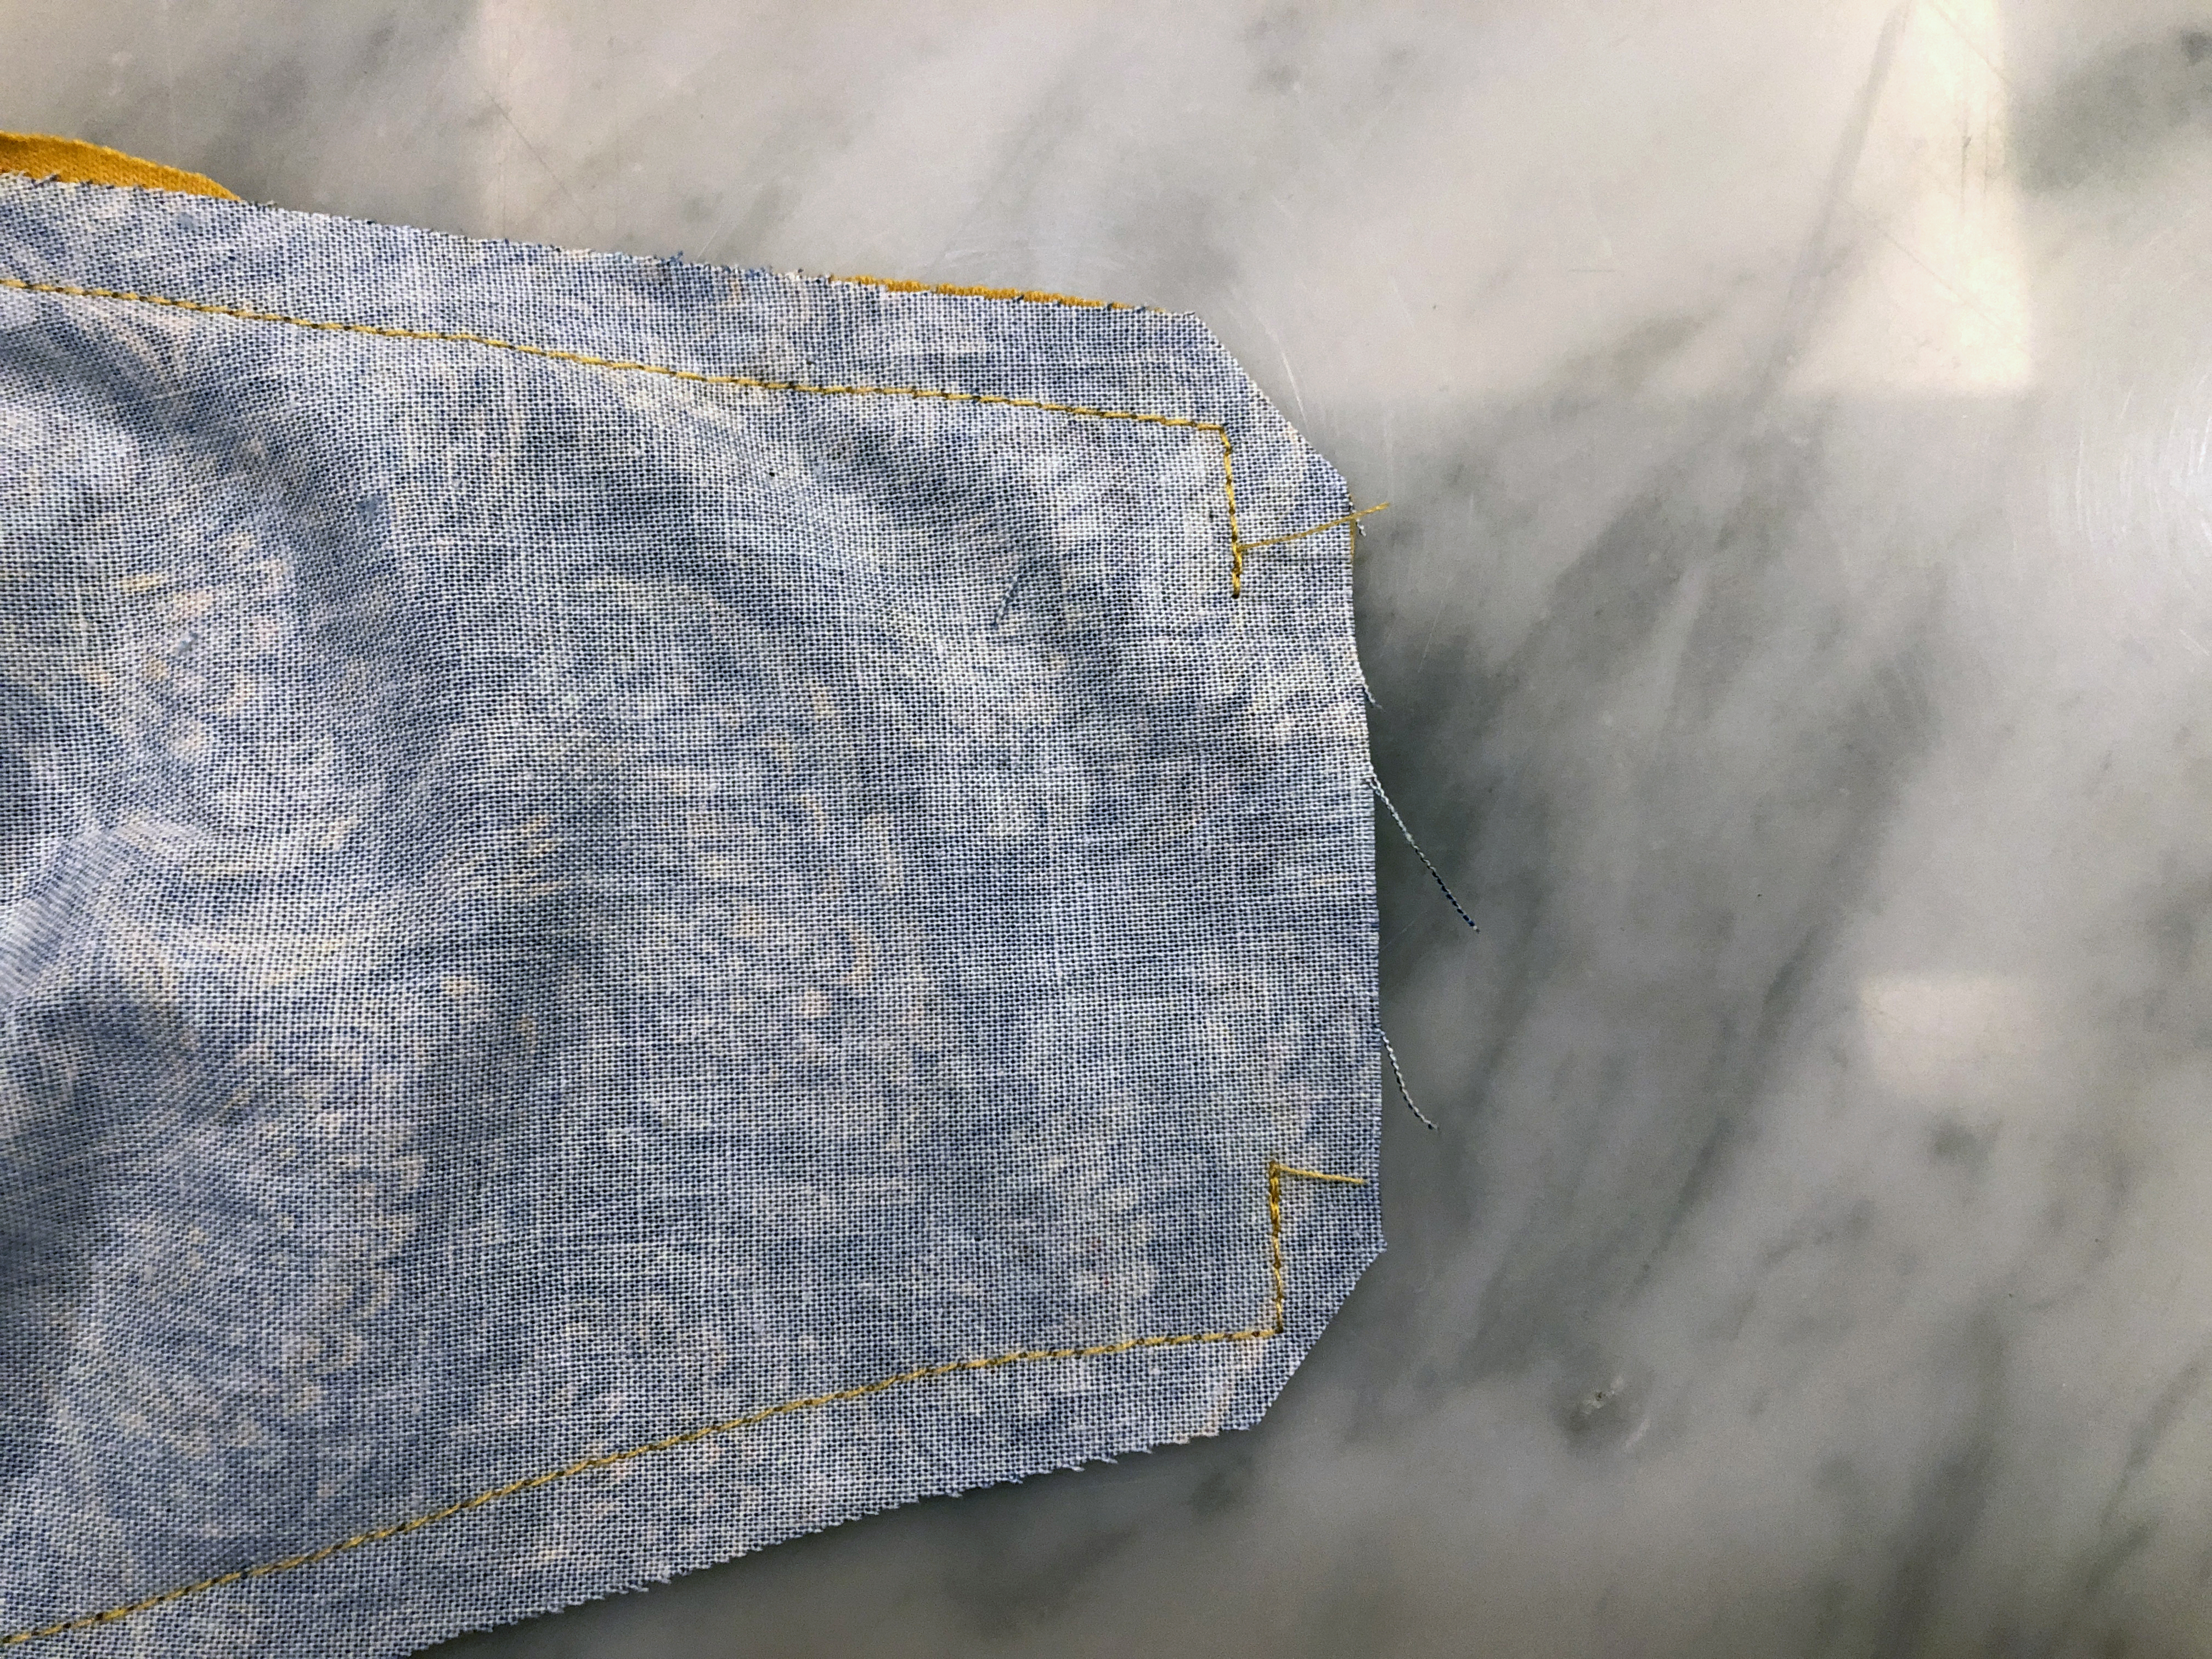
Stitch around the whole sandwich at 1/4" seam allowance. Back stitch over where the ties attach at the sides, and leave an opening between the ties on one side.
Clip the corners of the mask after sewing.
Turn Right Side Out
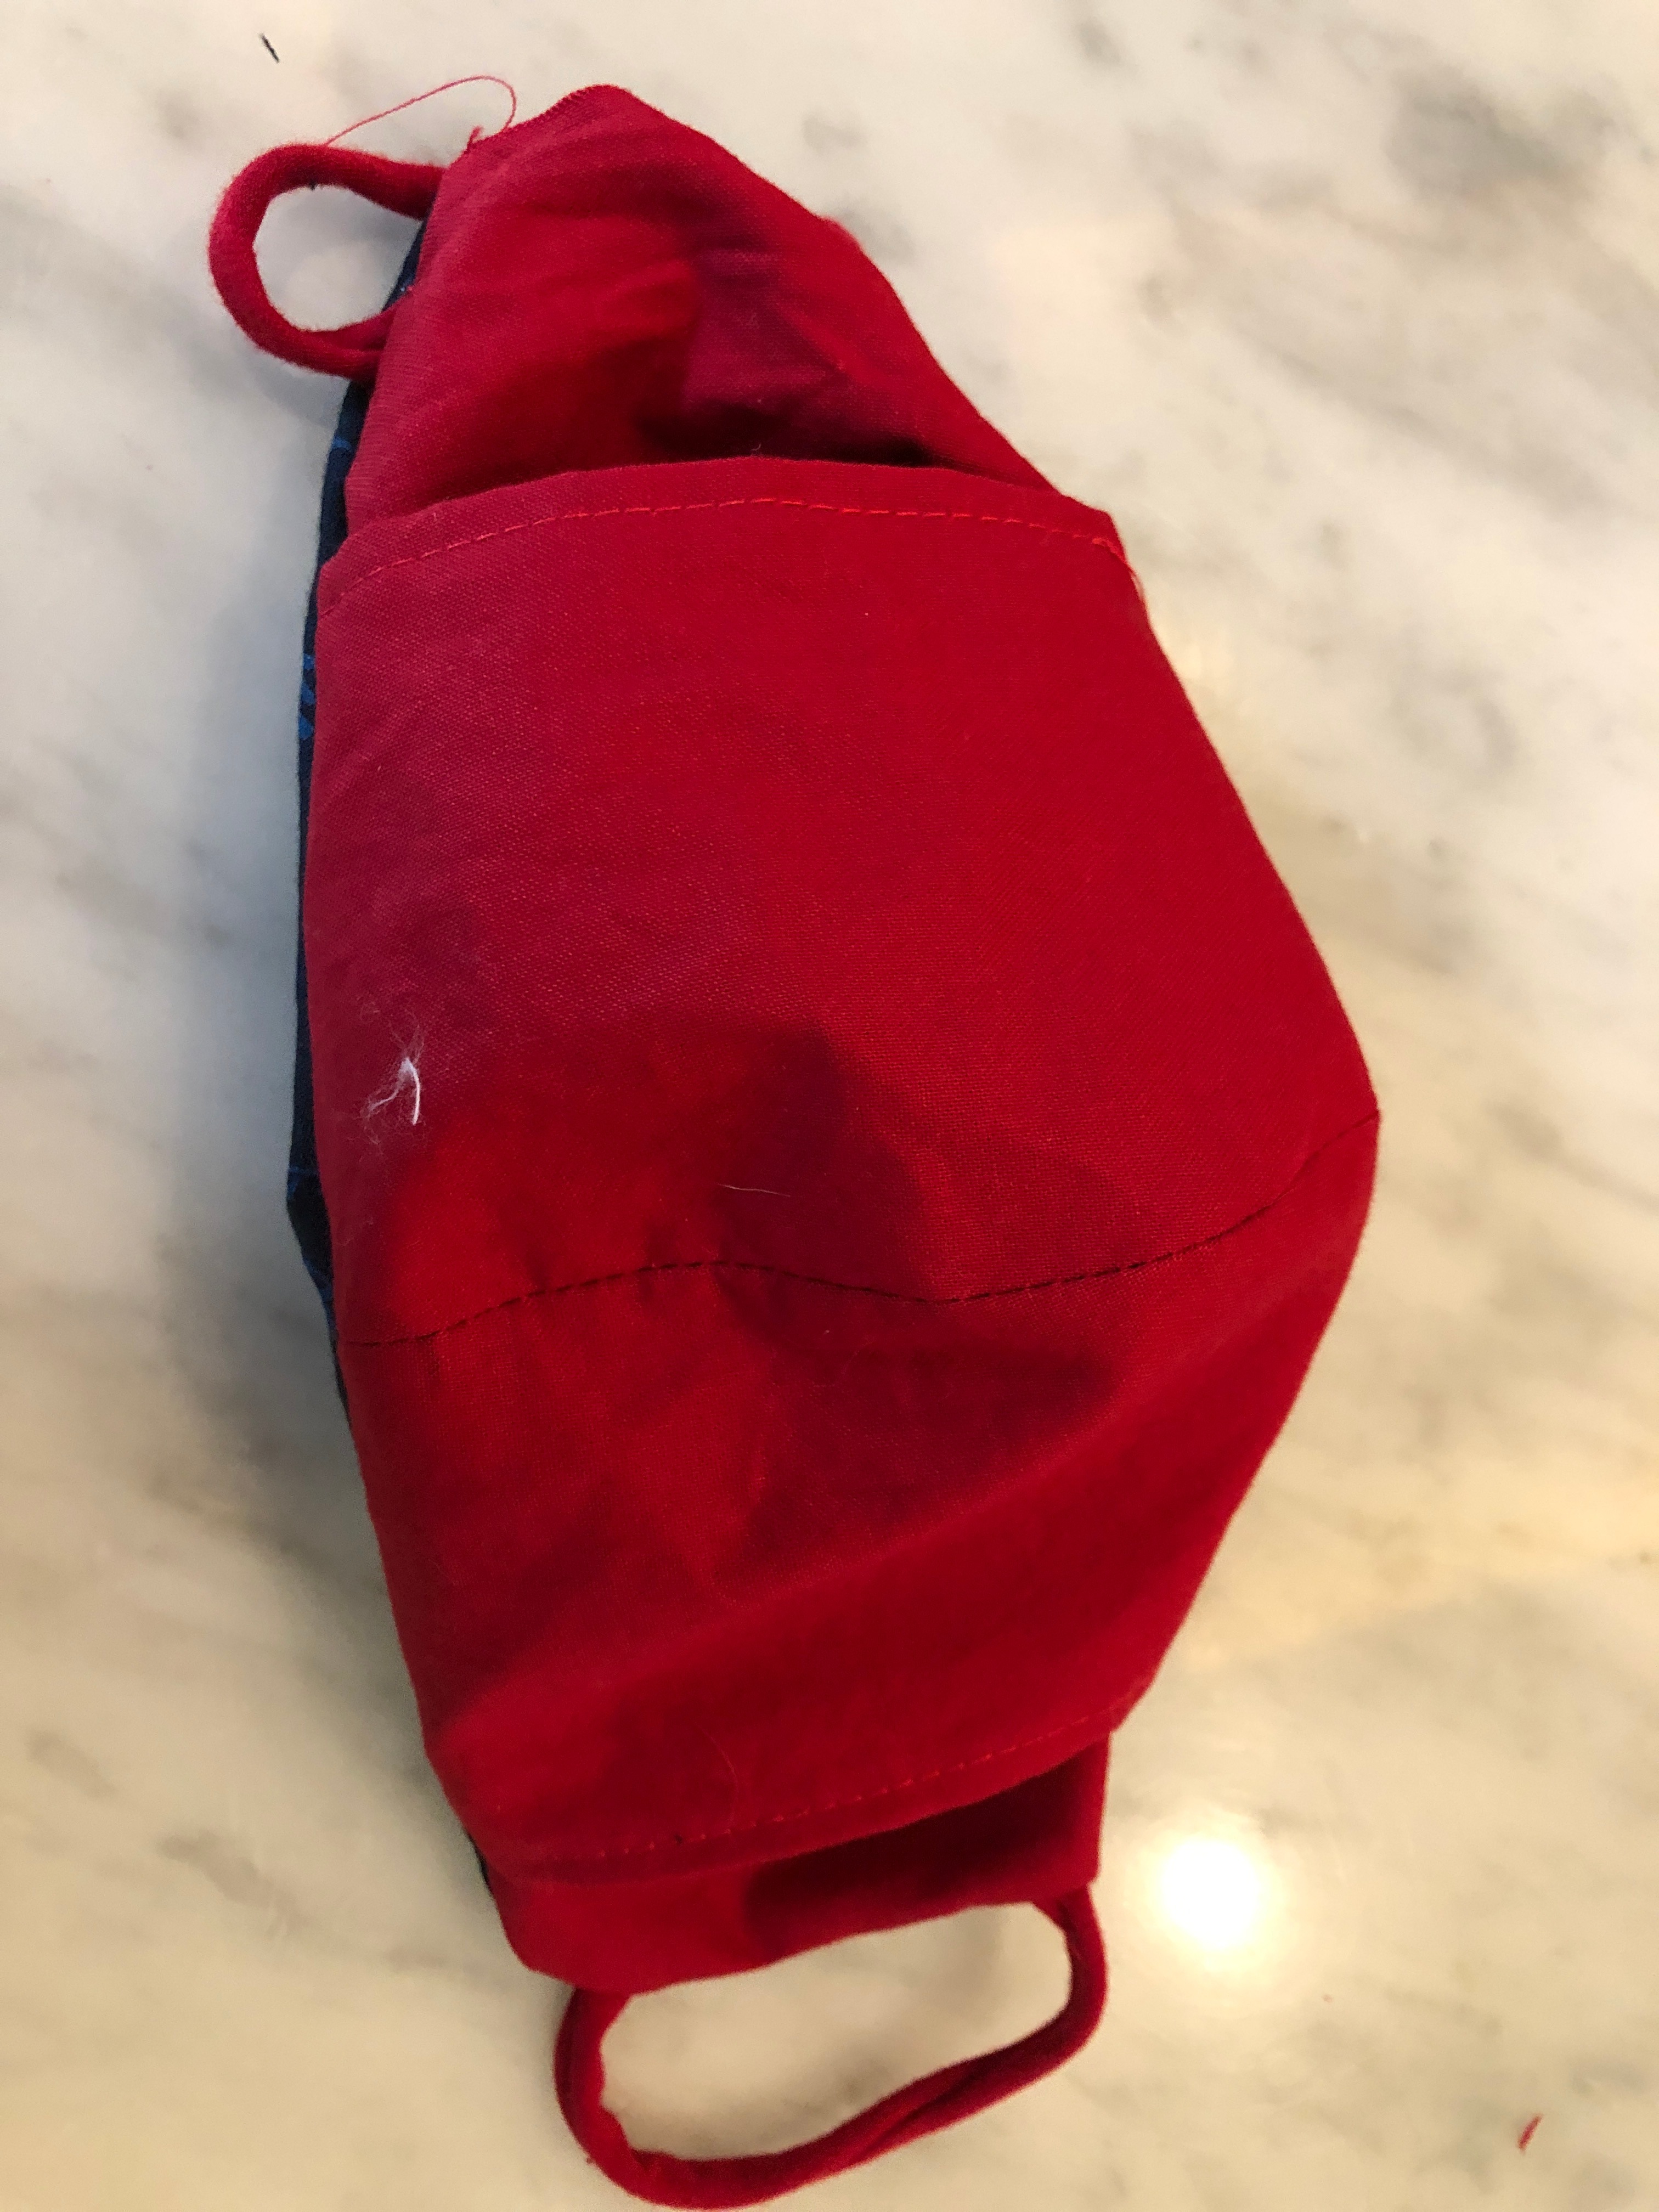
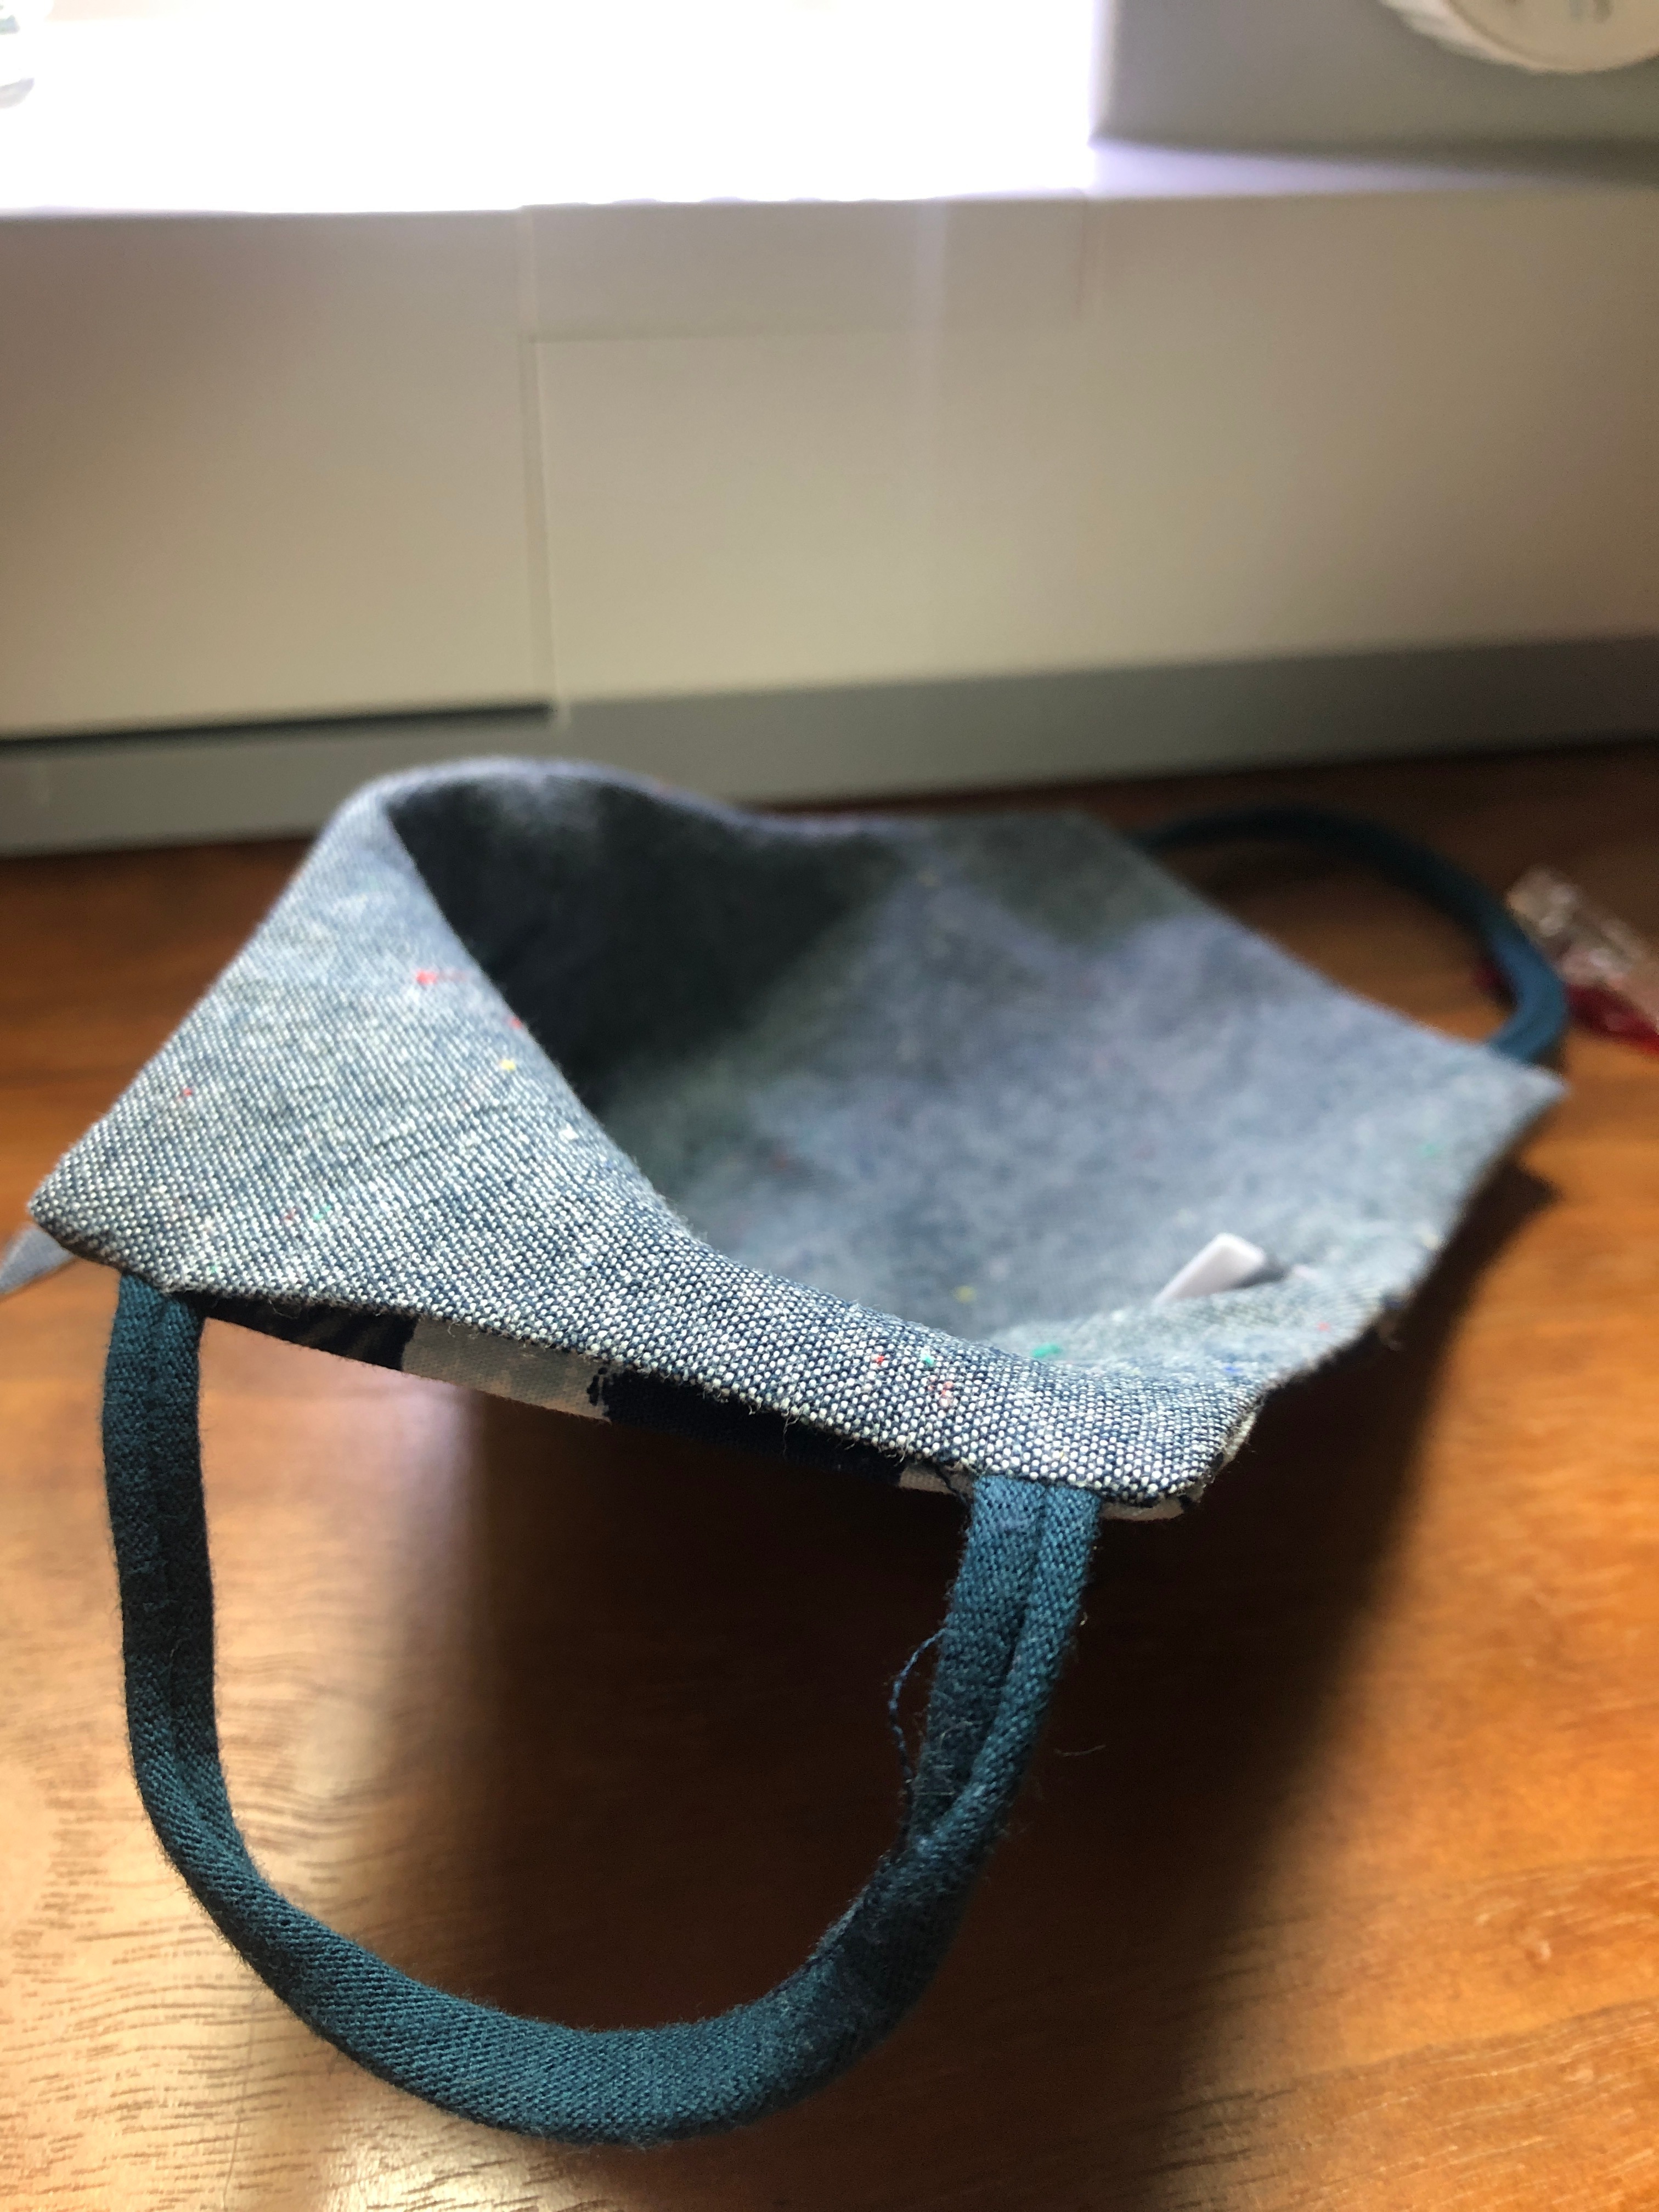
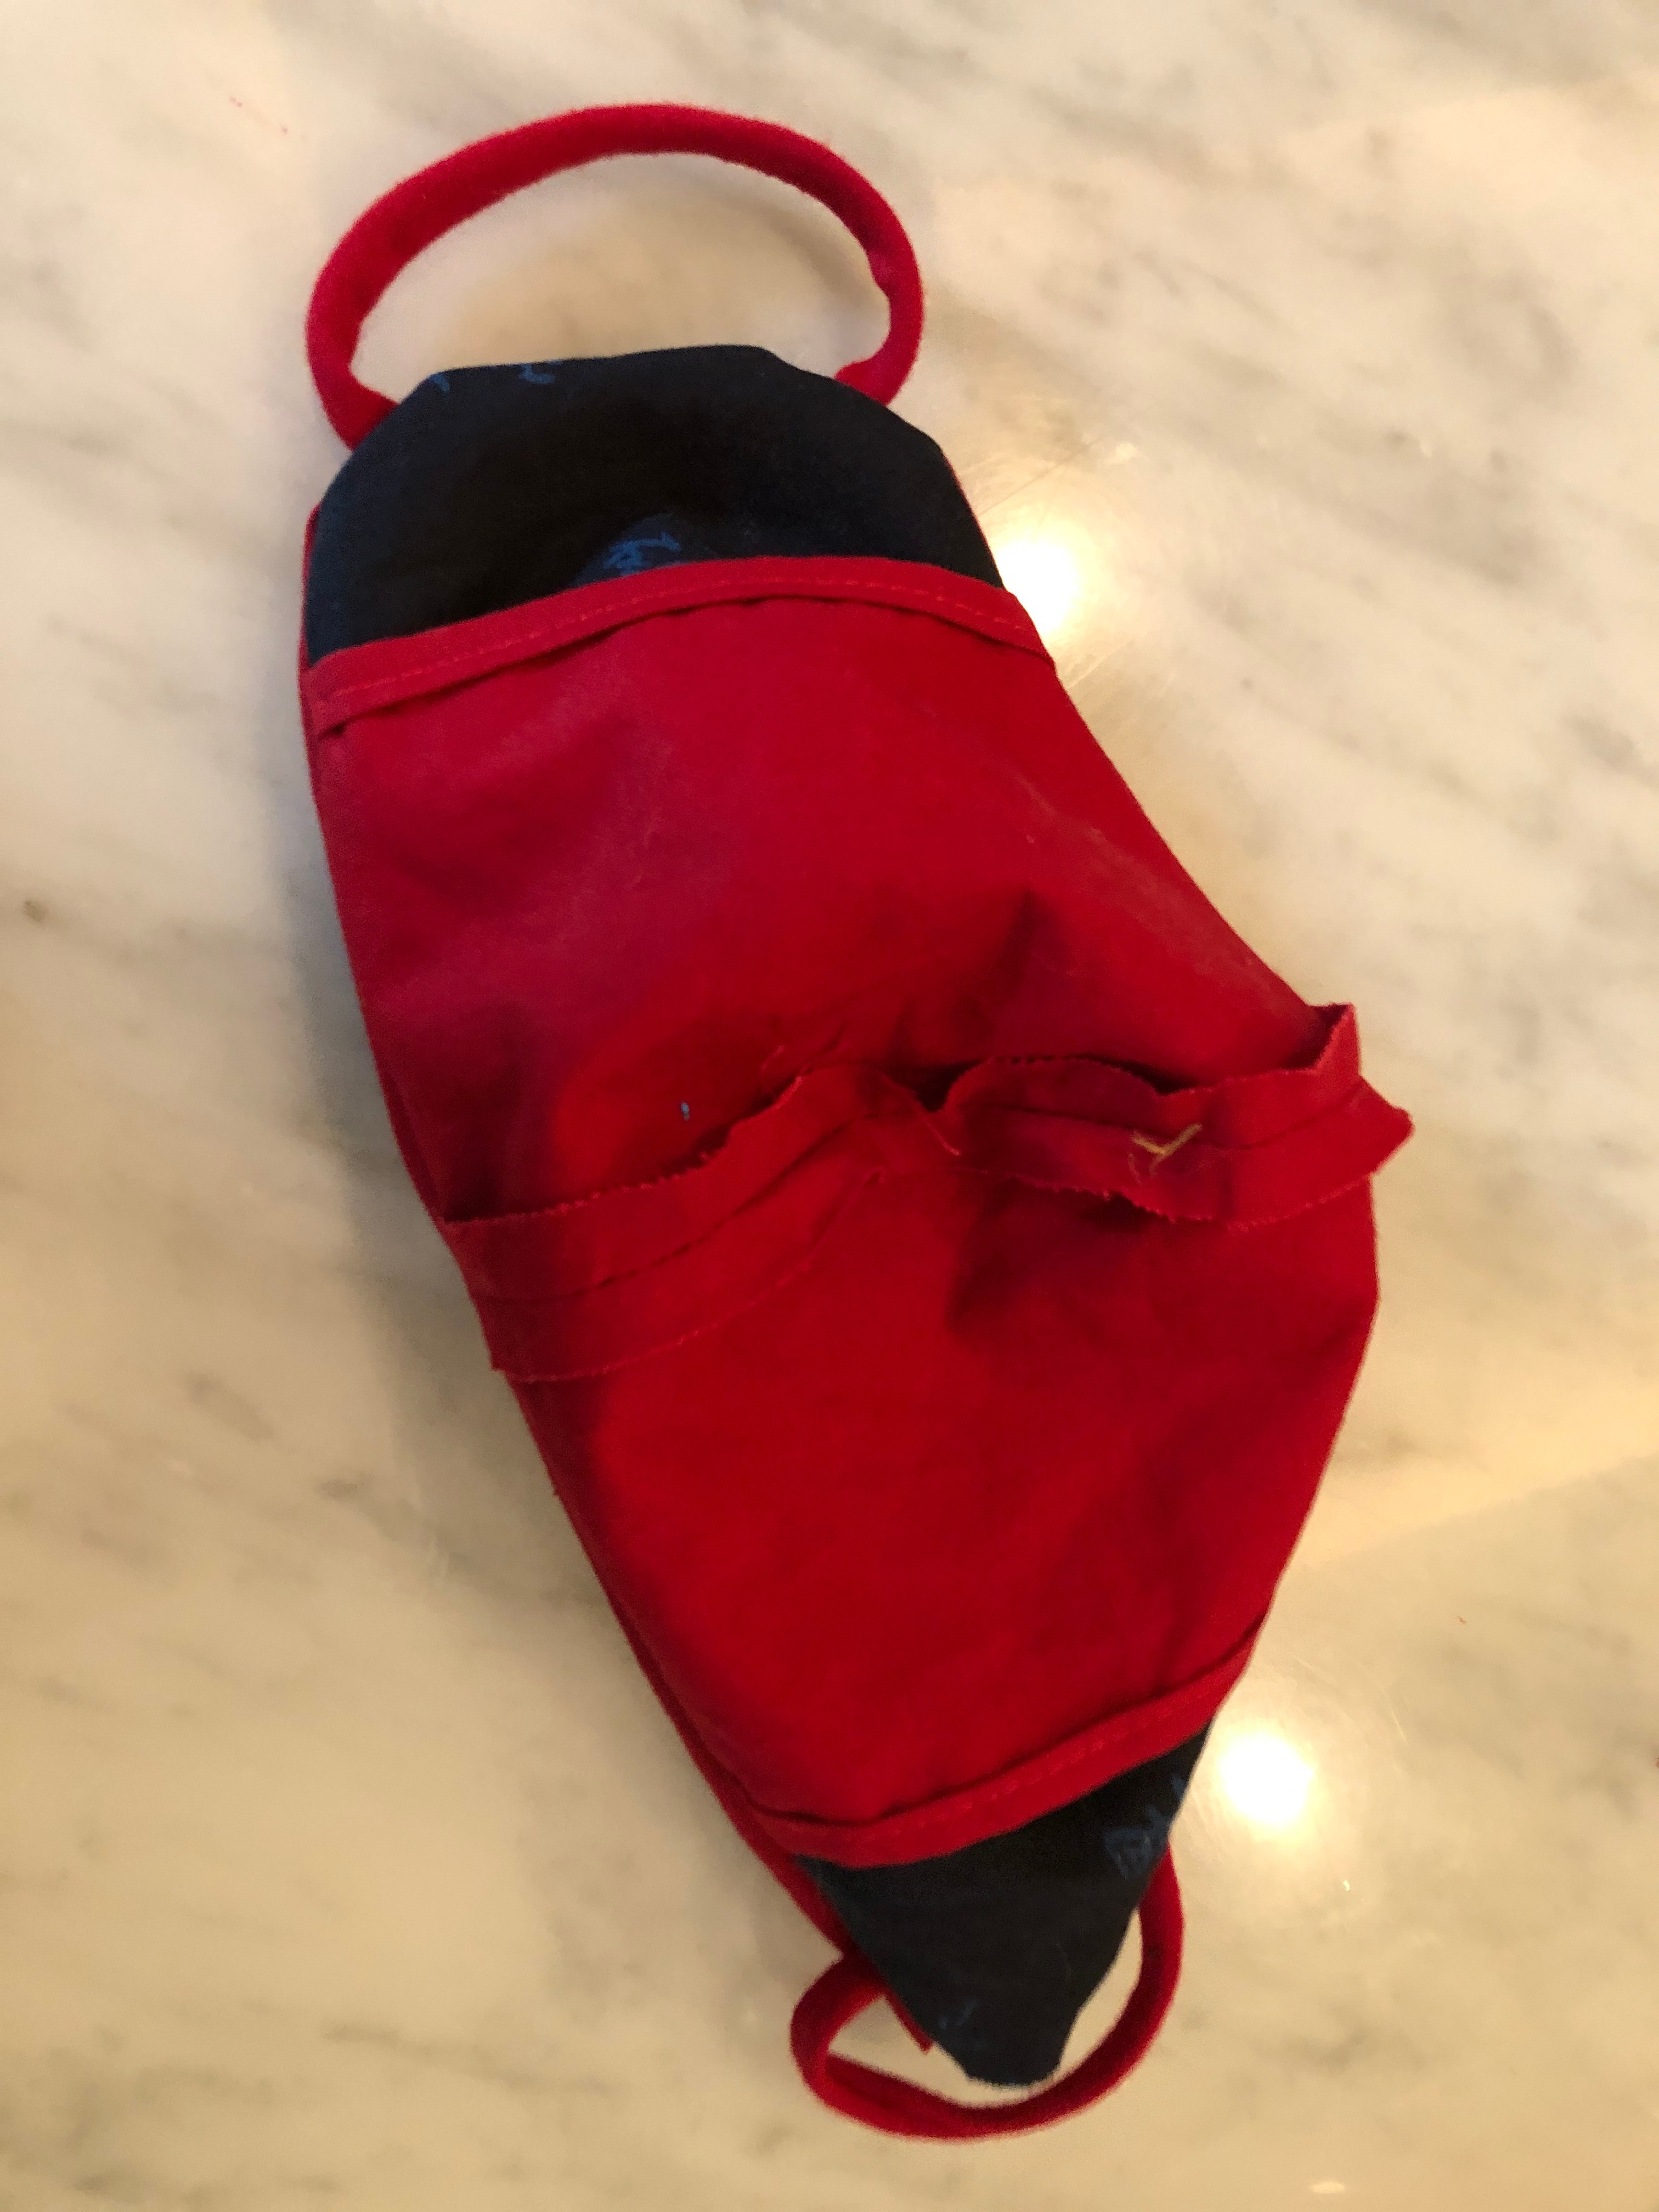
Using the hole you left on the side, carefully turn the mask right side out. Use a sharp tool to poke out the corners of the mask. Press around the edges of the mask, folding in the seam allowance where the opening is and pressing it flat. Take your time to press evenly so you don't see the back lining of the mask from the front (unless that is what you want).
Tip: If you turn it right side out and it looks like the third photo, flip your pocket to the other side of the mask.
Optional: Insert Nose Wire
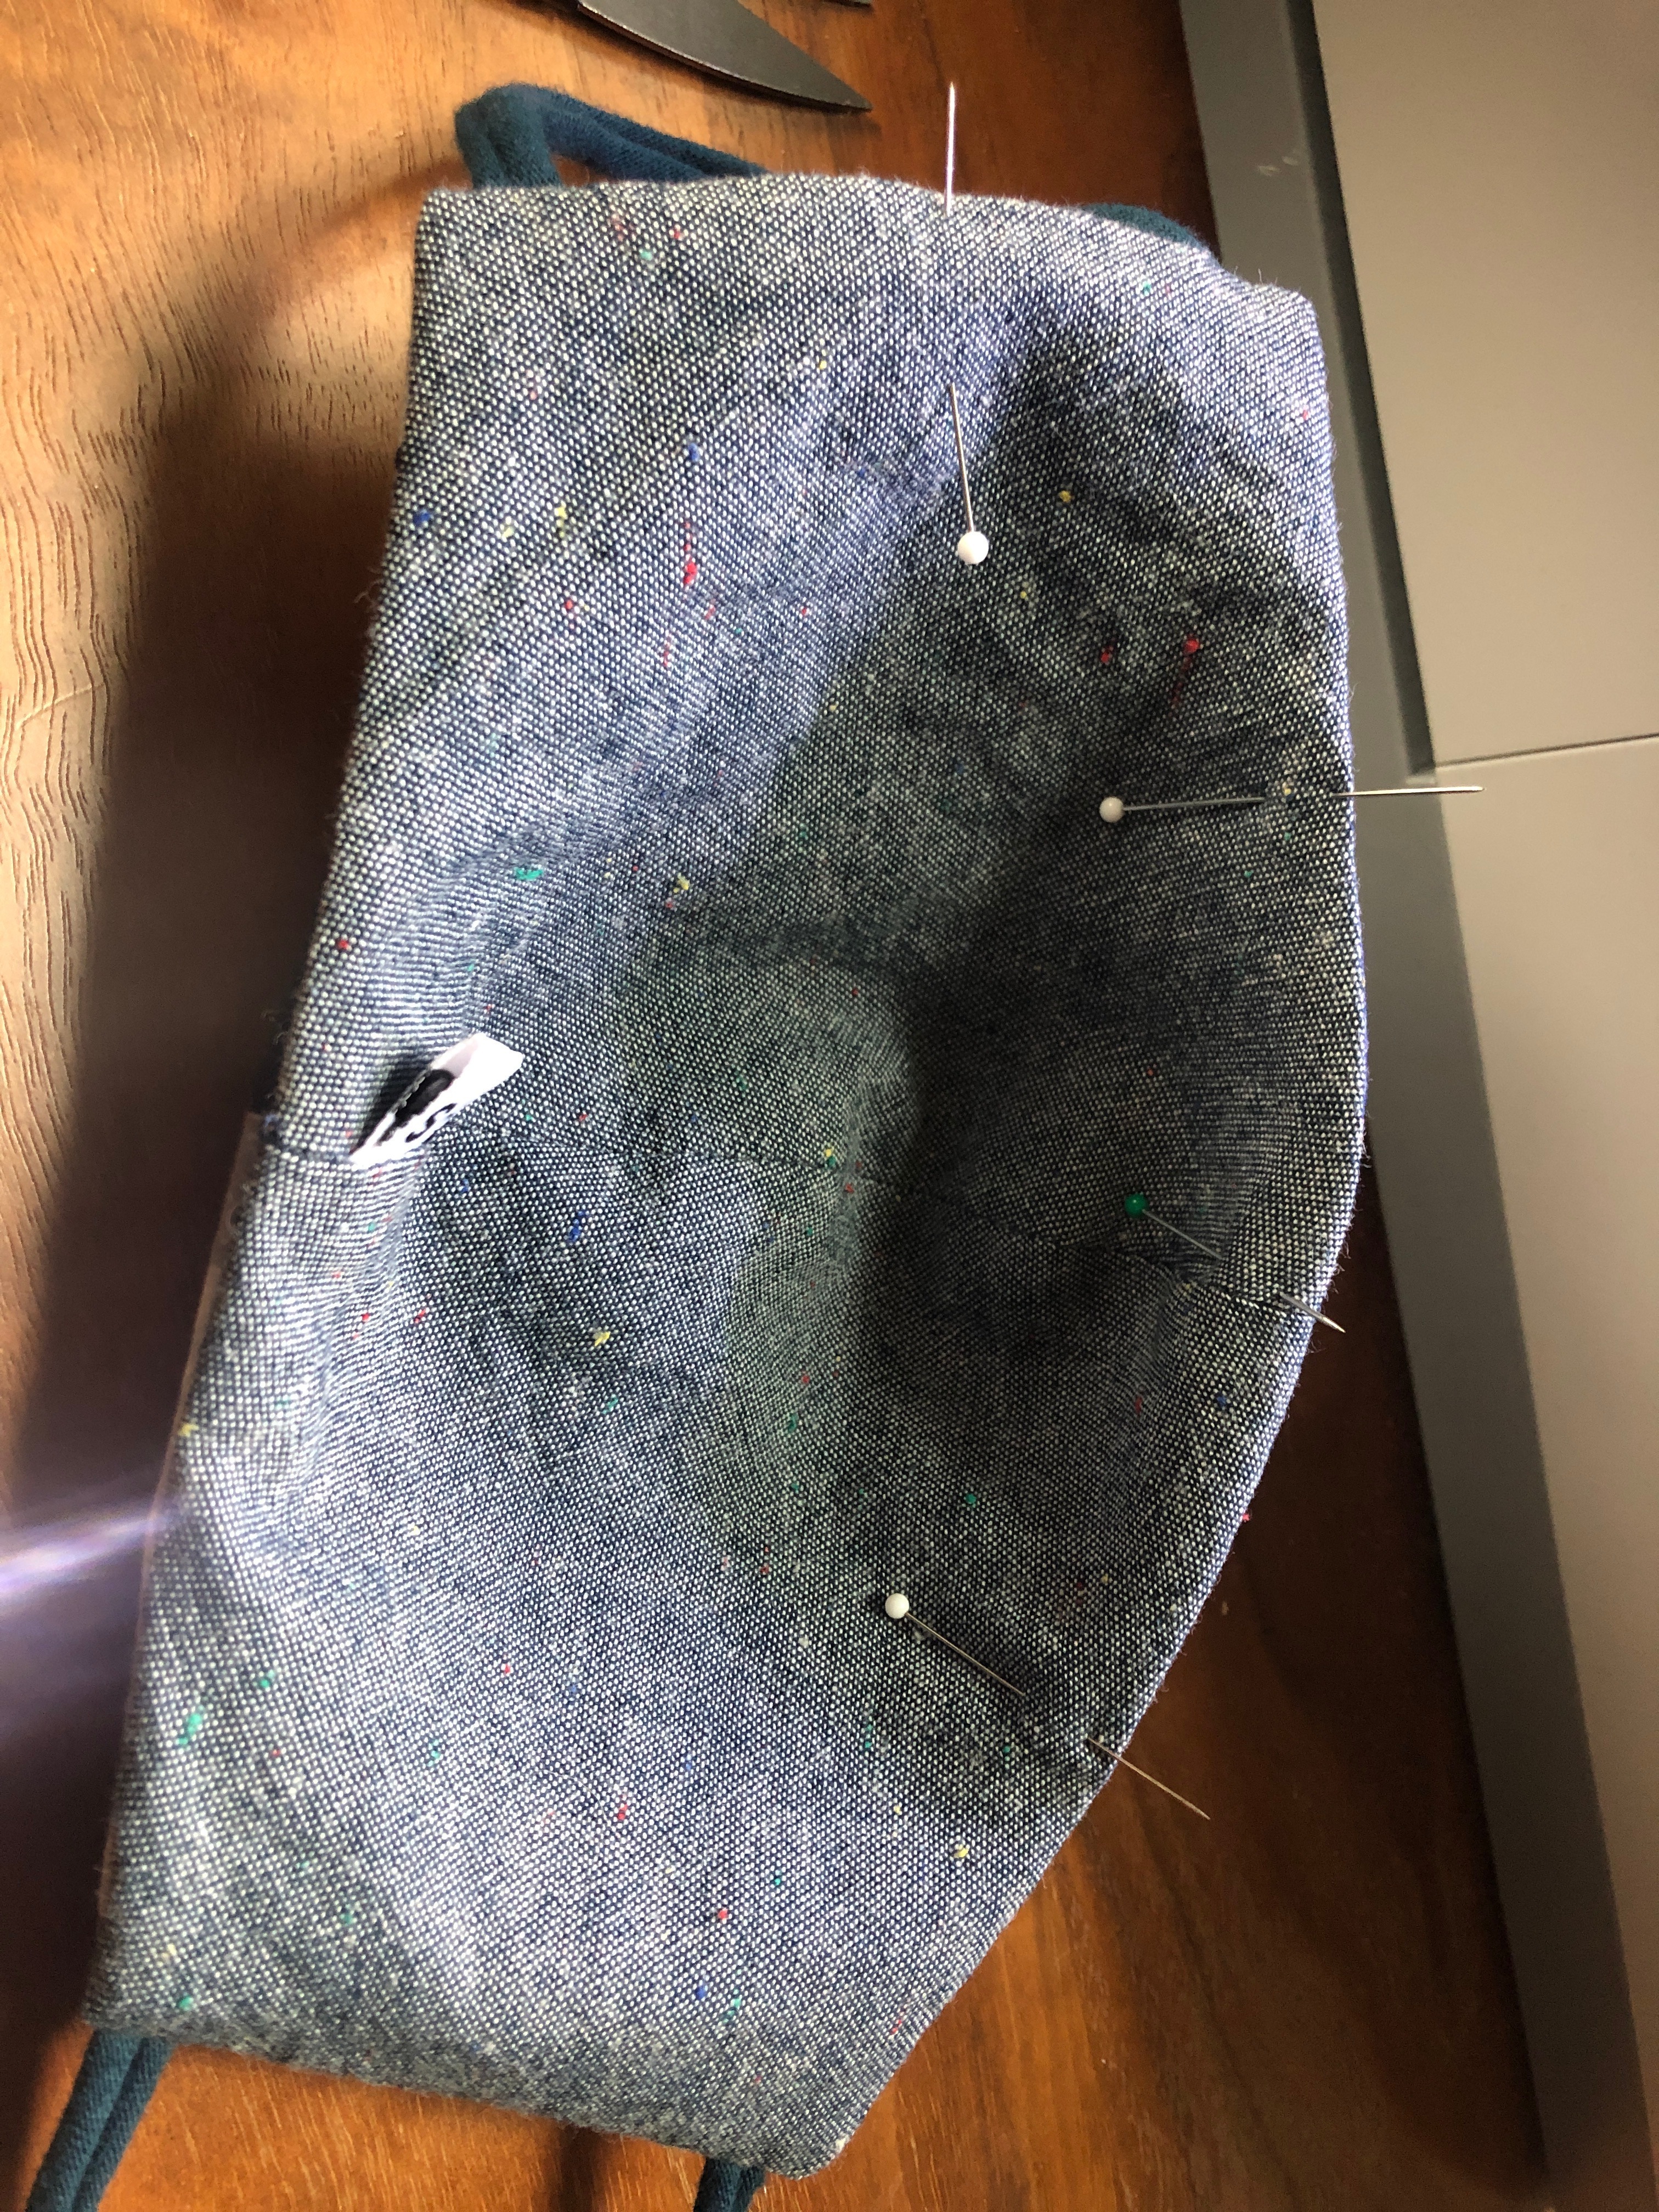
If you chose not to use a separate fabric channel for your nose wire, take your bare wire and insert it into the side opening, and push it up into the seam allowance at the top of the mask. Center it, and pin it in place. Tip: Place pins at the ends of the wire so you can see it when top stitching.
Top Stitch to Finish
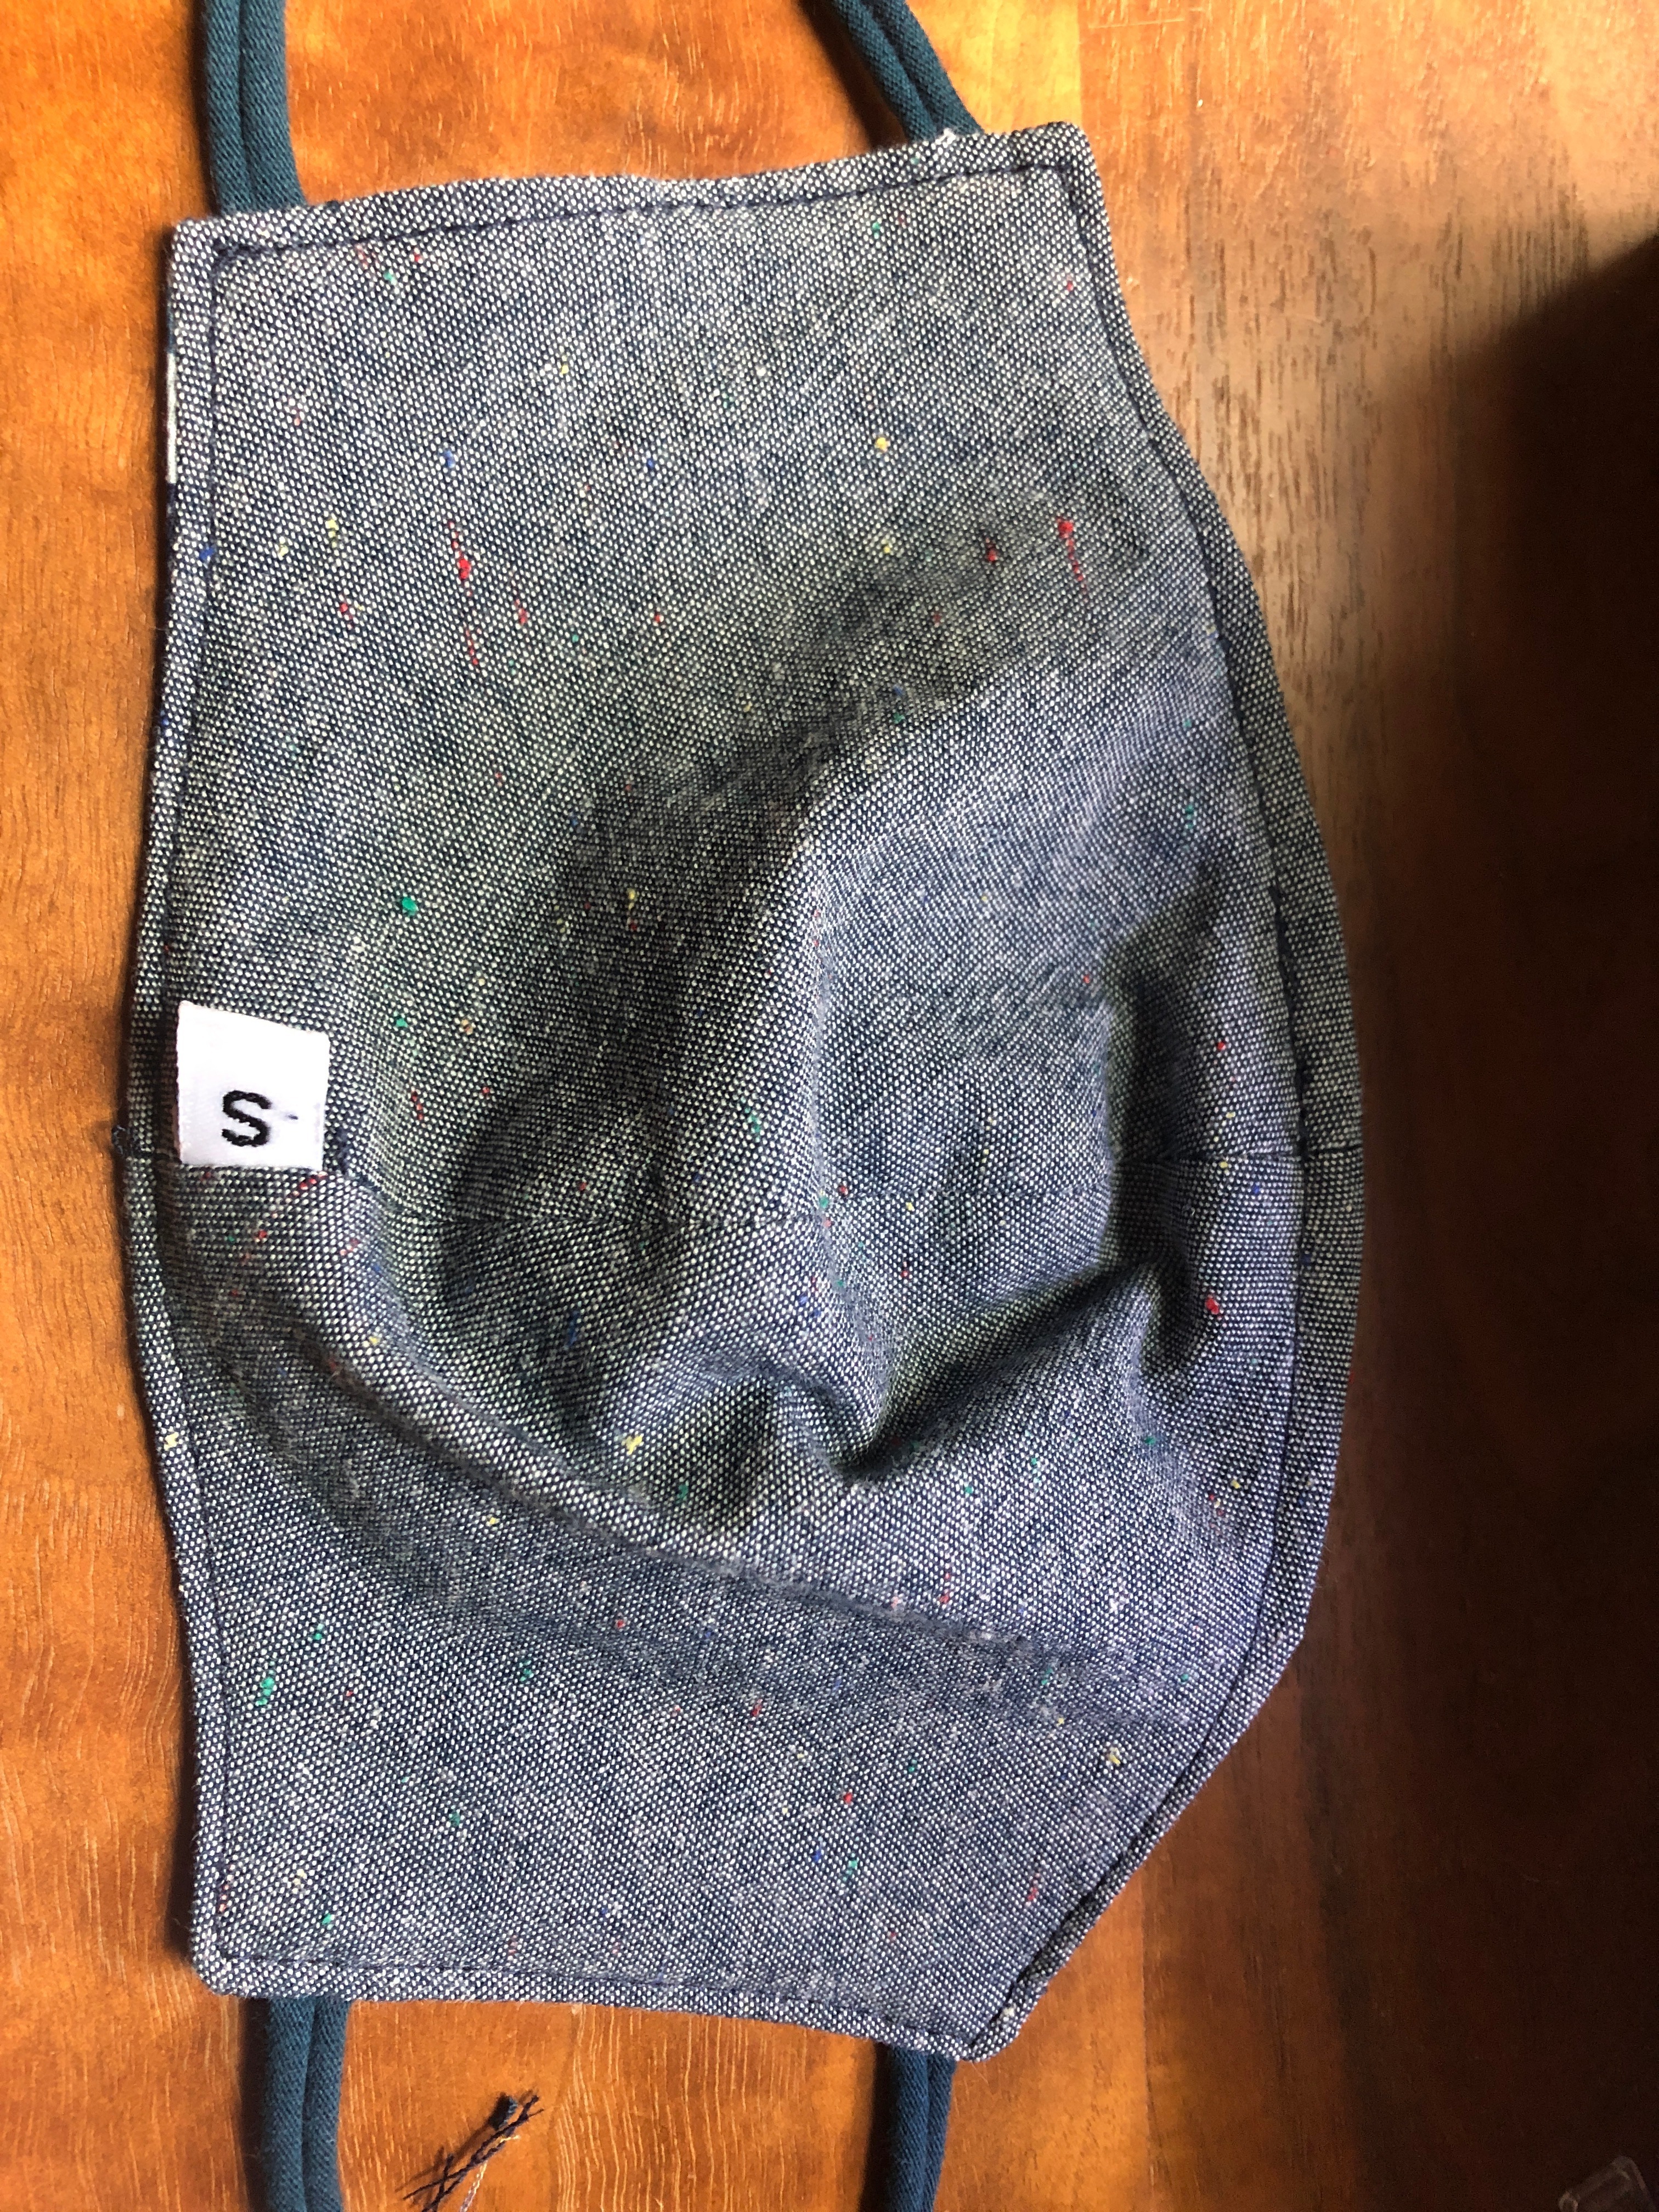
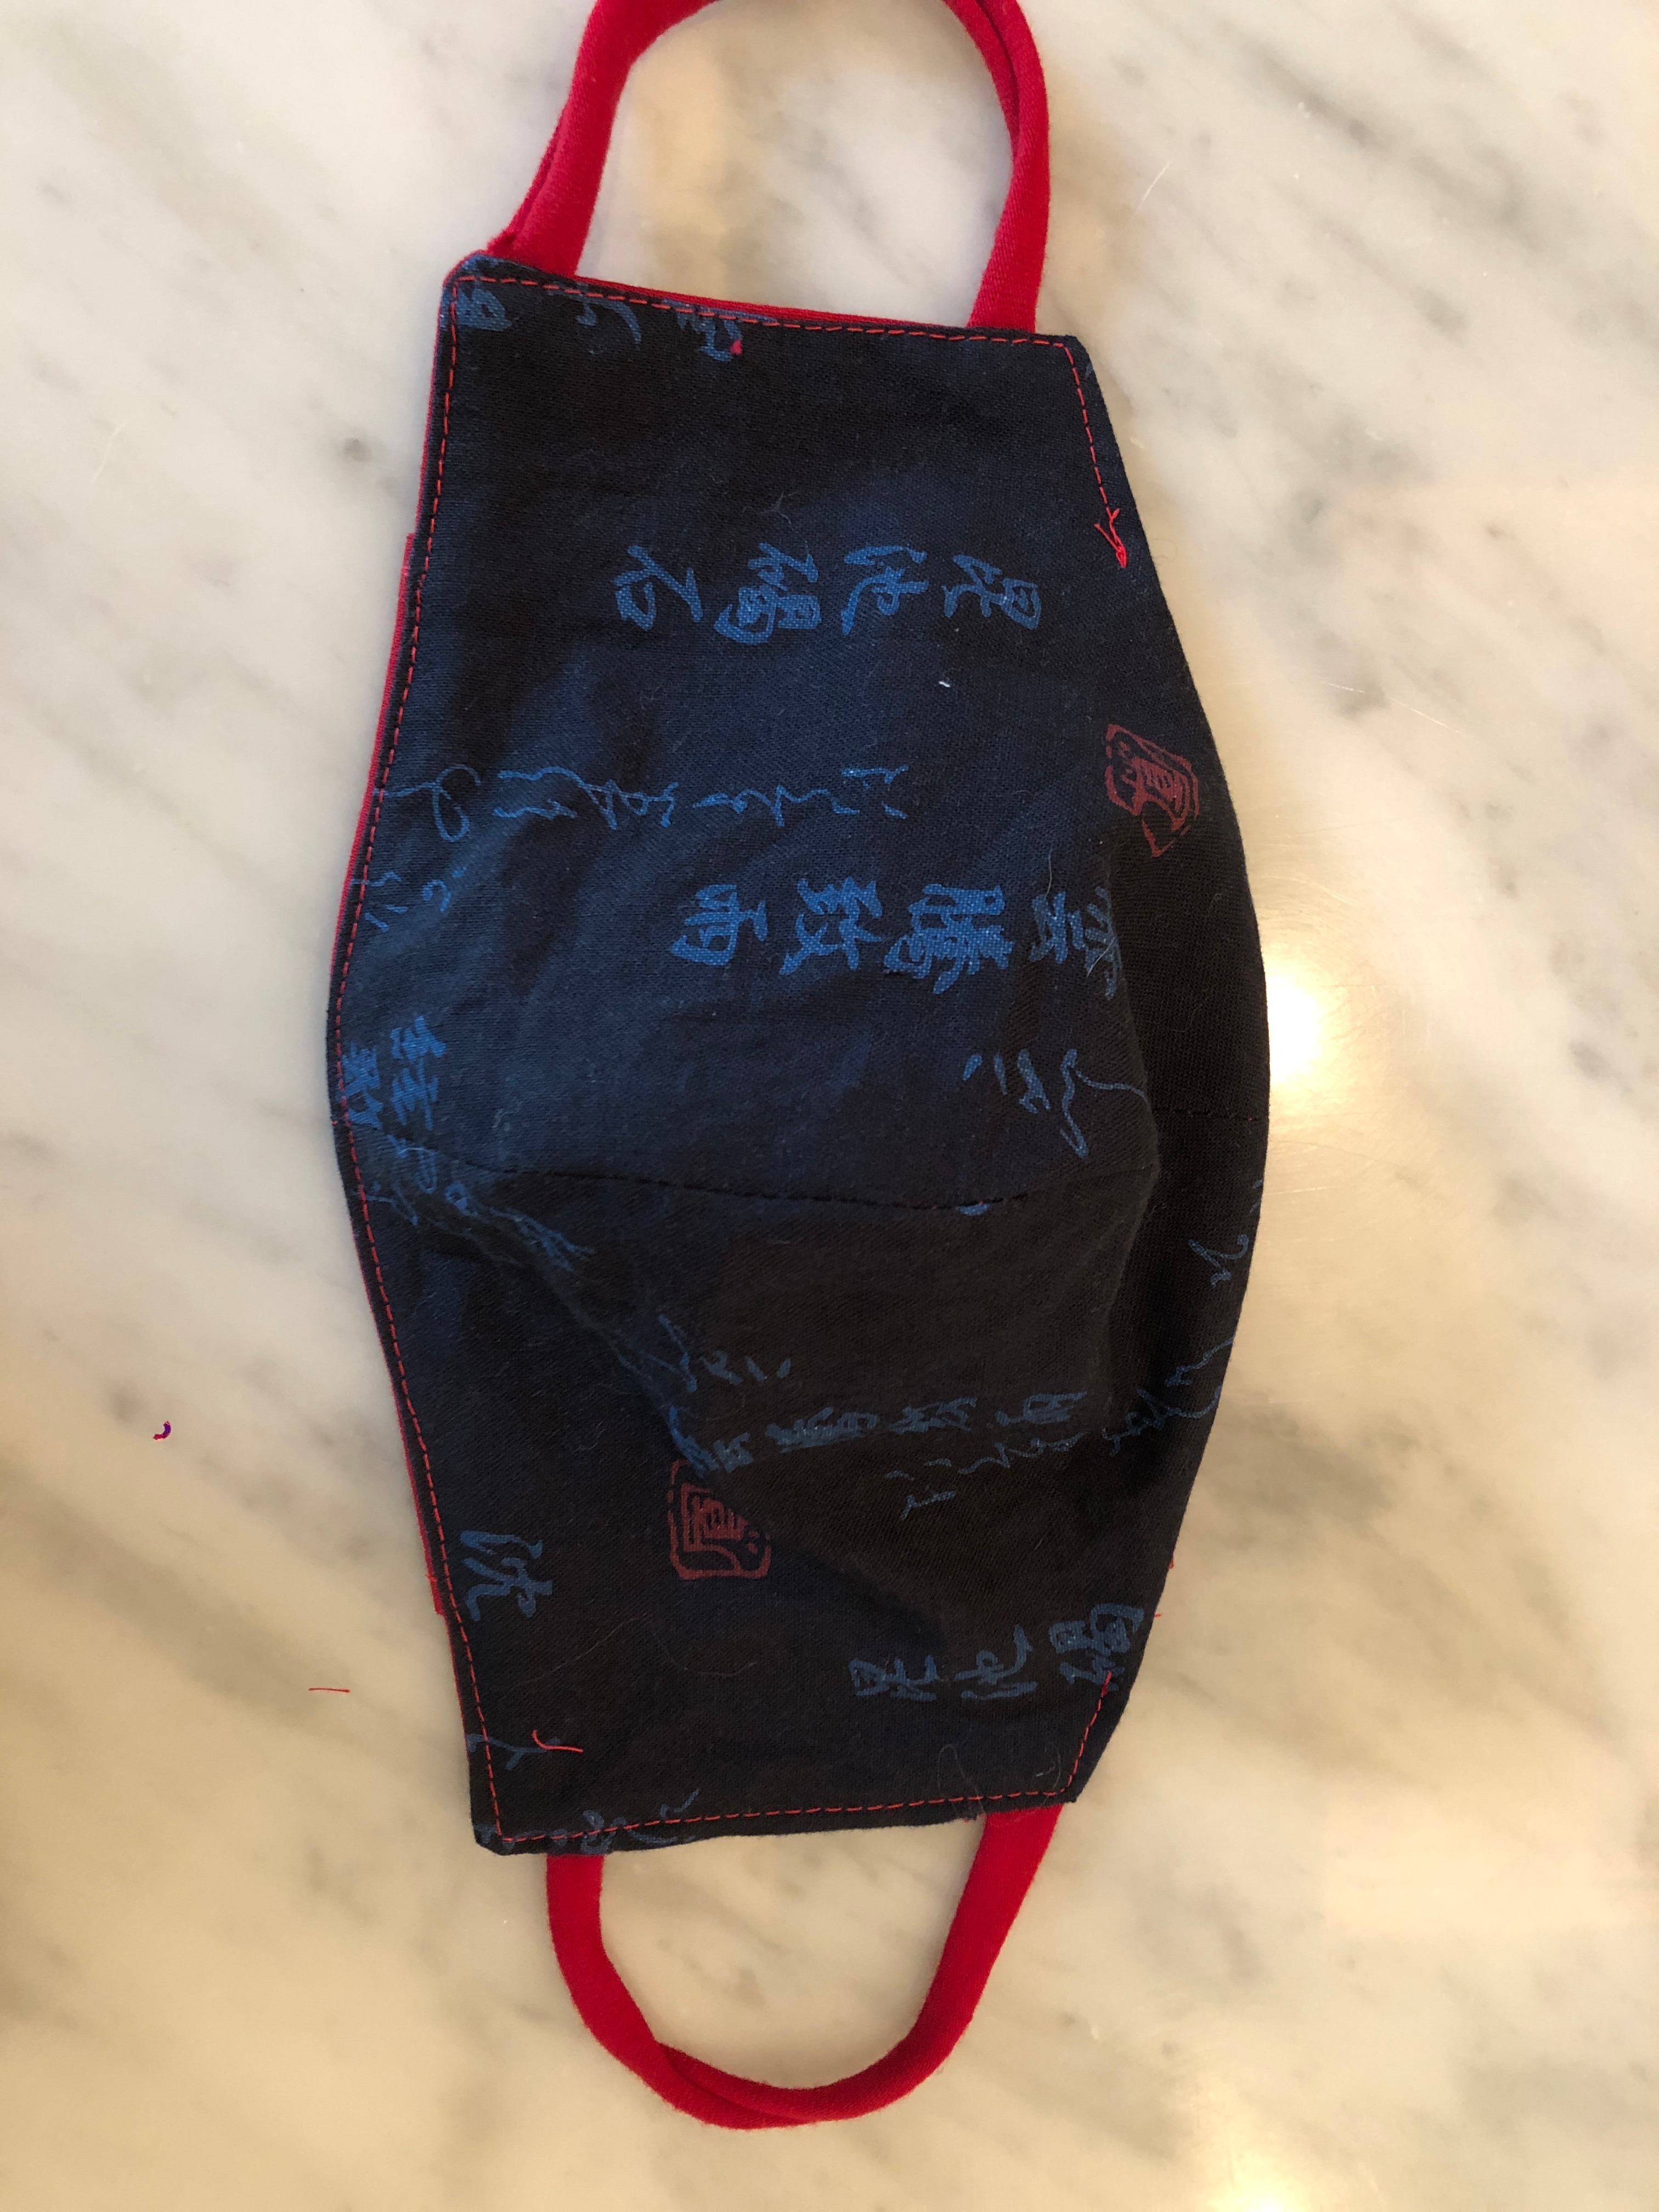
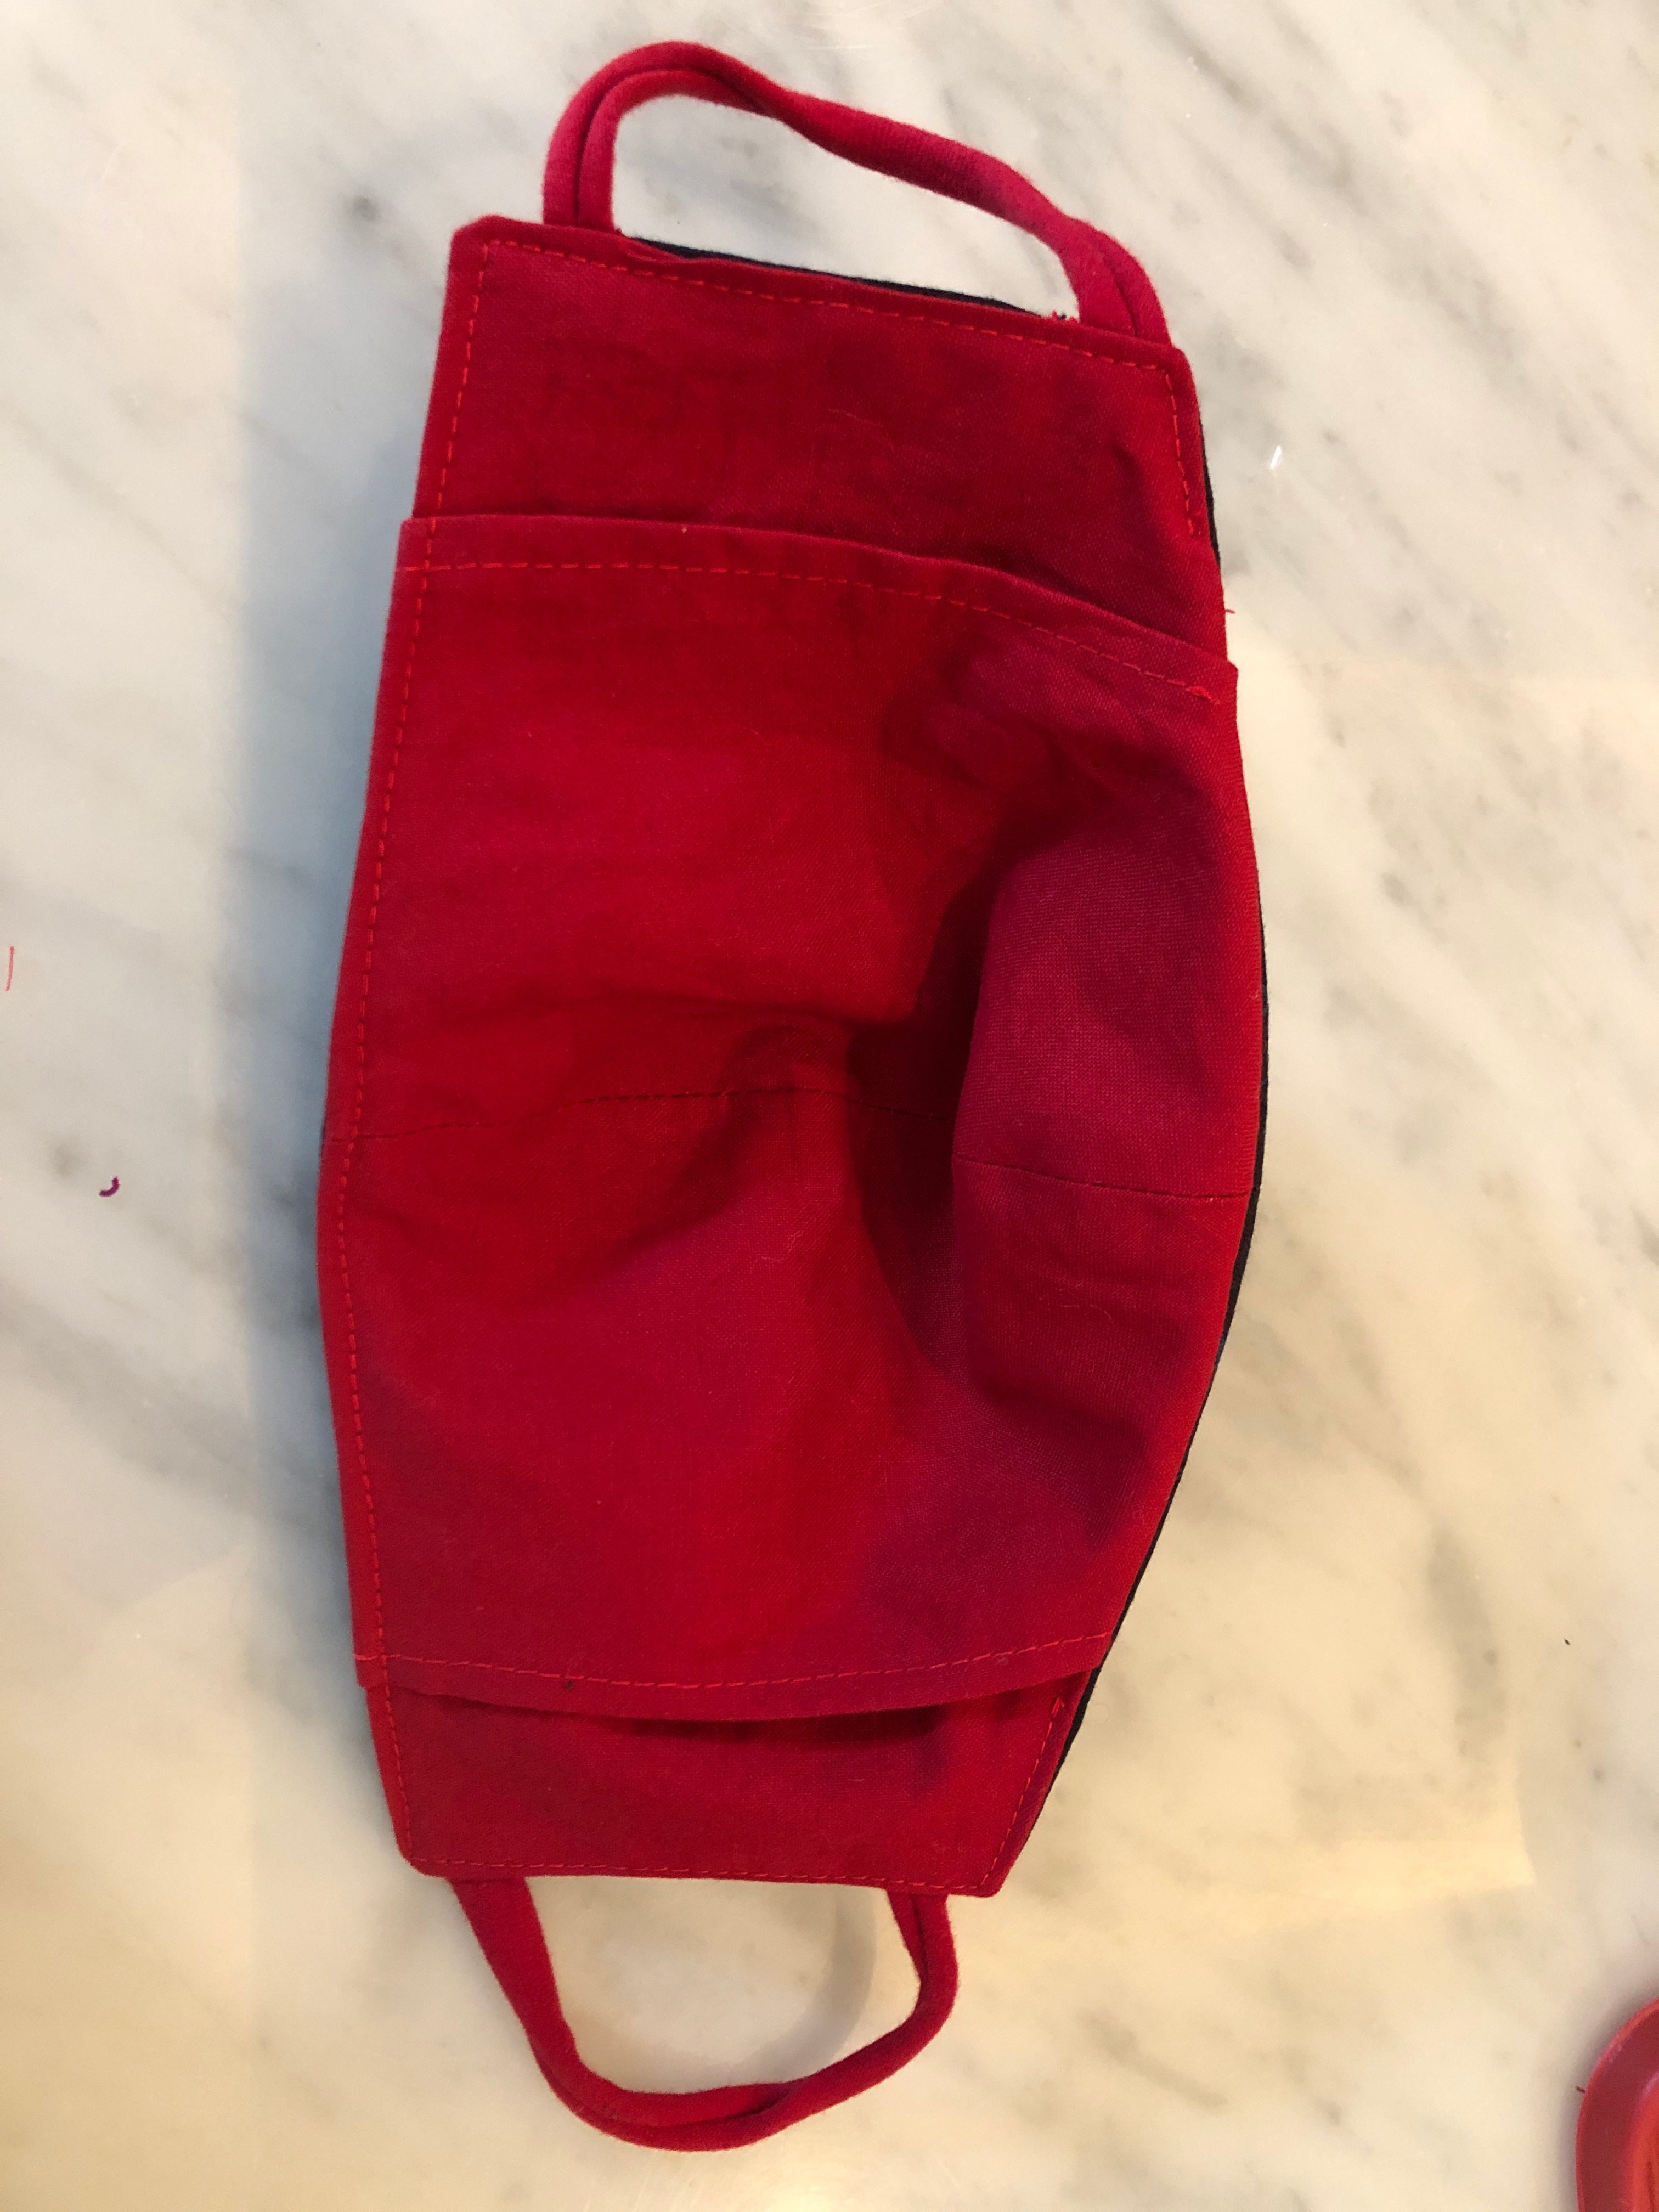
Finally, top stitch carefully around the entire perimeter of the mask. At the top where the wire is, stitch carefully and a little farther in from the edge so you don't hit the wire, especially where it starts and stops. If you used a an internal fabric channel for your wire, you may choose not to top stitch where the wire is to be safe.
Sanitizing and Caring for Your Mask (important!)
Congratulations on your stylish new mask! To keep it clean, I recommend laundering it often. Remove the filter and throw it away before laundering. In between launderings, you can put your mask in a 160 degree oven for 30 minutes to kill any viruses or bacteria on it. To launder, wash on cold and hang dry.
Store your mask in a well ventilated area, perhaps in a paper bag with your name on it. Launder your mask if it becomes wet.
To apply your mask, first wash your hands. Then apply to face, being care not to touch the inside. Wrap the loops around your ears. Try not to touch your mask when wearing it. To remove, first wash your hands. Then grab the mask by the loops, and remove, being careful not to touch the inside or outside if you can.
I find it helpful to have at least 2 masks so you can rotate them.
Stay safe and healthy out there!!